GitLab Repository Set-up, About me page customizing, and Sketching the Final project
This week I worked on defining my final project idea, but also to set up the GitLab online repository and modifying the About Me page to update my previous experiences.
Setting the GitLab Repository
The first step in creating a GitLab repository is having a GitLab account. Thankfully, FabAcademy gives you the account used to access the website as well as an already created repository for you to use. After that, it's just a question of inserting some command and making the site your own , let's begin!.
The first thing I did was install the GIT language. In this case, I looked to install it for my operating system, which is Windows, but people with Linux and Mac can also opt for another version. Following this, I installed the terminal tool called Git Bash, which allows running commands in the Windows operating system.
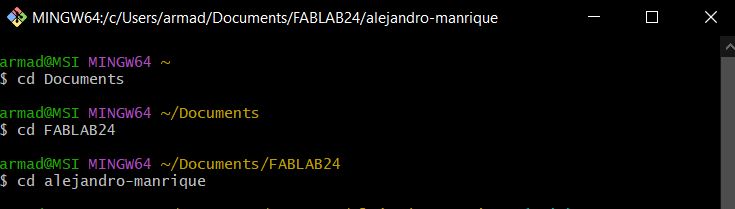
After that, you need to find the directory of the repository you want to initialize. Personally, I recommend choosing a
folder that is easy to find and a storage device with ample space. You can access this directory with the command
"cd
Then, use the following lines to initialize the repository, add files, and name the changes for future reference.

Now, you need to clone the local repository on your computer with the one in the GitLab online platform. Use the URL given by the site and run the command.

But what if you already have files within your local repository and you are just looking to upload them? Don't worry I got you. Use the nest command to set an upstream route to upload archives and then push them.

So now, your files can be seen in the online repository as you have uploaded them with the "push" mumbo-jumbo

Website Customizing
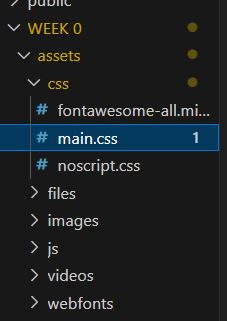
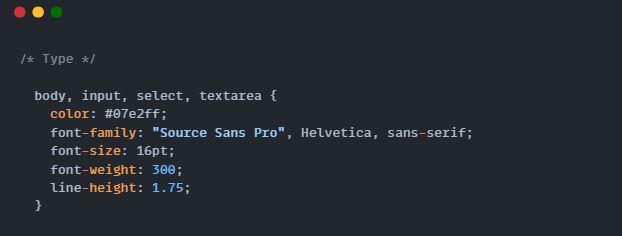
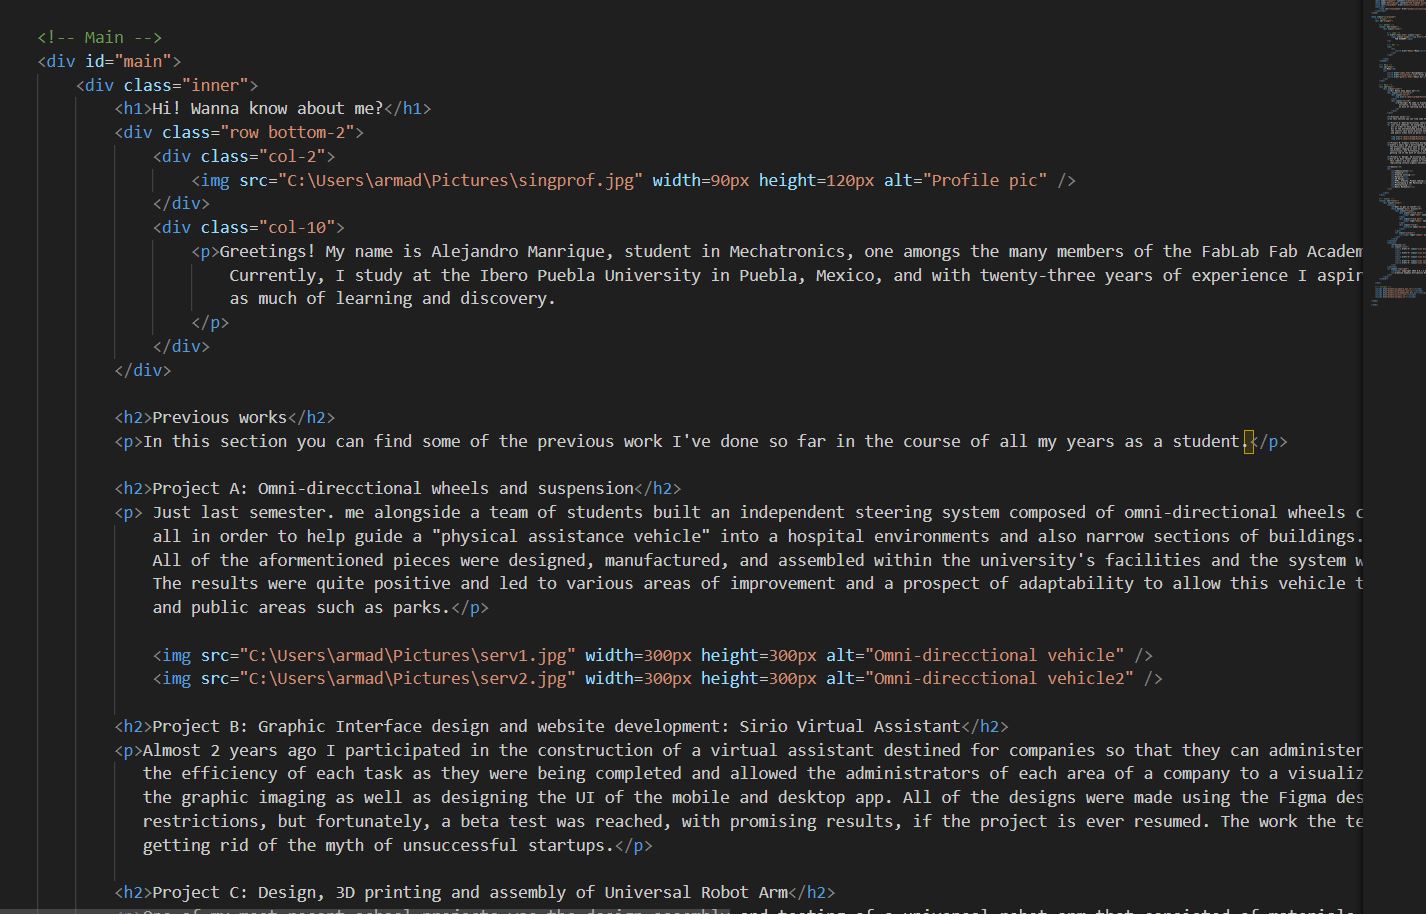
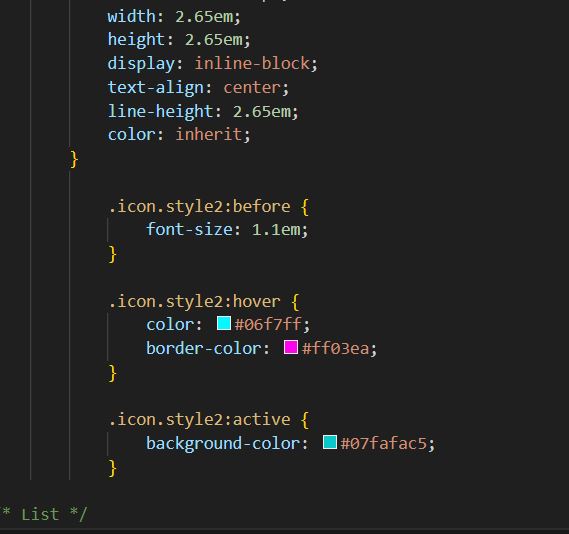
Now let's talk about the website. The website comes from an html file that in itself came from a template to create a customized look. The first step was to locate the files within the folder generated in Visual Studio Code, find the section for .css files that regard to the website's style, and adjust the colors and spacing to my liking. After this, the site's own contents were modified to provide a different experience than the template initially offered. Images were added, texts with paragraphs were included, and certain areas were customized to make the site feel familiar. Once finished, the site had a technological appearance with a cyberpunk vibe, showcasing my personal experiences and involvement in specific activities. All modifications were made within the files in Visual Studio Code and can be reviewed in the online repository.
What about the final project?
Exploration and psychomotor training suit for children with visual disabilities.
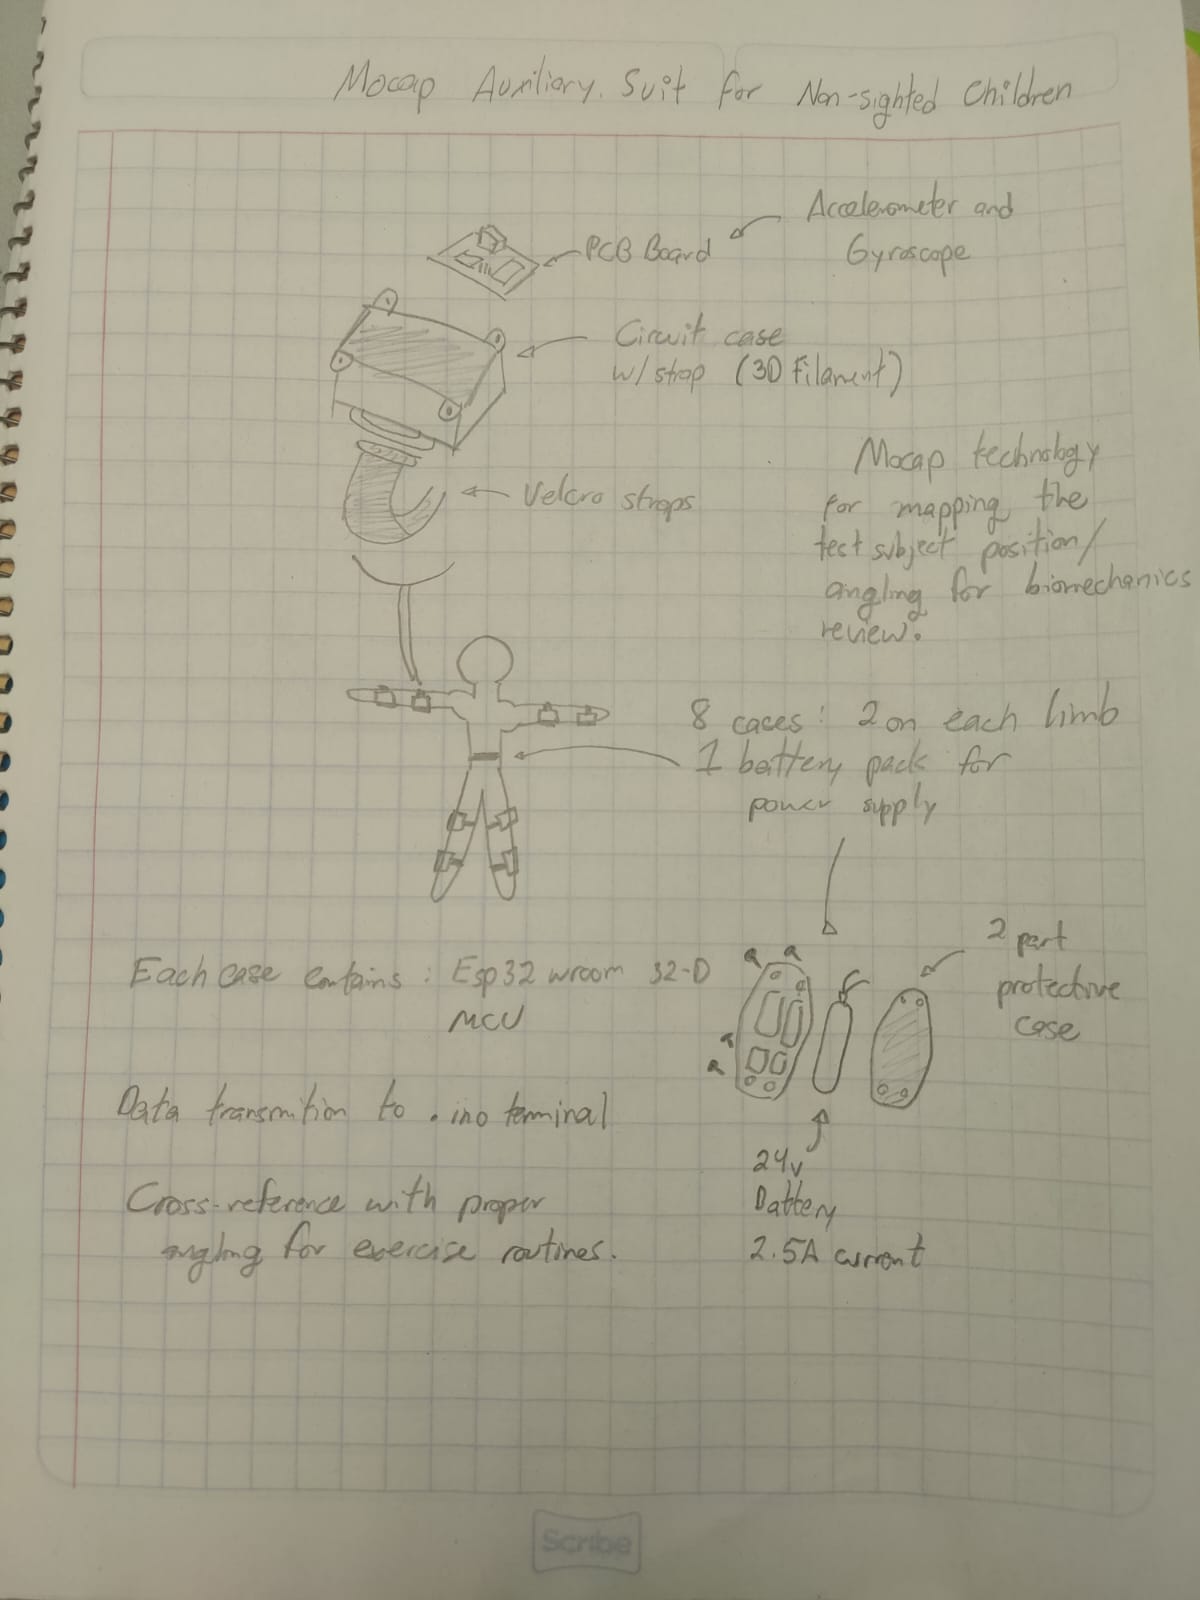
Being unable to observe and learn from their surroundings causes patients to perceive the external world as risky and threatening, suppressing the need to be active, curiosity, and generating a feeling of rejection towards exploration and discovery.
The project proposes the development of an exploration and psychomotor training suit for children with visual disabilities, aiming to help them develop gross motor skills.
This suit would have 2 modes: exploration and training.
The project was initially proposed and conceived by the student Isaac Hortiales Arzate, who is a student at Ibero Puebla and a personal colleague. He suggested collaboration to develop this project and take it to a tangible phase to demonstrate its essential functioning. The project will be developed over the coming months, and in collaboration with Isaac, another member named Josué Reymundo, also a student at the university and a fellow classmate, will join the team.
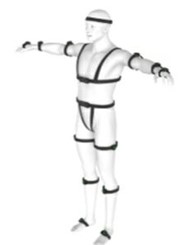
Concept Image src: Isaac Hortiales FGS Presentation Click Here
But if you are looking for a more in depth view of the project I advise you to go to the "Final Project Section" to get the spicy deets!
Some CSS editing for examples
Gallery

Video
This week there is no feature video. Maybe next time.
3D Model
This week there is no 3D Model. Maybe next time.
Files
Currently, there are no available files, maybe next time.