Computer-Aided Desing
This week's primary focus was on exploring 2D and 3D software platforms such as Solidworks, Onshape, Fusion360, Inkscape, among others. I personally engaged with Solidworks, Onshape and Inkscape to draw a gear for a forthcoming project. The objective of this week was to evaluate their individual strengths and capabilities, and they each demonstrated being the best on its own. Throughout this process, I documented each step and makin a comparative analysis based on my experience. You can discover this process in this week assignment.
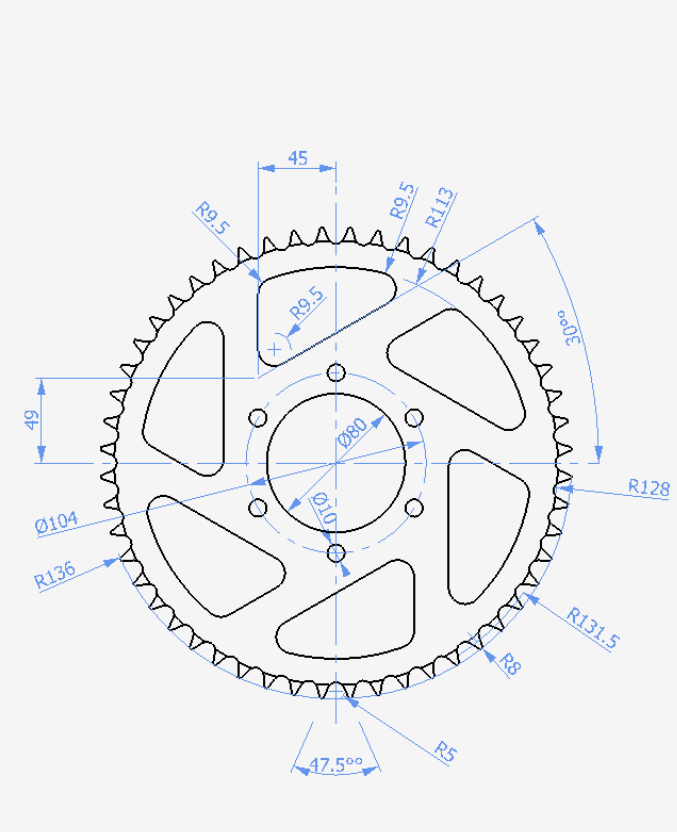
Gear reference
This is the drawing that I reference in the making of the gear part, as you can see the gear teeths part was a little bit confusing so i make a small changes to the final product as you will see further in the corresponding sections. With that futher ado lets get to the explanation.
Inkscape
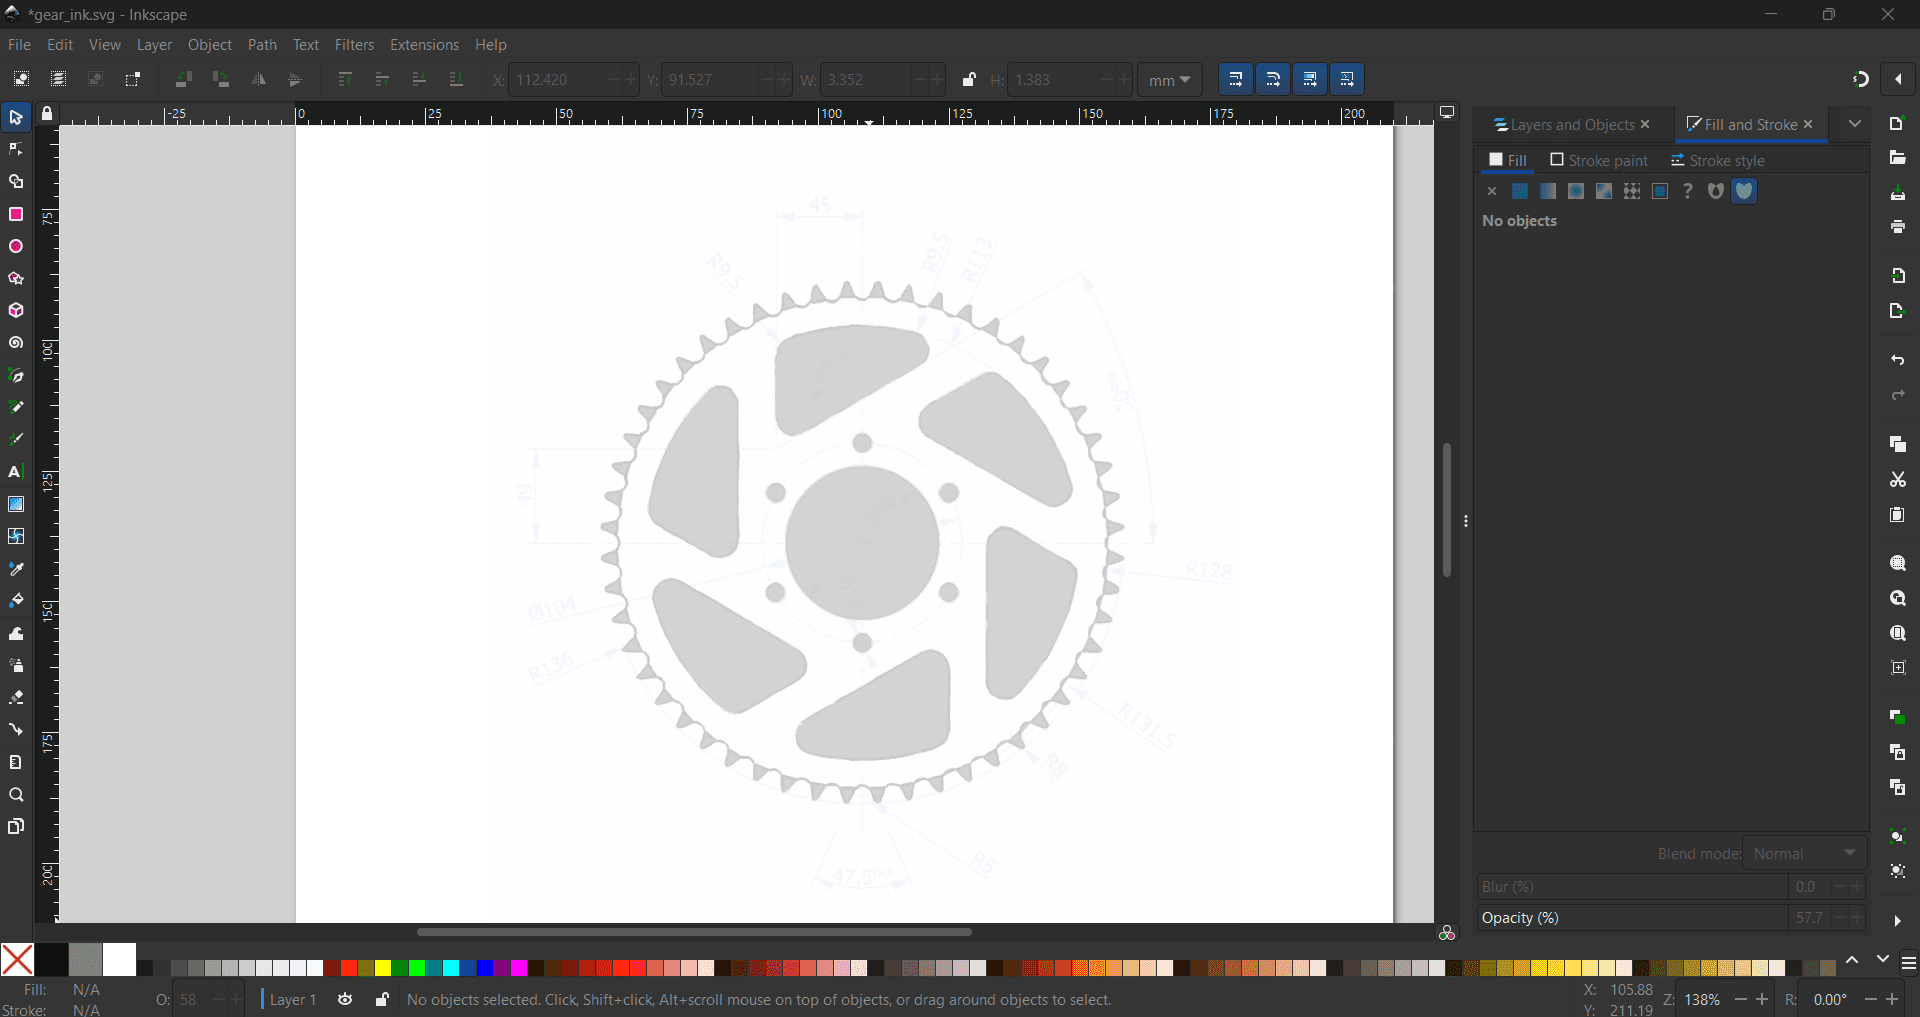
I created the gear part using the Inskcape software, wich to be hones it was my first time using it. To begin, I imported the reference image.
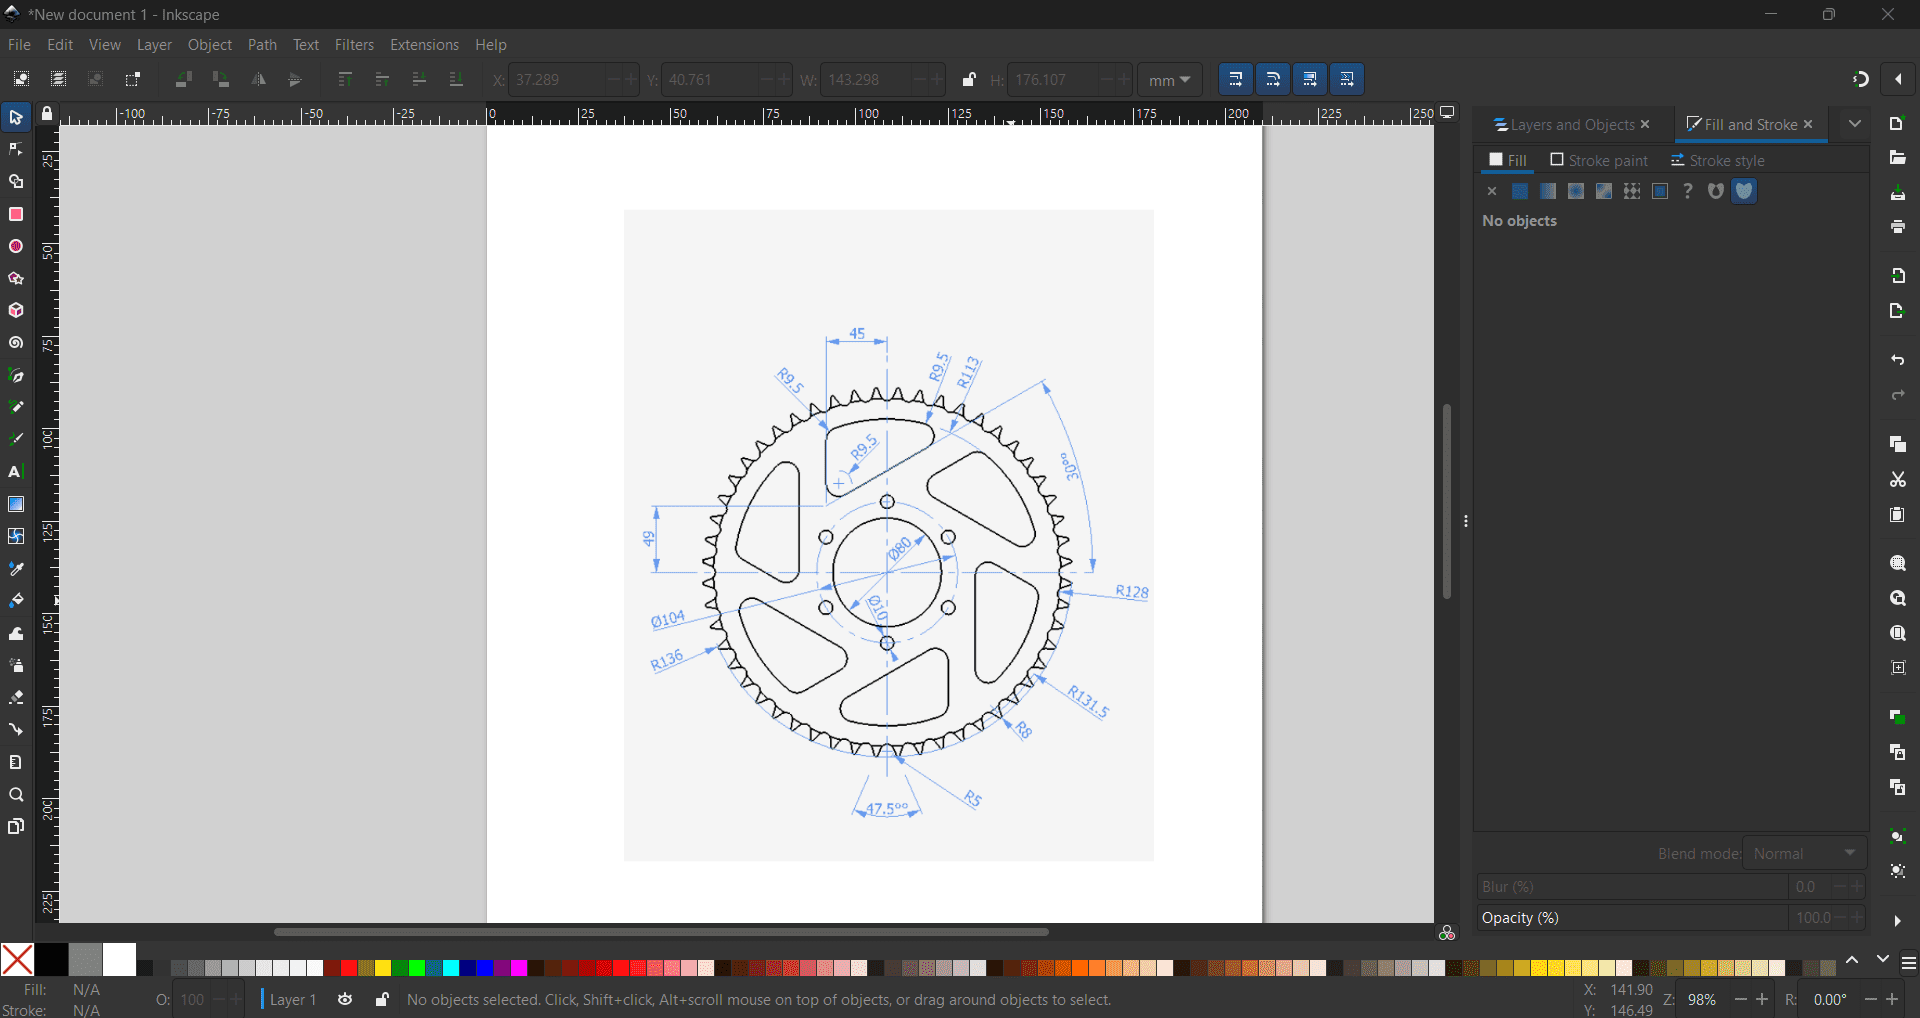
Next, I reduced the opacity of the reference image until it was barely visible. This allowed me to use it as a template to draw from while referencing the image.
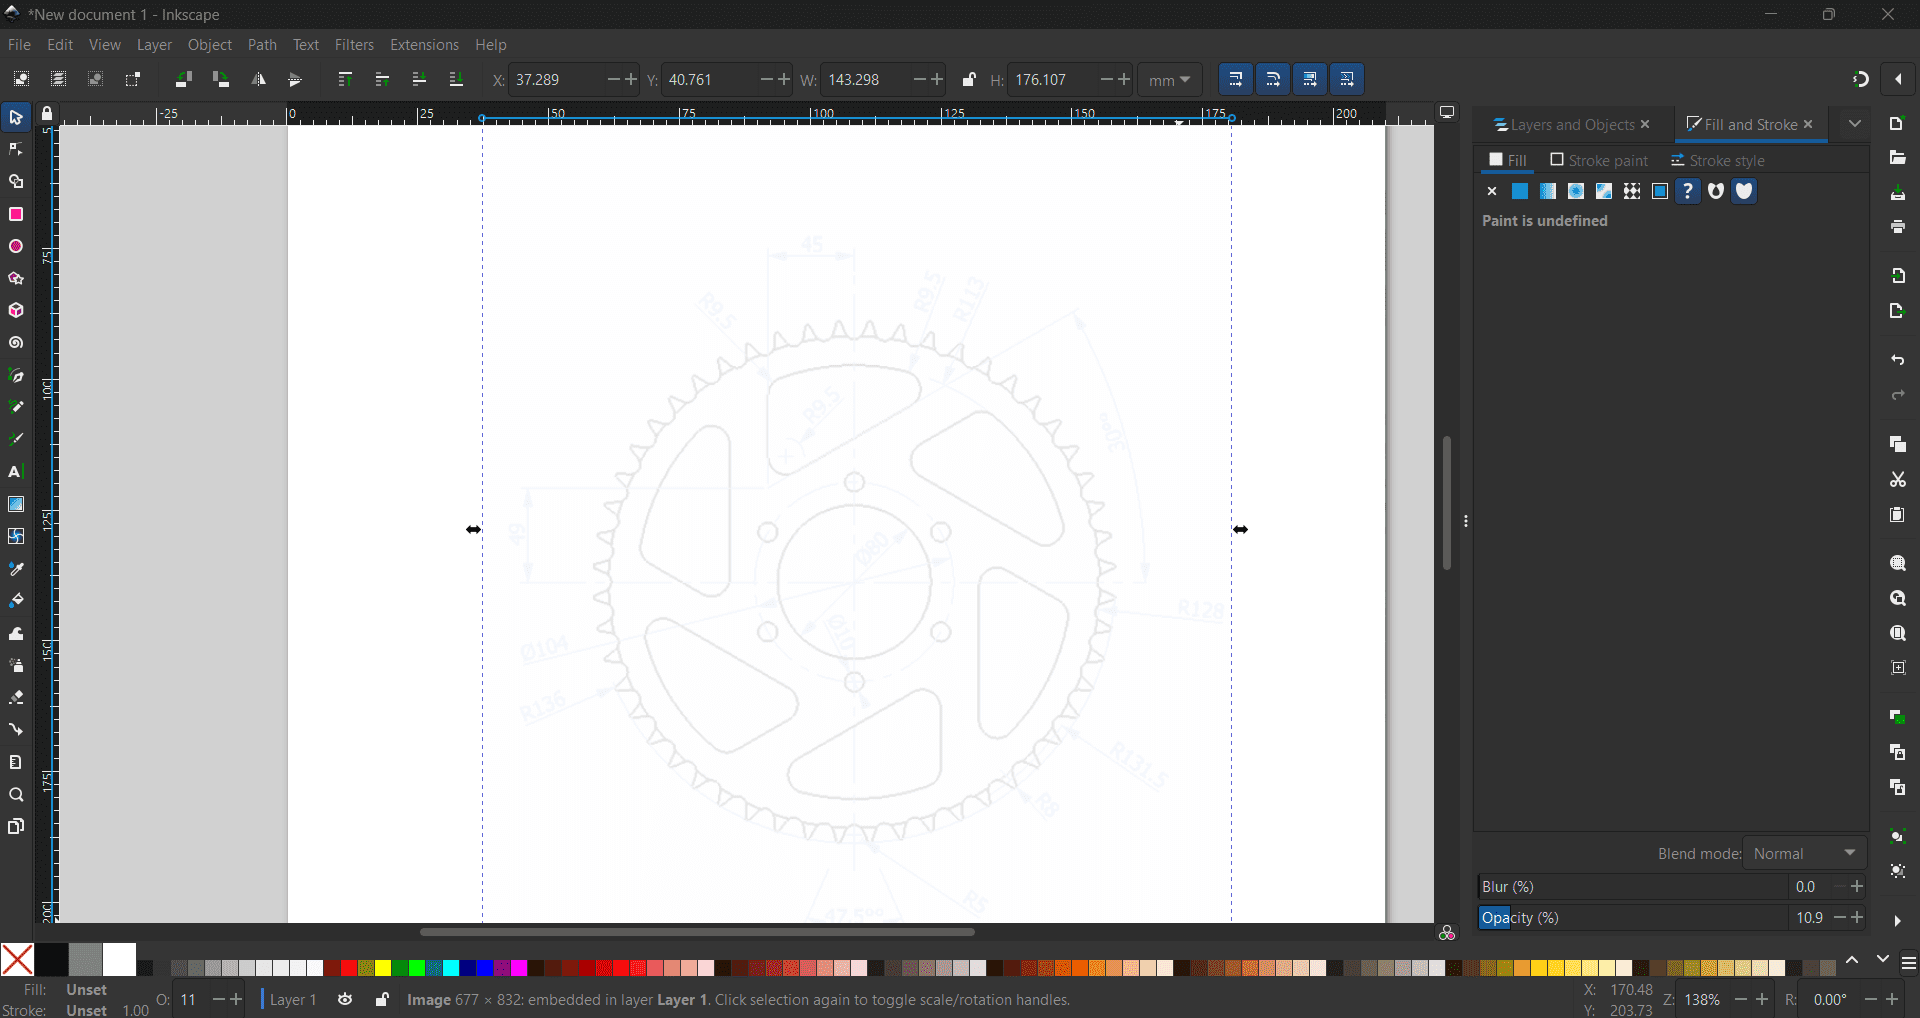
To start drawing, I utilized the "Pencil tool," located in the left side menu. Alternatively, you can press the letter "P" on your keyboard to access it. I found this tool simple and straightforward to use, hence my preference for it.
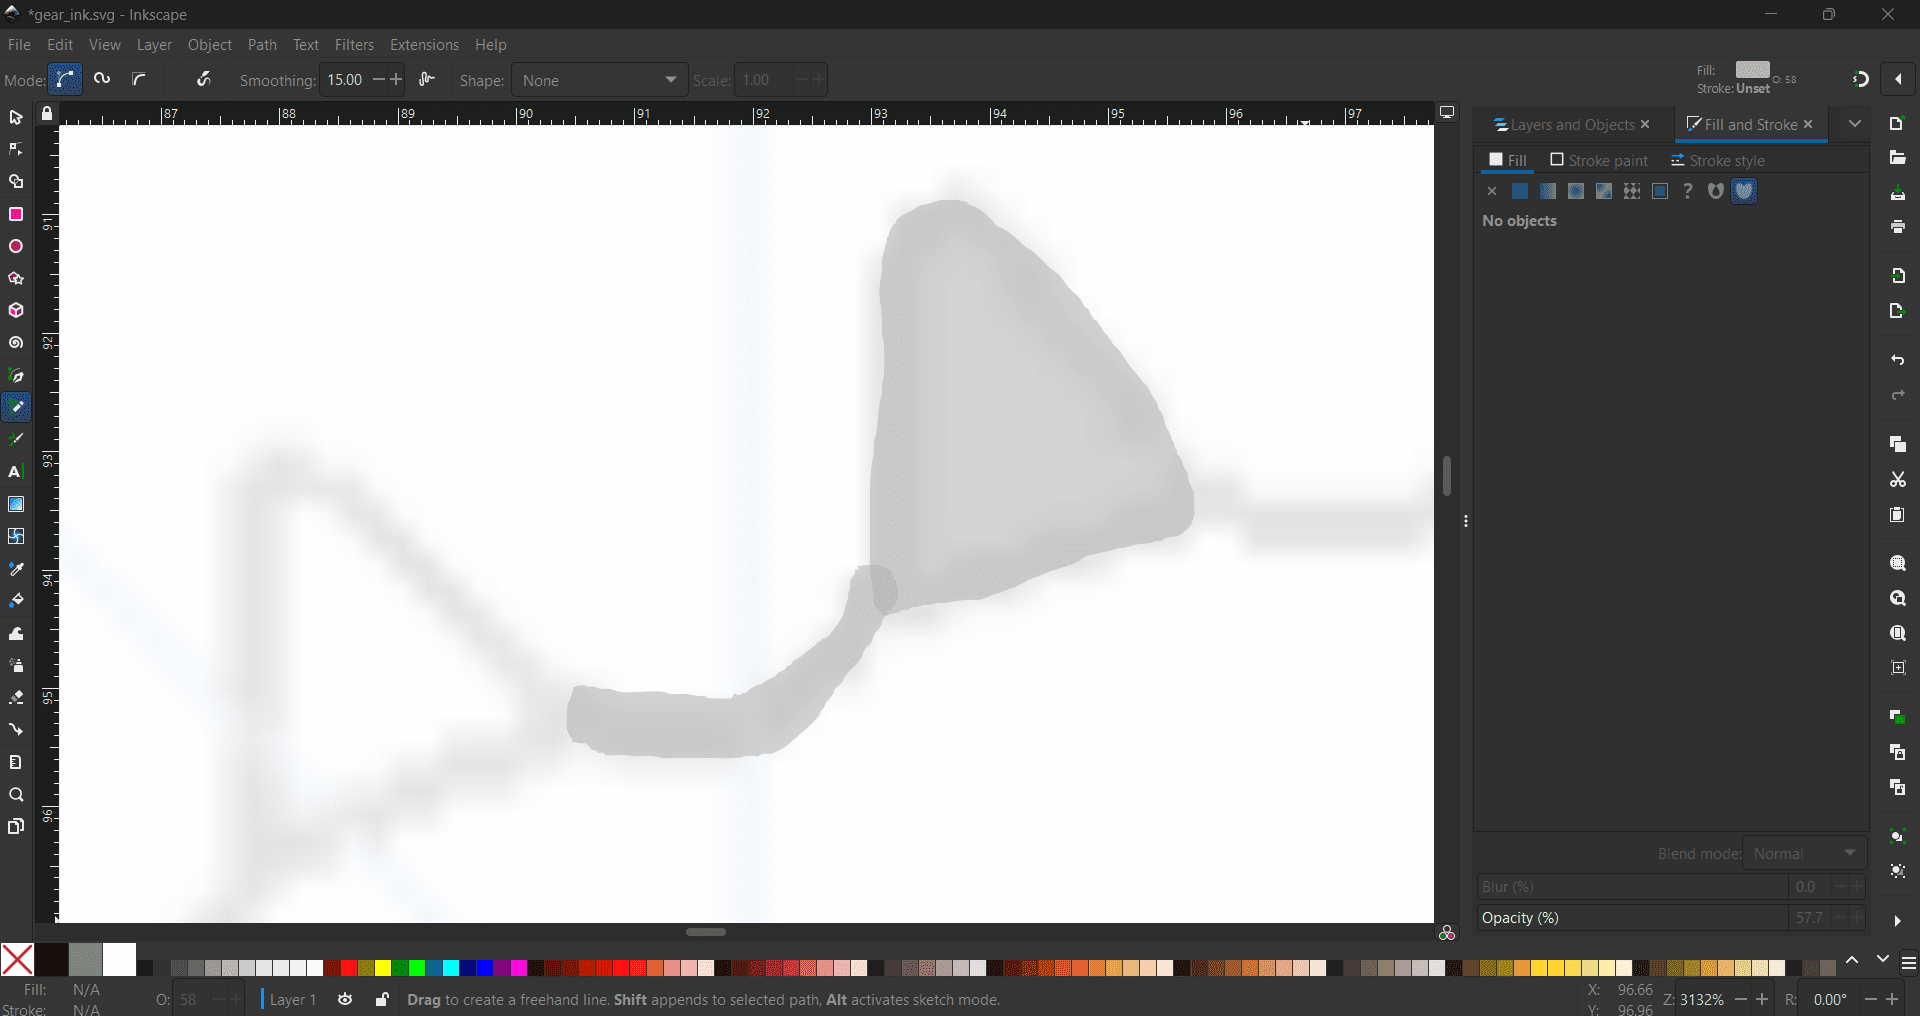
Finally, after drawing each part of the reference image, the result resembles something like this.
Solidworks
First is to open up a new file part and select the measures of your liking, in my case i go with MMGS then select a plane of you choice, it can be anyone it doesn't matter. Then go to the sketch menu and select skecth.
You're free to start drawing whatever you want. Just pick any shape of your liking and start drawing it on the plane.
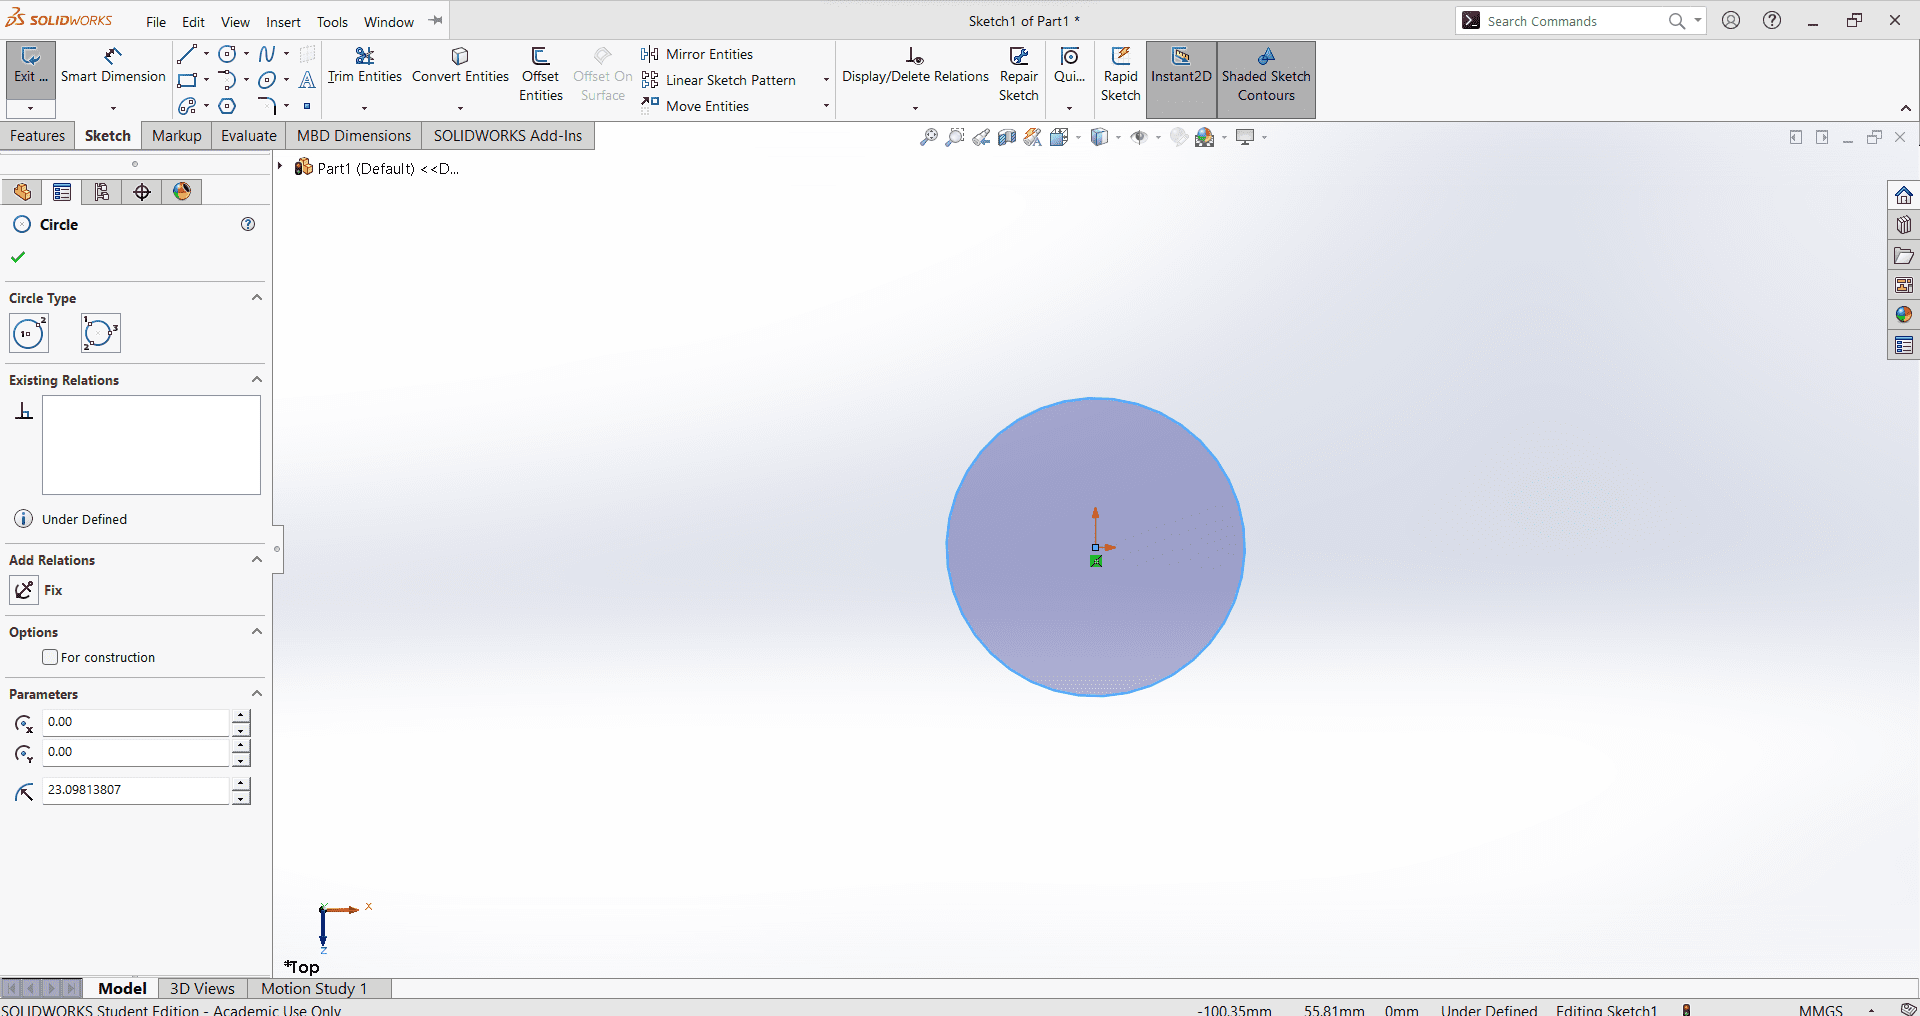
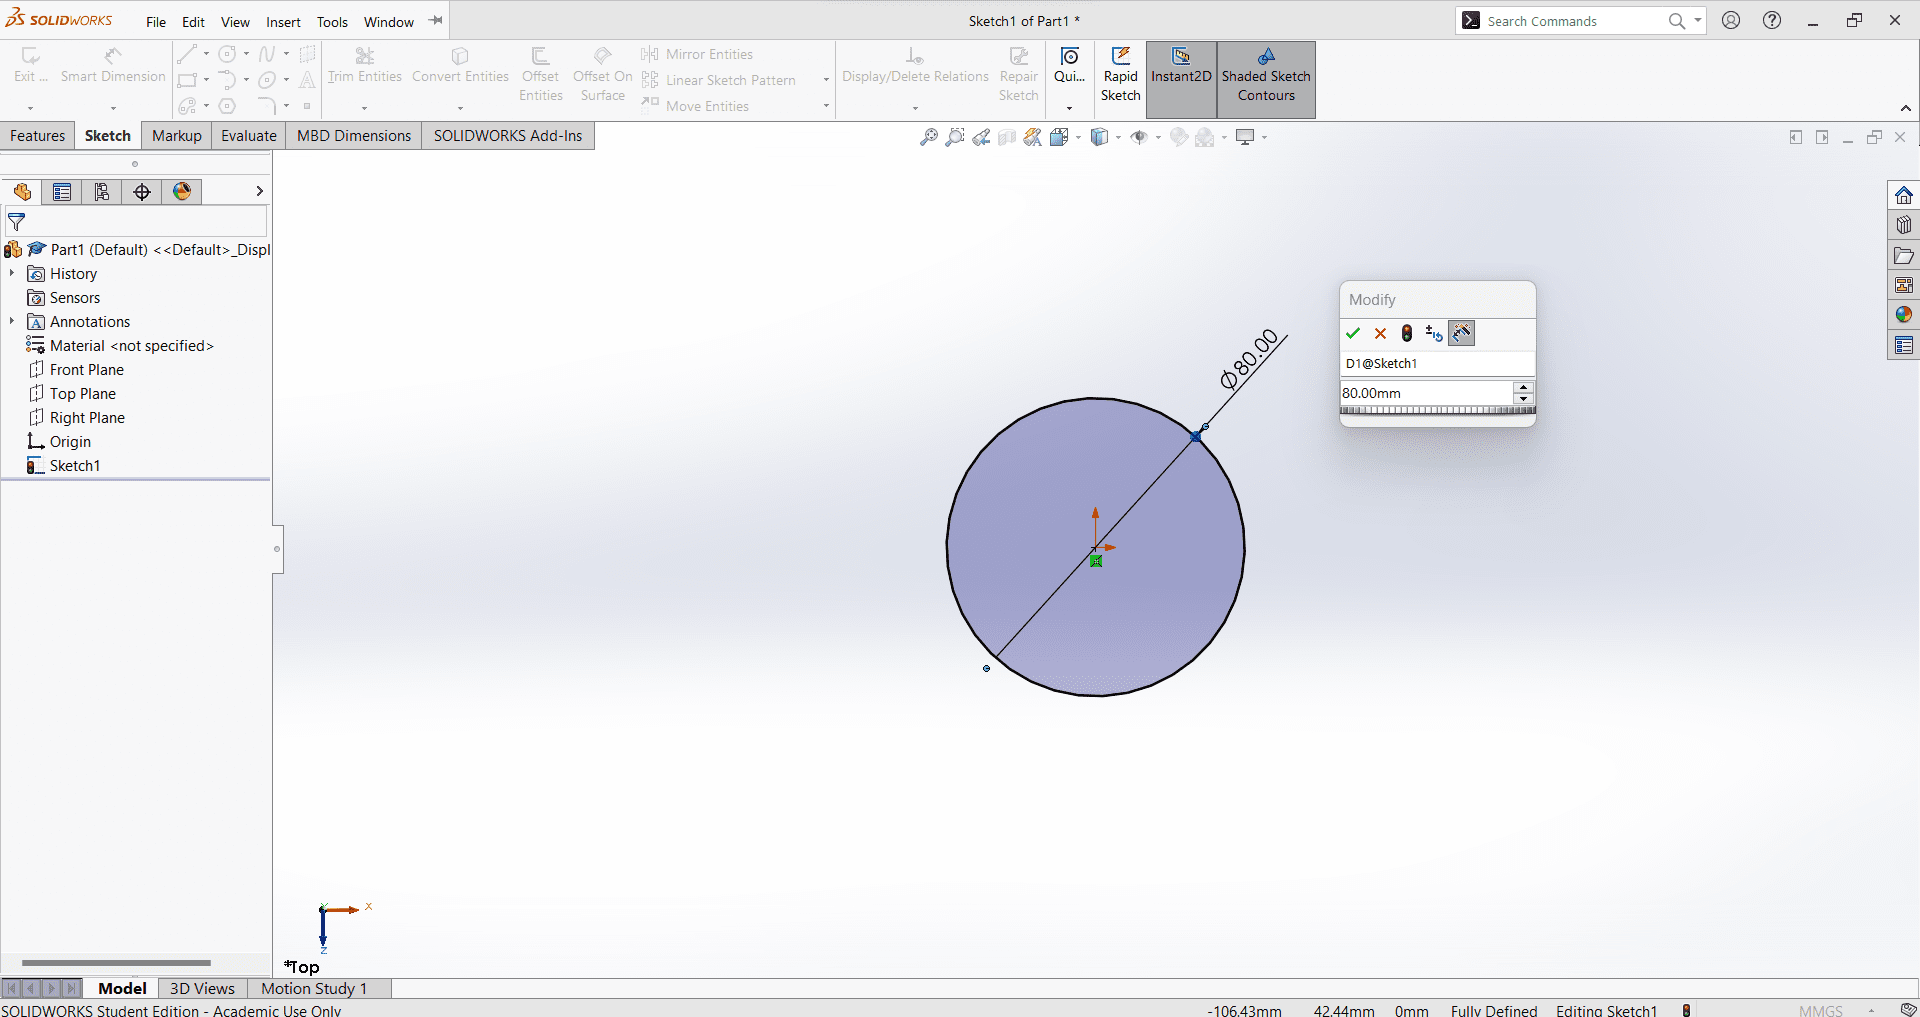
As you draw, you'll notice that the shape appers in blue. This indicates that it need a dimension. To provide the dimension, simply add it until the shape turns black. You can add a dimension using the "Smart Dimension" tool located in the top left corner of the sketch menu. Click on the button and then select the shape you want to dimension. The dimension you add to the shape can represent various measurements such as diameter, radius, length, height, degrees, and more.
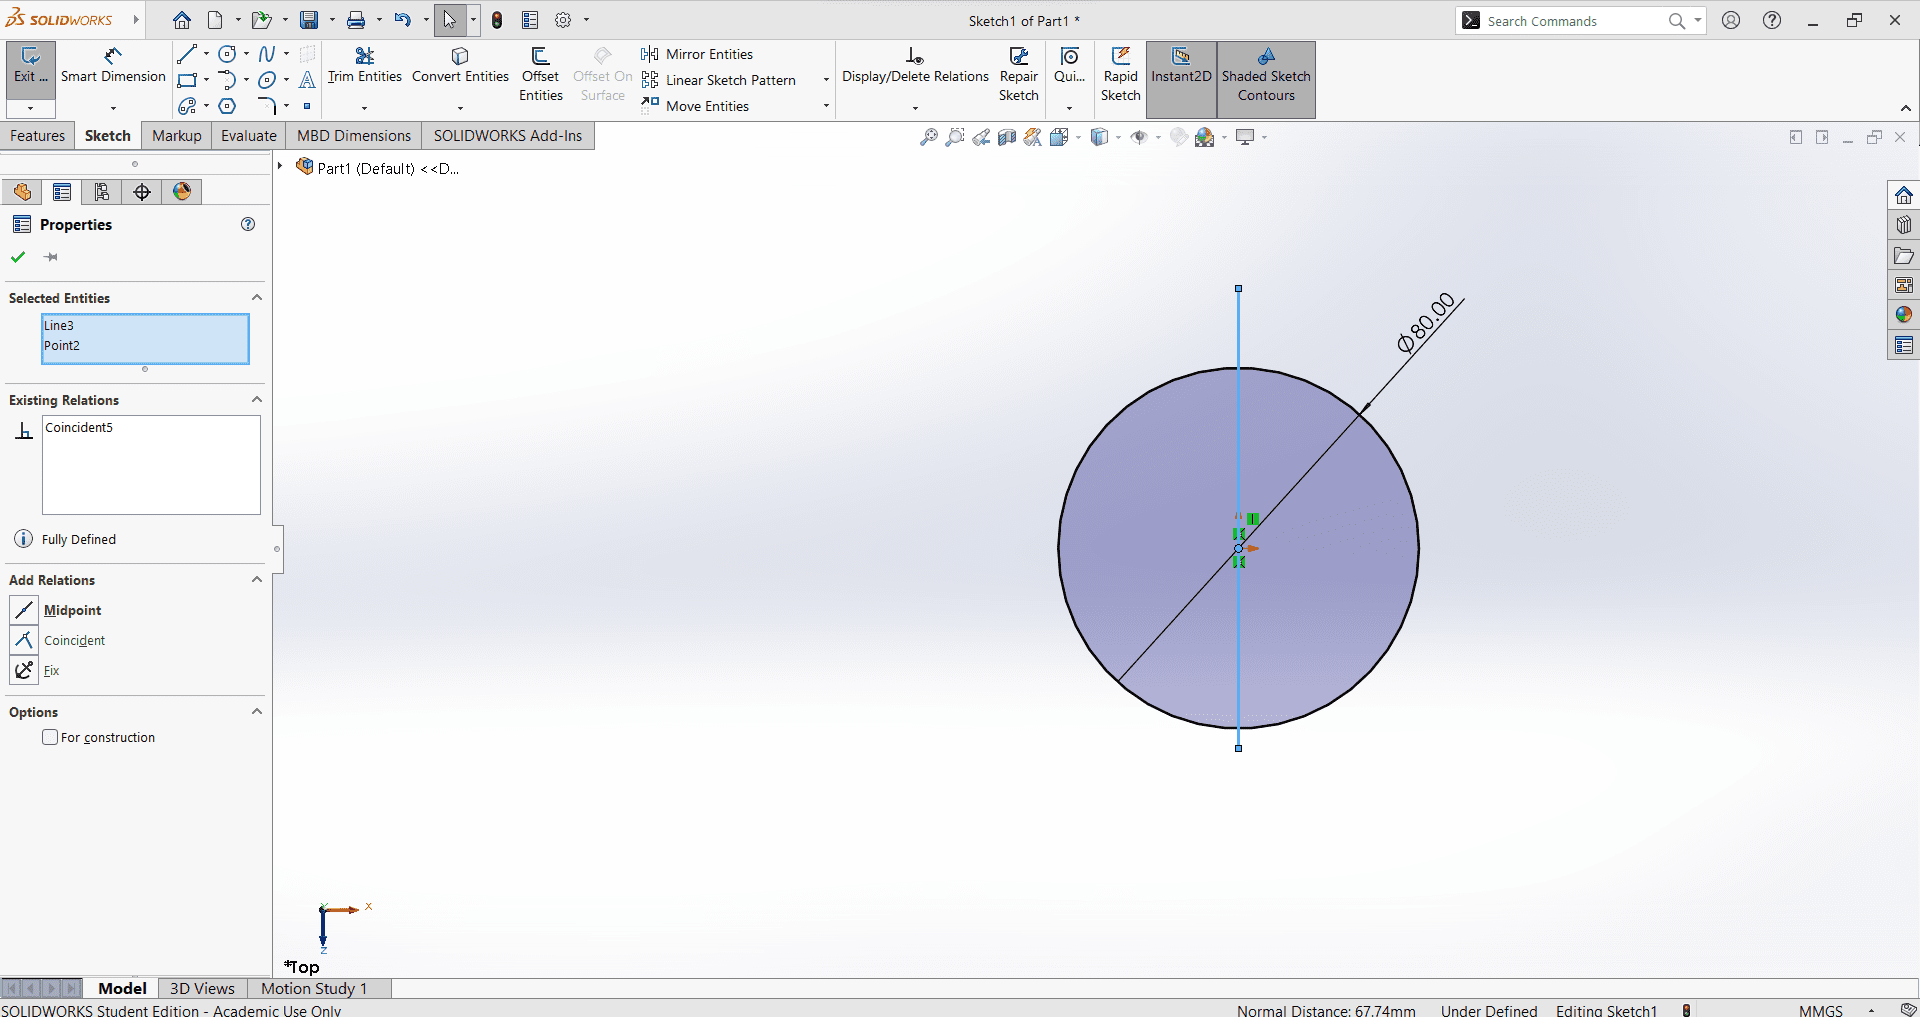
If the shape remains blue, it indicates that it lack specific geometric "Relations" needed for proper
definition. In such cases, you can utilize the "Relations" tool. You can find the "Relations" tool in
the menu on the left side when you click on the shape. This tool is primarily used to establish geometric
constraints between sketch entities or features. These constraints are very important for maintaining the
intended desing and ensuring that the shape behaves correctly.
Note: If you want to select diferent entities use Ctrl and click on the entities
you want
Some of the most common "Relations" are:
- Tangent
- Concentric
- Equal
- Coincident
- Parallel
- Perpendicular
- Symmetric
- Fix
- Midpoint
- Horizontal/Vertical
An important aspect for making drawing easier is creating construction shapes. These shapes serve as building blocks from wich you can make more complex shapes. You can also convert a regular shapes into a construction shapes and this can be incredibly helpful as well.
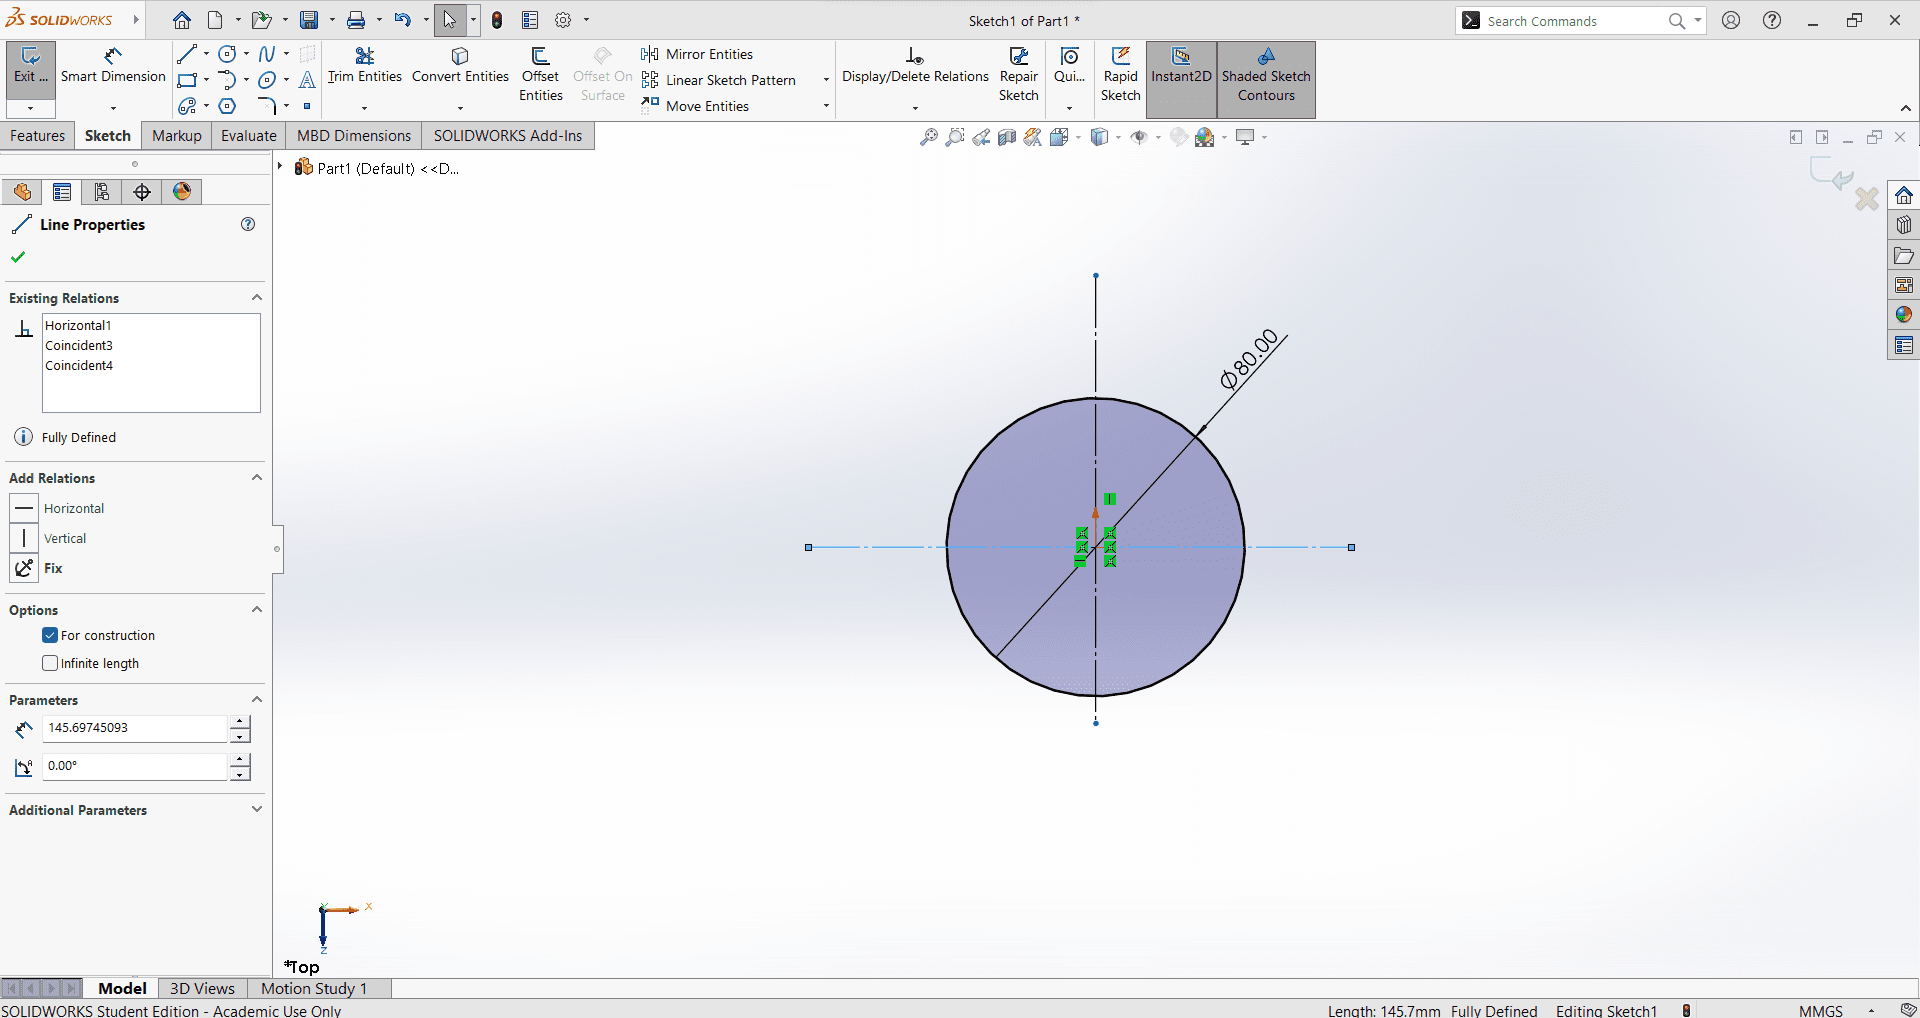
To create the small holes around the center of the gear, you can use the "Cicular Sketch Pattern" tool. This tool can be found in the skecth menu alongside the "Lineas Sketch Pattern" option. When using this tool, it replicates the desire shapep around a 360 degree circle and positions them at a default distance from each other. You can choose the number of instances you want to create.
When using this tool, the shapes it creates appear in blue. To fix this, simply ensure that the little dot representing the center of the shapes is coincident with the center of the main shape. This will change the color of the shapes from blue to black, indicating that they are now properly positioned.
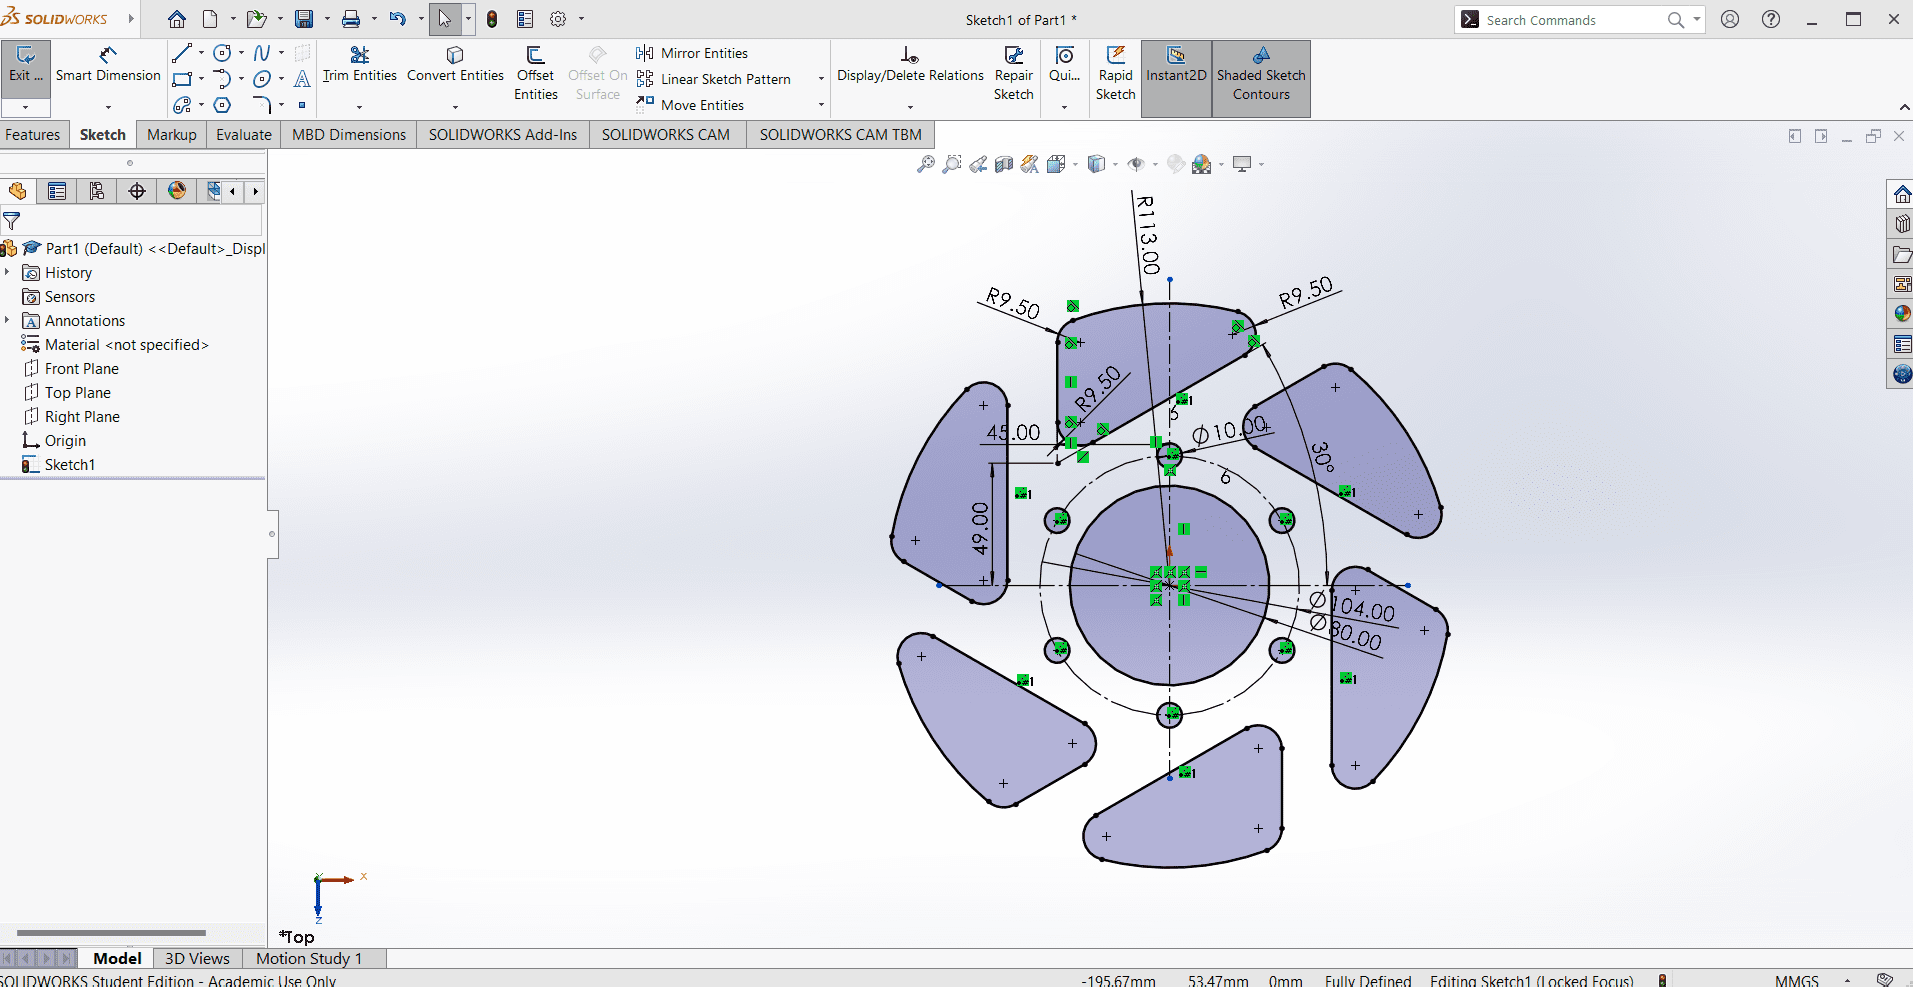
To continue with the gear part, I created the shape from the top. A new addition to this shape is the use of "Tangent Arc" and "Center point Arc", wich enable me to create those cornes and that arc line.
Then, I applied a circular pattern to the shape, resulting like this.
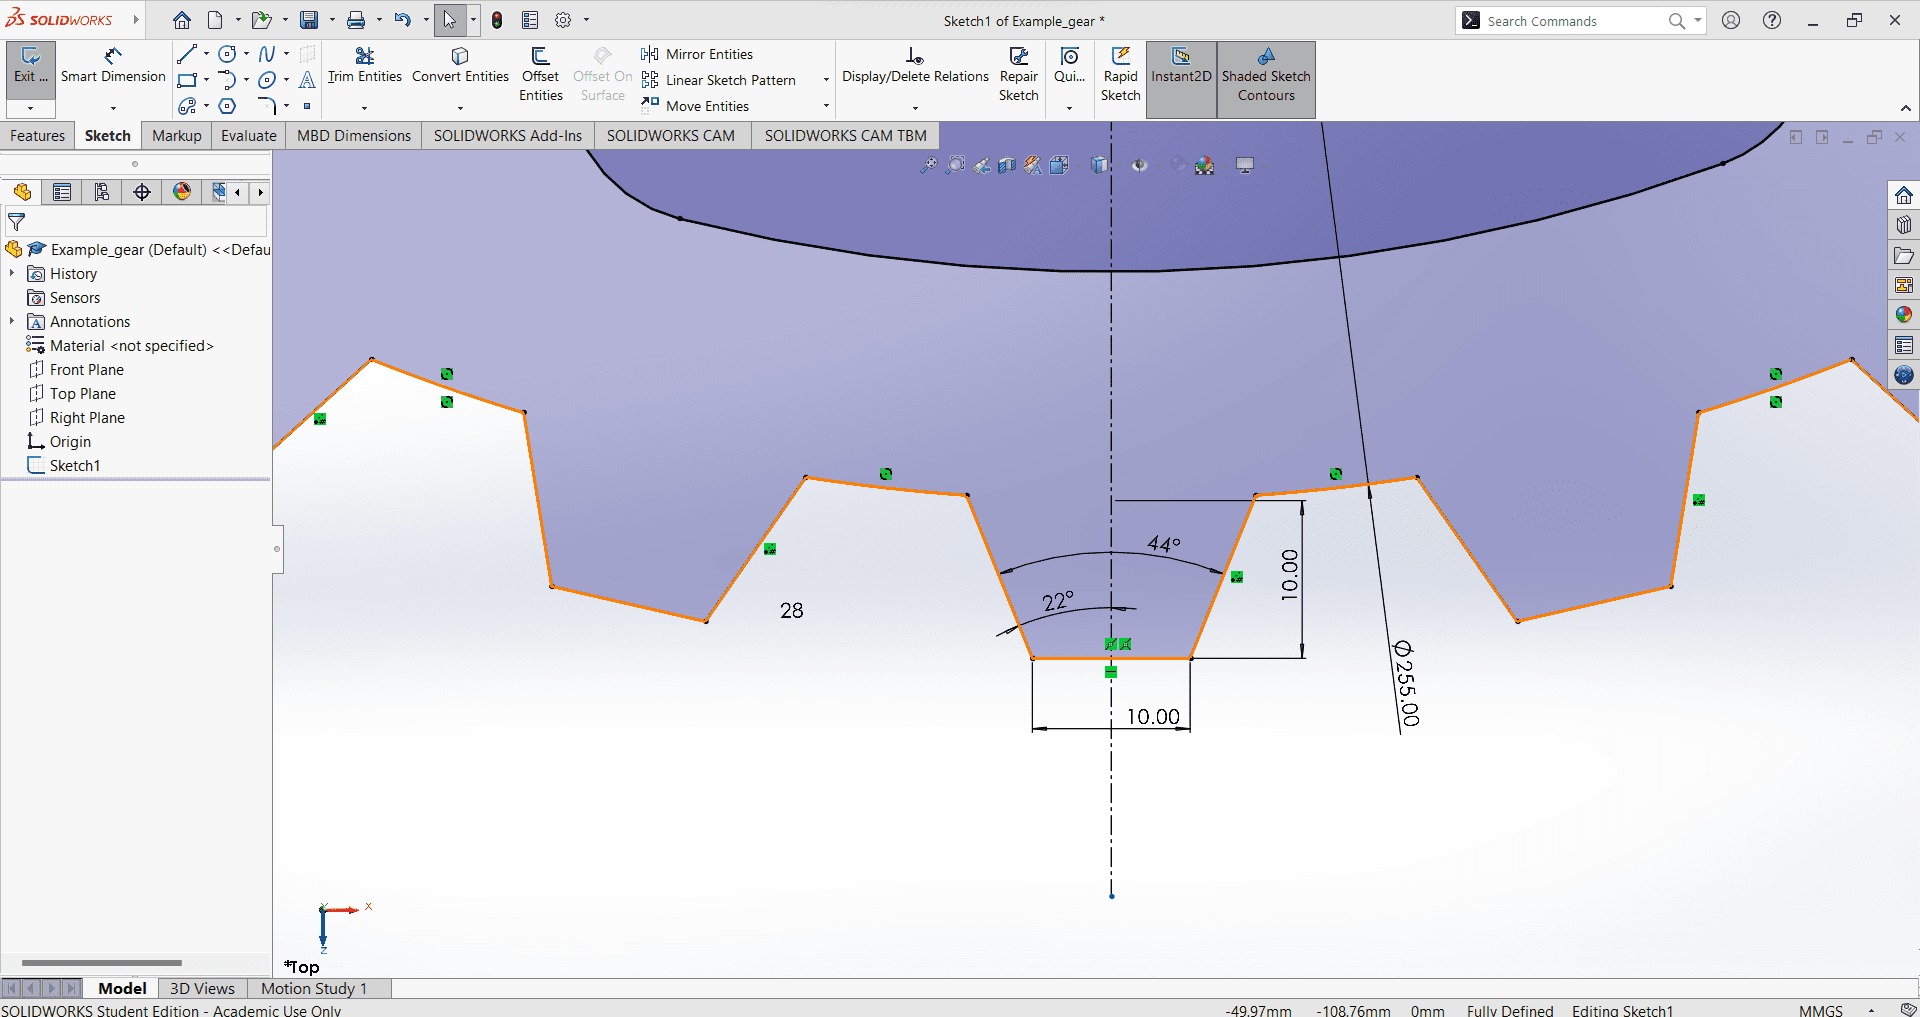
To create the gear teeth, I began by drawing a circle to establish the outer limit of the gear. Next, I drew a single tooth and applied a Circular Pattern with 28 instances (there's no particulary reason why that number of instances). Then, I utilized a new tool called "Trim" located in the skecth menu alongside the "Trim entities" tool, in order to remove the excess material from the shape.
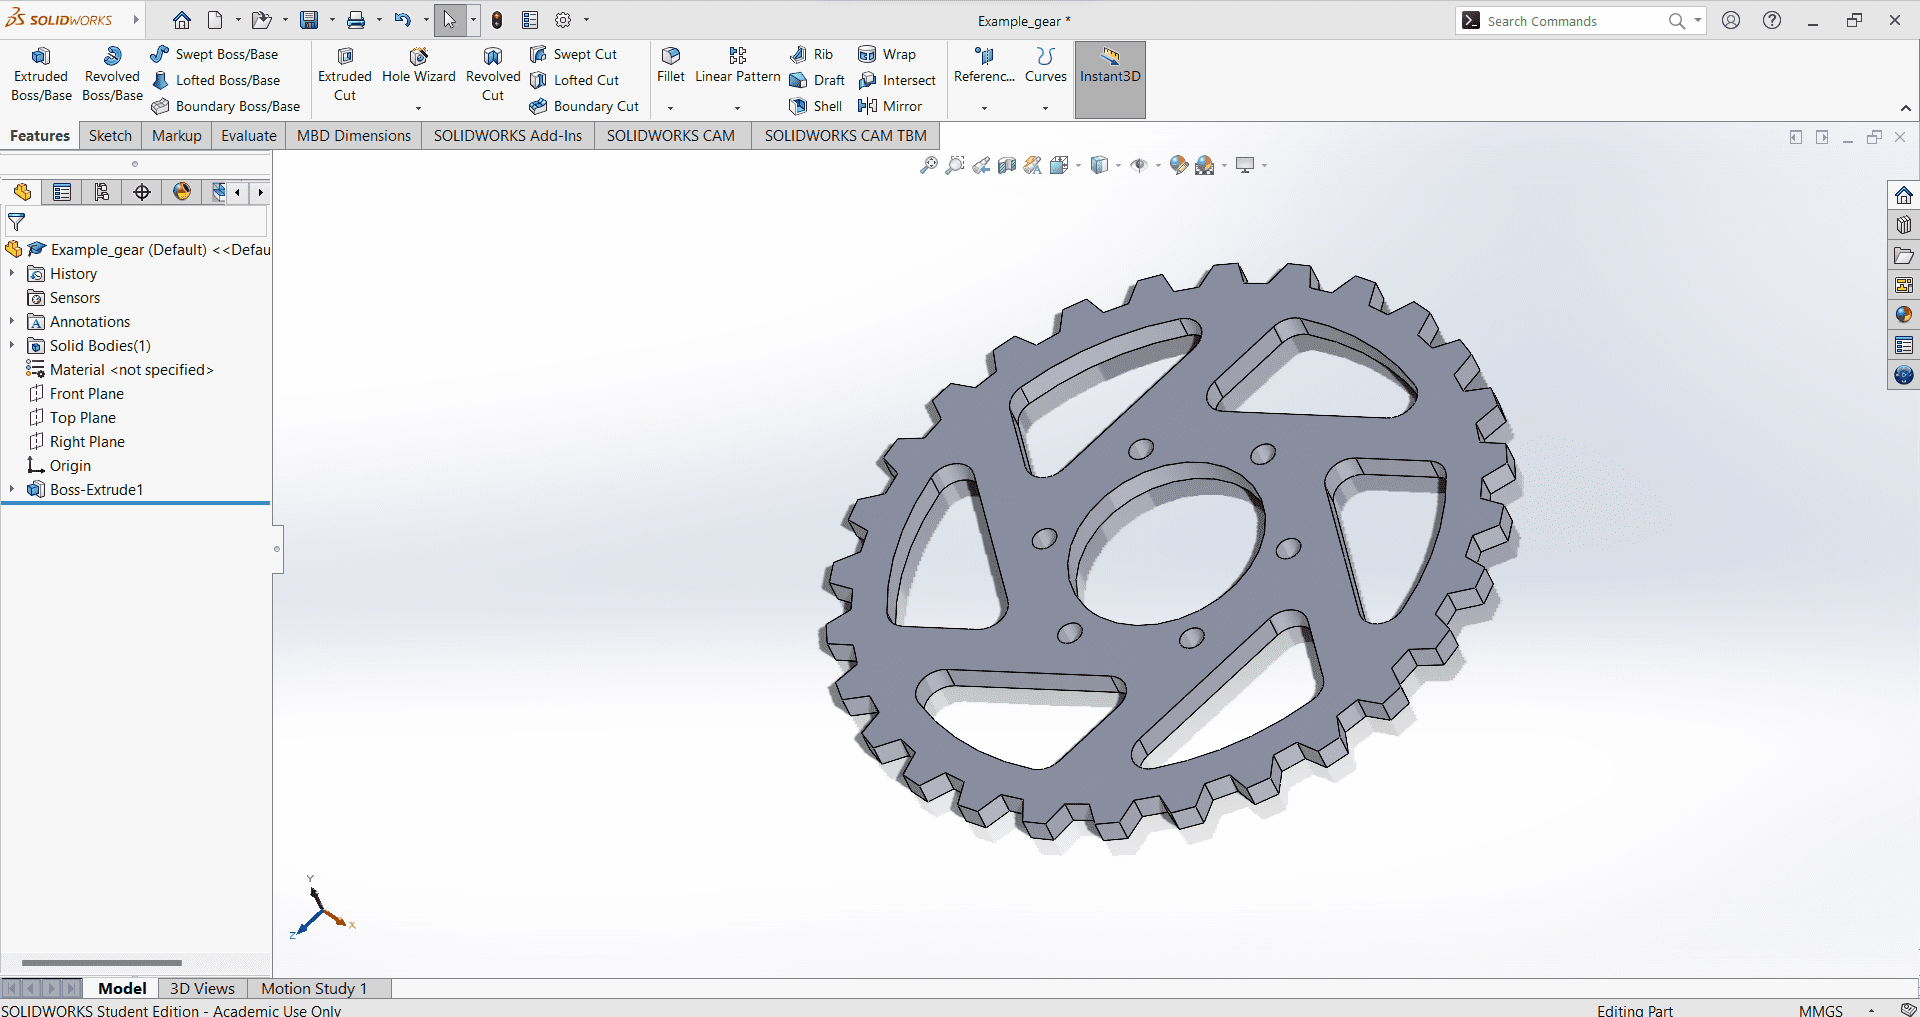
The gear part is now complete. All that remains is to extrude it, I personally chose to make it 10 mm thick.
Onshape
Onshape is veary similar to Solidworks, so many of the tools and features are very familiar. However, let's explore it further to confirm this.
Because is veary similar to Solidworks this part is going to be the same. First, lets open a new document
and initiate a skecth by clicking on the corresponding button in the menu in the top bar. Next, select a
plane where you want to create your skecth. Then, choose a shape from the menu in the same top bar, and
drag it onto the skecth area to start drawing.
You can also add the corresponding "Dimension" by accesing
the tool from the top bar, located as the second to last option. Alternatively, you can simply press the
letter "d" on your keyboard to activate the tool.
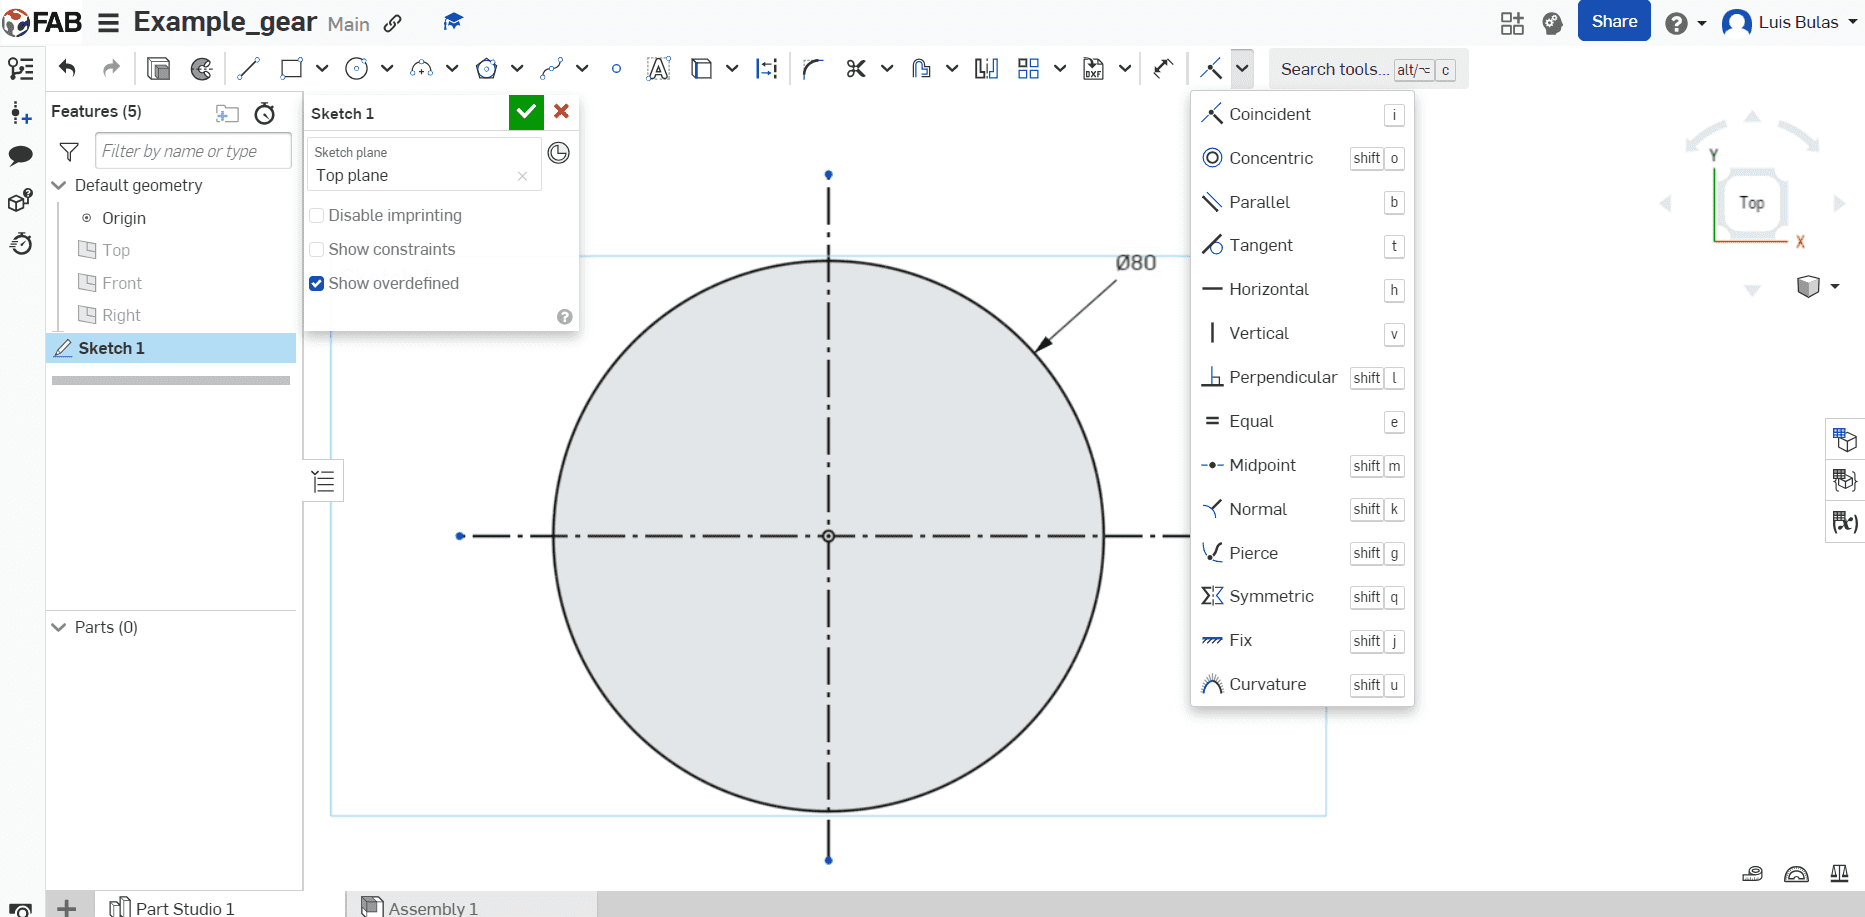
If the shape remains blue despite having dimensions, it likely lacks specific geometric "Relations" to
fully define it. In such cases, the "Relations" tool can be helpful. This tool allows you to
establish geometric constraints between sketch entities, resolving the issue. You can find the "Relations"
tool in the last option of the top bar. Alternatively, you can activate it by pressing a designated button
or a combination of keys on your keyboard.
If you require a construction shape to simplify your drawing process, you can easily convert a regular
shape into a construction shape using the same tool. This tool is located in the top bar.
Additionally, you can activate the construction mode by pressing the letter "q".
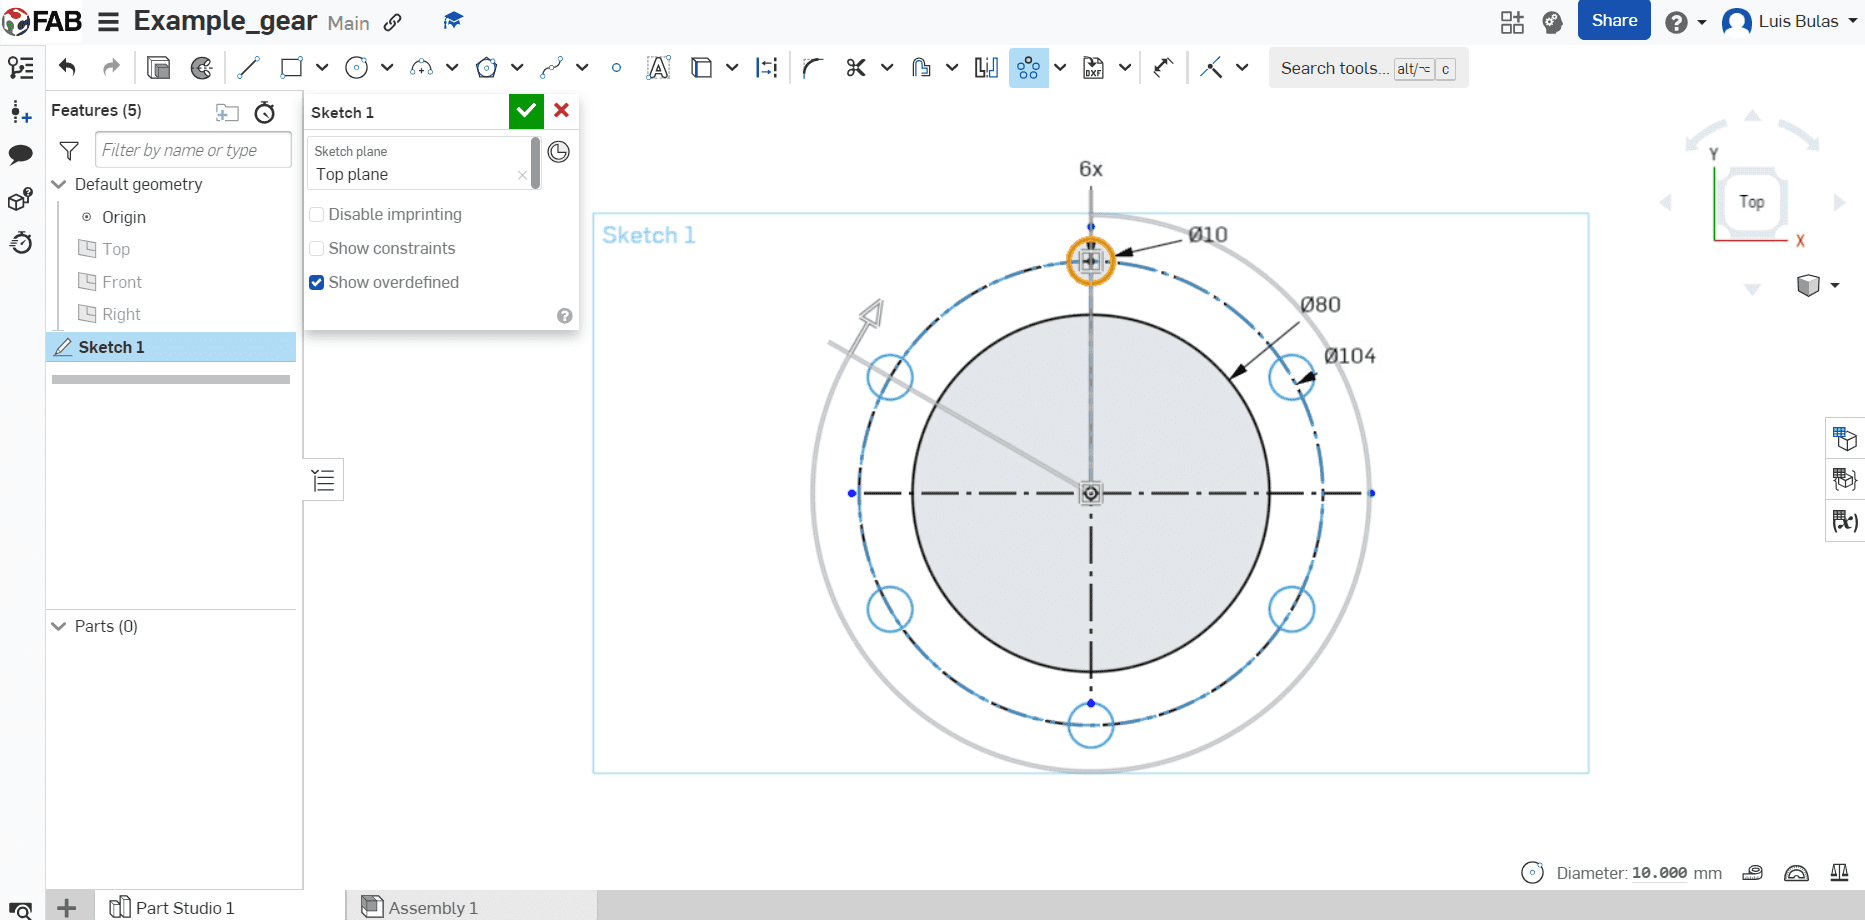
This tool differs slightly from Solidworks, primarily in its appearance and how you adjust the instances of the
created shapes. Unlike the previous tool where you could simply press a letter on the keyboard, this tool doesn't
support that functionality. Instead, you need to manually click on it to make adjustments. You can find this tool
in the top bar as well.
Note: If you want to select diferent instances you only need to click the shapes you want.
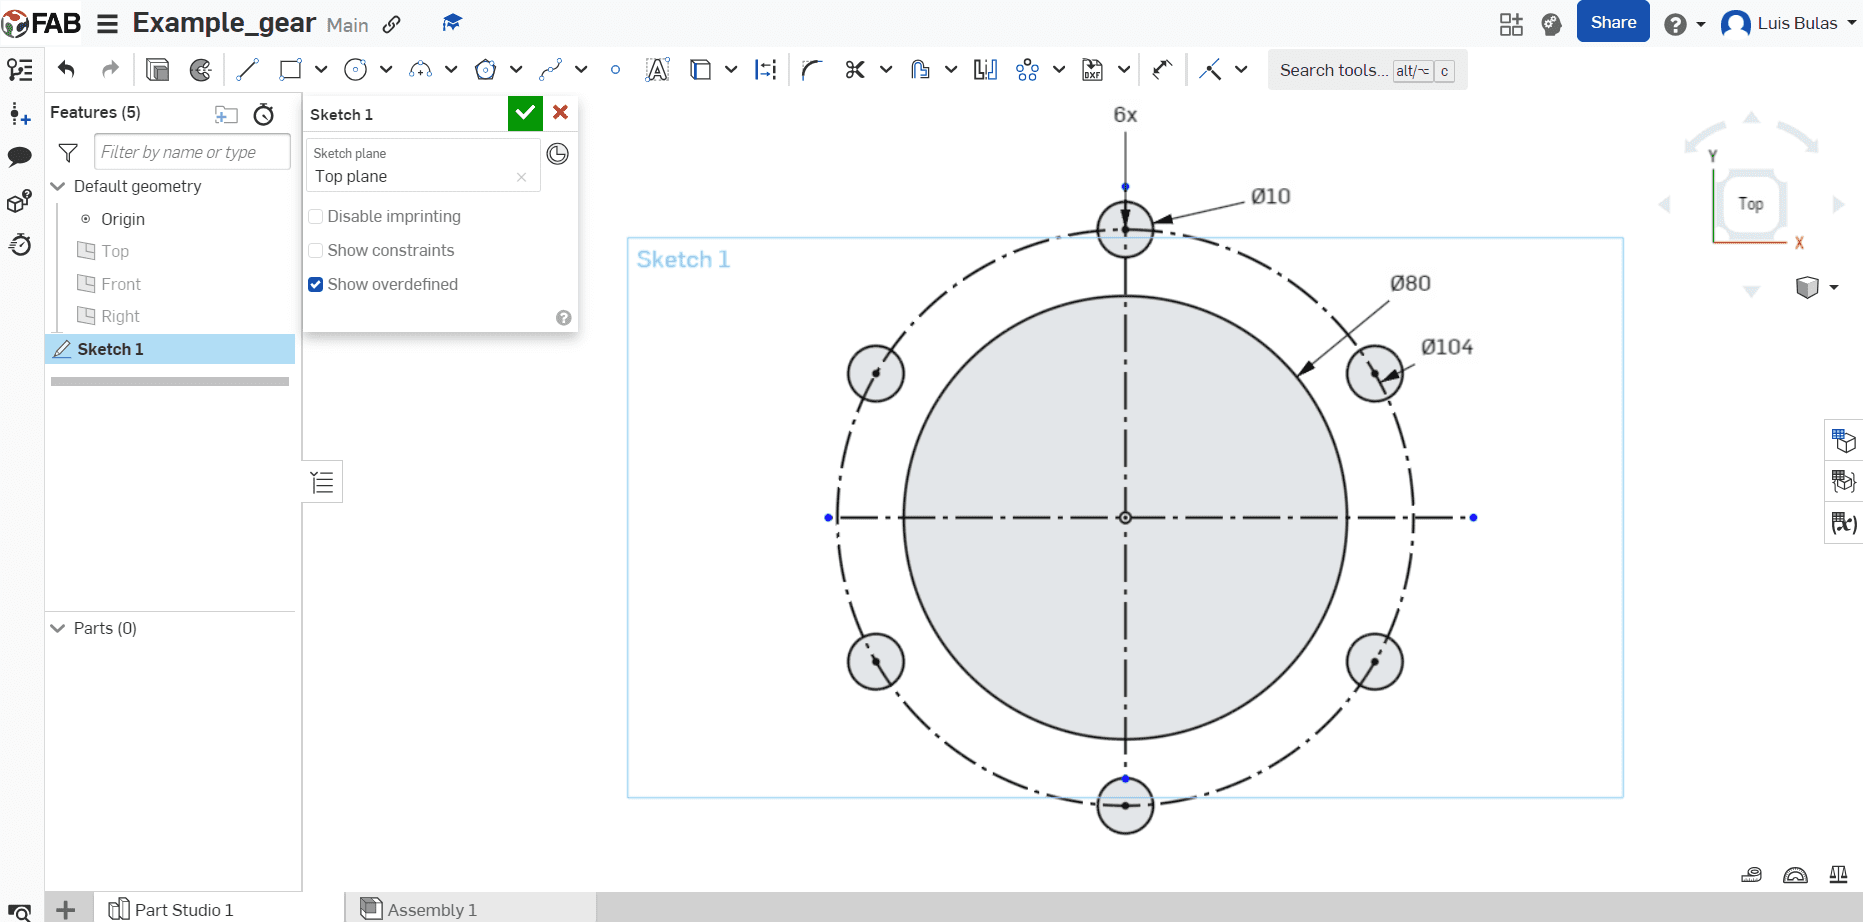
To change the shapes to black color, you can apply the same solution as in Solidworks. By ensuring that the dot in the center of the shape coincides with the actual center, you can resolve this issue. This alignment will indicate that the shapes are properly positioned and turn them black in color.
To continue with the gear part, I created the shape from the top, and made a circular pattern.
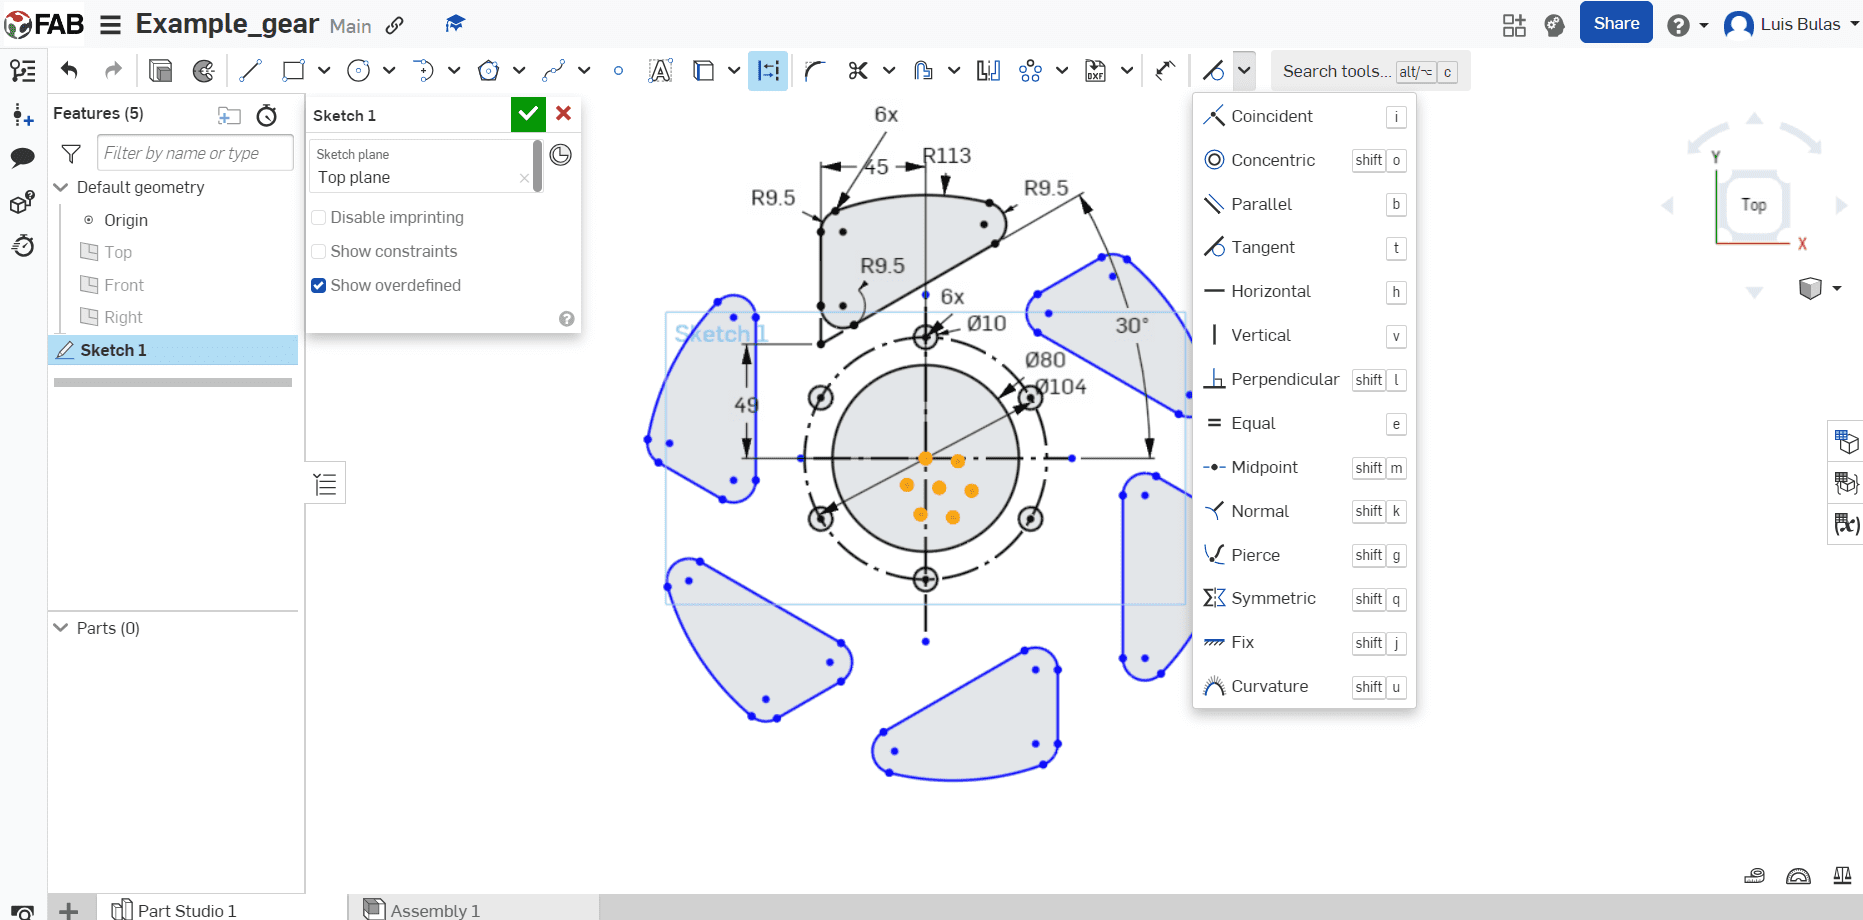
Unlike Solidworks, in Onshape, the new instances appear blue, indicating they are undefined. However, you can resolve this by merging the centers of the new instances with the original center of the main shape. This action will cause all the instances to turn black, meaning that they are now properly defined.
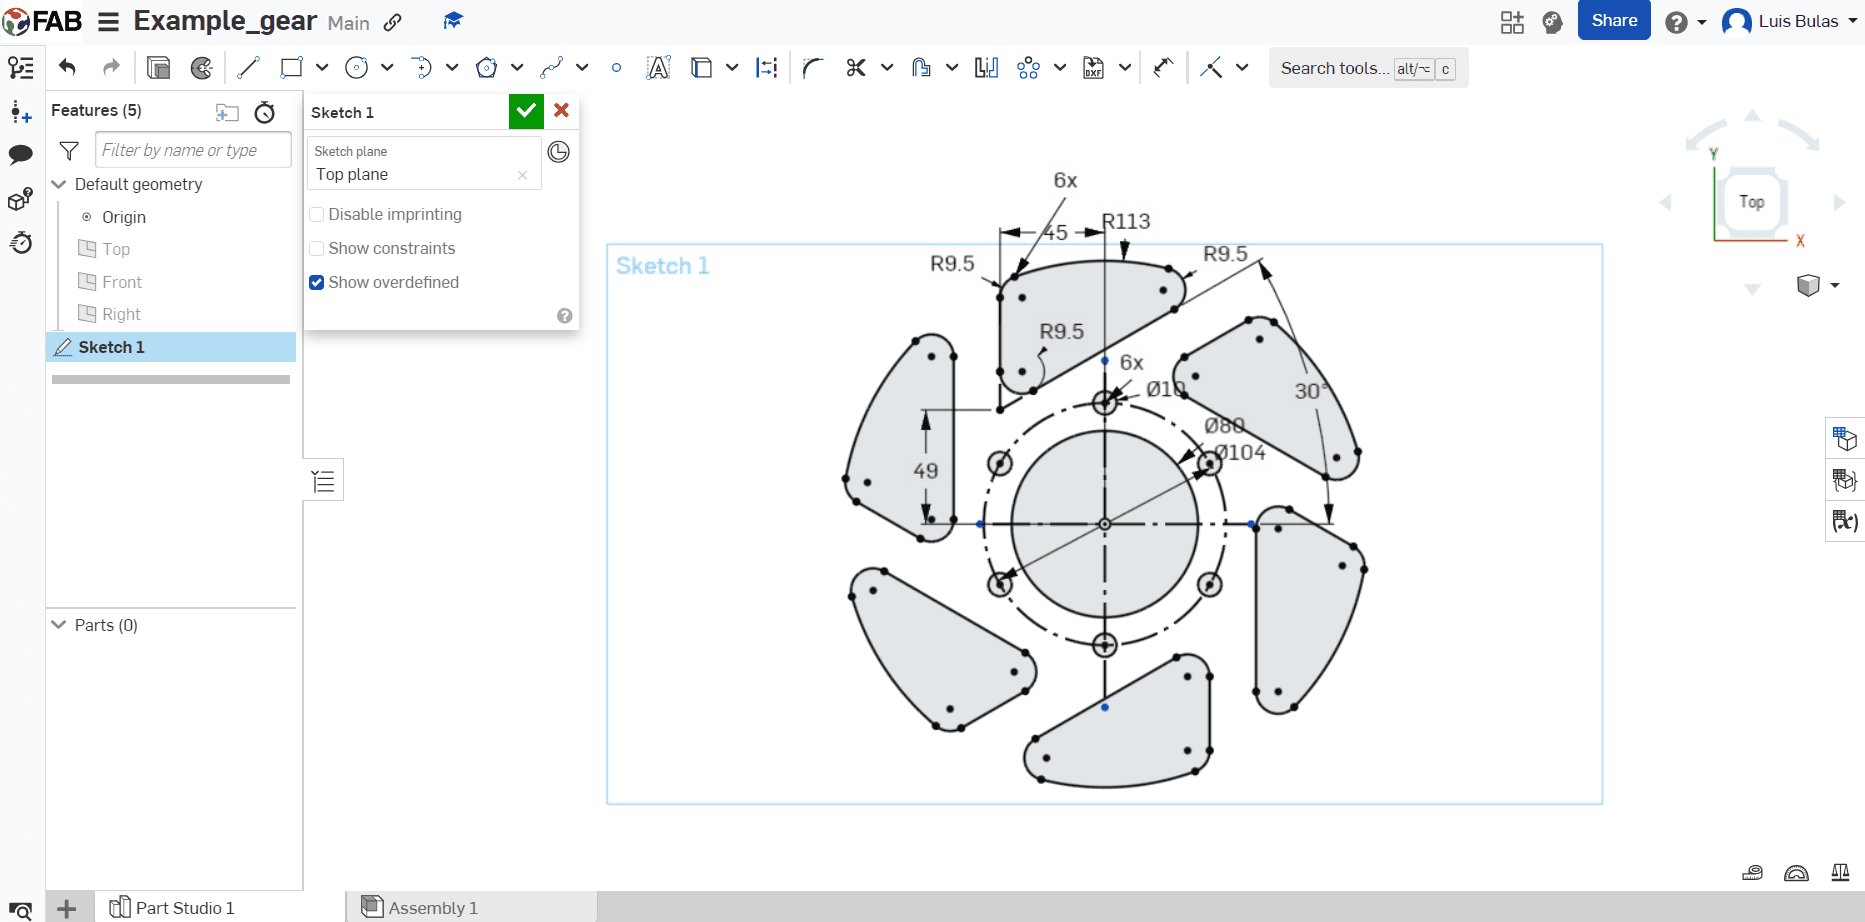
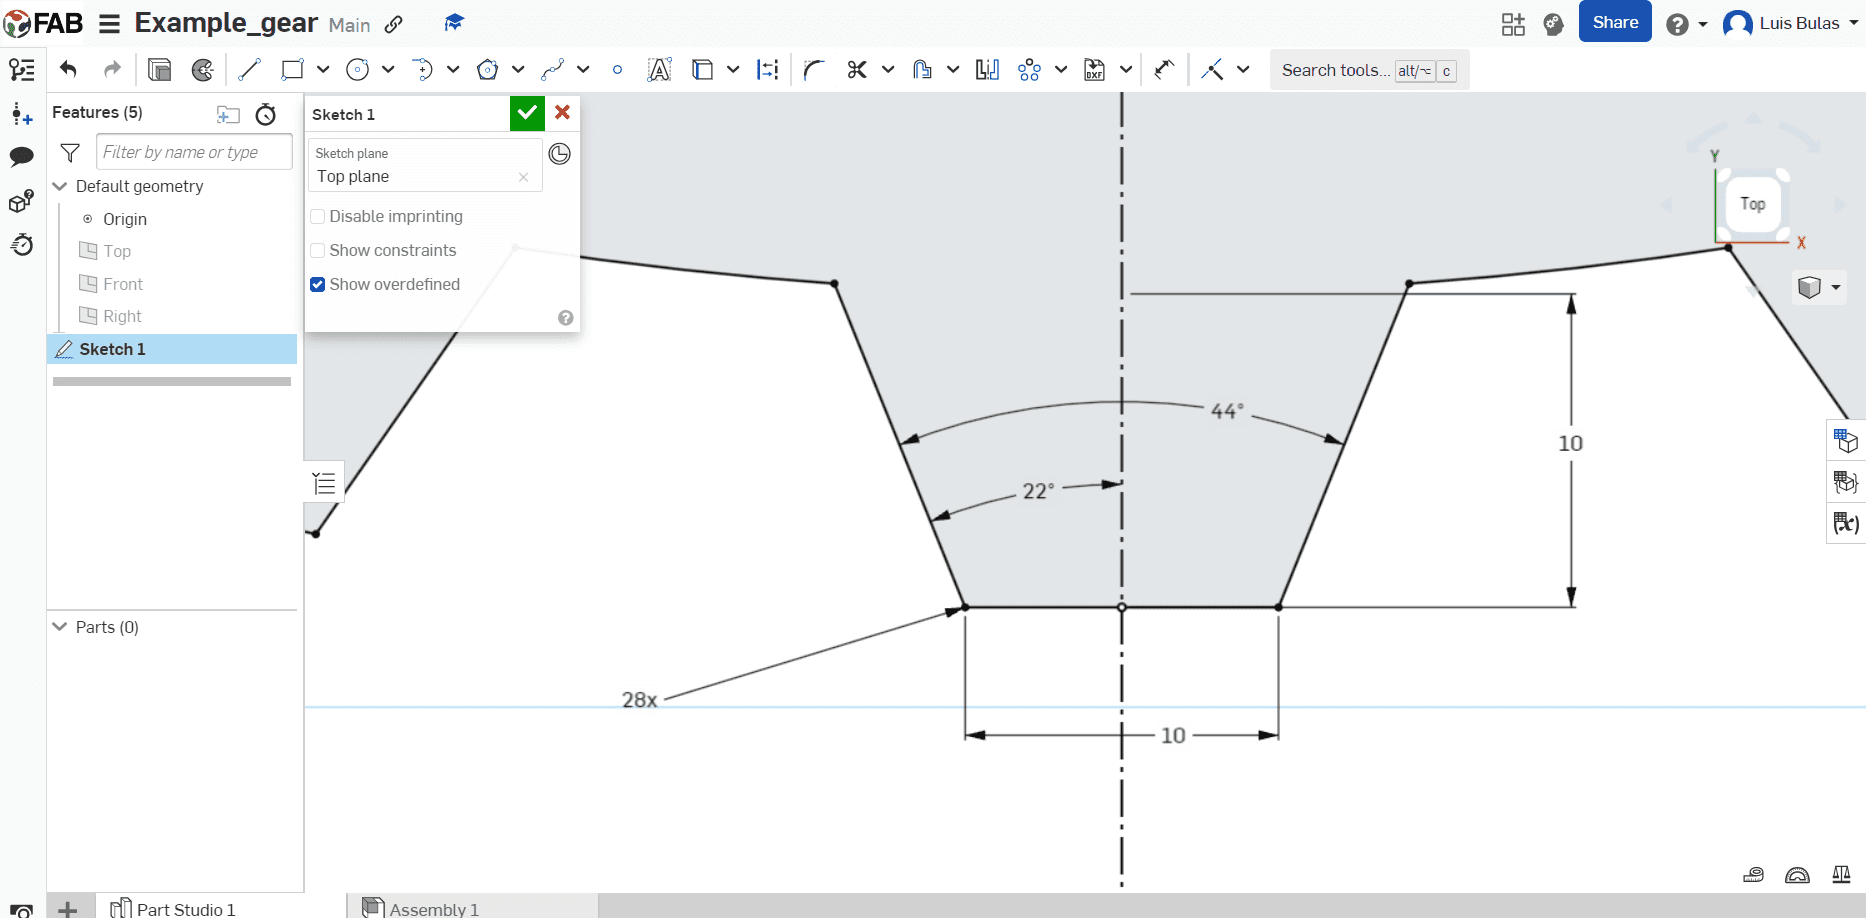
To create the gear teeth, I began by drawing a circle to establish the outer limit of the gear. Next, I drew a single tooth and applied a Circular Pattern with 28 instances (there's no particulary reason why that number of instances). Then, I utilized "Trim" in the top bar. Alternatively, you can simply press the letter "m" on your keyboard to activate the tool. I utilized this tool in order to remove the excess material from the shape.
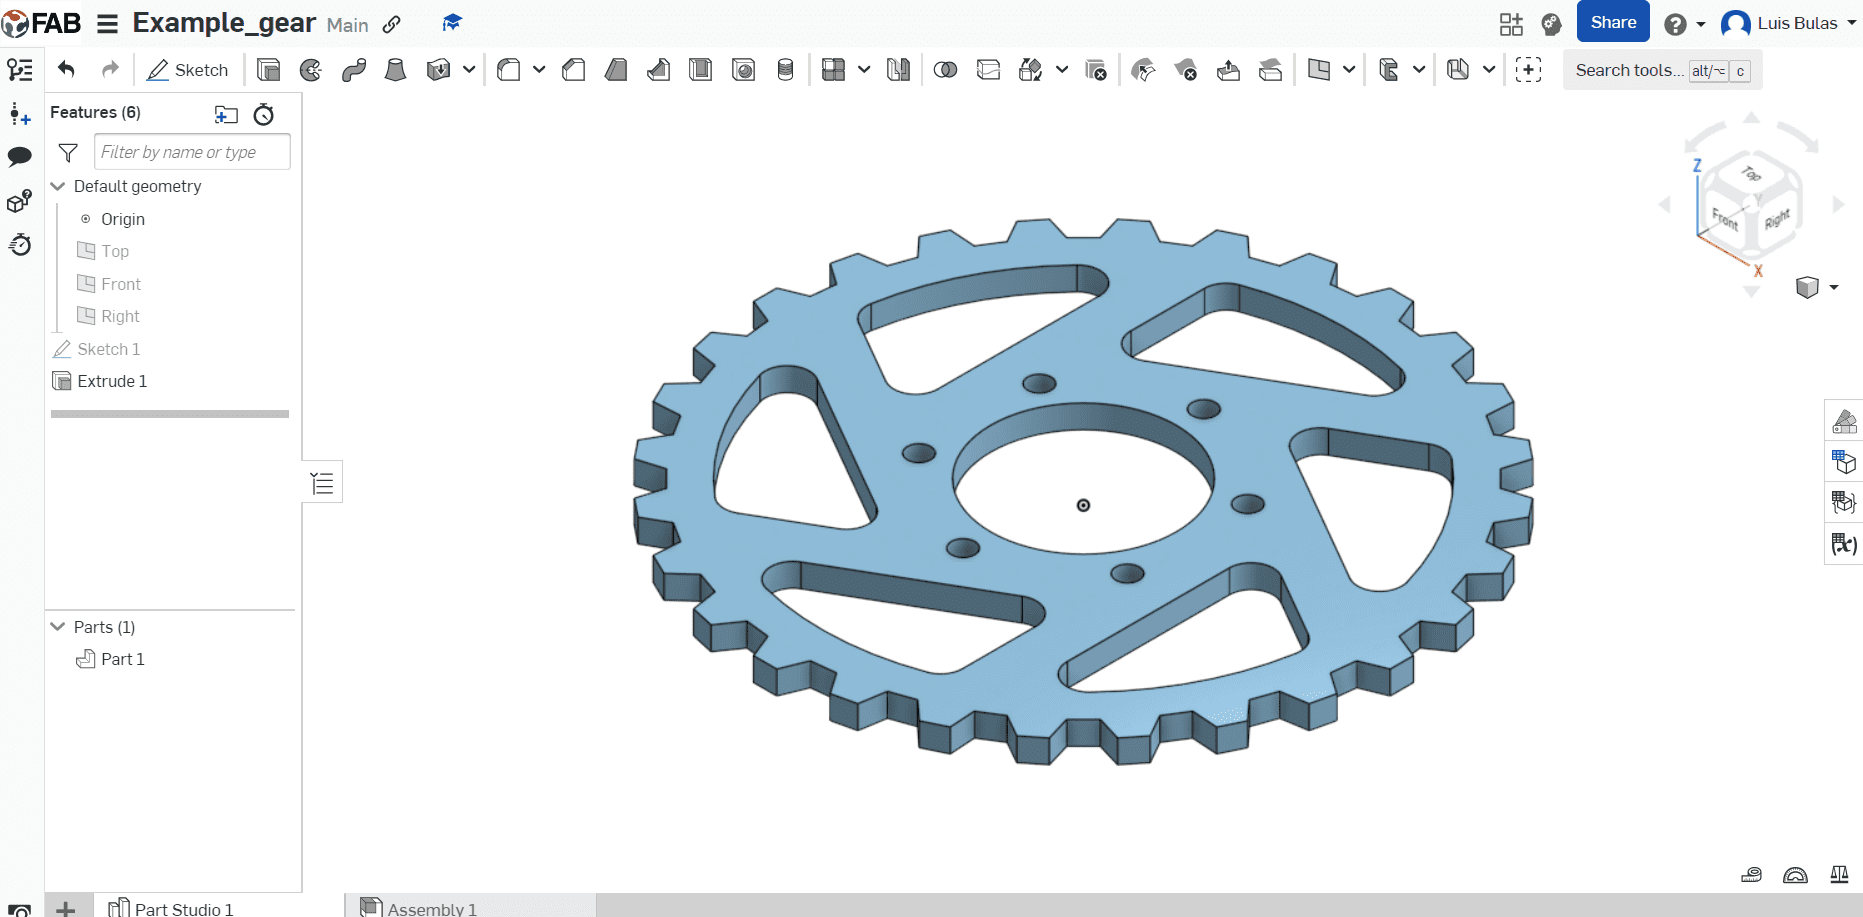
The gear part is now complete. All that remains is to extrude it, I personally chose to make it 10 mm thick.
Pros and cons
Using the three different software programs, two for 3D design and one for 2D, highlighted the differences between
them. The 2D software lacks constraints, measures, and accuracy in part creation compared to Solidworks and Onshape,
which are more precise but less flexible creatively. Although Solidworks and Onshape are quite similar, each of the
three softwares have its own set of advantages and disadvantages.
| Inkscape | Solidworks | Onshape | |
|---|---|---|---|
| Creativeness | X | X | X |
| Flexible | X | X | X |
| Dimensions | X | X | |
| Multiple users | X | ||
| Cloud save | X | ||
| Save on device | x | X | |
| Autosave | X | X | |
| Intuitive | X | ||
| Free to use | X | X |
My opinion
Overall if you can afford Solidworks I highly recommended becauses its very complete software
and has a lot of uses like renders, drawing and ensamblies. This software is one of the most
used in the industry meaning if you want to be a part of a big industry is a must to learn
this software.
But if you can't afford it and your plans are for fun or for some project that need something
right away Onshape is the best choice.
