- Design and produce something with a digital process (incorporating computer-aided design and manufacturing) not covered in another assignment, documenting the requirements that your assignment meets, and including everything necessary to reproduce it. Possibilities include (but are not limited to):
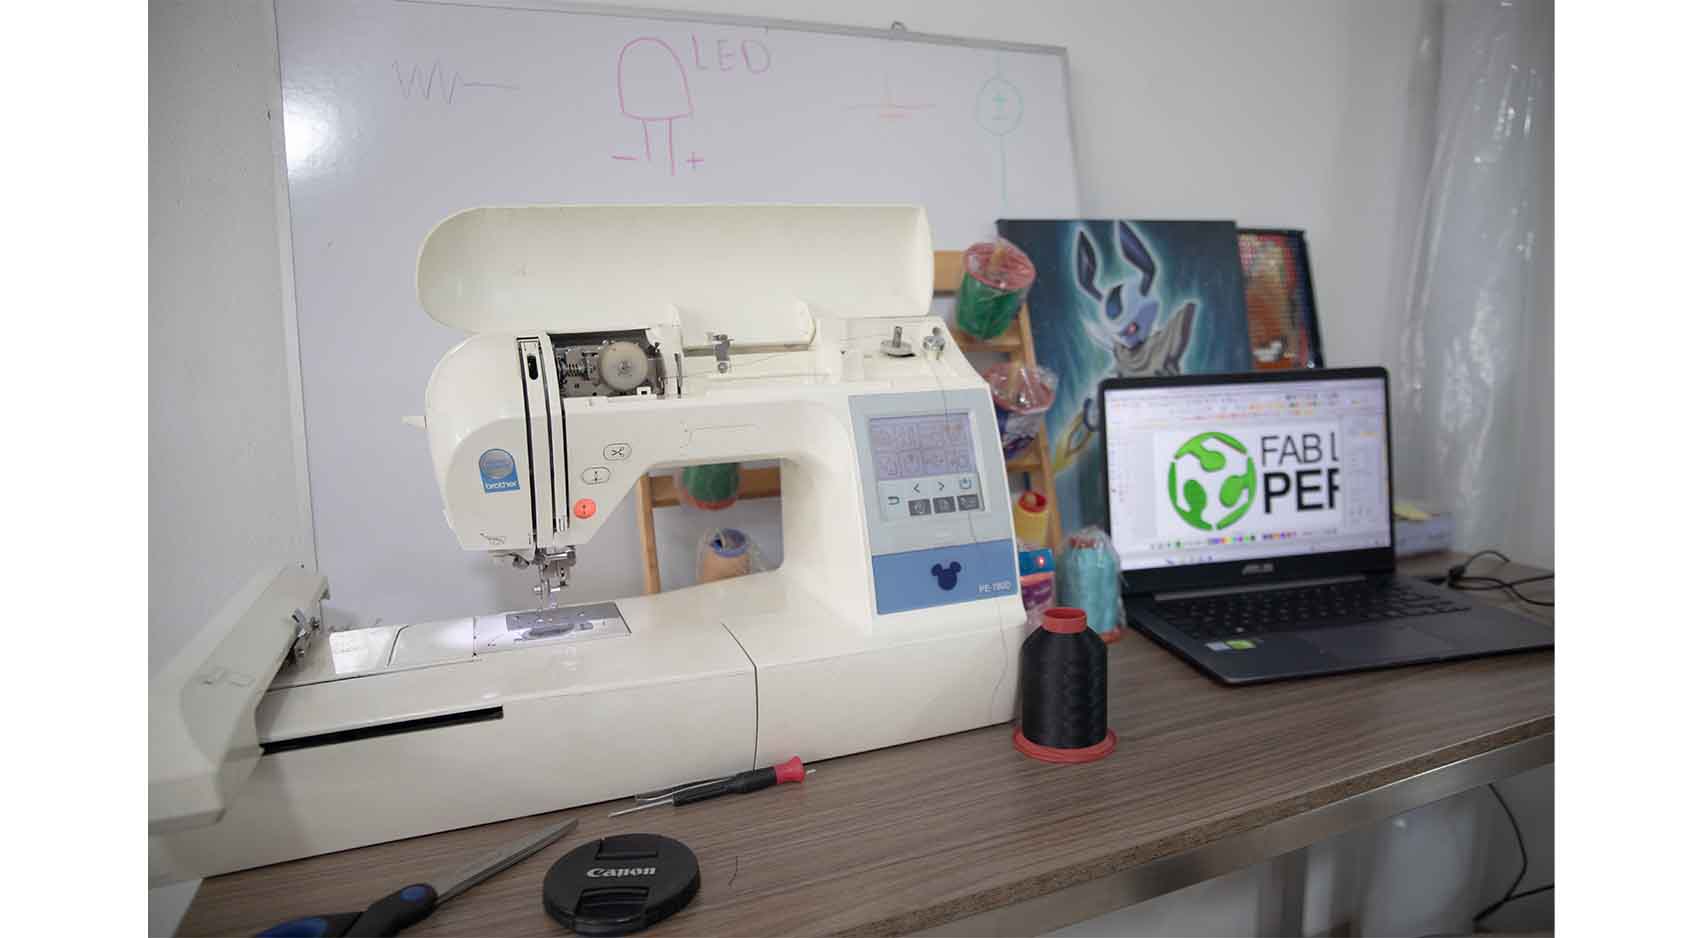
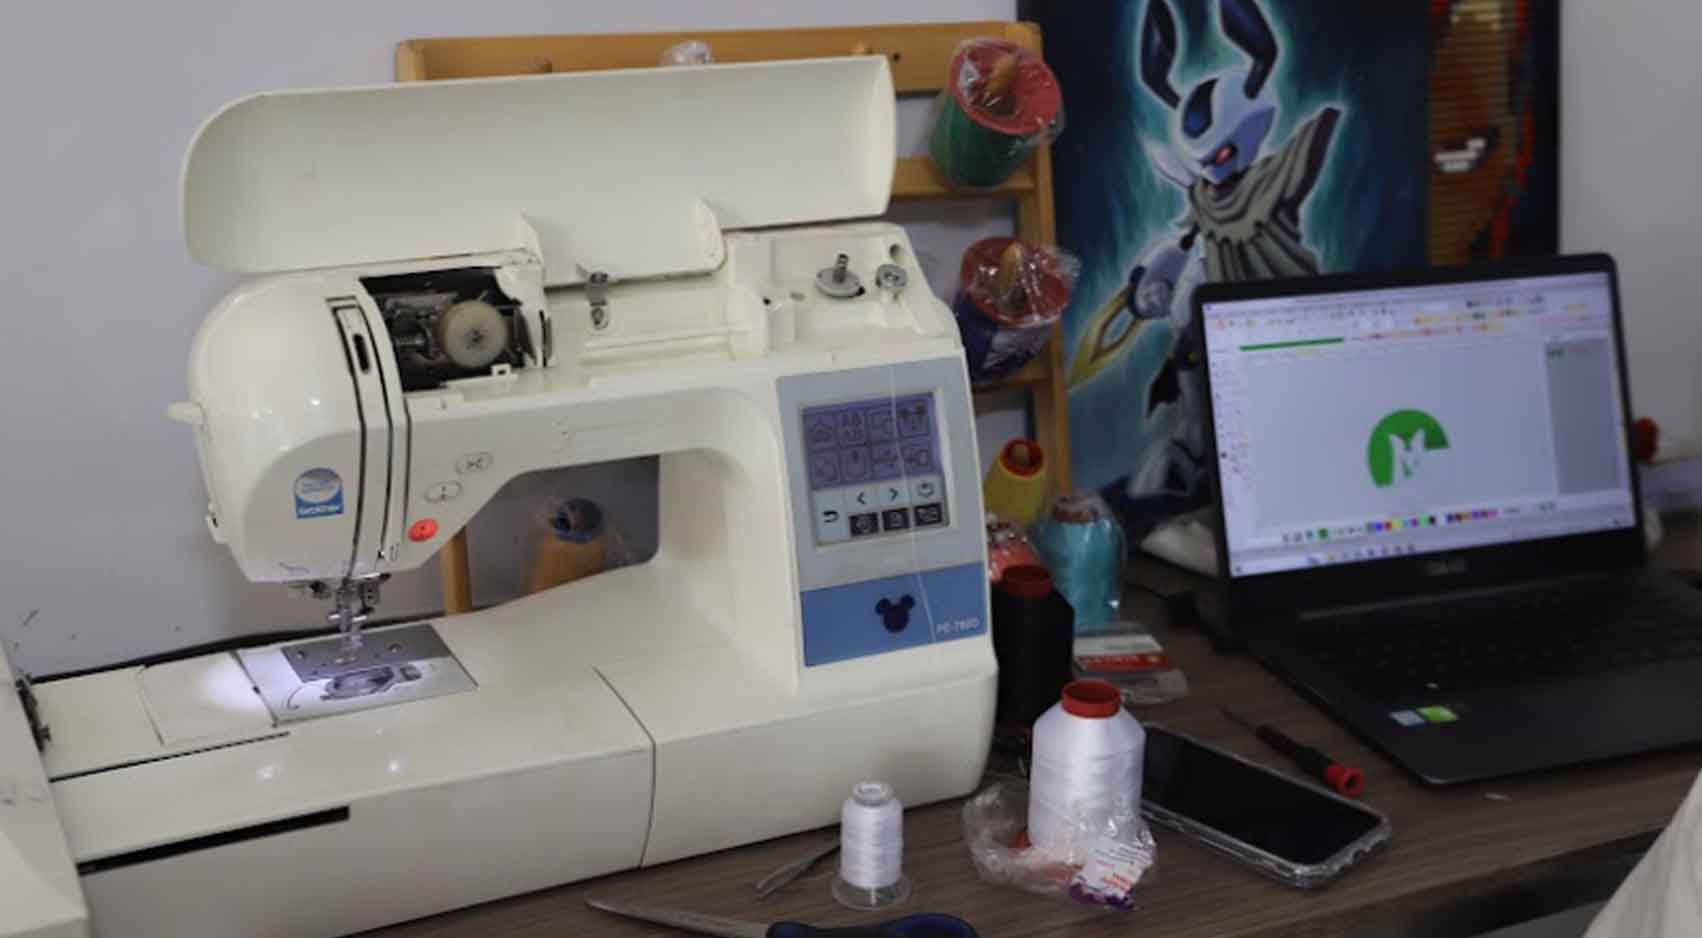
For the development of the assignment I attended the Lab ‘GARAGE LAB’ of my colleagues Silvana and Jesús, they were able to lend us the machine BROTHER PE-780D, some of the specifications of this machine are:
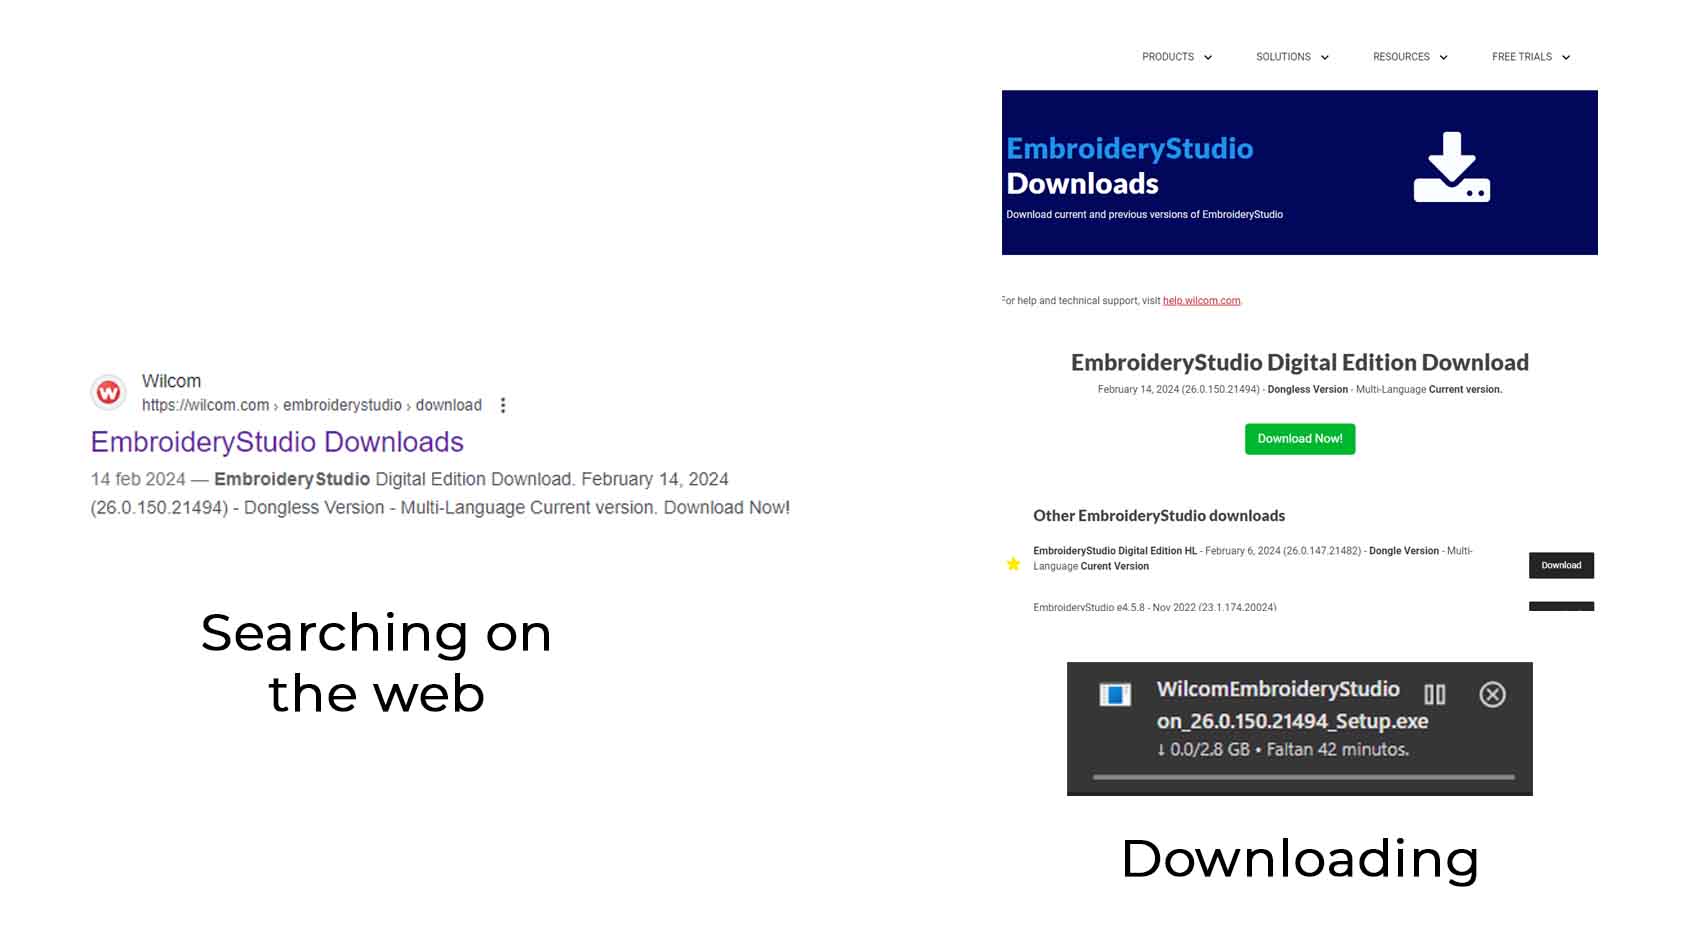
- After being able to search for the program we will begin the installation.
- First the software will check the specifications of our computer and the minimum requirements for installation.
- After that we will click INSTALL.
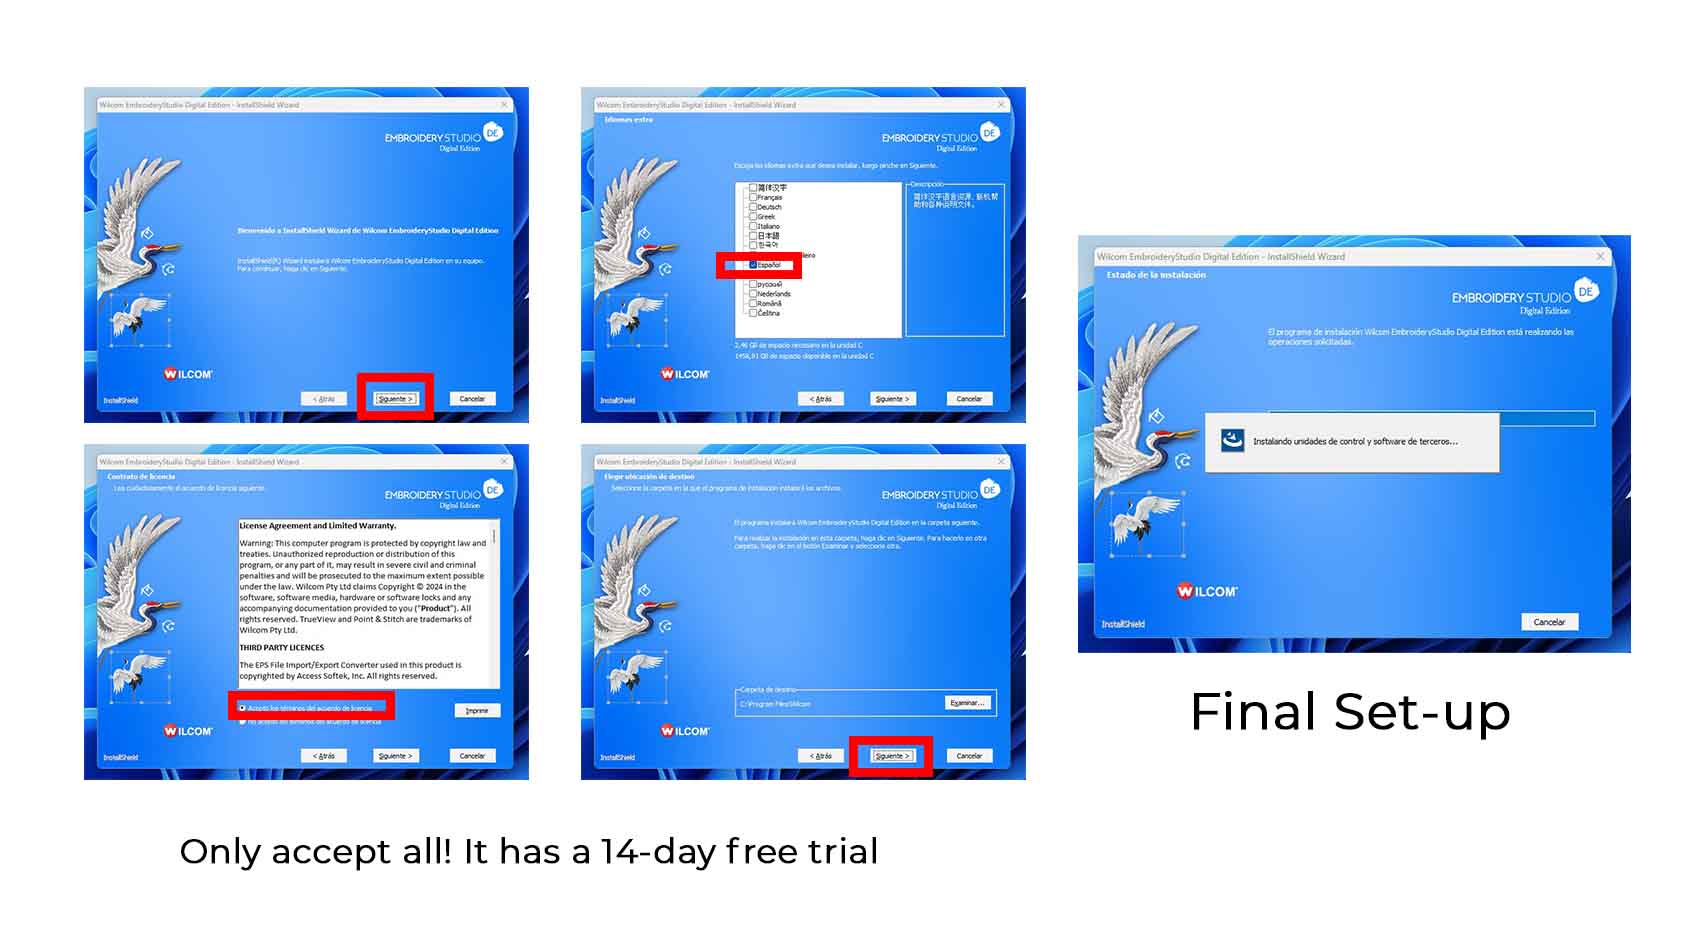
- Some licensing options will appear, in this case we will click on the FIRST OPTION and then click on NEXT.
- We will wait around 5min.
- At the end of the installation it is best to click on the first restart option so that the program installs all the components and tools to ensure the correct functioning of the software.
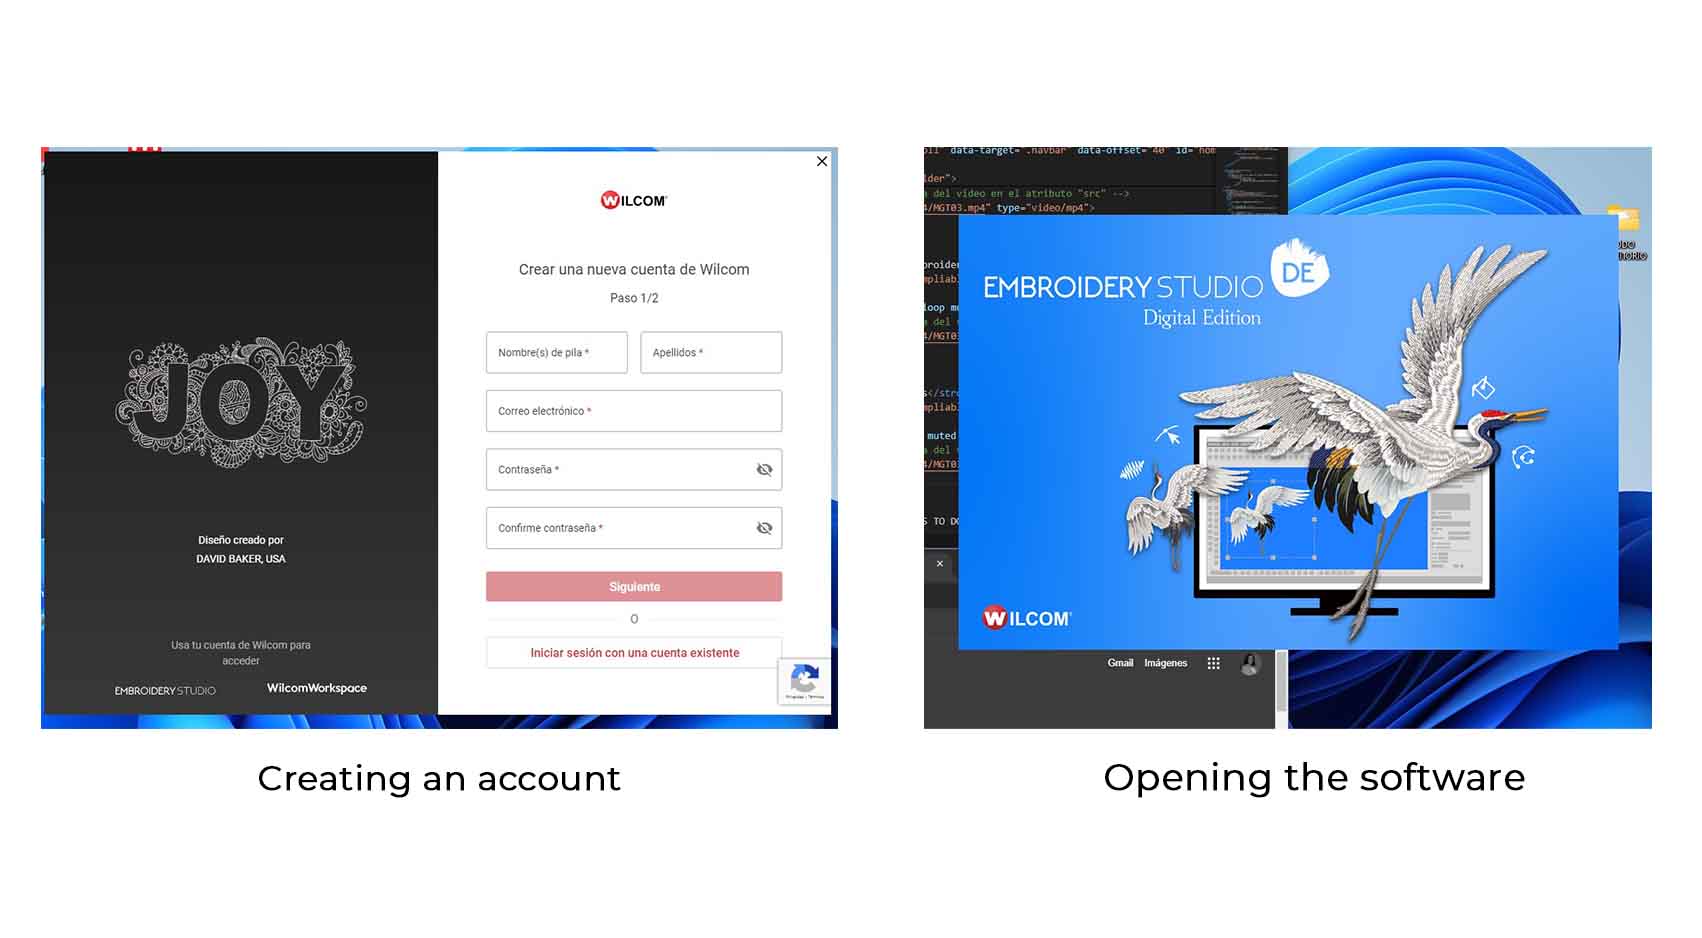
- After restarting it, we open the program and we will register with an account to start using it, we will have a 14-day trial.
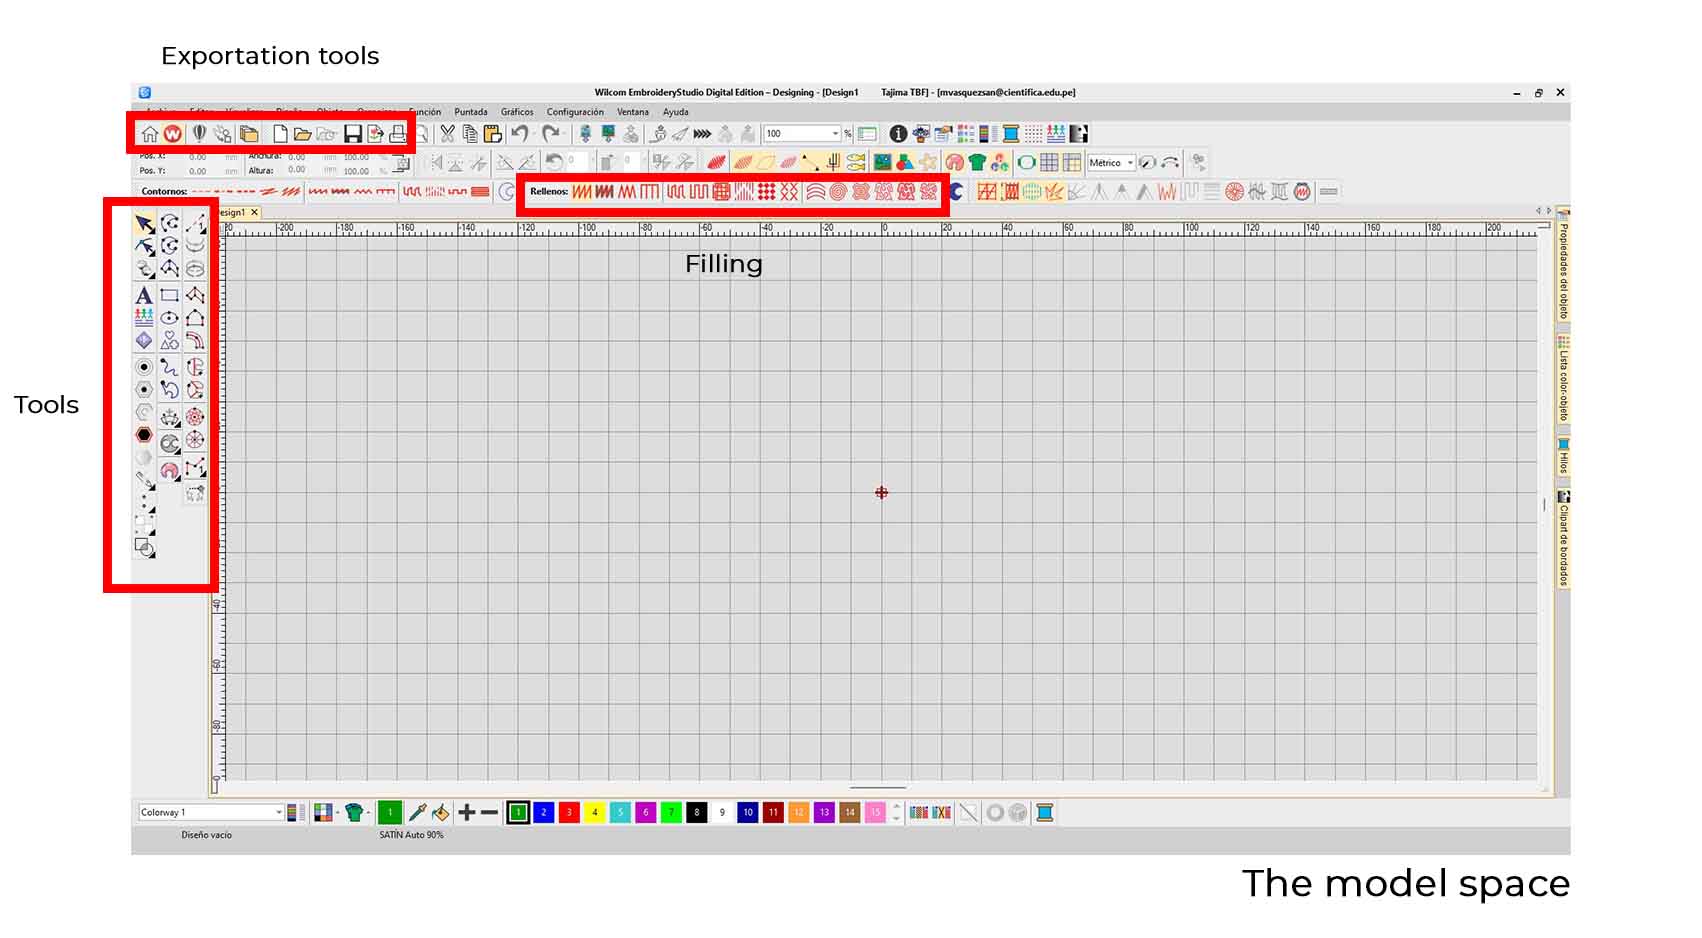
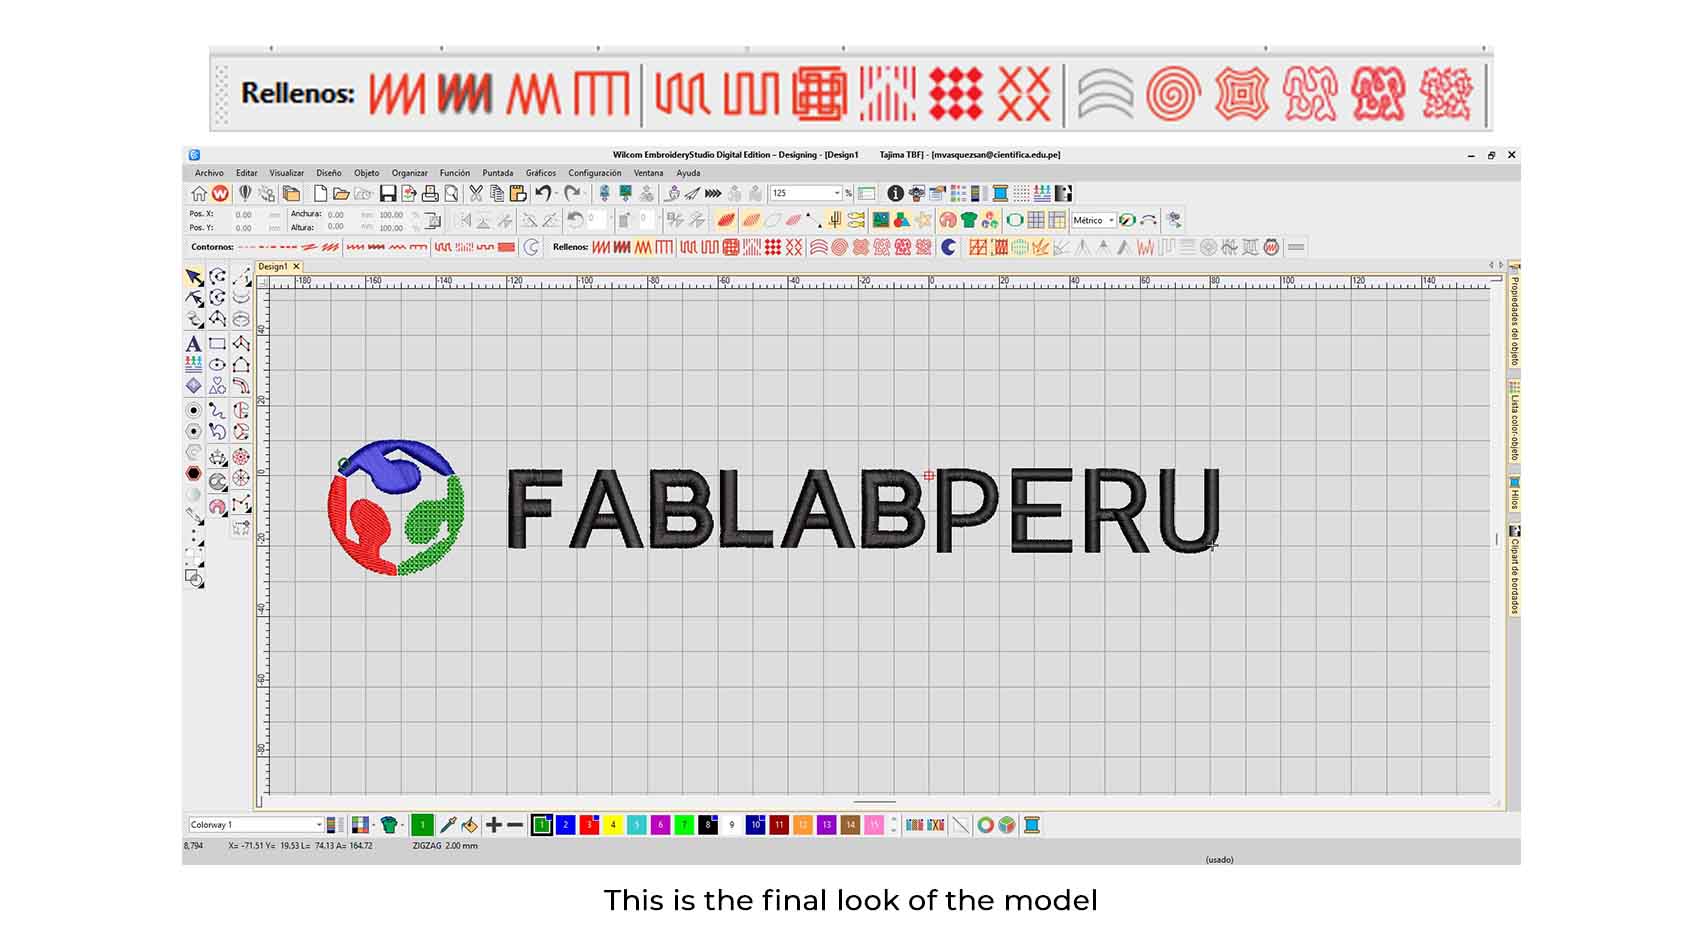
- And here we can see the final software, this is the most complete, from here I will start my embroidery design.
EMBROIDERY TESTS
Software testing, filling and drawing
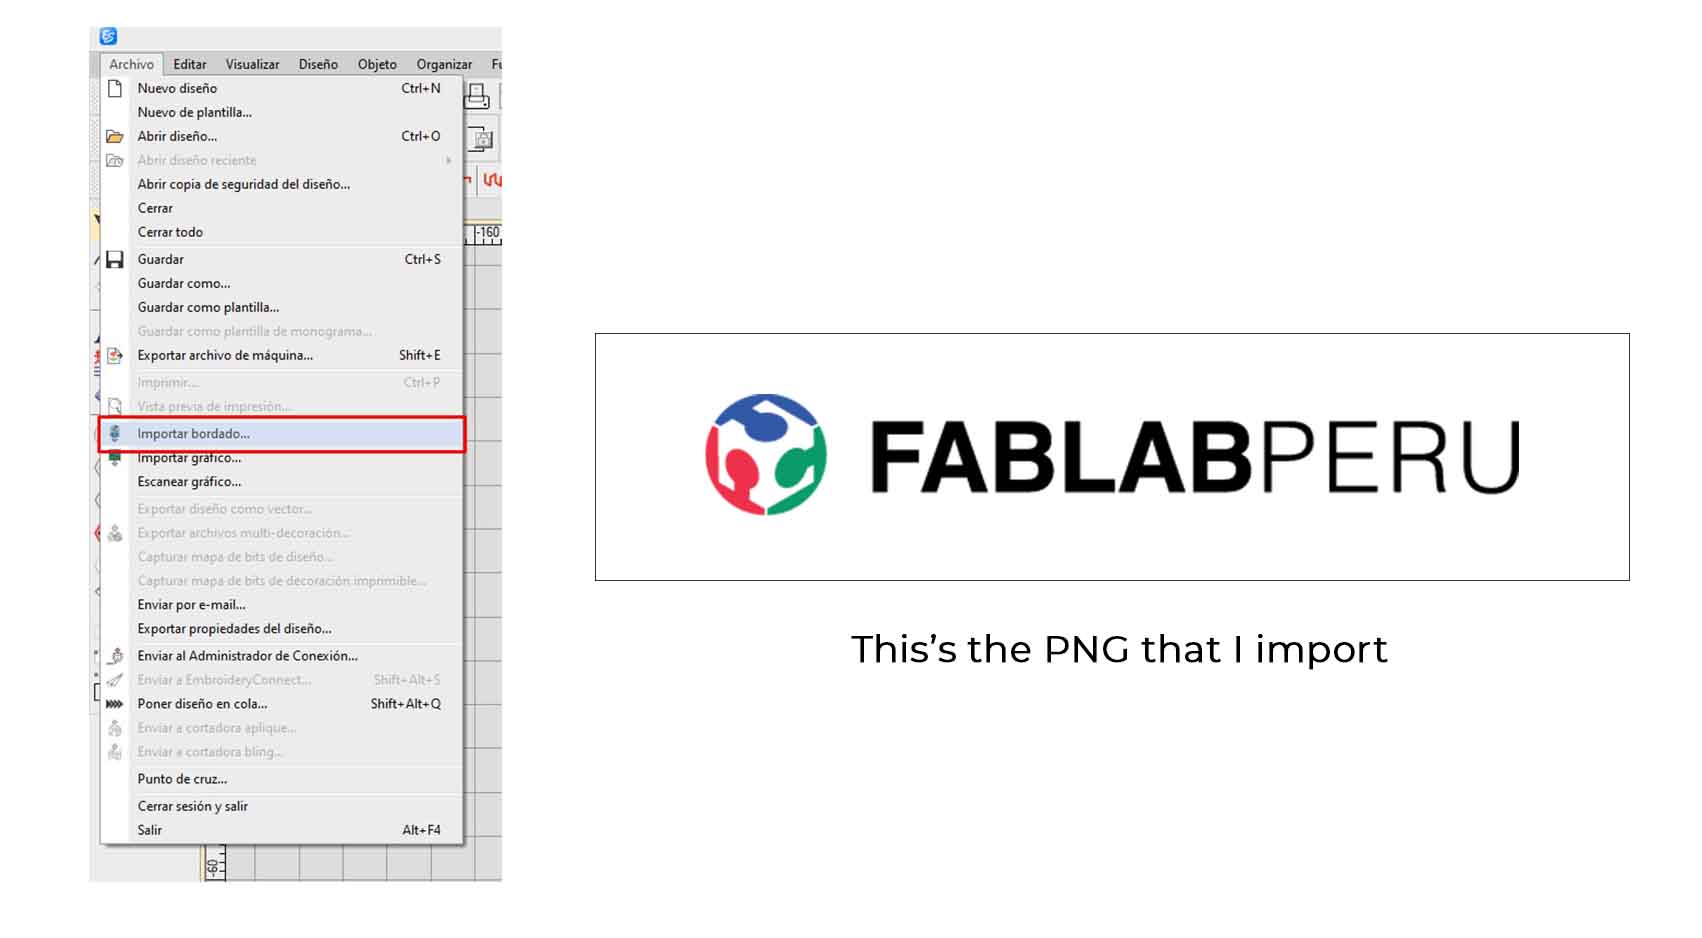
Importing
To start using the programme, after the recognition of the previous step, we move on to the import of graphics to work the embroideries.
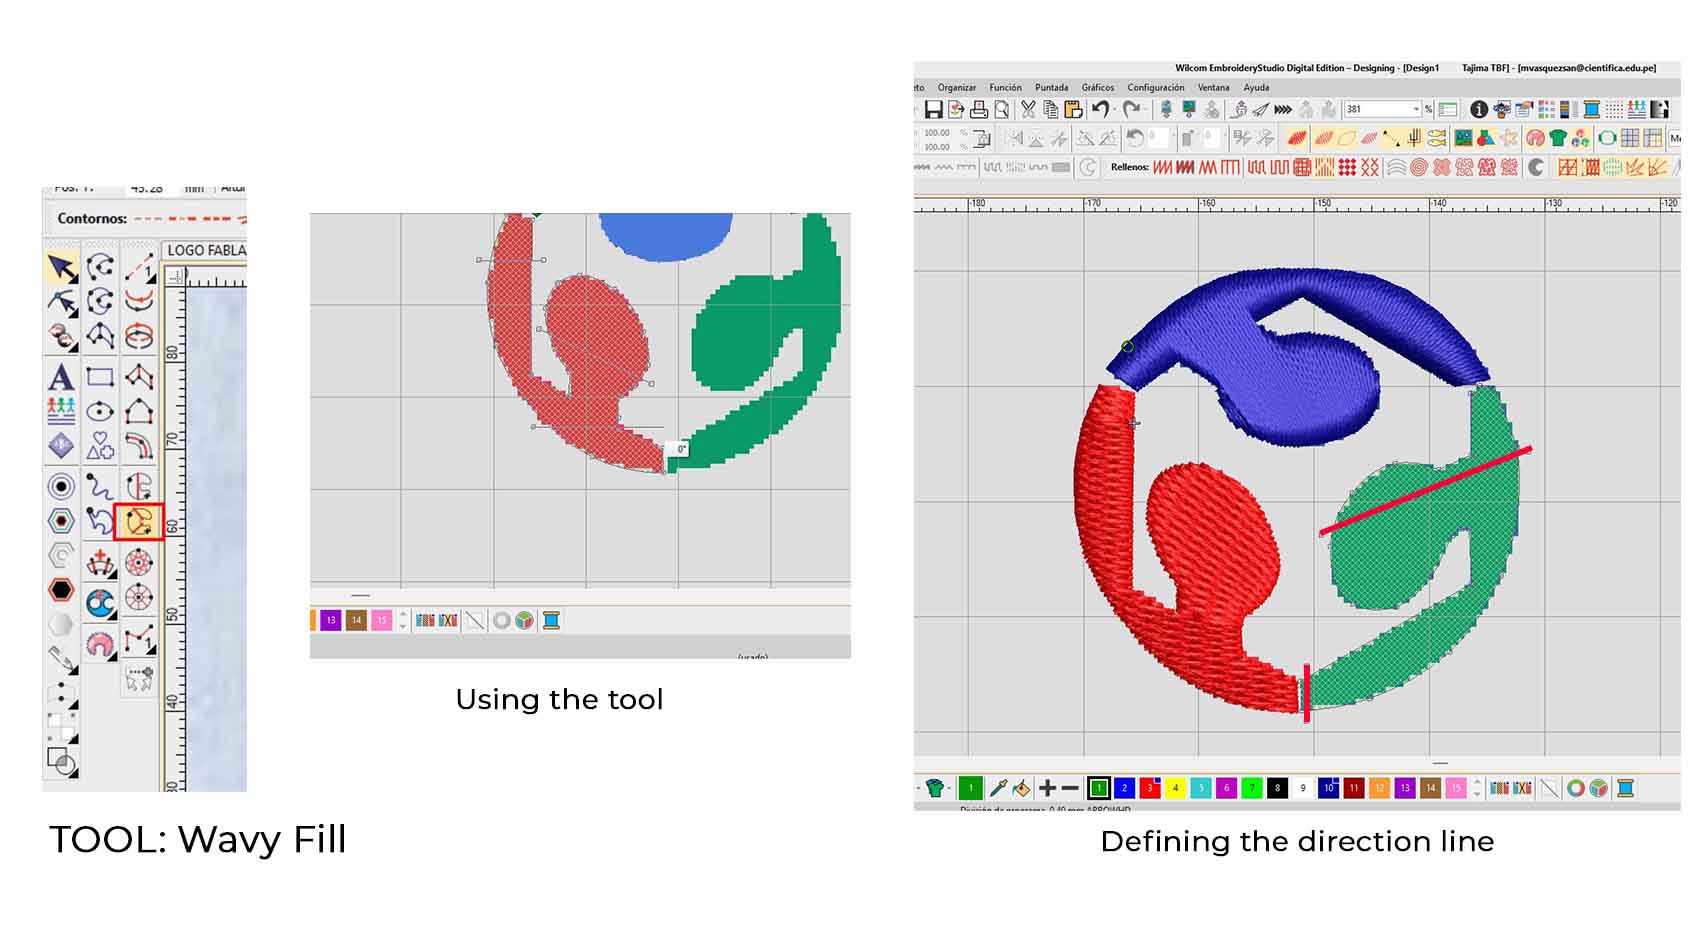
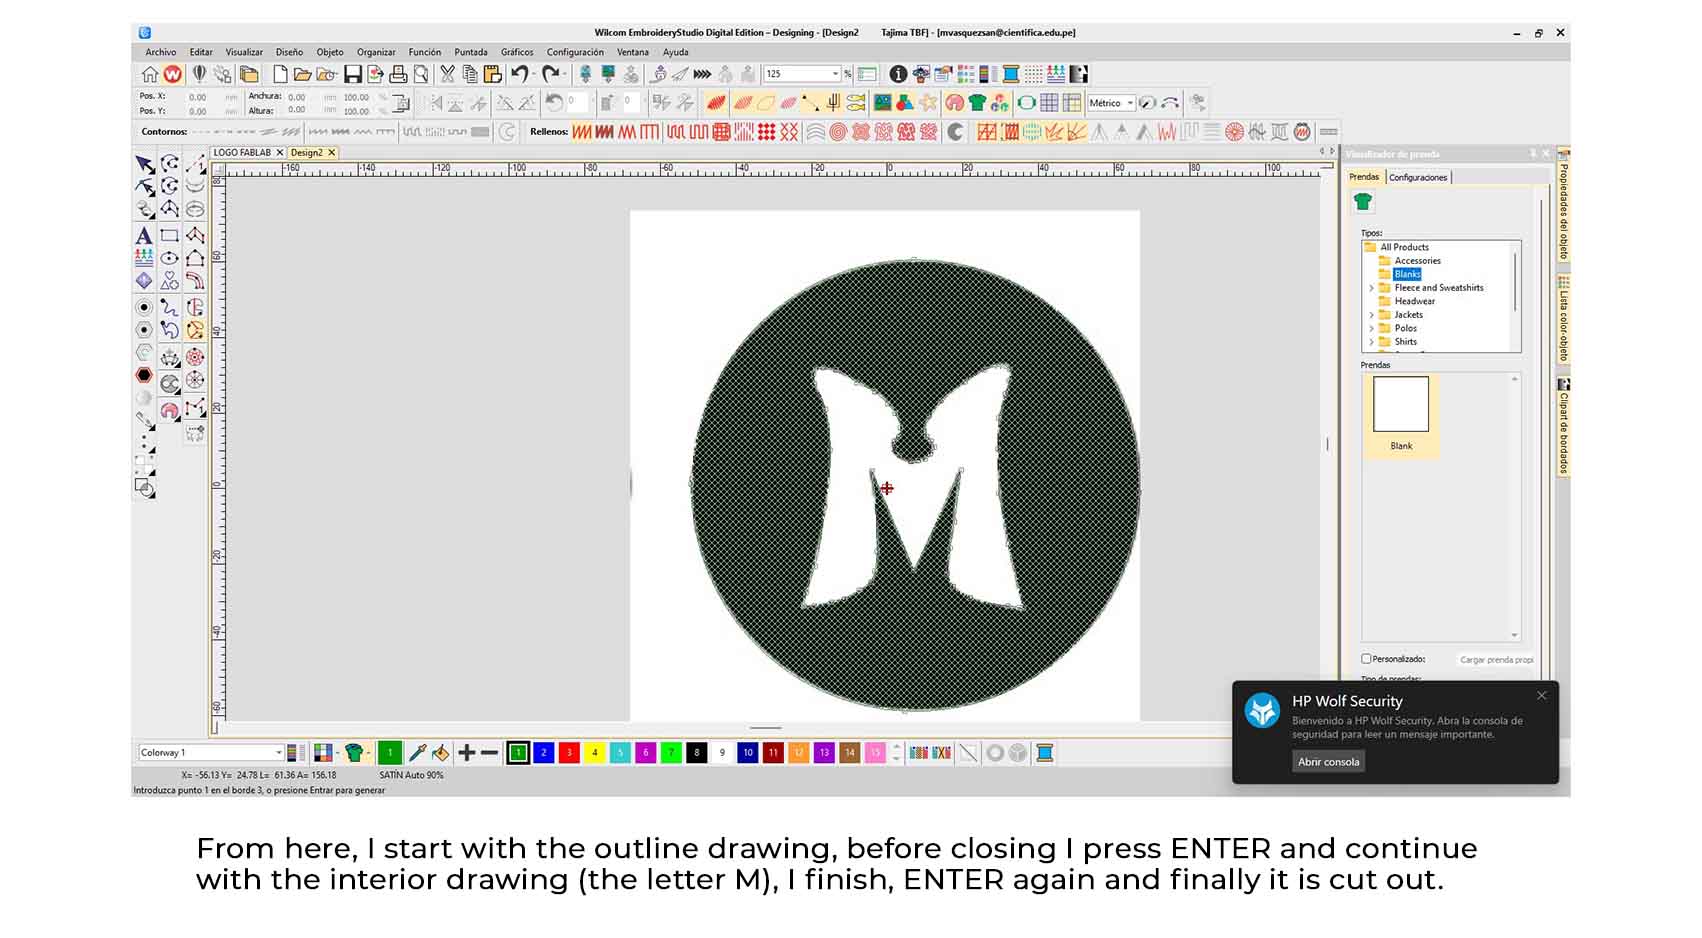
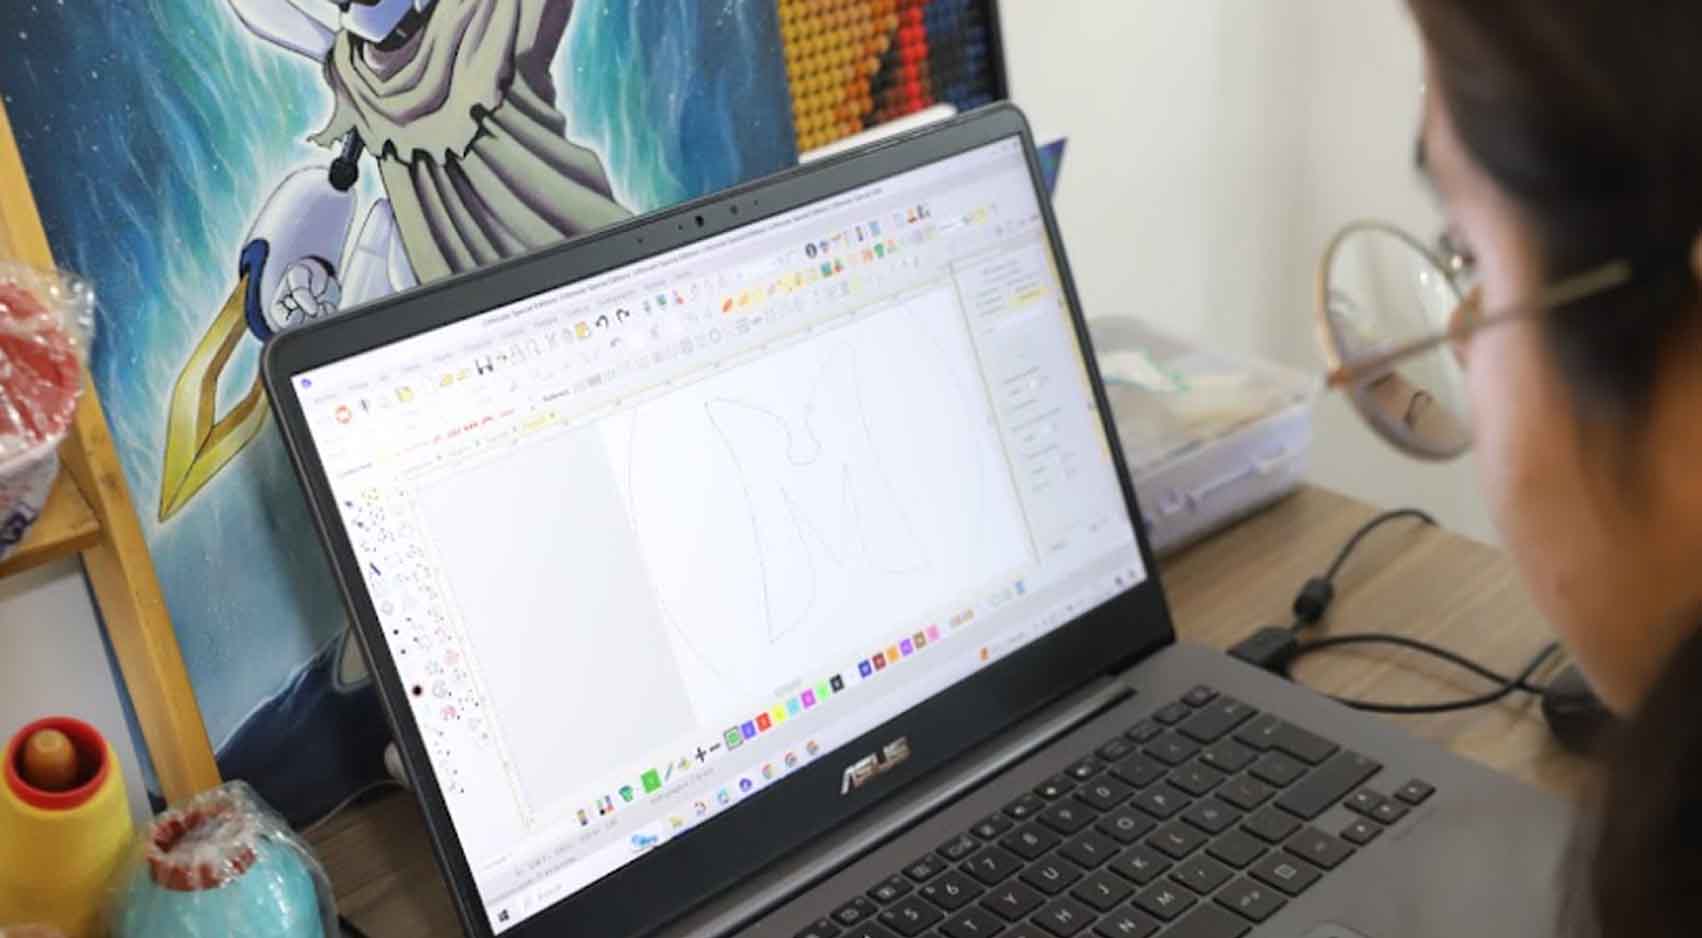
Drawing
After importing, we can draw the outline of our embroidery with the ‘Wavy Fill’ tool, which allows us to draw the outline of our embroidery, it is worth mentioning that using the mouse, the right click is to make curves and the left click to make straight lines, from this form we can finish the outlines.
Important: Before you finish joining the final vertices, press the ENTER key to preview the filling, so that you can also define the direction in which the embroidery machine will direct the thread.
Filling
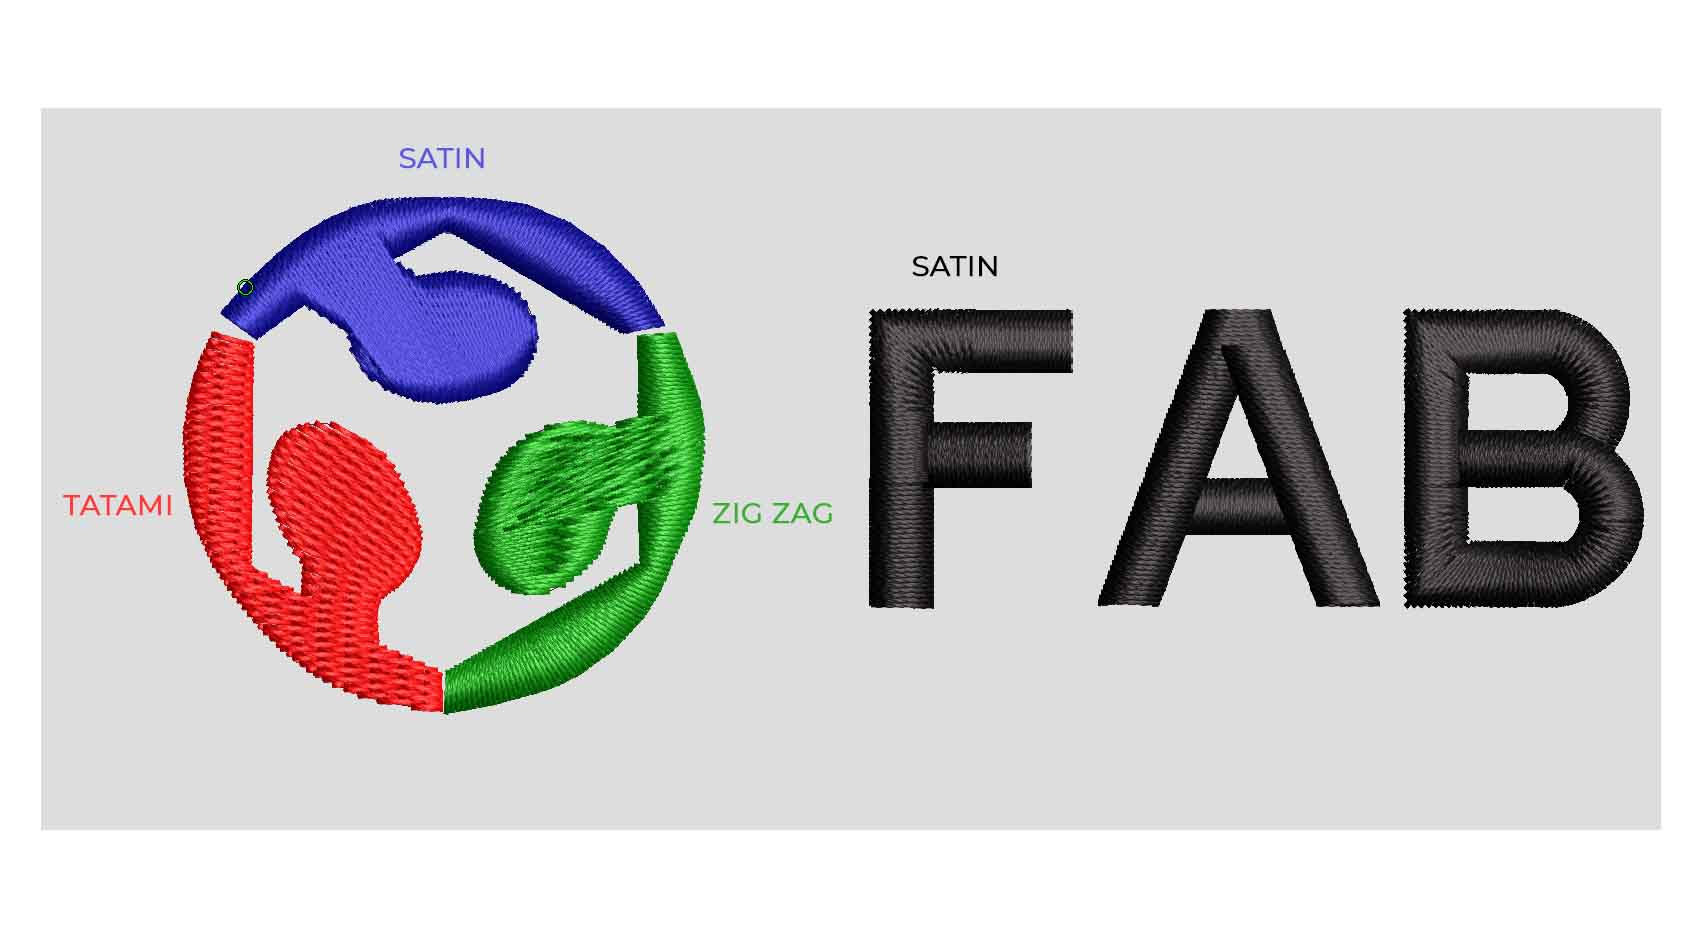
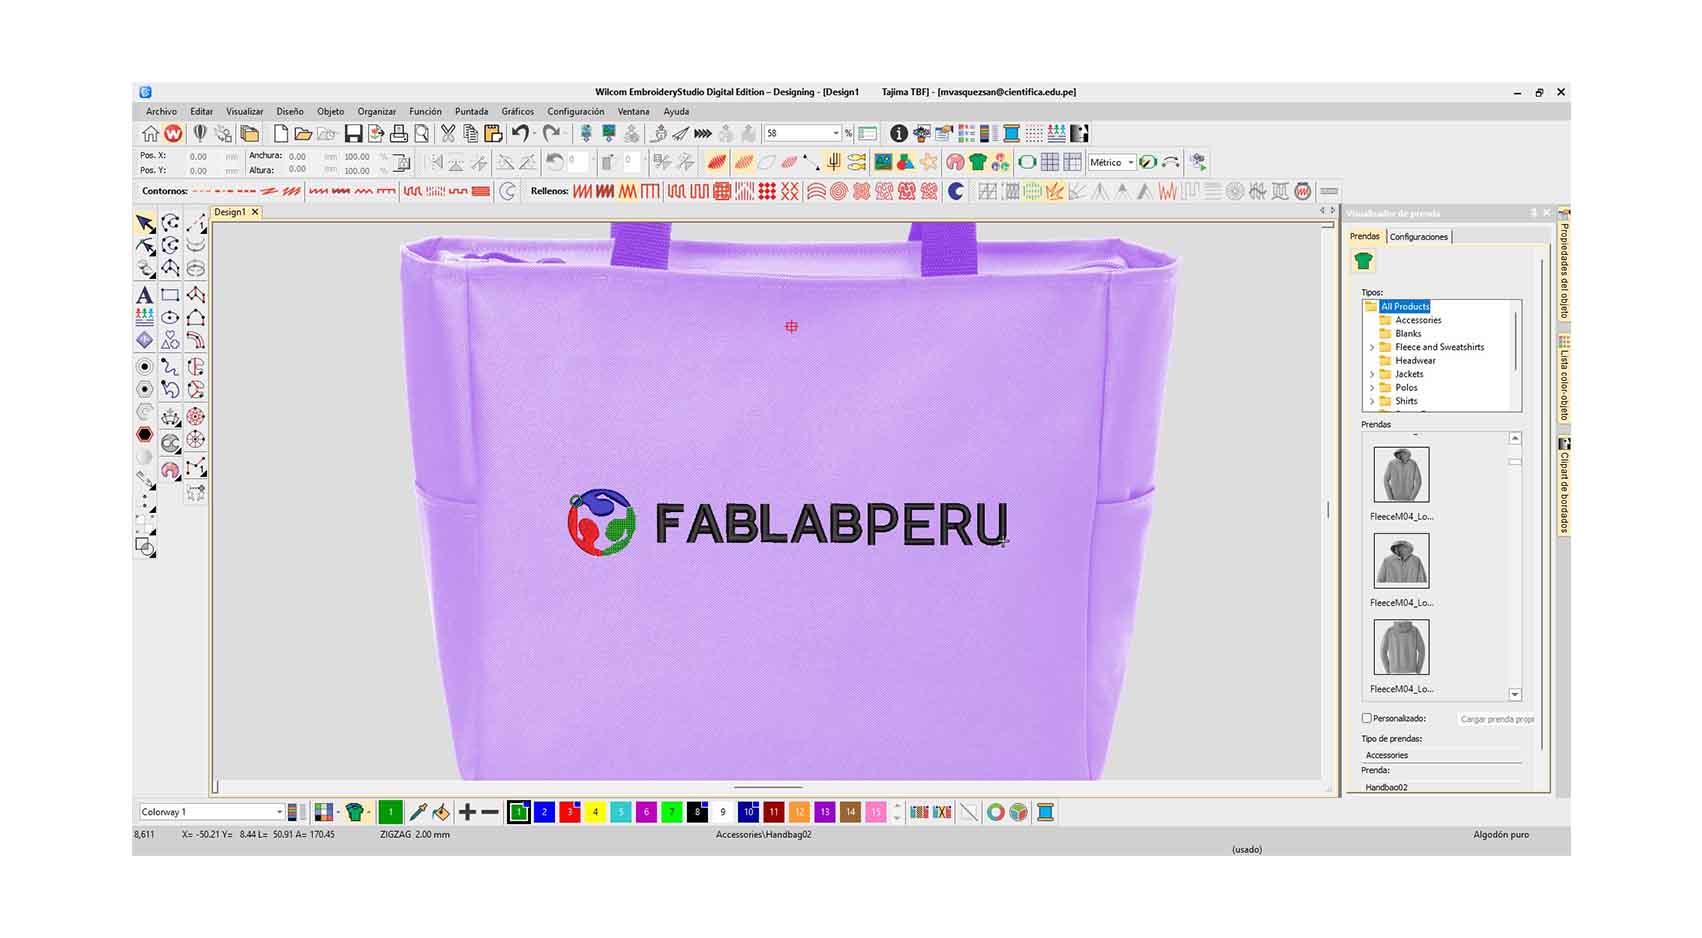
To make the filling we have many options, in this case I decided to try with three different ones and see the result of the embroidery, here I show you how it would look simulated in a purple bag, it looks pretty good in my opinion.
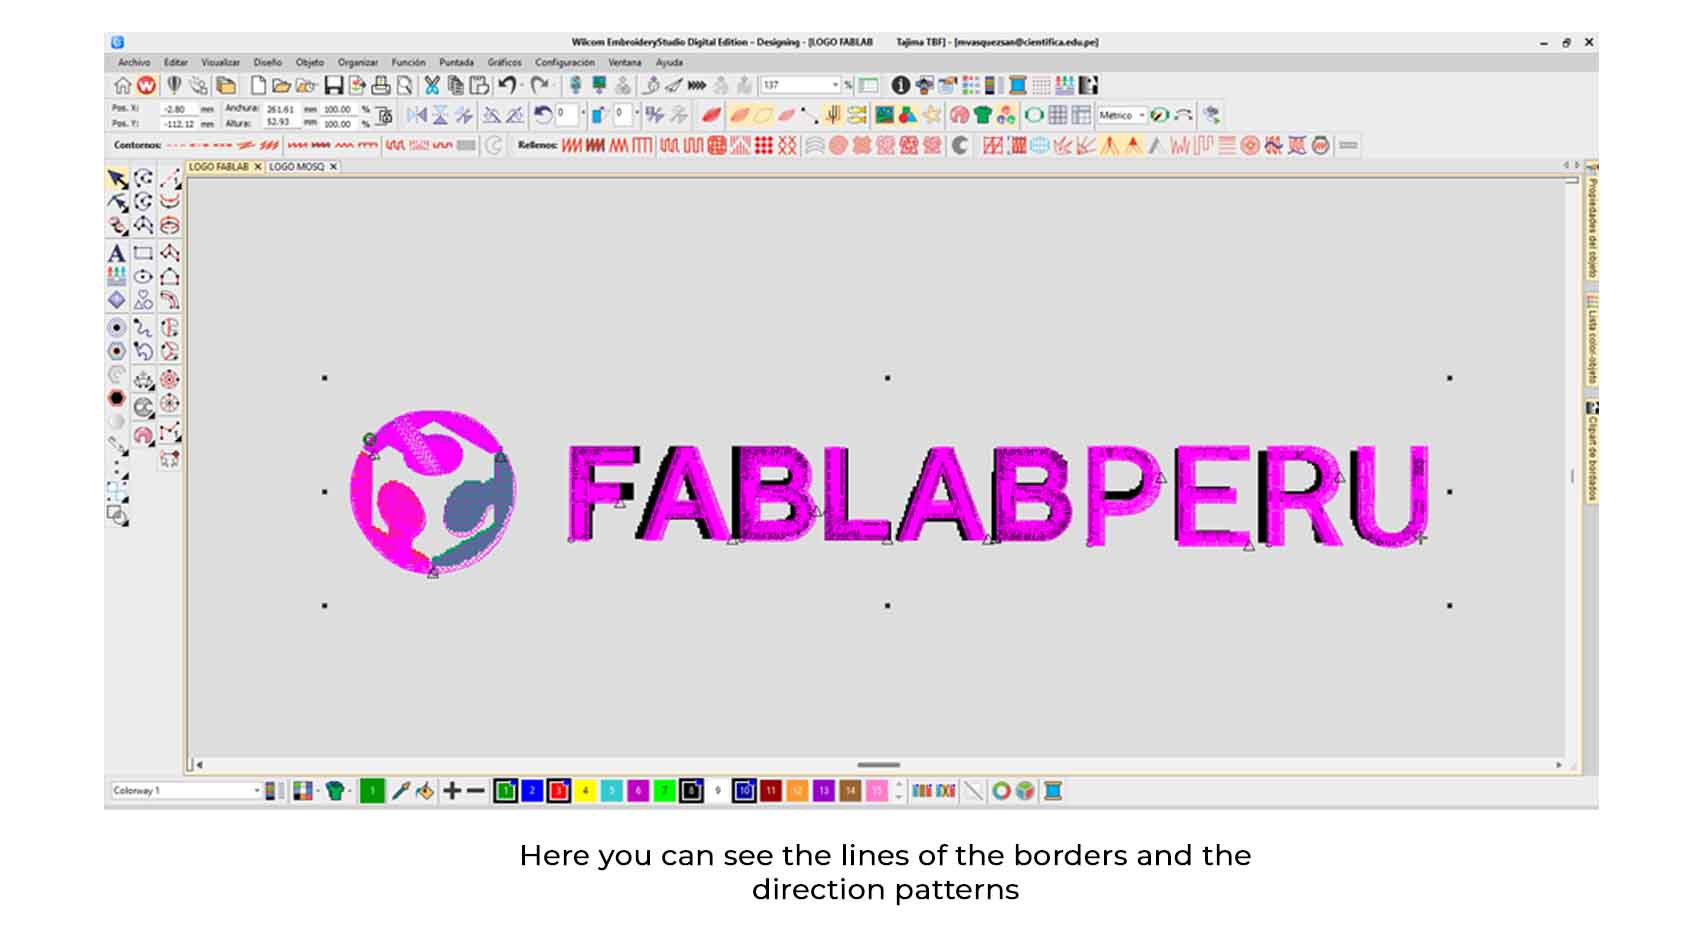
Here are the patterns I used for each item
And here you can see it simulated in this bag.
USING THE EMBROIDERY MACHINE
Calibration and implement placements
Before passing the model to embroidery, we must learn how to use the machine, so I show you a review of what I learned along the way.
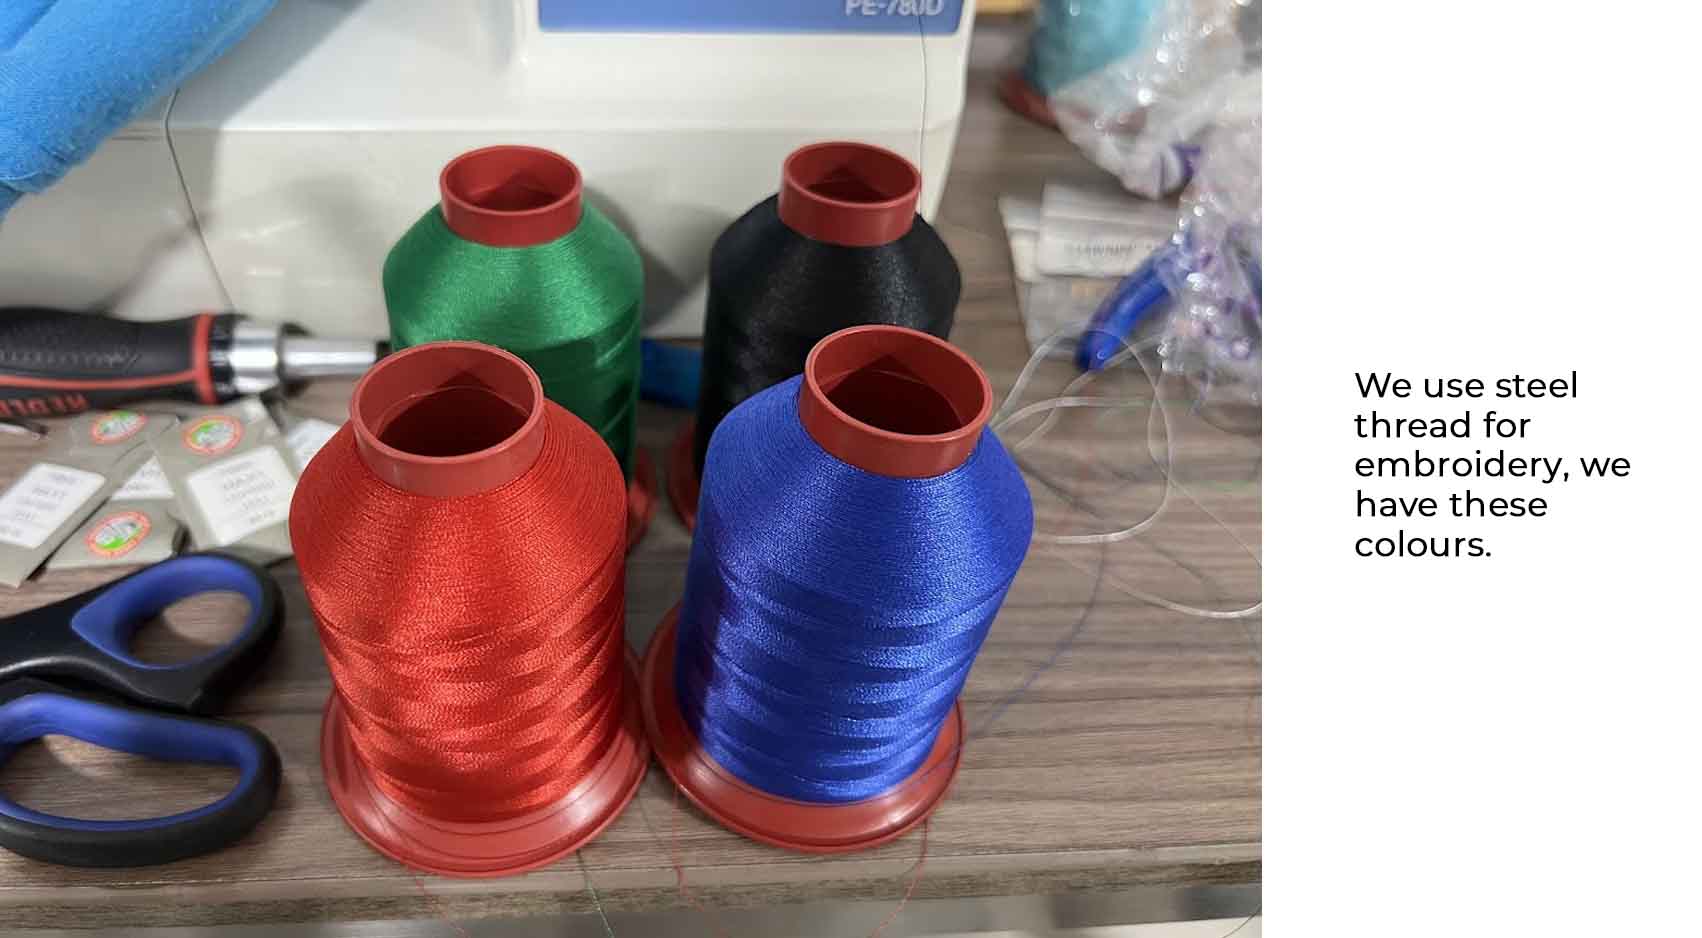
We have these threads for use in the machine, being large they did not fit inside the machine, so I left it on the outside and from there the journey begins.
Thread placement
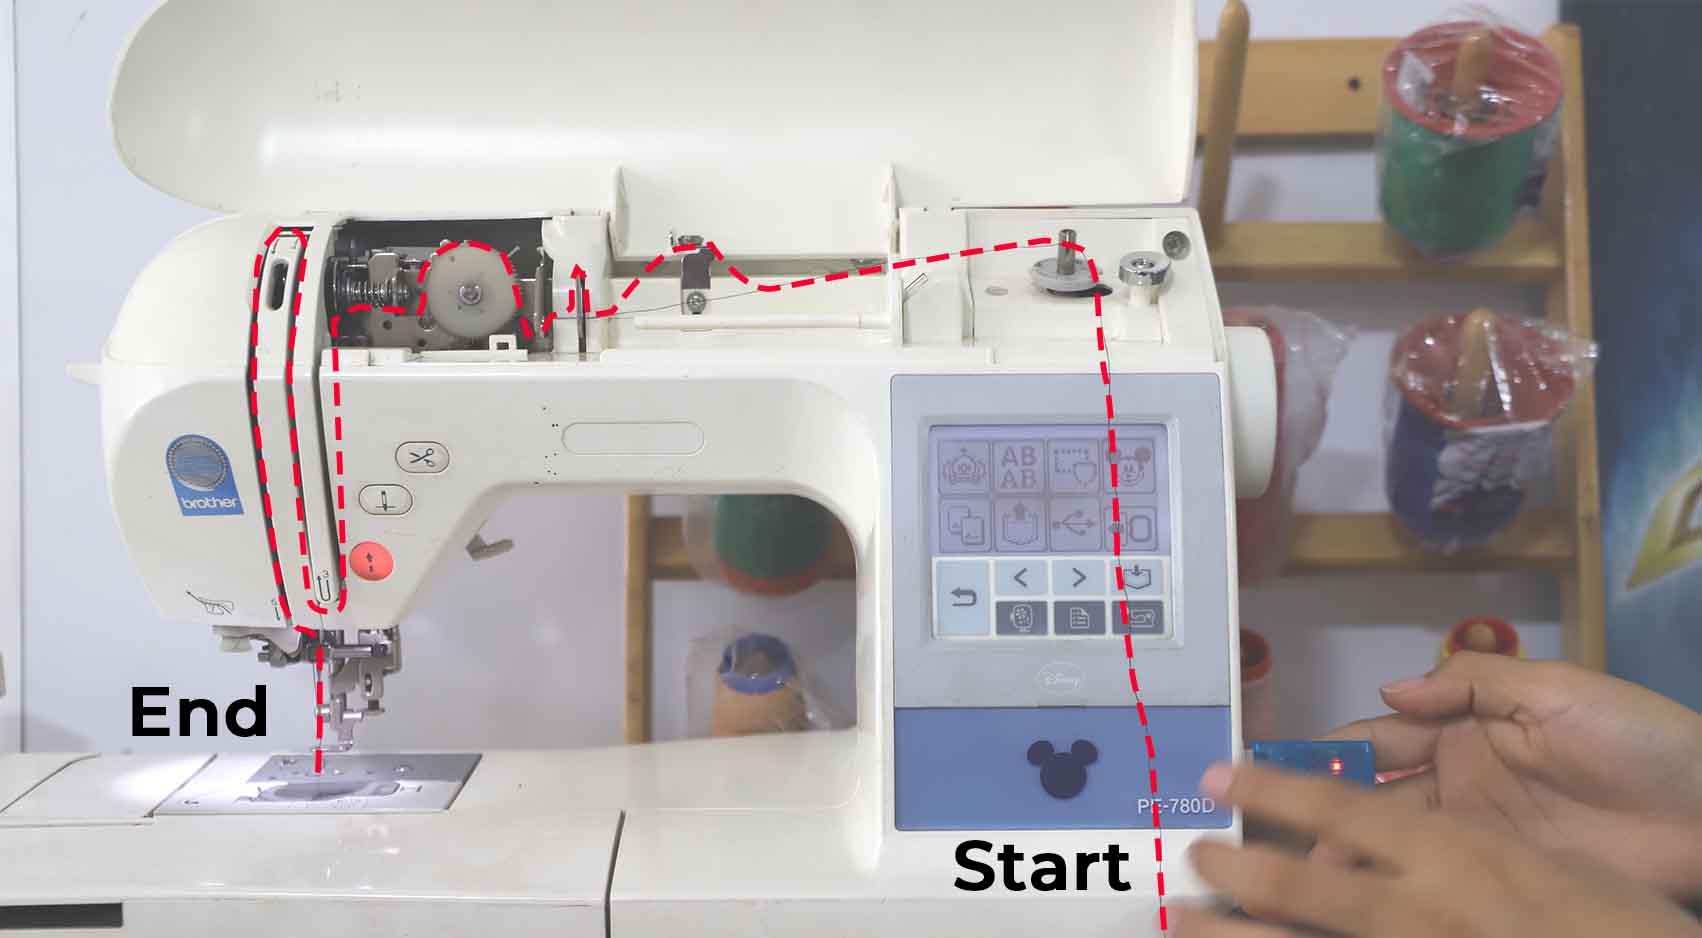
For the placement of the thread, we decided better (because of the size of the machine) to leave the spool on the table and cross the thread through the circuit, here I leave you a picture of its trajectory and more detail of the path.
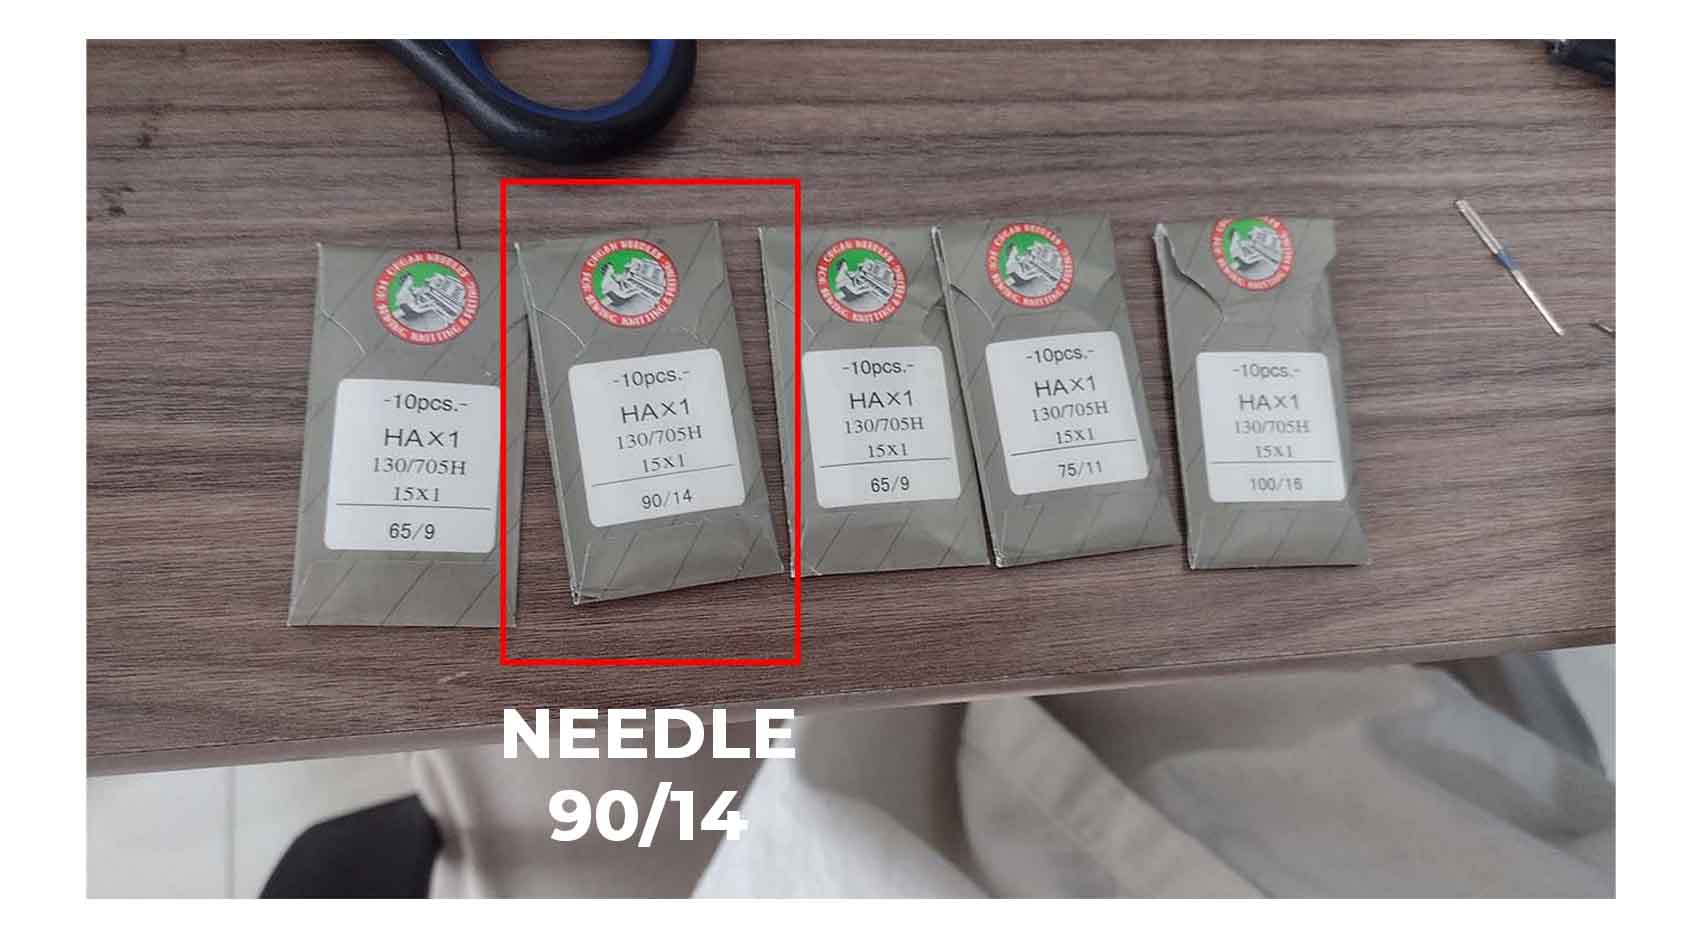
In this case we used a 90/14 needle, which is the appropriate needle for this type of embroidery as recommended by our local instructor.
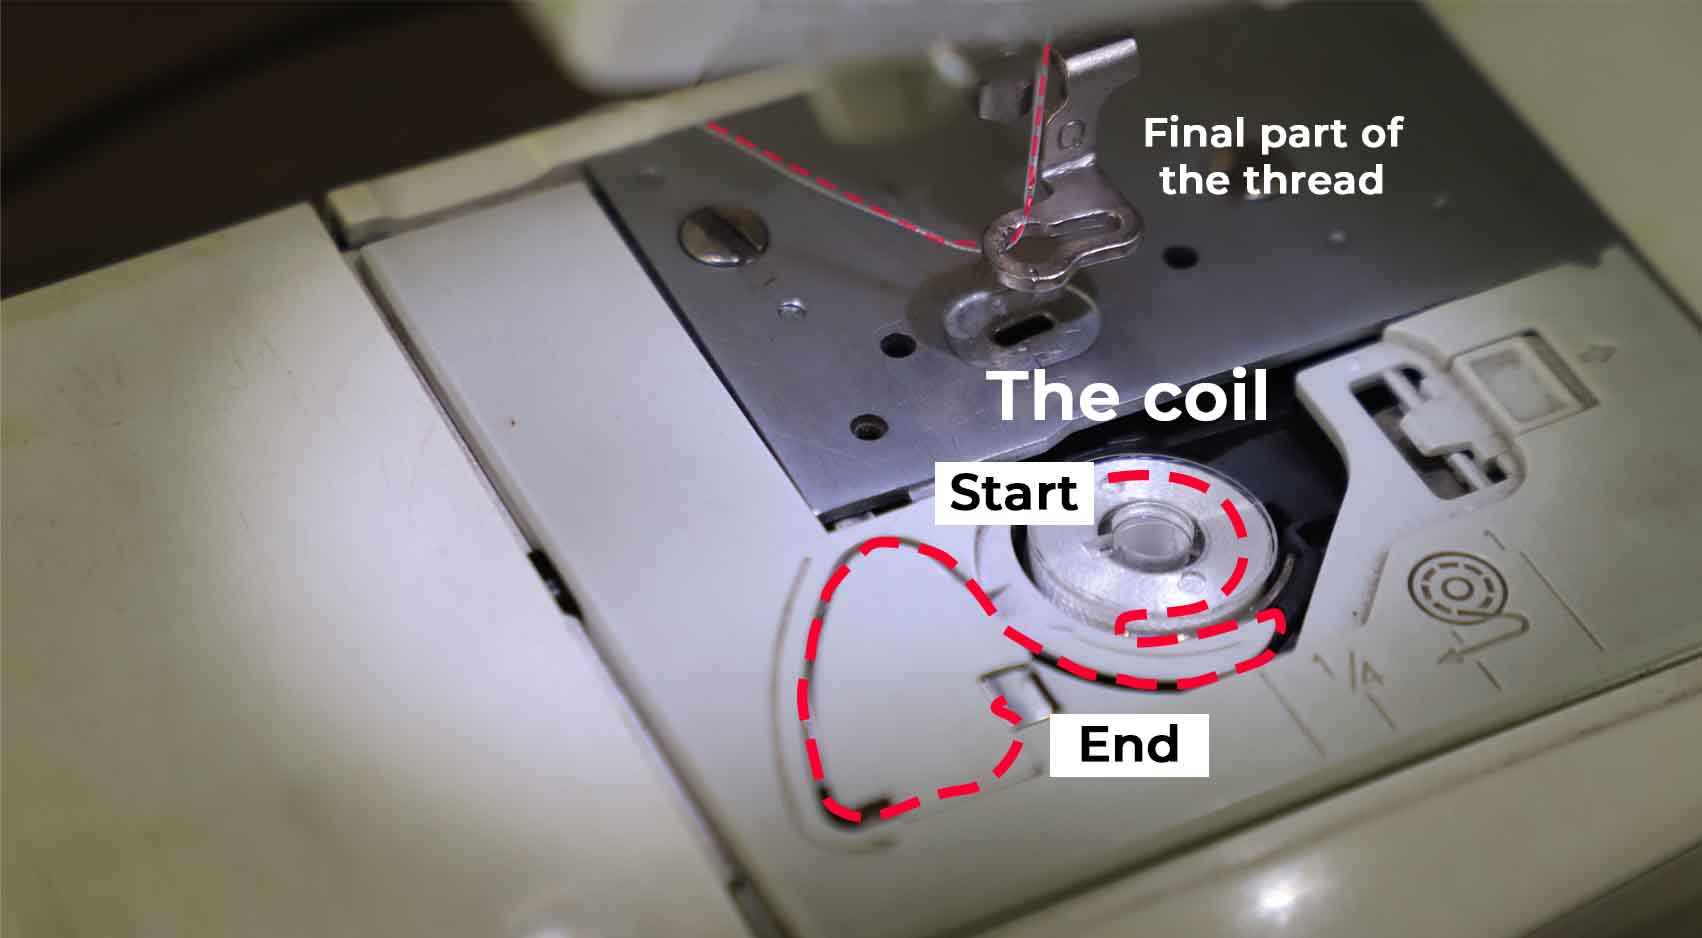
To fill the bobbin, we use a mini spool that will have the location of the thread exit as specified in the image, so that we can determine in more detail how it works, also check the way the thread is passing through the needle at the bottom.
Calibration of the axes
For the calibration of the axes, it is all manual through the machine's touch screen, here in this video you can verify the position.
Setting up to send to embroidery
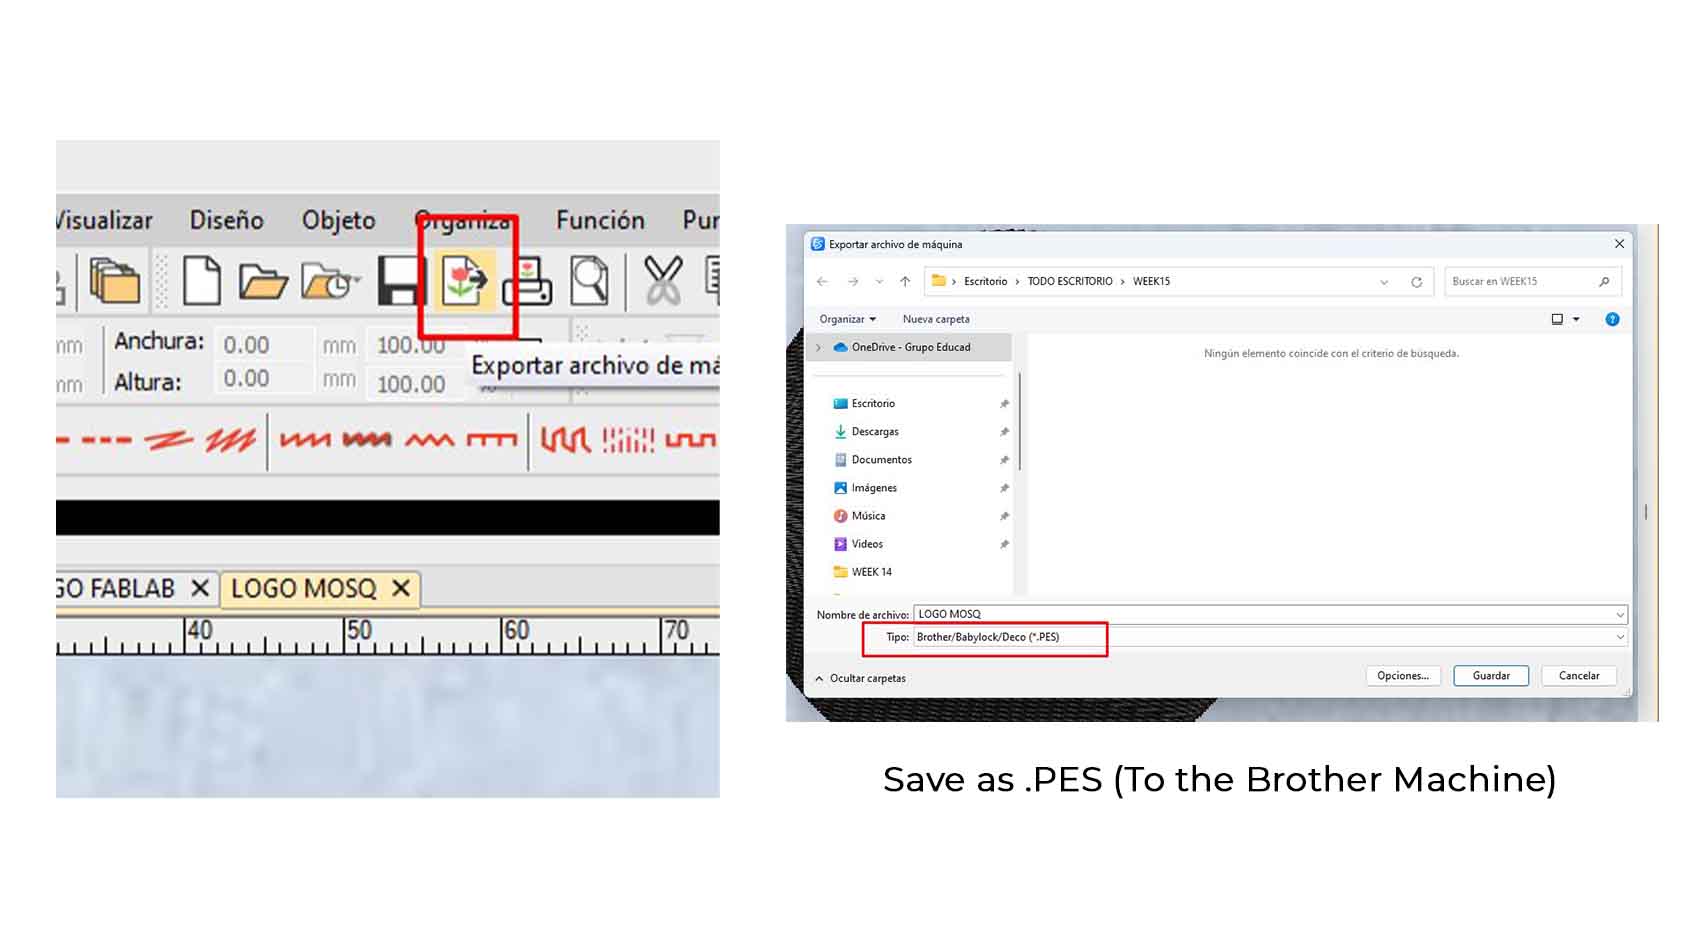
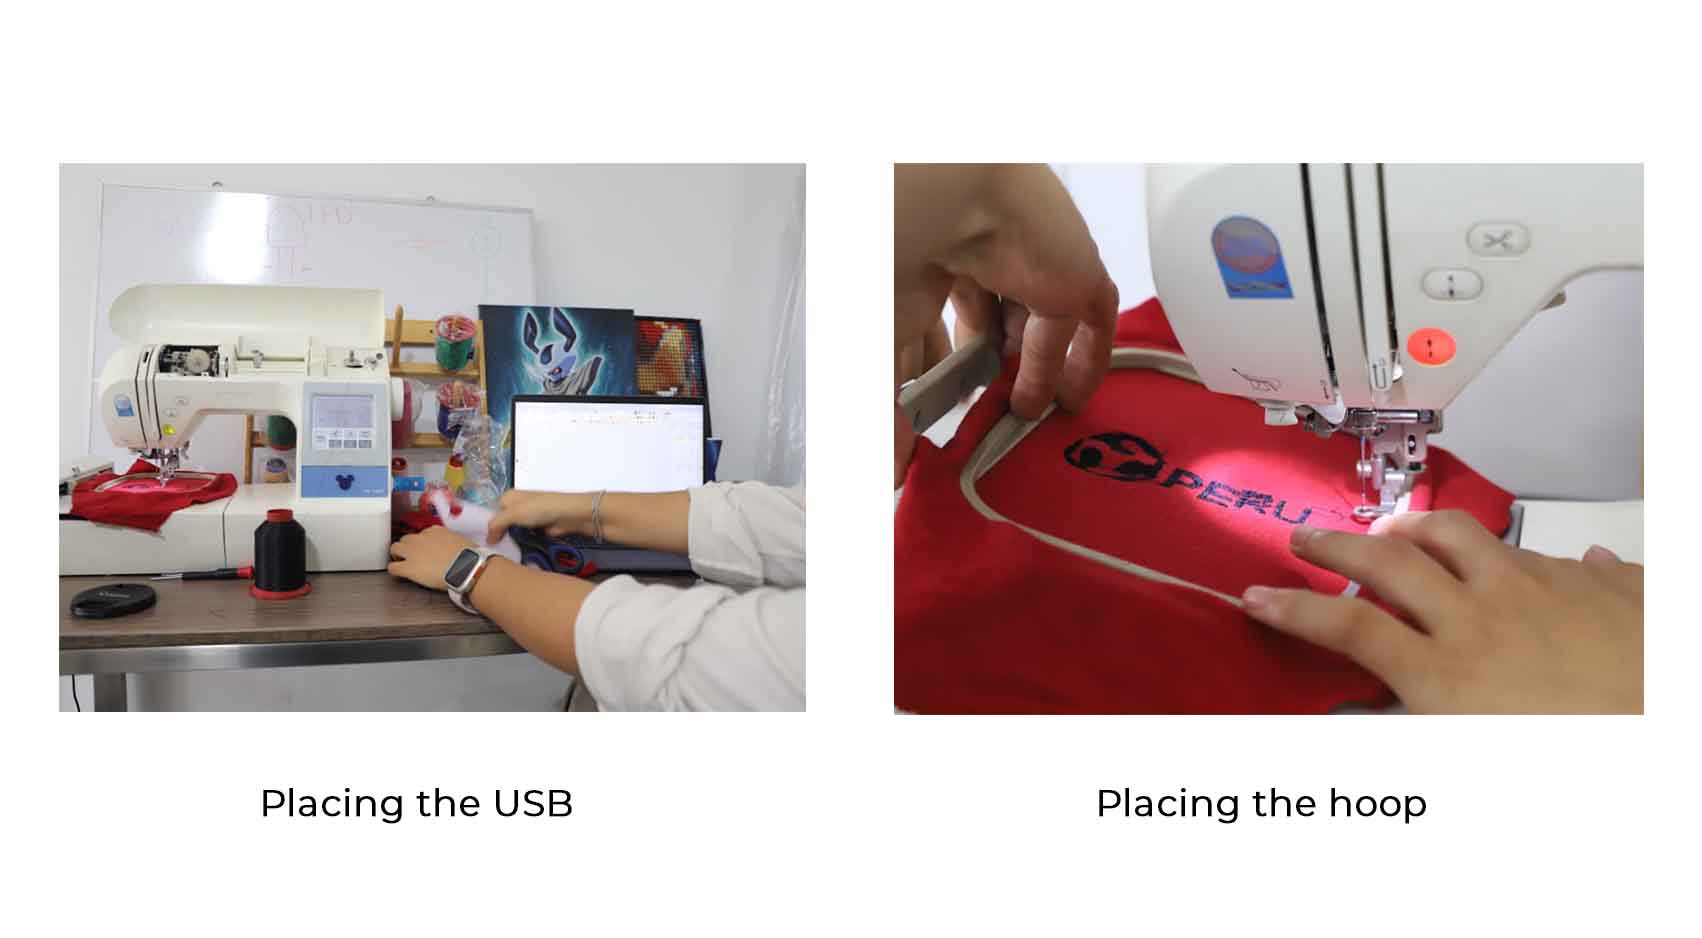
To send the file to be embroidered it is necessary to save or export it through the "Export machine file" icon, we save and copy it to an external drive (USB) with this we are ready to load it into the machine and calibrate the position , here I leave you a video.
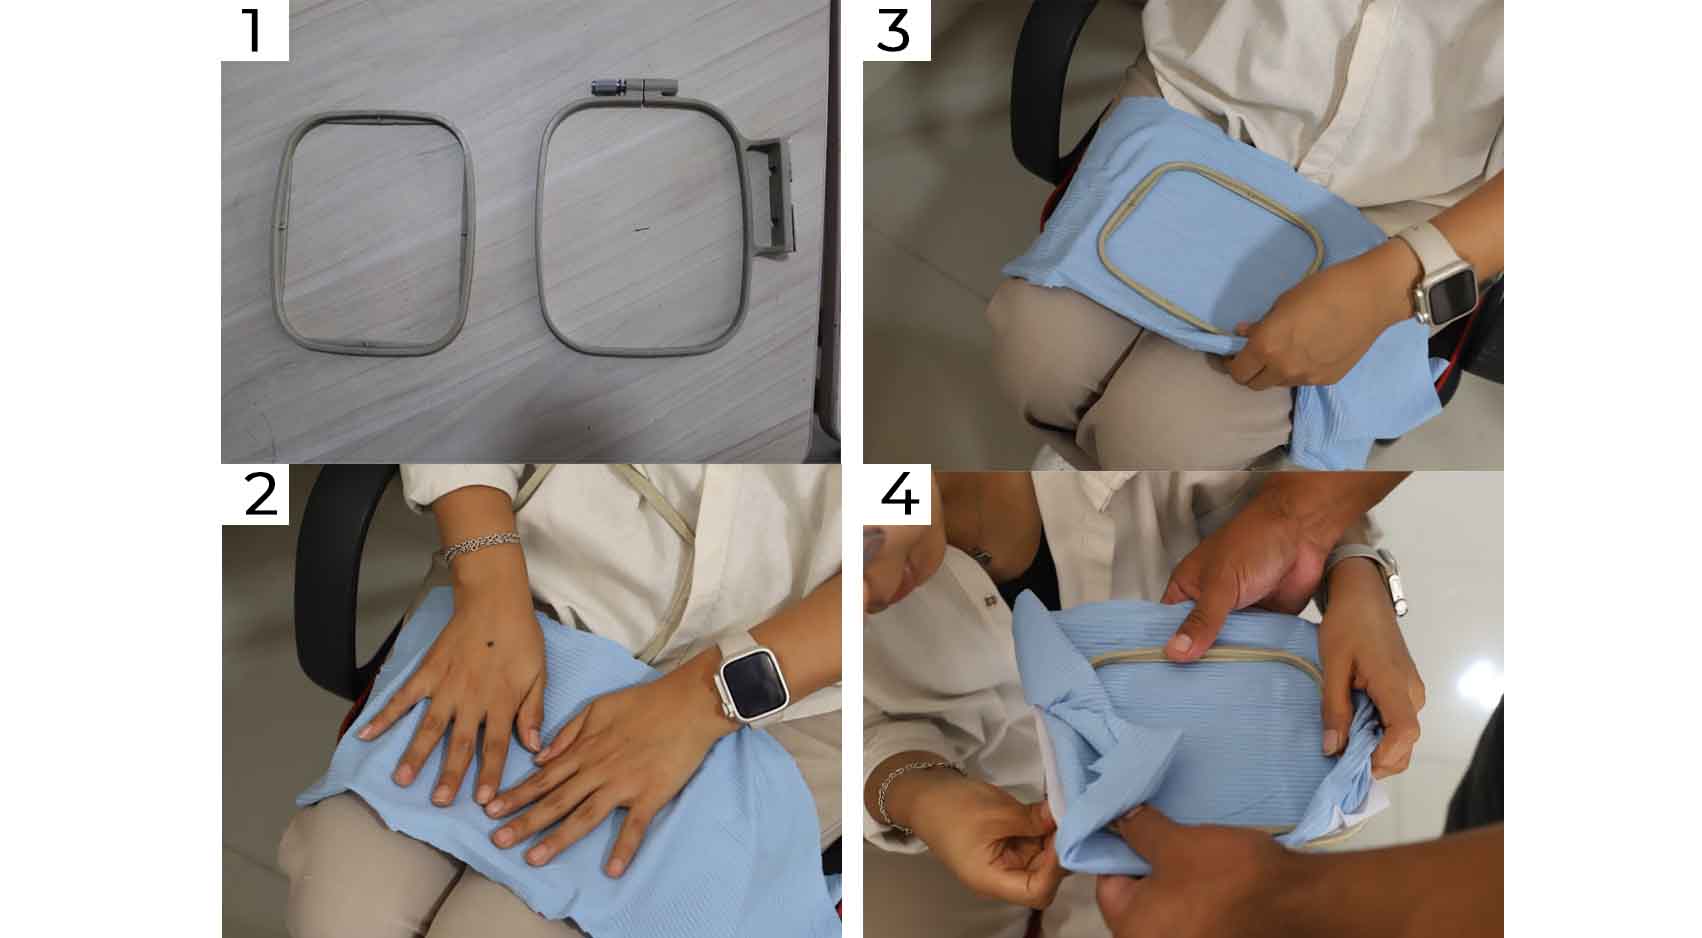
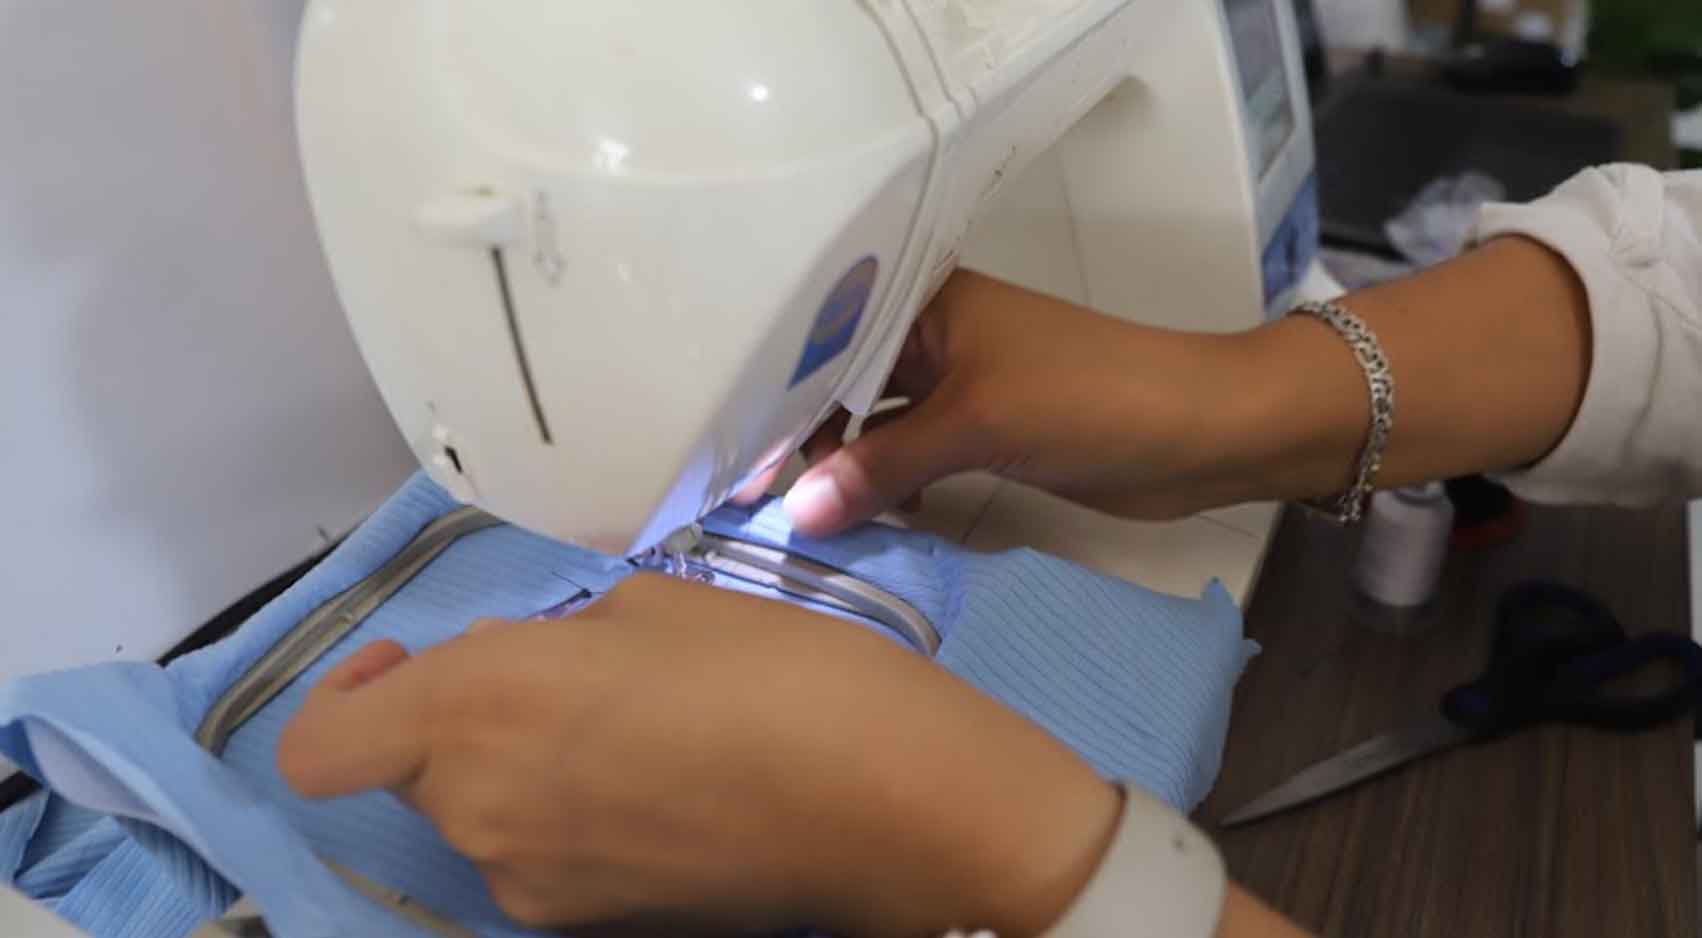
Setting up the hoop
To place the frame, it is necessary to know that it is made up of these pieces
In this way, we can ensure the position of the frame on the machine
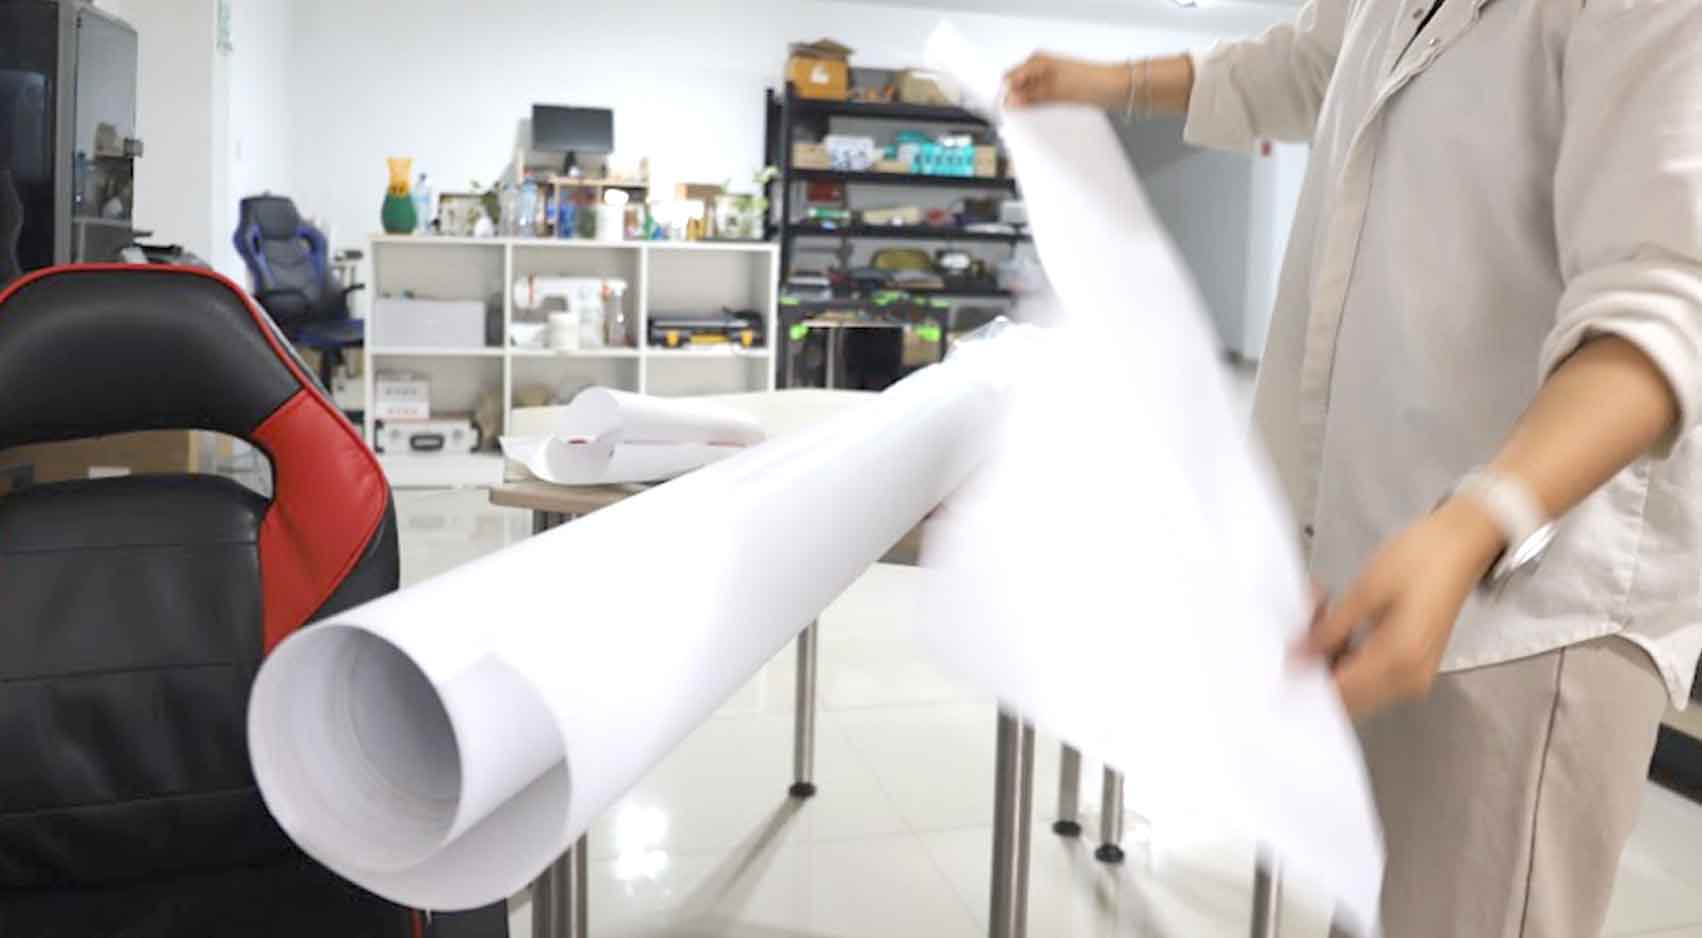
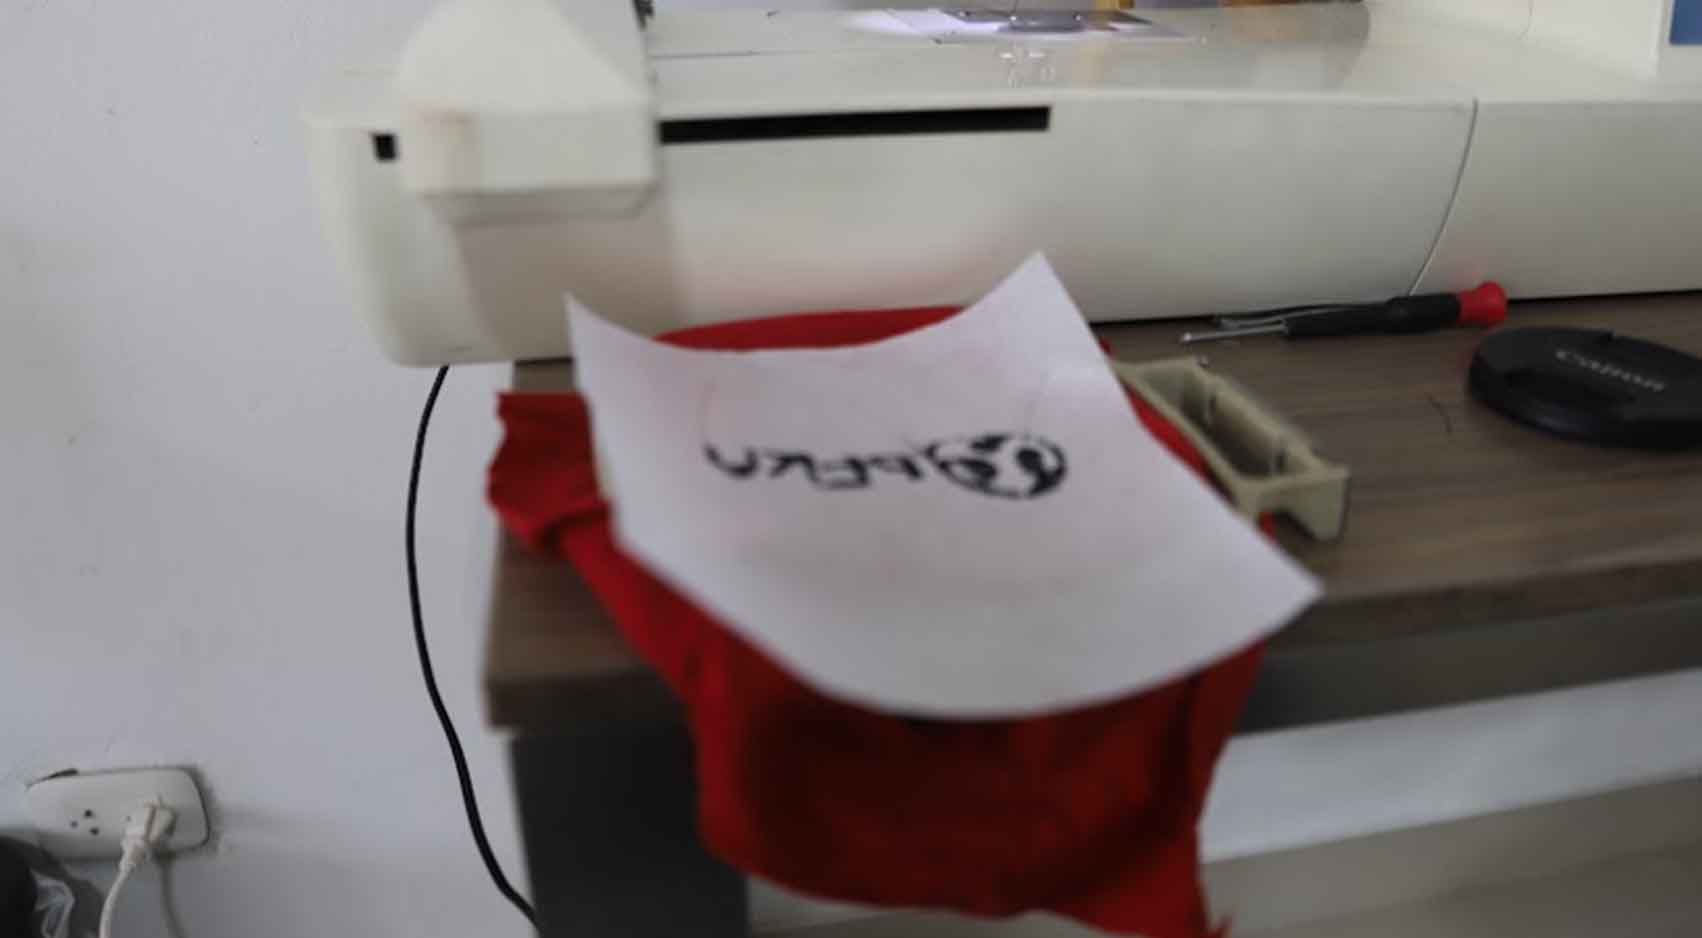
It is important that for embroidery it is not anchored by the pressure of the embroidery needle, it is necessary to buy a paper with a special thickness to achieve greater security in the position on the frame, for this reason we bought PELÓN, it has this name in our city, here a photo of it, we exceeded the quantity, but it will help us later (I hope so).
Positioning
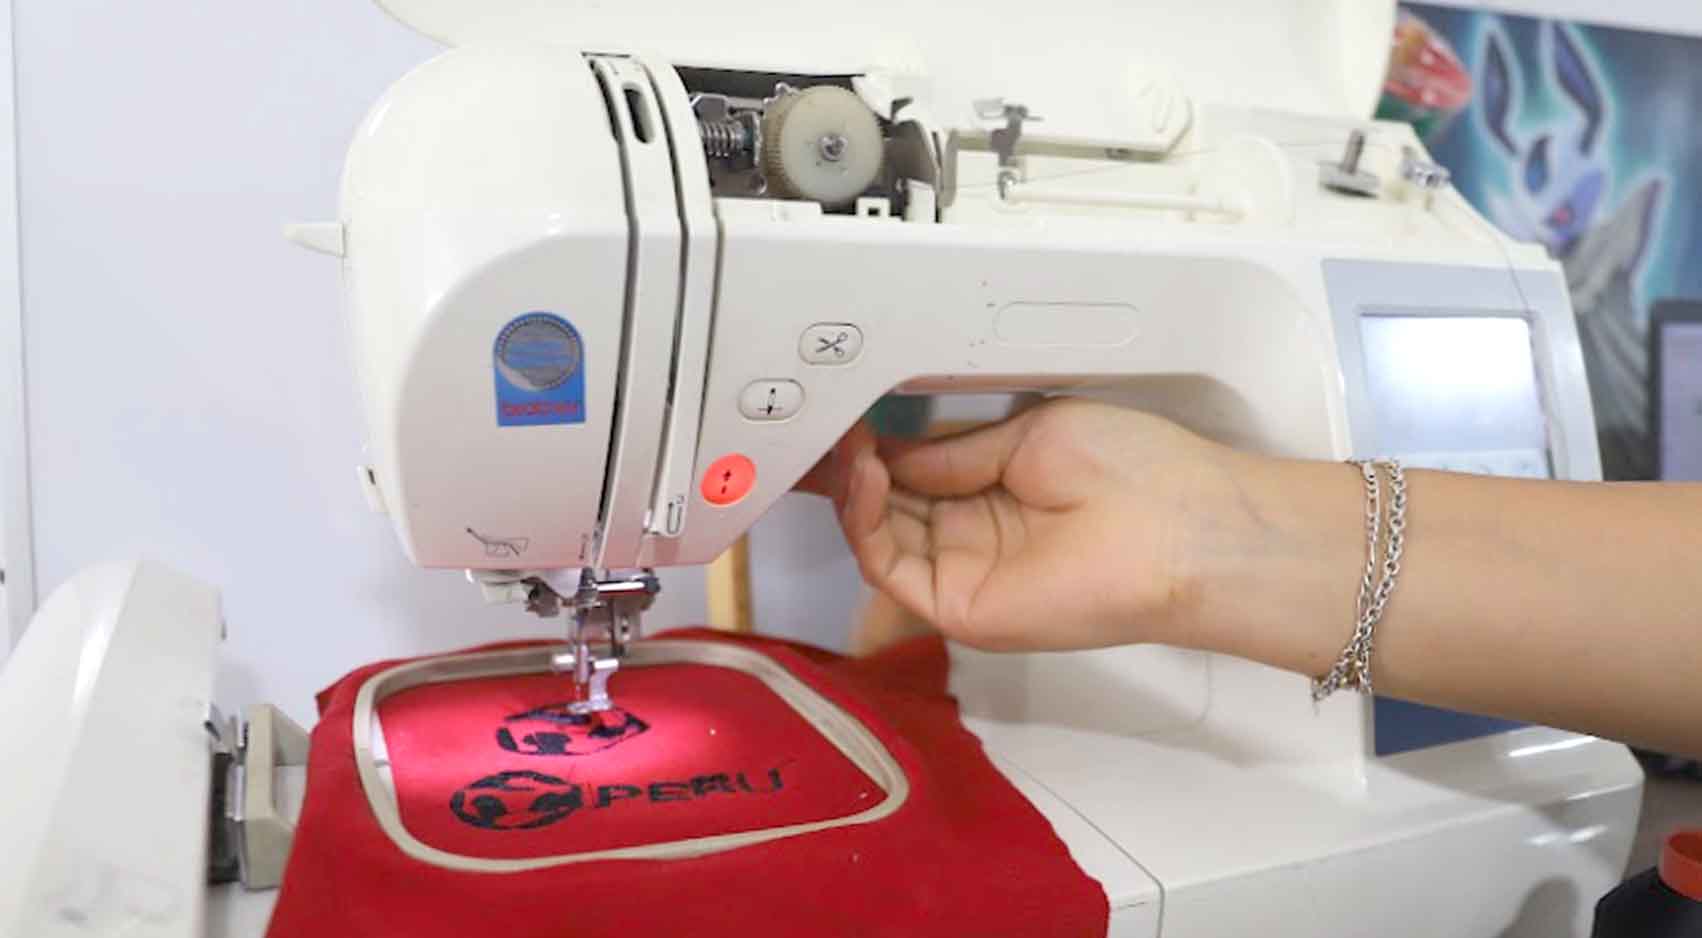
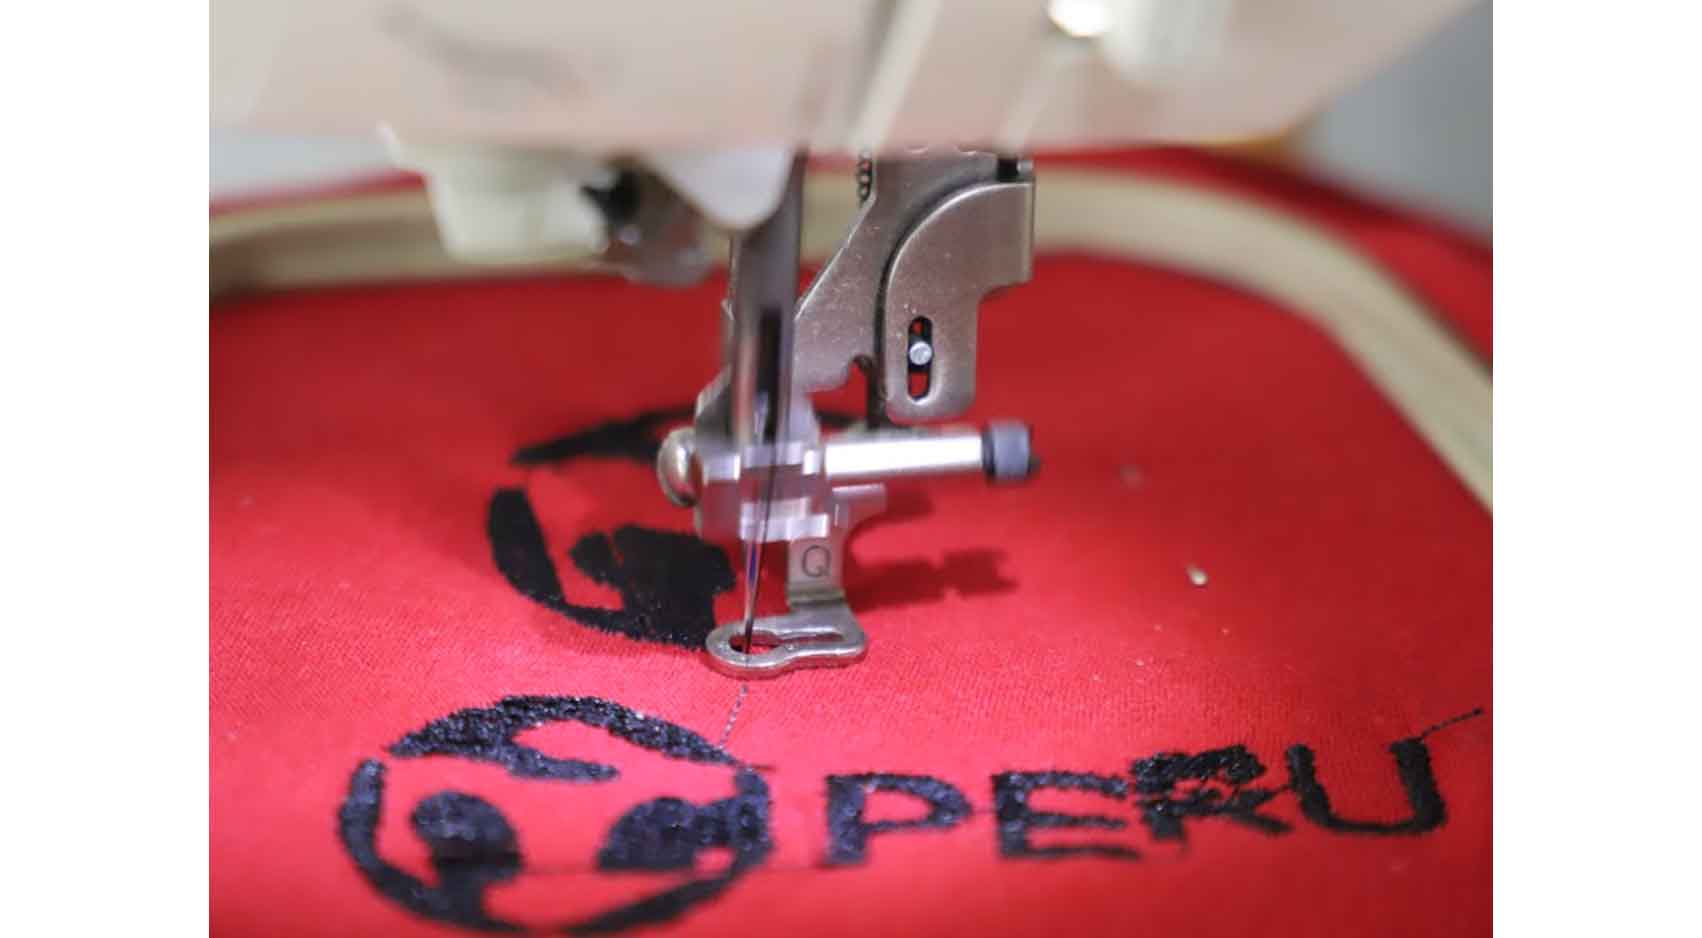
From here with the frame in place, I test the FAB LAB logo. It should be noted that we tested on a red cotton fabric, so we used black thread. I show you how the position of our frame looks.
Sending and embroidering
To send our work to be positioned, it is necessary that we already have the USB that will go to our machine, from here we will open the file and we will embroider it.
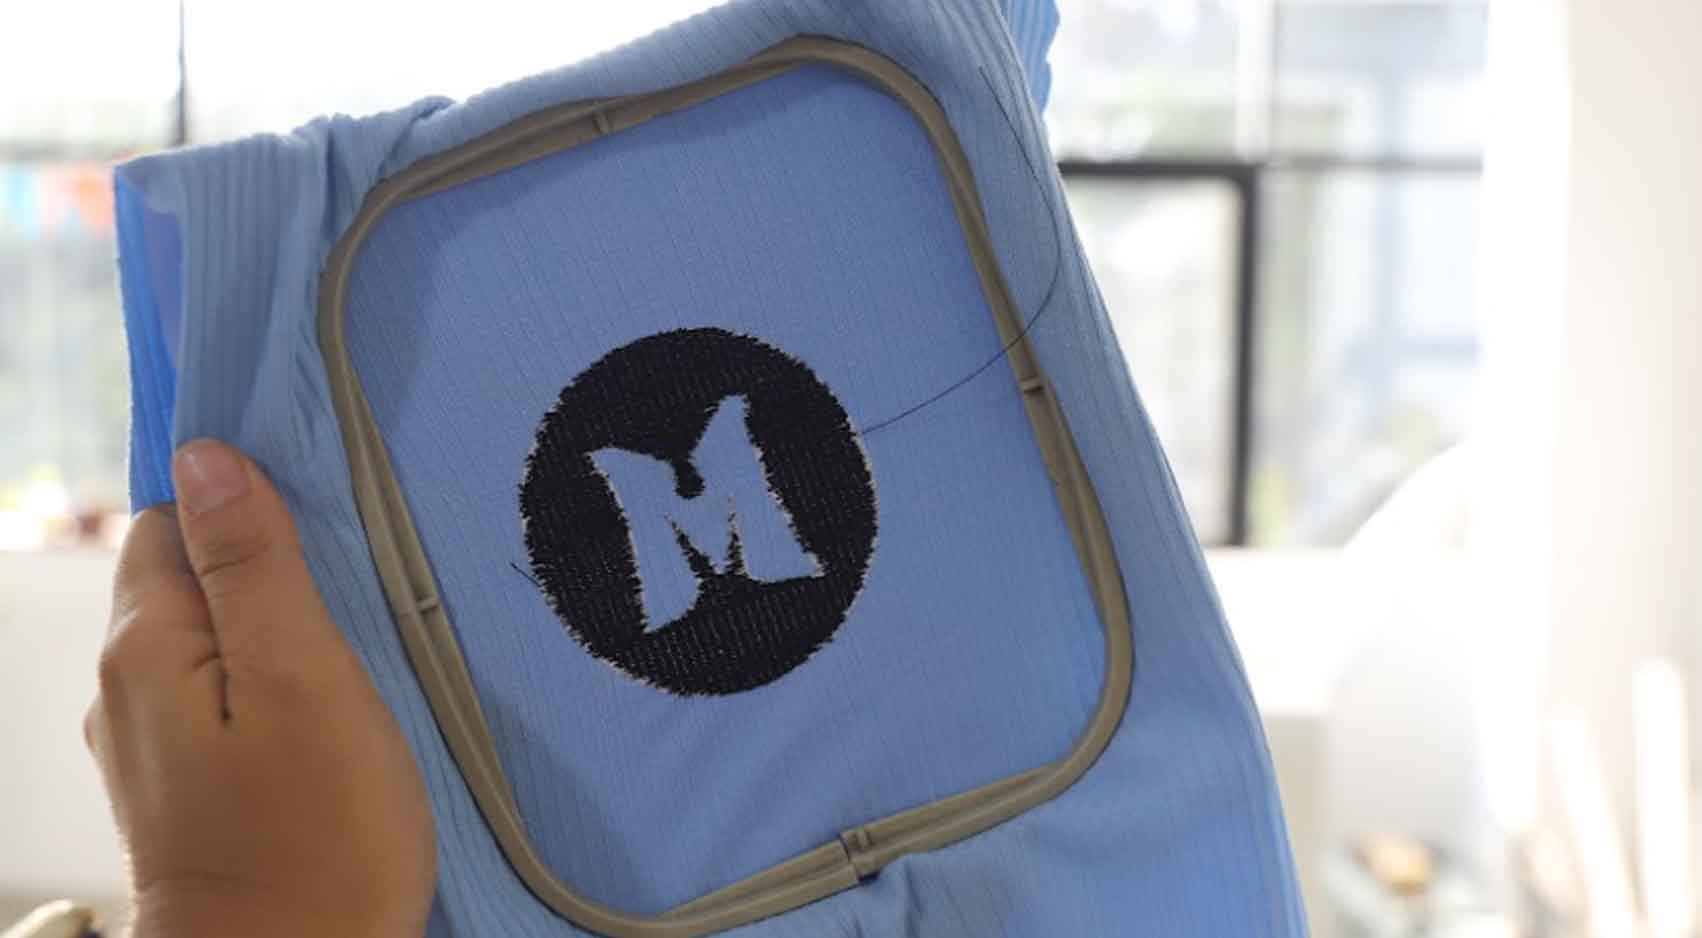
My Results
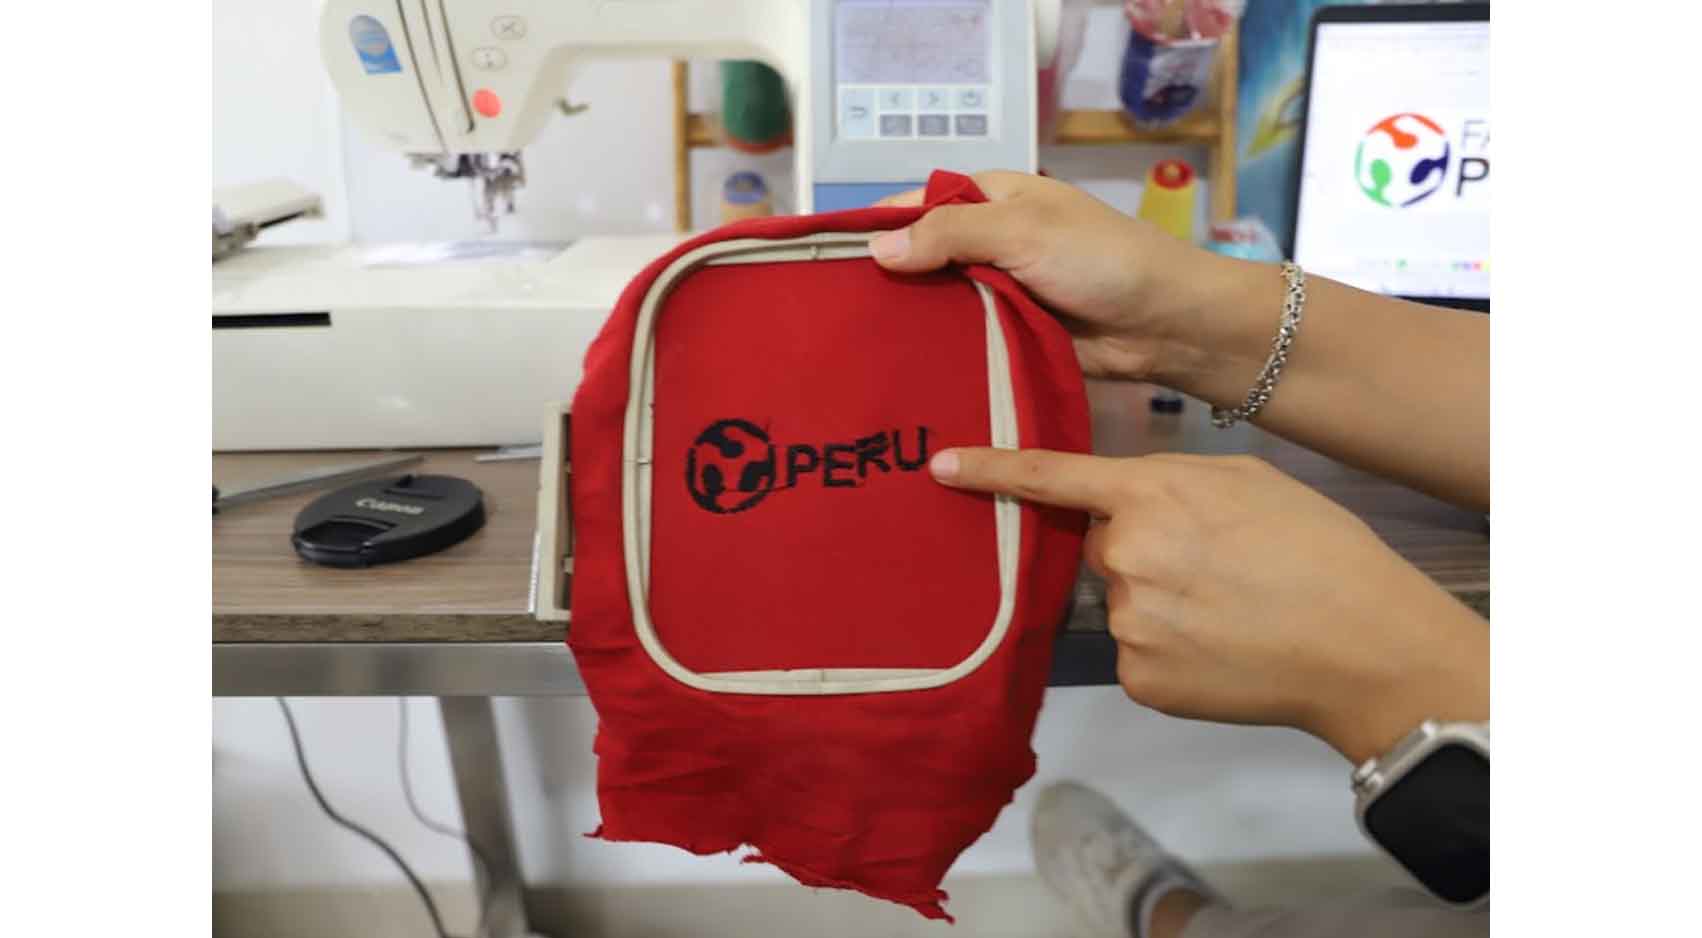
Here I leave you some results of the first Fab Lab logo test, we see that the patterns turned out well, we need to do more tests so I ventured to carry out the logo test for my Final Project.
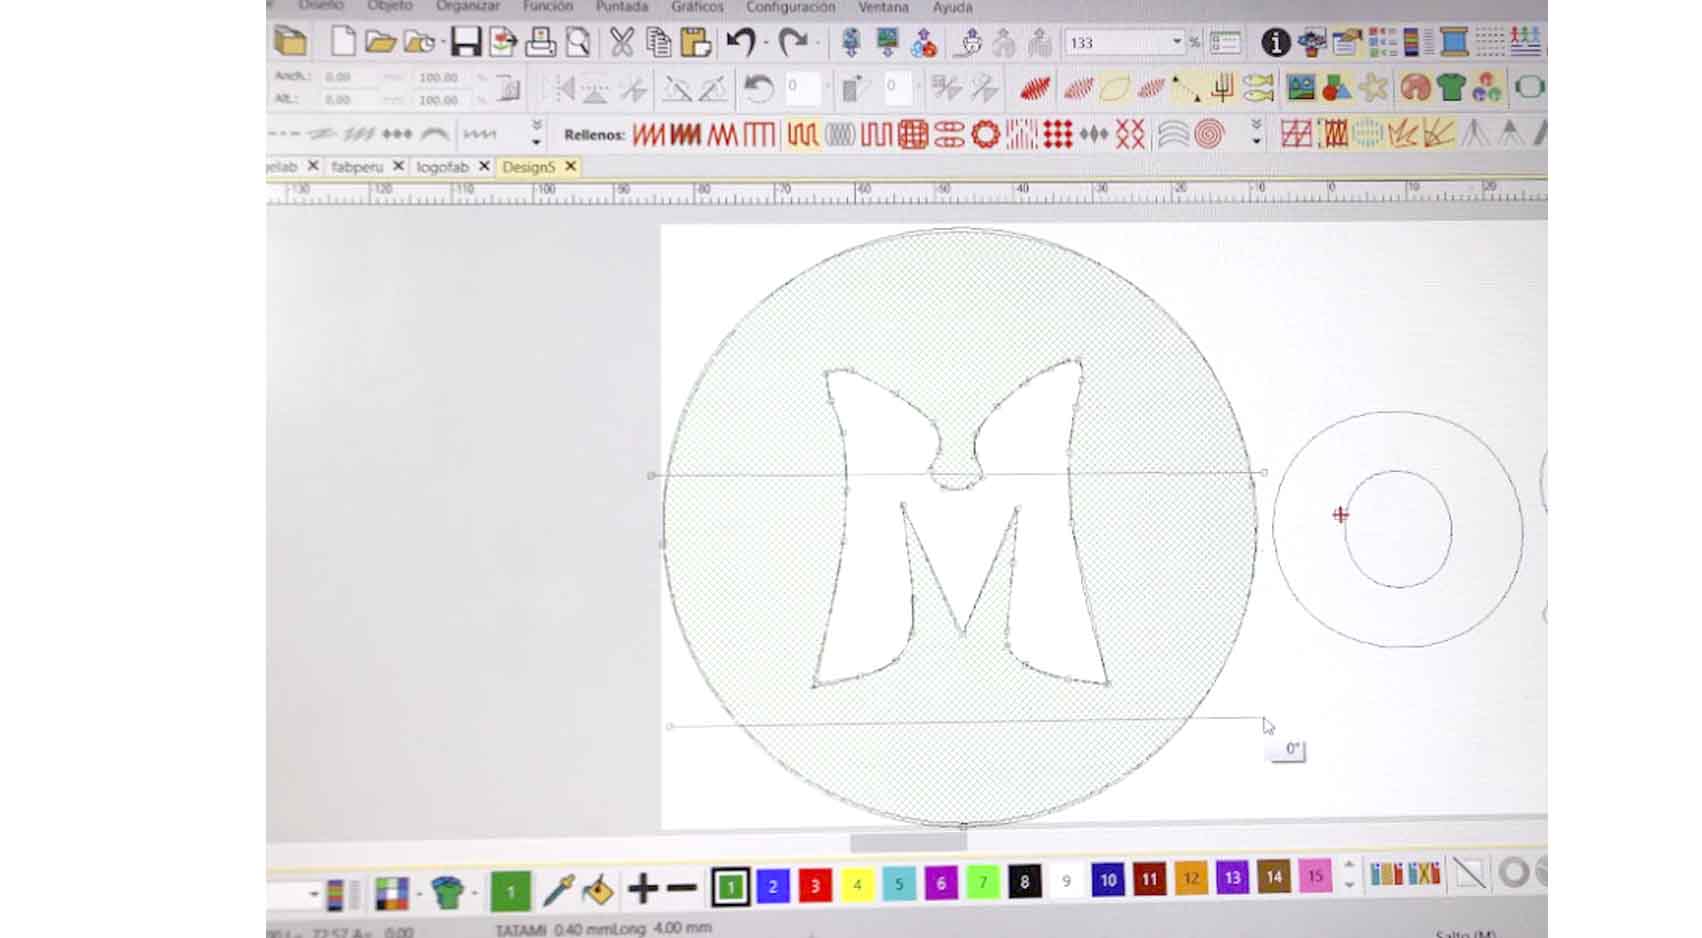
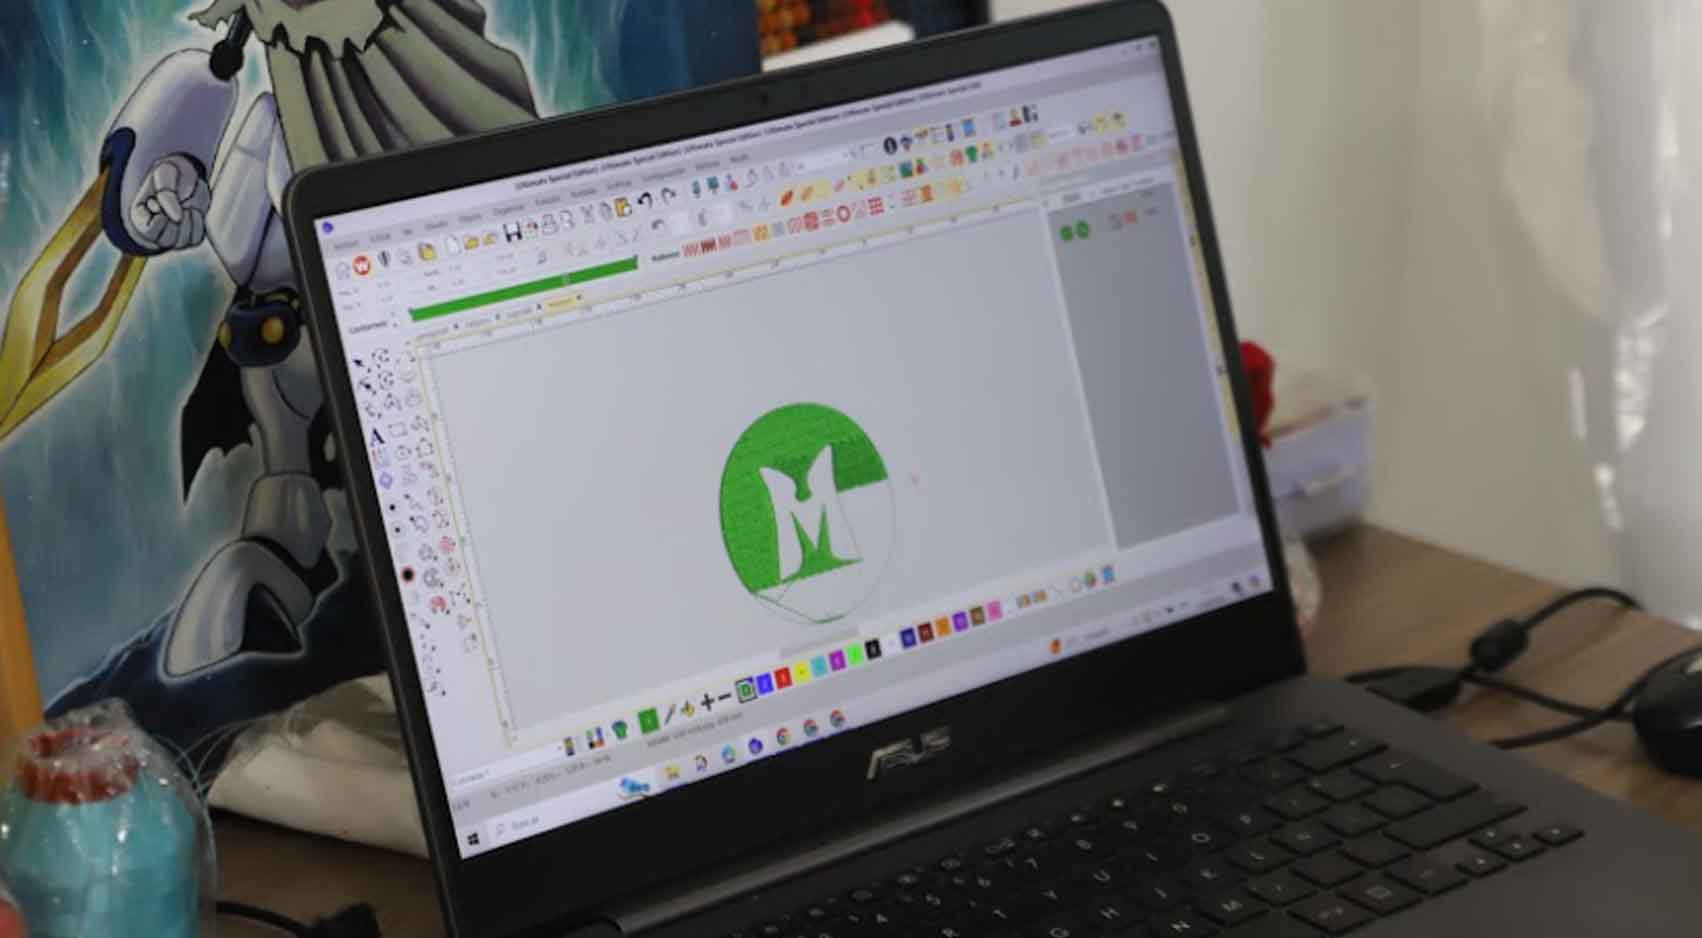
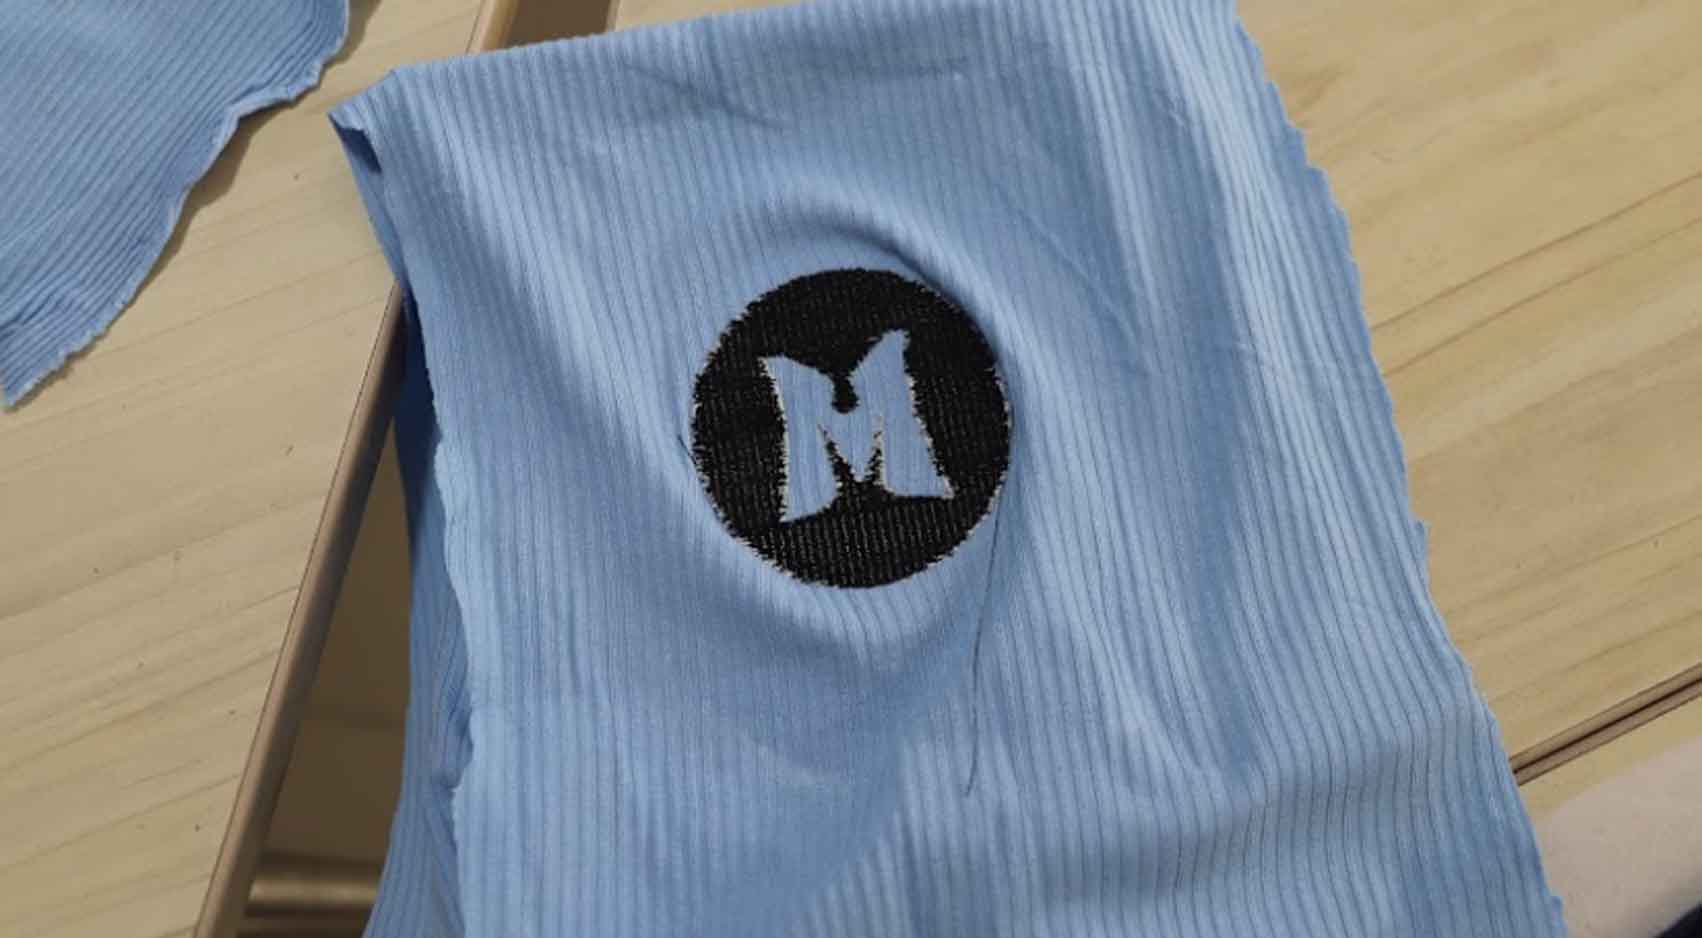
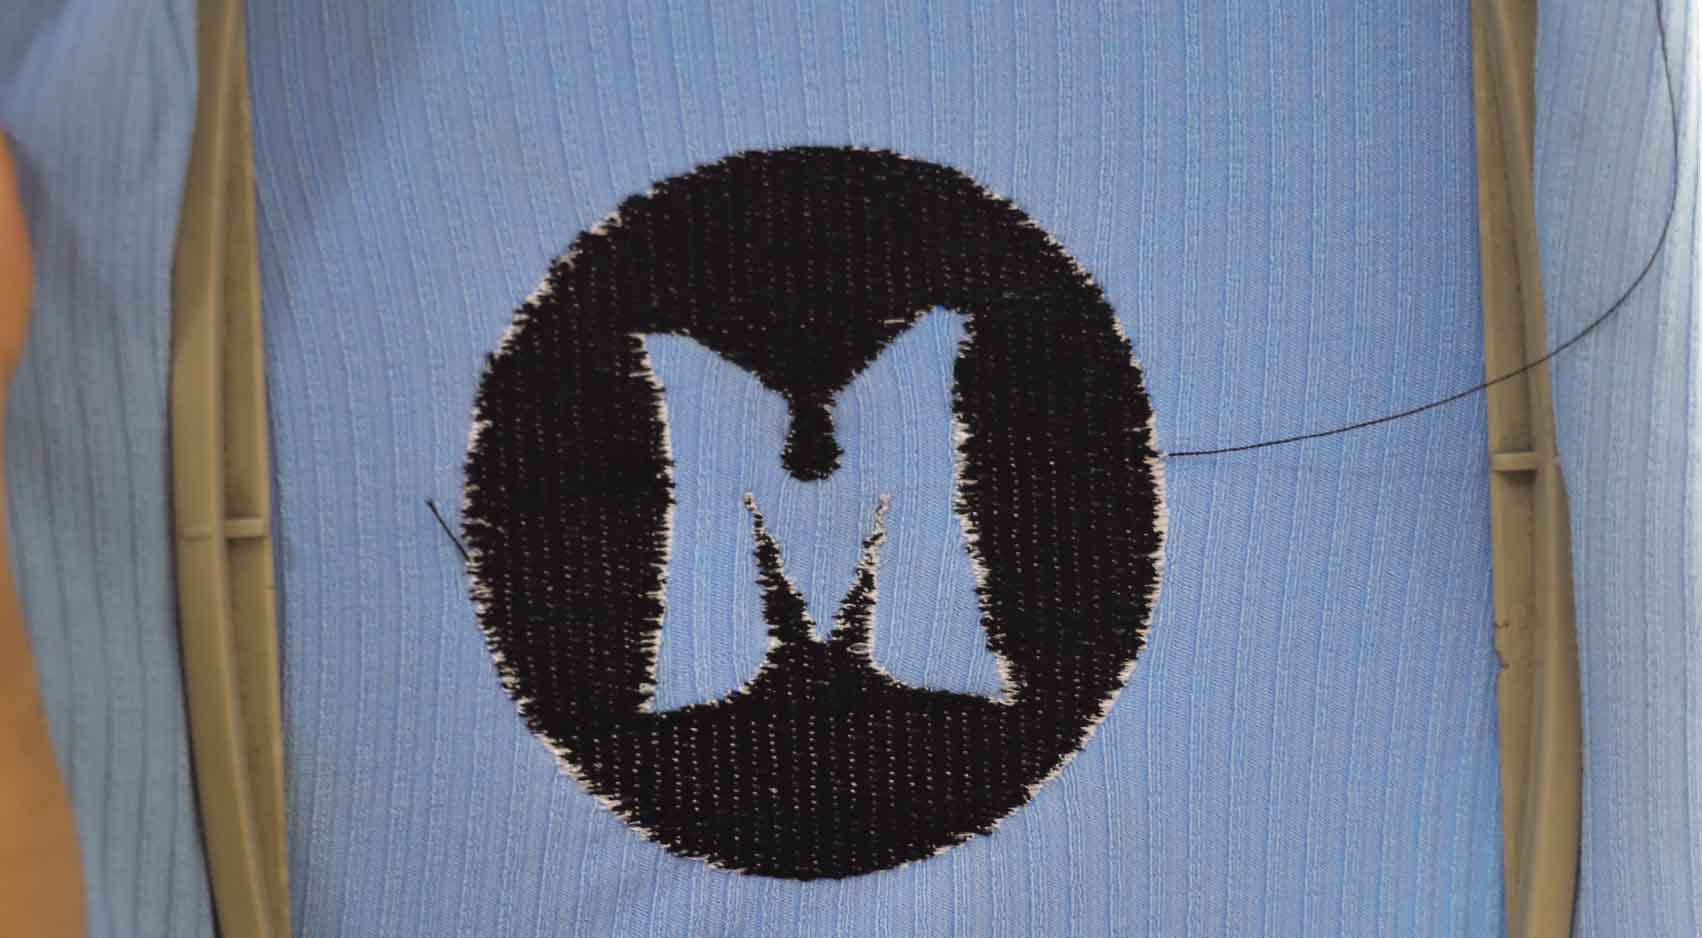
Here we start by drawing my logo, it is the same one I designed in Week 02, I import it as a jpg image and start drawing on top.
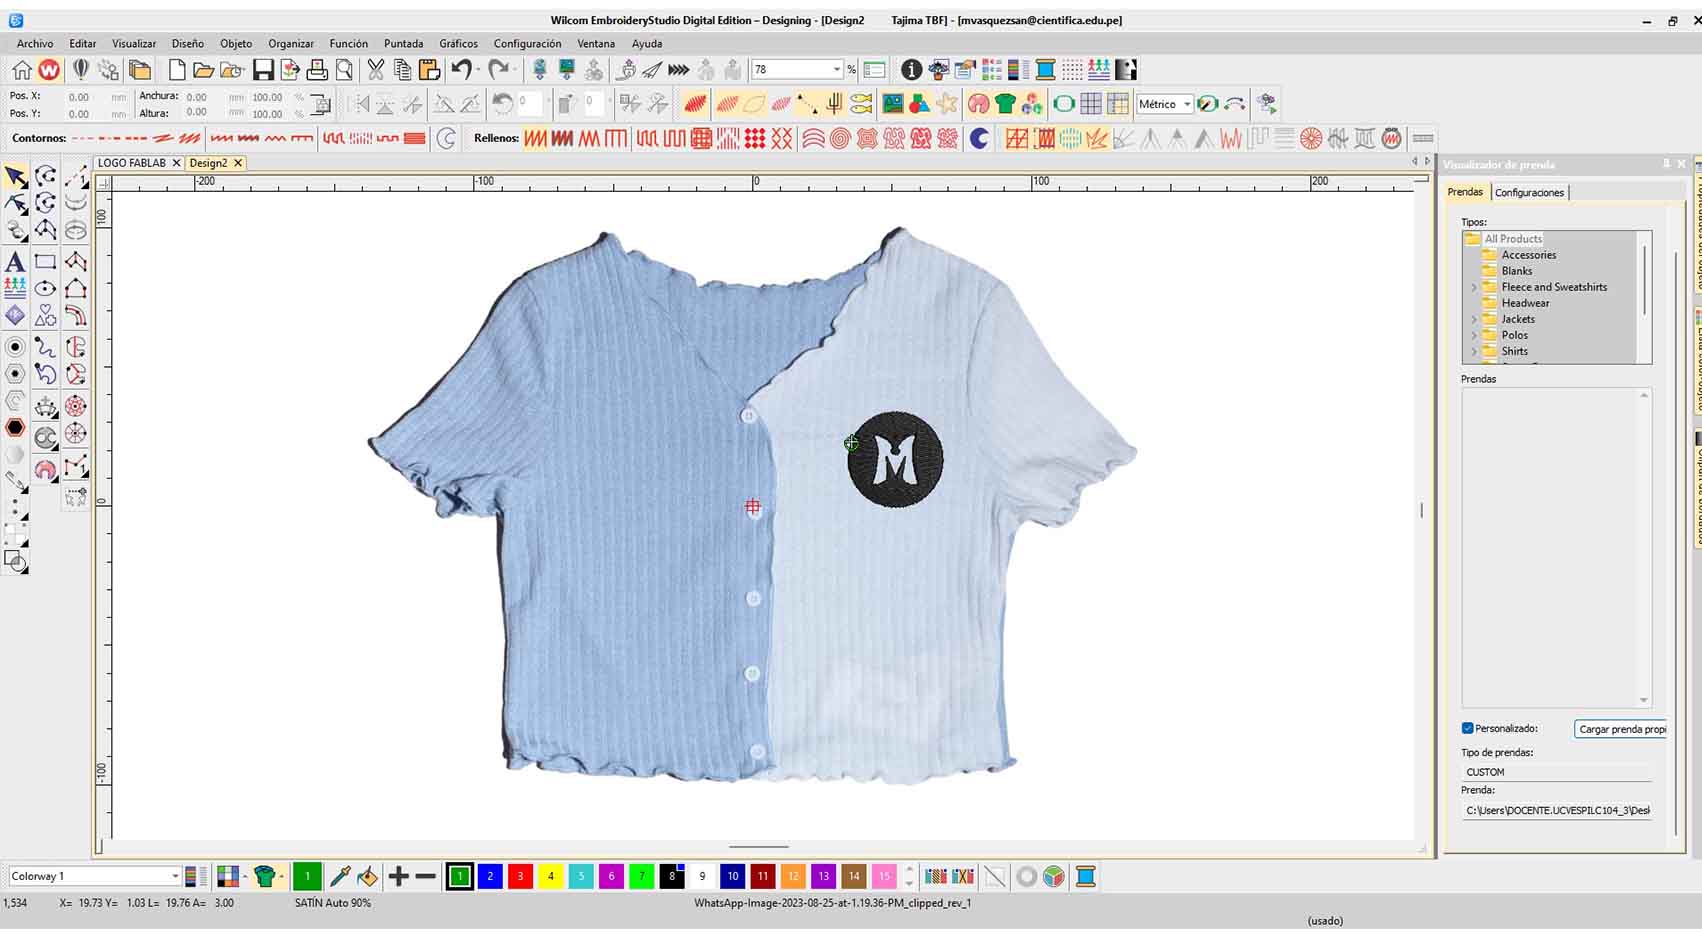
I took the opportunity to upload a shirt similar to the one I want to embroider, here is the result!
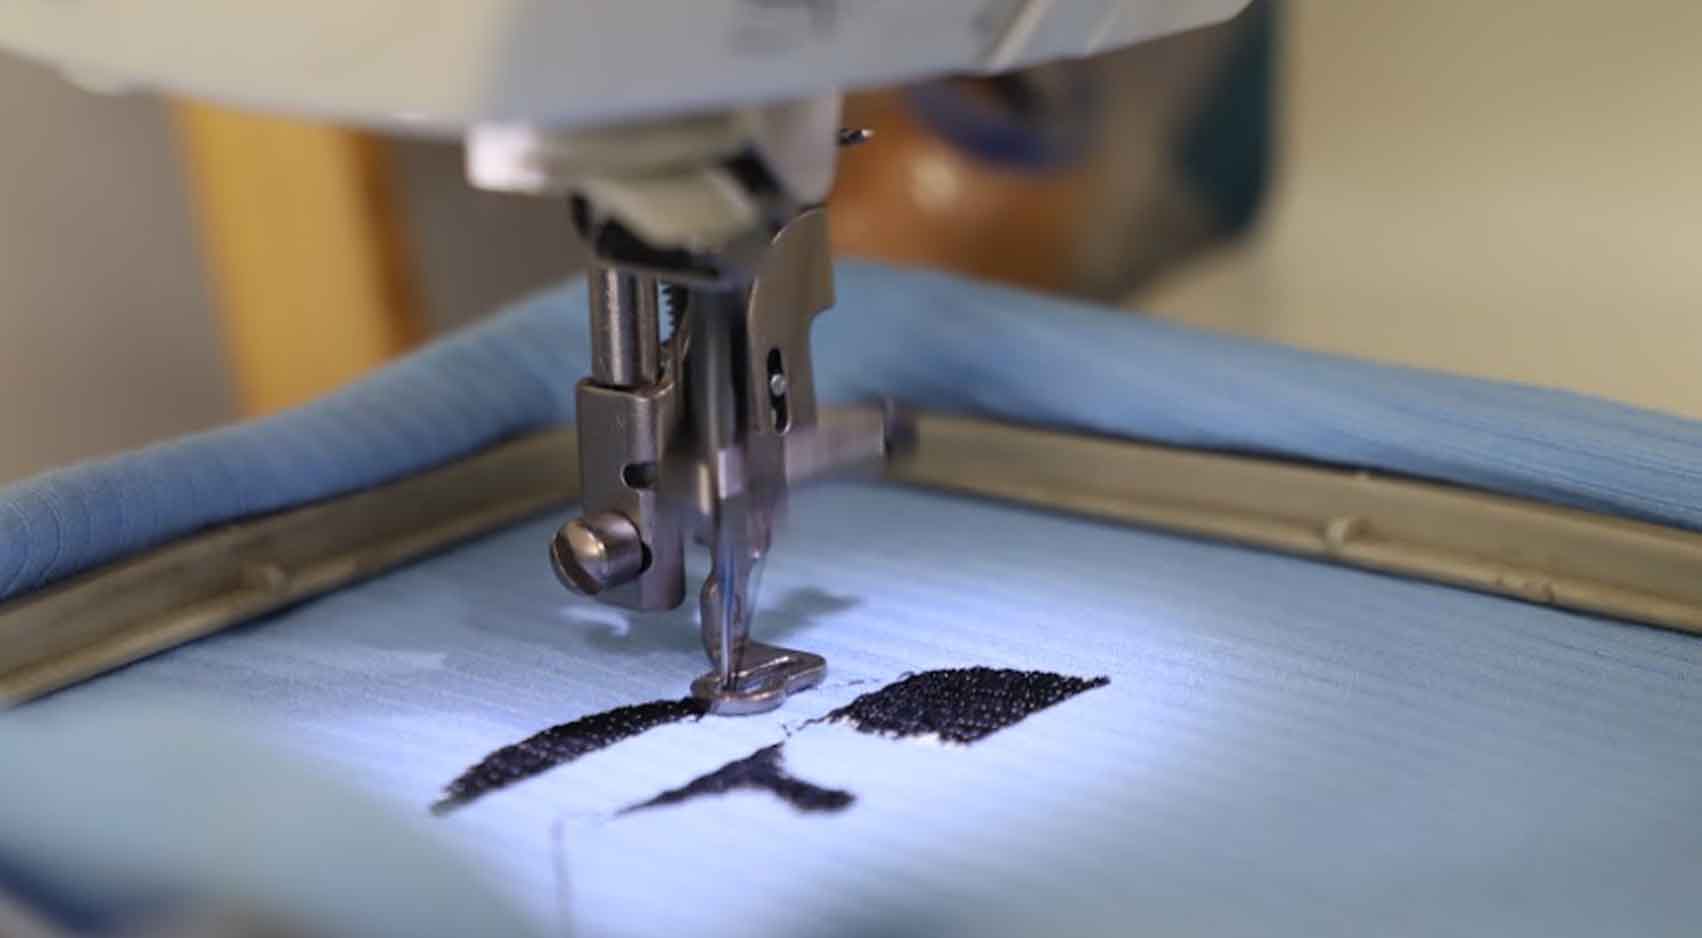
Here is a simulation of the embroidery process!
Here I leave you some photos of my process and finally the video of the embroidery!