Sketches, main functions, operability, user, type of system, reactions, form.
Operability, operating ideas, component programming, operating modes, stability, aesthetic function
Physical tests of operation, power supplies, voltages, design improvements and aesthetics.
Examples | ||
---|---|---|
Project Name | Autor | Link |
Smart trapview | Amal Saidani | Link |
Mosq comes from "Mosca" in Spanish, I added the "q" because it comes from the Quentorres board.
The reasons are indicated in the following list:
1. In our laboratory at the Universidad Cientifica del Sur, there are many flies, it is because of the proximity of the Peruvian Riding Club.
2. They tend to stop in many places, contaminating our workplace.
3. They have spoiled 3D prints, accessing the printing bed, extruder and other parts of our printer.
4. No matter how much we have fumigated, the flies come back, it is essential to avoid fumigations that mostly spoil the rails of our machines.
About the materiality, the body will be printed in wood PLA, and it will be light, so that with the load of interior motors it will not weigh so much, the rotating blades will also be in PLA of similar conditions but different color, it is foreseen to use white color or similar in a very thin layer of printing to achieve flexibility.
In the same way we will try to make the body in different materials, such as resin and laser cut in 4mm Plywood.
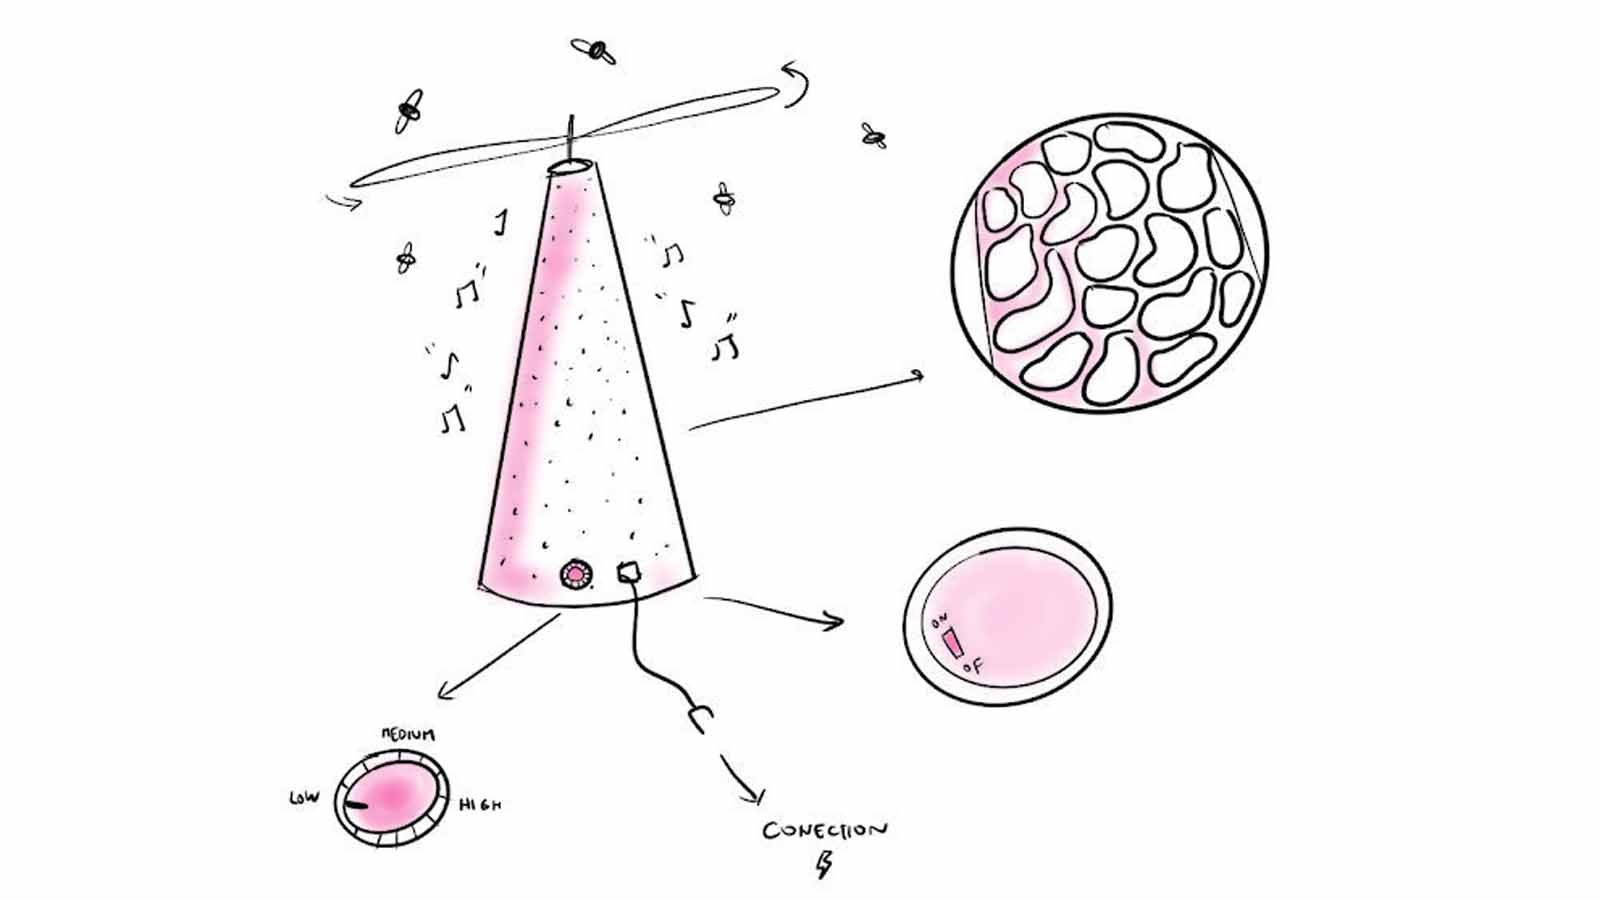
What my machine will do exactly is to scare away flies within a radius of 2m from the position of the element, on the movements it will make:
1. Rotating blades movement: through a DC motor.
2. Speed control: According to the voltage, the speed will be controlled from the external faces of the device.
3. Interior sound control: It will contain a small interior speaker to emit inaudible noises to the human sense but annoying for the insects.
4. Power supply: It will have a rechargeable battery and also direct power supply from the body of the device, as well as an on/off switch.
To start working on my own website, I have helped me with the Academy class N°1, I leave the link here:
In this way to determine what I have to do is:
1. read, sign the student/instructor/lab agreements, and make commits in your repos, work through a git tutorial
2. build a personal site in the class archive describing you and your final project.
So, I started by downloading Visual Studio Code, Git and logging into Git Lab thanks to the logins that were sent by mail.
To start with my web, first I was watching a tutorial about HTML + CSS language.
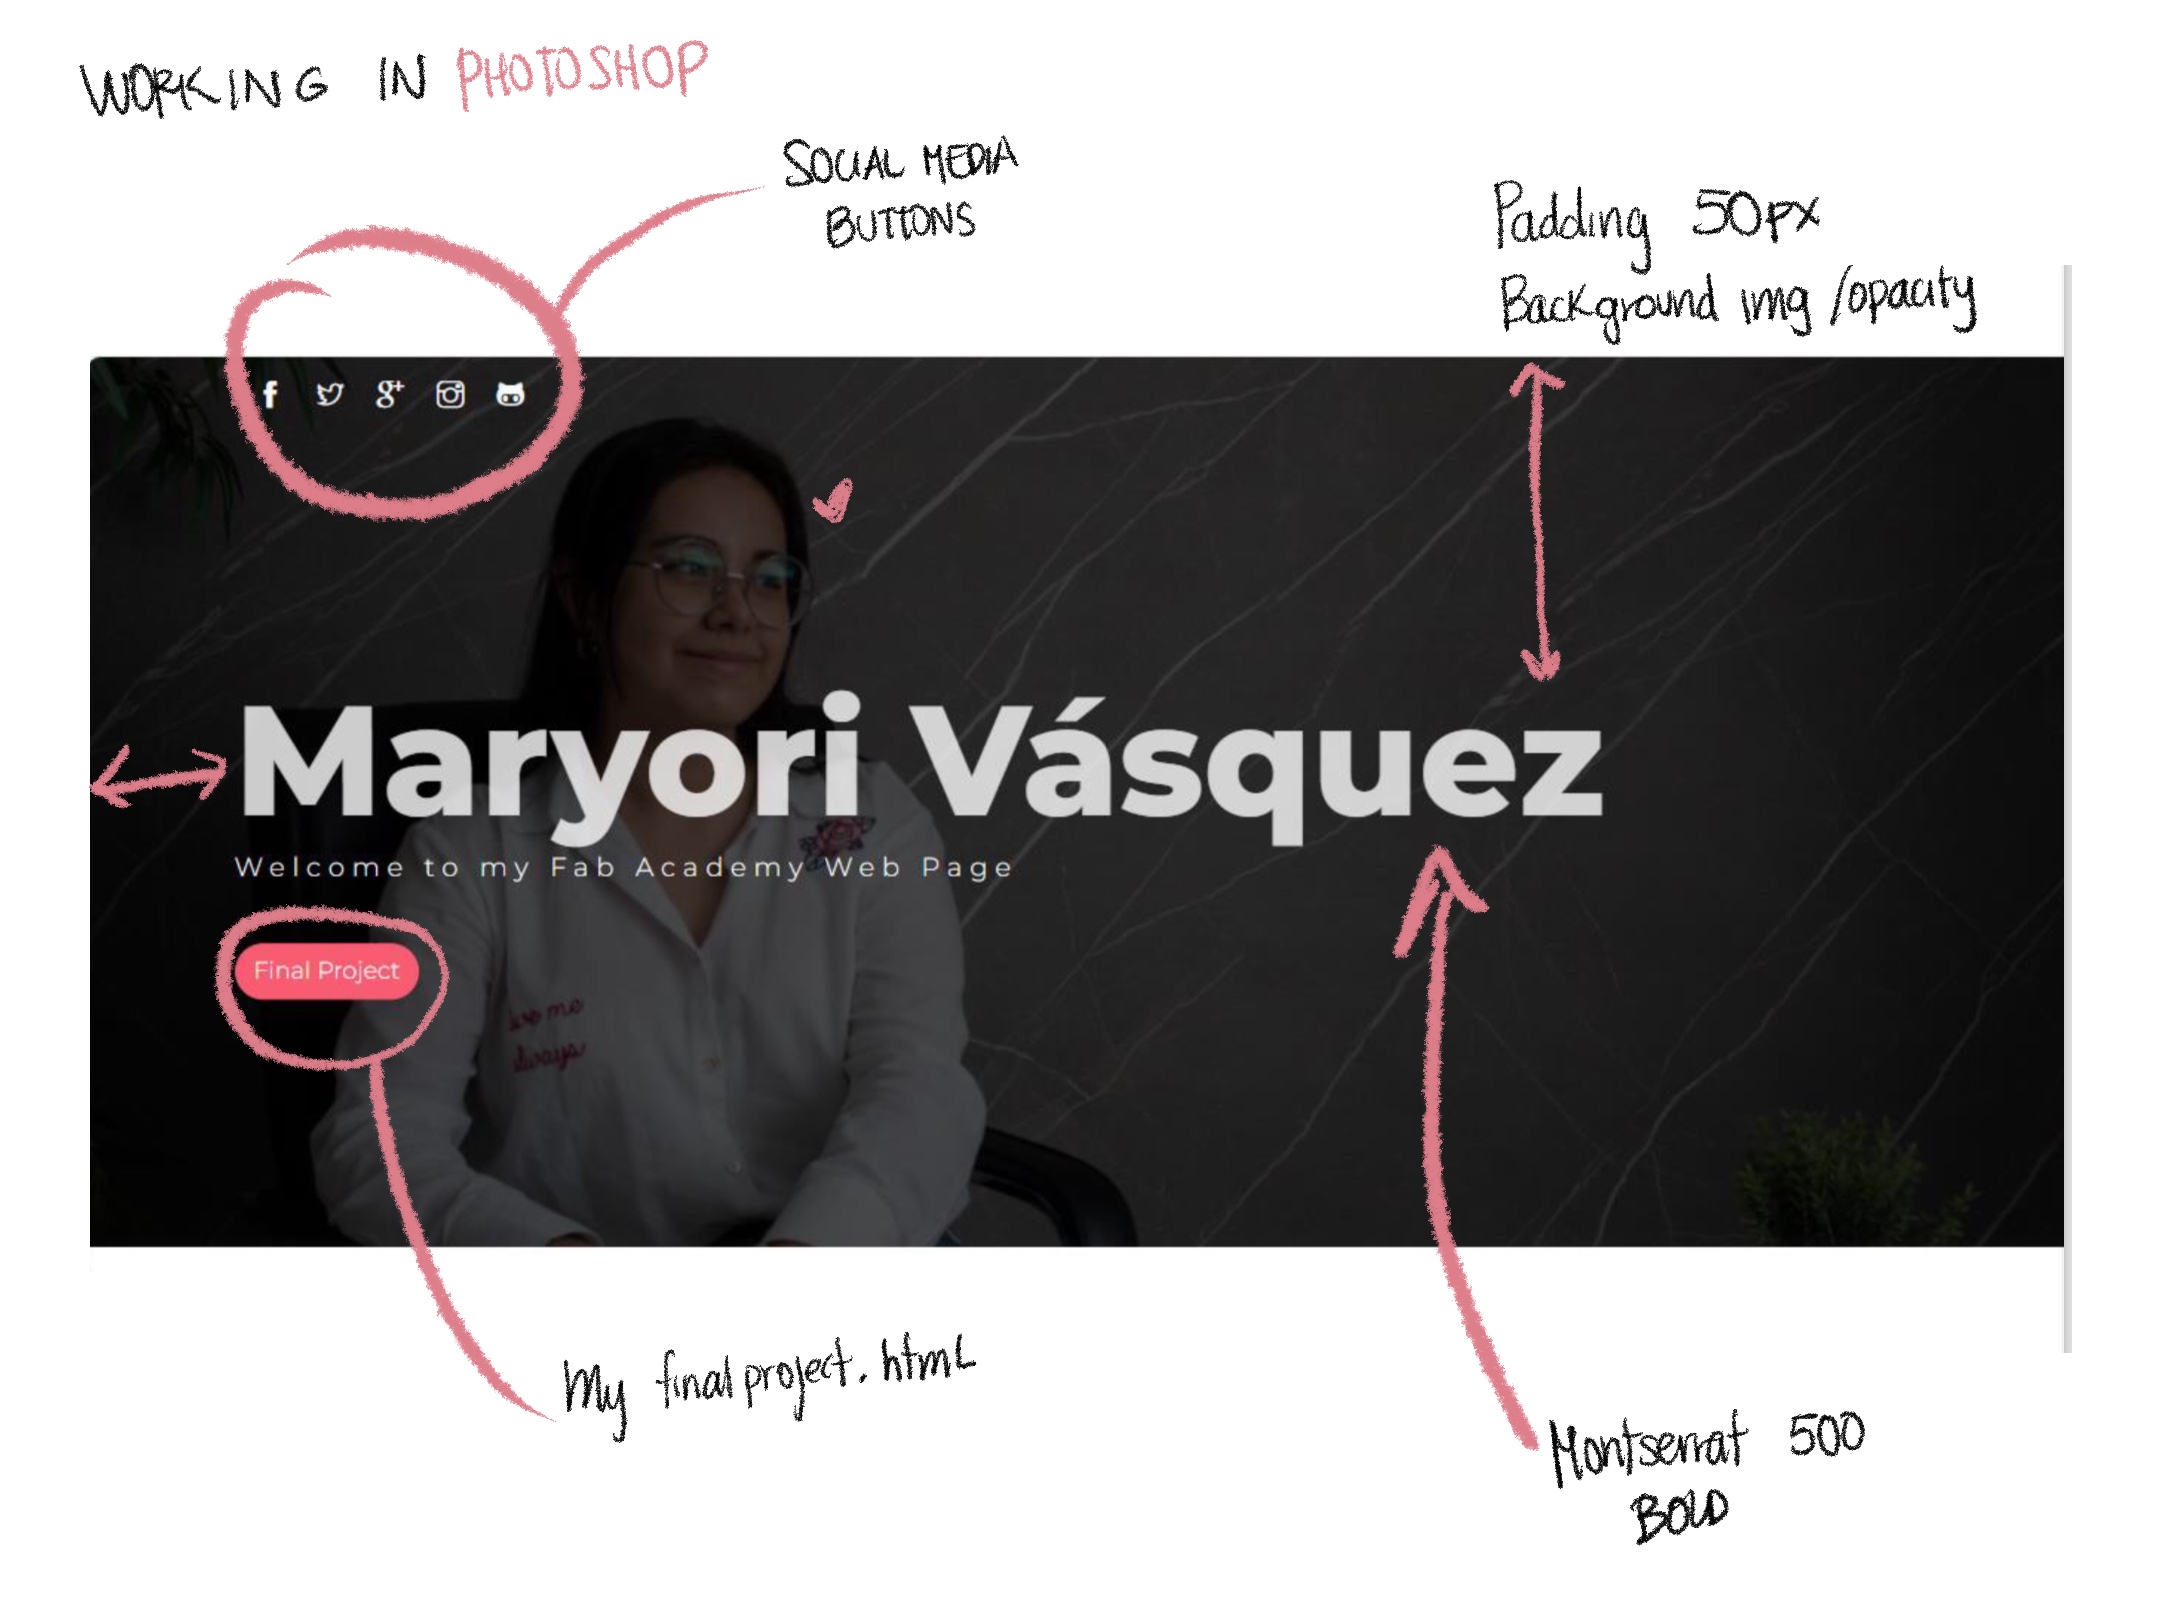
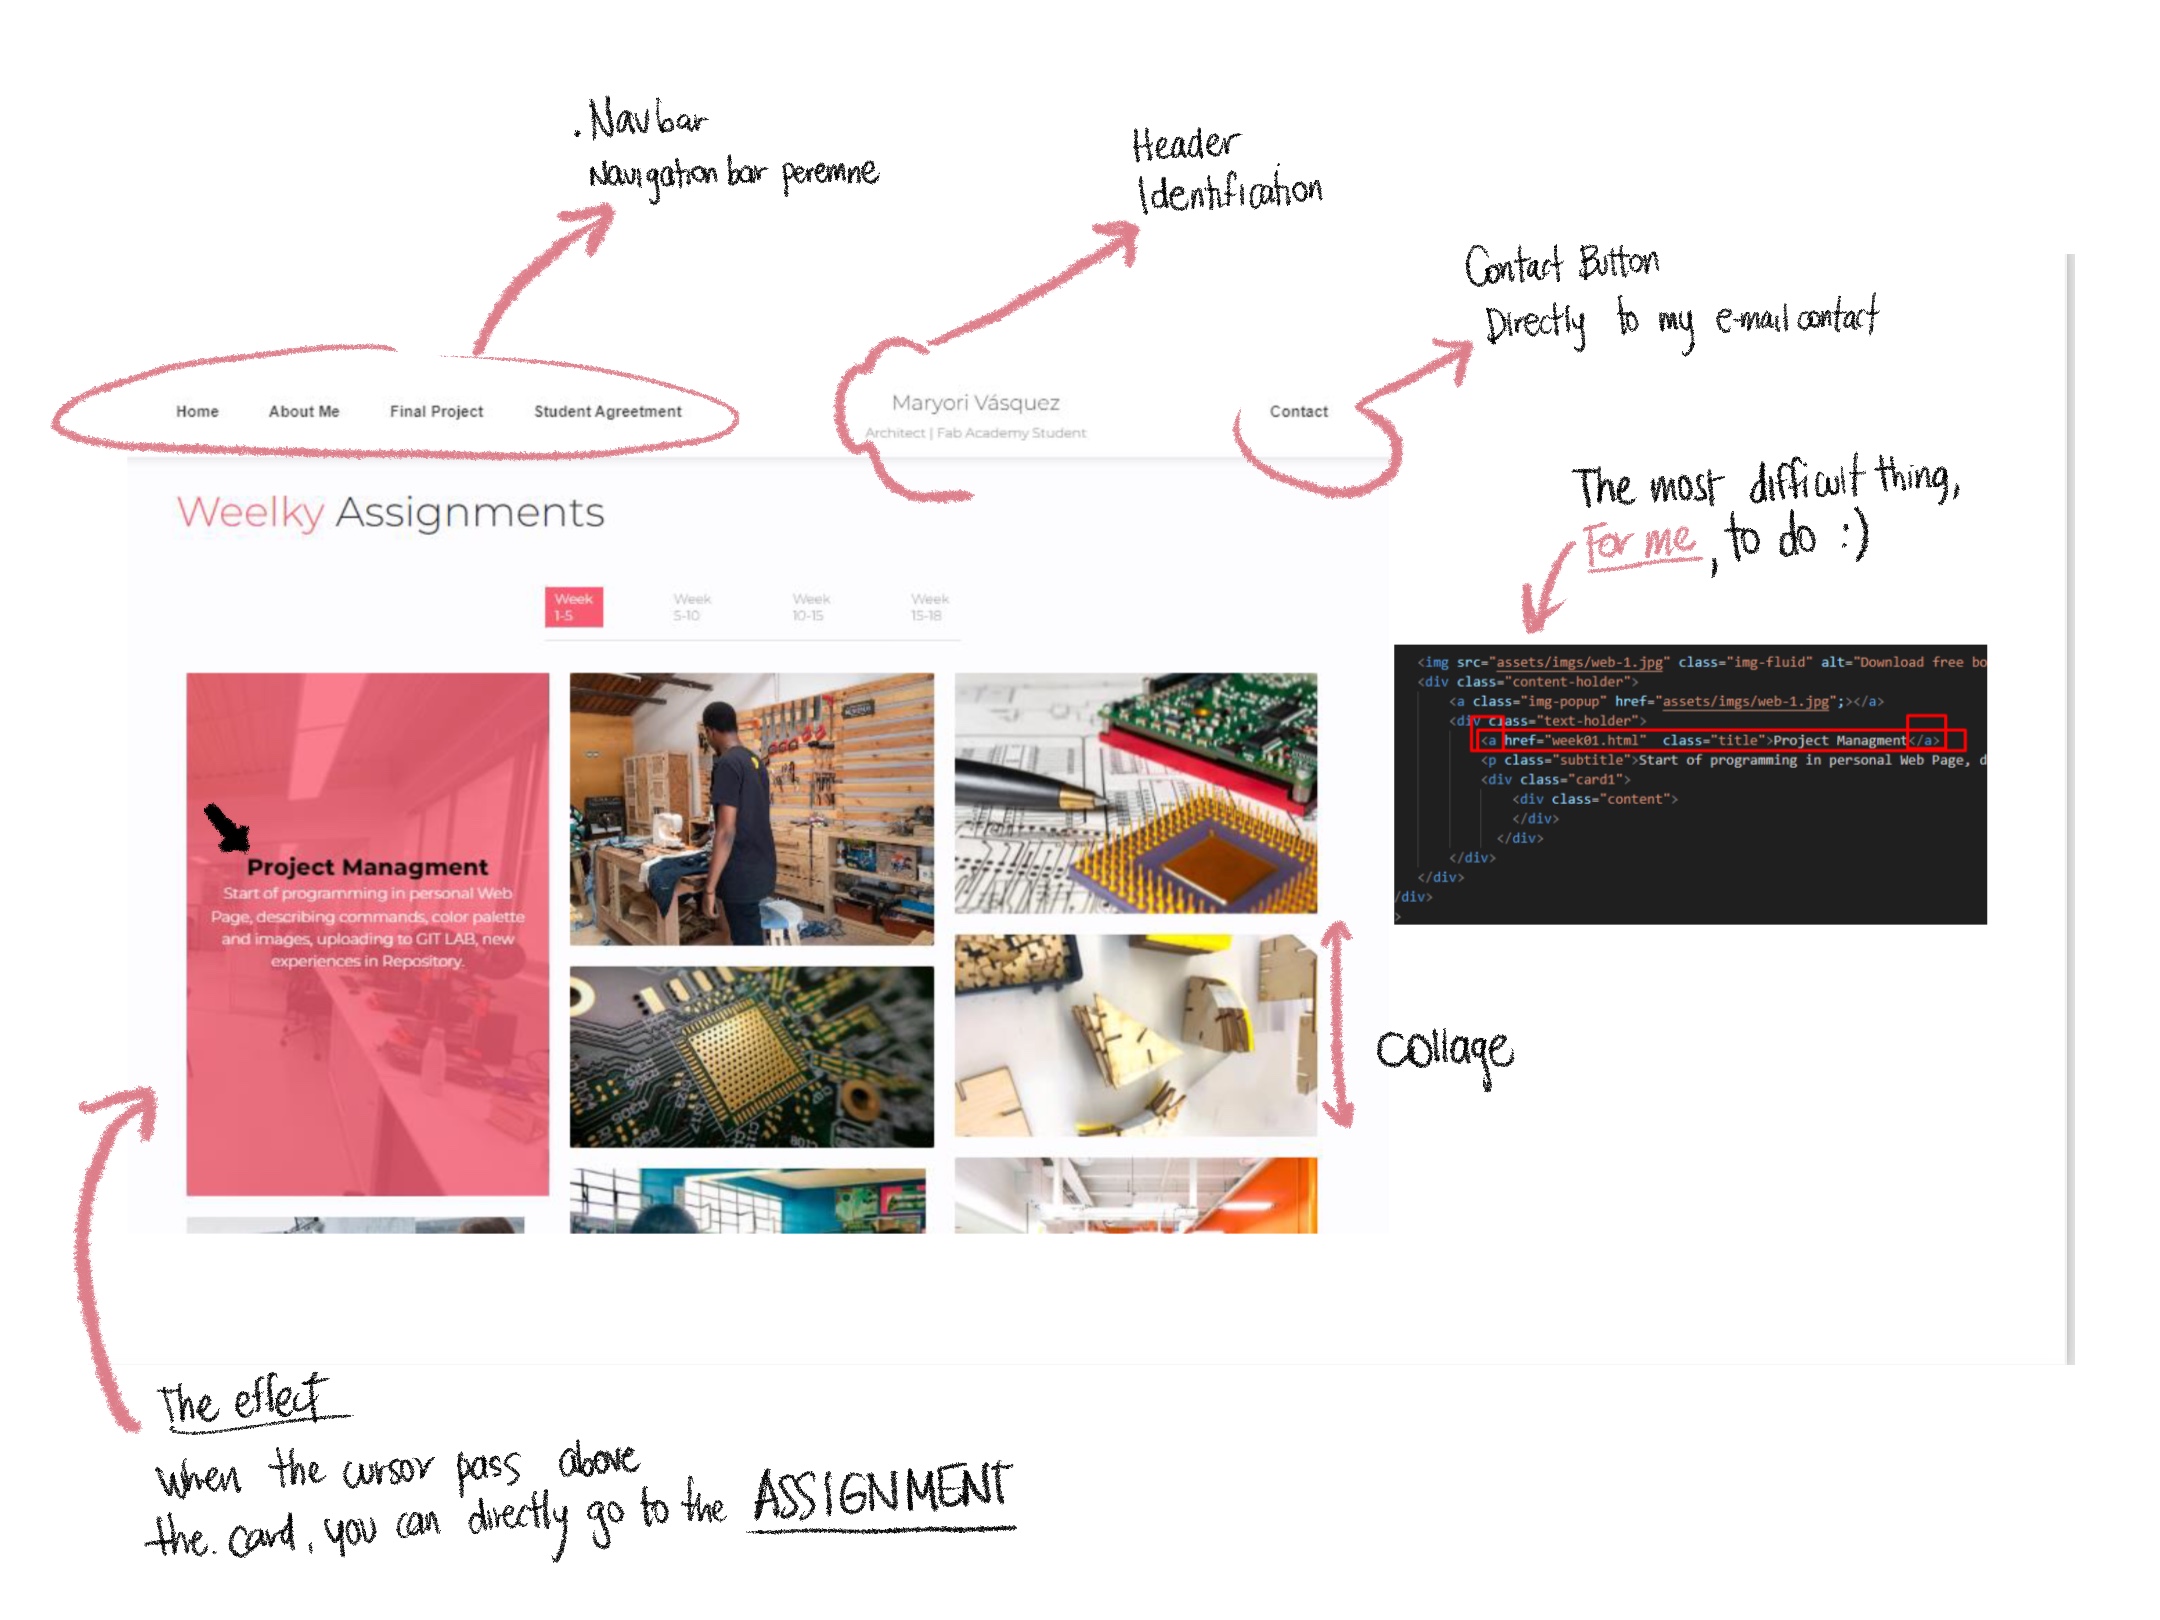
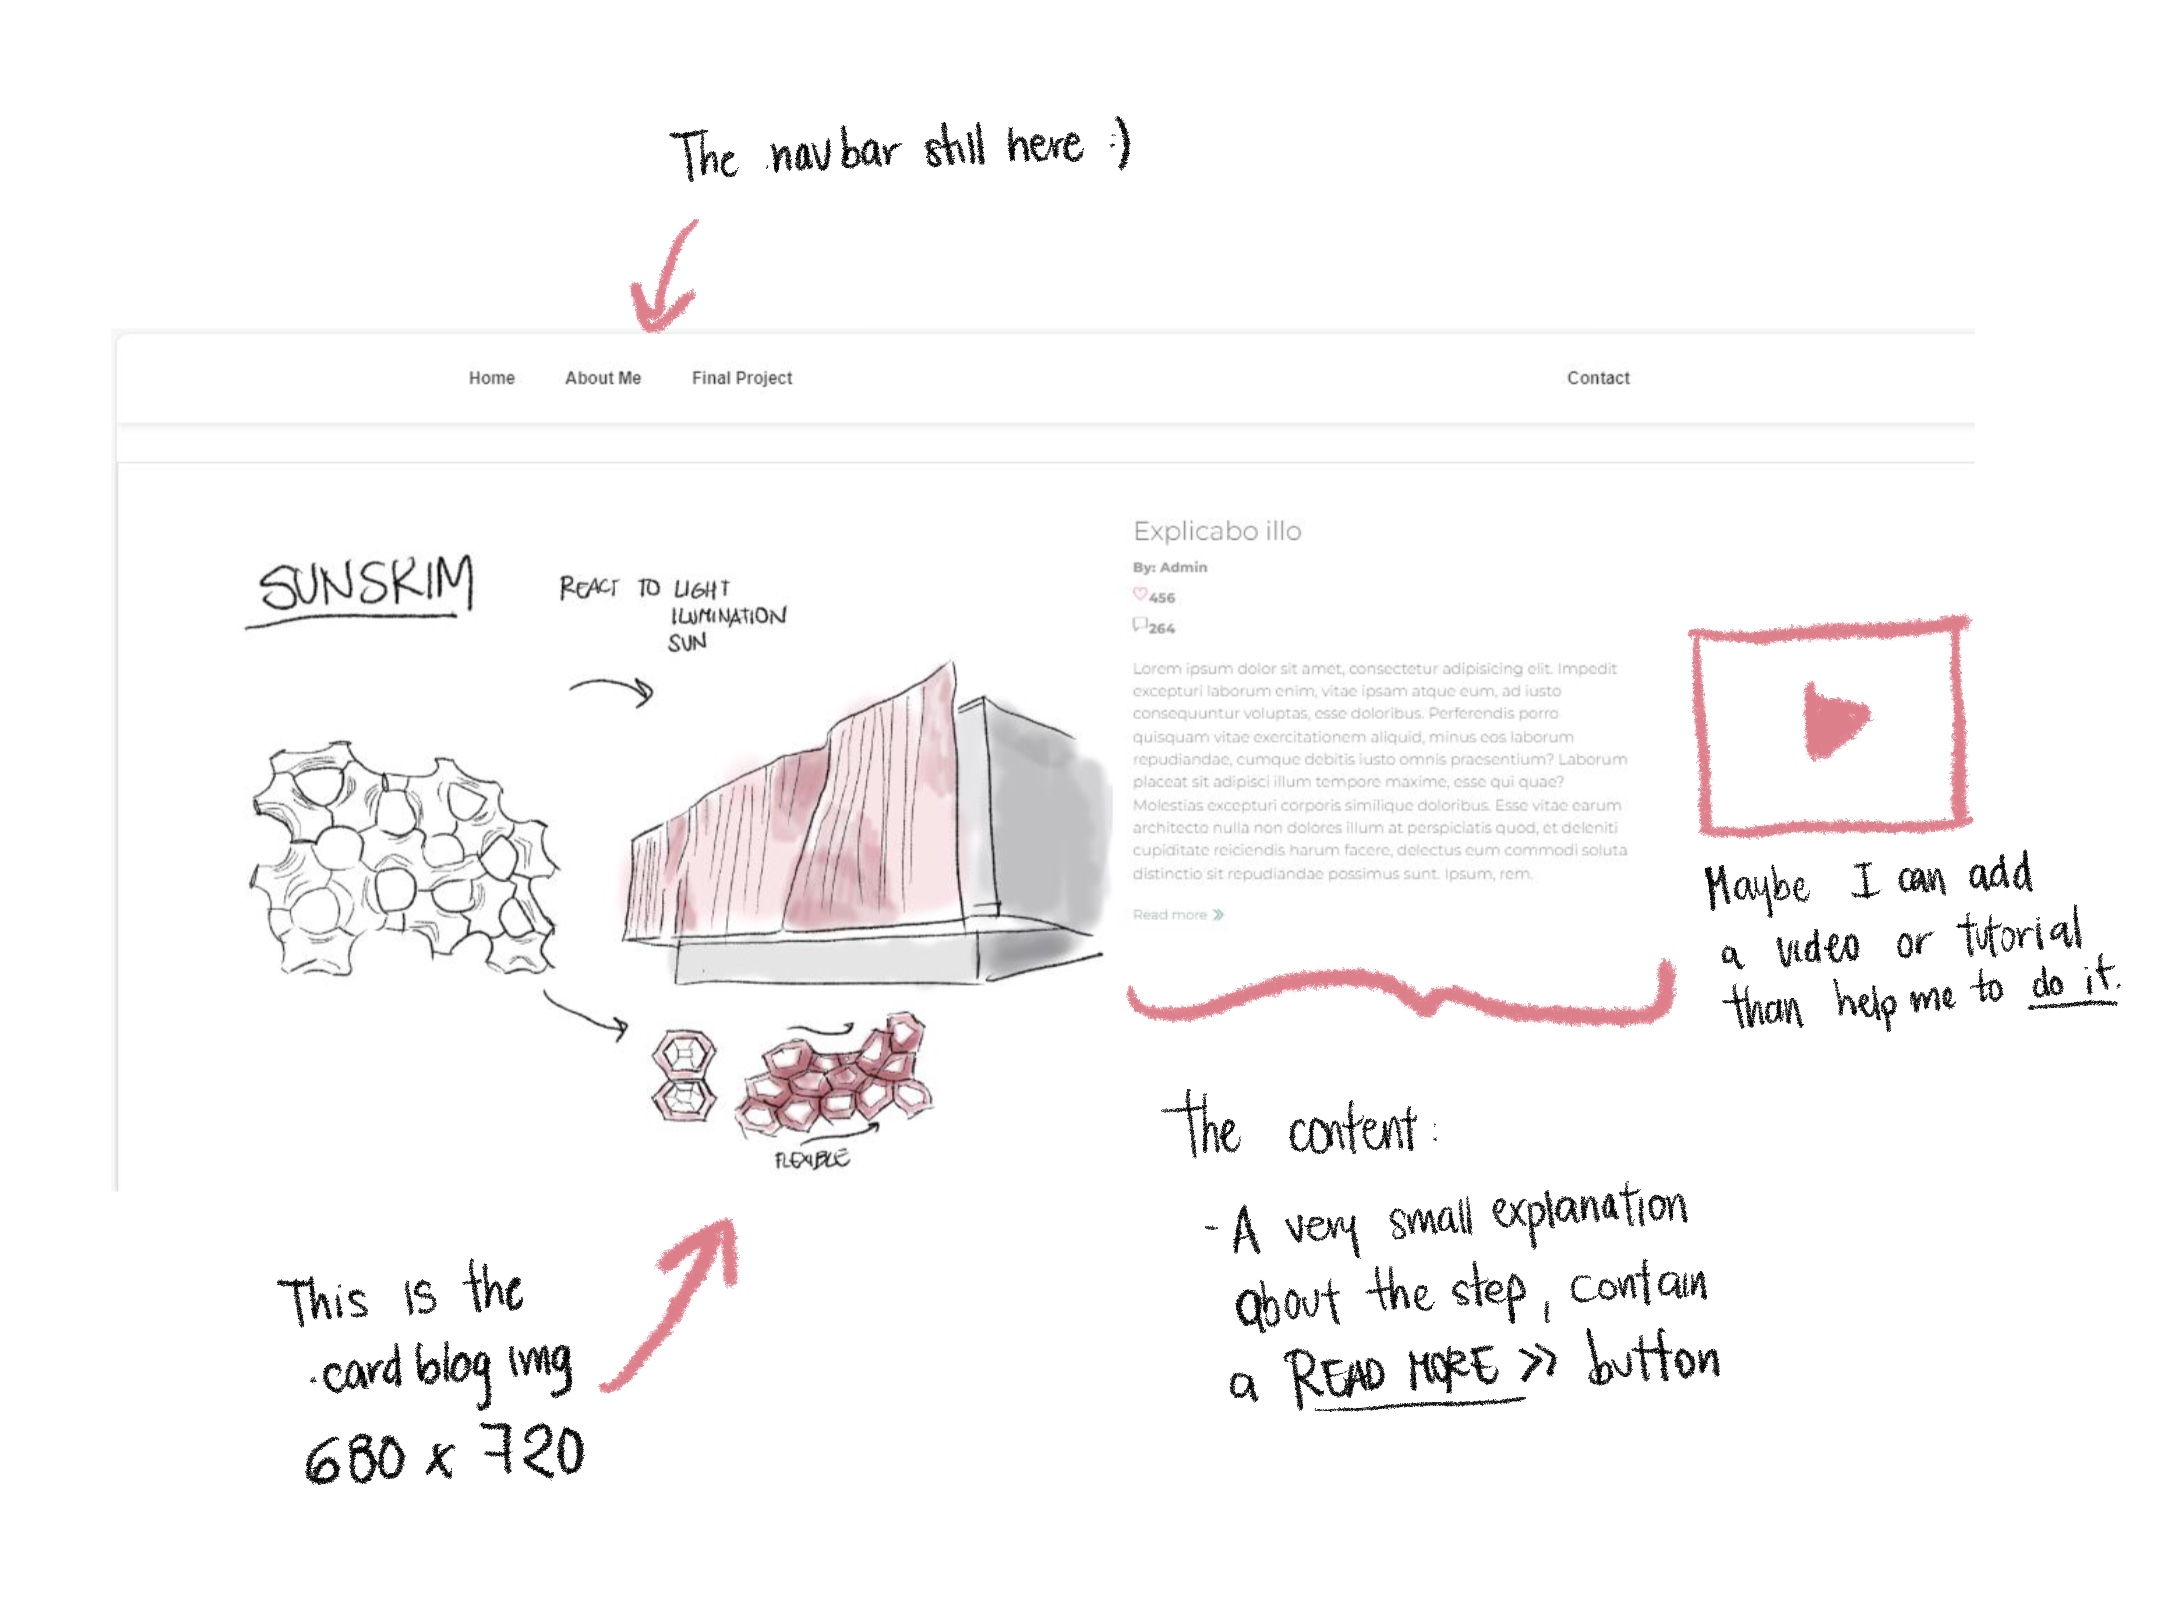
The first design was easy to make in Photoshop, but when I converted it to Visual code for HTML, it was very complex, to the point that this web is my second attempt, despite the complexity, I managed to finish it. You can see the design and initial ideas of my first web.
I used Visual Studio Code and git-scm. By the way, I had used Visual Studio IDE before and thought it was the same. It is not. To connect the cloud with my local repository I followed this video:
Read moreThe steps I followed were:
1. I opened Visual Studio Code and opened a new window. Meanwhile, Git Bash was already running on my computer
2. I created a new folder in :C/Documents where my local repository
3. I cloned the cloud repository with the HTTPS key obtained from the GitLab website
4. I trasladate the files that I have previously been working on my local folder where the clone has been saved.
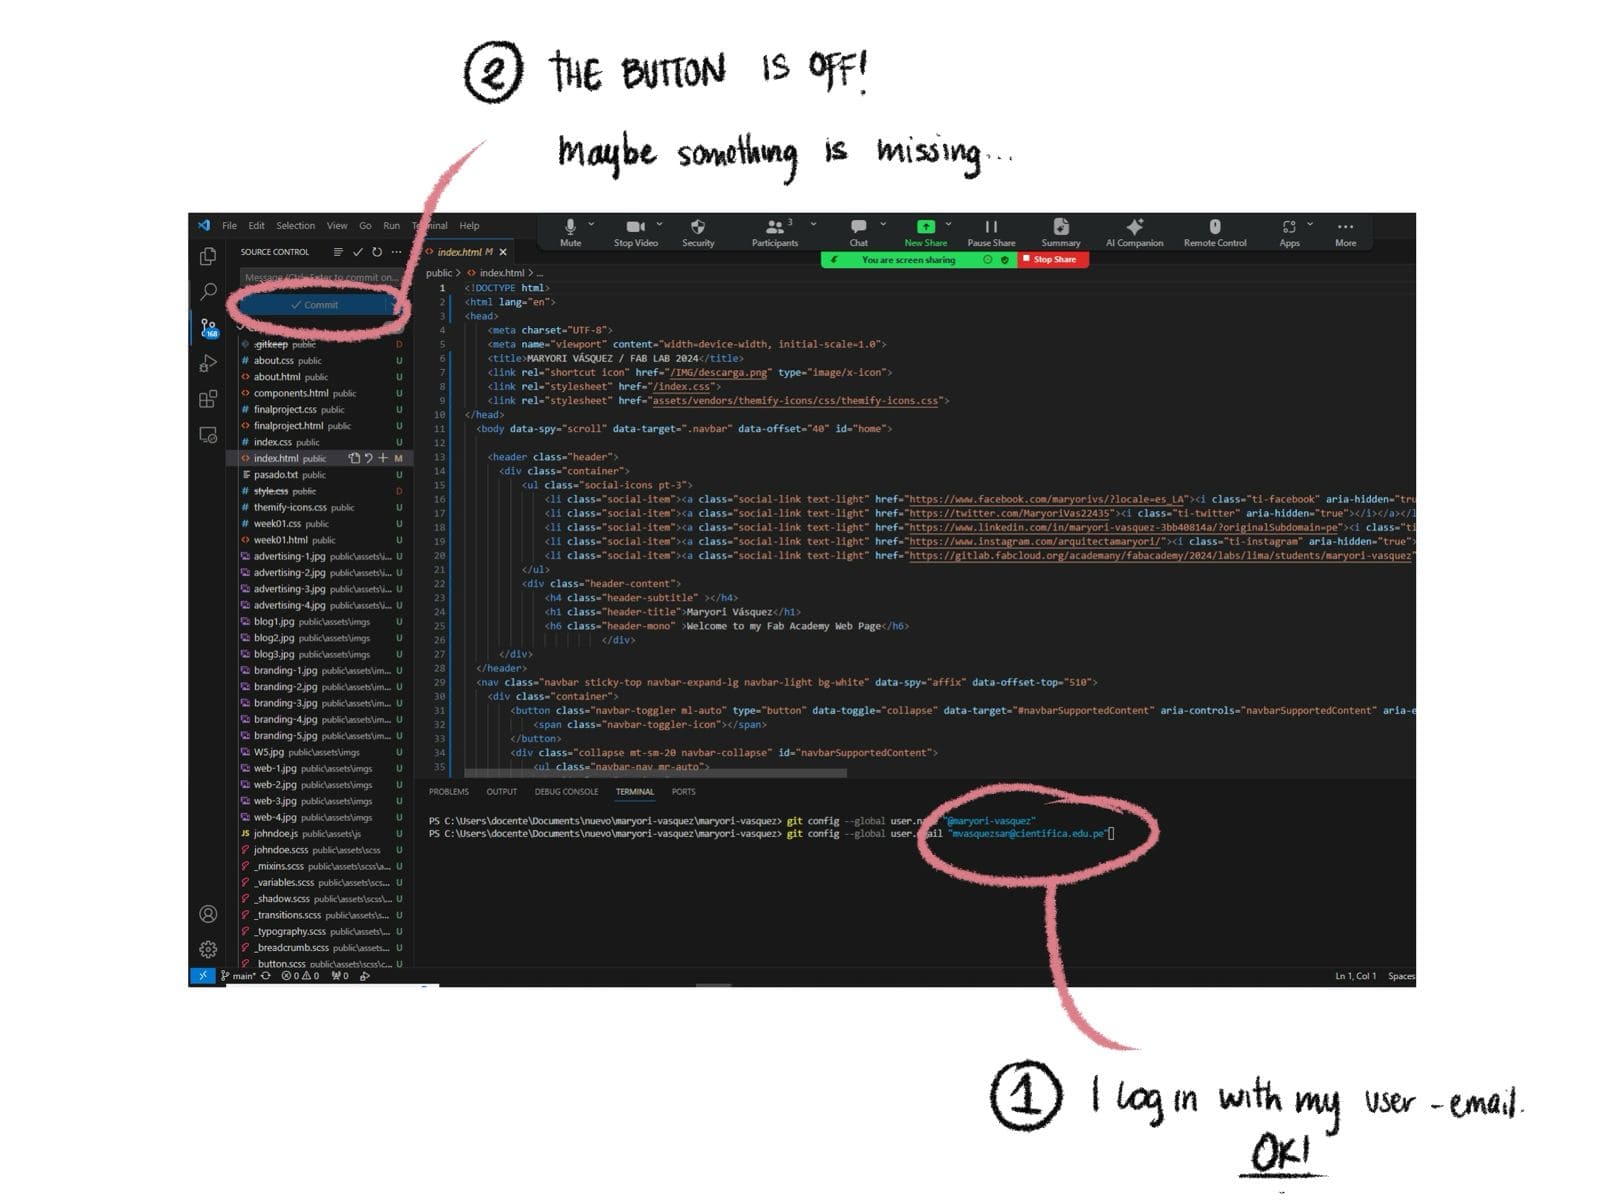
To link the local repository to the cloud, in the terminal window, I placed the commands git config --global user.name "my user name" and git config --global user.email "my email".
git config --global user.name "@maryori-vasquez"
git config --global user.email "mvasquezsan@cientifica.edu.pe"
5. I pressed commit and a window pop-up asked my password.
To upload the updates
The steps I followed were:
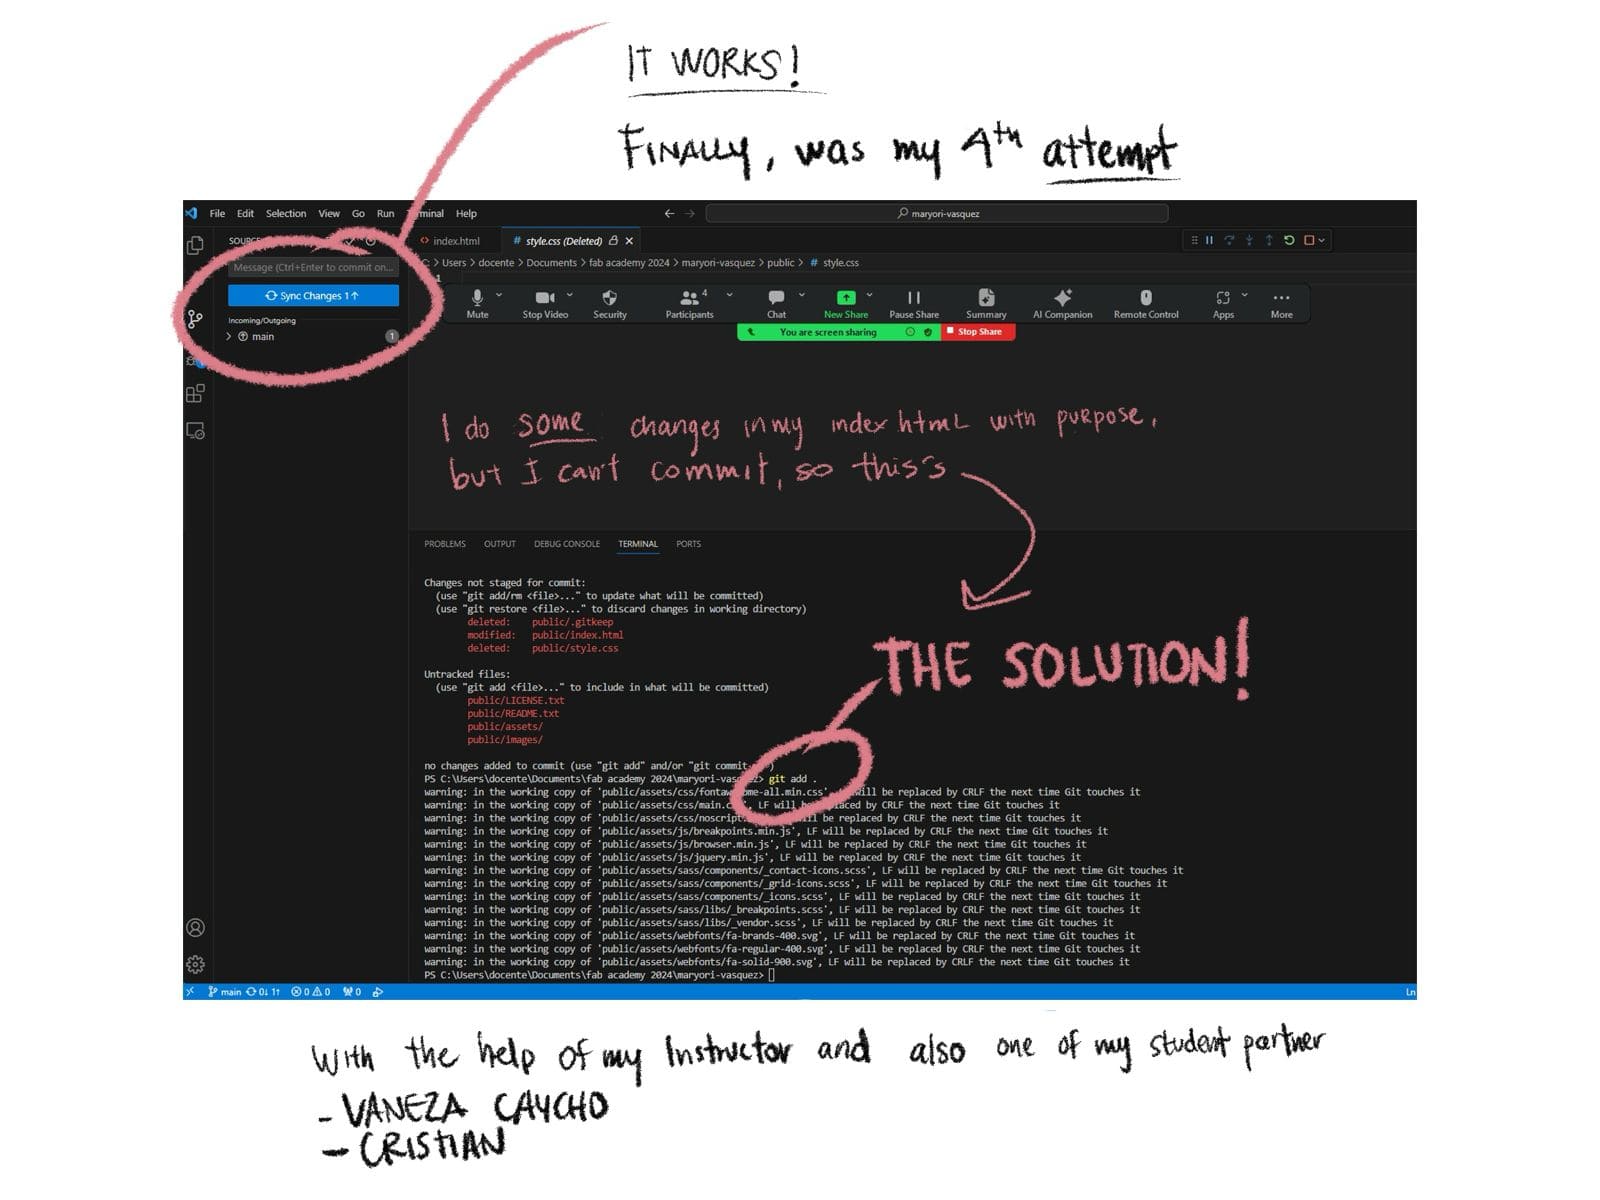
1. I used the code git add .
git add .
2. I used the code git commit -"git status"
git status
3. Press the "Commit" button, do not forget to put in the message the name with which we can define our information upload.
Practice editing your page from your own site, search for complete templates on the web.
Help yourself with Chat GPT to be able to pull the code of complex elements.
Your local folder should be in :C, otherwise you will have errors in push or pull
Measure your time, organize yourself so that you don't arrive with just enough time for the first delivery.
Week 01 Class Visual Studio Code Tutorial 1Search for basic organizational references on how to make a web page through videos, tutorials, social networks, close colleagues and all those who can help.
Perform the first tests through tutorials and present a first idea and then gradually improve it by adding content, images, effects and other details that make the proposal interesting.
Upload the first documents to verify that the server performs the work, adding styles and visual particularities for improvement.
The first design was easy to make in Photoshop, but when I converted it to Visual code for HTML, it was very complex, to the point that this web is my second attempt, despite the complexity, I managed to finish it. You can see the design and initial ideas of my first web.
In the incorrect place 5h of work in the button 1 Blockage happen
At this point with hours of experience in the field, my first blockage happened, the Weekly Assignments button was the most complex, it overlapped the image, the background and I couldn't do it anymore, waiting for my thoughts to calm down, finally it was achieved.
Read moreOr that's what I think 456 264
After detailing all the spaces of the web and uploading the images, it worked, it is important to have hours and hours of patience and above all the EAGER TO LEARN, because in the end it becomes a lot of fun.
Read moreAfter watching Fab Academy tutorials on Git and having done the web design, it was time for the Push, before that many changes were made in the process, all in the local, the most complex and disorganized part I did.
It happened, but not as I expected, I checked that everything is according to the tutorials, but it was not working, something was going wrong.
After the great revelation, this section that I am writing now, is my third commit, if you see it, it is because it worked, lots of encouragement!
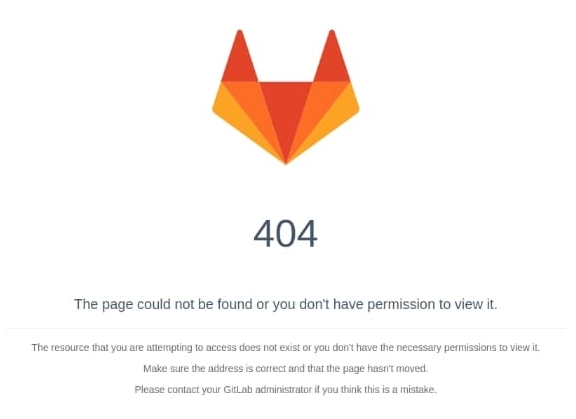
The 404 error, first of all, I thought it was some of my local files, I did all the upload correctly with cloning, but I still got this unknown path, my solution? Work all over again and download the HTML templates and start from there...
The Template linkBeing objective, this was my fault, the error was born from this file, at the moment of downloading and uploading it to Repo, I edited it, changing the configuration to HTML, I shouldn't have done it, after realizing it in about 3 hours, I uploaded it again and it worked!!!! Here is the next problem.
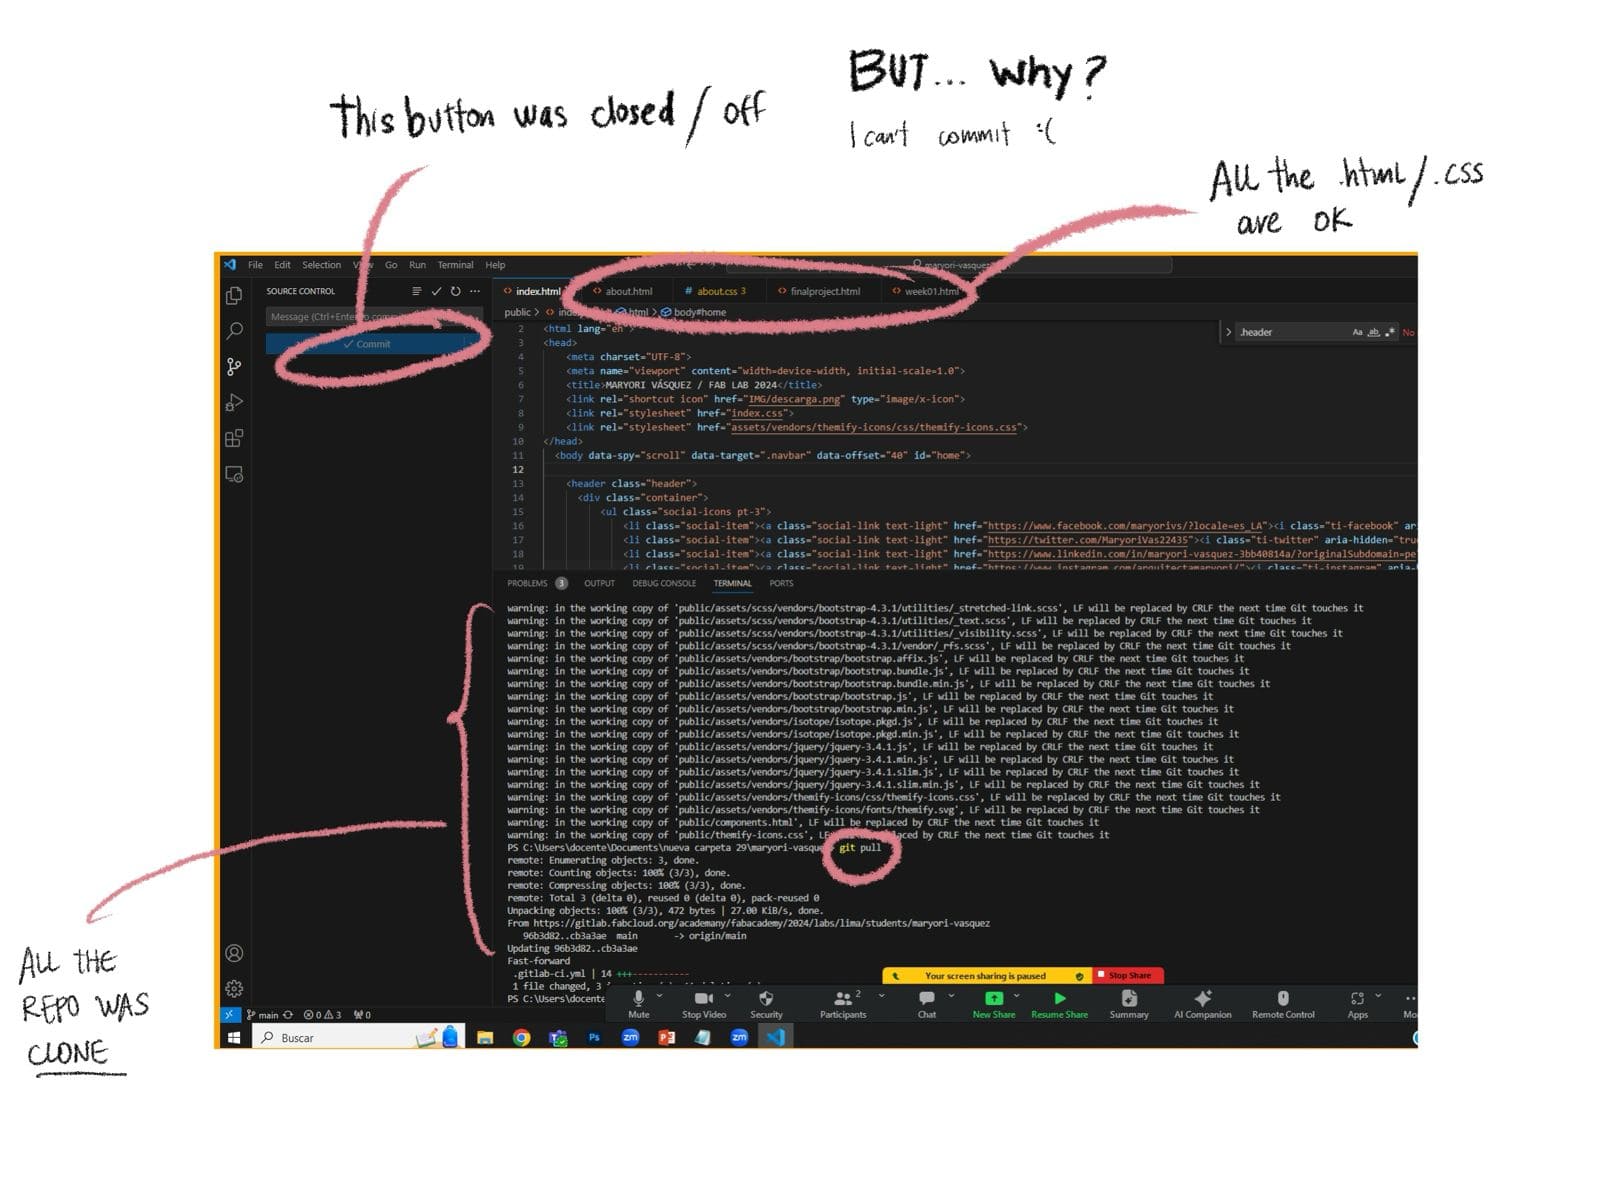
Watch this, here is the solutionConnection in Git? Done, Cloning? Done, Complete files? Done. I didn't know I was missing something, as the commit button never lit up, my sync was finished, but never uploaded, help came....
Read moreOr that's what I think 456 264
In a meeting with my instructors, we couldn't find the problem, we thought it was my files, the weight or maybe some other logical order issue, we went to the extreme of changing to a new template and starting from scratch (which I saw unnecessary at this point), we kept forgetting something.
Read moreWe were forgetting the .git add . which, according to the explanation of our instructors, is the way git receives the changes you have made manually in Visual Studio Code, all that was left was to Commit, wait and go!
Read more