Interface and Apllication Programing
This week we enter the fascinating world of interfaces where we will activate inputs and outputs from a screen...
The assignment was:
group assignment: compare as many tool options as possible
individual assignment: write an application that interfaces a user with an input &/or output device that you made
Group assignment
For this team assignment we divided a programming language to be studied by each one.
We meet to present each of the investigations carried out. and make the comparison between them.
You can see the complete documentation on the group's web page
What did I learn?
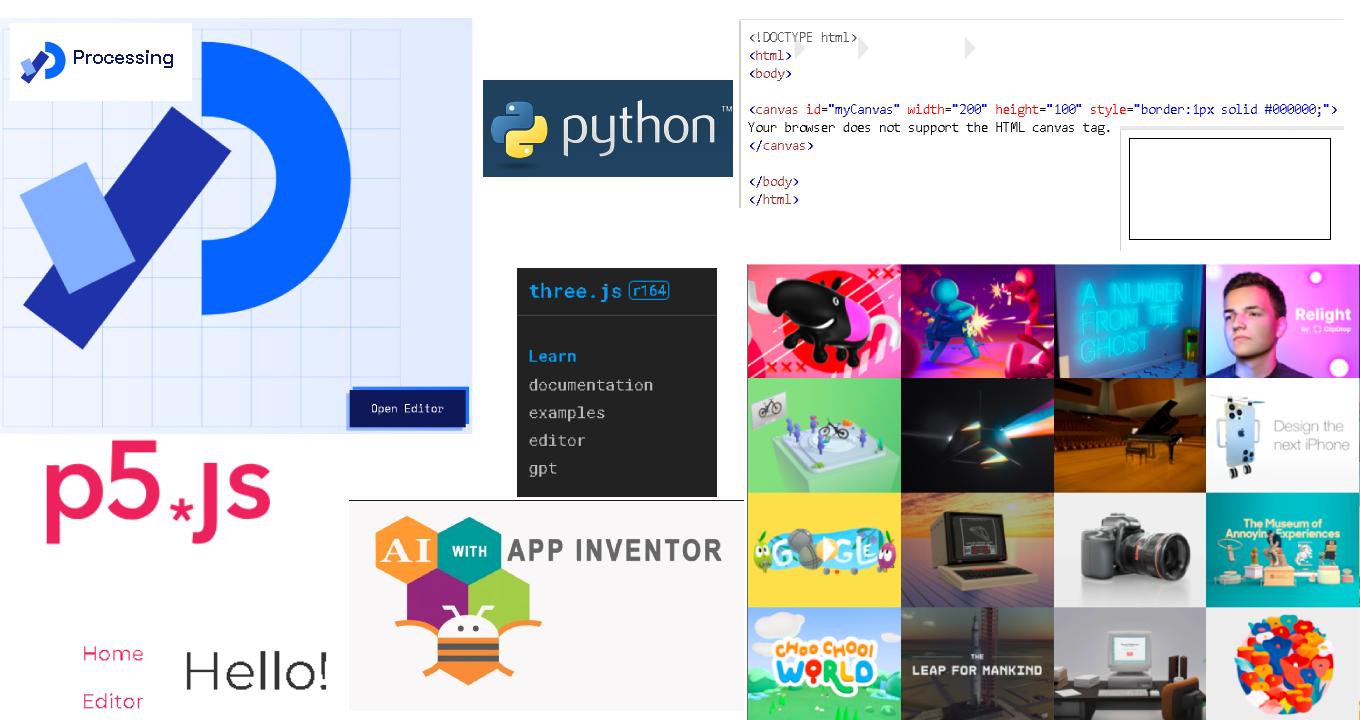
Each of the tools reviewed has its own strengths and weaknesses in terms of working with user interfaces.
processing: It is ideal for creating visualizations and interactive graphics but is not very suitable for web applications.
P5.js: It is a good option for creating interactive web applications and visualizations in the browser, it has many resources.
Three.js: perfect for creating 3D graphics and interactive experiences in the browser but its learning curve is longer.
Individual assignment
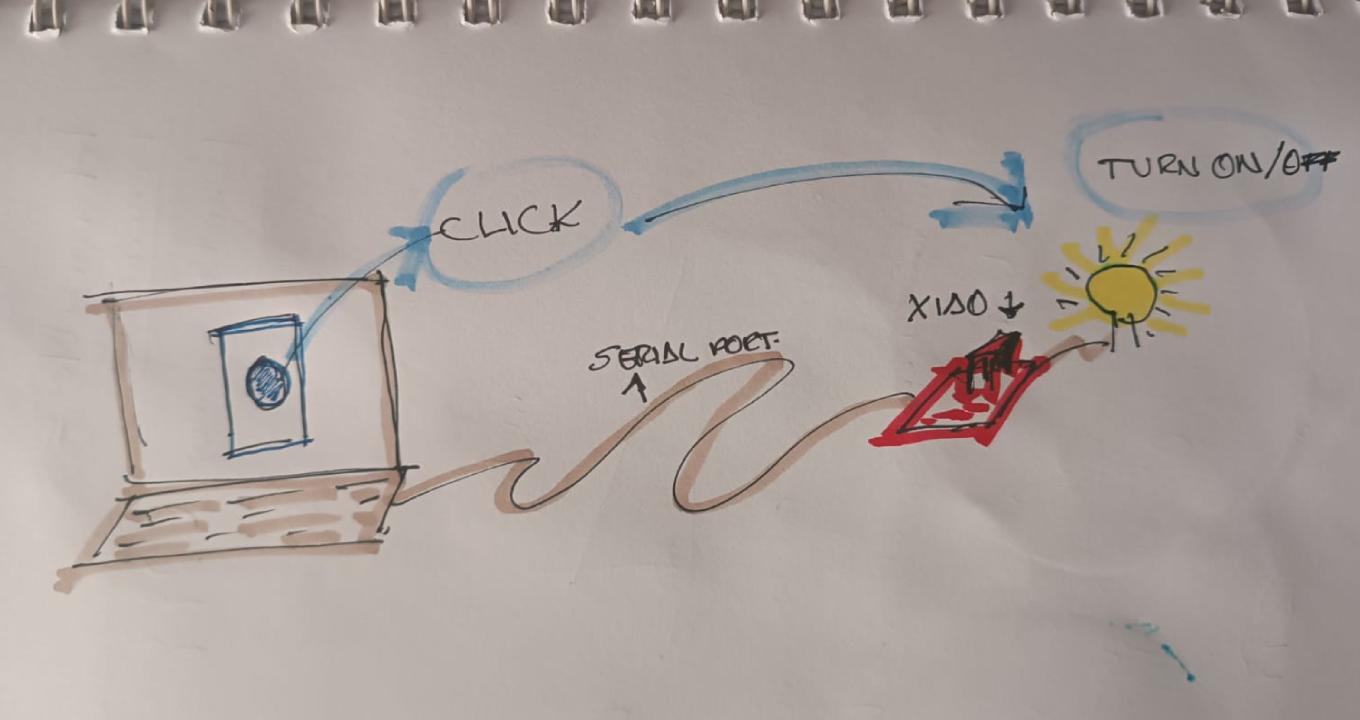
The idea for this assignment is to be able to turn on and off an LED light from an interface on the computer.
To make these interactions between the user and the interface result, I will use processing.
You can see the documentation on their website
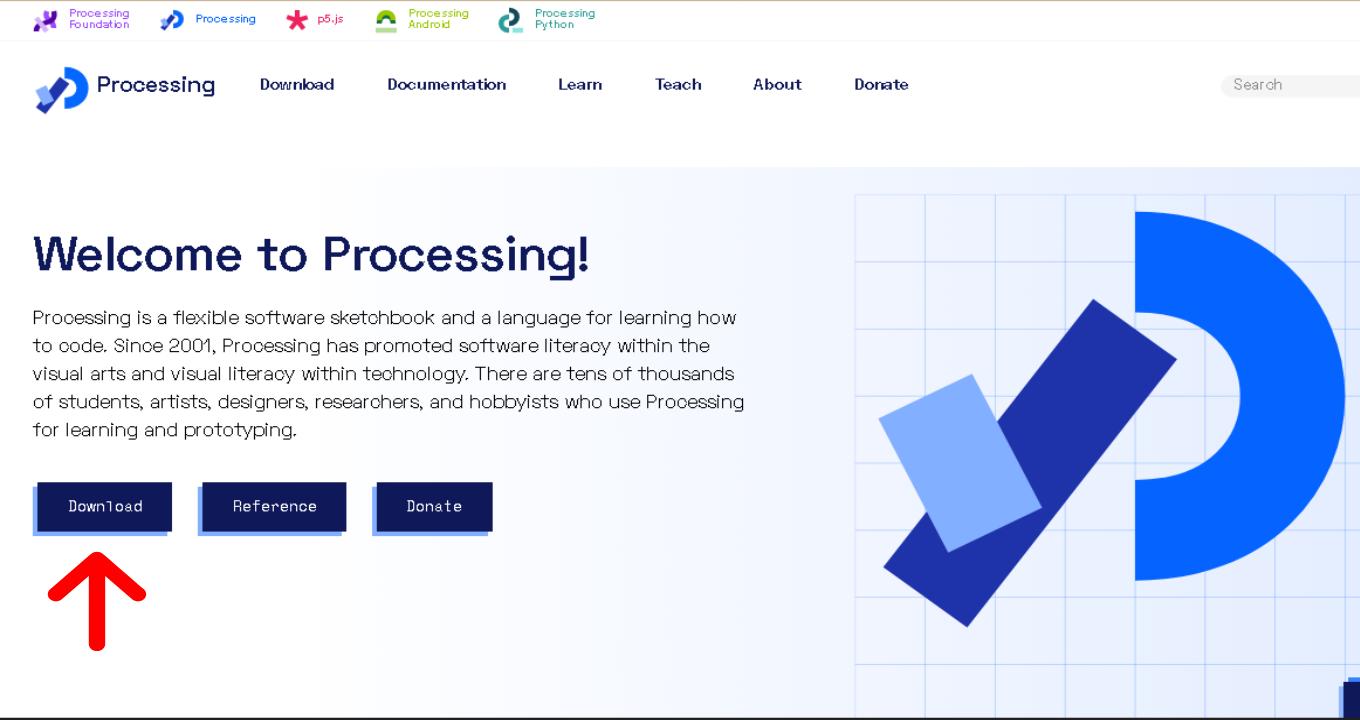
The first thing we need to do is download the software and extract it to a folder (it does not need to be installed, it just runs from the folder).
Processing Development Environment (PDE)
1. Toolbar
2. Text editor
3. Message area
4. console

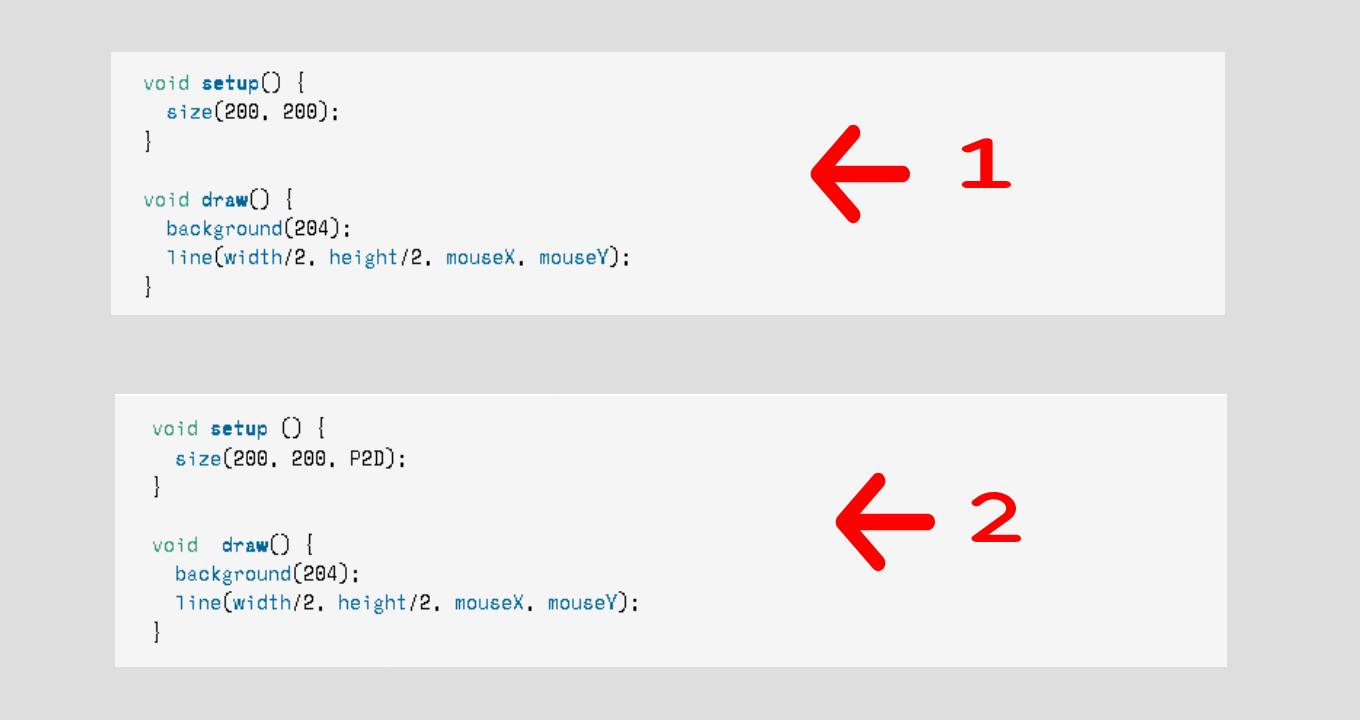
1. The renderer used for each sketch is specified through the size() function. If a renderer is not explicitly defined in size(), it uses the default renderer as shown.
2. To change the renderer, add a third parameter to size() as shown.
Now if we are going to start the project:
- In the Arduino IDE we program the LED to turn on/off.
- For communication from the computer to the board that we will use (XIAO RP2040) we must do it through "Serial Communication".
- We will use a communication speed of 9600 Baud (baud is the number of bits per second that are sent in data transmission).
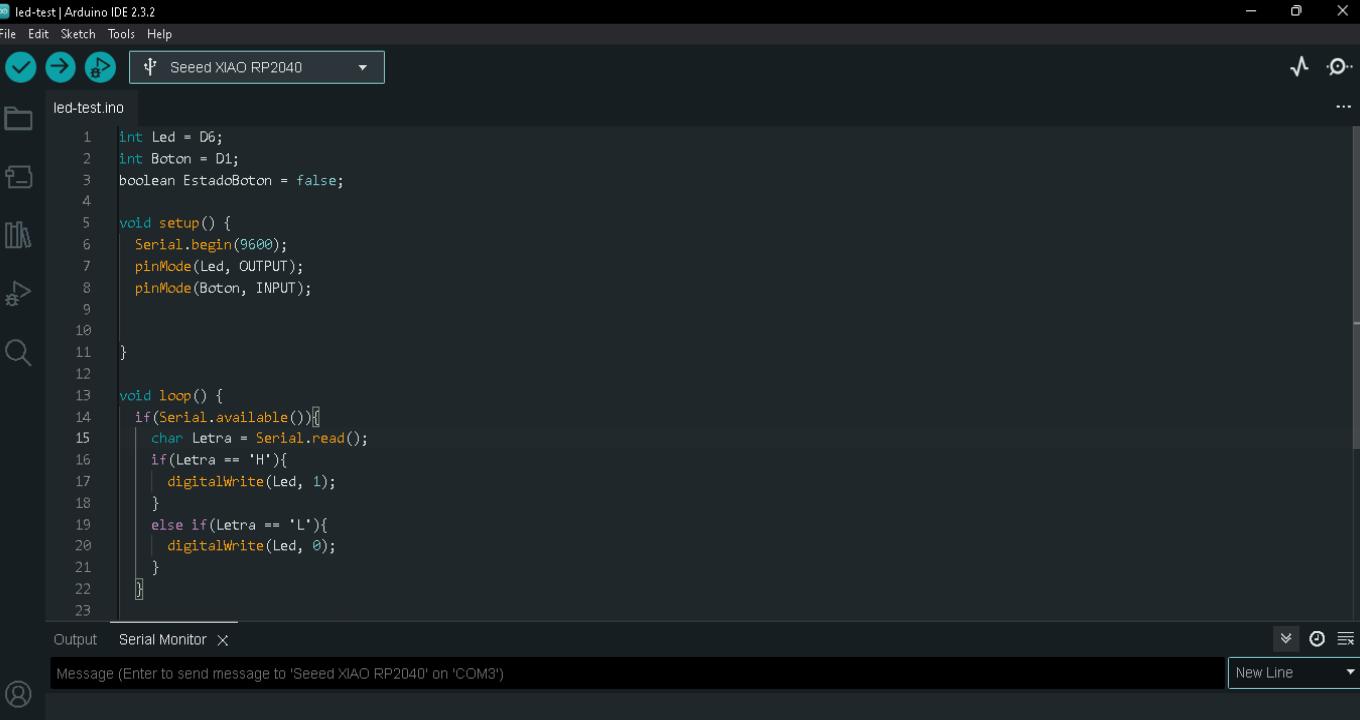
Here the complete lines of the code.
Once the development and testing of this code is finished, we proceed to use processing.
    int Led = D6;
    int Boton = D1;
    boolean EstadoBoton = false;

    void setup() {
    Serial.begin(9600);
    pinMode(Led, OUTPUT);
    pinMode(Boton, INPUT);

    }

    void loop() {
    if(Serial.available()){
        char Letra = Serial.read();
        if(Letra == 'H'){
        digitalWrite(Led, 1);
        }
        else if(Letra == 'L'){
        digitalWrite(Led, 0);
        }
    }

    if (digitalRead(Boton) == 1 && EstadoBoton == false){
        Serial.println('H');
        EstadoBoton = true;
    }

    else if (digitalRead(Boton) == 0 && EstadoBoton == true){
        Serial.println('L');
        EstadoBoton = false;
    }
    delay(100);
    }
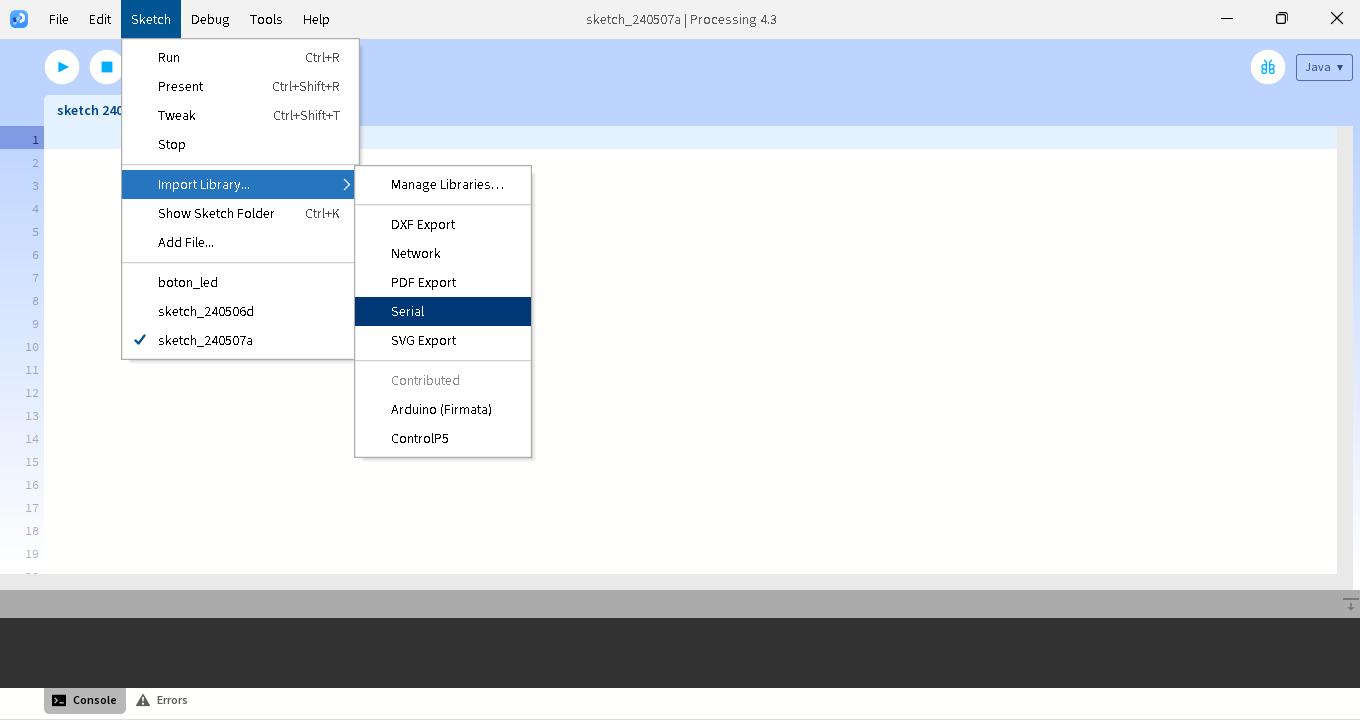
We open processing and the first thing we must do is install (if we don't have it) the "Serial Communication" library and then import it for our project.
sketch -> Import Library -> Serial
We write the code:
- We import the library
- We make a call to the port.
- We configure the size of the interface
- We configure which port the communication is on and the communication speed.
- We generate the button (through a circle)

Here the complete code in the processing 4.3 software.
    import processing.serial.*;

    Serial MiPuerto;
    color ColorCirculo = color(27, 79, 114);
    color ColorFondo = color(174, 214, 241);

    void setup(){
        size(400, 600);
        MiPuerto = new Serial(this, "COM3", 9600);
        ellipseMode(CENTER);
    }

    void draw(){

        background(ColorFondo);
        fill(ColorCirculo);
        circle(200, 300, 300);
    }

    void mousePressed(){
        float Distancia = dist(mouseX, mouseY, 200, 300);
        if (Distancia < 150){
            ColorCirculo = color(46, 134, 193);
            MiPuerto.write('H');
        }
    }

    void mouseReleased(){
        ColorCirculo = color(27, 79, 114);
        MiPuerto.write('L');
    }
Final result of the interface.
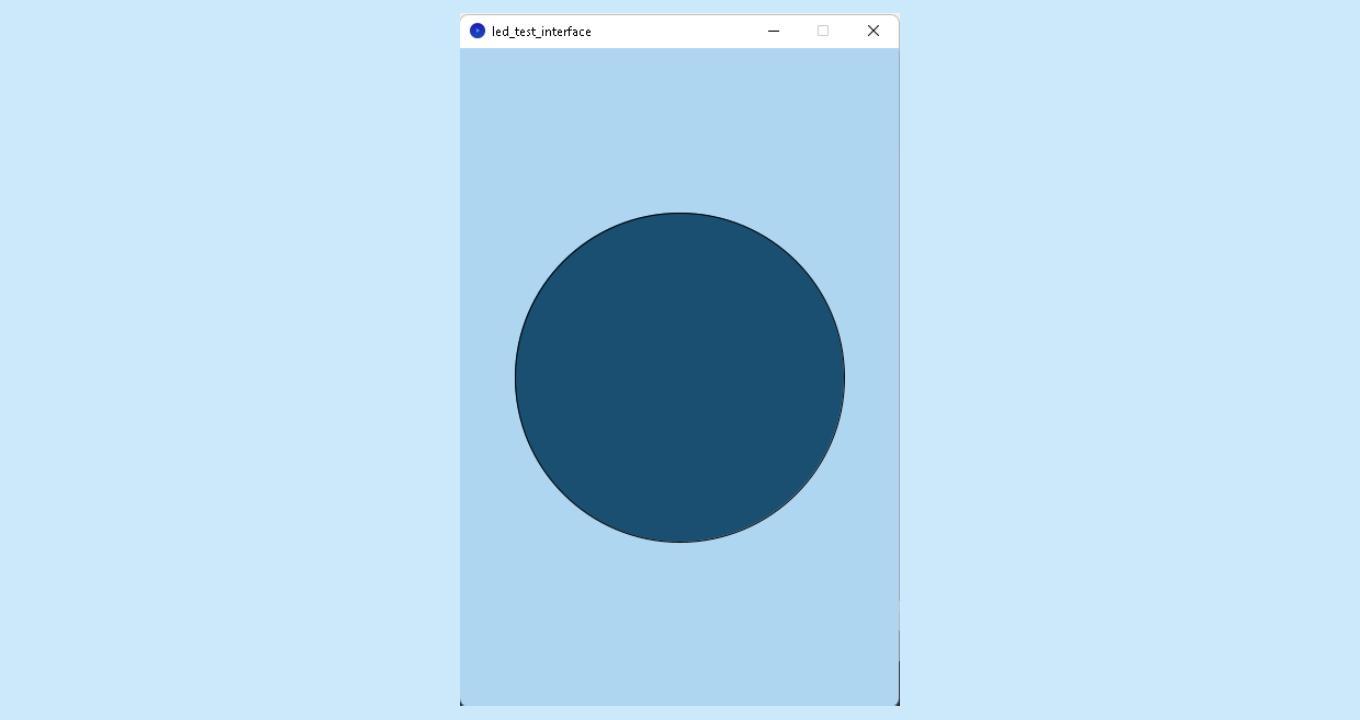
Test the interface, we click inside and outside the circle and it works!!!
final Test the interface, it works!!!
Test Servo
I will test a servo motor test using processing and the Arduino Uno board
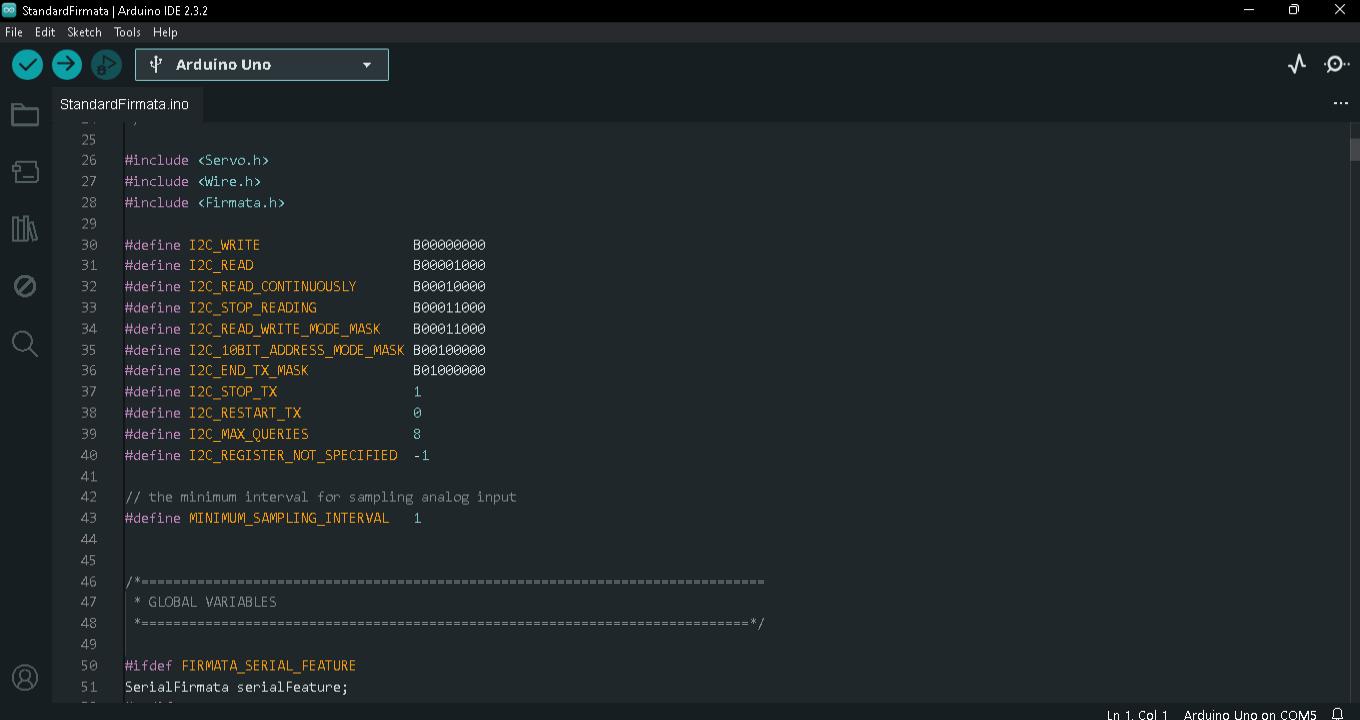
This time we will use Firmata.
Firmata is a generic protocol for communication with microcontrollers from software installed on a computer.
Its goal is to completely control Arduino from software installed on a computer, without writing a single line of Arduino code.

File -> Examples -> Firmata -> Standardfirmata
It is not necessary to put the code since the library is extensive, just load and run.
Once executed, there is no need to program anything on the board, we will do everything directly from processing.
the board only needs to be connected.
We open processing 4.3
We will use the Arduino servo library.
File -> Examples -> contributedLibraries -> Arduino(Firmata) -> Arduino_servo
we configure the operation.

Here the complete code in the processing 4.3 software.
    import processing.serial.*;

    import cc.arduino.*;

    Arduino arduino;

    void setup() {
        size(400, 400);

        println(Arduino.list());

        arduino = new Arduino(this, Arduino.list()[0], 57600);

        arduino.pinMode(4, Arduino.SERVO);
    }

    void draw() {
        background(174, 214, 241);
        rectMode(CENTER);
        fill(27, 79, 114);
        rect(mouseX, 200, 15, 100);

        arduino.servoWrite(4, constrain(180 - mouseX / 2, 0, 180));
    }
Final result of the interface.
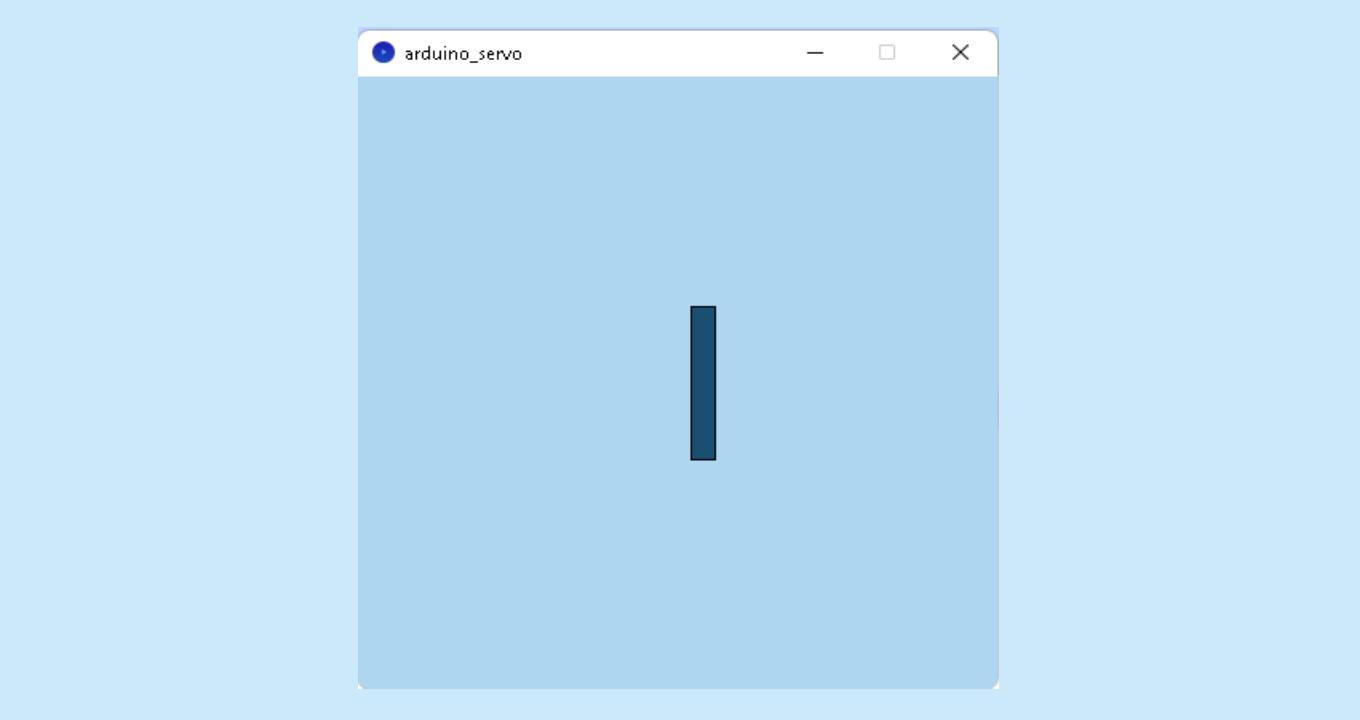
I tested the interface, moved the mouse from left to right and from right to left... it works!!!
final Test the interface, it works!!!