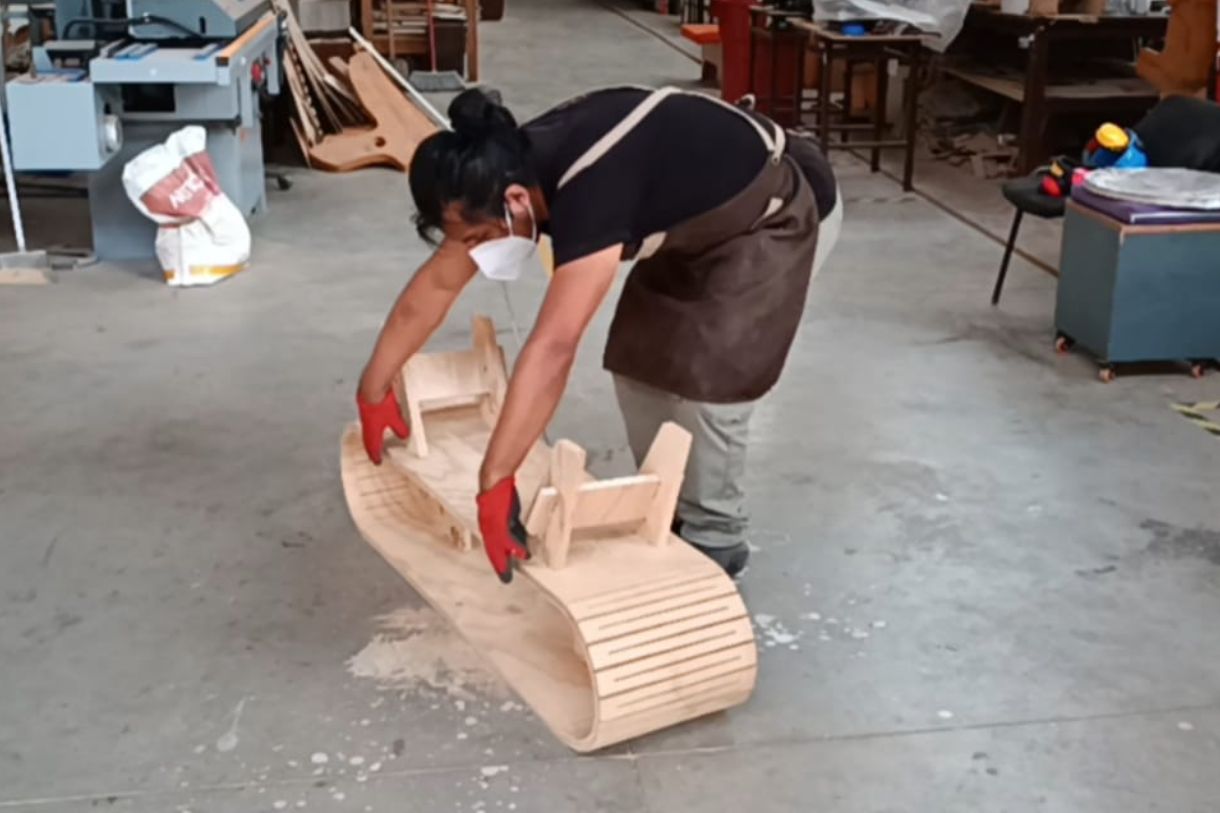
Computer controlled machining

This week we will delve into the fascinating world of CNC router machines. We will use plywood leftovers to design a piece of furniture....

The assignment was:

Group assignment: Do your lab's safety training test runout, alignment, fixturing, speeds, feeds, materials, and toolpaths for your machine.

Individual assigment: Make (design+mill+assemble) something big (~meter-scale).

Extra credit: don't use fasteners or glue. Extra credit: include curved surfaces

Group assignment

Then we worked on this assignment in the Fab Lab of the Scientific University of the South, which has a SHOPBOT PR ALPHA MODEL 96-48 CNC milling machine, we did some tests.

I also did some tests in the Fab Lab ifurniture using a home made 1220mm x 2440mm router using a 3.175mm diameter milling cutter.

You can see the documentation on the group's web page
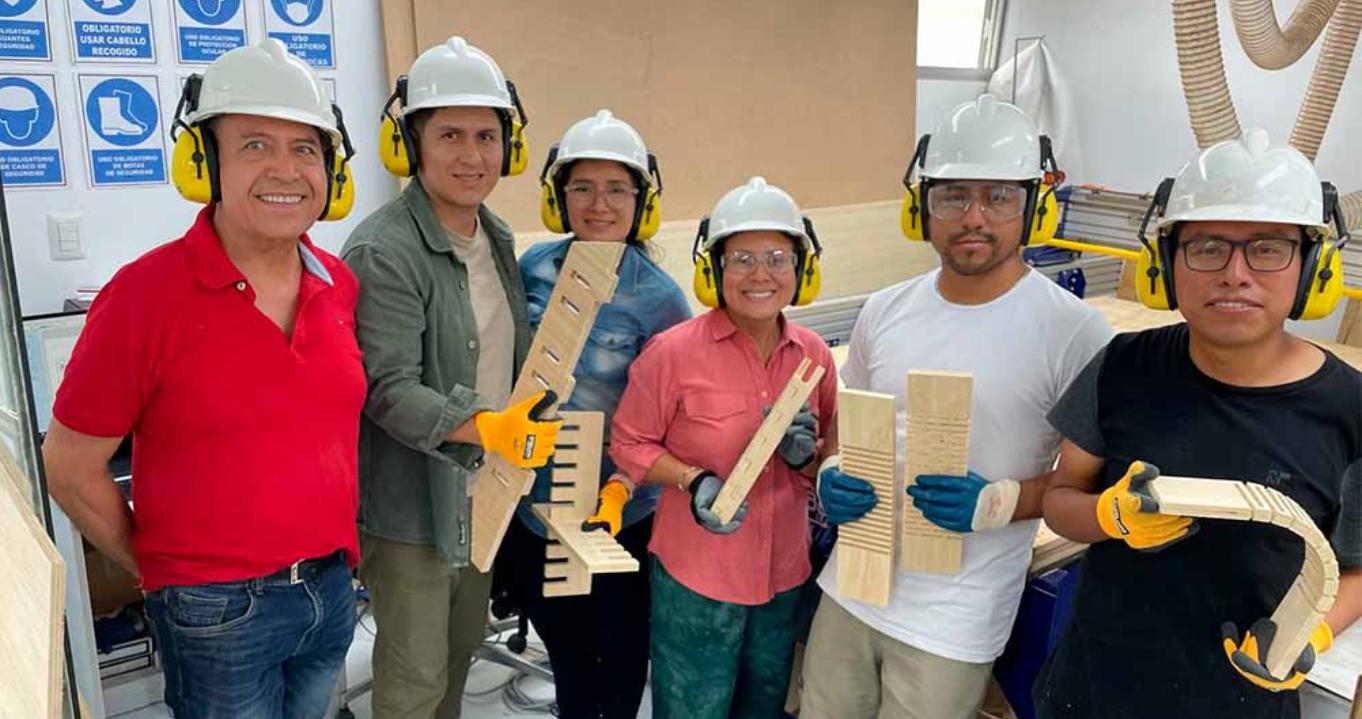
Group image

The first thing we did for this assignment was to receive a training on occupational health and safety that was organized by the iFurniture Fab Lab and delivered by the industrial engineers that are part of the iFurniture internship program.
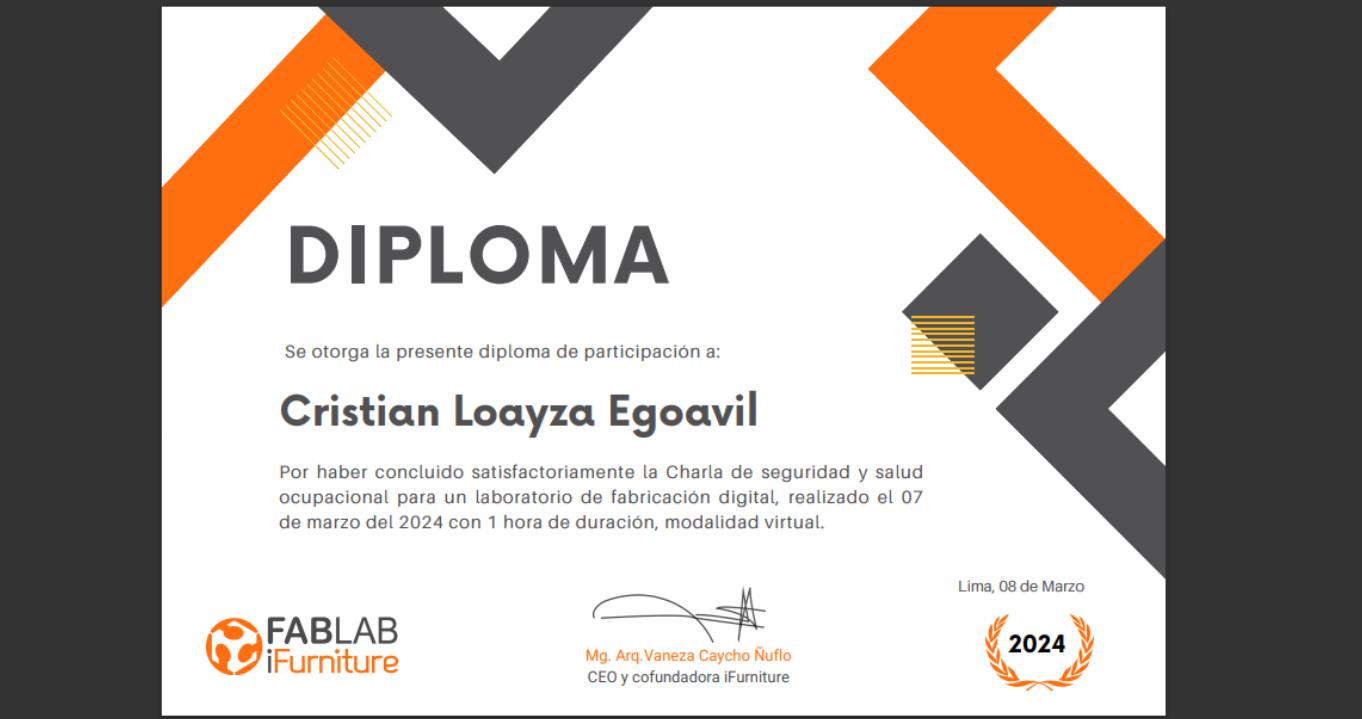
Group image

What did i learn from the talk on occupational health and safety training?

- The objective of occupational health and safety is to ensure that employees can perform their tasks in a safe and healthy manner.

- Safety signs have geometric shapes and each shape has a meaning.

- Equipment necessary for personal protection in a fab lab: gloves, ear muffs, mask, helmet, closed shoes, apron, glasses.
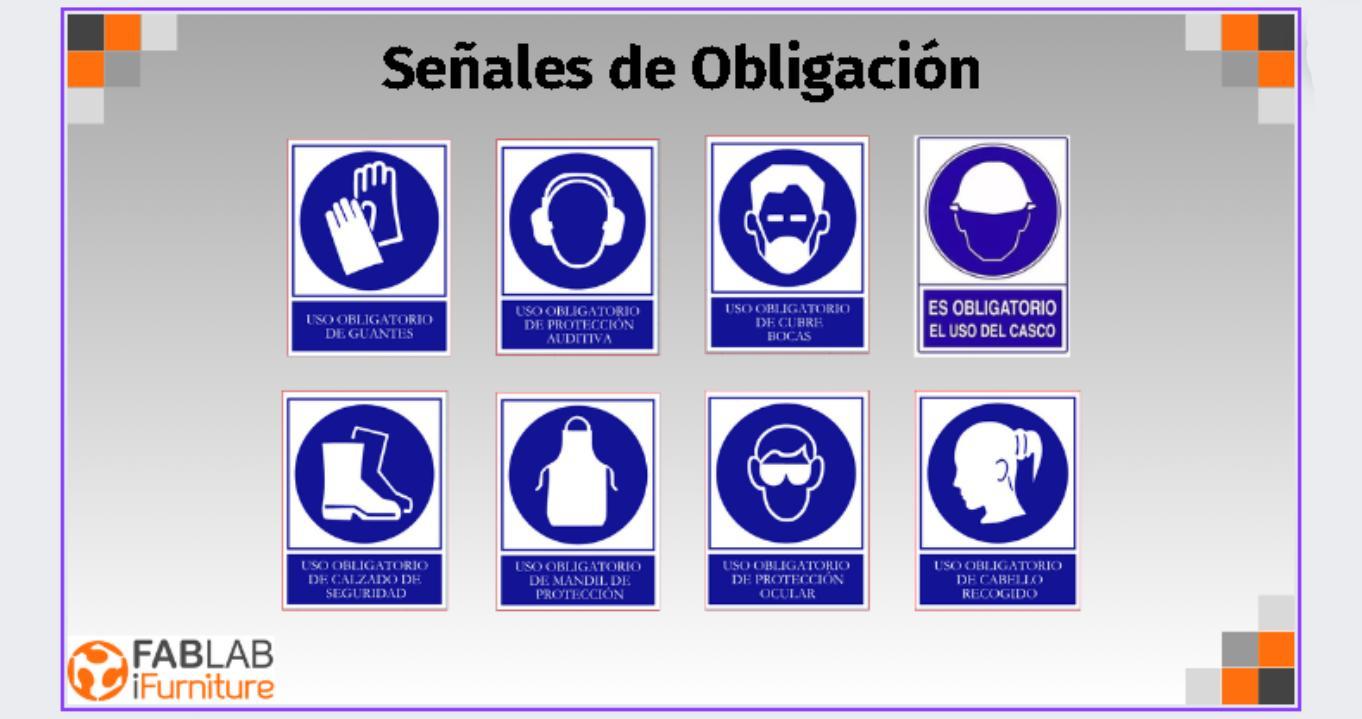
Group image

What have I learned by doing the cutting tests with the CNC router?

Know the technical specifications of the CNC machine to be used.

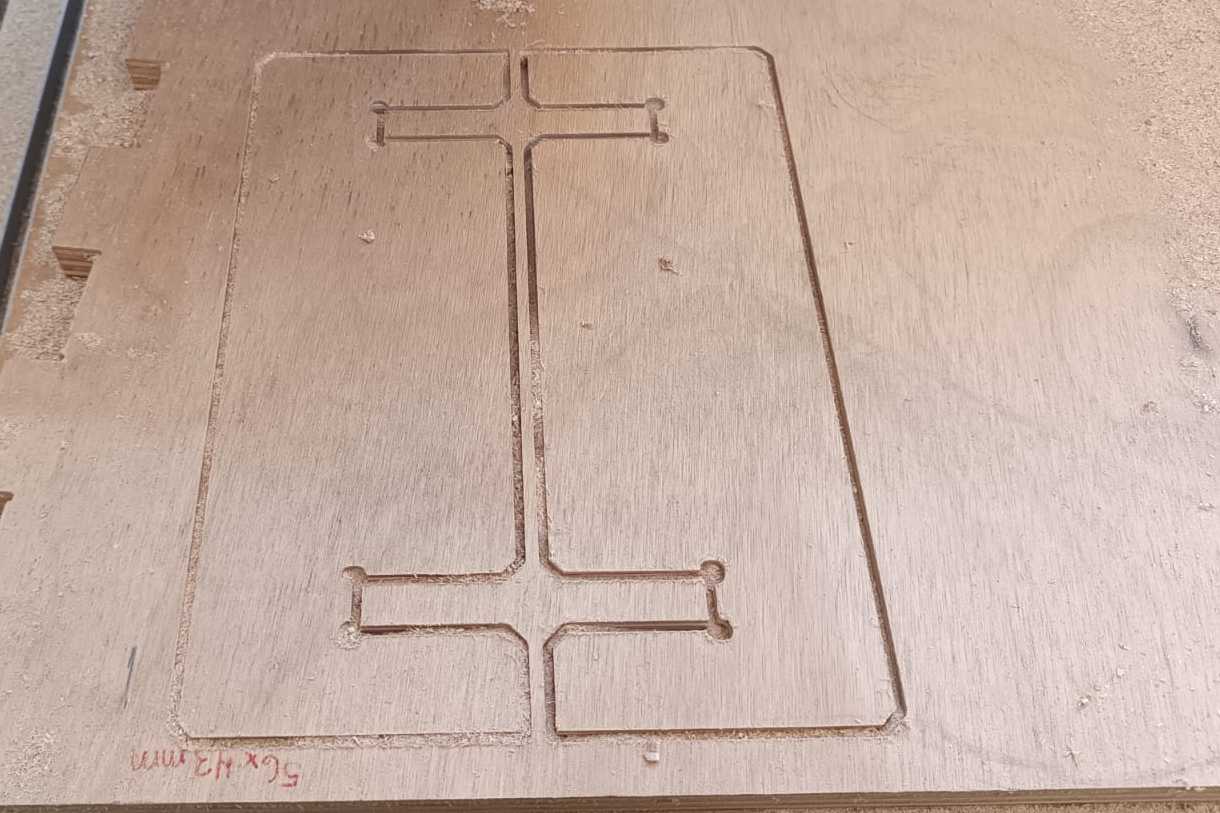
We have to perform test fittings and digital joints with different types of milling.

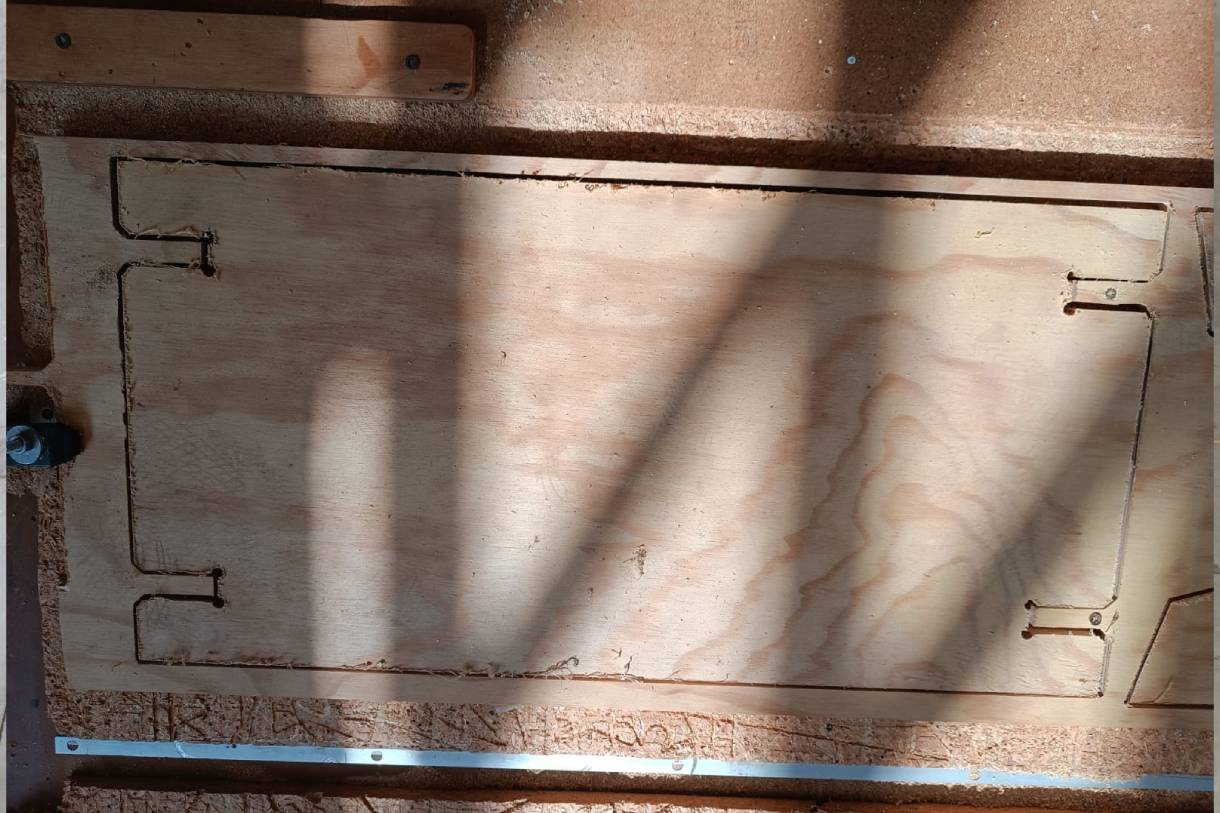
Tests performed on the CNC router machine provide valuable information on the efficiency and accuracy of the cutting process.

Cutting tests evaluate the quality of the finish of the materials, including the smoothness of the edges, the precision of the shapes and the absence of imperfections.
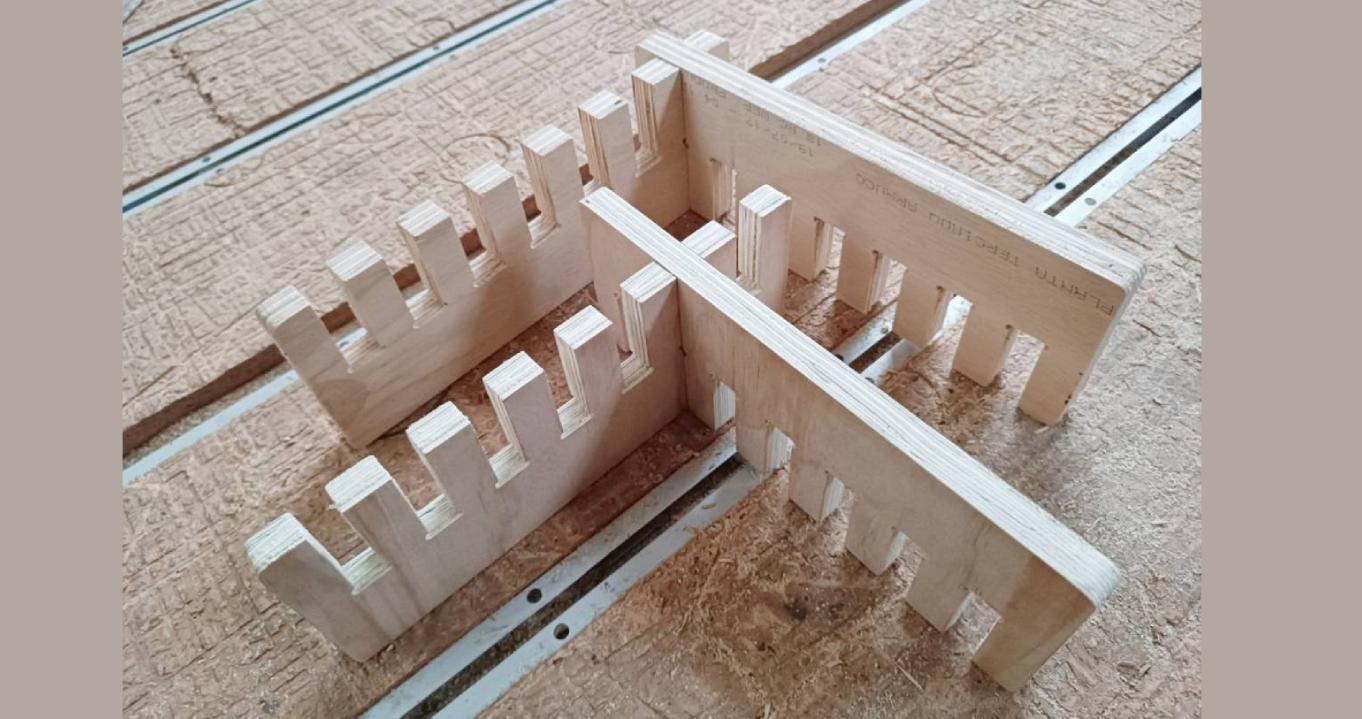
Group image

Individual assignment

The concept: design and make using leftovers plywood

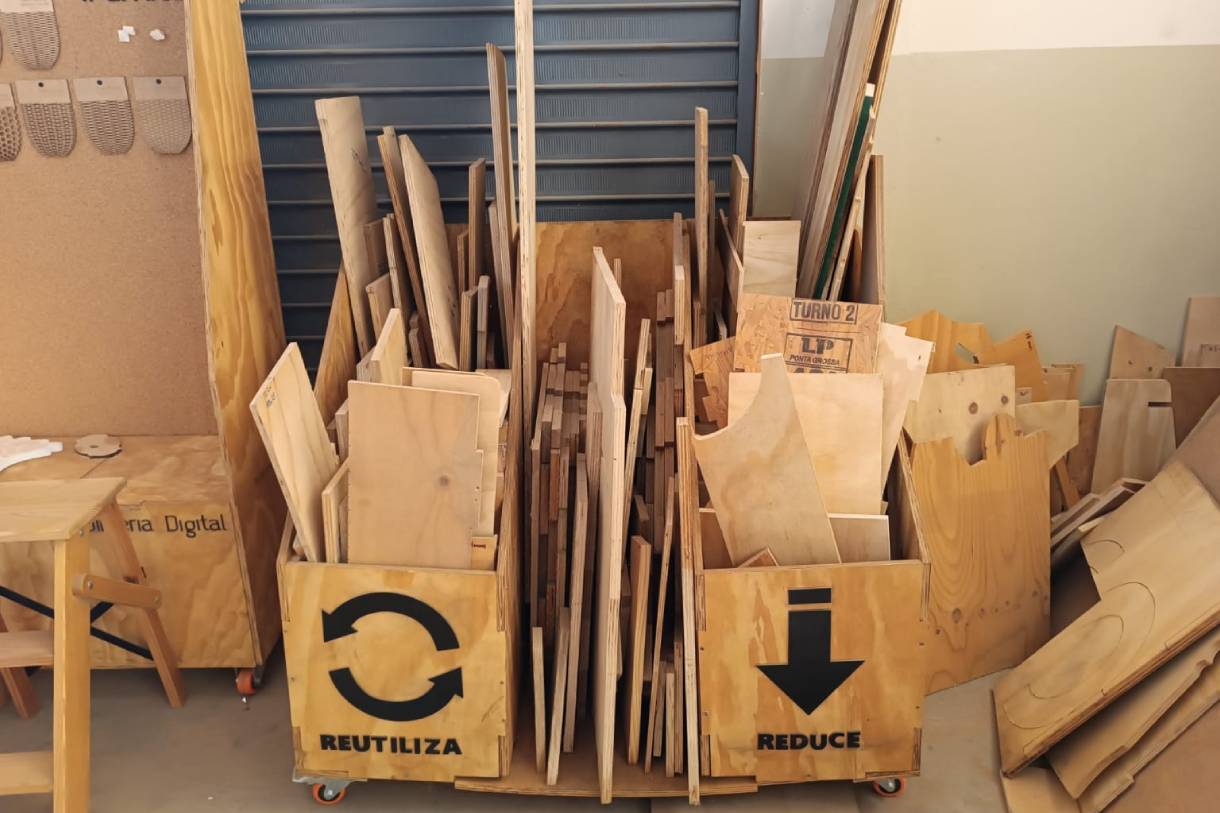
In the Fab Lab ifurniture we have a lot of leftover plywood, so for this assignment it would be great to use them.

Let's get to work and see what we have.

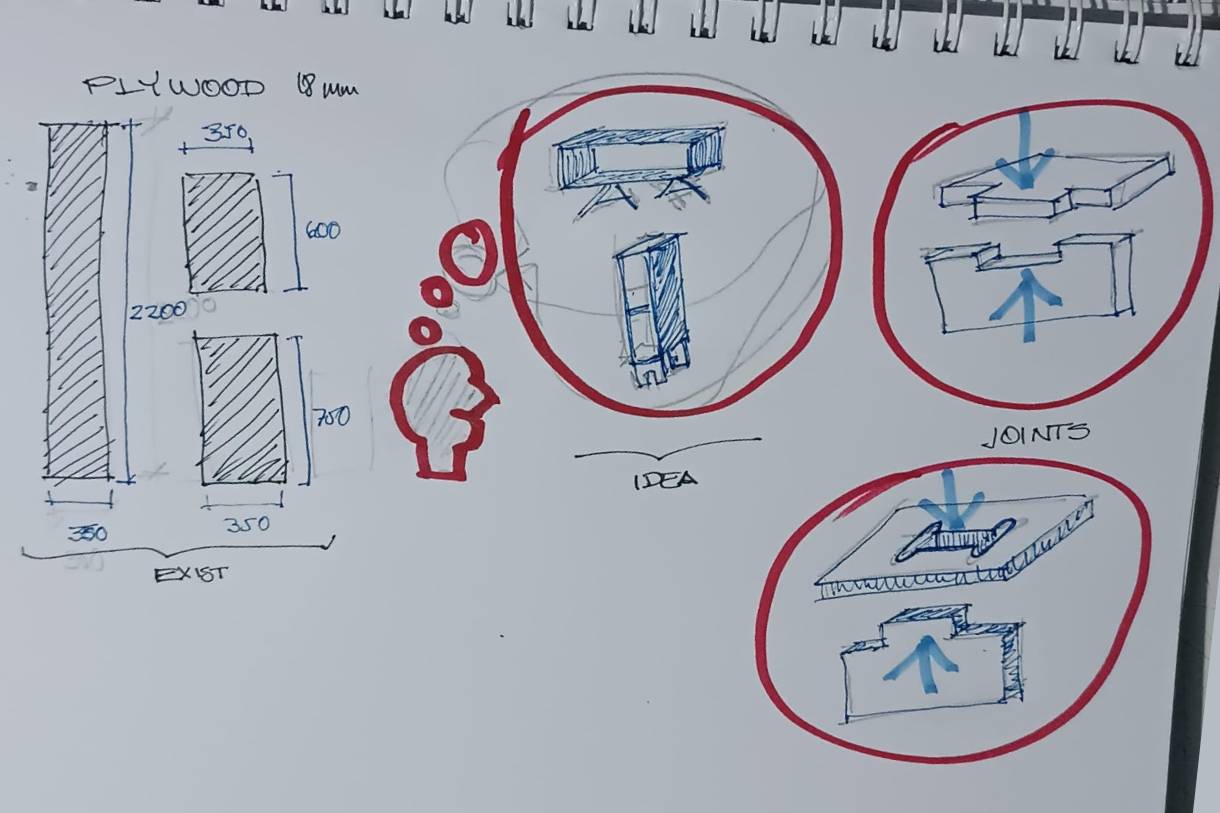
a very long piece, and other small pieces.....It's time to think what we can do with all this...

First ideas..

What to do with the long piece and the small pieces I found?

I have to make a medium sized piece of furniture to put the TV on it...

I feel that something is missing, maybe some curve in the design....

How to bend the plywood?

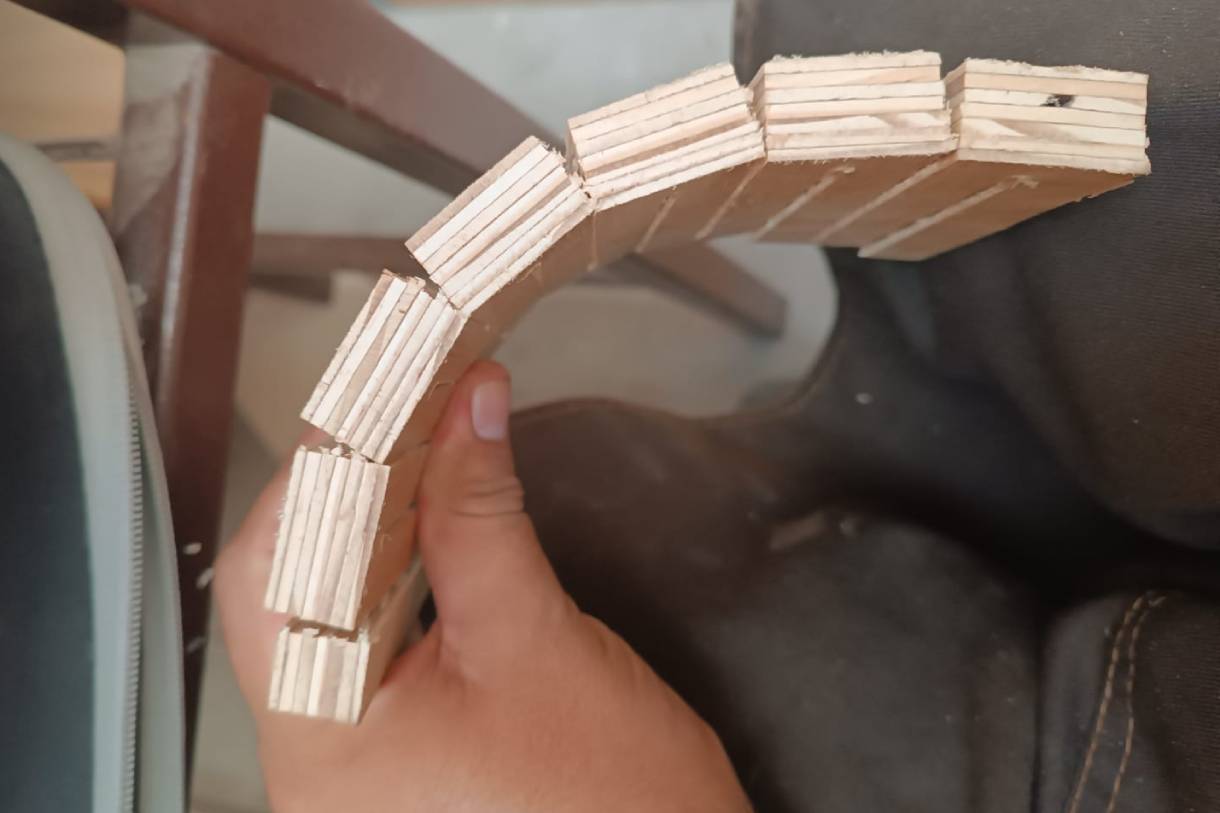
The way to do it is to use bending patterns.

I will try two bending patterns that I saw interesting and could serve my purpose.

Never before make a piece of furniture by bending plywood.

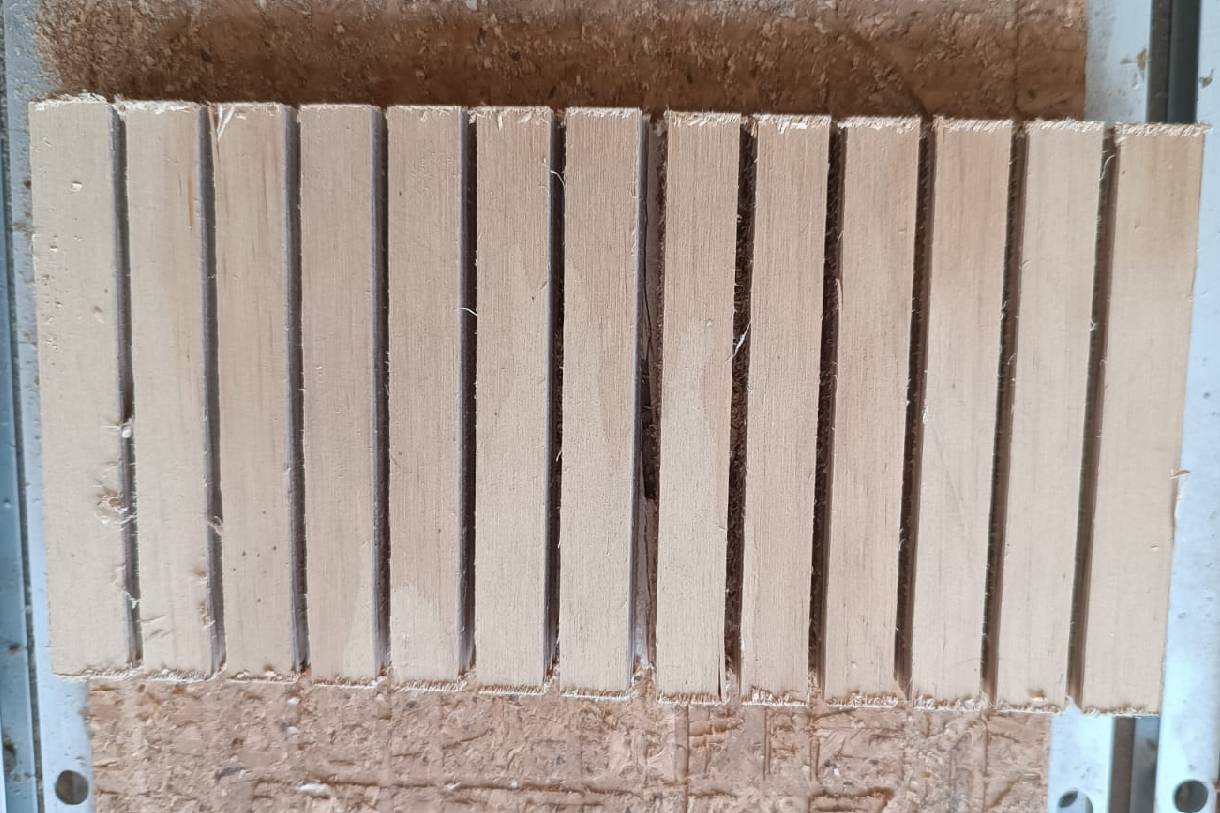
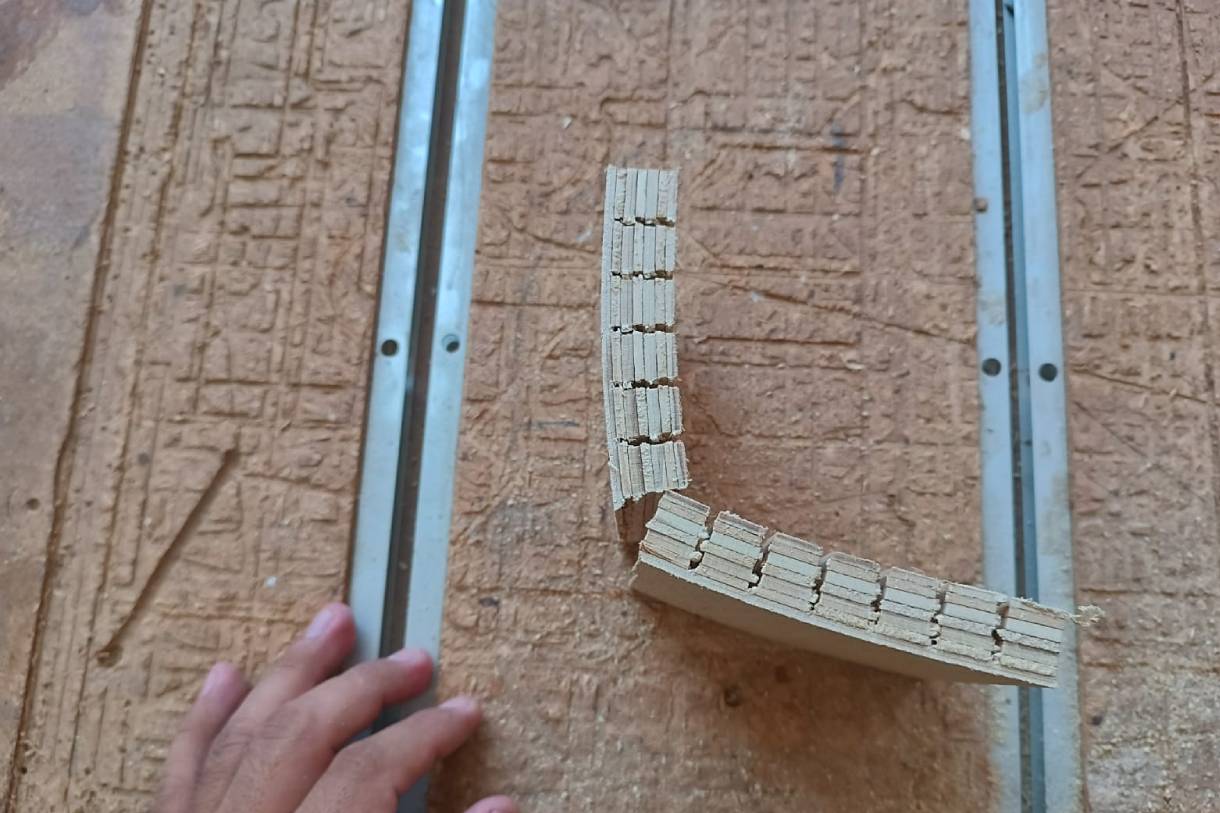
first test

First pattern to bend the plywood using a 3.175 millimeter milling

Setting the router leaving 3 millimeters of plywood, it bends a lot but it breaks easily. It didn't work

then I left 5 millimeters of plywood, it does not bend, it is too hard. It did not work

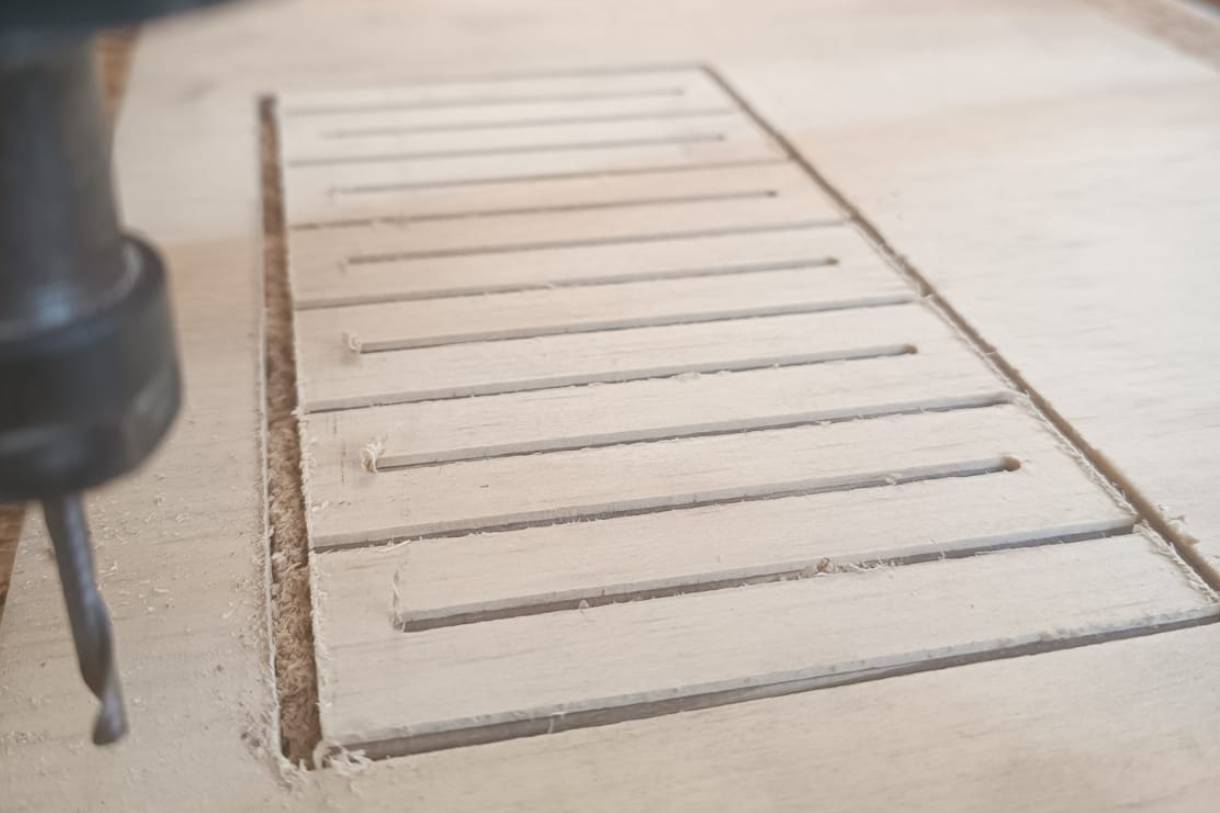
Second test

Second pattern to bend the plywood using a 3.175 millimeter milling

I set up the CNC with grooves every 10 millimeters, it worked!!! but on a bigger scale it gets very unstable.

set up the CNC machine with grooves every 20 millimeters. It works!

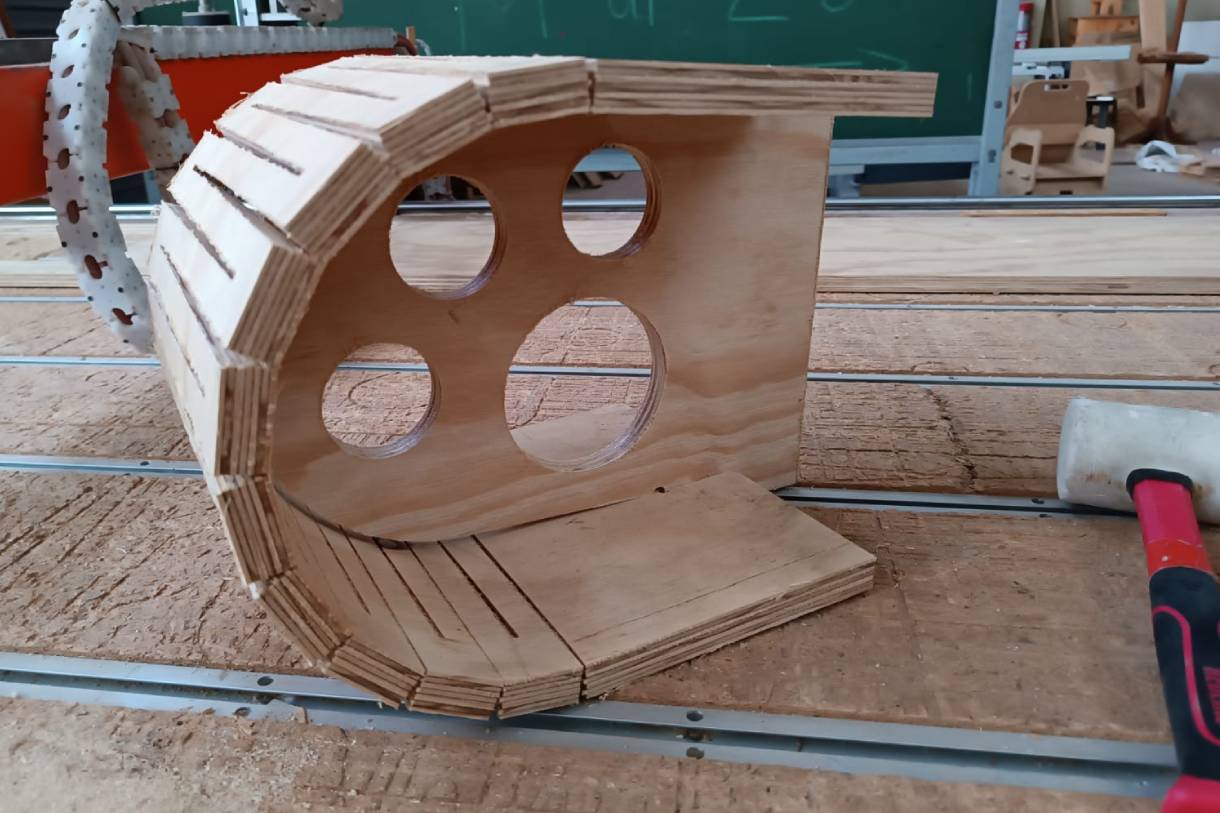
The result is incredible, it bends but it needs an inner structure to keep the shape of the curve.

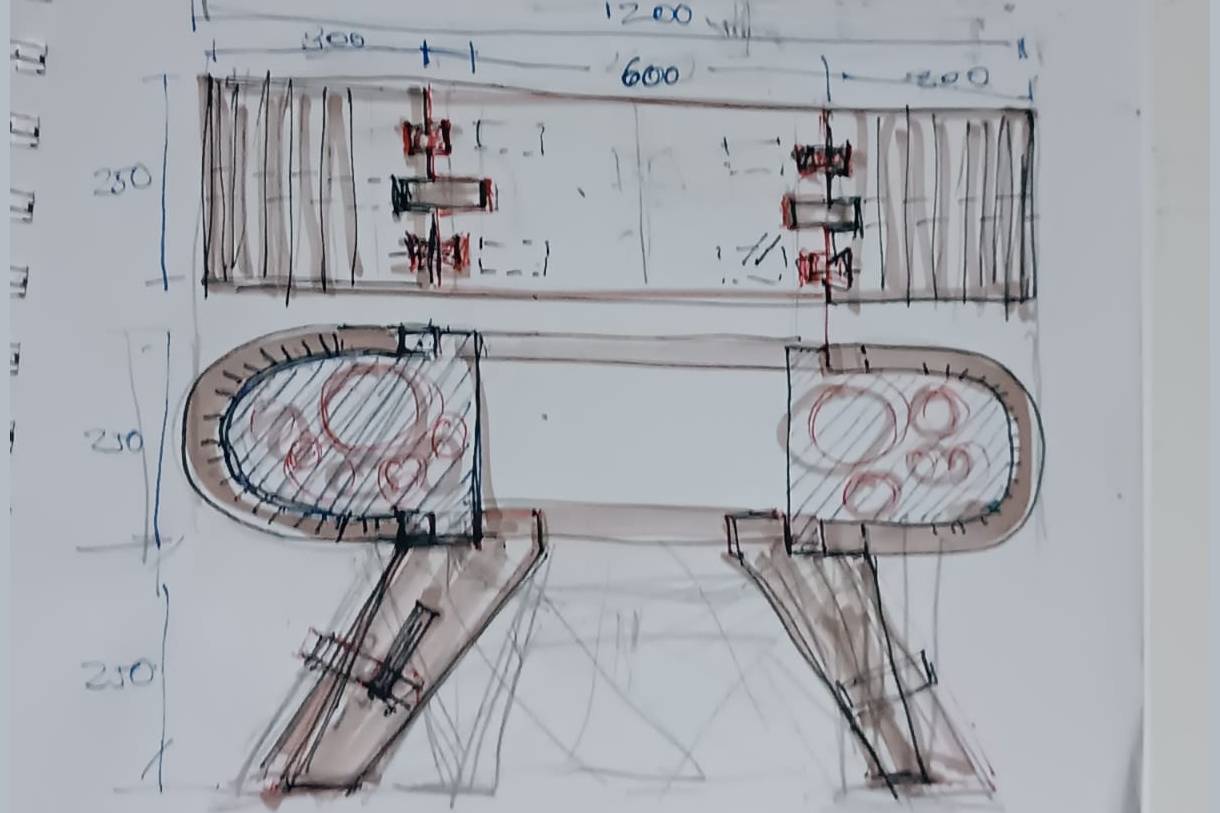
final sketch

the final design is composed of 10 pieces.

We used circular pre-drilled holes in the structure that supports the curved side of the furniture to minimize the weight.

We will cut the pieces using a cnc router with a 3.175 millimeters milling.

We will use selected pieces from the plywoood leftover set.

We will be using the digital joints.

Cad / Cam

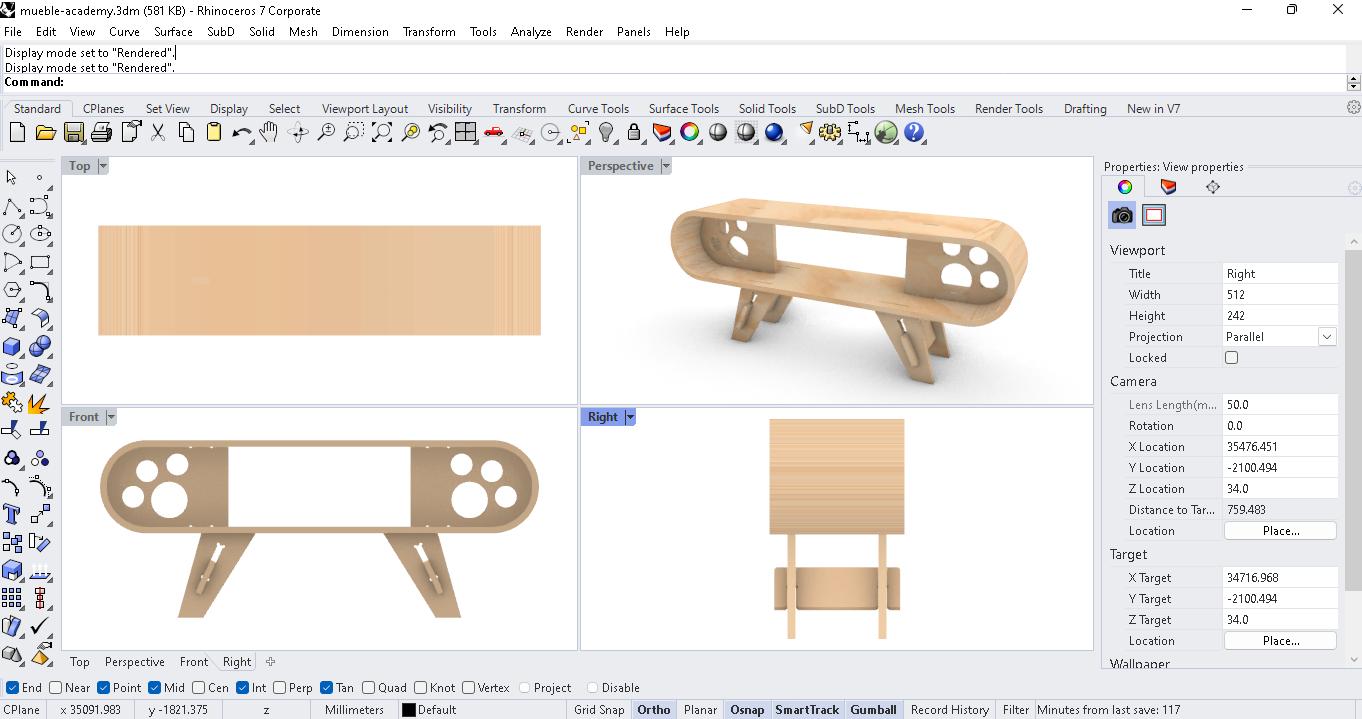
For the development of 2D drawings use rhinoceros 7 software.

Work in layers

3D modeling in the four views.

3D modeling applying plywood texture

Final result of 3D rendering

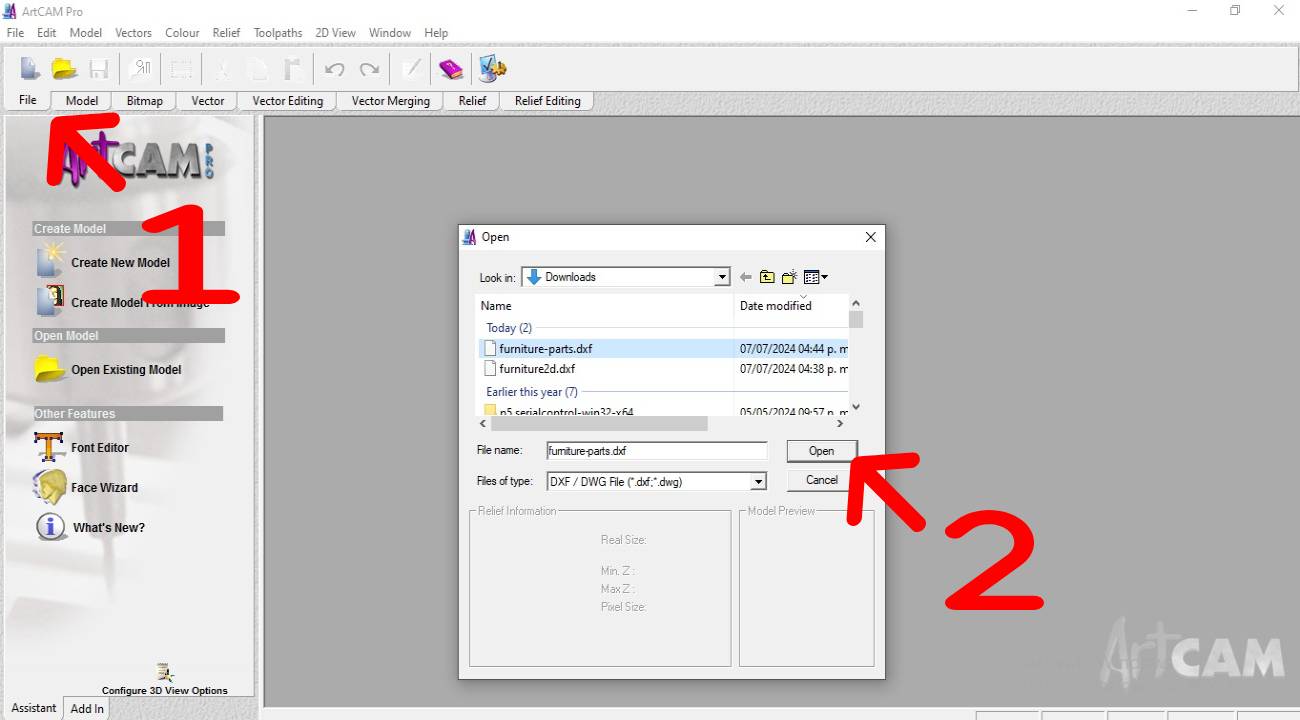
To manufacture the parts we must convert our 2D plans into G code and for this we will use the ArtCAm software.

1. we open our plans 2D option File

2. We select the dxf file and click on the Open option.

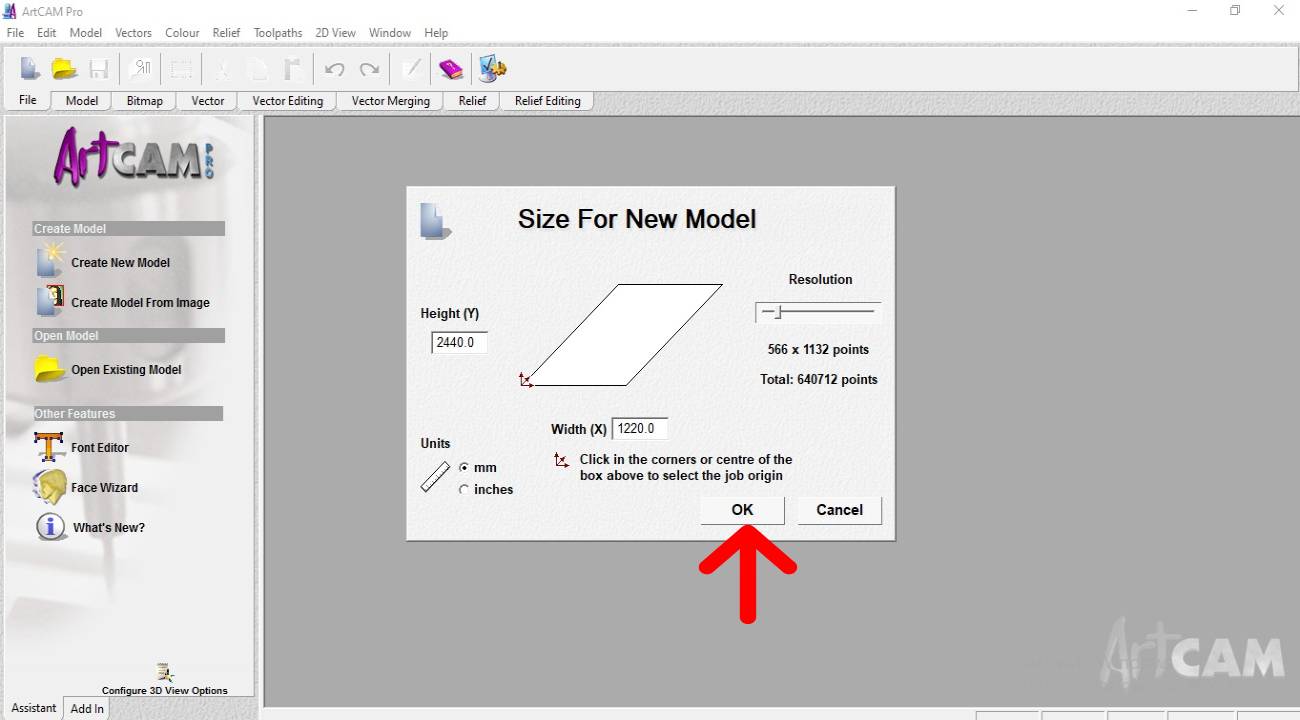
We select the size of the model.

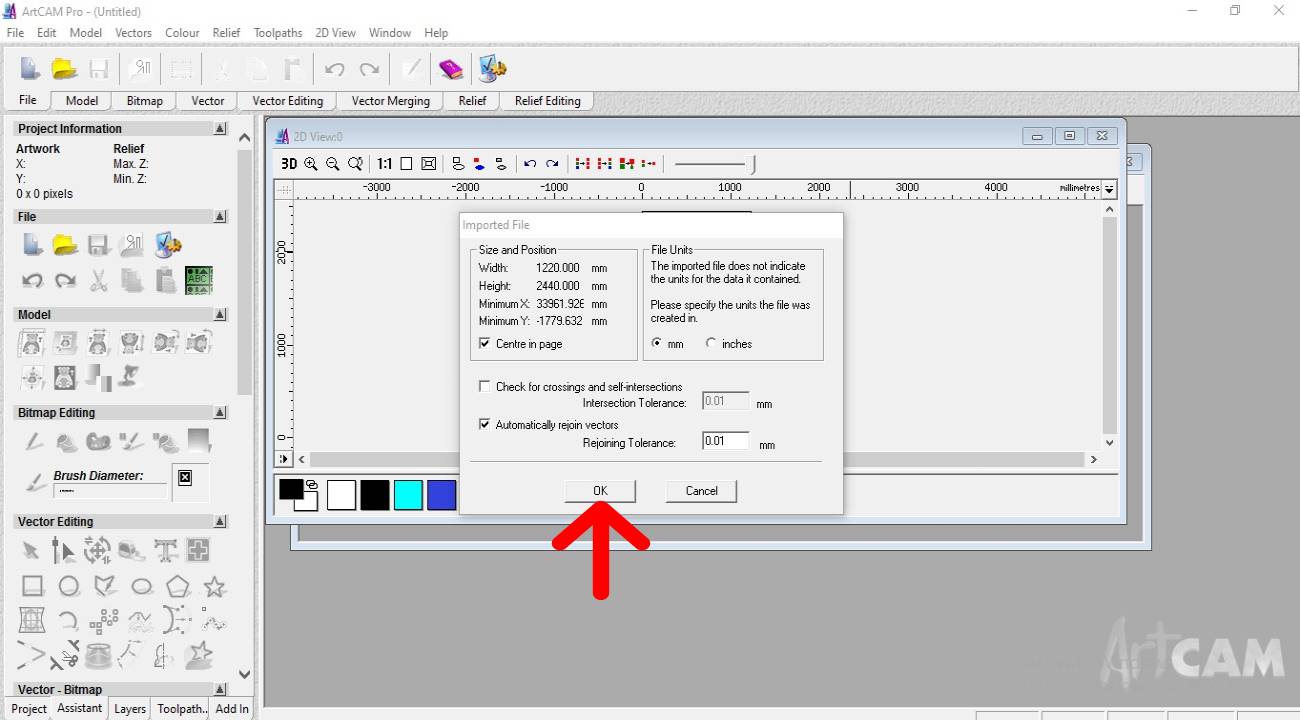
We accept the import of the file with the default values.

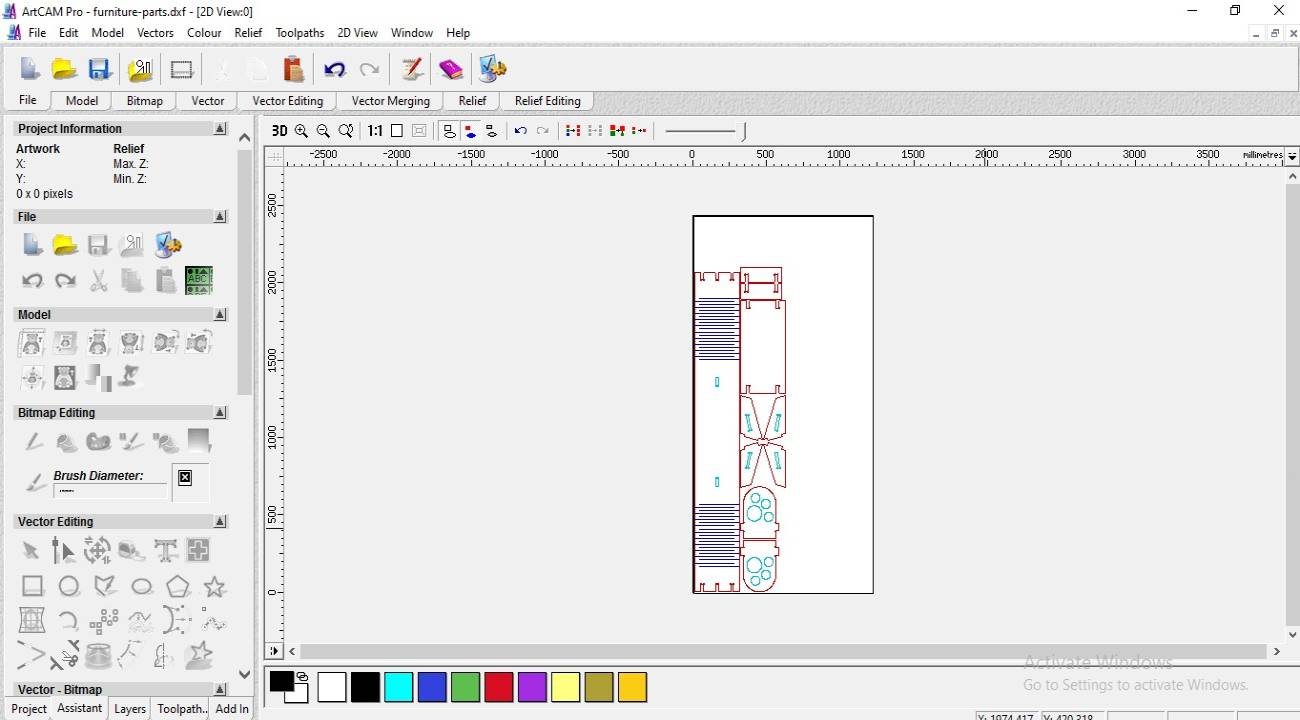
Result of the file import, now we must configure the interior and exterior cutting processes.

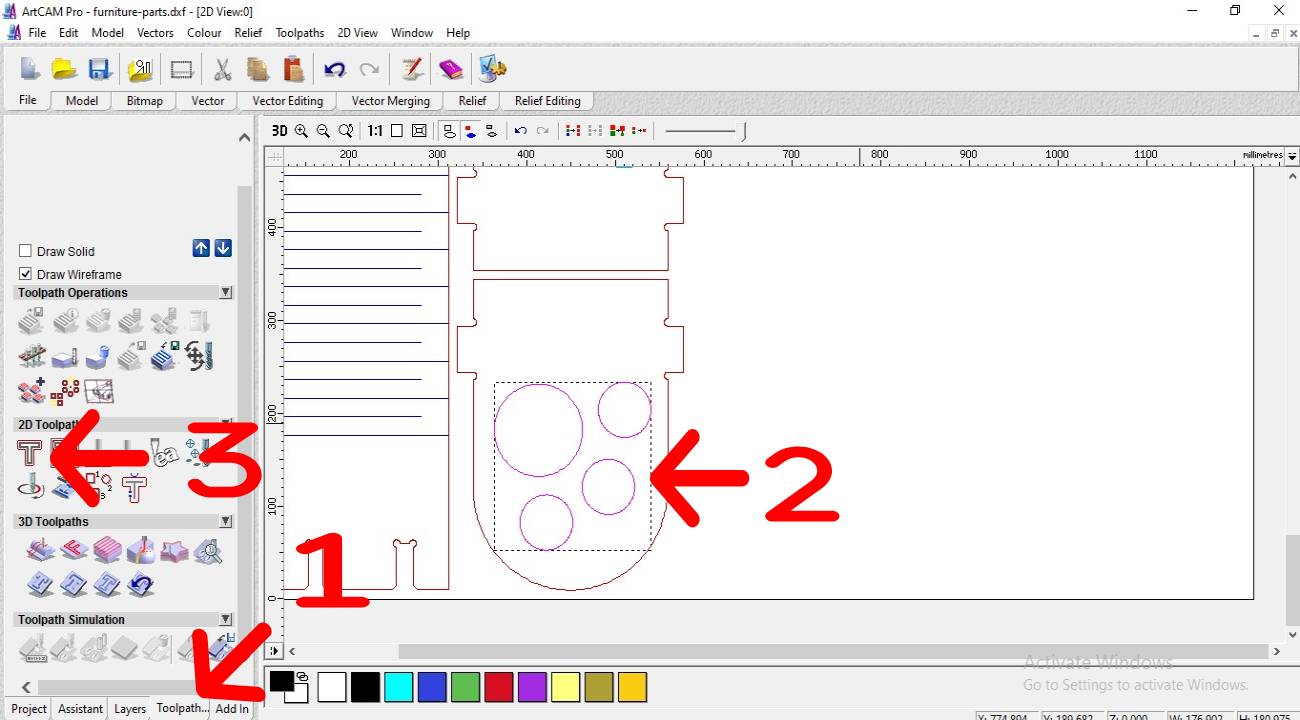
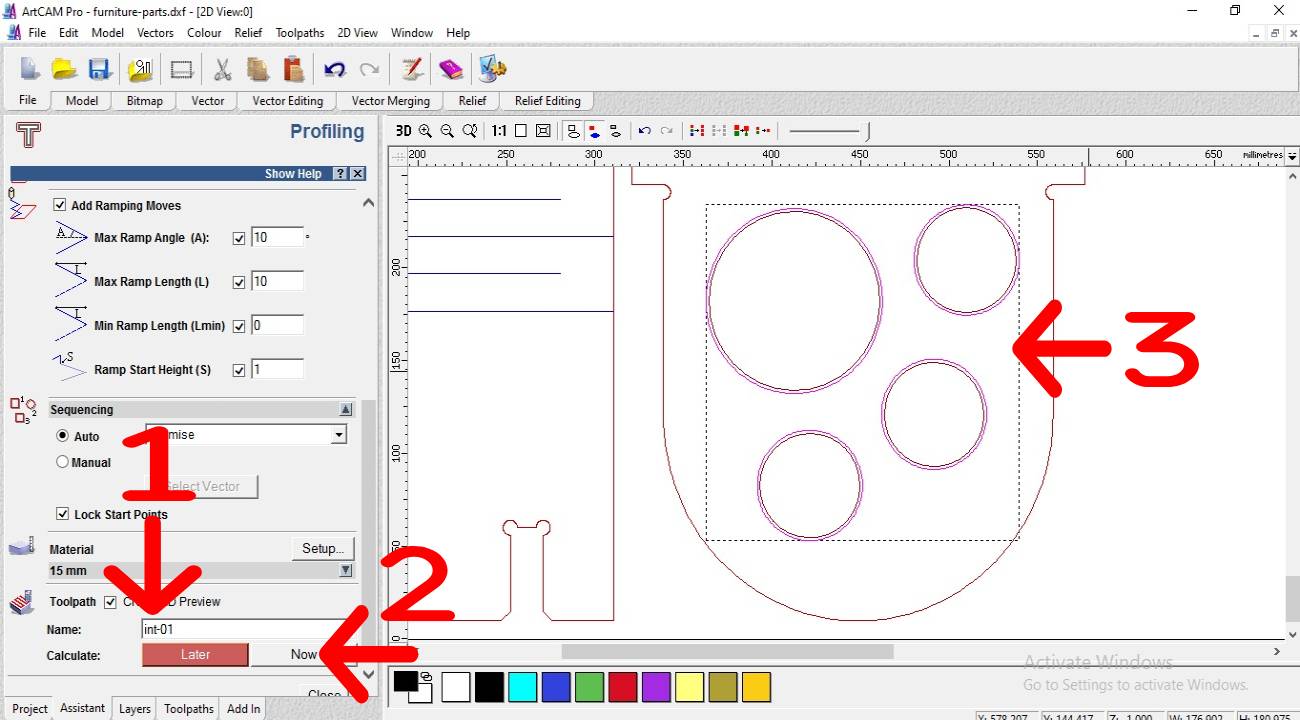
1. We select the Toolpath option.

2. We select the objects.

3. We select the Profiling Tool option

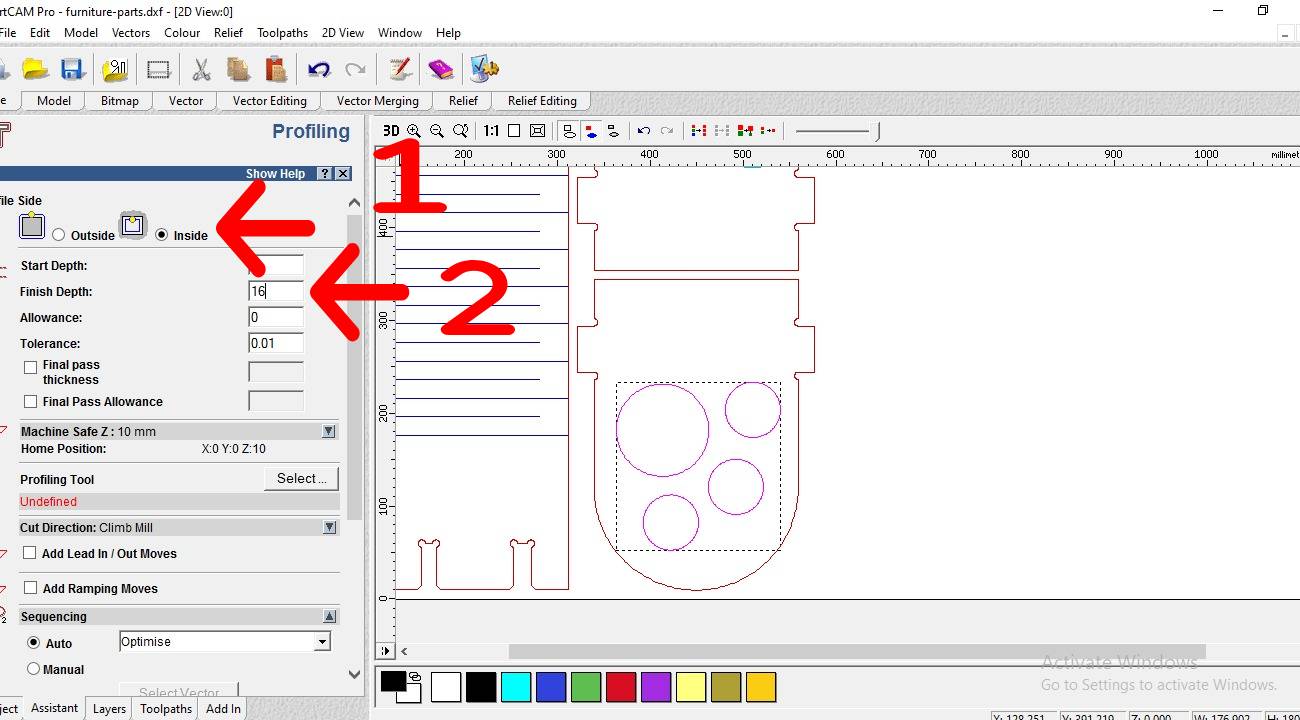
1. We select the type of cut, in this case the "Inside" option.

2. We enter the depth to which the cutter must reach to cut the object, option "finish Depth"

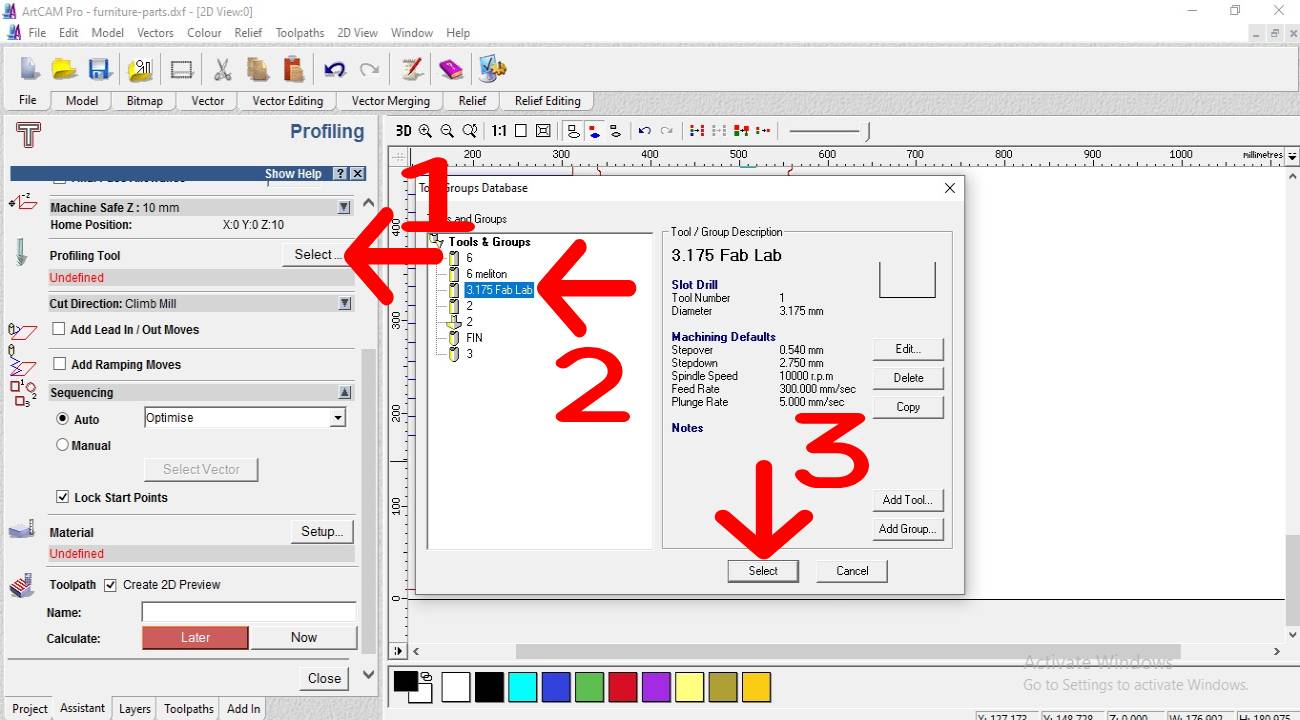
1. We select the type of tool in the "Profiling Tool" option.

2. We select the 3.175 FabLab milling cutter. So called because of the maximum diameter that our router uses.

3. once the strawberry is selected we click on "Select"

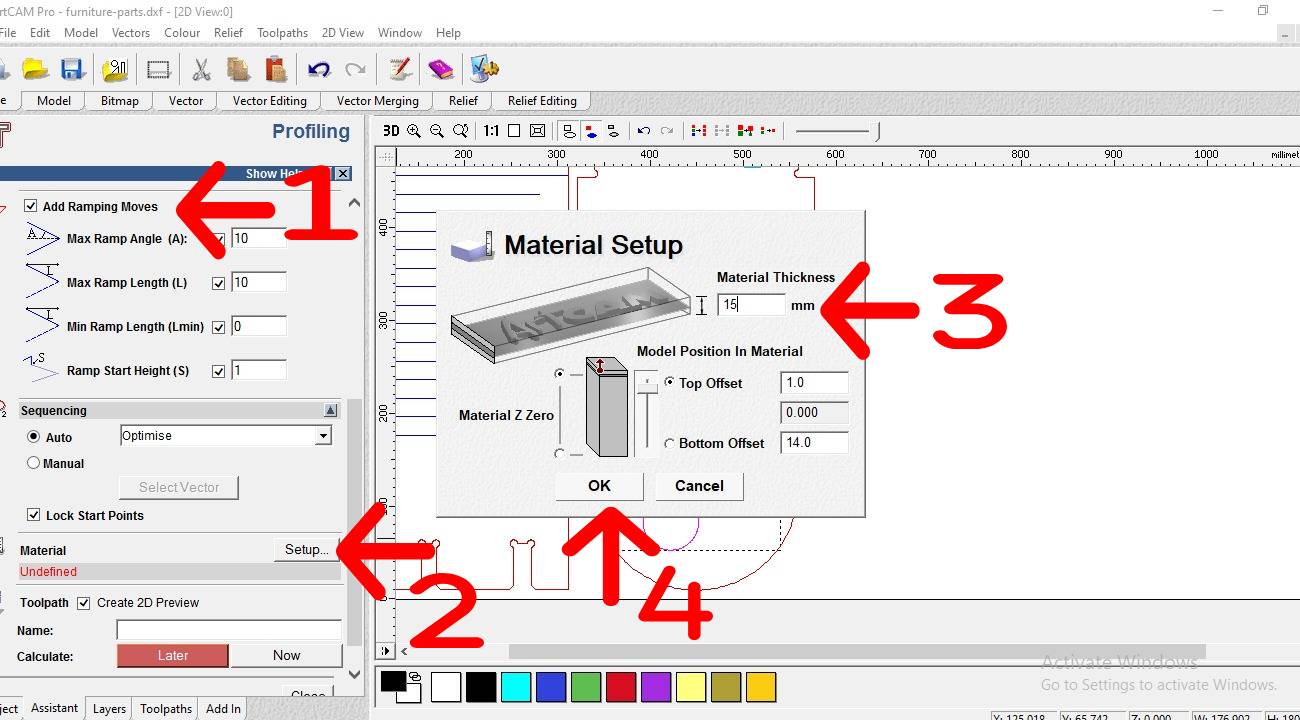
1. We select the "Add Ramping Moves" option, which is the way the milling cutter enters the material.

2. We select the material.

3. we indicate the thickness of the material

4. We click on OK

1. In the name option of "toolpath" we enter a descriptive name.

2. We click on the "Now" button.

3. We see that the cutting path is created.

* note: for exterior cuts we follow the same process, we only change the "Profile Site" option by activating the Outside option.

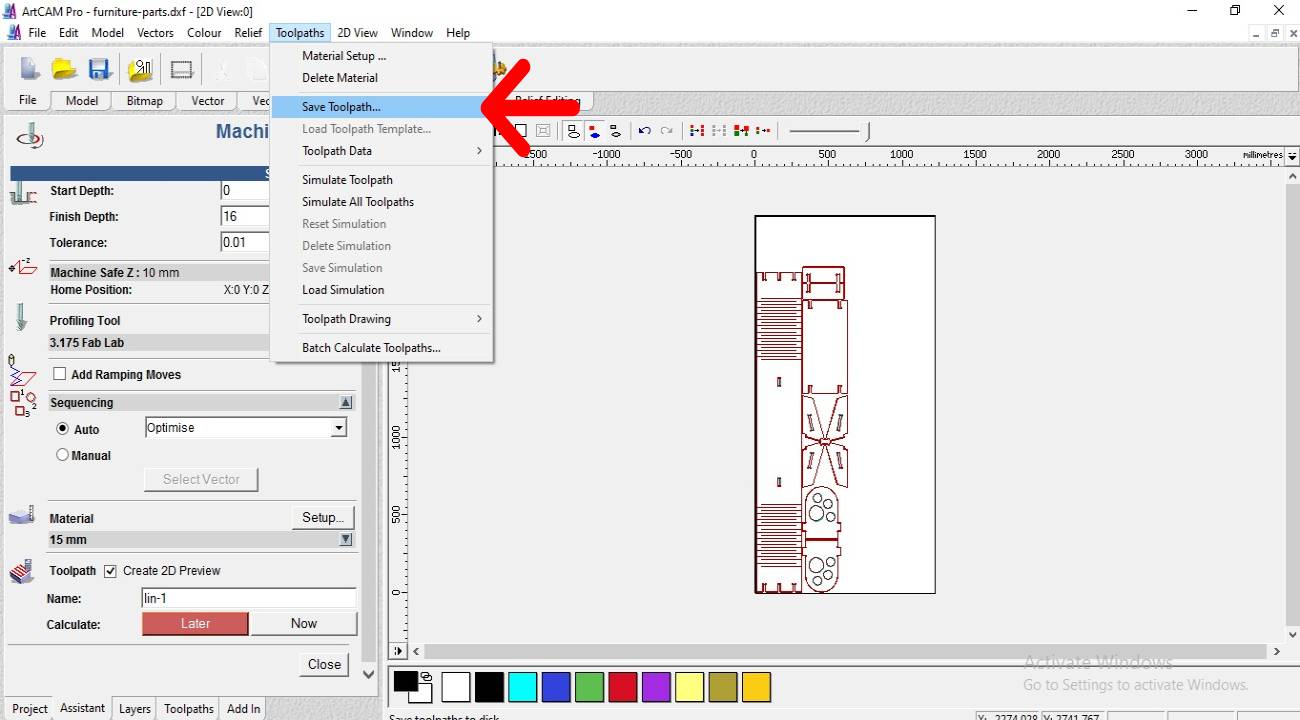
Once finished with the configuration for the cutting process, we go to the "toolpaths" option and select the Save Toolpath option.

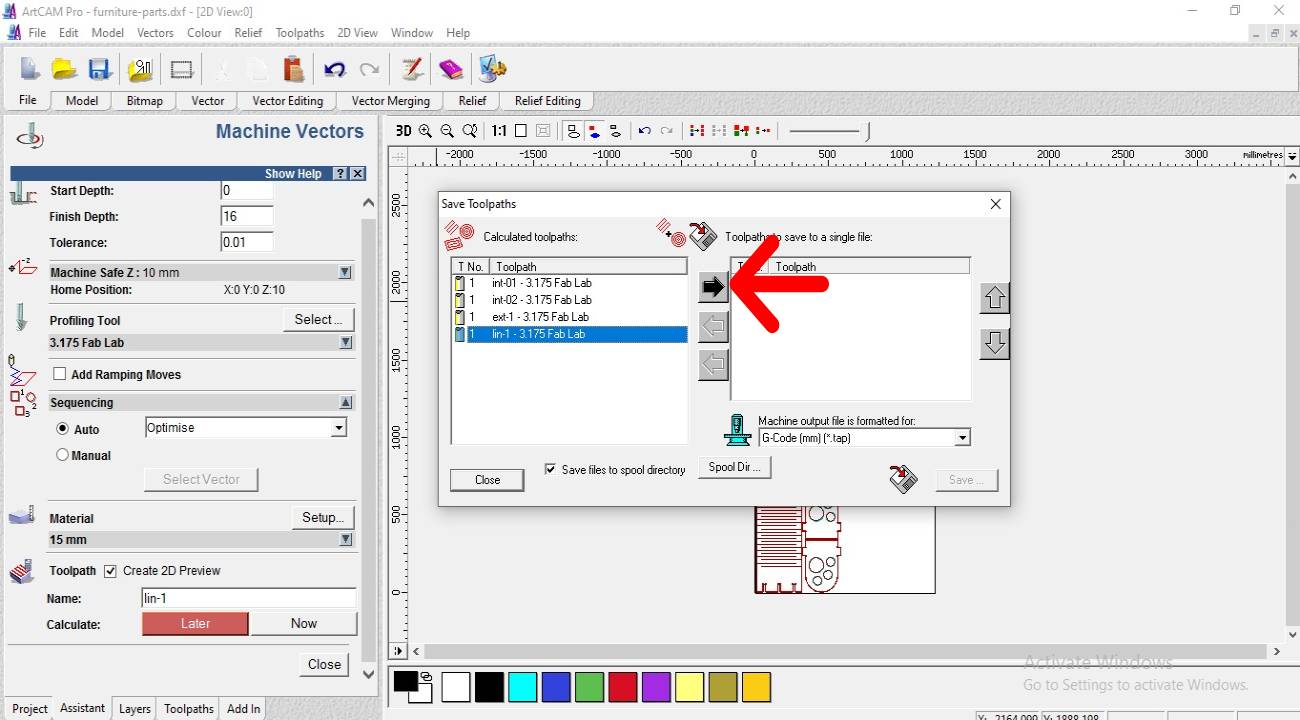
We select each of the files and with the black arrow we move them to the right side so that they form a single cut file with all the processes.

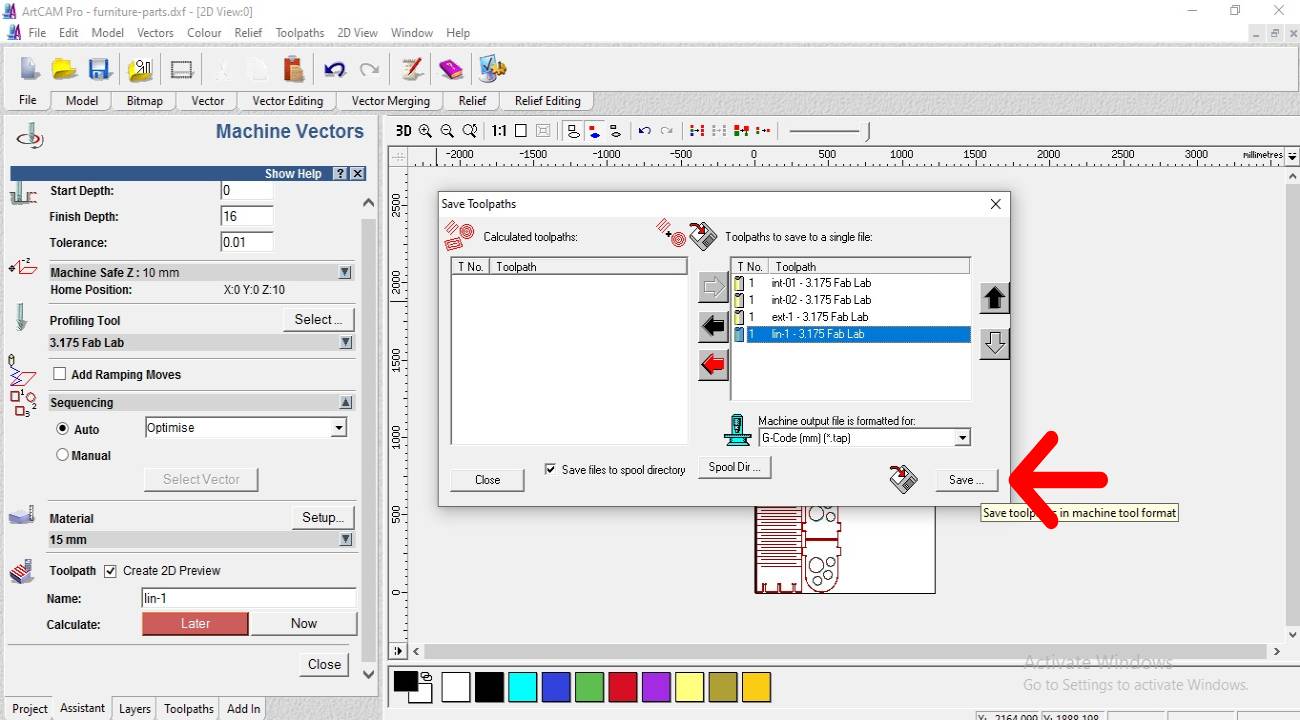
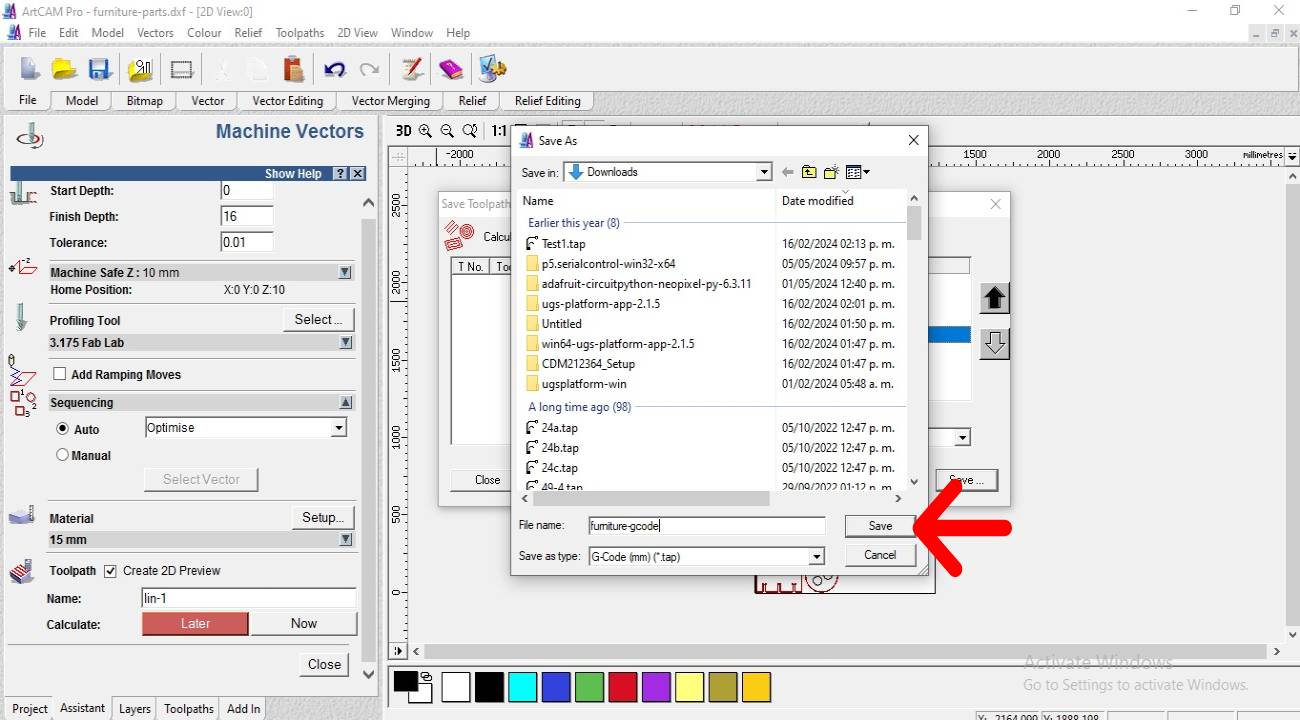
Once the processes are grouped, we click on the Save button.

Now we save the file in G-Code format with the .tap extension and what remains is to start cutting with the CNC Router.

The pieces

The project consists of 10 pieces..

We used plywood leftover material of 15 mm and 18 mm thickness.

What problems did I have and how did I solve them?

- The first problem was the selection of each of the leftover pieces, to solve it I had a lot of patience in selecting them.

- The second problem was to think about the design that adapts to the leftovers that I got, I solved it by thinking about the form and function it should have.

- The third problem was aligning the cutting planes to the leftover pieces, I solved it by being millimetric with the dimensions.
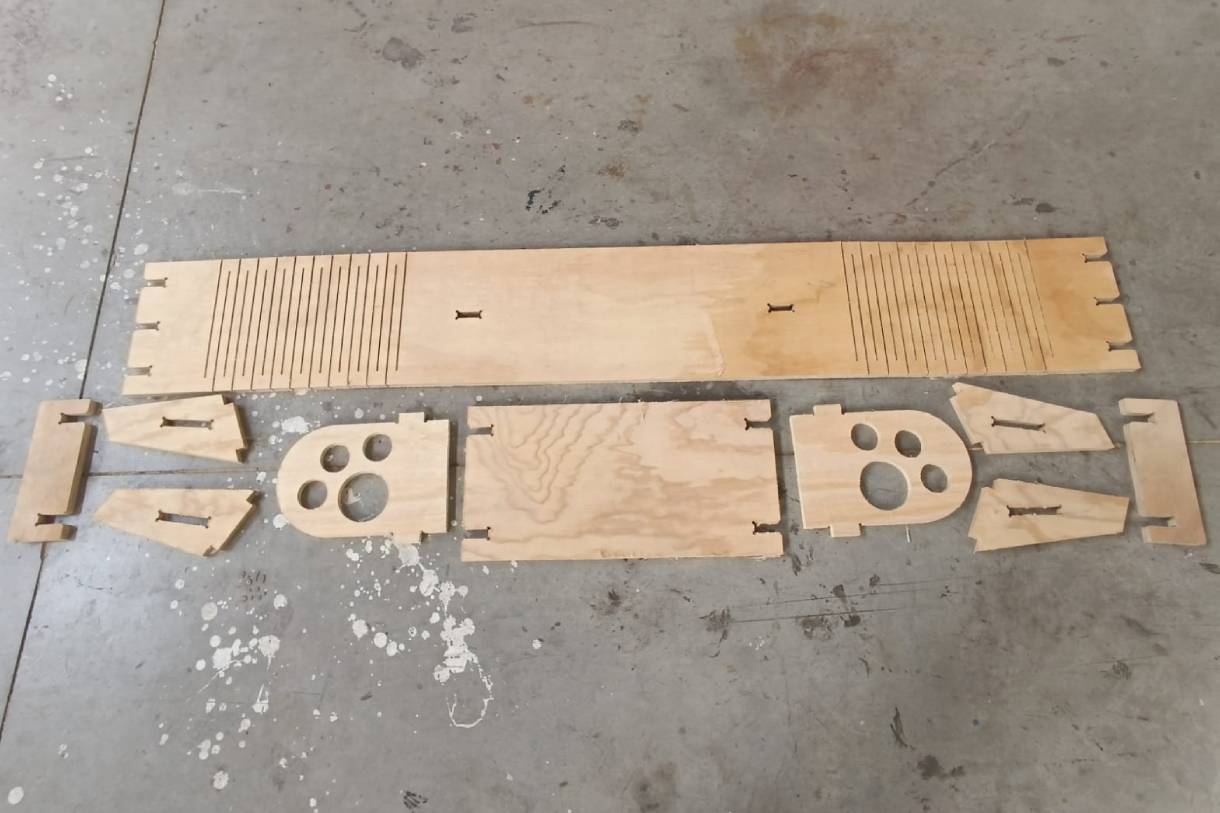
- the fourth problem was the cutting patterns for bending, to solve it I had to do several tests with different dimensions

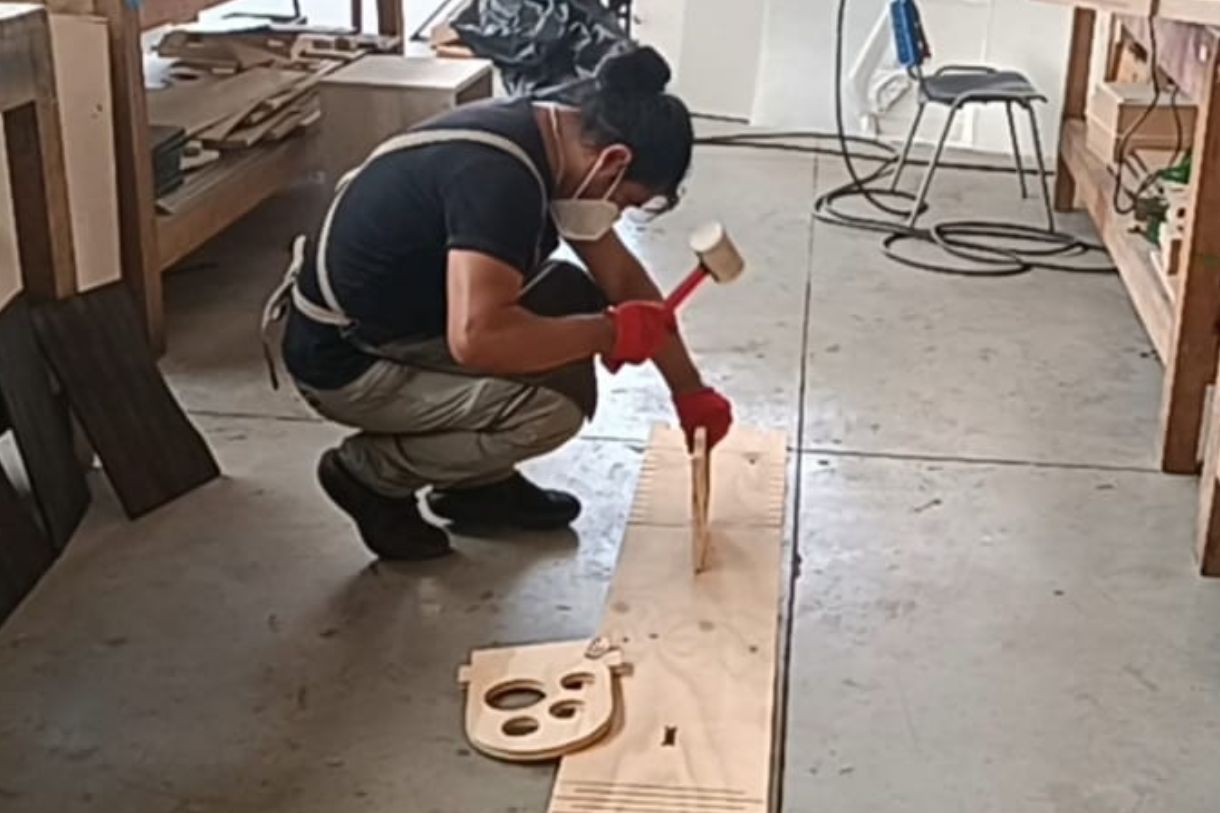
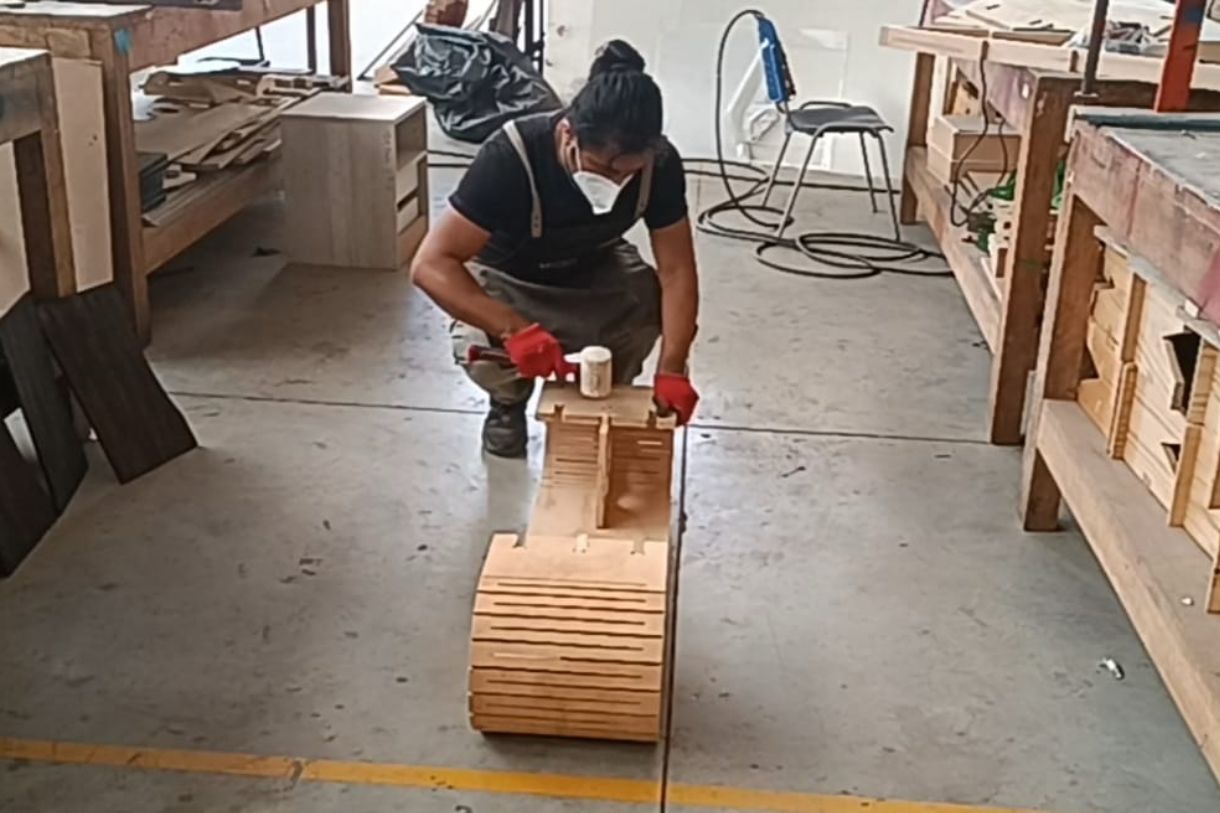
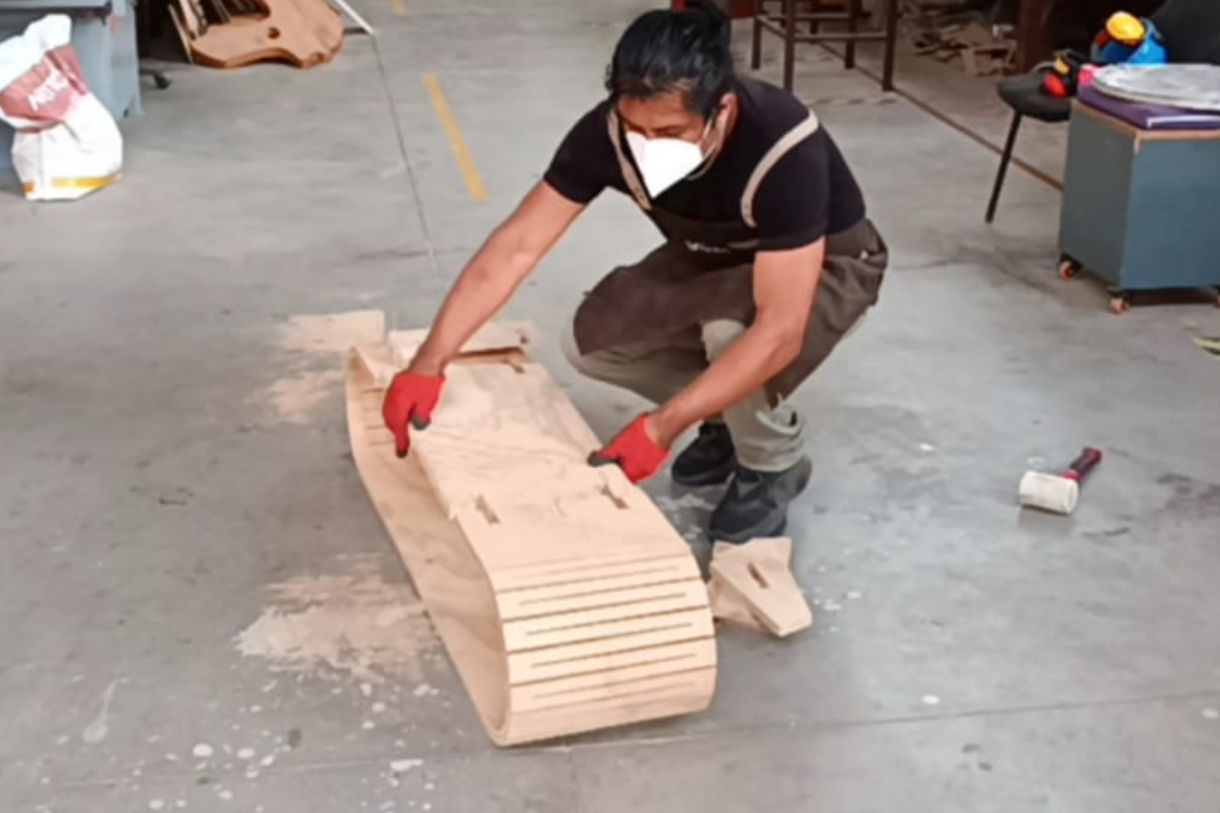
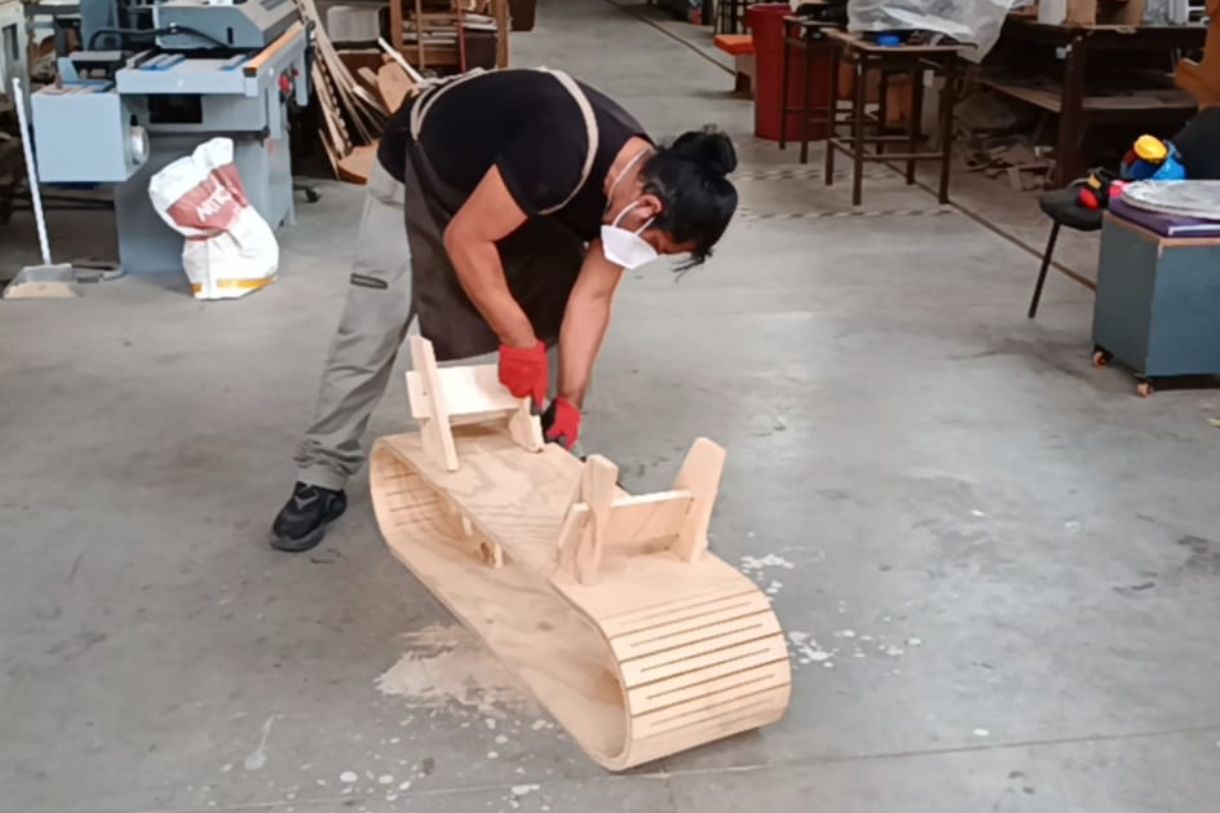
Assembly
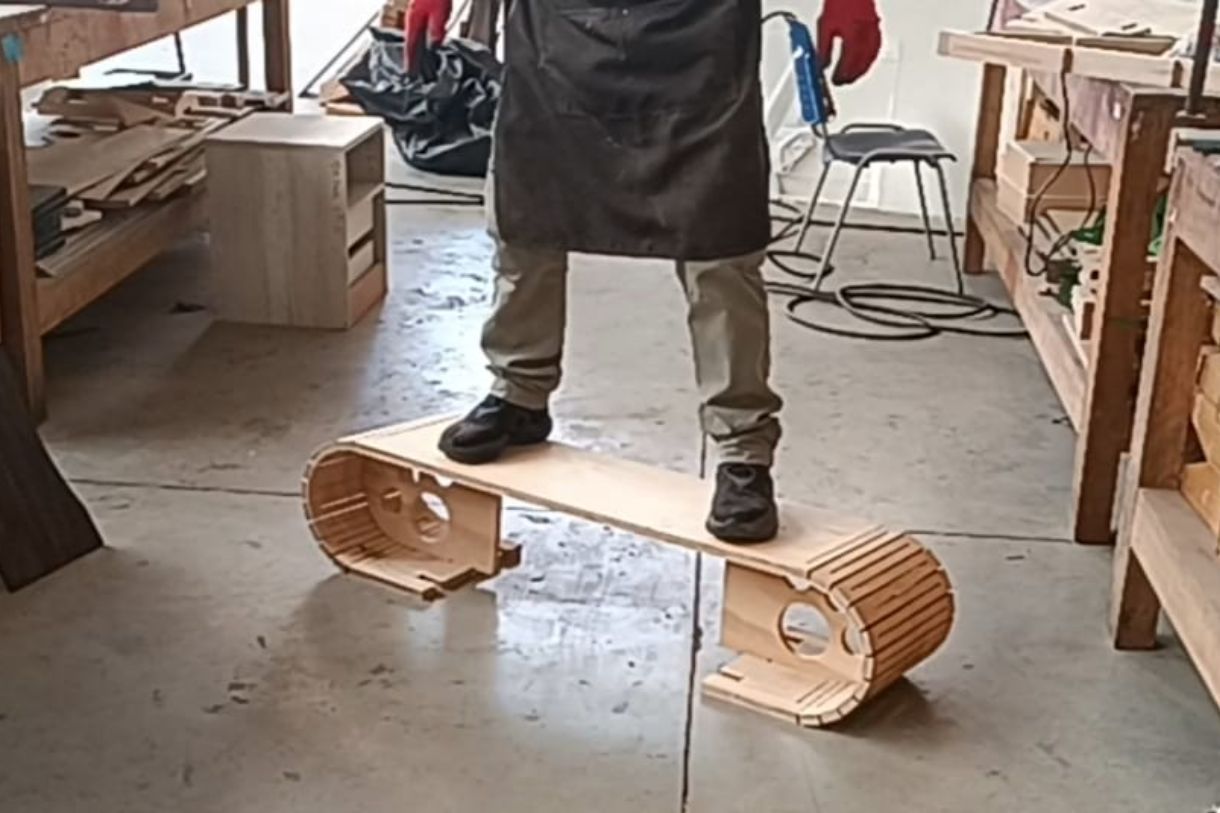
Final result

what I learned from this assignment?

That it is a long process of trial and error experimentation.

Every detail is important when it is time to assemble.

To have a lot of patience when things don't go your way.

I learned to design using leftovers that are usually discarded.

Download files

Here we can find and download the design original files