Computer Aided Design
Objectives for Week 2
- Model a (vector, raster, 2D, 3D, render, animate, simulate..) possible final project
- Compress images and videos
- Post a description with design files on class page
Vector vs. Raster
Vector graphics and raster graphics are two different types of digital images, each with its own characteristics and uses. Here are the key differences between vector and raster graphics:
Key characteristics of Vector graphics:
- Represent images using mathematical equations to define shapes such as lines, curves, and polygons.
- Infinitely scalable without loss of quality.
- Generally have smaller file sizes compared to raster graphics, especially for complex images with lots of details.
- Easily editable because they are based on mathematical equations.
- Ideal for logos, icons, illustrations, and other designs that require scalability and precision.
Key characteristics of Raster graphics:
- Comprise a grid of pixels, with each pixel containing color information.
- Fixed resolution, and resizing may lead to pixelation or blurriness as the software interpolates the existing pixel data to fit the new size.
- File sizes can be larger, especially for high-resolution images, due to the amount of pixel data stored.
- Editing can be more challenging, especially when it comes to scaling or modifying specific elements, as changes are made pixel by pixel.
- Suited for photographs, detailed artwork, and images where pixel-level control is necessary.
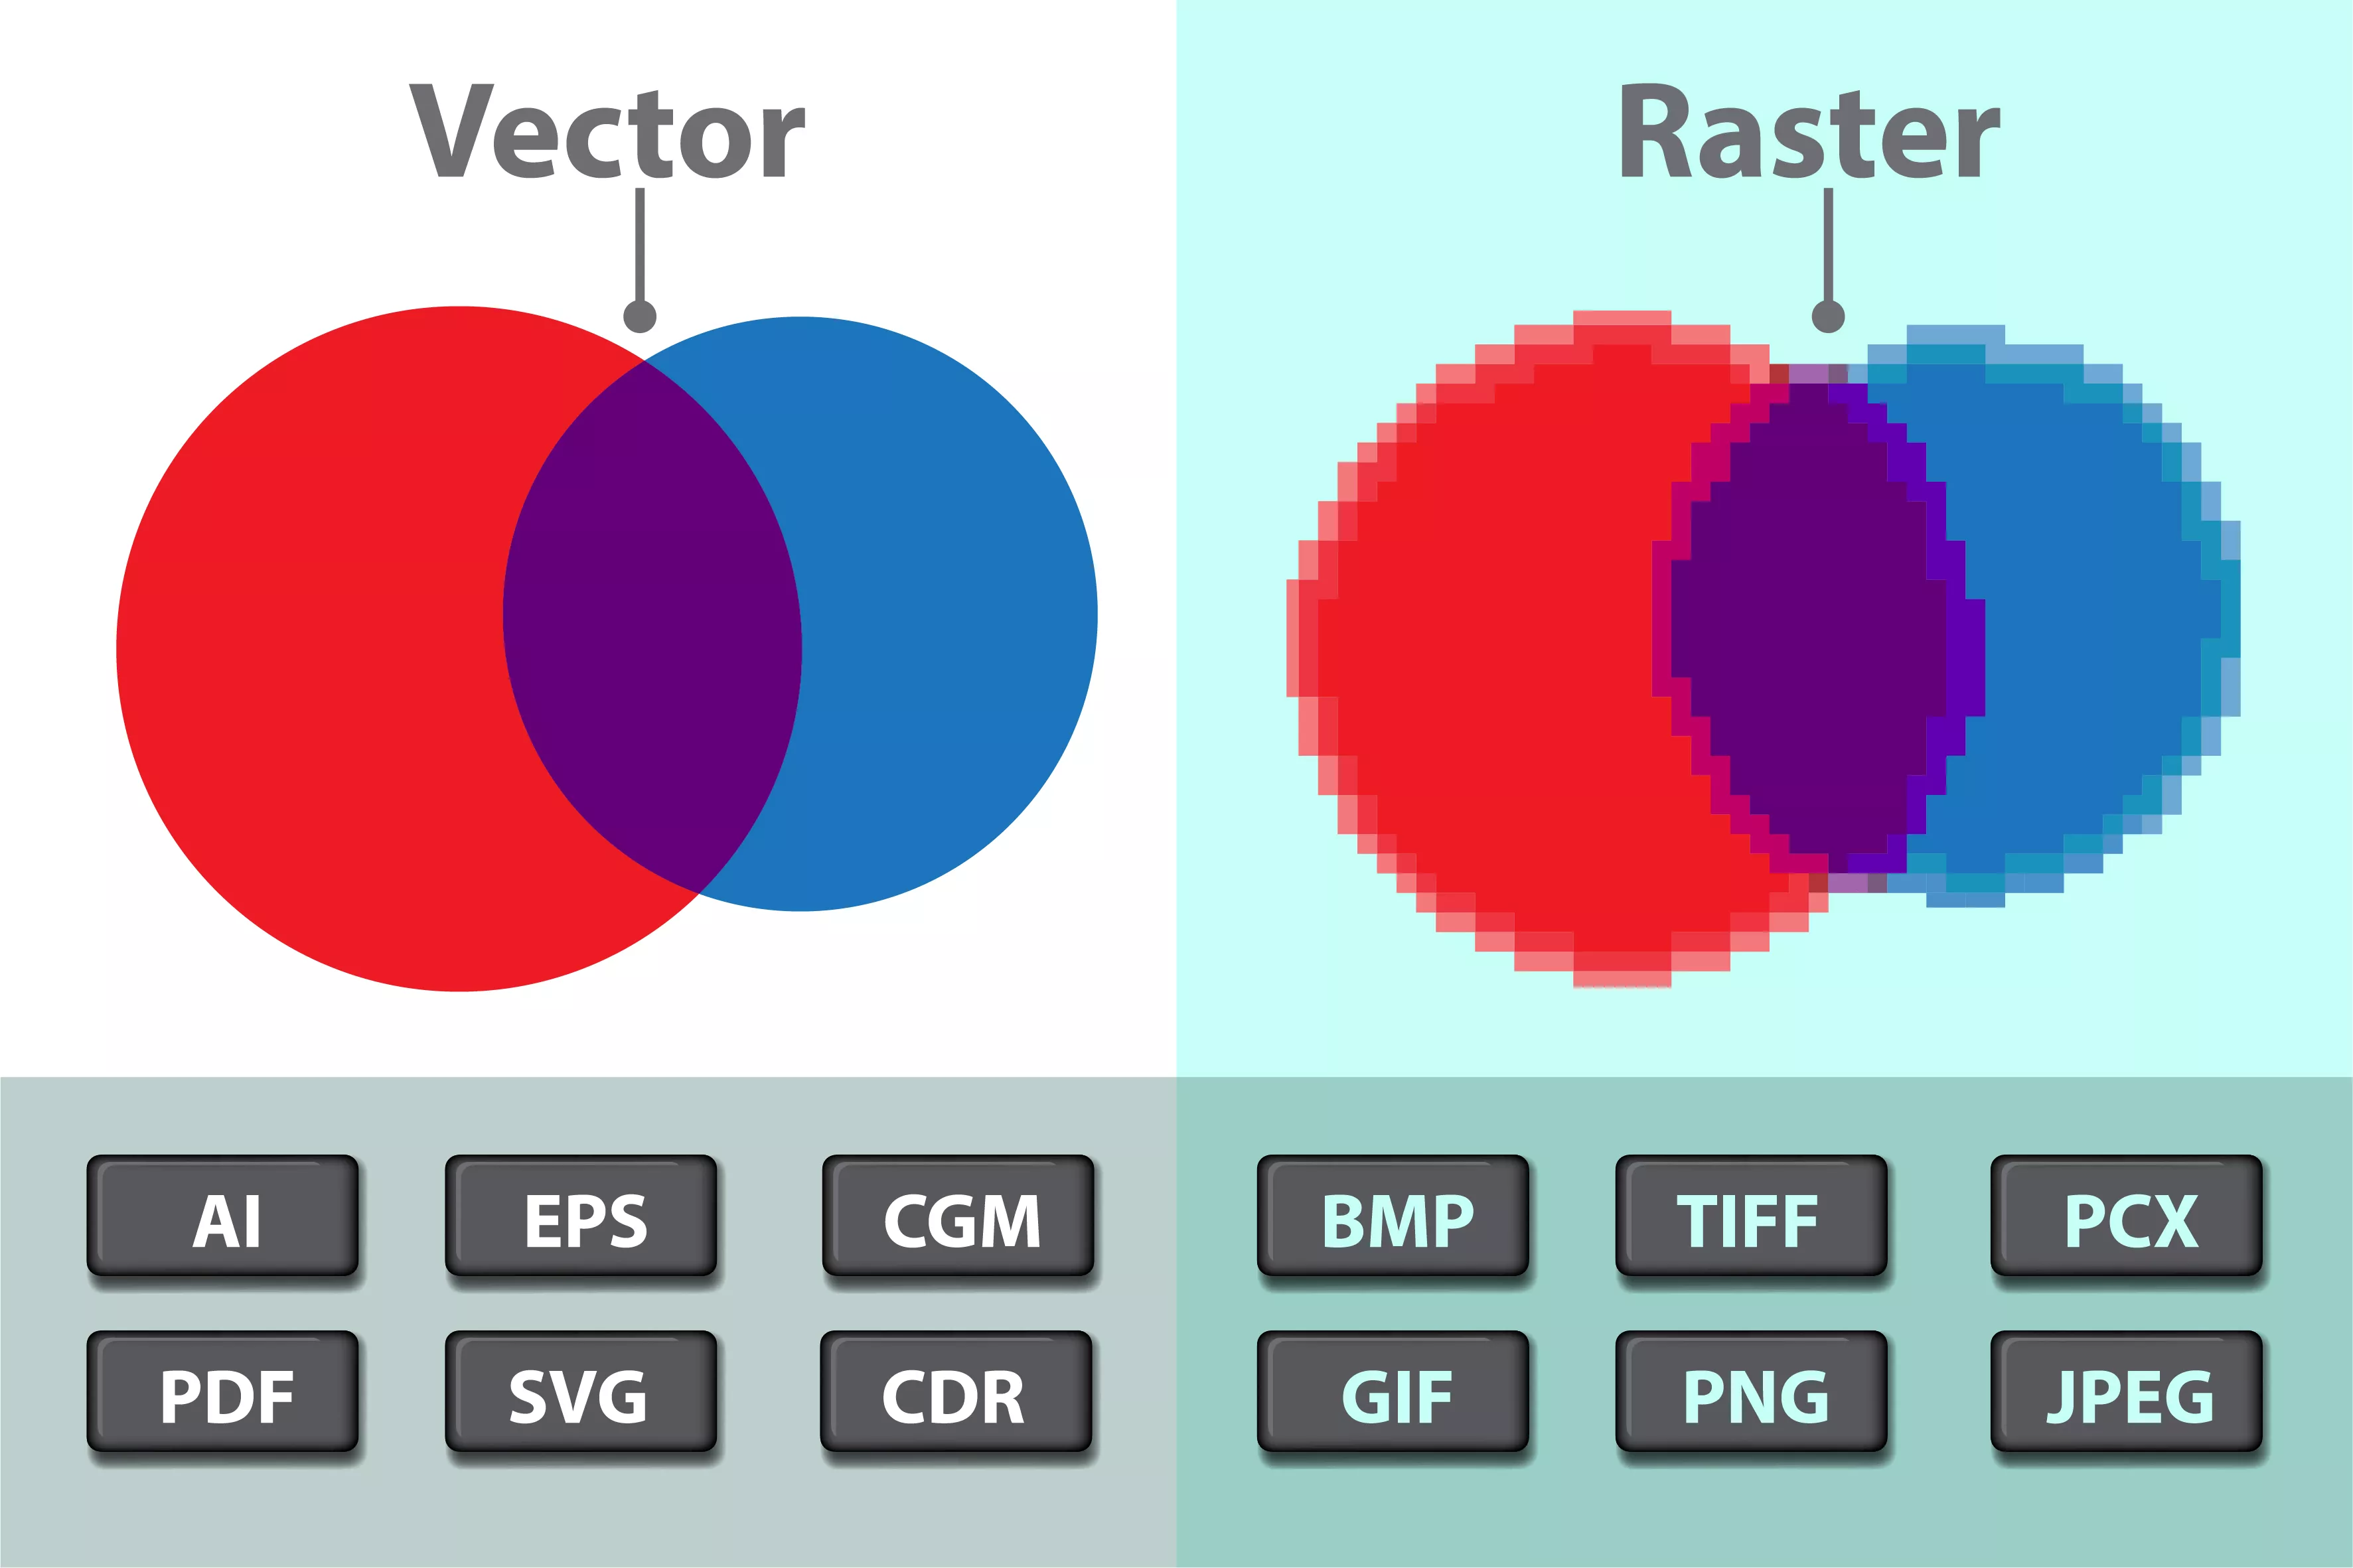
Vector vs. Raster (sourced from Google)
2D Design
Tools used during the week:
- Photoshop
- Photopea
- Inkscape
Photoshop
I'm already familiar with Adode Photoshop since college as I used to make posters for some of the college events. Photoshop is a widely used graphics editing software developed by Adobe Inc. It is a powerful and versatile tool that allows users to create, edit, and enhance images, as well as work with various graphical elements.
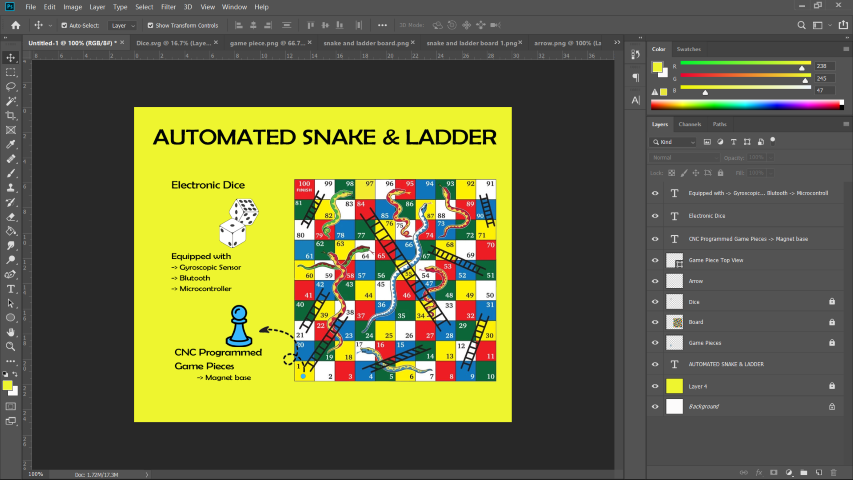
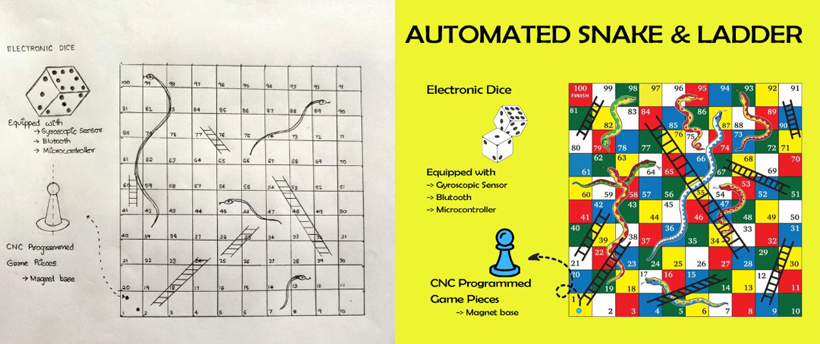
In Photoshop, I tried replicating the final project idea sketch I had drawn for Automated Snake & Ladder game. First, I downloaded some images from google that corresponds to the drawings I have done for my sketch. Then, I opened those files in Photoshop.
I added the images to a new file and rearranged them according to my sketch. Once that was completed, I added the texts required and aligned them. Layers were created for each elements added in the canvas. And finally, the poster was ready and it looks close enough to the sketch.
Photopea
Photopea is an online image editing application that provides a user-friendly and versatile platform for photo editing and graphic design. Photopea shares similarities with Adobe Photoshop in terms of its interface and functionality, making it a powerful alternative for users looking for a web-based photo editing solution. Since it was similar to Photoshop, I didn't have to follow any tutorial to understand its working.
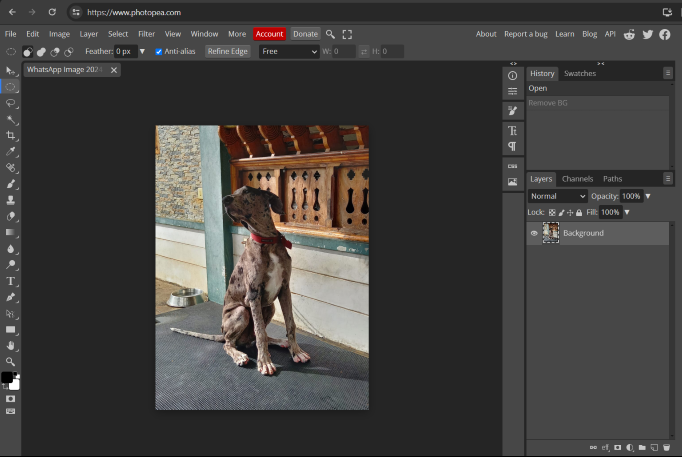
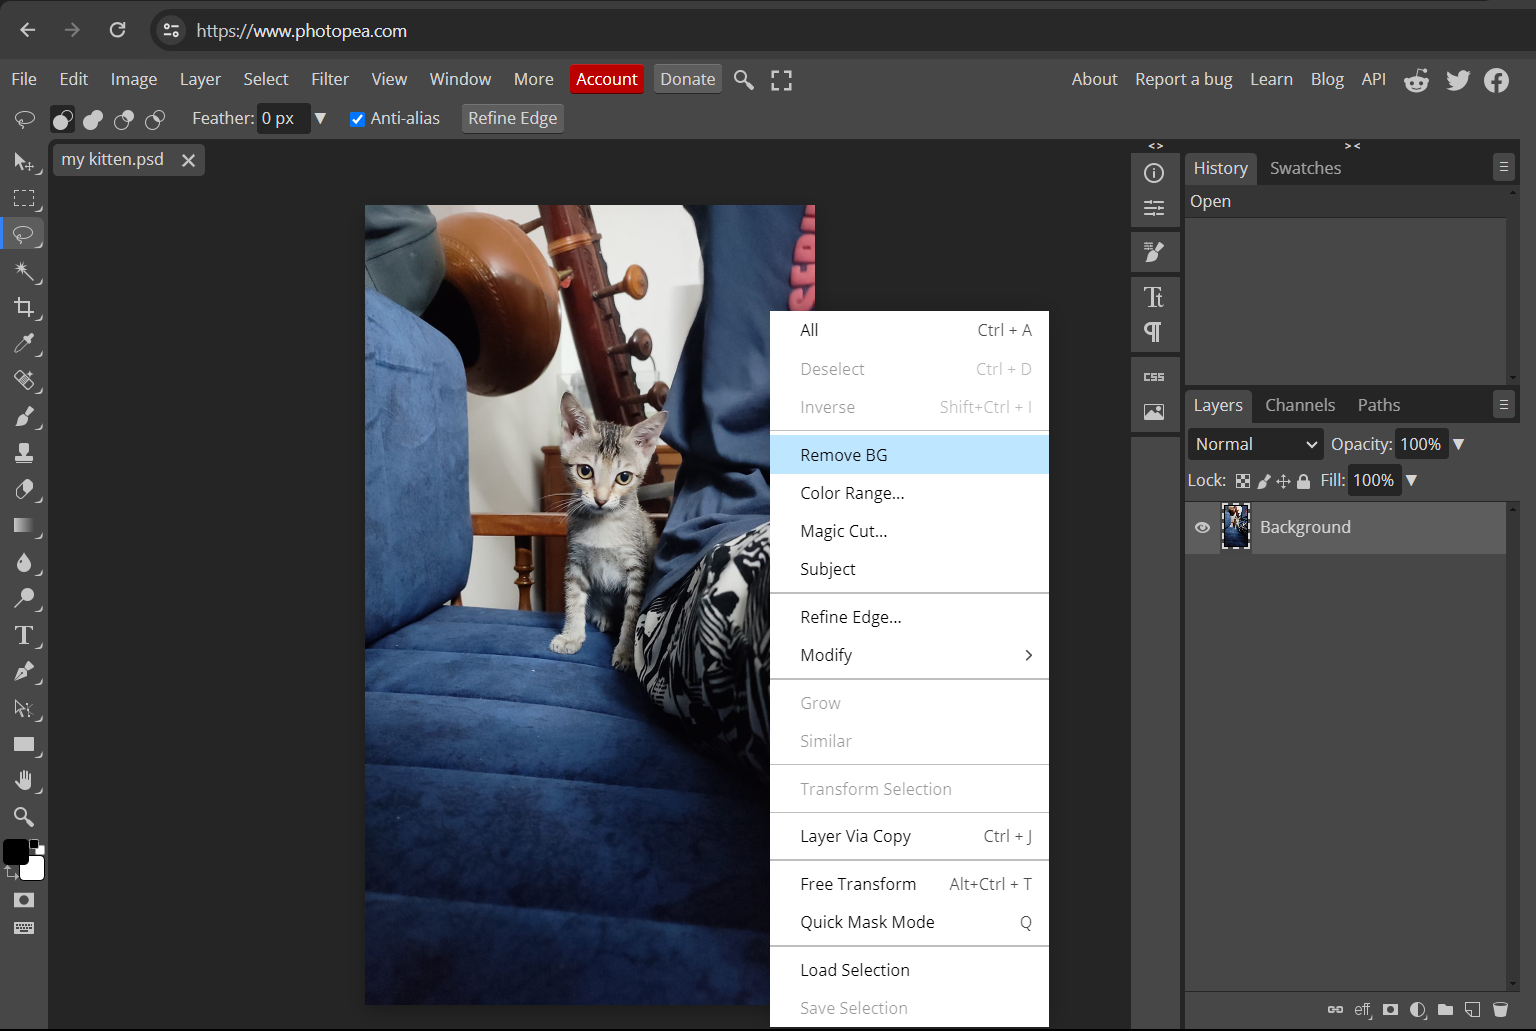
In Photopea, I tried combining the photos of my two pets. For this, firstly I opened Photopea.

I opened the images of my pets and removed their background. In order to the remove background, click the lasso tool and then right click on the image to find the option Remove BG.
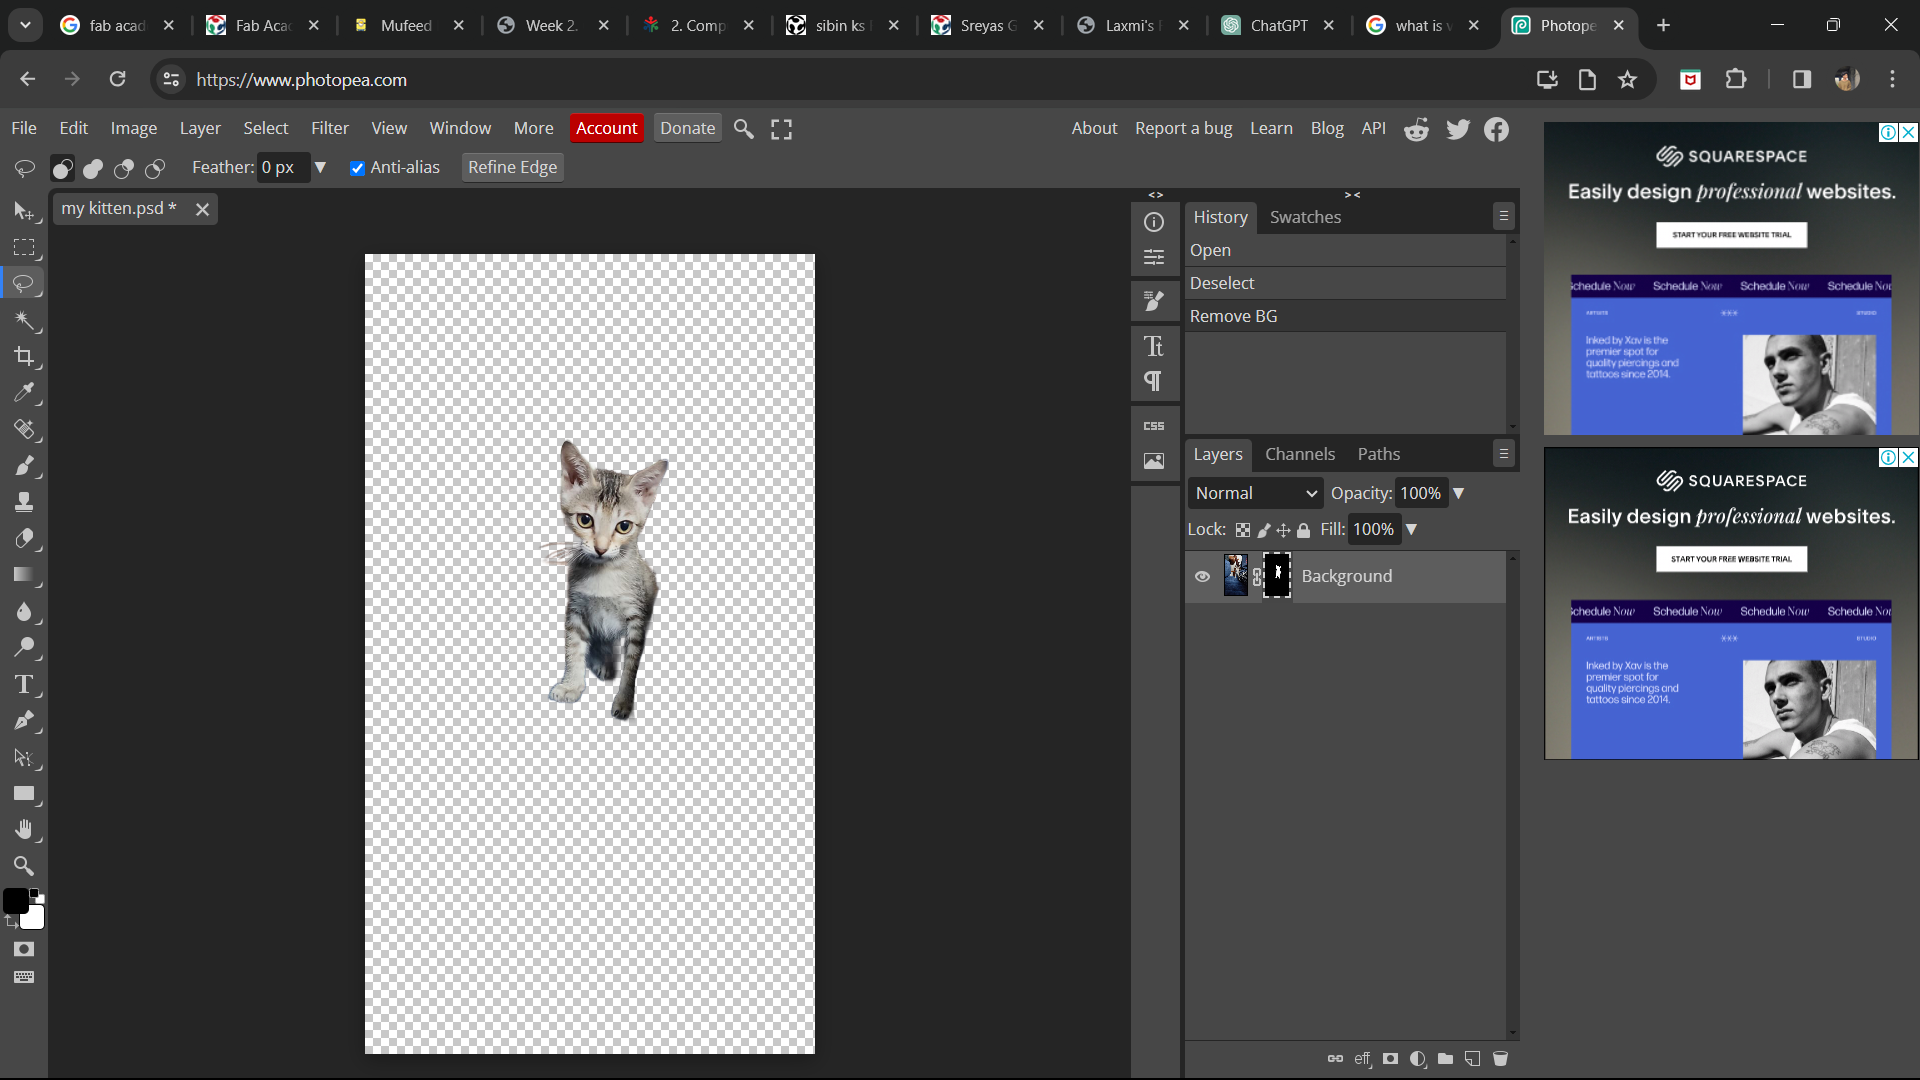
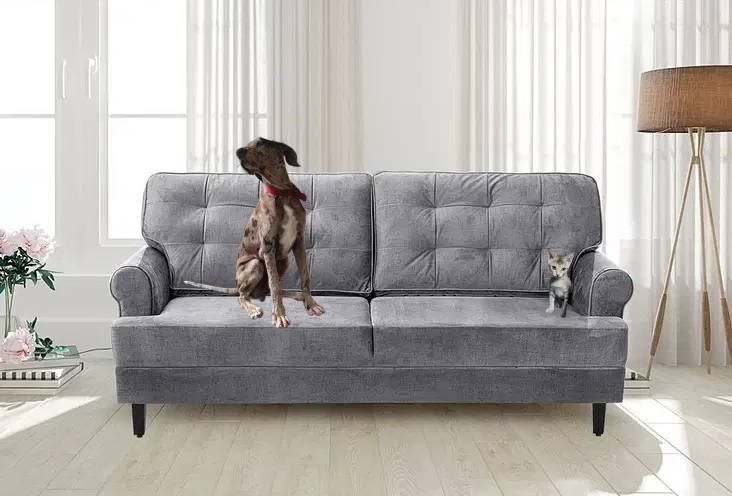
Once their background were removed, I downloaded an image of a sofa from google so that I could place pets on the sofa as if they were sitting on it. And, this is how it turned out.
Inkscape
Inkscape is a free and open-source vector graphics editor that provides a versatile and powerful platform for creating and editing scalable graphics. Developed by the Inkscape Project, this software is designed for artists, illustrators, and graphic designers seeking a cost-effective alternative to proprietary vector graphics editors.
First I downloaded Inkscape. Click on Inkscape to download.
Since I was new to Inkscape, I followed some tutorials to understand the basics.
I found some of the tutorials to be really helpful. As part of the learning, I tried creating vector logos out of raster images. It is one of the best features of Inkscape.
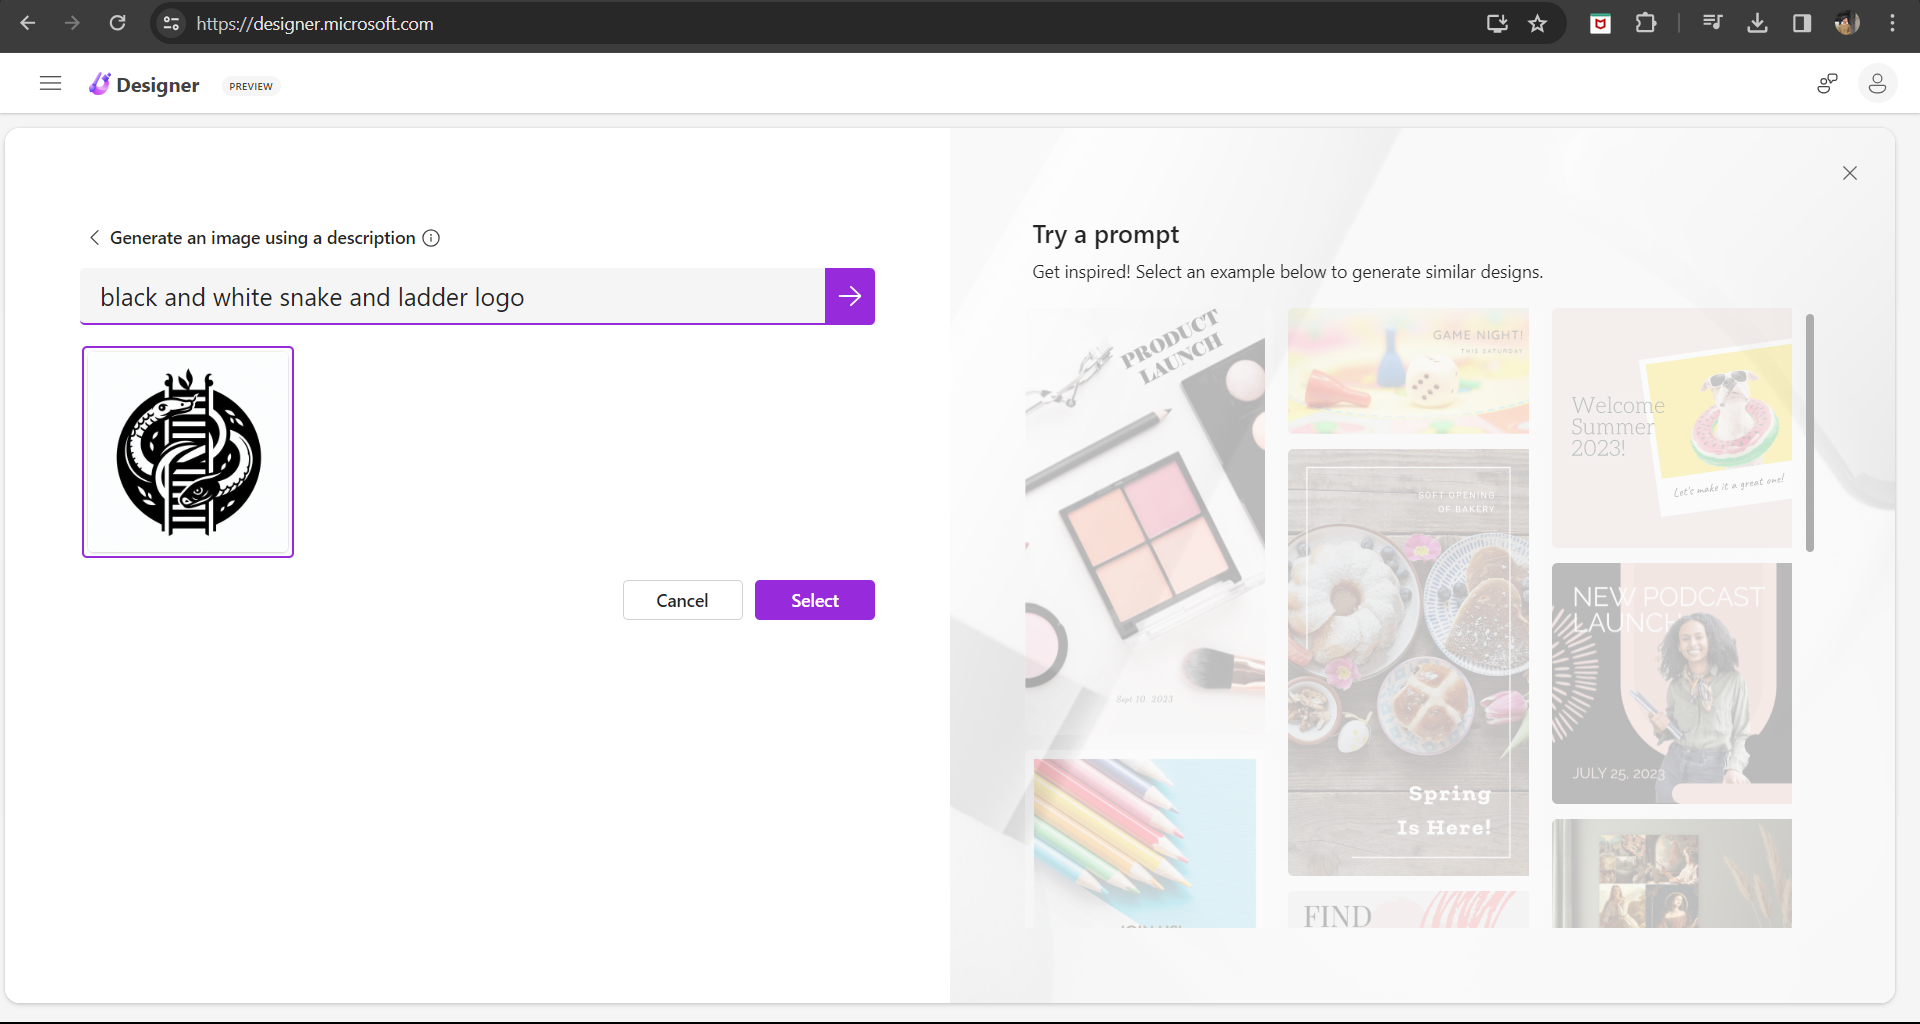
Microsoft Designer is an AI Image Generating tool. With the help of this tool, I generated a logo for my final project.
I opened the image on Inkscape.
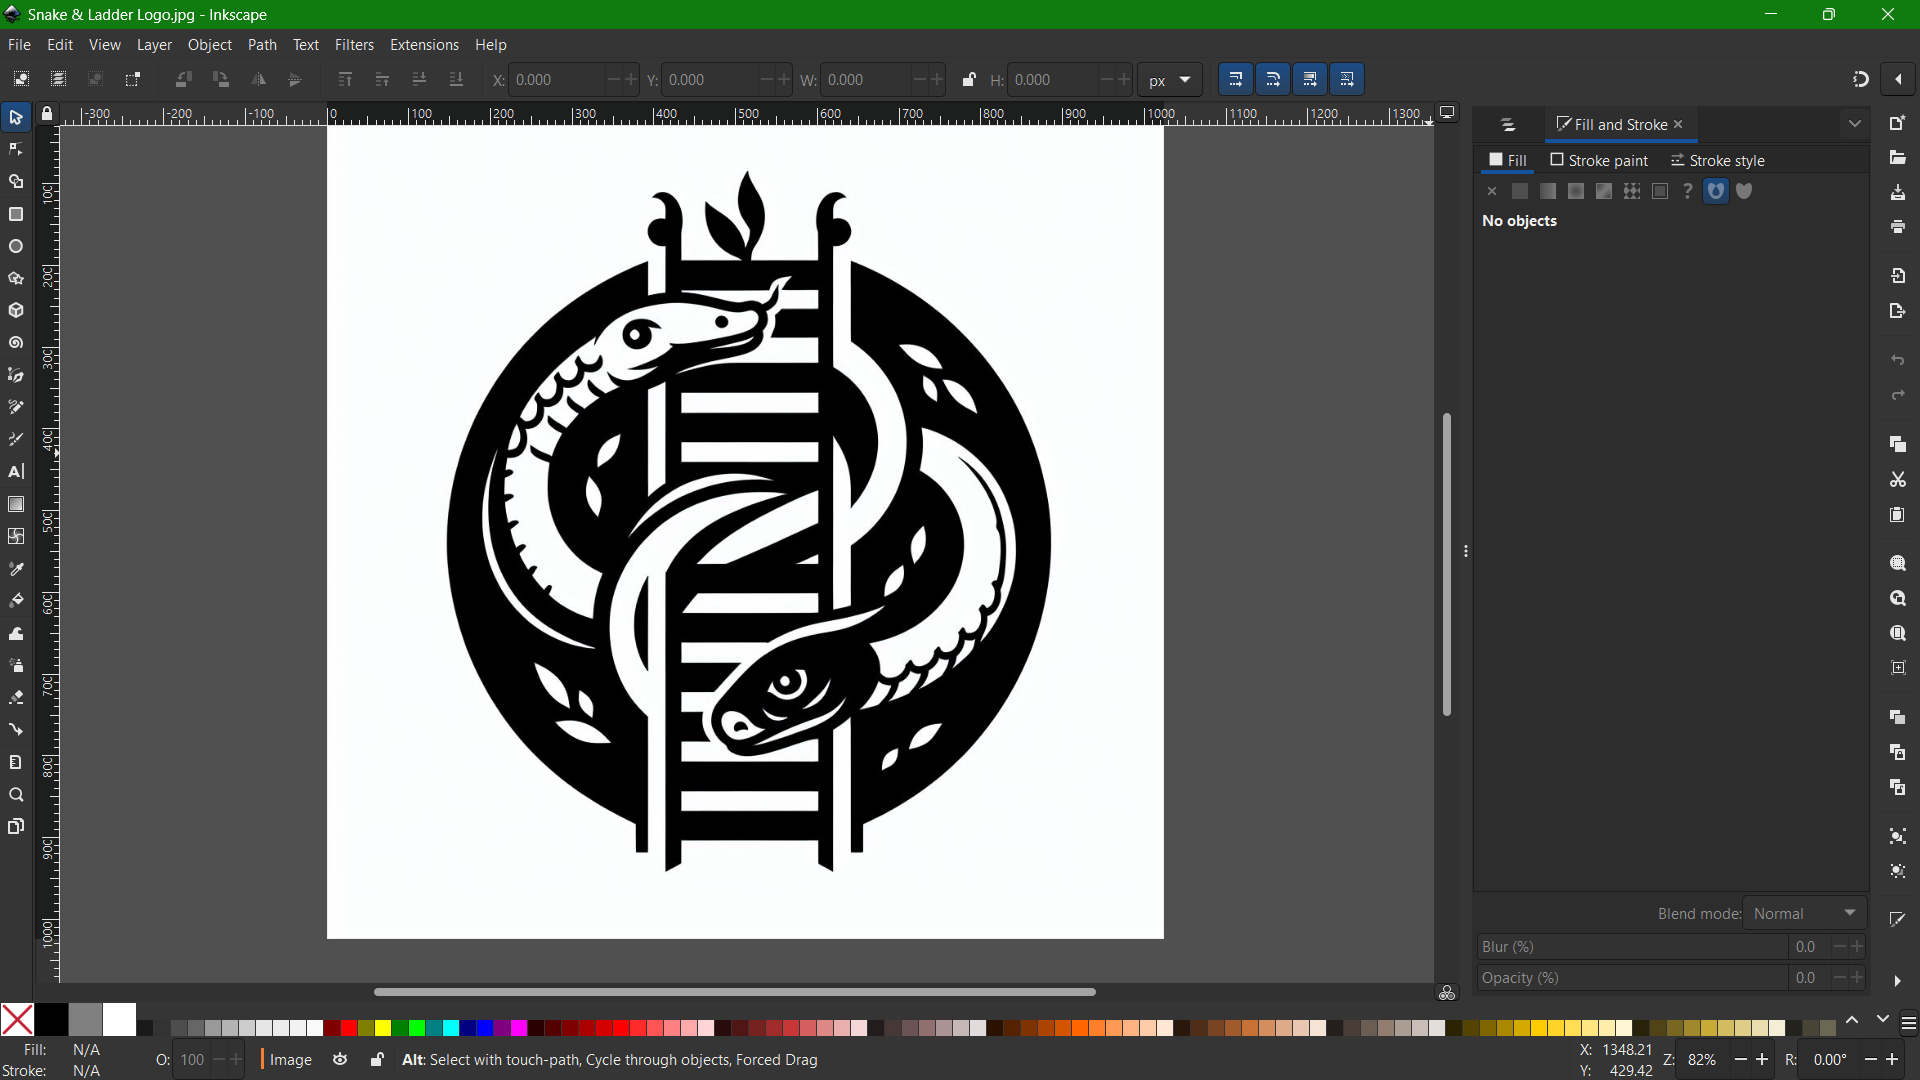
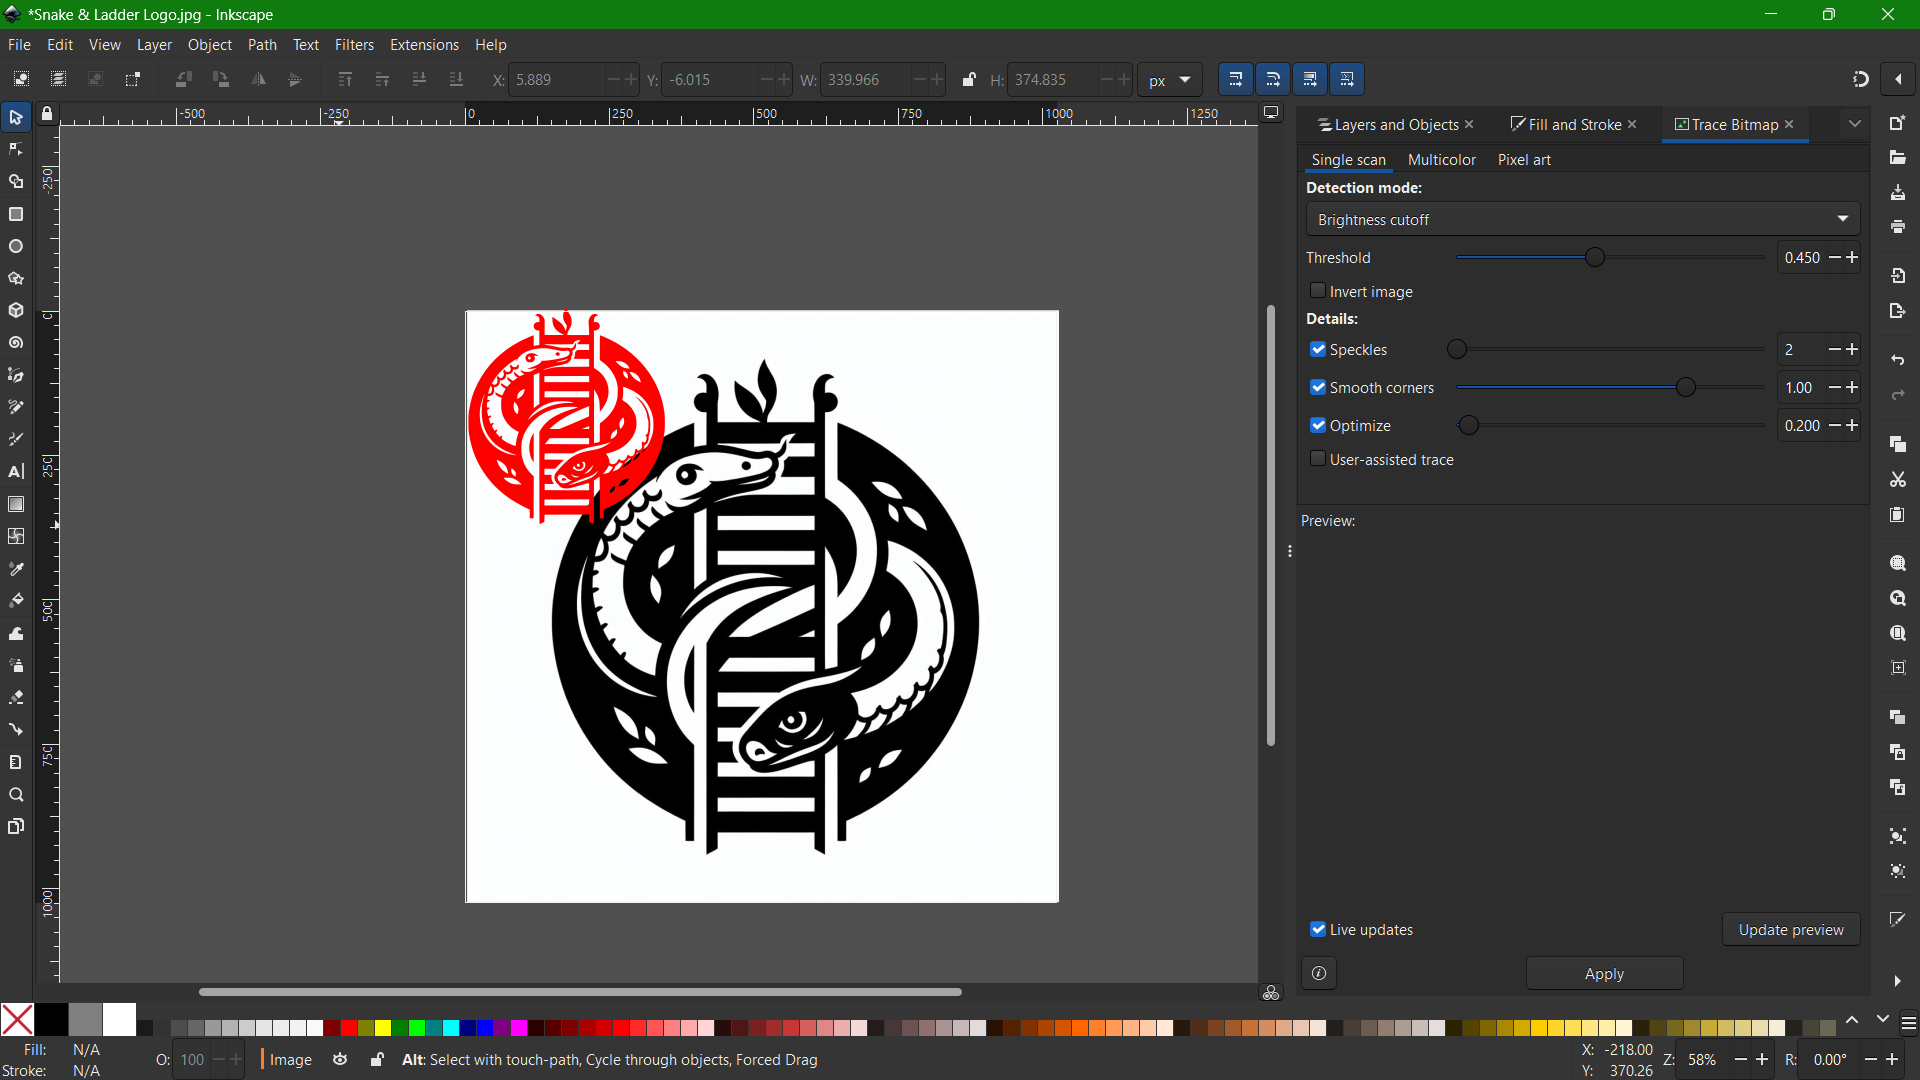
In order to vectorize image, you have to select Path > Trace Bitmap. Since it was a black and white logo, tracing it was easy and accurate and the vectorized image was generated.
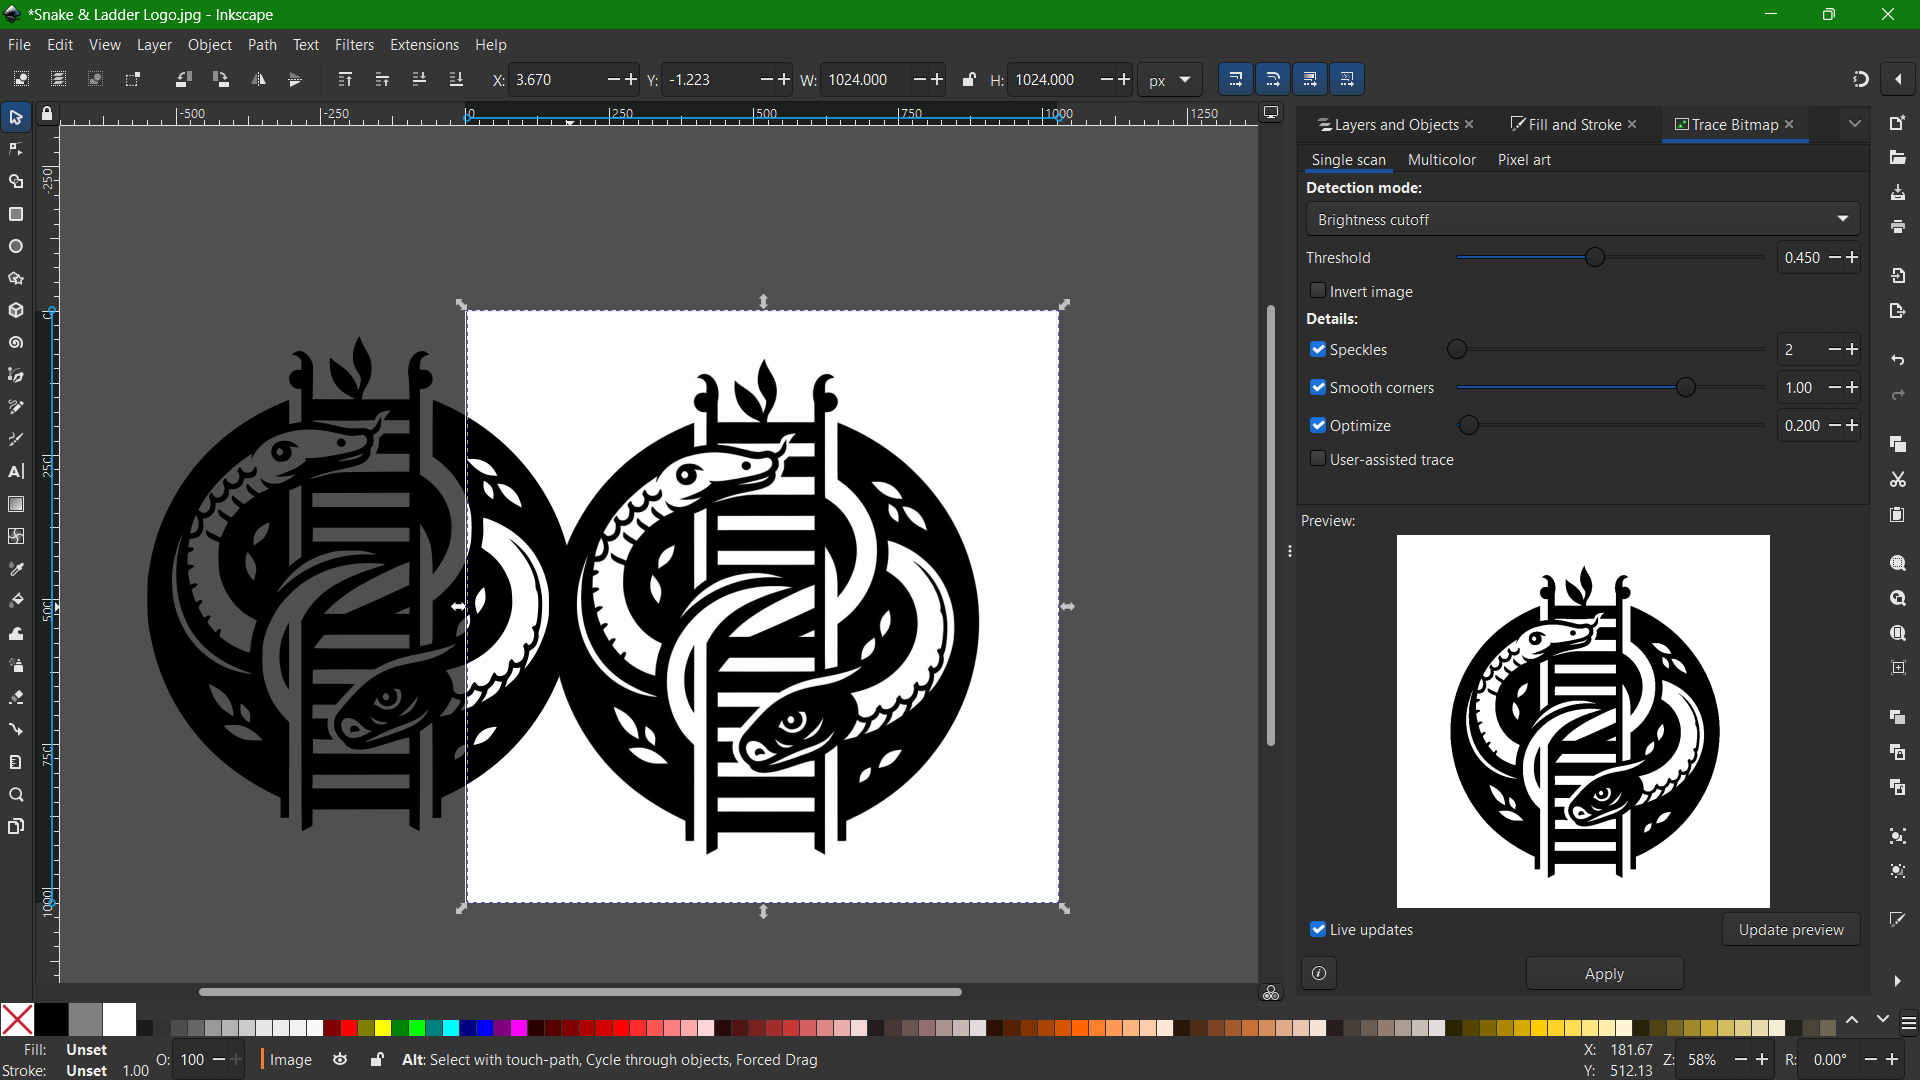
Once the vecto image is created, colours can be added with the help of the colour palatte below. And like that, the vector logo was created and it won't lose it's quality while zooming in or resizing.
3D Design
Tools used during the week:
- Onshape
- Blender
- Fusion 360
Onshape
Onshape is a cloud-based computer-aided design (CAD) software platform that enables users to create, edit, and collaborate on 3D mechanical designs in real-time. Key features of Onshape include parametric modeling, version control, and simultaneous multi-user editing.
To understand the basics, I followed a tutorial.
I created an account in Onshape.
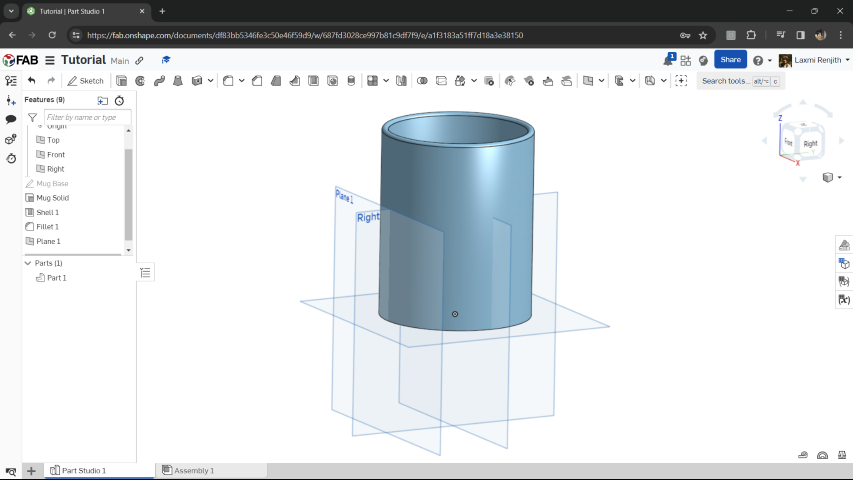
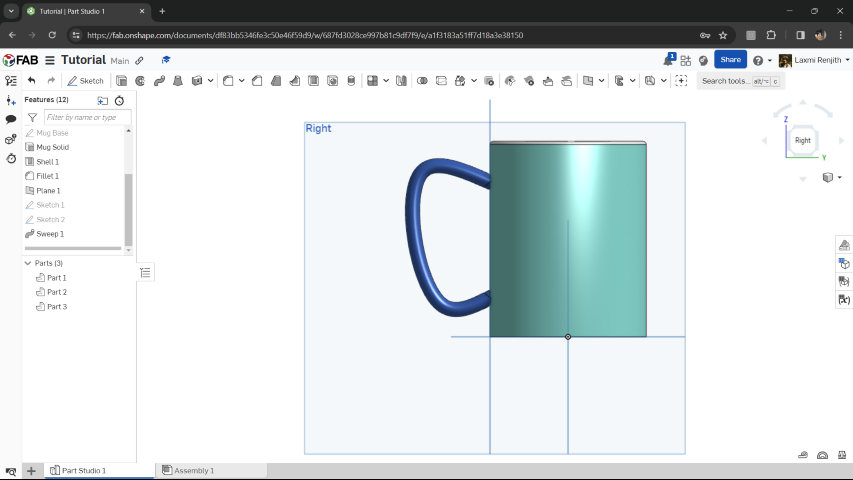
The tutorial was to model a coffee mug. Hence, I started with creating a base for the mug and extruding it.
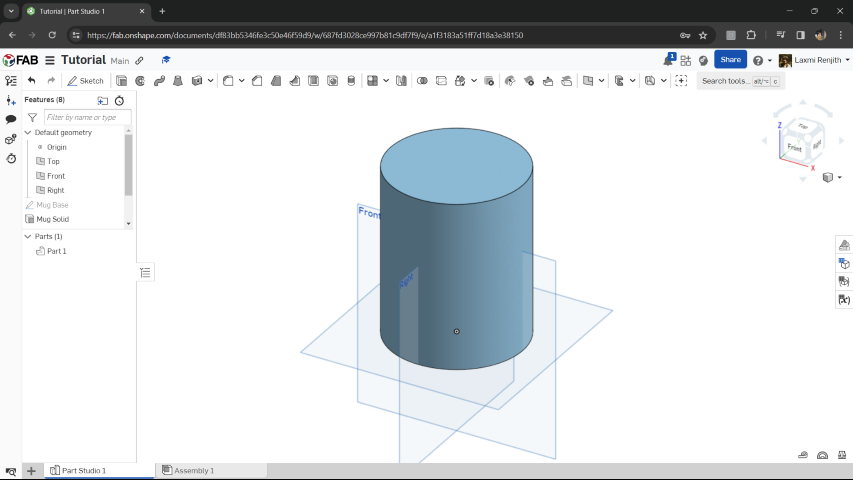
Once extruded, the inner part was shelled out.
.png)
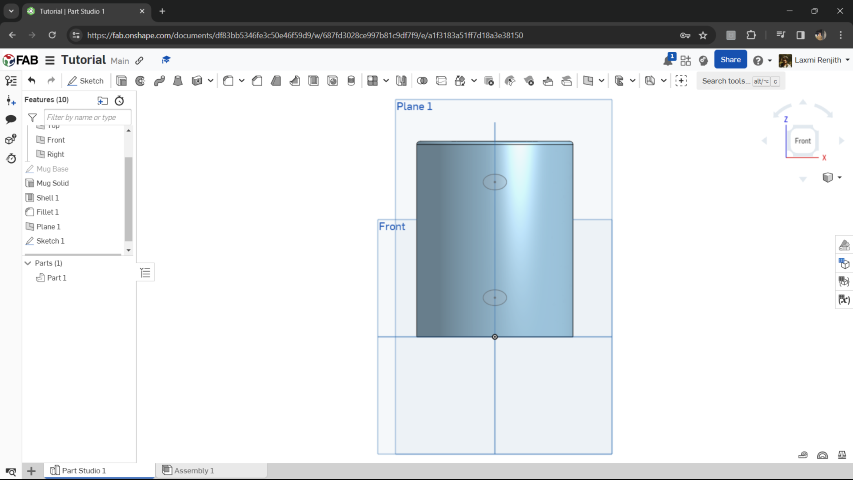
The next task was to provide the handle. For that, first I made an offset plane at the exterior of the mug. On which, I created two ellipses.
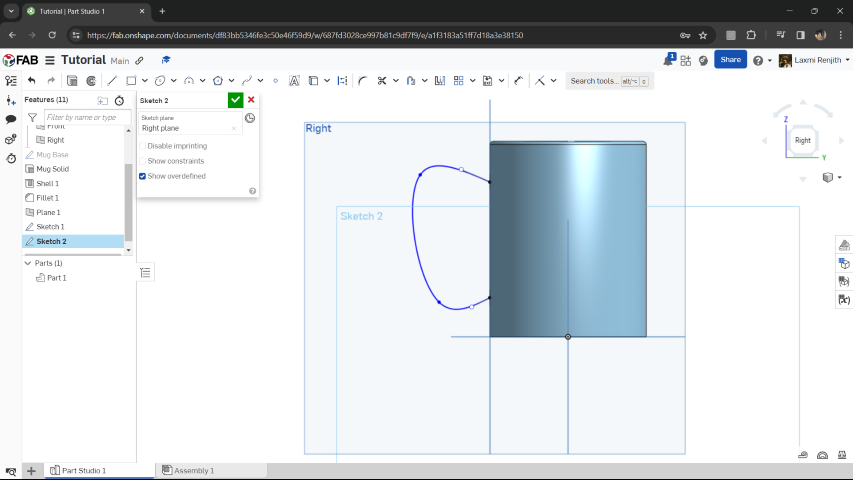
Splines were then provided to act as a path while performing sweep.
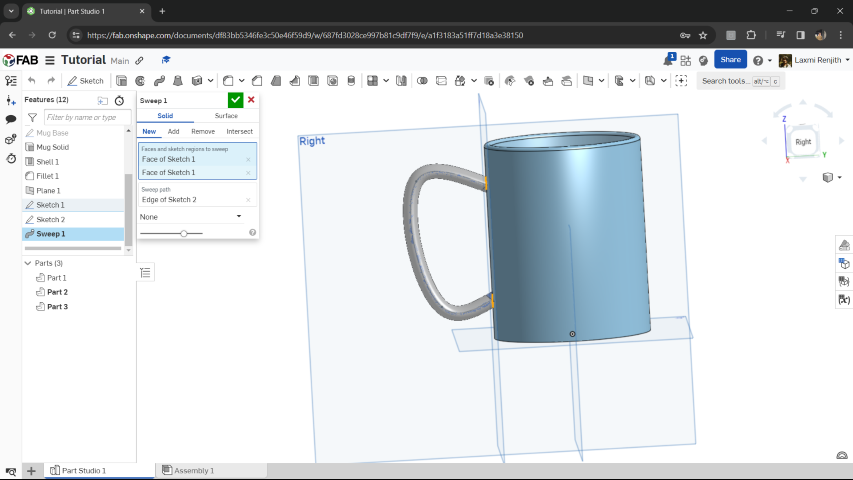
Onshape has the option to change the apperance of the models, so, once the model was created, I gave the mug few colours to make it pop.
Blender
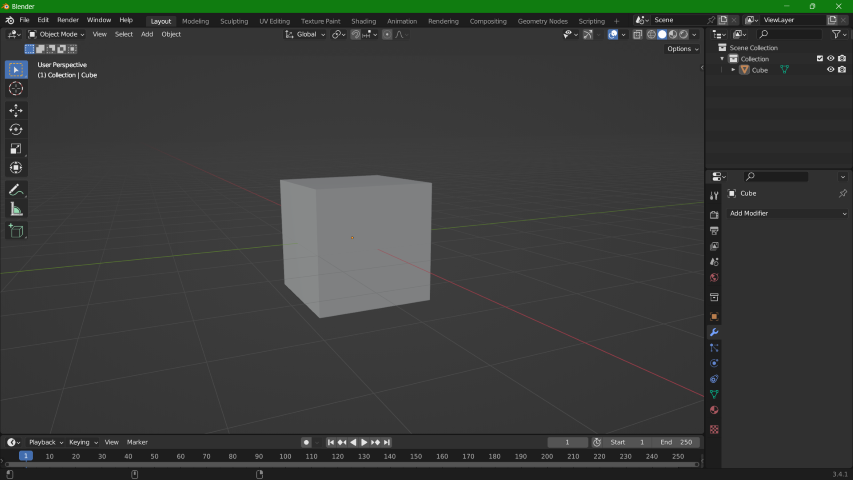
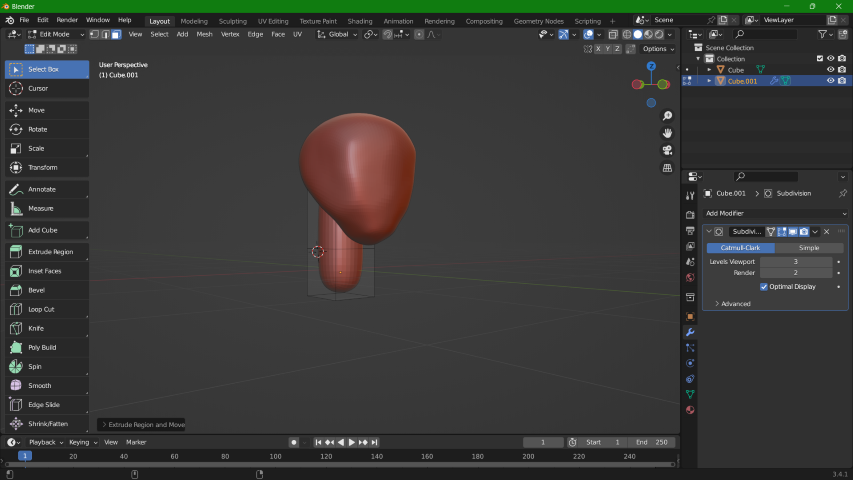
Blender 3D is a powerful, open-source software tool for 3D modeling, animation, rendering, post-production, interactive creation, and playback. Blender offers a comprehensive range of features, including 3D modeling, texturing, raster graphics editing, rigging and skinning, particle simulation, soft body simulation, sculpting, rendering, motion graphics, video editing, and compositing. I had already downloaded blender, but I was not much familiar with the tools. So, for this week I tried the sculpting mode of Blender.
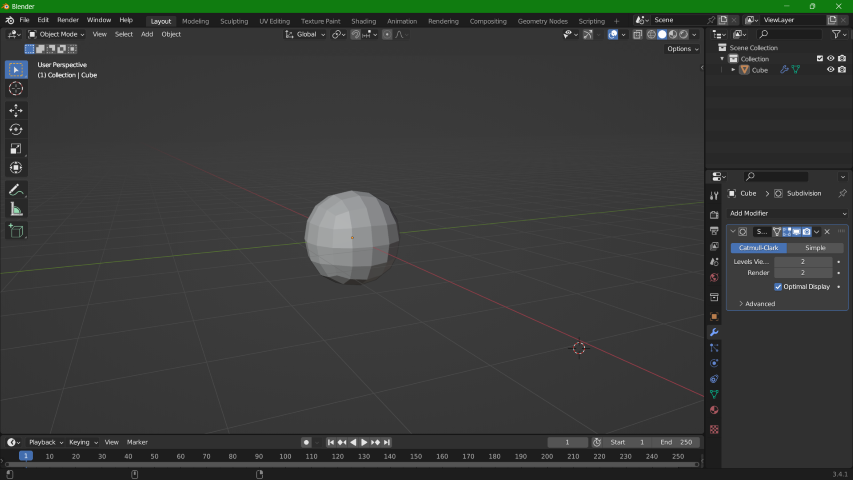
I started of with adding the 'Subdivision' modifier to make the changes more accurate. Then, I switched on mirroring in x-axis, so that changes in one side can reflect on the other and I started tweaking the model a bit to make it look like a head.
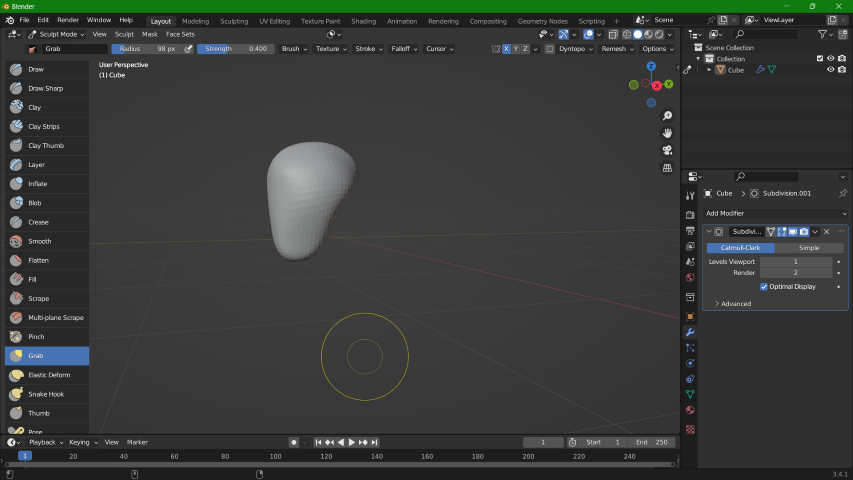
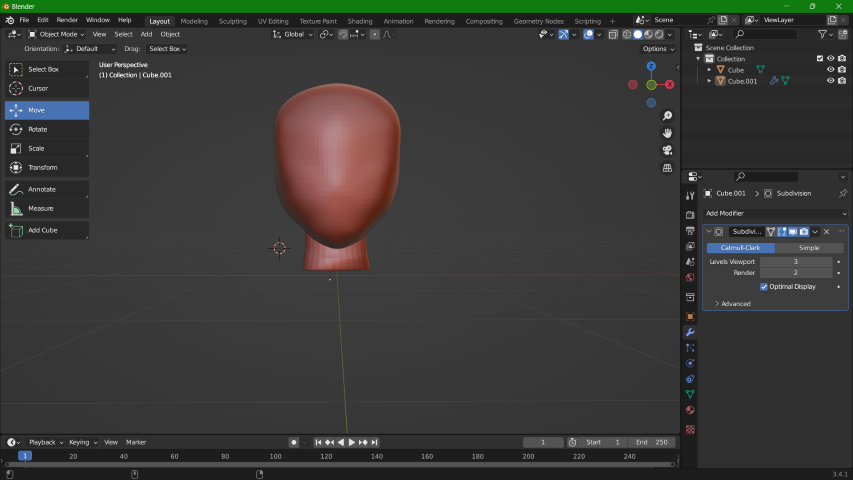
Next, I added a sphere and extrude it and made it into the neck.
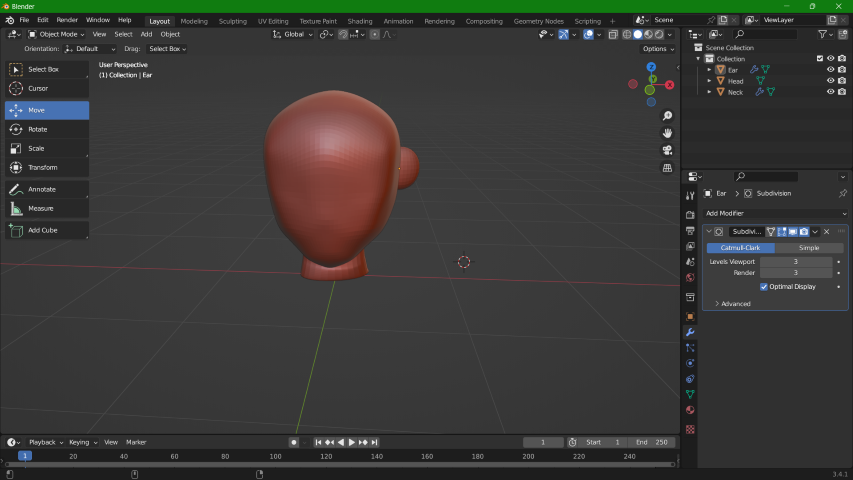
Then, I made one side of the ear and mirrored it.
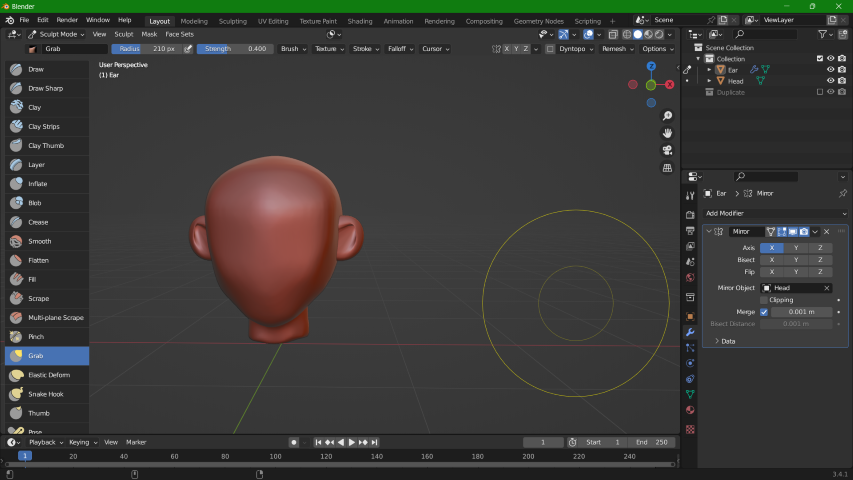
I provided the eye sockets.
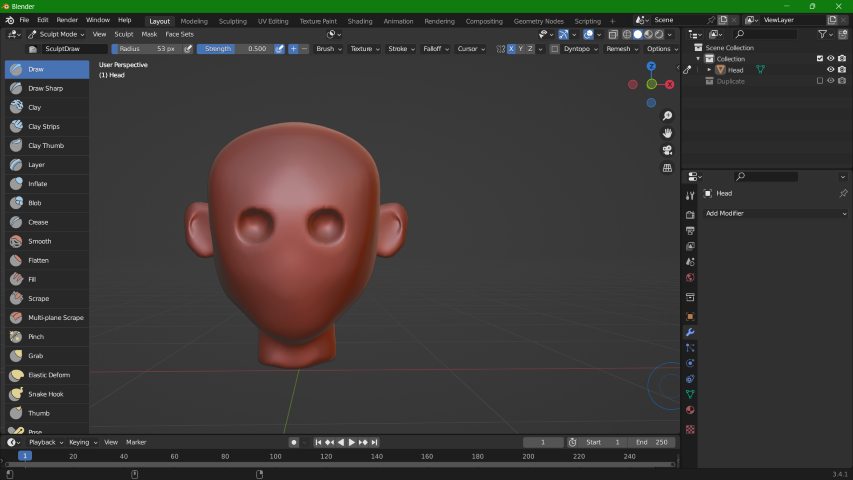
Later, I added the eye balls and nose and finished my work.
.png)
Fusion 360
I already have some experience in working with CATIA and AutoCAD for 3D modelling, so I thought of trying Fusion 360 as my instructors mentioned the tool to be beginner-friendly.
Fusion 360 is a comprehensive computer-aided design (CAD), computer-aided engineering (CAE), and computer-aided manufacturing (CAM) software developed by Autodesk. It is a cloud-based platform that combines design and engineering tools in a collaborative environment, allowing users to create, simulate, and manufacture 3D models.
Key features of Fusion 360 include parametric modeling, which enables users to create and modify designs by defining parameters; integrated simulation tools for testing and analyzing designs; and CAM functionality for generating toolpaths for CNC machining. Fusion 360 also supports collaboration through its cloud-based platform, allowing multiple users to work on a project simultaneously and providing version control to manage design changes.
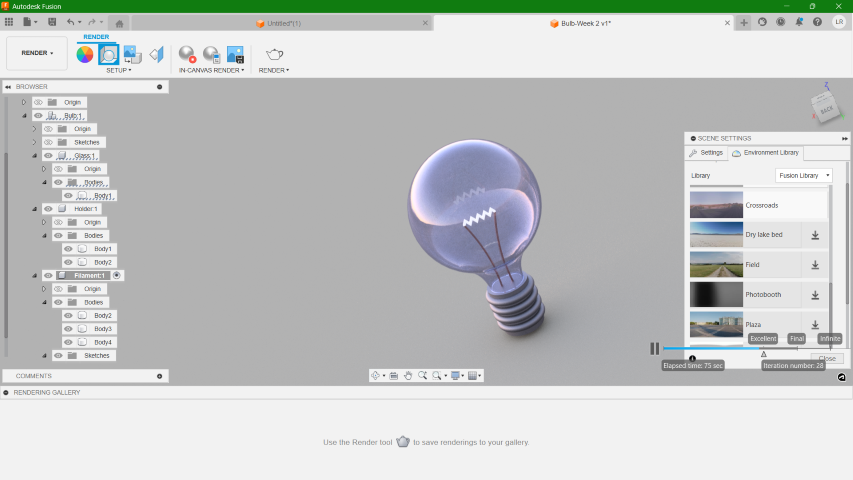
I downloaded Fusion 360 on free trial currently. Since I was new to Fusion 360, I started with a simple task of modelling a light bulb. The user interface for Fusion 360 is designed to be intuitive and user-friendly, catering to both beginners and experienced professionals.
For the designing of the bulb, I first sketched the 2D design of bulb using features such as circle, line, arc and rectangular pattern. Appropriate constraints were provided so that the design is fixed.

Once the sketch was done, I used the revolve option to create the 3D bulb. In Fusion, by clicking 'a' you get the option to add or change the apperance of the model with the materials they are made with in reality. You have a vast options to choose from and all you have to do is just drag and drop the material to the desired part.
.png)
The final part is to render the model. Rendering is done to make a photorealistic image or animation of a 3D model by applying textures, lighting, environment and other visual effects to a 3D model, it will be a representation of how it would appear in the real world.
Final Project 3D Model
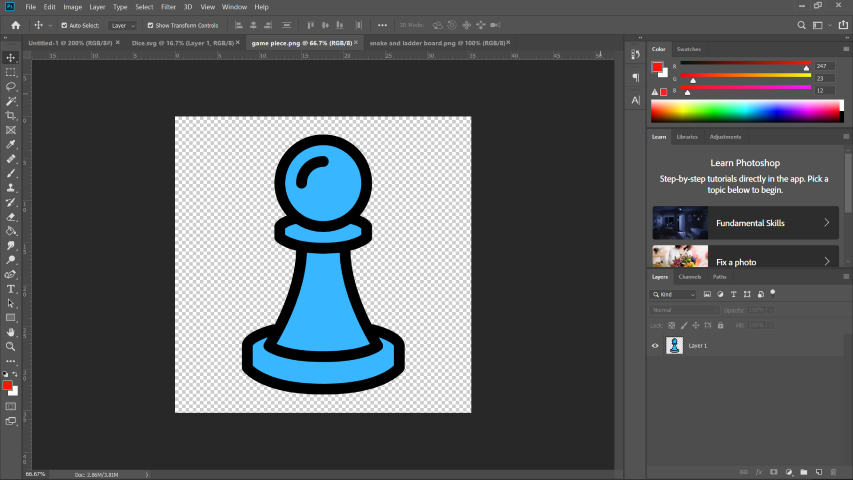
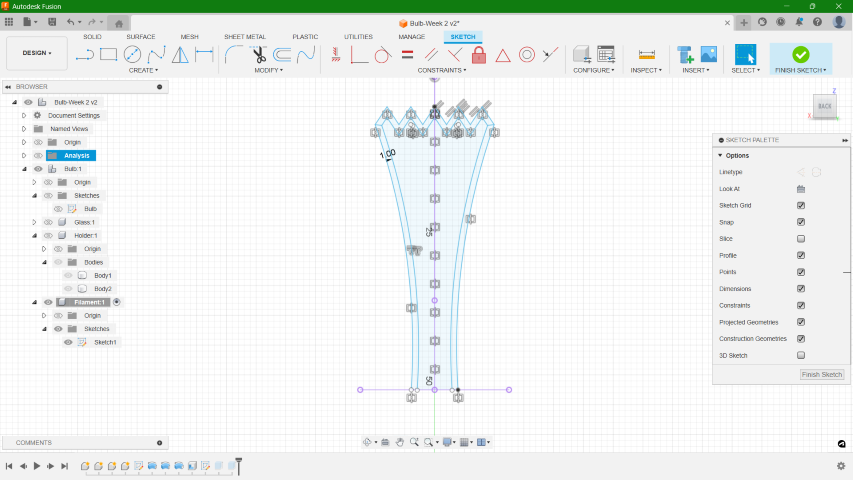
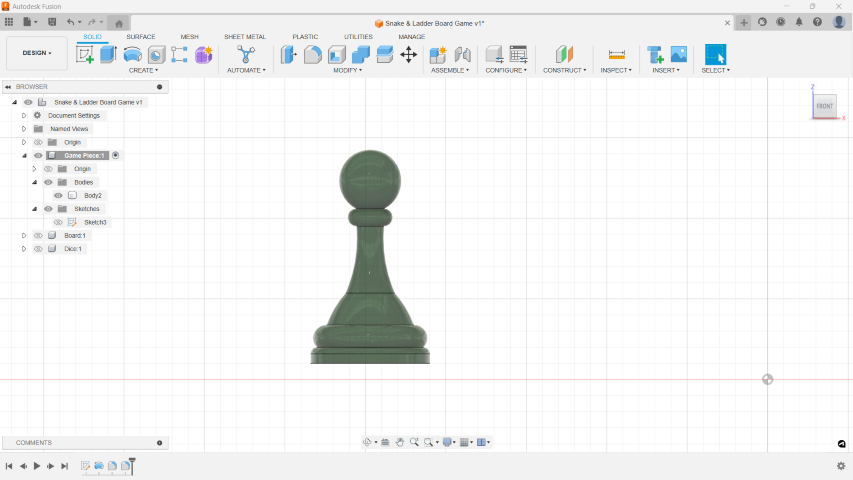
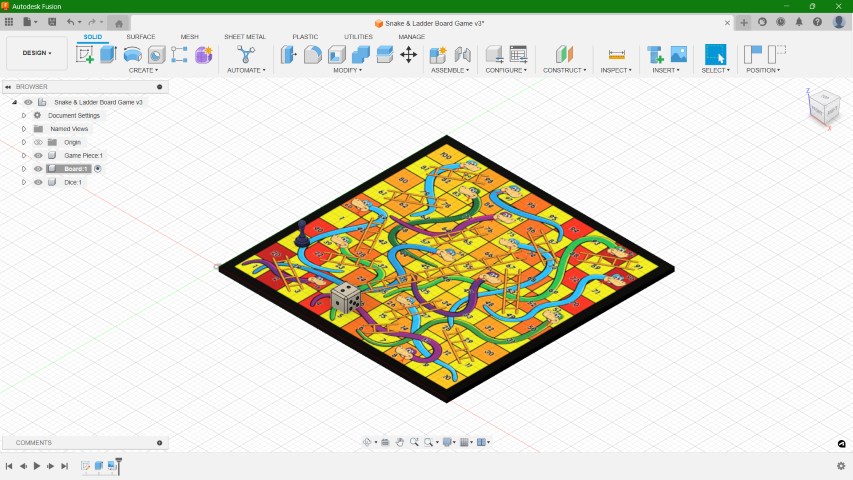
I did my model of Snake and Ladder board game in Fusion 360 as I found it to be more user friendly. I thought of modelling a game piece, a die and the board. First, I created 3 components and named them accordingly. Then, I started with sketching the game piece. Once the sketch was created, I revolved it to make it 3D.
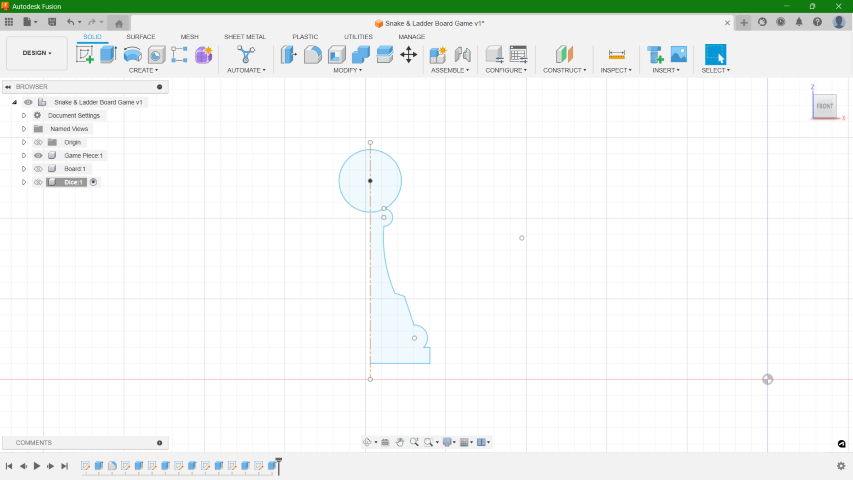
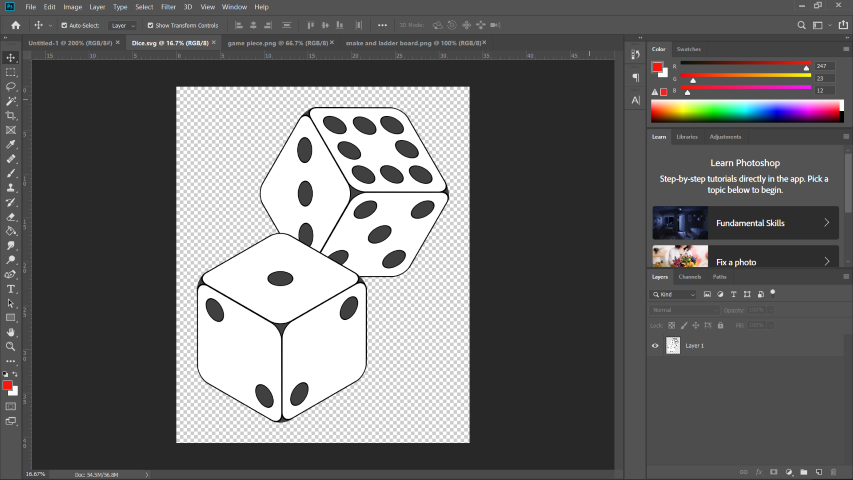
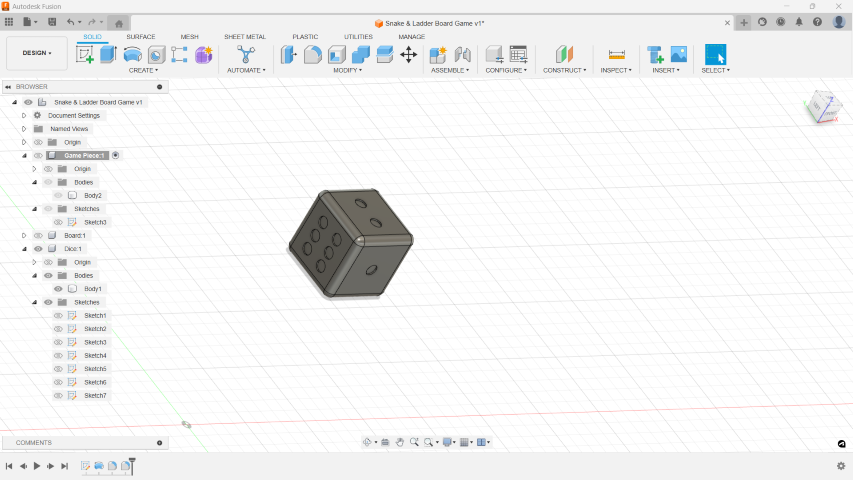
Then, I designed the die. For which I create a cube and then gave it impressions as per the numbers on each side with the help of extrude (cut) tool. Fillets were provided at the edges to give it a smooth look.
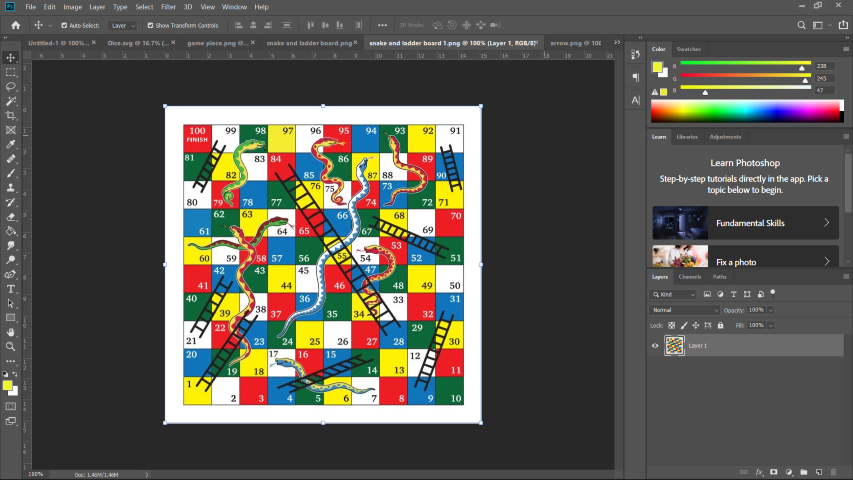
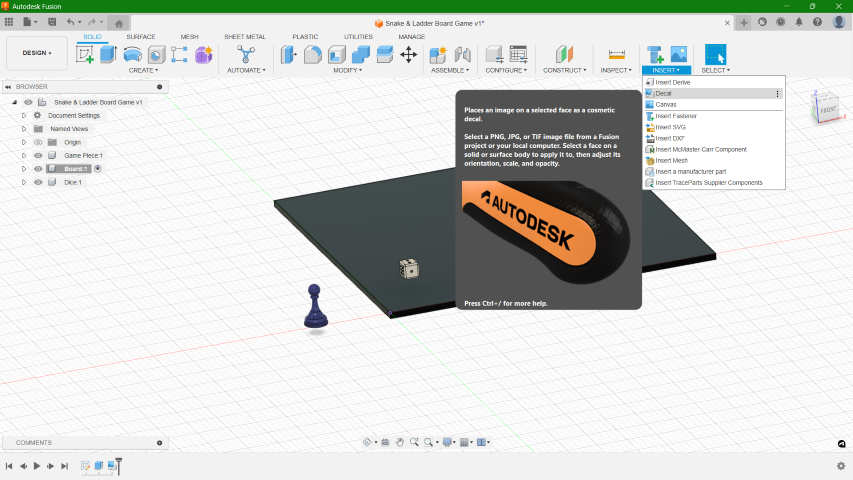
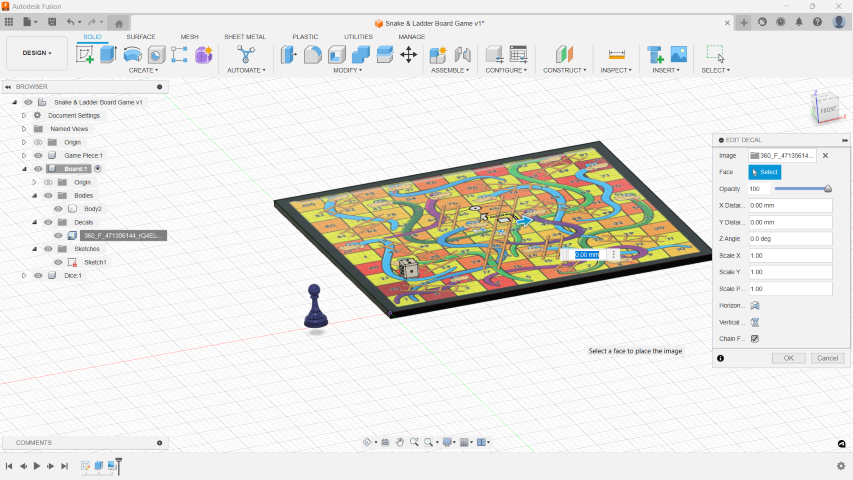
For the board, I first created the square and gave it 2mm extrude. I, then, downloaded an image for the board design to add it as decal.
Once the models were created, I added materials to each componenents and then rendered the final models.
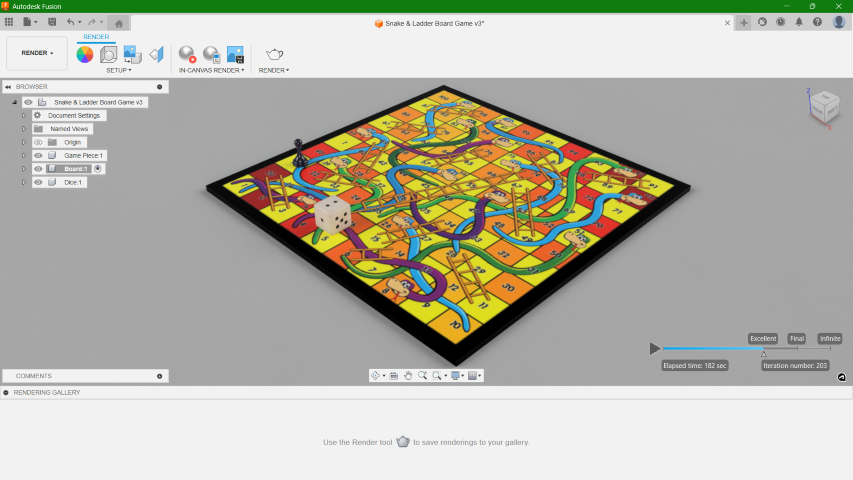
As the image was rendered, I moved on to animation. I thought of doing a simple animation showcasing each elements as the video progress.
Die
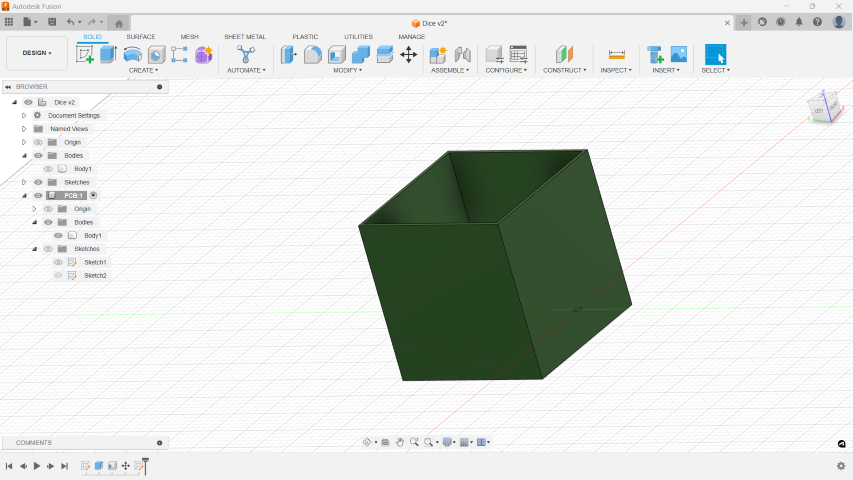
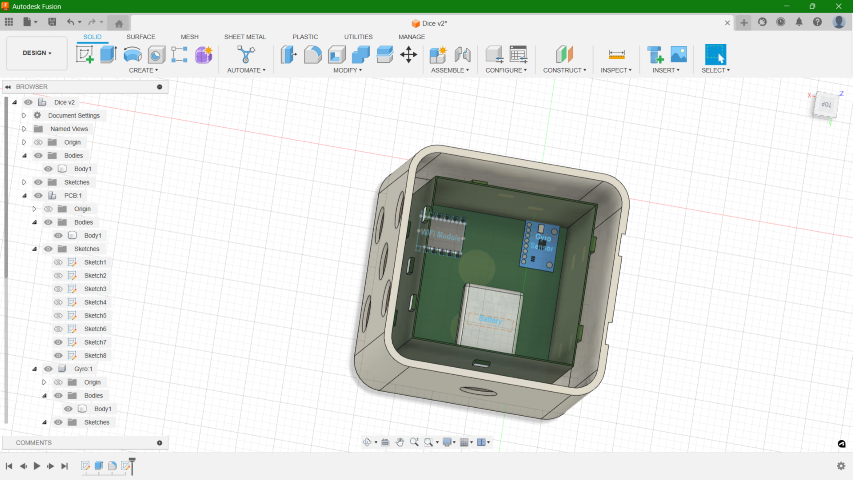
The die consists of different elements inside so that the system would be able to recognize the resulted number from the rolled die. I created a 3D model just to showcase some of those elements that can help the process. I started with creating a shell of the outer part of the die and providing materials to the body.
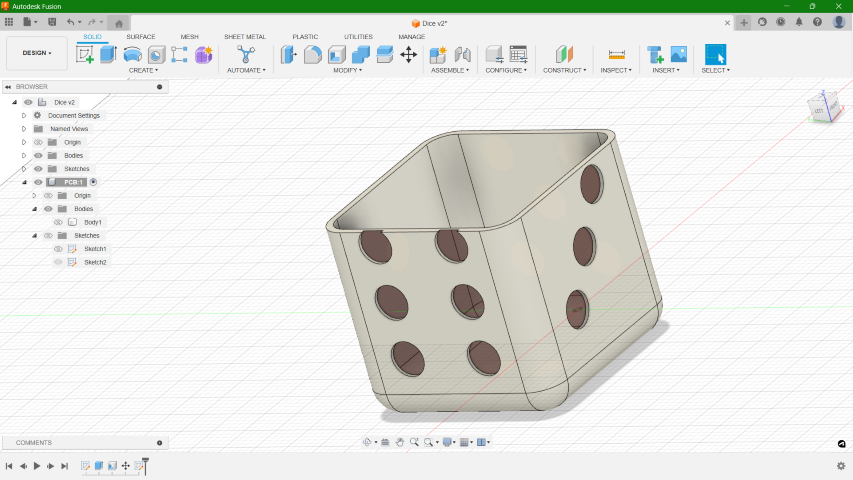
Then I created a new component for the PCB. I made a cubic shelled out structure to represent the PCB.
After that I created cuboids on the out surface of the PCB corresponding to the numbers of die face to represent LEDs.
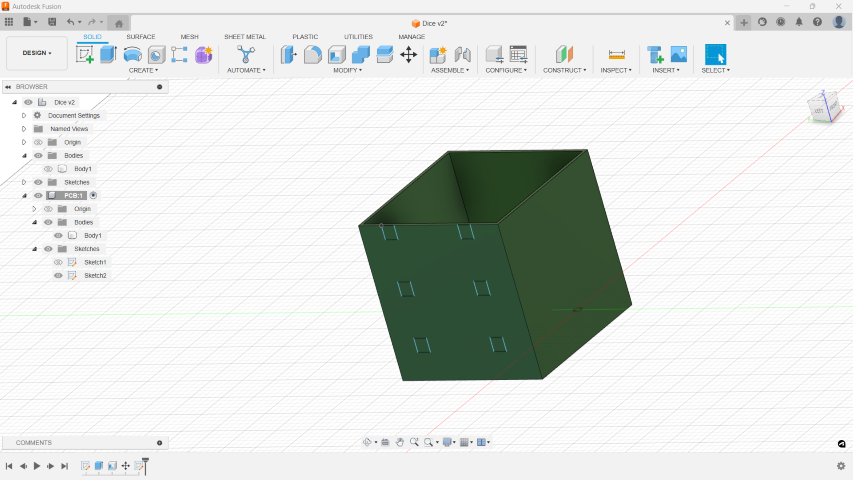
Then, I created figures that represents some of the electronic components including WiFi module, Gyroscopic Sensor and Battery that will be part of the dice. Note that every components are not provided in the model. Only the basic elements are given.
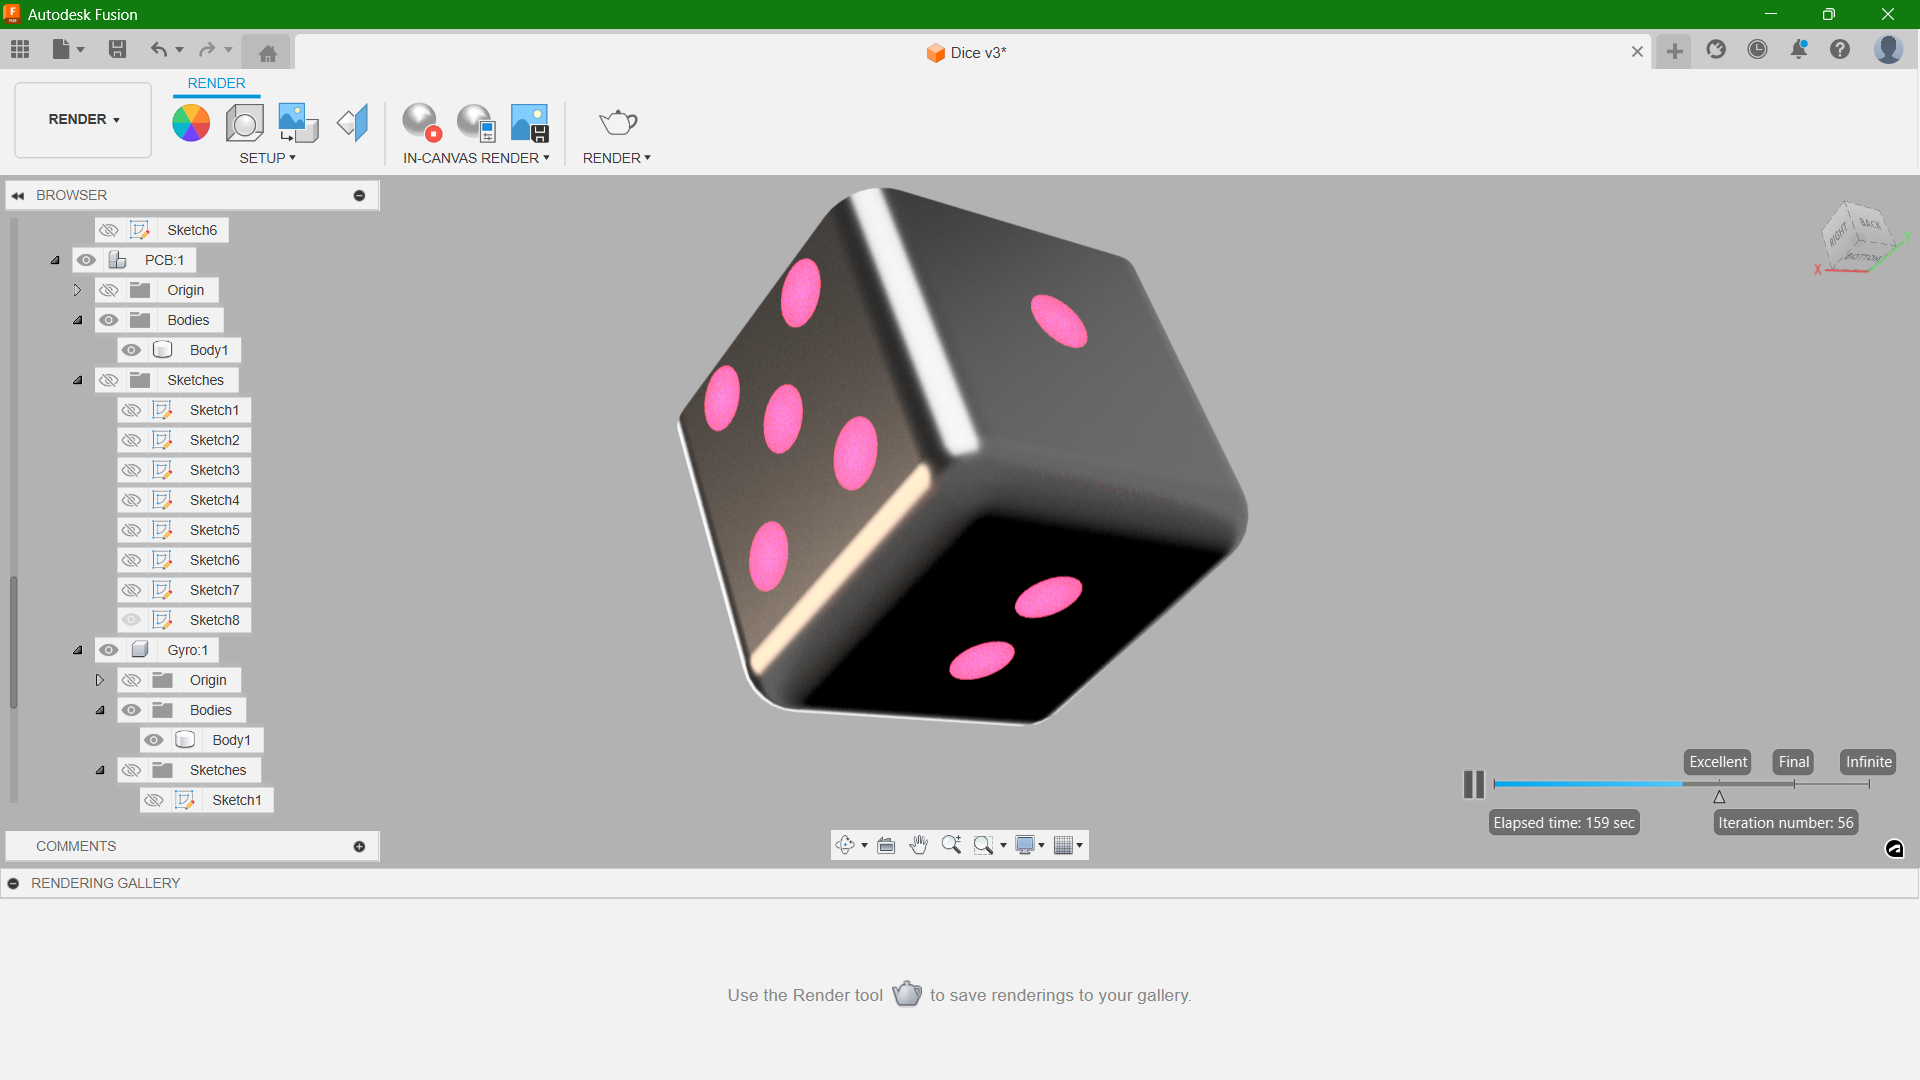
Before Render
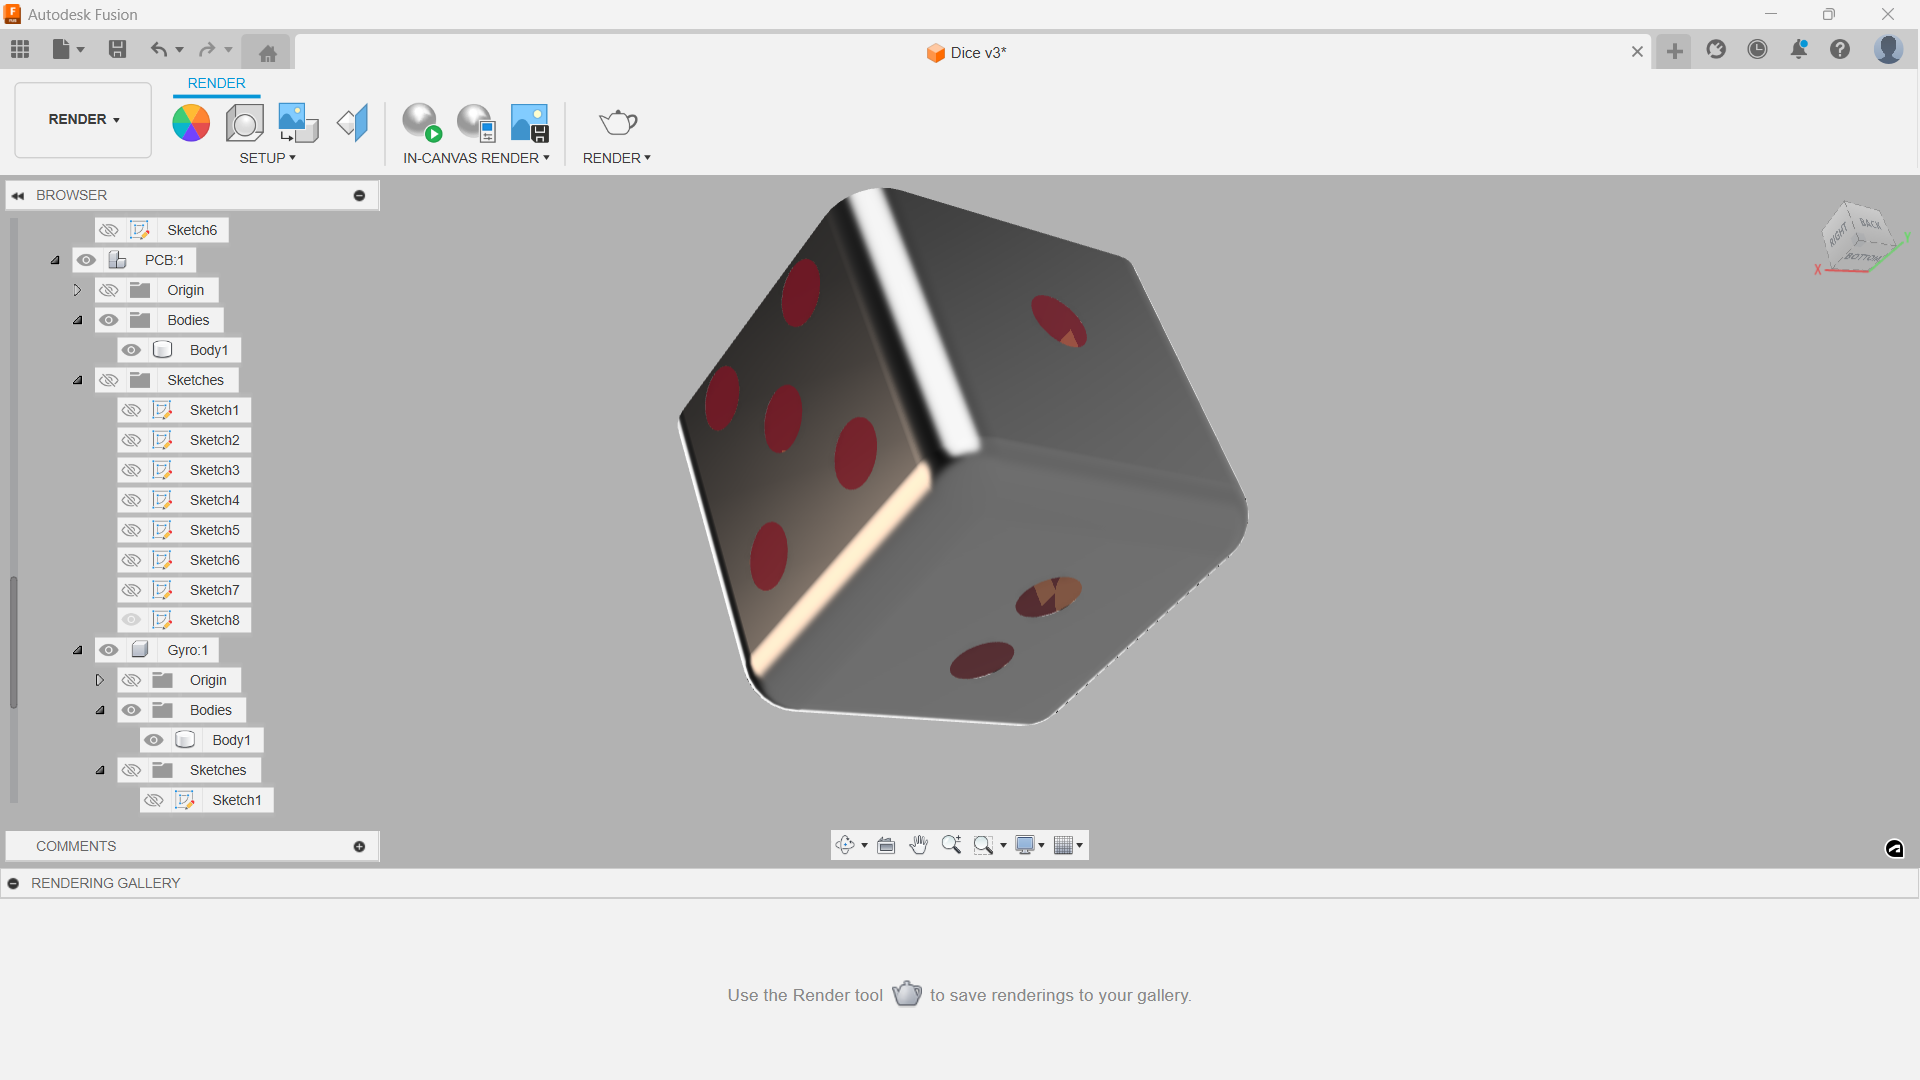
After Render
How I compressed images and videos?
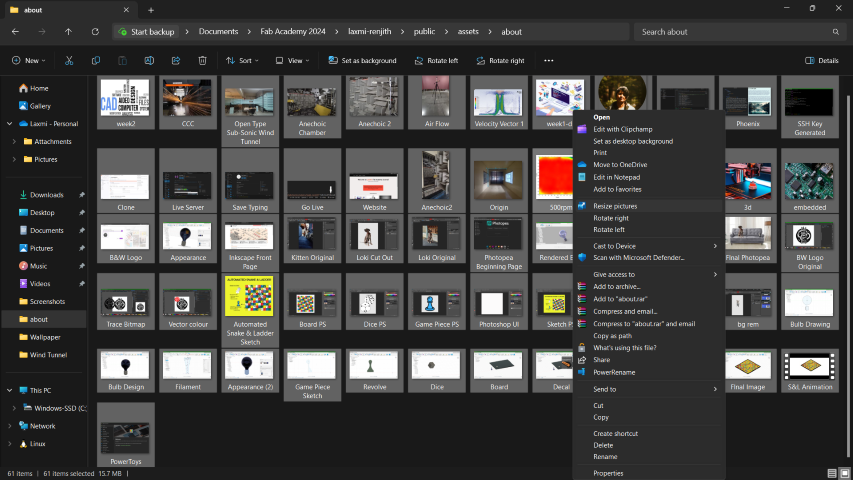
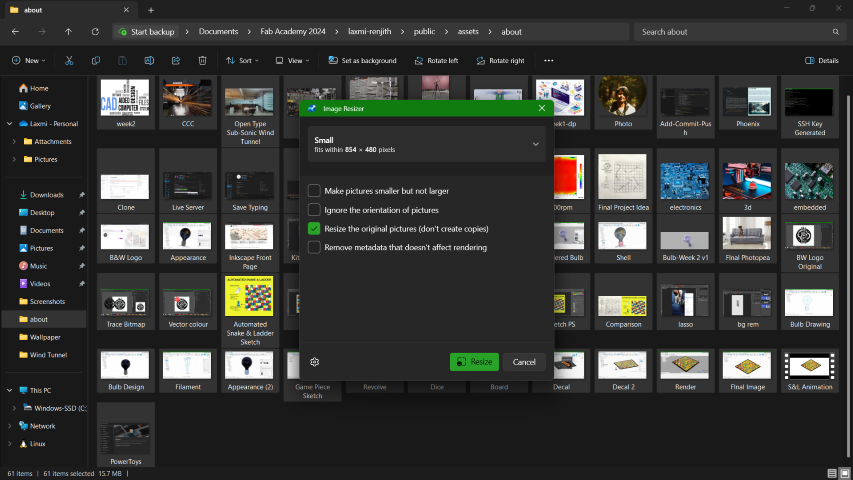
• Power Toys: PowerToys is a set of utilities for Microsoft Windows, designed to enhance productivity and customization for users. It can be directly installed from Microsoft Store. Once installed, as you right click on the images you want to resize, you will get the Resize Pictures option.

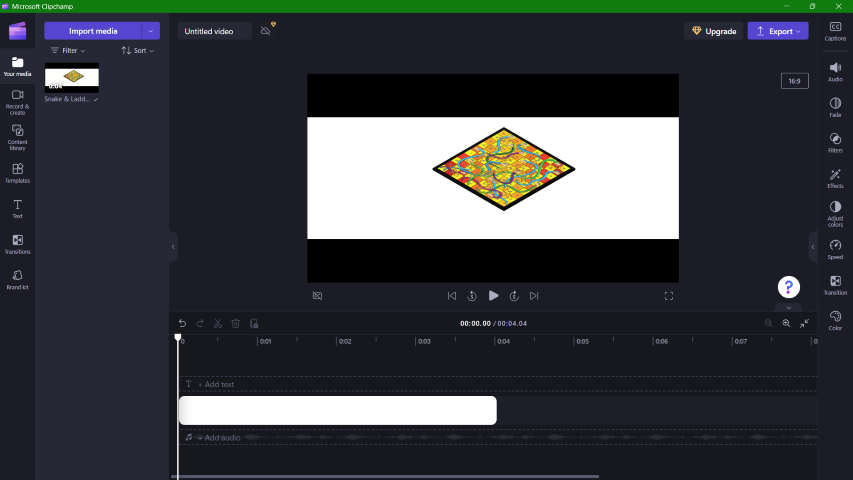
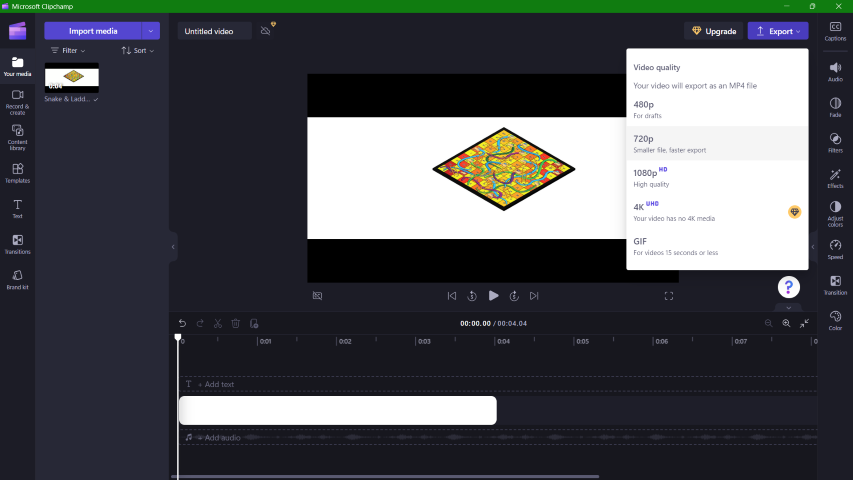
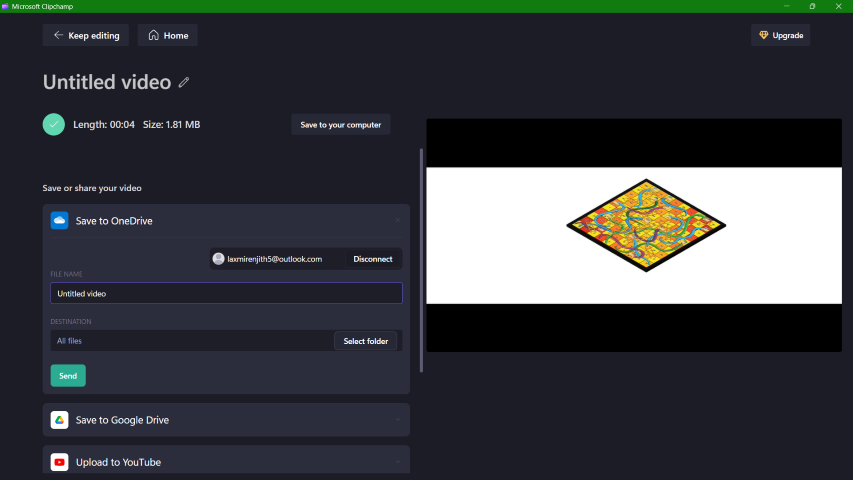
• Microsoft Clipchamp: Clipchamp is a video editing platform. It allows users to create, edit, and export videos directly from their web browsers without the need for any software installation. Clipchamp provides a user-friendly interface with a range of features for video editing, making it accessible to users with varying levels of experience.
By right clicking on the video, you get the option to edit it in Clipchamp. Upon opening all you have to do is to export the file in 720p which reduces the file size almost by 10 times.
Download Files
Photoshop
Automated Snake & Ladder SketchInkscape
Snake & Ladder Logo
Onshape
Coffee MugFusion 360
BulbSnake & Ladder Board Game
Dice