Principles, Practices & Project Management
Objectives for Week 1
- Plan and sketch a potential final project
- Work through a git tutorial
- Build a personal website
Final Project Ideas
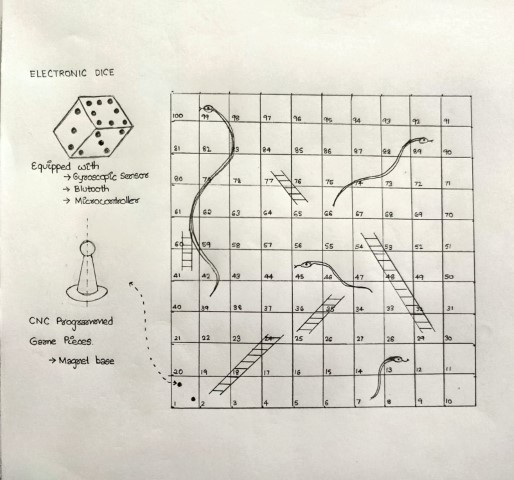
1. Snake & Ladder
The first idea that came to my mind for the final project was to create an automated Snakes and Ladders game. Originating from a family of Indian dice board games, Snakes and Ladders presents a unique automation challenge. Typically, this game can accommodate multiple players, but for simplicity, this version will be designed for two players at a time. In this setup, each player takes turns rolling the dice, and their respective game pieces will be moved according to the number rolled.
The project's goal is to create a board where the game pieces are maneuvered using CNC programming. This will involve programming for different scenarios, such as when the pieces encounter snakes or ladders. The dice will be engineered using gyroscopes, Bluetooth, and microcontrollers, enabling the system to detect their position and the rolled number accurately. Other than using CNC programming, the game can be operated using addressable LEDs that lights up the position of the pieces.
2. Red Light, Green Light
The next concept involves creating a mini "Red Light, Green Light" game, inspired by "Squid Game." In the traditional "Red Light, Green Light," a designated area is established, and while one player (the leader) stands at one end with their back to the group, the others are positioned at the opposite end. The leader chants "Red light, green light, one, two, three," during which the players can move. However, when "three" is reached, everyone must freeze. Any player caught moving is either eliminated or sent back to the starting line
For the final project, the plan is to develop a system that turns 180 degrees at predetermined intervals. If any movement is detected during these intervals, the person who moved will be harmlessly sprayed with water. The game is designed to accommodate multiple players. Motion-detecting sensors will be employed to monitor movement.
Project Documentation
The following is a documentation of my process on setting up git to work with the student website repository and also the first steps in creating this website.
Version Control
Version control, also known as source control, is a system that records changes to a file or set of files over time so that you can recall specific versions later. It plays a critical role in software development and is essential for efficient and effective collaboration in teams. Key aspects of version control include:
• History Tracking: It keeps a detailed history of who changed what and when. This allows you to revert files back to a previous state, revert the entire project back to a previous state, compare changes over time, and more.
• Collaboration:Version control systems allow multiple people to work on the same documents simultaneously. It manages modifications from multiple sources, merging changes from different contributors smoothly and enabling more effective team collaboration.
• Branching and Merging:These are powerful features of version control systems. Branching allows you to diverge from the main line of development and continue to do work without messing with that main line. Merging brings the changes in a branch back into the main branch of the project.
For my purpose, I am using Git. It is a widely used distributed version control system. Git's distributed nature means that every developer's working copy of the code is also a repository with a complete history of changes, enhancing collaboration and reducing reliance on a central server. Known for its speed, data integrity, and support for non-linear development through branches and merges, Git has become a standard tool in modern software development, widely used in both open-source and commercial projects.
Download Git
Use the link to download Git
Download GitI followed the GitLab tutorials to understand the basics
GitLab TutorialsSetting up Git with Visual Studio Code Remote SSH
• VS Code was already installed in my system and I was familiar with it.
• Git can be used locally and there are available options including SSH and HTTP, from which I chose SSH after consulting with the instructor.
• Once Git is downloaded, open a new terminal in VS Code and enter the code with user credentials.
config --global user.name (userID)
config --global user.email (email)
• Type in the code with required details to generate SSH Key
ssh-keygen -t ed25519 -C "email"

• SSH Key is generated. Open the SSH folder (C:\Users\USER\.ssh) and you will find two documents. One is the public and other one is the private SSH Key. Open the id_rsa.pub file and copy the text.
• Open GitLab account home page and go to Preferences>SSH key and paste in the copied key.
• It is better to create a new folder to store all the files for Fab Academy. Inside the folder, right click to open git bash
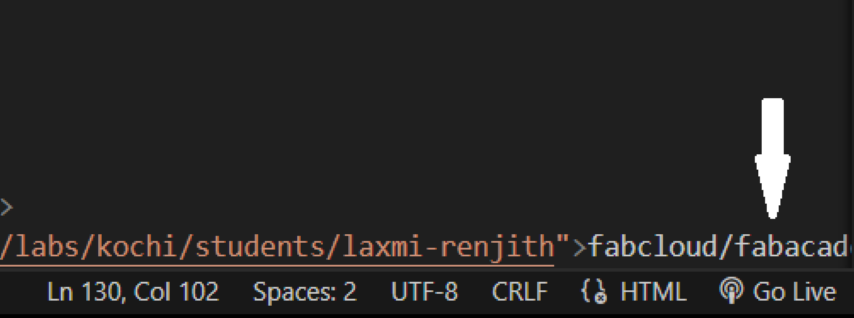
• From the git home page copy the SSH Link by clicking the Clone button and then Clone with SSH.
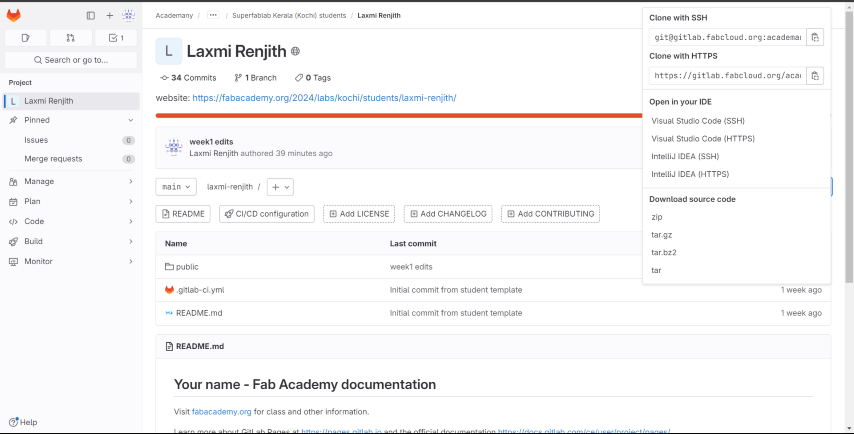
• Paste the url in the code below on git bash to clone the repository
git clone (ssh url)
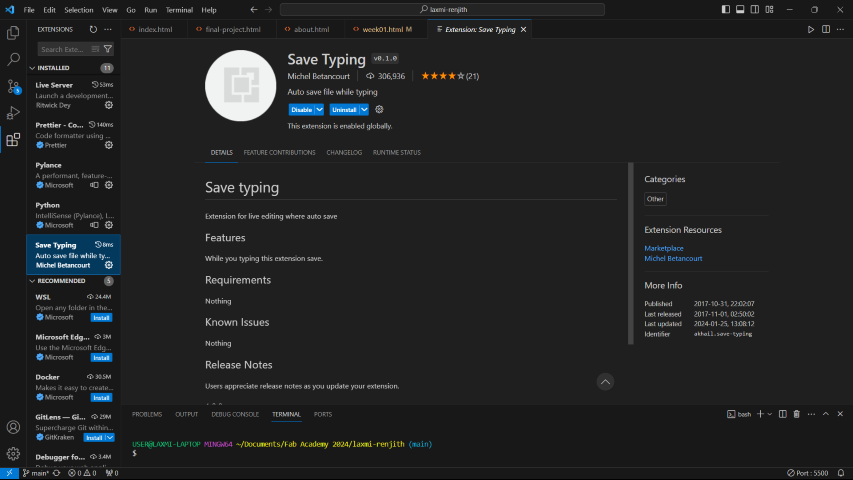
• In VS Code download two extensions: Live Server and Save Typing. Live Server helps in seeing the changes made in the code simultaneously while editing. Save typing auto saves the code.
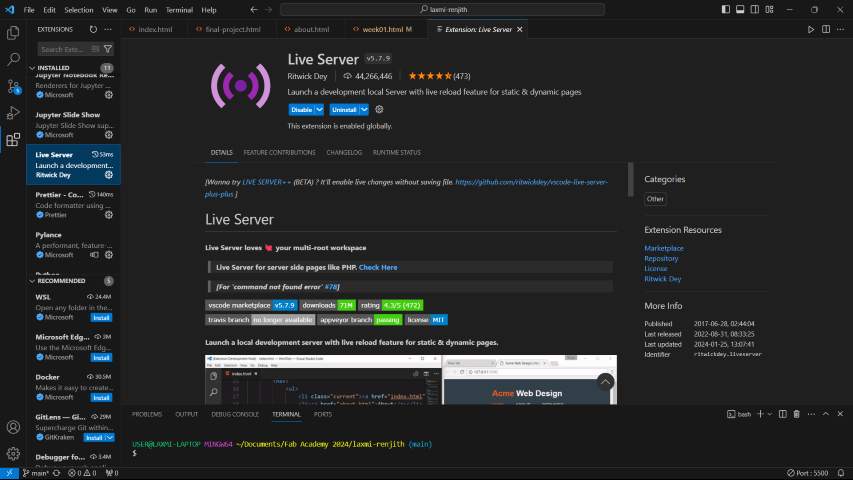
• Once the Live Server is downloaded, click on the Go live button provided below to have the live webpage.
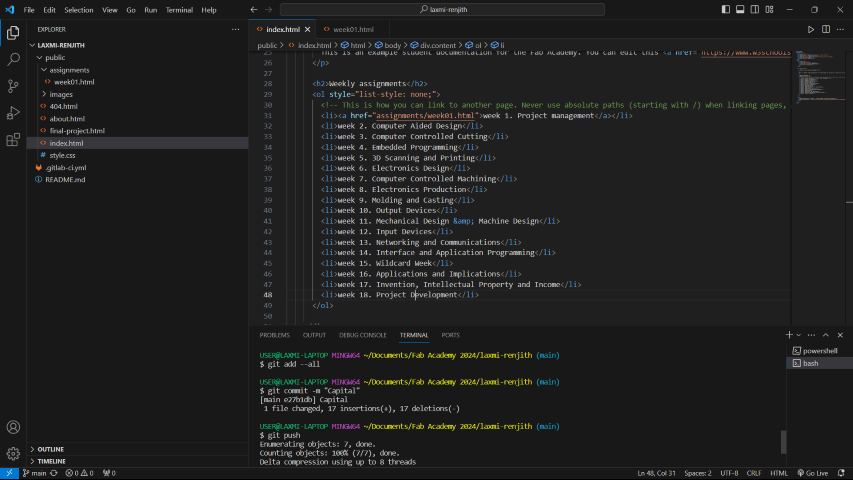
• Once the required changes in the code are done, click on a new terminal and type the codes as given below to upload the files to gitlab.
git add --all
git commit -m"message"
git push
Website Development
For my first attempt at creating a website, I initially spent a few days learning about HTML features and tags.w3schools is an excellent resource for understanding the basics of HTML. An Integrated Development Environment (IDE) is a software application that assists programmers in developing software code efficiently. It enhances developer productivity by integrating capabilities such as editing, building, testing, and packaging software in a user-friendly application. For my project, I used Phoenix Code to experiment with different HTML features.
I did a sample page in Phoenix Code featuring some of the html tags I have learnt in the begin.
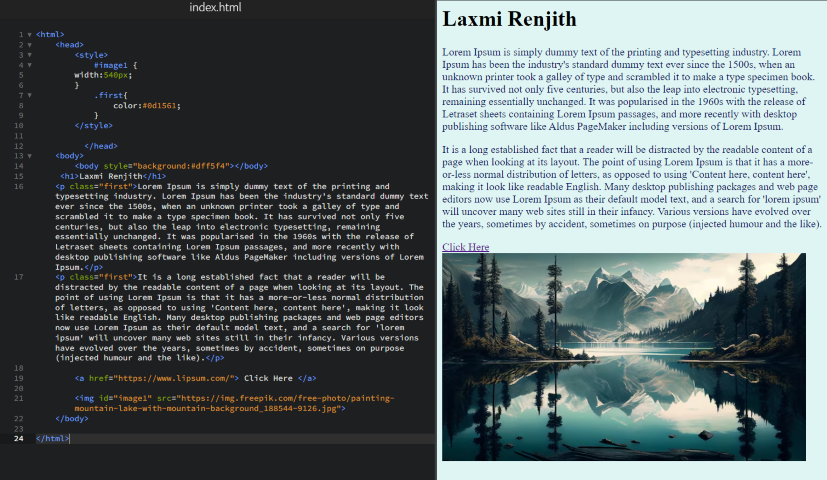
In between, I began by using a template from Notion to create the website. However, once the HTML code was extracted, editing and organizing it became tedious and complex. Consequently, I decided to start from scratch. I wrote the code directly on Visual Studio Code (VS Code), making edits as needed.
Note: For resizing images, Power Toys from Microsoft has a direct feature to reduce the file size of images.
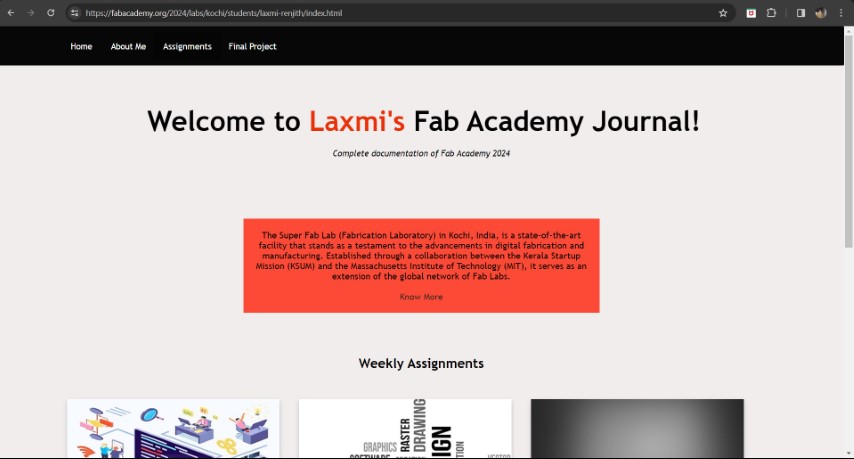
After much editing in VS Code, I created my now website for Fab Academy 2024!