3. Computer controlled cutting
Overview
This transcript summarizes a lecture by Neil Gershenfeld for a digital fabrication course focused on vinyl and laser cutting tools and techniques. It provides an overview of different types of vinyl cutters, materials, and workflows for making stickers, circuits, origami, and more. The lecture then covers laser cutter safety, different laser types, optimal materials like cardboard, parametric design, press fit construction, joints for flat pack furniture, and tips for successful cutting. The group assignment involves laser safety training, characterizing material kerf, and designing a construction kit using parametric offsets. Action items relate to decorating laptops with vinyl stickers and thinking of creative ways to make laser cut kits that assemble in multiple configurations.
Assignment
group assignment:
individual assignment:
WorkFlow
vinyl cutting
Equipment specifications

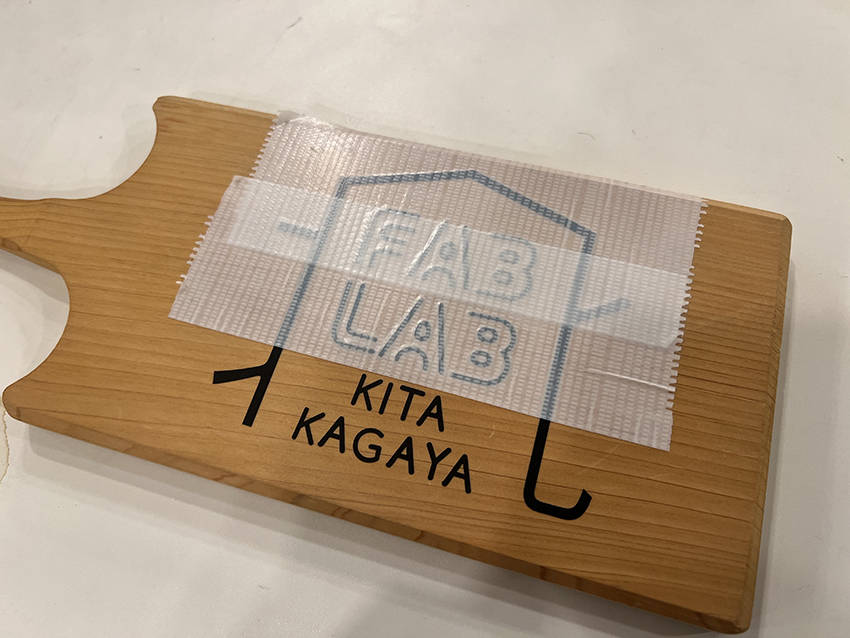
Stickers featuring the FABLAB Kitakagaya logo are desired.

Edit the data in Illustrator to make it suitable for use as a sticker.
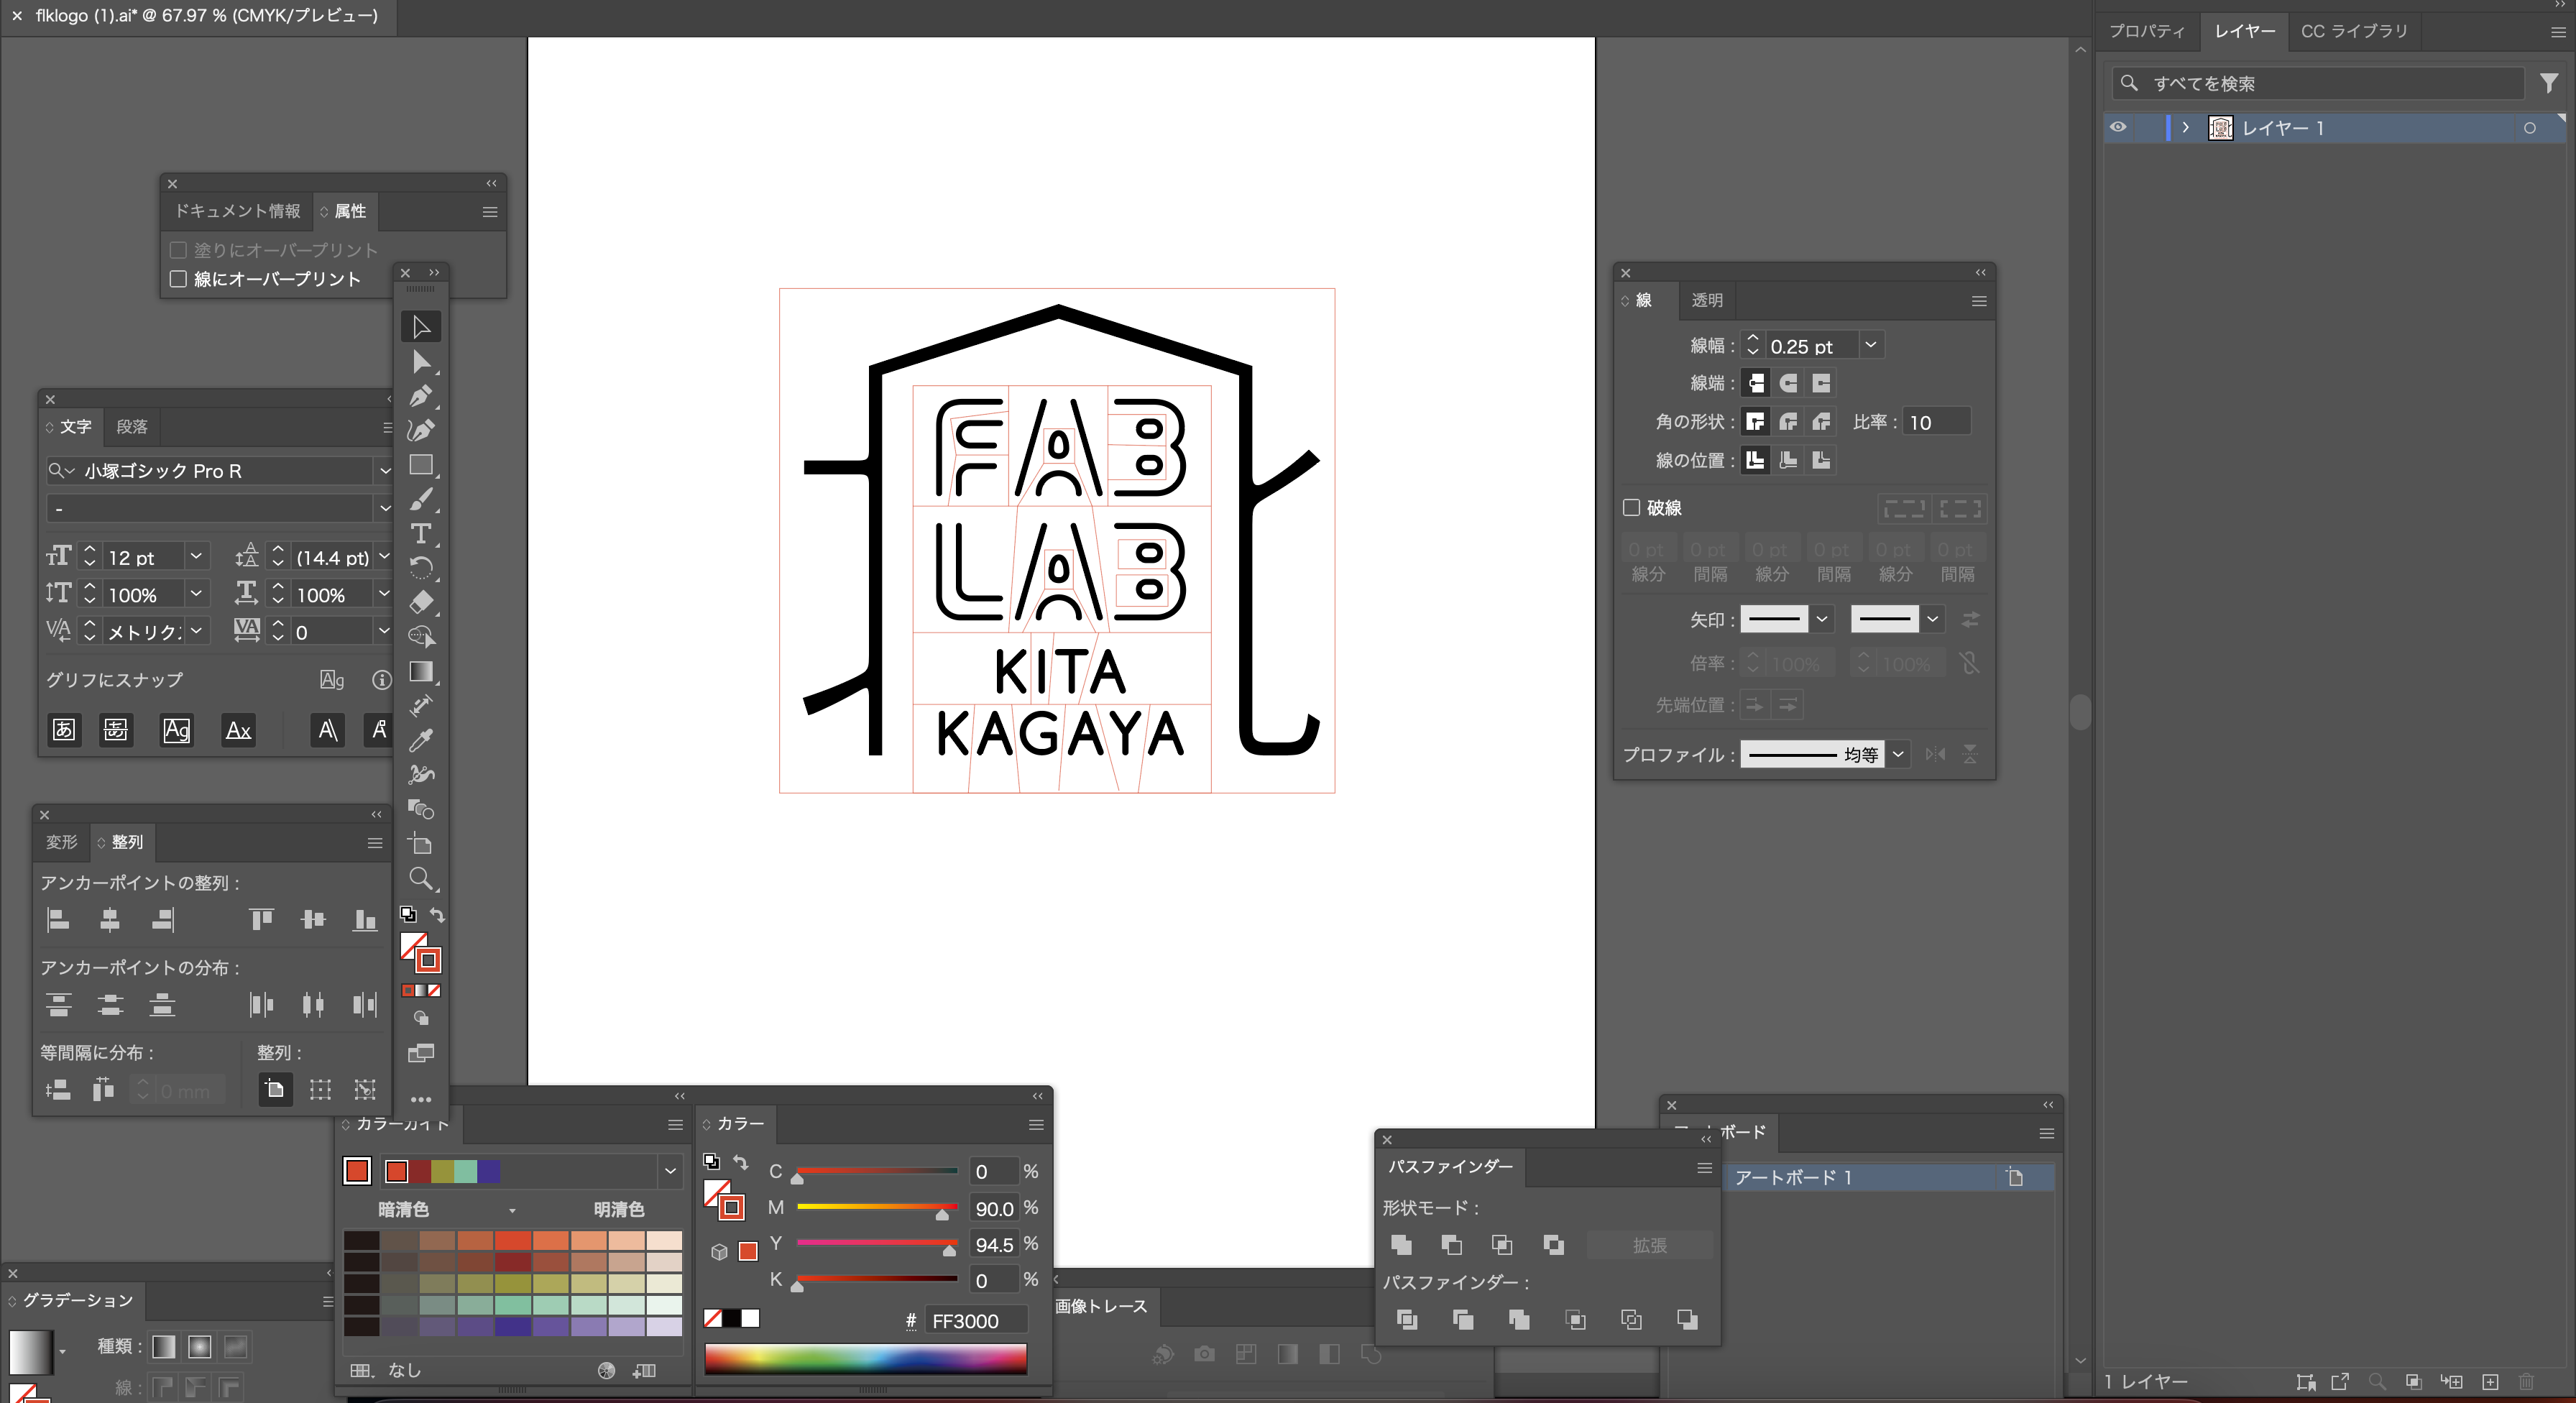
The stickers come with a frame that facilitates their removal, making the process easier.
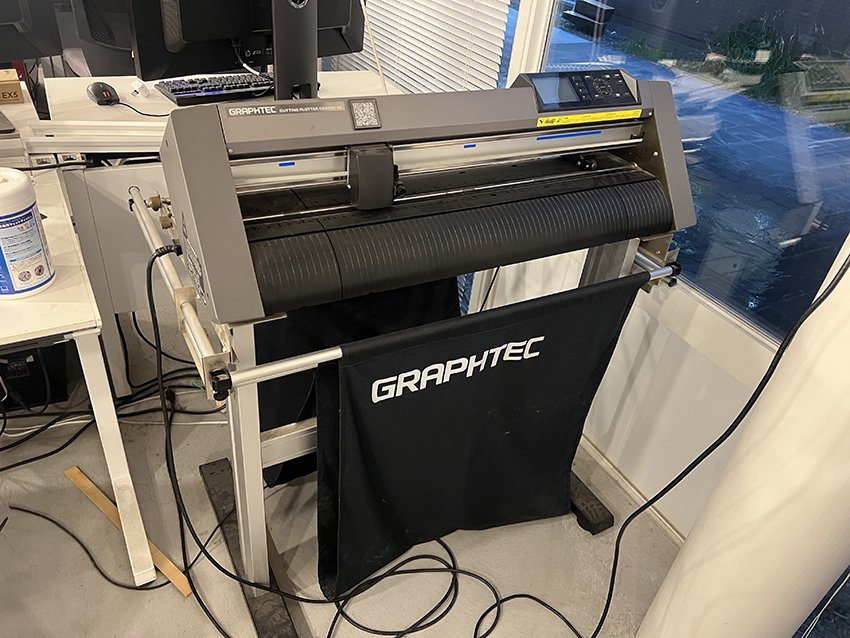
A machine that reads drawing data, sets appropriate parameters (such as cutting pressure and speed), and cuts along the trajectory of the drawing data using the blade attached to its tip..
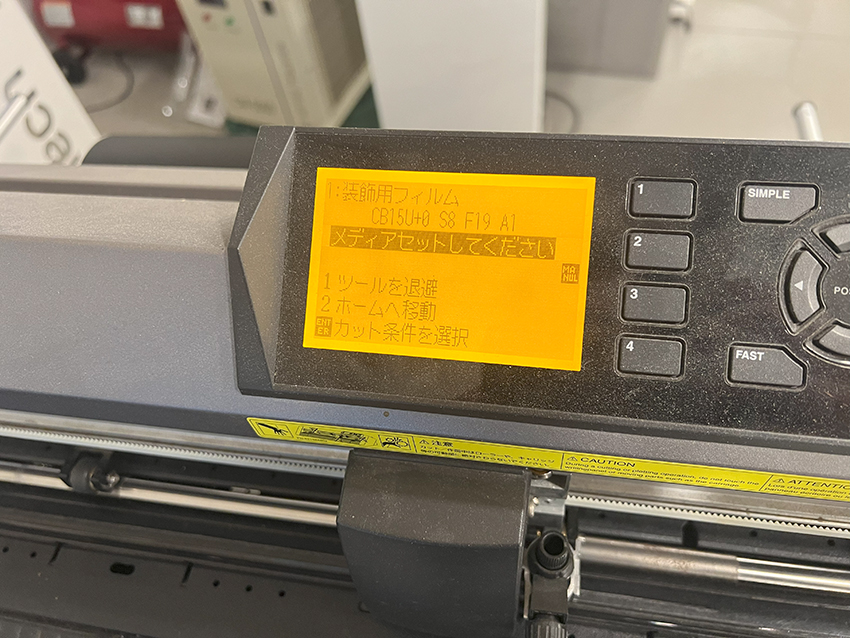
When you turn on the power on the left side of the machine, the LCD screen on the front of the machine will display.
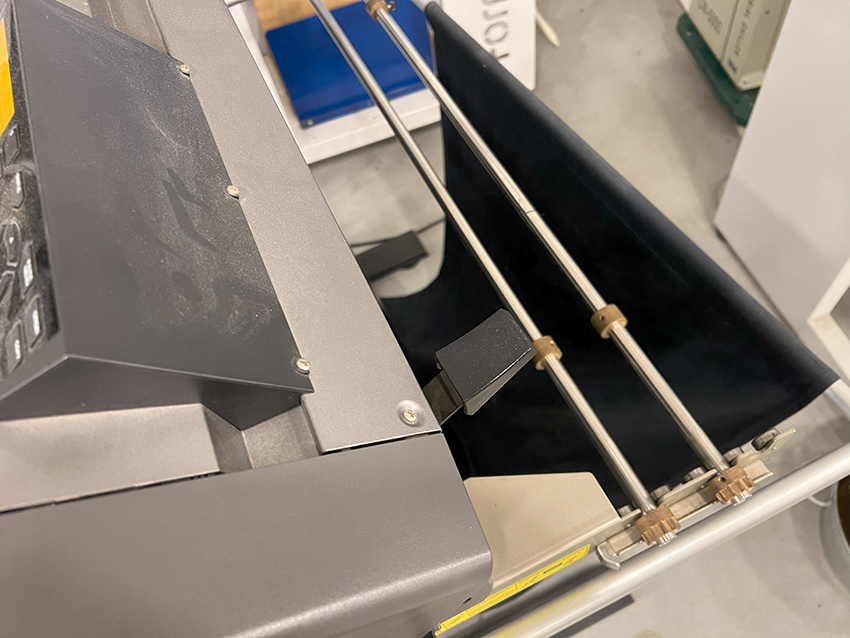
Lower the lever at the rear of the machine to loosen the reel for securing the material.
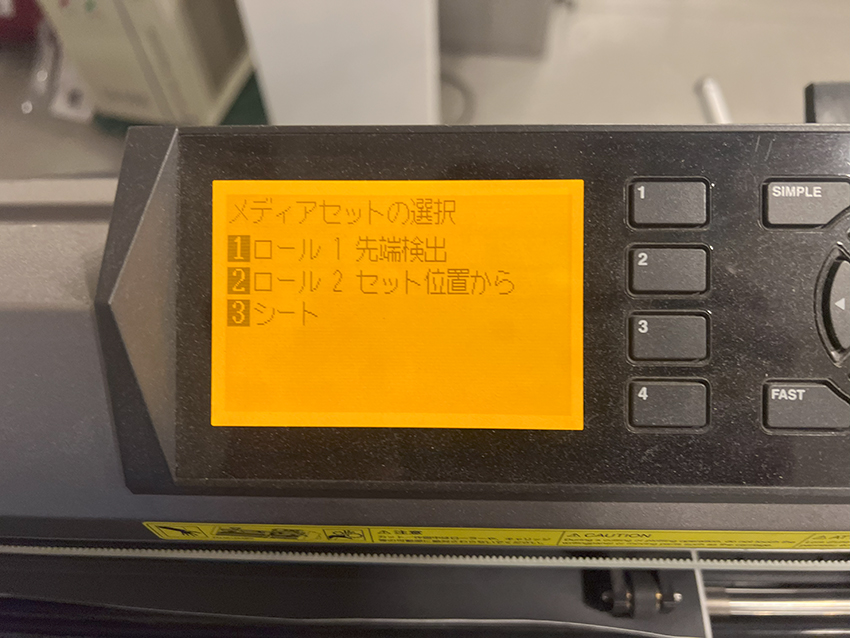
Select either the roll type or the sheet type.
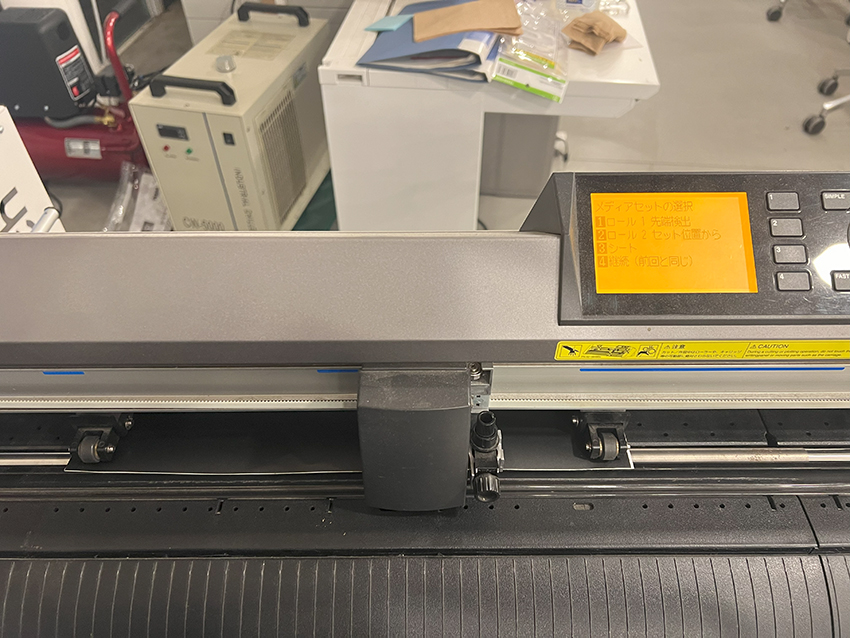
Pull the vinyl forward, adjust the position of the securing reel to match the width of the vinyl, and then raise the rear lever to secure it.
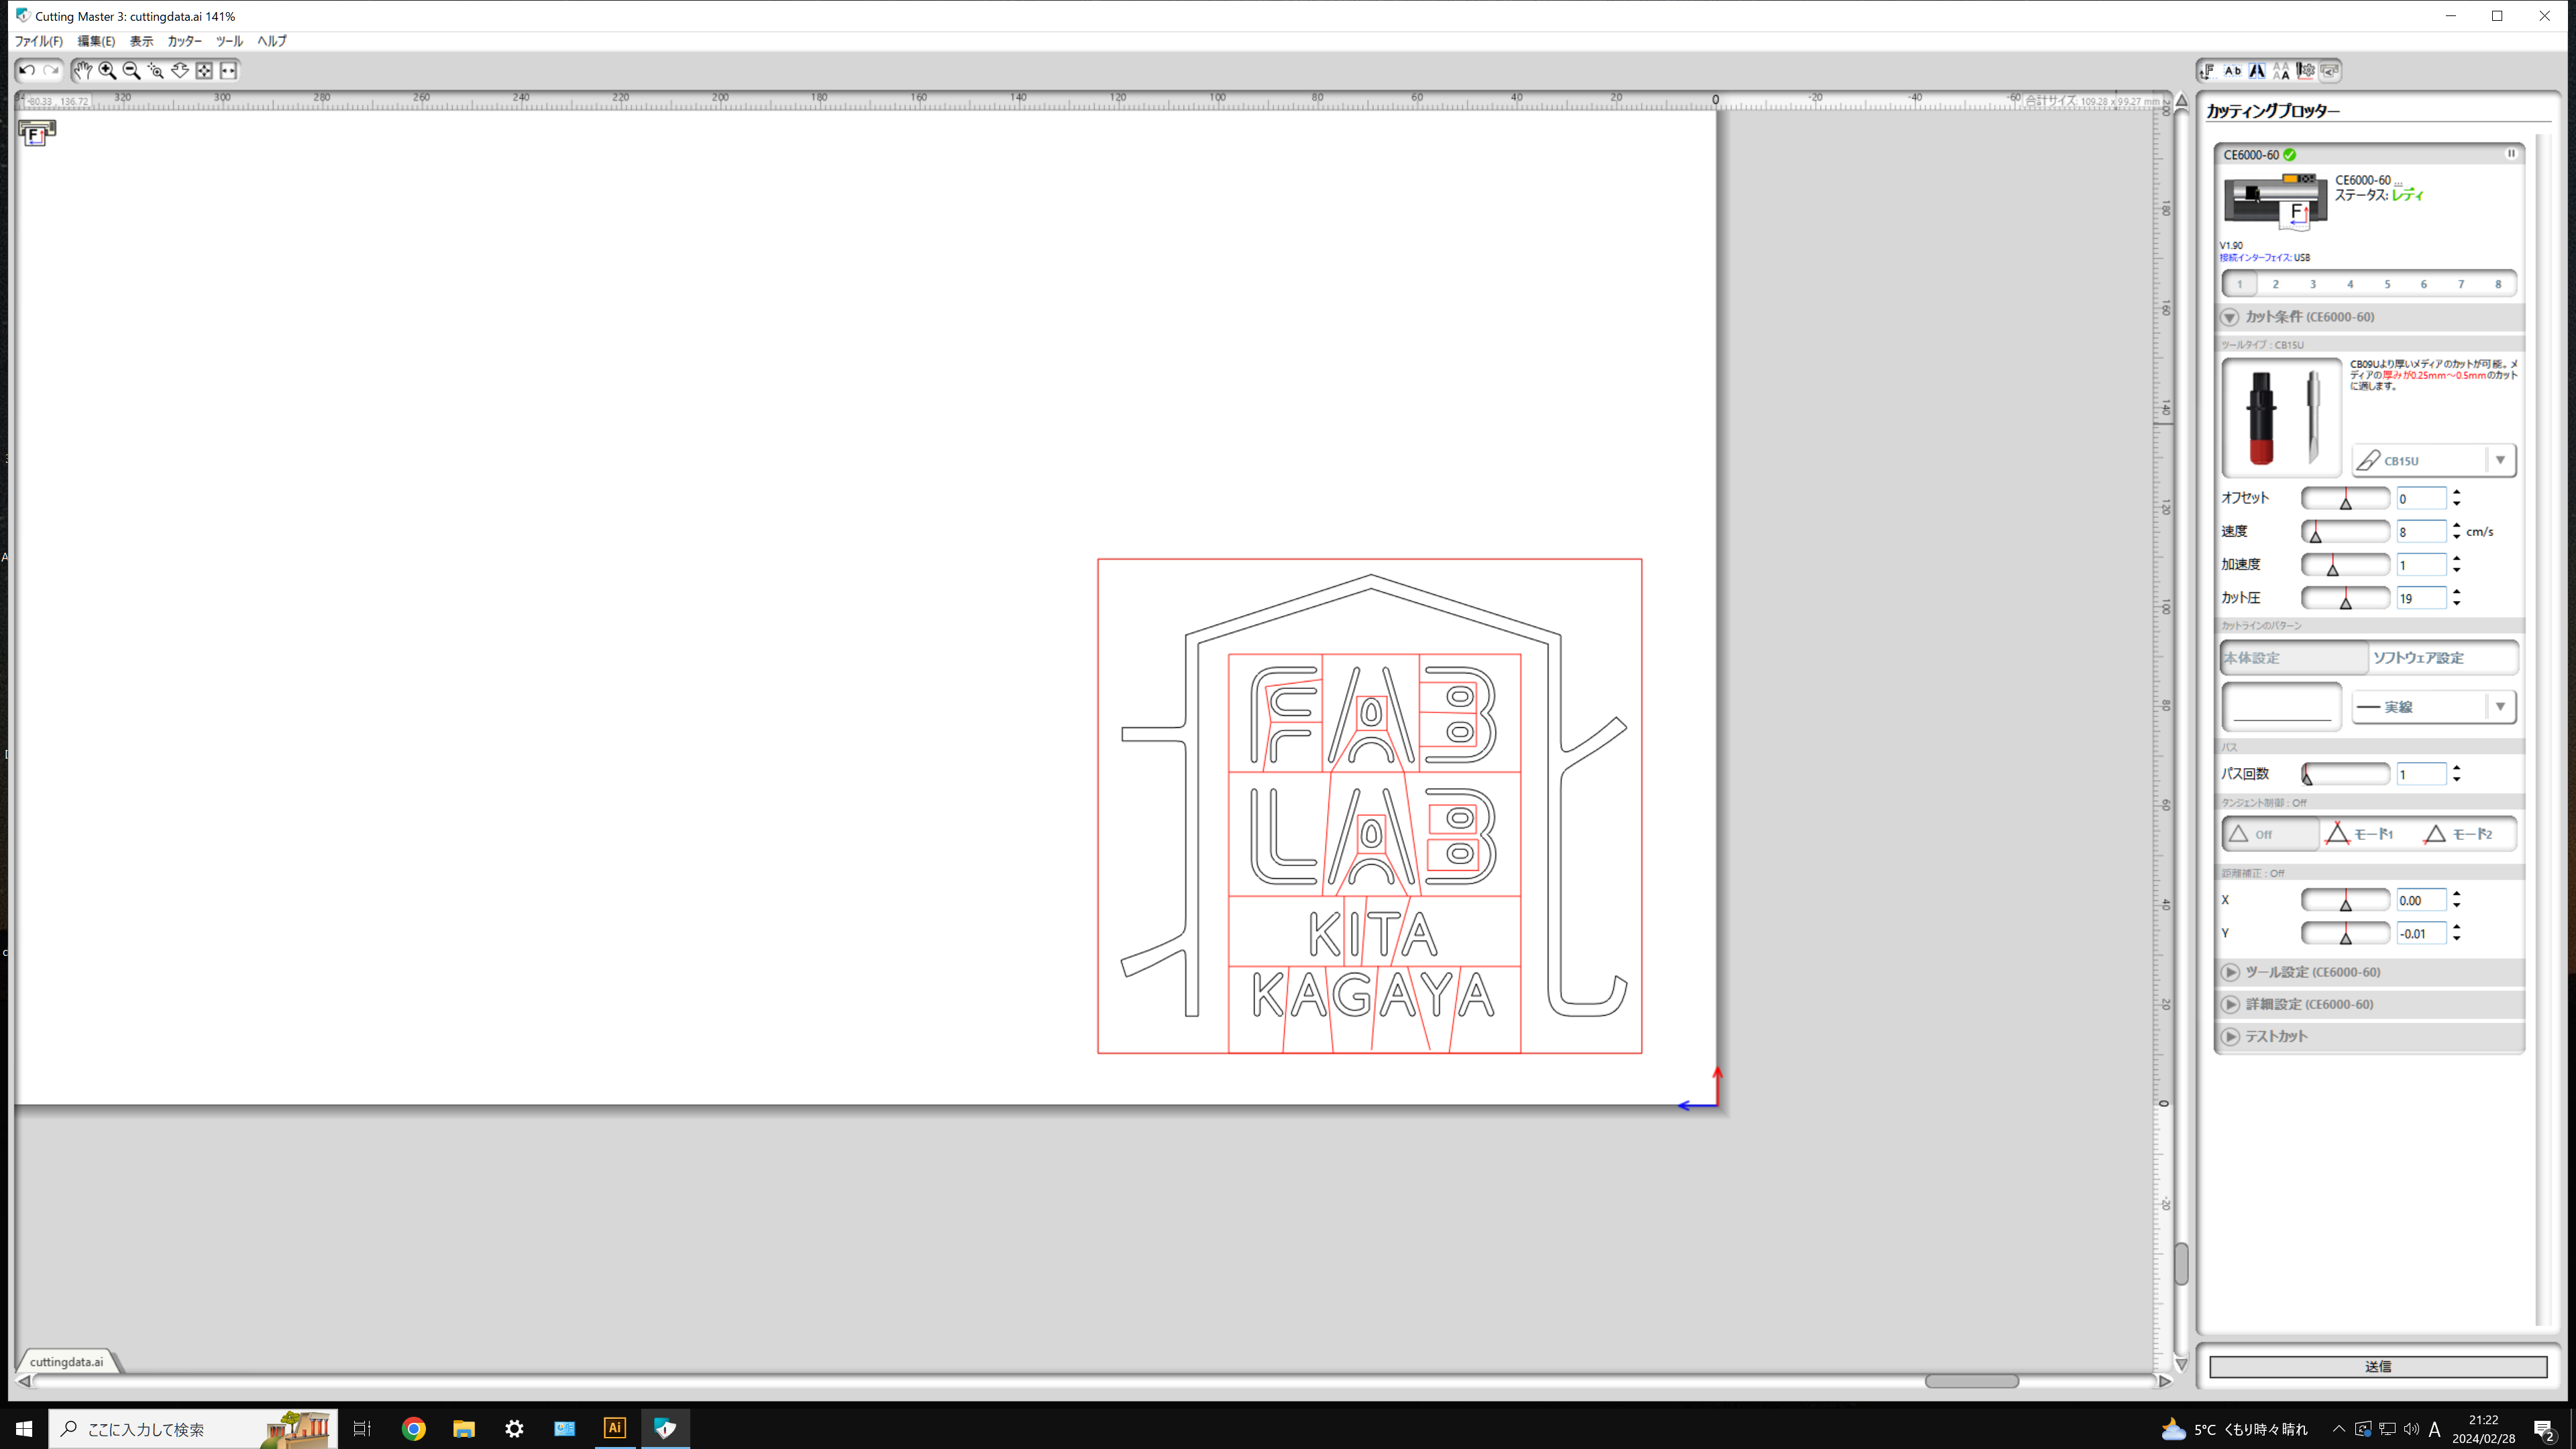
Transfer the data edited in Illustrator to the cutting plotter's dedicated software, Cutting Master 3.

When cutting with Cutting Master 3, set the optimal conditions, with parameters such as speed, acceleration, and cutting pressure being particularly important.Since the optimal parameters vary depending on the material being cut, it is recommended to perform a test cut before proceeding with the actual processing.
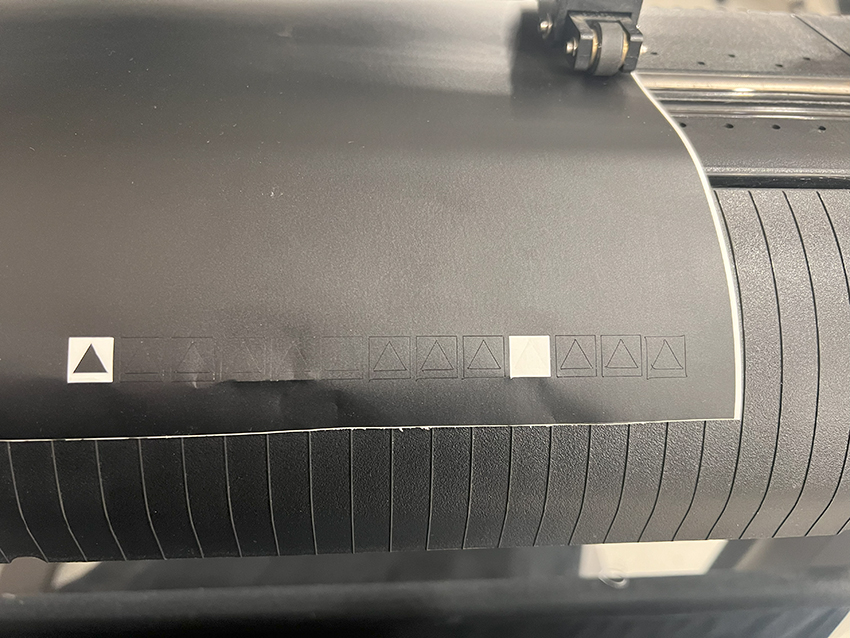
Cutting Master 3 has a test cut command. It cuts a shape consisting of a triangle inside a square.Check whether only the vinyl layer has been cut and whether the corners of the triangle are accurately cut.
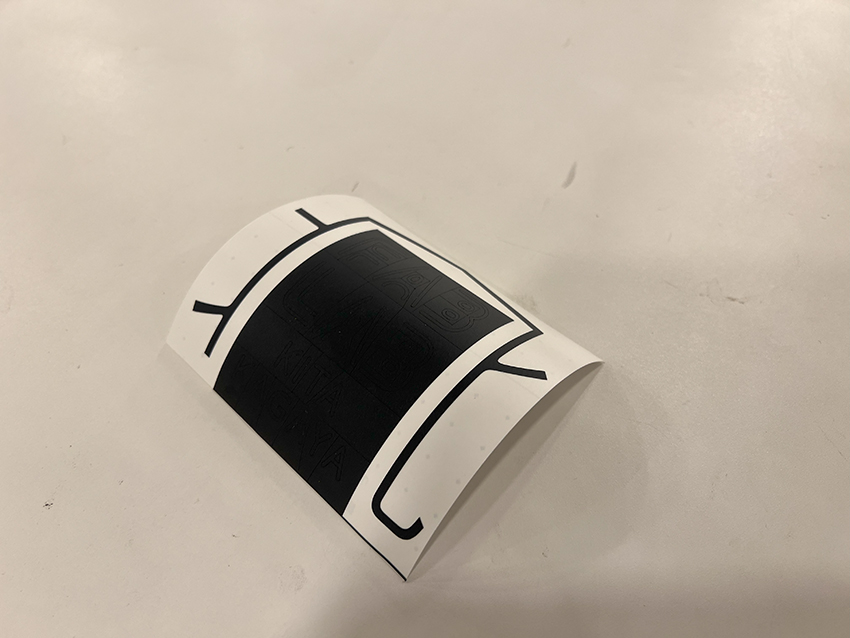
Carefully peel off the unnecessary parts of the sticker by hand.
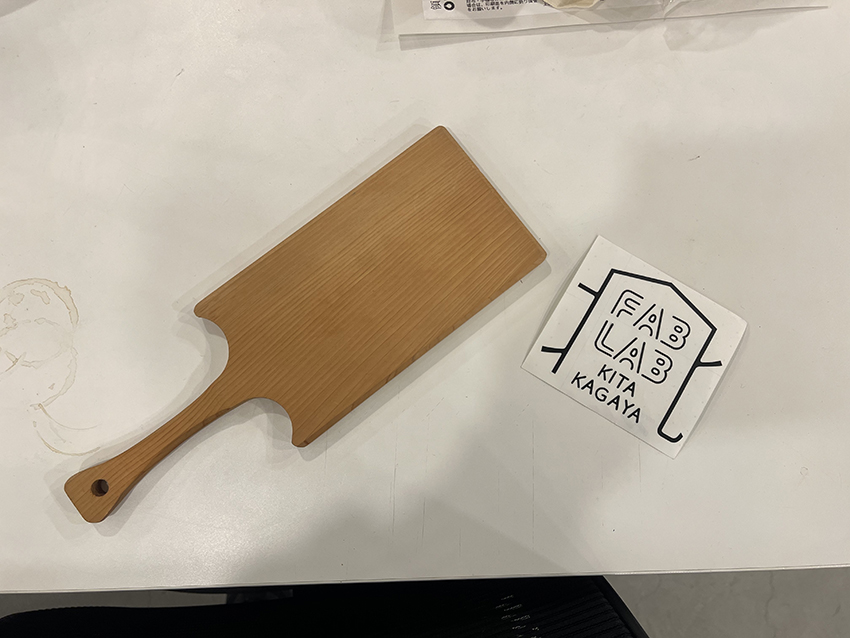
This time the sticker is to be attached to the back of the cutting board.
Consider where to stick it on the cutting board.
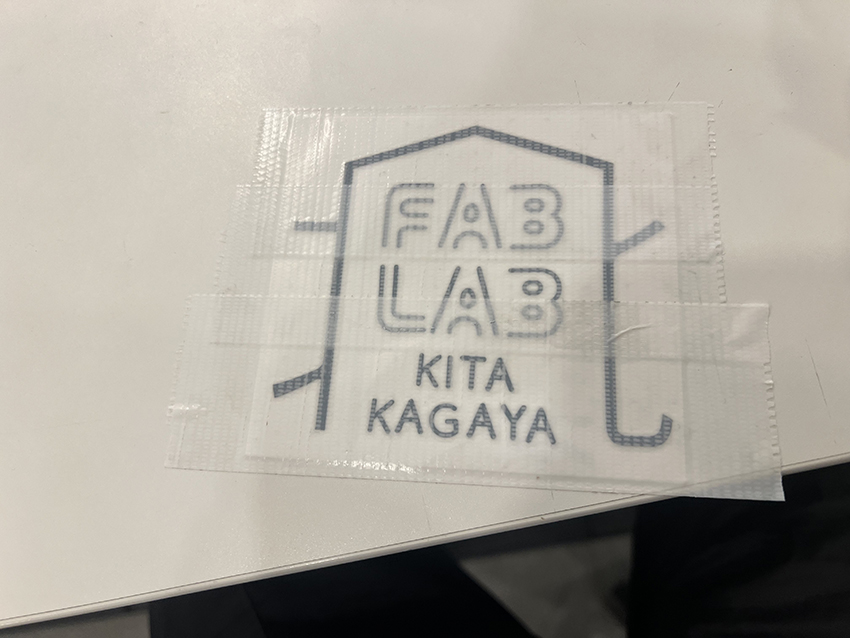
To apply the cut sticker so that the layout does not collapse, cover the whole area with tape once and transfer that sticker from the platform under the sticker to the tape.
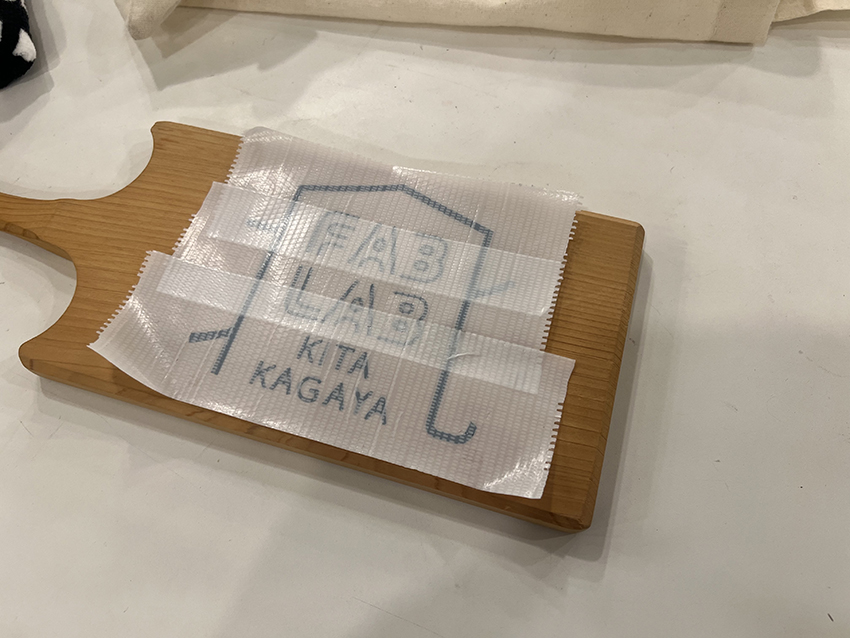
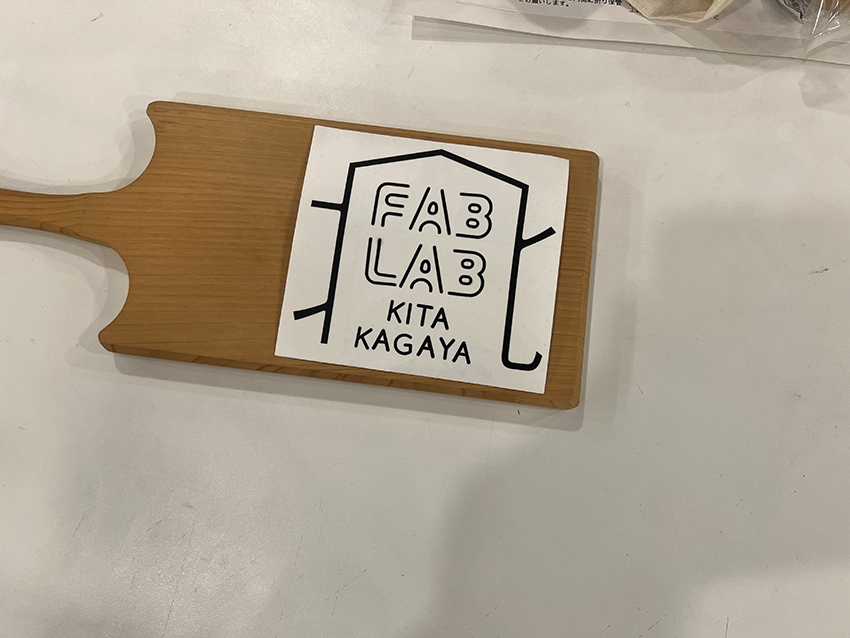
Stick the entire tape to the cutting board.
Only the tape is carefully peeled off.

Finish peeling off the cutting sticker only and you are finished.
laser cutting
Equipment specifications
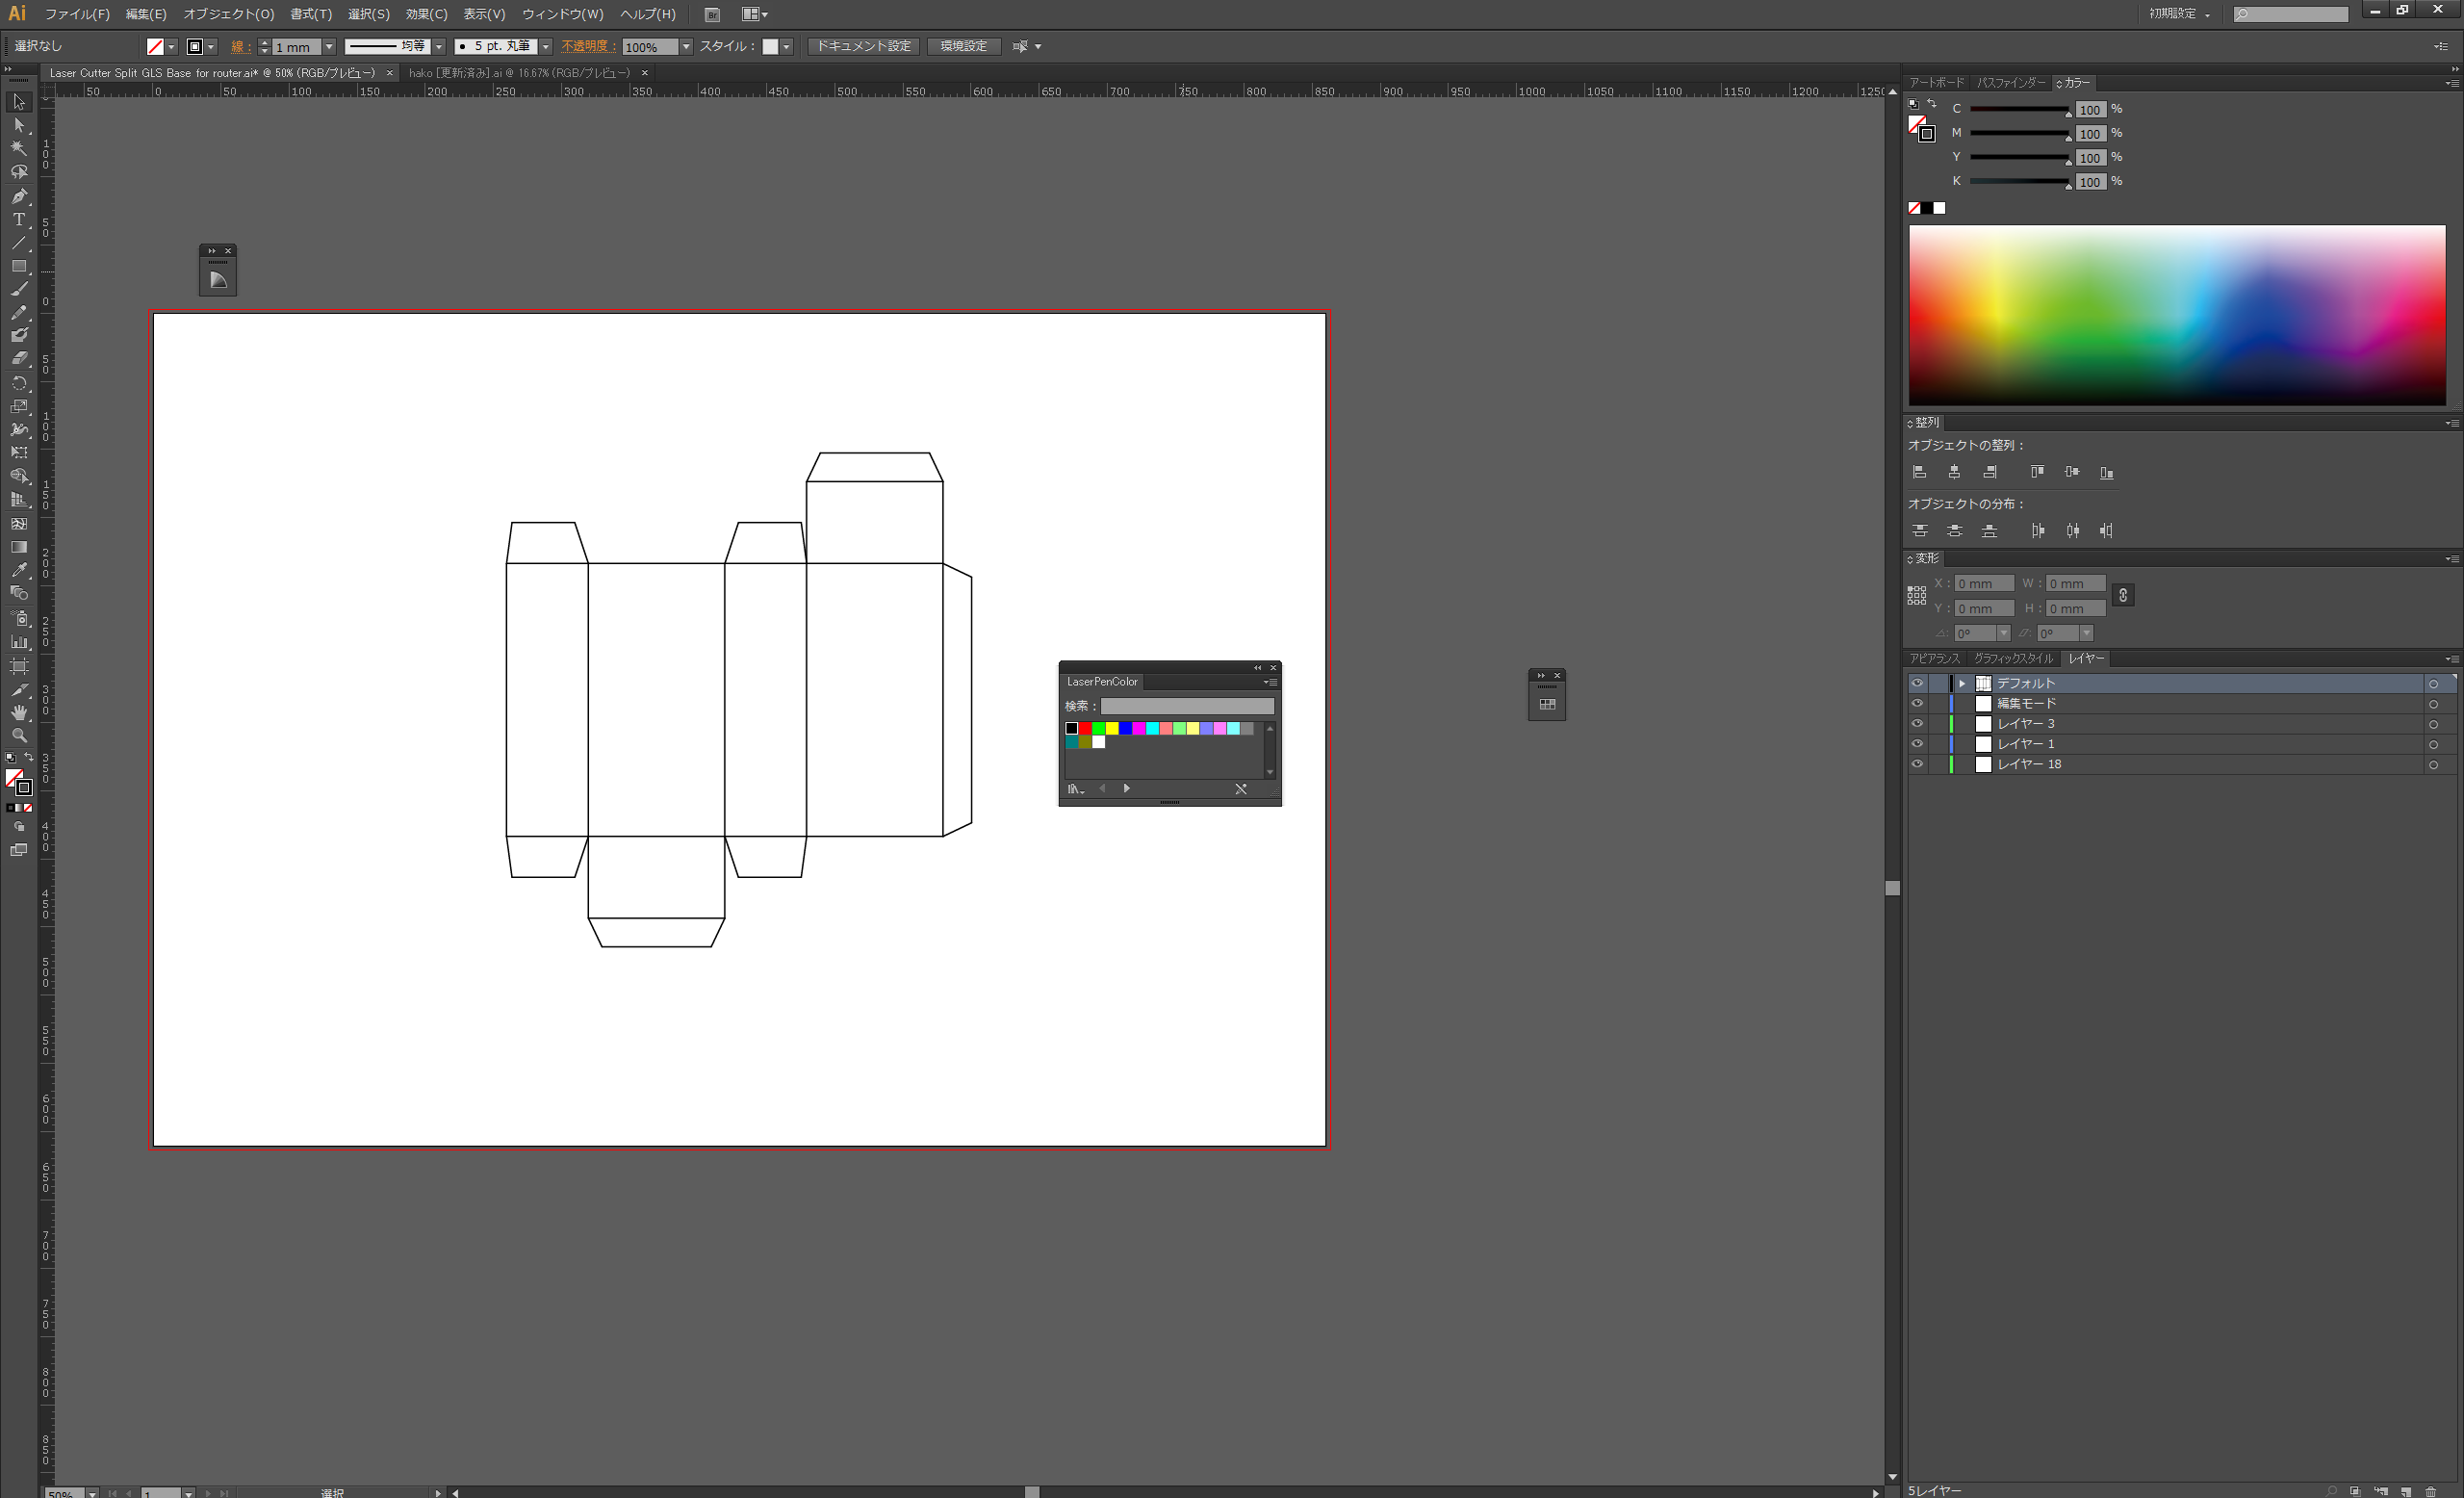
Drawing data of a folded box developed into a flat surface is imported into Illustrator for layout.
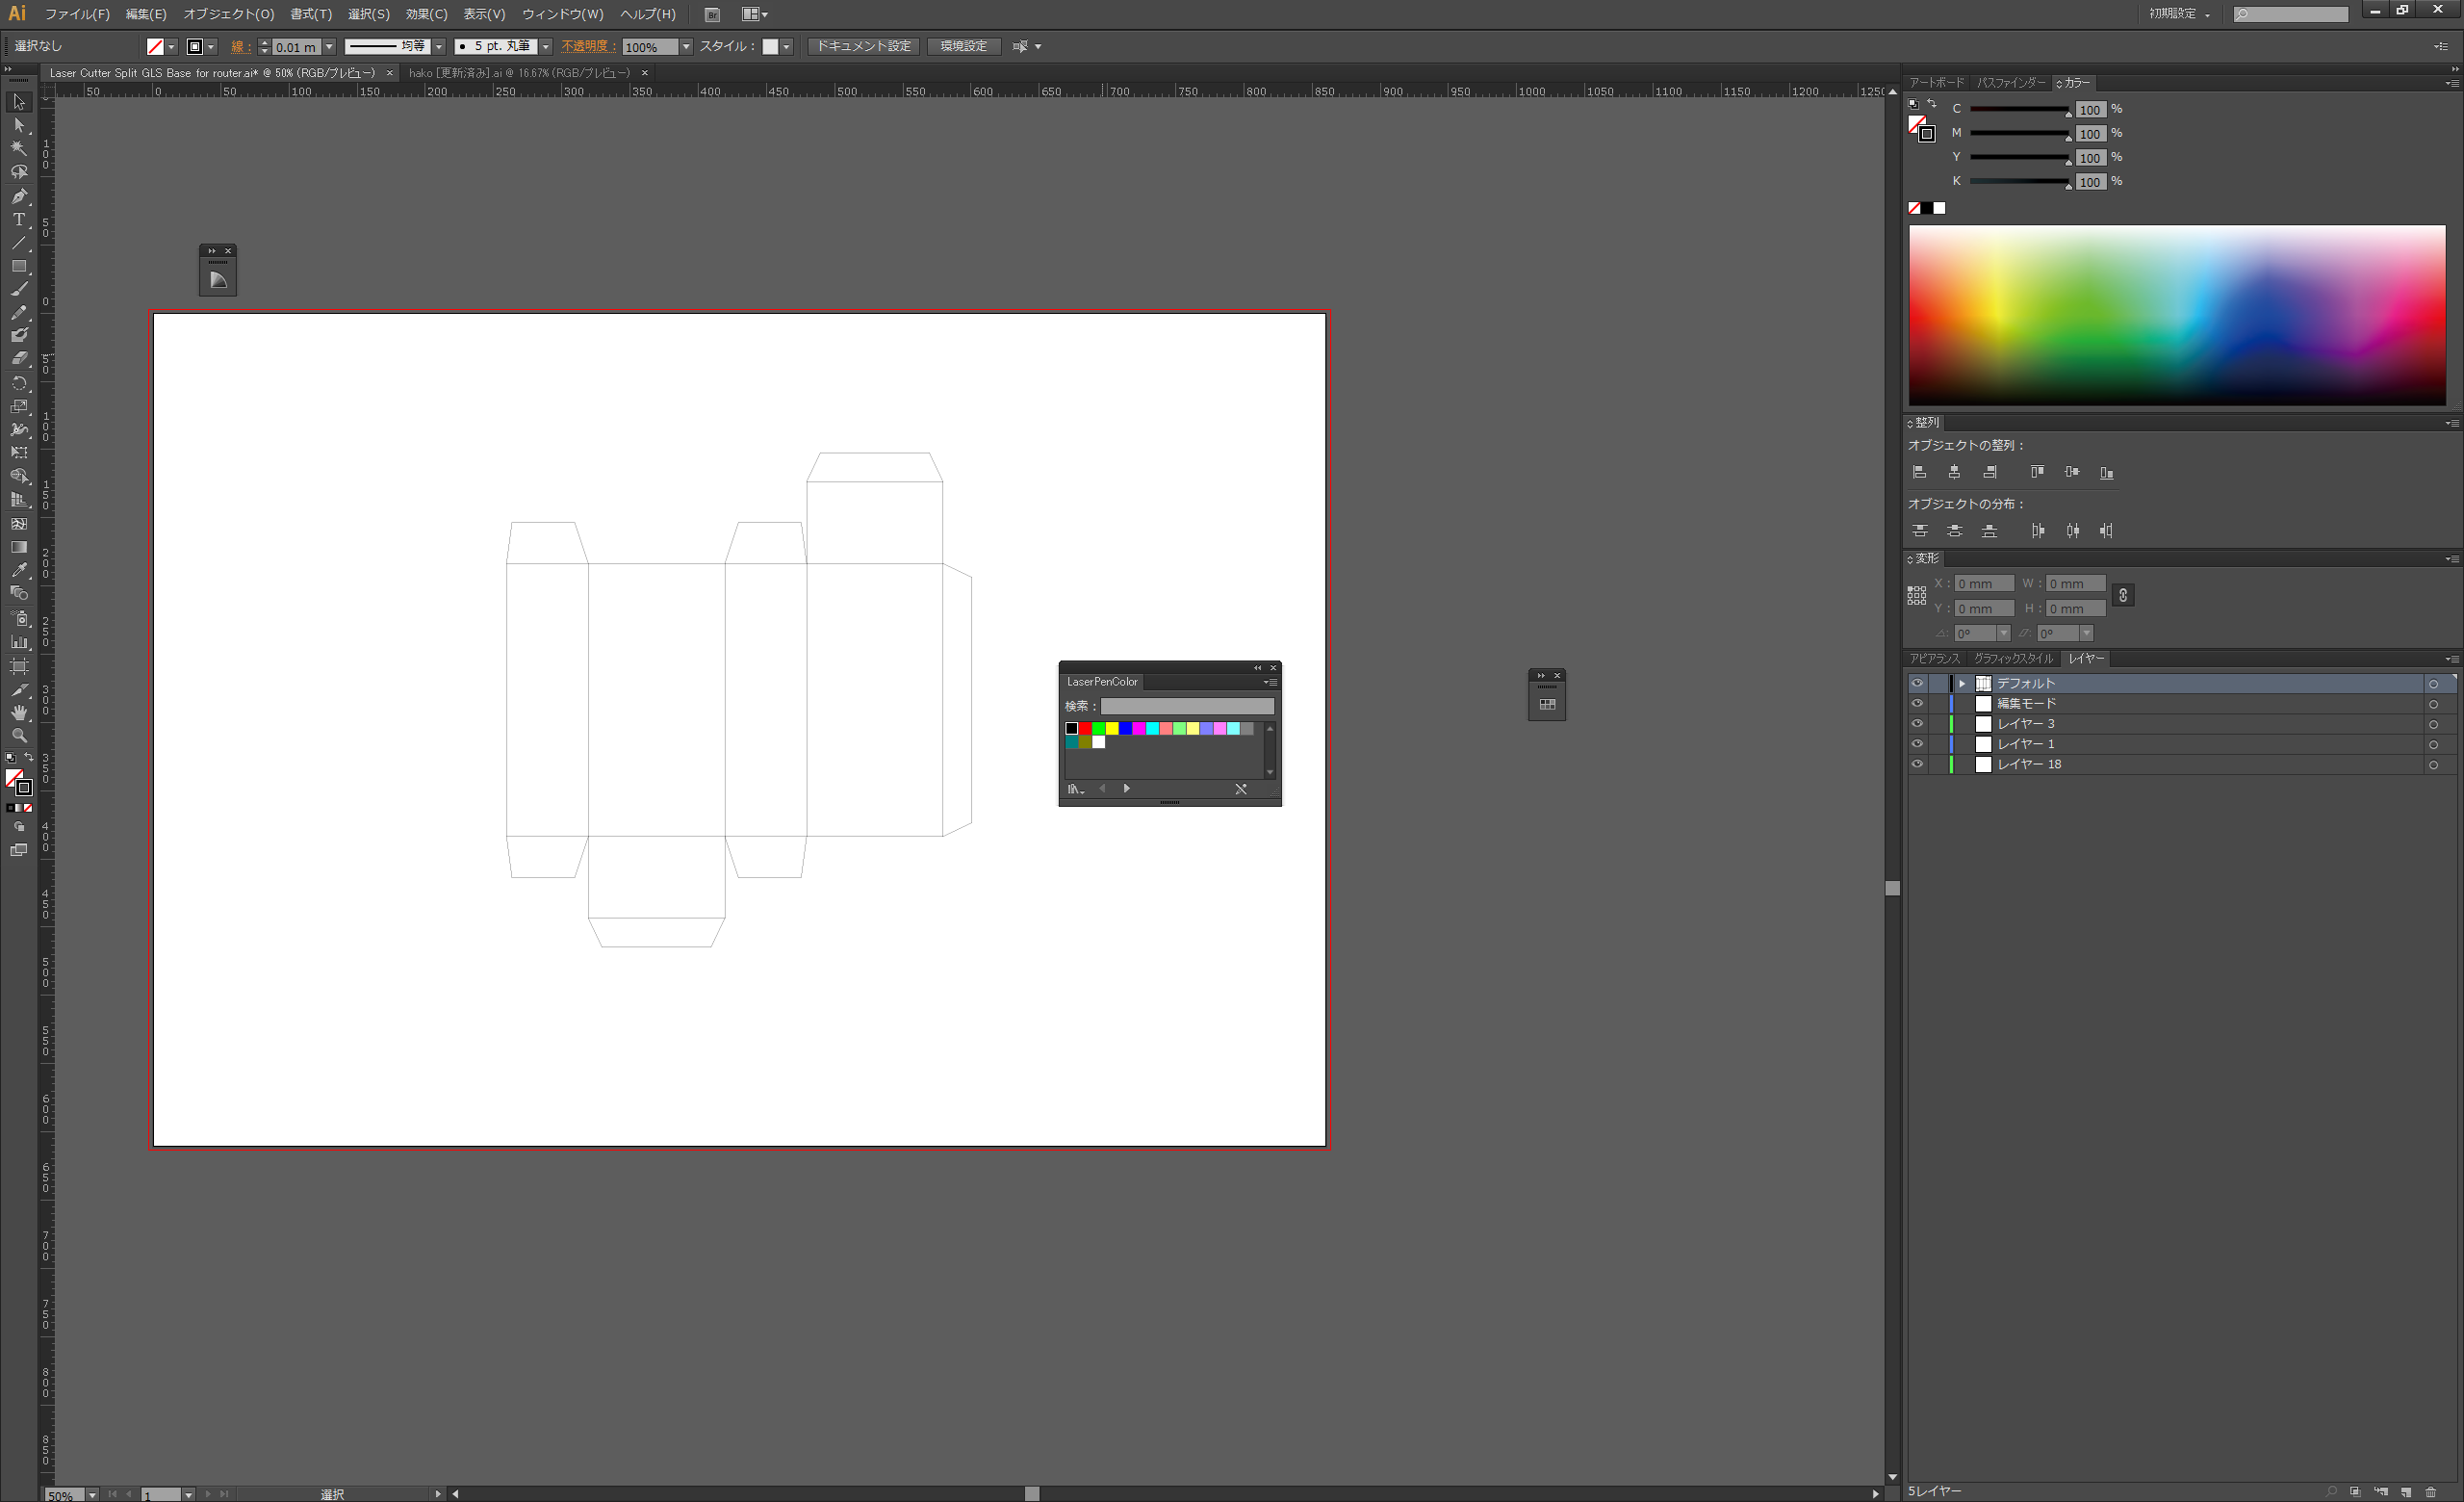
Change the line to 0.01 pt in order for it to be recognised as path data for laser processing.
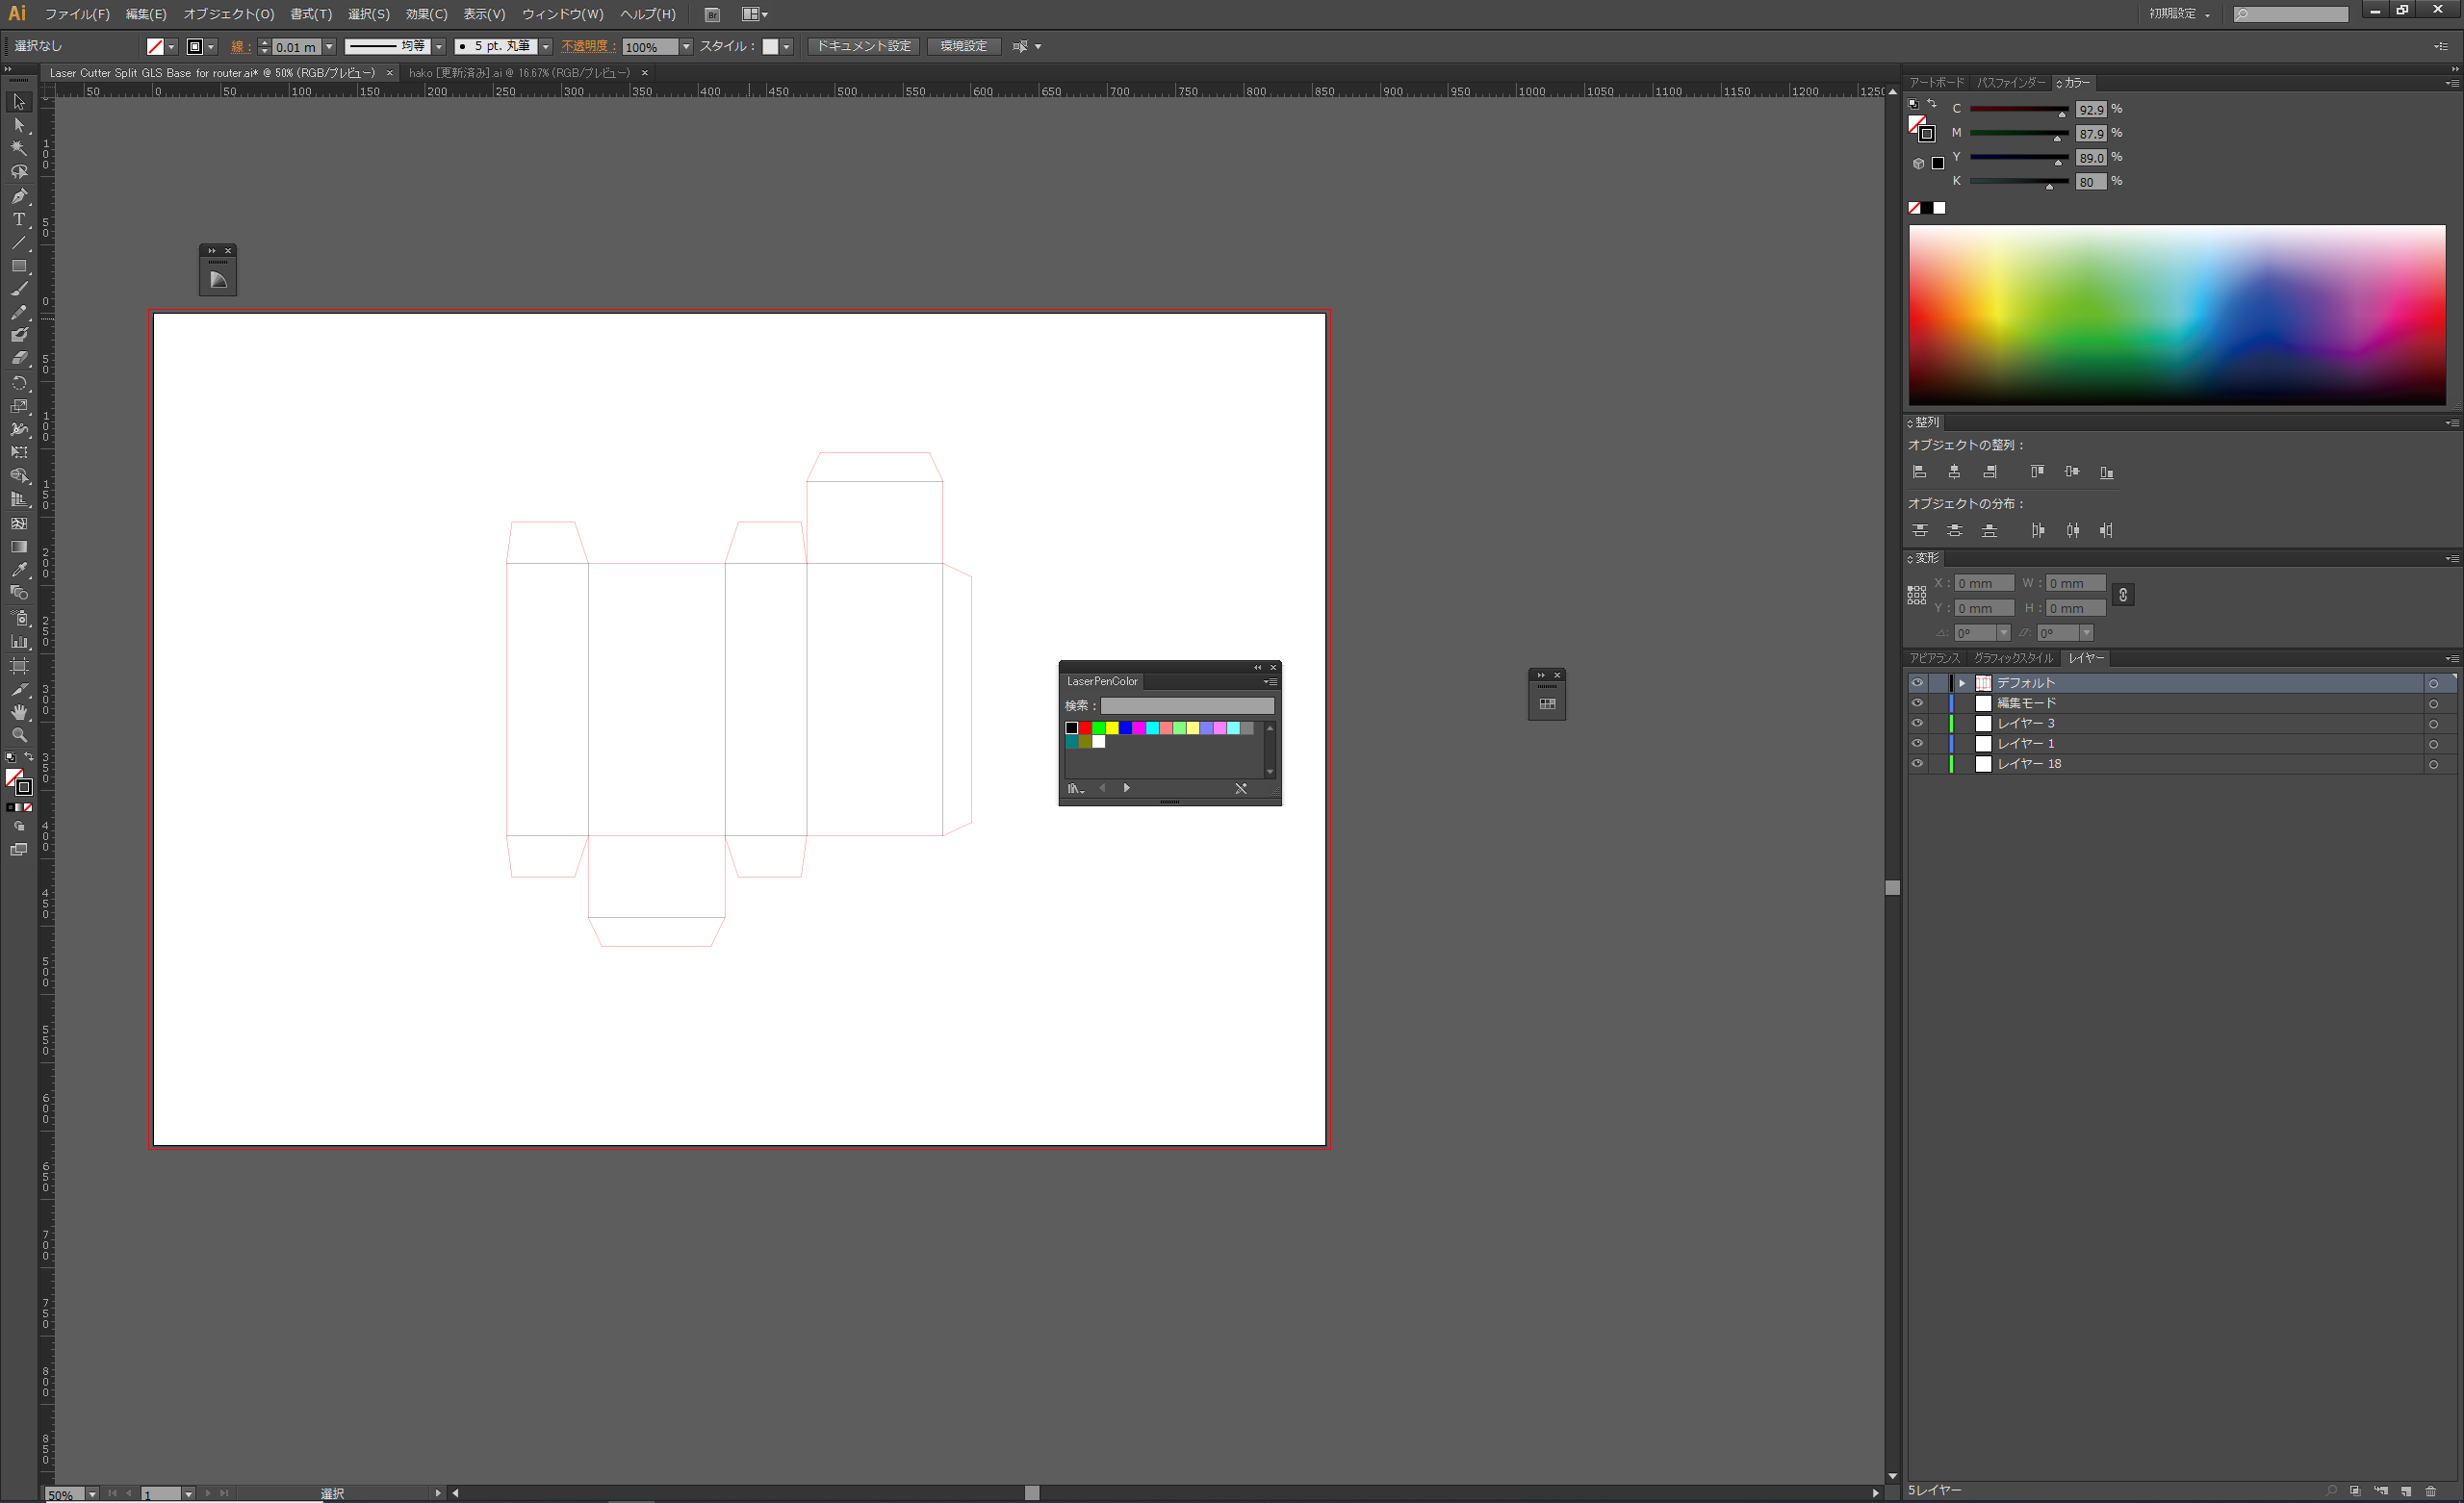
This time, the cut and brushed lines are achieved by adjusting the power of the laser. For this purpose, different parameters can be set for different line colours.
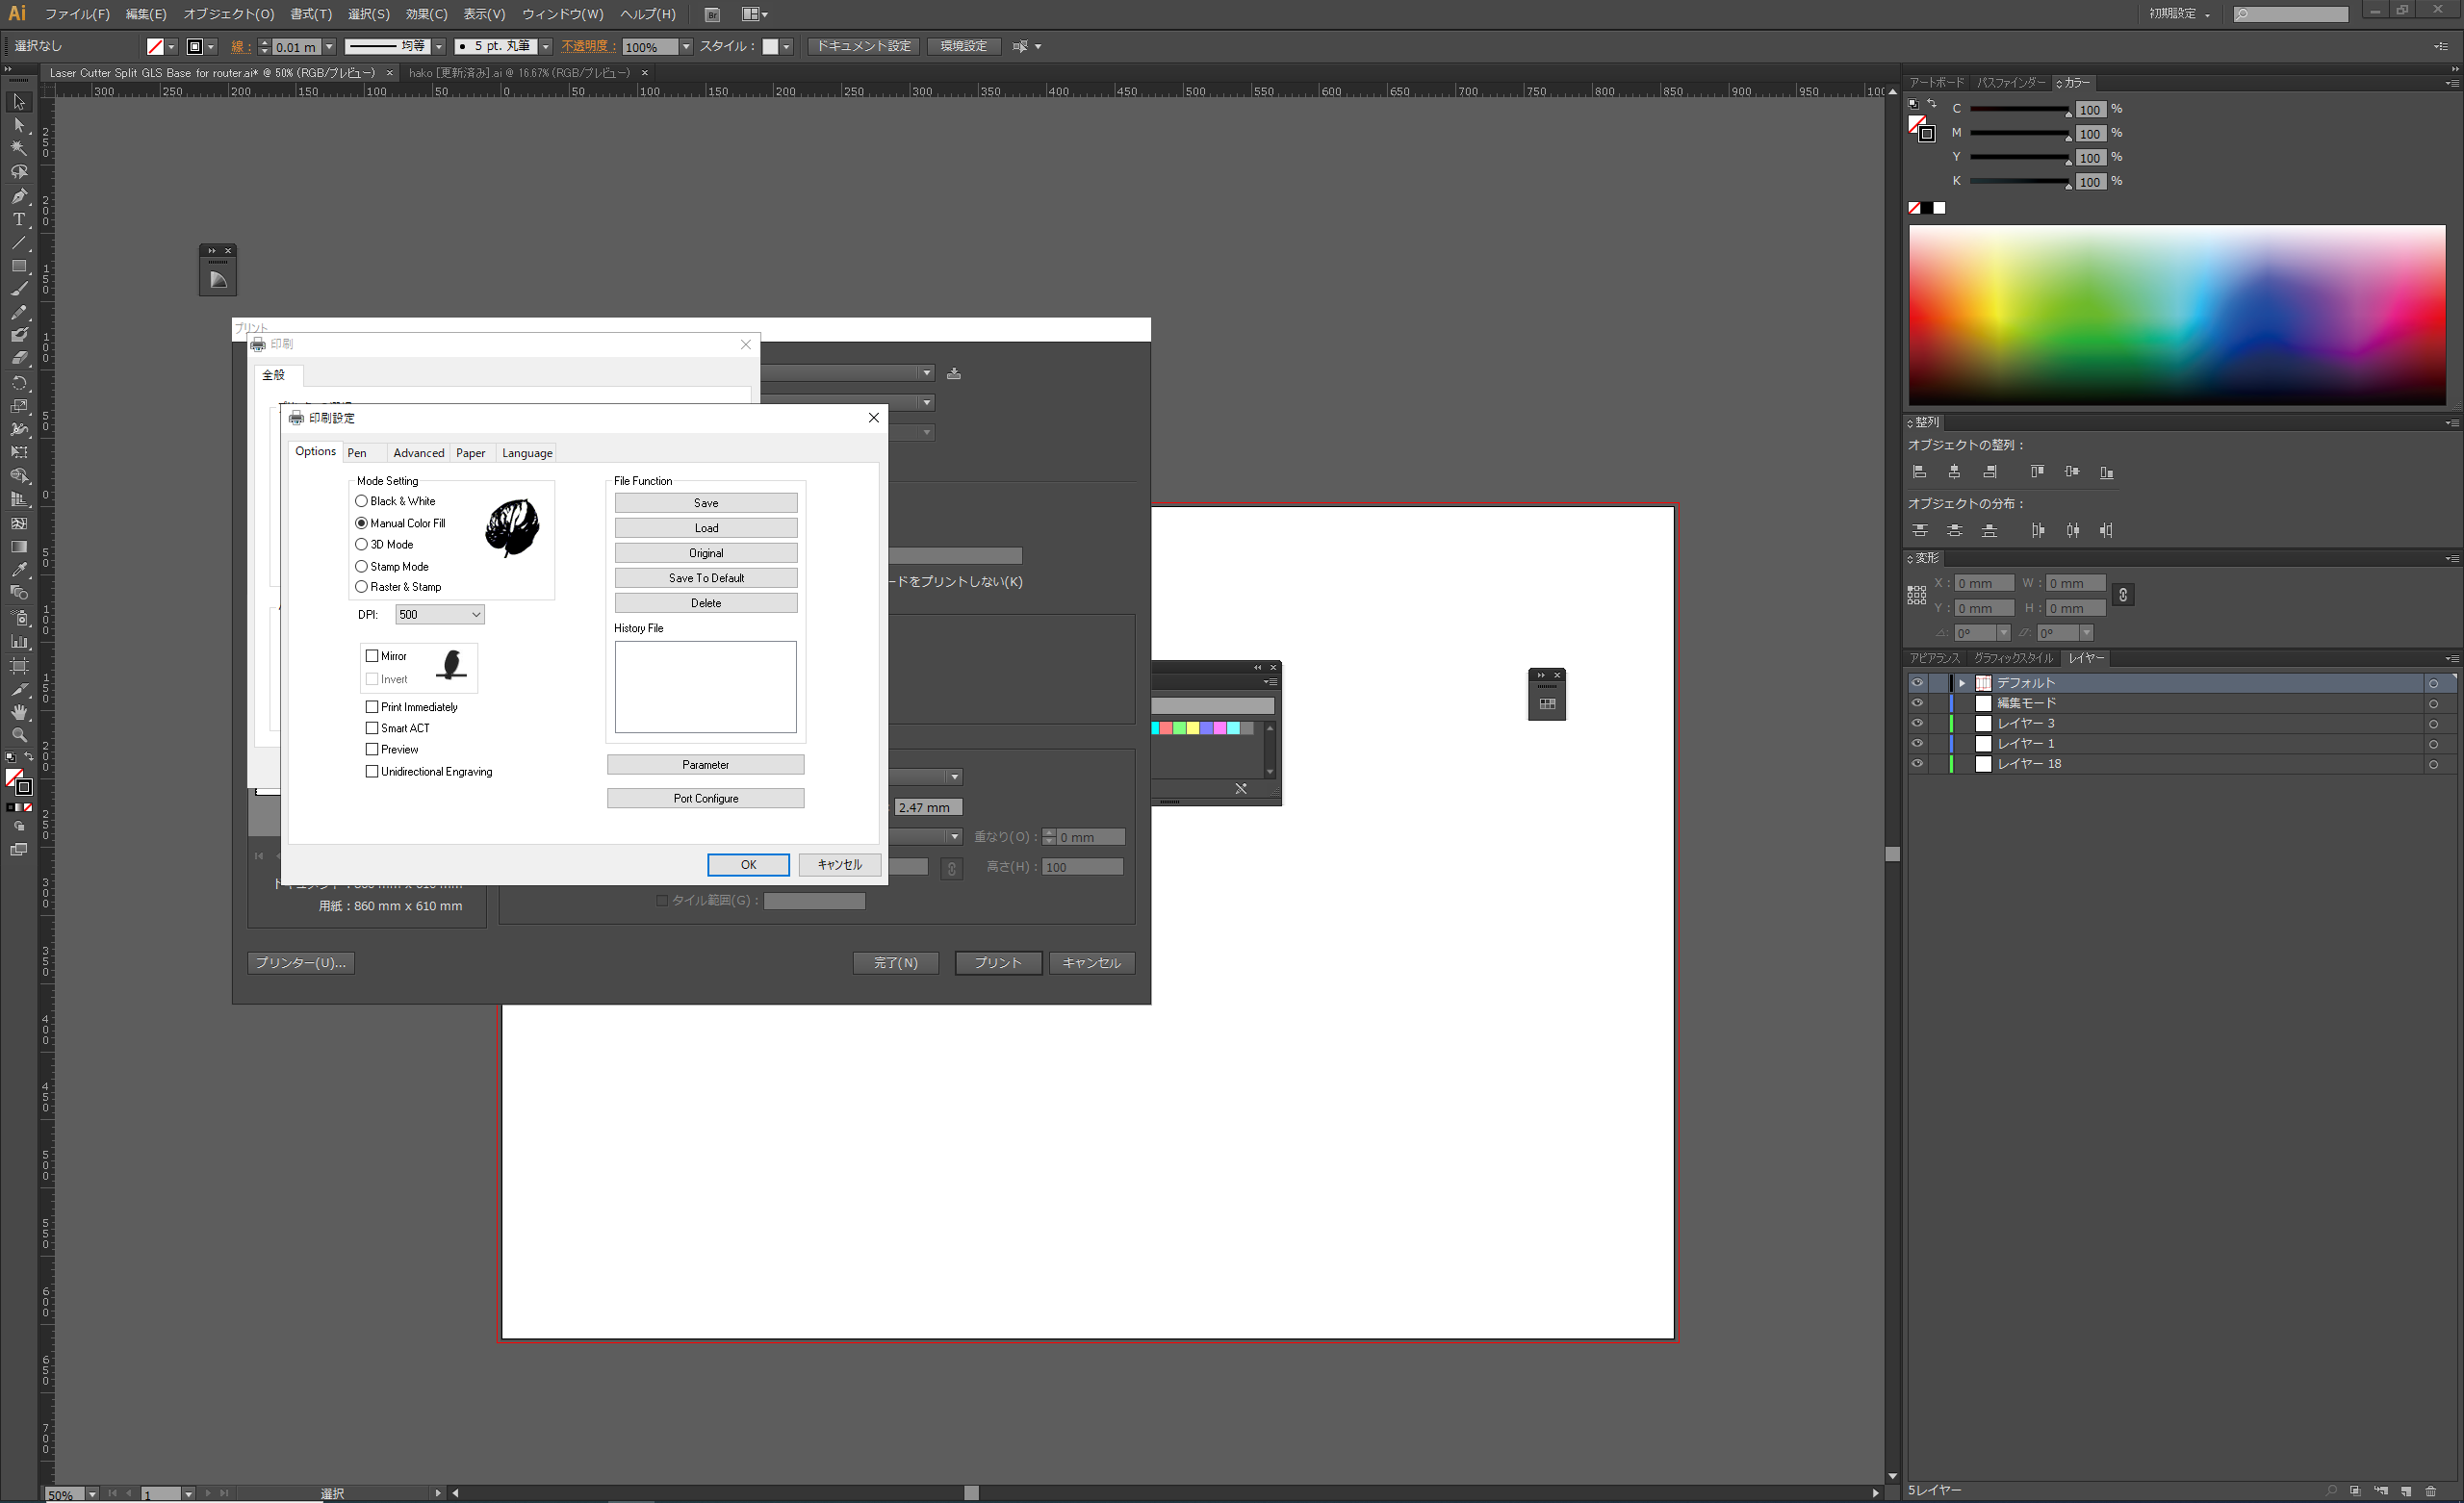
The laser parameter settings can be accessed directly from the Illustrator print screen. First, select Manual Colour Fill mode in the mode settings.
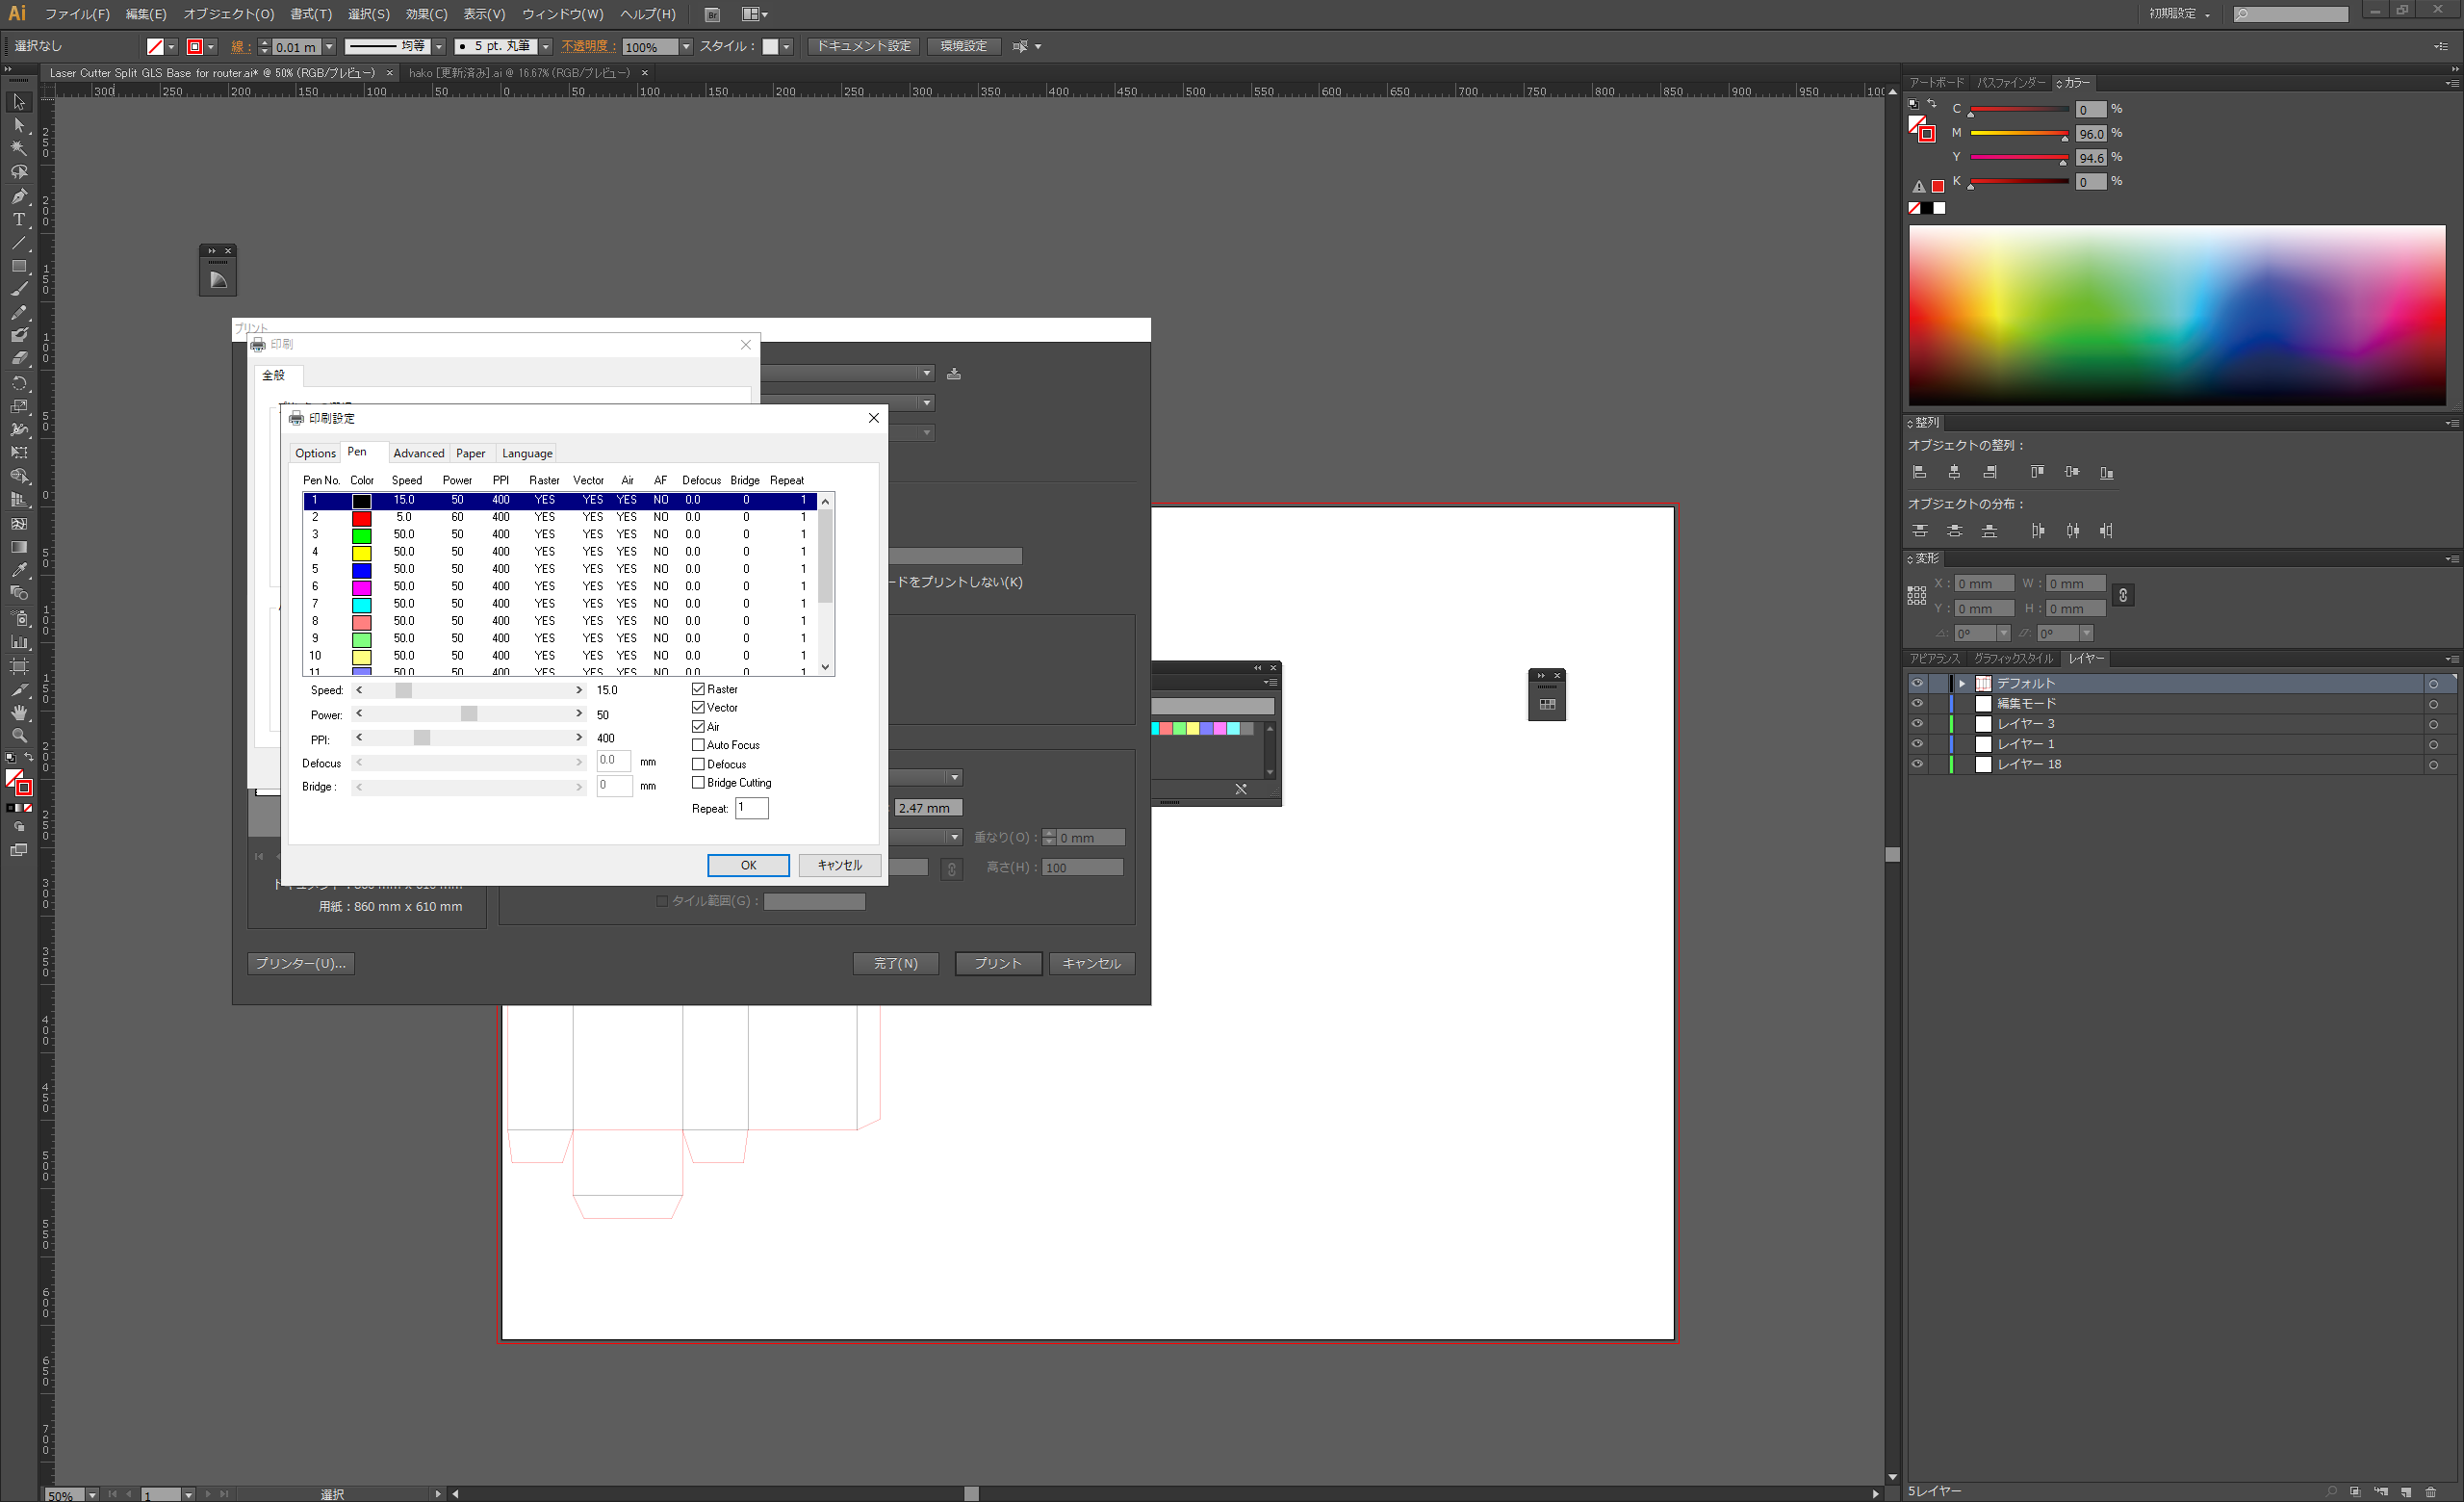
In Pen tab mode, set the parameters for each colour. In this case, we want to specify red for the cut line and black for the scratch line, so we increase the red power value and decrease the speed value.
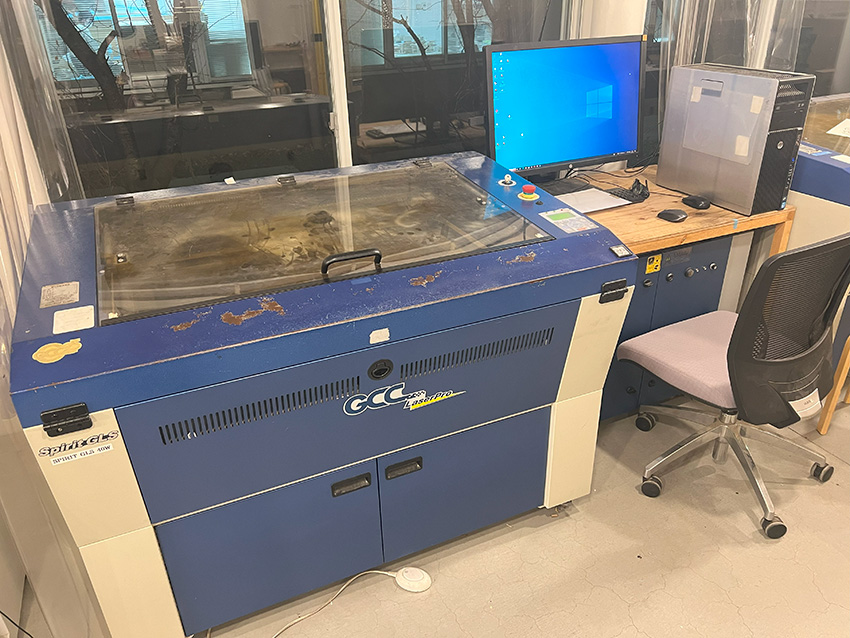
The machine reads the drawing data, sets the appropriate parameters (laser power and speed), and the laser is output from the tip of the head to cut and engrave according to the trajectory of the drawing data.
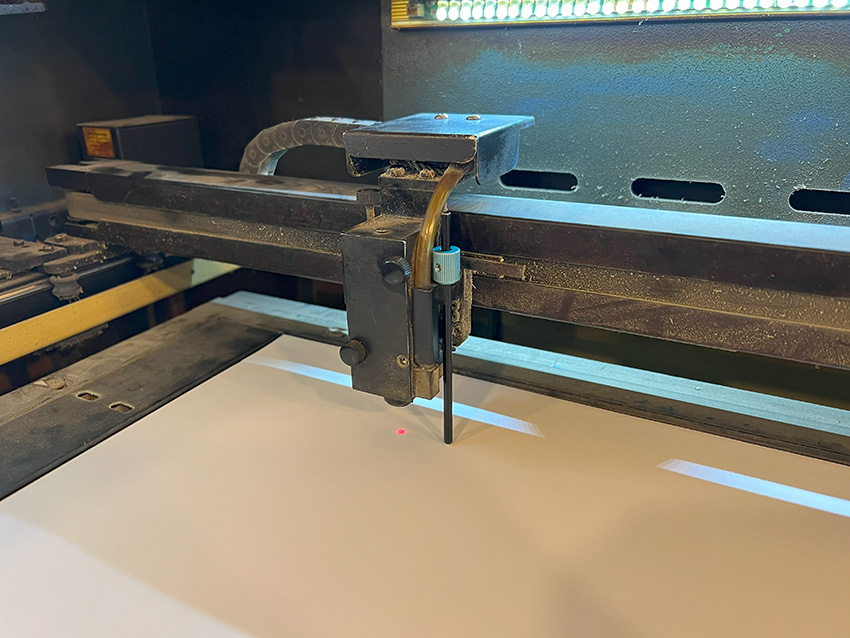
To ensure a consistent distance between the material and the laser head, adjust the focal length using the manual focus pins.
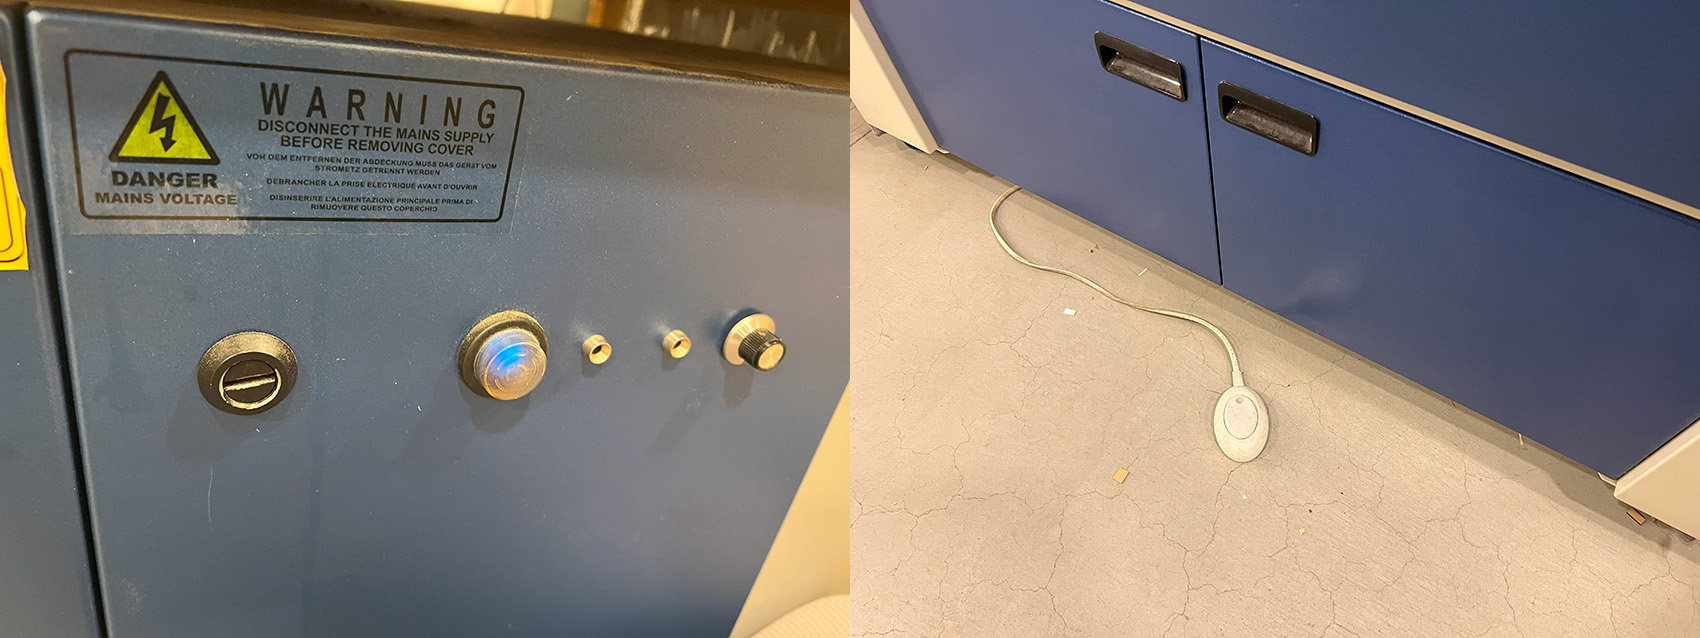
The dust collector and blower must always be switched on before laser processing.
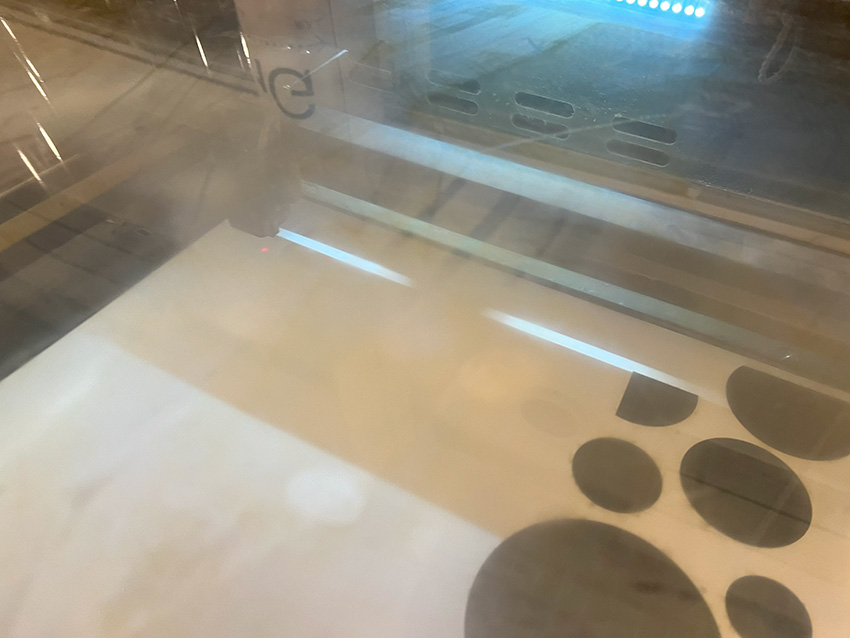
Observe the processing progress without looking directly at the laser beam.
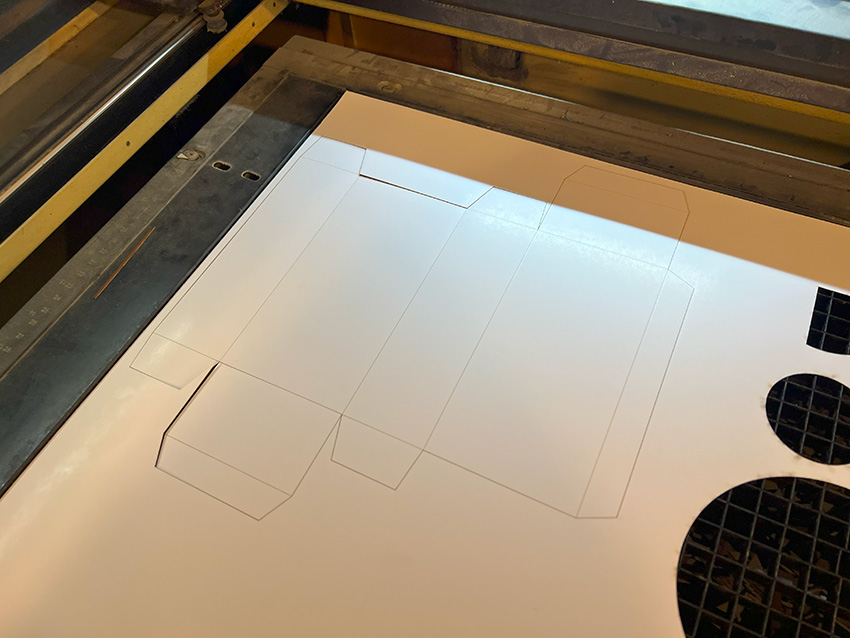
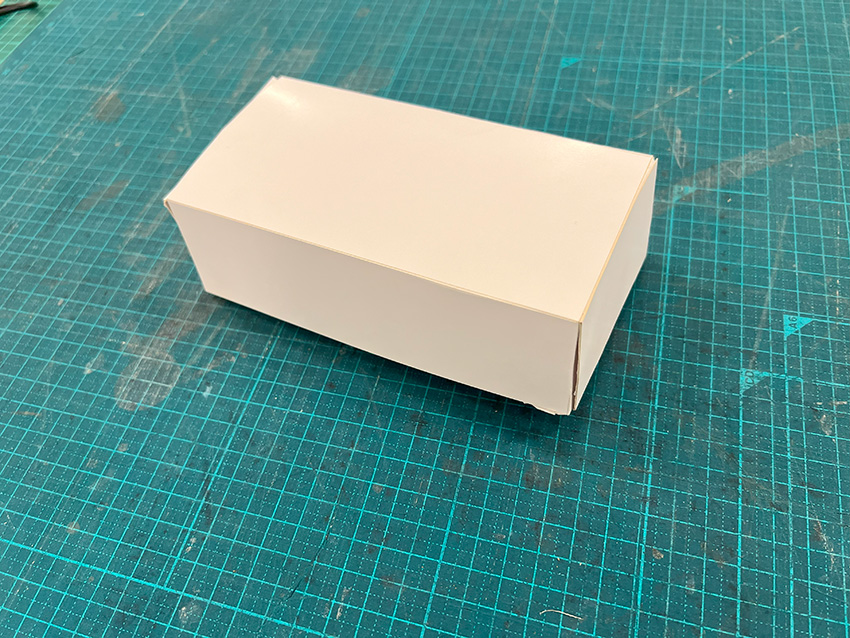
The processed items are then assembled along the folds to complete the process.