13.molding and casting
Heroshot
Overview
Professor Neil Gershenfeld gave a lecture on 3D printing and scanning technologies. He began by emphasizing the industrial significance of molding and casting in comparison to 3D printing, illustrating his point with examples such as Adrian’s train models, Hank’s tempeh molds, and Alex’s foosball table. He explained various techniques, including injection and vacuum molding, and pointed out the advantages of using flexible molds. He also introduced a range of materials from suppliers like Smooth-On—such as wax, foam, and silicone—while stressing the importance of proper safety precautions when handling them. In the second half of the lecture, Neil invited Adrian to demonstrate practical applications of 3D printing and surface finishing techniques. The session concluded with a discussion on choosing appropriate materials and reinforcing essential safety protocols.(Transcription and summary generation by Notta))
Assignment
group assignment:
- review the safety data sheets for each of your molding and casting materials, then make and compare test casts with each of them compare mold making processes
individual assignment:
- design a mold around the process you'll be using, produce it with a smooth surface finish that does not show the production process toolpath, and use it to cast parts
- extra credit: use more then two mold parts
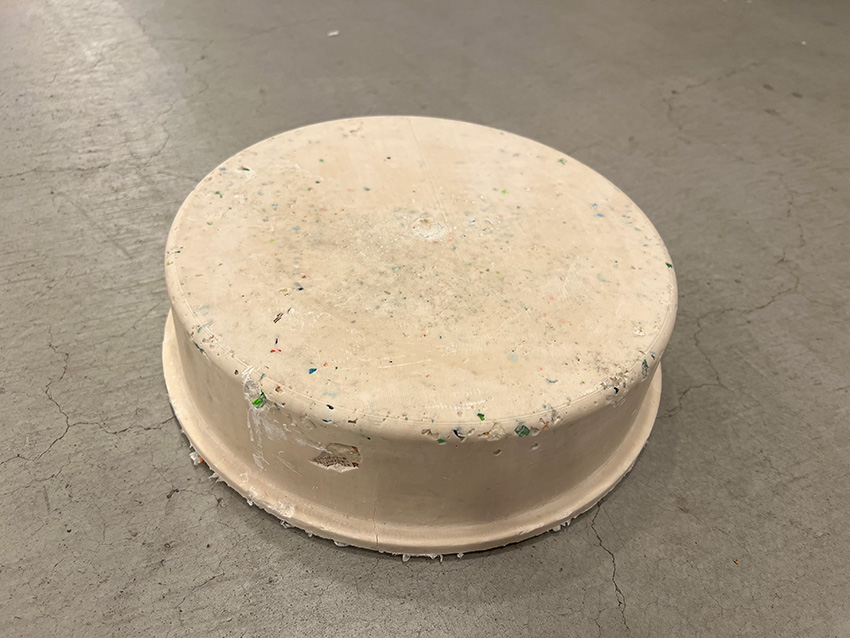
For the final project, I plan to construct the body of the electronic instrument using a material made by compressing pellets produced from crushed urban plastic waste.
WorkFlow
①Making 3Dmodel
Software
- Rhinoceros8
- Simplify3D
- OS: Windows 11
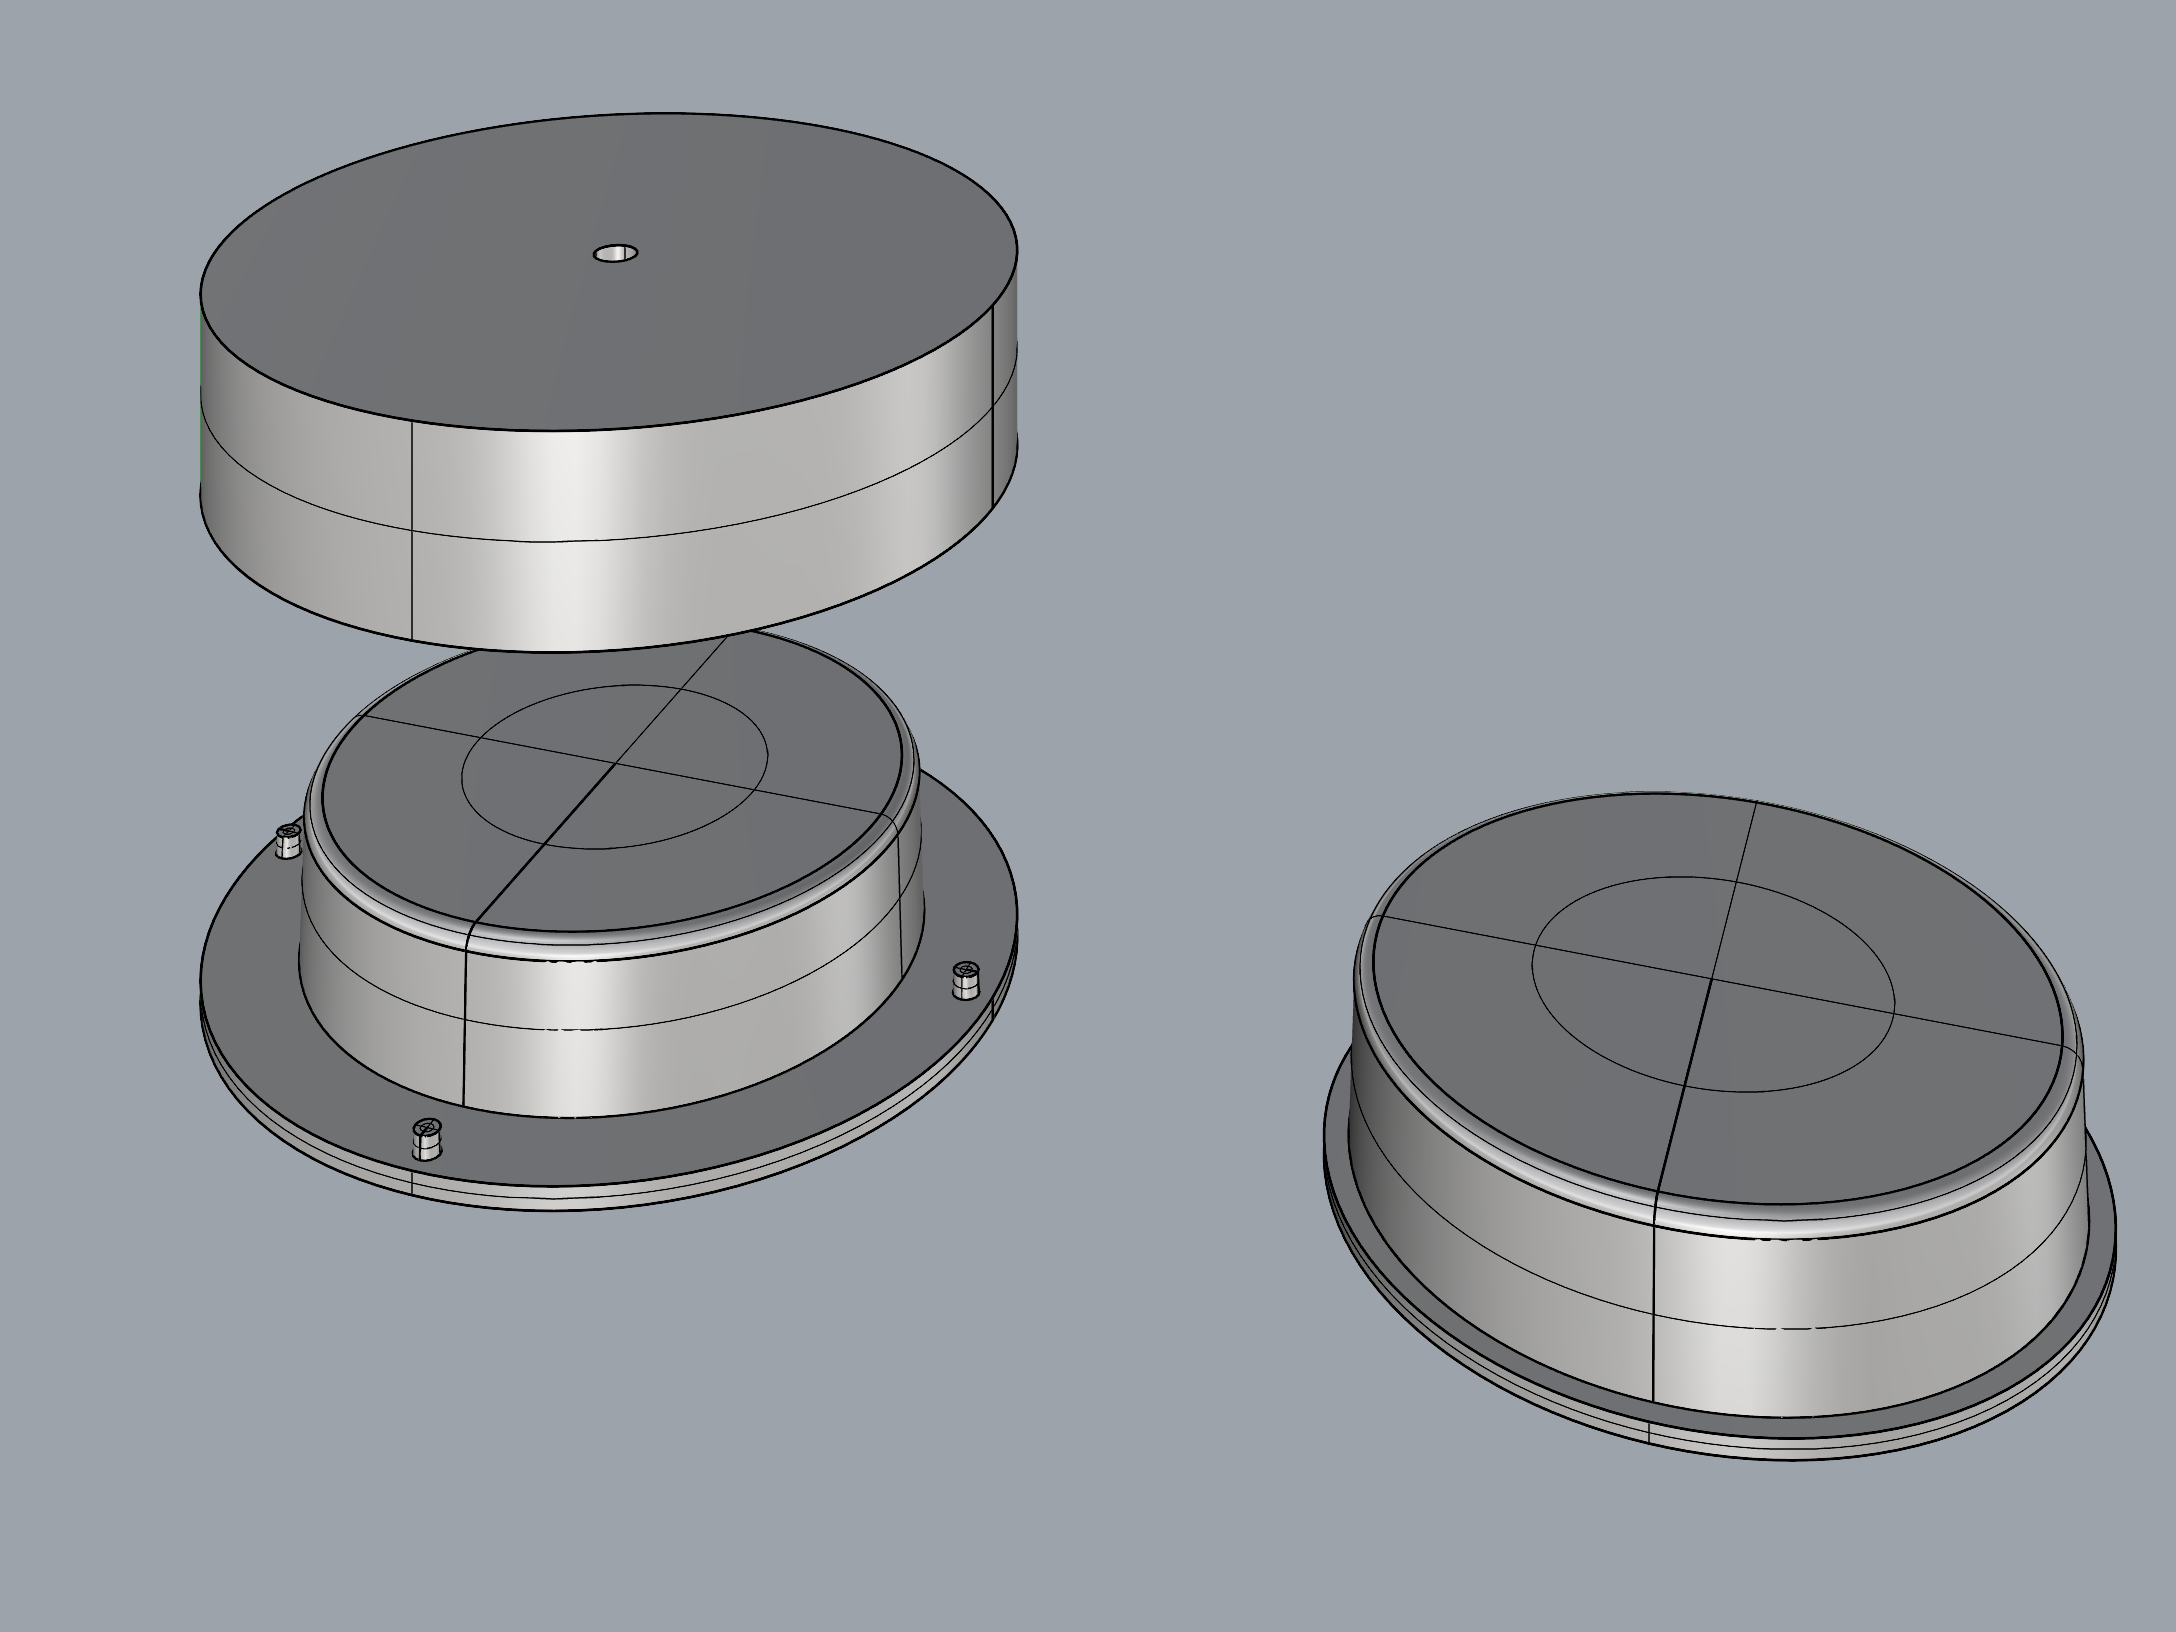
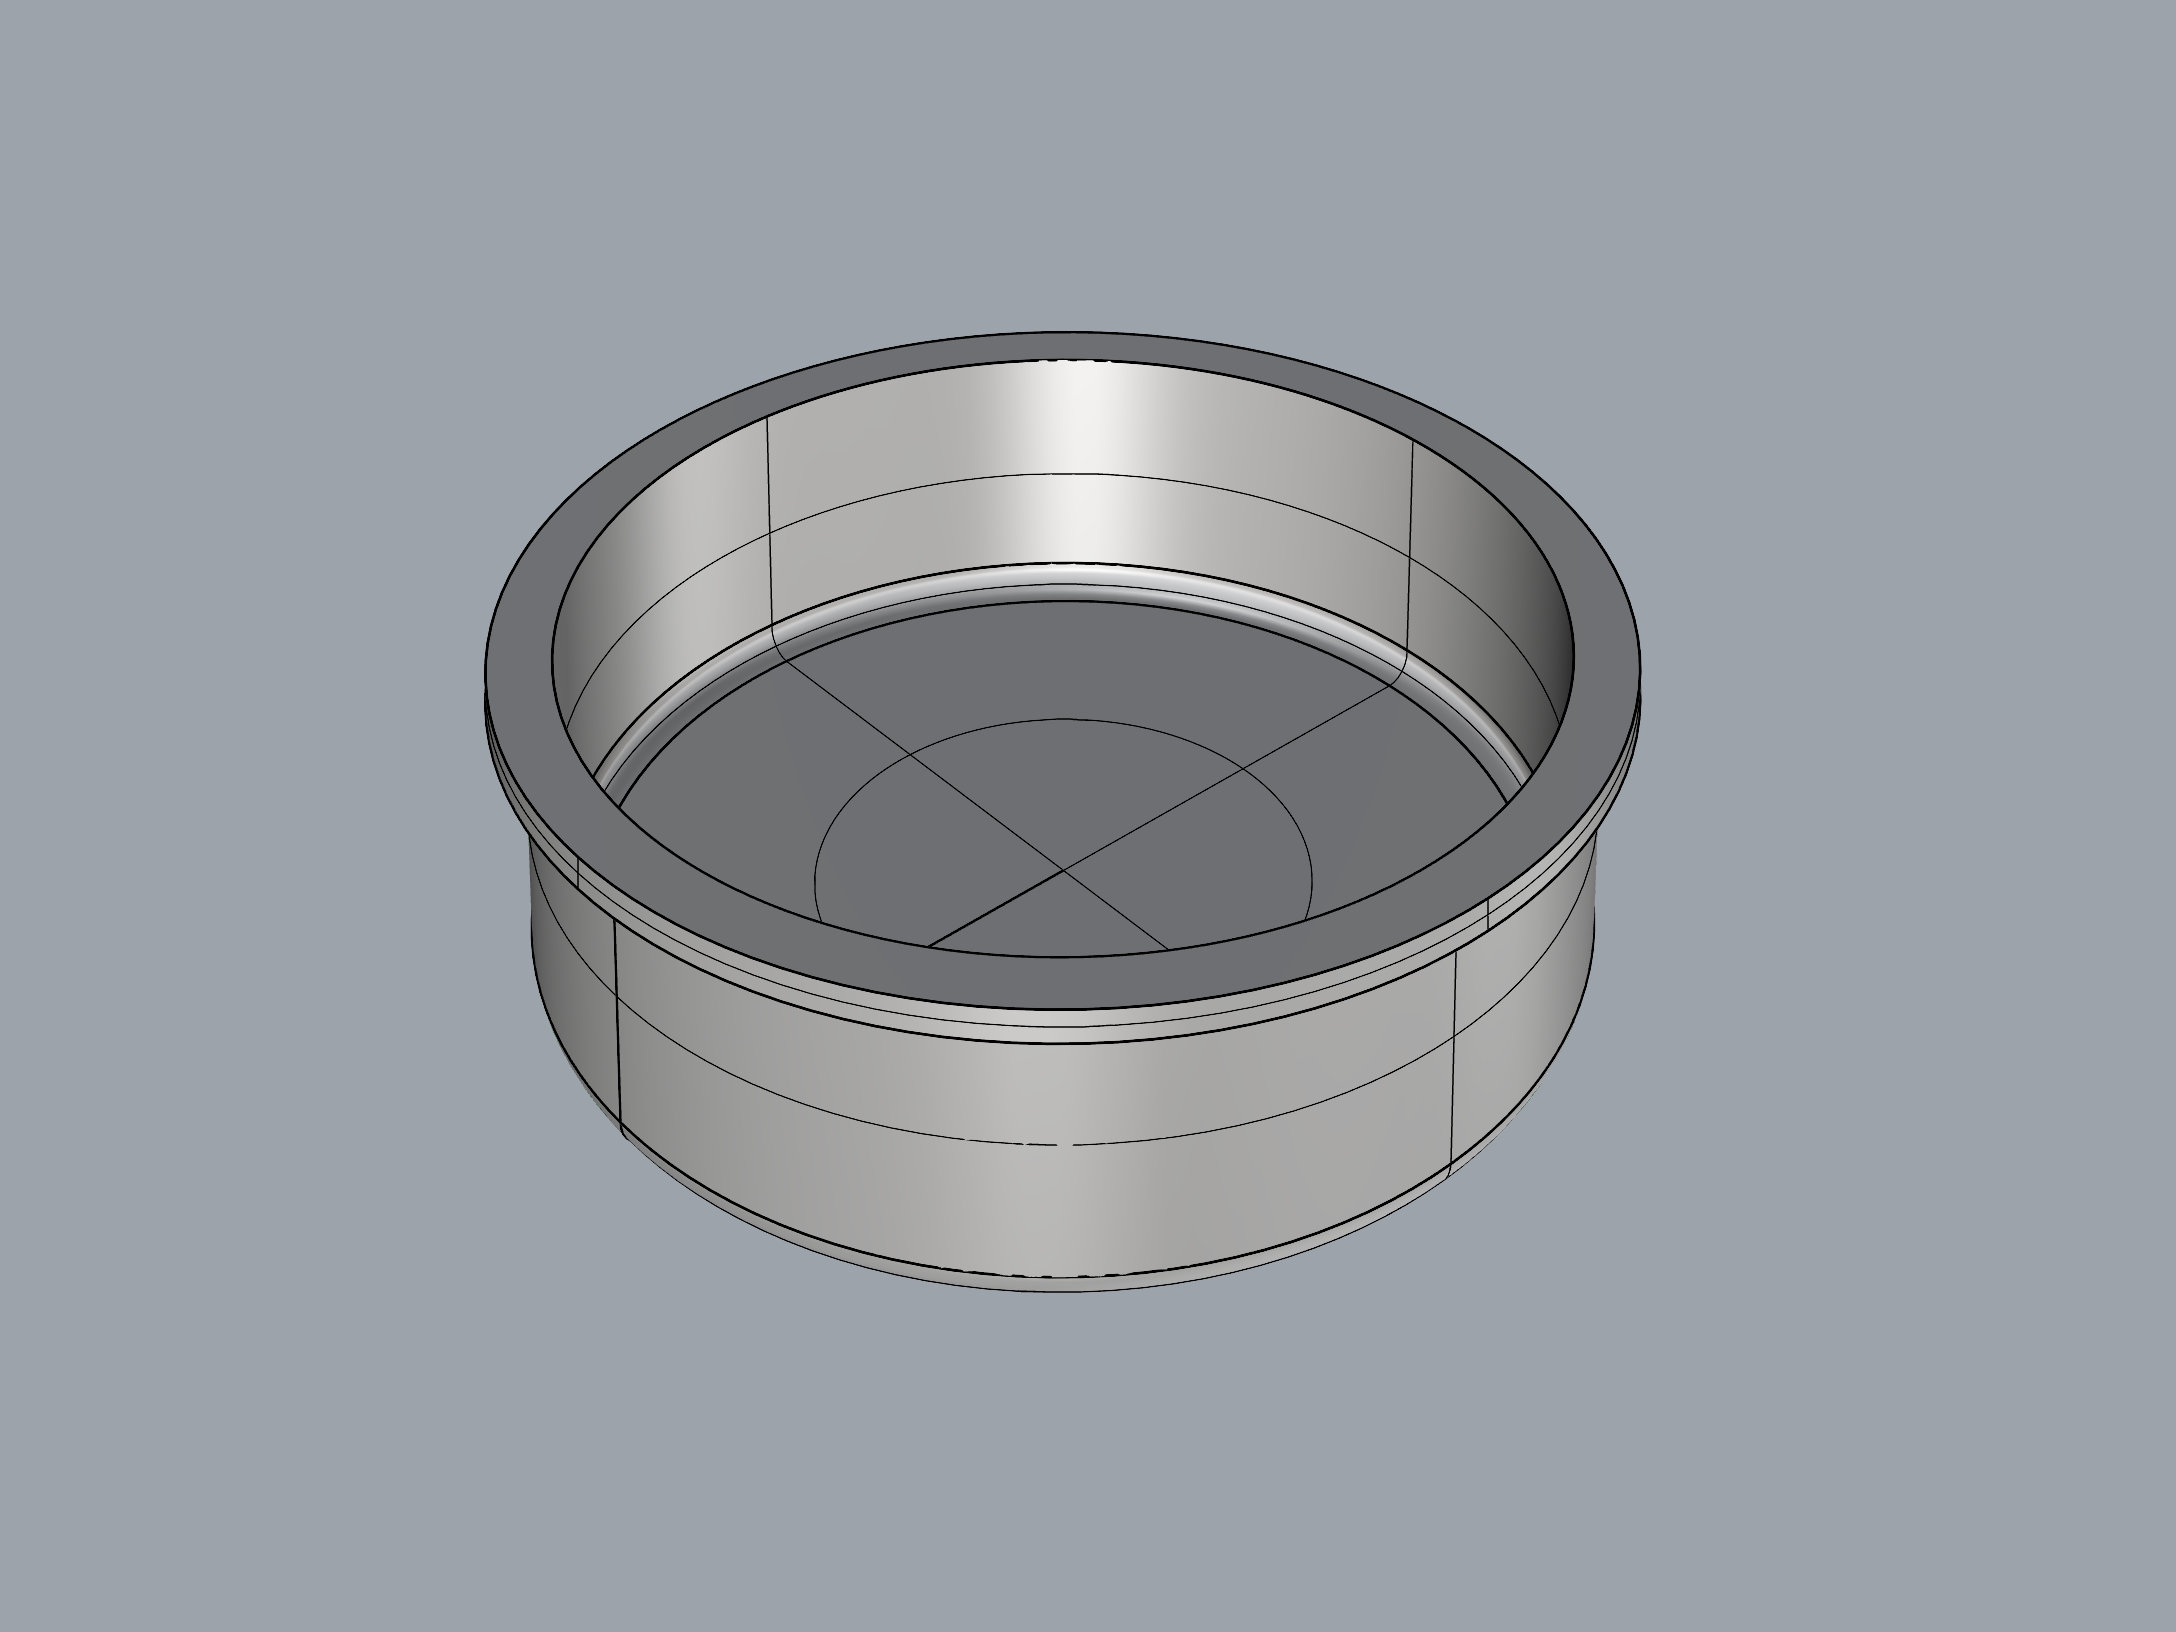
I designed the enclosure using the 3D CAD software Rhinoceros. It was modeled with a diameter of 30 cm and a thickness of 8 mm. I also included the edge in the design to allow for attachment to the upper part.
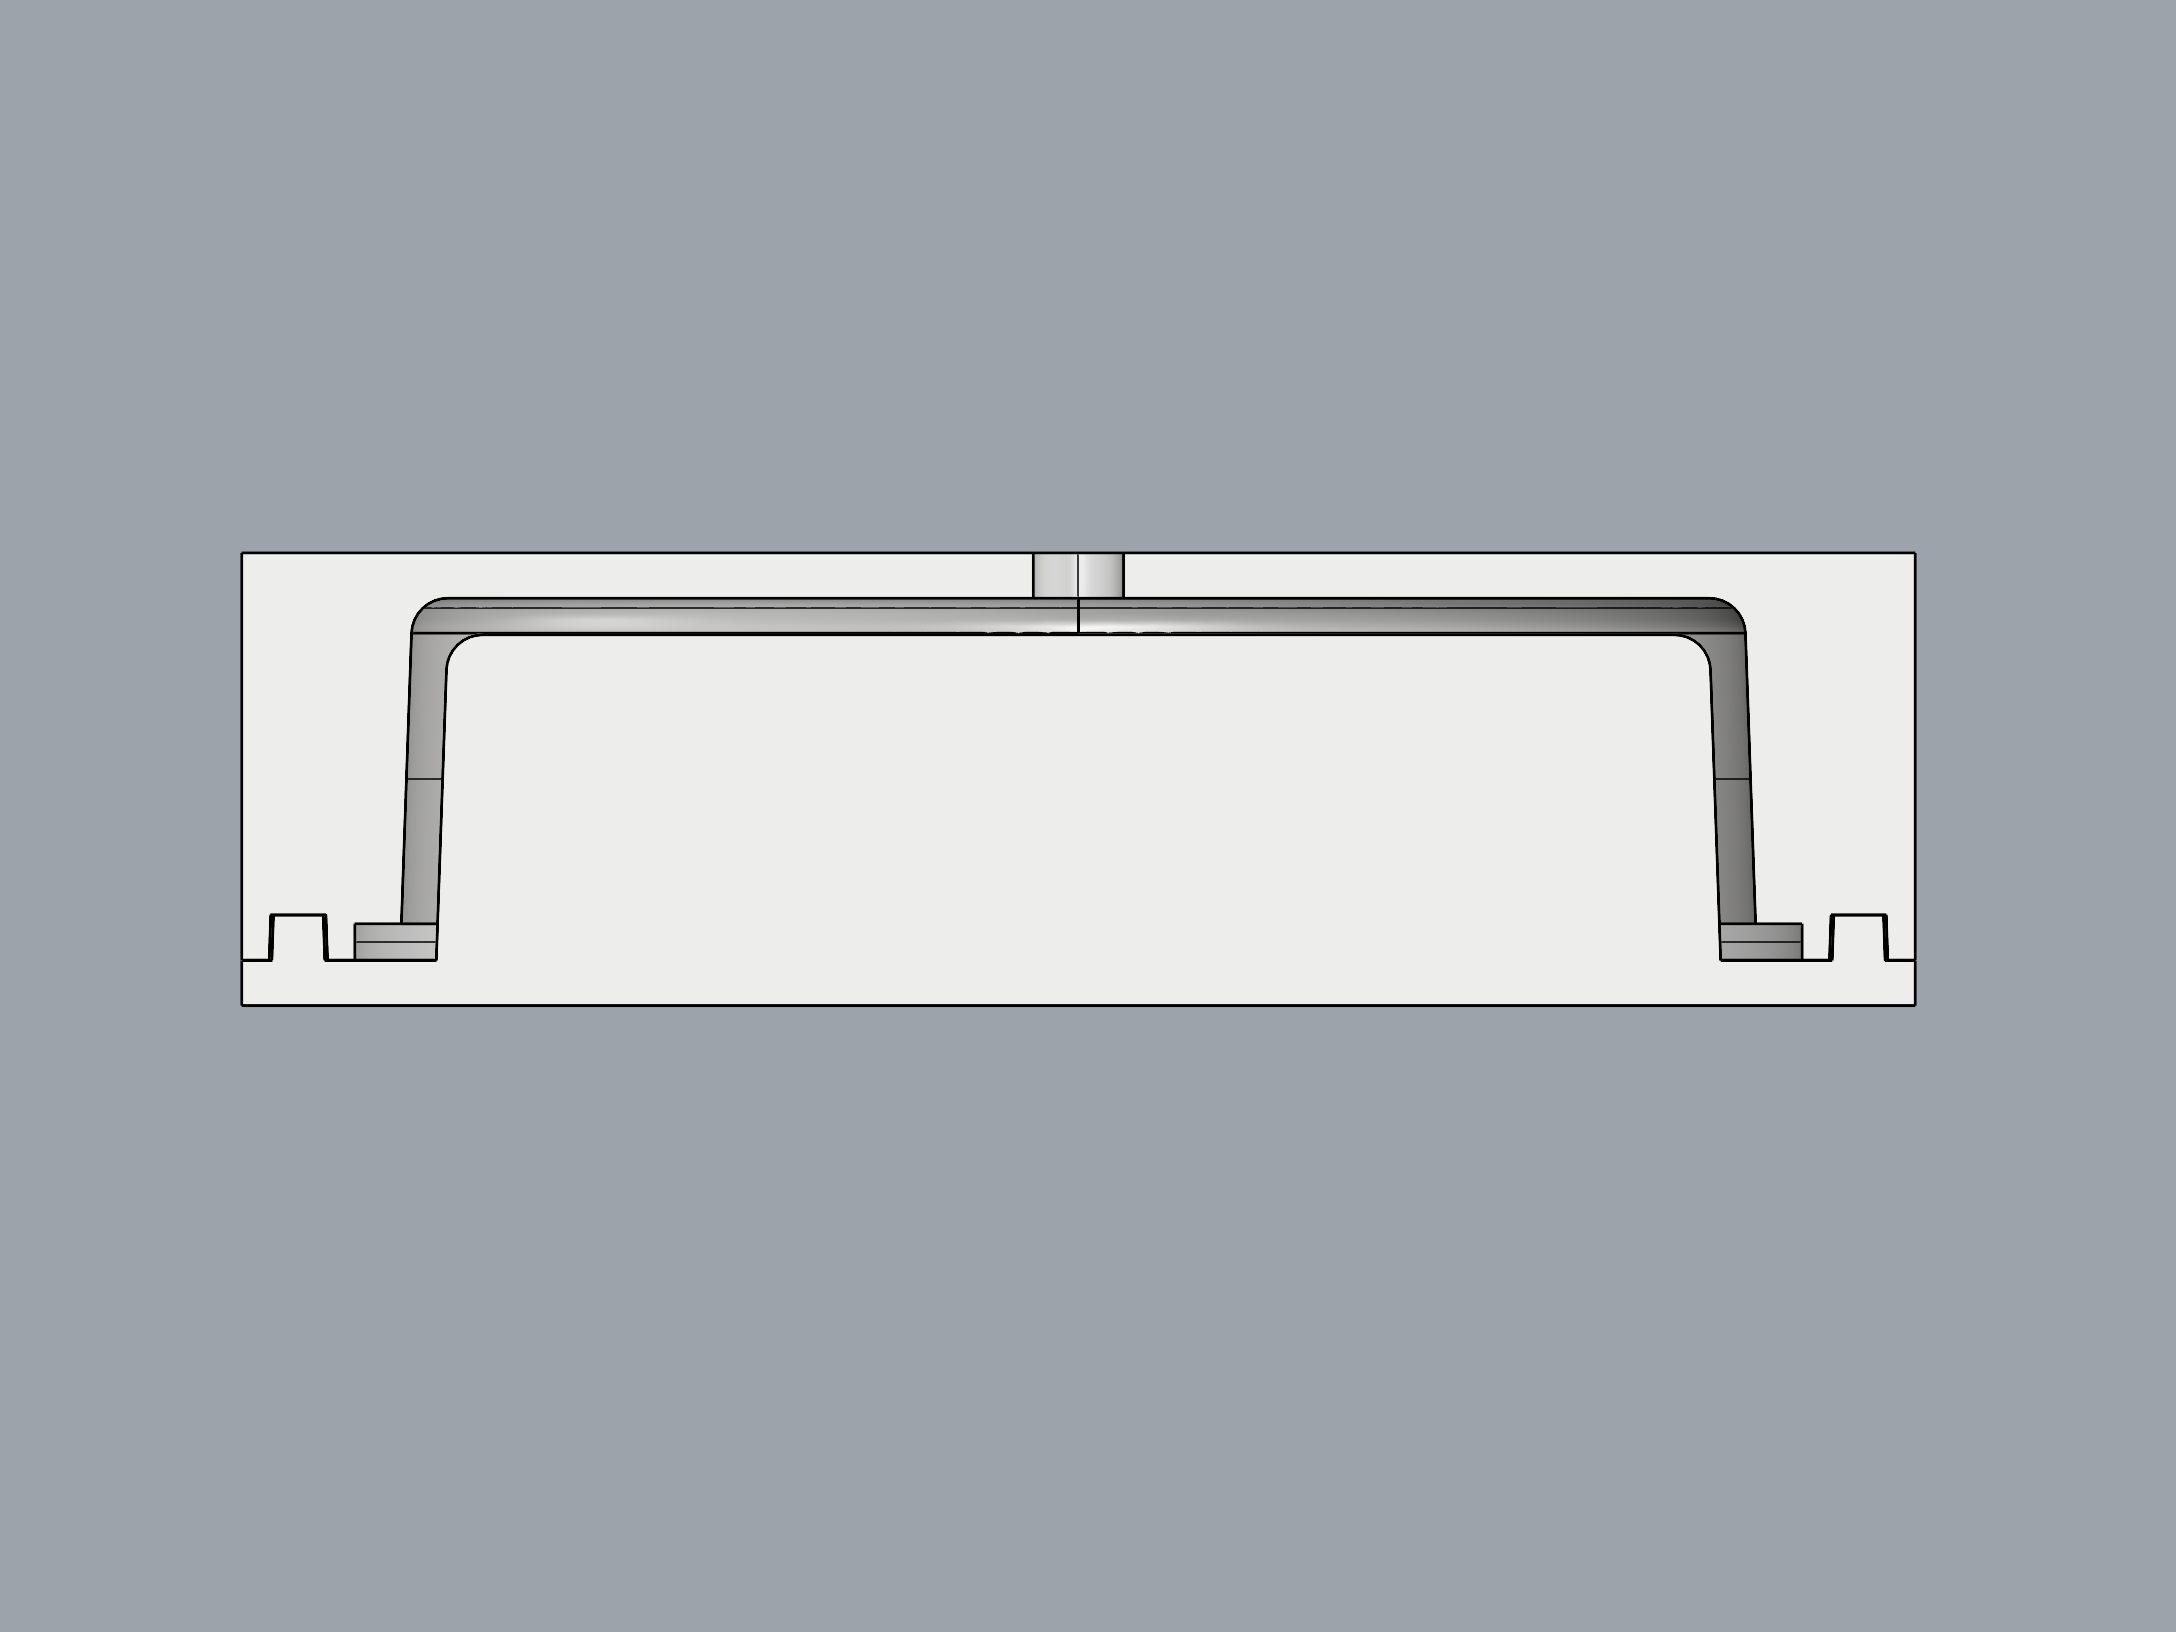
A draft angle was added to the design to make it easier to remove from the mold.
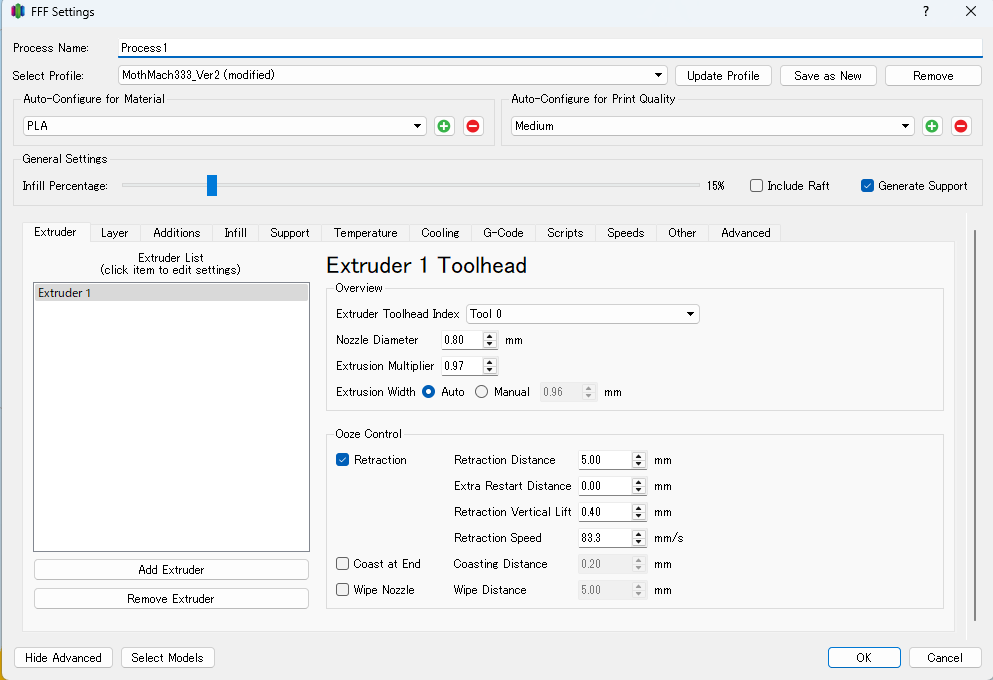
I used Simplify3D as the slicer software for 3D printing. Since the mold was large, I increased the nozzle diameter from the standard 0.5mm to 0.8mm to print faster and achieve higher strength.

Since I increased the nozzle diameter, I adjusted the print parameters accordingly. The layer height was set to 0.4mm, which is half of the 0.8mm nozzle diameter—this is considered optimal. To strengthen the shell, which is a critical part under stress, I increased the number of perimeters from 2 to 3.
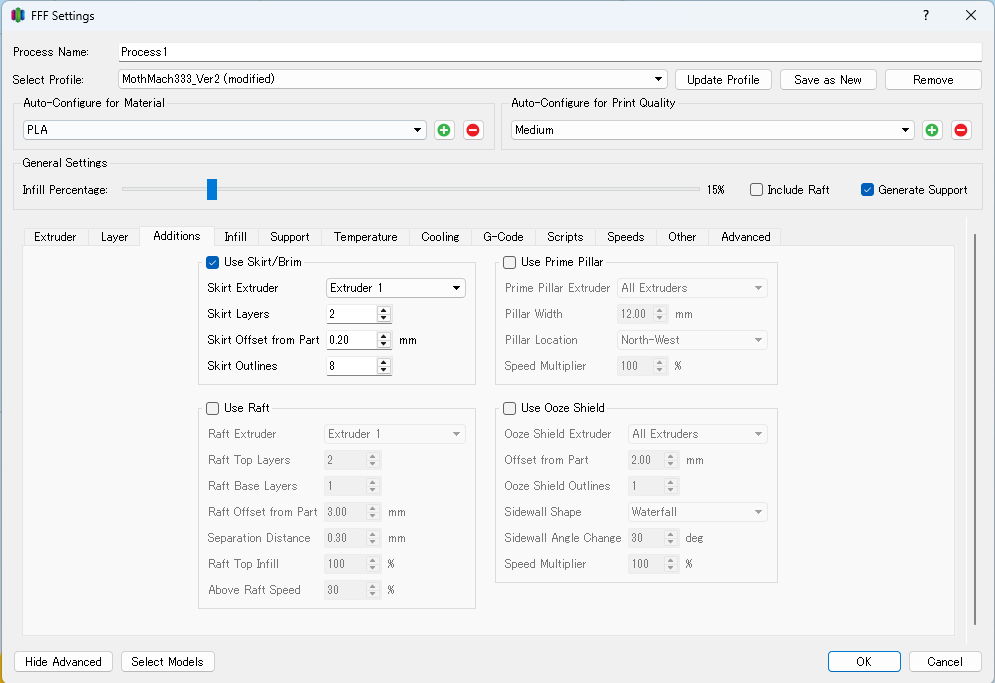
Since the object was large and the print time was long, the height of the model made it difficult to maintain a uniform temperature distribution. This increased the risk of the print detaching from the build plate, so I added a skirt. Although a raft could have been used, I chose a skirt because rafts tend to stick too strongly and are difficult to remove.
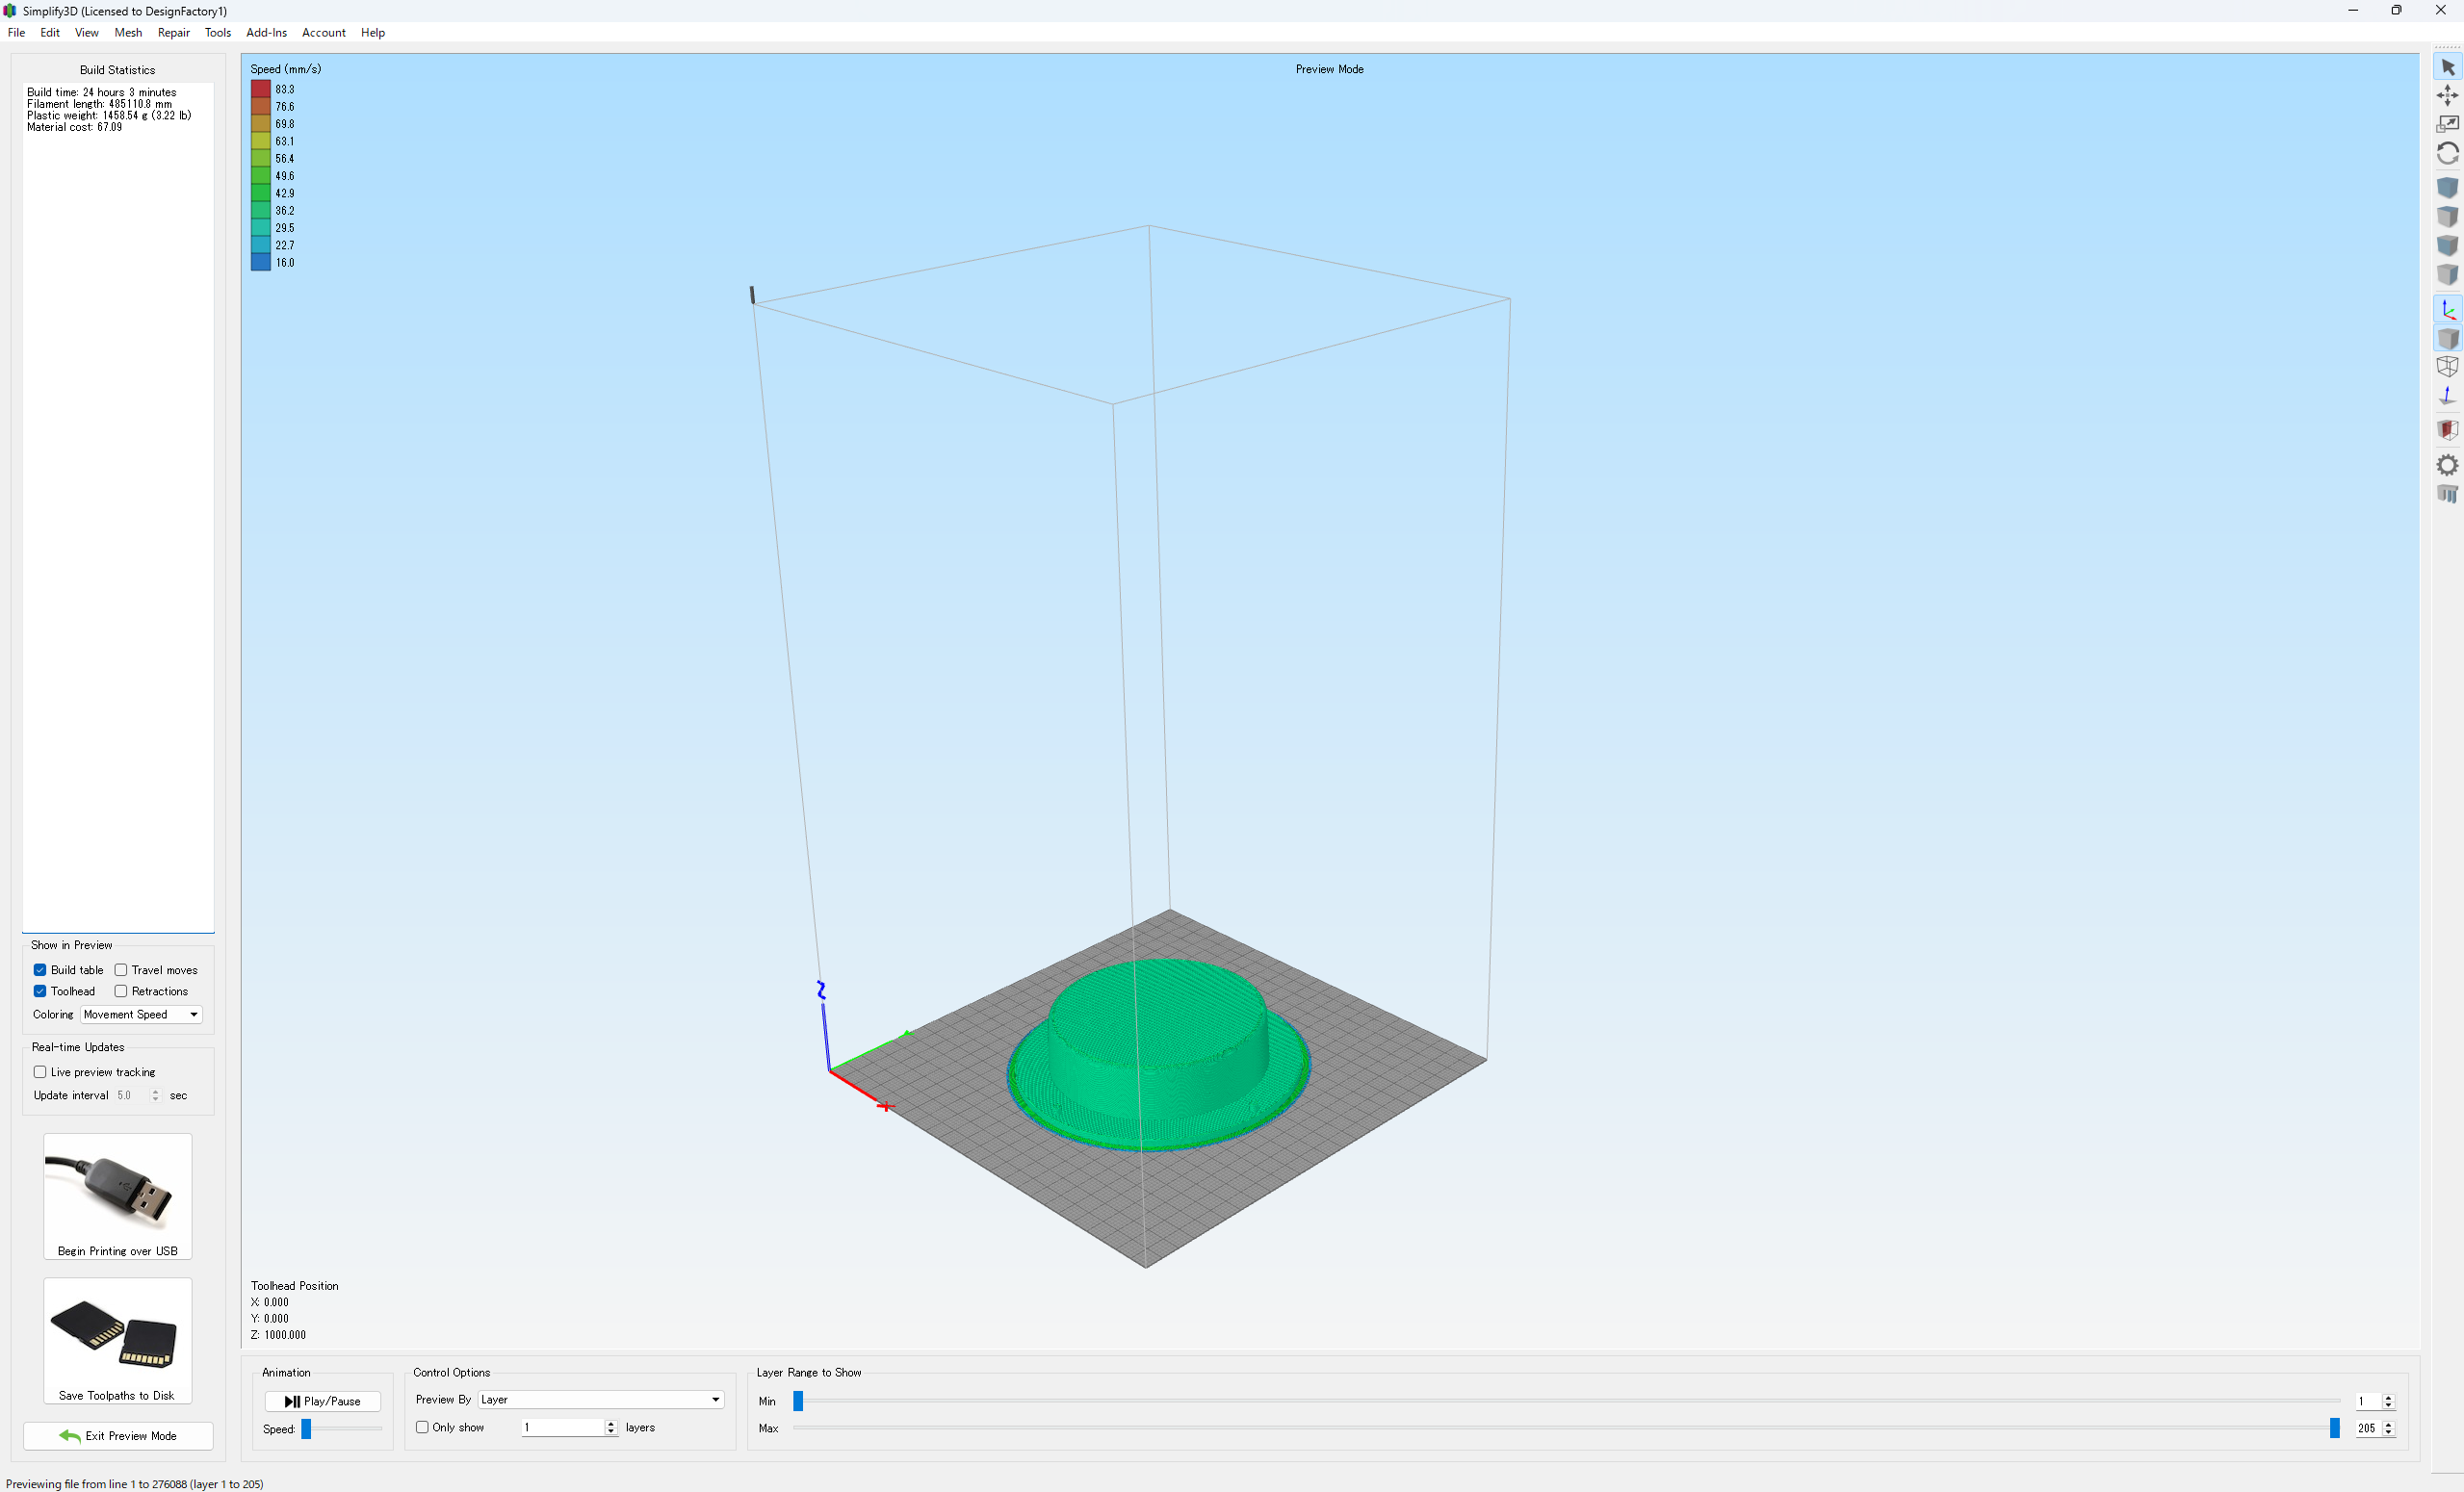
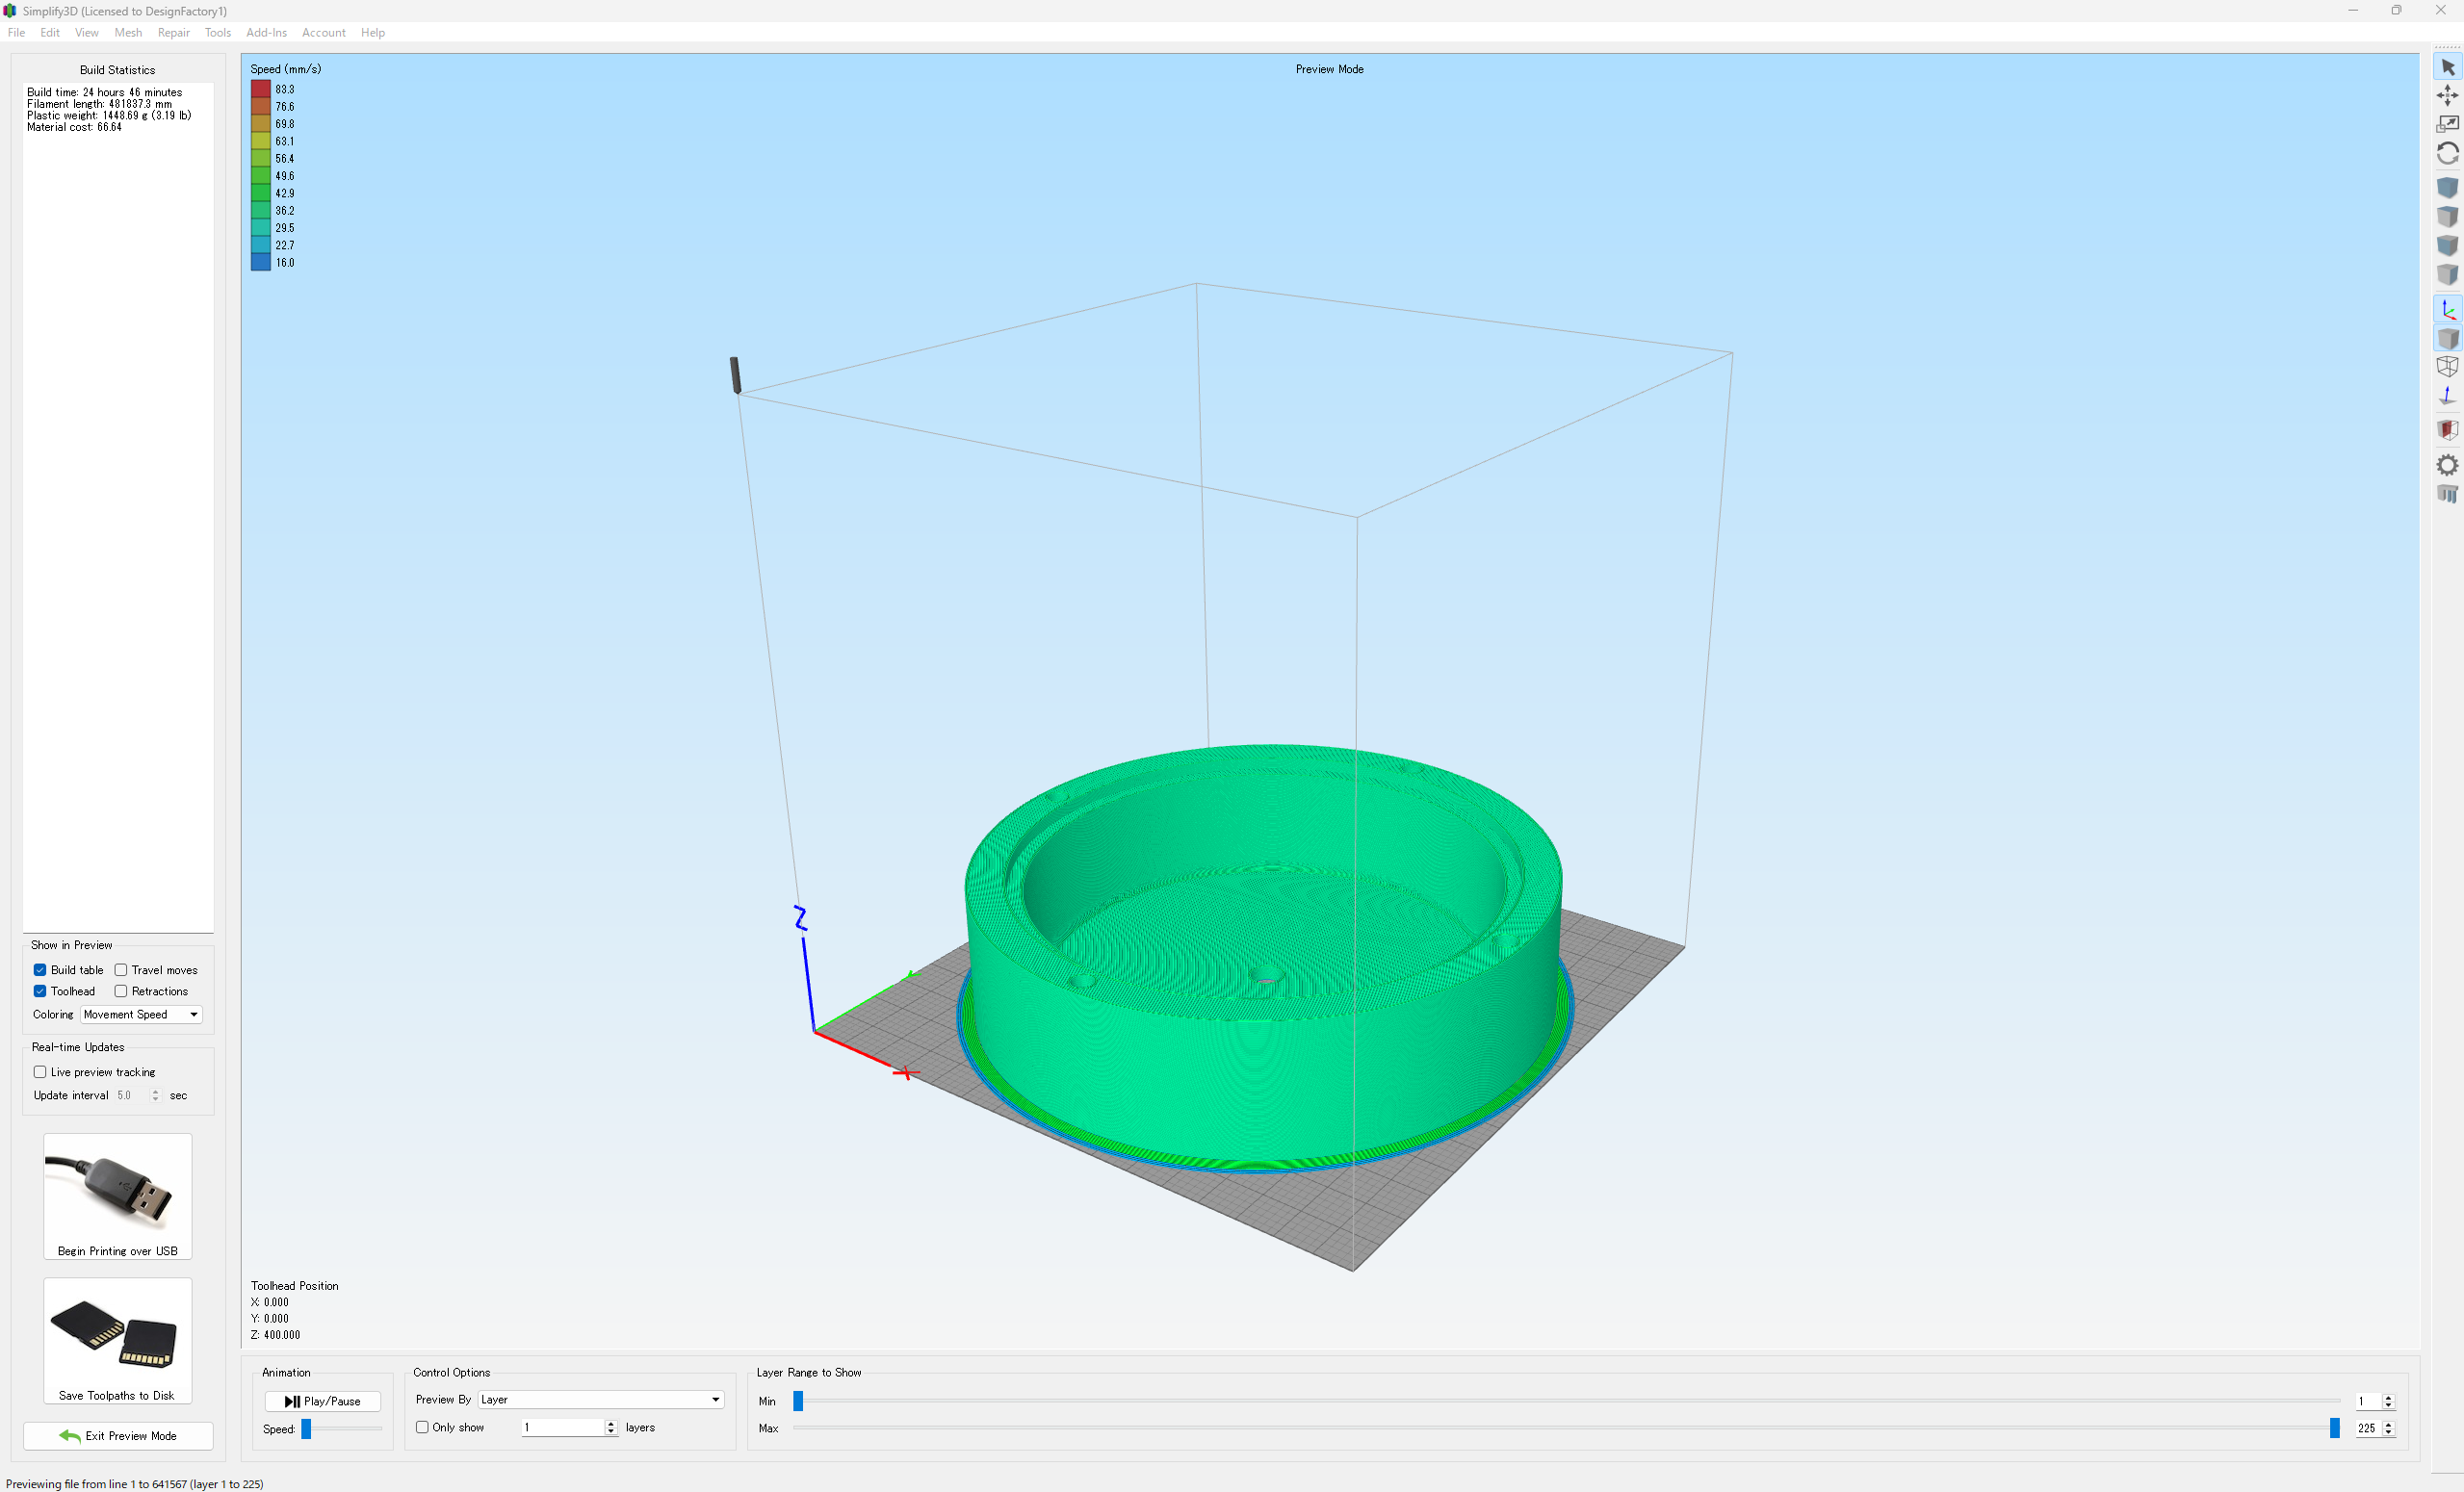
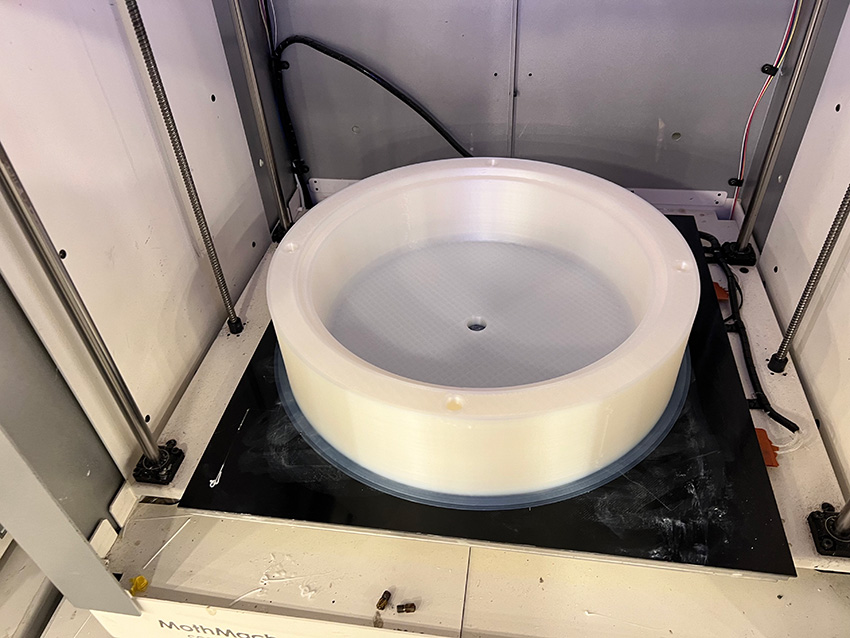
There are two types of molds: male and female. I created 3D data for each mold, dividing them into parts that fit within the maximum build volume of the 3D printer. To accommodate the printer's size limitations, the male and female mold models were split into smaller segments and prepared as separate printable data.
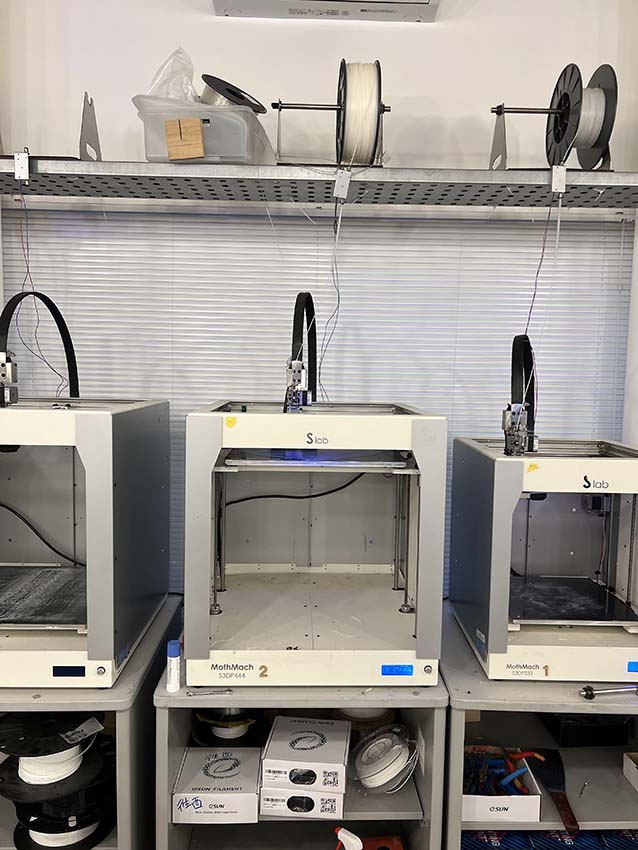
②Printing Model
Equipment specifications
- Item: Fused Deposition Modeling 3Dprinter
- Manufacturer: Slab
- Model number: MothMach444
Material
- PLA filament
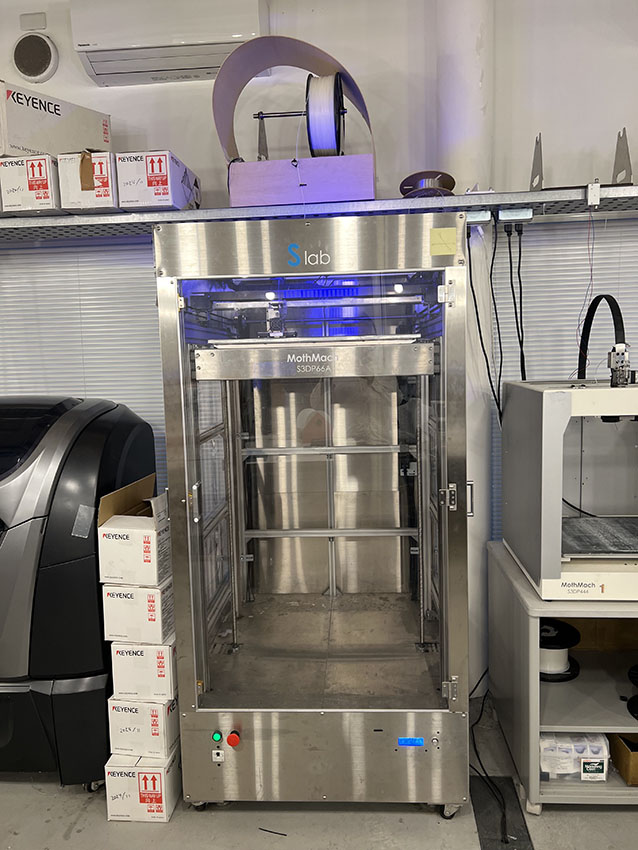
Equipment specifications
- Item: Fused Deposition Modeling 3Dprinter
- Manufacturer: Slab
- Model number: MothMach666
Material
- PLA filament
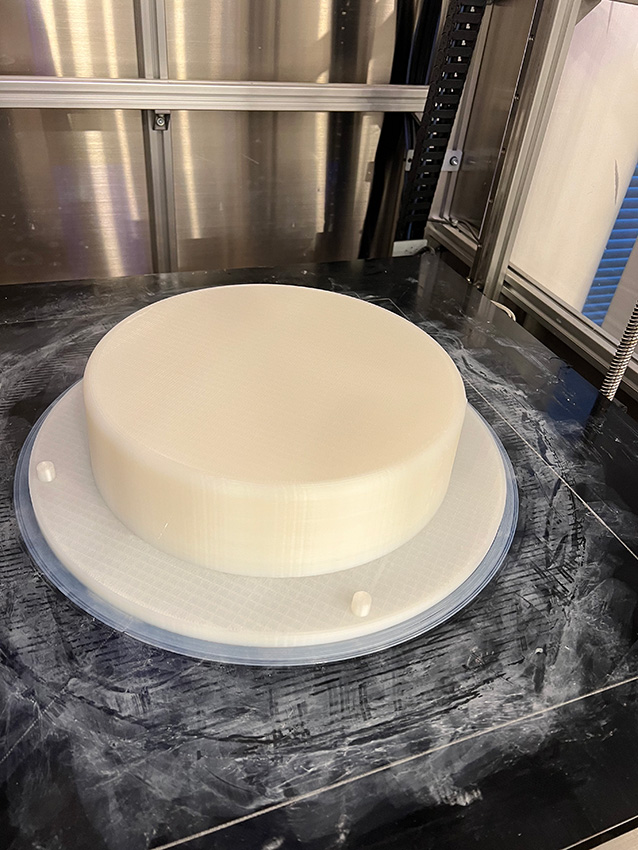
The 3D print was completed in 24 hours.
The 3D print was completed in 25 hours.
③Garbage crushing
Equipment specifications
- Item: high speed mill
- Manufacturer: LabNect Inc.
- Model number: HS-20
Material
- plastic bottle
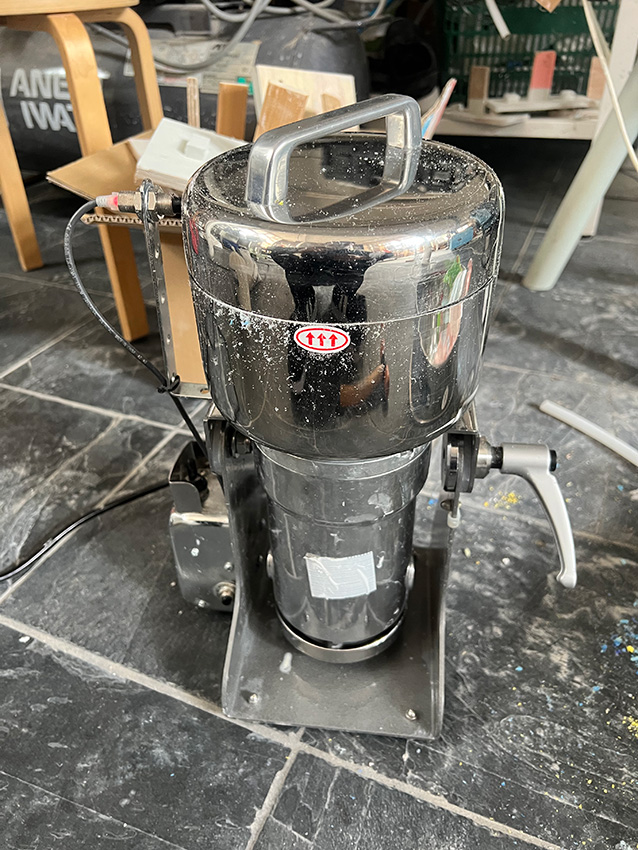
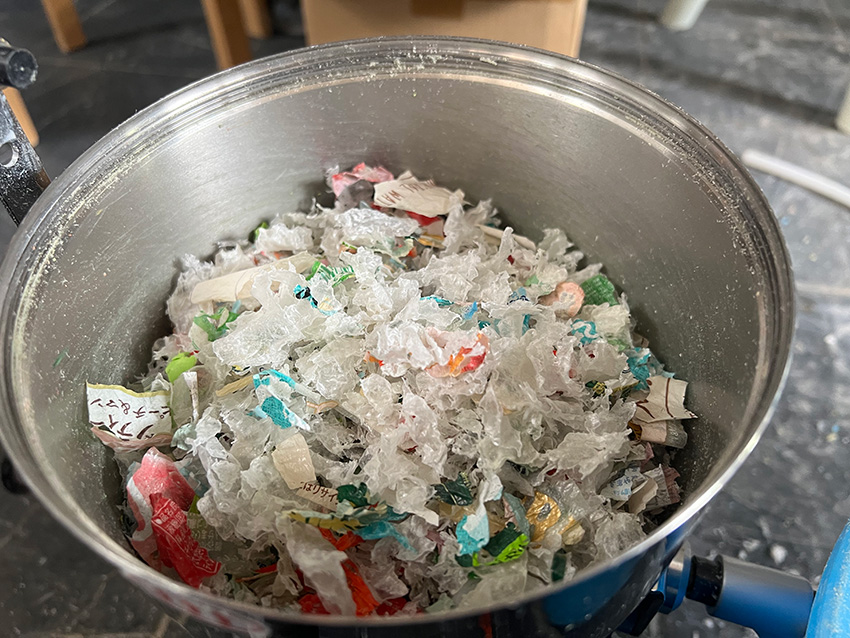
Using a high-speed mill, I crushed discarded plastic bottles collected as urban waste and turned them into usable material.
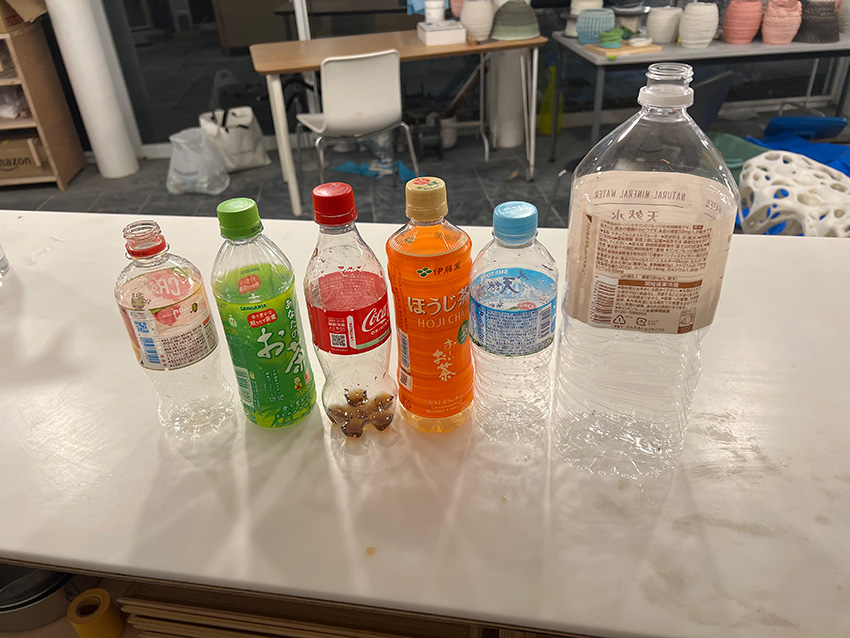
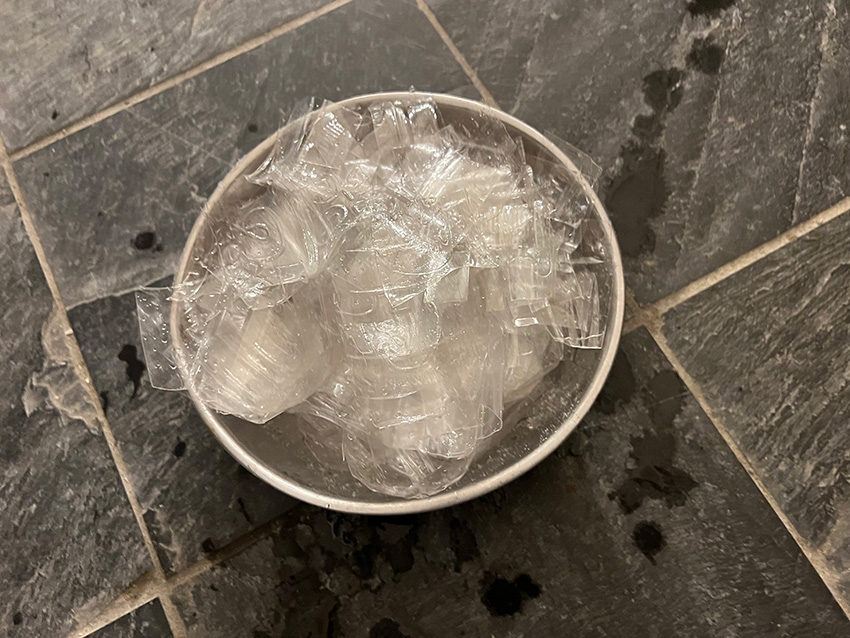
I collected plastic bottles of various sizes. I decided to limit the number to about six bottles, as collecting too many would result in excess material I couldn't use.
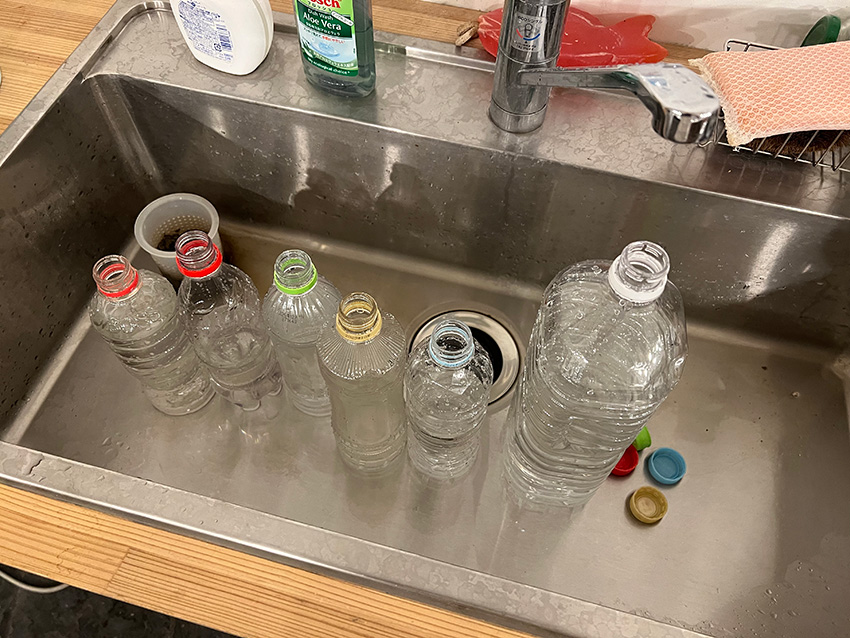
I removed the labels from the plastic bottles and washed each one individually with tap water.
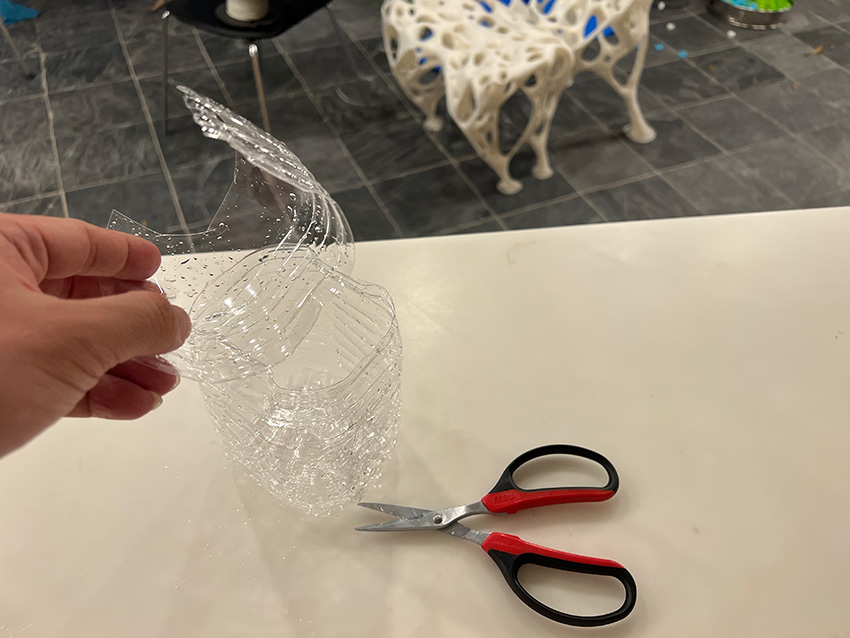
Since the plastic bottles didn't fit into the shredder, I cut them into smaller pieces with scissors.
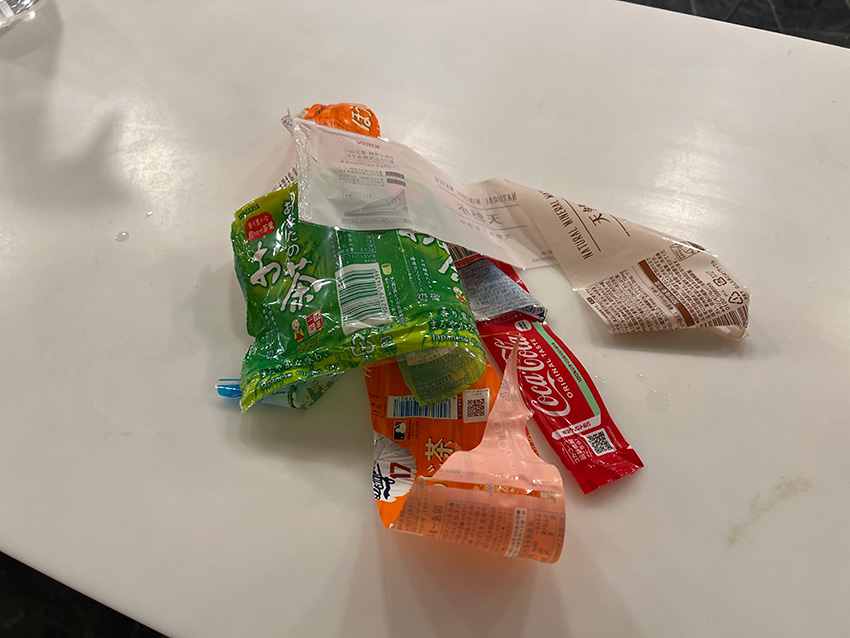
I disassembled the plastic bottles and collected each part separately.
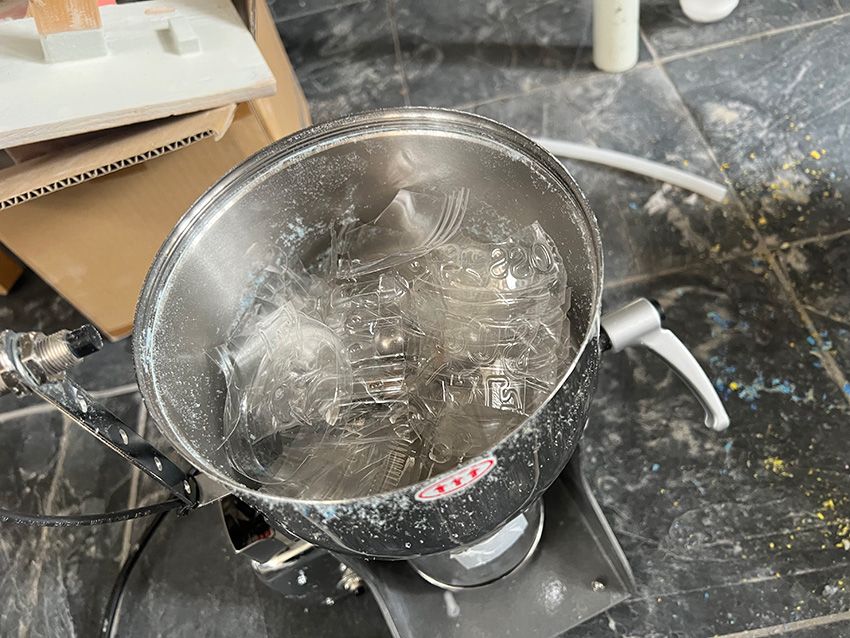
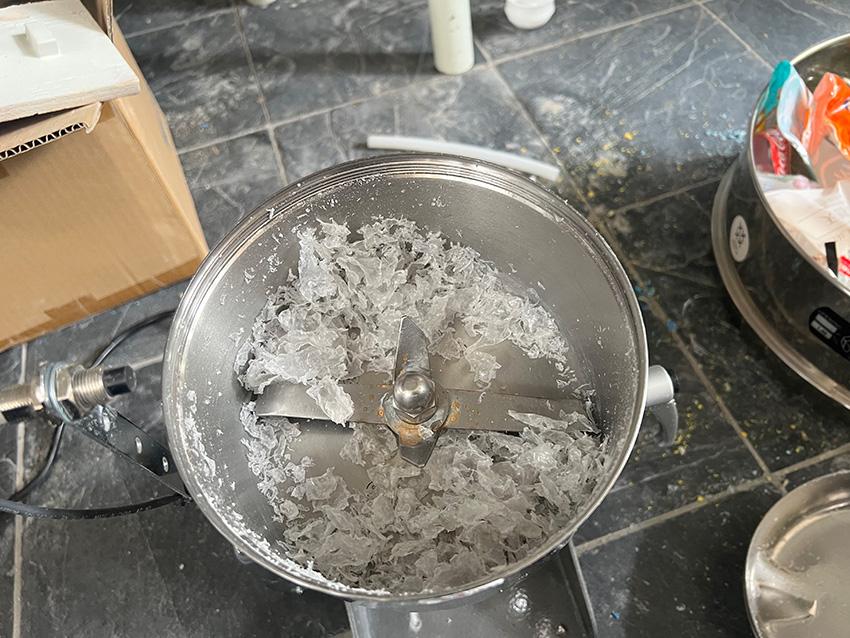
I used a high-speed mill to shred plastic bottles. Although it was not possible to reduce the material to a powder, repeated milling allowed me to break it down into pieces about 5 to 10 millimeters in size.
④Pouring into the mold
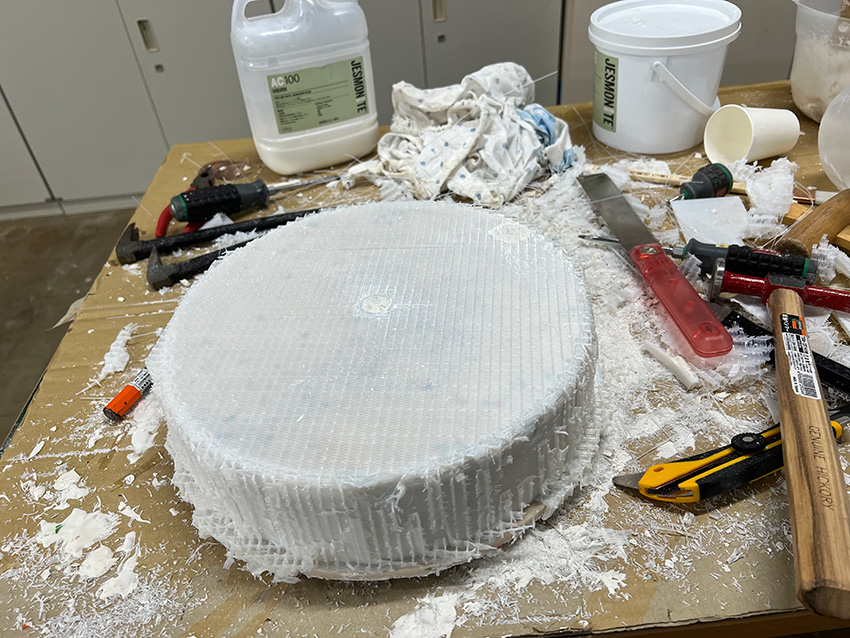
Material
- Release agent
- Wood glue
- Jesmonite
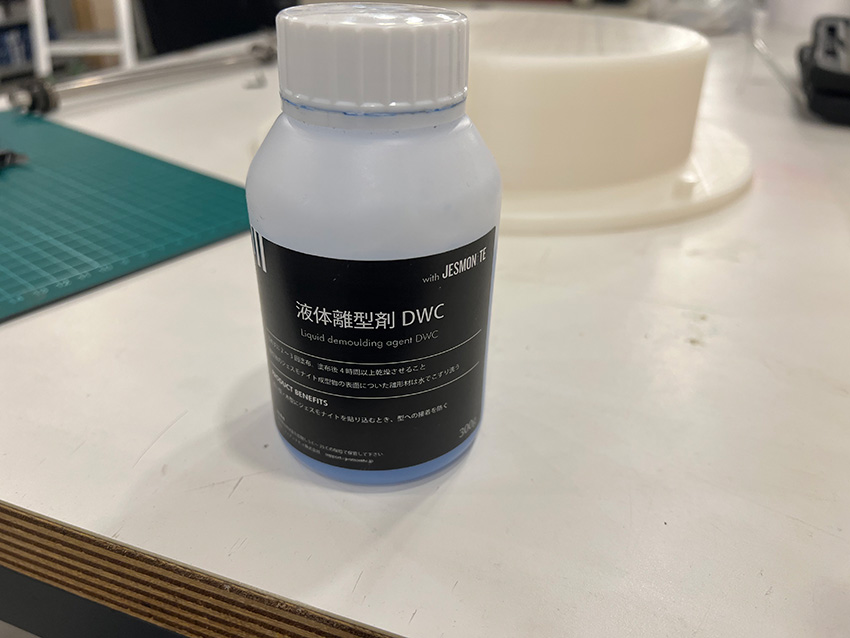
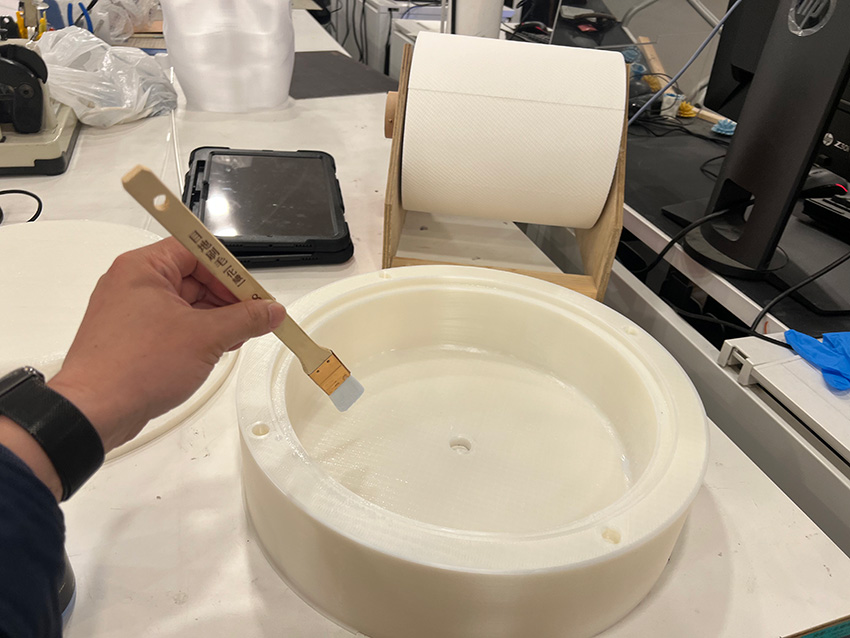
Due to time constraints for the assignment, I couldn't create a silicone mold. Instead, I had to use the PLA 3D-printed mold as it was and demold directly from it. To make demolding easier, I applied coatings to the PLA surface to improve its release properties.
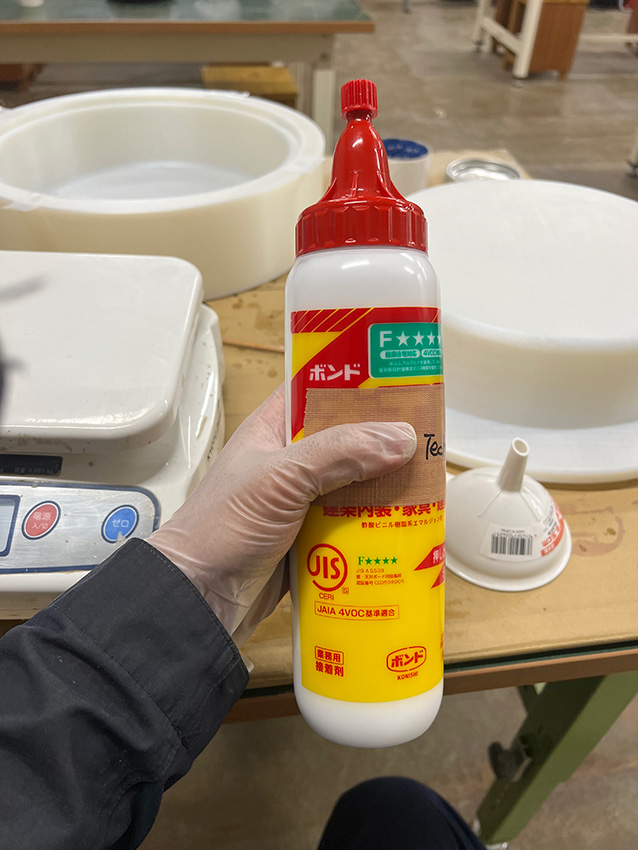
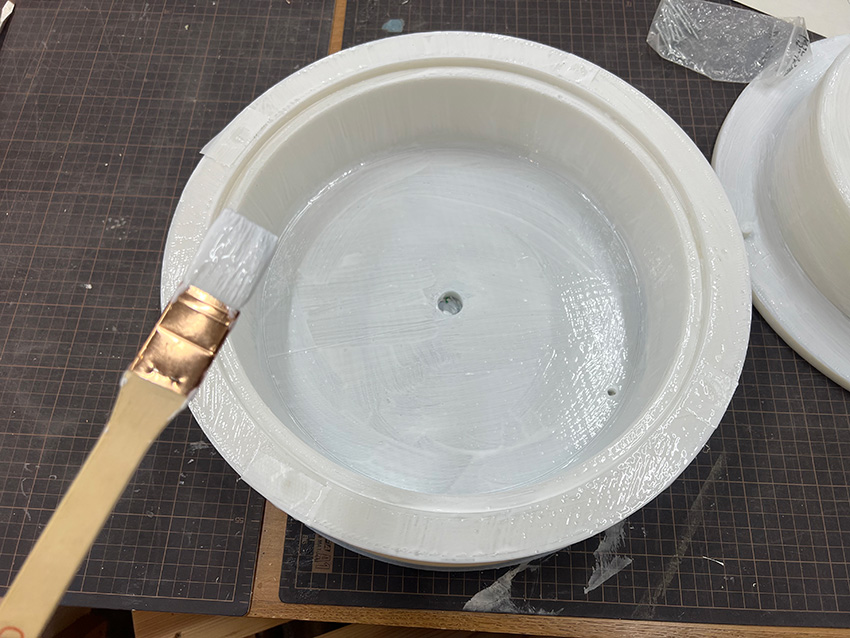

After applying and drying the release agent, I touched the coated surface and noticed that the layer lines from the 3D print were still visible. I was concerned that these lines might cause problems during demolding, so I tried applying an additional layer of wood glue to smooth the surface.

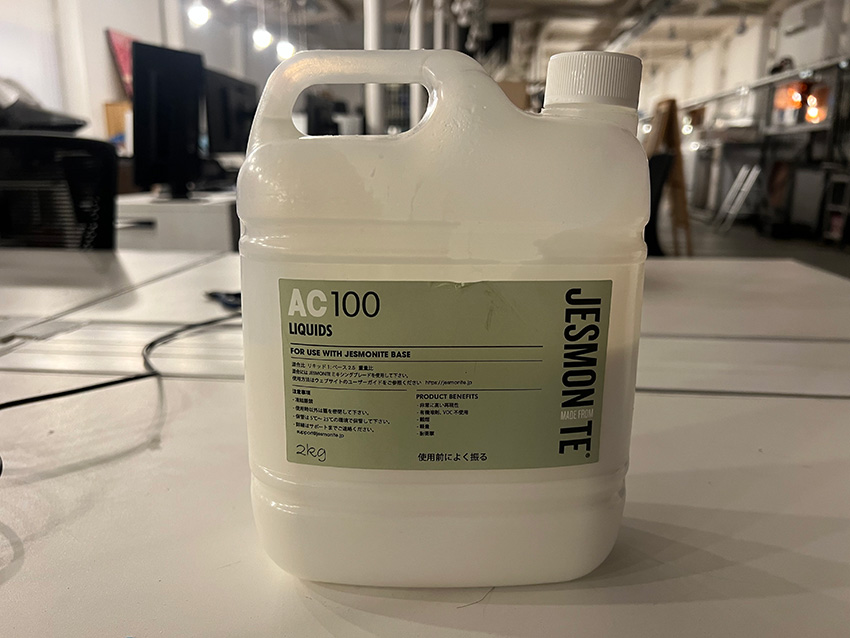
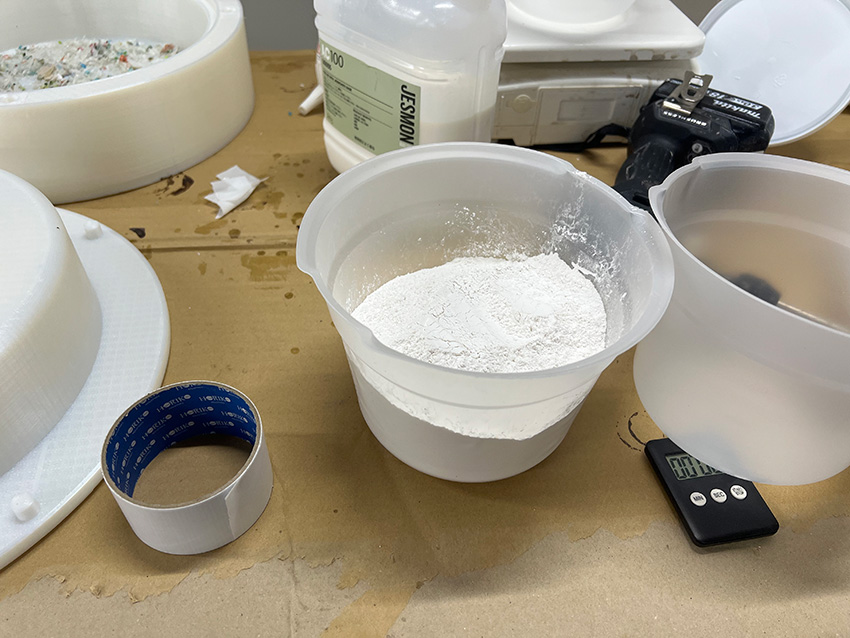
Jesmonite AC100 is mixed at a ratio of 1 part liquid to 2.5 parts base by weight. In this case, I mixed 1200 grams of AC100 liquid with 3000 grams of Jesmonite base.

I used a dedicated mixing tool to blend the Jesmonite liquid and base, and immediately poured the mixture into the mold. However, the material was less fluid than expected, and pouring from a single opening did not allow the mix to reach the entire mold. I removed the top halfway through and poured more material across the surface, then pressed the male and female molds together to force the mixture into all areas.
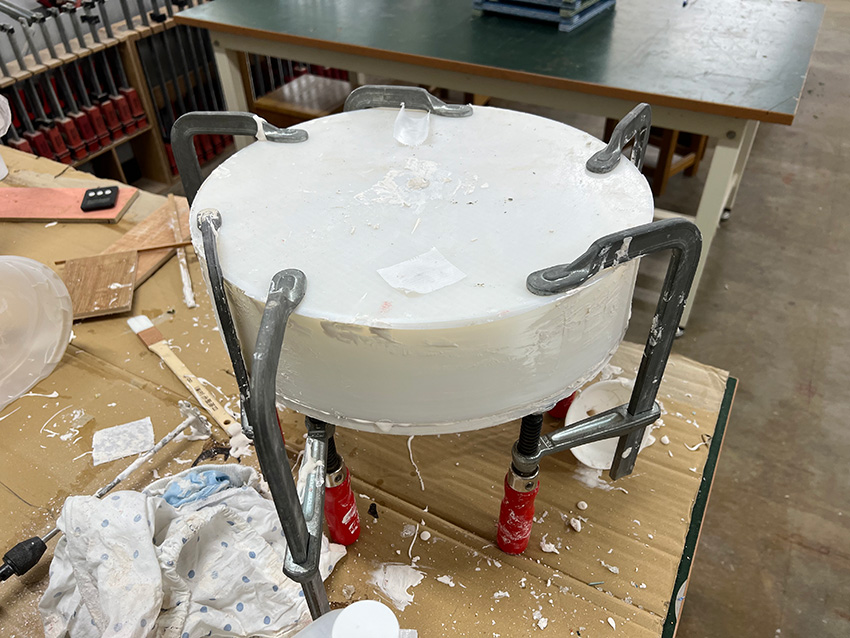
After pouring the mixture into the mold, there was a risk that it might open up, so I clamped the edges tightly using vises.
One possible reason is that the taper angle should have been larger. Another improvement would be to design the mold in four parts instead of just two, to make demolding easier.
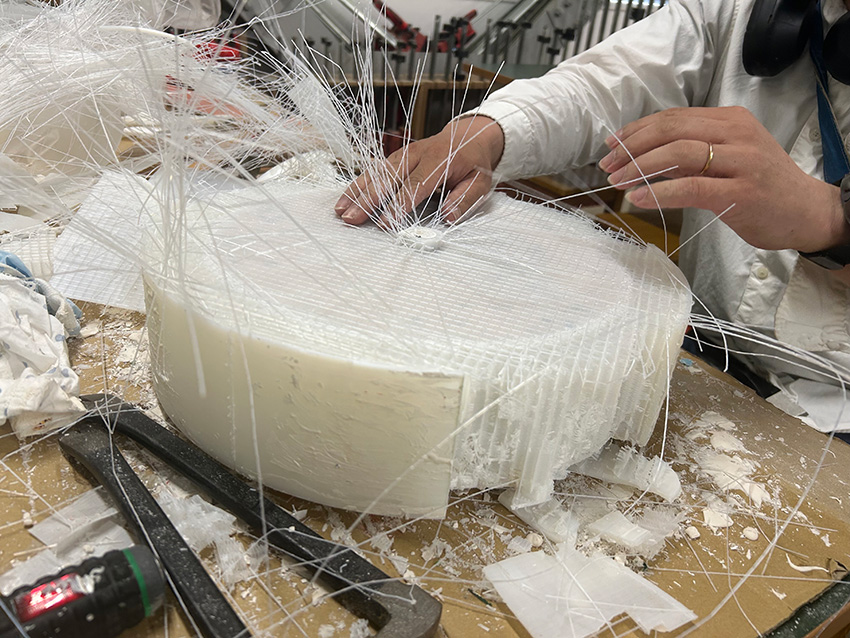
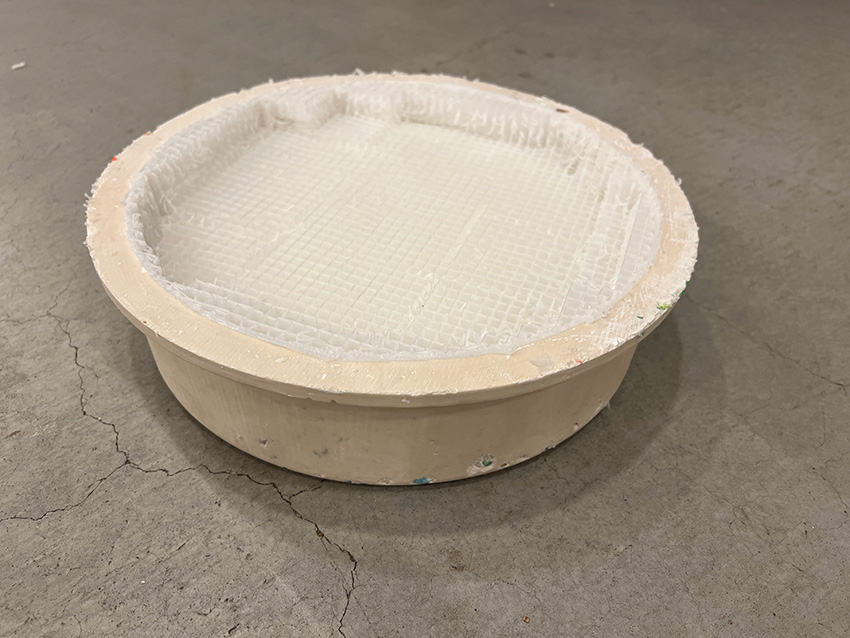
This shows the initial stage of breaking apart the resin mold for removal. The resin mold had to be forcefully broken apart due to difficulty in demolding.
Crushing the resin mold Part 1
Although demolding was difficult overall, in the areas where more release agent and glue had been applied, the piece came out relatively easily after breaking the mold.