2. Computer Aided design
Overview
The transcript summarizes a lecture on computer-aided design (CAD) tools and techniques. It provides an overview of 2D and 3D modeling, parametric design, physics simulation, rendering, and animation using both open source and commercial options. Key tools covered include FreeCAD, Fusion 360, SolidWorks, OnShape, Blender, Inkscape, and more. The lecture analyzes tradeoffs like ease of use, collaboration support, simulation accuracy, and hardware/platform dependencies. Action items focus on experimenting with multiple CAD packages to gain firsthand experience and learn parametric design essential for assignments.
Assignment
WorkFlow
2D design(Raster)
I chose to try something I had never used before.
I thought it was similar to Photoshop in both operability and interface.
So I decided to compare them.

This is the photo I decided to use as the subject of the edit. It is a picture of my lovely daughter that I took.
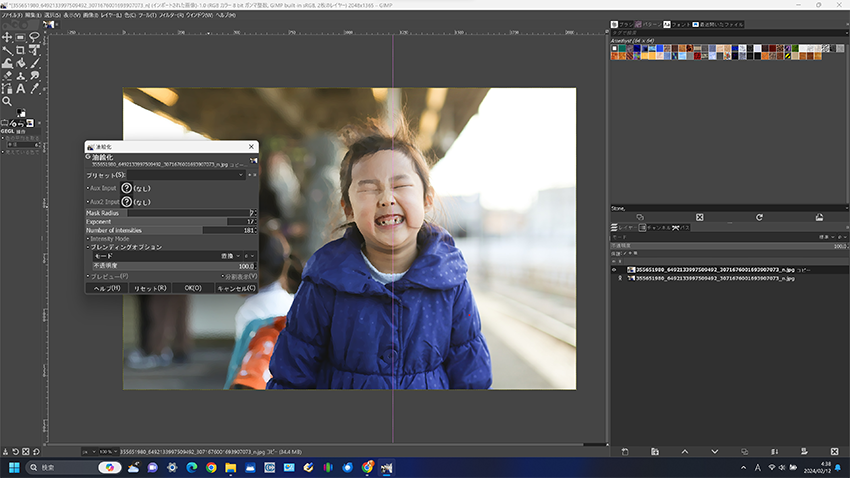
I used GMP's function (Oil Painting Conversion) to arrange them in a painting style.
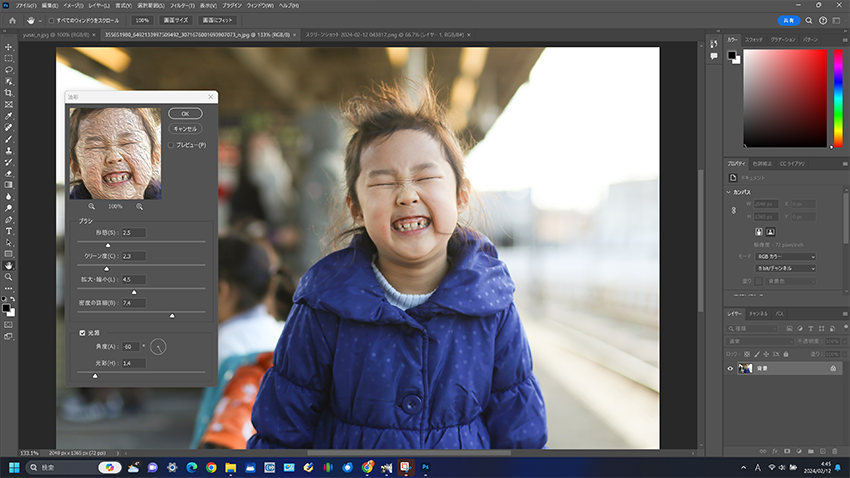
I used the PHOTOSHOP function (oil painting conversion) to arrange them in a painting style.

I found that although the functions are similar, the algorithms inside the software are different, resulting in different directions of results.
In this case, I personally prefer the GIMP representation.
2D design(Vector)
I chose to try something I had never used before.
I thought it was similar to Illustrator in both operability and interface.
So I decided to compare them.
After using both software, I noticed an immediate difference in the snap tools.
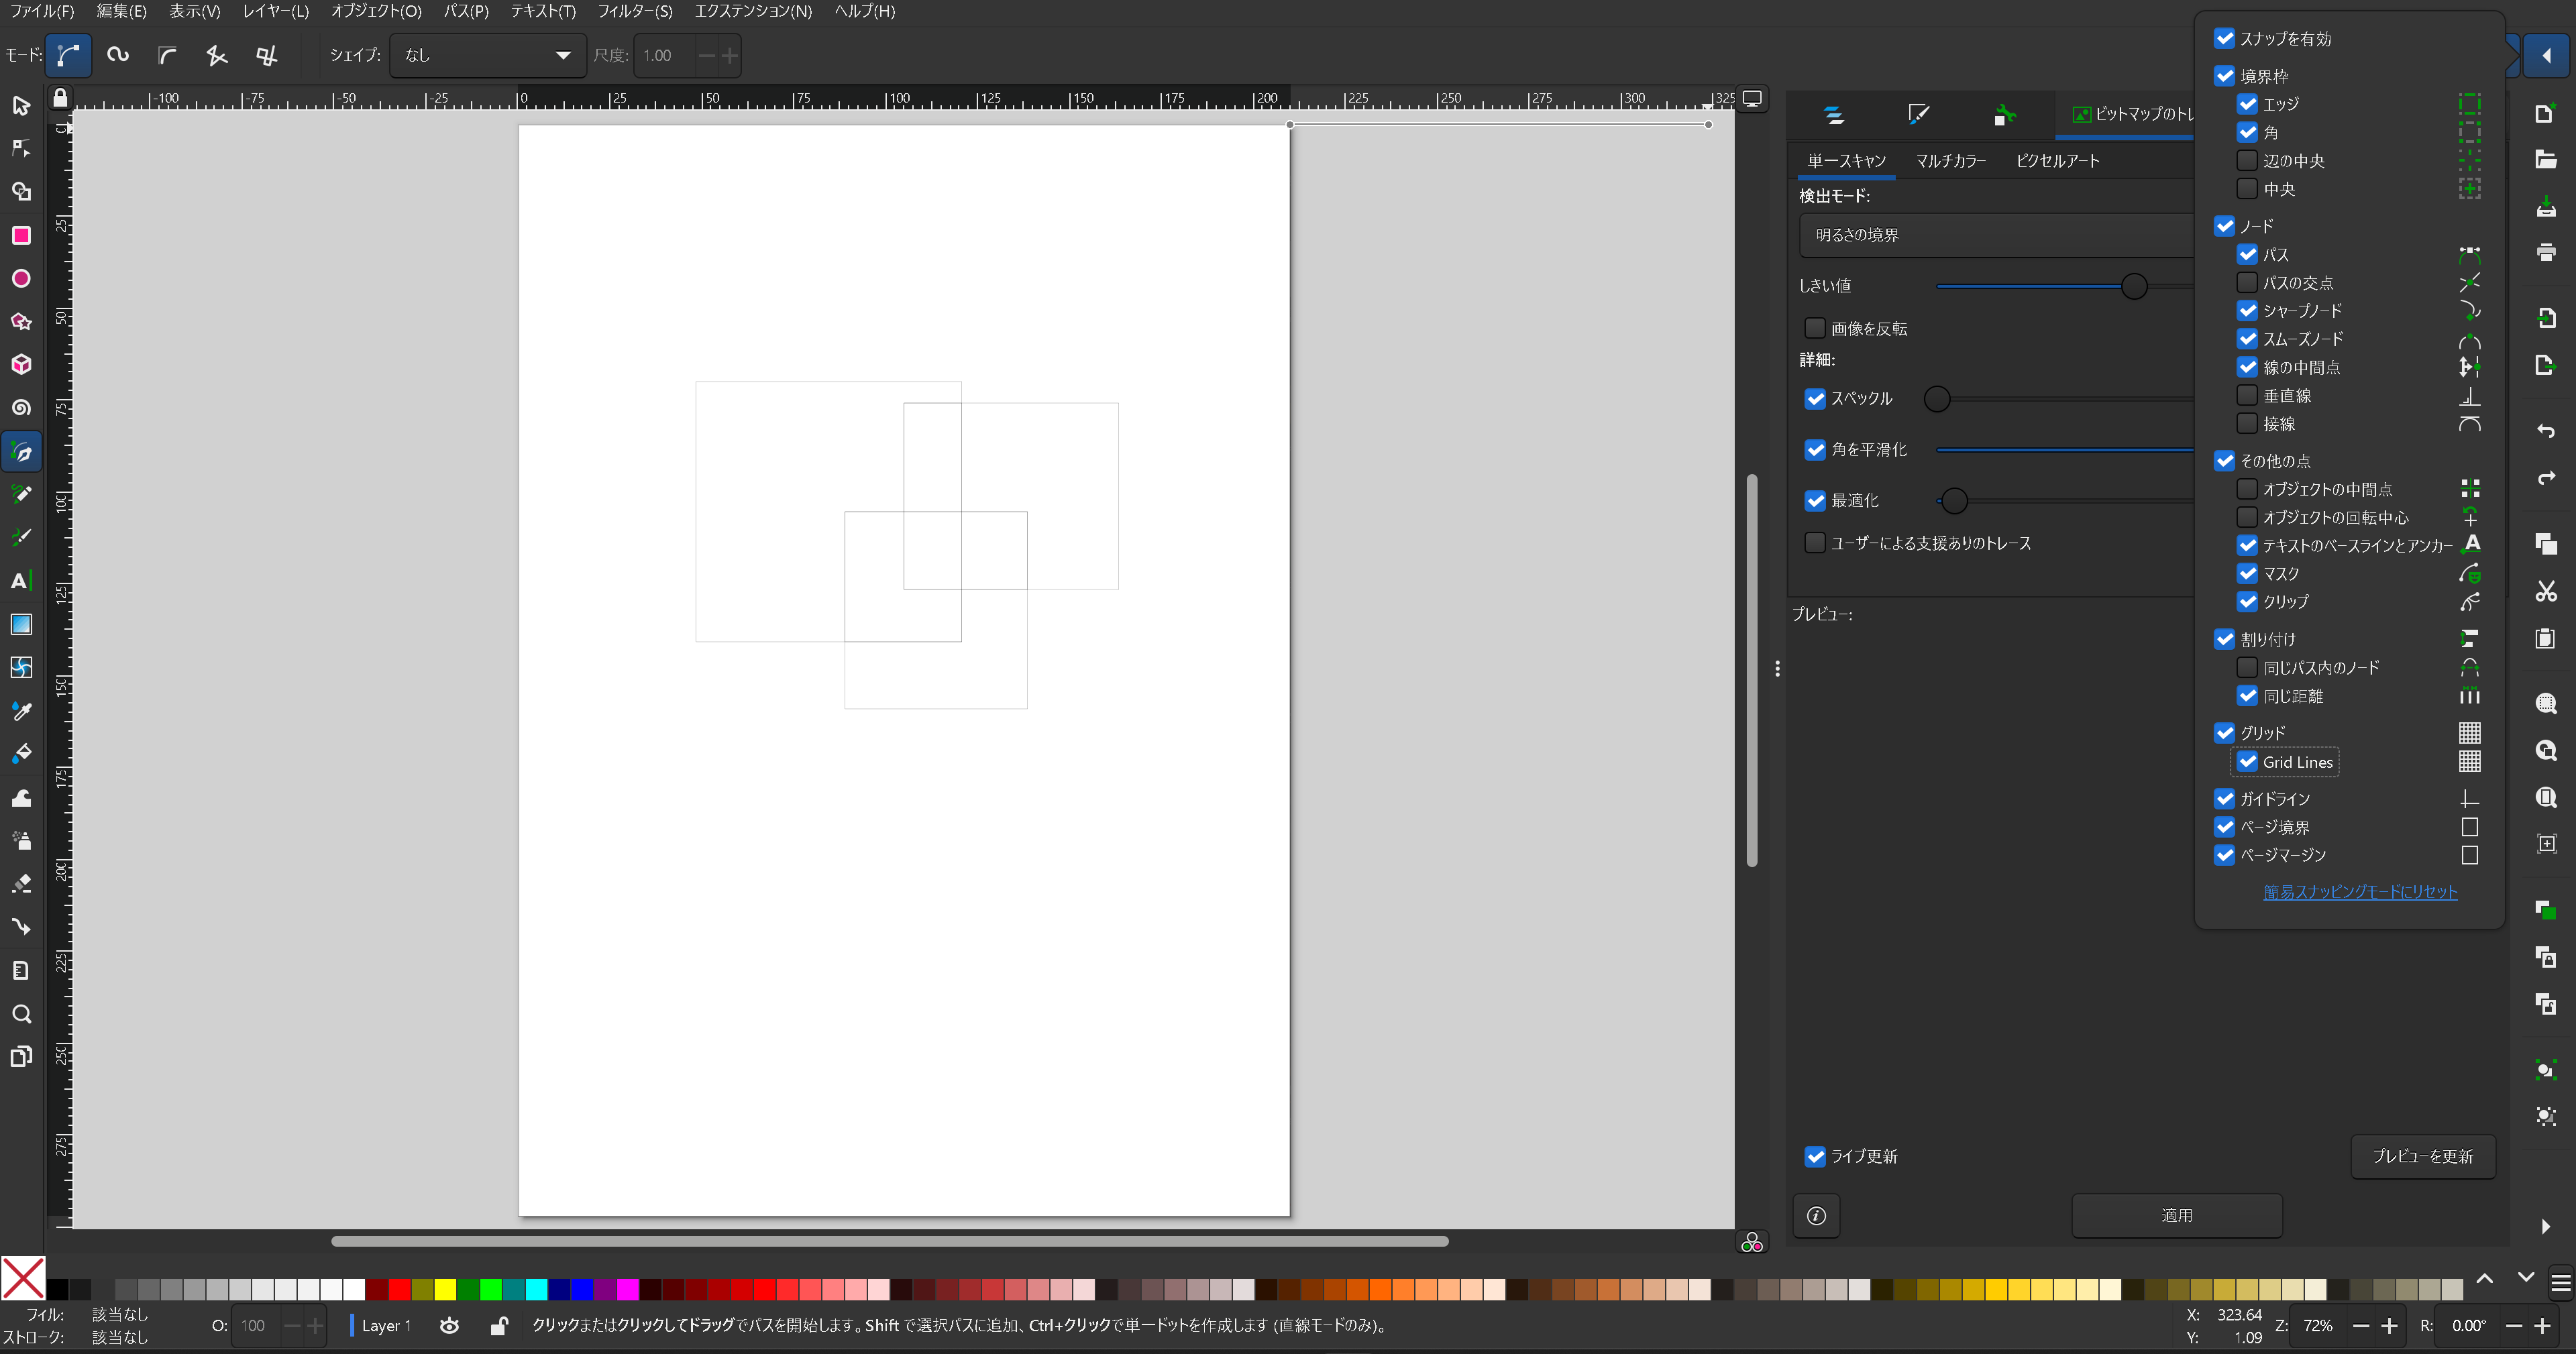
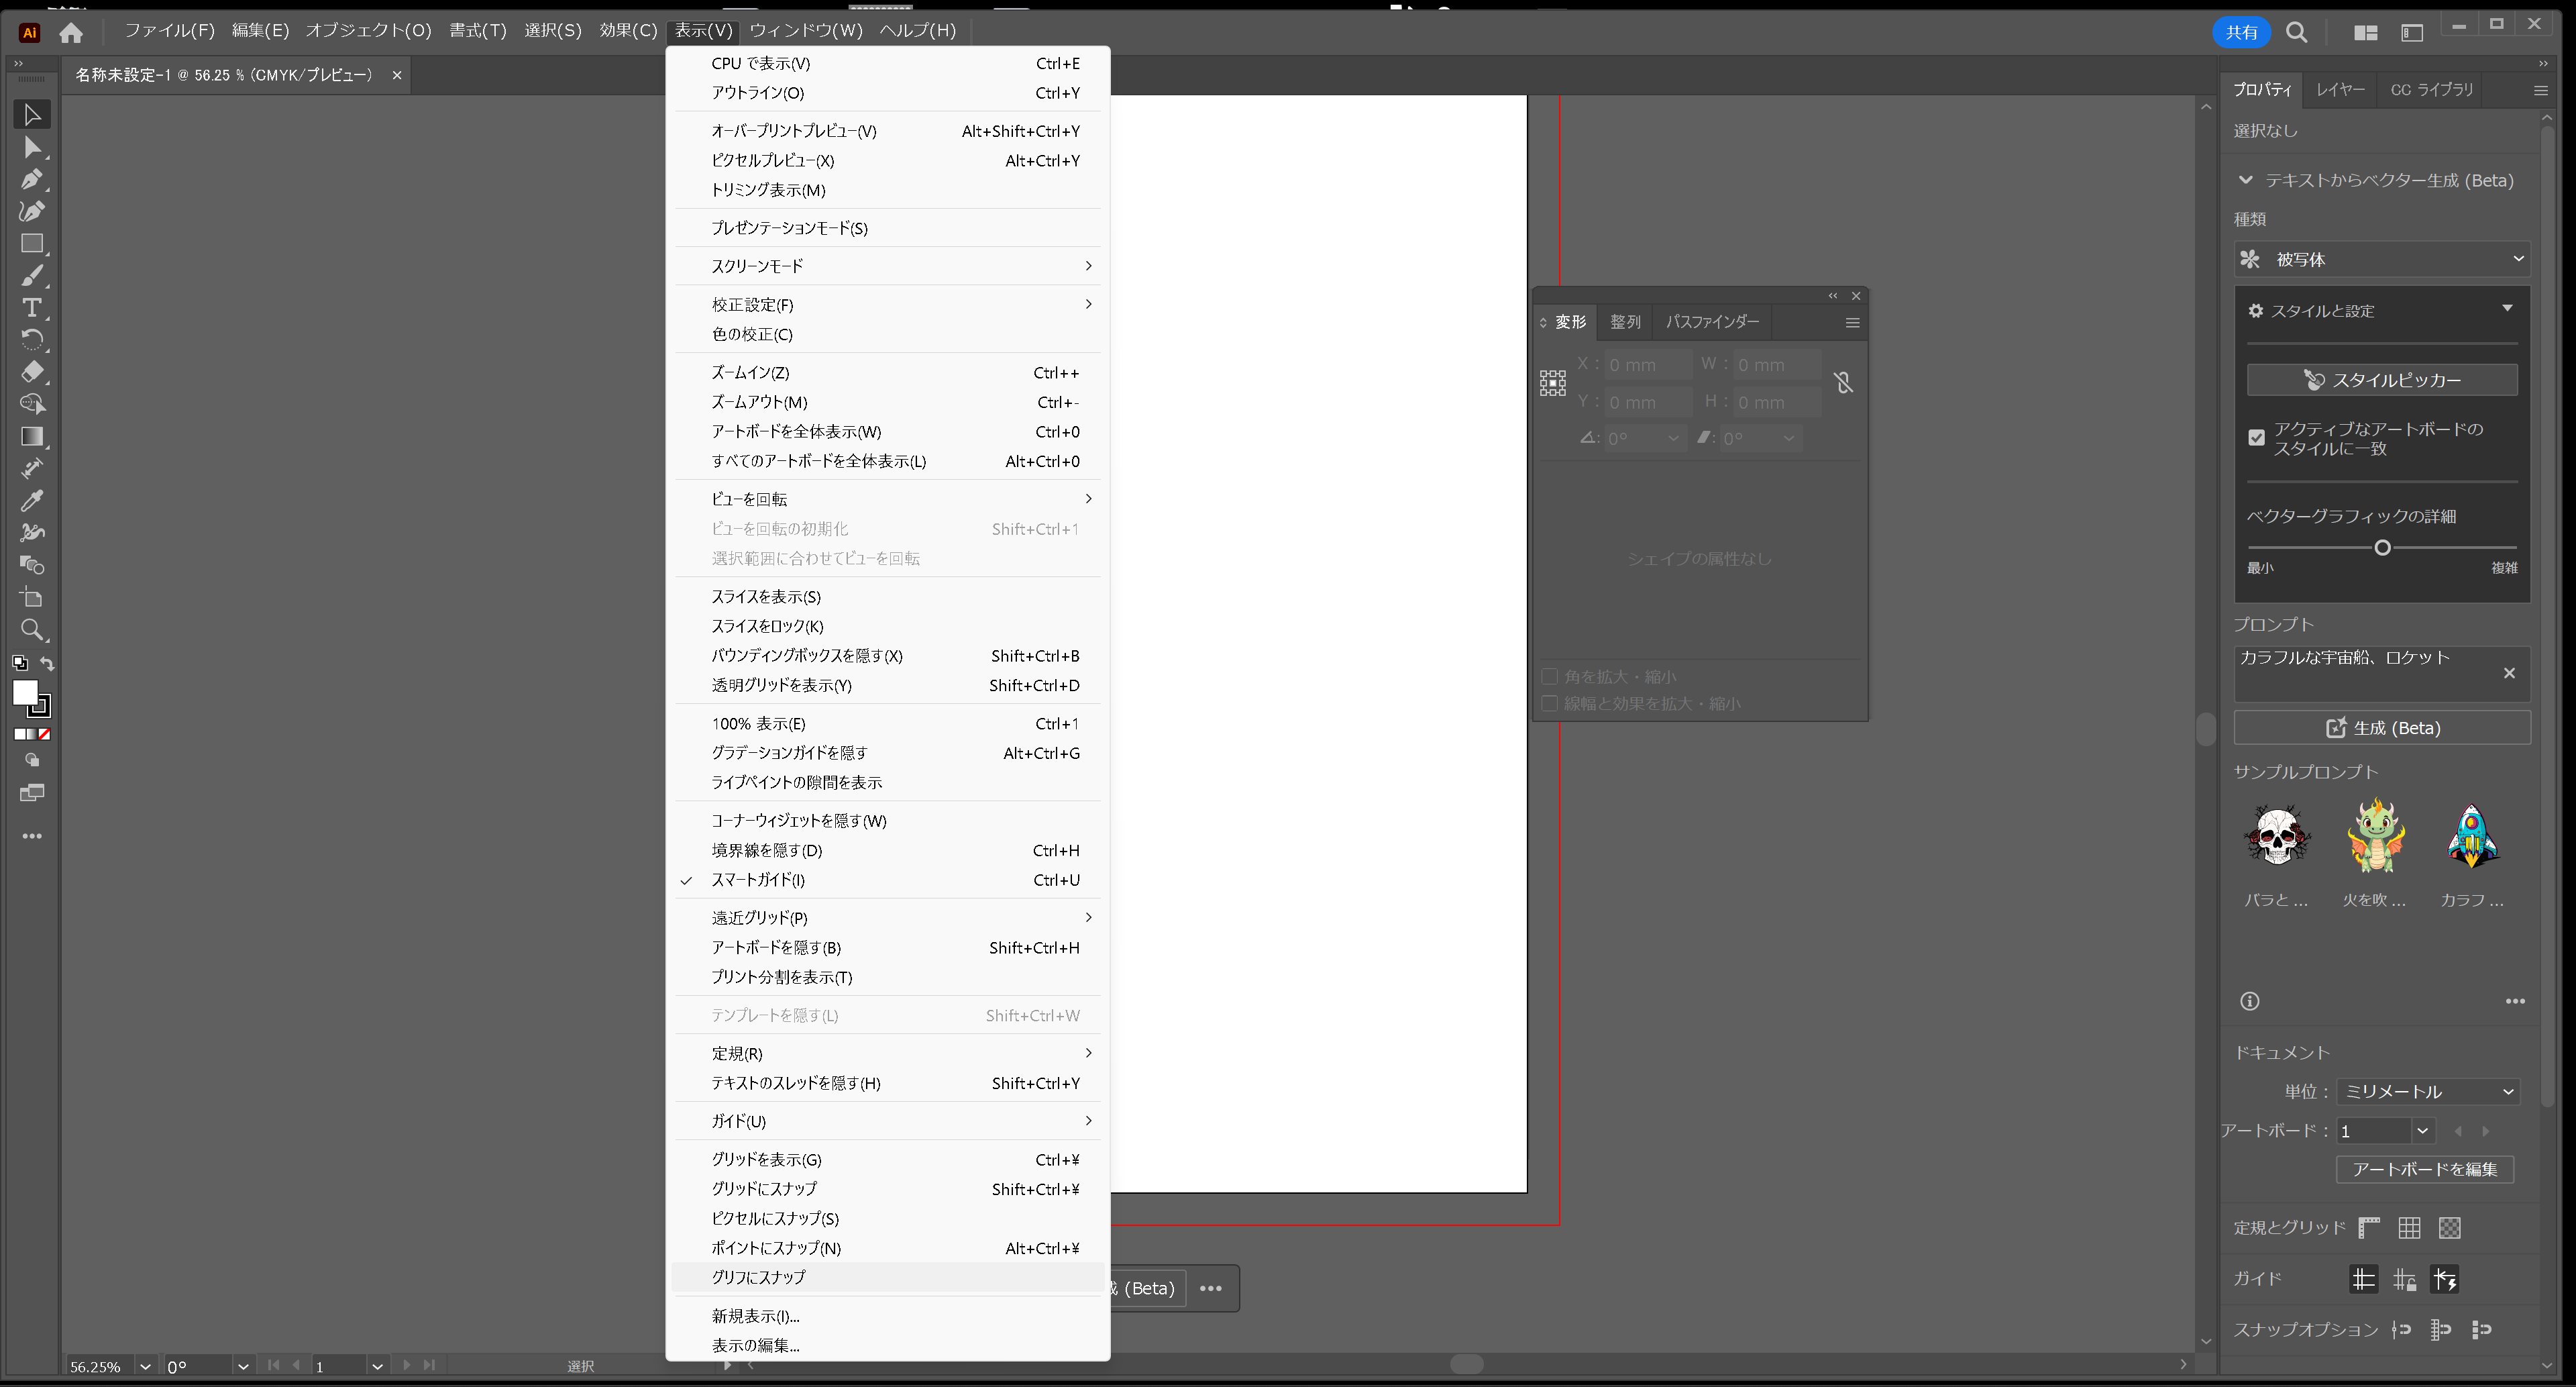
Inkscape and Illustrator have different snap settings. Inkscape has more snap settings than Illustrator, which makes it more suitable for CAD work. This is just one example of the differences between the two programs and their target users.
3D design
For 3D CAD modelling, I used Rhinoceros, which is the software I am most proficient in.
I chose to use the Grasshopper plug-in this time to experiment with simulation.
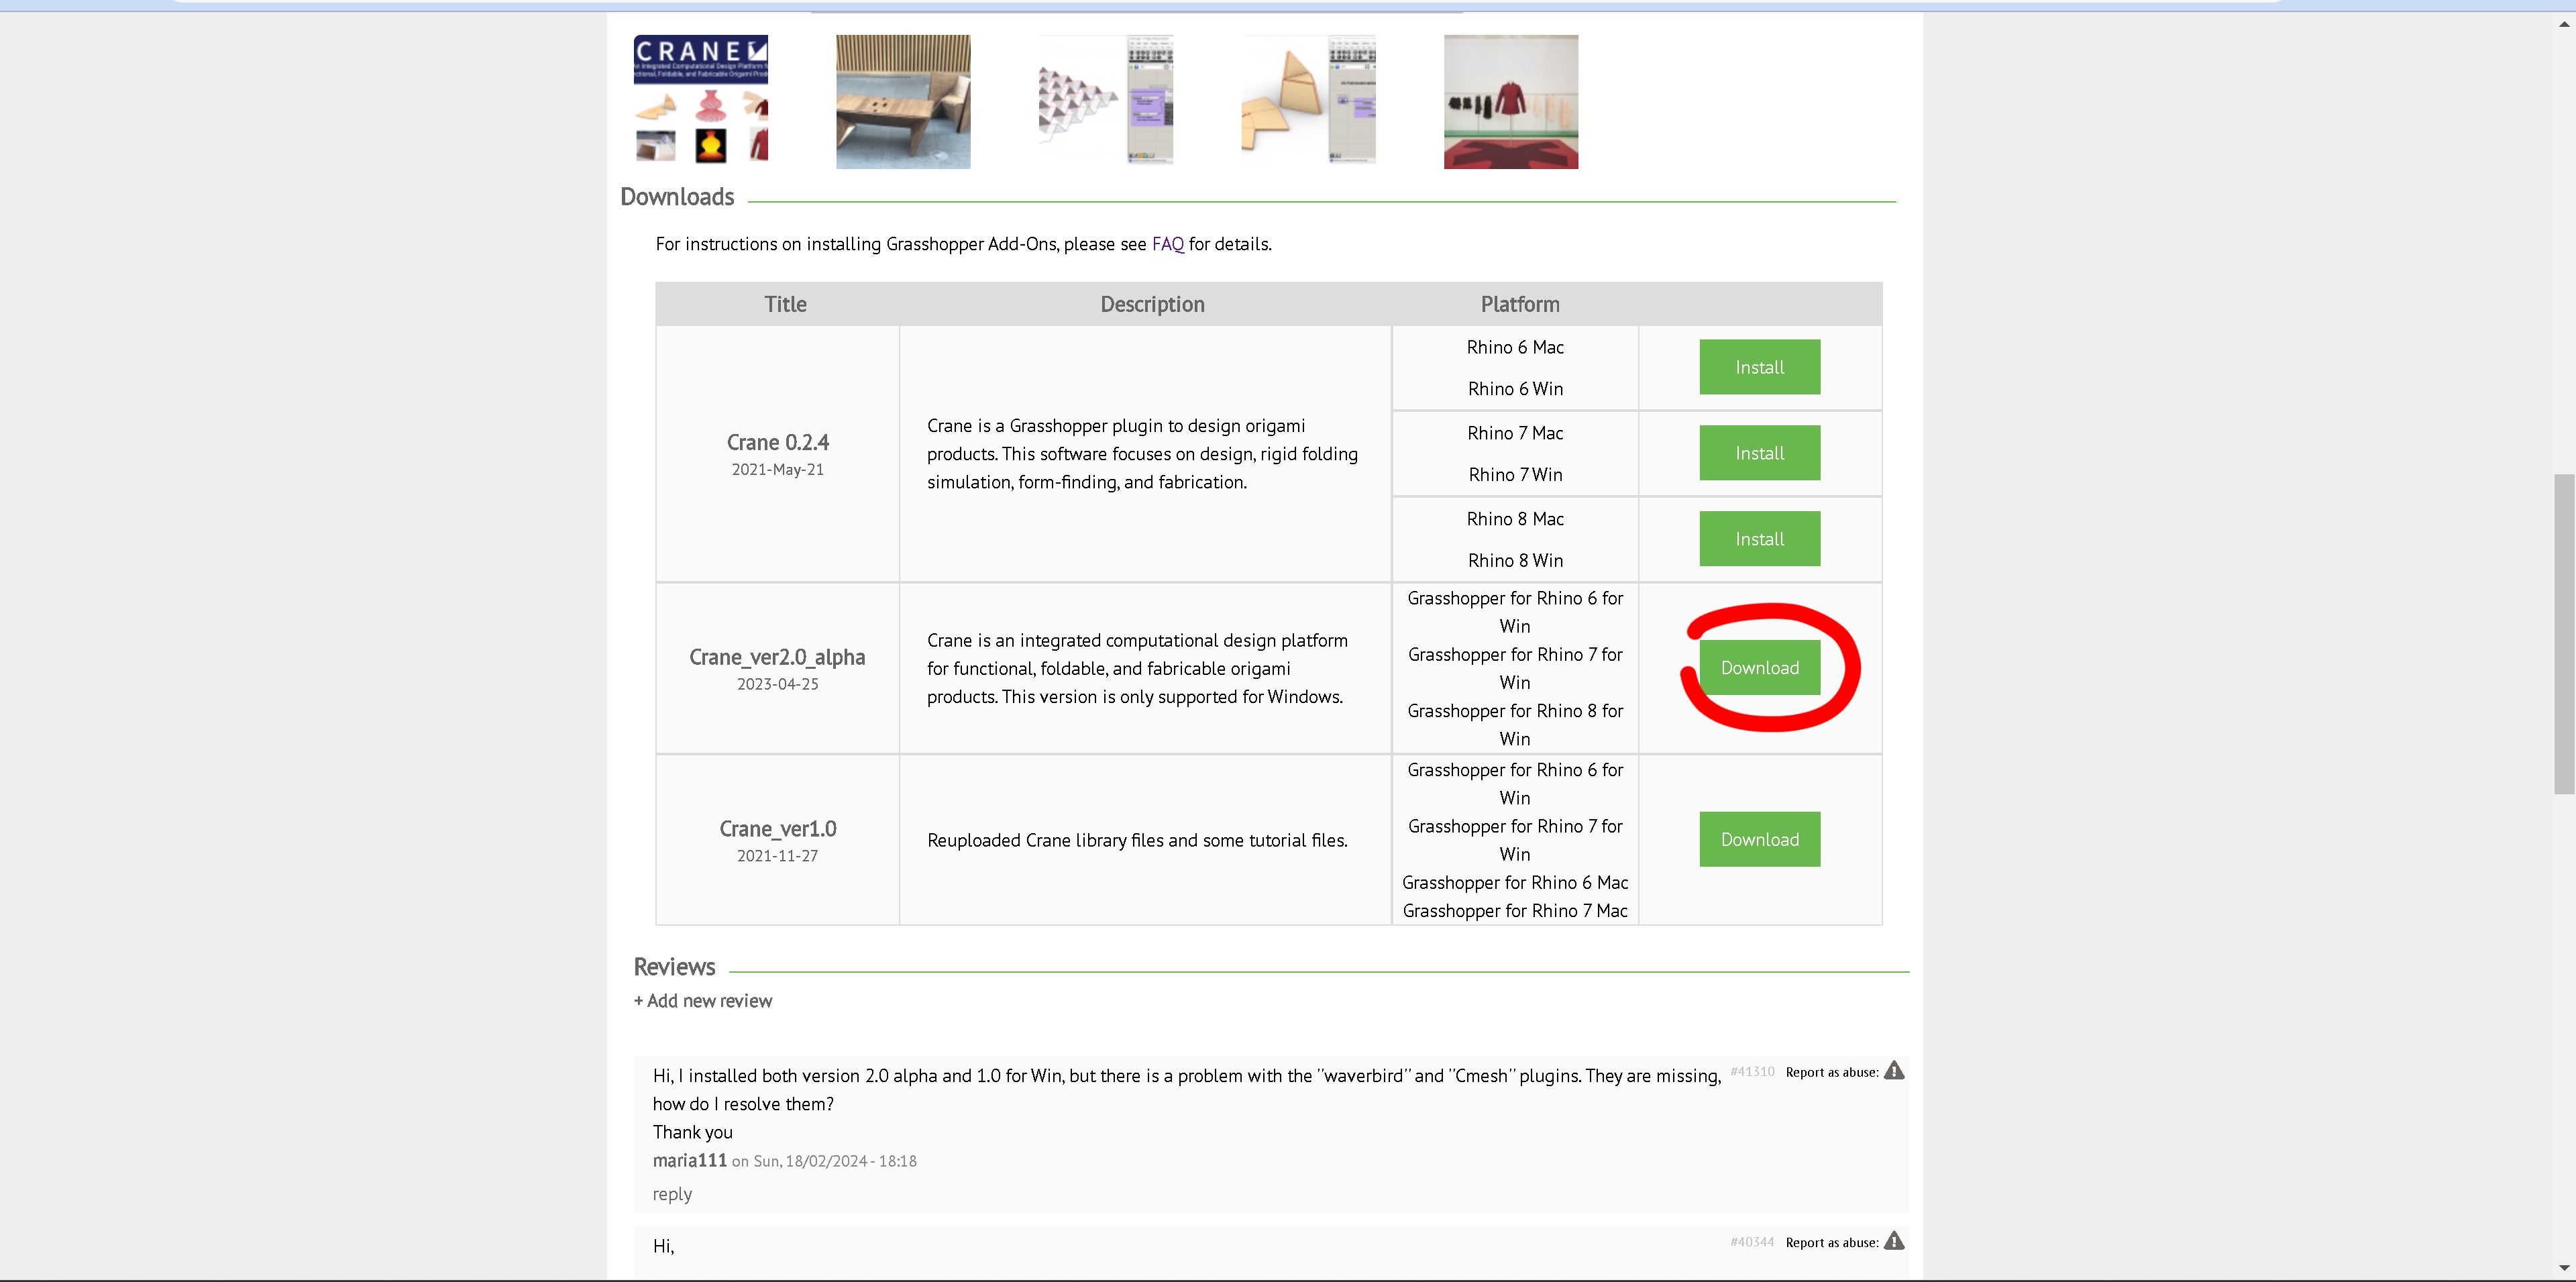
1.Installing
I aim to create a foldable box design.
To achieve this, we opted to use the Crane plug-in for Grasshopper.
2.Modeling
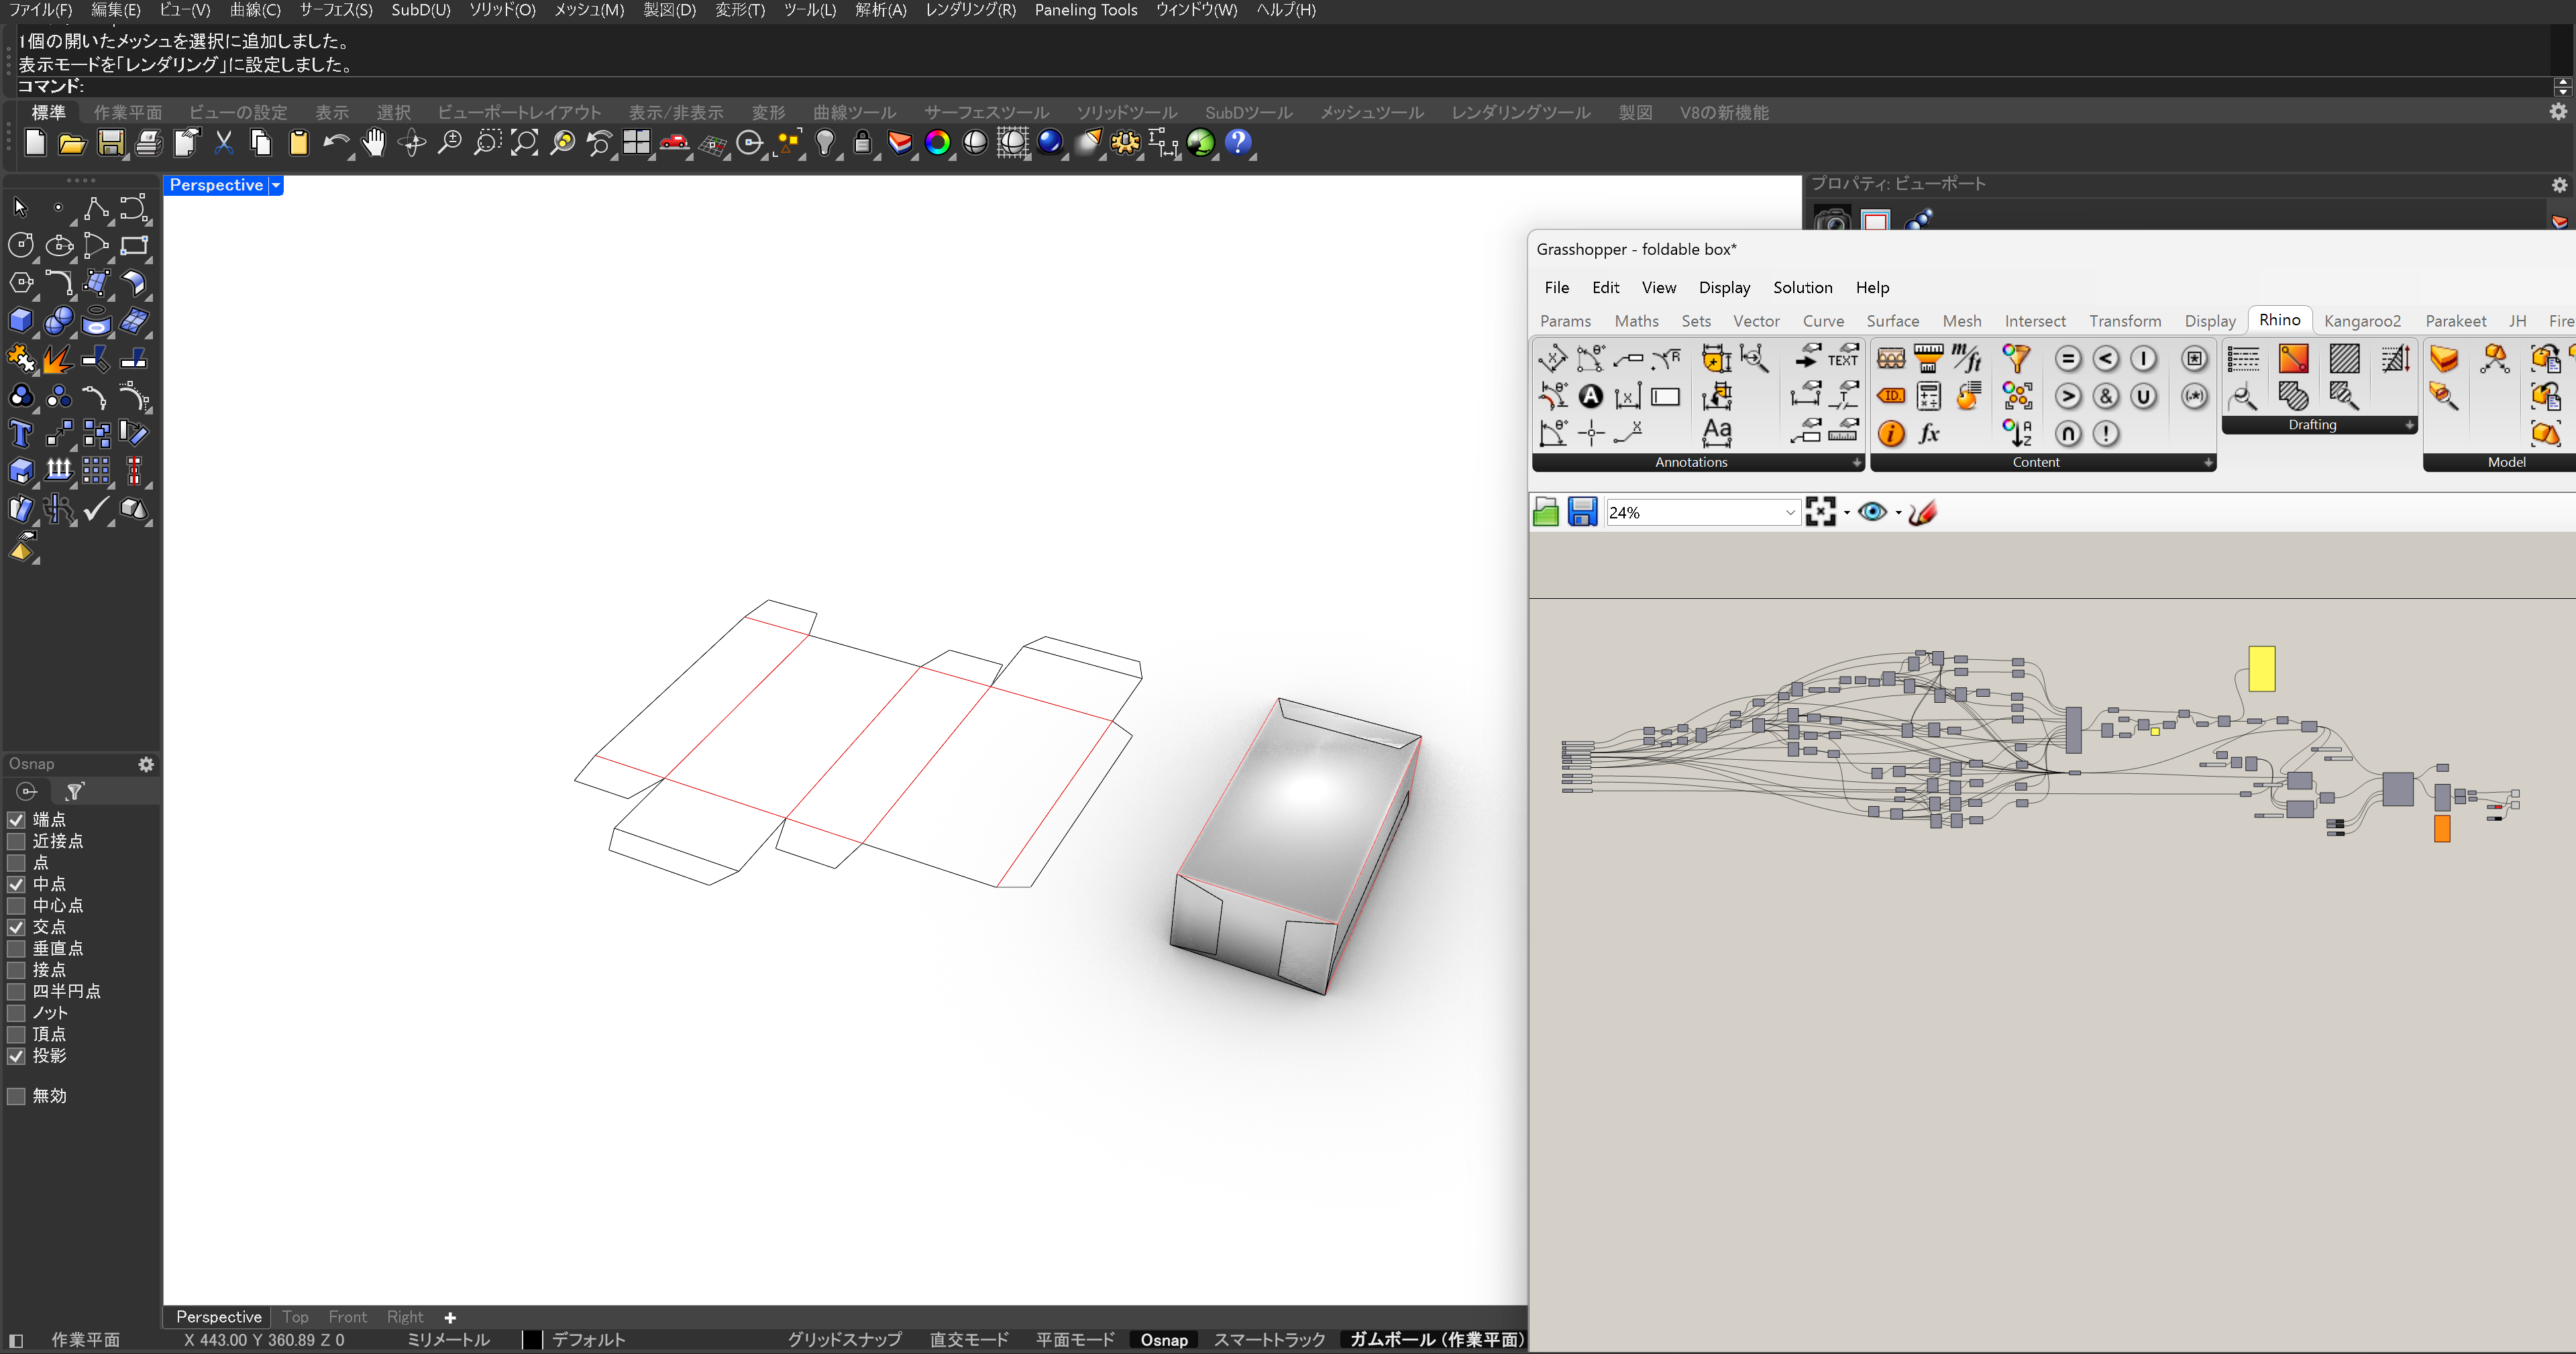
The goal was to complete all tasks solely in Grasshopper, without the need for modelling in Rhinoceros.

The dimensions of the box and the shape of the folding area can be precisely defined.
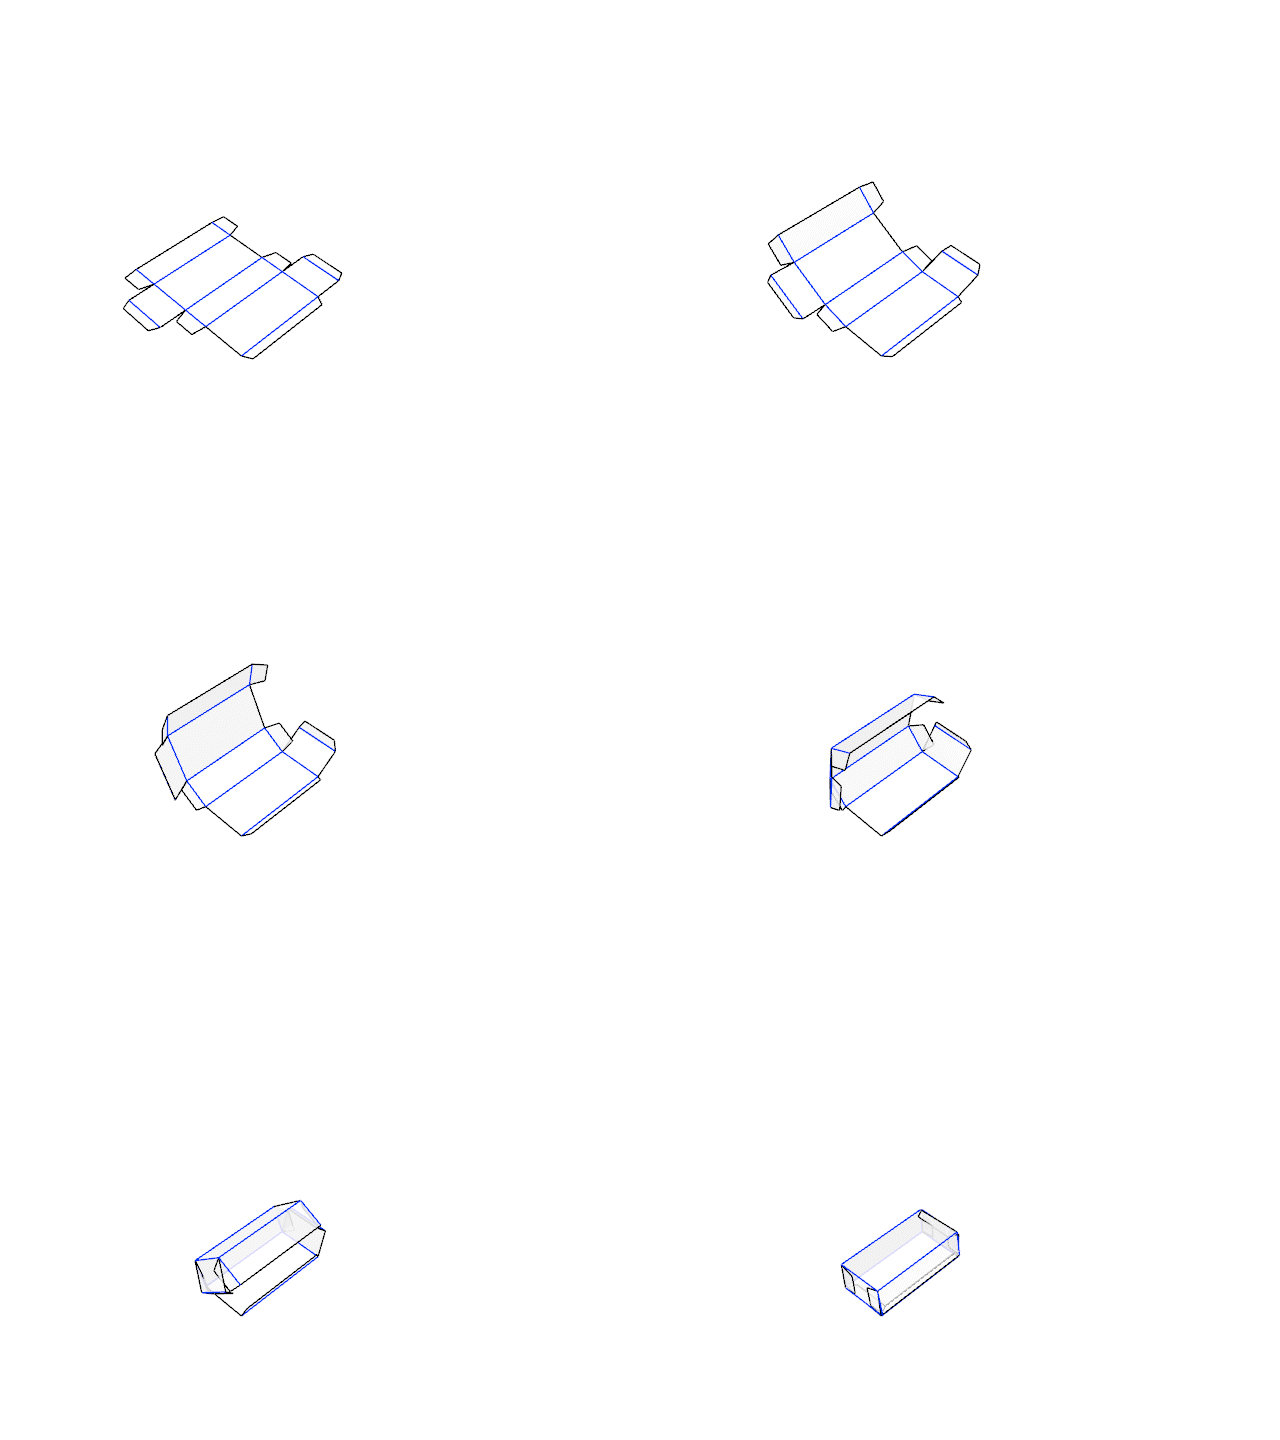
During the bending simulation, the angle can be specified, allowing for bending of the box between 0 and 90 degrees.
3.Simulation
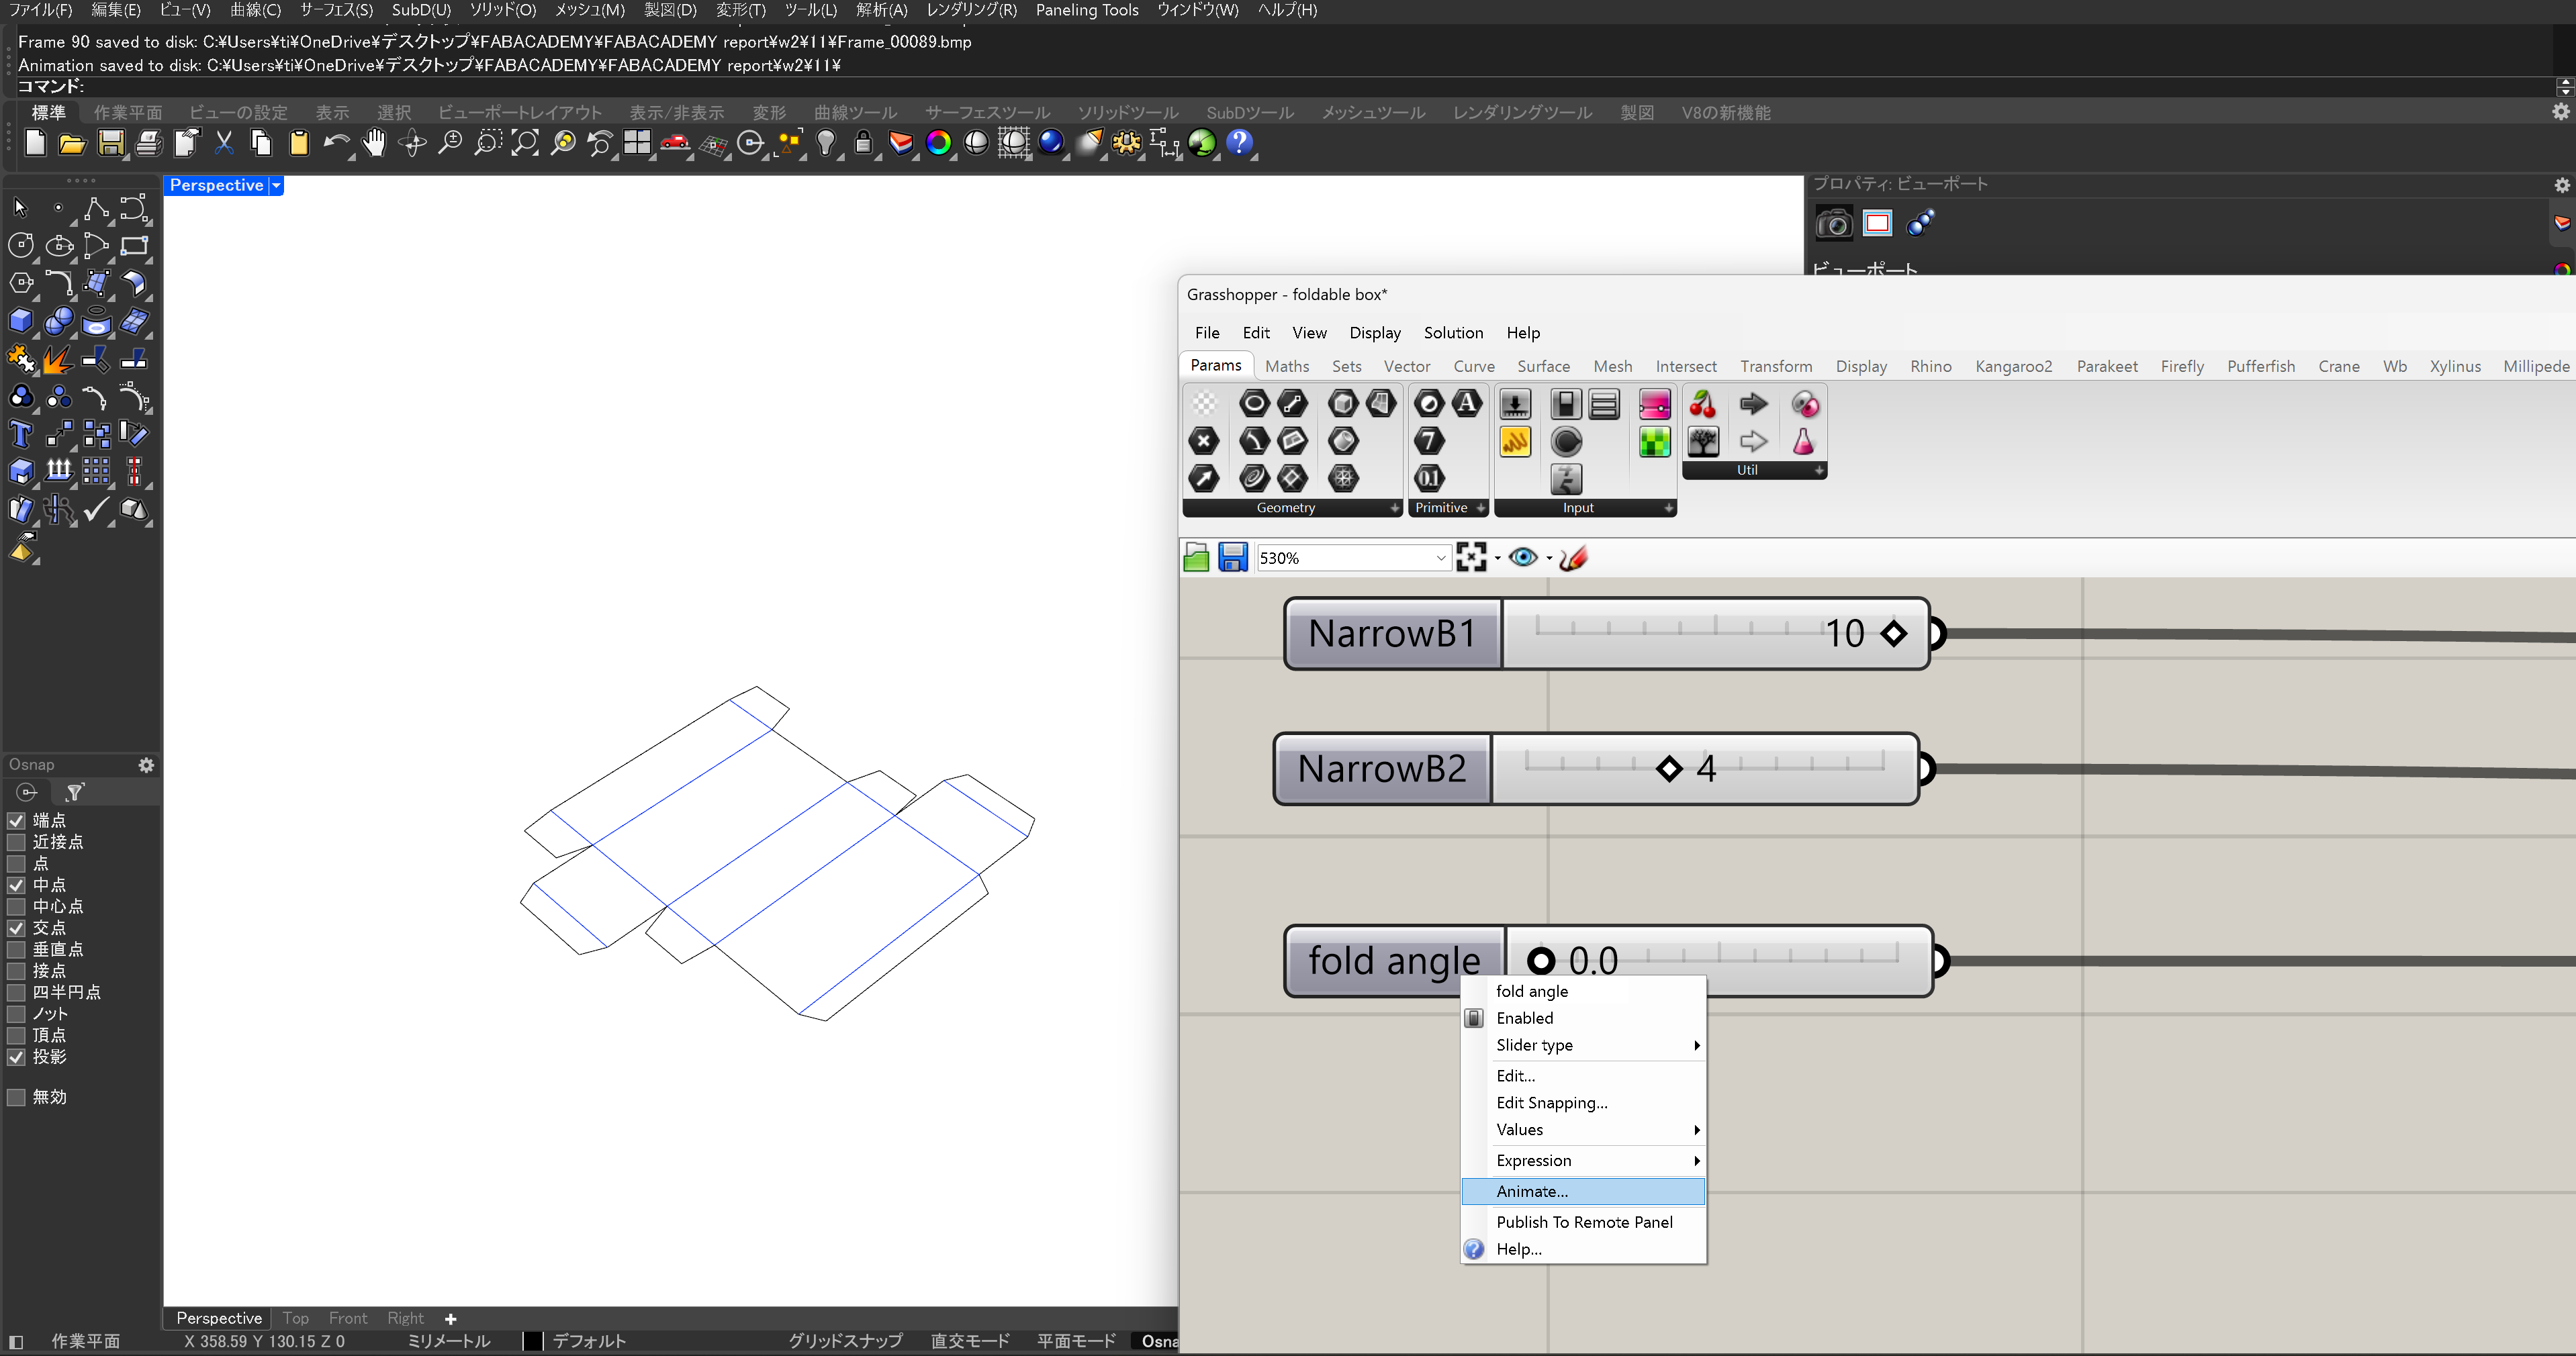
The image frame was extracted using Grasshopper's Animate function.
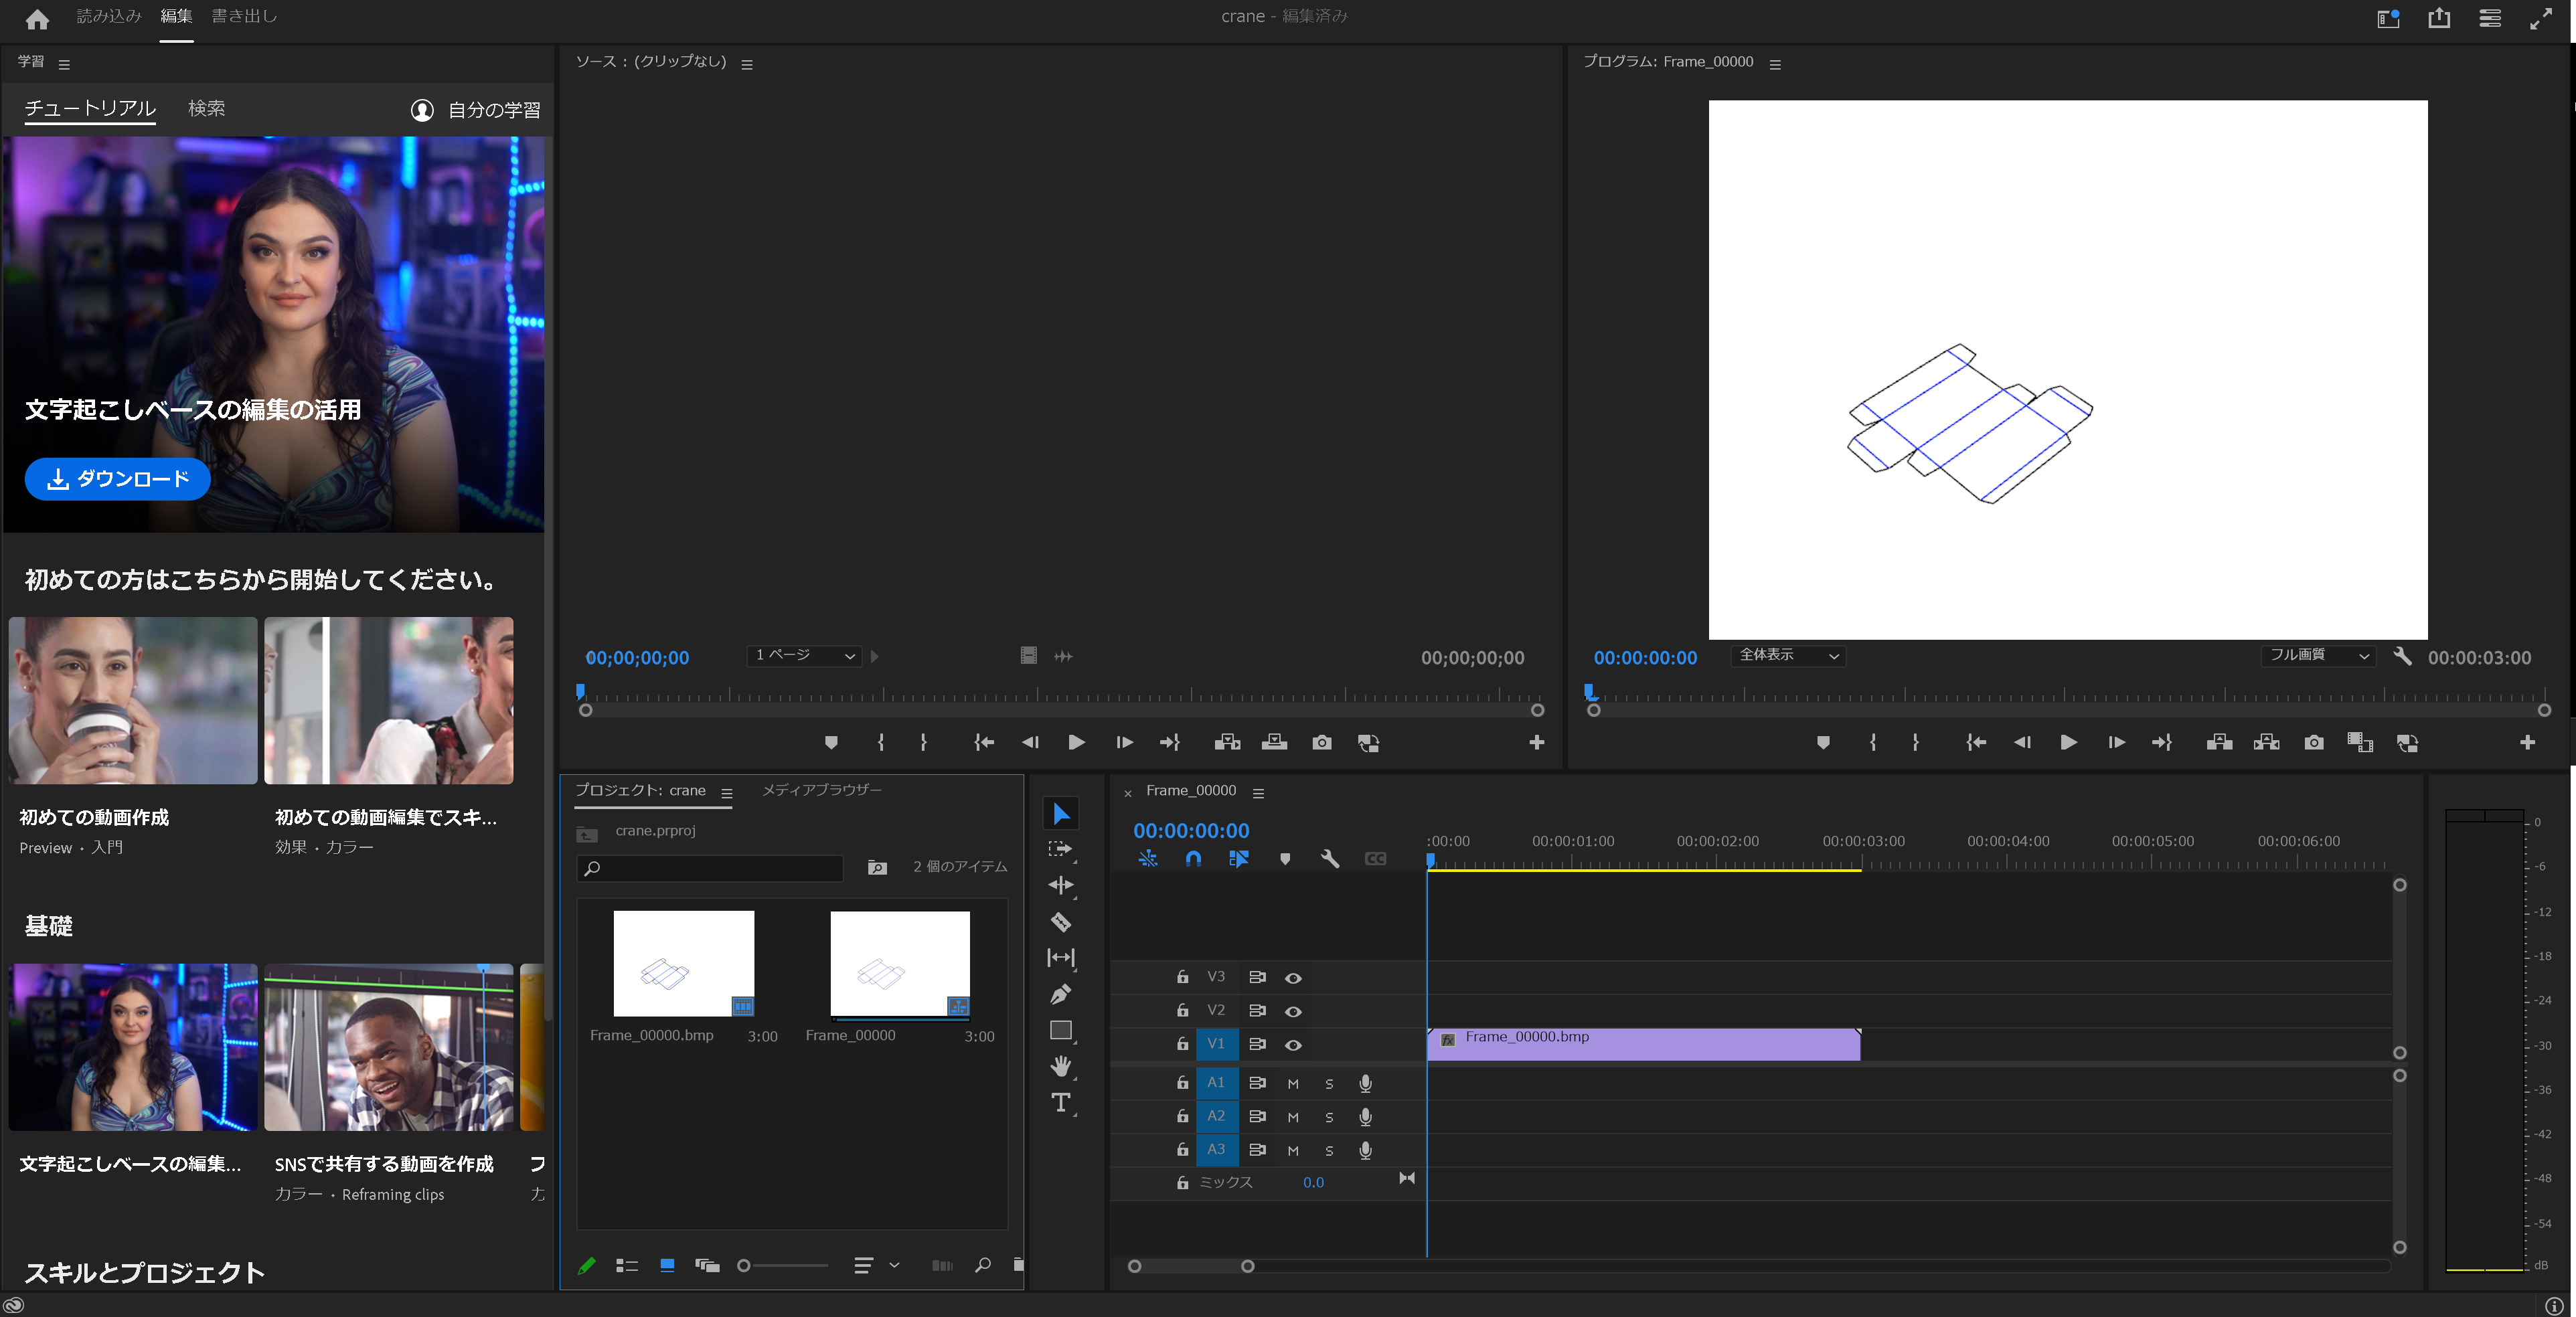
The image frame extracted earlier was imported as an image sequence and rendered as a GIF animation using Premiere Pro.
final-project
design(Zoning)
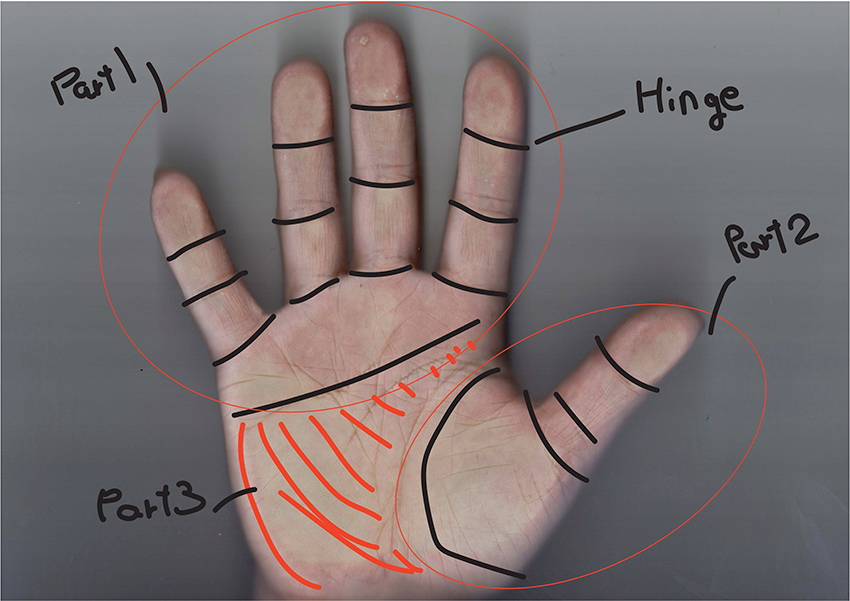
For my final project, I determined the number of hinges and parts required to create a robotic hand that imitates my own.
I used a photocopy of my hand as a reference and sketched it in Illustrator.
The plan is based on this and includes the number of hinges and parts needed.
