WEEK 10
Mechanical Design
Group Assignment:
- Design a machine that includes mechanism+actuation+automation+application
- Build the mechanical parts and operate it manually
- Document the group project and your individual contribution
Individual Assignment:
- Frame design for eggs-pressionist.
1. Sketching the Frame
My task was designing a frame that was attached to the pen holder and egg holder part.
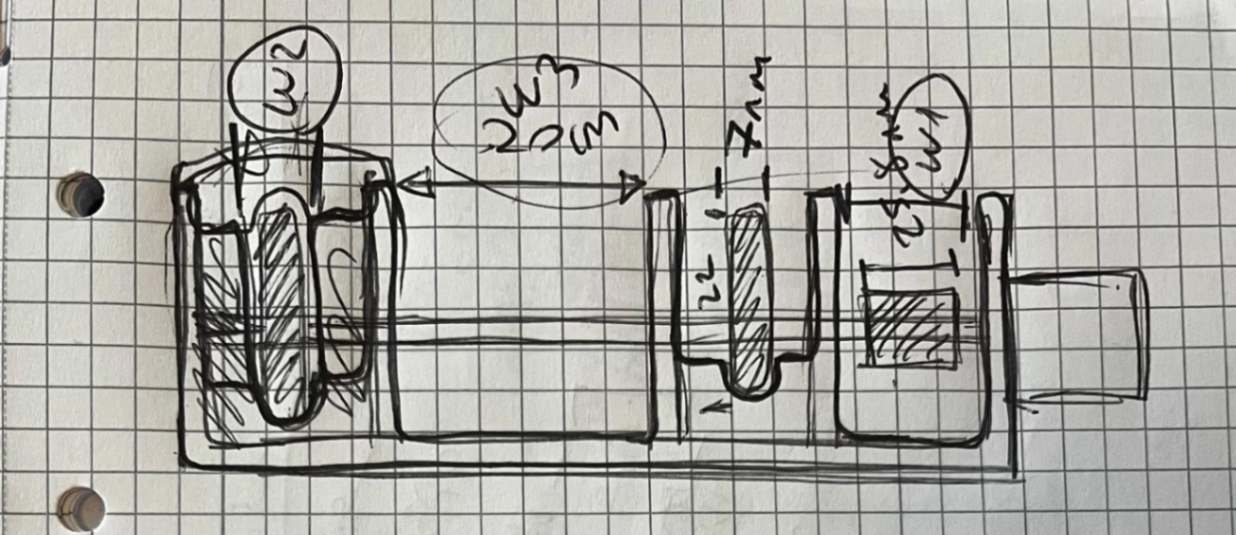
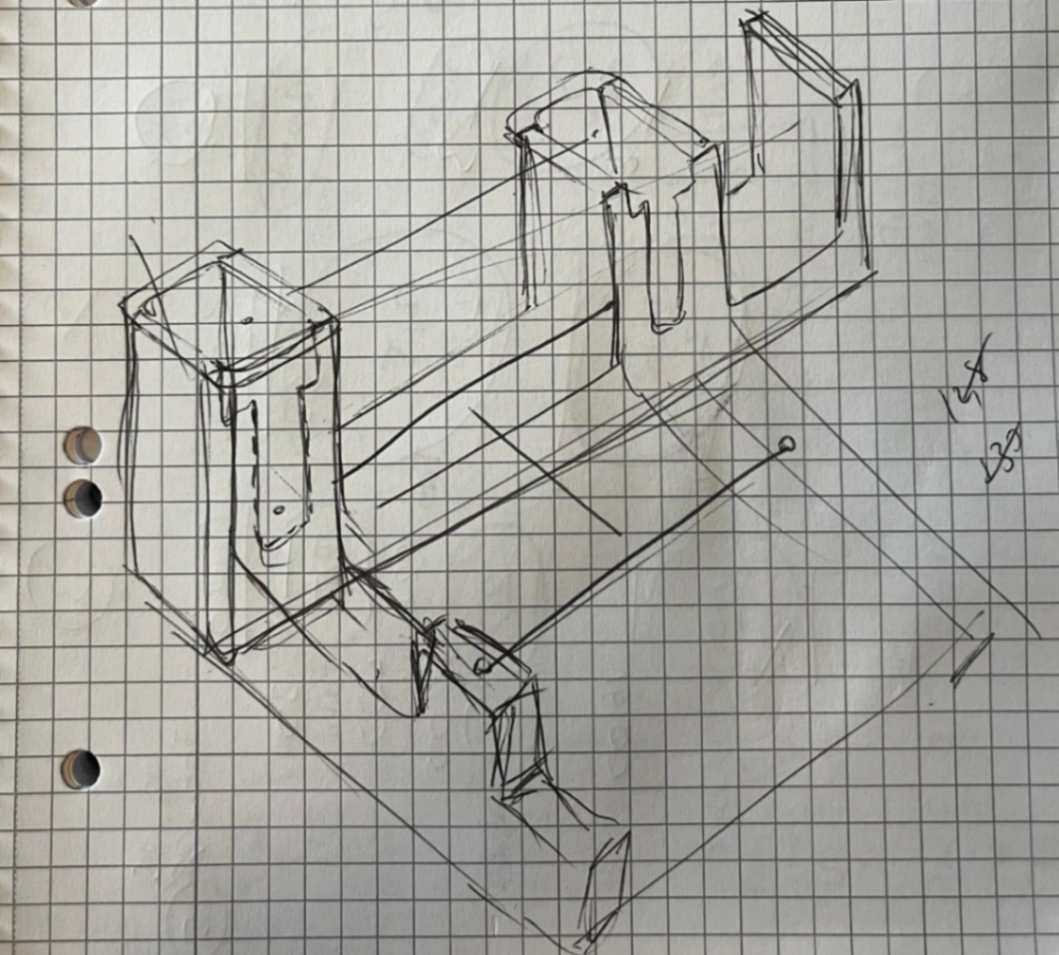
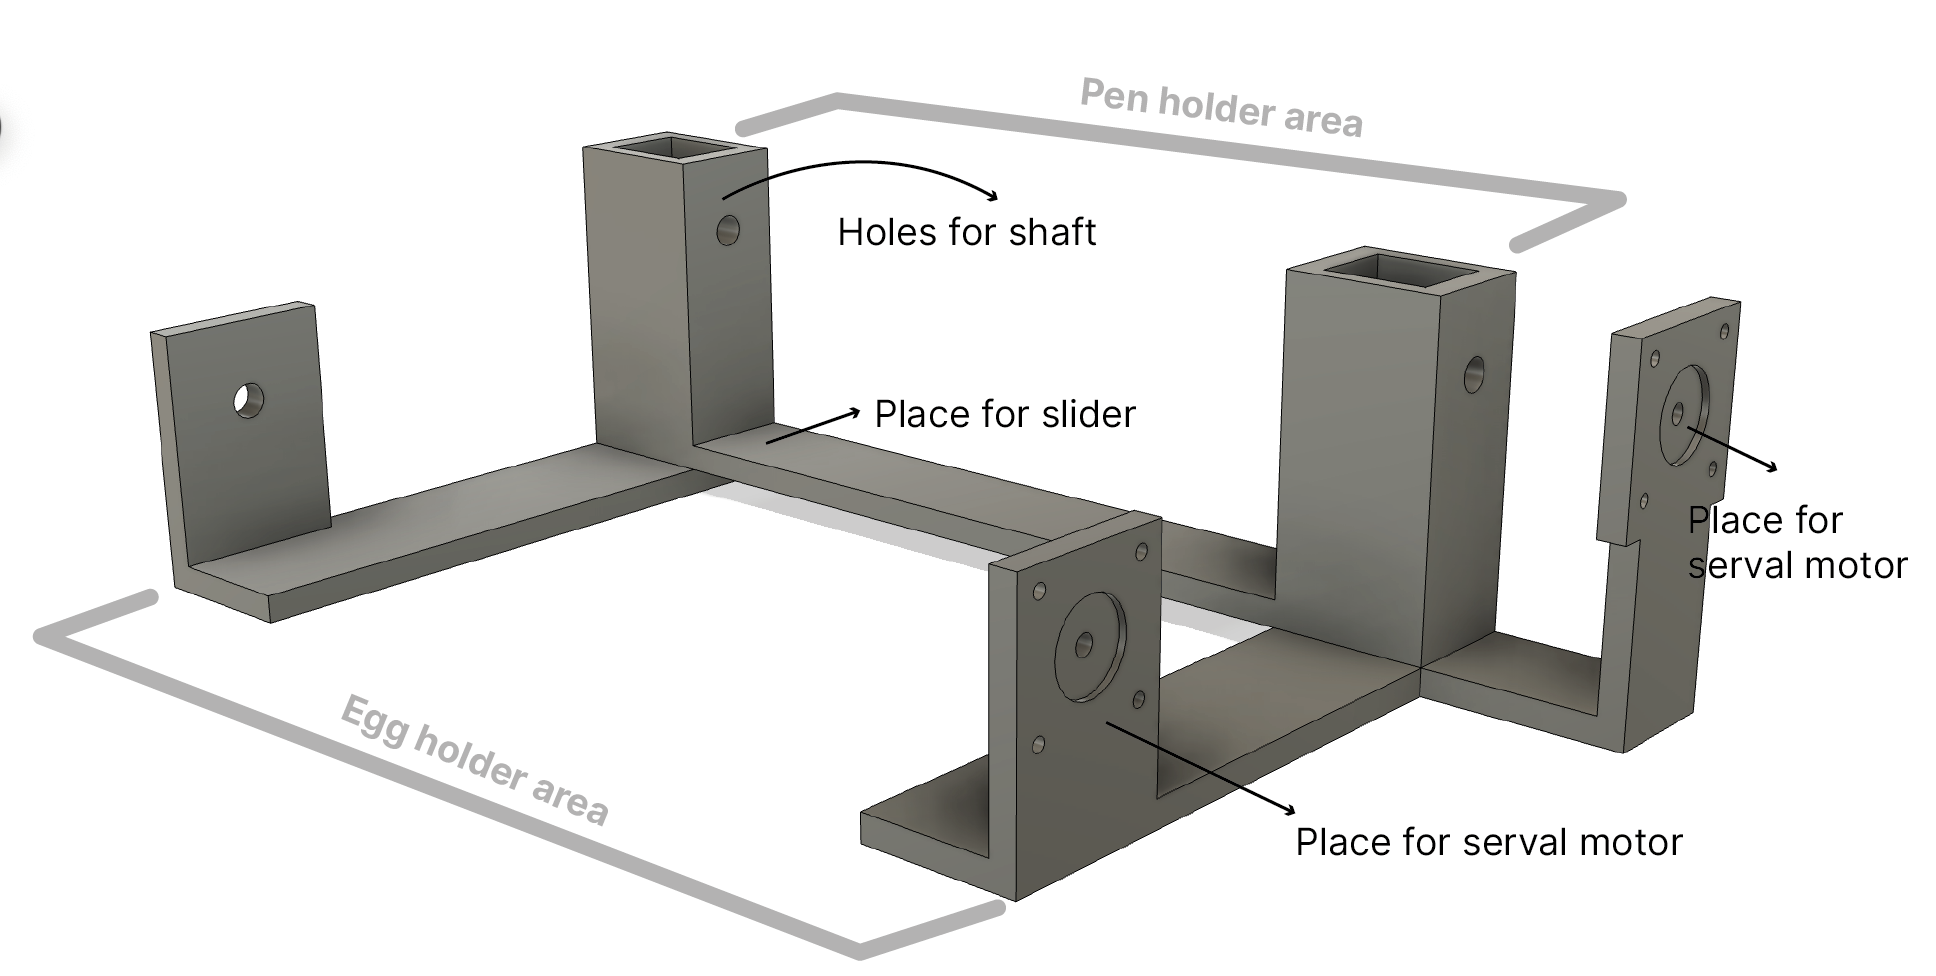
Before going through the 3d drawing of the frame on Fusion360, I did a sketch and talked with my how I can connect the egg holder and pen holder parts to the frame. I listed the components that must be attached to the frame such as serval motors, ball bearings, carriage slider, and shaft.
2. Deciding Connection Parts
I decided how I could place the components in the frame.
- Serval motor- Drill screw holes on the design.
- Carriage Slider - Drill screw holes on the design.
- Ball Bearing- Press fitting method, design narrow gaps for balls.
3. Design On Fusion
I complete the frame design in the Fusion360. However, then I realized my design didn't fit to 3D printer. The first version I designed was a single piece, which made it difficult to print this design on a 3D printer. Because the size of the design prevented it from fitting into the 3d printer.
First Design
The picture you see below belongs to my first design. As you can see in the image, all the parts were connected to each other and could not be separated. As a result of my group friends' warnings that I should pay attention to the dimensions, I tried to eliminate the deficiencies in my design. For this reason, I thought about how I could make an improvement.
- I decided to design the egg holder and pen holder as detachable parts
- I decided to design the serval motor and pen holder as separable parts.
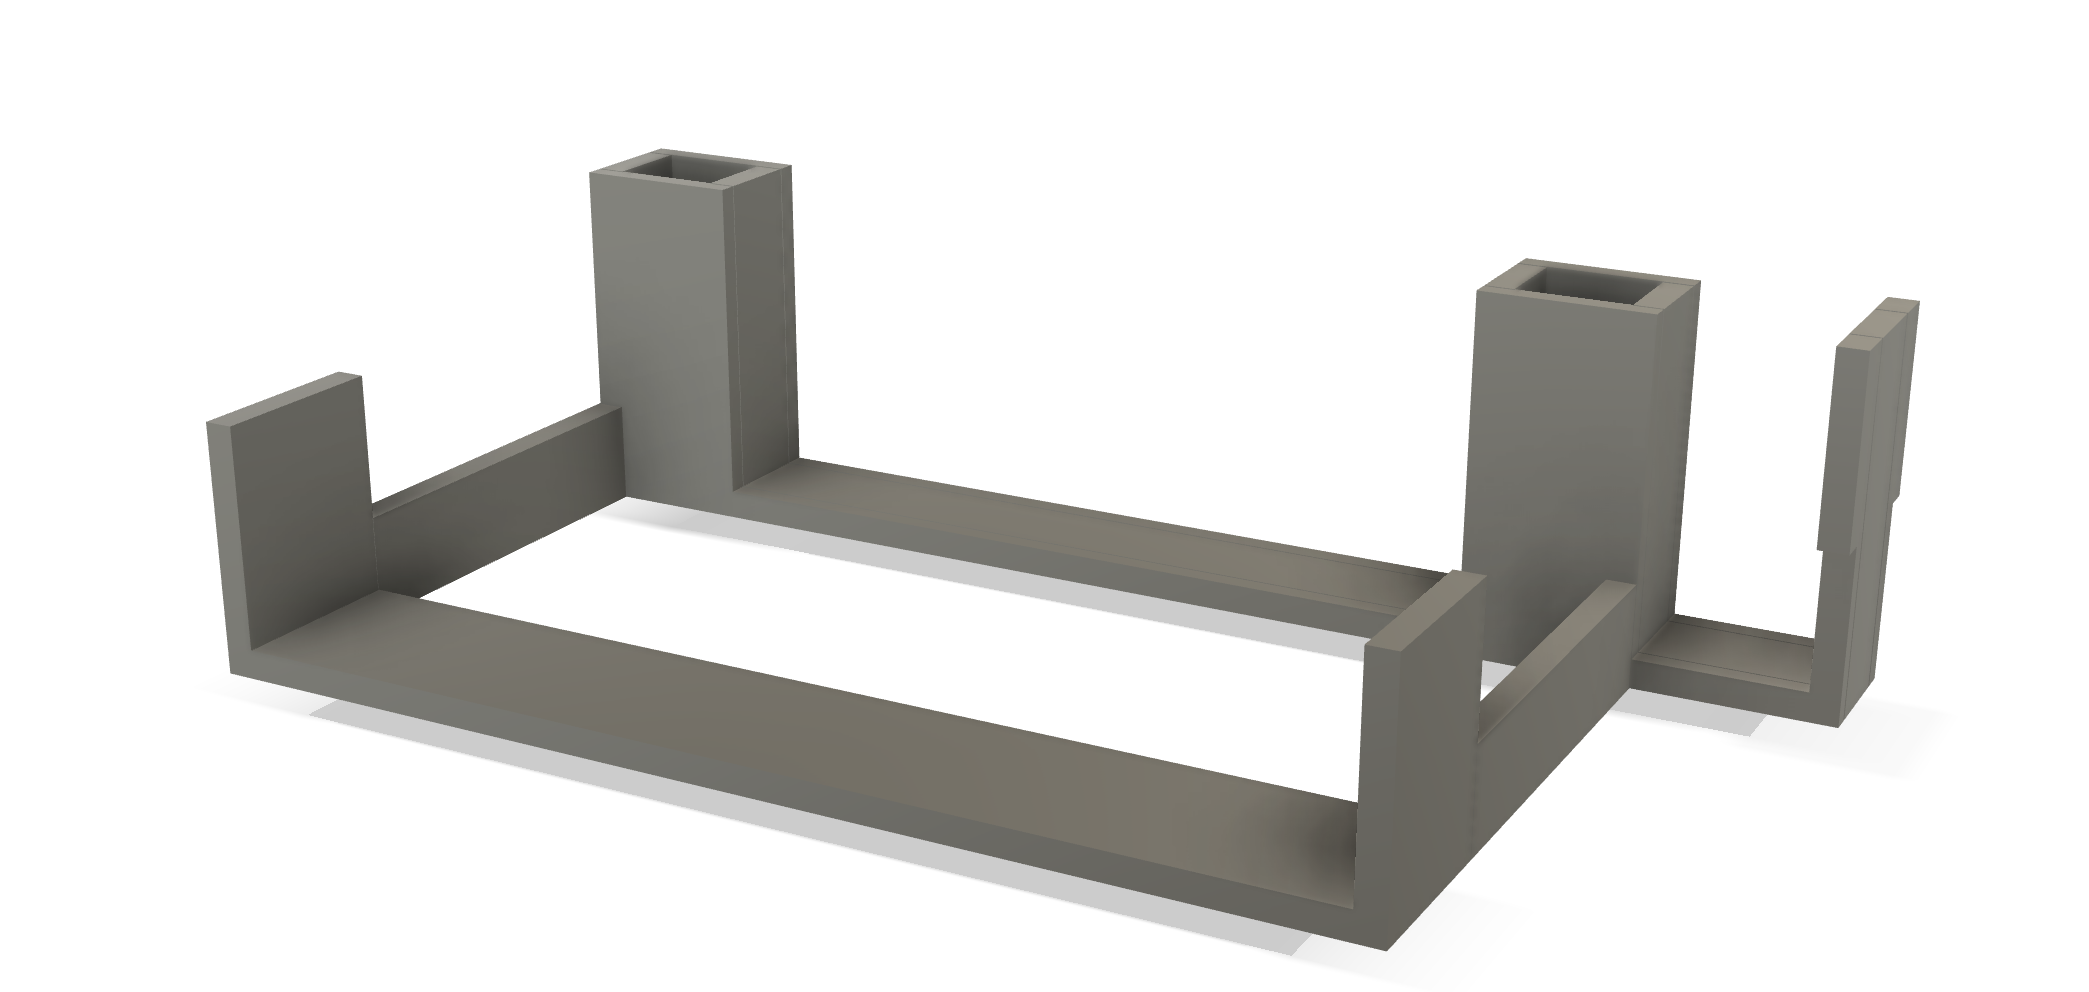
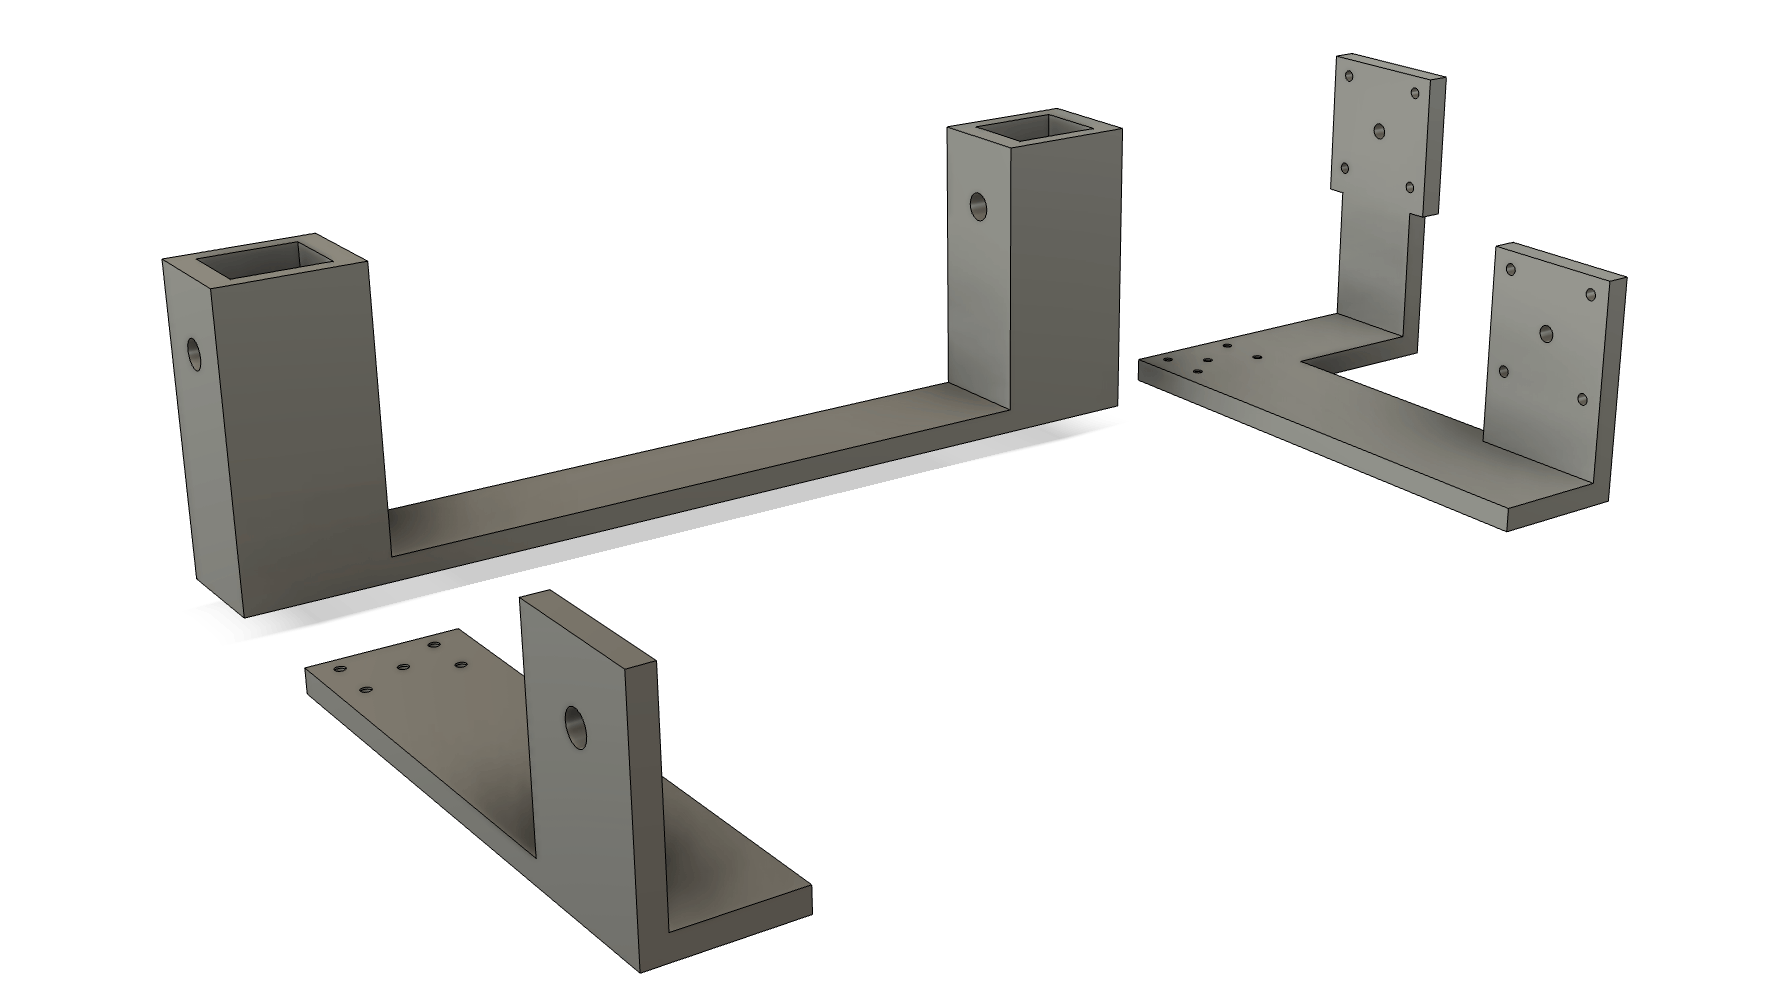
Second Design
As you can see below, I changed the way the egg holder is connected to the pen holder so that they can be joined underneath the parts with thumbscrews, but can be printed separately when 3D printing. I designed the serval motor and pen holder to be separated from each other and connected with screws.
As you can see in the cross-sectional area in the image, I created gaps in the boxes in the pen holder area where the bearings can be placed.
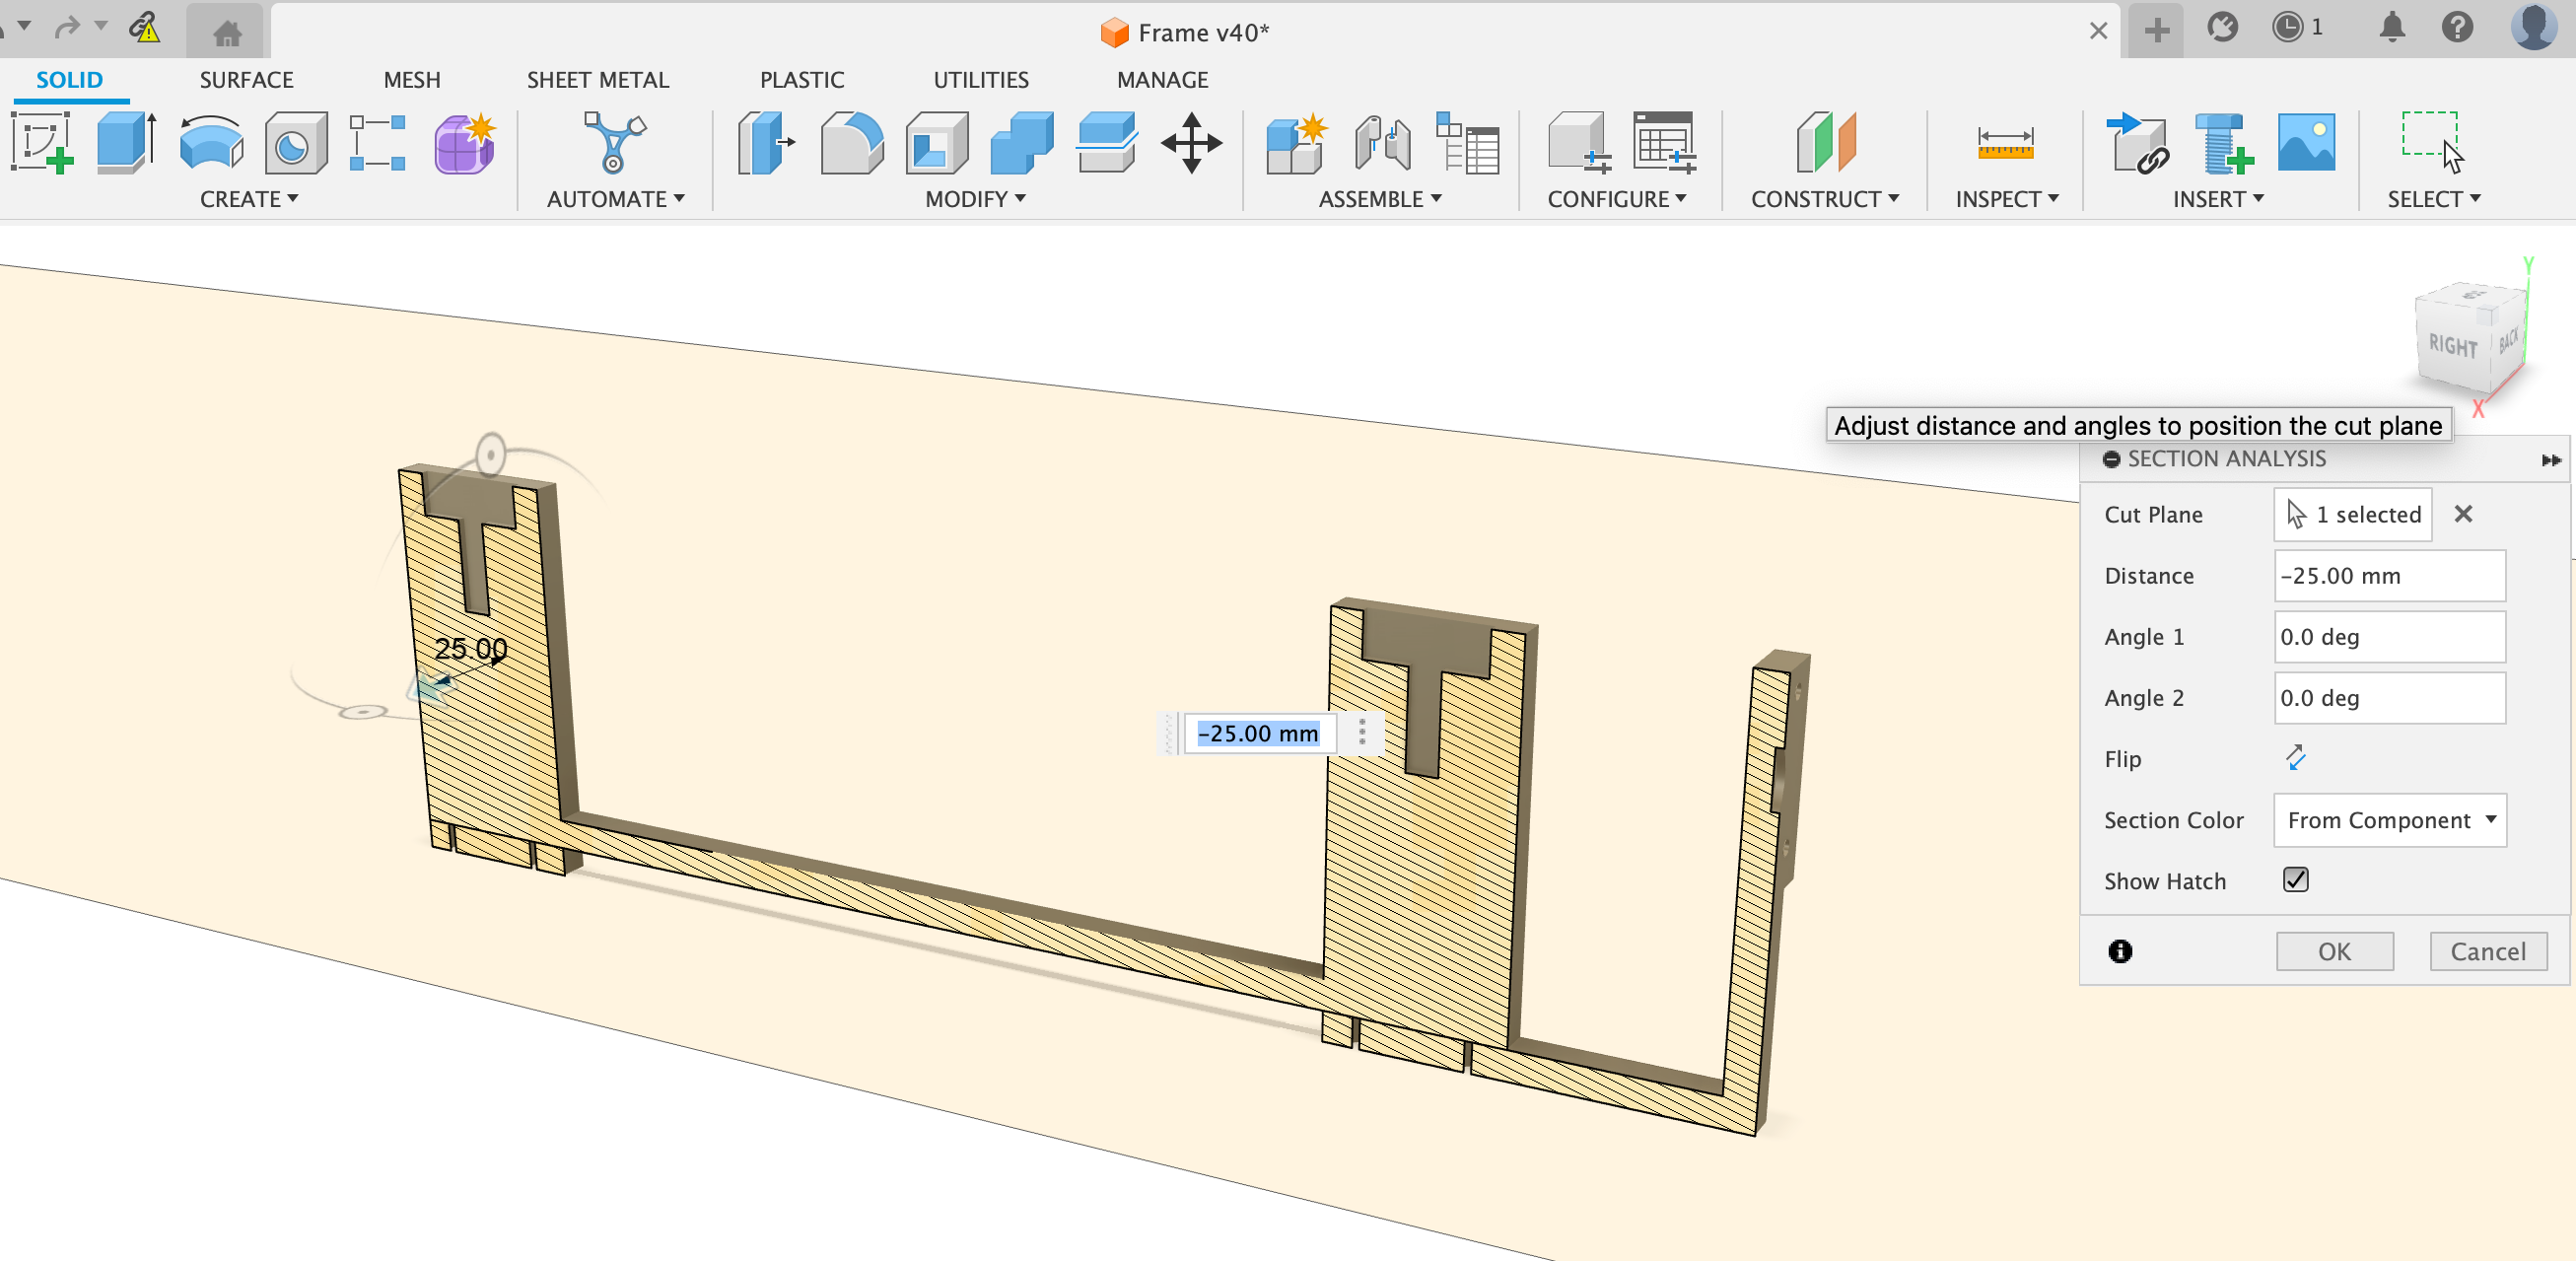
When the design is combined, it looks as follows.
After completing the drawing of the project, we started waiting for the order of the slider for production. During this period, due to the delay in product delivery, we could not produce this frame design in the 3D printer. Also Due to our inability to plan the working process well as a group and to start printing the design on the 3D printer on time, there was a disruption in the production process. Since I was not available to work in the last 4 days of the project, my group friends made another design for the frame.
Due to our inability to plan the working process well as a group and to start printing the design on the 3D printer on time, there was a disruption in the production process;
- The width of the egg holder area can be designed to be adjustable.
- In order to adjust the distance of the pen to the egg, the distance of the egg holder to the pen holder can be designed to be adjustable.
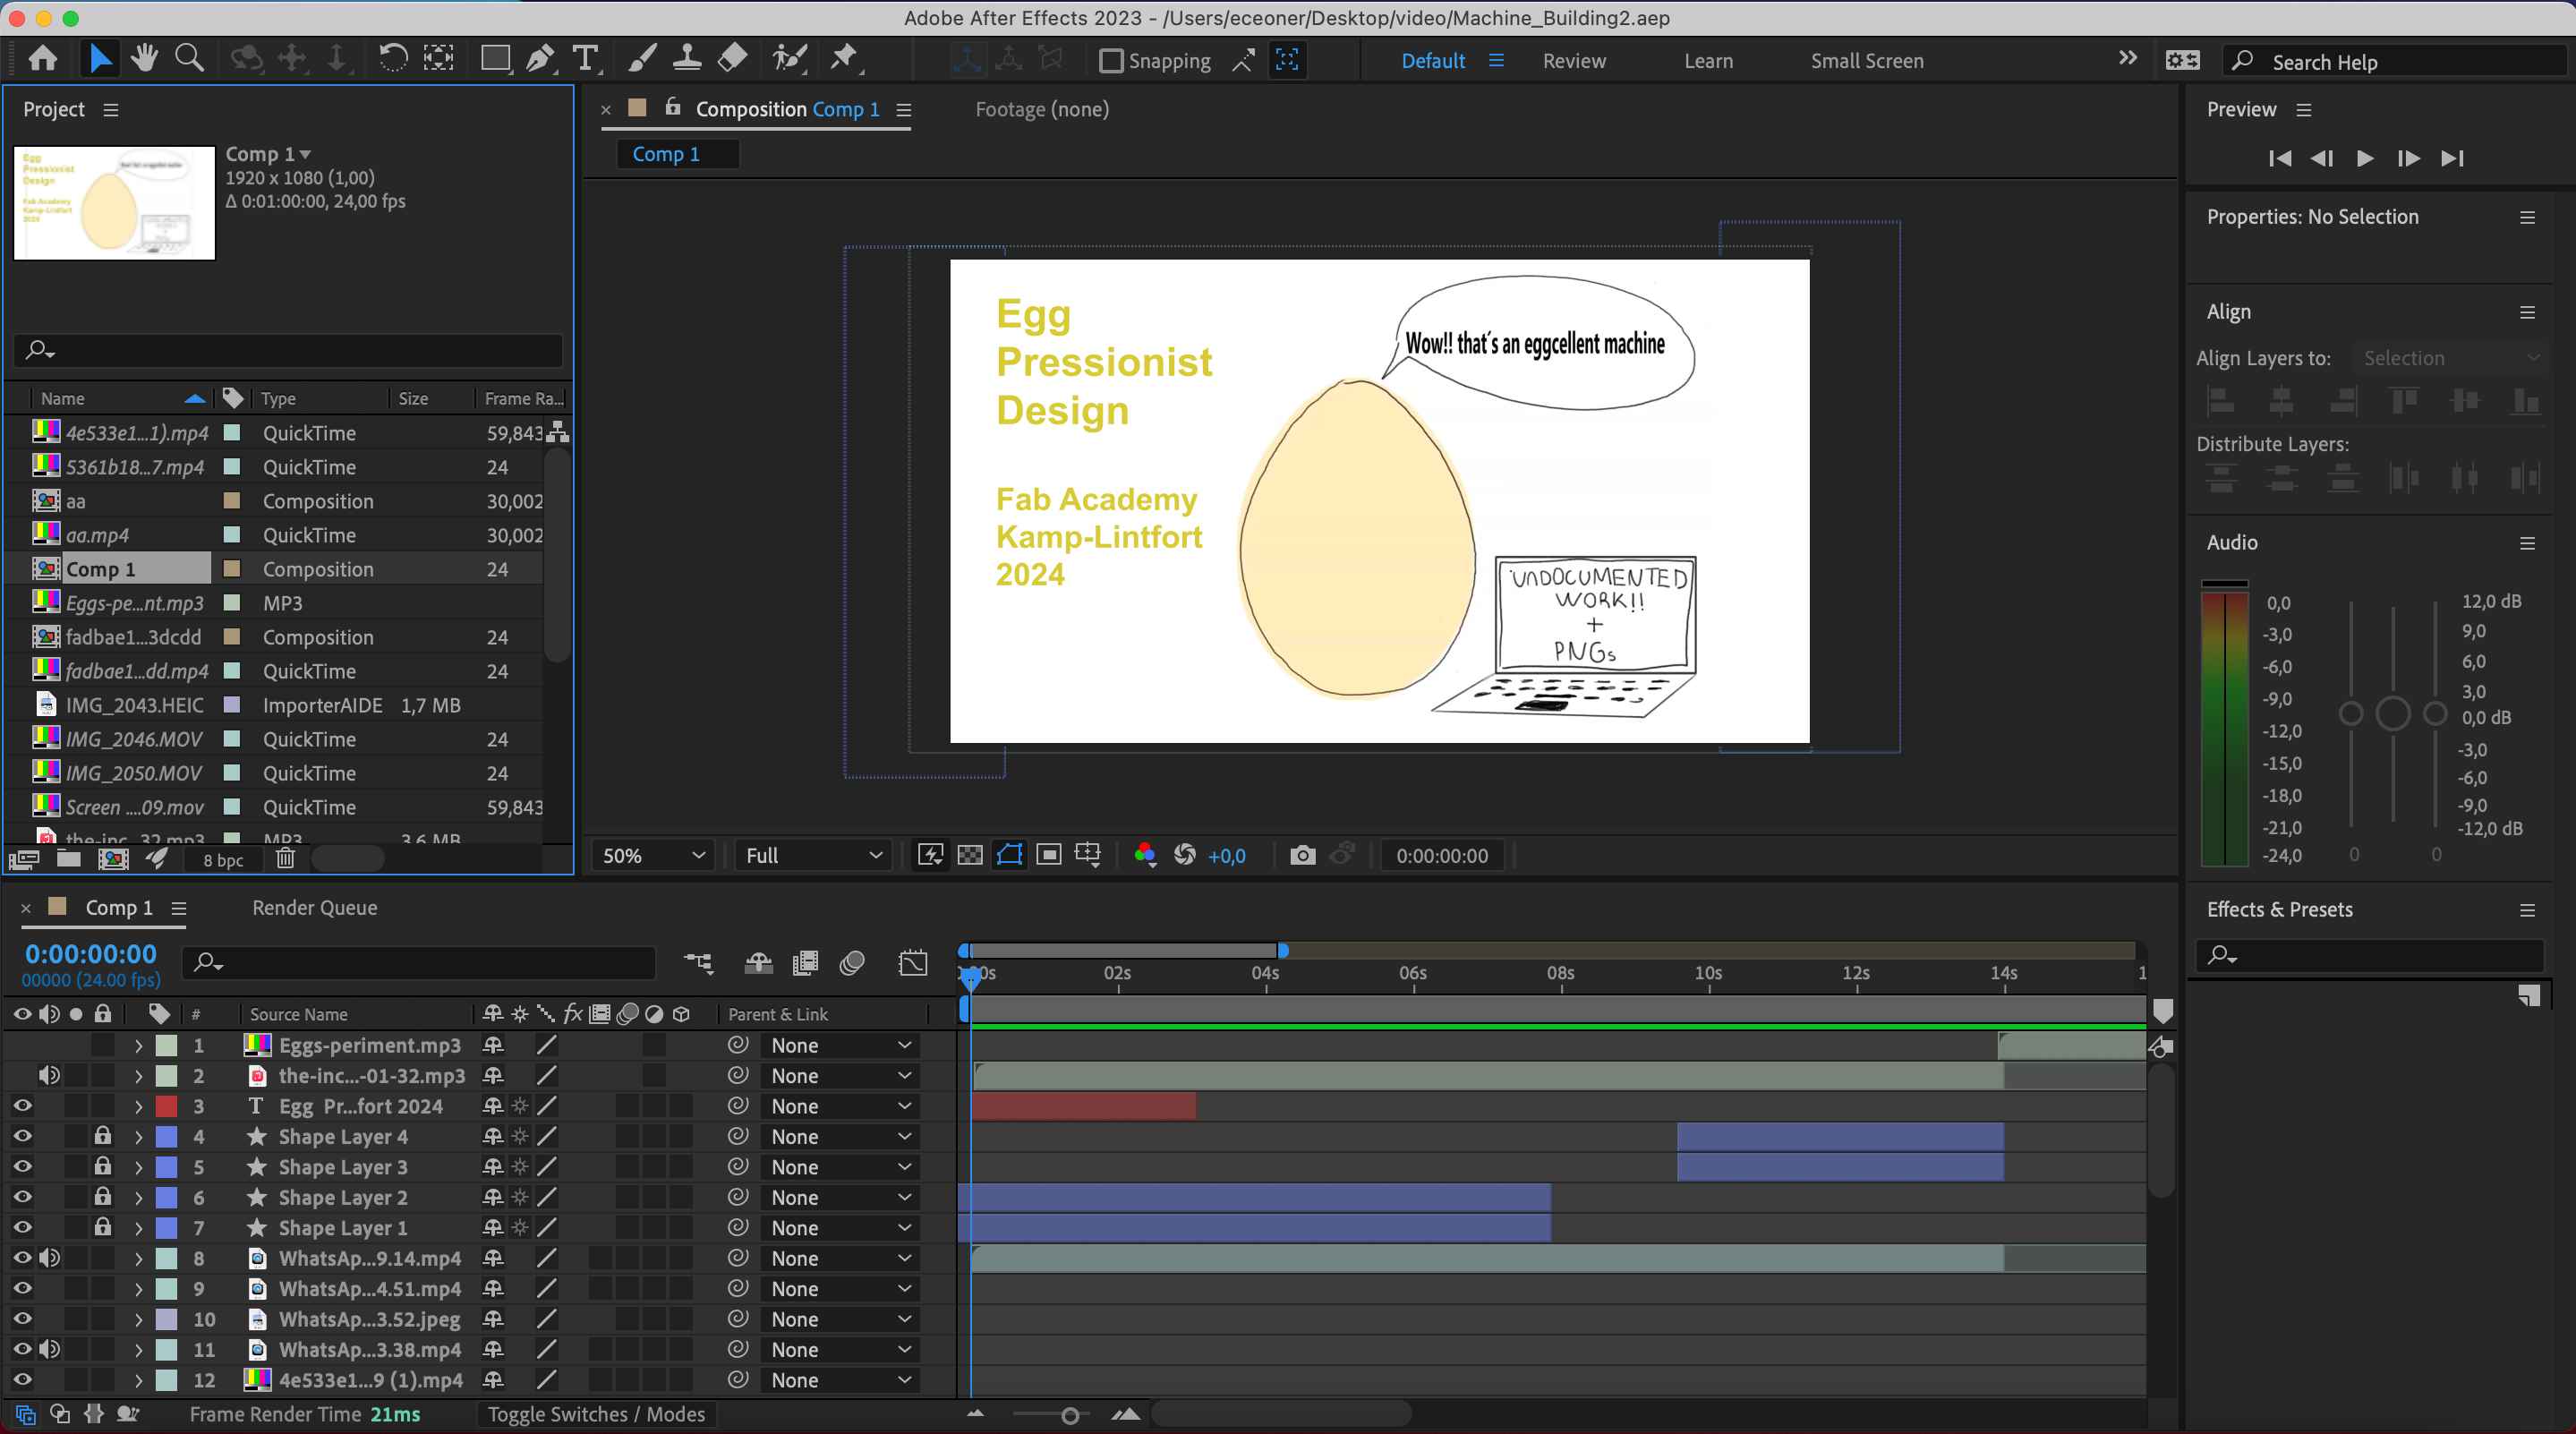
4. Desiging Presentation
I prepared the presentation design using Adobe After Affect. I combined images and videos explaining the process and used the music we prepared using AI as background music.