WEEK 1
Project Management
Assignment:
- Plan and sketch a potencial final project.
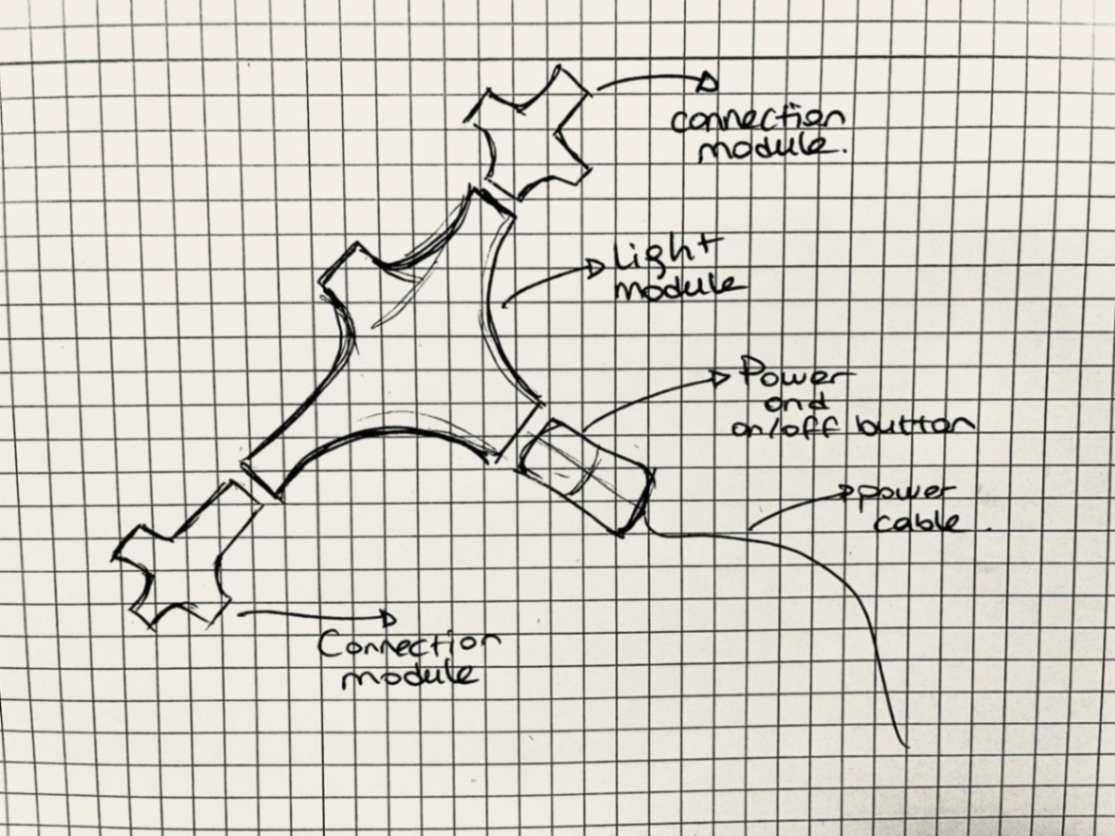
For my final project, I aimed to design touch-sensitive modular lighting. On the project, a user can reshape the look of the lighting by reorganizing the modules. Also, users will attach the connection modules and lighting modules differently at any time.
Secondly, users can change the brightness of the light by using the slider which is placed on the lighting modules. For further improvements to the project number of the modules can be increased and the user can control the LED colors with an app.
Priority Orders of the Features:
Must Have
- Contactable modules that can be reorganized.
- Lighting modules with touch-sensitive sliders that can change LED brightness.
- A power module that has a microcontroller.
Should Have
- More than one lighting module.
- App design can control the color of the LEDs.
To-do List
- Finalize project idea and user interaction.
- Make an inspiration board for the product form.
- Determine which components are needed.
- Determine the form of the product according to experience.
- Test for LED and the power.
- Test for touch-sensitive slider.
- Design the PCB and test it.
- Make a prototype for the power and button module.
- Make a prototype for the lighting modules.
- Try to make a silicon prototype for lighting modules on molding and casting week.
- Test pogo pins with lighting prototype.
Setup Website
Assignment:
- Work through a git tutorial.
- Build a personal website describing you and your final project.
Working on HTML codes, Visual Studio, and git was the first time in my life. That is why it was quite challenging for me. However, my initial aim was to set up Git on my computer, thus I followed these instructions;
- I downloaded the git which suits my PC.
- To configure the Git with my account. I opened the terminal and placed my Fab Academy name and email.
- I generated a ssh key for local folders.
- After executing the last command, a '.ssh' folder will be created containing the SSH key as a text file. You can locate this folder on your computer. For added security, the terminal will prompt you to set a password for the folder. If you prefer not to set a password, simply press enter.
- Next, you need to clone the git repository into the current folder.
git config --global user.name "Your Name"
git config --global user.email "your.email@example.com"
ssh-keygen -t rsa -C "your.email@example.com"
cat ~/.ssh/id_rsa.pub
cd "your directory"
git clone "your HTTPS"
After my repository was cloned to the folder. I discovered the Visual Studio which already existed on my computer. I added all my files and writings for my first assignment. Secondly, to explain my final idea and its time plan, I realized that I needed some components such as bullet points. Then, I discovered to use w3schools. After that point, when I need any of the code I research on that website. When you find one of the component's pages, basically click the "Try it yourself" and copy the code to apply on your website.
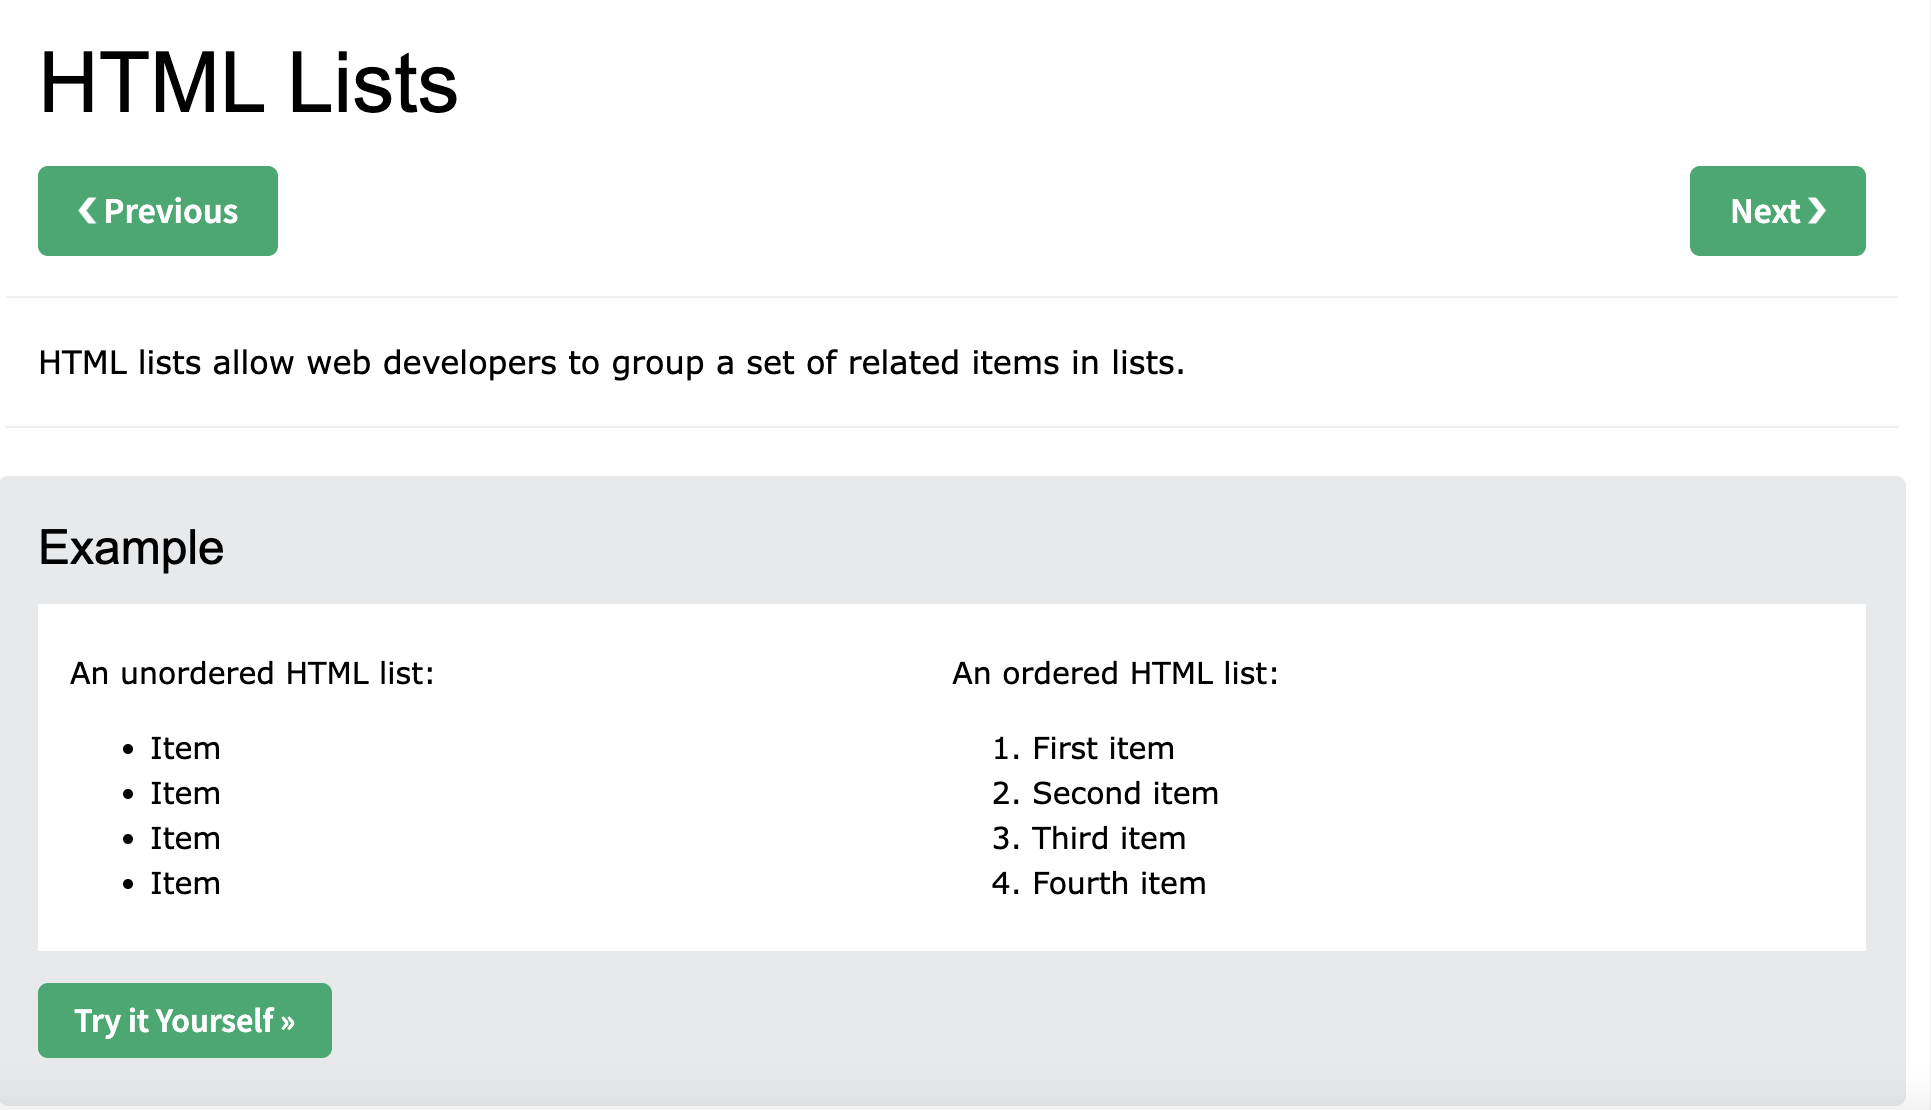
Below you can find the components I use the most;
- Bullet point
	<ul>
	<li> </li>
	</ul>
	<ol>
	<li></li>
	</ol>
<span class="image main"><img src="./file name" alt="" /> <figcaption></figcaption></span>
<li><a href="Link name"> Link describing</a></li>
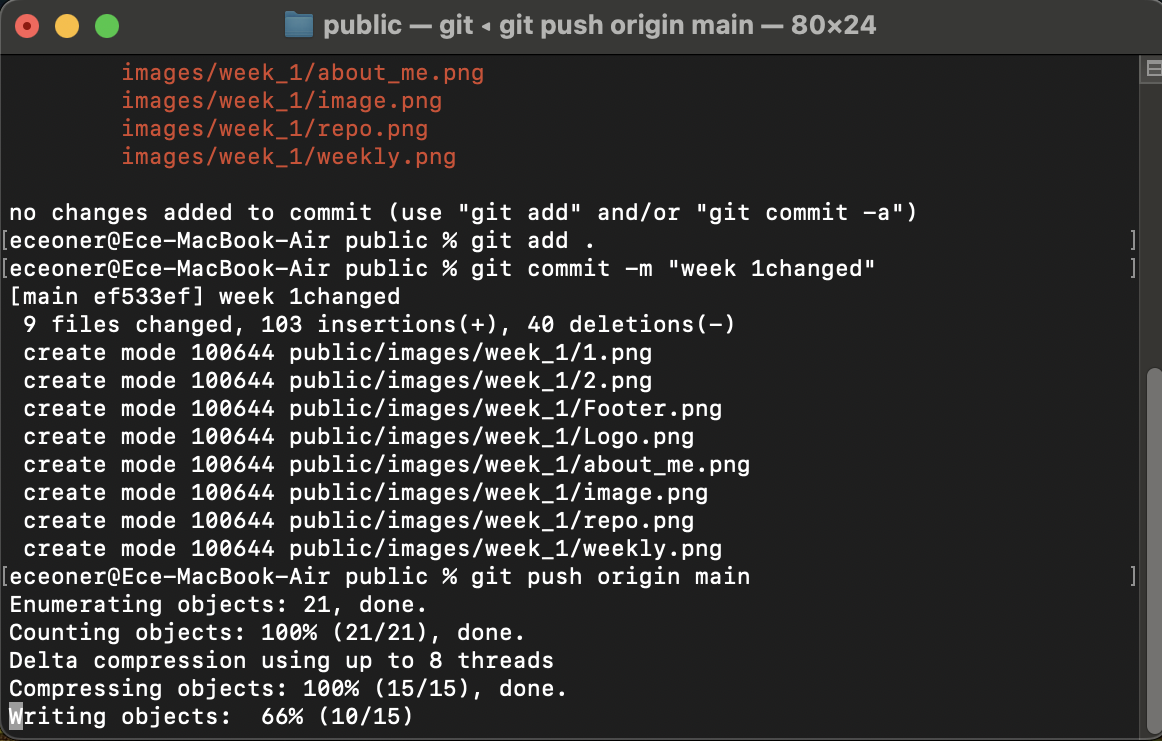
To push my changes, which I did locally through the visual studio, I worked on the terminal. I apply the following steps on the terminal to push the last changes.
- cd (drag and drop the file)
- git status
- git add .
- git commit -m "give a name to changes"
- git push origin main
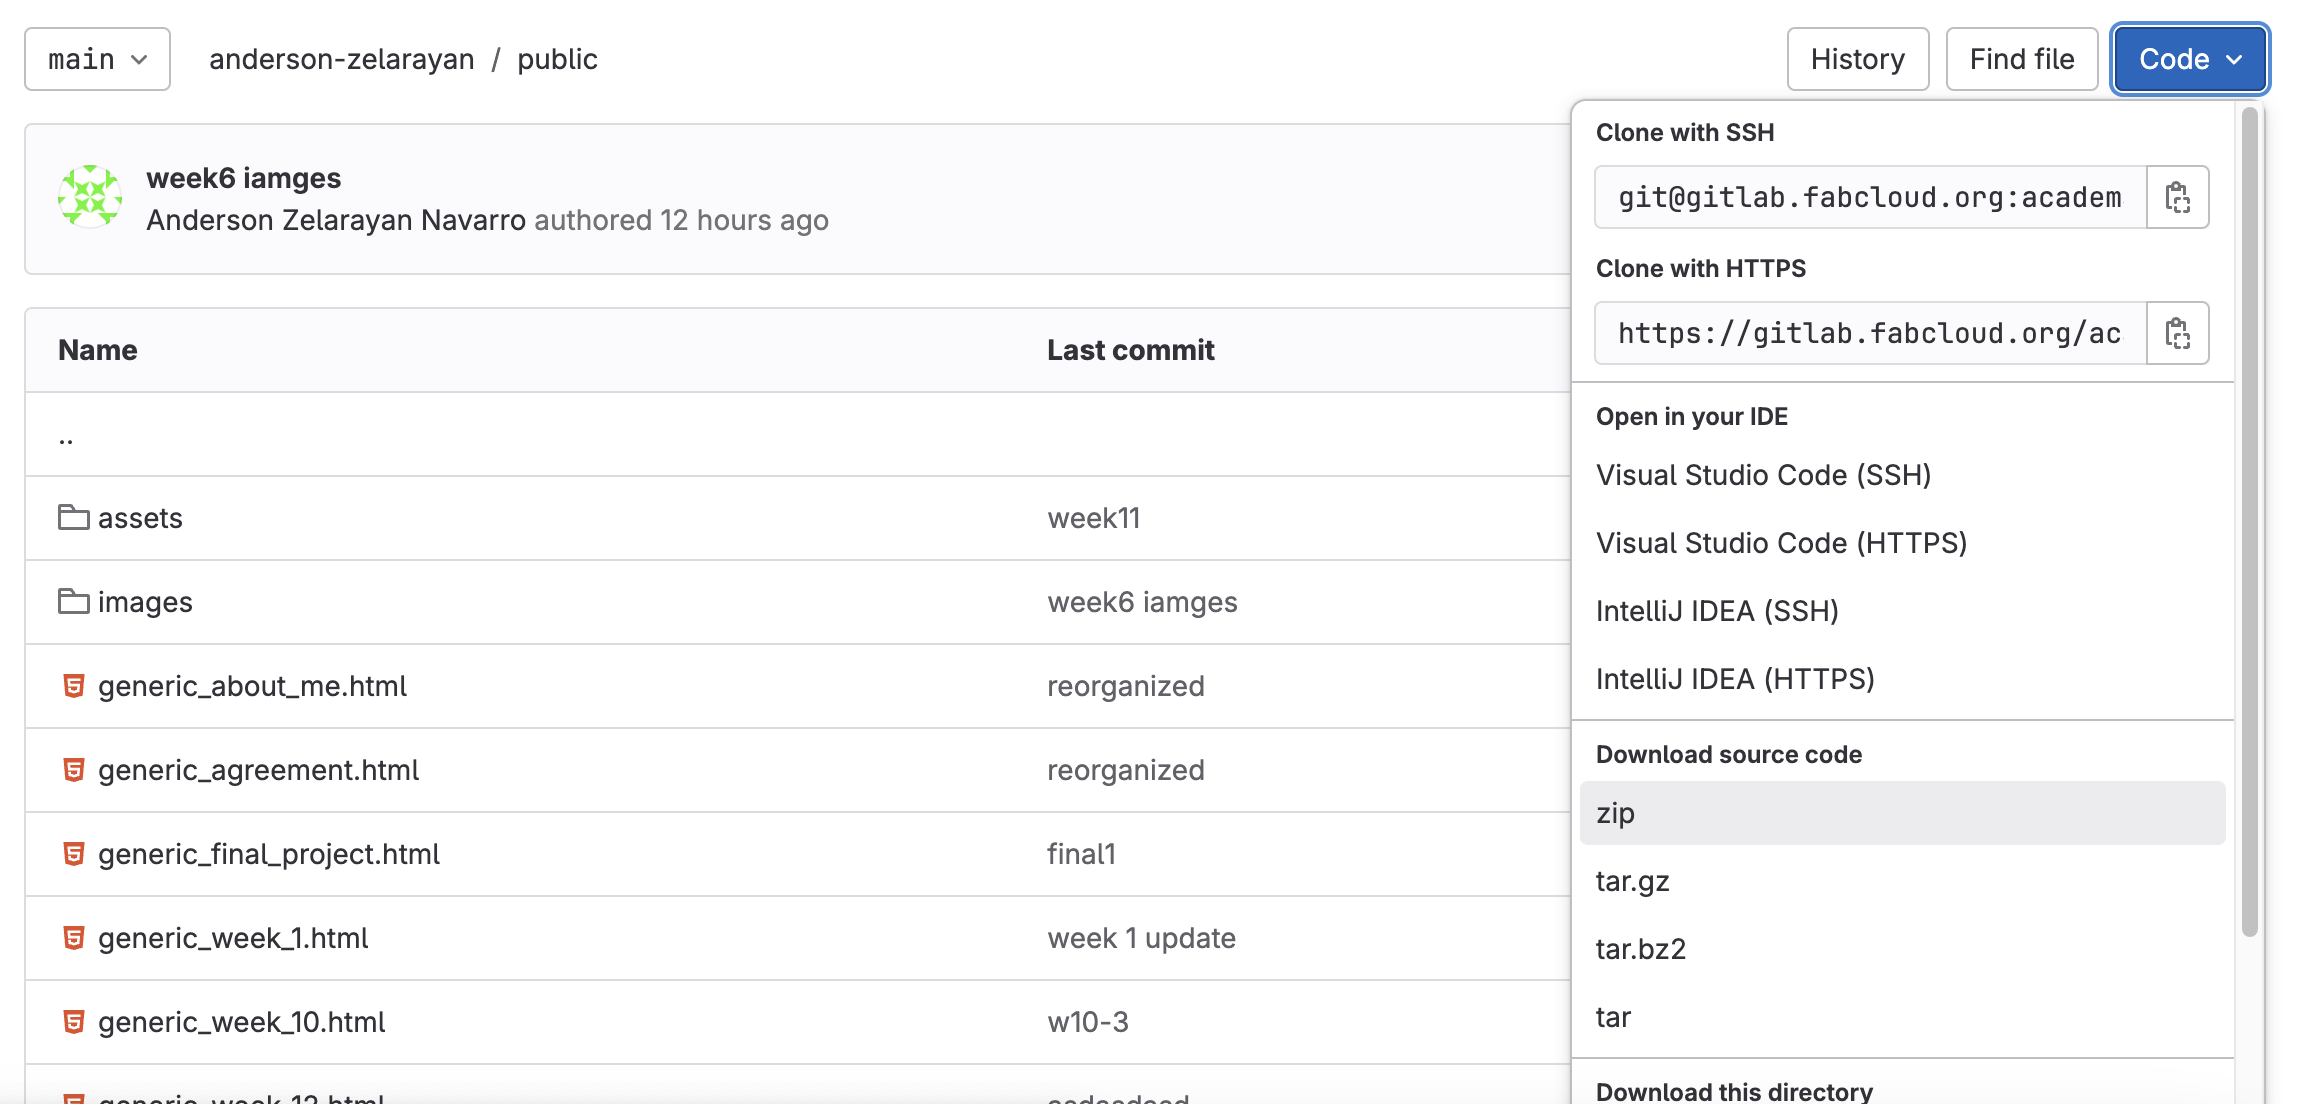
However, over time I didn't feel satisfied with the appearance of my website. I searched through the previous Fab Academy student's website that I can adopt. I came up with the website of the "Anderson Zelarayan". Here you can find the source website. Then I apply the following steps to redesign my website;
- I found the student's GitHub account and downloaded it to my local computer. Here you can find the website.
- I made a backup of my existing project on my local computer.
- I replaced the documents in my file on my local computer with the student's documents. I imported the student's documents into the public file.
- Since I wanted to use the project as a template, I deleted all personal data in it.
- Then I added my own current content.
When customising my site, I prioritised correcting the following information;
- Since we are at the beginning of FabAcademy in this process, there are a few weeks that I have to change. Firstly, I deleted the visuals in the student's file and copied what I wrote for the first 3 weeks step by step from the file I cloned and pasted it into my new file I received from the student.
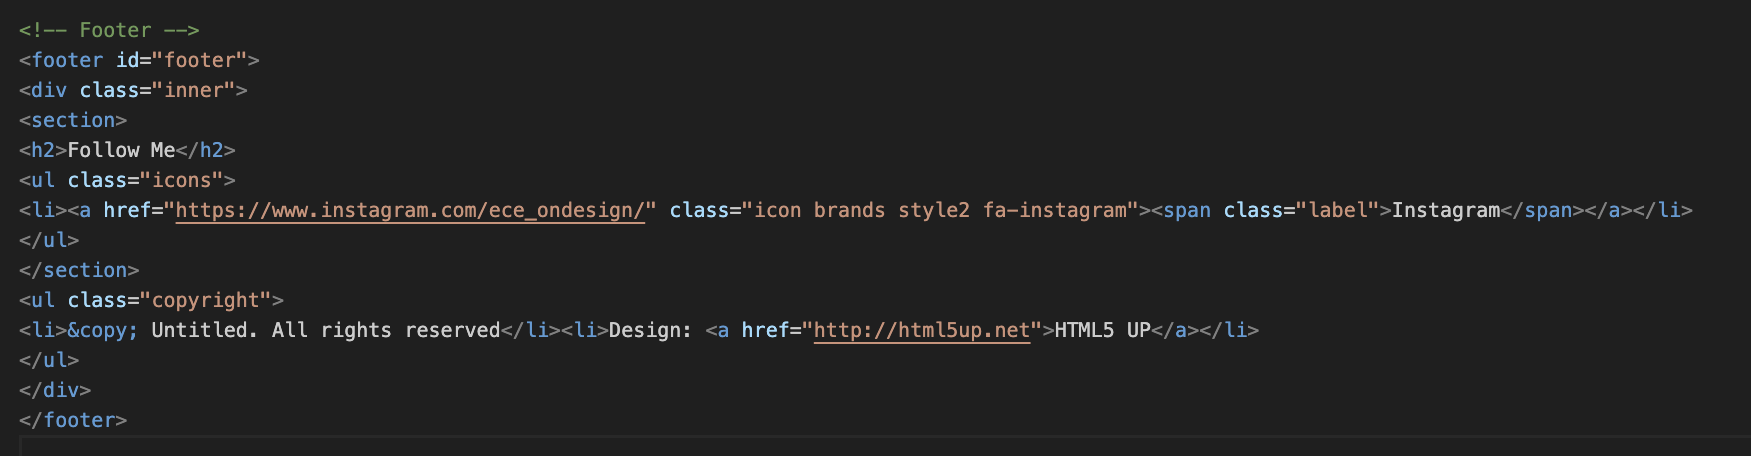
- I replaced the information about the former student in the footer with my own information.
- I replaced the student name in the logo area with my own name.

- I deleted the student's information on the about_me page and wrote my own information. I deleted the images of this page from under the "image" tab and left my own images under the image tab by dragging and dropping them.

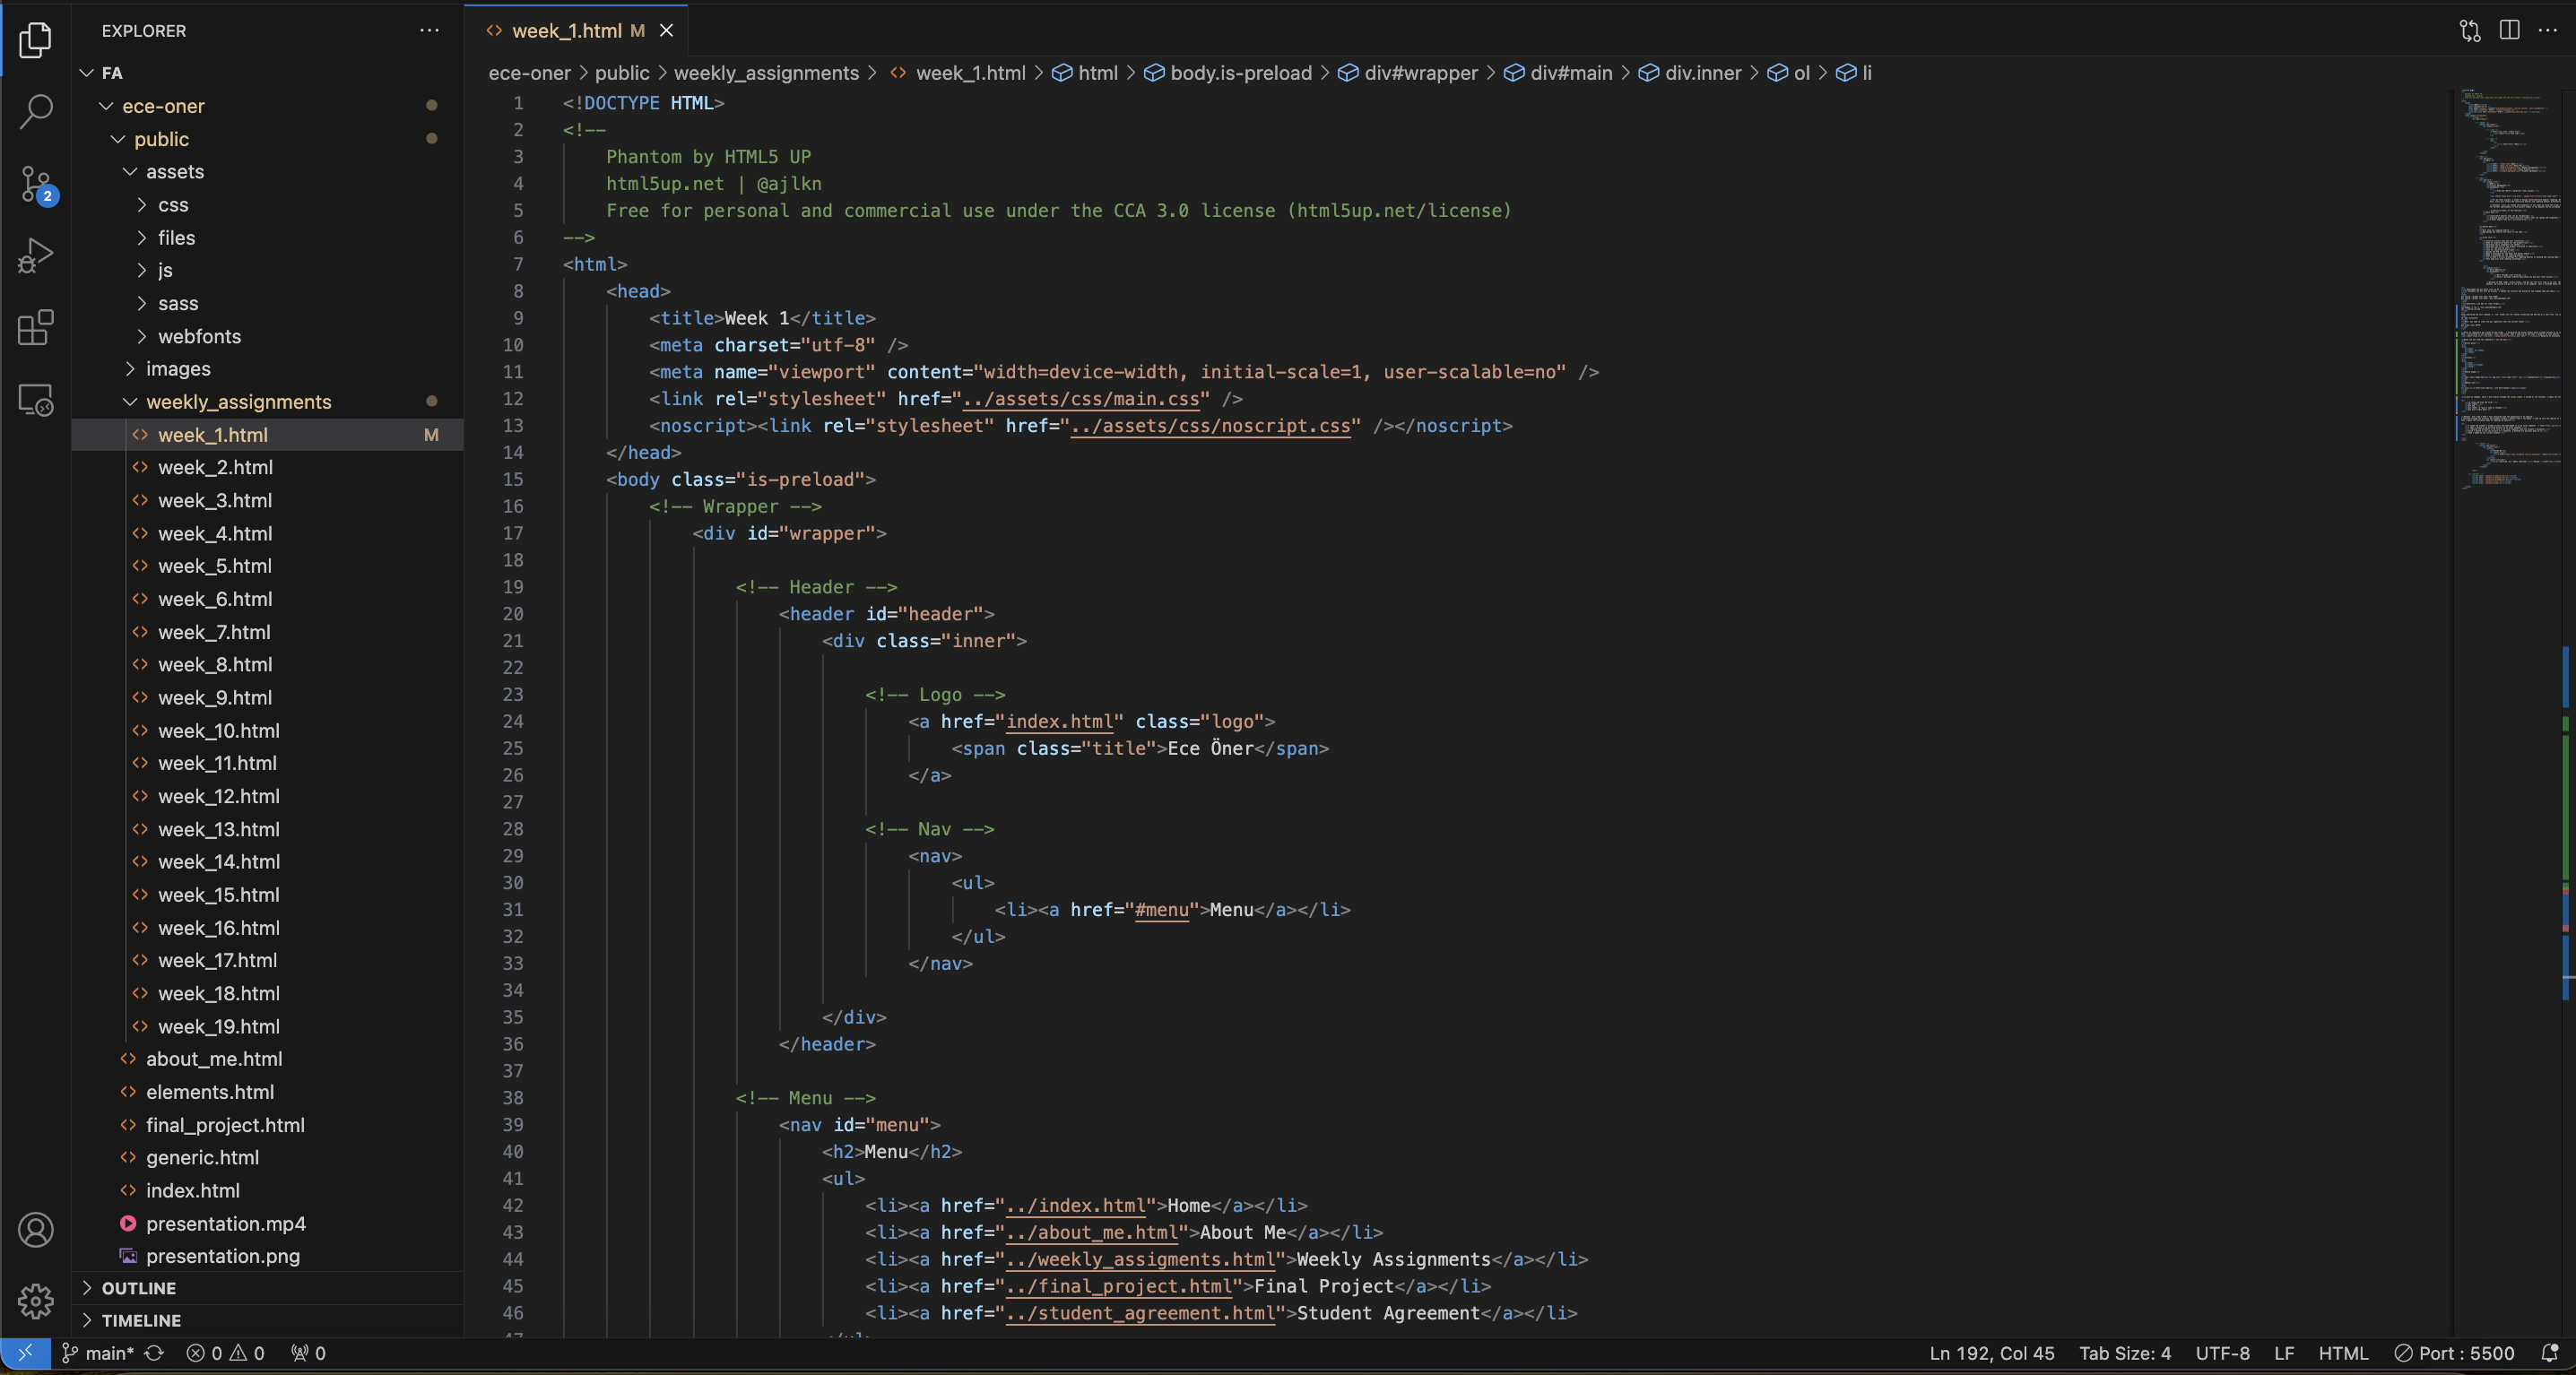
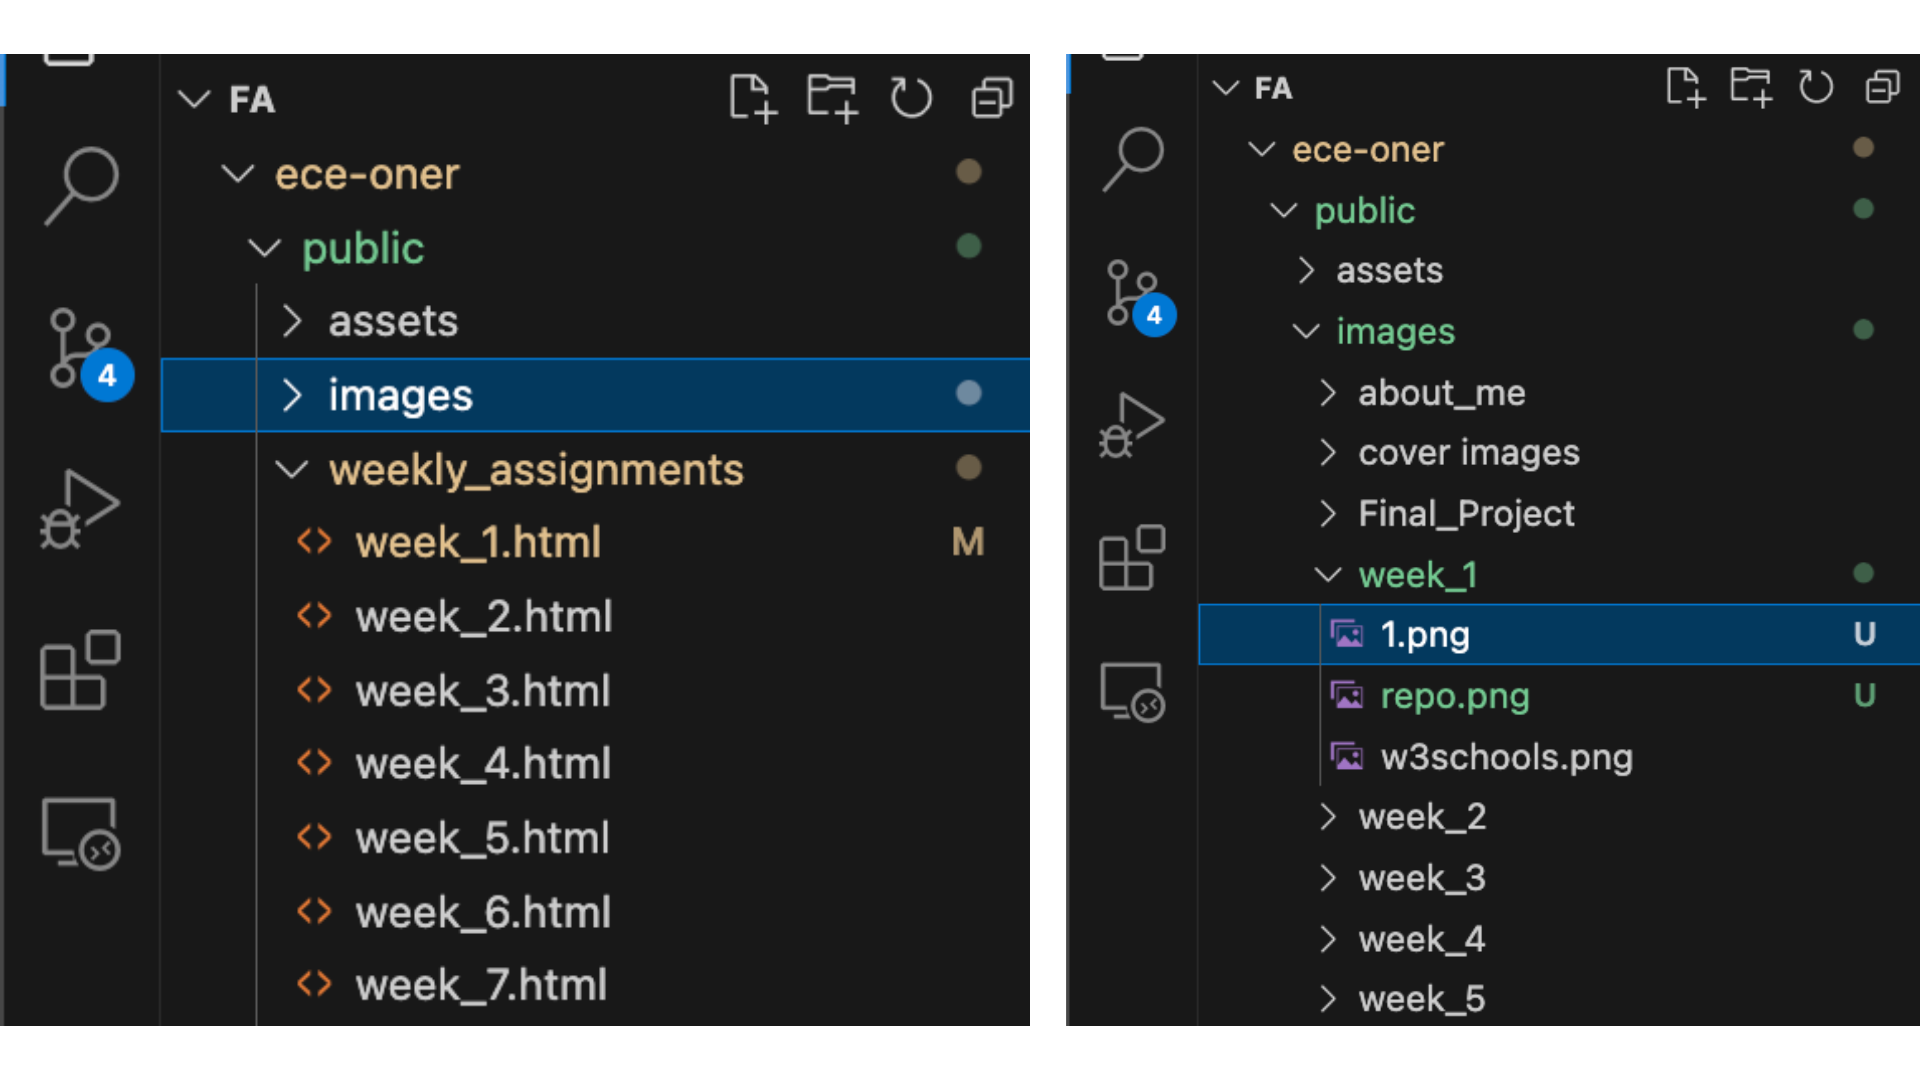
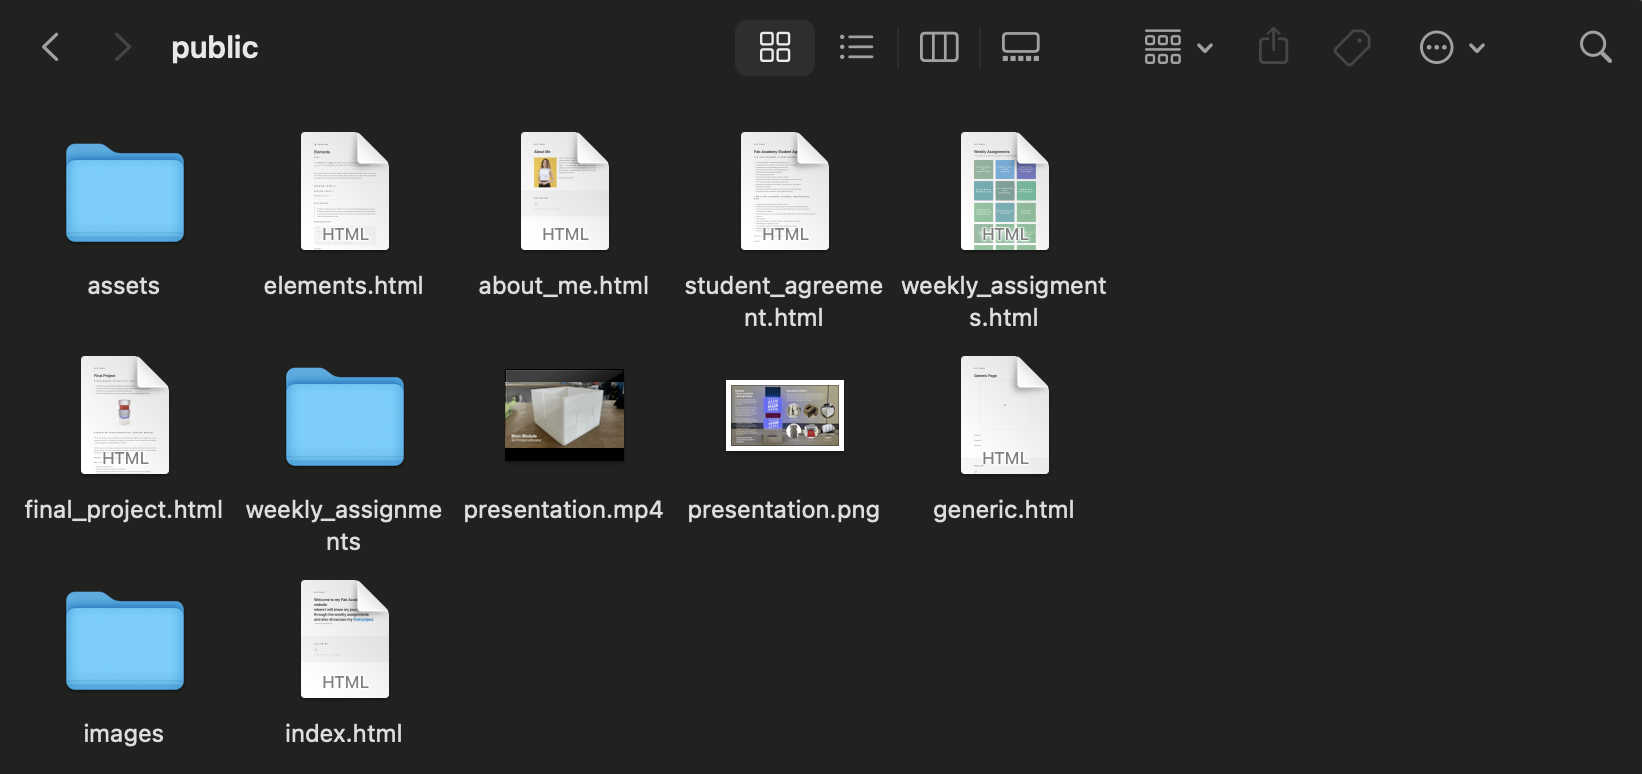
In order to make changes in visual studio, I go to the left hand side of the interface, where I use three main tools: "Images", "Weekly assignmnets" and "Files". Under the "Weekly assignmnets" tab, as the weeks continue, I copy the existing week and organise its content according to that week's assignment. Under the "Files" tab, I created folders for the weeks. I separate the images I need according to the weeks. Under the "Files" tab, I drag and drop the design files I use for my assignments.