1. Principles and Practices, Project management
This week I worked on defining my final project idea and started to getting used to the documentation process.
Principles and Practices (part 1 of 2)
- Plan and sketch a potential final project
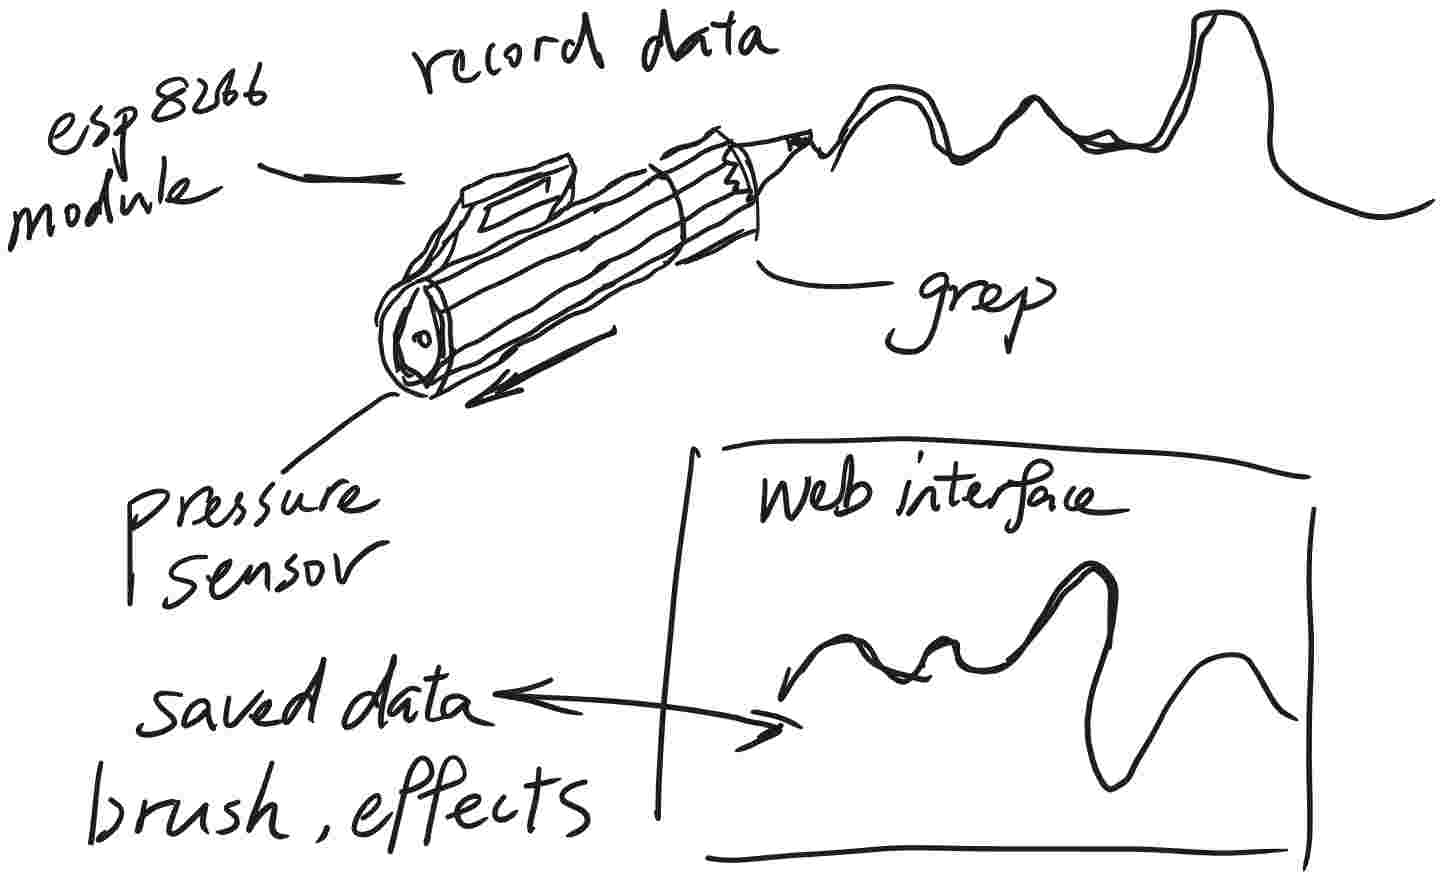
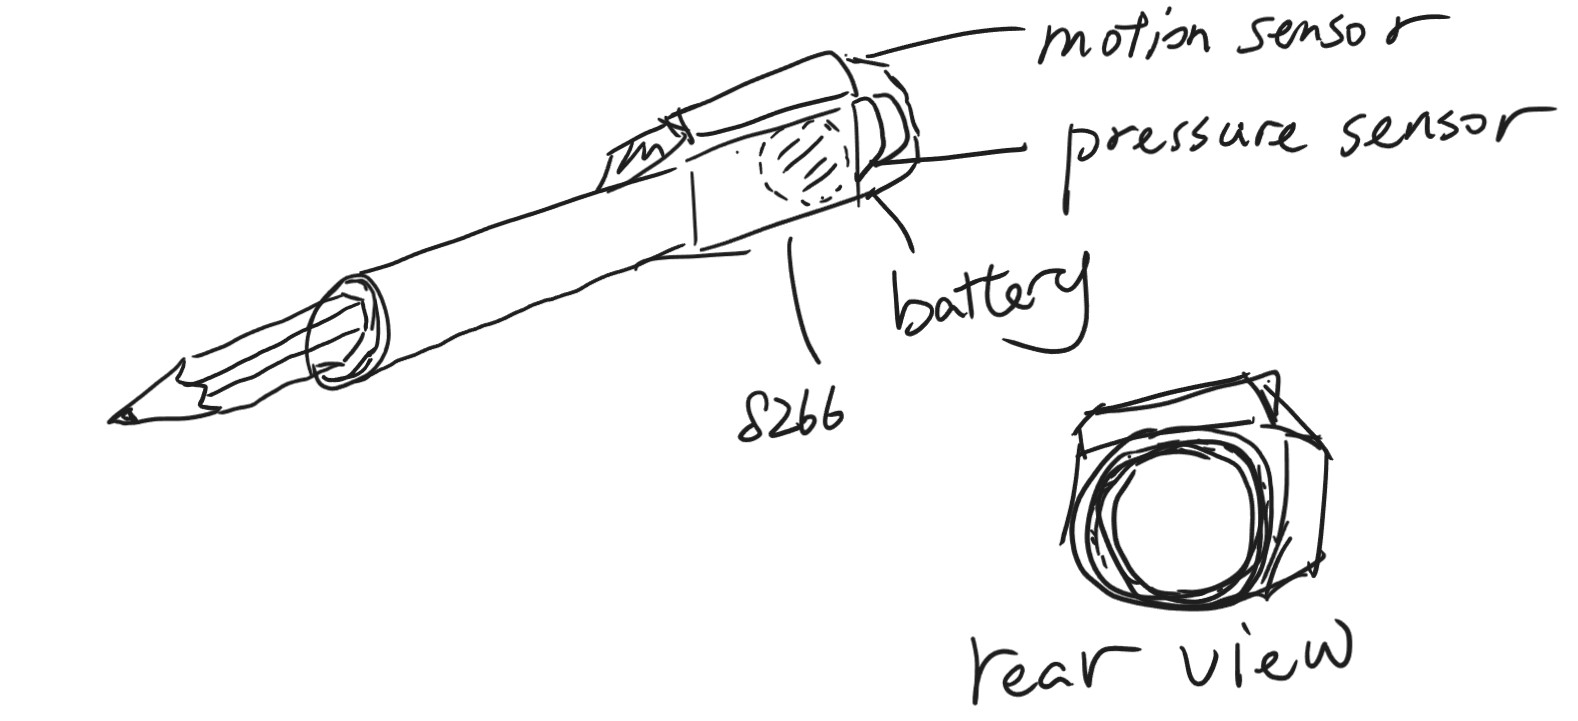
The initial final project idea I came up is a small device that can attach to a pen and record your movement with the pen. I imagine it uses a motion sensor, like a three-axis accelerometer/gimbal senser to track the position and tilt of the pen. The structure contains a circular slot to insert the pen, and at the bottom of the slot, place a small force sensor (maybe FSR sensor) at the bottom of the slot, use the force sensor's value to determine if the user has started writing or drawing as well as record the force used when drawing. I'd like it to have some kind of network capability, to have a Web interface to show the recorded path, maybe also do some effects and generative image stuff.
The idea is to achieve the path recording functionality as simple as possible and not affecting the normal writing and drawing exprience, acting as an addon for the pen.
Project Management (part 2 of 2)
- Work through a git tutorial.
- Build a personal website describing you and your final project. Refer to the lecture material for examples.
- Upload parts 1 and 2, to the class archive.
For this part of the assignment, because I have some exprience in coding and web design, it's not a big challenge for me.
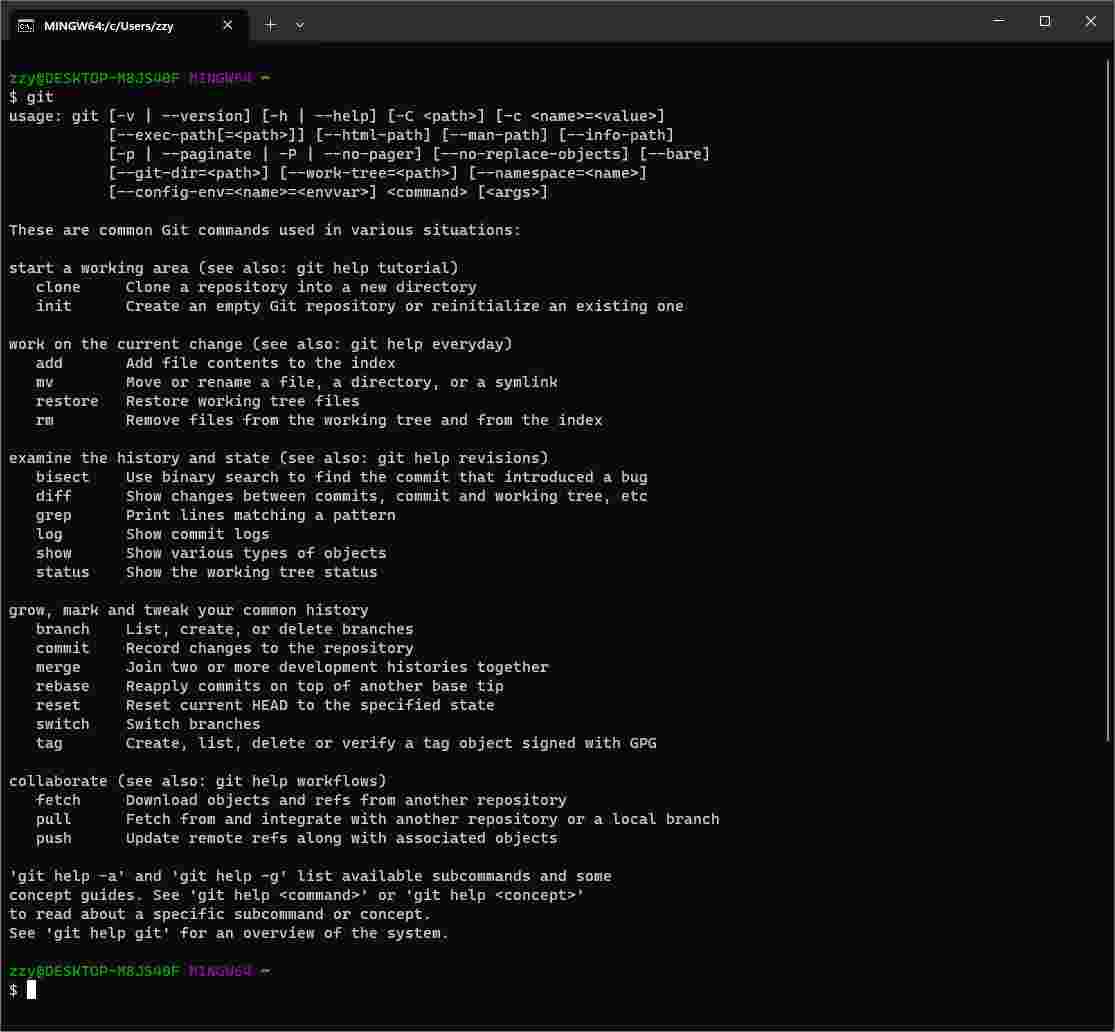
First, I go to the official website of Git, download the installer of Git for Windows and run through the install. Now I have git installed on my machine and can access it by the git-bash commandline utility.
Then I need to add a ssh key to my fabcloud gitlab account to be able to clone my project template and push changes to it. I go to my project repository, log in, go to the 'preferece/SSH Key' page, click the 'Add new key' button.
Because I already have one ssh key, so I just need to upload the public key to the gitlab account.

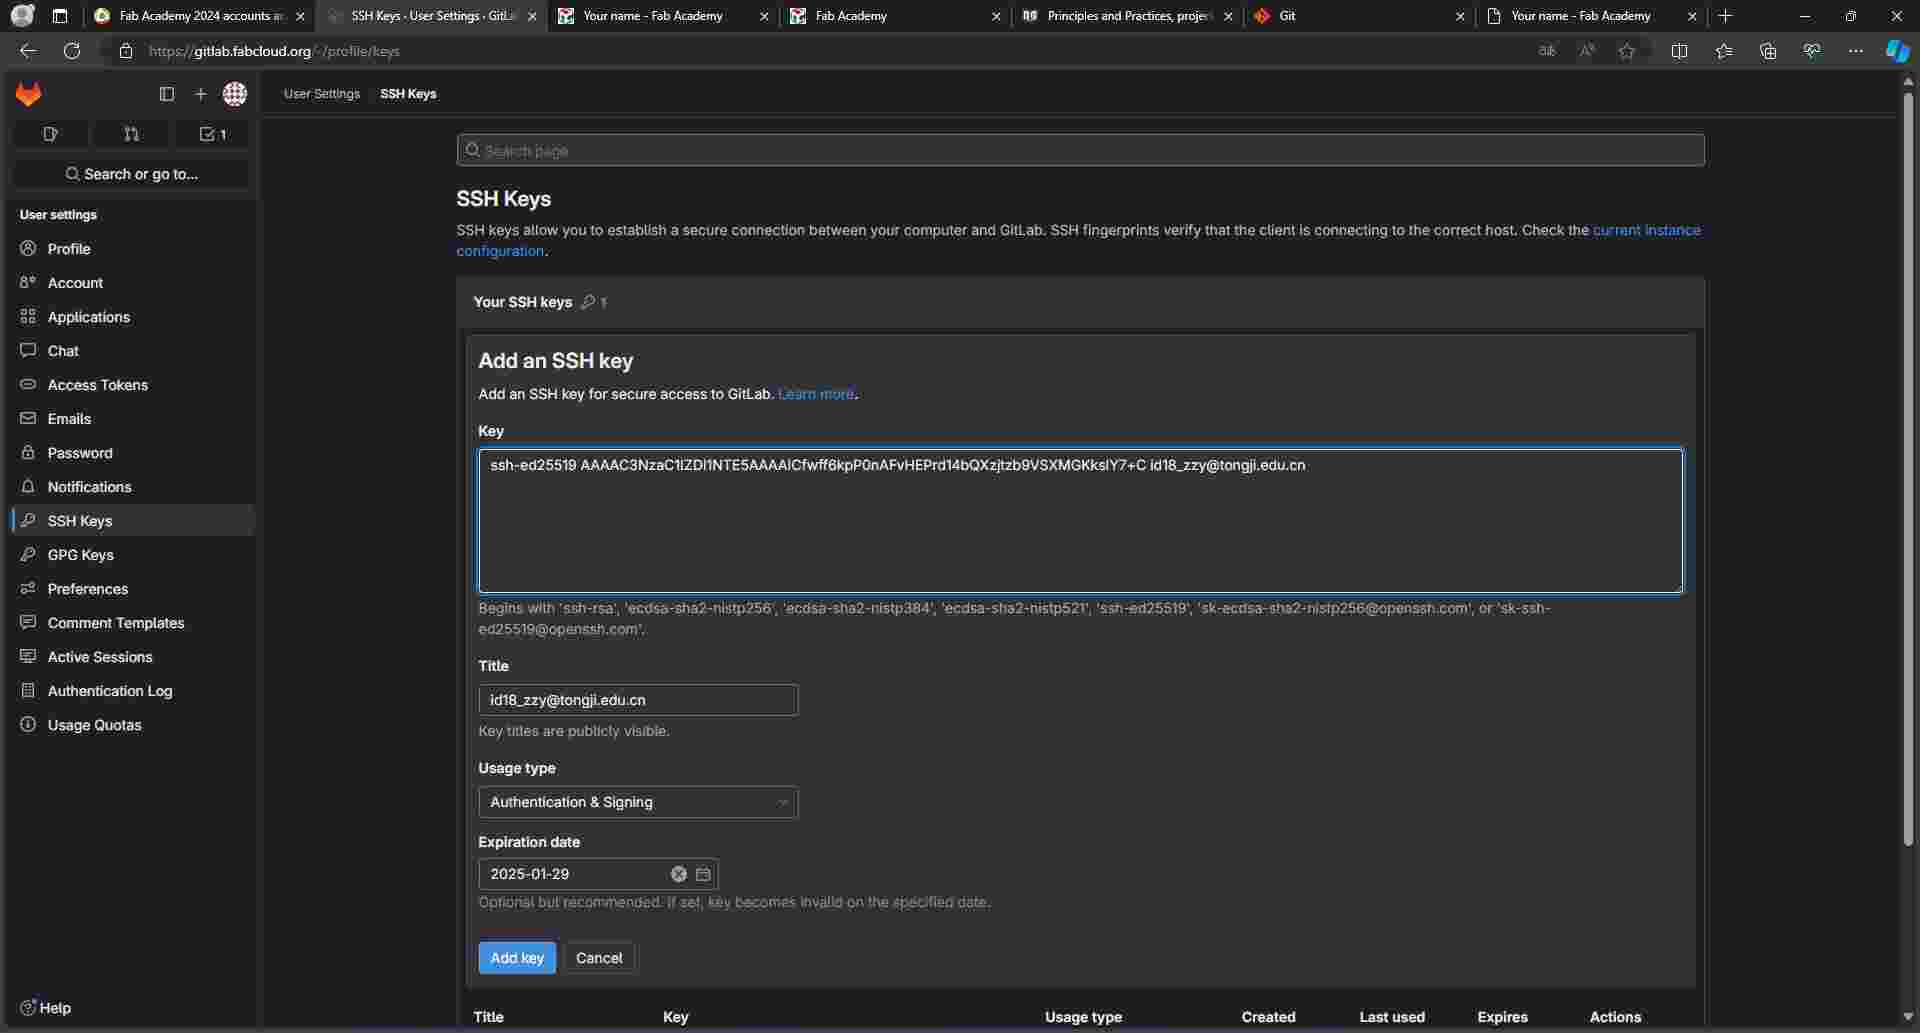
Now I can connect to the gitlab repository and clone it to my local computer.
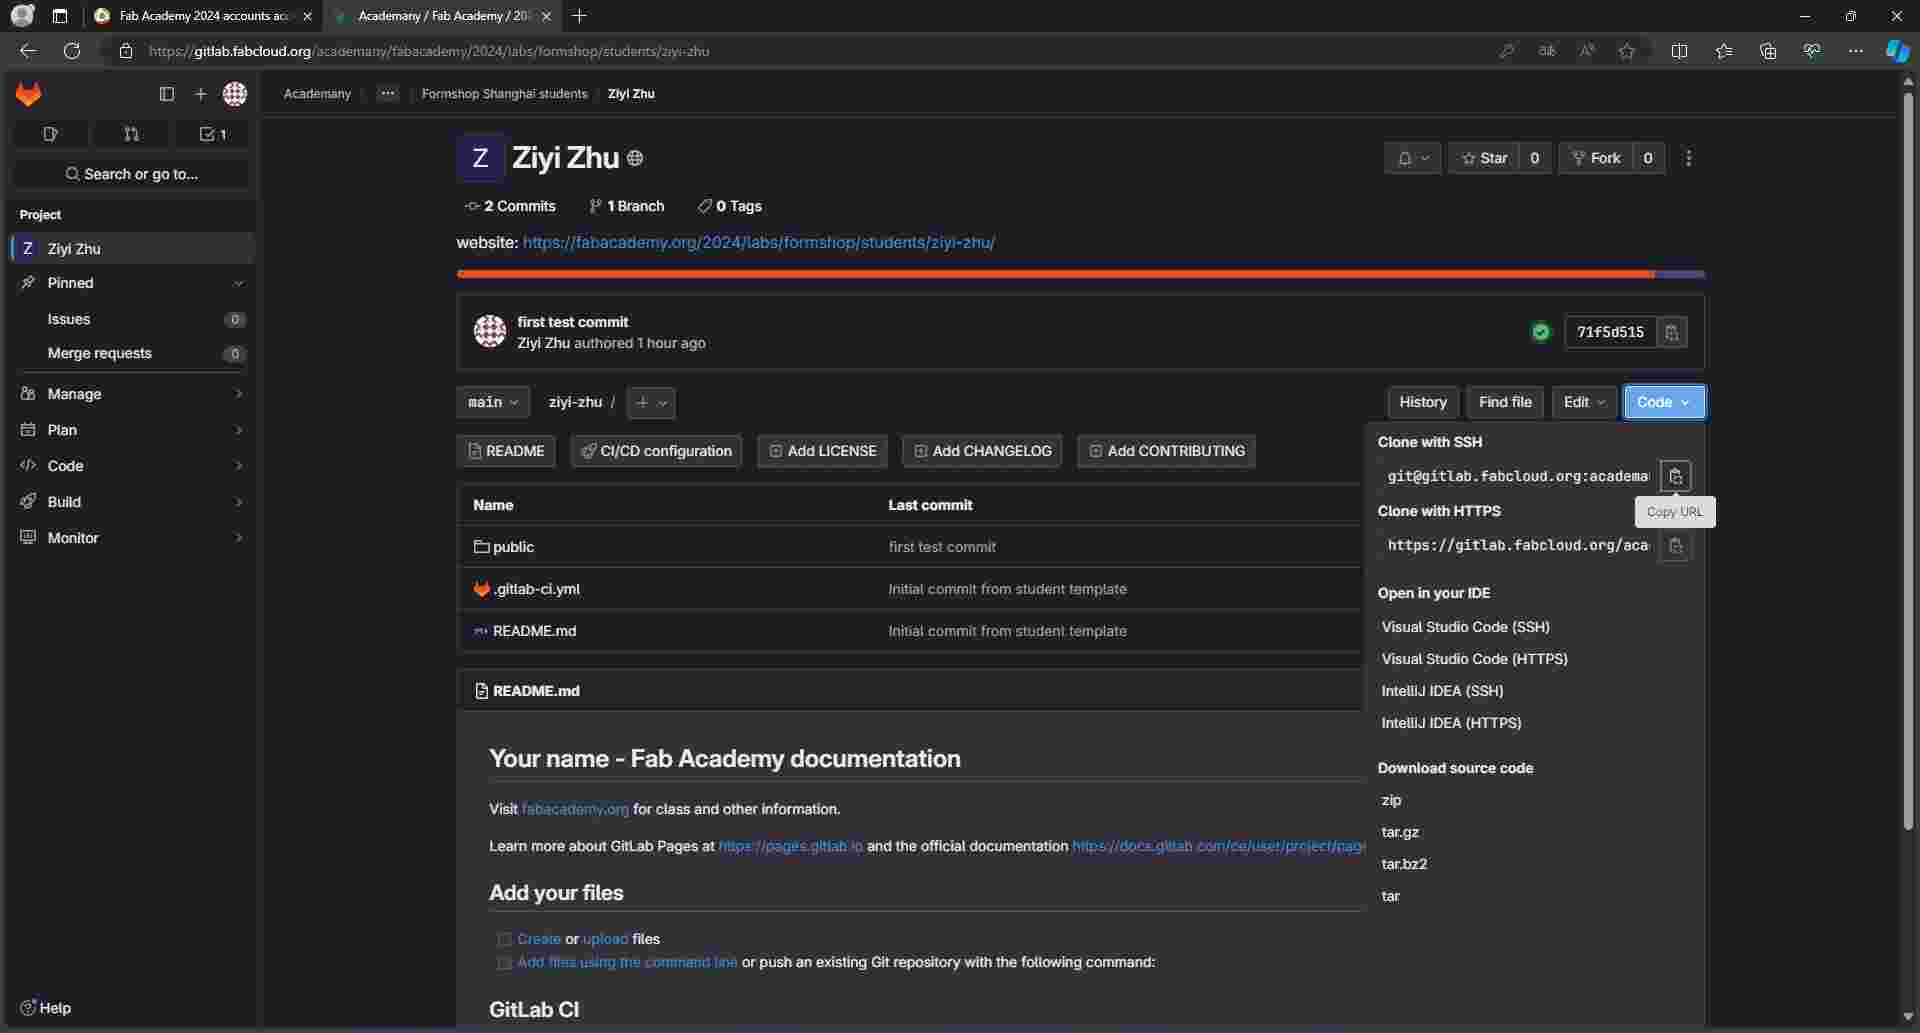
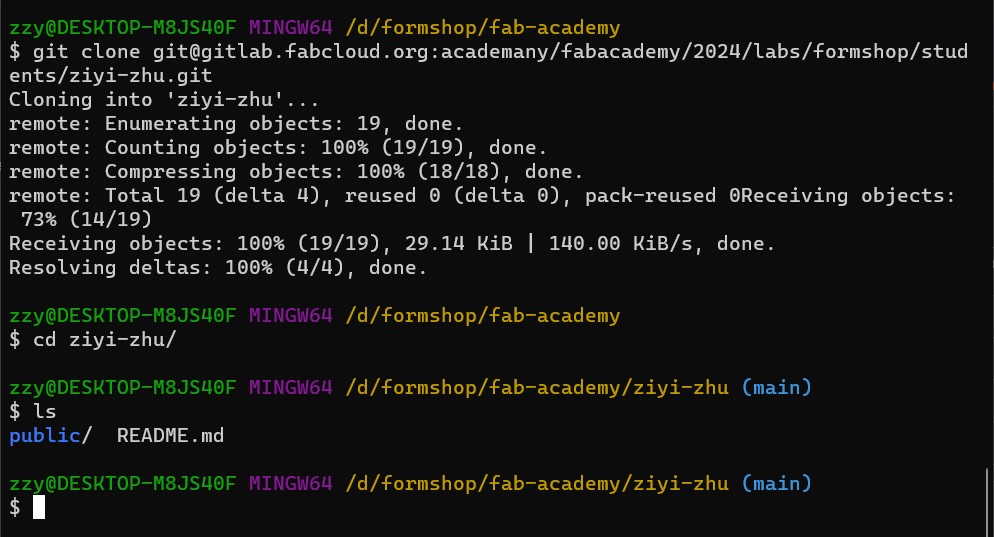
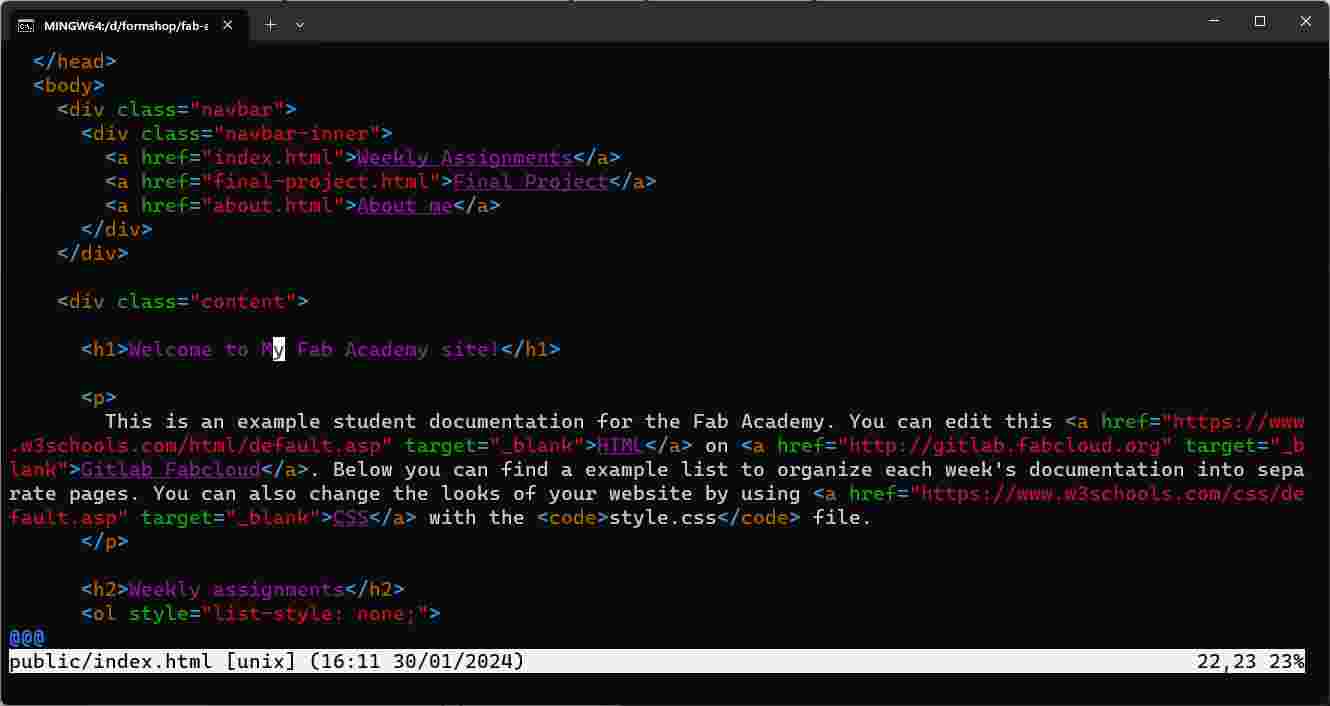
Since I'm pretty familar with the Vim key binding, I just use the vim editor that comes with the git installation.
First change the index page heading to create a test commit to see if git is working properly.

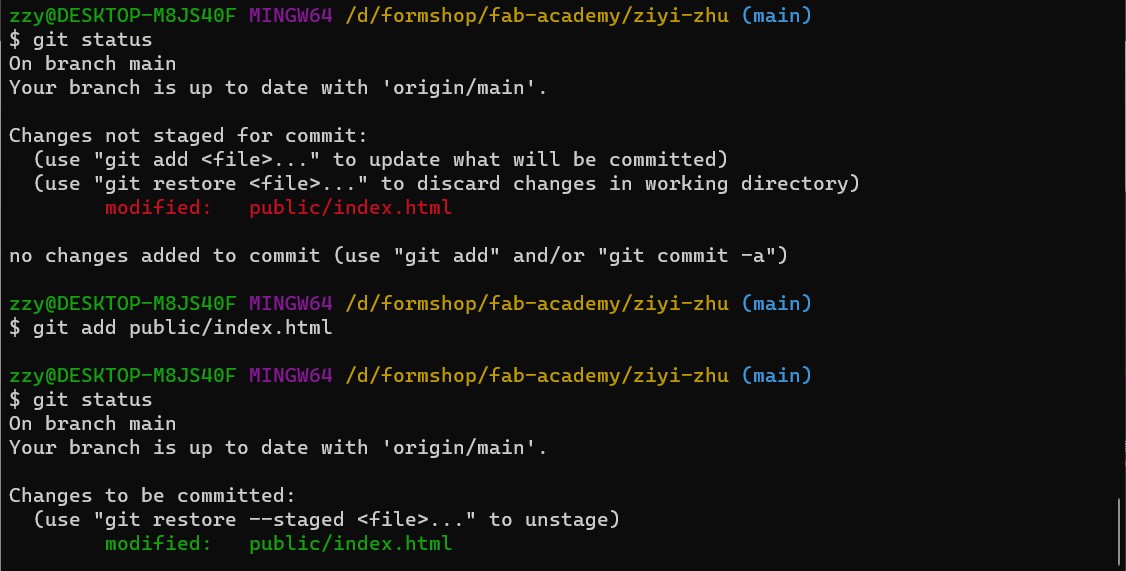
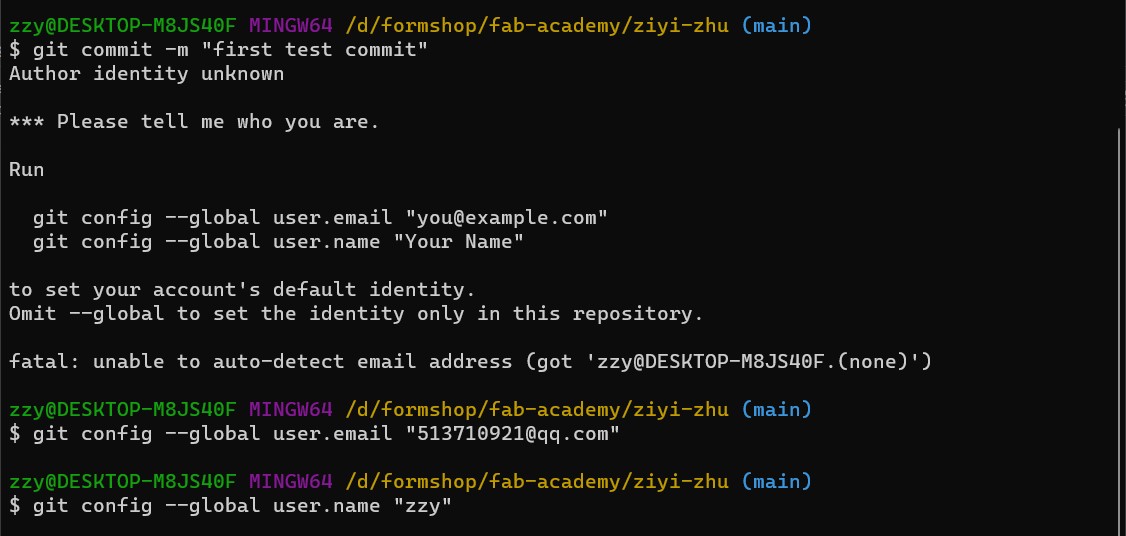
Use git add and git commit -m "message" commands to create initial commit.
When commiting, git prompted me to enter my email and username. Follow the
instruction text to set email and username for the current machine, then I can
commit successfully.
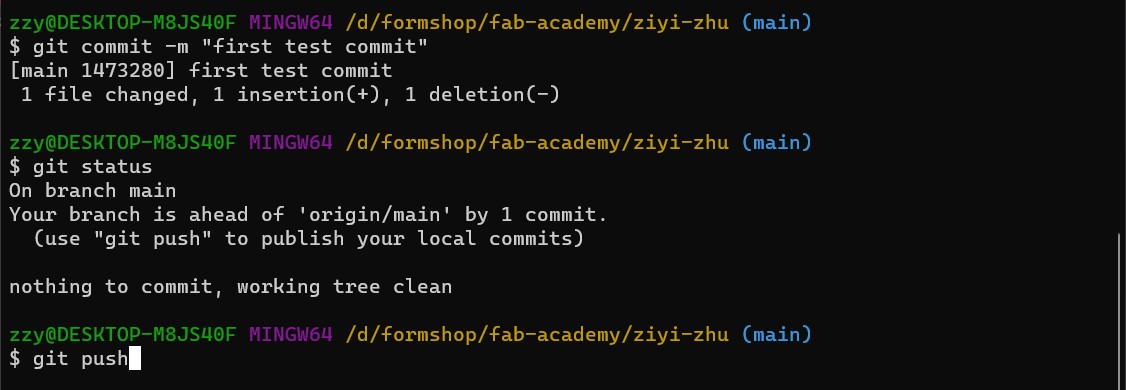
Then use the git push command to push to the remote repo, making sure that everything is fine.
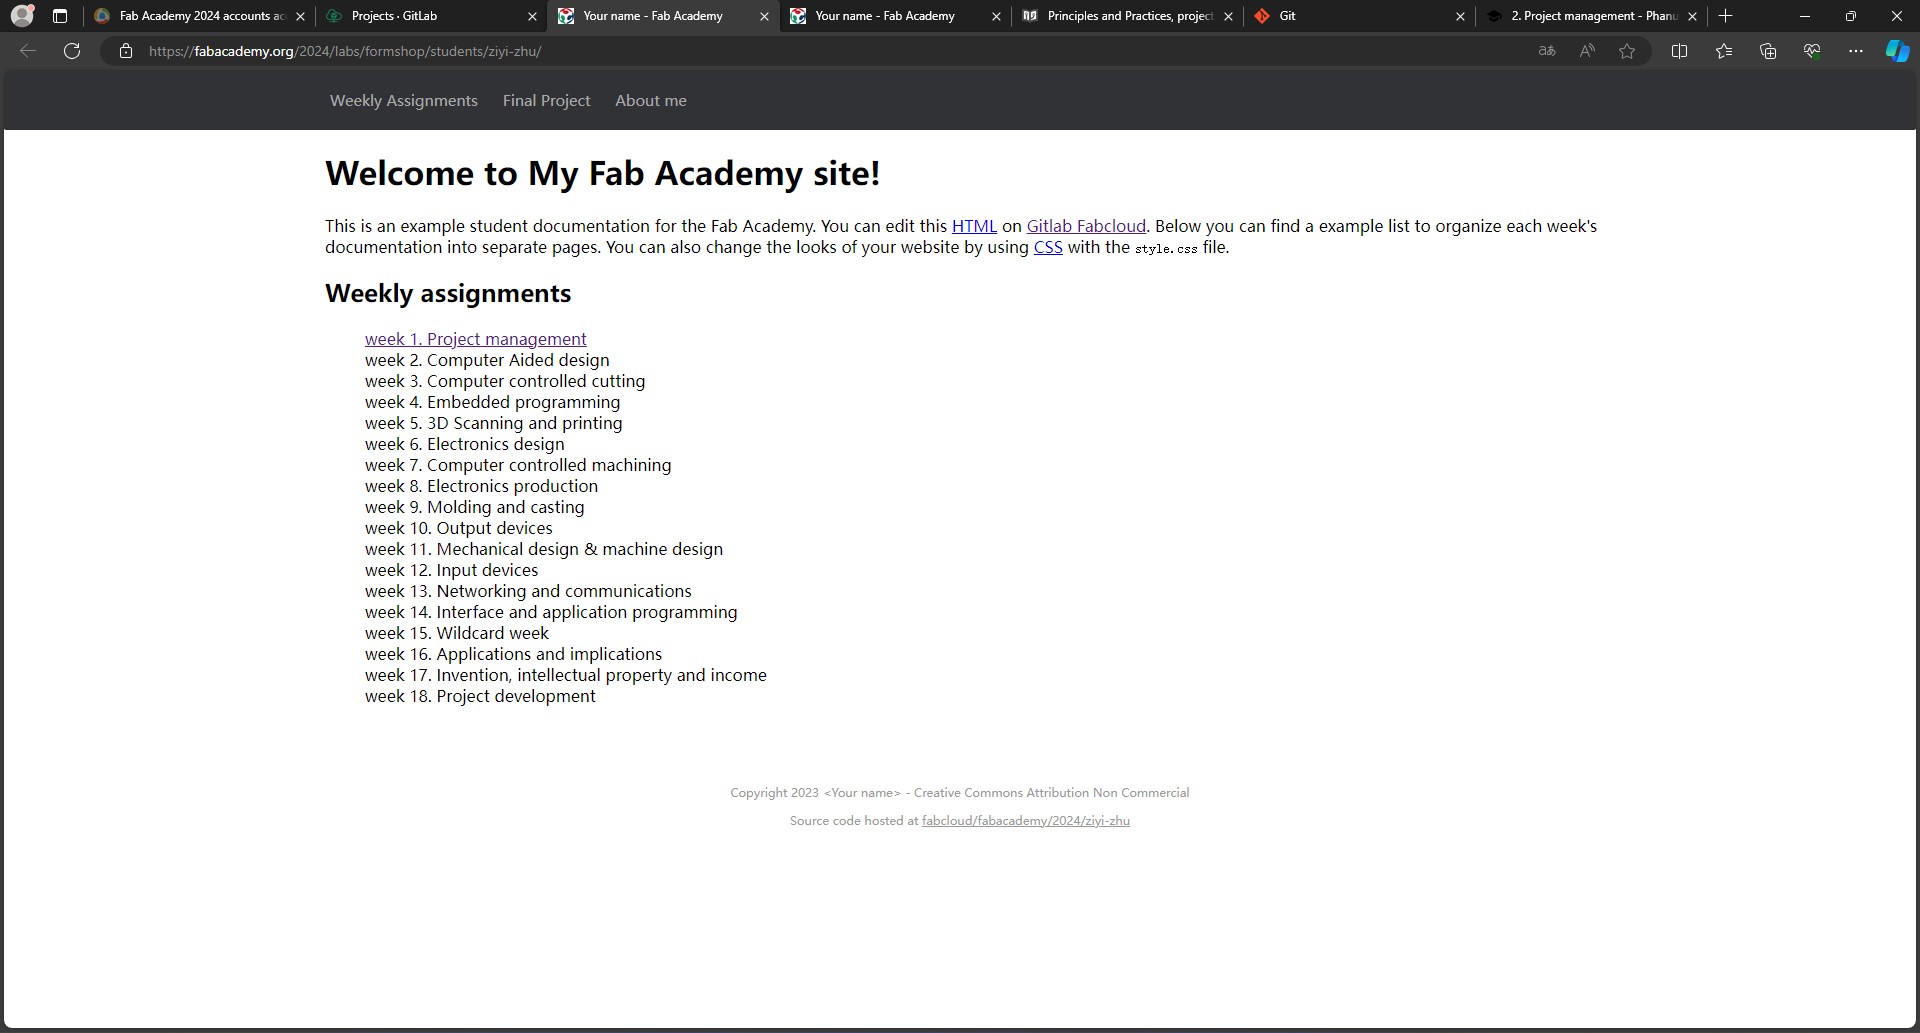
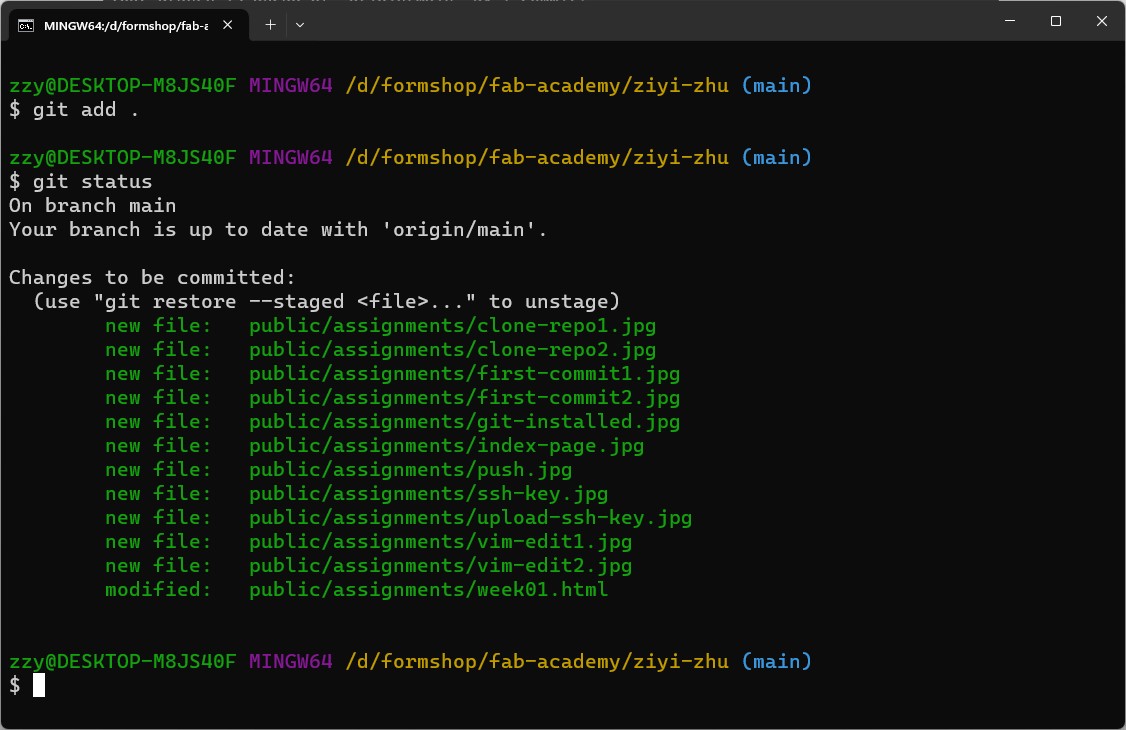
After that I just started working on the first week's documentation page, it looks a little bit ugly right now, it'll be fixed later.
Site Gerneration
I have built websites and worked with some of the static site generation tools before, and some of them is not suited for my taste and workflow in that they are often difficult to install, e.g. have a lot of dependencies or complicate runtime enviroments, and this also hurts performance and the iteration process, e.g. for a change in markup, the site needs to be rebuild and it sometimes takes up to tens of seconds when the site gets bigger. So for this time, I want to take a more minimalistic approch while preserving the flexibility that I want with the templating and markup functionalities.
Below are two simple shell scripts that I use to generate html pages from the
markdown files. The template_eval script takes an input file and does the
shell variable subsitution on it and outputs it on the standerd output, and the
gen.sh file just take a template file and do the template_eval with all the
markdown files in the pages folder, then puts the generated html files in the
public folder.
template_eval:
#!/bin/sh

set -e

[ -f "$1" ] || { >&2 echo "usage: $0 <template file>"; exit 1; }

eval "cat << __TEMPLATE_INPUT_END
$(sed 's/`/\\`/g' "$1")
__TEMPLATE_INPUT_END"
gen.sh:
#!/bin/sh

set -e

gen() {
  filename=$(basename -s .md "$1")
  output="public/$filename.html"

  echo "$1-> $output"
  INPUT_FILE="$1" \
  BASE_NAME="$filename" \
    ./template_eval page.htmltemplate > $output
}

cd $(dirname $0)

if [ "$1" = "" ]; then
  find pages -name '*.md' | while read input; do
    gen "$input" &
  done
else
  gen "$1"
fi
Below is the template file used to generate the html of the pages, the line:
$(./template_eval "$INPUT_FILE" | ./cmark --unsafe -e table -e tasklist)
first do shell expansion to the input markdown file, then pass its content to
cmark, which is a tool that converts markdown to html. The cmark tool I'm
using is built from the project.
page.htmltemplate:
<!DOCTYPE html>
<html>
  <head>
    <meta charset="utf-8">
    <meta name="viewport" content="width=device-width, initial-scale=1.0">
    <meta name="generator" content="GitLab Pages">
    <meta name="description" content="Fab Academy documentation site for Ziyi Zhu">
    <title>$BASE_NAME | Fab Academy</title>
    <link rel="stylesheet" href="style.css">
    <script src="script.js"></script>
    <script src="https://cdnjs.cloudflare.com/ajax/libs/highlight.js/11.9.0/highlight.min.js"></script>

    <link rel="stylesheet" href="https://cdn.jsdelivr.net/npm/katex/dist/katex.min.css" >
    <script defer src="https://cdn.jsdelivr.net/npm/katex/dist/katex.min.js"></script>
    <script defer src="https://cdn.jsdelivr.net/npm/katex/dist/contrib/auto-render.min.js" onload="renderMathInElement(document.body)"></script>
  </head>

  <body>
    <dialog><img></dialog>

    <div class="navbar">
      <div class="navbar-inner">
        <a href="index.html">Weekly Assignments</a>
        <a href="final-project.html">Final Project</a>
        <a href="about.html">About me</a>
        <a href="agreement.html">Agreement</a>
        <a><label><input type="checkbox" id='dark-mode-checkbox'>Dark Mode</label></a>
      </div>
    </div>

    <main>
      <div class="content">
$(./template_eval "$INPUT_FILE" | ./cmark --unsafe -e table -e tasklist)
      </div>
      <aside class="sidebar">
        <h3>Table of contents</h3>
      </aside>
    </main>

    <script>hljs.highlightAll();</script>

    <footer>
      <p>Copyright 2024 Ziyi Zhu - Creative Commons Attribution Non Commercial </p>
      <p>Source code hosted at <a href="https://gitlab.fabcloud.org/academany/fabacademy/2024/labs/formshop/students/ziyi-zhu">fabcloud/fabacademy/2024/ziyi-zhu</a></p>
    </footer>
  </body>
</html>
The windows binary executable of cmark that I built is linked down below and
the source of the web site can be found
here.
Build cmark-gfm
I use a utility called cmark-gfm to generate html pages from markdown files,
it's used in the site generation script I wrote. It's a commandline utility
written in C, and doesn't have prebuild executable files on their website. It
can be downloaded from some Linux package managers but I'm using Windows so I
have to build it from source code.
The source code of this program is on github, below is a shell script that clones the source code and builds it. The project itself uses CMake to build but I made the script so that it can be built without it.
I use the 'Git for Windows' enviroment, and the only additional requirement for building the tool is a C complier, and I used gcc from the MinGW-w64 project.
#!/bin/sh

set -xe

[ -d cmark-gfm ] || git clone --depth 1 https://github.com/github/cmark-gfm.git

cd cmark-gfm

echo '#define CMARK_GFM_EXPORT' > src/cmark-gfm_export.h

sed_expr=$(awk -F[\(\)\ ] '/set\(PROJECT_VERSION_/{print "-e s/"$2"/"$3"/"}' CMakeLists.txt)
sed -e 's/@//g' $sed_expr src/cmark-gfm_version.h.in > src/cmark-gfm_version.h

sed 's/cmakedefine/define/' src/config.h.in > src/config.h

gcc -Wall -Wextra -Wno-unused-parameter -O3 -o cmark-gfm -Isrc src/*.c extensions/*.c

./cmark-gfm --version

cp ./cmark-gfm ../cmark
After running the script, the executable cmark is built and copied to the
current working directory. And I also linked the executable file I built in the
Project files section.
Project files
- shell script to build
cmark-gfm: build-cmark-gfm.sh - cmark-gfm windows build: cmark.exe