Wildcard Week
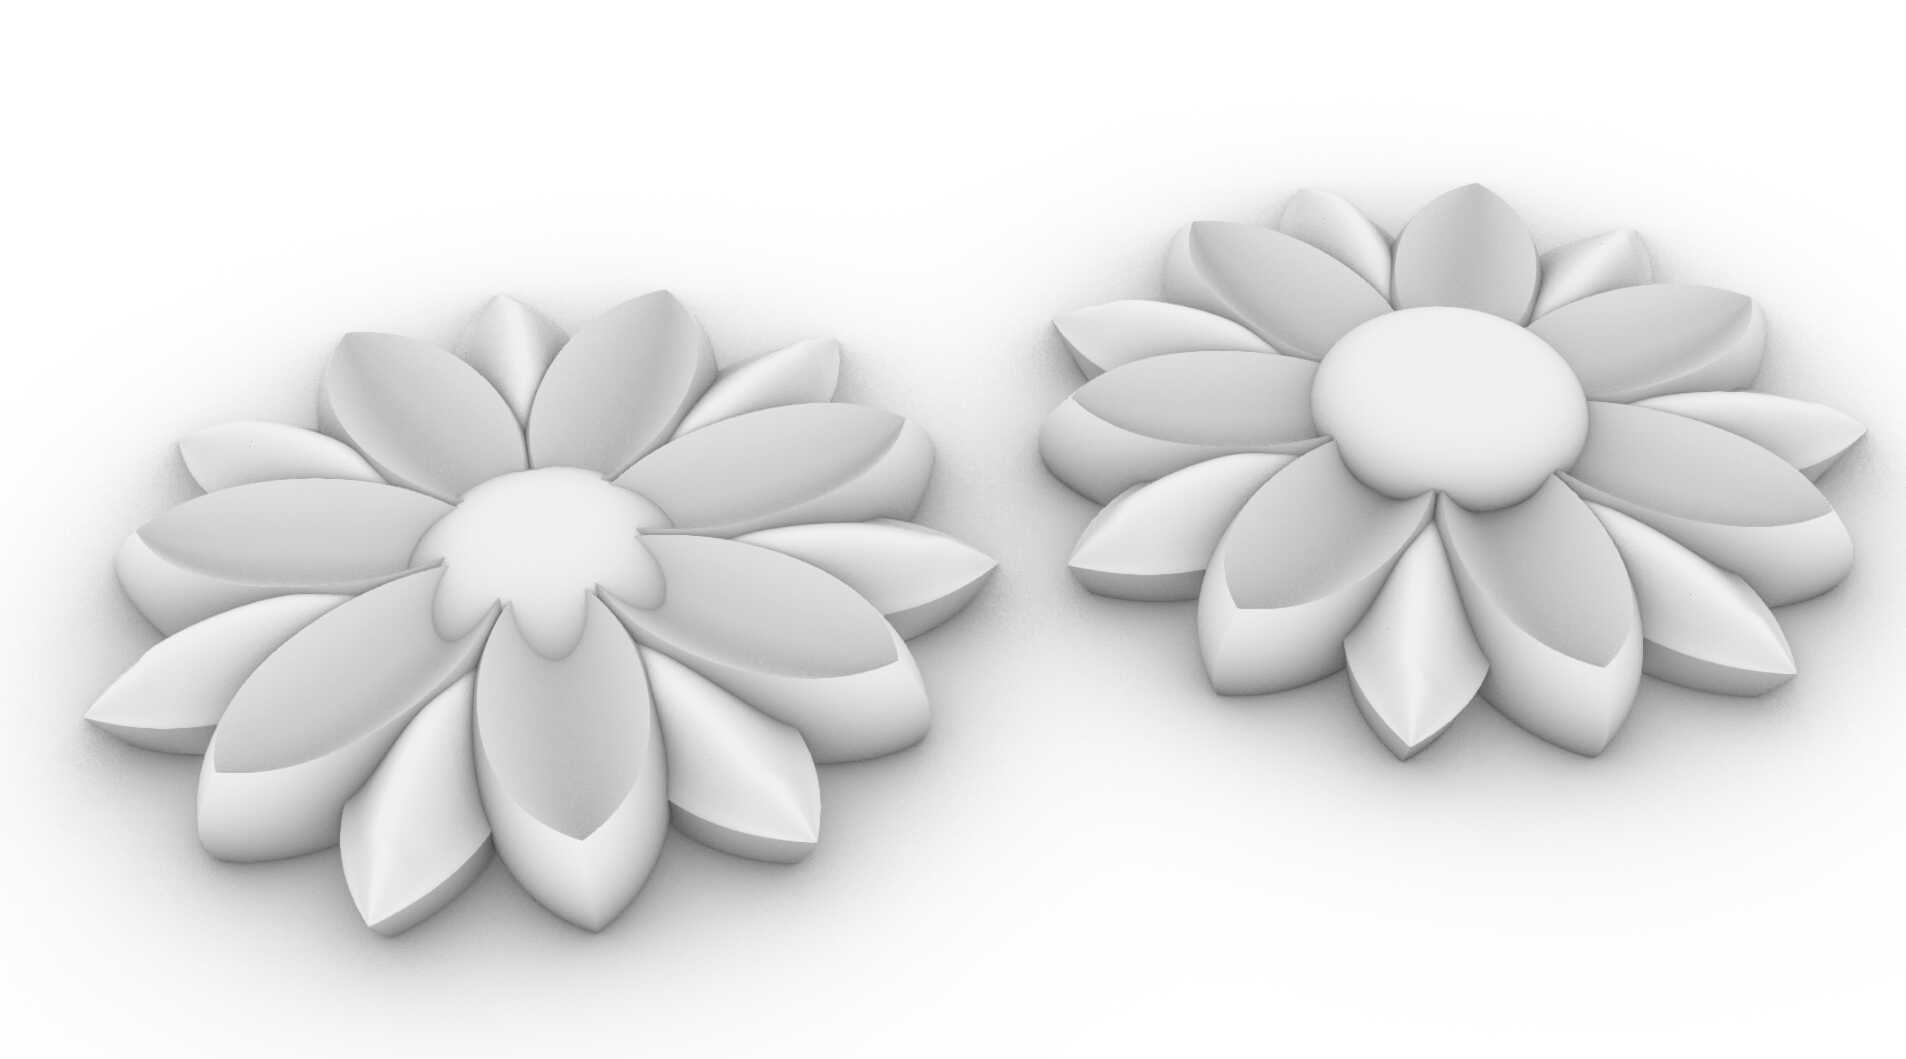
[Hero Shot]—so beautiful!
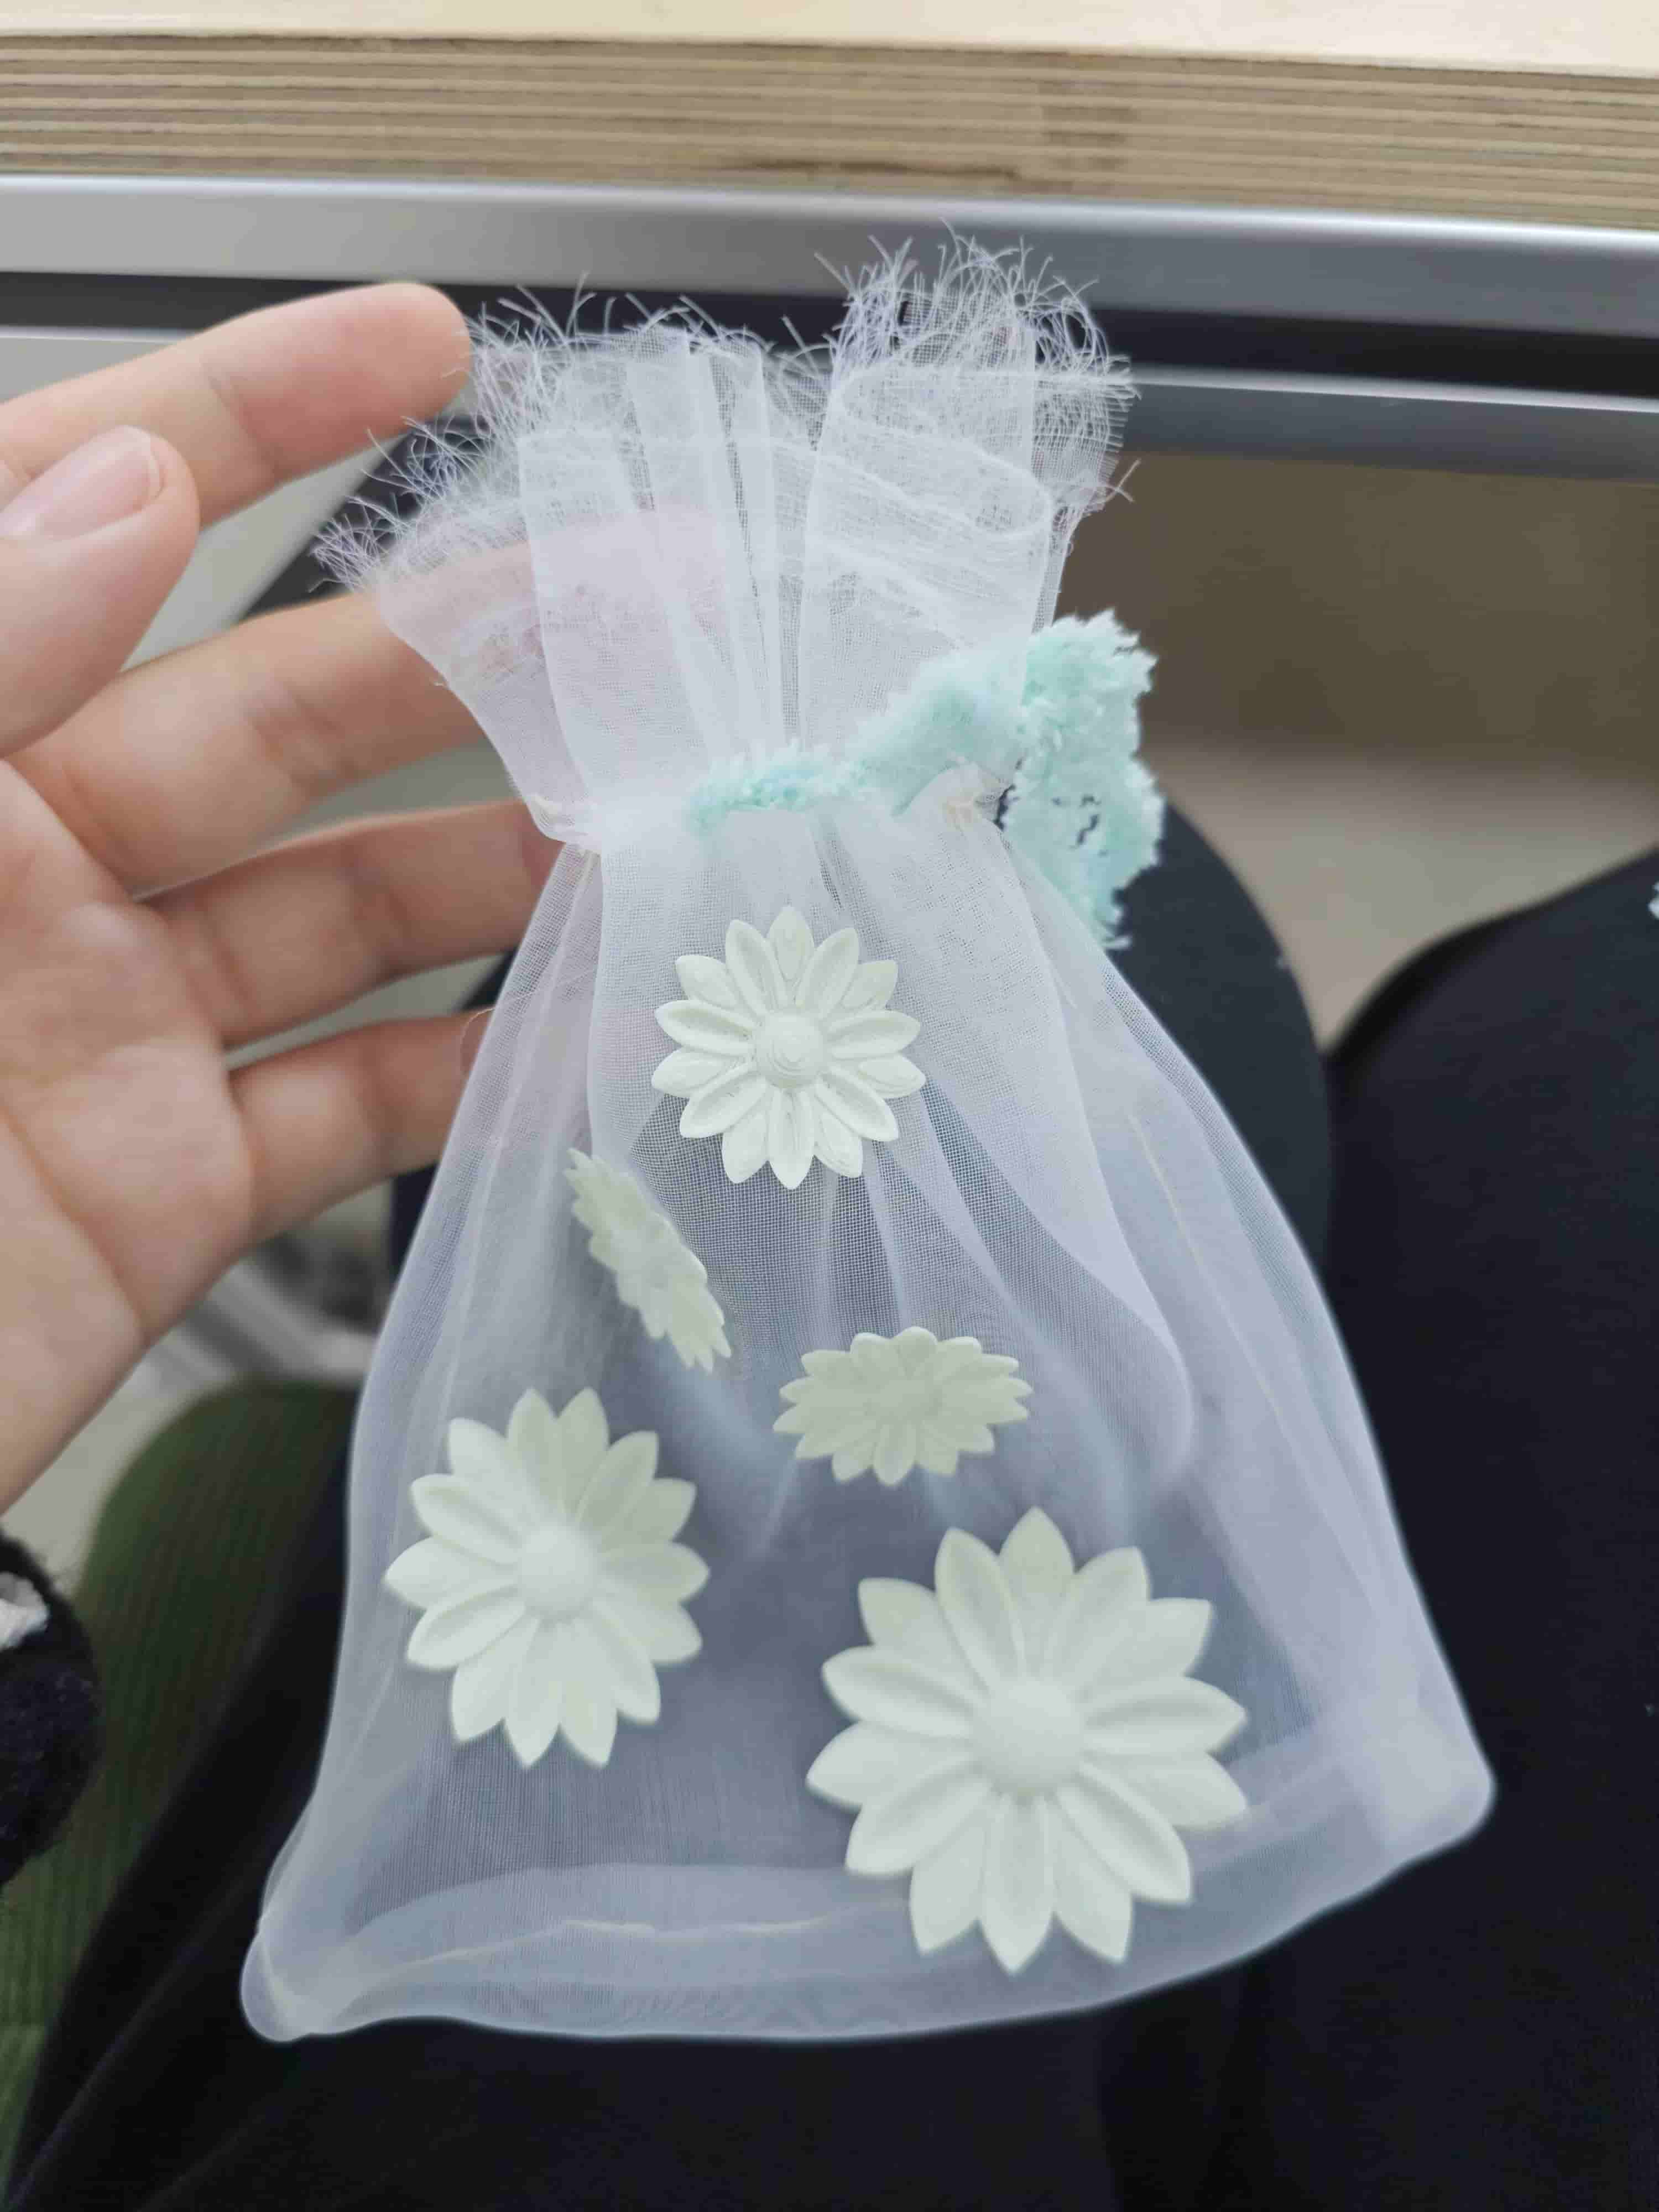
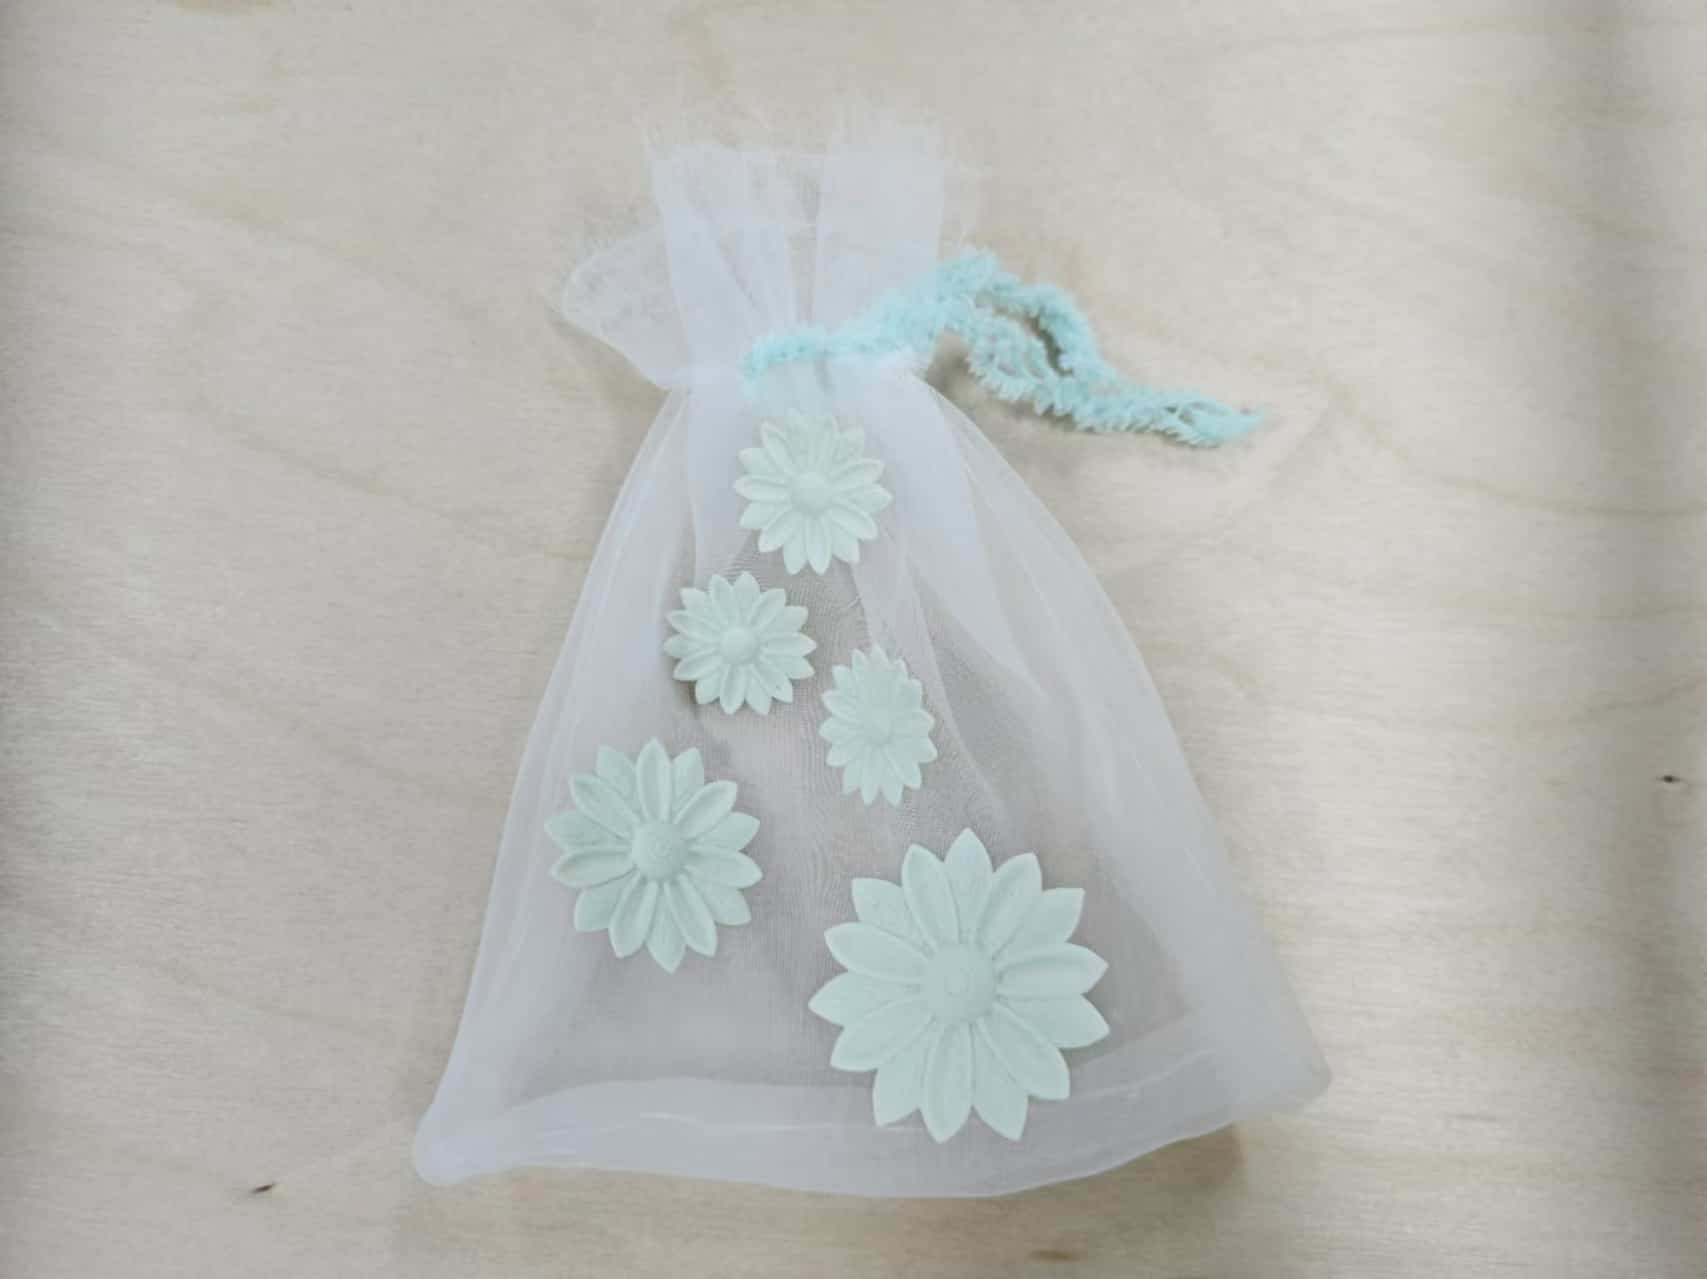
- General process:
1.1 Design
Considering that the petals of the daisy require graceful curves, I used Rhino for the design.
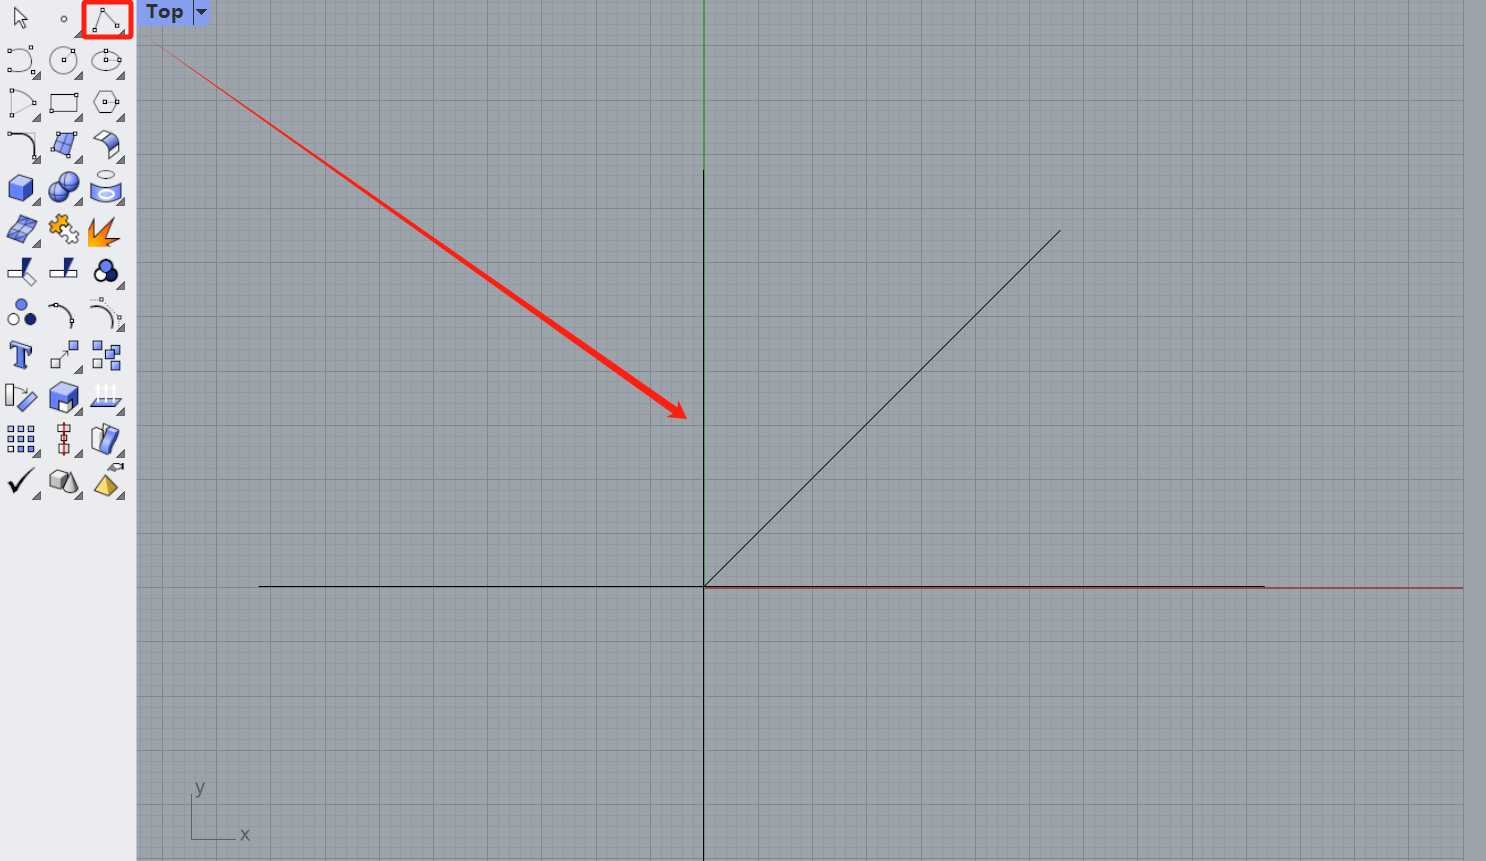
I used the line tool to draw the positioning lines and created curved petals along the y-axis, adjusting the curve's position with control points.
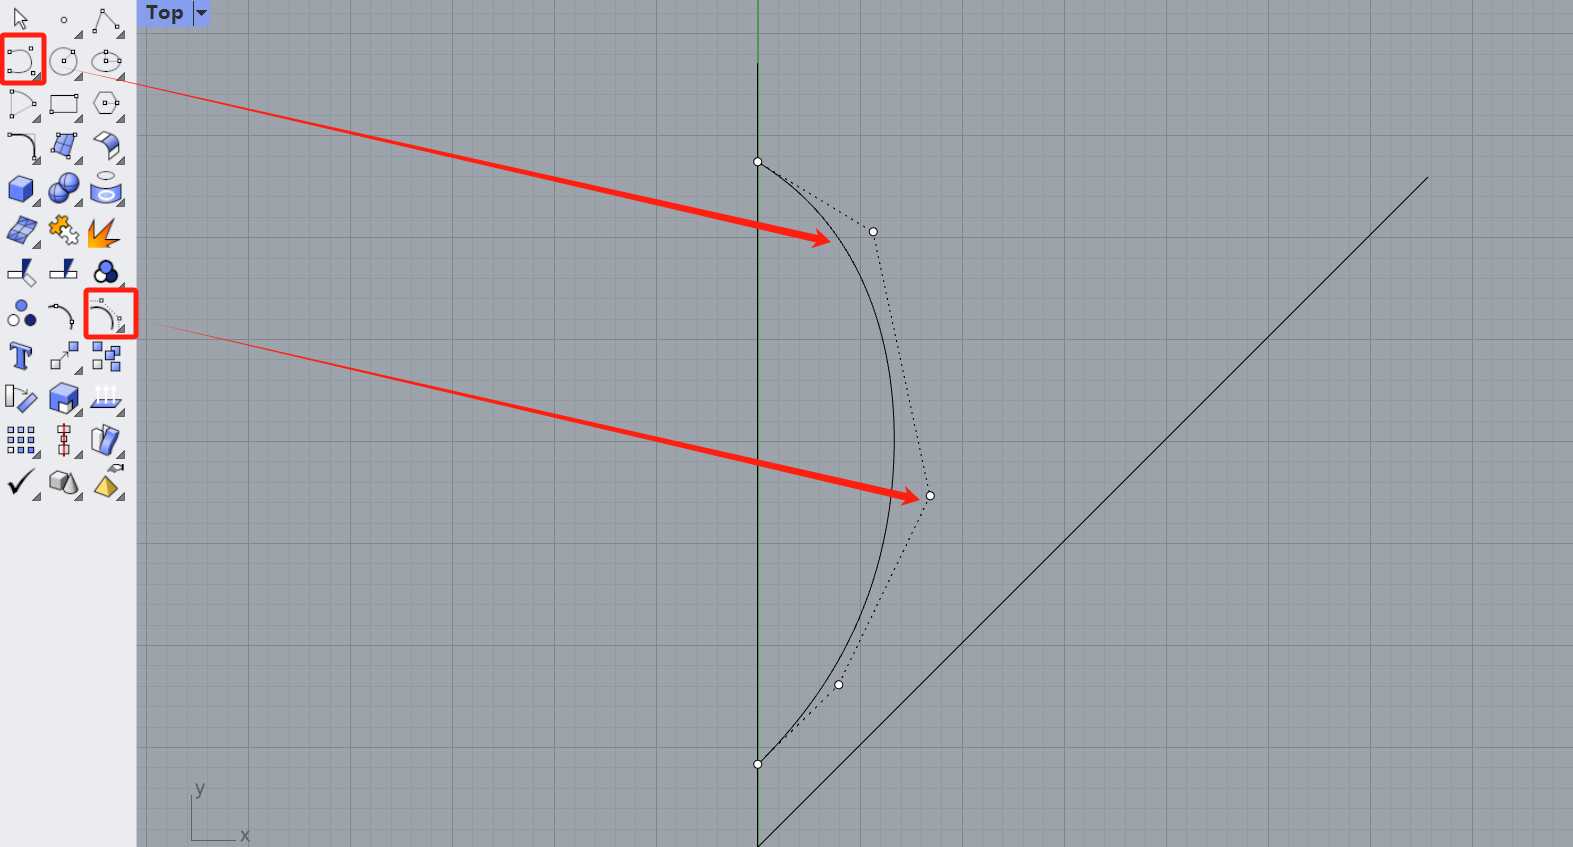
Using the y-axis as the axis of symmetry, I mirrored the curves.
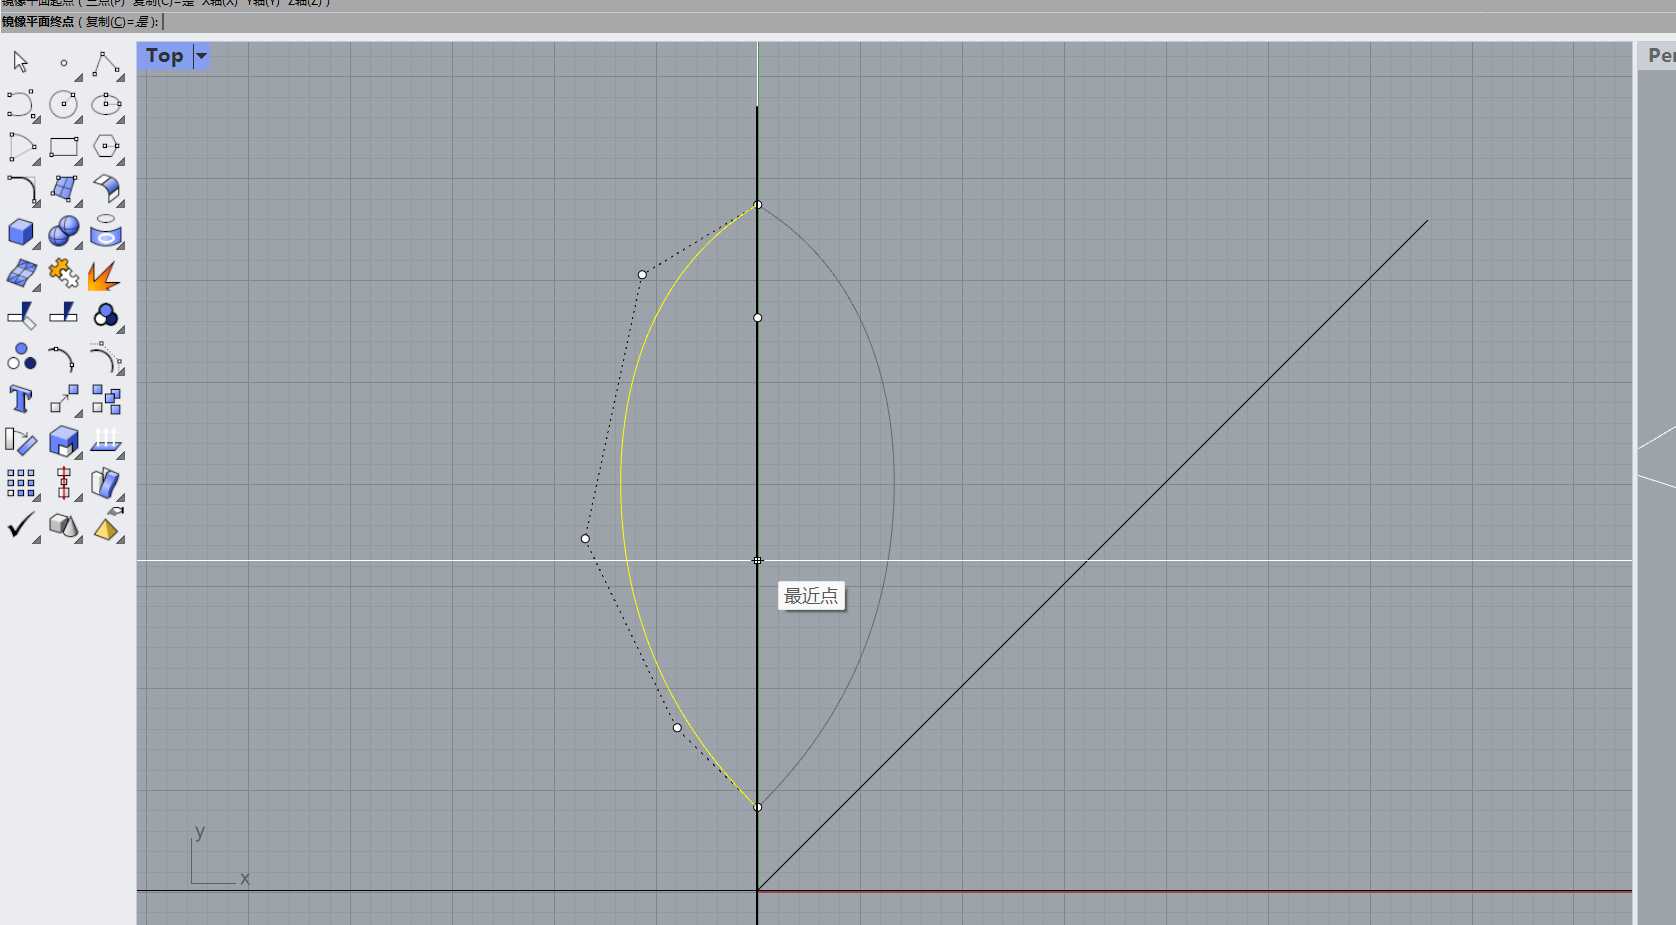
By holding down the Alt key, I copied two petals and adjusted their size and position by moving the operation axis up and down.
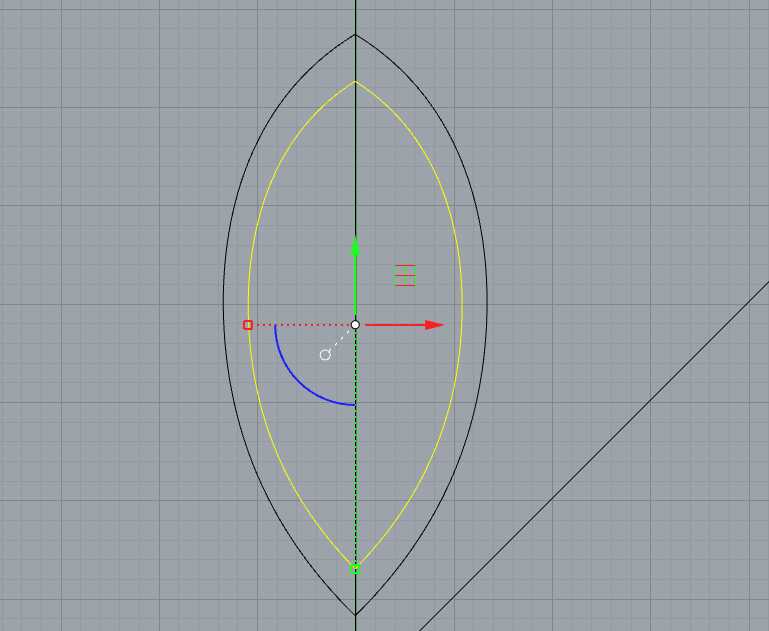
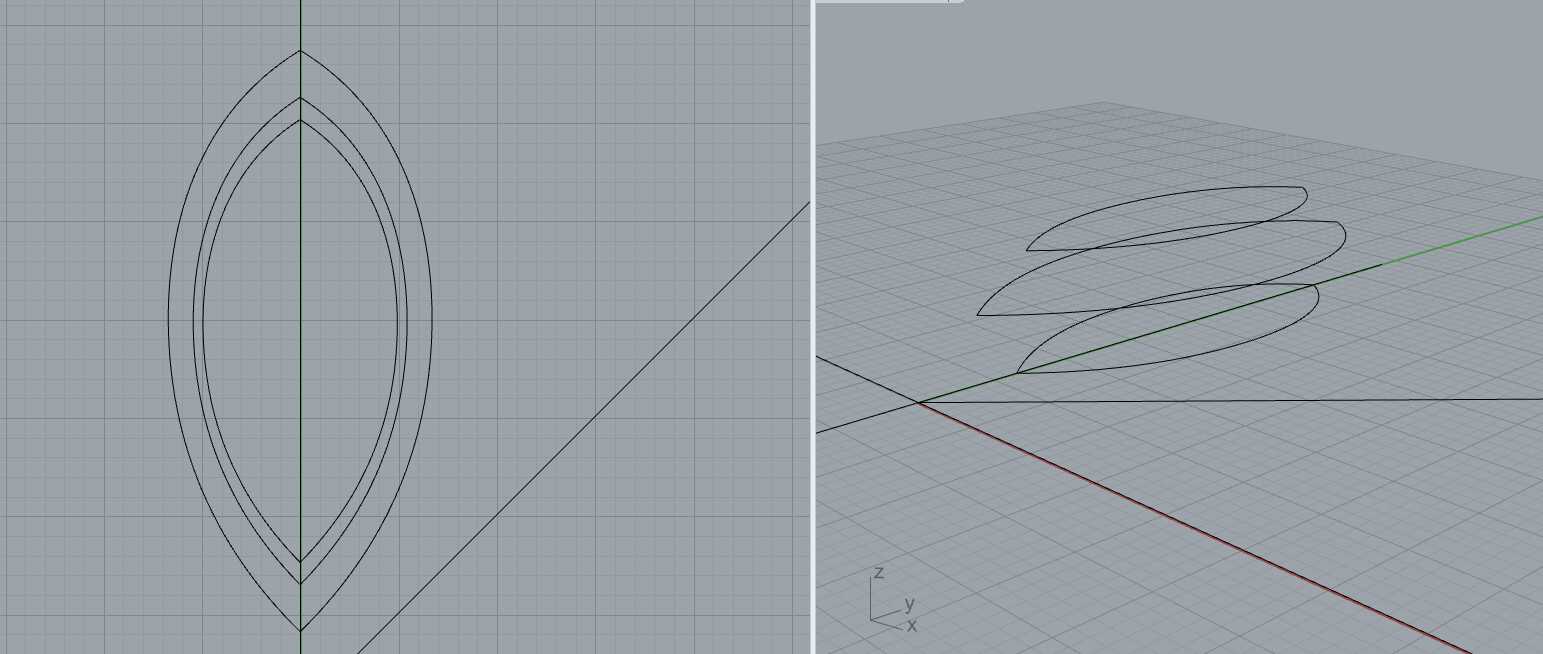
At the top layer, I created an interpolated curve (as shown), cut off the excess lines at the bottom, and controlled the curvature with the control points.
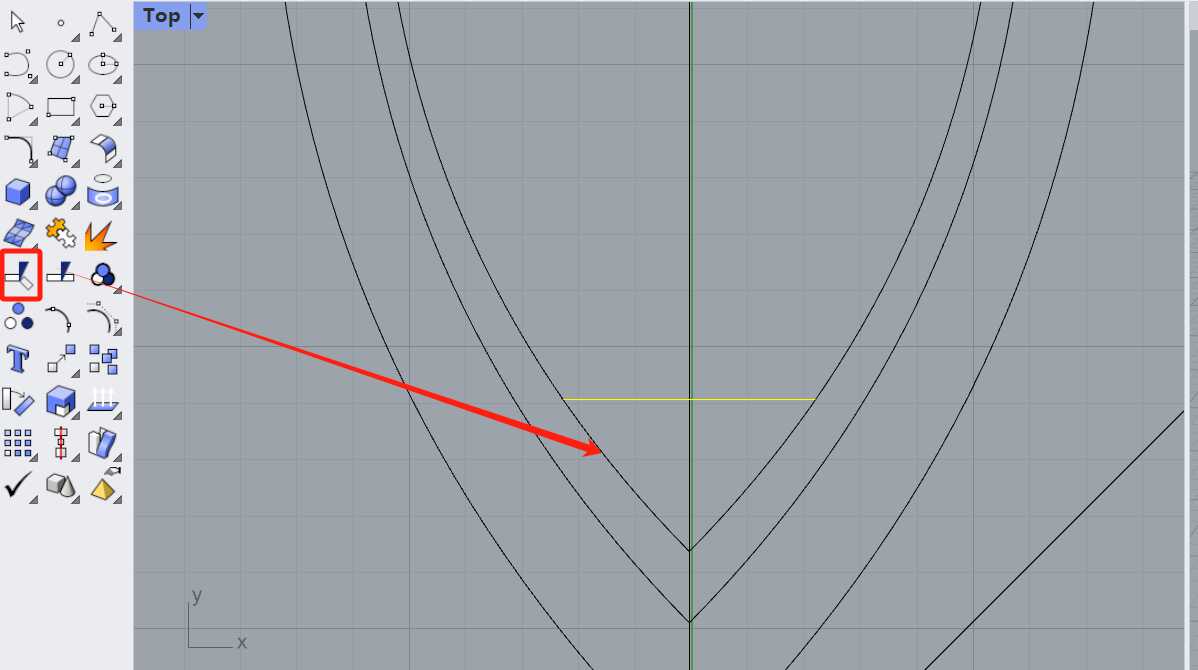
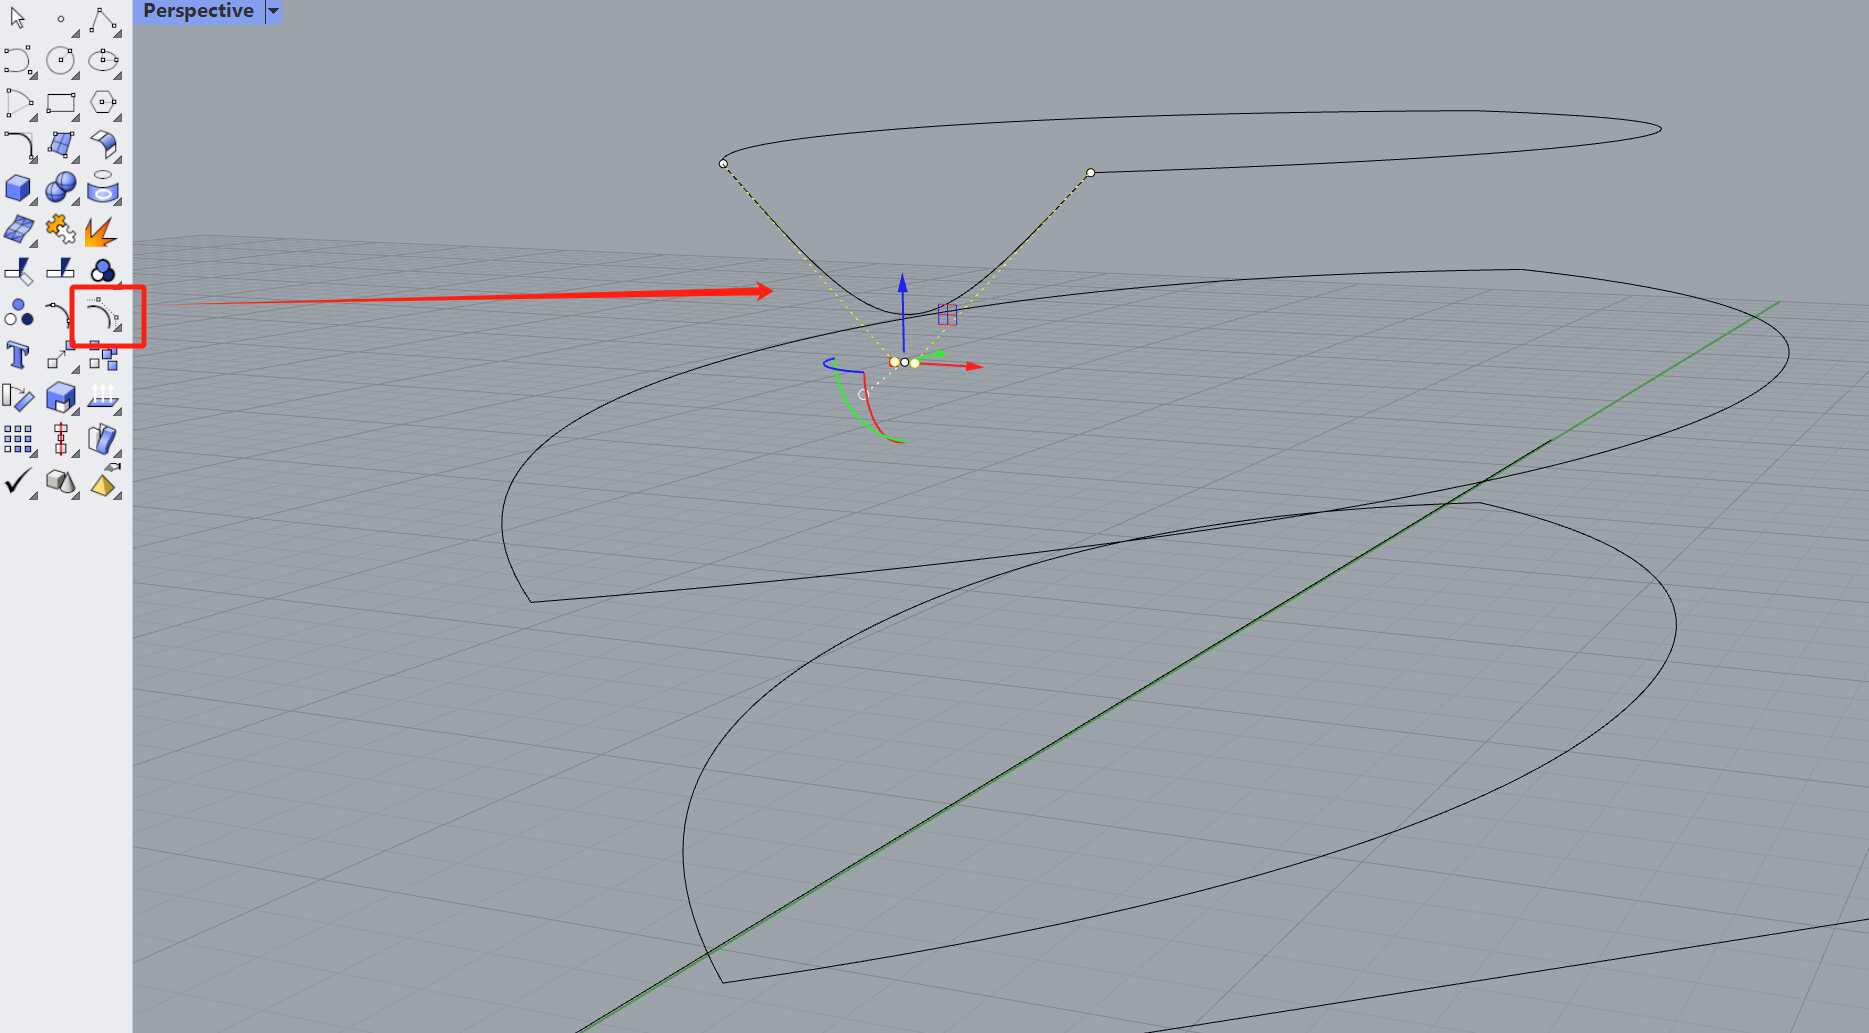
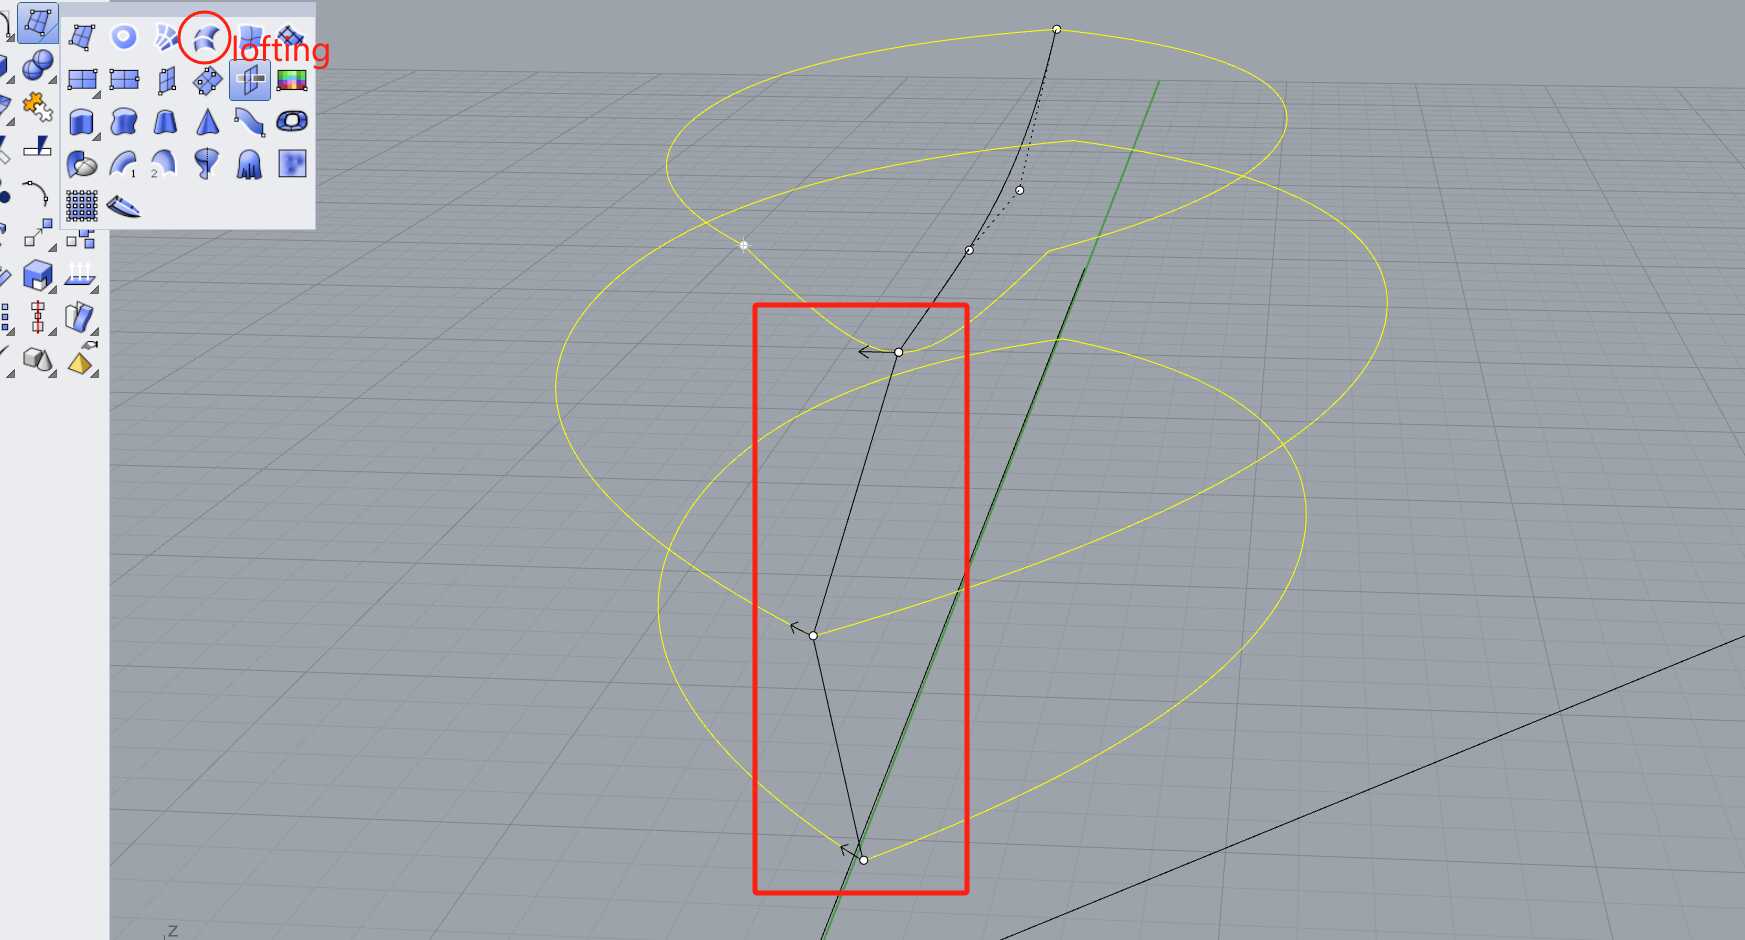
I grouped the three sets of lines and lofted them. When lofting each curve, it must be closed. Be sure to start the arrow from the center of the groove, or the surface will distort.
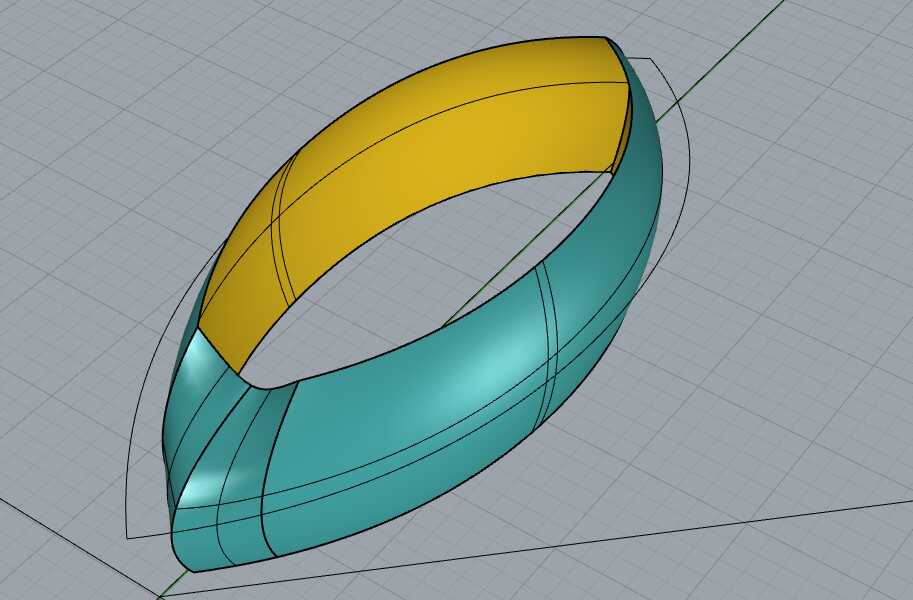
For the top layer, I used a double rail sweep. Here, you need to explode the curve first, select the two side rails, and then select the sweep path.
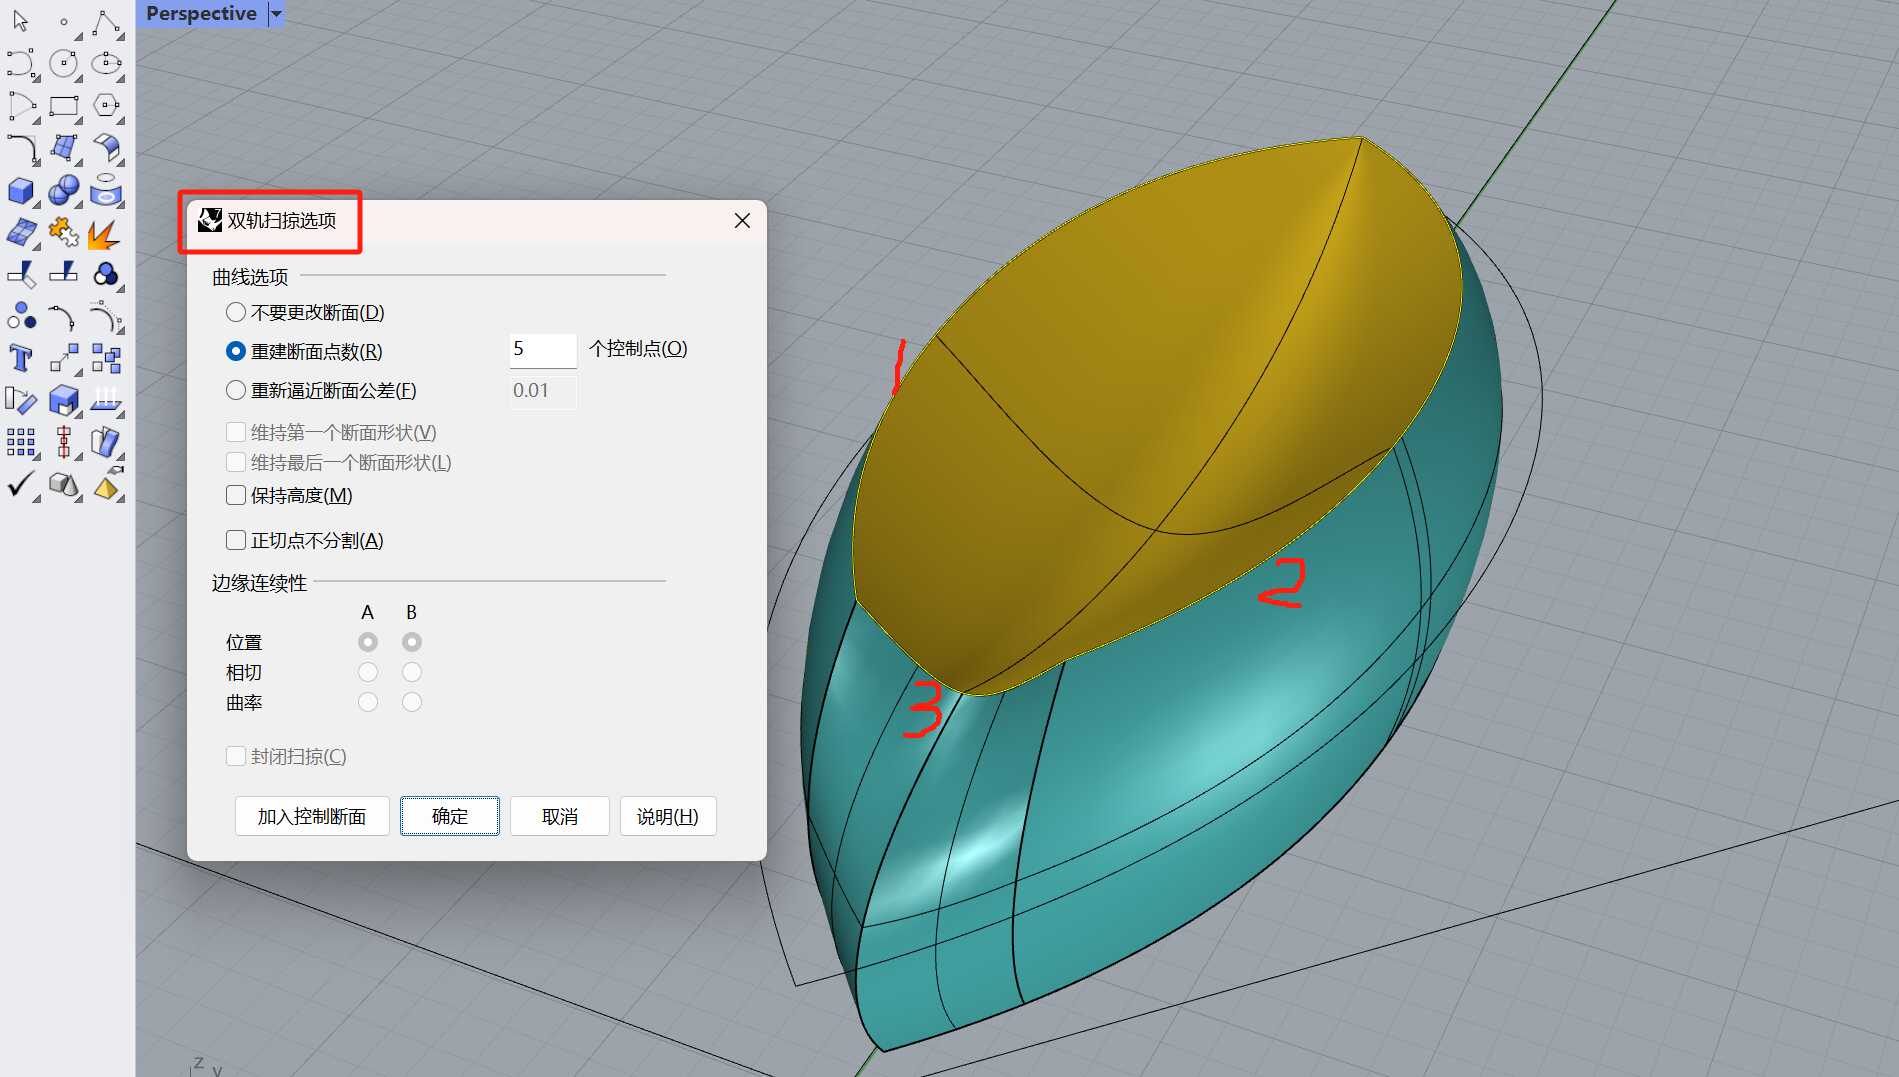
The modeling method for the other petal is similar, but this petal is convex upwards. You can use the interpolated curve at the tail and tip of the petal to create two curves. To make the tip sharper, you can add an extra control point, adjusting it to look like two small peaks, and then perform the sweep.
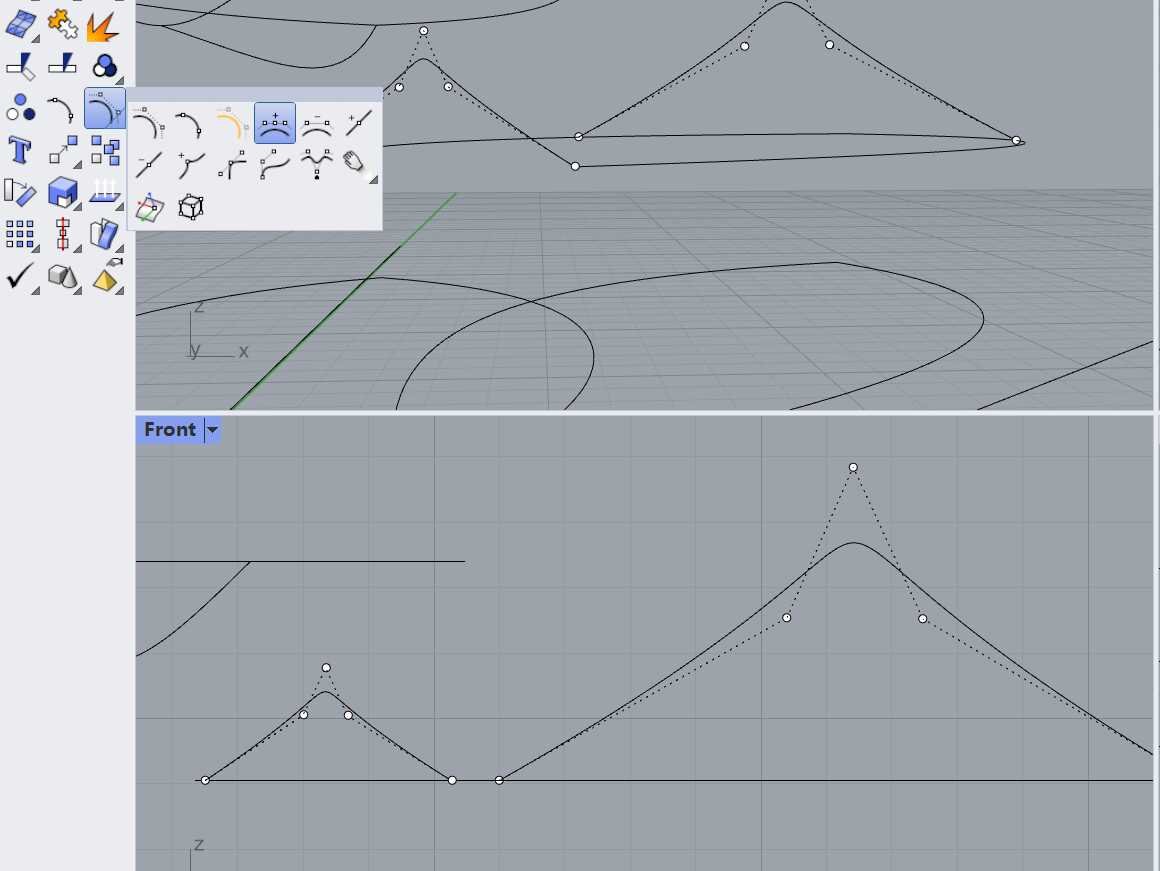
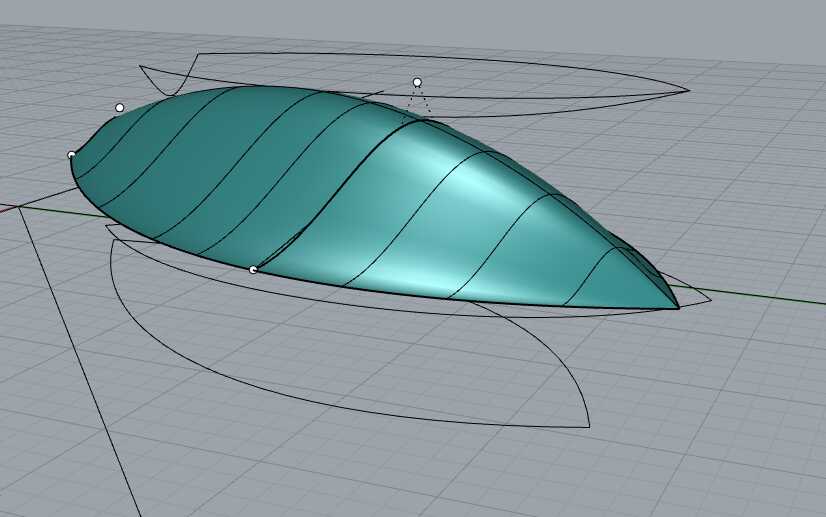
Converted the bottom curves into surfaces.
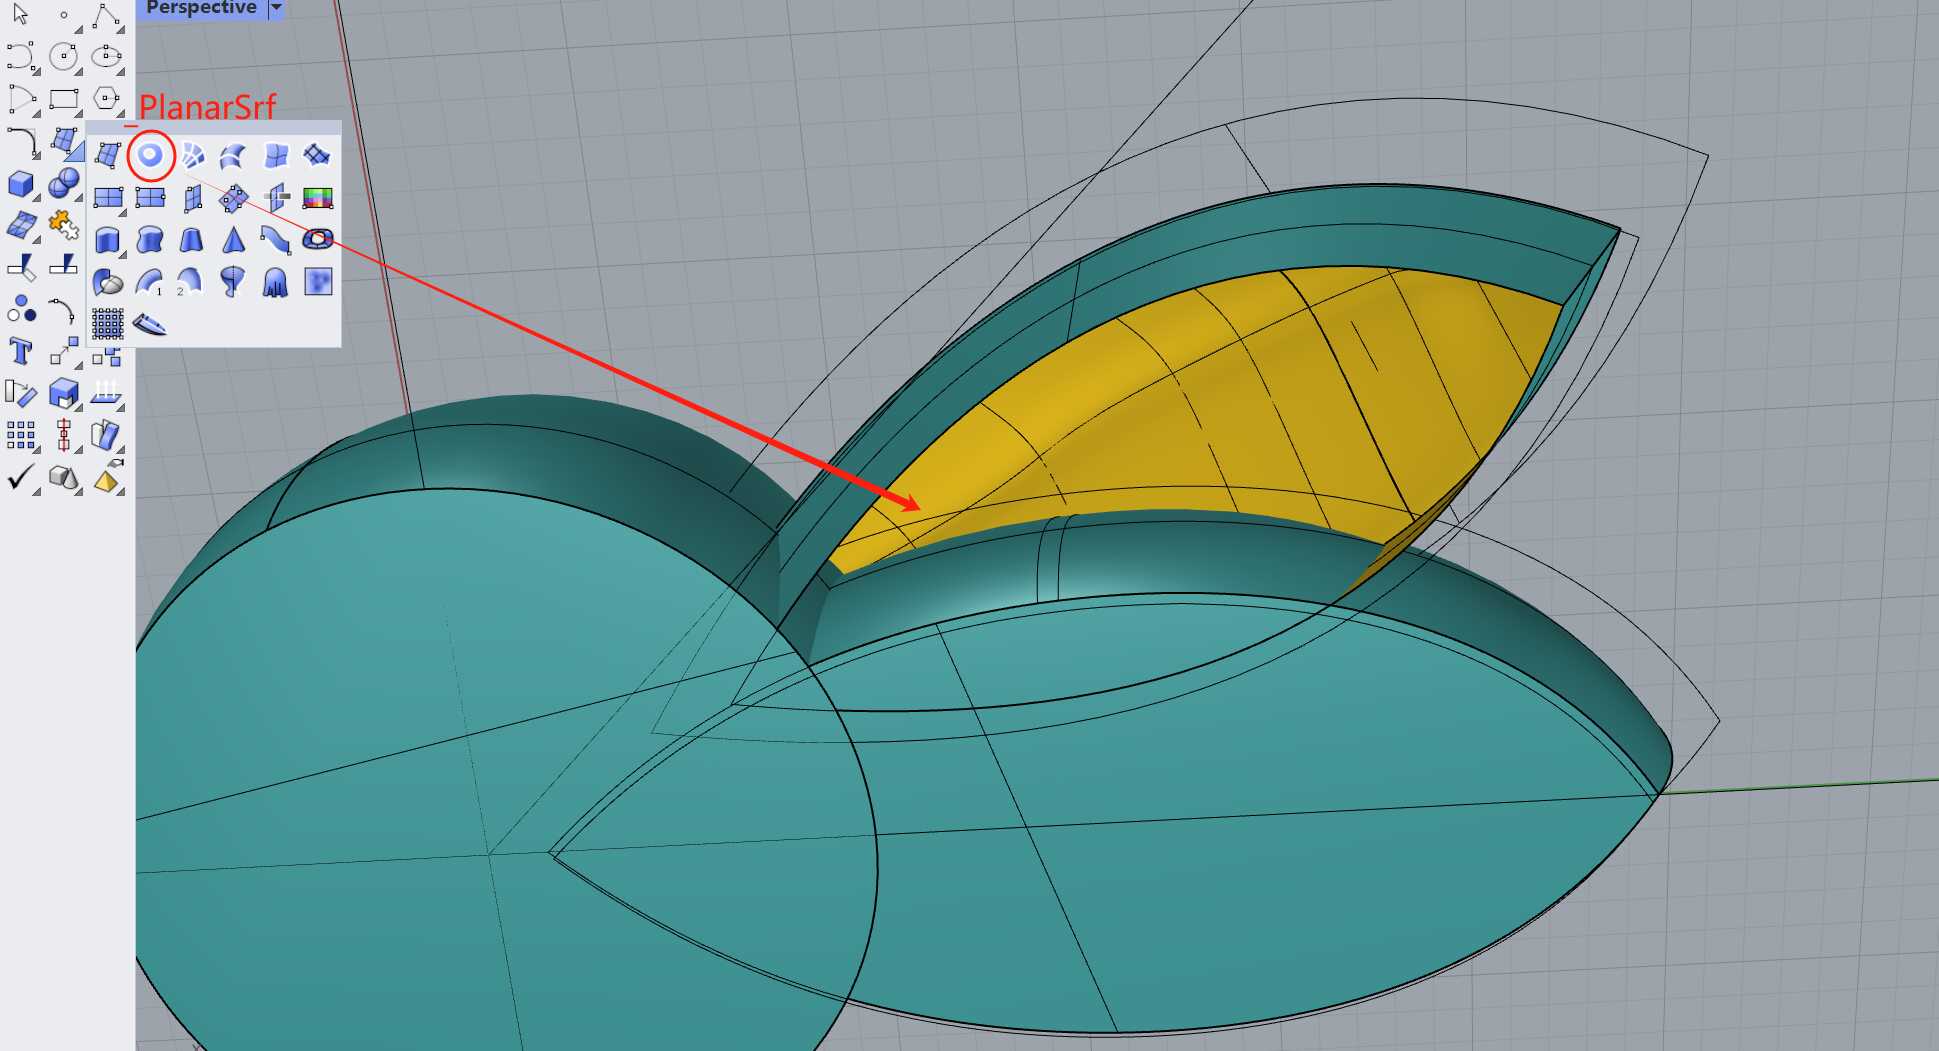
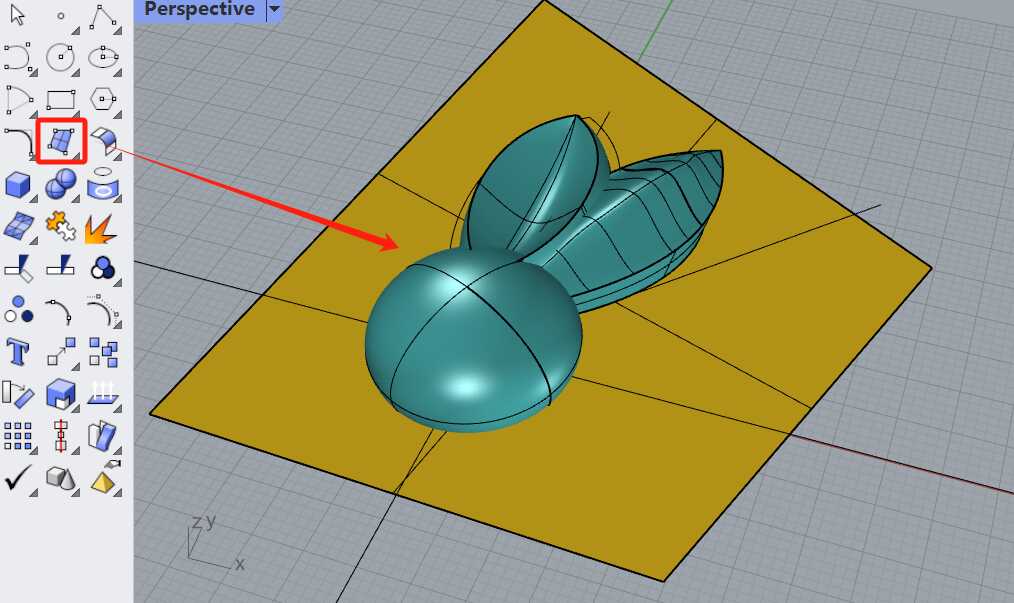
Next, I created a sphere and used the operation axis to control its size. I created a new plane for the boolean operation, cutting away the unnecessary parts.
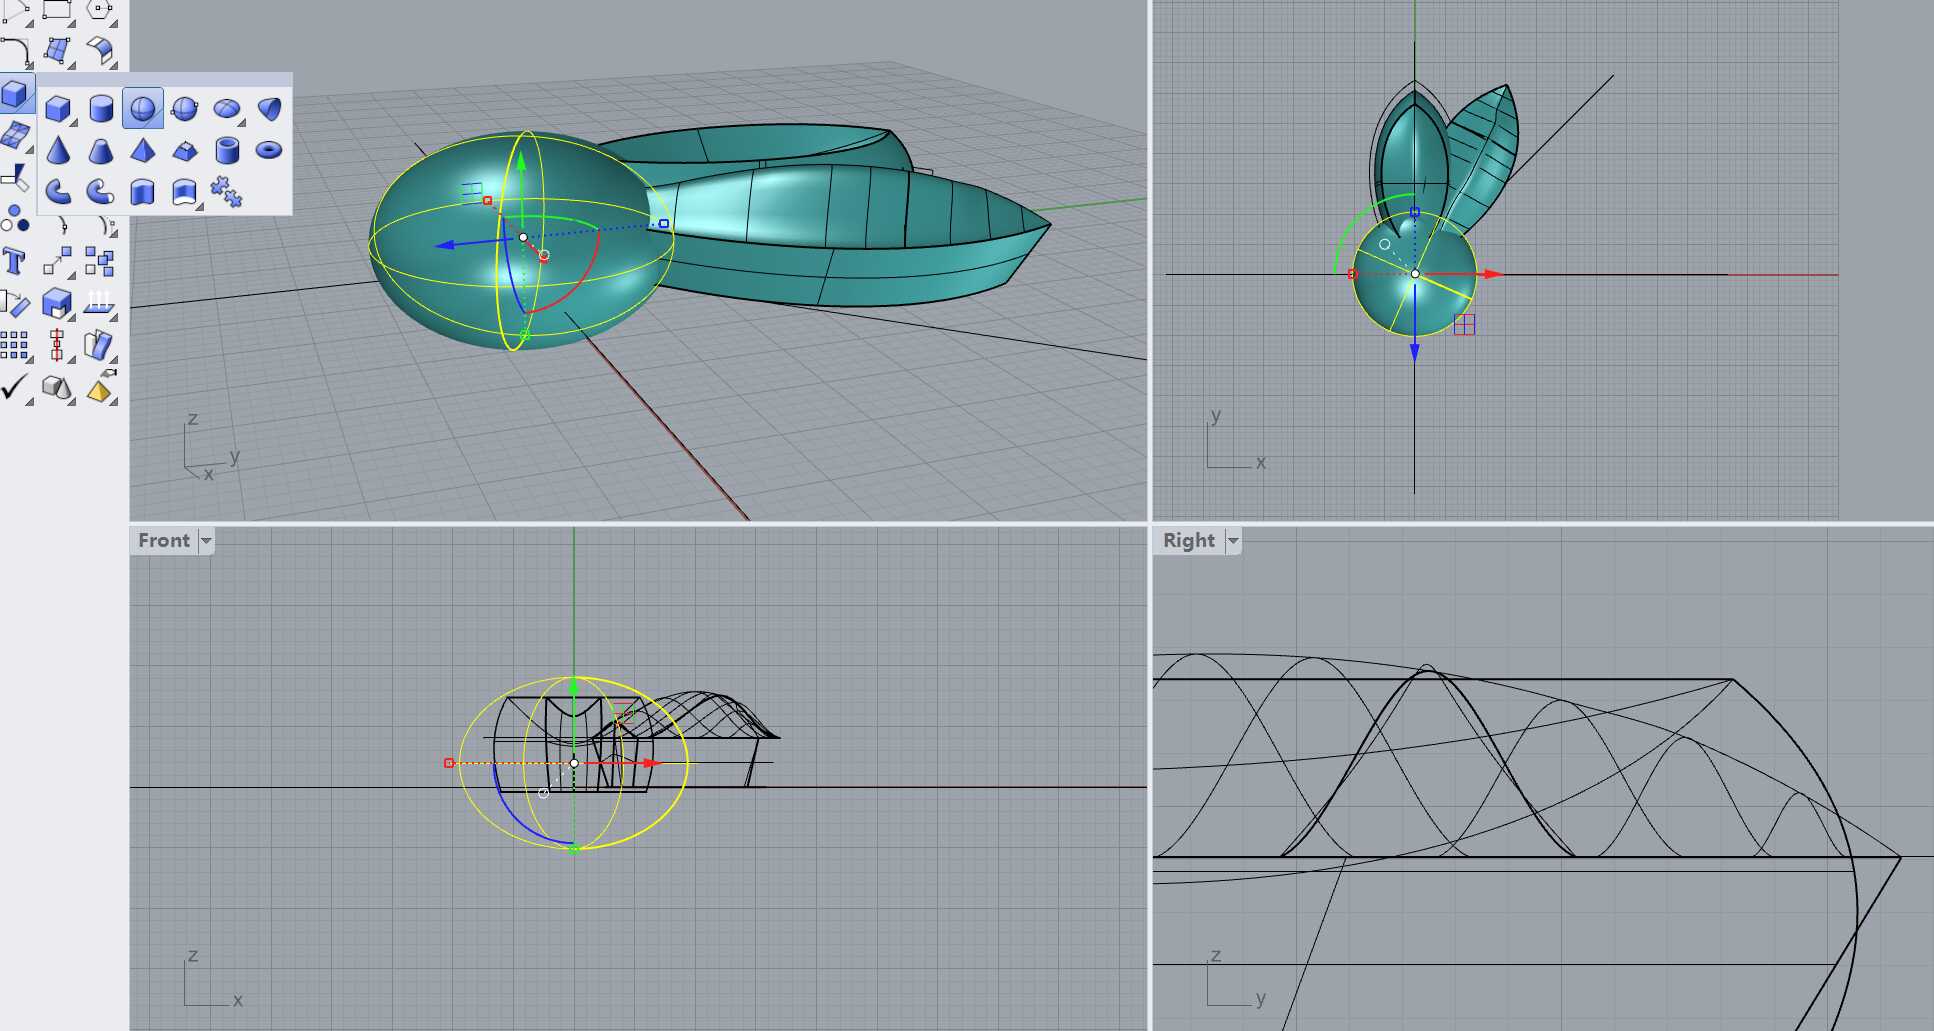
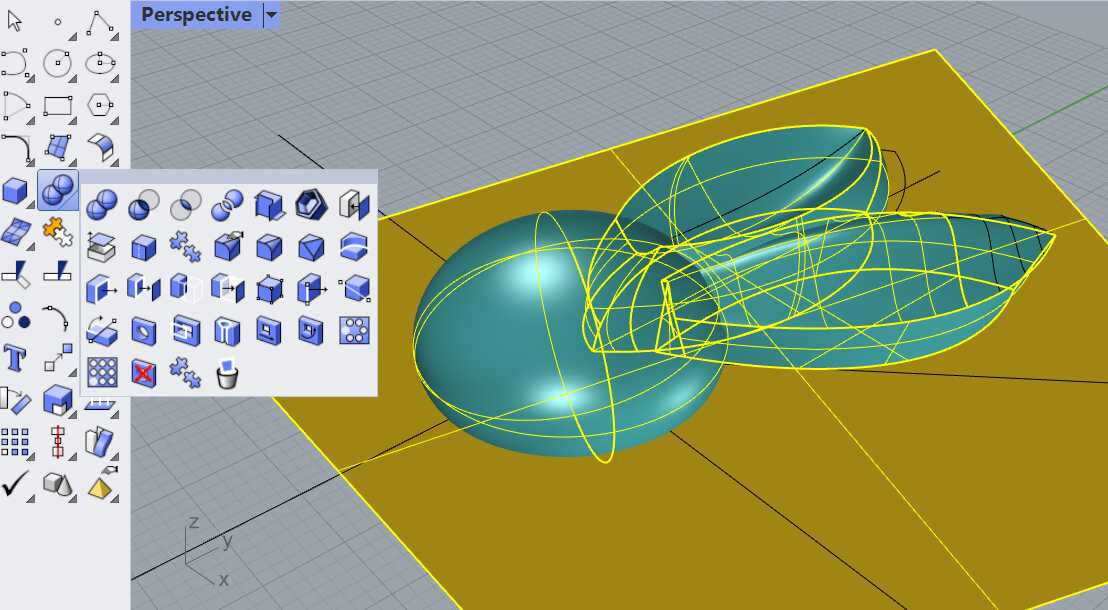
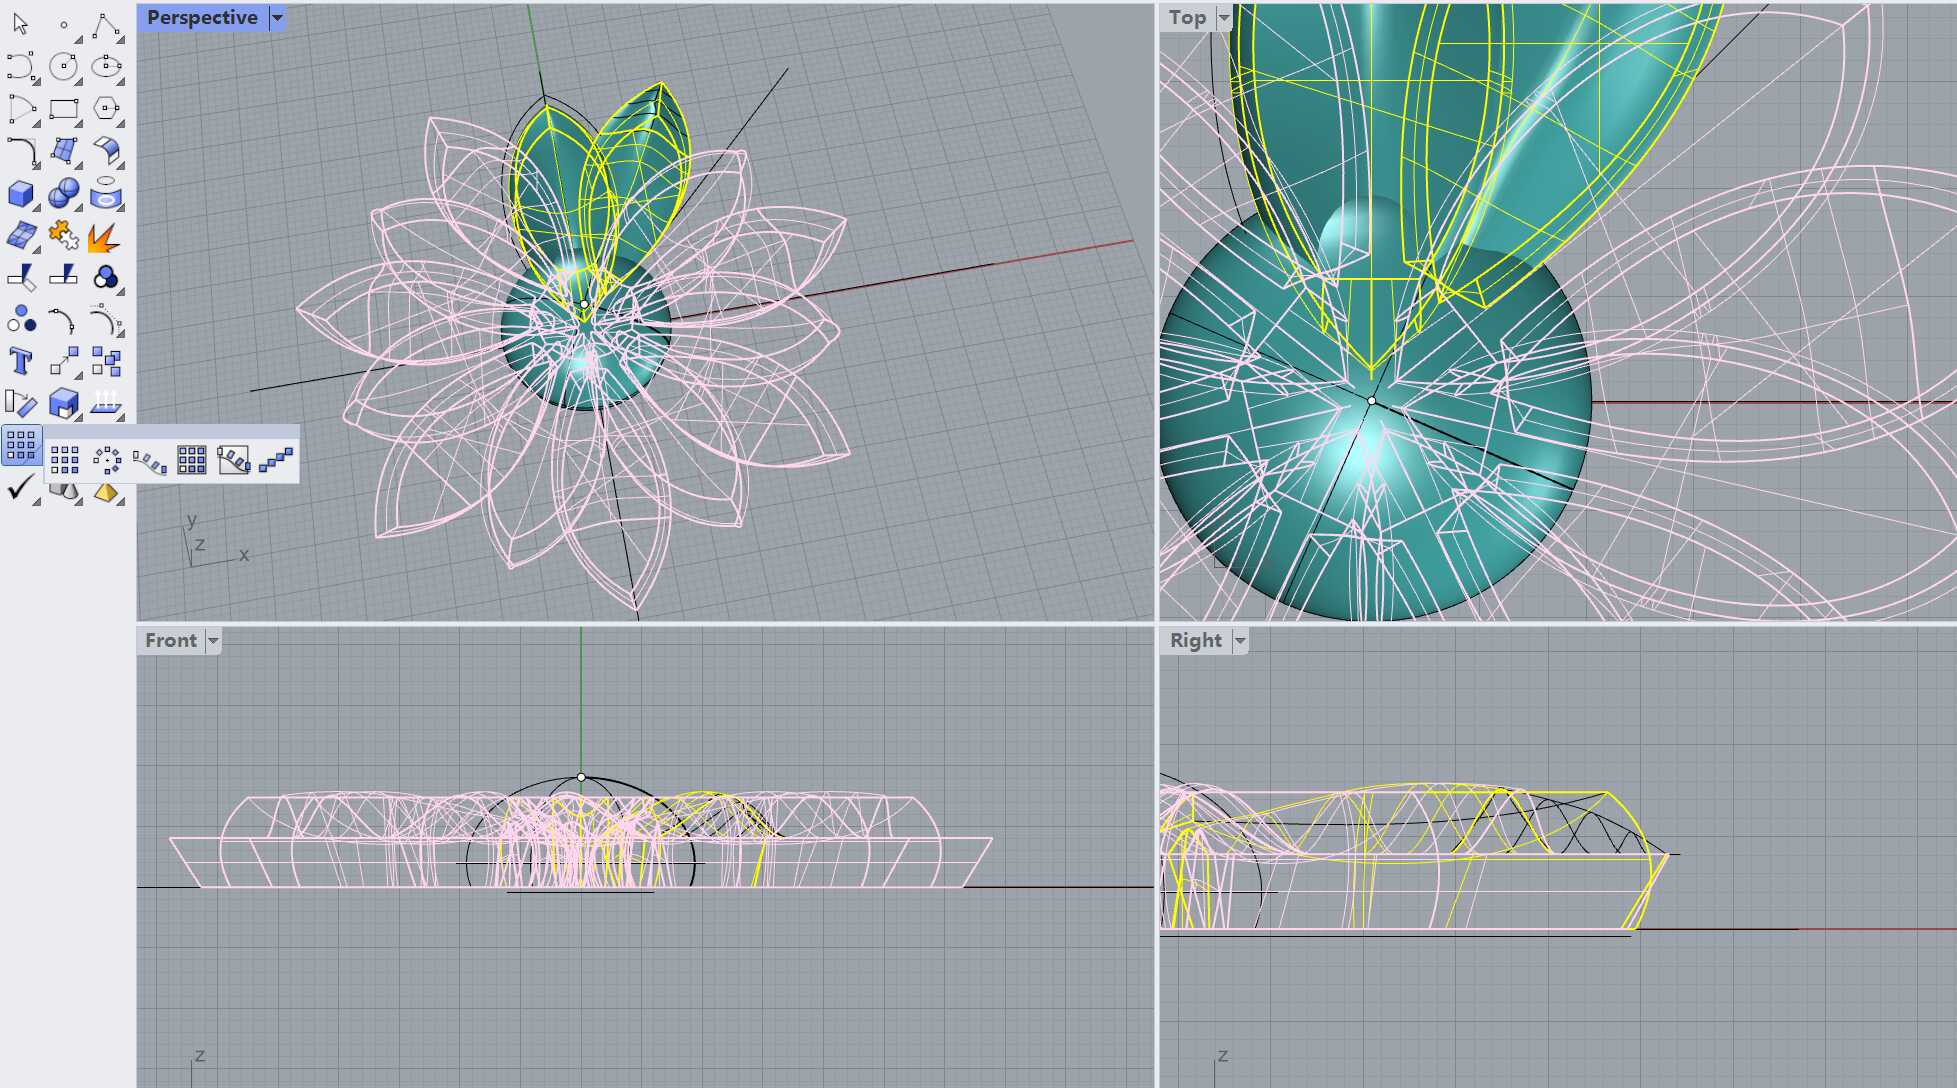
I selected a circular array, using the center of the sphere as the origin, and rotated it 360 degrees.
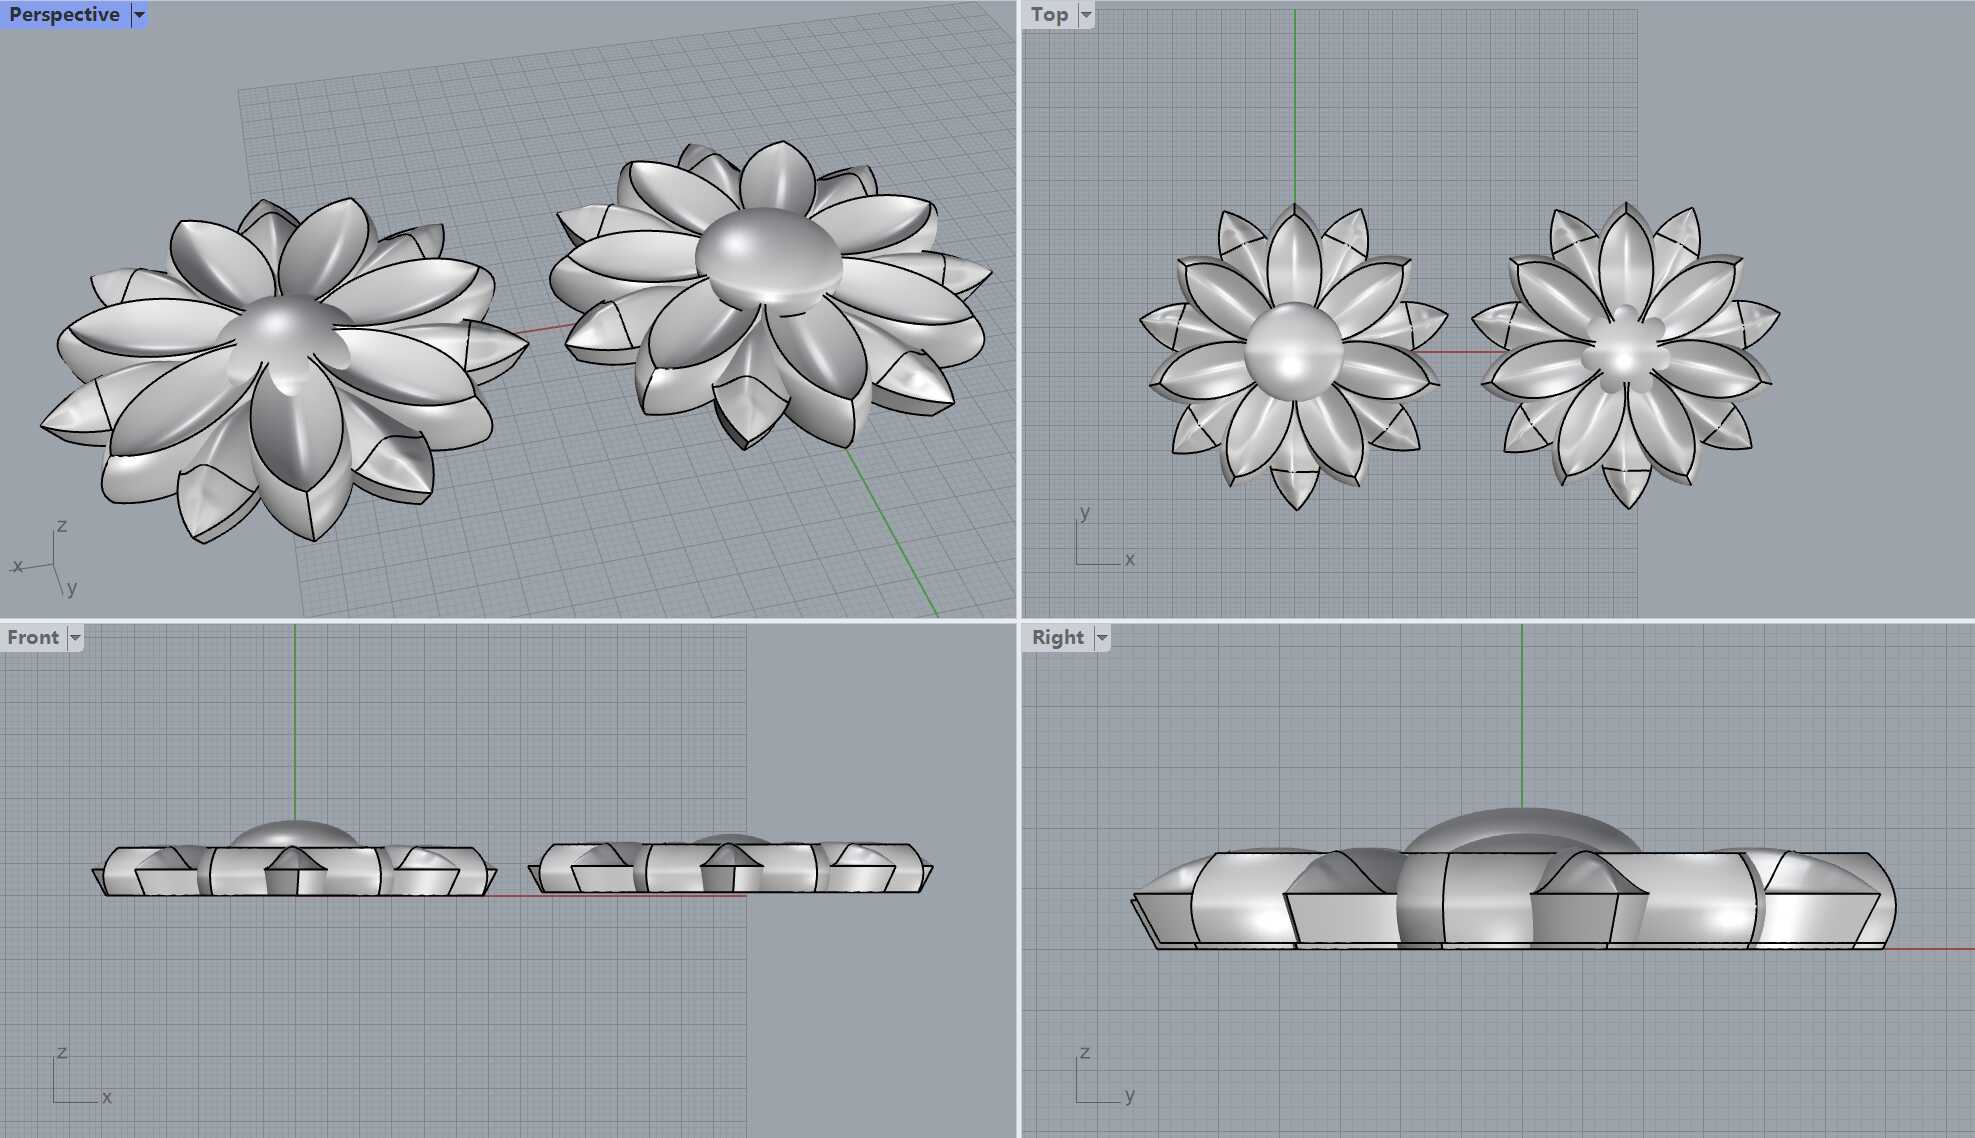
hero Shot
1.2 3D Printing
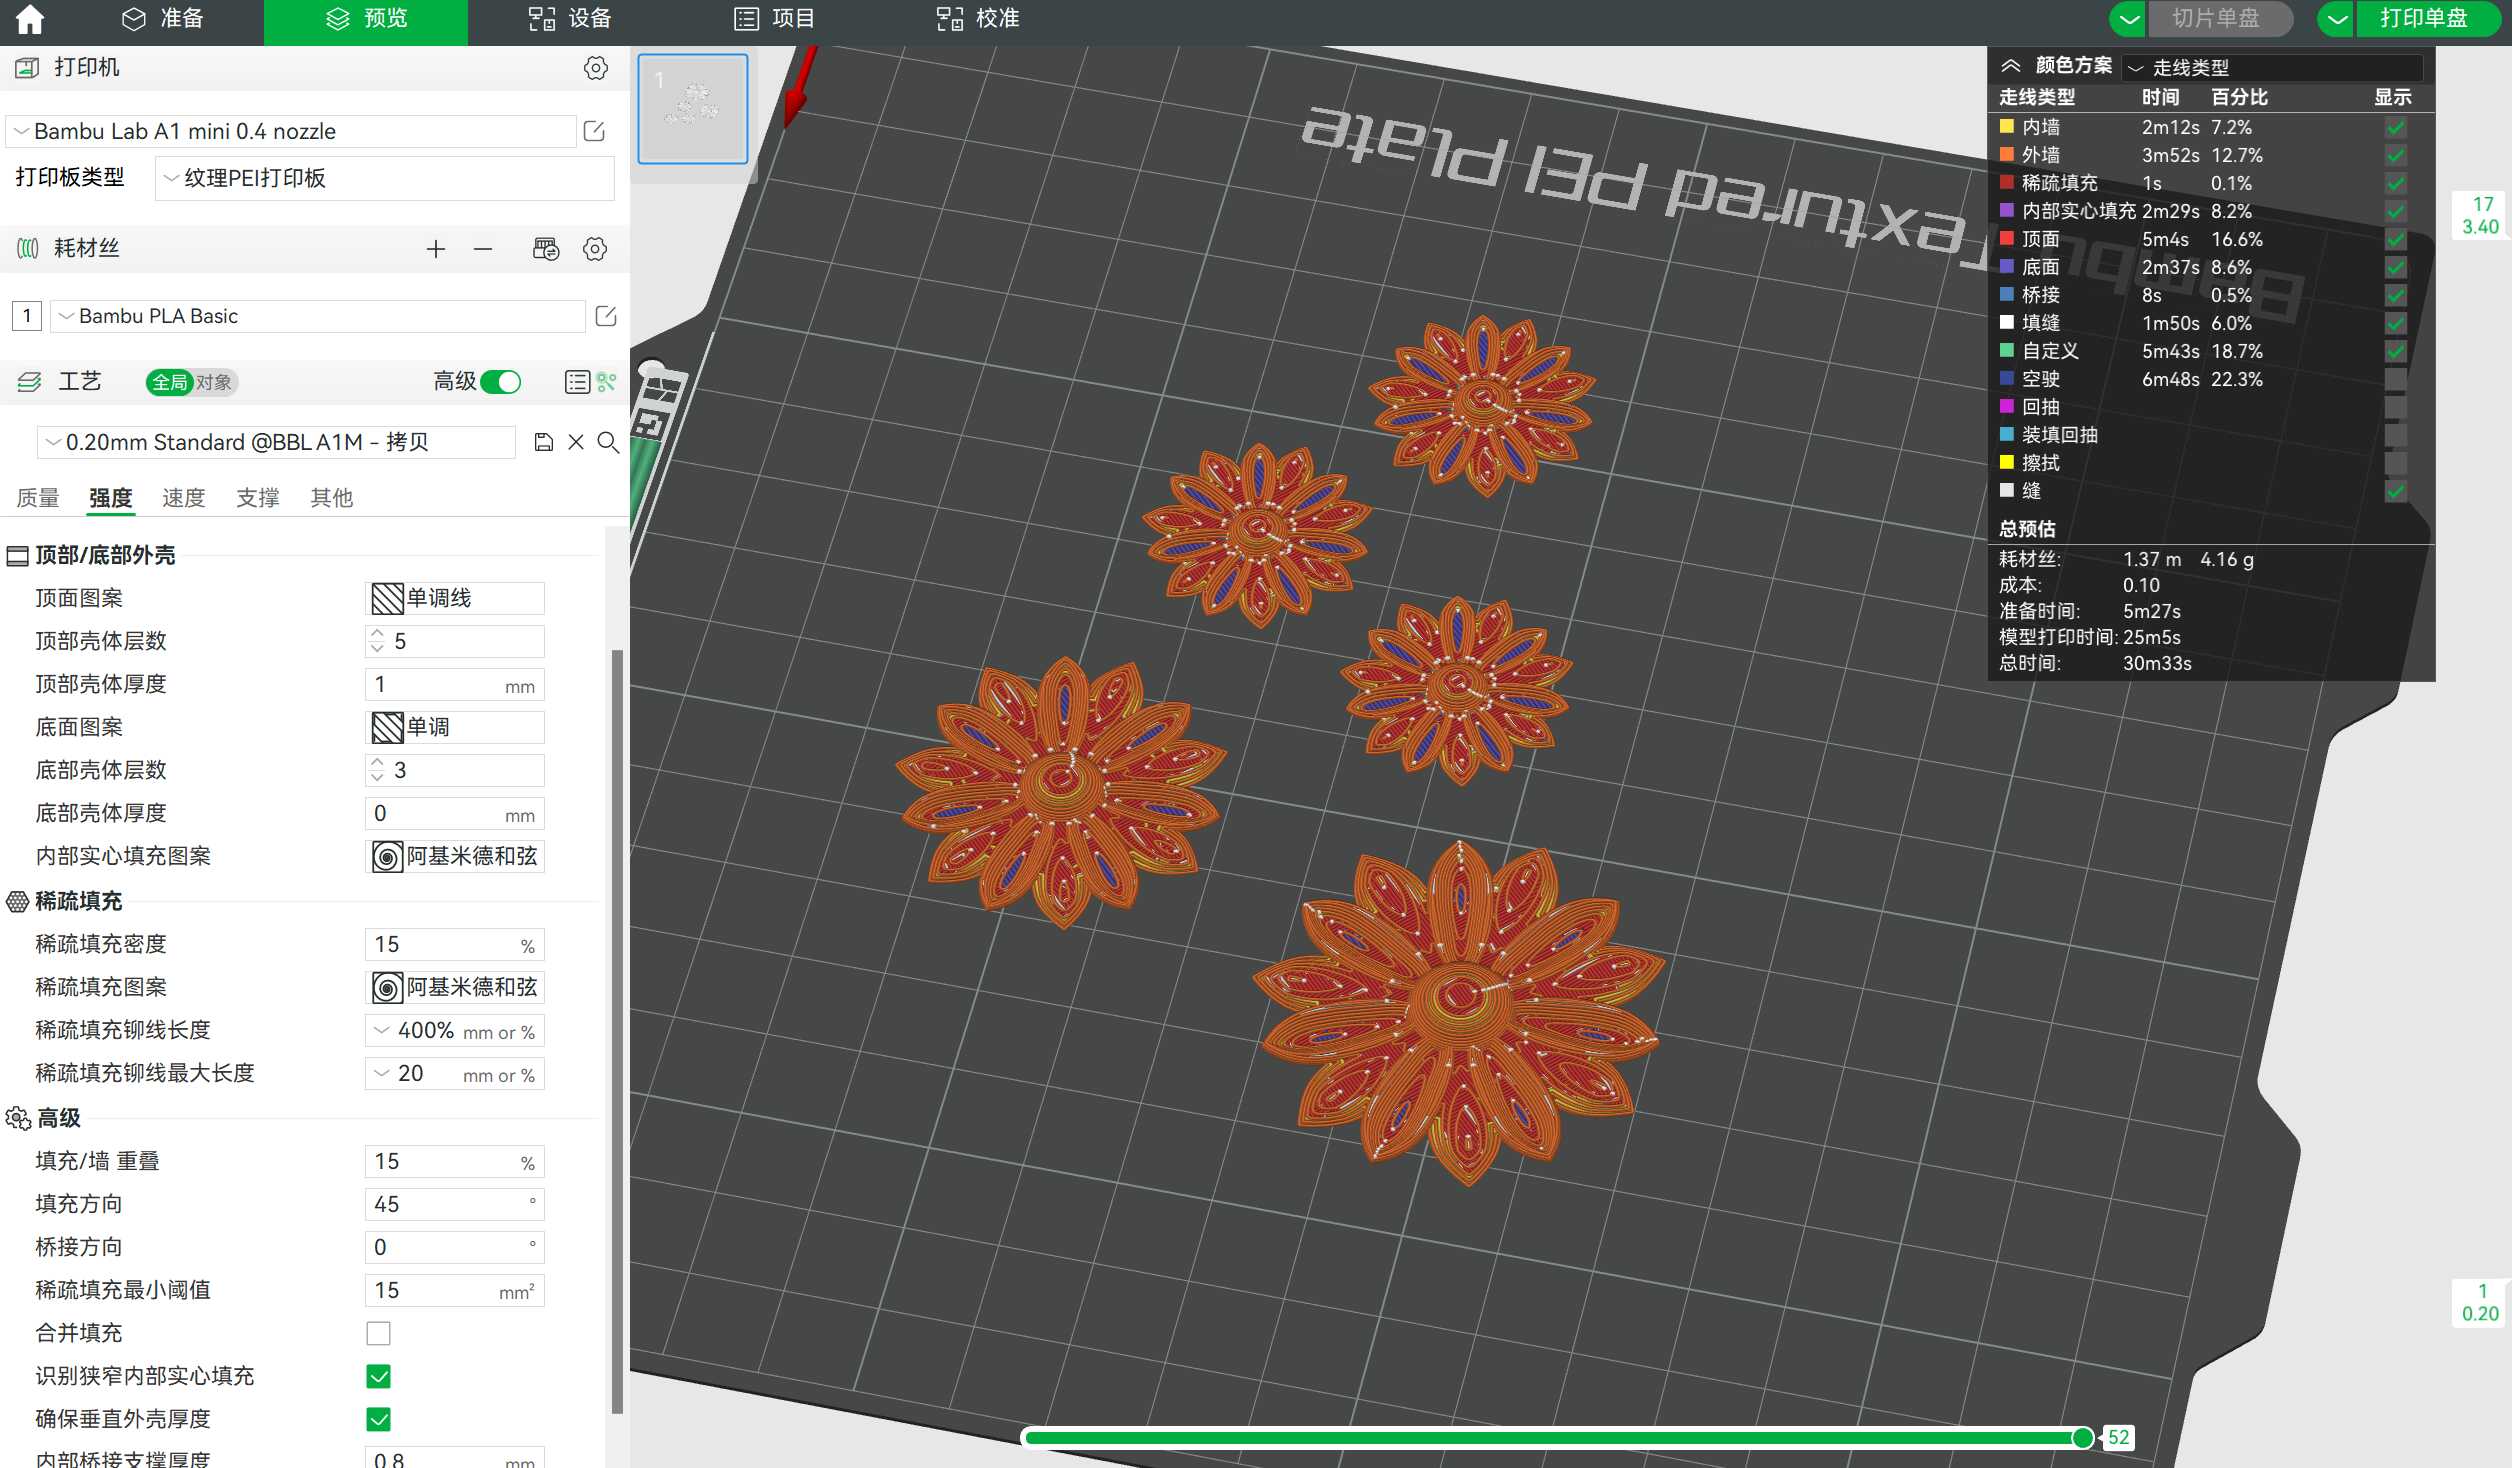
In Bambu Studio, I imported the file and selected the A1 Mini. I used PLA from Kexcelled Store, which has very beautiful colors.
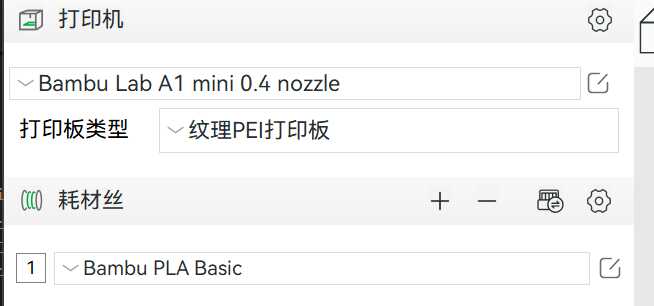
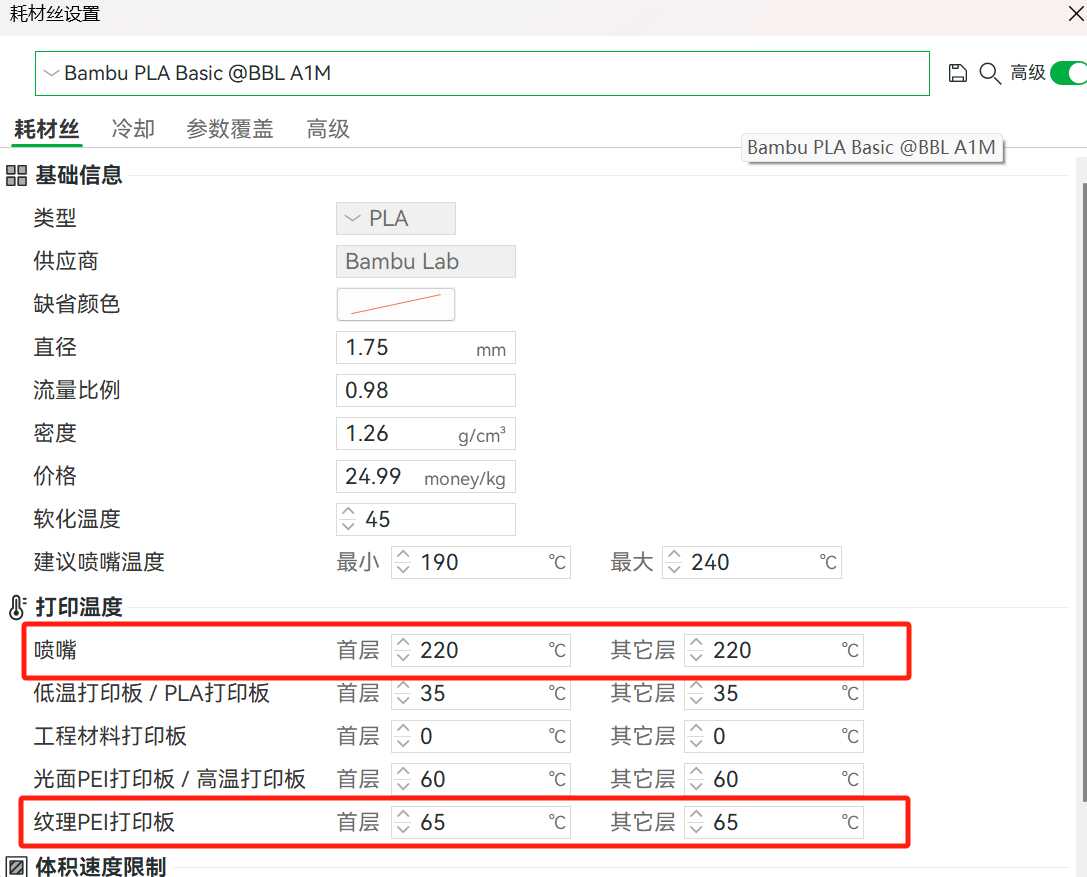
Based on the recommended parameters for the material, I set the printing temperature to 220°C and the heated bed temperature to 65°C.
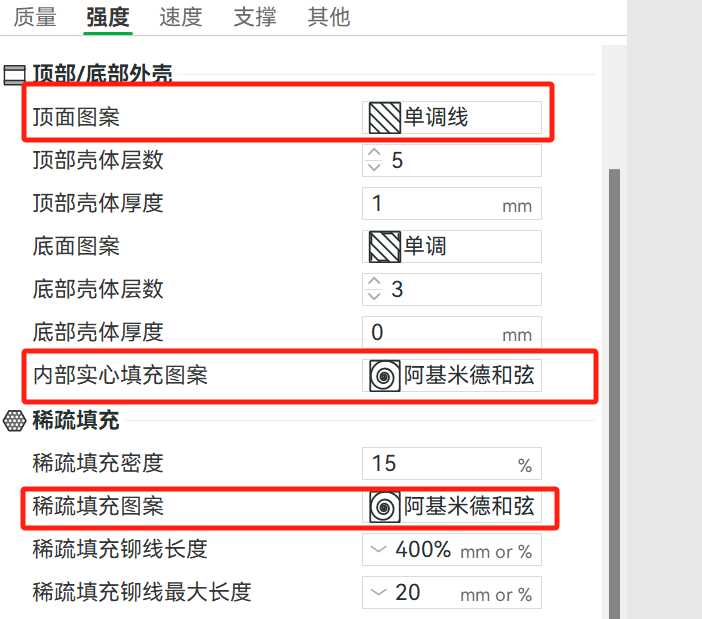
I changed the internal infill to spiral to ensure that there won't be overlapping lines in one layer during printing (for example, at intersections of straight lines where two layers might overlap, which could cause damage). The top surface pattern was set to single lines, which looks more beautiful.
The total print time is 30m33s.
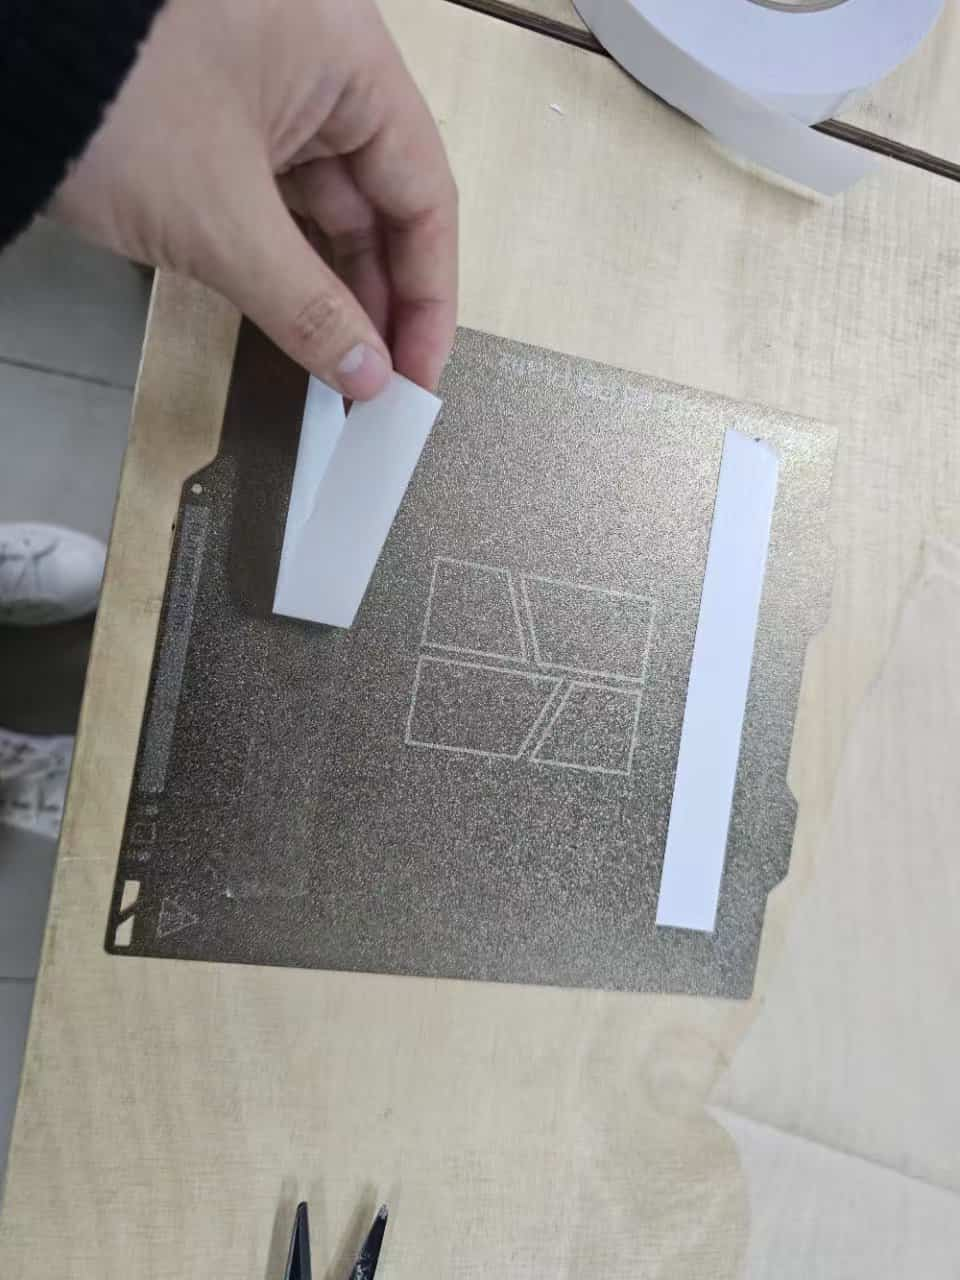
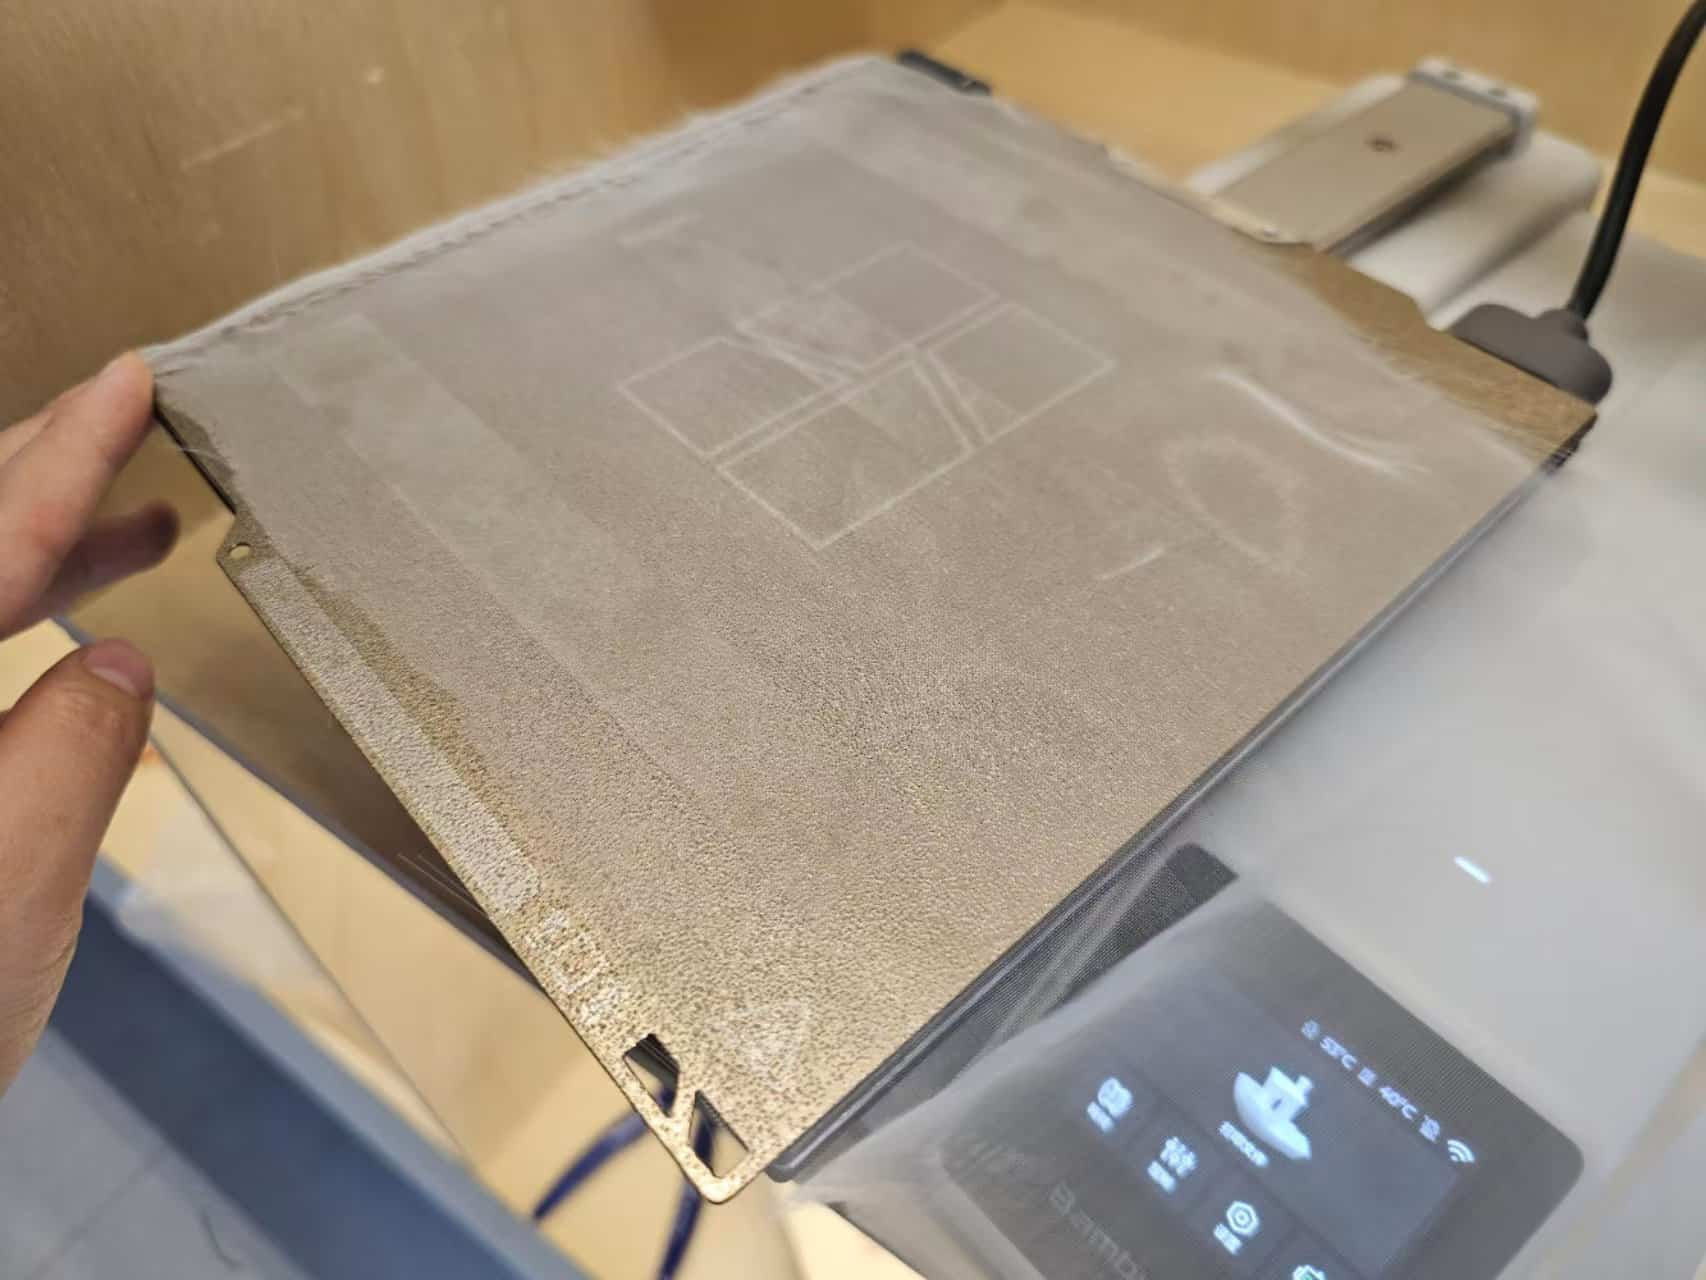
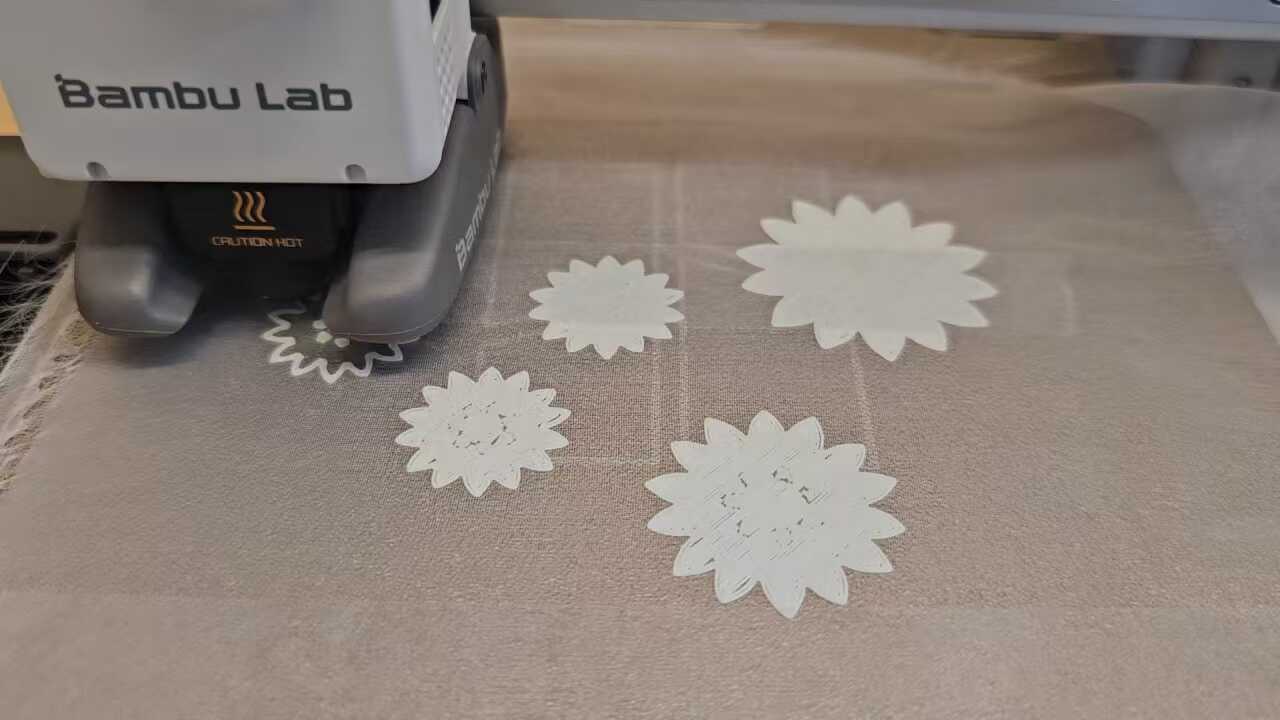
To prepare for printing, I used double-sided tape to fix the organza on the print bed to prevent it from moving during printing.
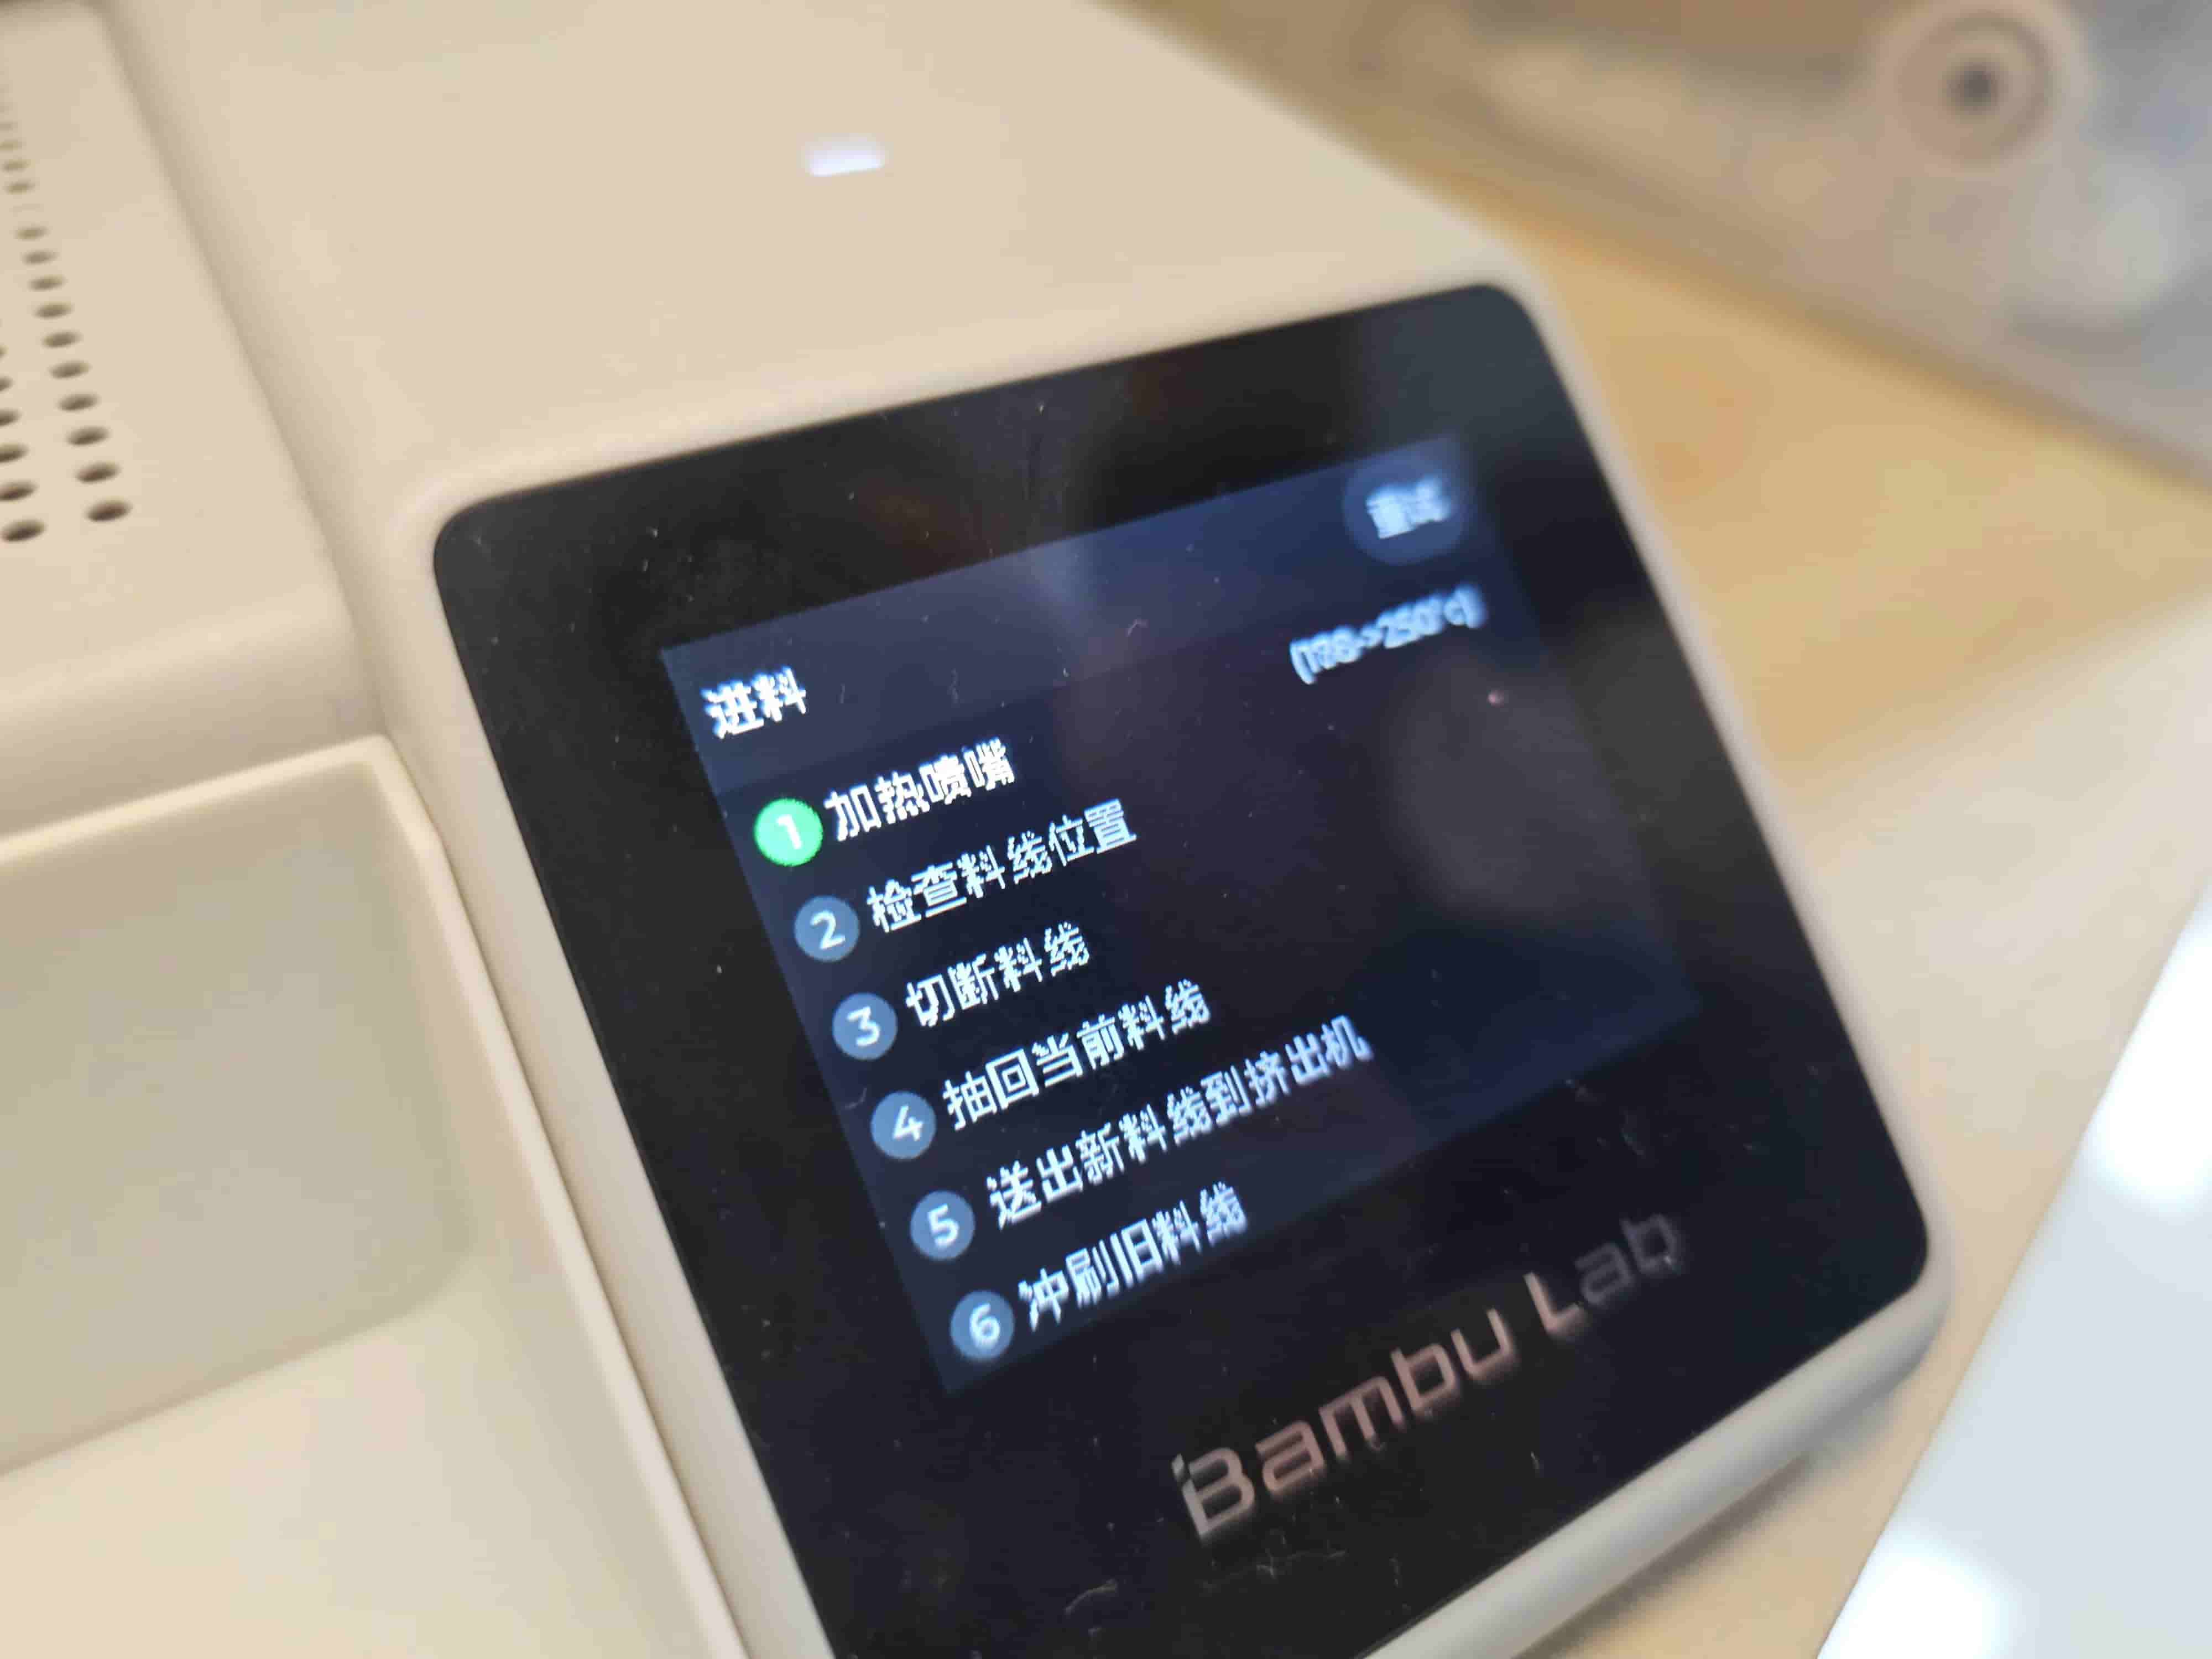
I swapped to the prepared light green PLA, and the screen on the A1 Mini guides me step by step on what it's doing, which is very convenient.
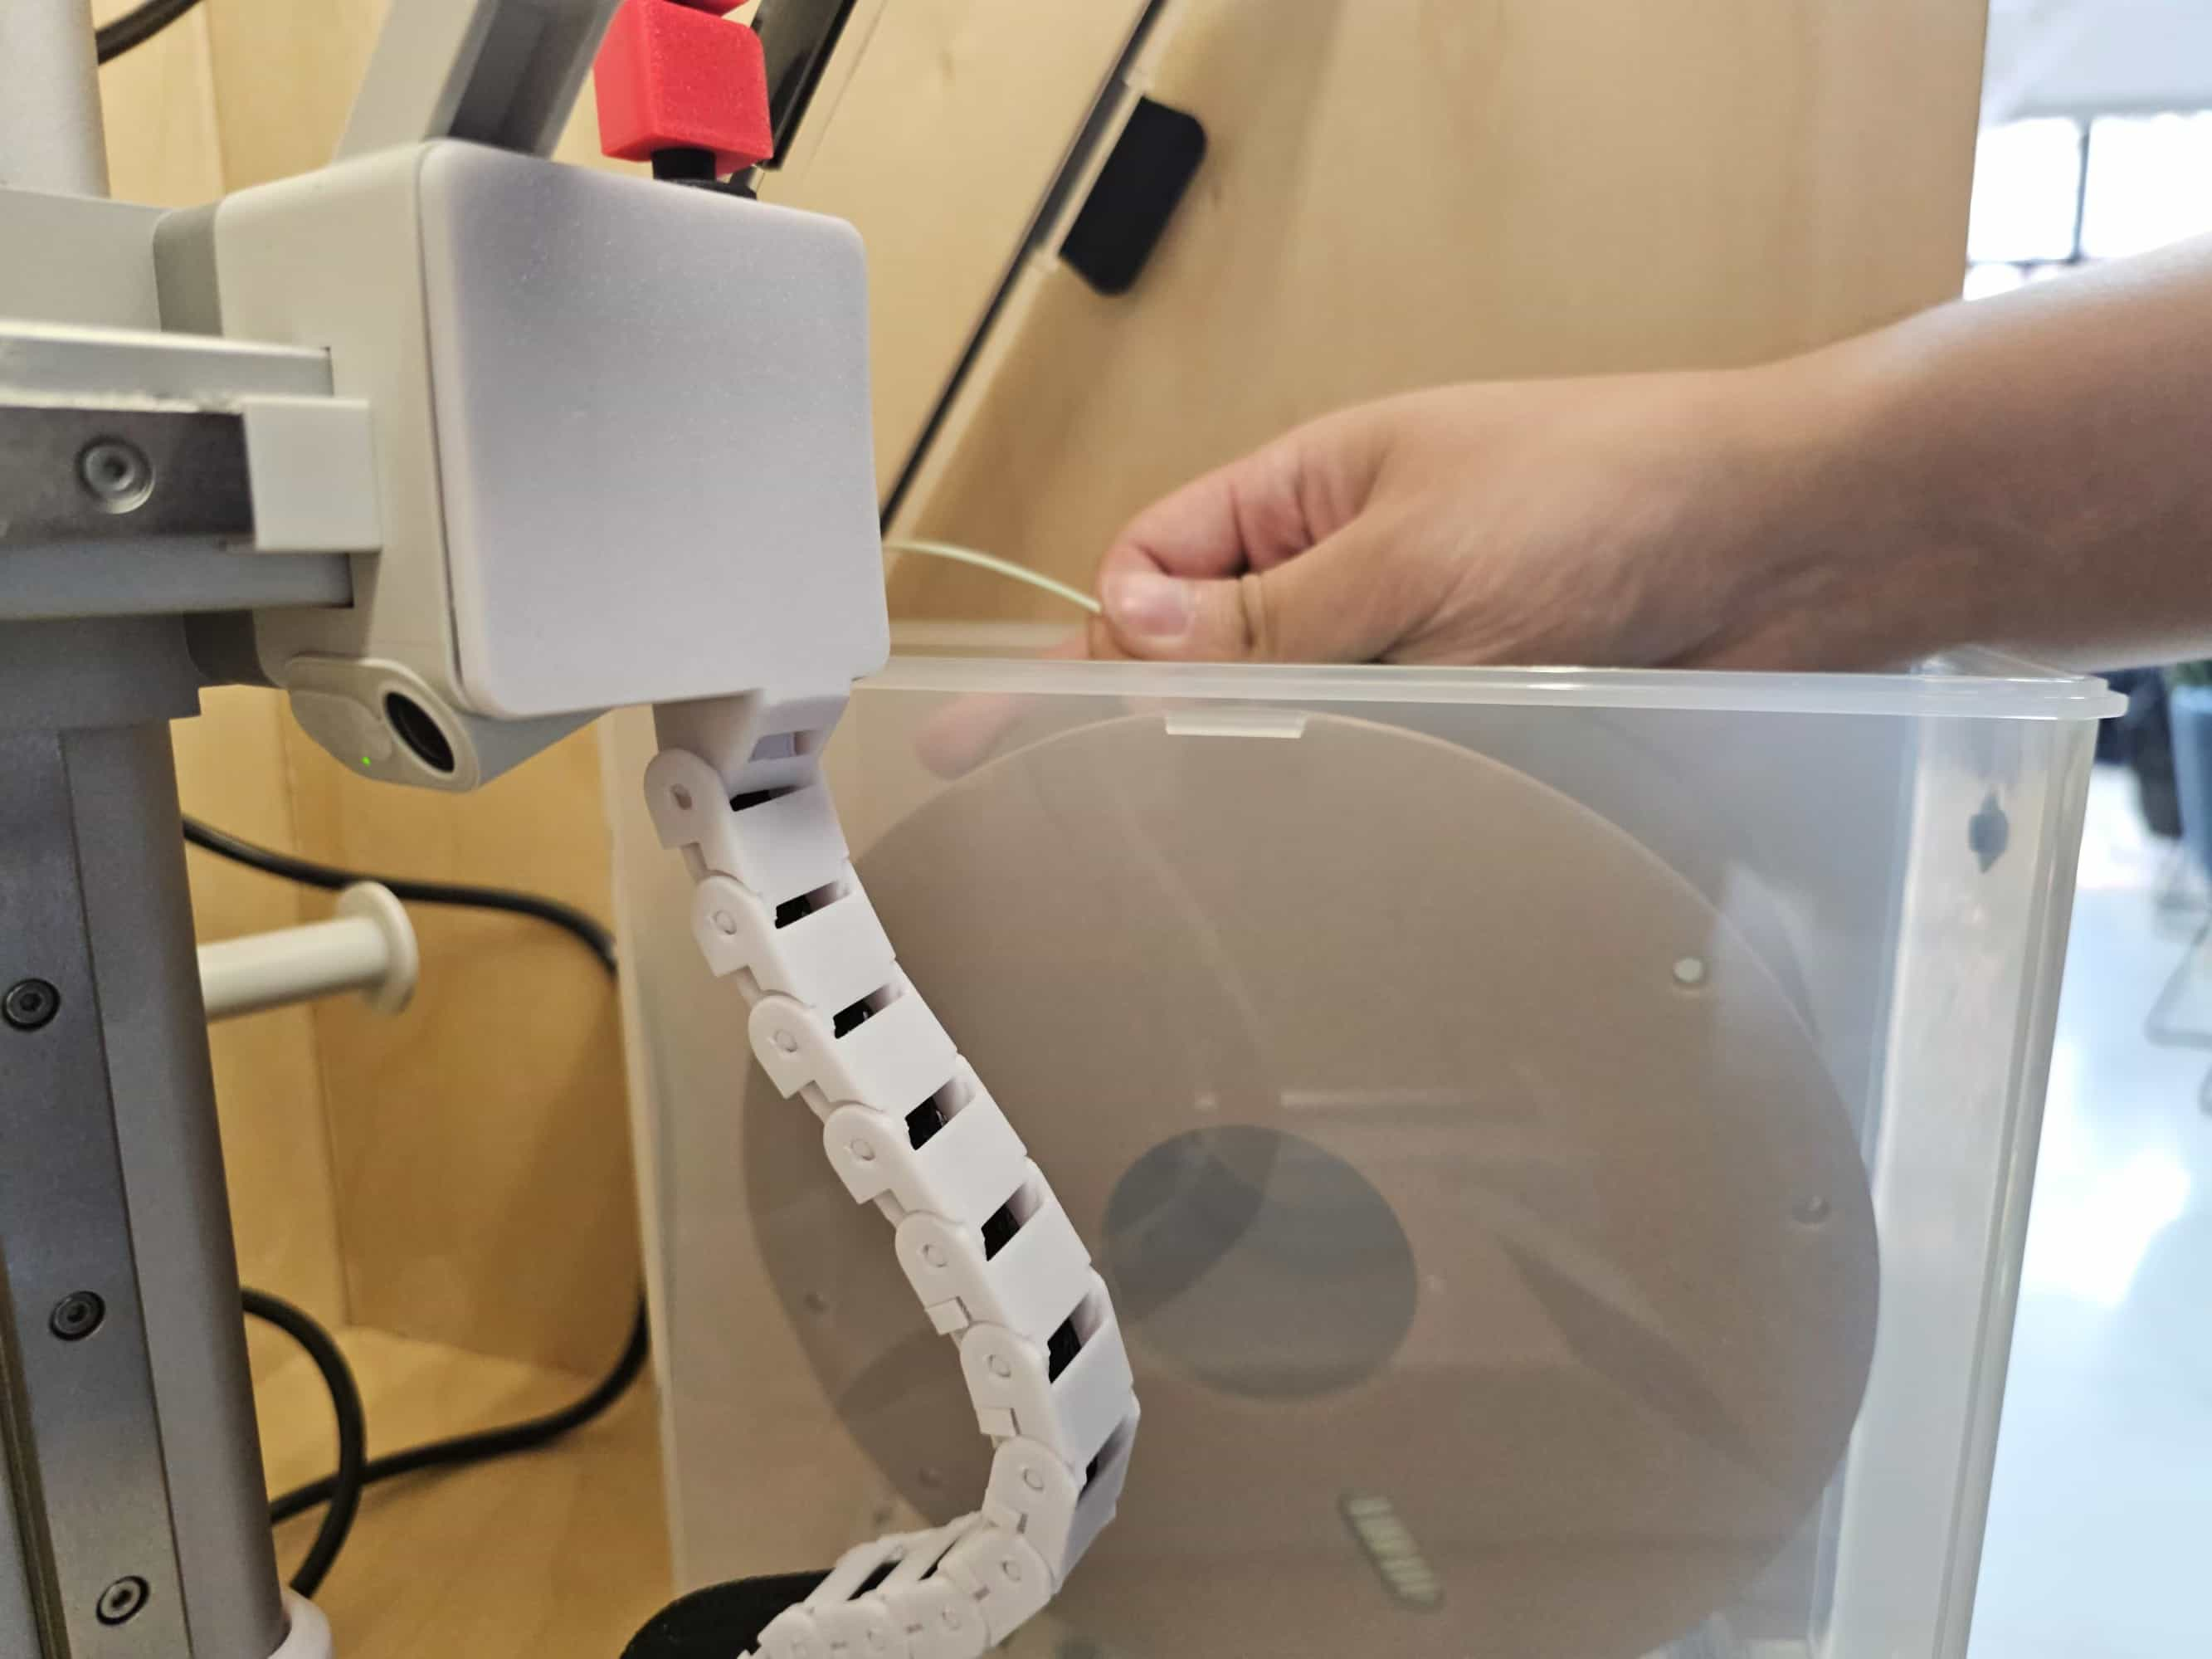
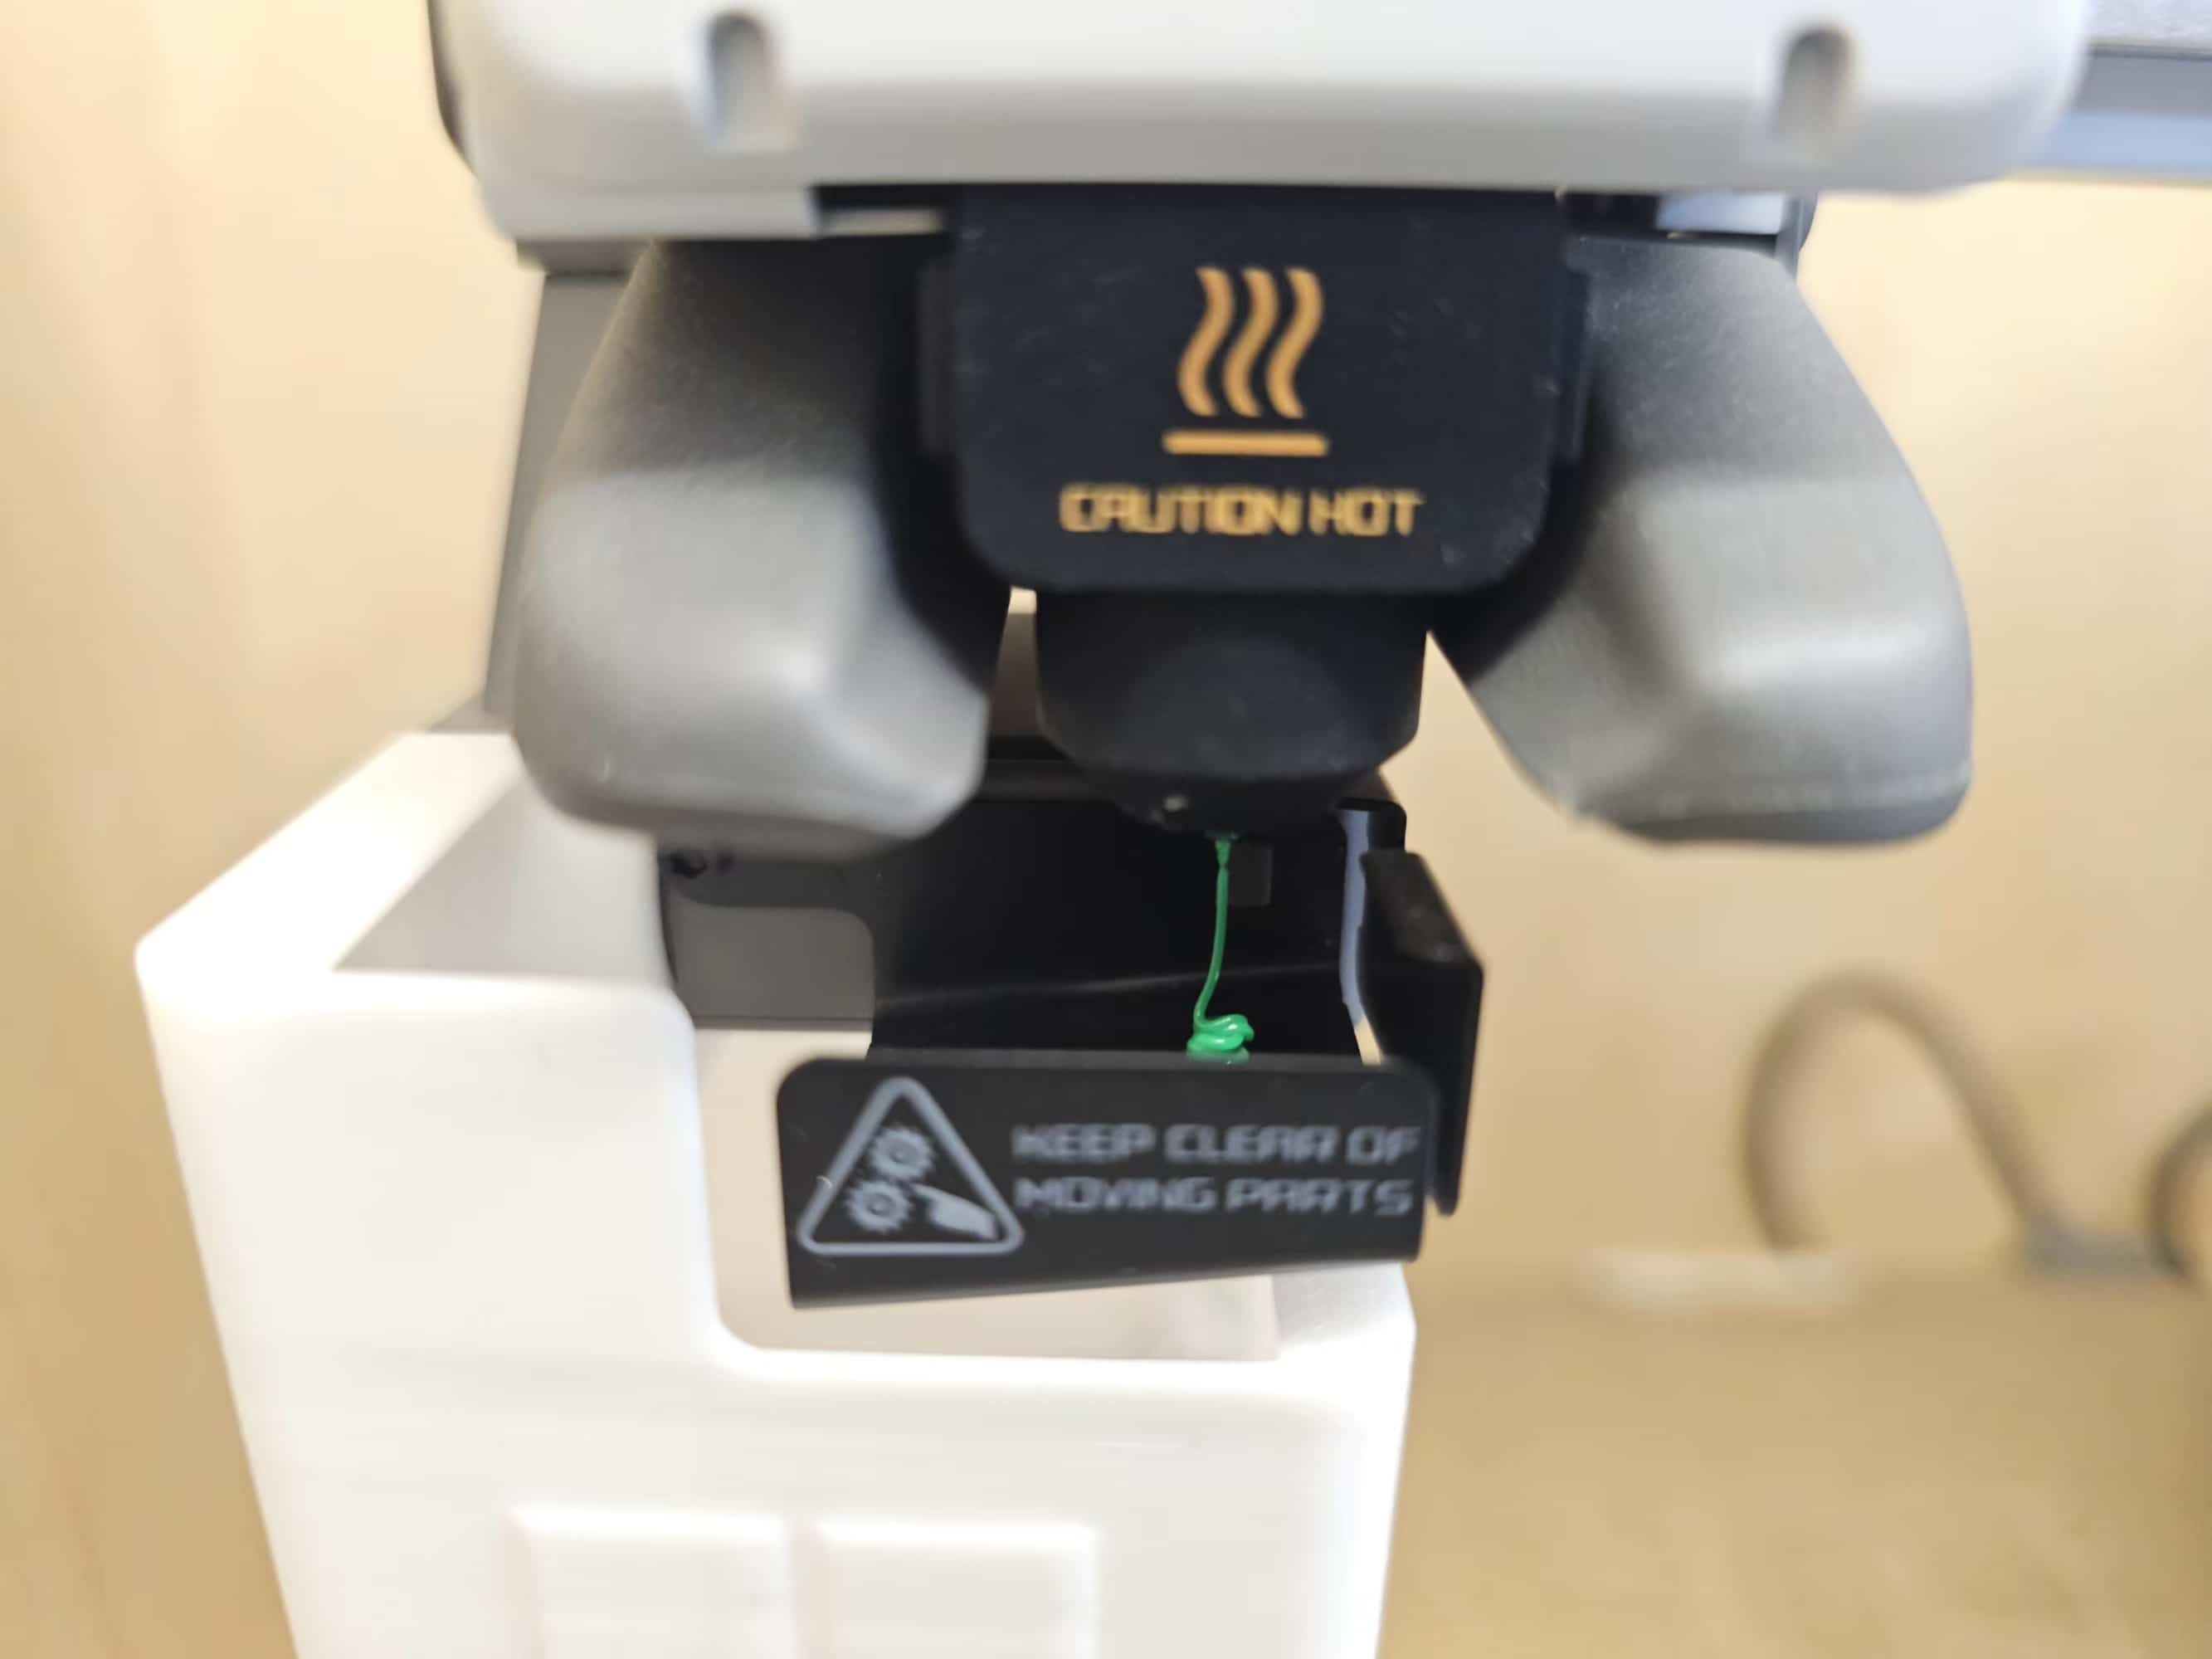
I clicked the print file and started printing. I was a bit worried that the organza might move during the process, but after observing the printbed and ensuring the first layer was correct, I was relieved.
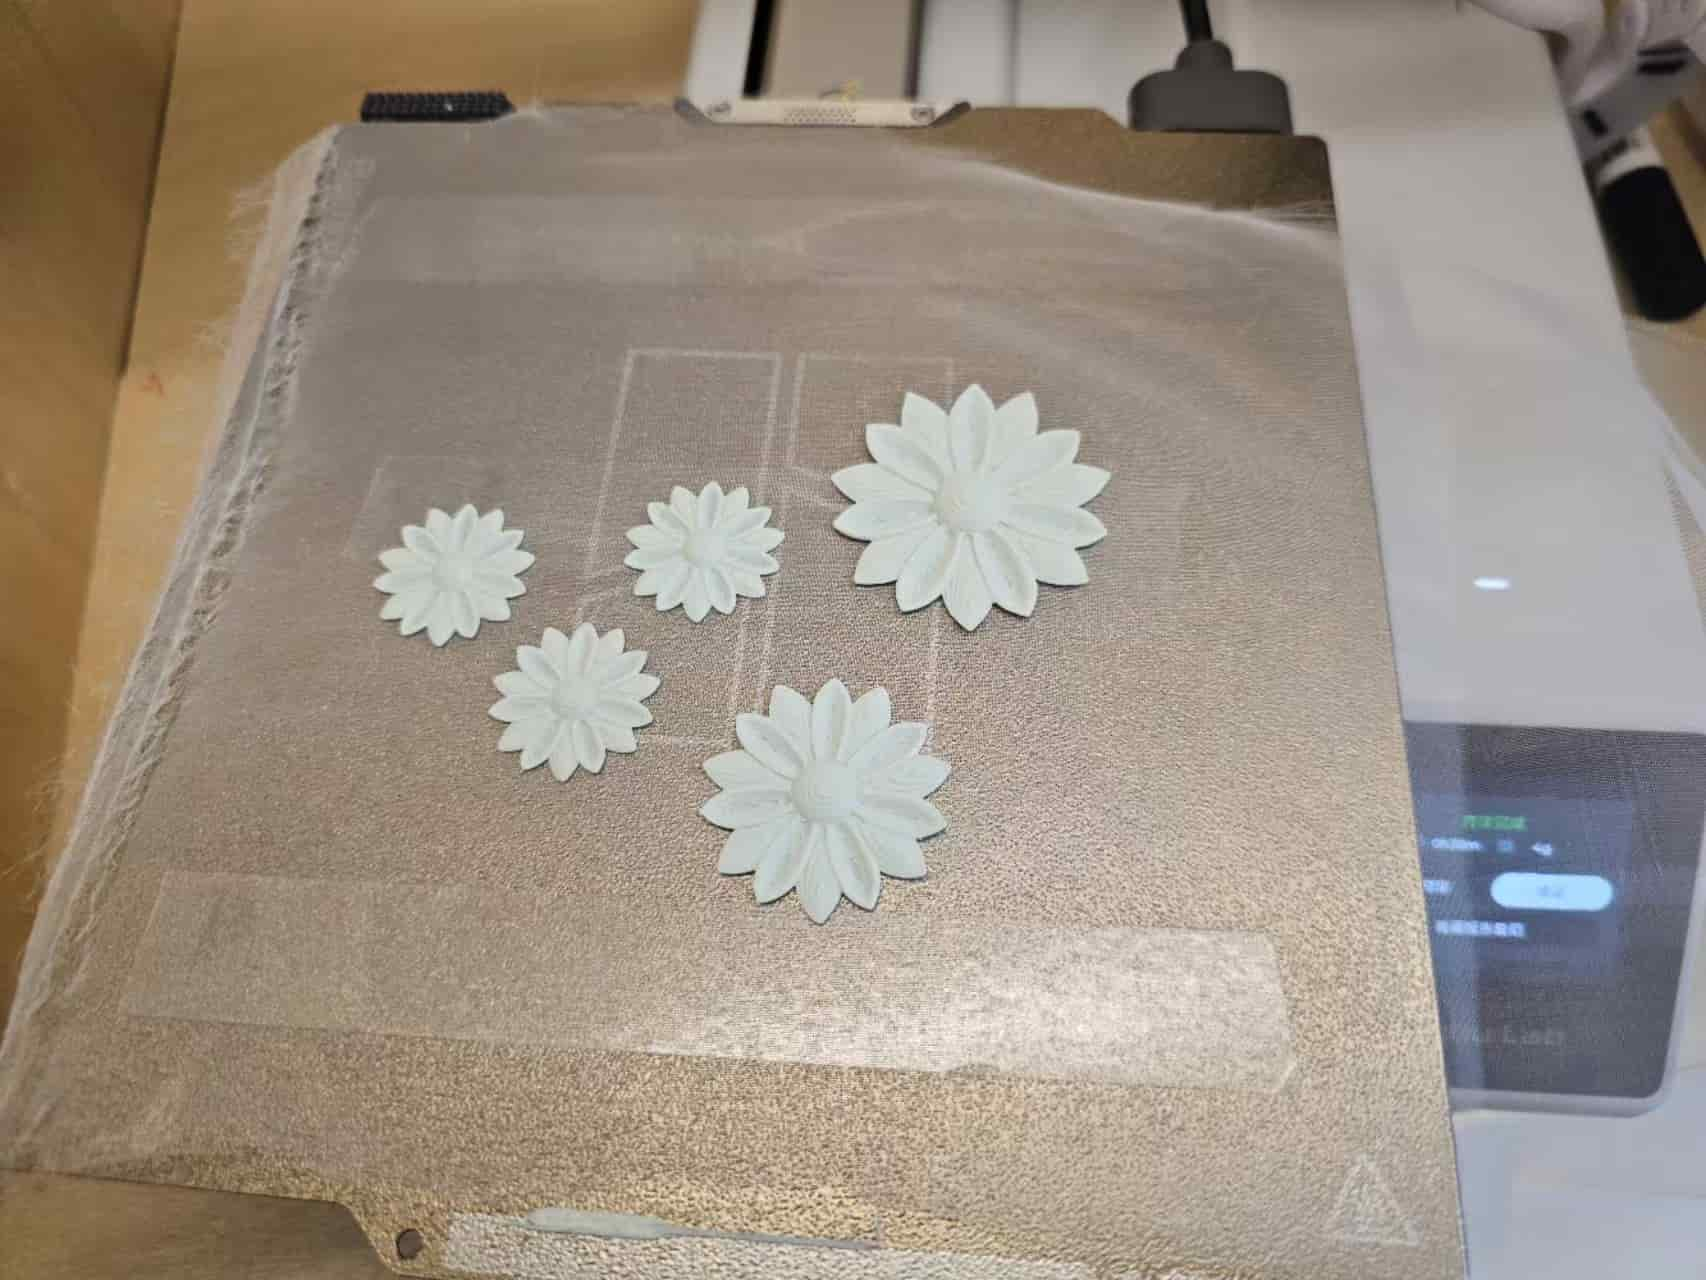
Carefully lifting the print, the result was great! It didn't fall off even after shaking and dropping on the floor. Awesome!
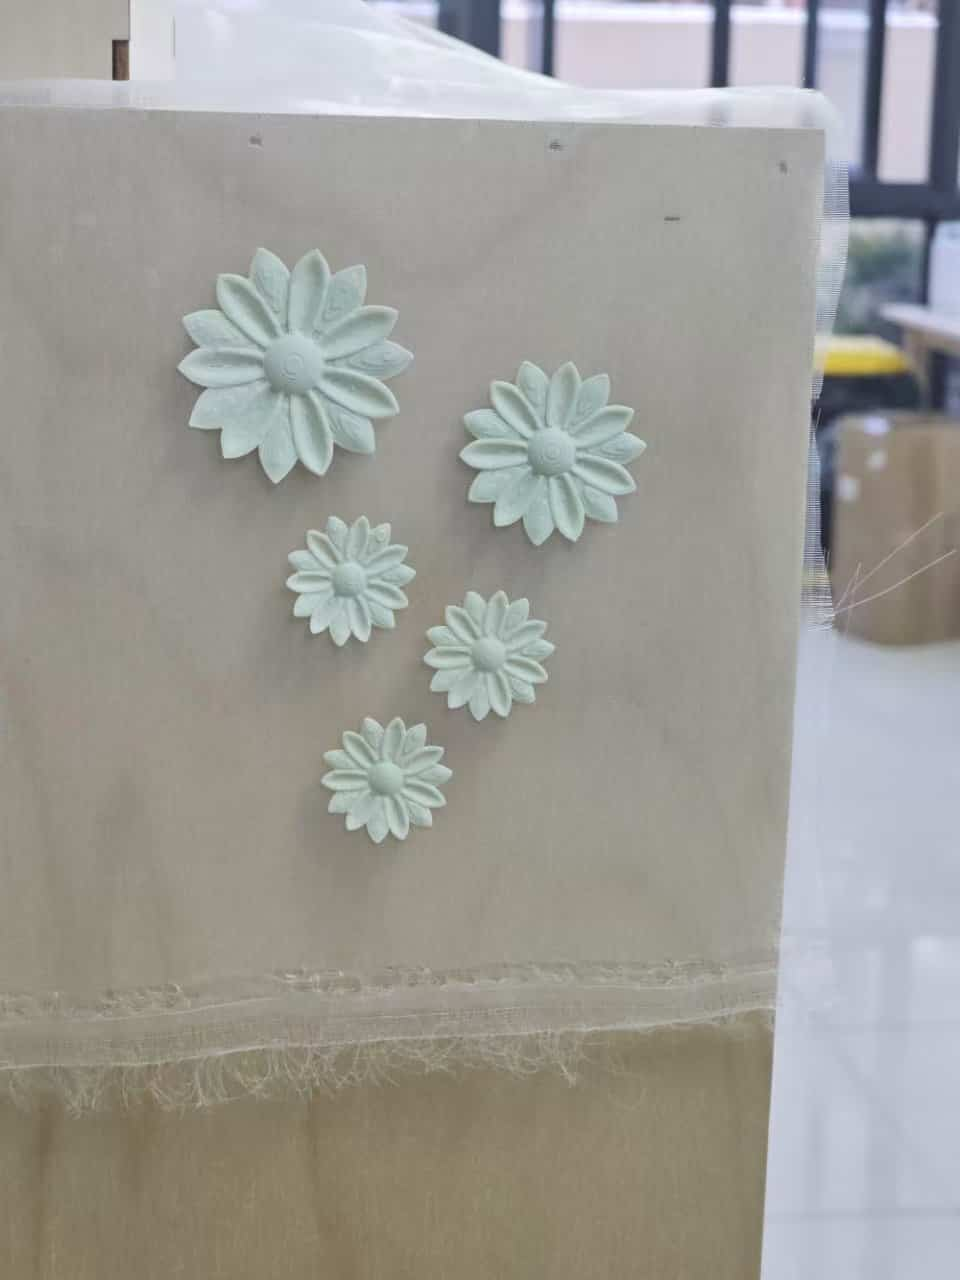
1.3 Sewing
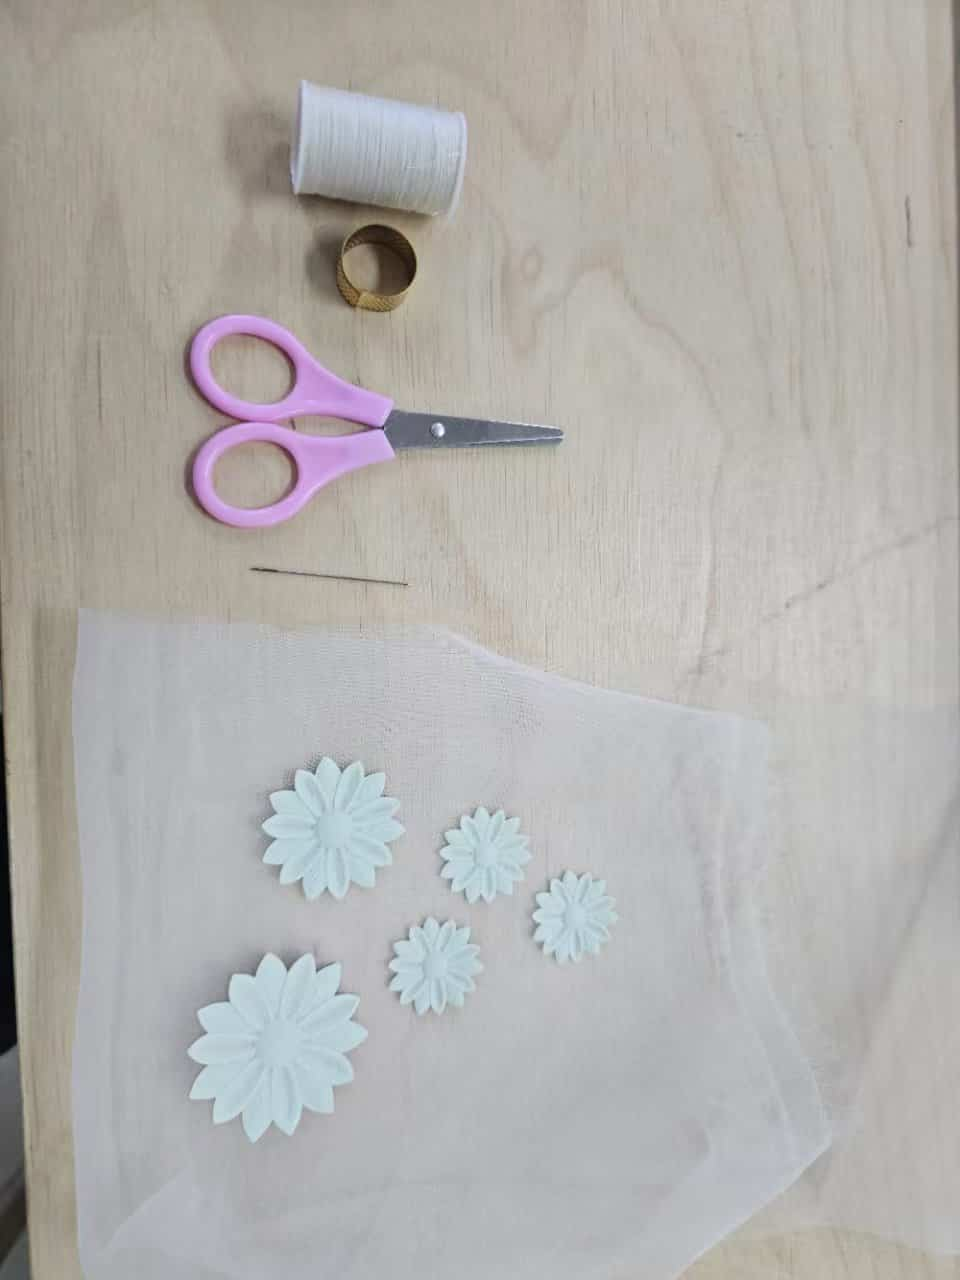
The 3D-printed daisies are beautiful, really looking like they were embroidered. Prepare the needle, white thread, scissors, and start sewing the money pouch.
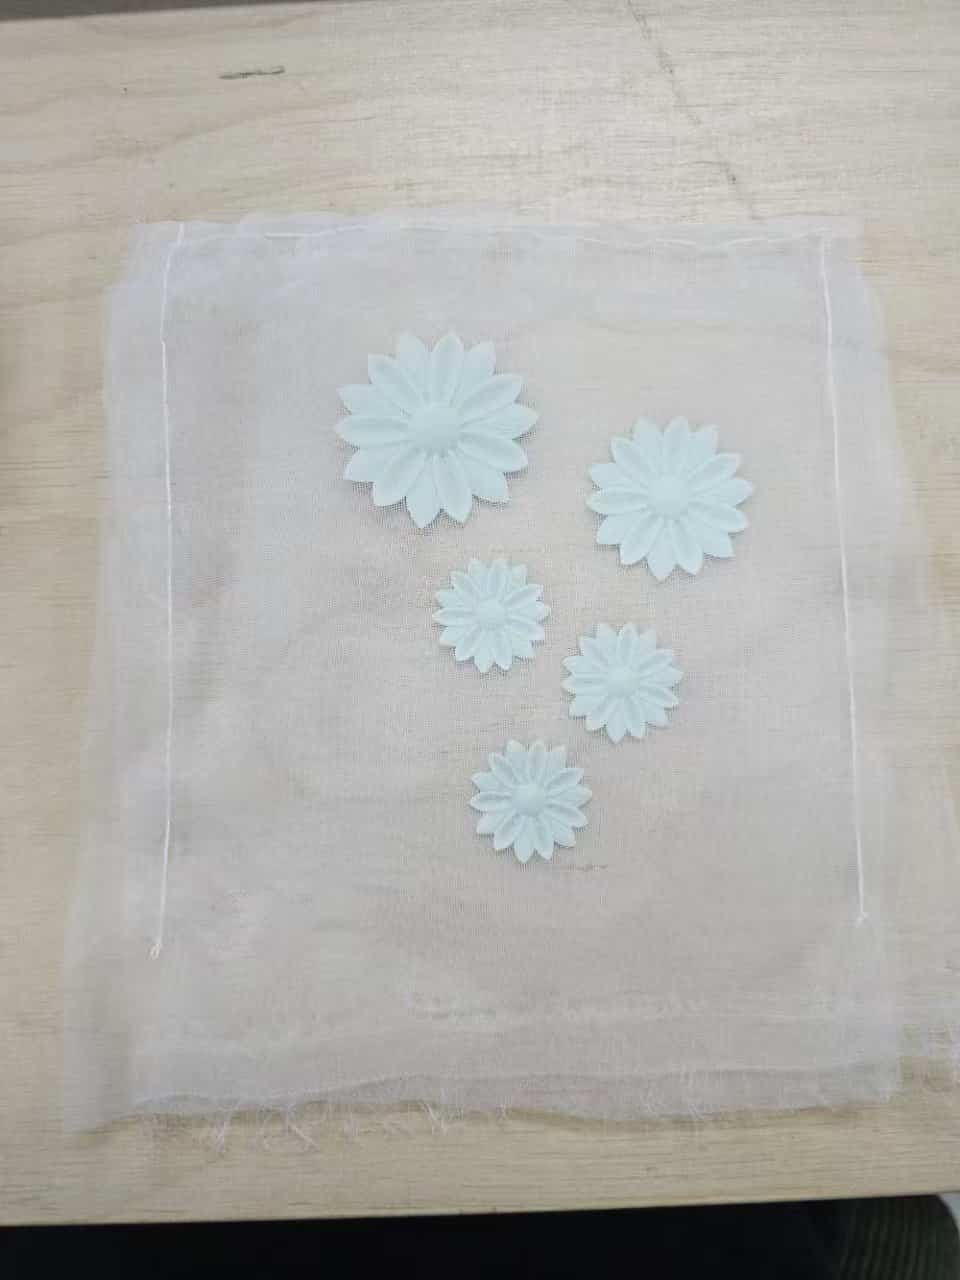
facing inward. Once finished, turn the pouch inside out. The side edges will form an inward pleat, which looks really good!
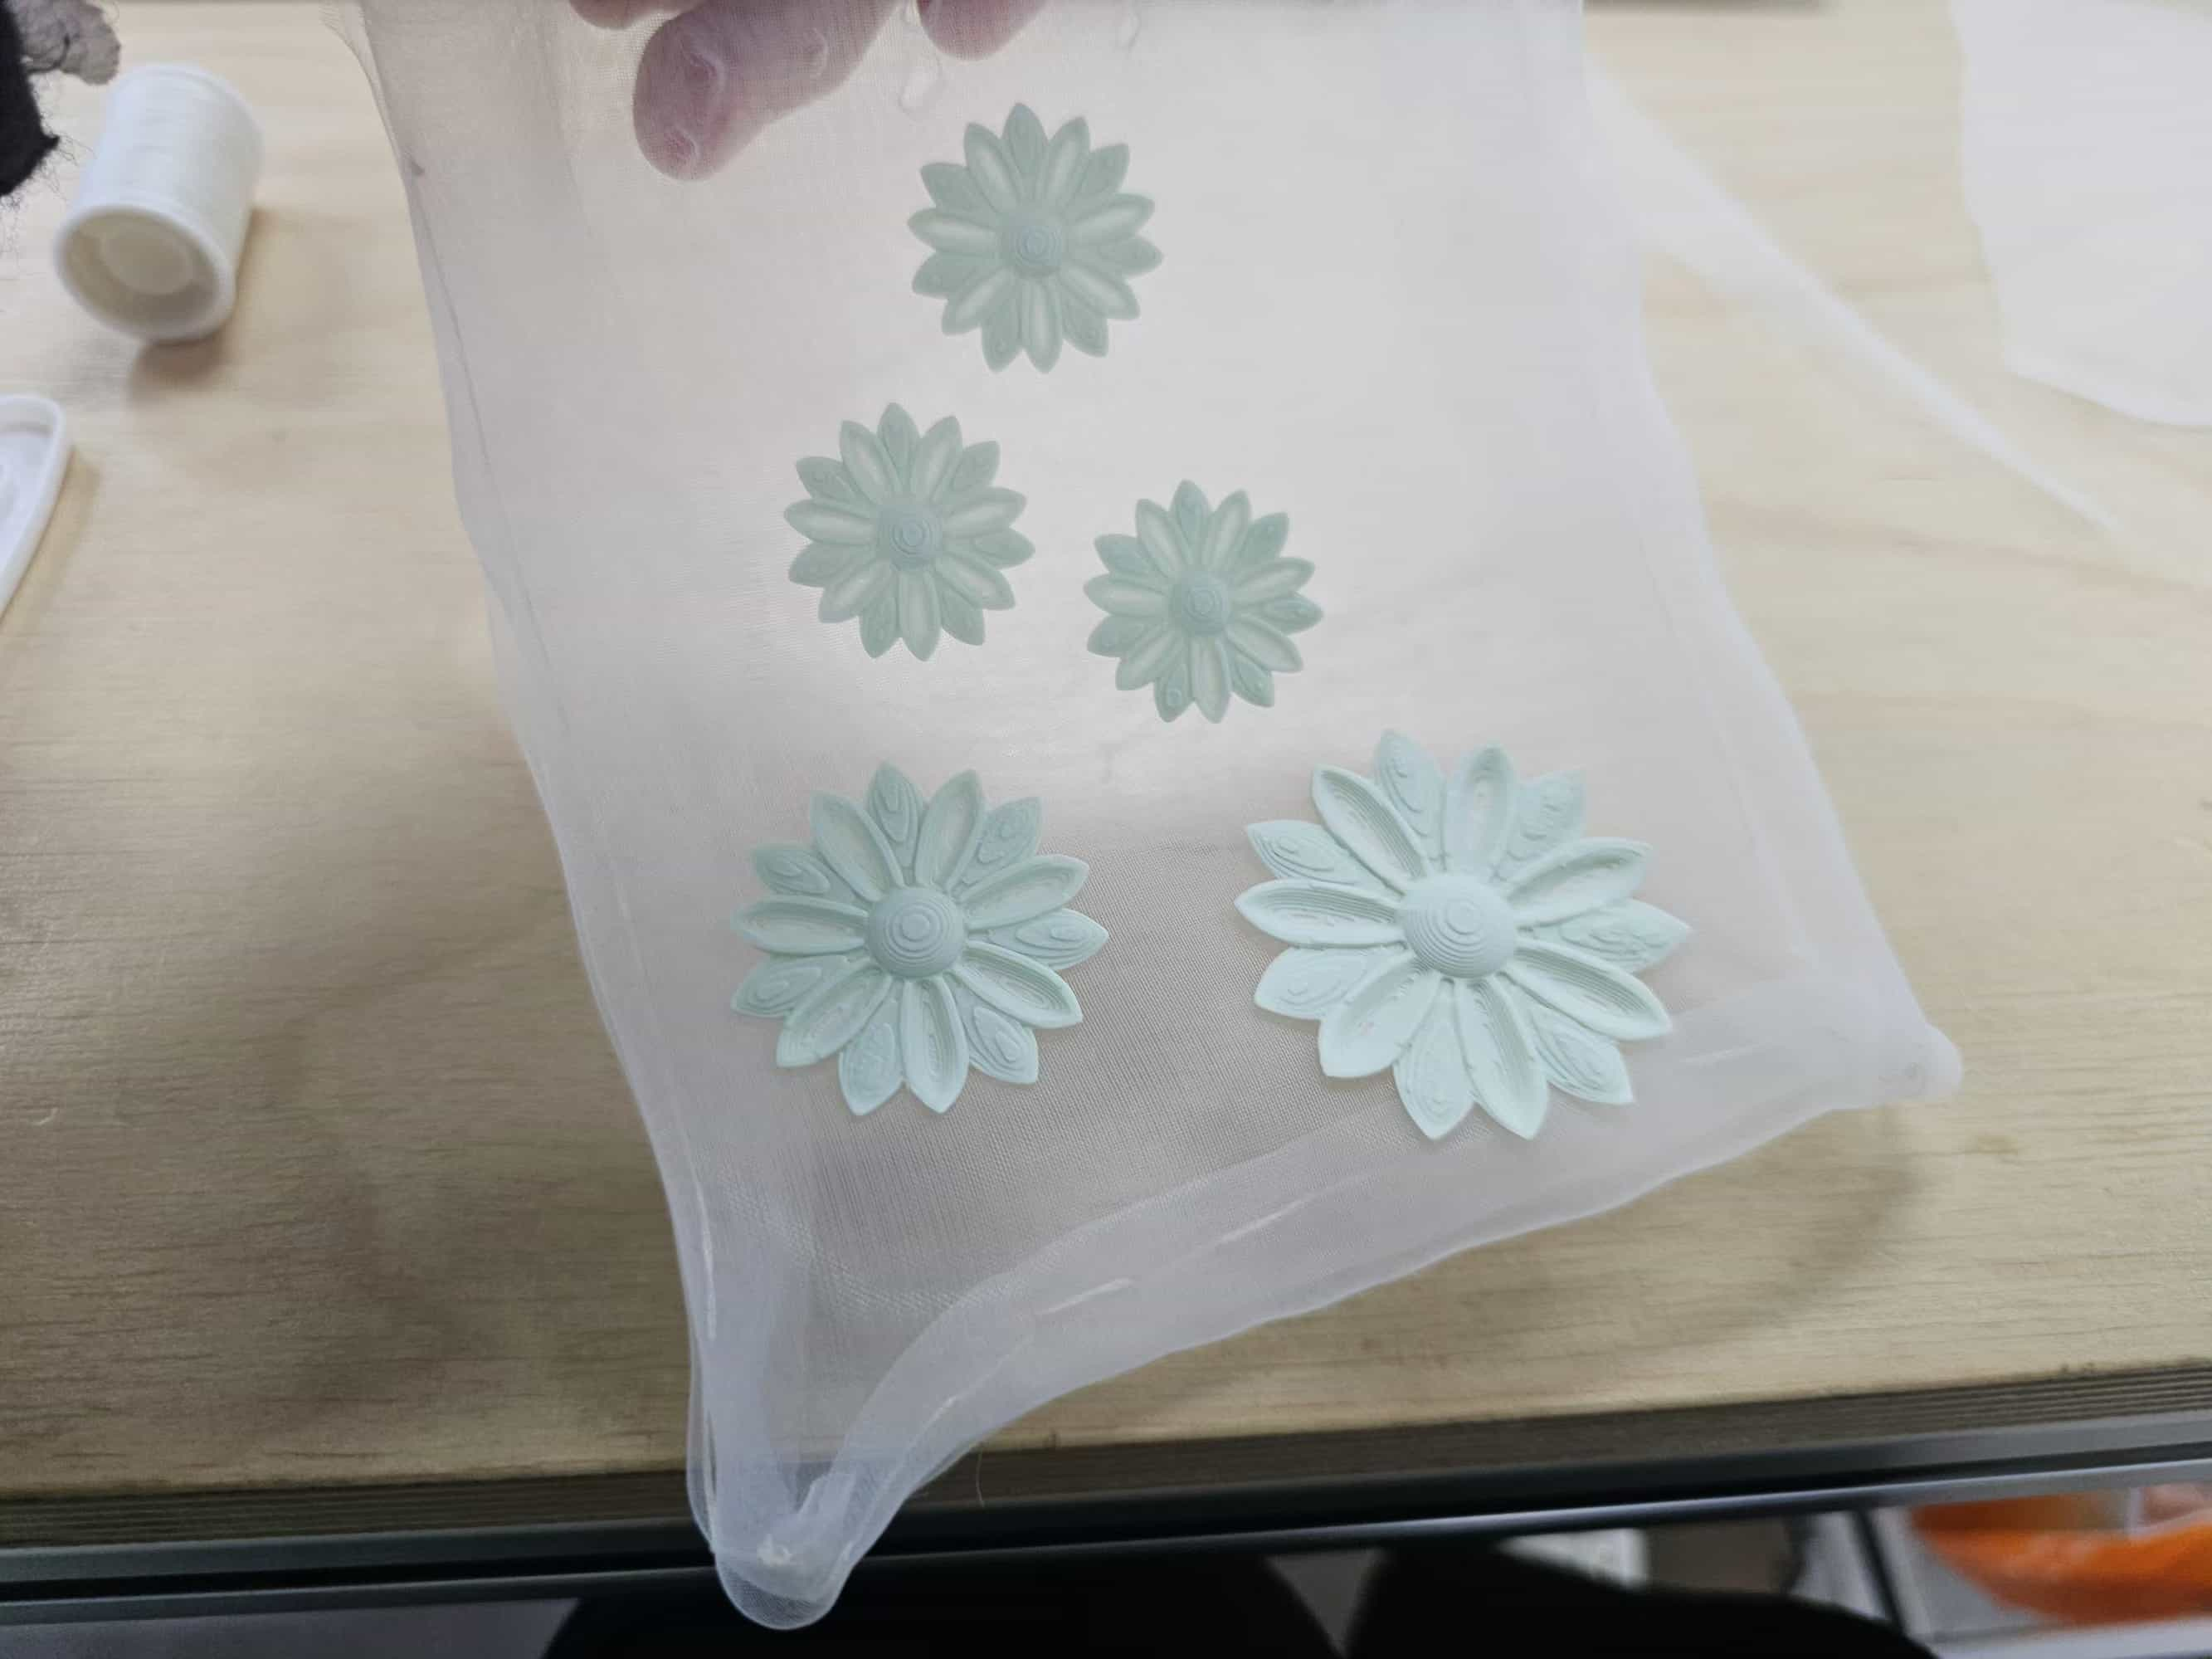
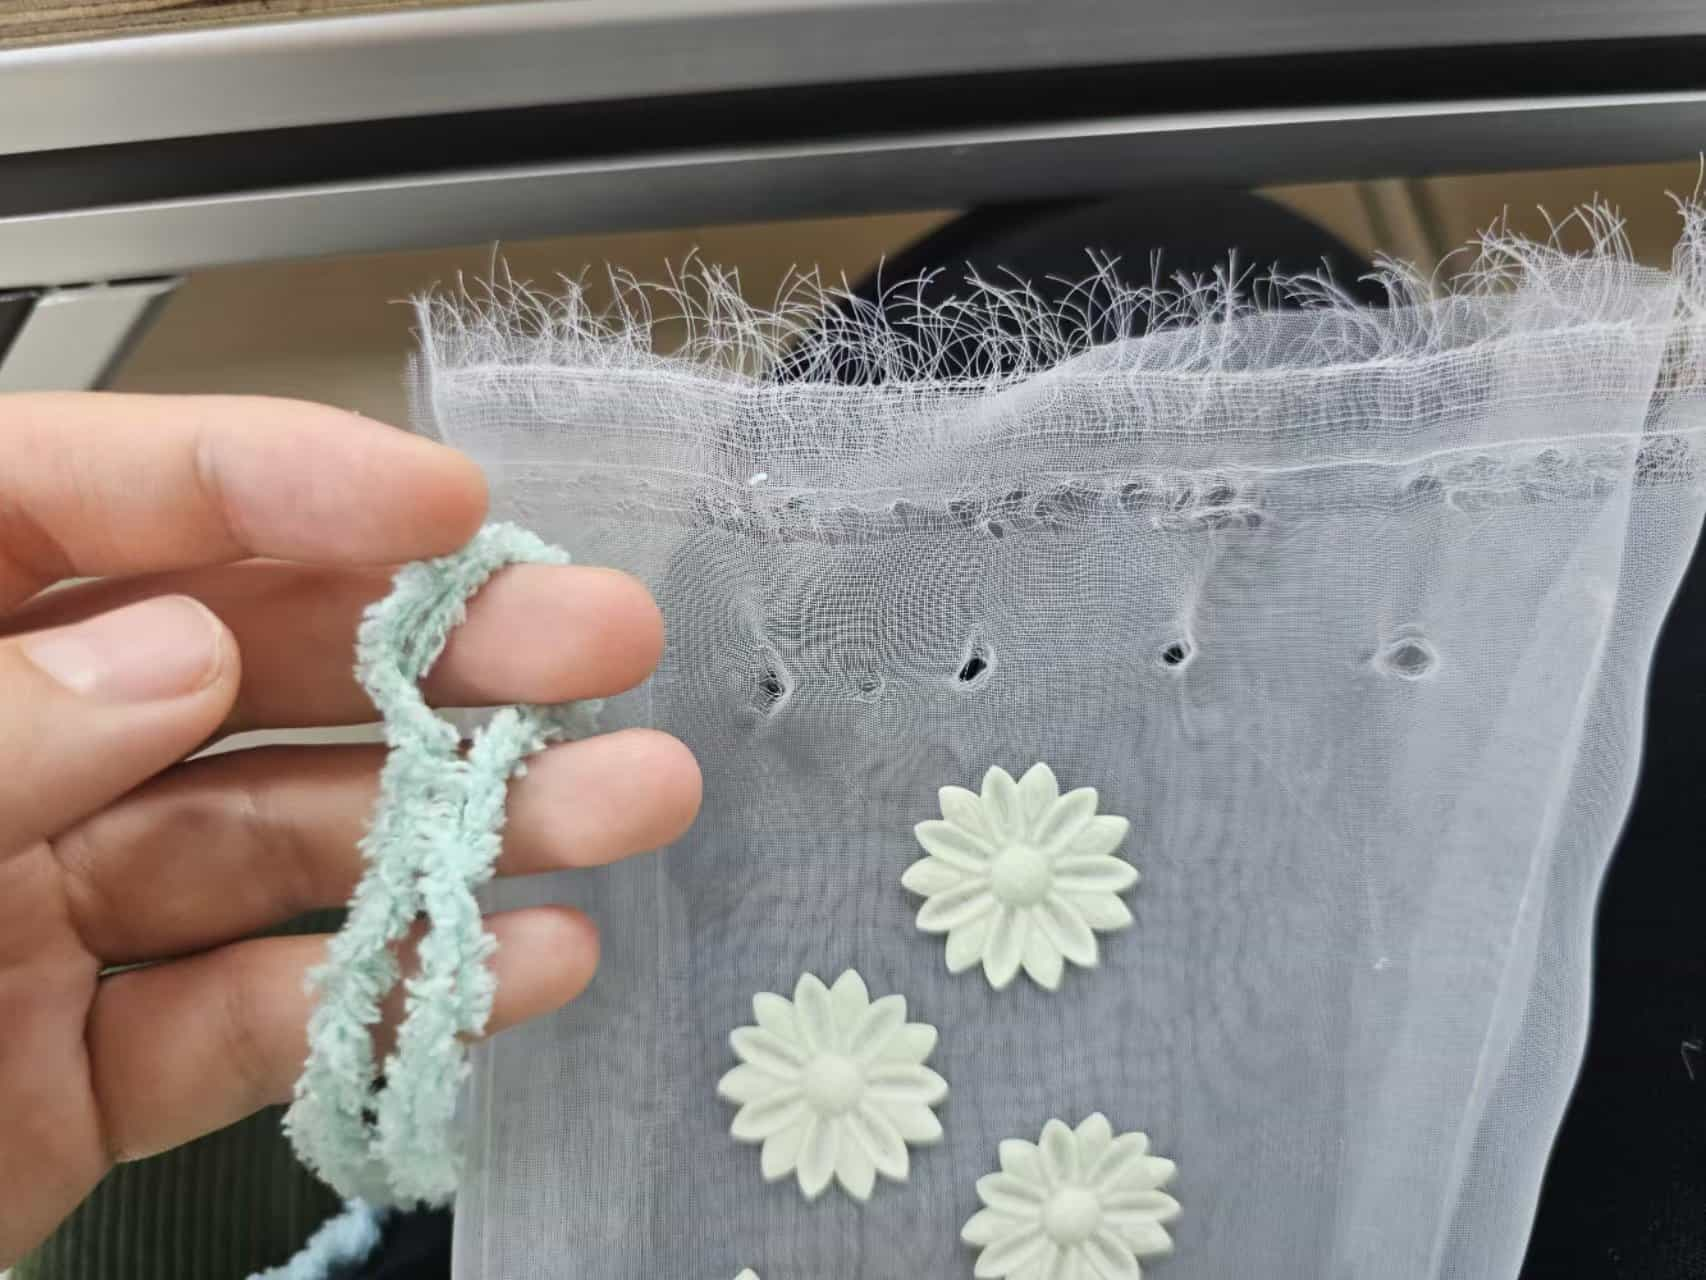
For the opening, I used some leftover yarn as a drawstring (originally, I wanted to use elastic cord, but I ran out...). As shown in the picture, make parallel holes on the top of the pouch and thread the yarn through one by one.
[Hero Shot]
