Interface and Application Programming
This week, I will be using Processing for interactive features. I've previously used it briefly to generate some interesting images but have never tried interactions, so I'm excited!
1.1 Assignments of the Week
- Group assignment:
1.Compare as many tool options as possible
2.Document your work on the group work page and reflect on your individual page what you learned.
- Individual assignment:
Write an application that interfaces a user with an input and/or output device(s) on a board that you made.
1.2 Group assignment
link1.3 Individual assignment
I downloaded Processing from the official website and installed it. You'll get a page where you can write code. The triangle in the upper left corner is for running the code, the stop button is next to it, and the bottom section shows the serial port and error alerts.

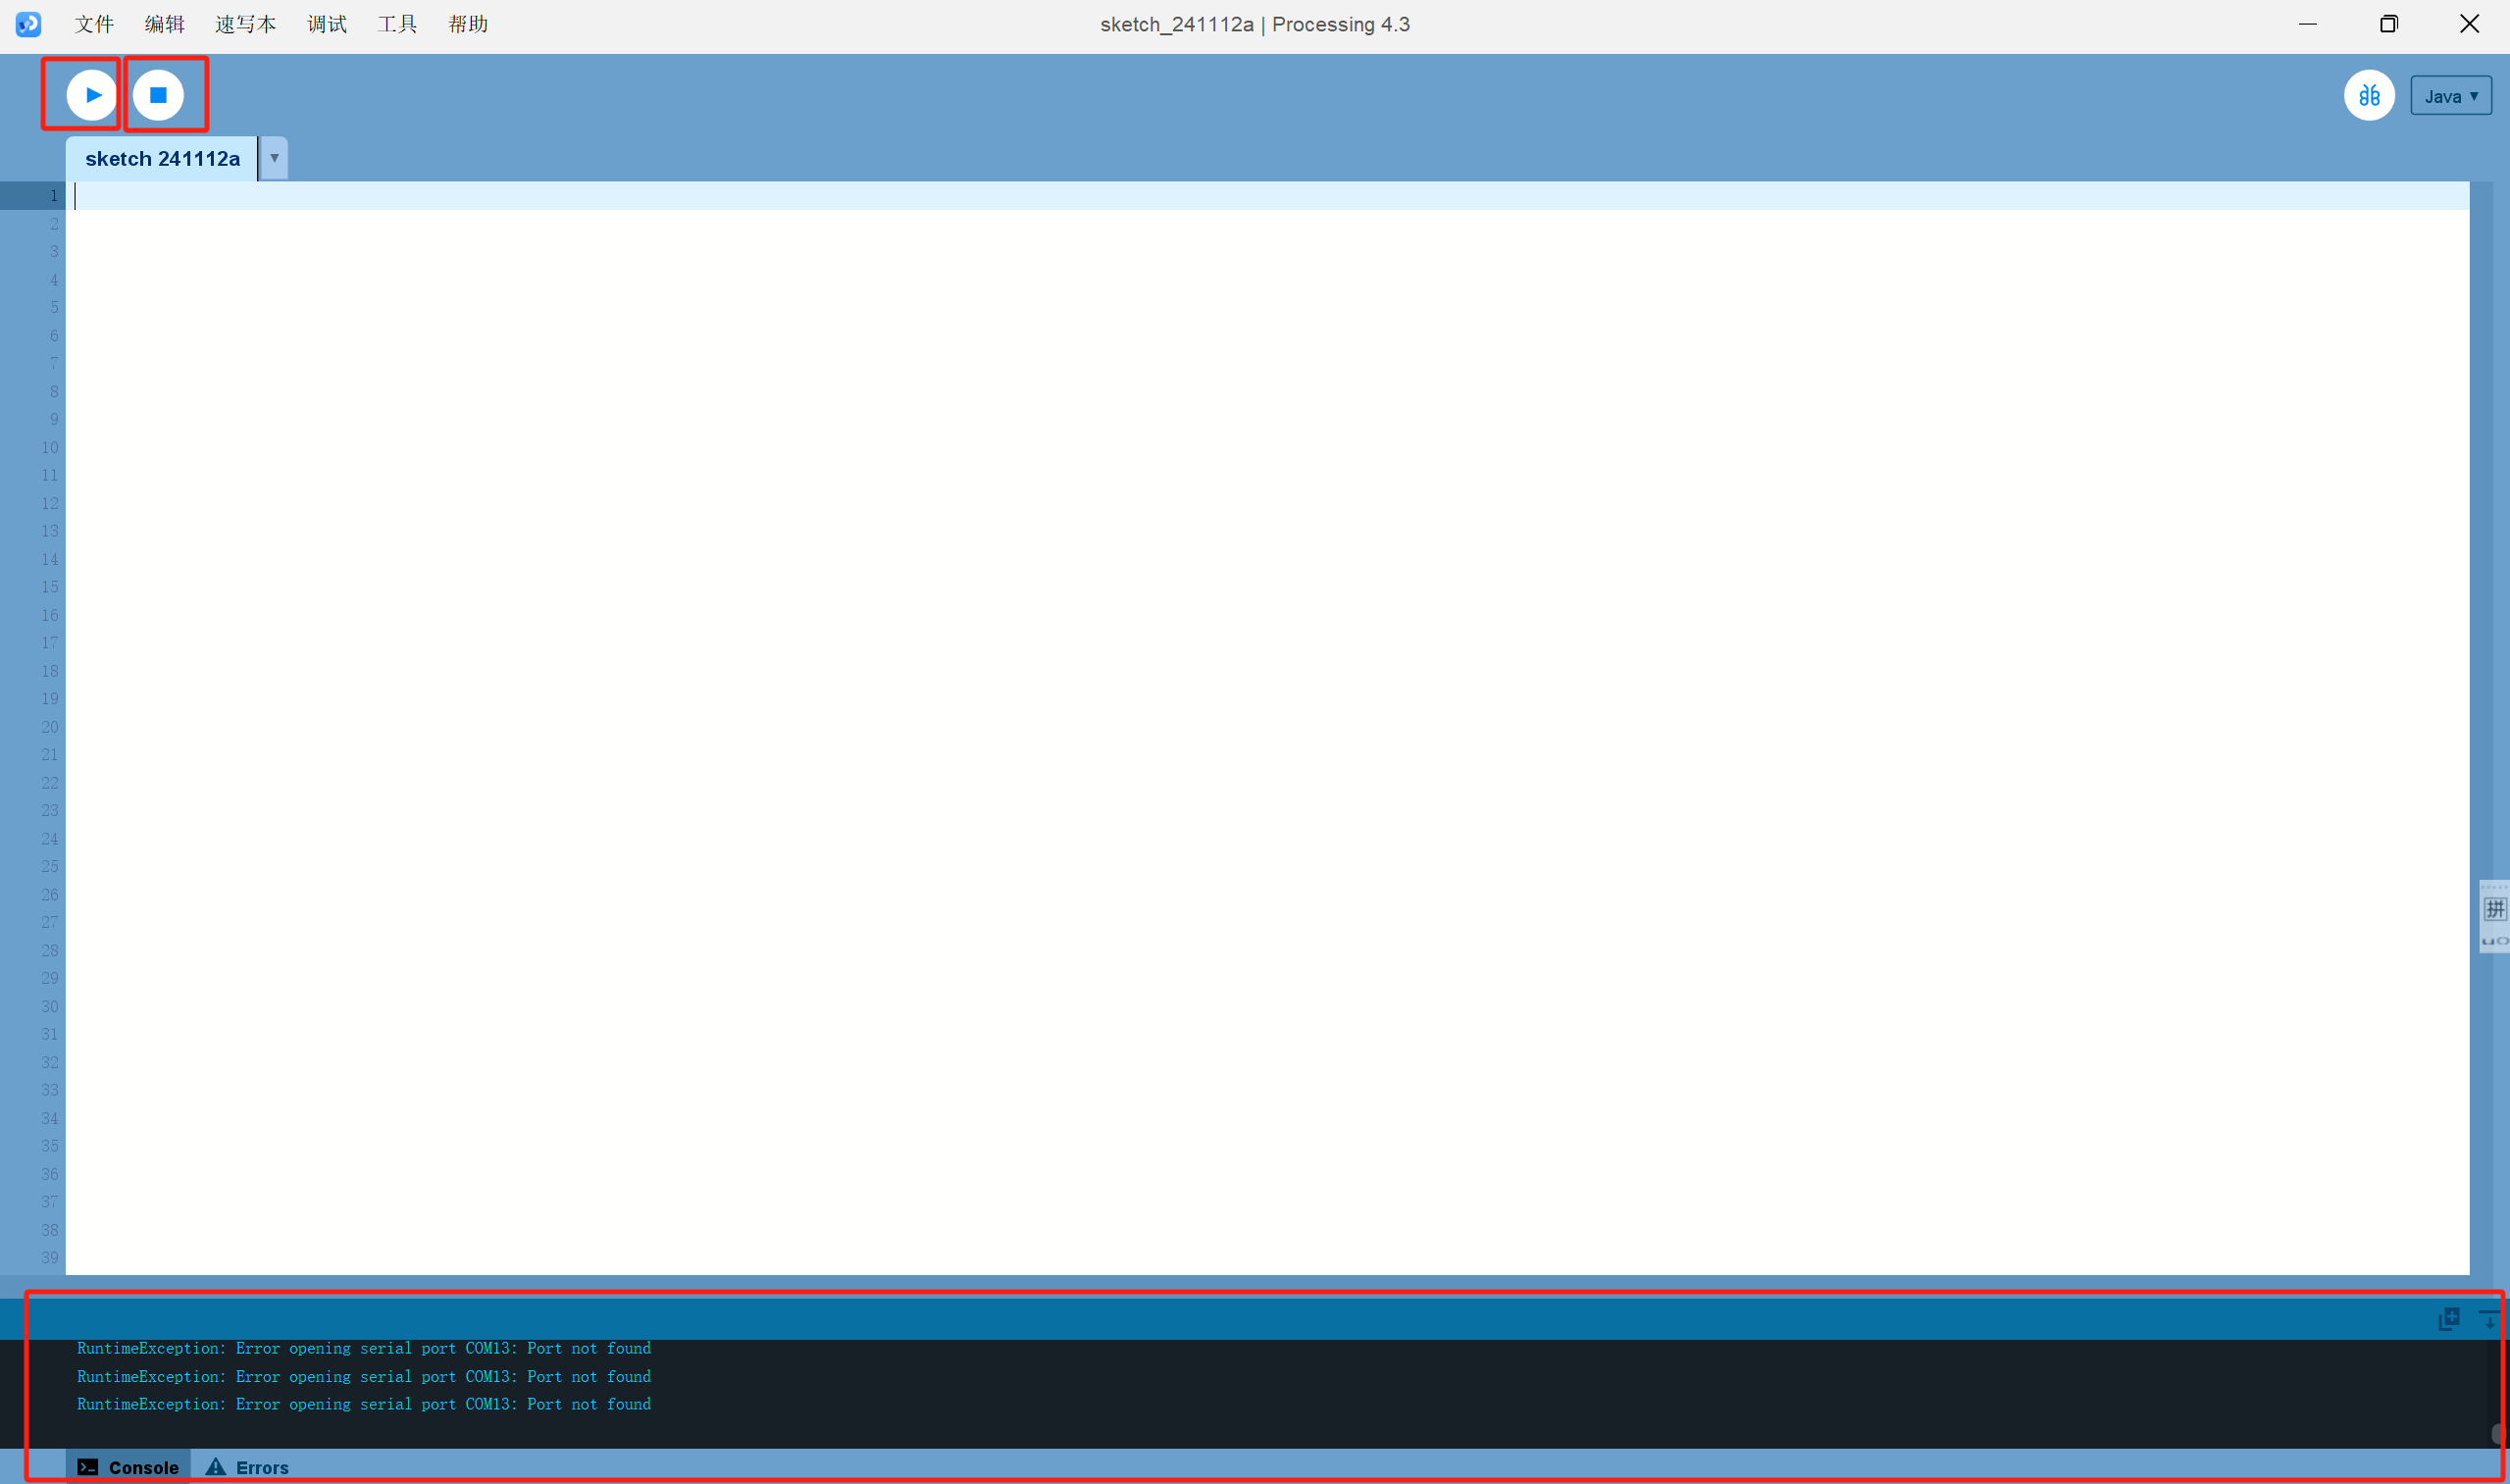
Let's get started! I'll try to use the computer's spacebar to light up the LED!
1.3.1 Spacebar lights up the light
To use the computer's spacebar to control an LED on one of XIAO RP2040's pins, we can achieve this through serial communication.
- Here's the basic workflow:
In the XIAO RP2040's Arduino code, serial data is read, and the state of pin 28 is adjusted based on this data.
Be sure to pay attention! Don't make a mistake in the serial port.
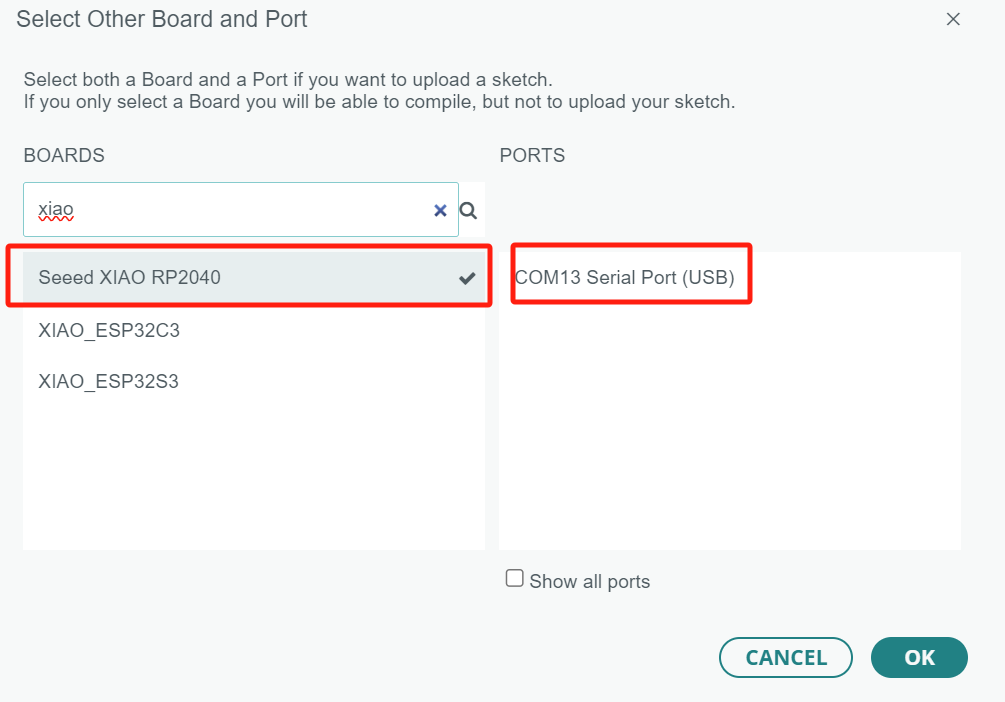
arduino code(XIAO RP2040)
Processing listens for the computer's spacebar input and then sends a corresponding command (1 to turn on the light, 0 to turn it off) through the serial port.
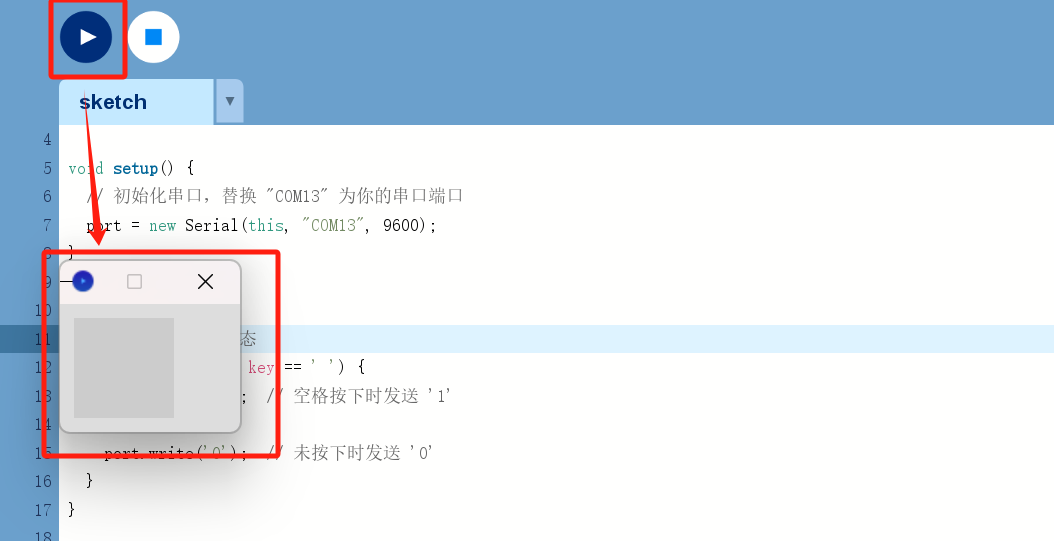
processing code
video
1.3.2 Button randomly triggers the ball
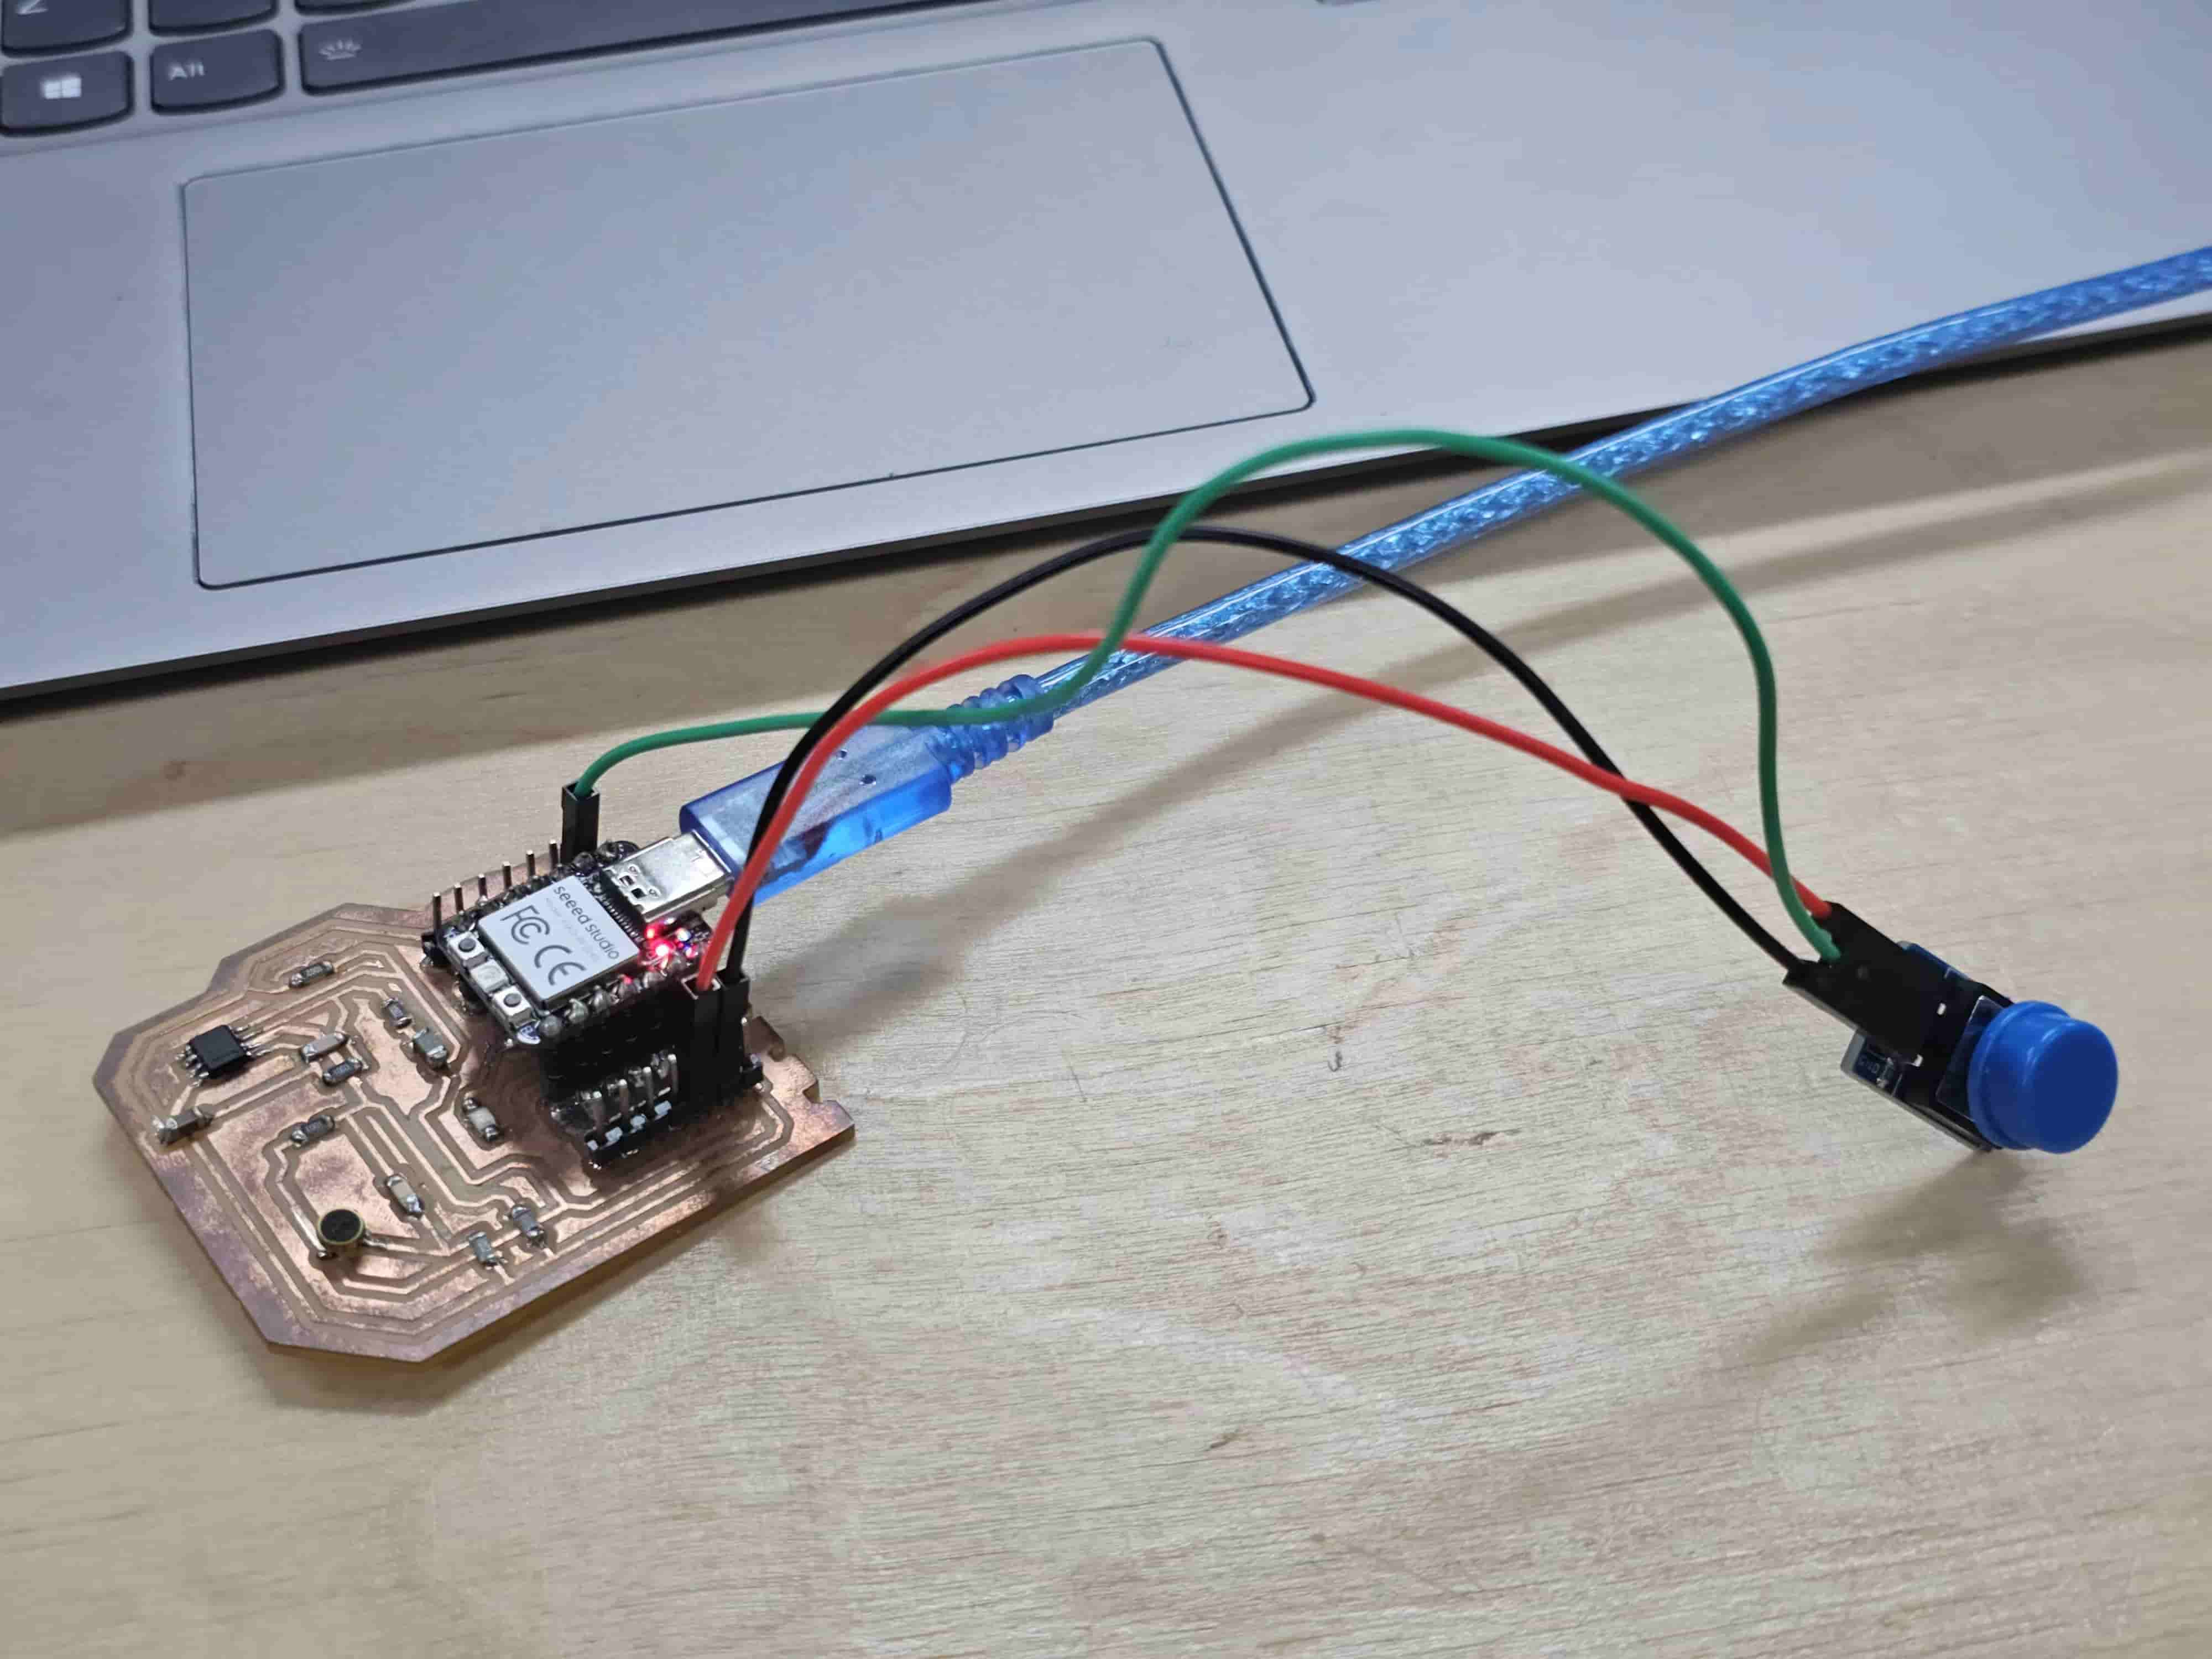
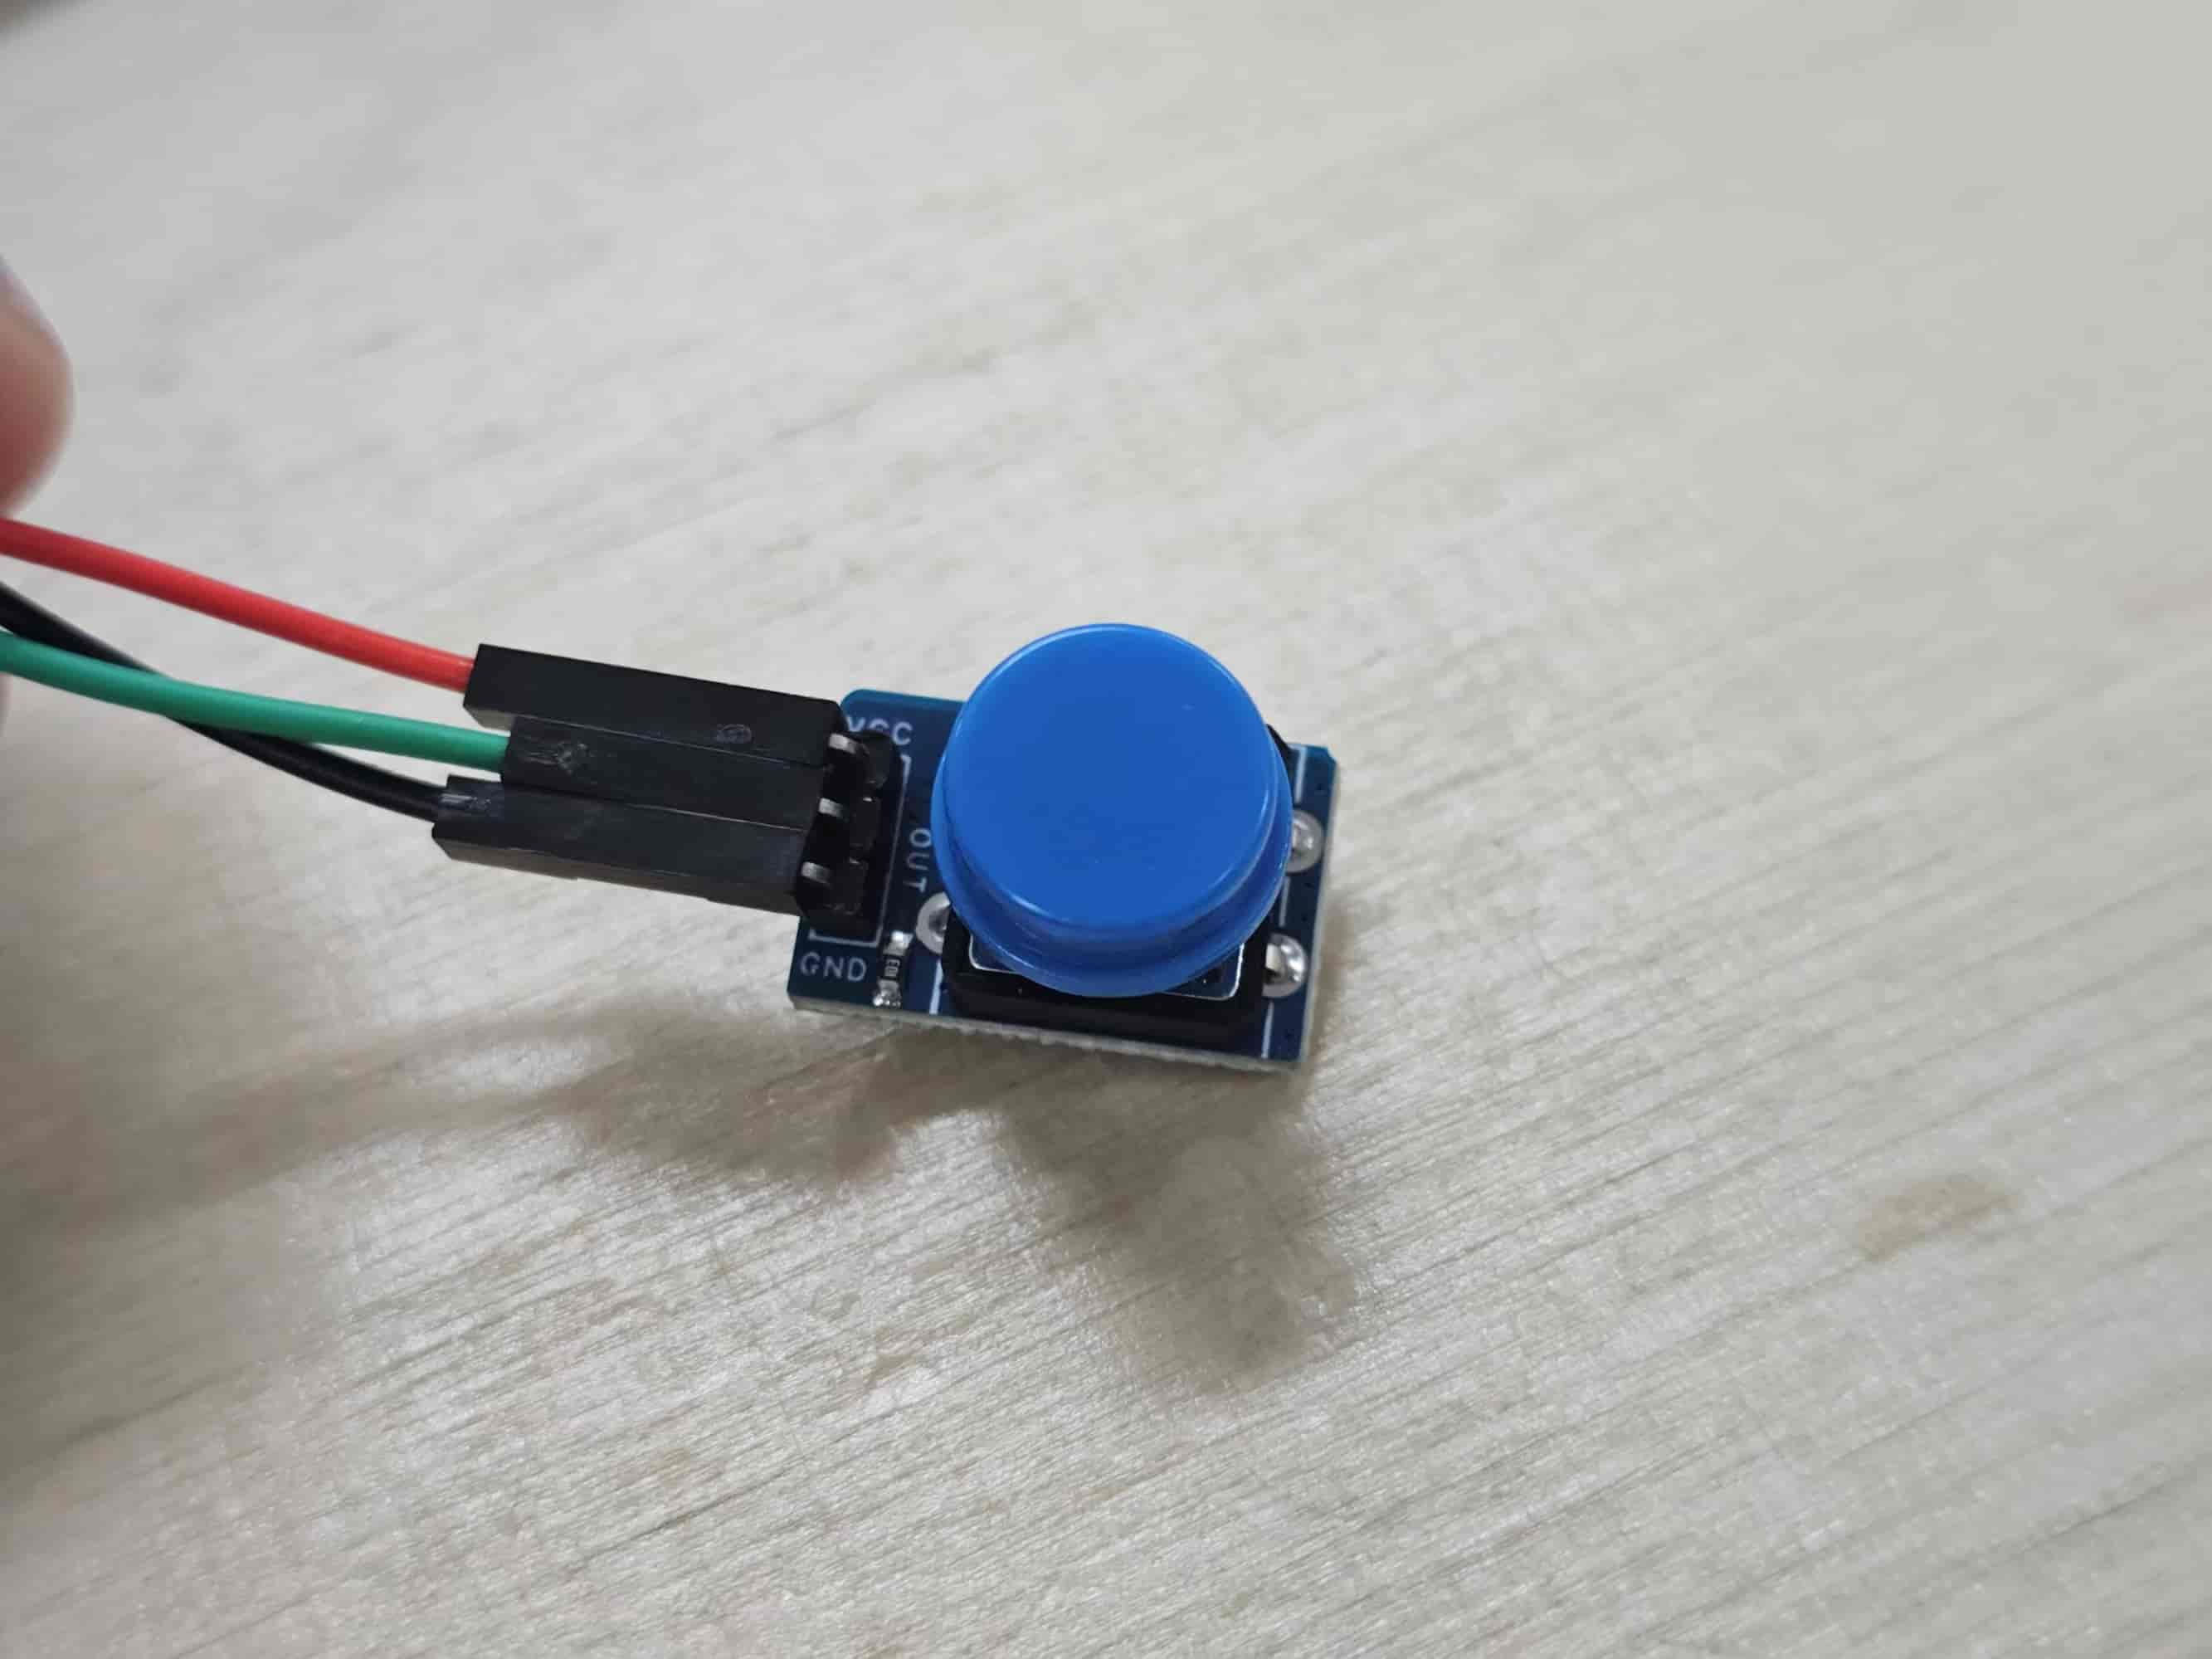
The inspiration for this came from a lab training session where an instructor shared a Processing project. In it, clicking the mouse generated bouncing balls on the screen, which reloaded when the screen was filled. It was really fun! So, I decided to use my circuit board and add a button to make random-sized and random-colored balls appear when pressed.
- Here's the basic workflow:
First upload, the interface didn't respond, and unexpectedly, the LED on my board lit up.
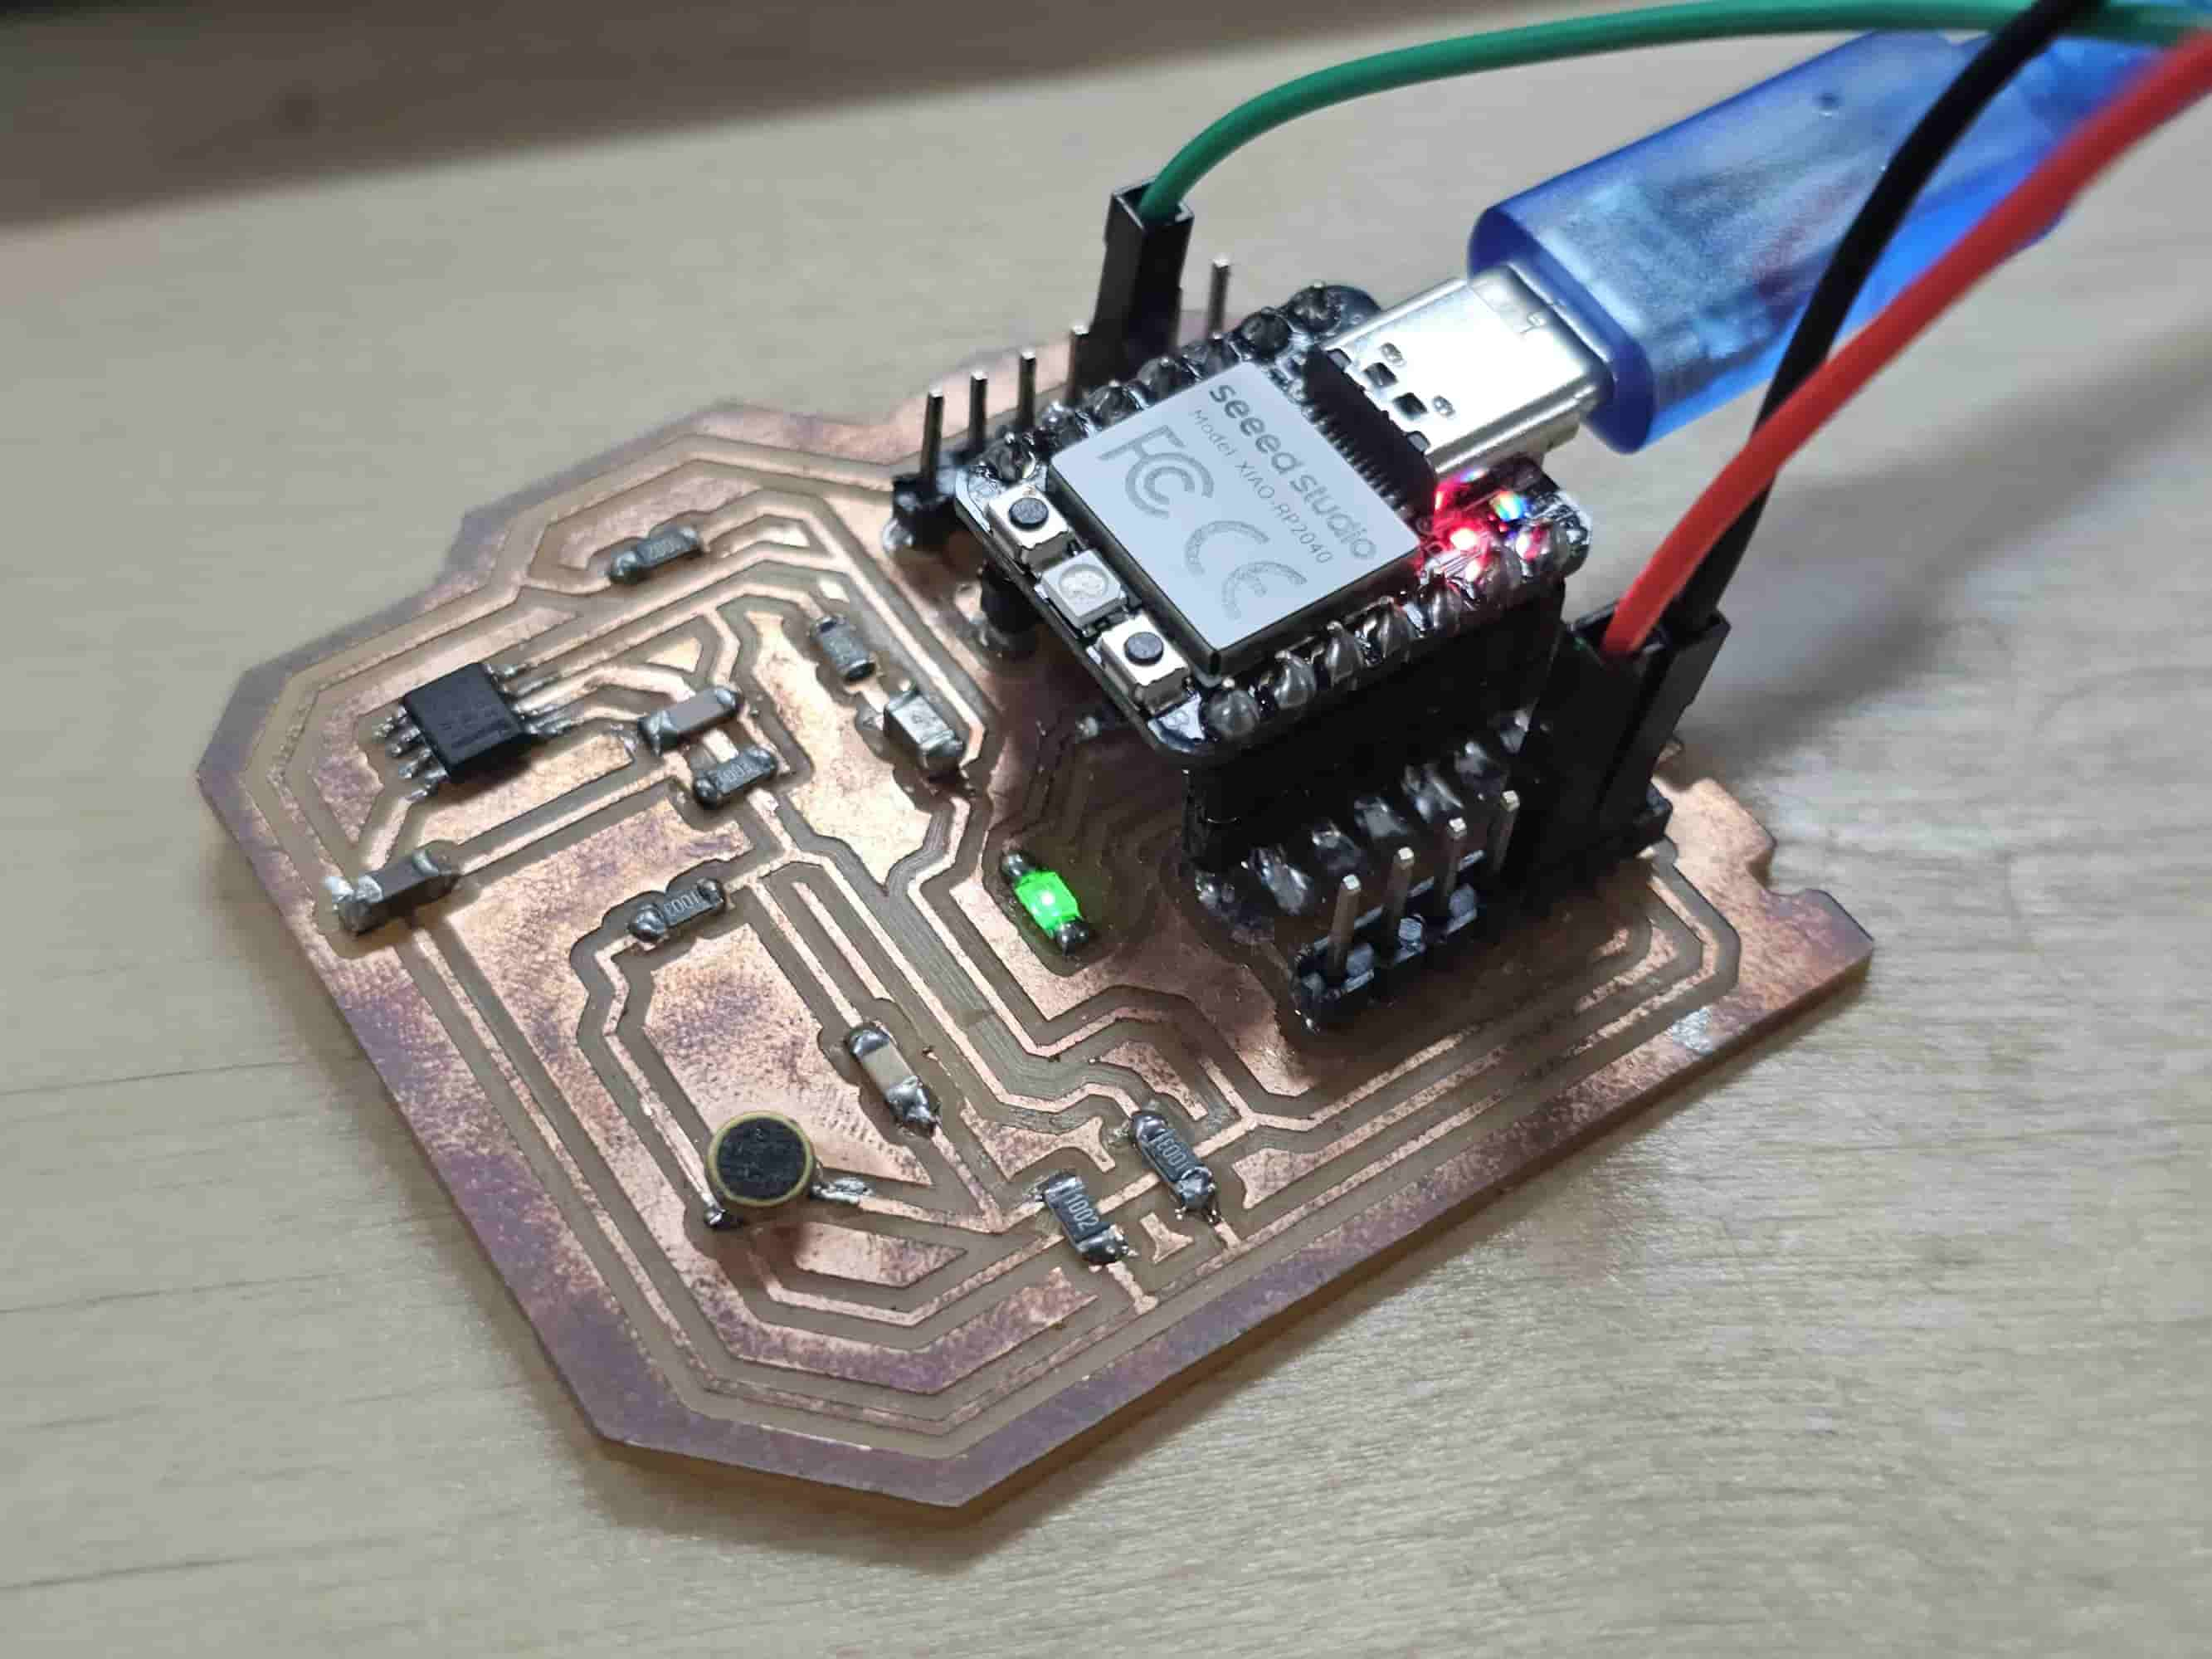
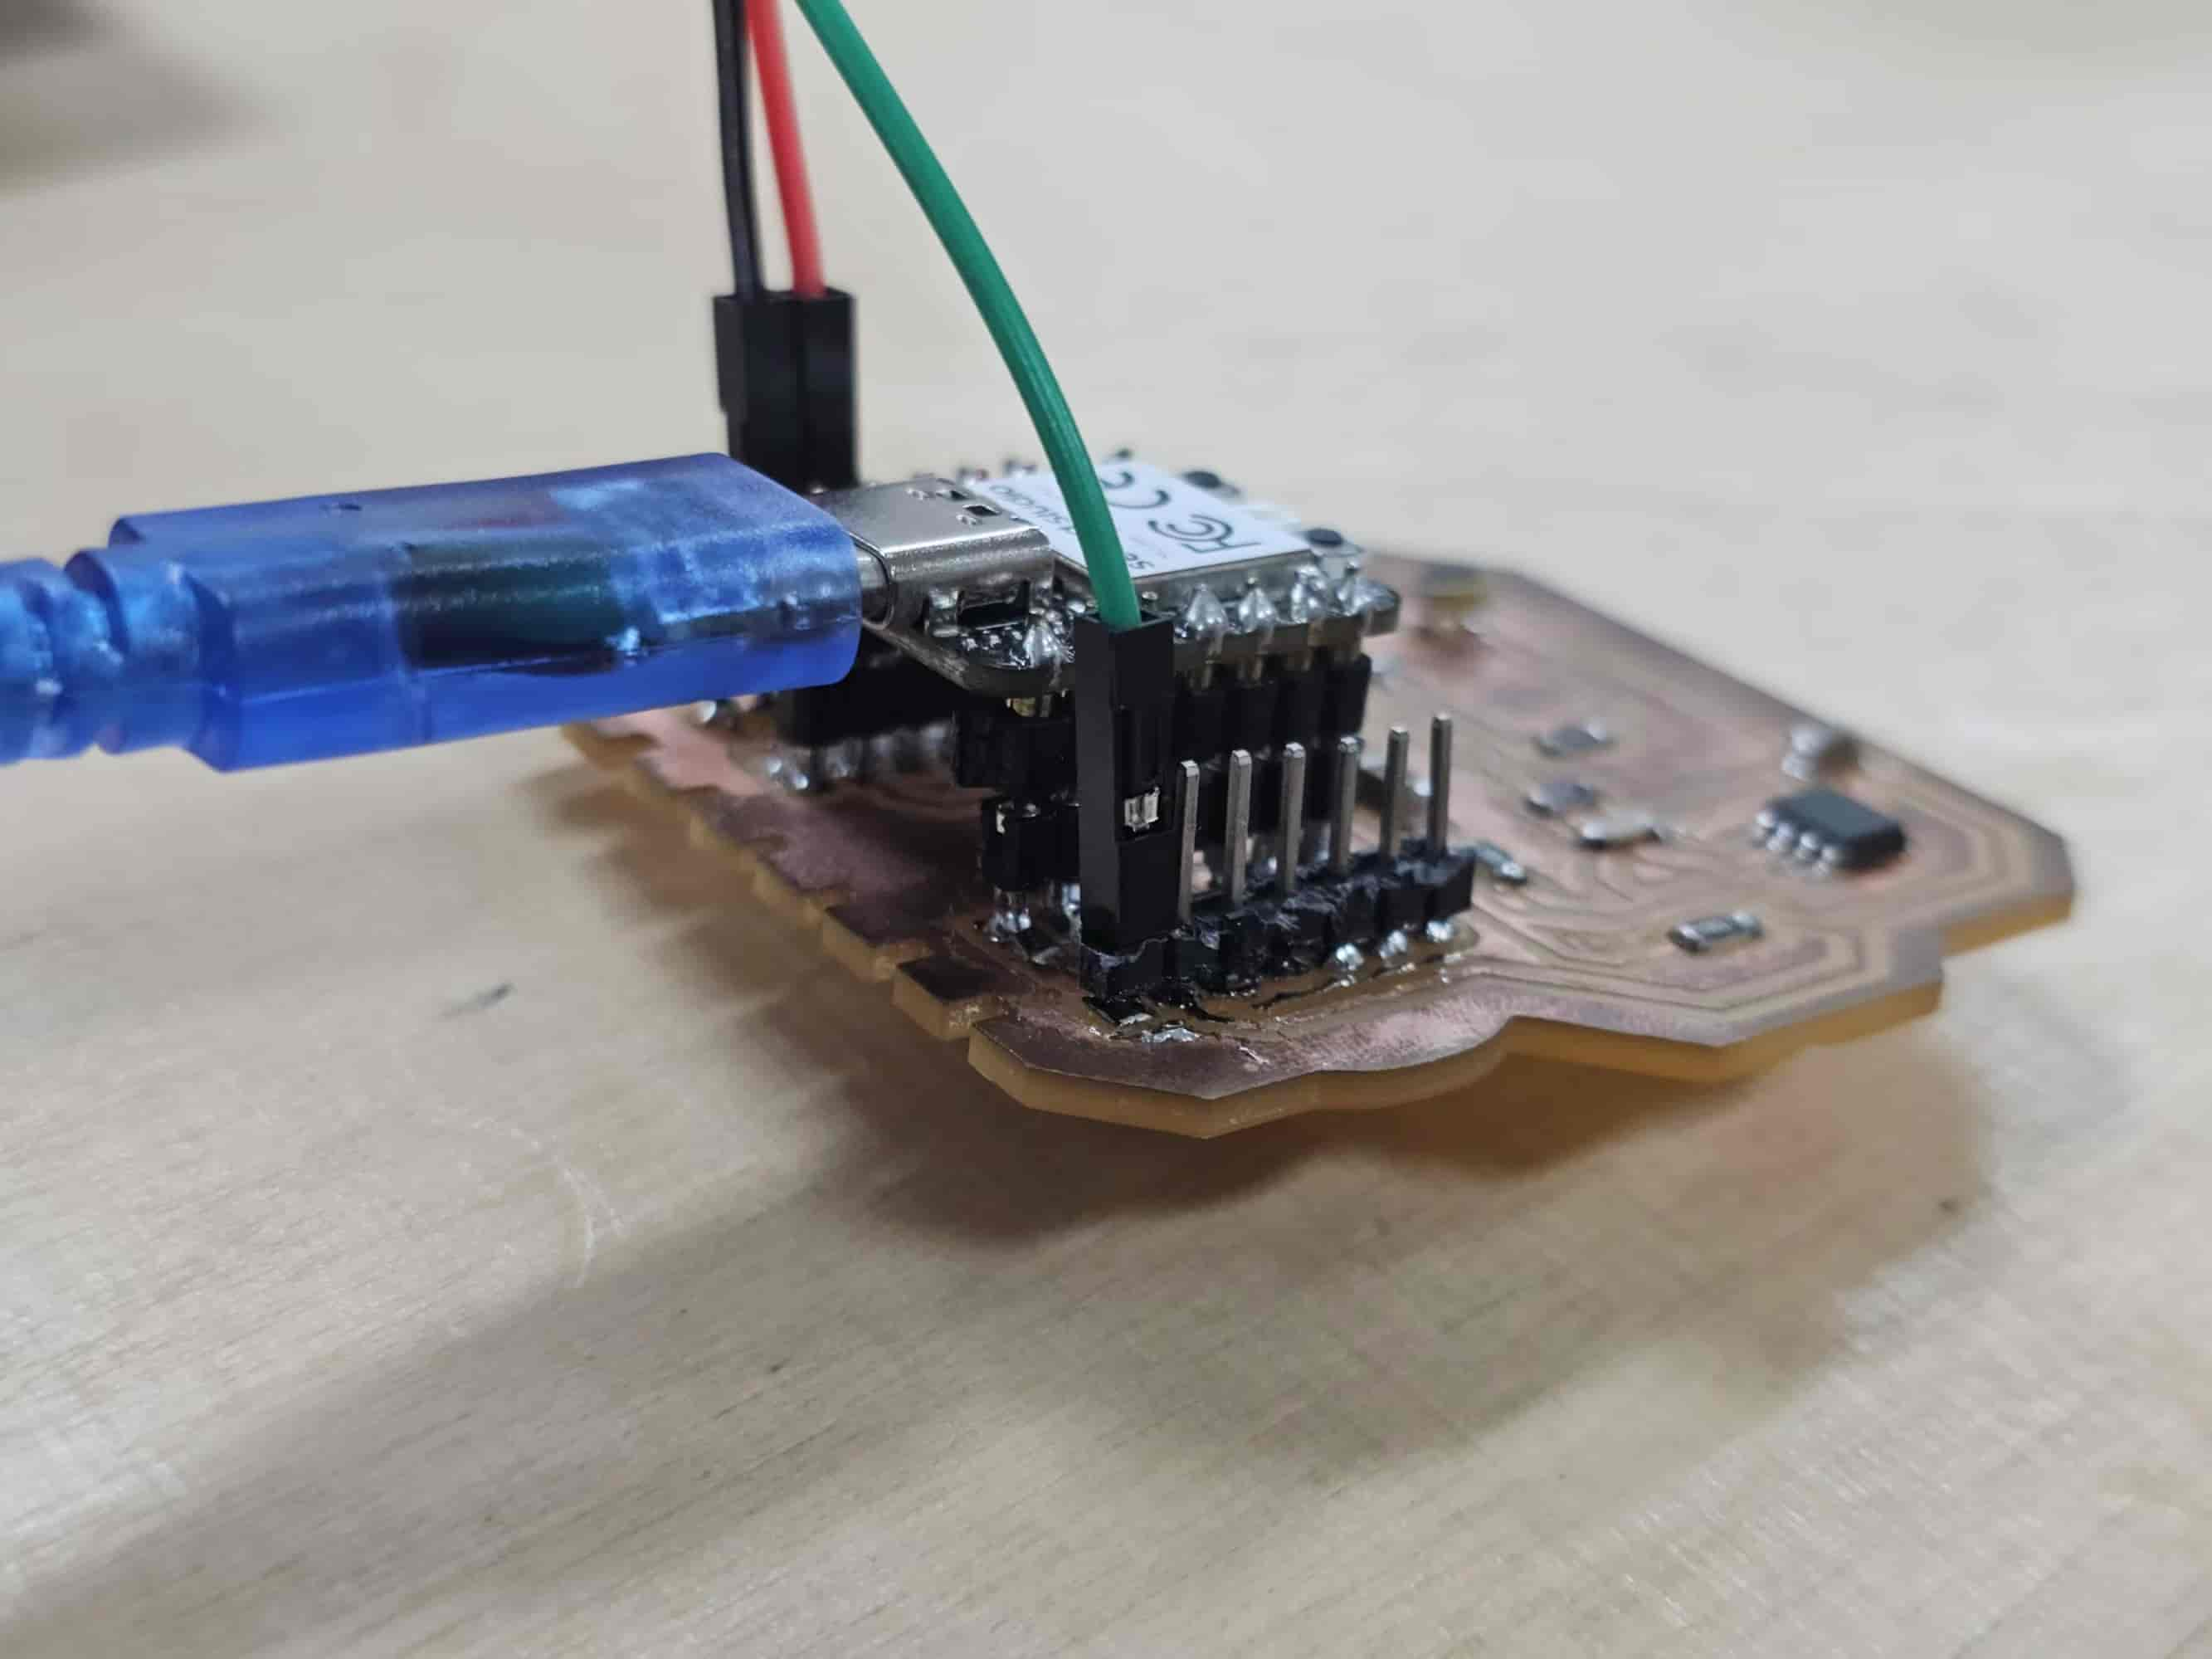
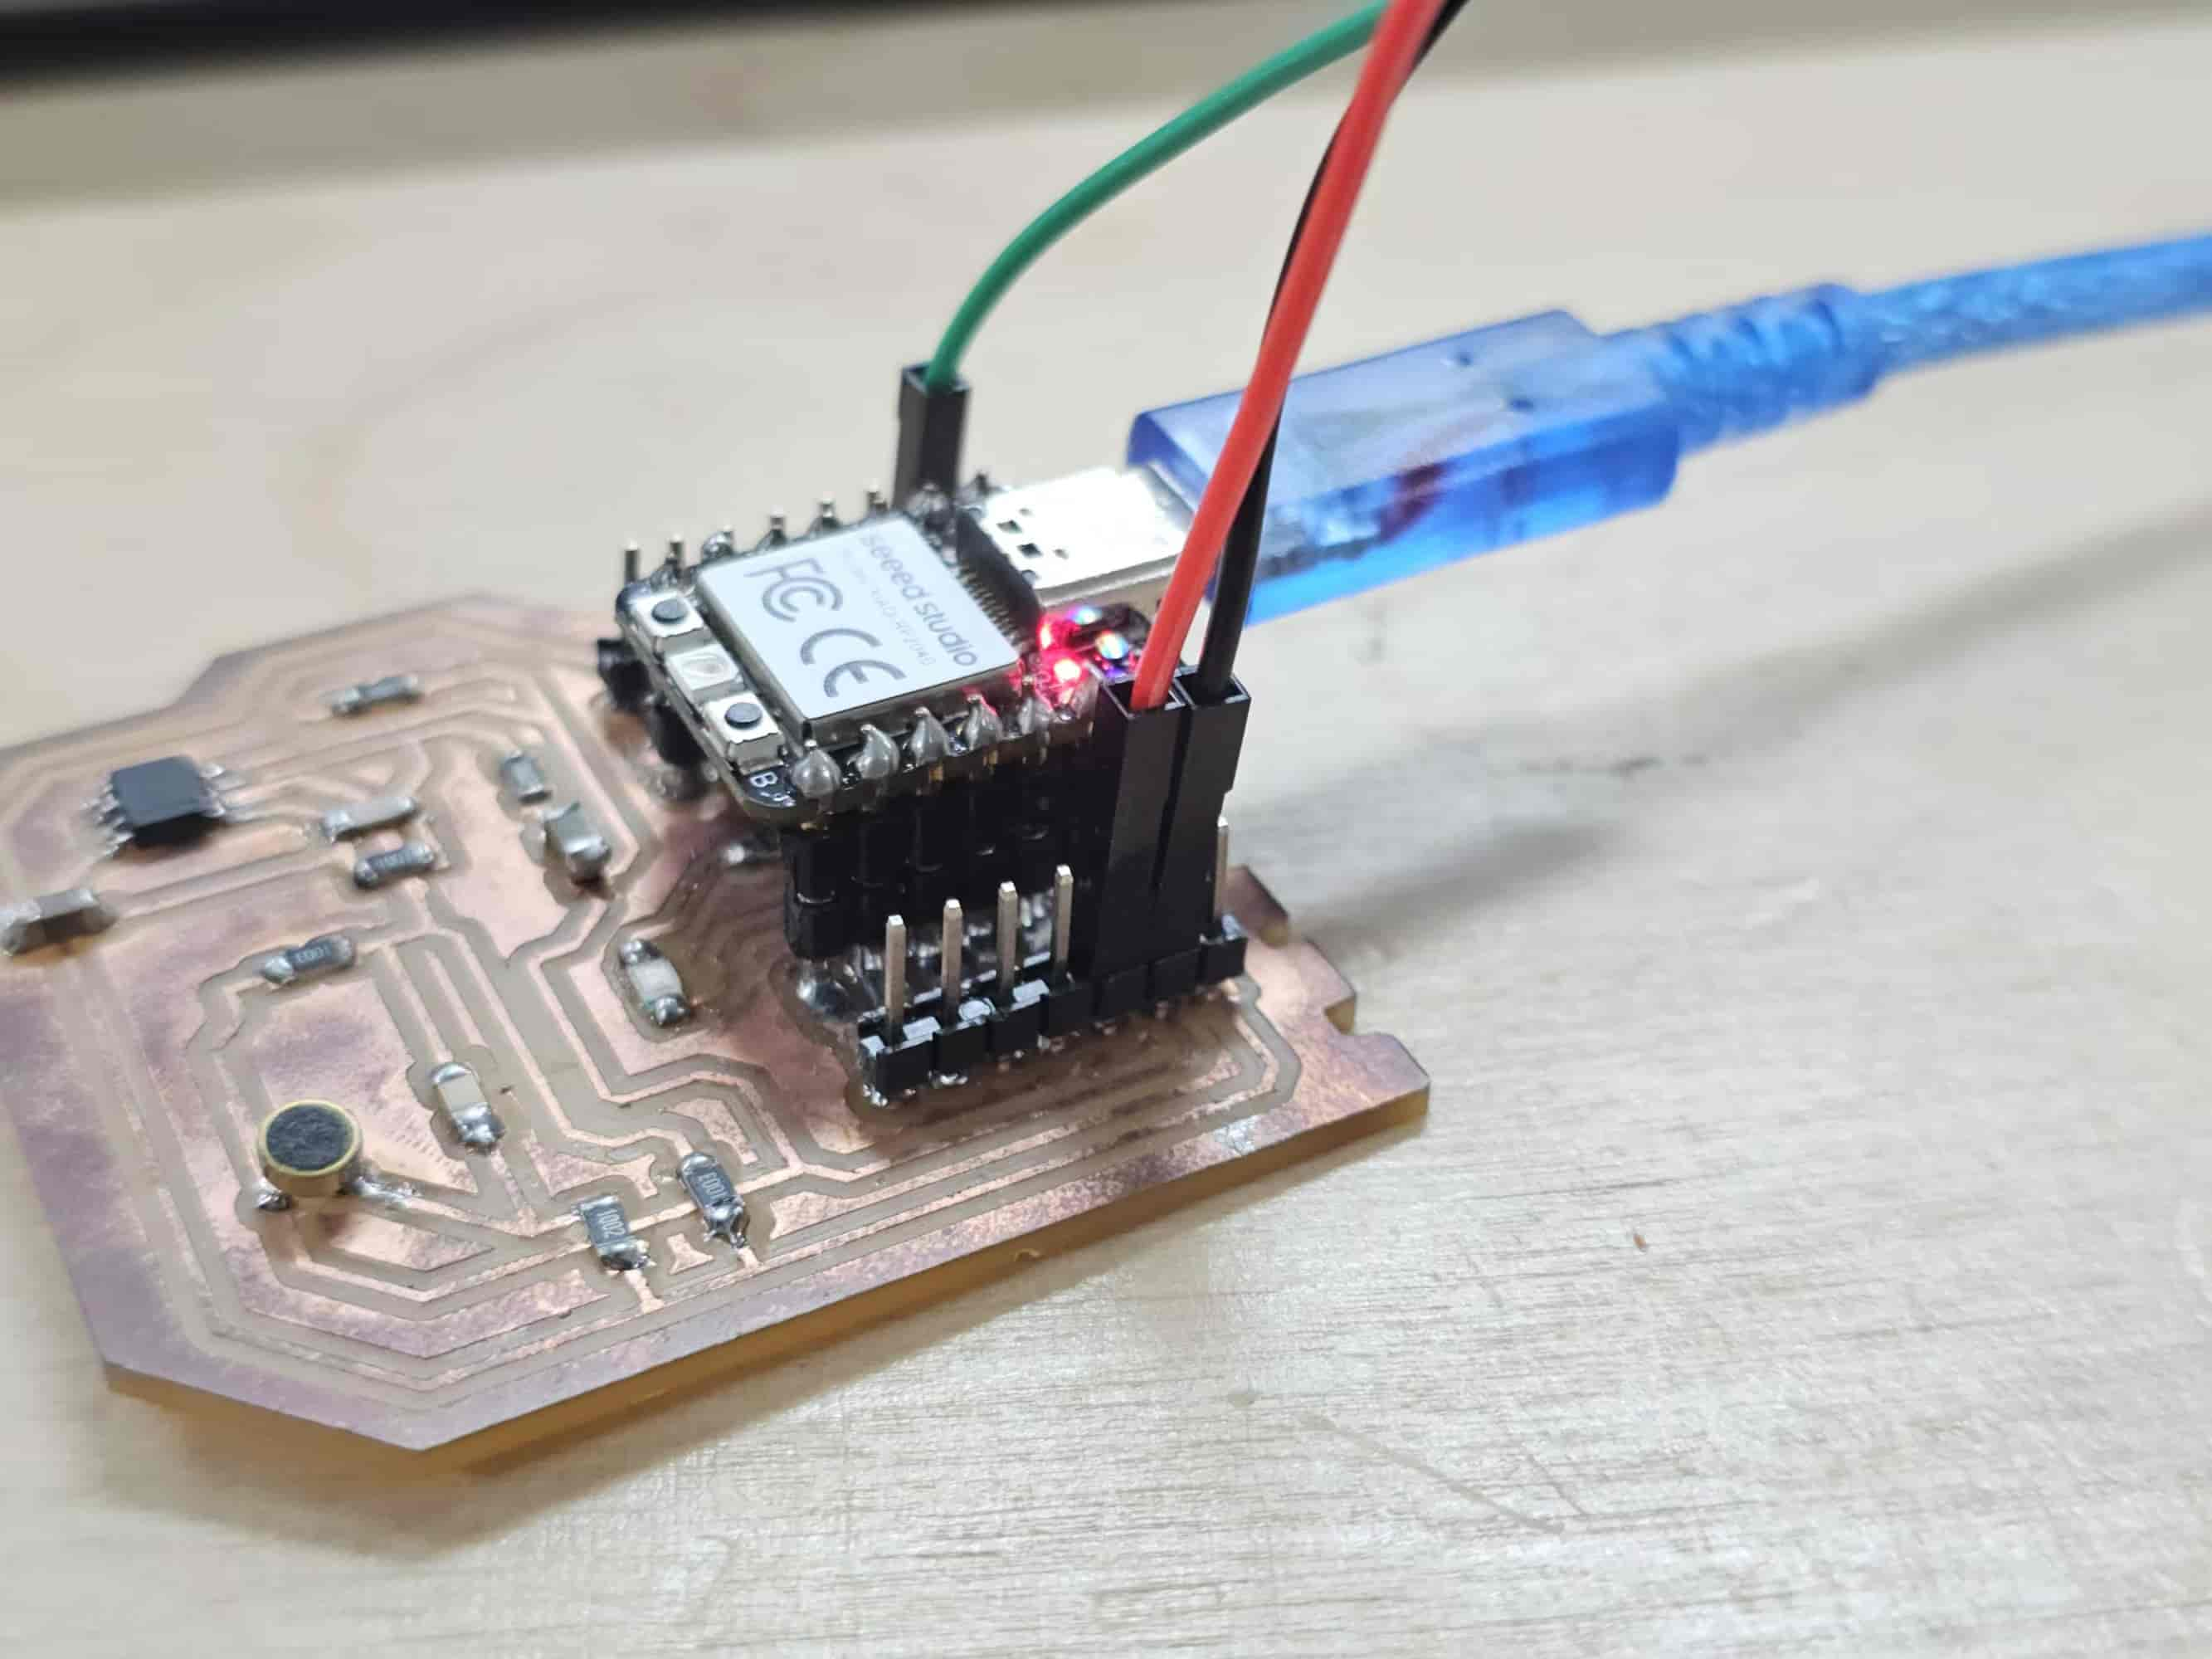
After checking, I found I had used pin 28, so I switched to pin 26. Success!
Wiring Diagram
video
Processing Code
Arduino Code (XIAO RP2040)