Computer Aided design
This week, I mainly studied the use of 2D and 3D design tools. Since my modeling experience is limited, the focus this week was to explore new software, understand the modeling logic within them, and learn techniques. I also worked on creating a basic design for my final idea.
1.1 Assignment Requirement
1.Model (raster, vector, 2D, 3D, render, animate, simulate, ...) a possible final project, compress your images and videos, and post it on your class page
2.Demonstrate and describe processes used in modelling with 2D and 3D software

1.2 My final project(2.0)
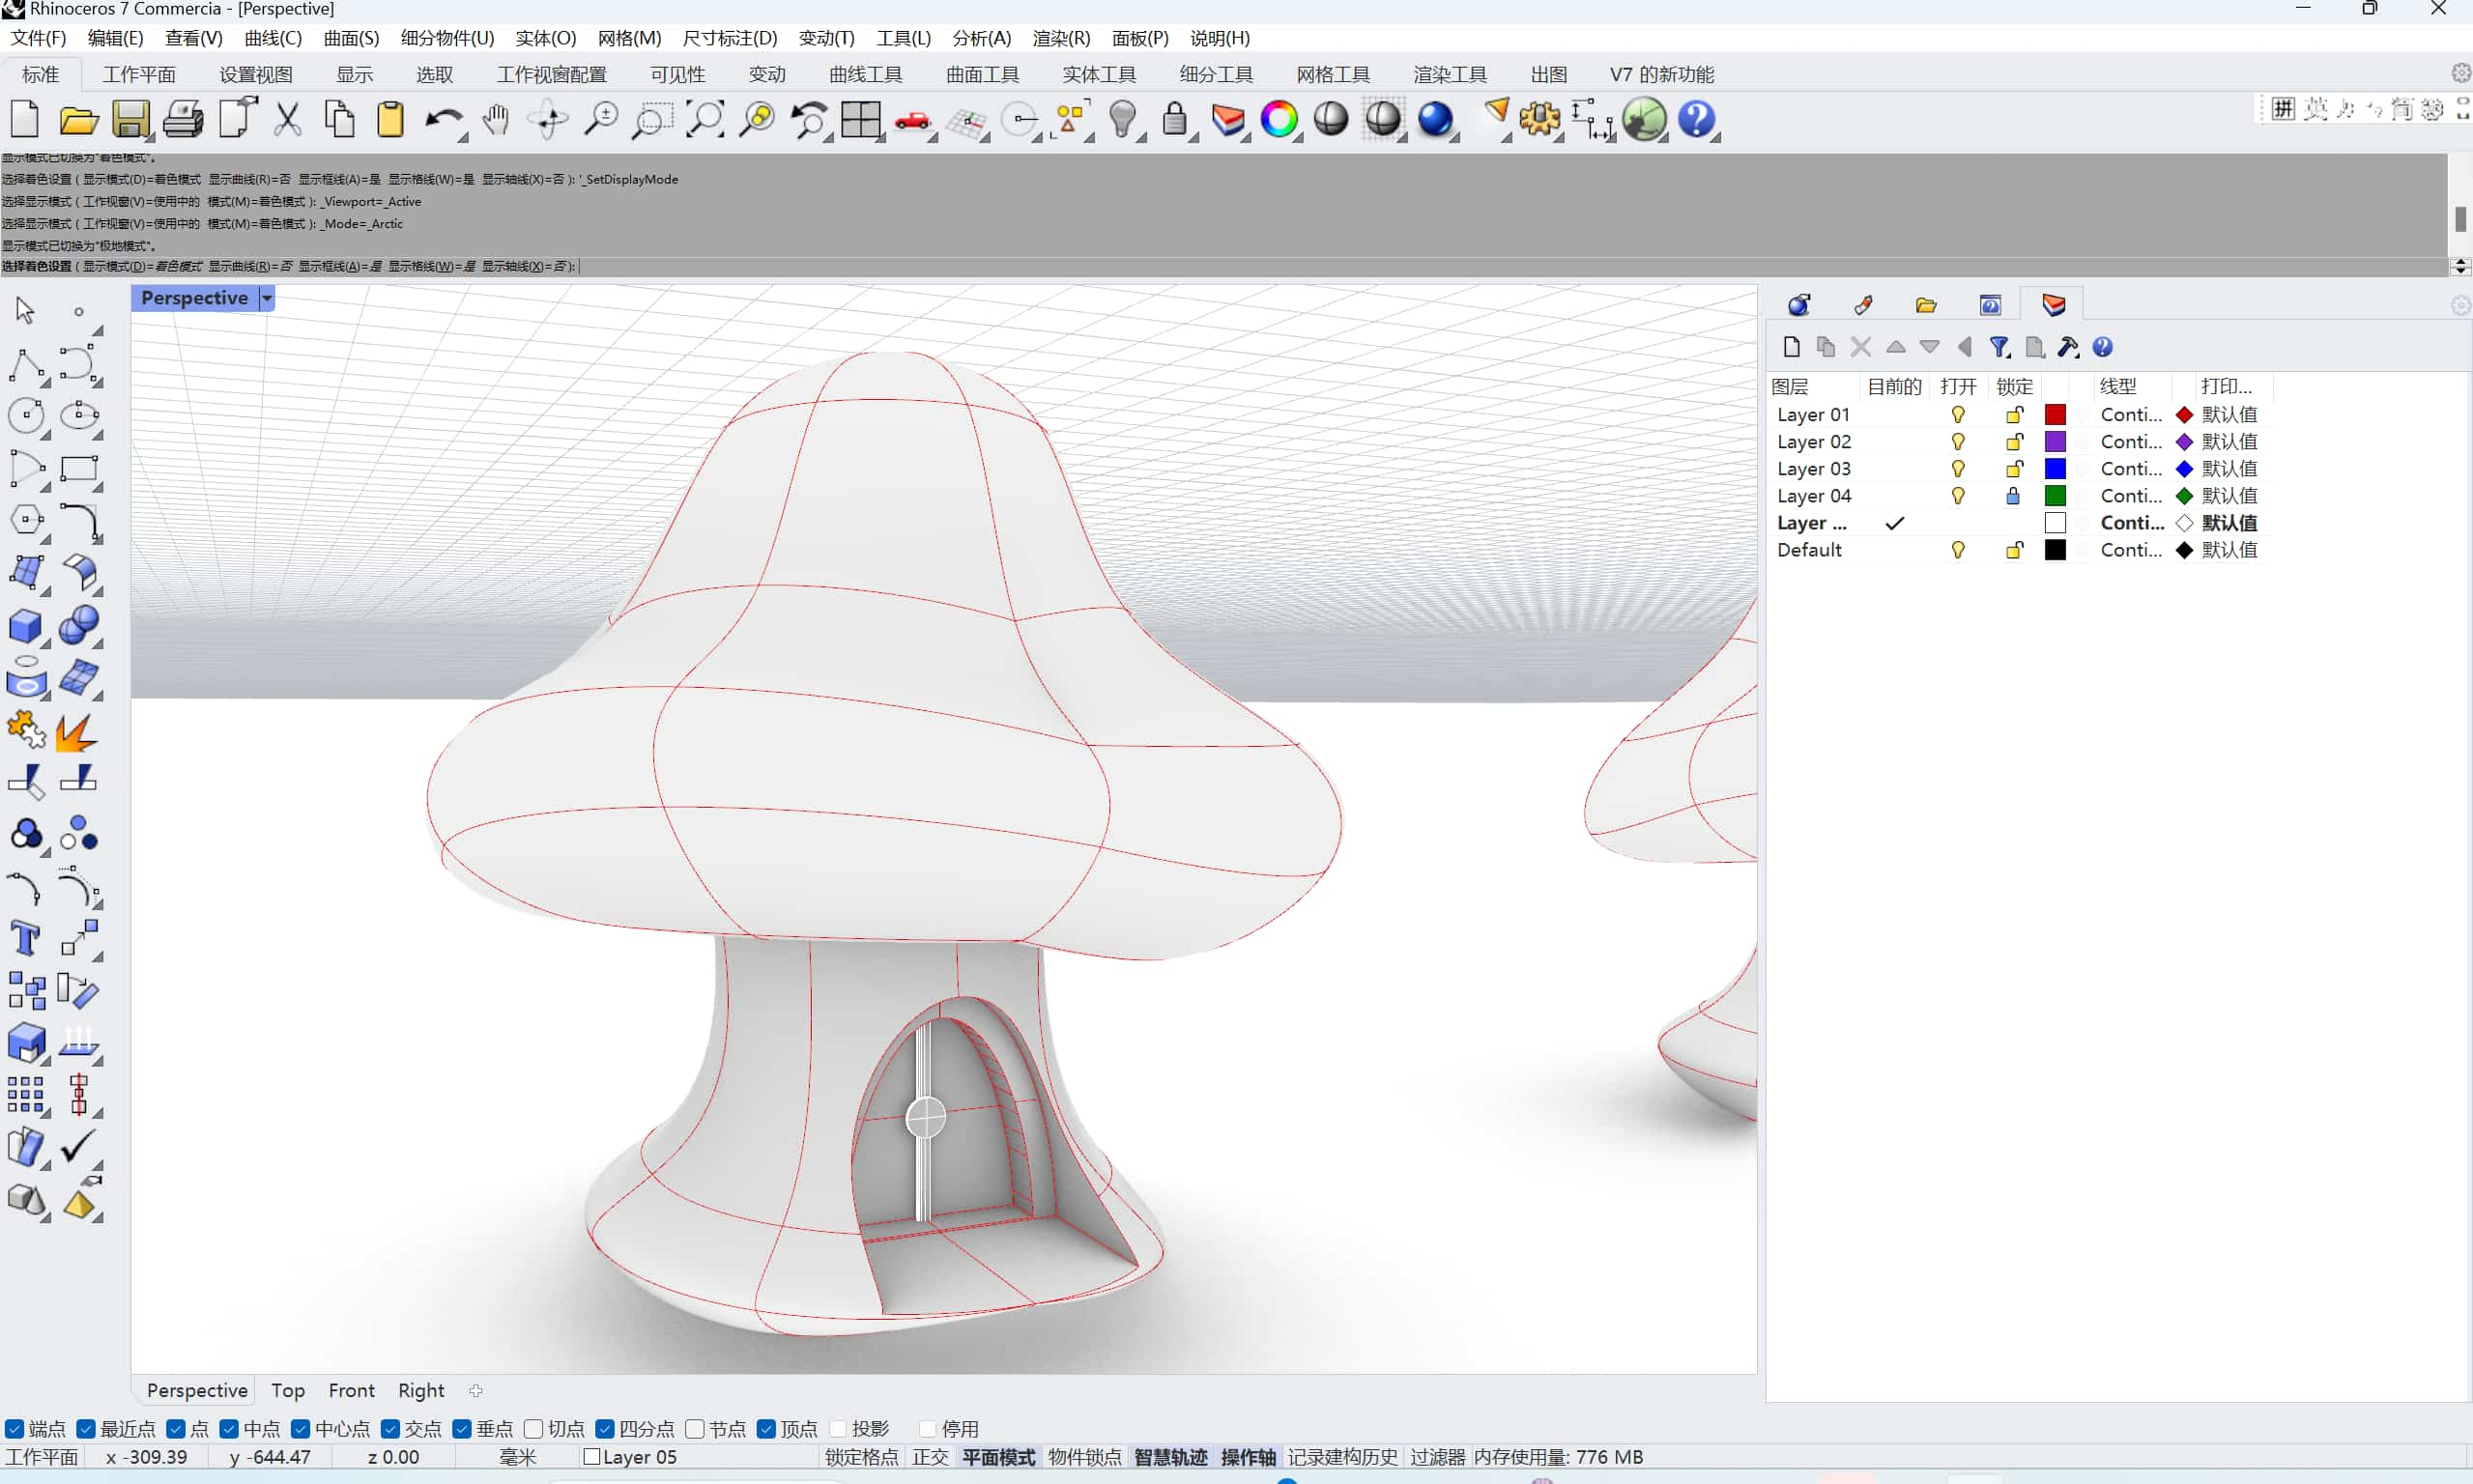
This week, I got a new idea: A living mushroom family.The upcoming 2D and 3D designs will be based on the concept 2.0.
- Idea Source : I happened to come across a blue mushroom online that seemed to breathe. At night, it turns into a little forest fairy, singing in the woods. Each mushroom fairy has a different color. Inspired by a game called "Genshin Impact," where playing the lyre wakes up sleeping creatures, I want to create a living...
- Device Implementation : Creating a mushroom keyboard using a buzzer and a speaker. When you tap a mushroom, it produces a corresponding sound, and at the same time, the skylight of the mushroom house emits corresponding LED light.
- Sketch:
1.3 2D
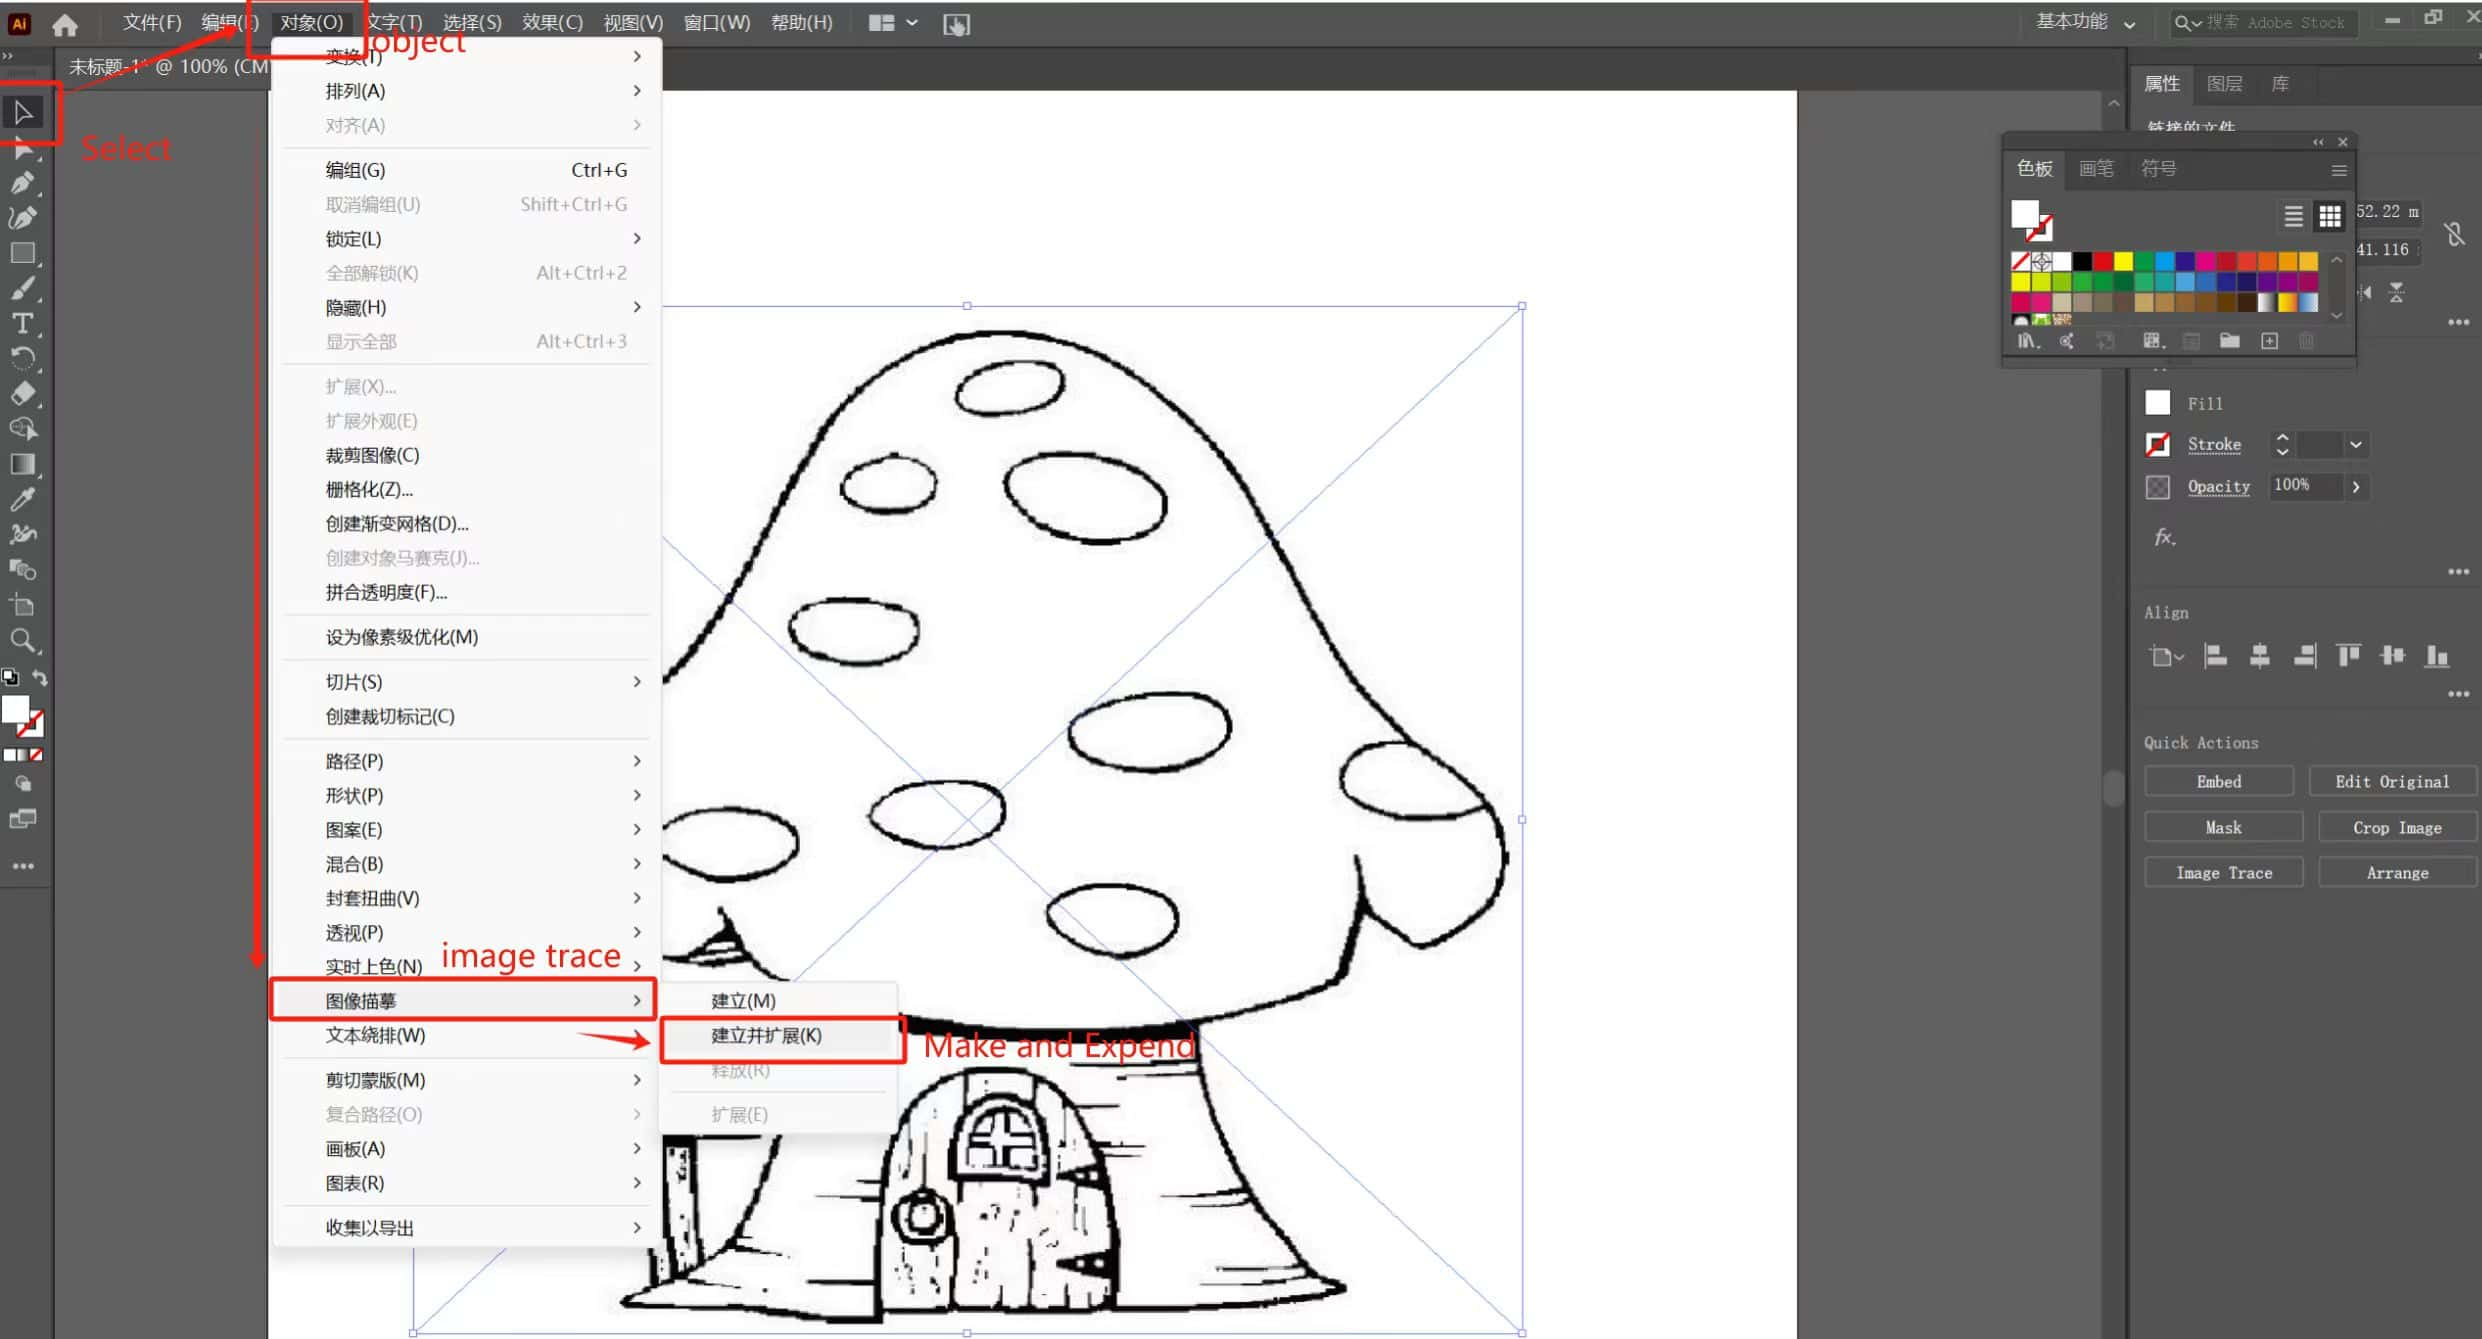
1.Adobe Illustrator
I found a needed bitmap in the evening, opened it in AI, and transformed it into a vector graphic for easy editing.
-
Raster : Bitmap / pixel map images are made up a rectangular grid of pixels.Loses Resolution When Resized.
-
Vecter : They are based on mathematical expressions and use points, lines, curves and polygons to represent images.Able to Resize Without Losing Resolution.

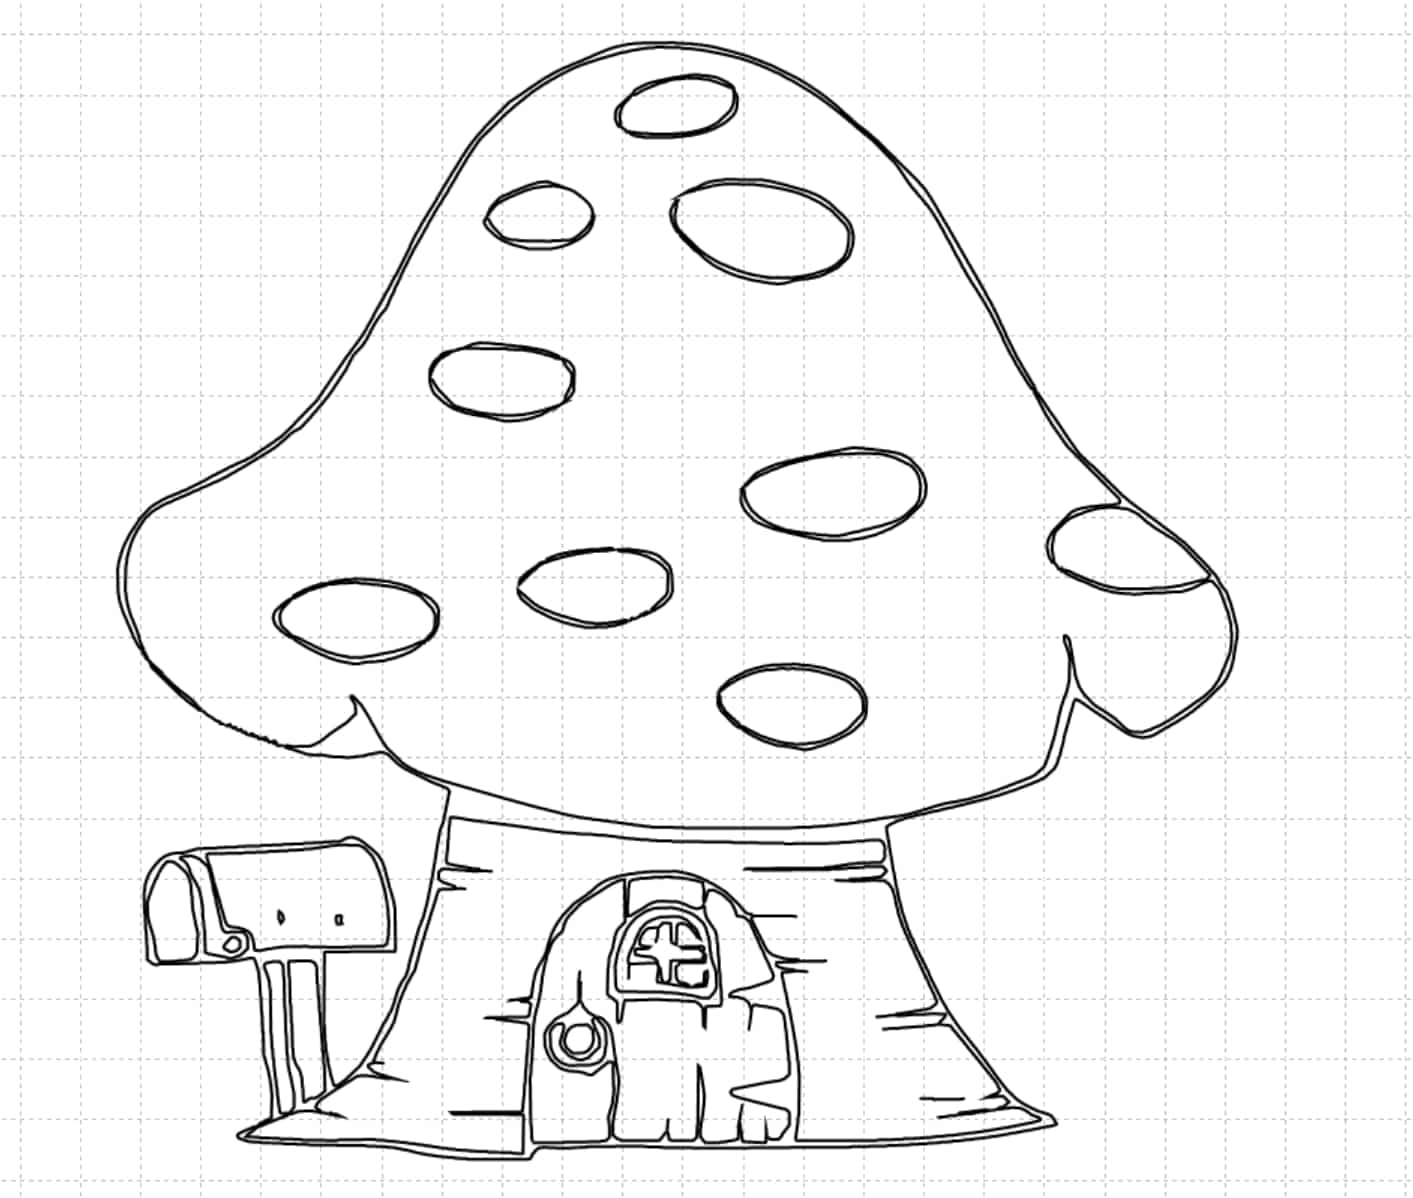
Choose Select > Object > Image Trace >Make And Expand,You will get a clean vector graphi
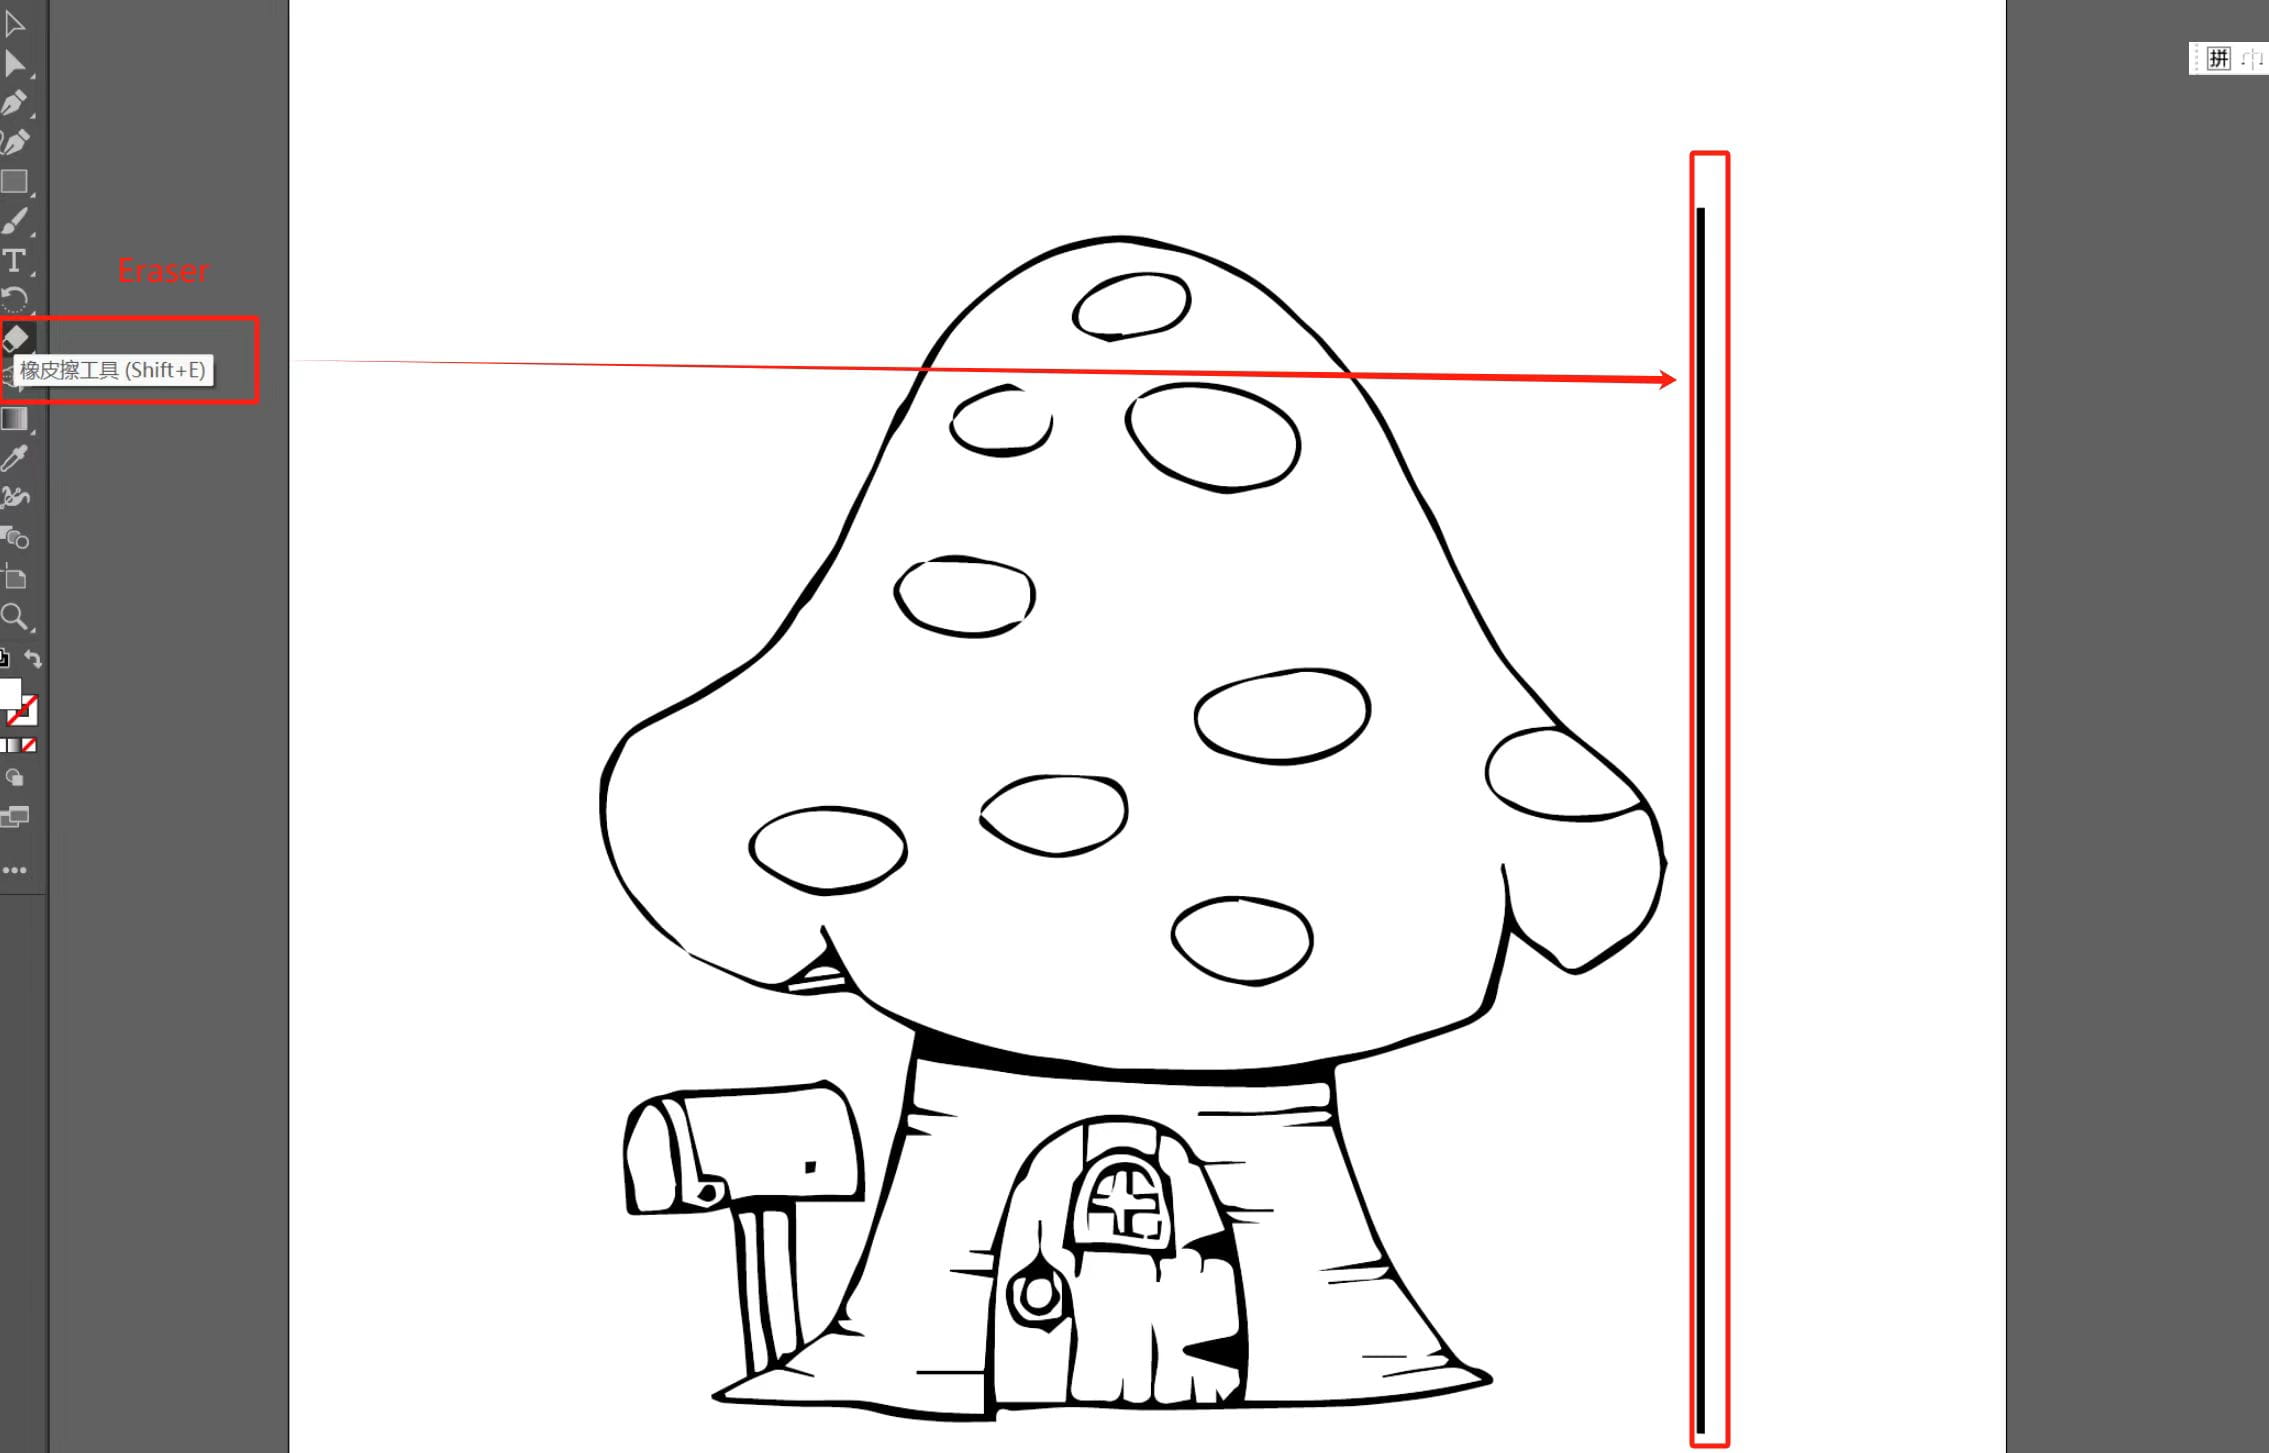
Select Eraser Tool to remove any unnecessary lines and keep the pattern neat.
Choose Direct Selection > Path > Colour,Make the graphics fuller and more visually appealing, especially the skylight of the mushroom house. Once it's done, it will emit the same color!

2.Lasermaker
This is a very simple and user-friendly software. It's the software I use to guide kids in making things during laser cutting workshops. The functionalities are very basic, such as simple graphic creation and converting bitmaps to vector graphics. However, due to its simplicity, it has many limitations, and I'll talk about them in a moment.
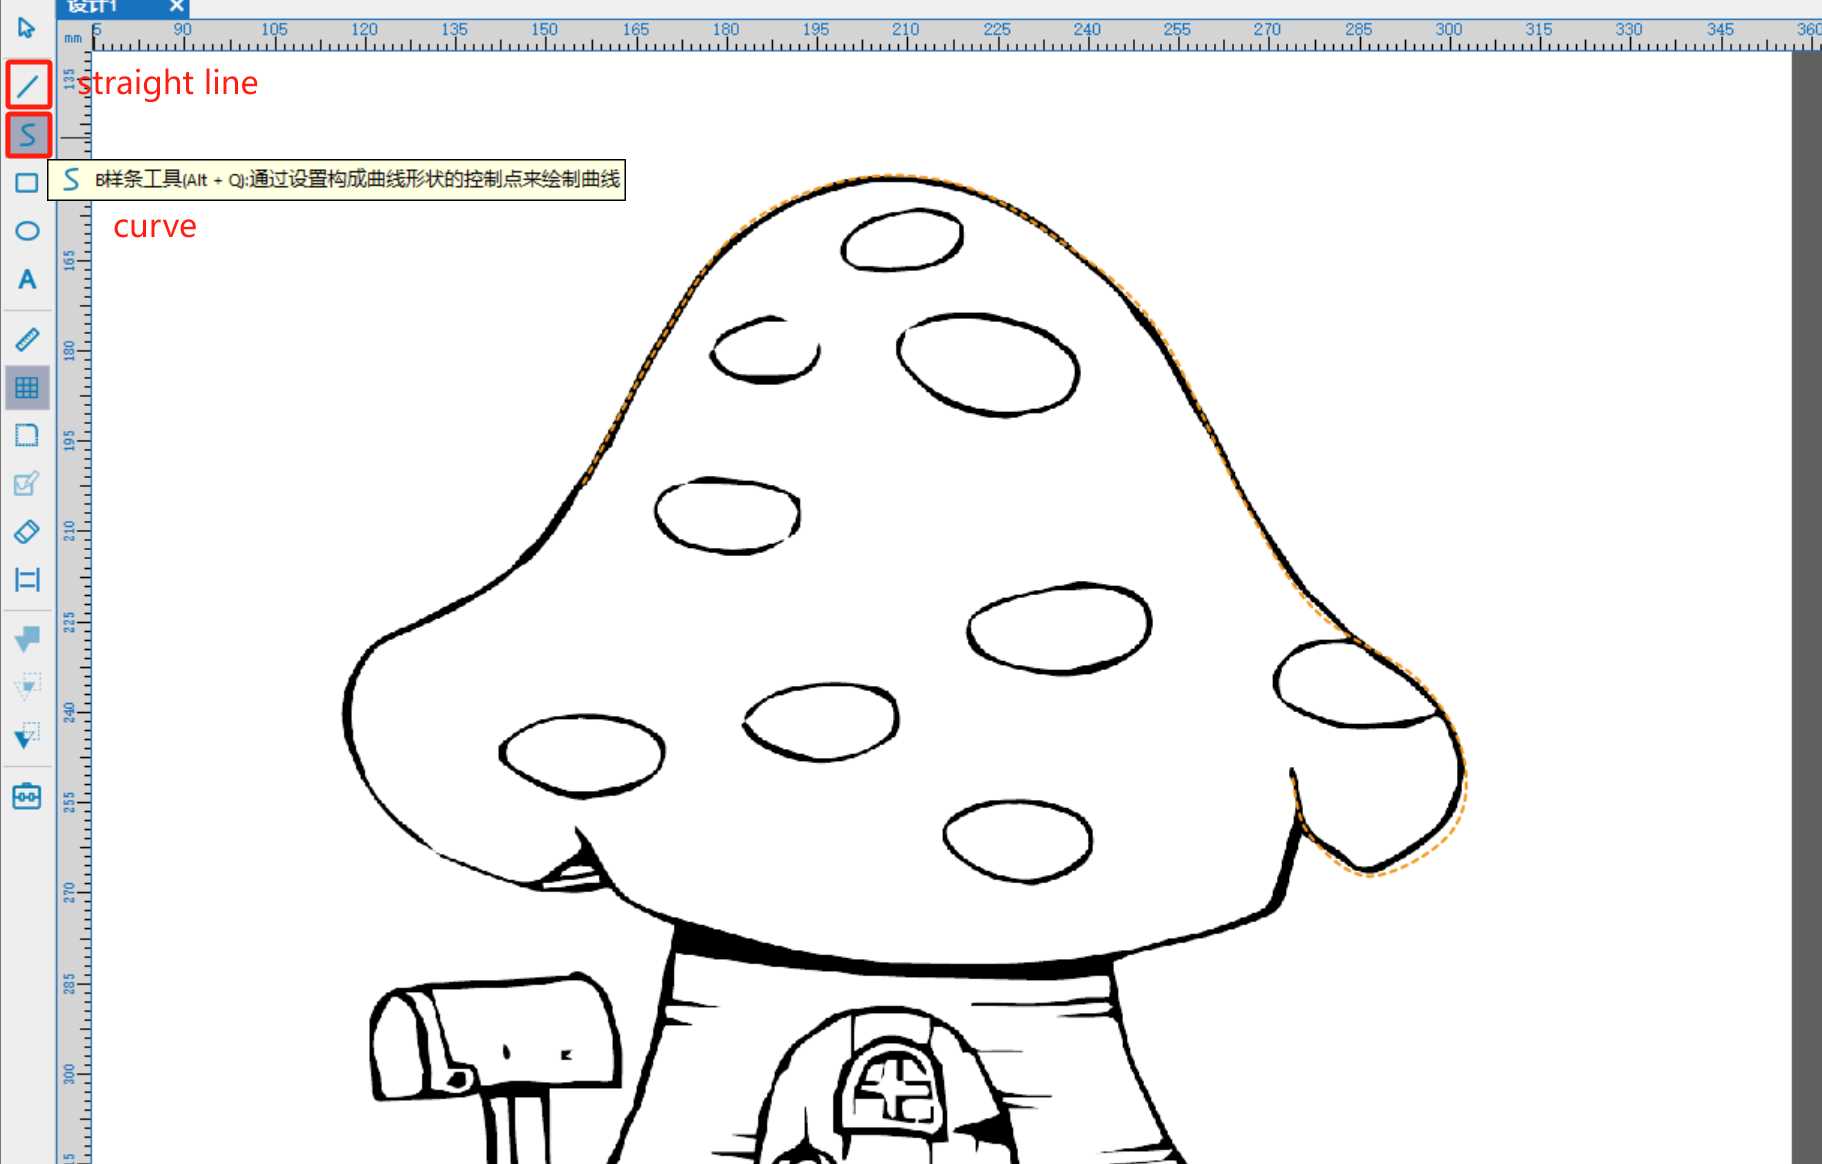
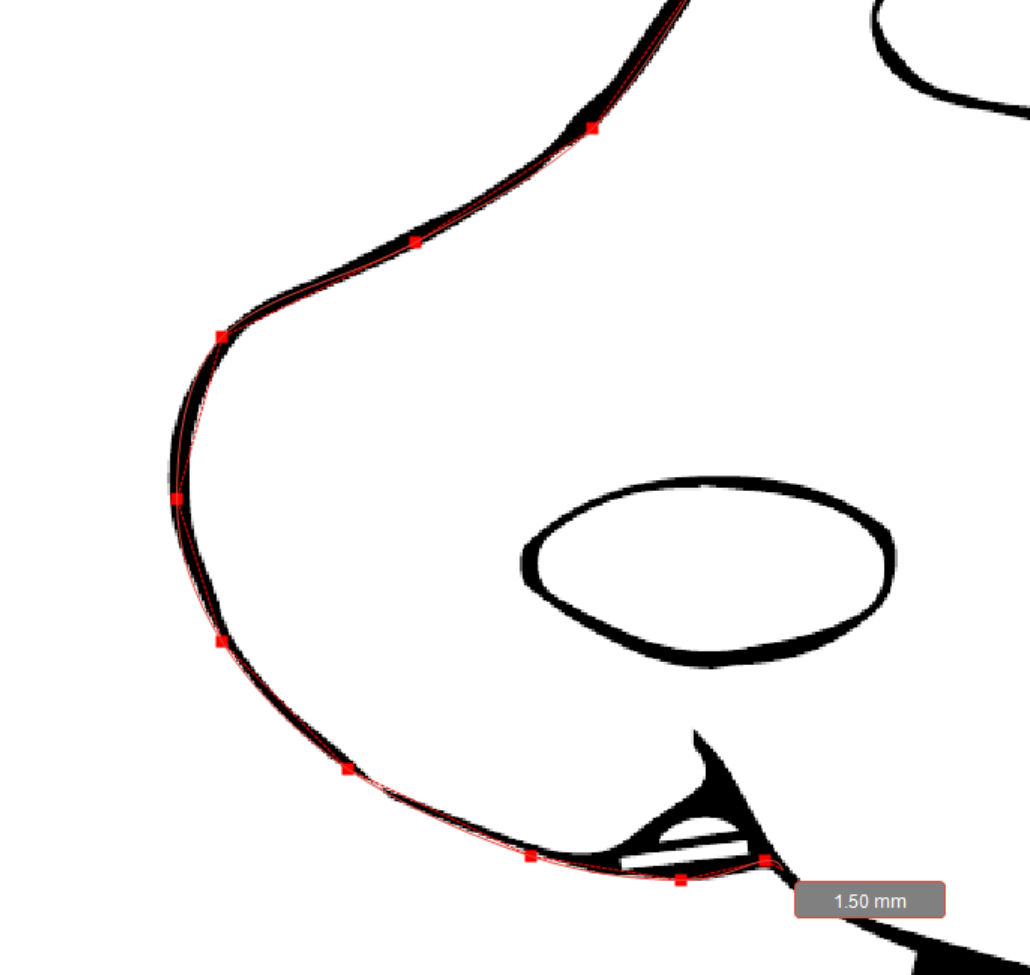
Method 1: Open a reference image and use straight lines and curves to draw paths, similar to using the pen tool in Adobe Illustrator.
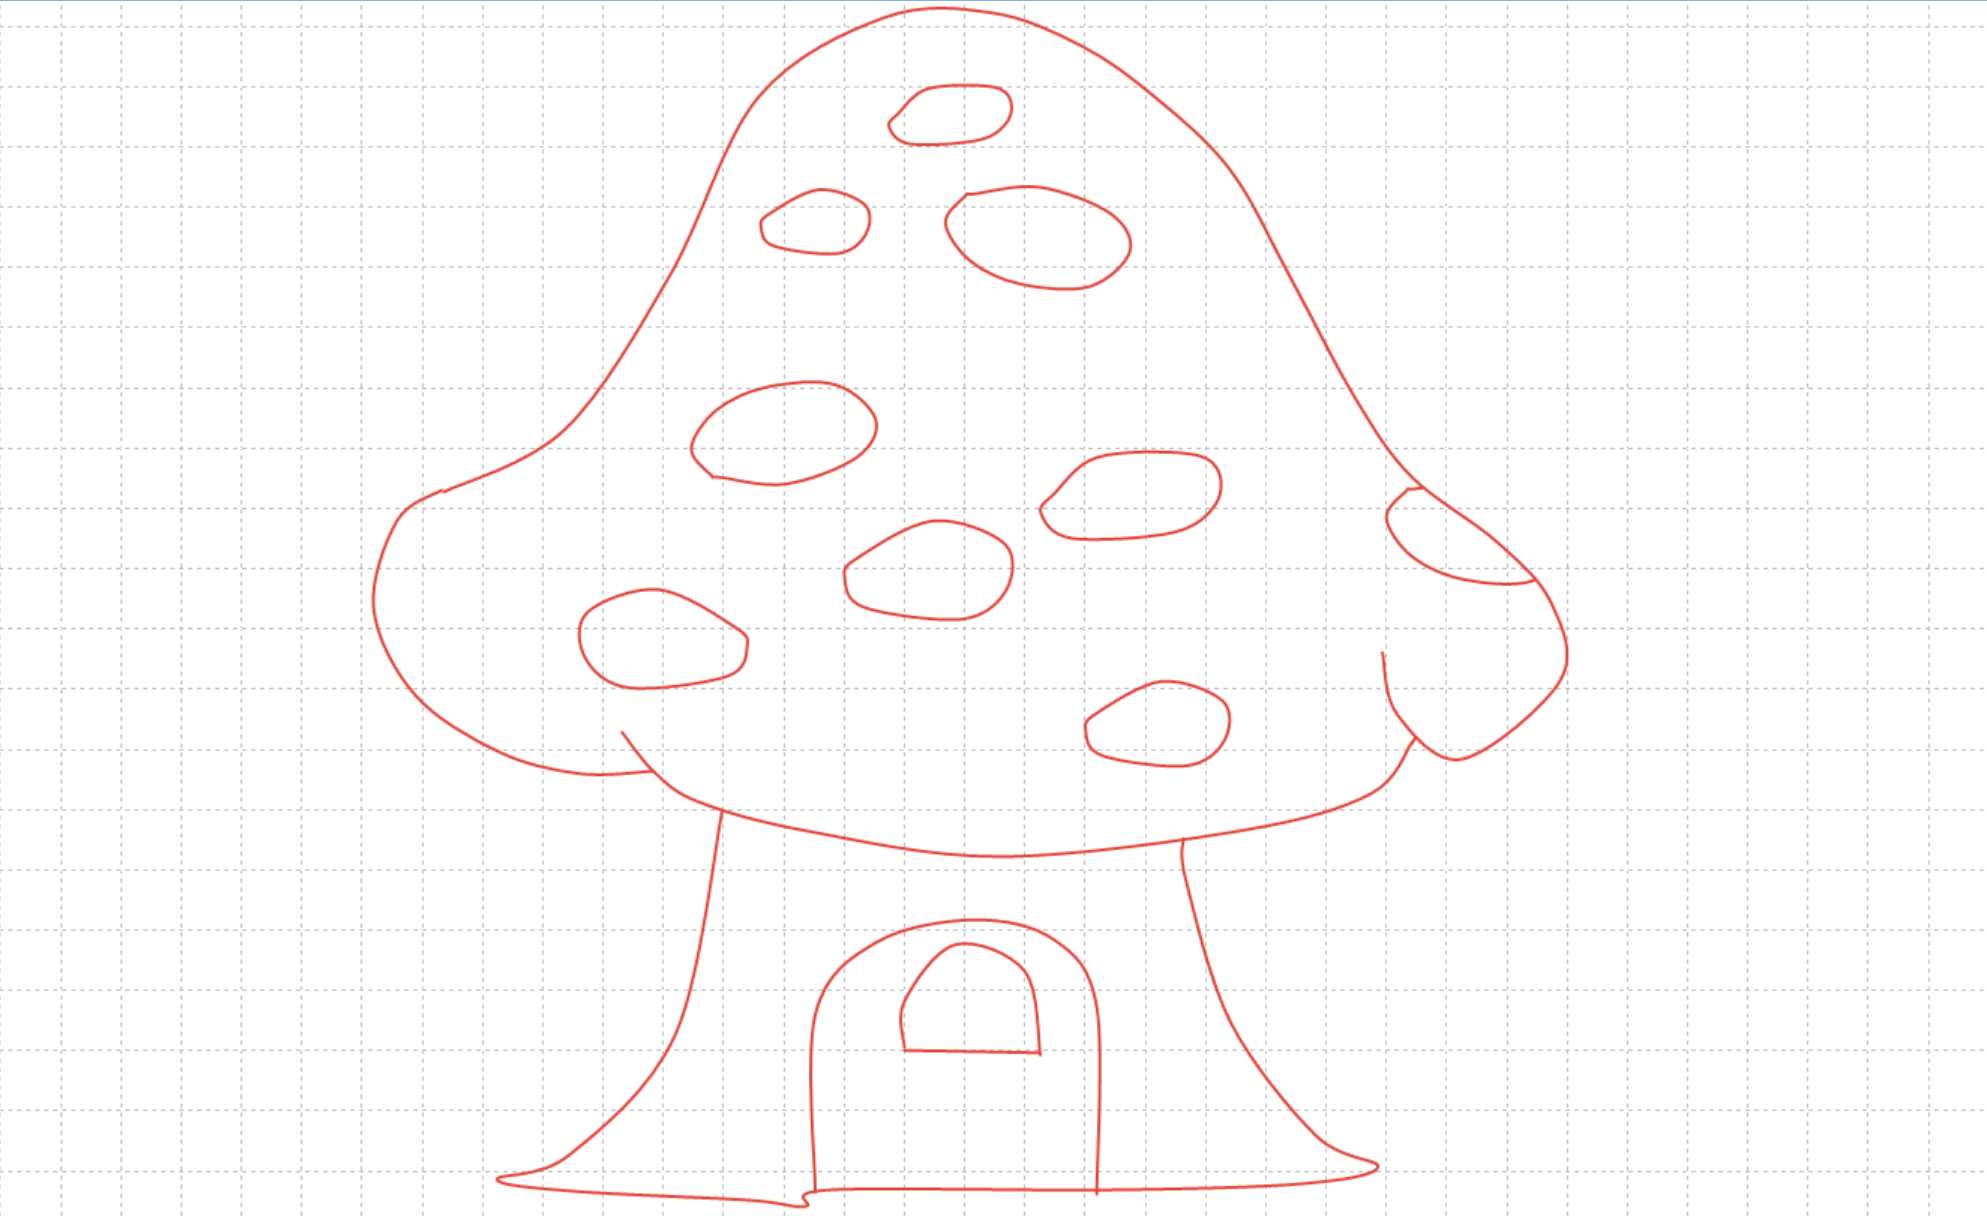
Method 2: Use contour tracing to identify the lines in the image. However, this method requires clear images; otherwise, there will be many broken lines.

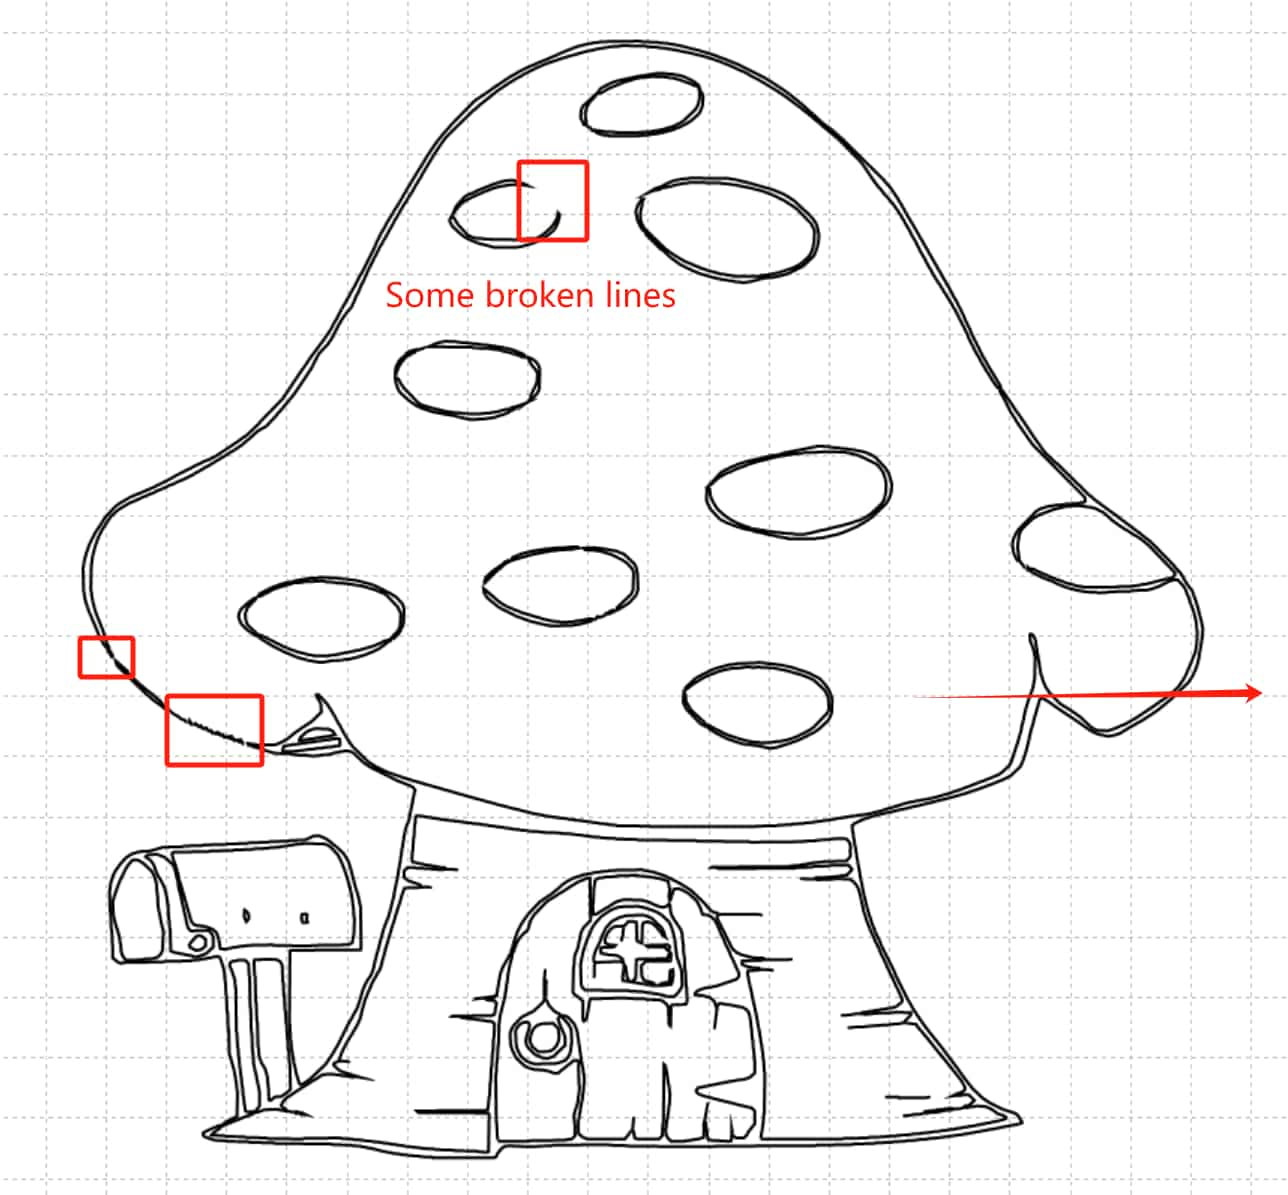

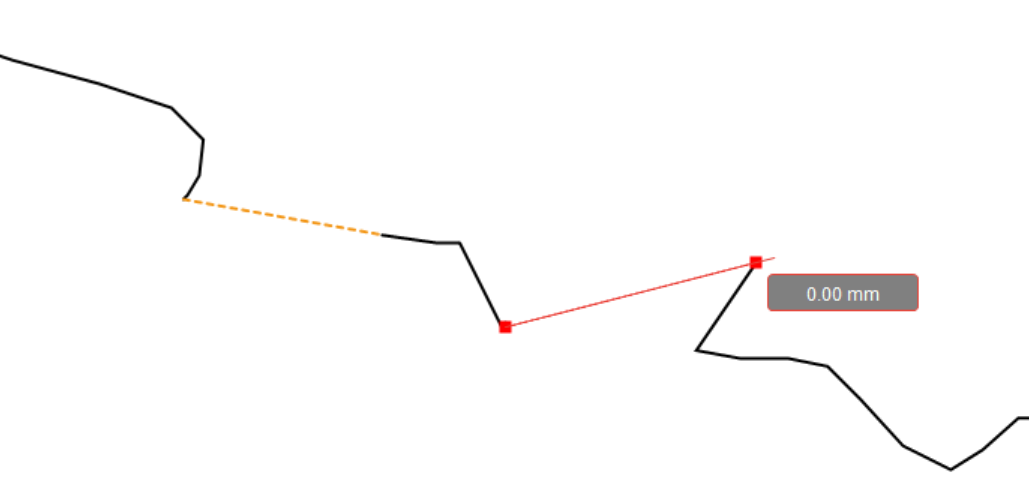
I can use curves to connect the broken lines, but the overall effect may not be satisfactory (due to the blurry image causing poor recognition).
1.4 3D
1.Rhino
My first 3D software was Rhino because it has smoother surfaces, which I thought would be better for creating my mushrooms. Initially, I looked online for existing mushroom styles to learn from, but unfortunately, I couldn't find one that matched my vision. So, I decided to learn from scratch. Here are some previous simple exercises.
In the learning process mentioned earlier, I discovered some tools that work well for creating mushrooms.
- Curves : straight lines,arcs, ellipses
- Surface: from plane curve, rotation along path, bevel
- Entities : cube
- Points and curves : control points.(Without it, there won't be my mushrooms.)
- Commonly used tools : group,trim, cancel construction
- Entities:Boolean (union, difference, intersection)
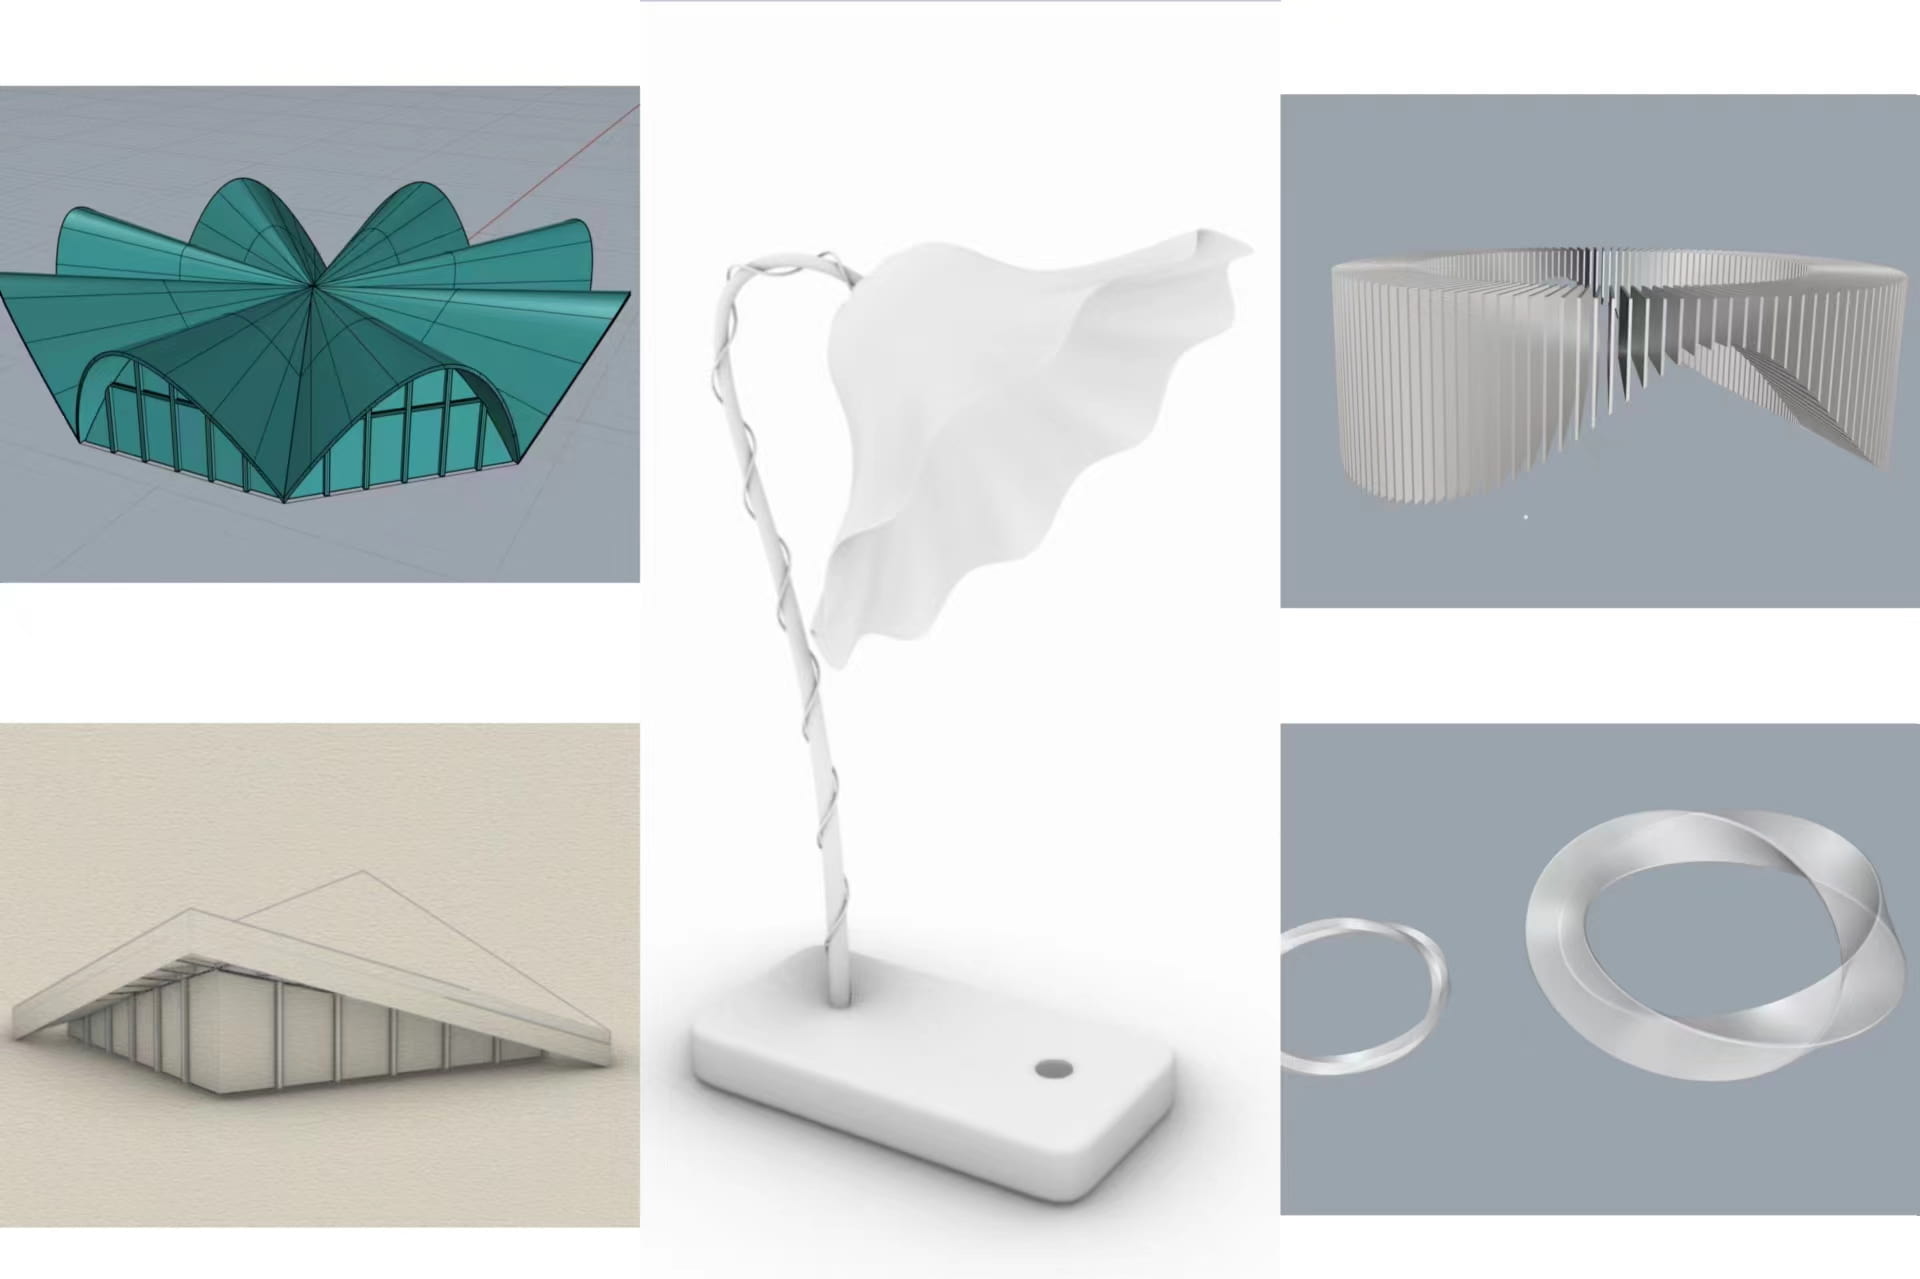
There are many useful tools, and you can explore Rhino
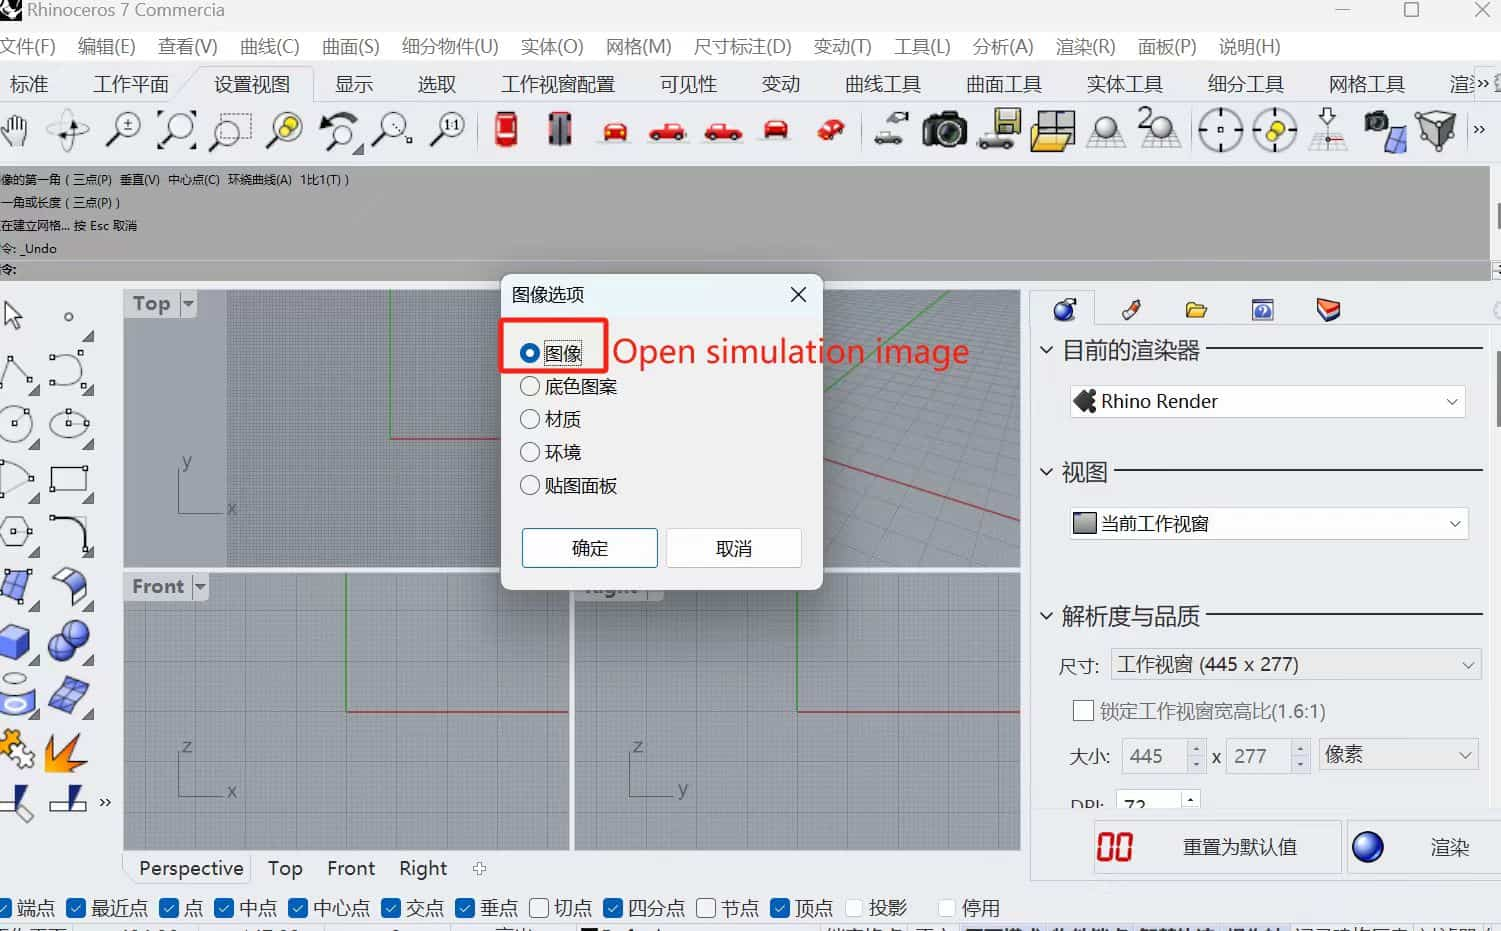
Drag the image into Rhino.Choose Image > Front
Point Red layer > arcs > Image Trace > rotation along path
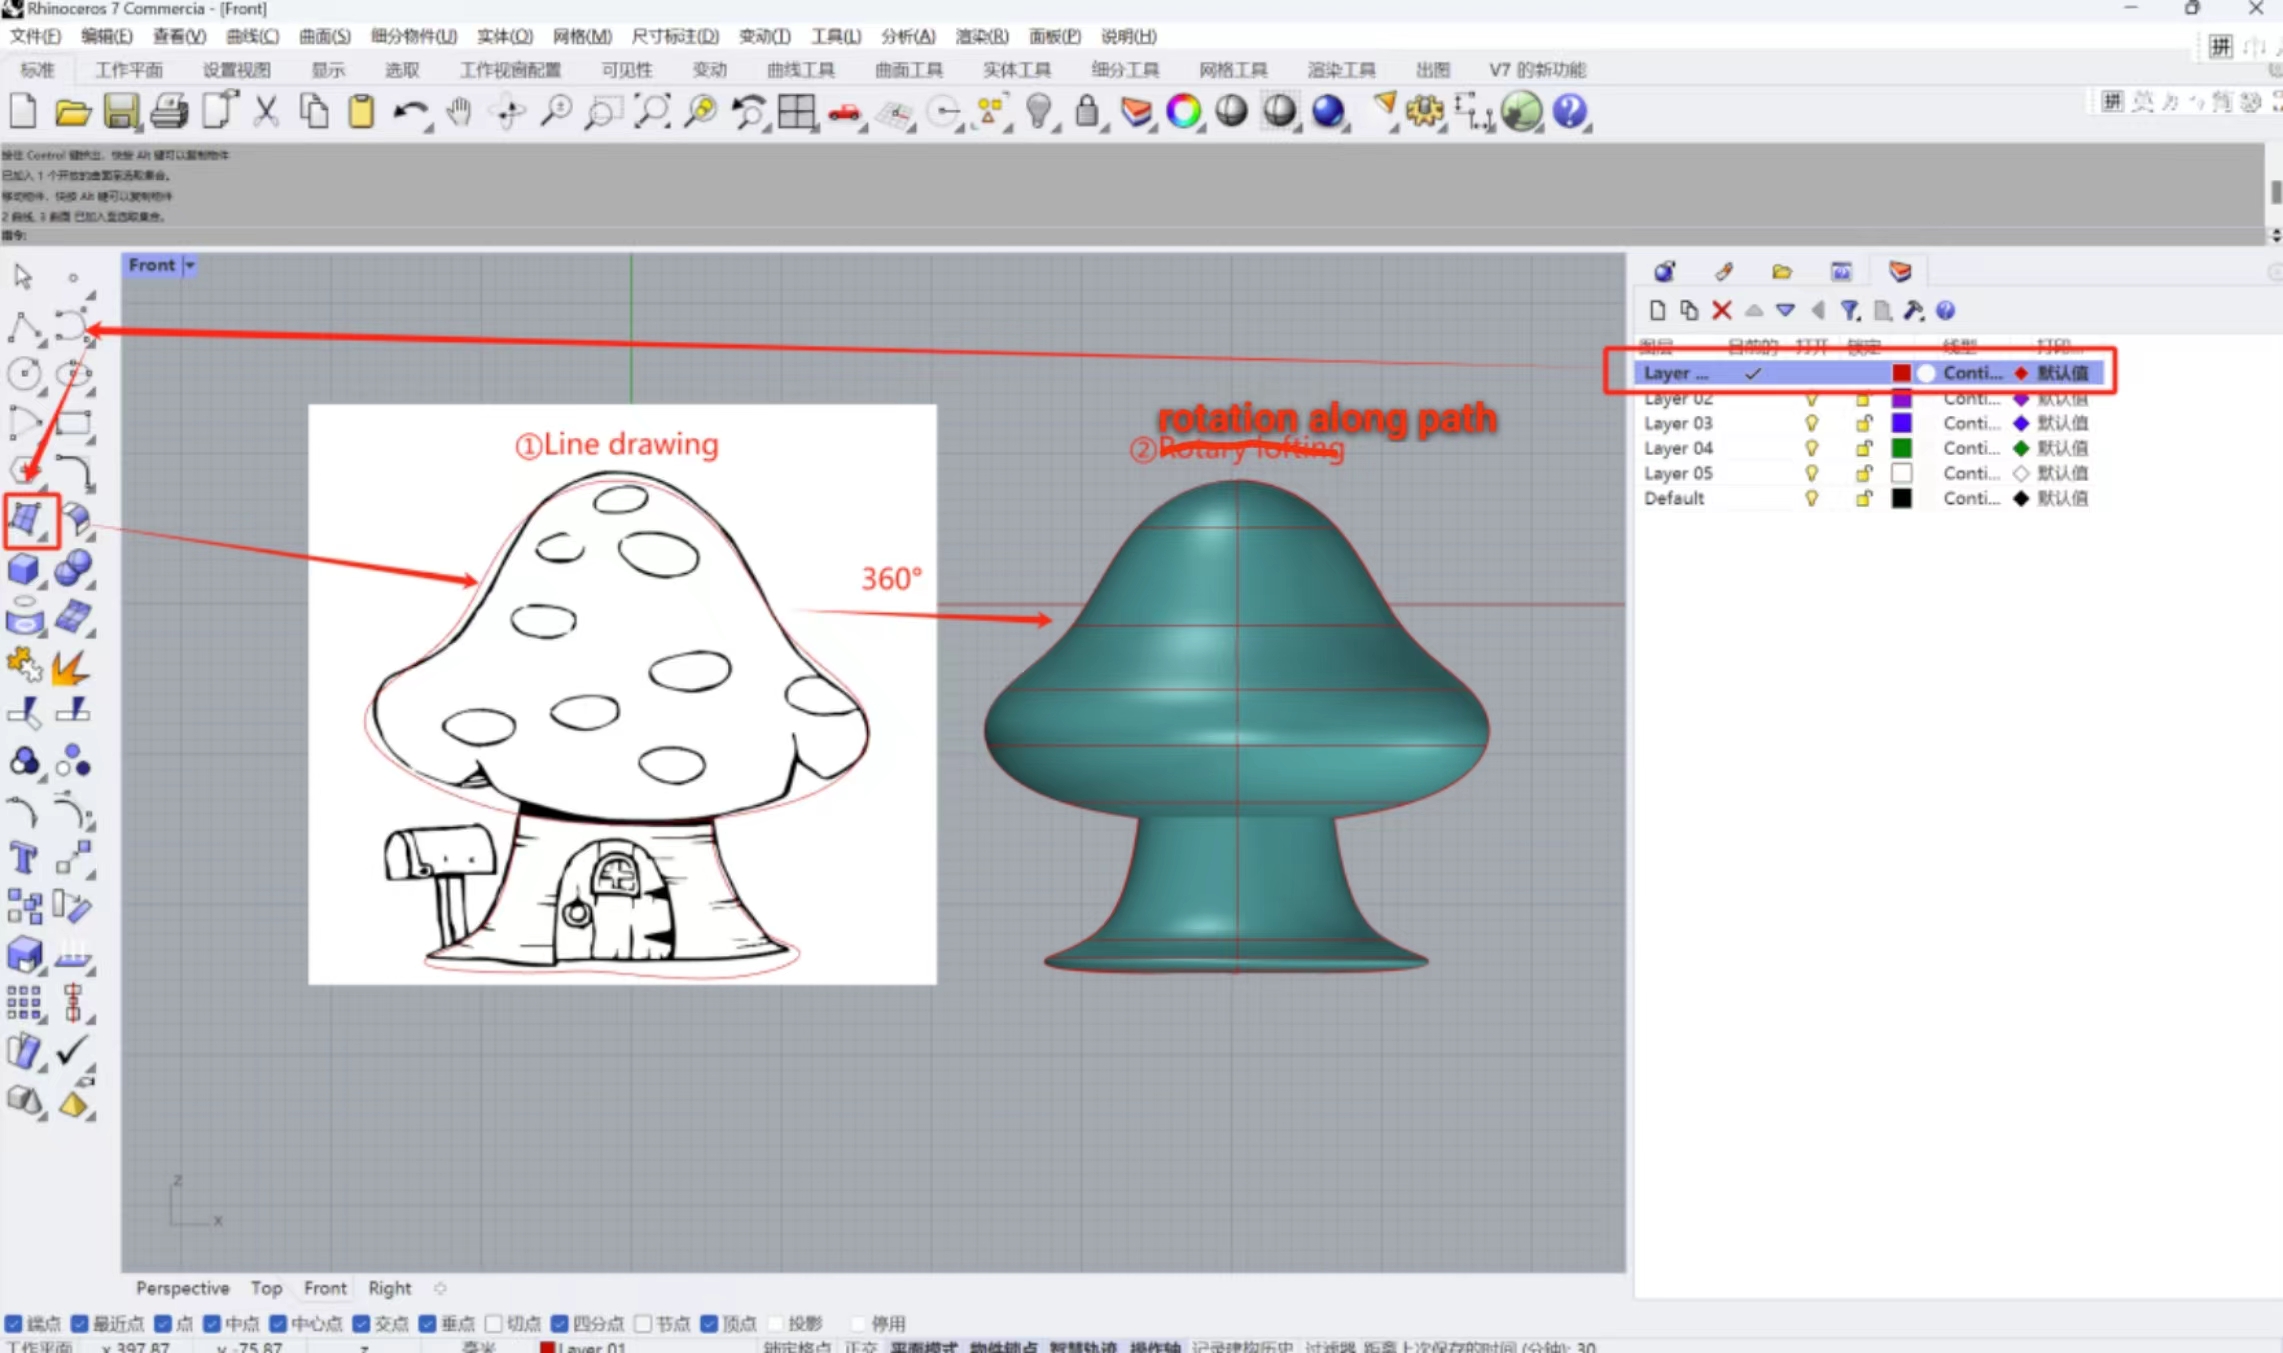
Select model,control points

Because rotation along path was empty, I created a solid

Use straight lines > ellipses > trim > from plane curve > extrude > Boolean
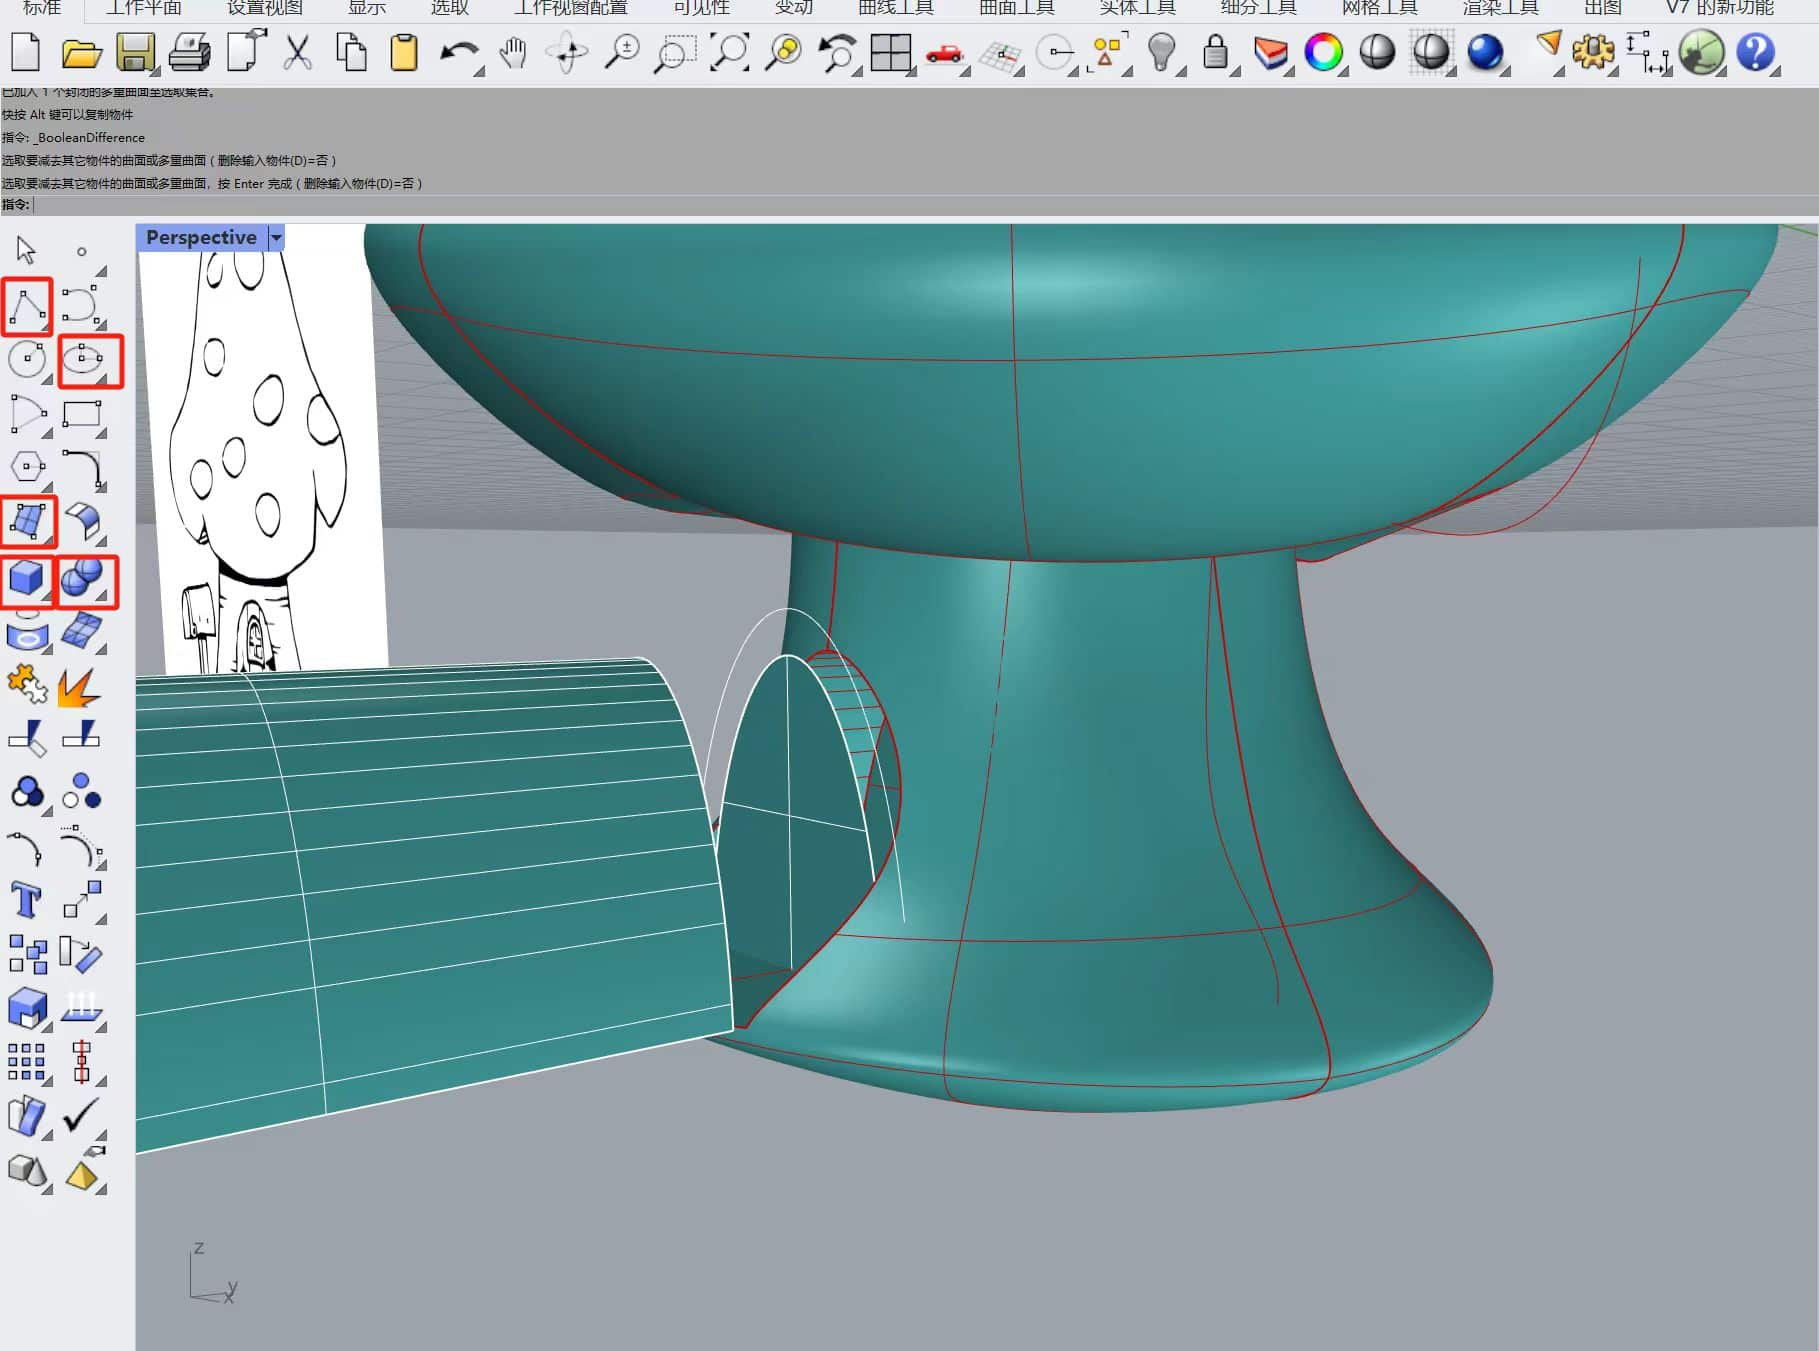
Then, use cubes and cylinders to create a simple door.
When using Rhino, it's essential to develop good habits like making regular backups. Otherwise, it can be challenging to revert to a specific previous operation.
Later, I saw this on YouTube(Video) maybe I can refer to it for placing LEDs on top of my mushroom.
2.Fusion 360
I really love that it has the ability to directly view the version history!
Use Sketch > Extrud


Then Drill holes
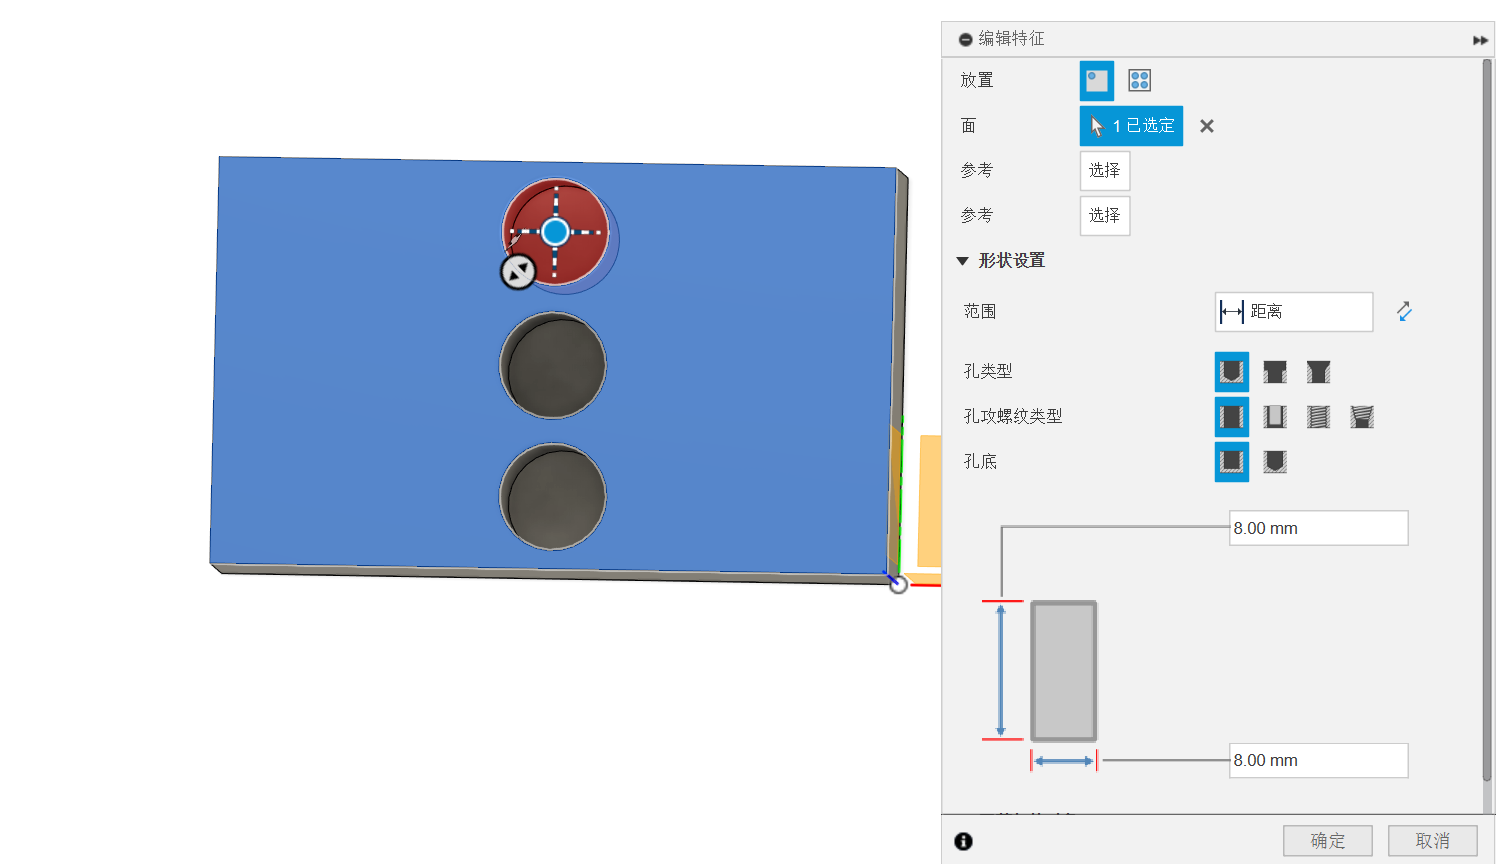
Array,A simple refrigerator membrane model has been completed.


Currently, I have limited knowledge of Fusion 360. I will update my latest achievements in it from time to time in the future!