3. Computer-Controlled Cutting
This week we start experimenting with the “real” machines! Vinylcutter is the entry to this exiting world, followed by the famous “Laser Cutter”. To deep our toes in them we have to make a sticker and a construction kit in cardboard.
Hero Shots
Assignement requirements
Group assignment:
- Characterize your lasercutter’s focus, power, speed, rate, kerf, joint clearance and types.
- Document your work to the group work page and reflect on your individual page what you learned.
Individual assignment:
- Design, lasercut, and document a parametric construction kit, accounting for the lasercutter kerf, which can be assembled in multiple ways.
- Cut something on the vinyl cutter.
Group Assignement
Here you can fin the link to the group assignement.
Individual Assignement
1. Vinyl Cutter
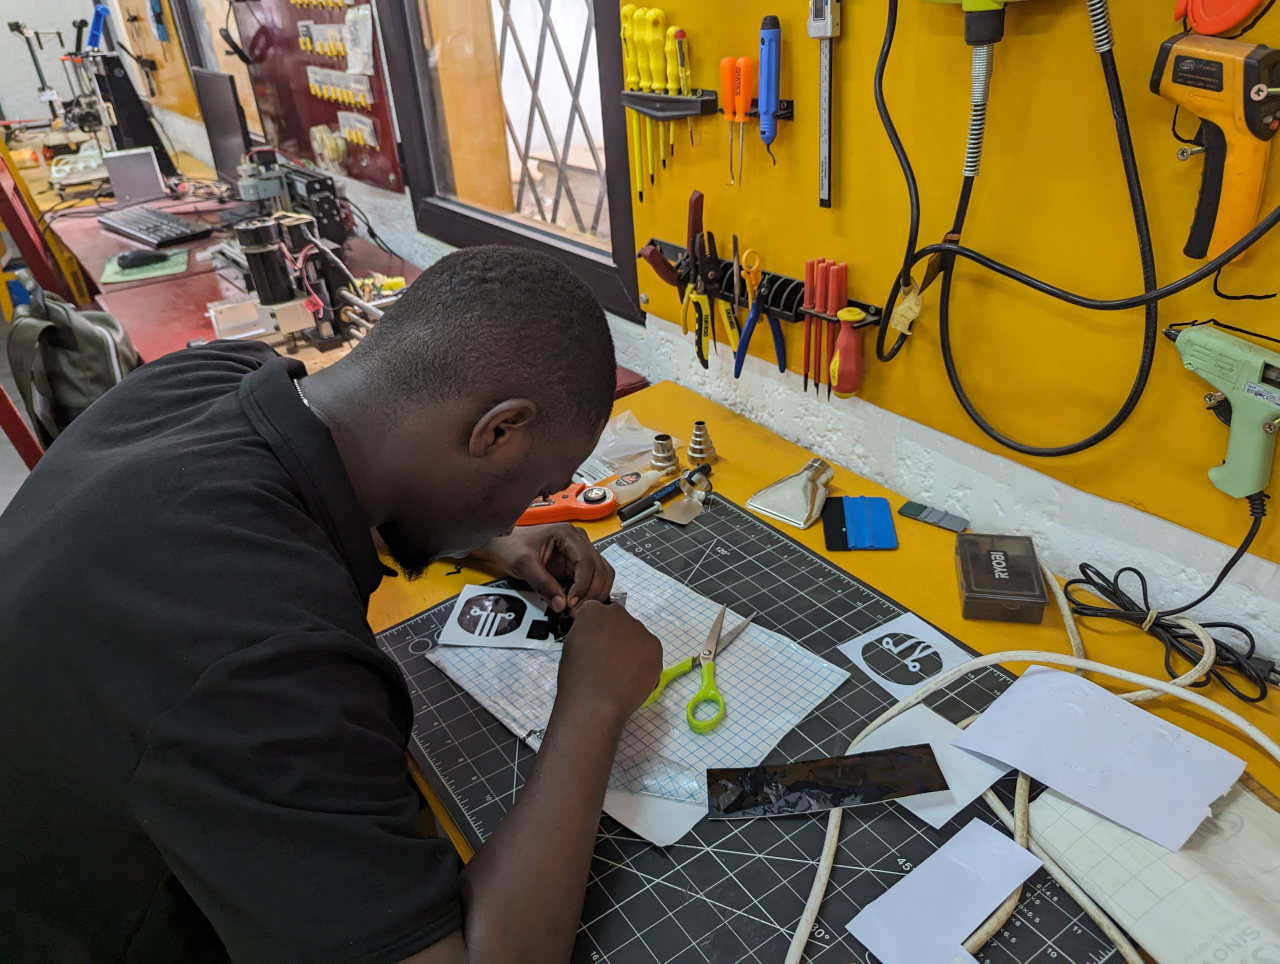
First of all we prepared the design file (We use the SVG format for the image we want to cut) and upload it to the vinyl cutter software.
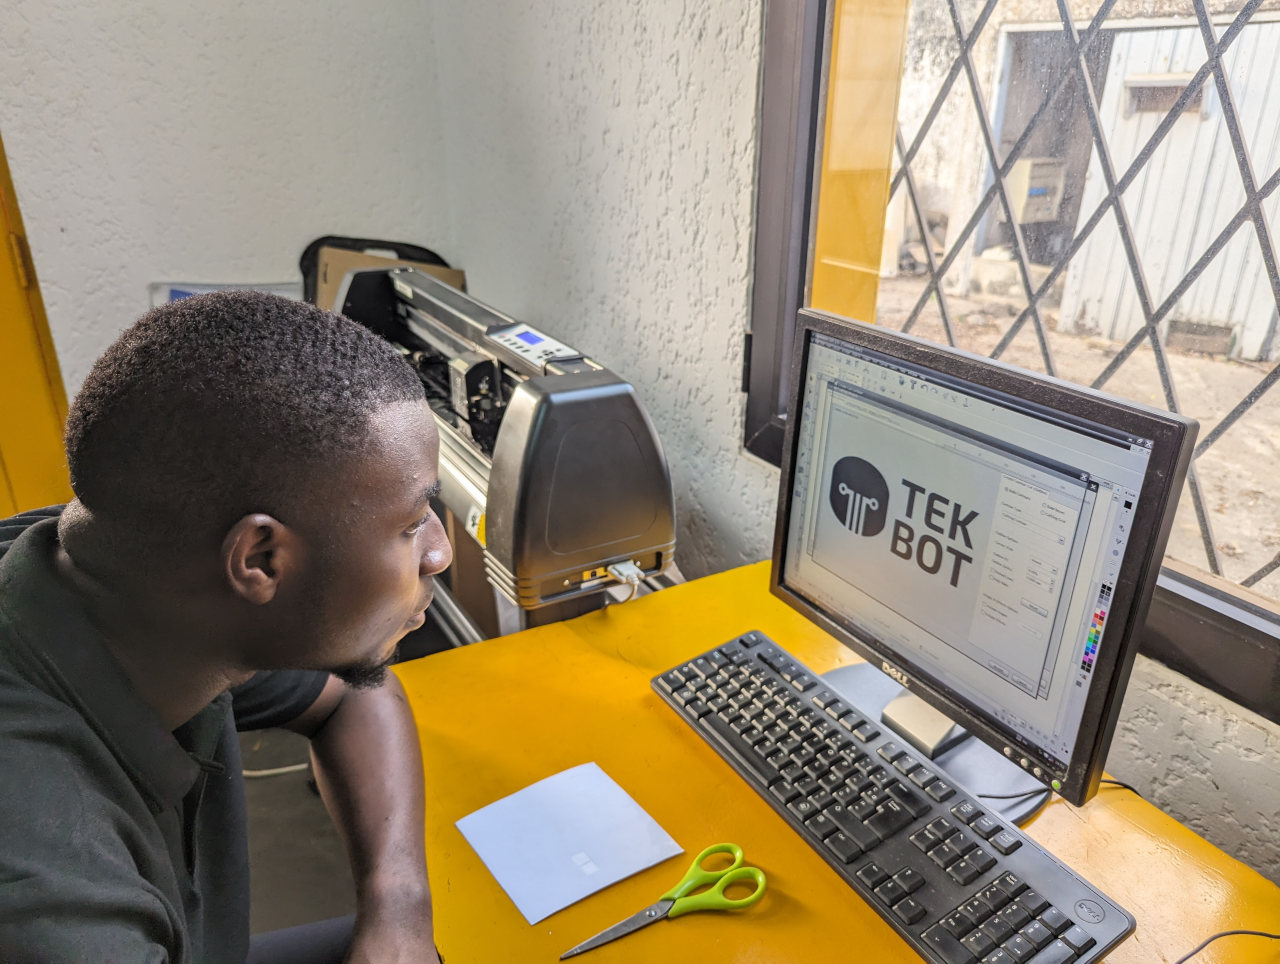
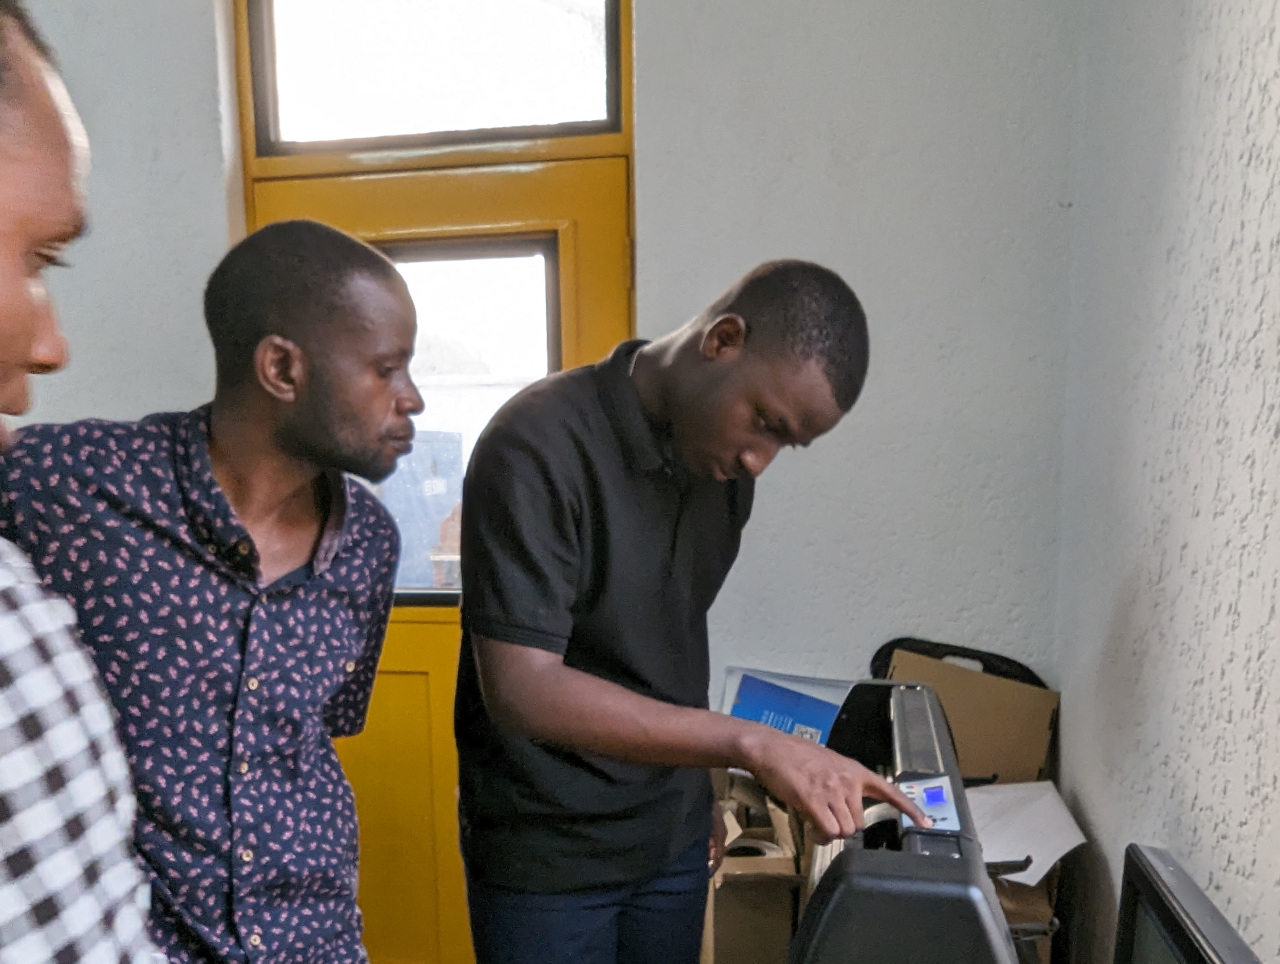
After Setting up all the setting on the software SignMaster CUT 3.5 dedicated; we can now load the material into the machine
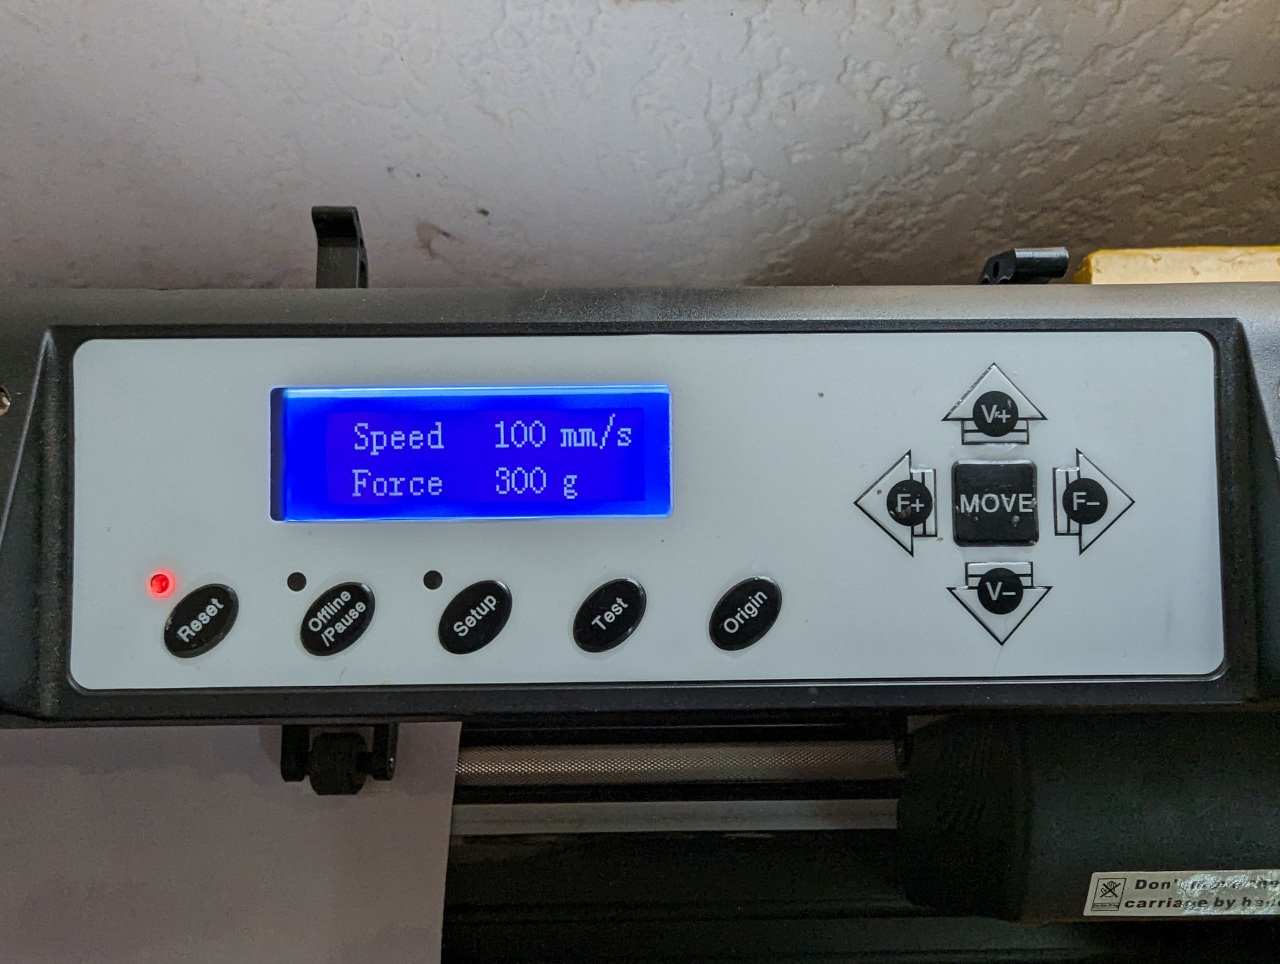
Here’s the control panel of the vinyl cutter and we setup the speed to 100 m/s and the force to 300 g. In function of how deep or fast you wanna go you can adjust the differents parameters.
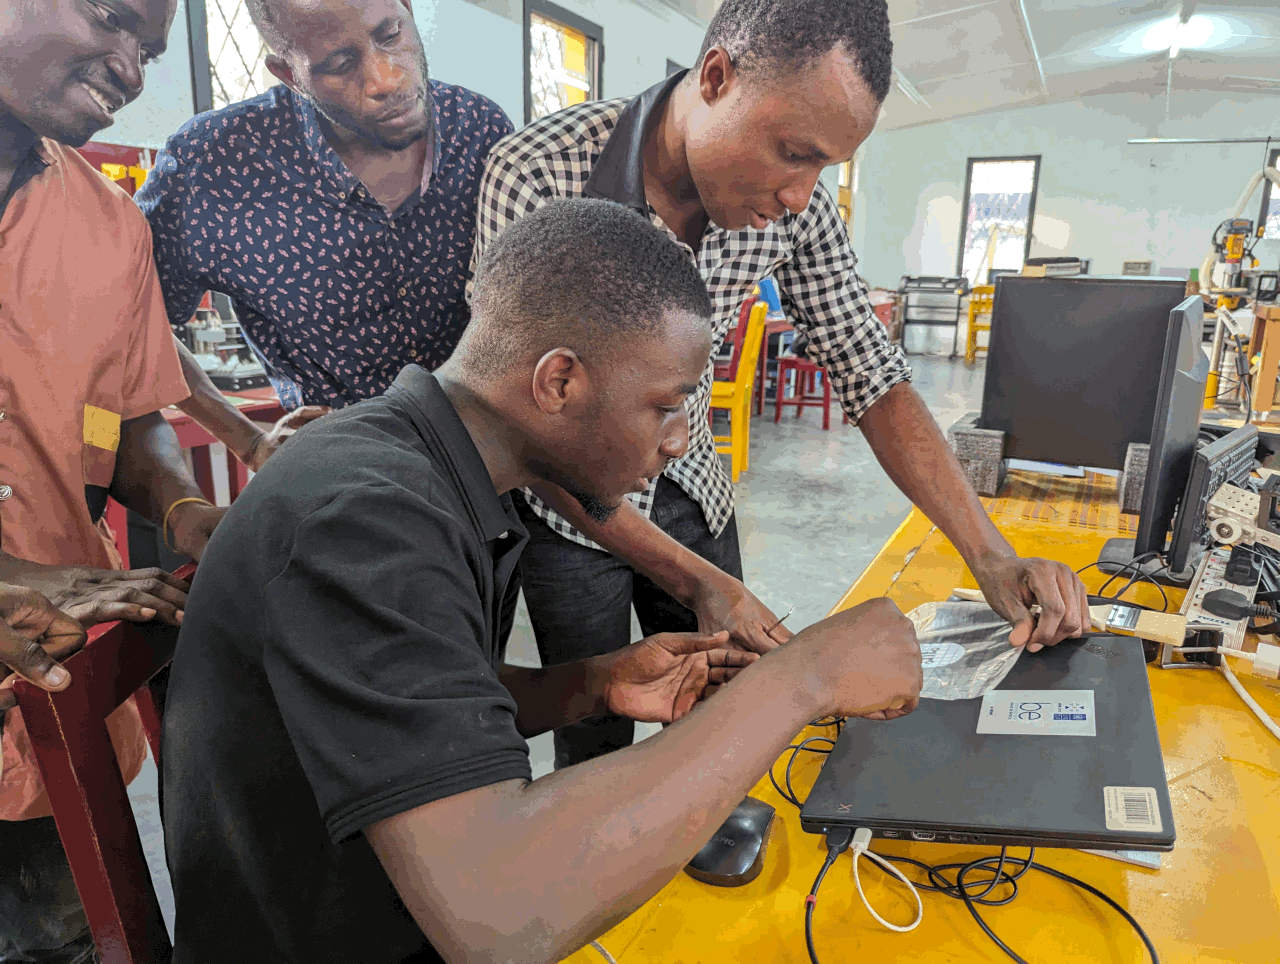
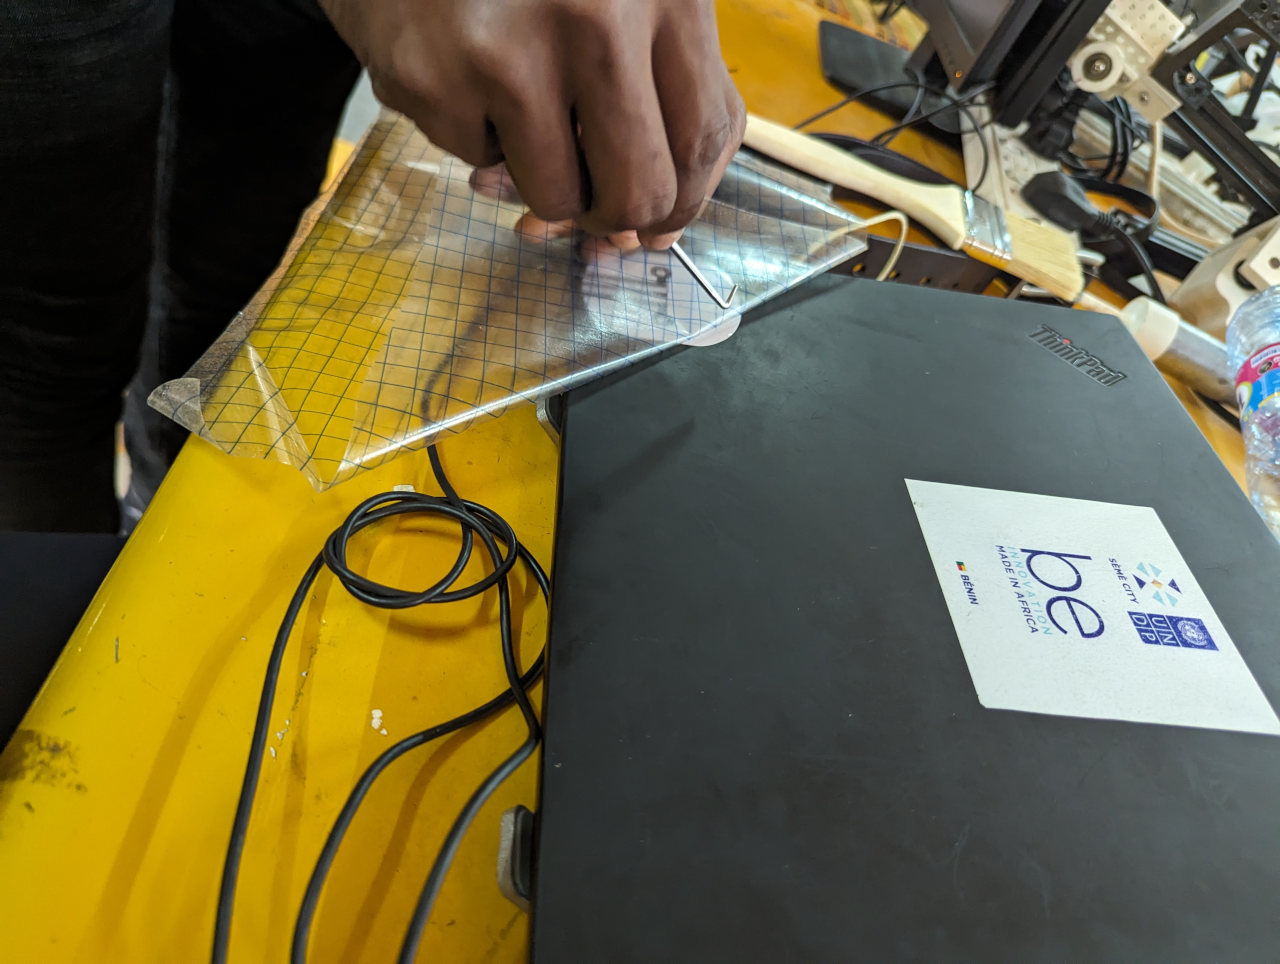
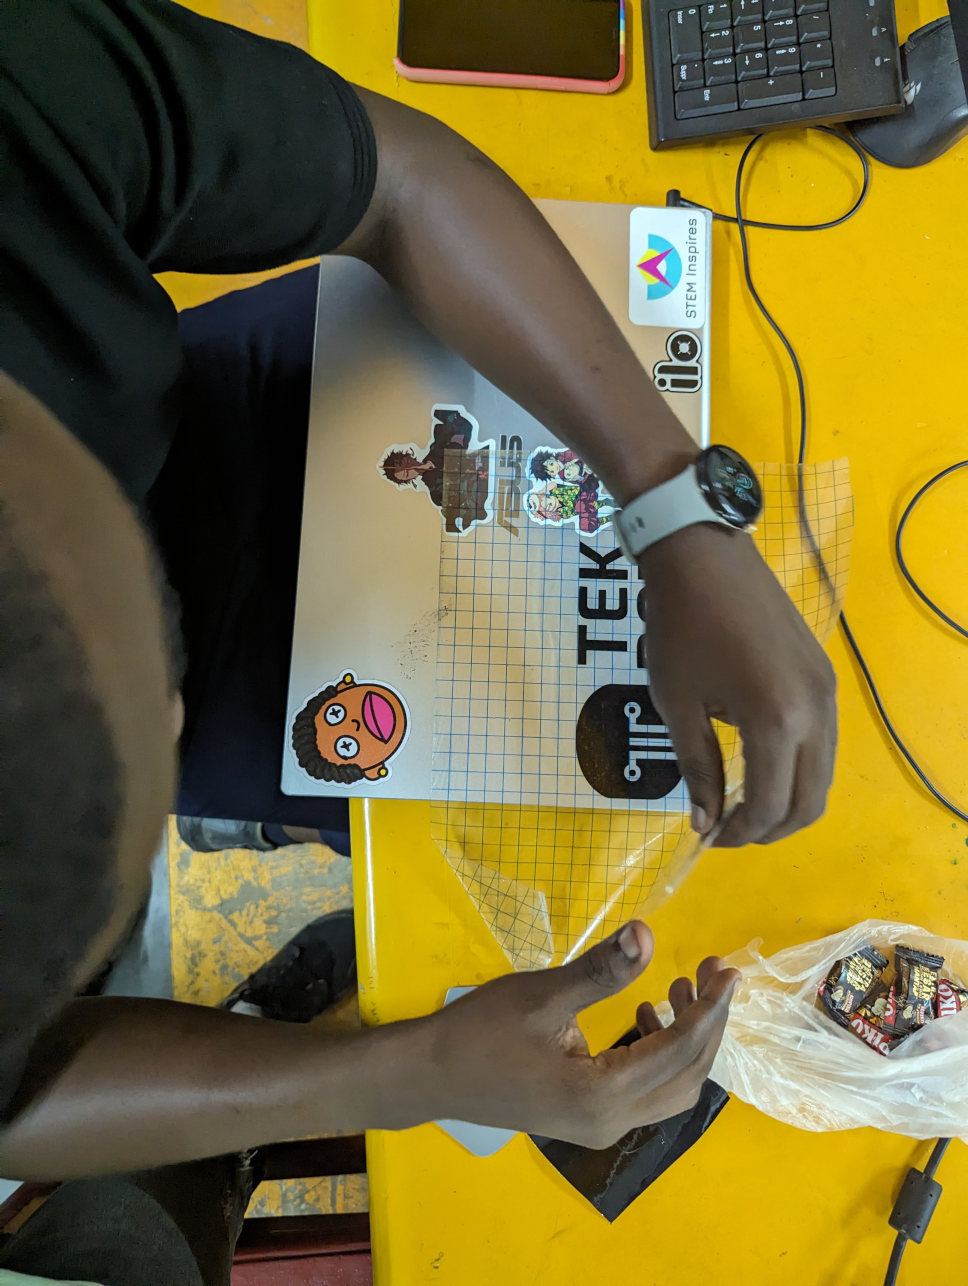
When the cutting is finish there’s two more steps :
-
First : Retire the border from the cut part and just keep the design
-
Second : Apply the design part vinyl on a film to help us paste it on a surface.
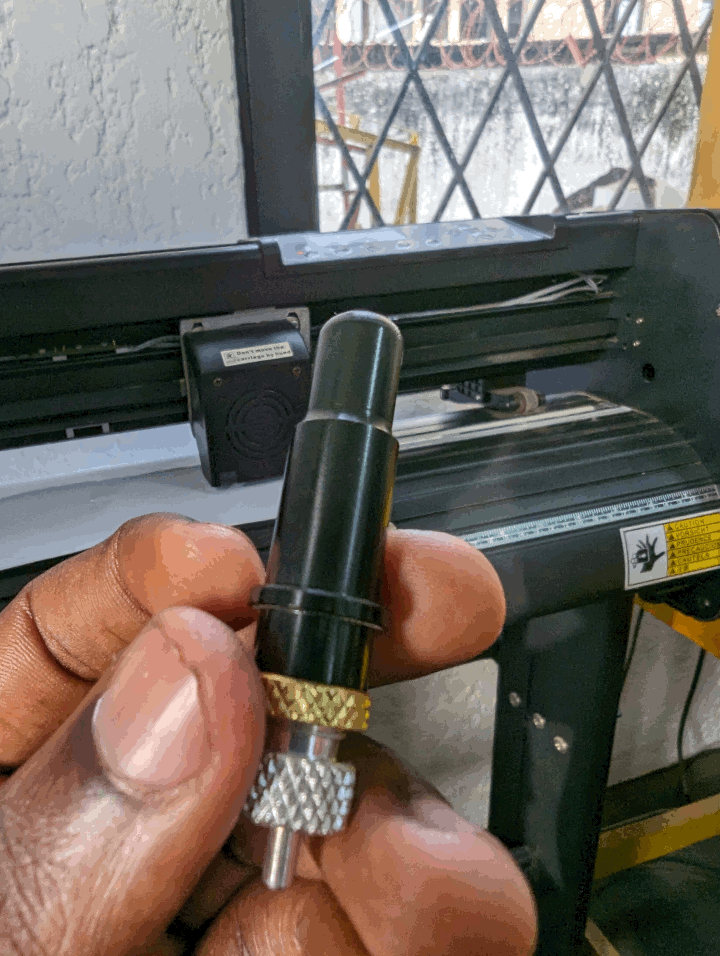
Here’s how look the knife inside the machine.
2. Parametric Design Construction Kit
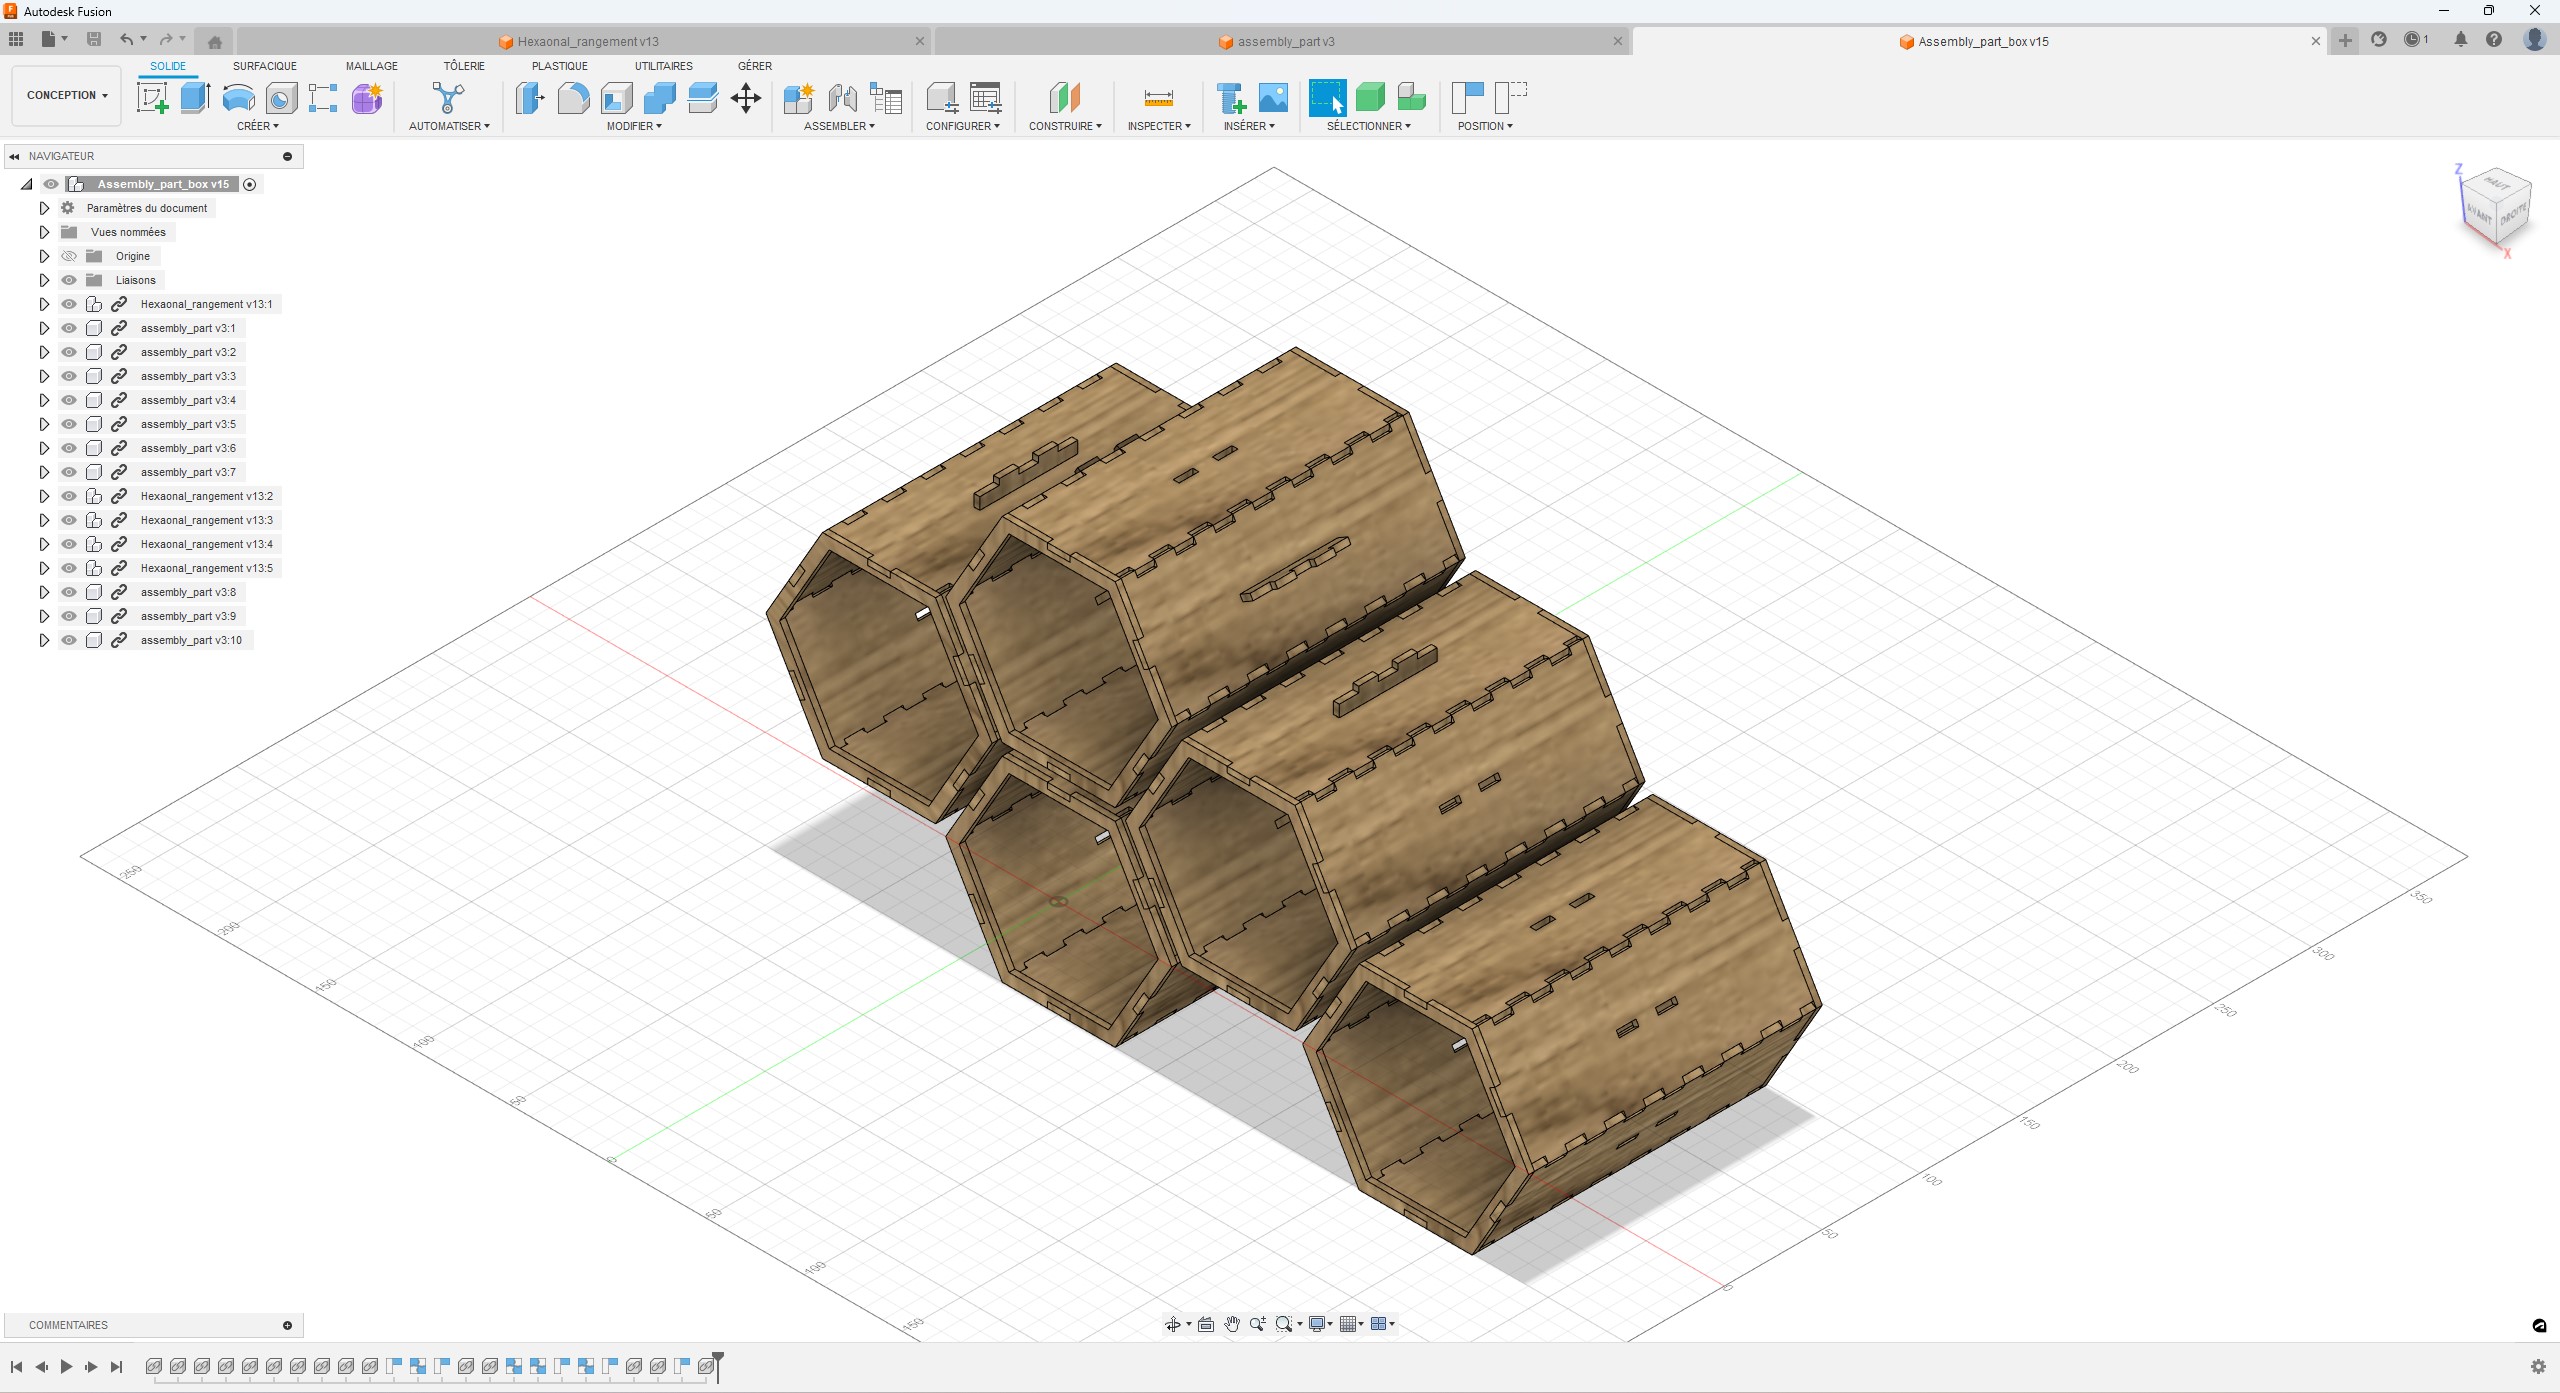
For this assignment i wanted to make a modular storage box kit for our Electronic room here in my LAB because we don’t have some boxes for the storage of small components.
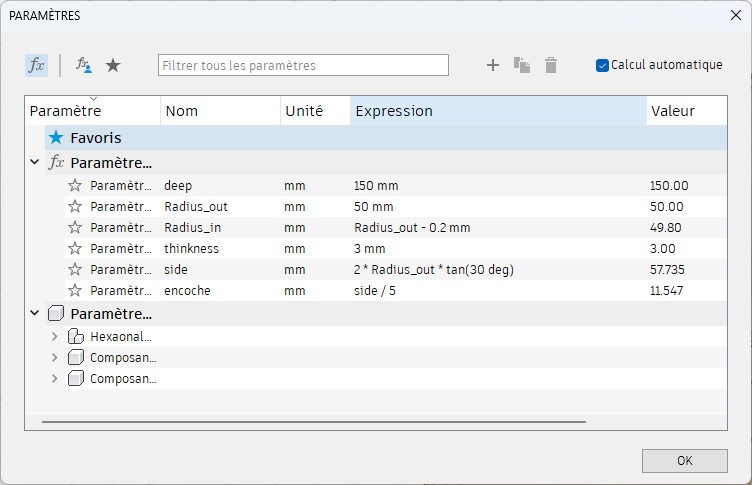
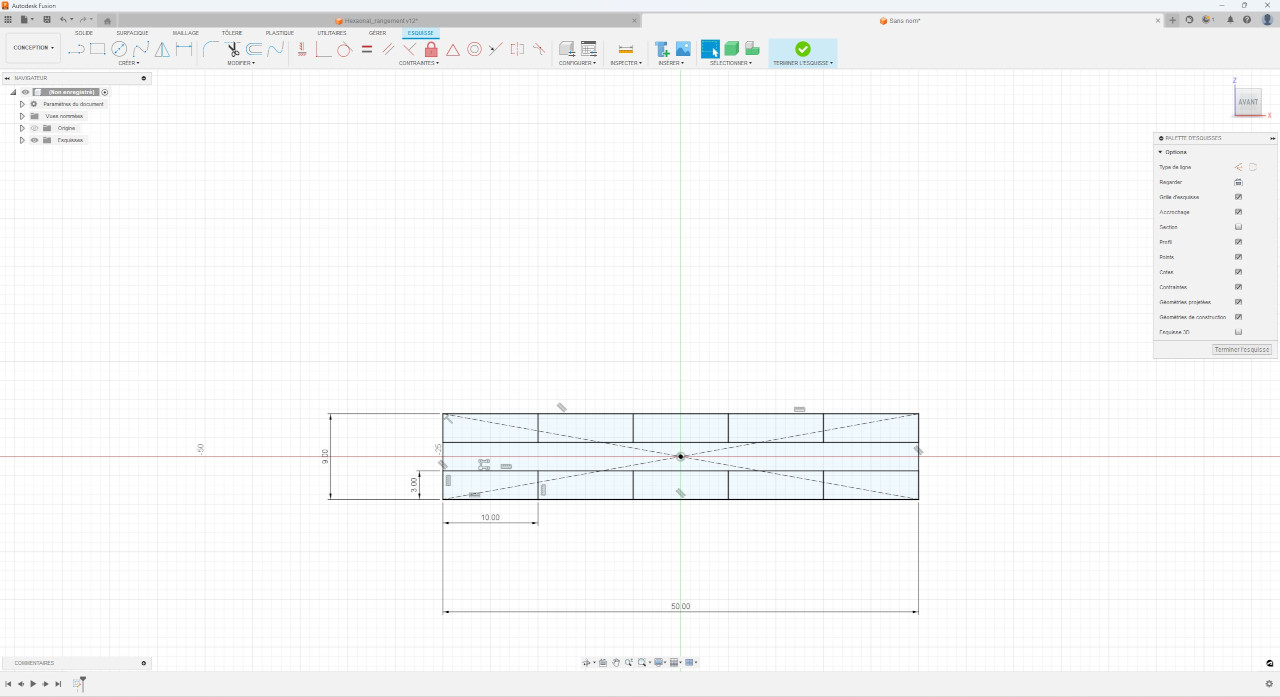
The first thing to do is to define the differents parameters of the kit and after that setting all of them into fusion 360, in the window modify -> modify parameters
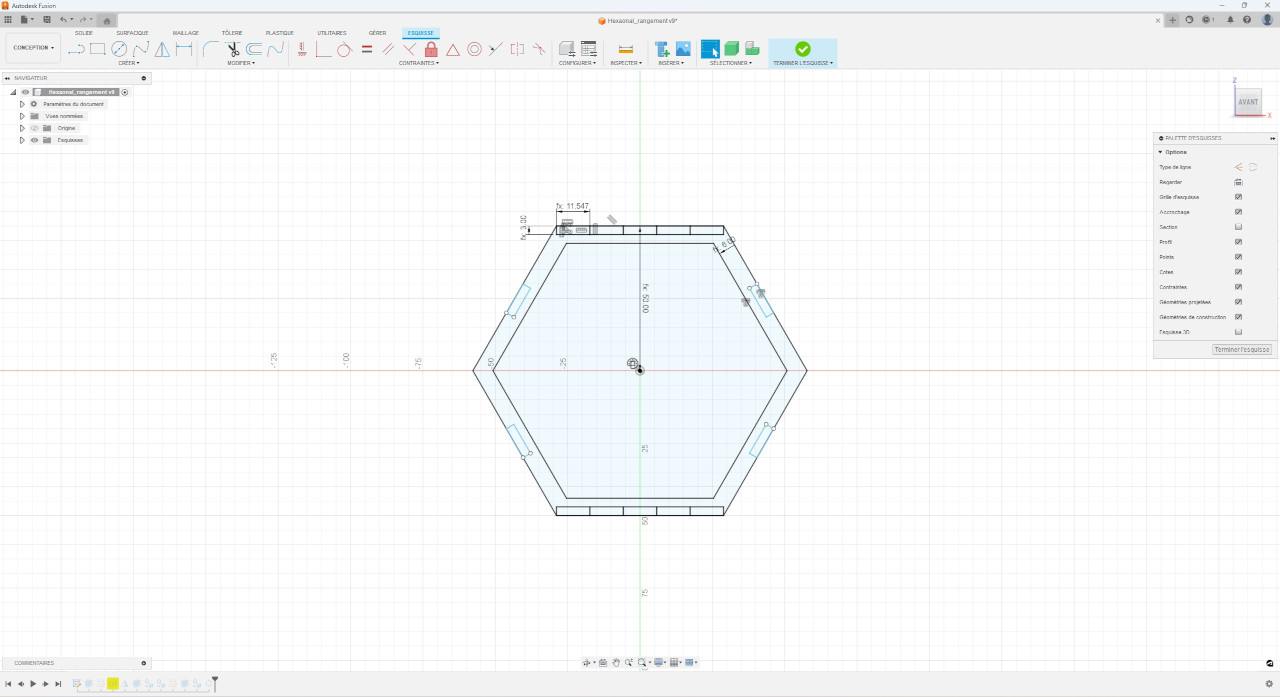
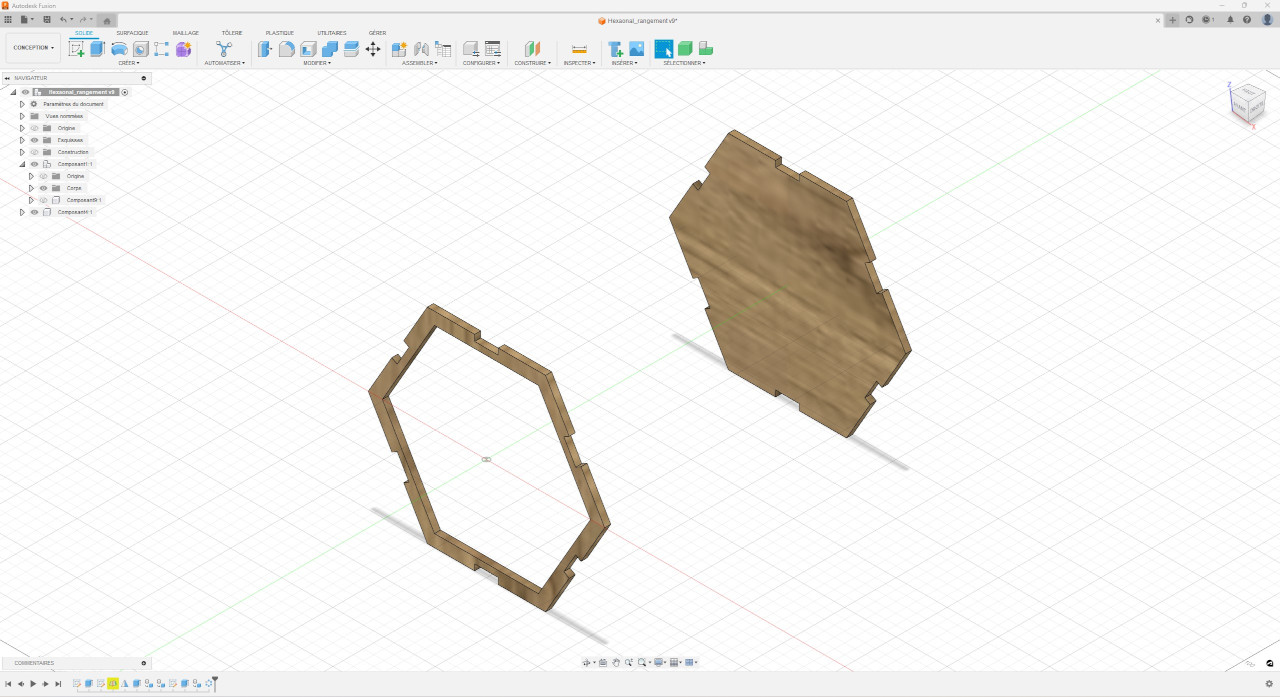
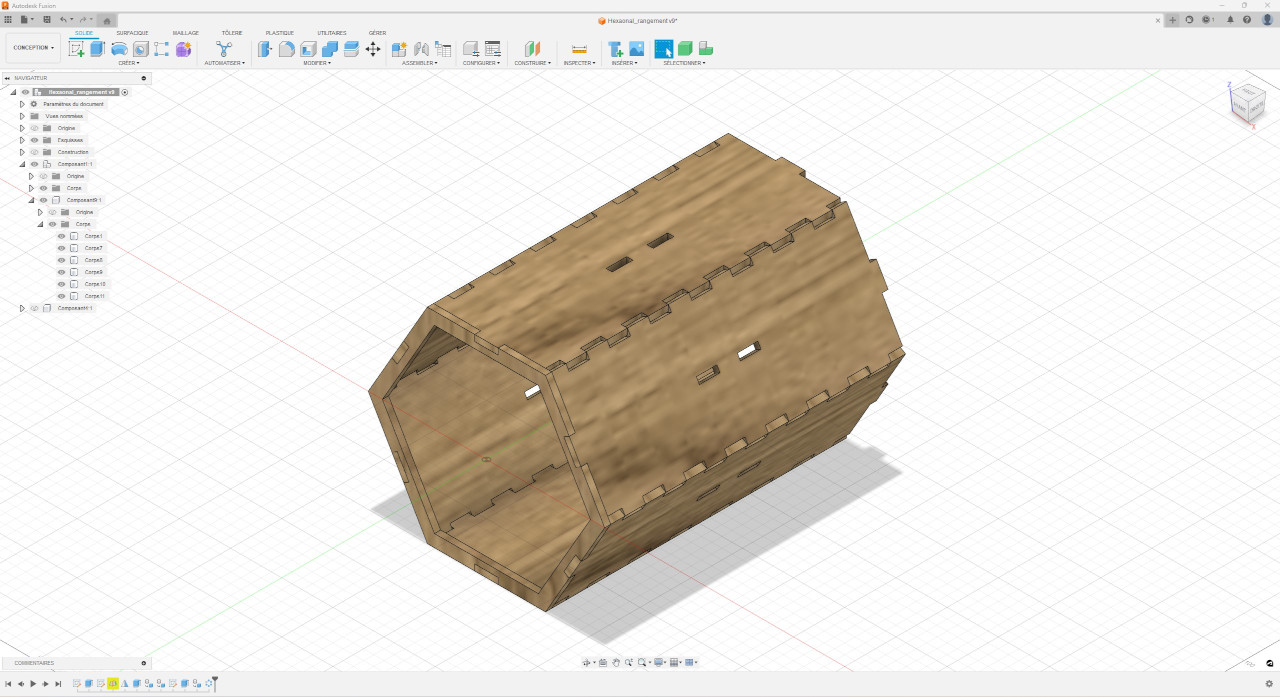
Design the sketch of the box. I choose hexagonal shape because i love it !
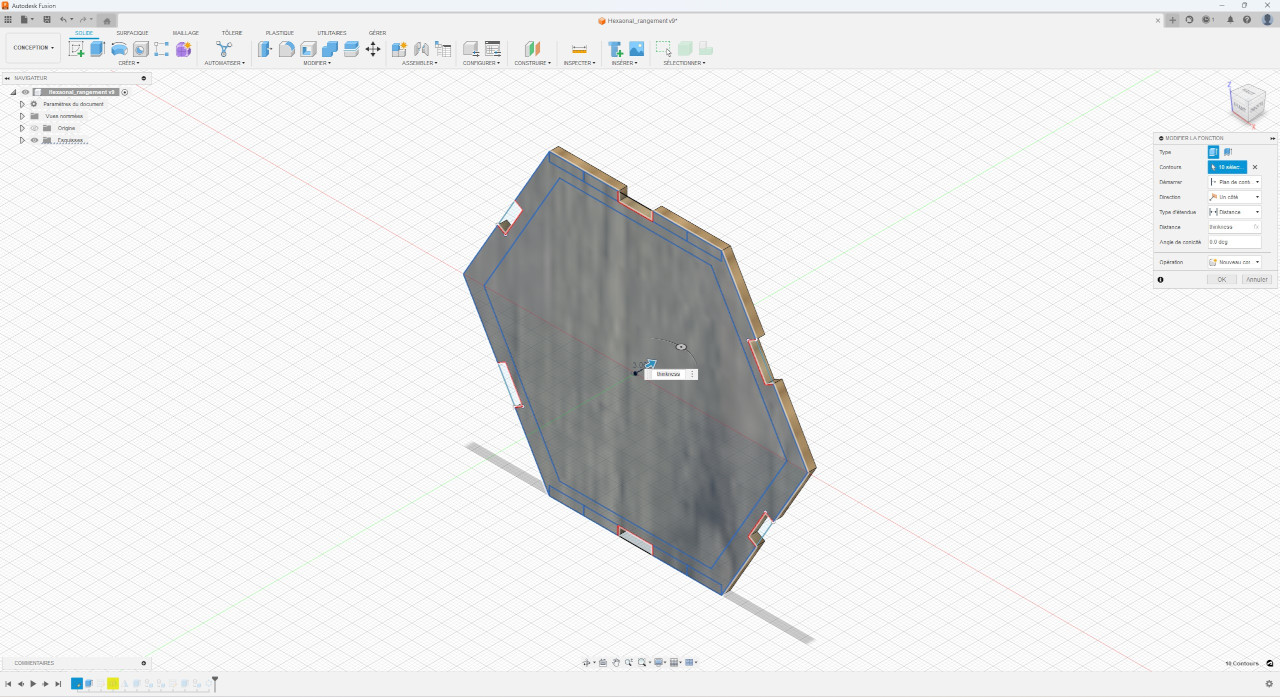
Now we can extrude this shape to the thinkness parameter. This represent the front cover of the box storage
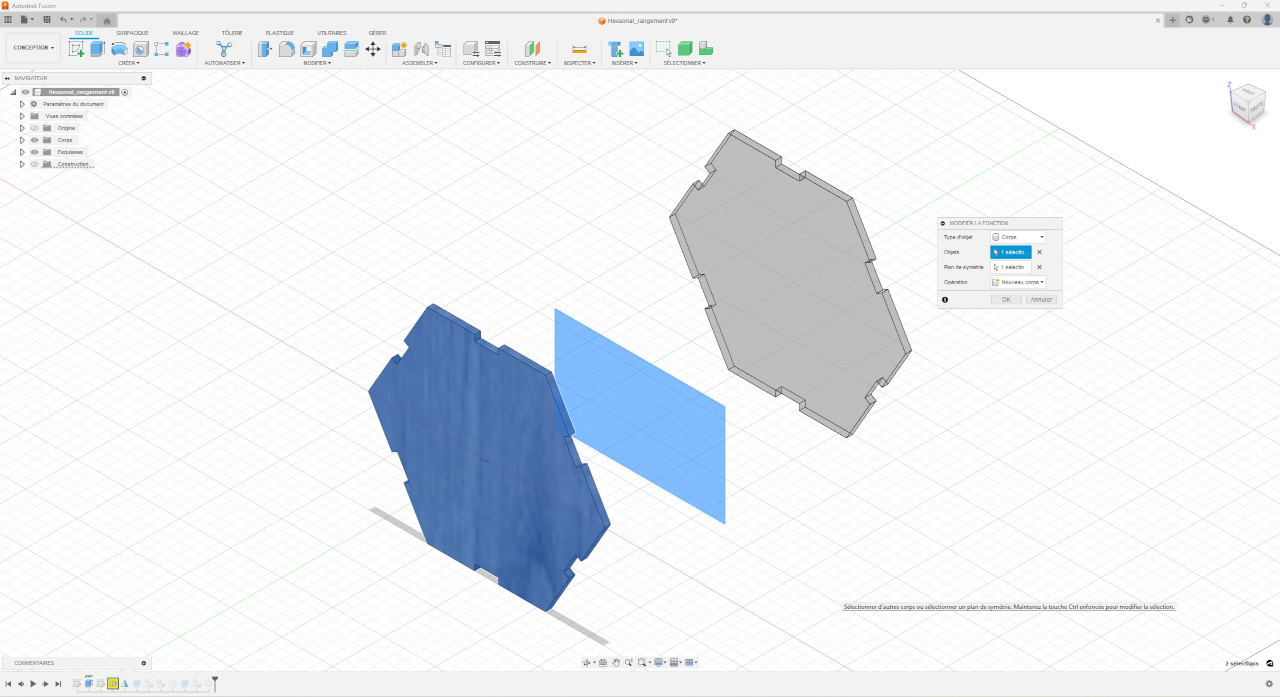
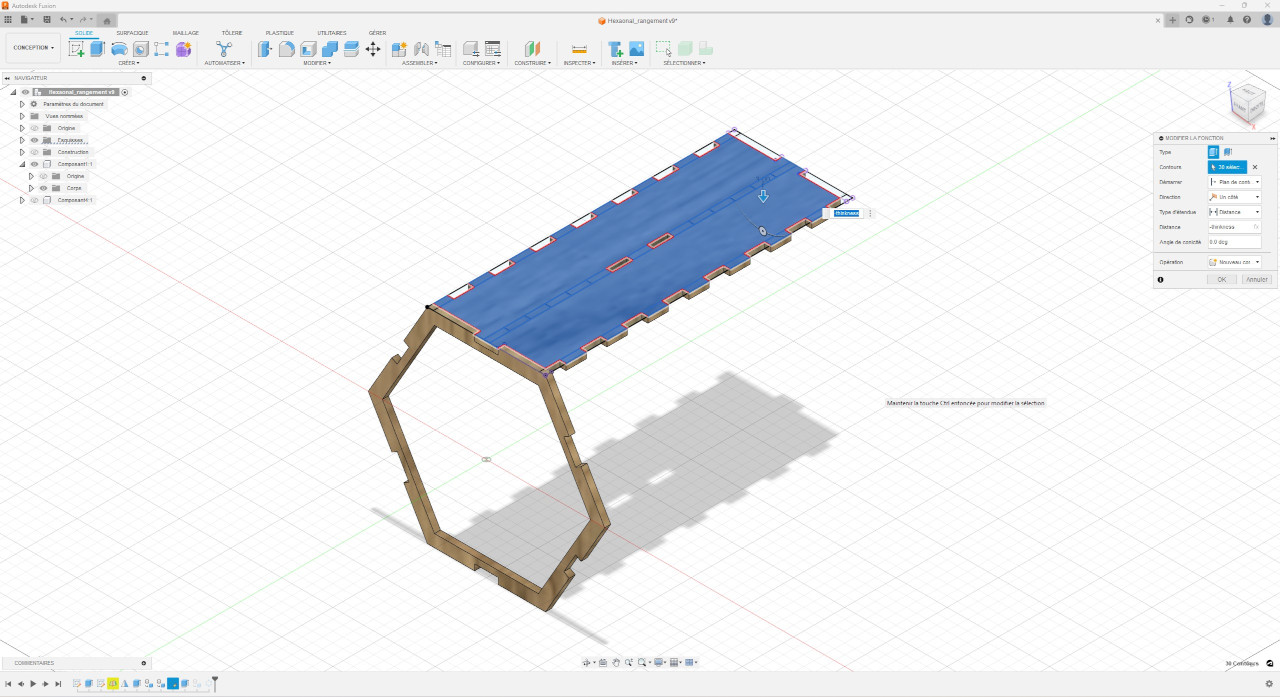
now we create the back cover by using the symetrie operation. Before using the symetrie operation you have to create first a new plan from the front face to the half of the total deep.
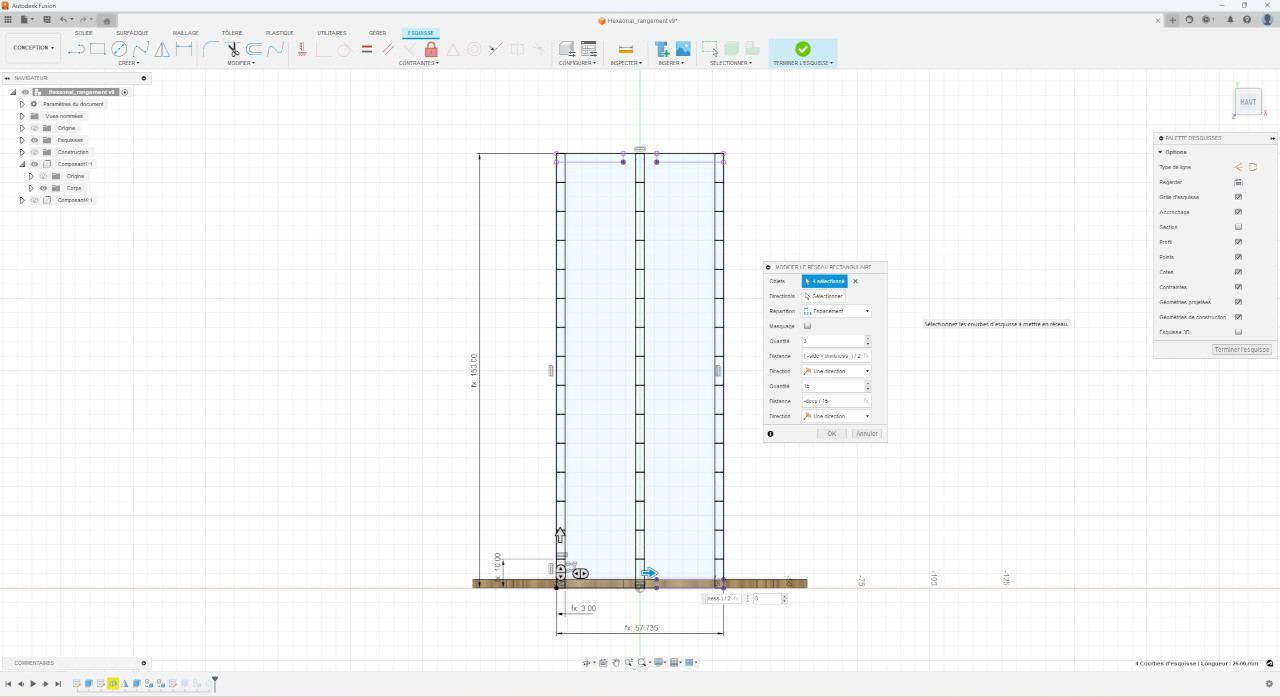
We can now create the cut parts for the side of the box by using rectangular shape and a good use of rectangular pattern.
We made the cut to help us just have one motif and duplicate it for the 5 others side by using circular pattern.
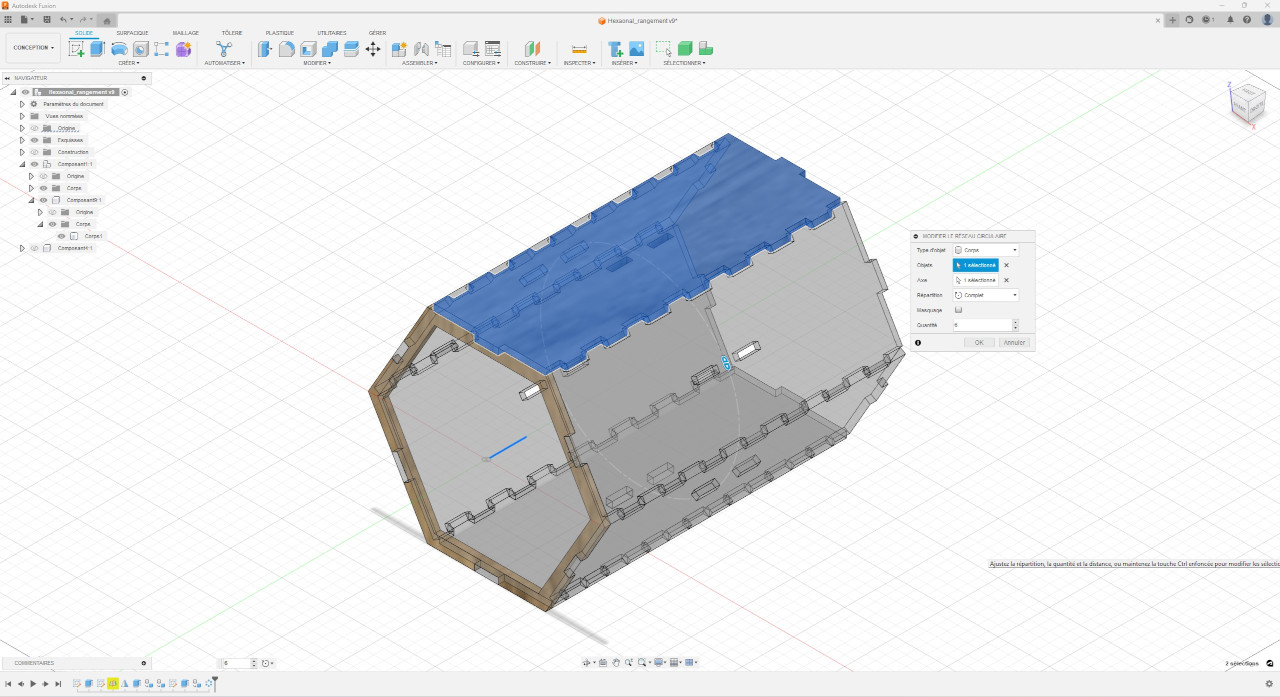
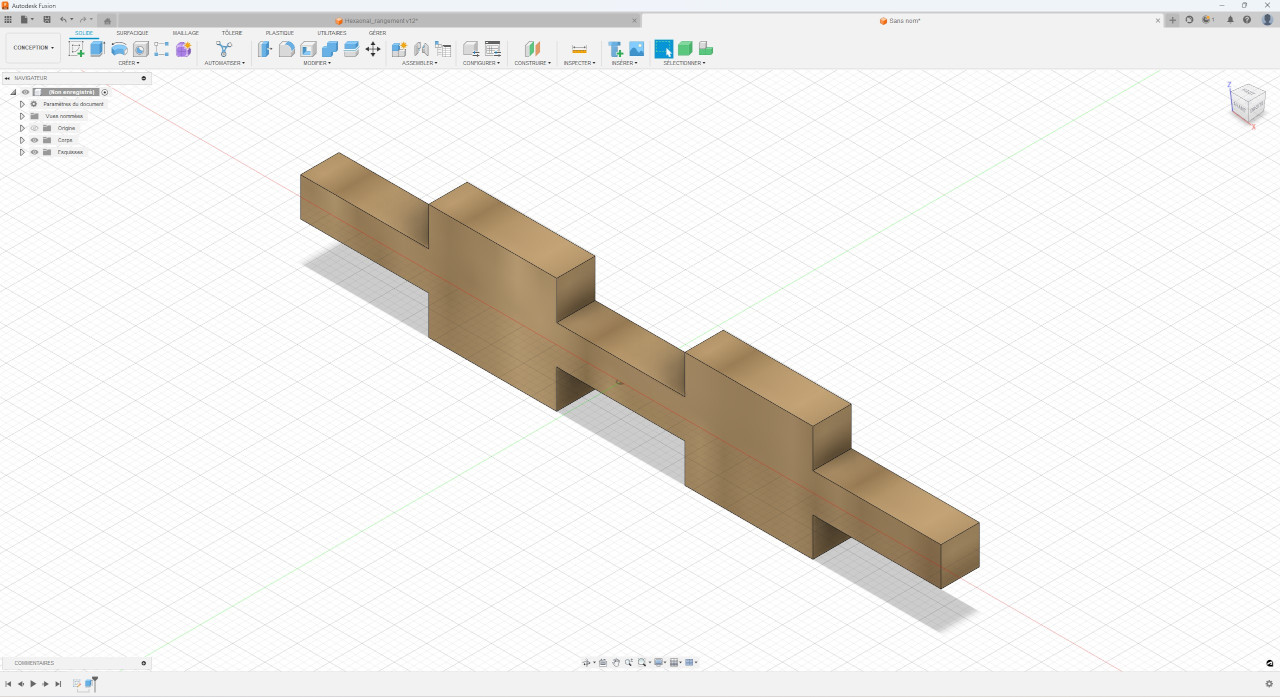
I also design another part to make connection between many box cut to make them modular.
Make all the parts like components and open them in a new fusion file to do the assembly for the animation.
Assembly animation video
Export dxf files from Fusion 360
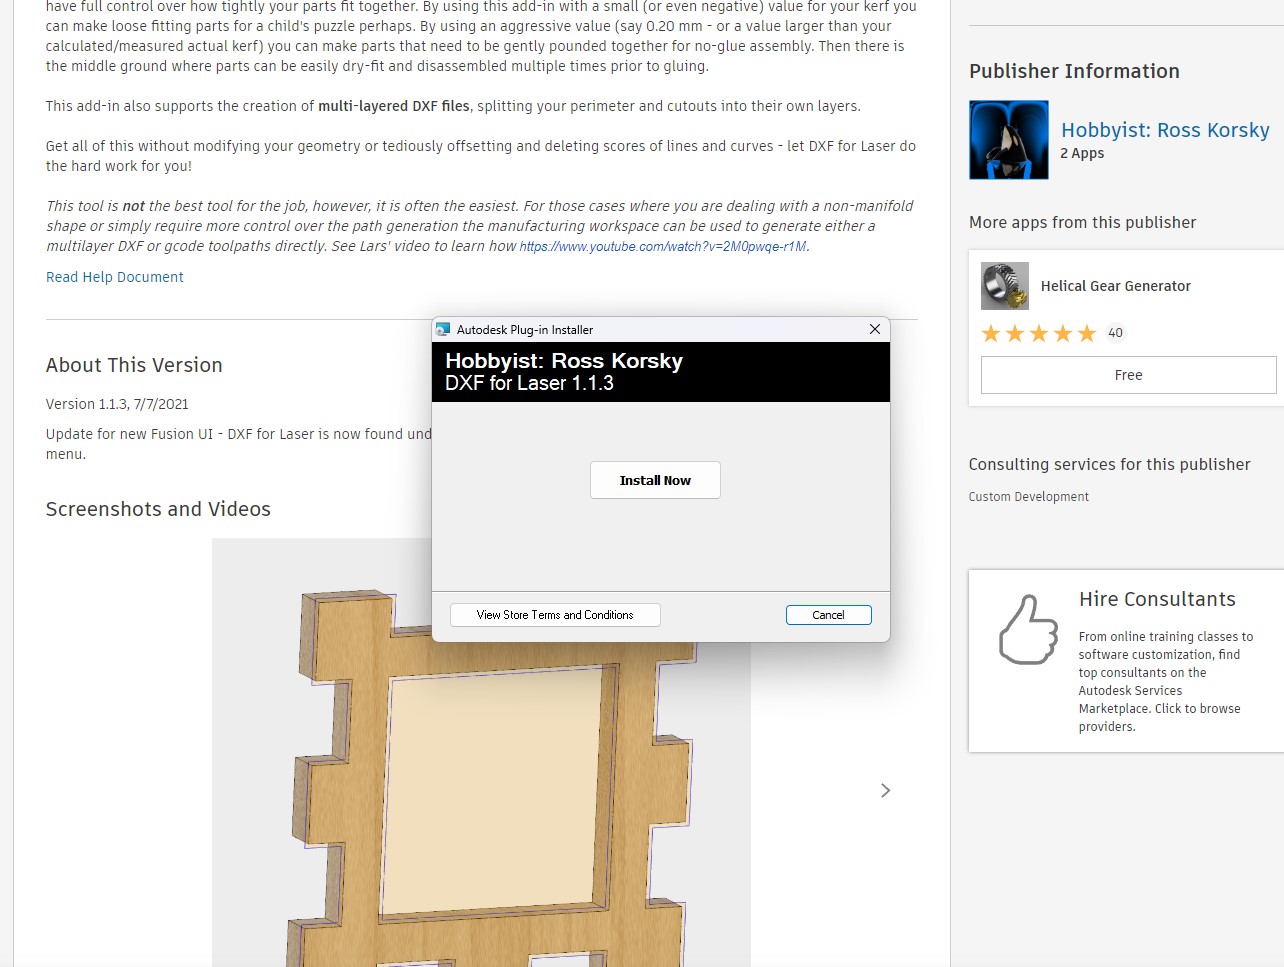
First of all to do this we have to install the plugins/script dxf for laser cut. Here is the Link to download it.
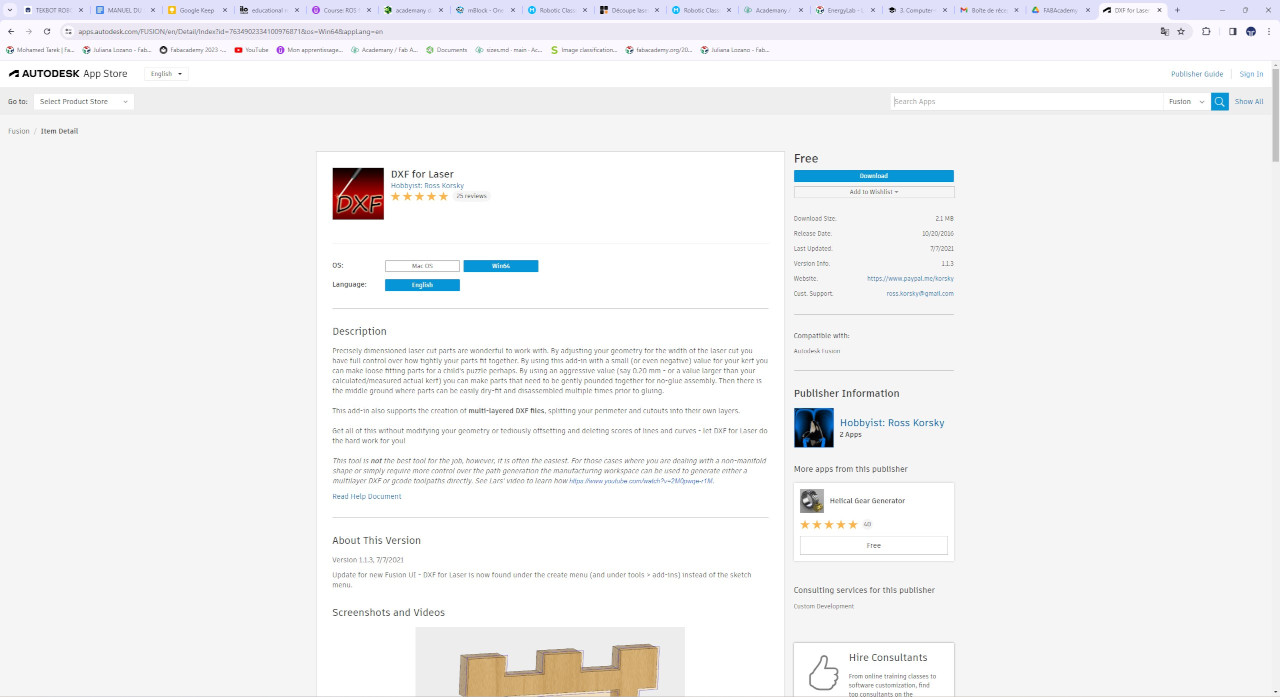
For the installation just launch the executable and follow steps
After this we can now go back to fusion 360 and go to : utilities -> ADD-INS ->Scripts and adins -> Addins -> DXF4Laser and the add it.
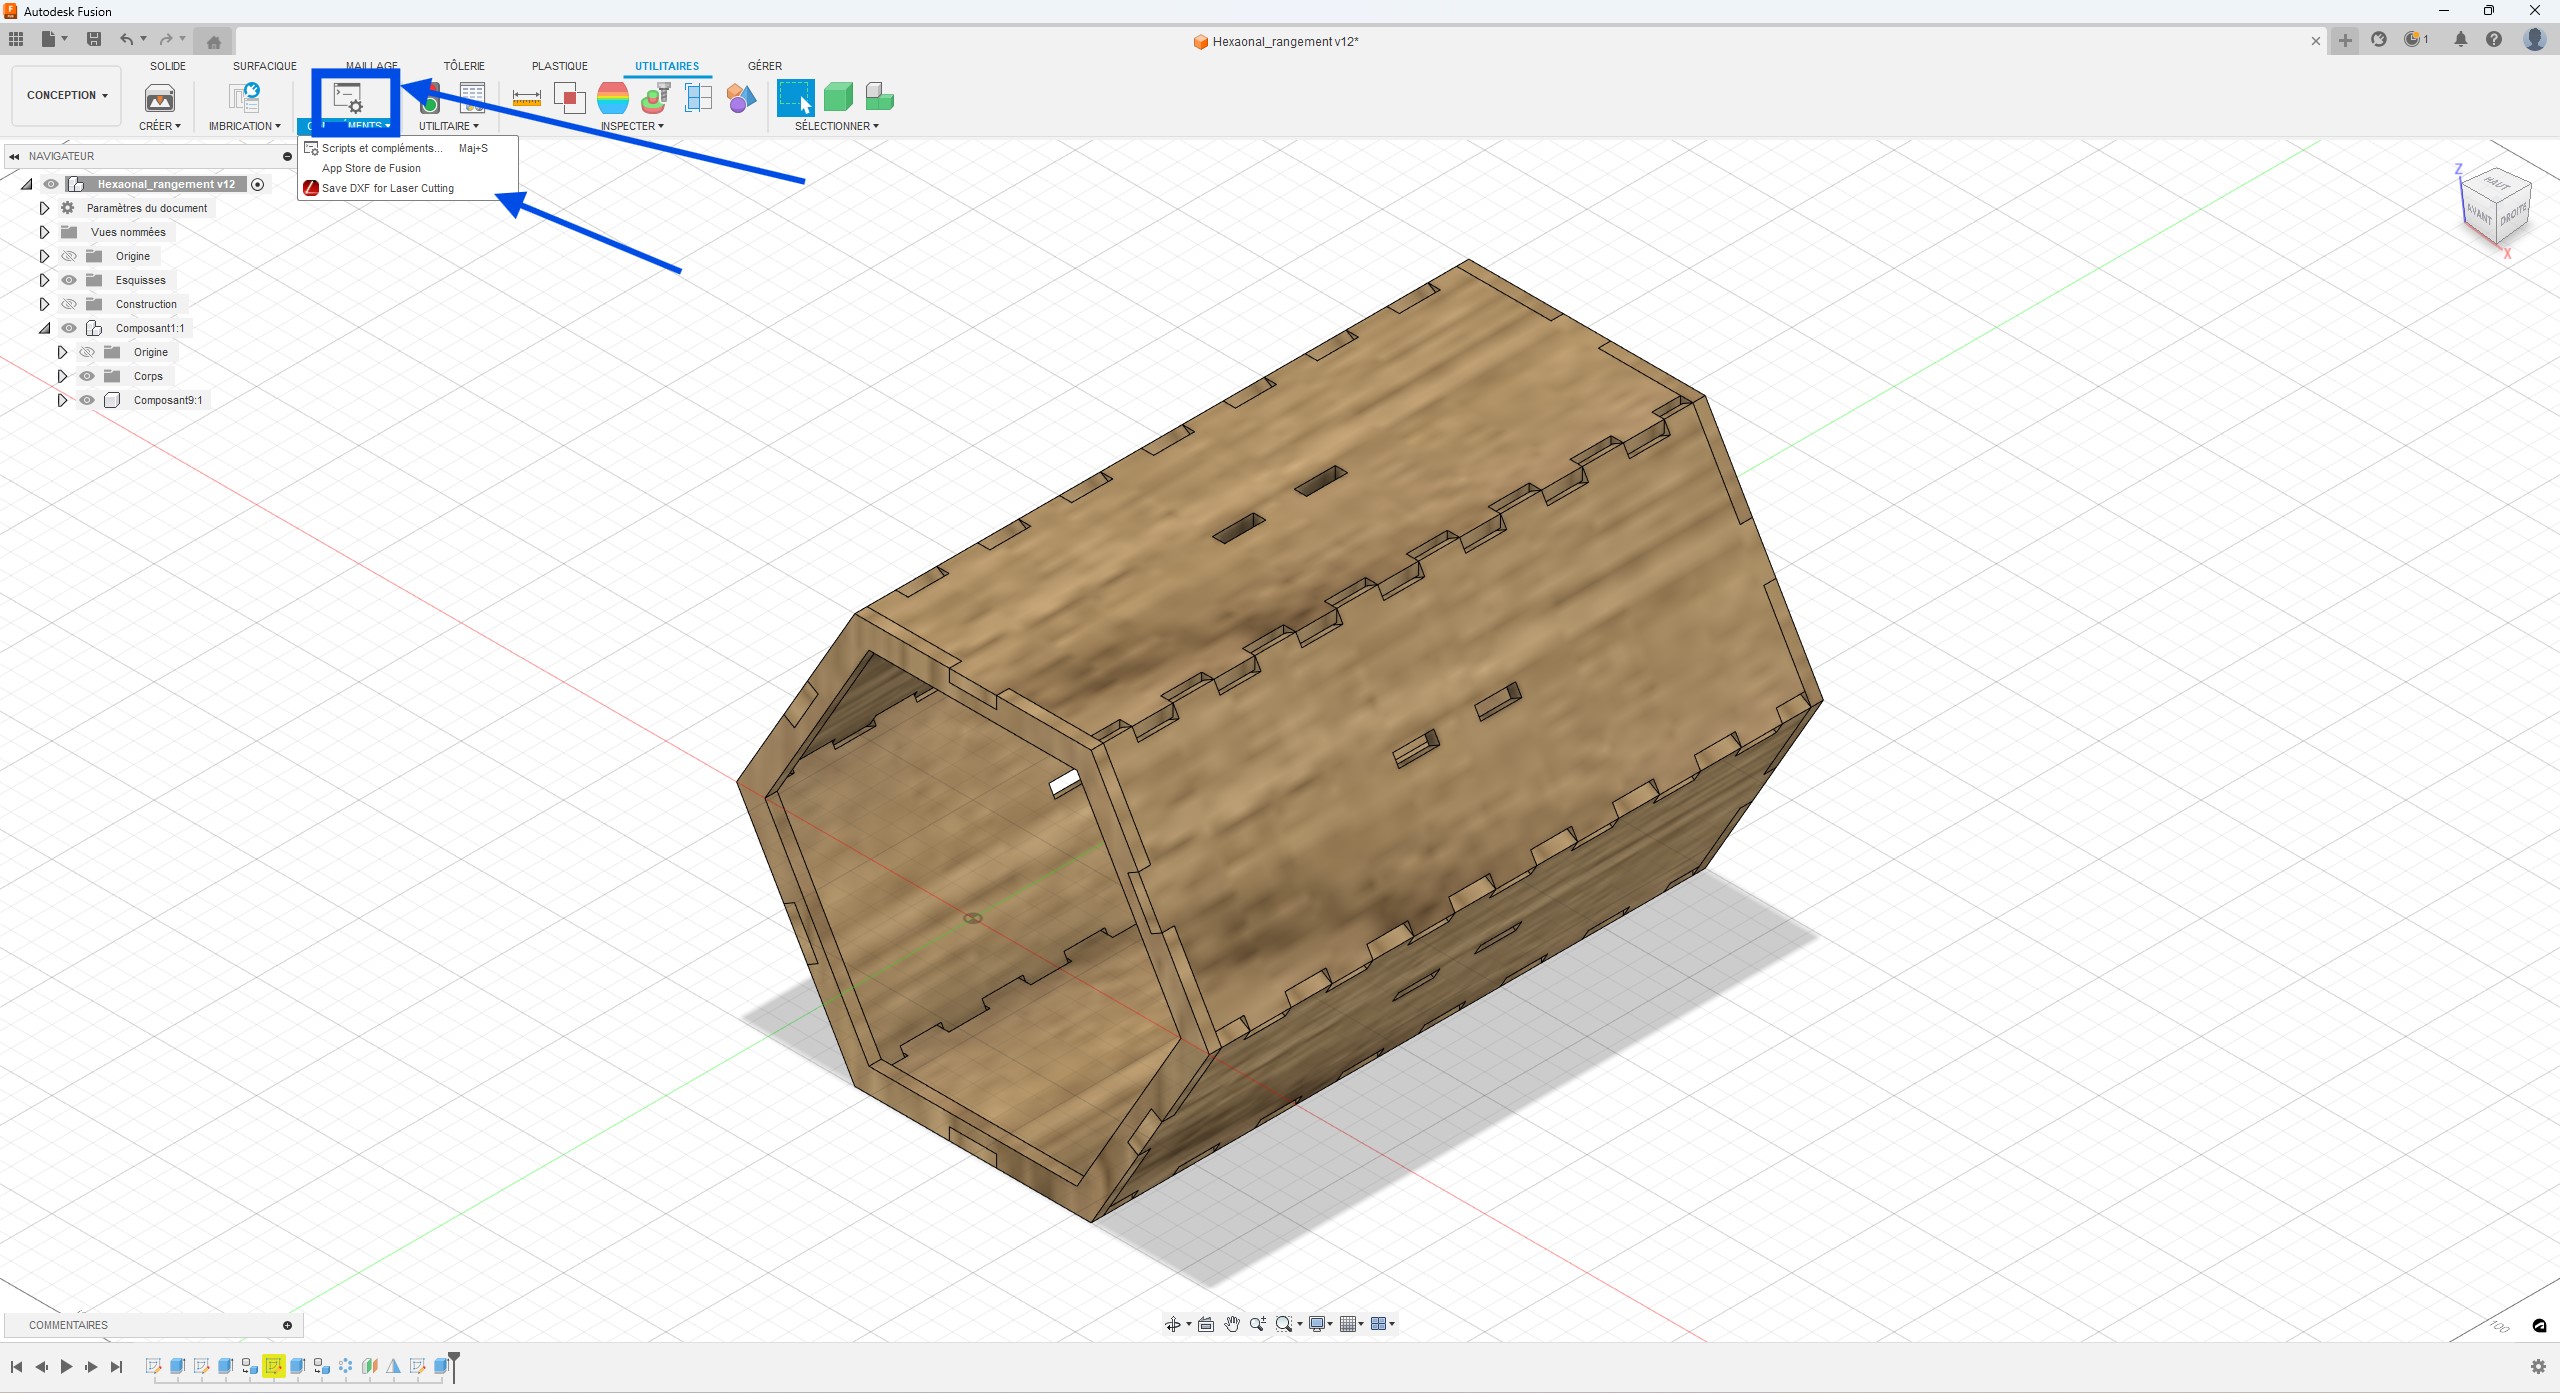
To use it is very simple. Go to Create -> Save DXF fo laser cut and then selet the face you want to export set the kerf to 0 and now you can export.

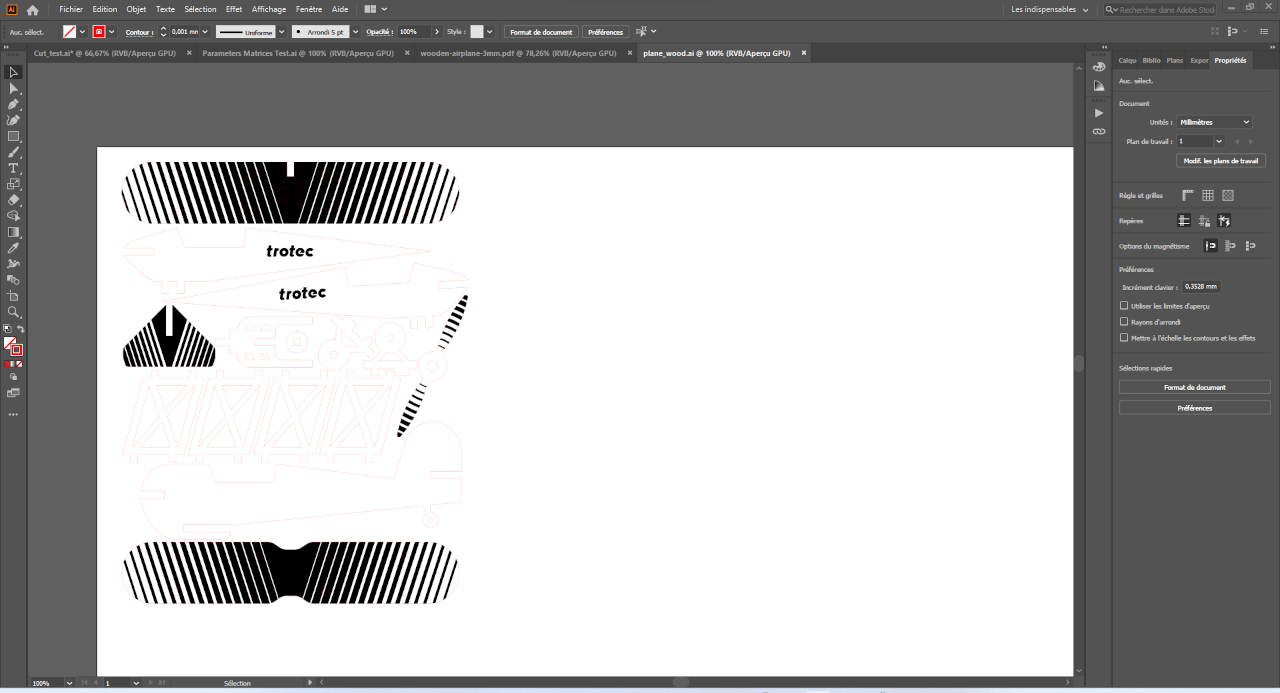
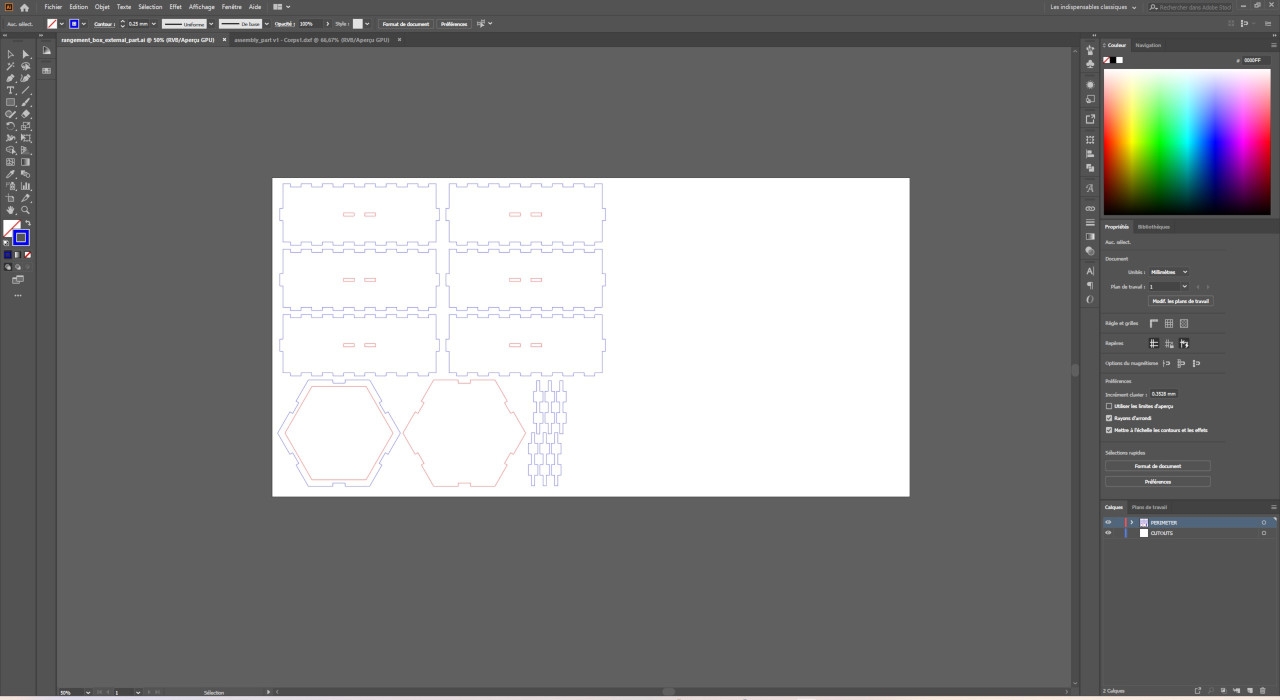
And open it with illustrator to the original size and prepare you differents Job.
3. Laser Cut
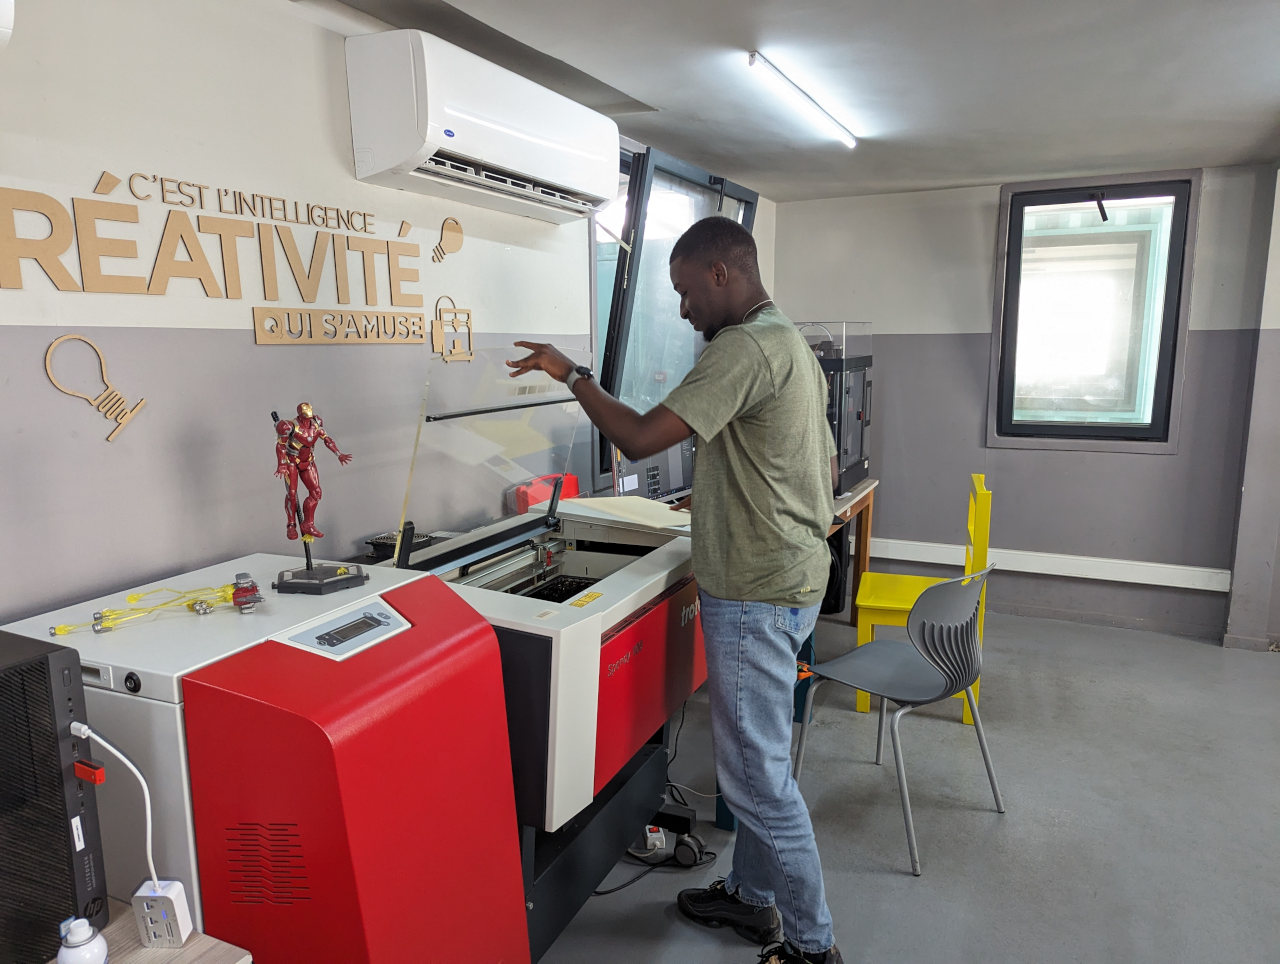
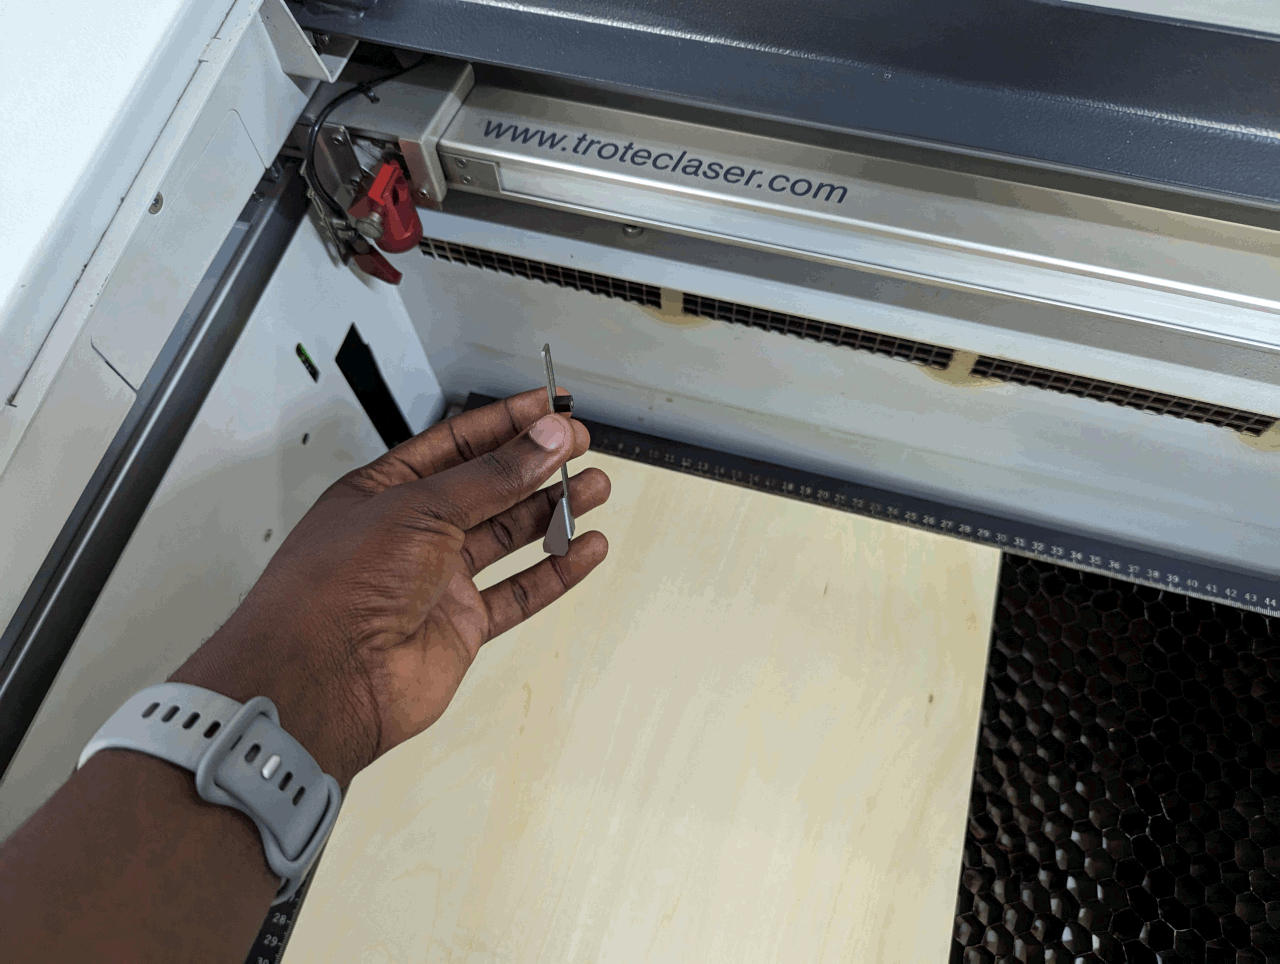
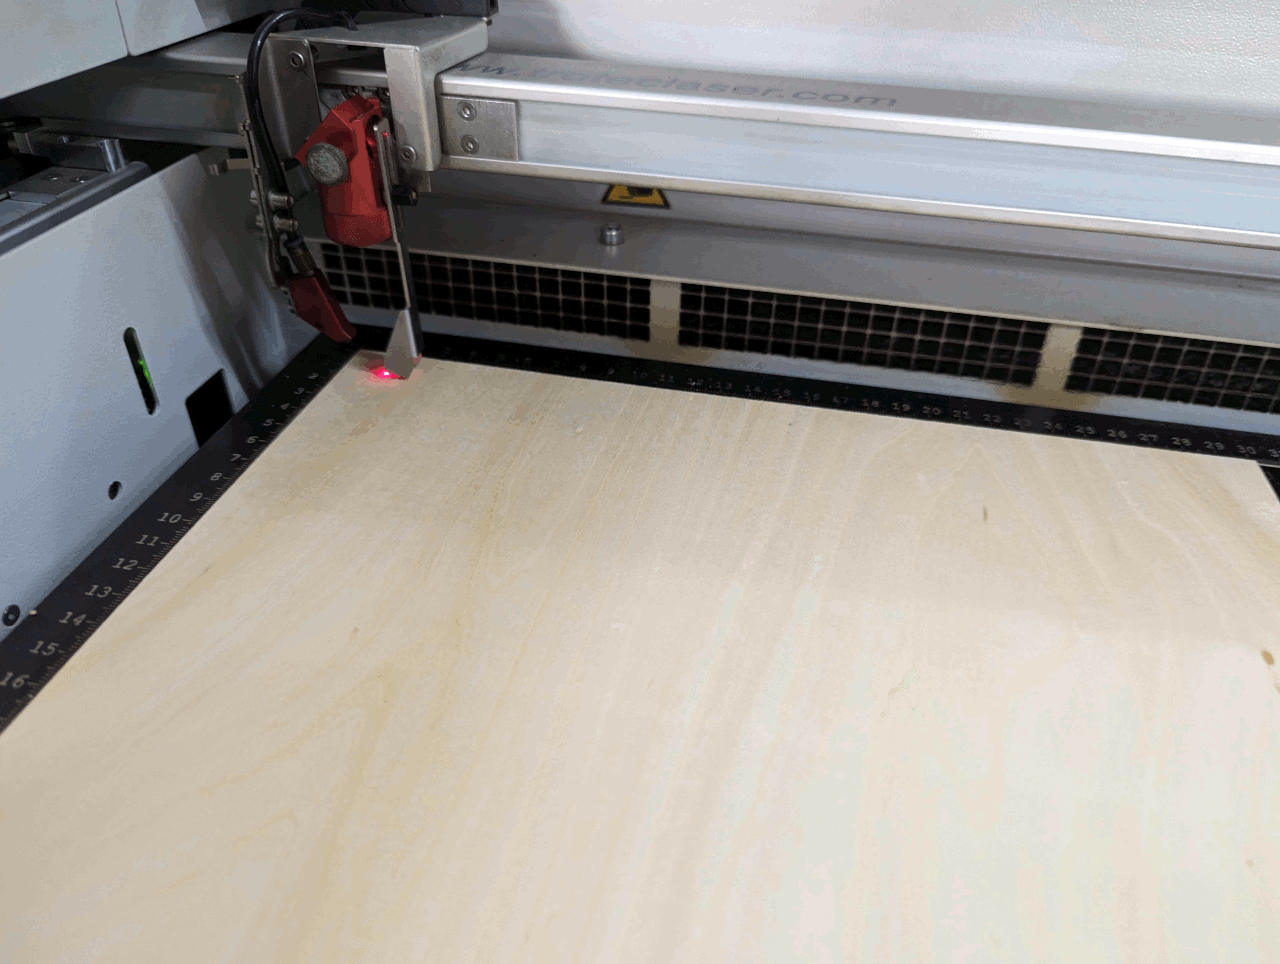
First step calibrating the distance between the laser and the materail.
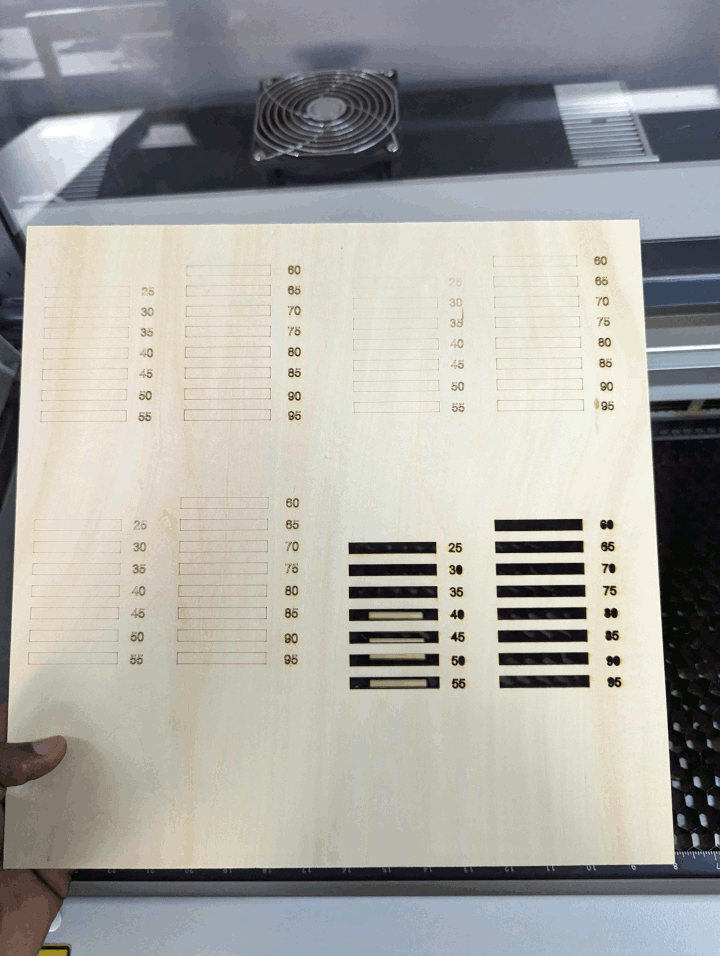
Make some test to find the good parameters for the marials i’m using
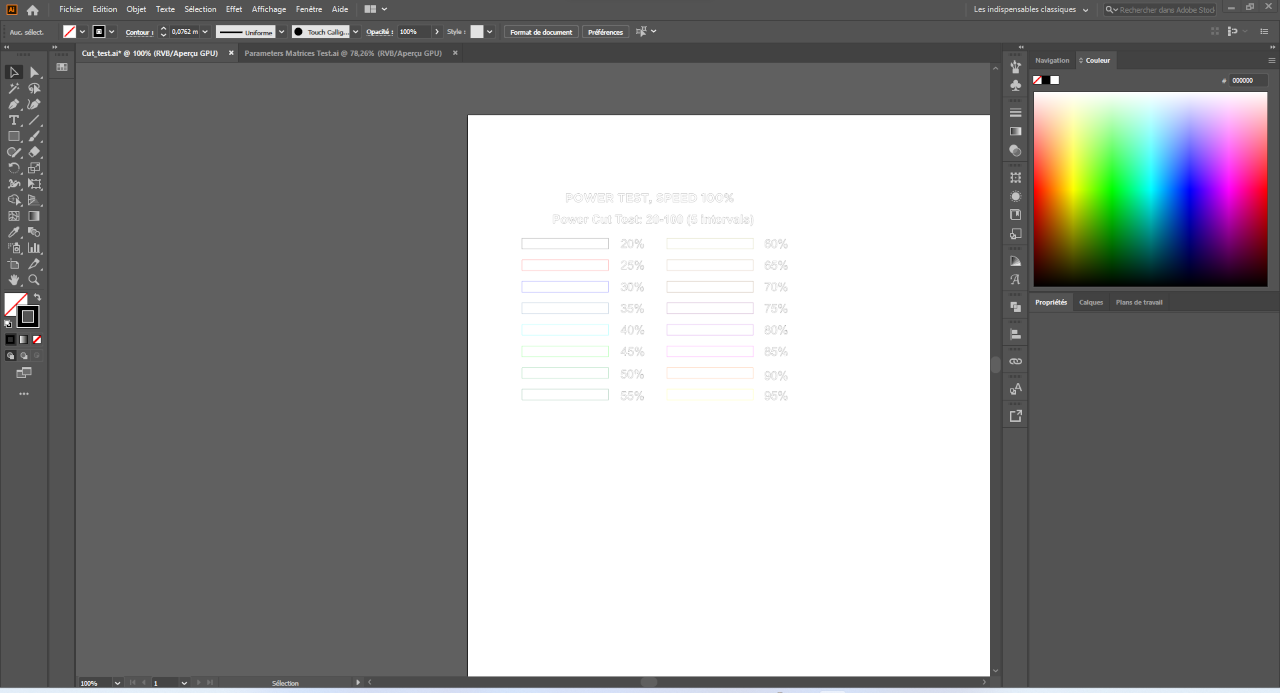
Kerf test
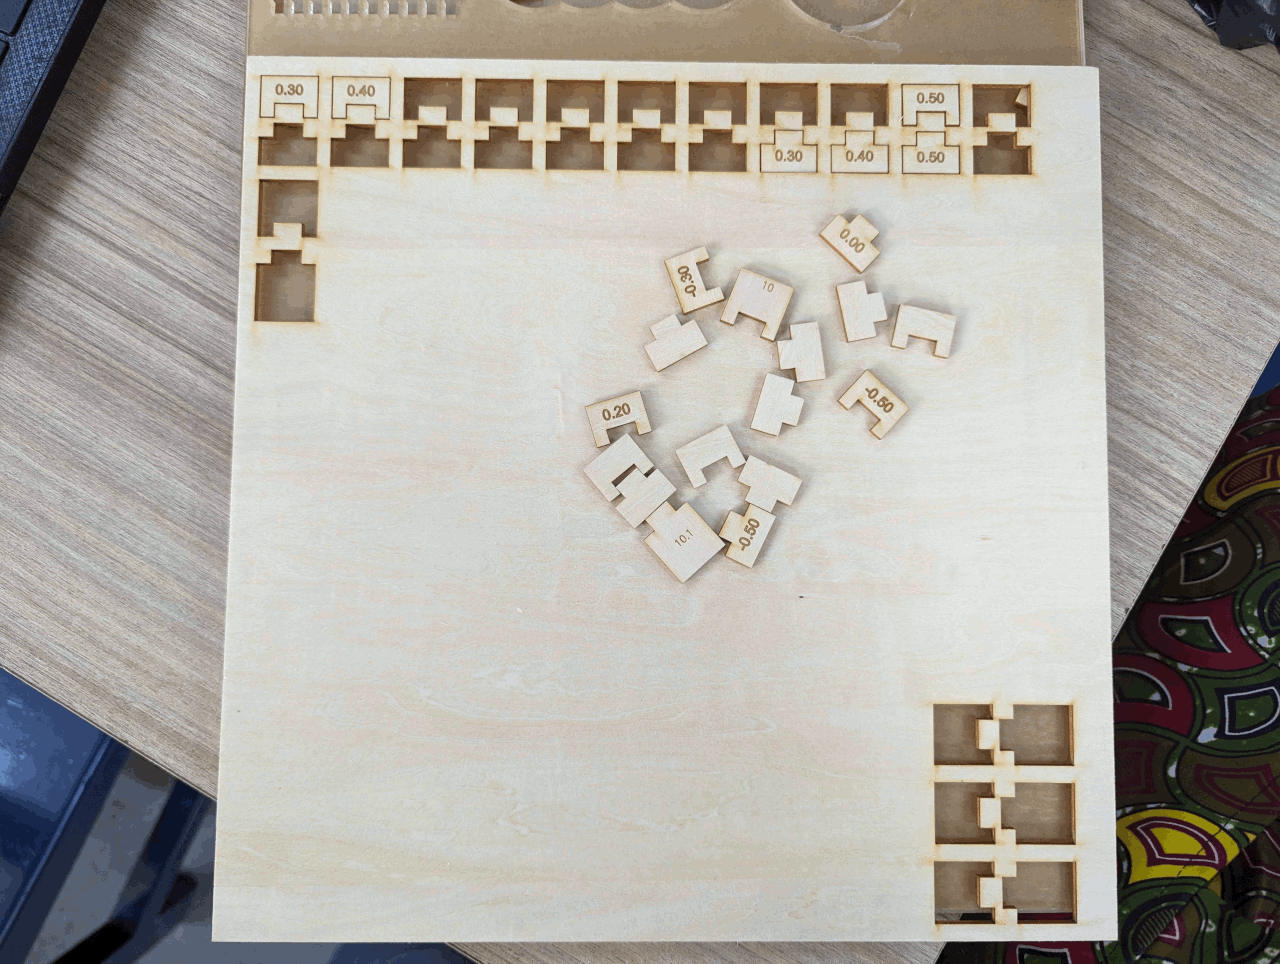
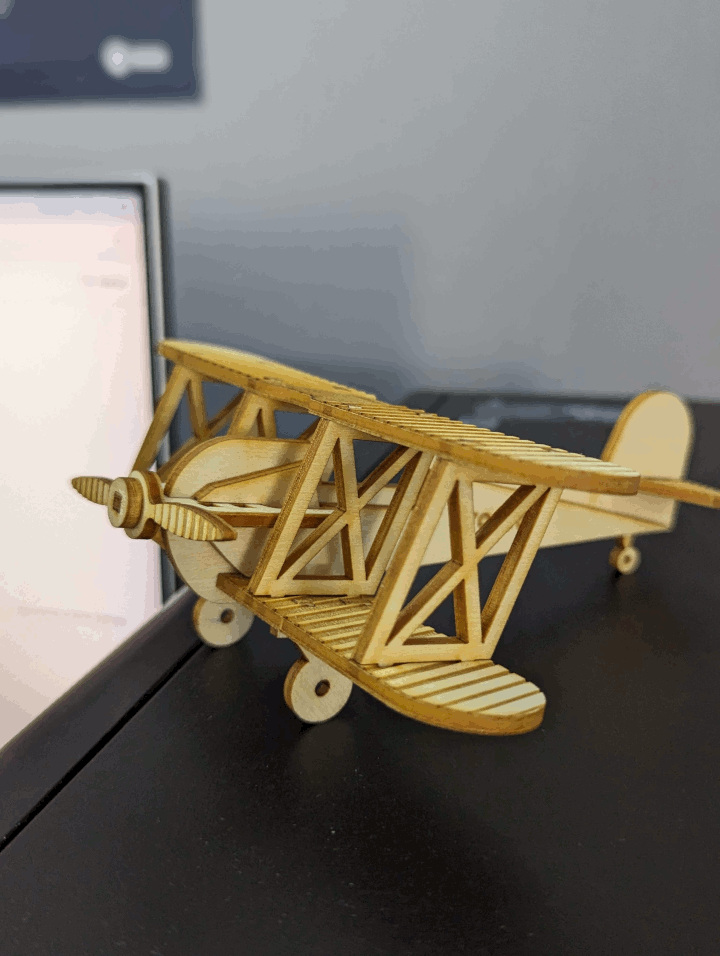
Results !!!
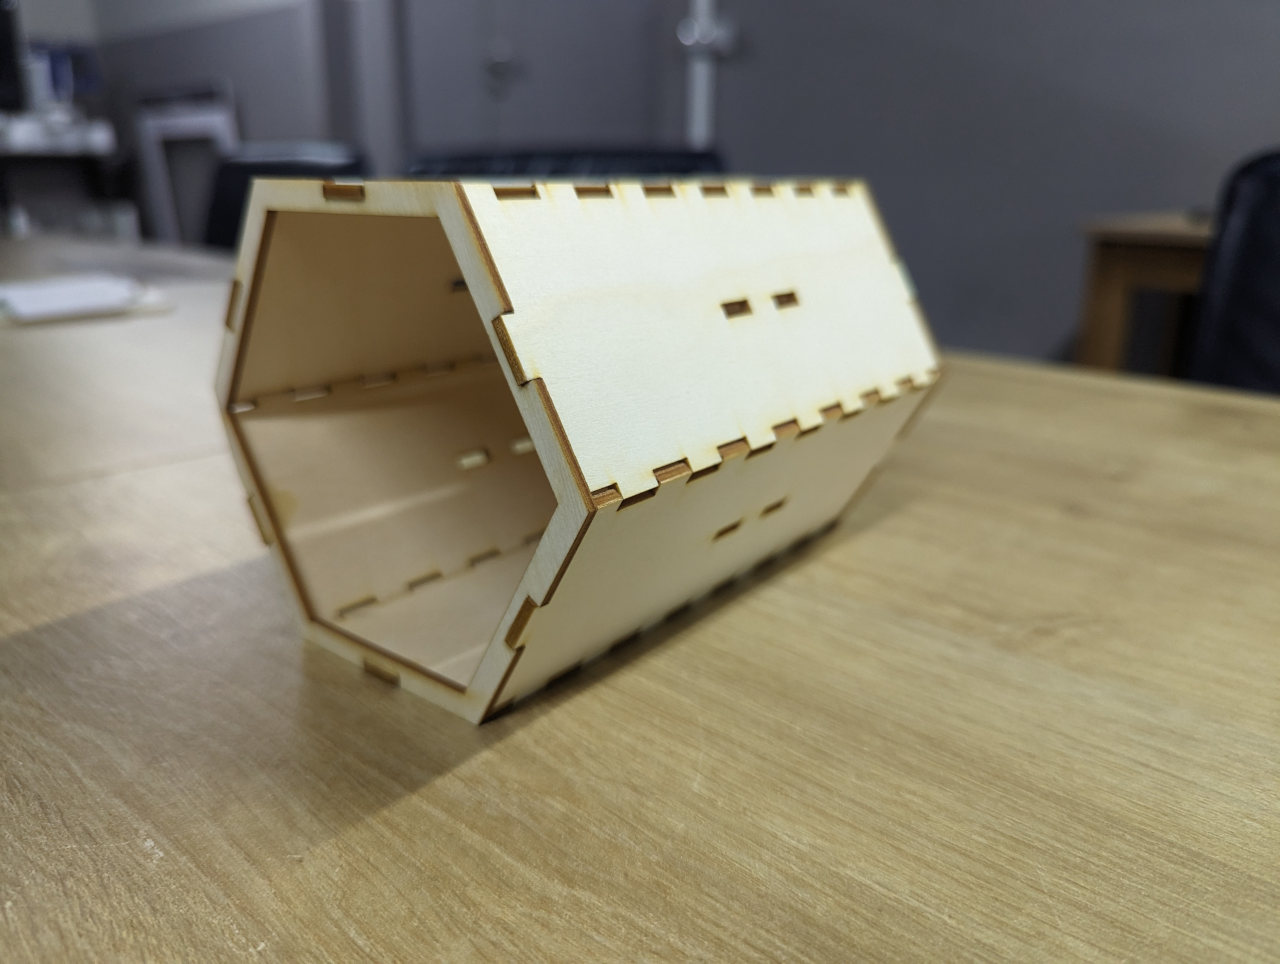
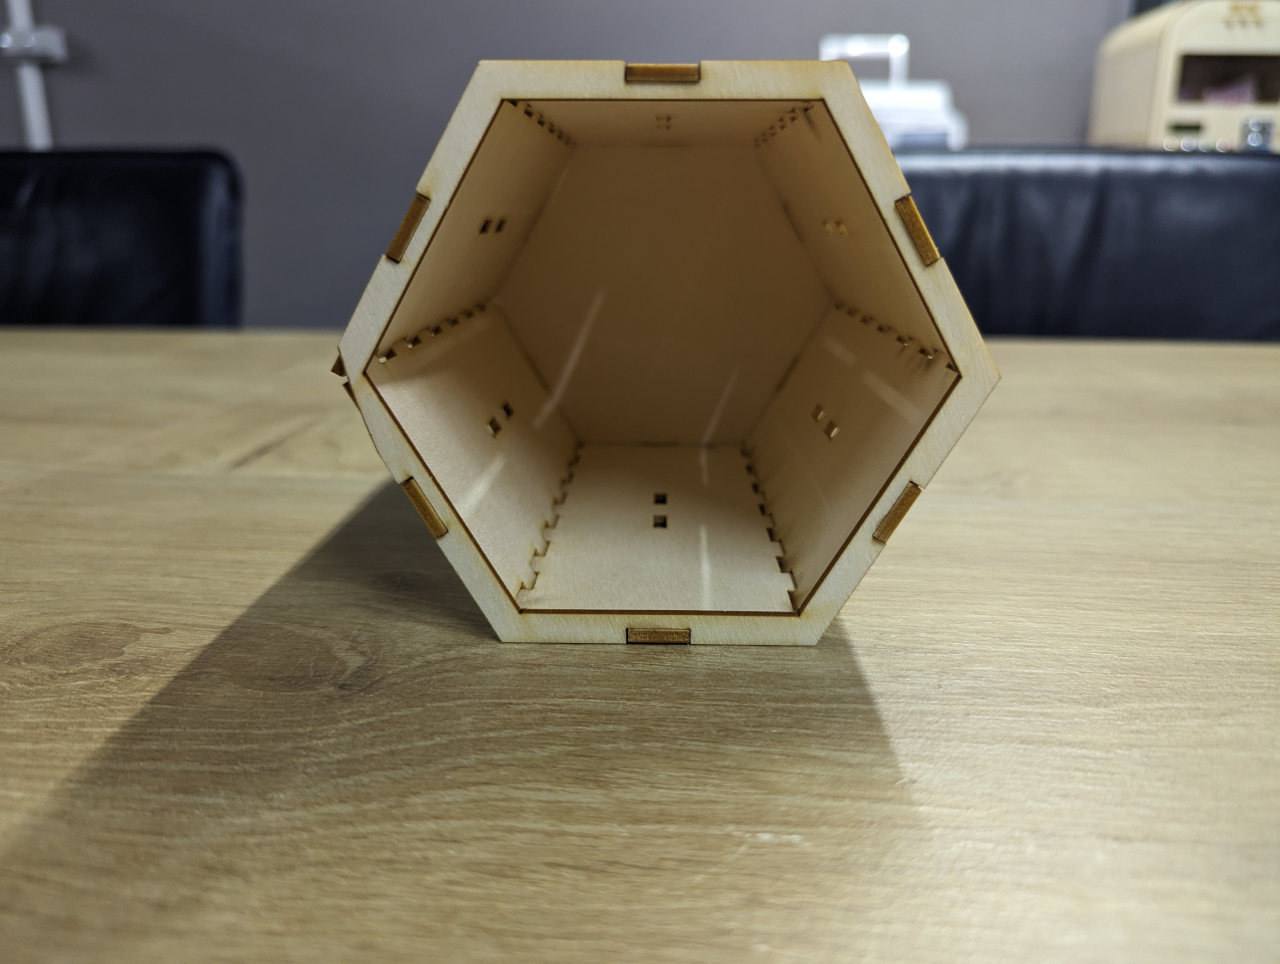
Some Laser kit Test with good parameters