Group assignment:
Compare as many tool options as possible.
Document your work on the group work page and reflect on your individual page what you learned.
Individual assignments
Linked to the group assignment page.
Documented your process.
Explained the UI that you made and how you did it.
Explained how your application communicates with your embedded board.
Explained any problems you encountered and how you fixed them.
Included original source code (or a screenshot of the app code if that's not possible).
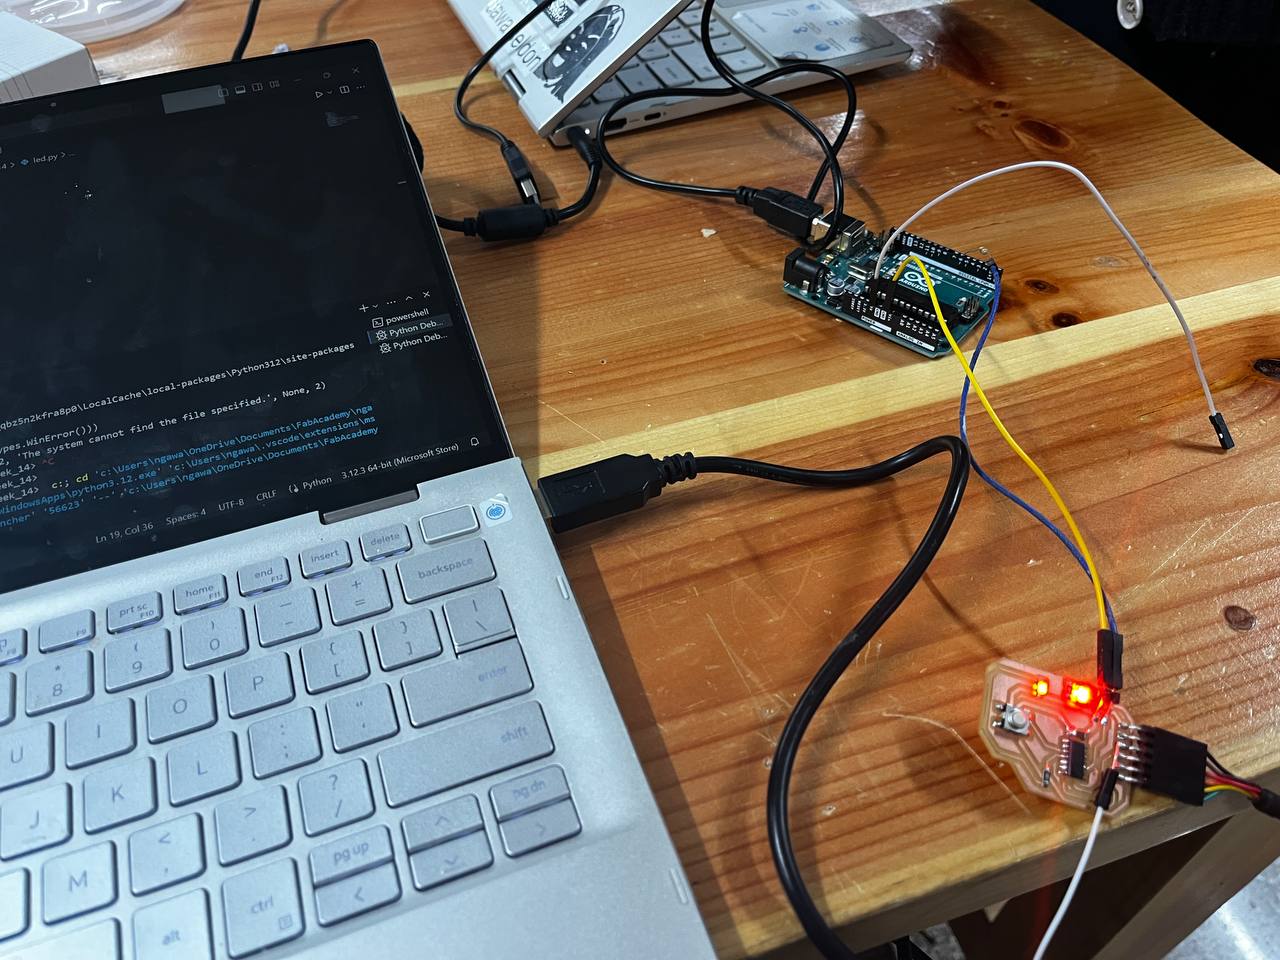
Included a ‘hero shot’ of your application running & communicating with your board.
Overall, this assignment provided us with valuable hands-on experience in creating interfaces for microcontroller boards, understanding different tool options, and enhancing our skills in application development and network connectivity management.
For this week’s assignment we have to write an application that interfaces a user with an input and/or output device that we made.
I didn't have a clear idea of what I was going to do so, I decided to explore on the Fab Academy page and I found Ashim Zina's assignment where she creates a GUI that acts as a digital switch for her LED.
Her documentation was very clear and easy to follow, so I also decided to create a GUI with Tkinter as my framework to control my LED on my board from week 8.
Tkinter is a built-in Python library that facilitates the creation of graphical user interfaces (GUIs) for applications. It provides a variety of widgets such as buttons, text boxes, labels, and menus, allowing developers to design interactive interfaces for their programs.

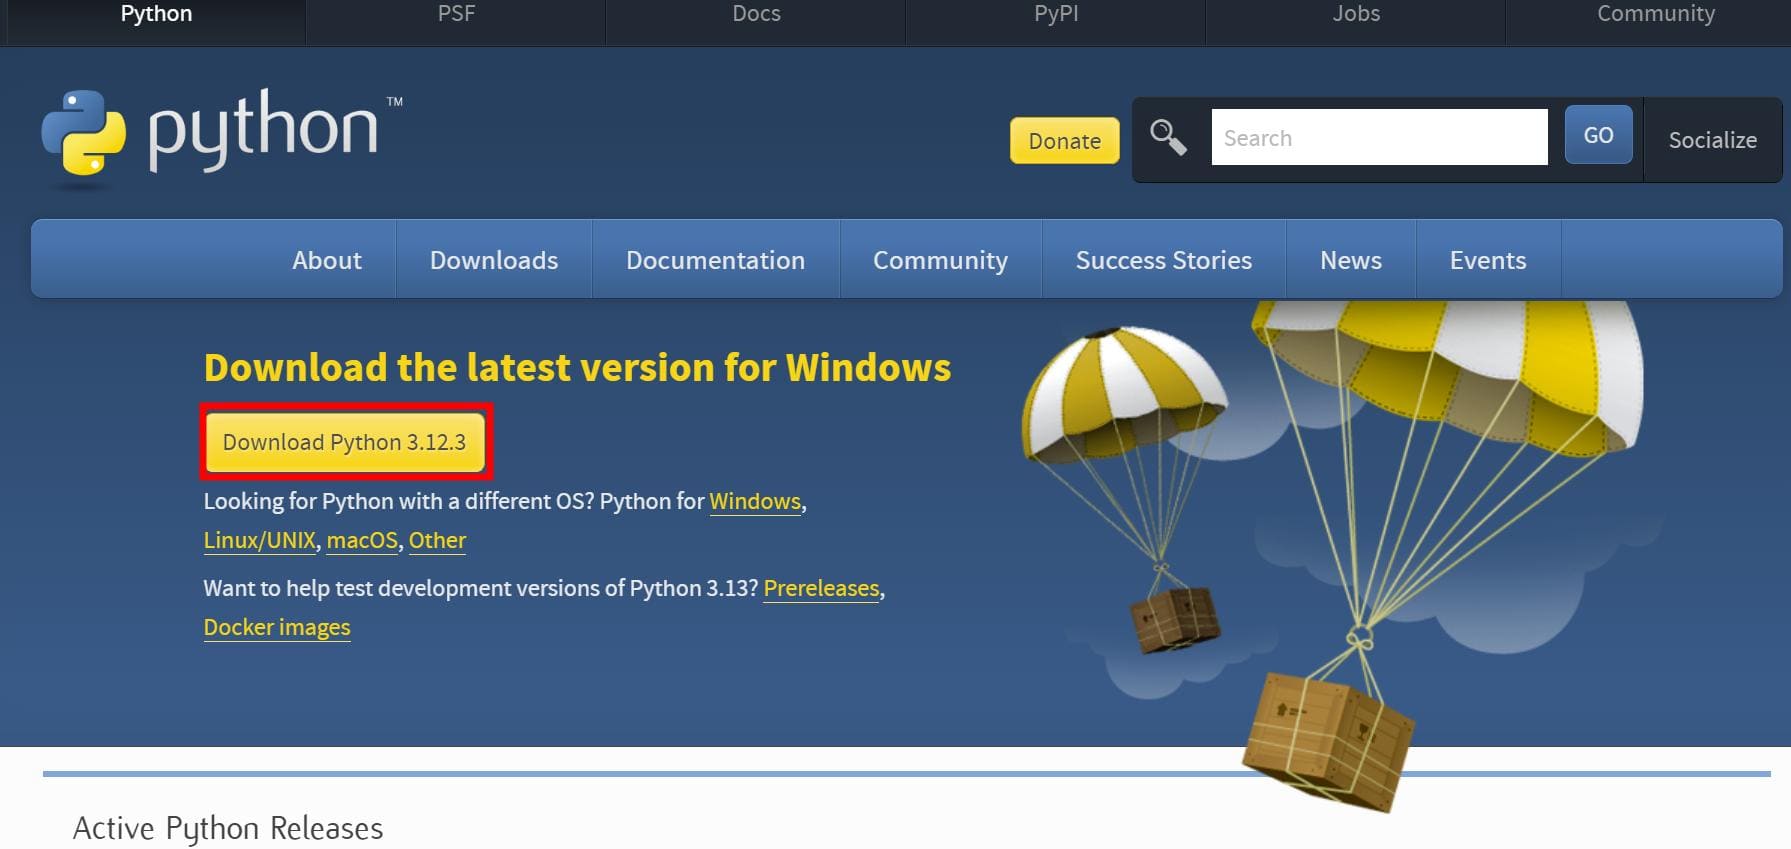
To begin with Tkinter, I first had to download the python application from google.
First search python download on google.
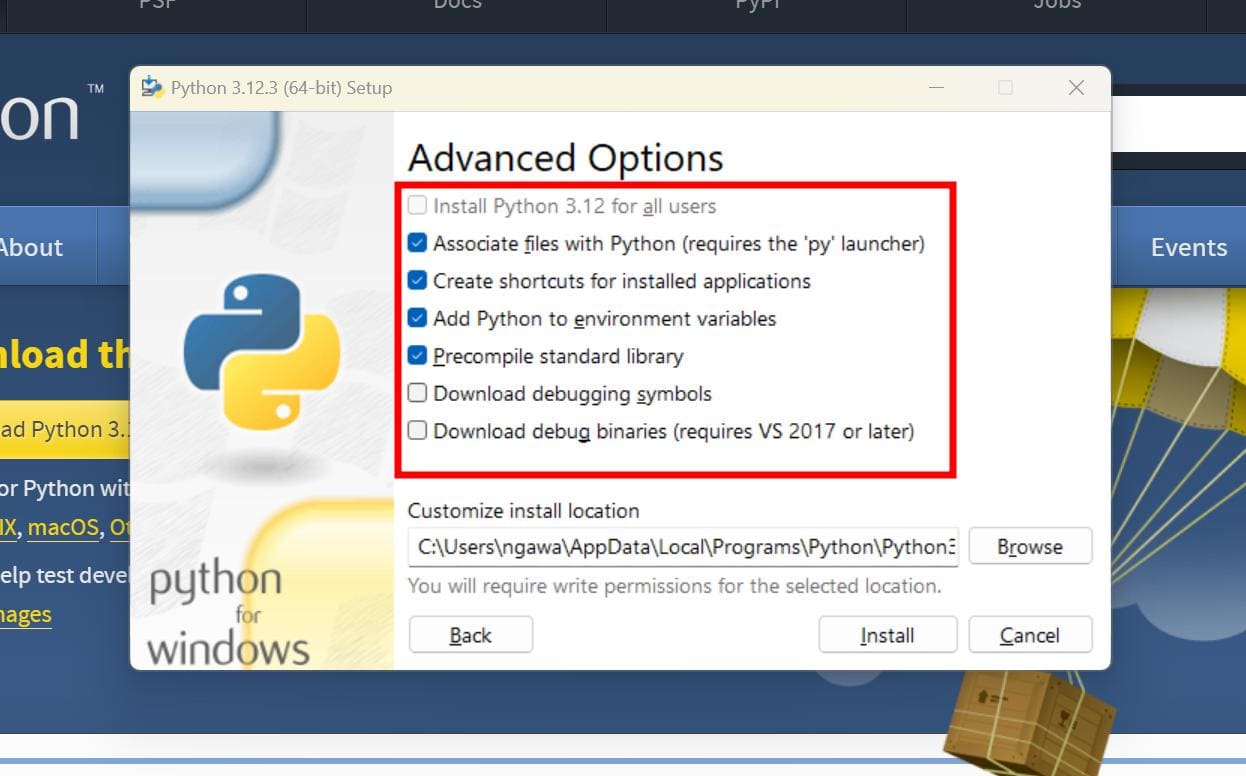
Then select your preferred options and proceed with the installation.
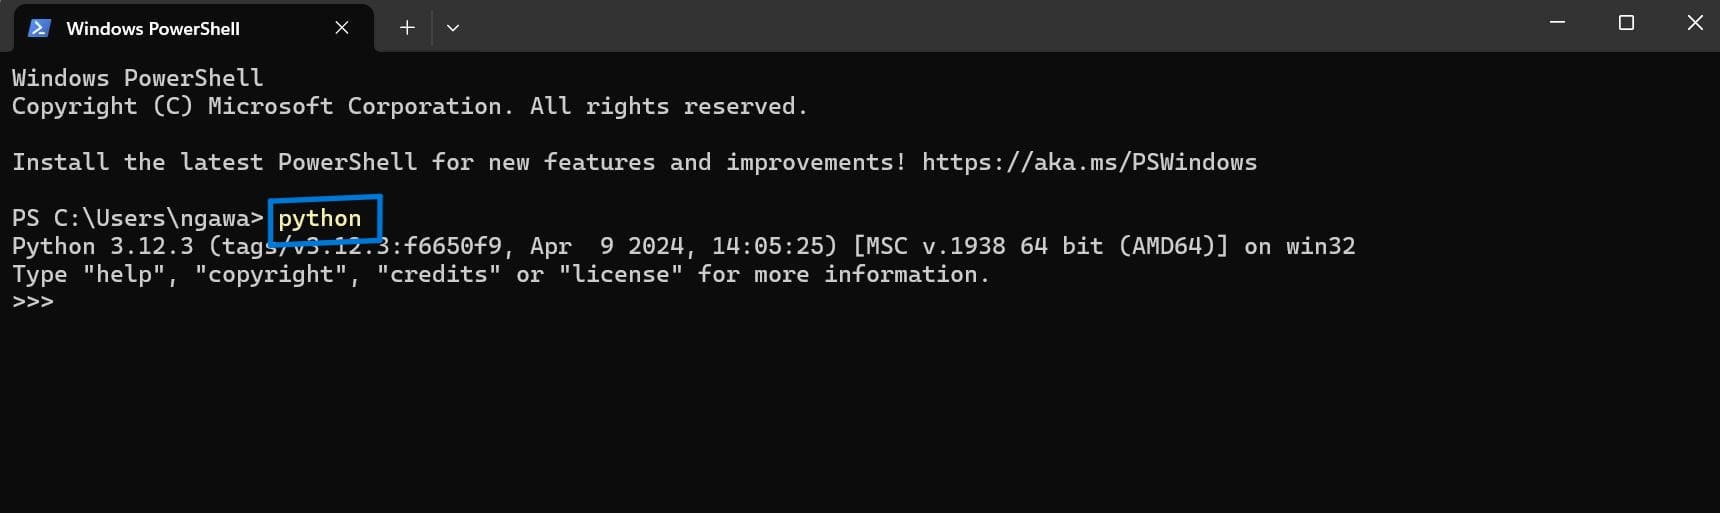
Then to check if python is installed in my laptop I used a command in terminal.
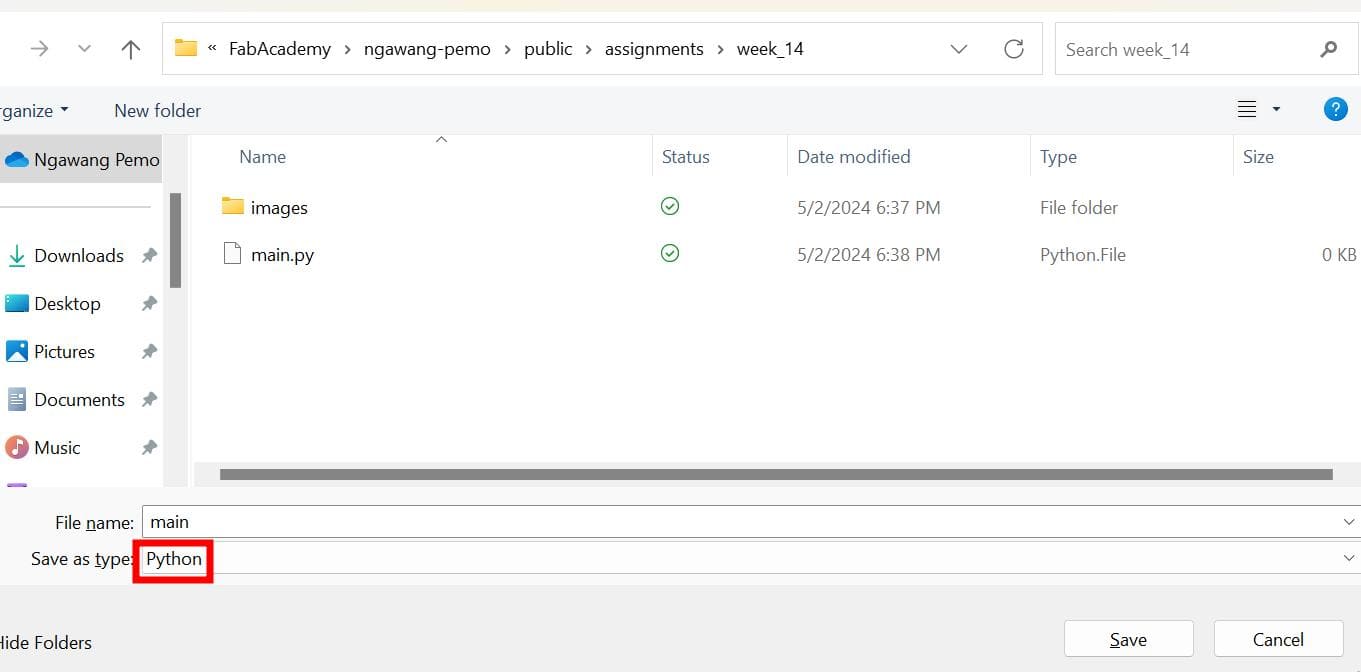
Before entering the coding world, I had to make a python file in VSCode.
I did this by choosing python as my file extension.
When I was studying in the 10th grade which is last year, we learned about python but didn't didn't get introduced to Tkinter. Thus, I had to go through this lengthy tutorial to get familiar with the Tkinter framework
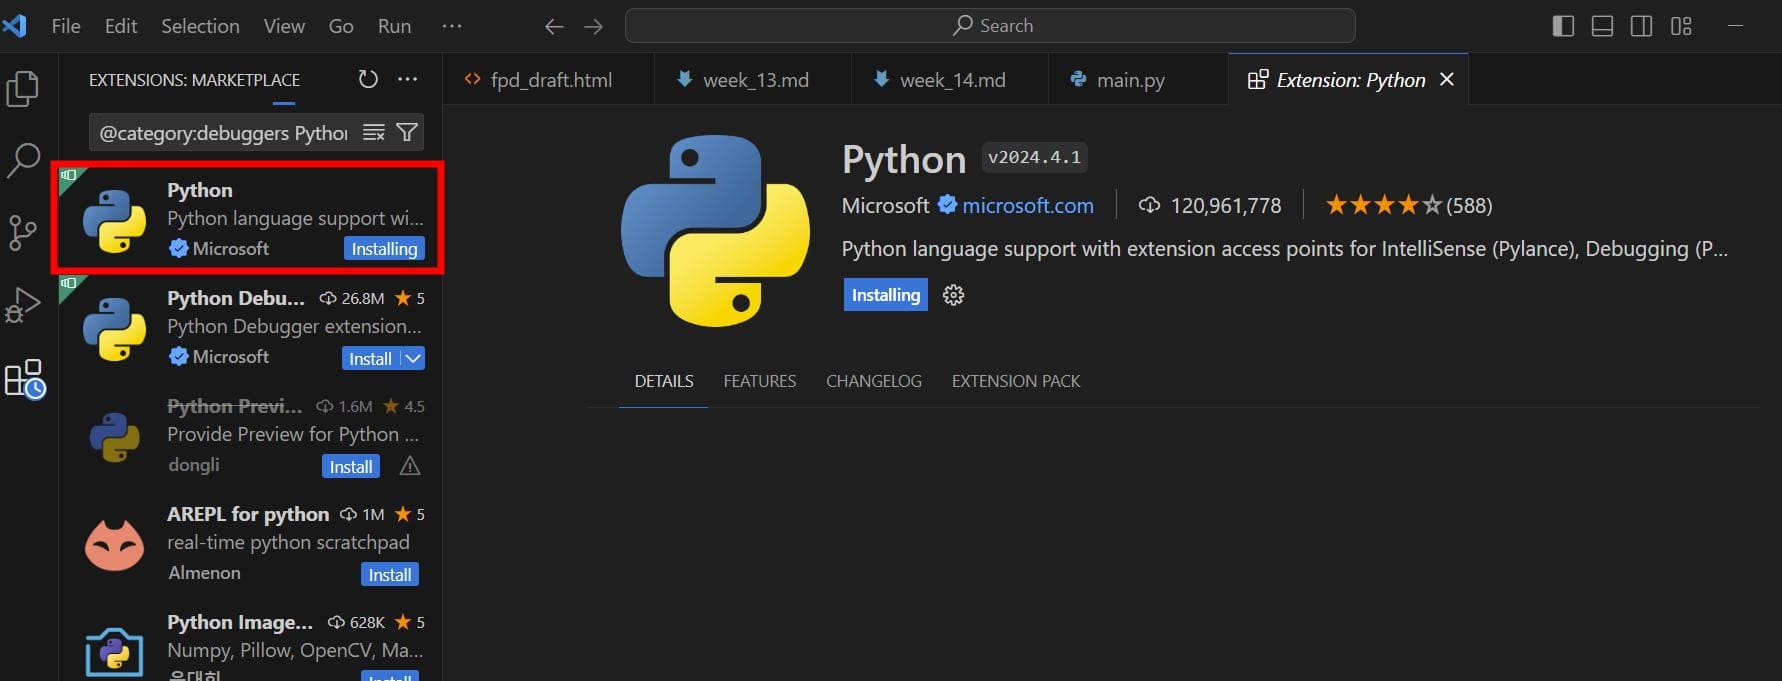
I tried to run the Tkinter code for a basic application but I needed a python extension so here it is!
Now the code ran smoothly and the basic application also popped up!!
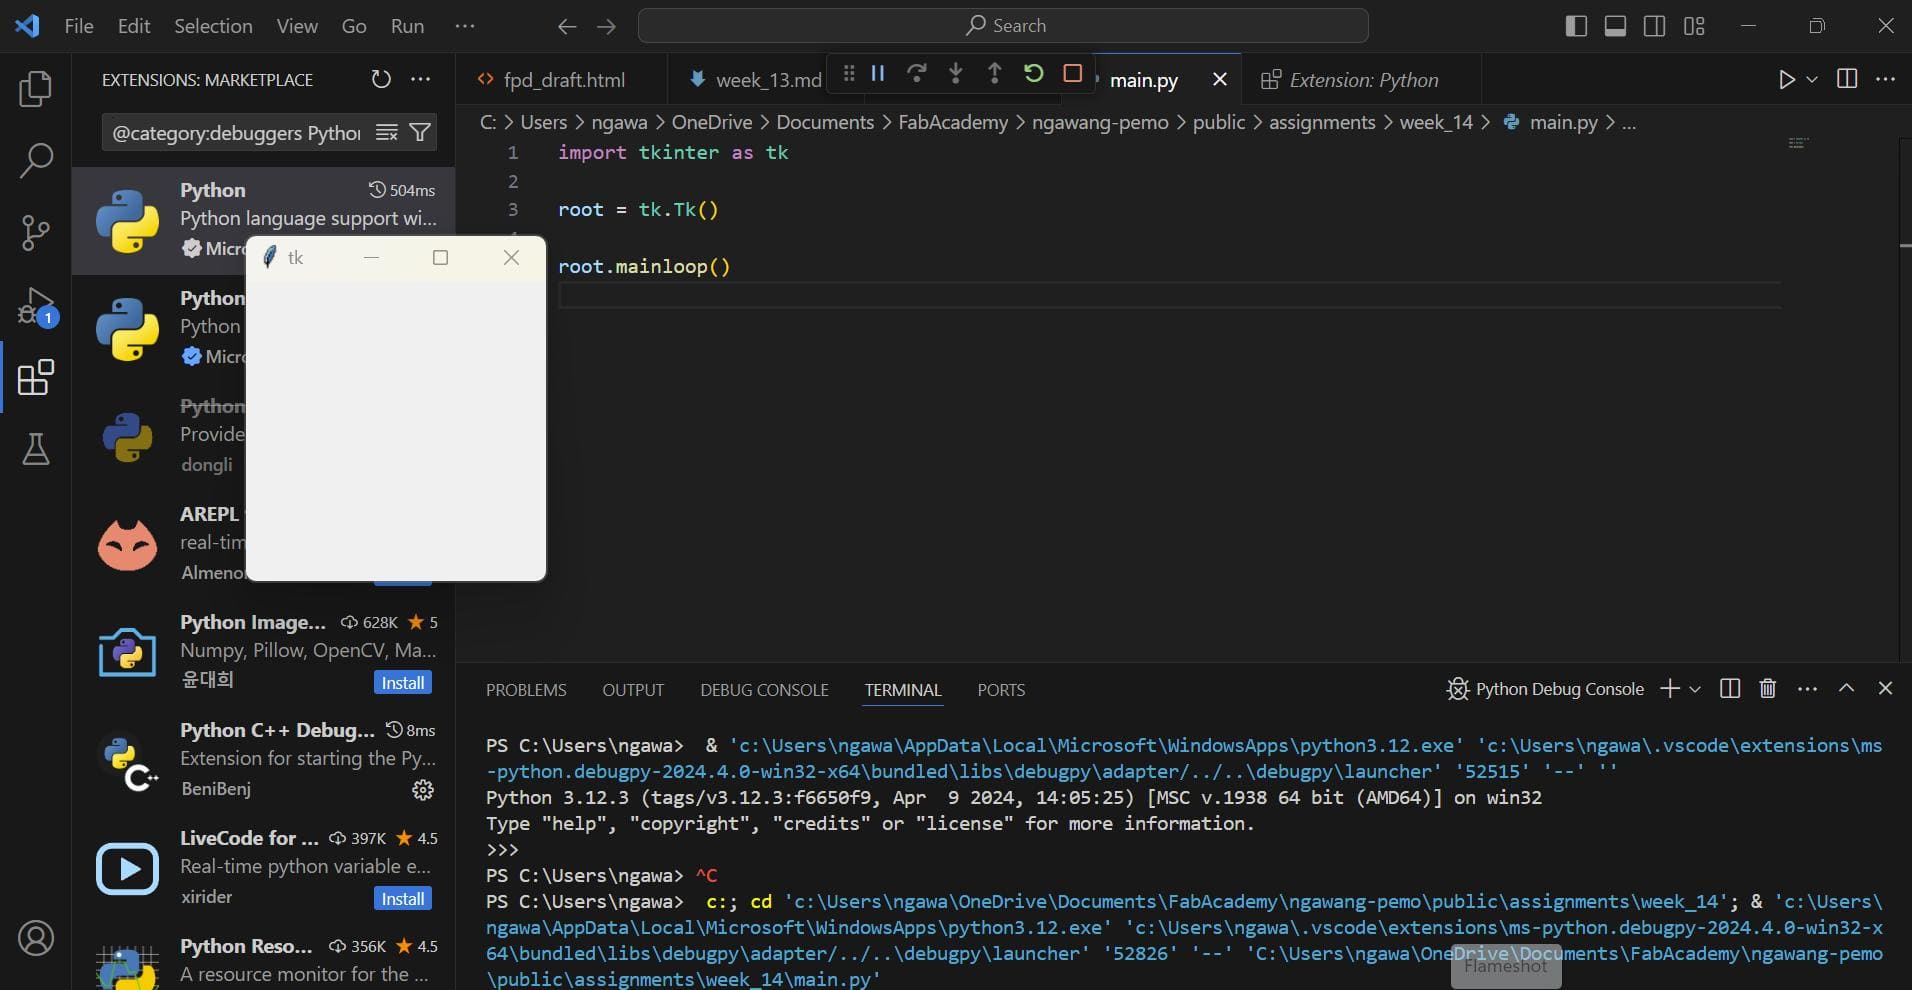
There there, time for more coding....
These are the fundamental codes that I learned from the tutorial:
Importing Tkinter:
import tkinter as tk
Creating a main window:
root = tk.Tk()
Adding widgets (like labels, buttons, etc.):
label = tk.Label(root, text="Hello, Tkinter!")
button = tk.Button(root, text="Click me!")
Organizing widgets using geometry managers (e.g., pack, grid, or place):
label.pack()
button.pack()
Grid manager:
label.grid(row=0, column=0)
button.grid(row=1, column=0)
Configuring widget properties:
label.config(font=("Arial", 12), fg="blue")
button.config(bg="green", command=some_function)
Defining event handlers (functions called when events occur, like button clicks):
def some_function():
    print("Button clicked!")
Running the main event loop:
root.mainloop()
Time to try designing my own GUI before proceeding for the LED switch!!
So, for the trial, I decided to make a GUI where it receives the DOB of a person and displays their zodiac sign.
Here is my Tkinter python code:
    import tkinter as tk
    from tkinter import ttk
    from datetime import datetime

    def calculate_zodiac_sign(dob):
        month, day = dob.month, dob.day
        if (month == 3 and day >= 21) or (month == 4 and day <= 19):
            return "Aries"
        elif (month == 4 and day >= 20) or (month == 5 and day <= 20):
            return "Taurus"
        elif (month == 5 and day >= 21) or (month == 6 and day <= 20):
            return "Gemini"
        elif (month == 6 and day >= 21) or (month == 7 and day <= 22):
            return "Cancer"
        elif (month == 7 and day >= 23) or (month == 8 and day <= 22):
            return "Leo"
        elif (month == 8 and day >= 23) or (month == 9 and day <= 22):
            return "Virgo"
        elif (month == 9 and day >= 23) or (month == 10 and day <= 22):
            return "Libra"
        elif (month == 10 and day >= 23) or (month == 11 and day <= 21):
            return "Scorpio"
        elif (month == 11 and day >= 22) or (month == 12 and day <= 21):
            return "Sagittarius"
        elif (month == 12 and day >= 22) or (month == 1 and day <= 19):
            return "Capricorn"
        elif (month == 1 and day >= 20) or (month == 2 and day <= 18):
            return "Aquarius"
        else:
            return "Pisces"

    def action():
        username = name_var.get()
        user_dob_str = dob_var.get()
        user_gender = gender_var.get()

        # Calculate zodiac sign based on DOB
        try:
            dob = datetime.strptime(user_dob_str, "%Y-%m-%d")
            zodiac_sign = calculate_zodiac_sign(dob)
        except ValueError:
            zodiac_sign = "Invalid DOB"

        result_text = f"Name: {username}\nDOB: {user_dob_str}\nGender: {user_gender}\nZodiac Sign: {zodiac_sign}"
        result_label.config(text=result_text)

        with open('file.txt', 'a') as f:
            f.write(f'{username},{user_dob_str},{user_gender},{zodiac_sign}\n')

        name_entrybox.delete(0, tk.END)
        dob_entrybox.delete(0, tk.END)
        name_label.configure(foreground='#991E1E')
        submit_button.configure(foreground='Blue')

    win = tk.Tk()
    win.title('Zodiac Sign Calculator')

    header_label = ttk.Label(win, text='Zodiac Sign Calculator', font=('Arial', 18, 'bold'))
    header_label.pack()

    name_label = ttk.Label(win, text='Enter your name')
    name_label.pack()

    name_var = tk.StringVar()
    name_entrybox = tk.Entry(win, width=40, textvariable=name_var)
    name_entrybox.pack()

    dob_label = ttk.Label(win, text='Enter your DOB (YYYY-MM-DD)')
    dob_label.pack()

    dob_var = tk.StringVar()
    dob_entrybox = tk.Entry(win, width=40, textvariable=dob_var)
    dob_entrybox.pack()

    gender_label = ttk.Label(win, text='Select your gender')
    gender_label.pack()

    gender_var = tk.StringVar()
    gender_combobox = ttk.Combobox(win, width=38, textvariable=gender_var, state='readonly')
    gender_combobox['values'] = ('Male', 'Female', 'Other')
    gender_combobox.current(0)
    gender_combobox.pack()

    submit_button = tk.Button(win, text='Submit', command=action, width=20, bg='
        blue', fg='white')
        submit_button.pack()

        result_label = ttk.Label(win, text='', font=('Arial', 12))
        result_label.pack()

        win.mainloop()
Here is how the GUI works!!
After being able to code for the zodiac sign, I tried making a interface to control my LED on my week 8's board.
First I uploaded the following code on Arduino to my board via jtagupdi.
    int led = 2;
    char mydata = 0;

    // the setup routine runs once when you press reset:
    void setup() {
      // initialize the digital pin as an output.
      pinMode(led, OUTPUT);
      Serial.begin(9600);
    }

    // the loop routine runs over and over again forever:
    void loop() {
      mydata = int(Serial.read());

      if (mydata == '1')
        digitalWrite(led, HIGH);   // turn the LED on (HIGH is the voltage level)

      if (mydata == '0')
        digitalWrite(led, LOW);    // turn the LED off by making the voltage LOW
    }
Then connected my board to the laptop with ftdi cable.
For the GUI, I uploaded the following code:
    import serial
    from tkinter import *

    def led_on():
        arduino_data.write(b'1')

    def led_off():
        arduino_data.write(b'0')

    led_control_window = Tk()
    led_control_window.title('LED Control')

    btn_on = Button(led_control_window, text='Turn LED On', command=led_on)
    btn_on.pack(pady=10)

    btn_off = Button(led_control_window, text='Turn LED Off', command=led_off)
    btn_off.pack(pady=10)

    arduino_data = serial.Serial('COM18', 9600)

    led_control_window.mainloop()
Don't forget to change the port name!!
arduino_data = serial.Serial('COM18', 9600)