Wildcard
My project for the week is to create a transparent acrylic dome that will be a part of my final project. The material used is acrylic and it will be thermoformed.
Stages of the Week's Activities.
Designing the piece.
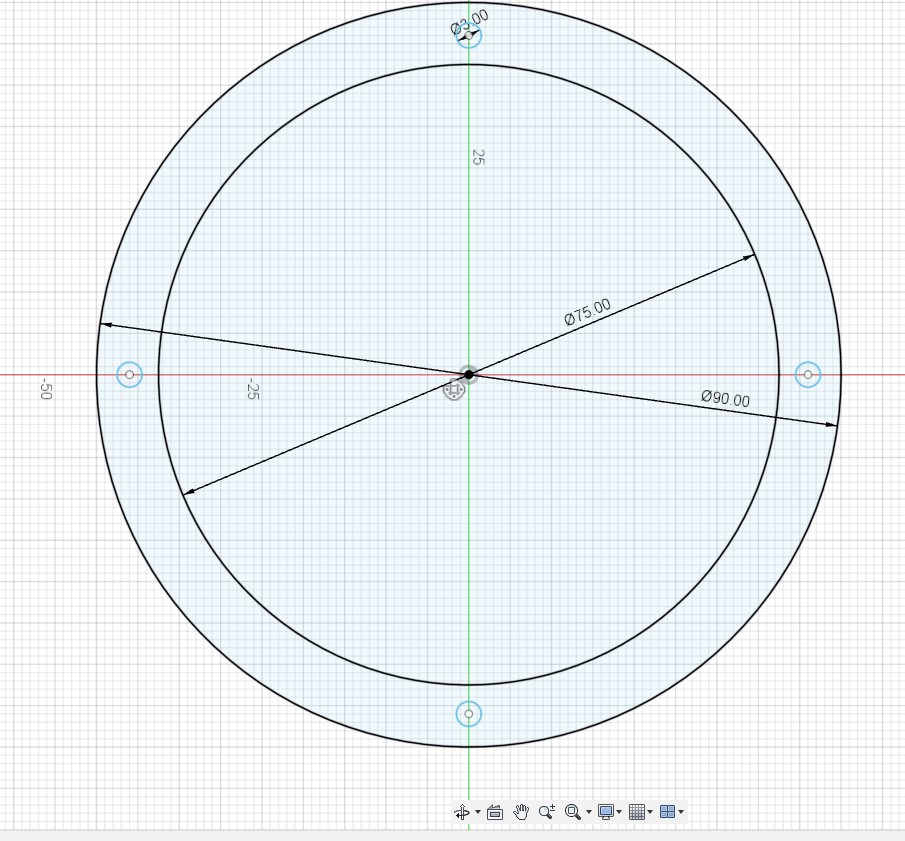
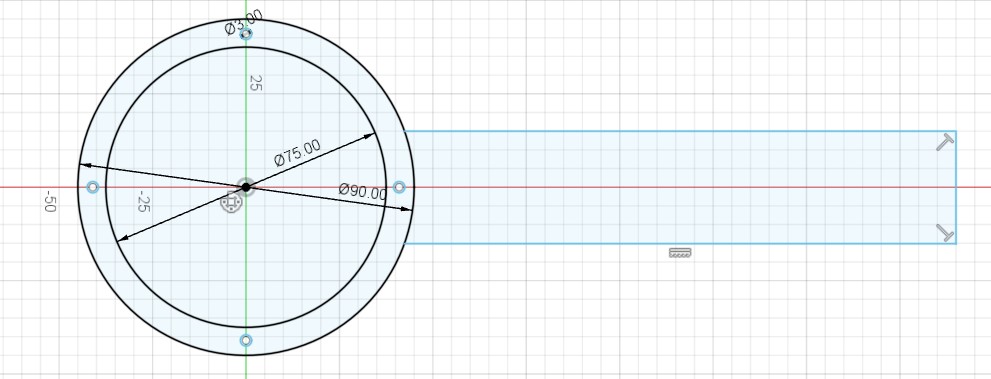
For the design of the piece, I used the software Fusion 360.
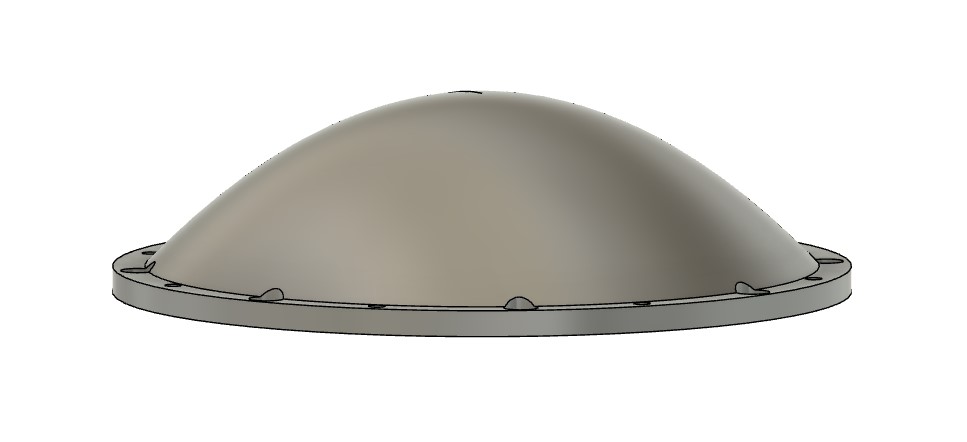
The final piece will have an outer diameter of 9 cm.
Furniture Design.
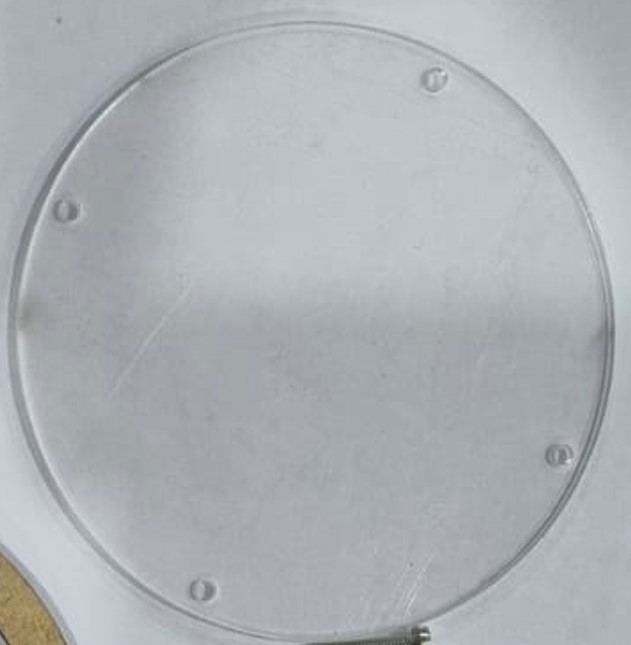
The material used is 3 mm thick transparent acrylic. The curved part will have a diameter of 75 mm and the total diameter will be 90 mm, with 4 holes of 3 mm to place screws for the final assembly, which will also be used to secure the acrylic during the forming process. The design was also made with Fusion 360 and will be exported in .dxf format for cutting.
Download a File
Click the link below to download the file:
Designing the tool for molding
To mold the acrylic into a dome shape, a tool was designed to secure the edges of the acrylic and hold it while heating, protecting the hands and allowing force to be applied if necessary for molding. The chosen material is 6 mm MDF, which will be laser cut. Two pieces were made to clamp the acrylic.
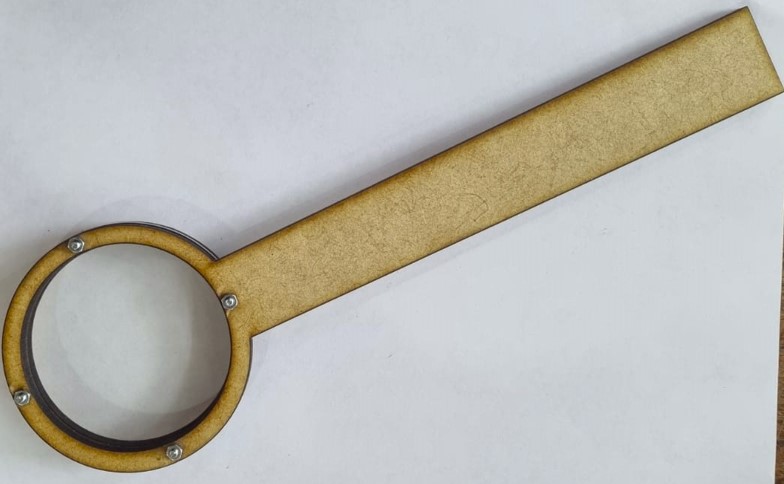

The acrylic is secured between the two pieces with screws
Molding the piece
To mold the piece with heat, I used two devices: an electric stove and a heat gun.
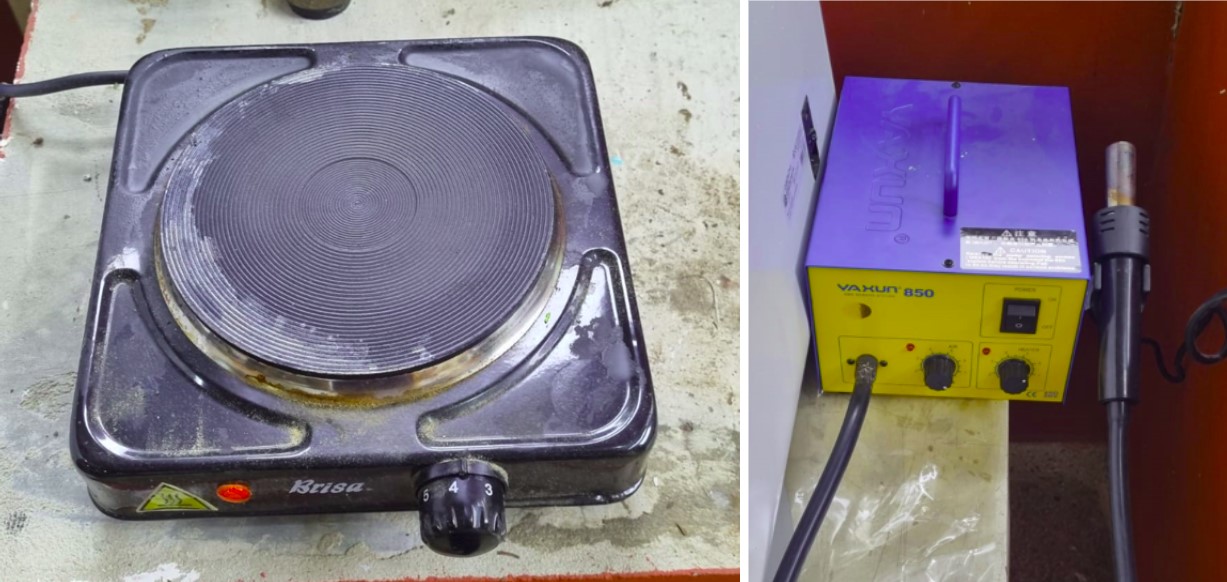
In the first attempt, the heat was too intense and damaged the acrylic. For the second attempt, I lowered the temperature. I simultaneously heated both sides of the acrylic, the bottom with the electric stove and the top with the heat gun. I expected that with the heat and the effect of gravity, the acrylic would deform, but I had to use a spherical surface to mold the proper shape. I left the mold in place during the cooling process
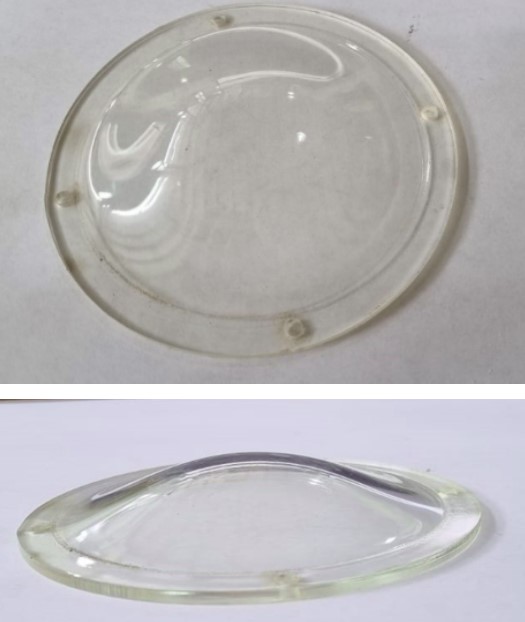
Once the piece cooled, the parts were disassembled, resulting in a piece acceptable for the intended purpose.
Suggestions to improve the process
I am very satisfied with the final result, but with the experience gained and especially to save time, I modified the original holders slightly and added a mold, which I recommend be made of wood and created with a CNC router.
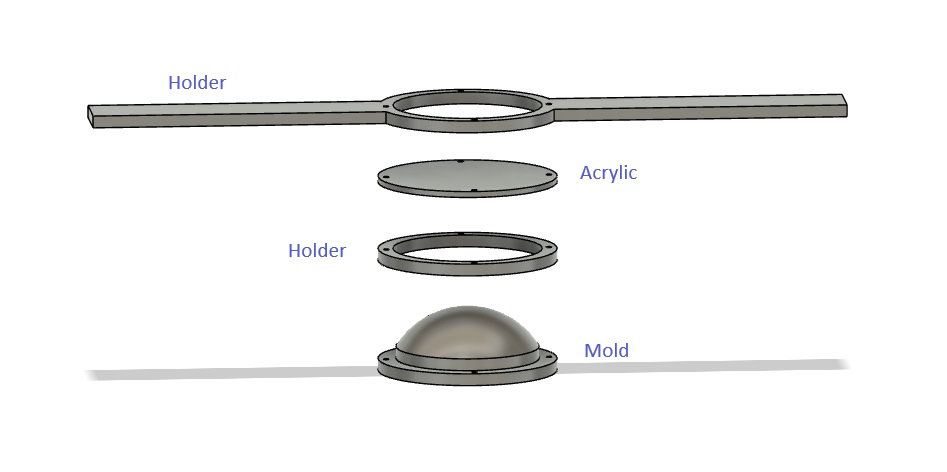
I also hope that this proposal will give more uniformity to the thickness of the dome.
Download a File
Click the link below to download the file: