Molding and casting.
This week I will be making a mold piece, and of course to create a mold piece we need to create a mold, so let's get started!
In previous weeks we have seen how to create parts with tools such as 3D printers, these have enormous advantages such as: Customization, rapid prototyping, complex design, etc., however, they have some disadvantages such as: limitation of materials, high volume production, maintenance of the equipment etc. One of the things we can do when we need to make a large volume of pieces is to use molds where we melt or solidify materials. The molds provide us with advantages such as:
- Mass production: Molds allow the quick and efficient reproduction of a part in large quantities. Once the mold has been made, mass production becomes more cost-effective and faster than manufacturing each part individually.
- Reduced costs with large quantities: In the long term, manufacturing parts with molds can be more economical than other manufacturing methods, especially when it comes to large production volumes. Unit costs tend to decrease as production volume increases.
- Shorter Production Cycles: Once the mold is set up and ready for production, the time required to create each individual part is significantly less than other manufacturing methods. This allows for faster and more efficient production.
-Design Flexibility: Molds can be designed to fit a wide variety of shapes and sizes..
- Consistency and precision: The molds guarantee the uniformity and precision of the pieces produced. This is especially important in applications where tight tolerances are required or in the manufacturing of components that must fit perfectly together.
- Adaptability to different materials: The molds can be used with a wide variety of materials, including plastics, metals, ceramics and composites. This allows the manufacture of parts with the physical and chemical properties required for various applications.
- Make a piece.
- Make the mold
- Cast the piece
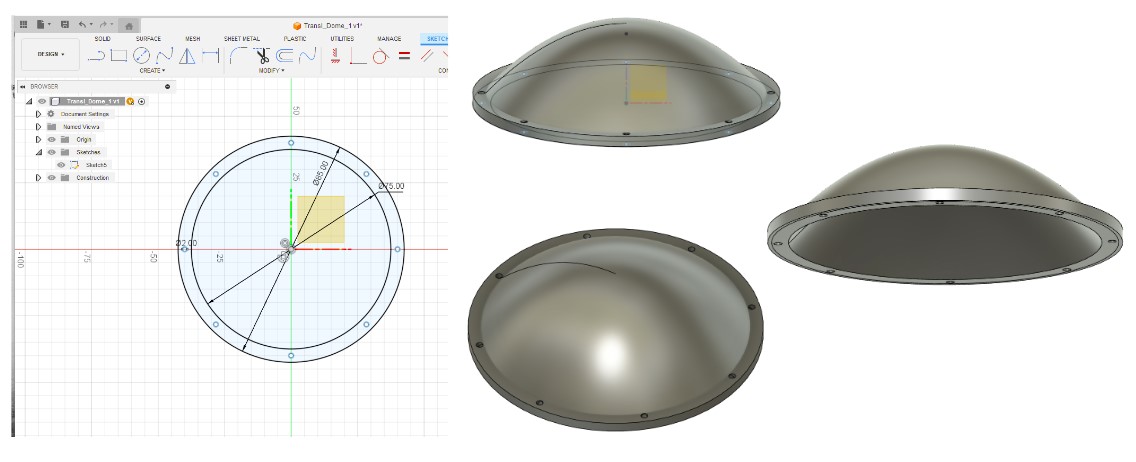
For the design we use the "Fusion" software. It is a 2mm thick dome that needs to be translucent.
Unfortunately, at this stage, I realized that it was going to be very complicated to create the piece with a CNC router.
Used materials:
- Paraffin
- LDPE
- MDF
- Laser cutter
- CNC router
- Design software: Fusion (R)
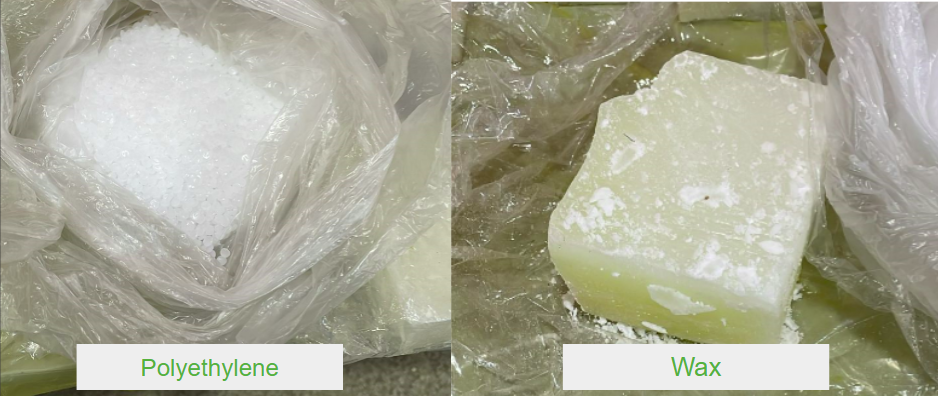
To make the mold we use machinable wax (paraffin plus LDPE), it is made using paraffin and LDPE wait place a little paraffin in a pan, over low heat and wait for it to melt. Once melted, we add some LDPE balls and mix everything gently until it is homogenized.
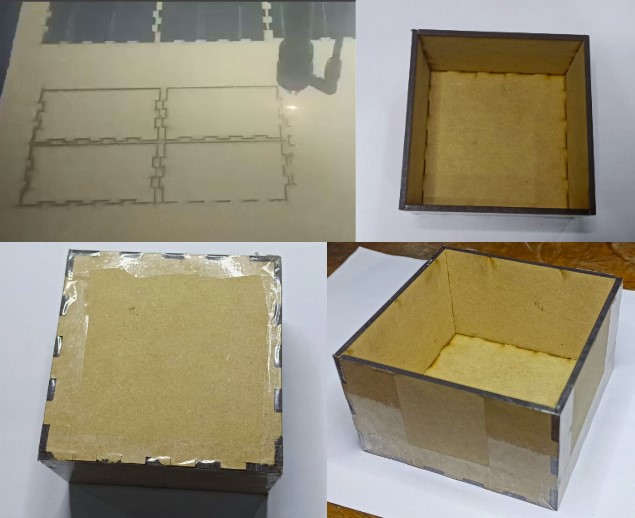
While the Machinable wax is being prepared over low heat, we prepare some boxes to pour them in, for that we use MDF and the laser cutter, in our case we put together a 10cm x 10cm x 6cm box.
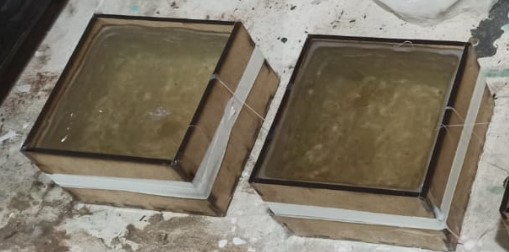
Once the LPDE has been mixed with the paraffin and before it solidifies, we pour the contents into the box constructed so that a block of machinable wax is formed, which is left to rest for 24 hours.
Once the block is well solidified, we will give it the desired shape using the CNC milling machine.
Unfortunately, at this stage, I realized that it was going to be very complicated to create the piece with a CNC router. But I find it interesting to document the process of preparing the paraffin.
I chose another method: designing a mold with 3D printing, which will in turn be the silicone mold.
Since a dome complicates the manufacturing process a bit, I designed two molds that will be created using 3D printing. One mold will allow for the creation of a silicone mold for the lower part of the dome, and the other will allow for the creation of an upper mold for the sphere.
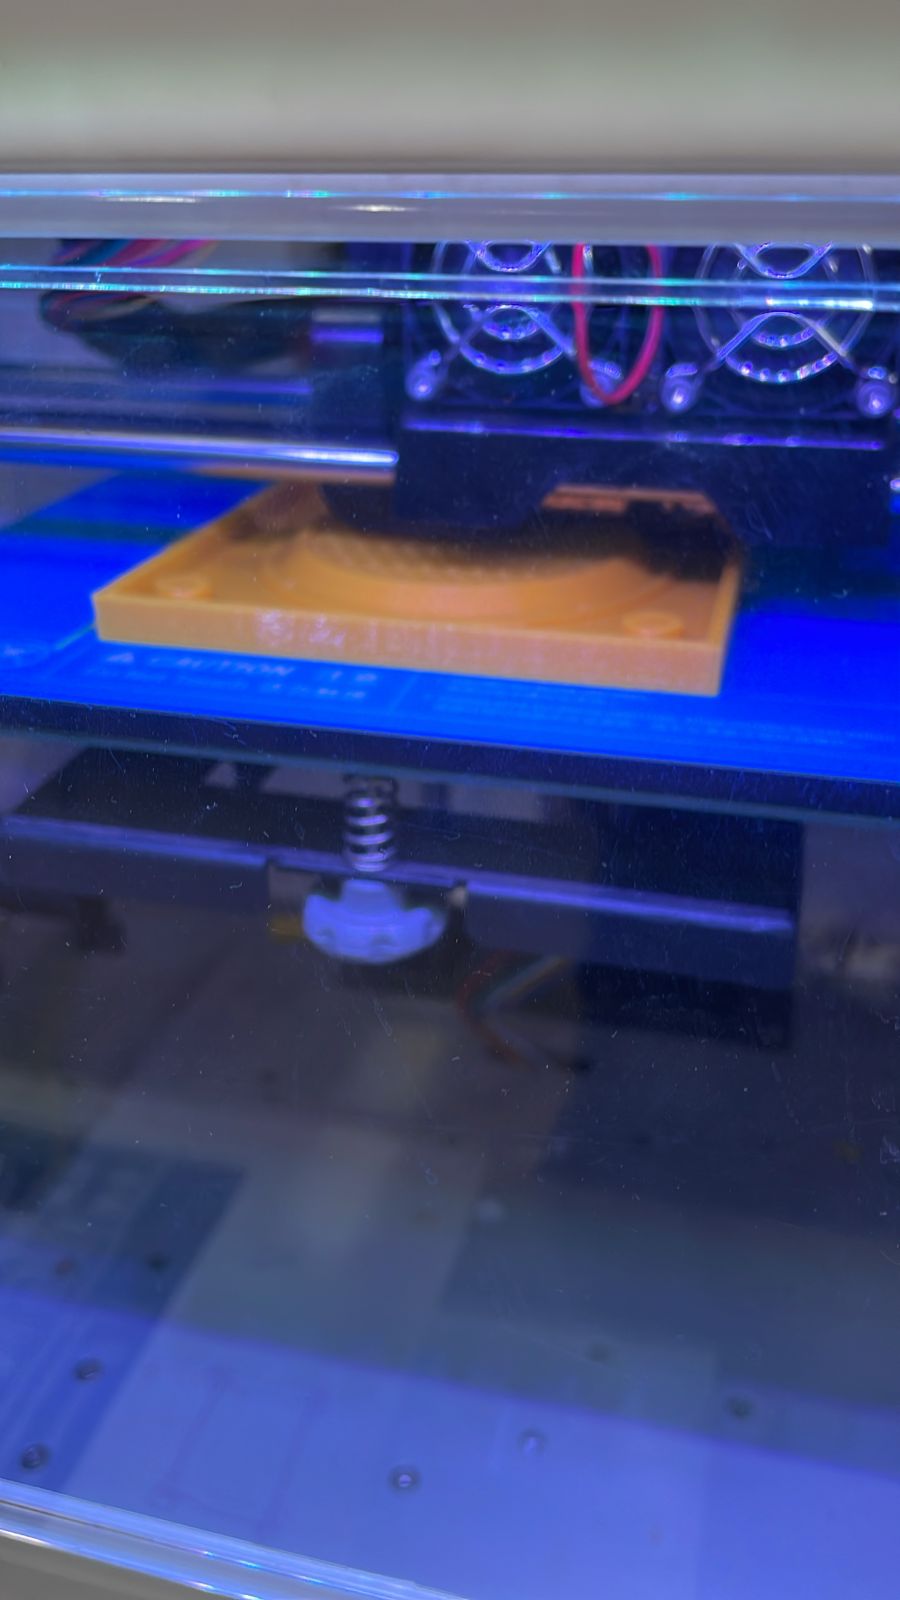
Figure 12.4 - Printing process of the molds.
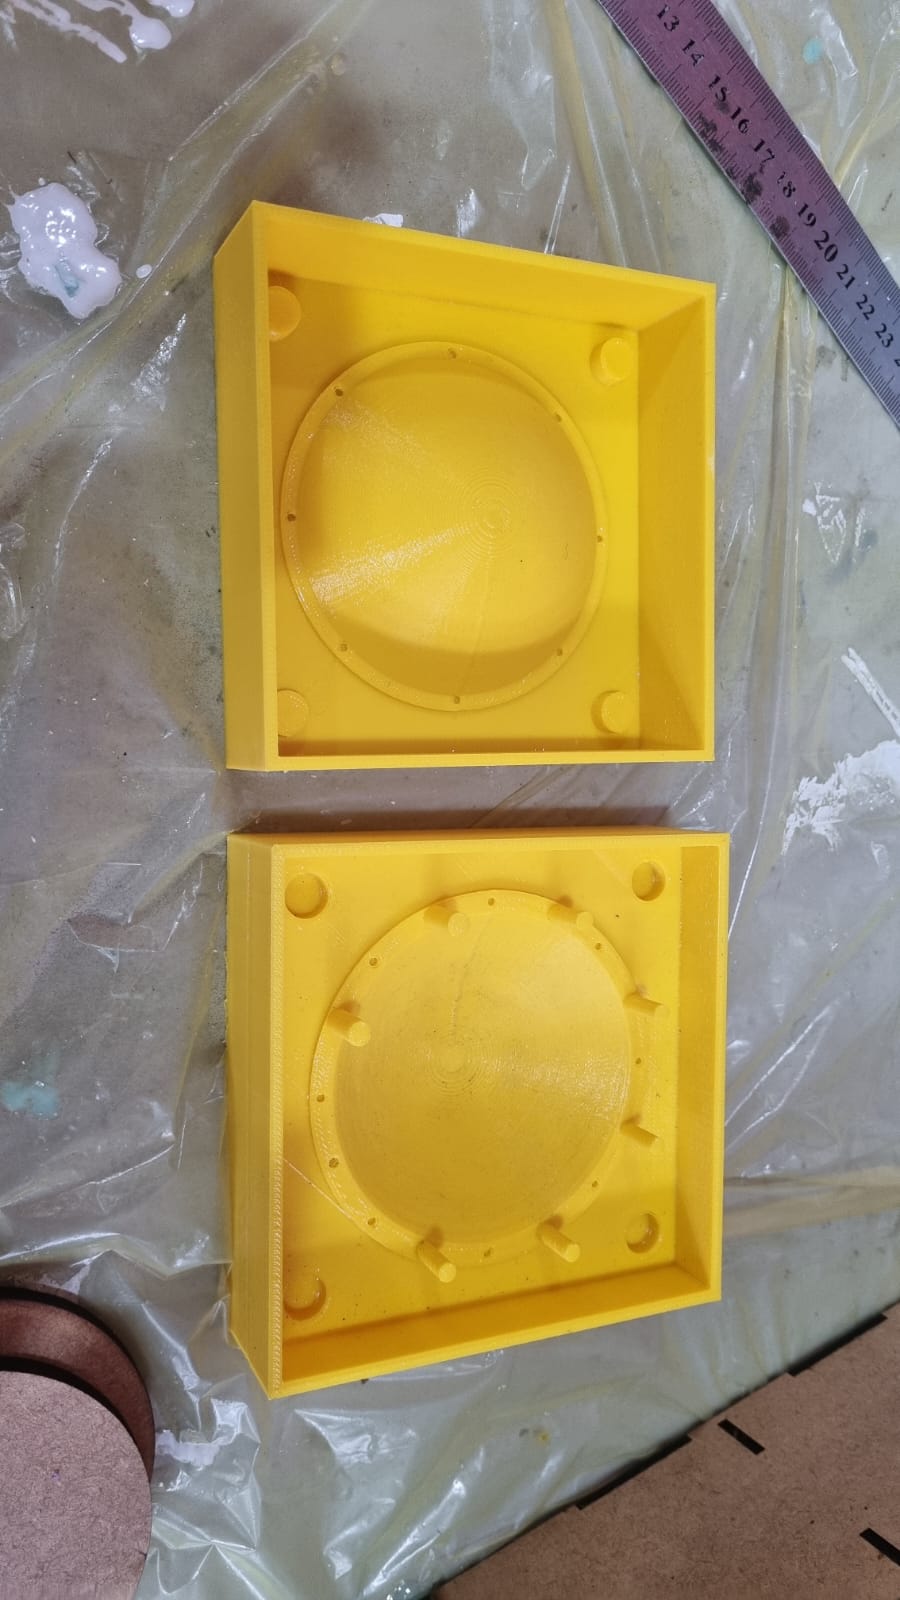
Figure 12.5 - The pieces that will shape the silicone molds 3D boad design
The columns that appear will leave some gaps in the silicone, allowing the epoxy resin to be injected with a syringe.
With the printed pieces in good condition, we spray a release agent on them, and they are ready to receive the silicone.
To prepare the silicone, we mix the two components in a 50-50 volumetric proportion.
Once they are well mixed, we pour the mixture into the previously prepared molds and let it dry.
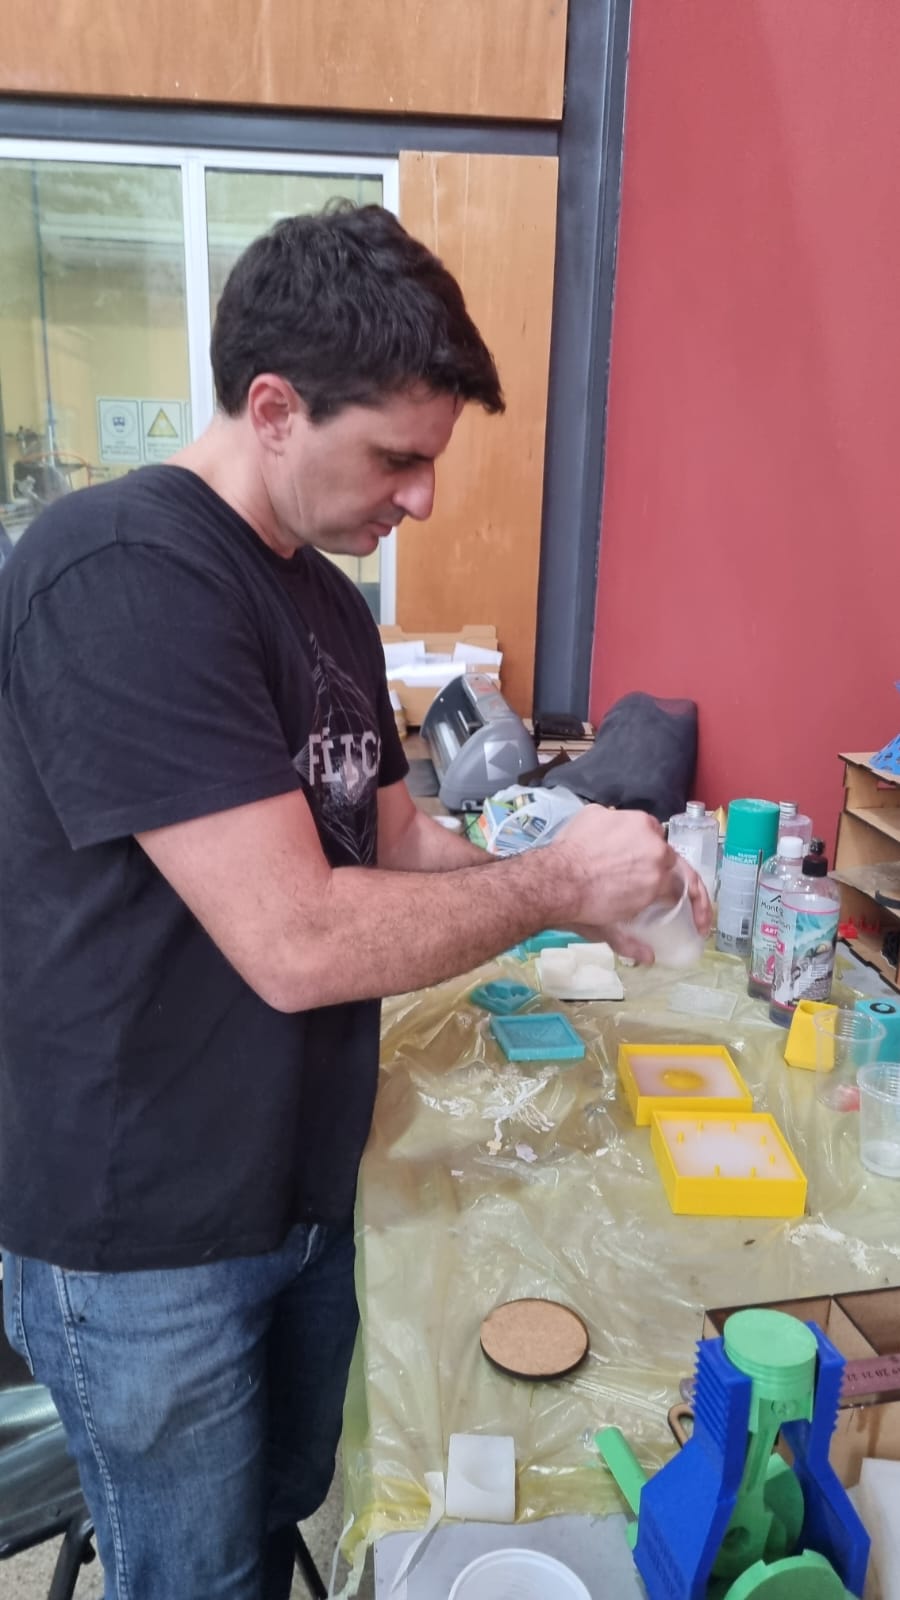
Figure 12-6 - Reinforcement of the upper mold cover with MD
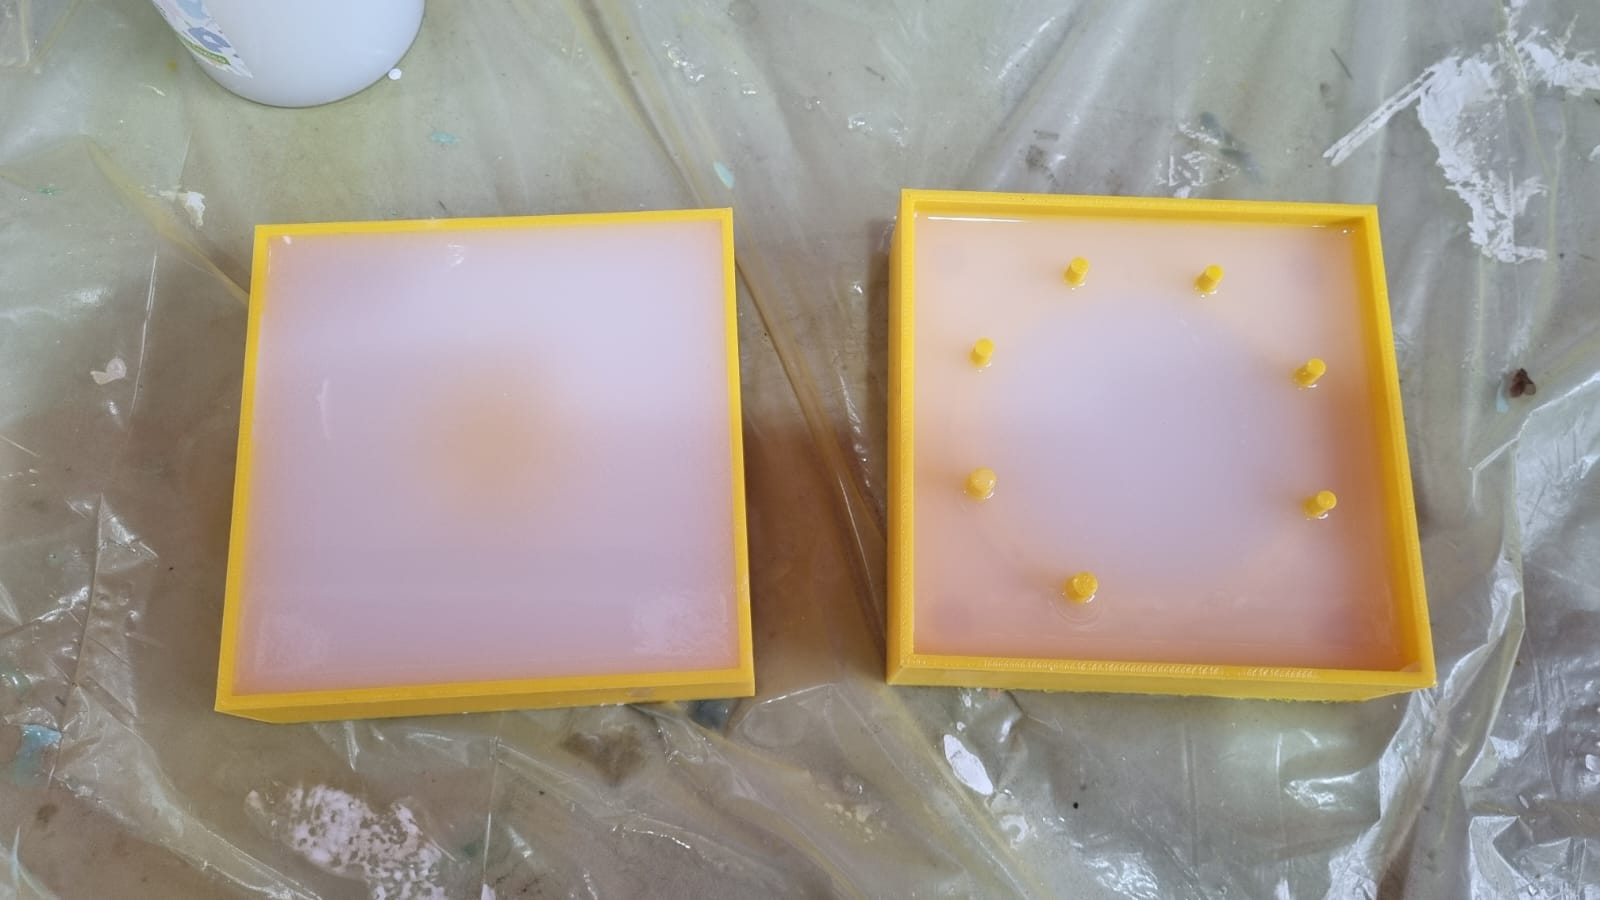
Figure 12.7 - The silicone should not cover the columns because the resin will pass through those holes
We let it dry for 24 hours and then carefully demold.

Figure 12-8 - Silicone mold manufacturing process.
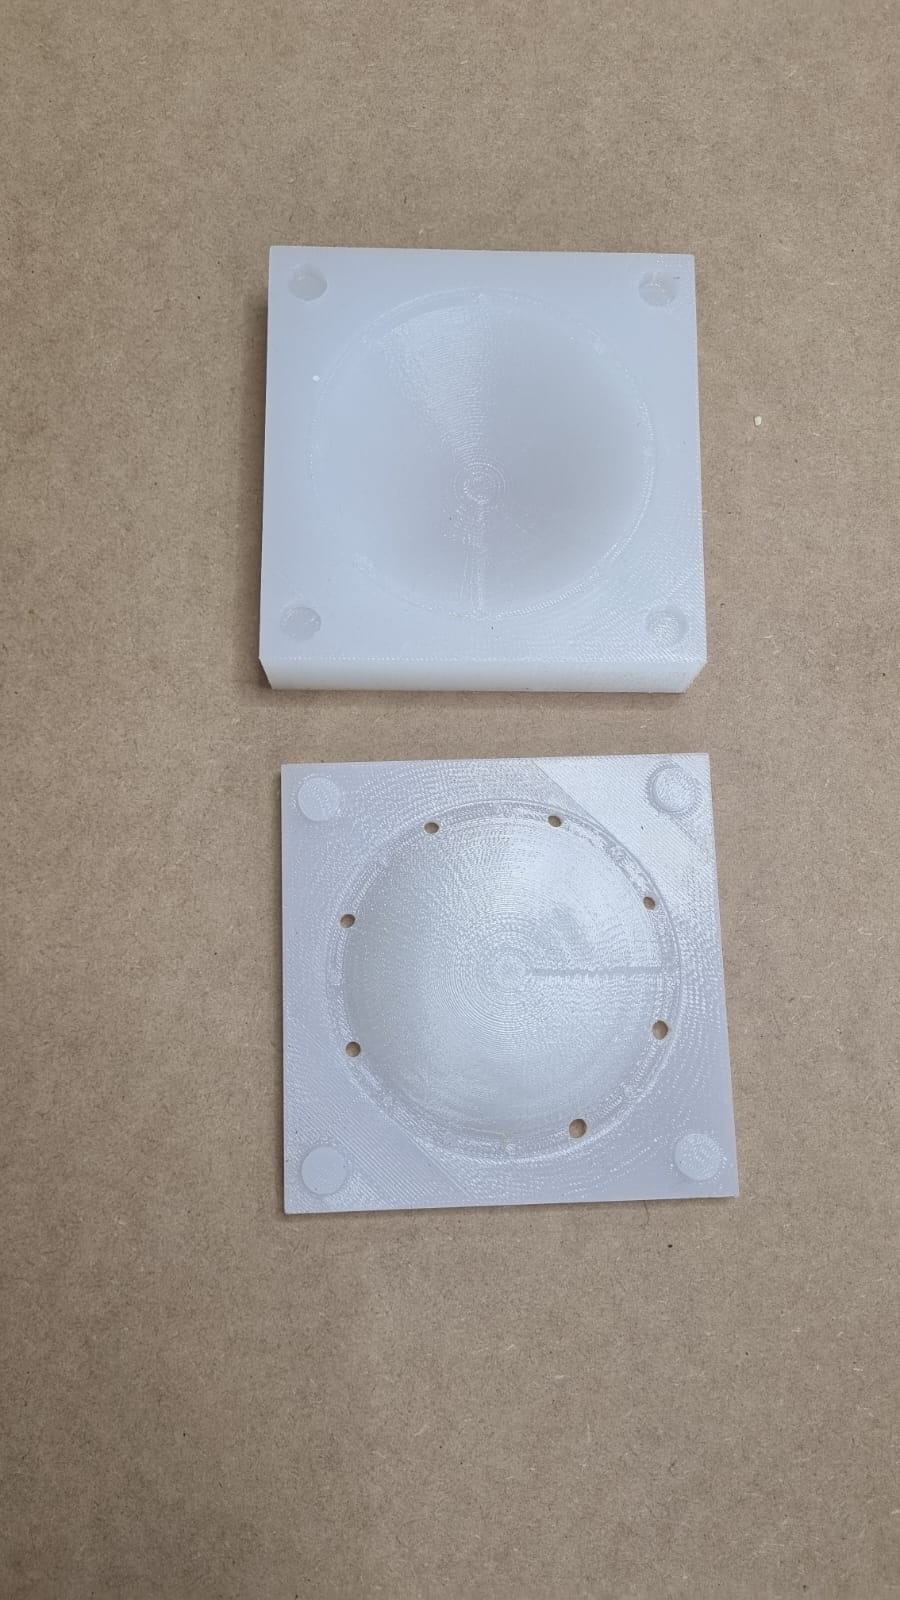
Figure 12.9 - The silicone should not cover the columns because the resin will pass through those holes
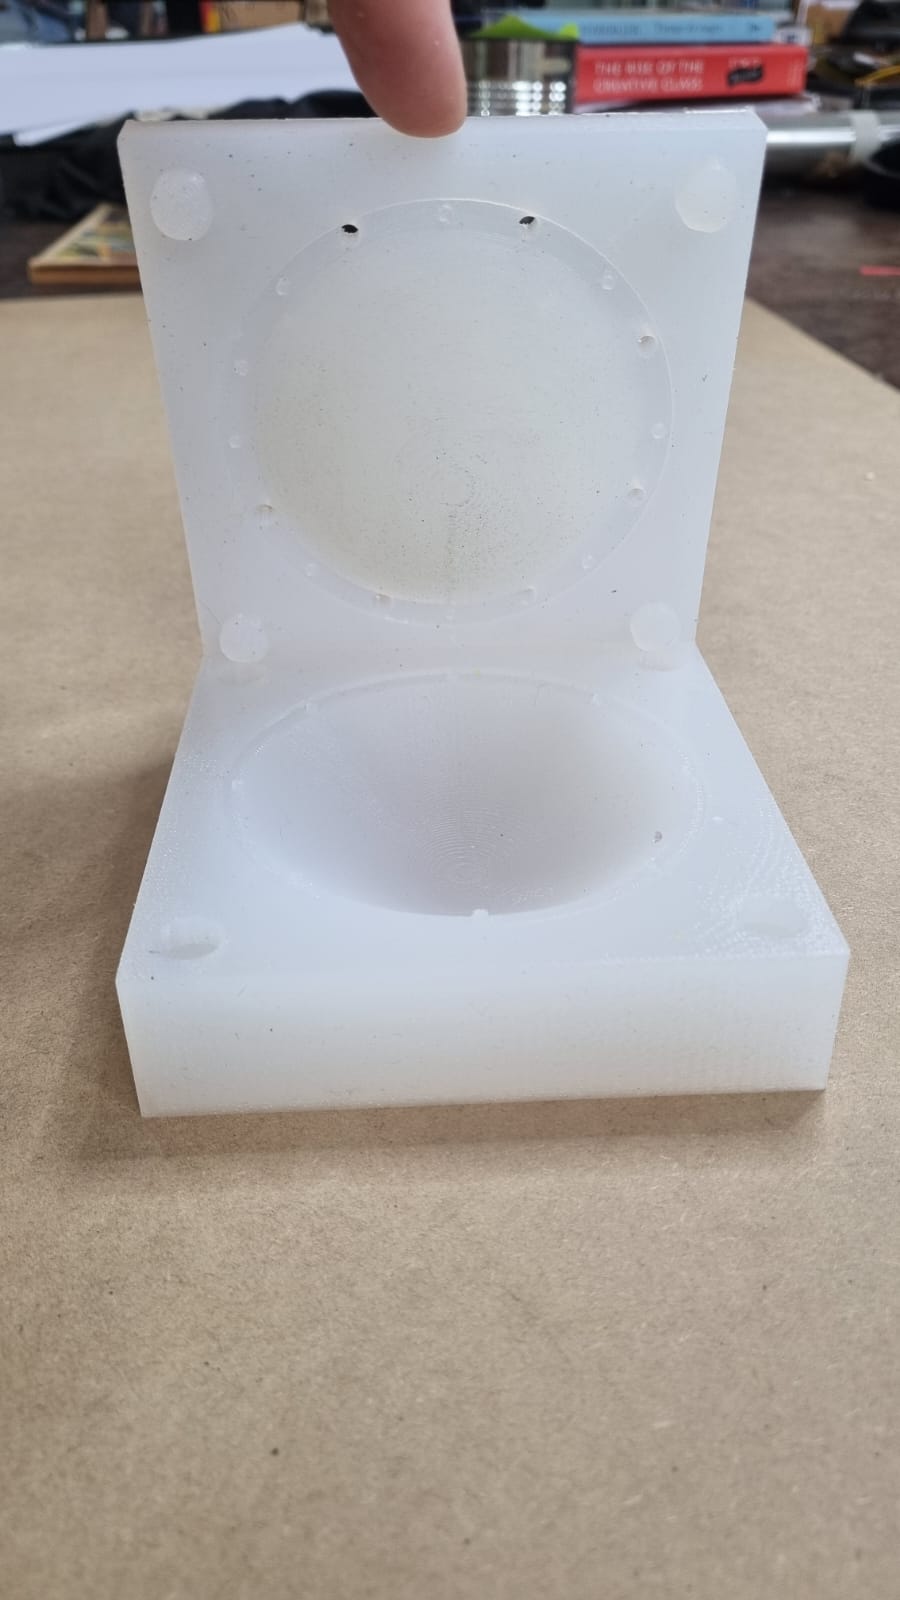
Figure 12.10 - Fitting of the molds
When testing, we noticed that the silicone of the upper mold had some weight that could slightly bend the top cover. Since the final object is quite thin, I decided to reinforce the upper mold with a laser-cut MDF structure screwed into the silicone. and fixed it to the table using some clamps
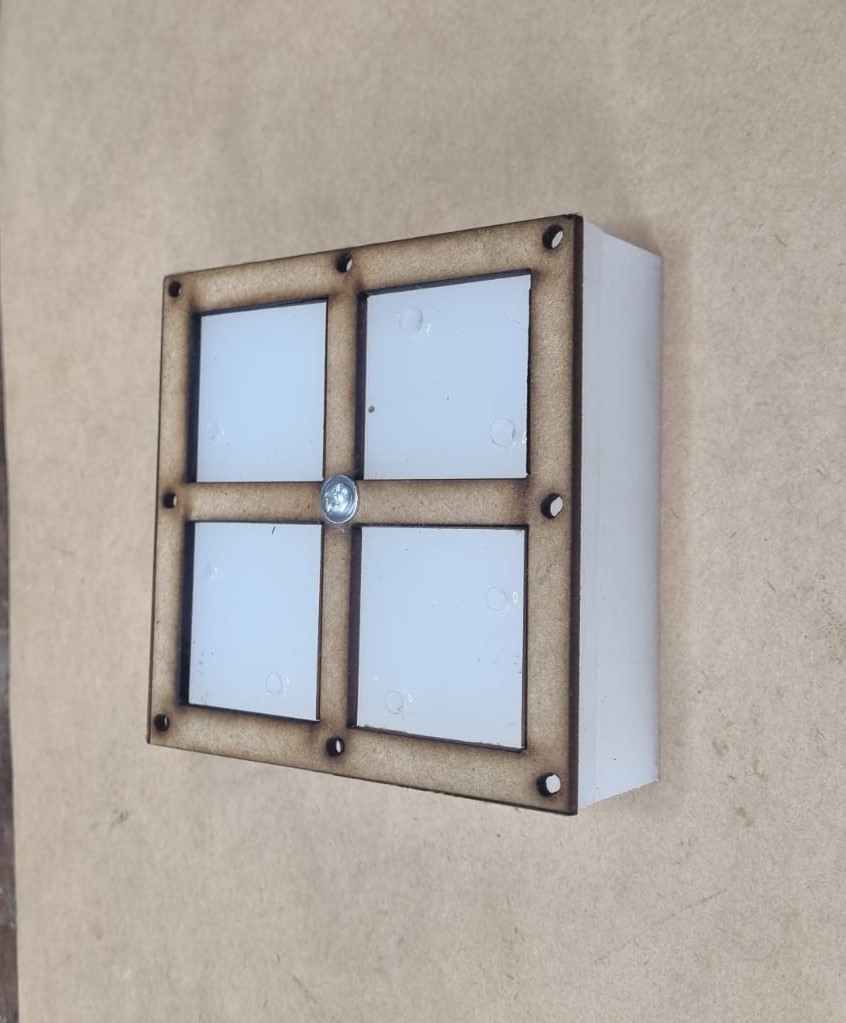
Figure 12-11 - Silicone mold manufacturing process.

Figure 12.12 - v
Finally, the mold is ready!
Material used: Epoxy Resin.

Preparation: To prepare the epoxy resin we need the resin (compound A) and the hardener (compound B), we mix it in a 1:1 ratio.
We inject the resin into the mold using a syringe through the prepared holes to distribute the resin evenly. Let it dry for 24 hours and then demold the final piece.
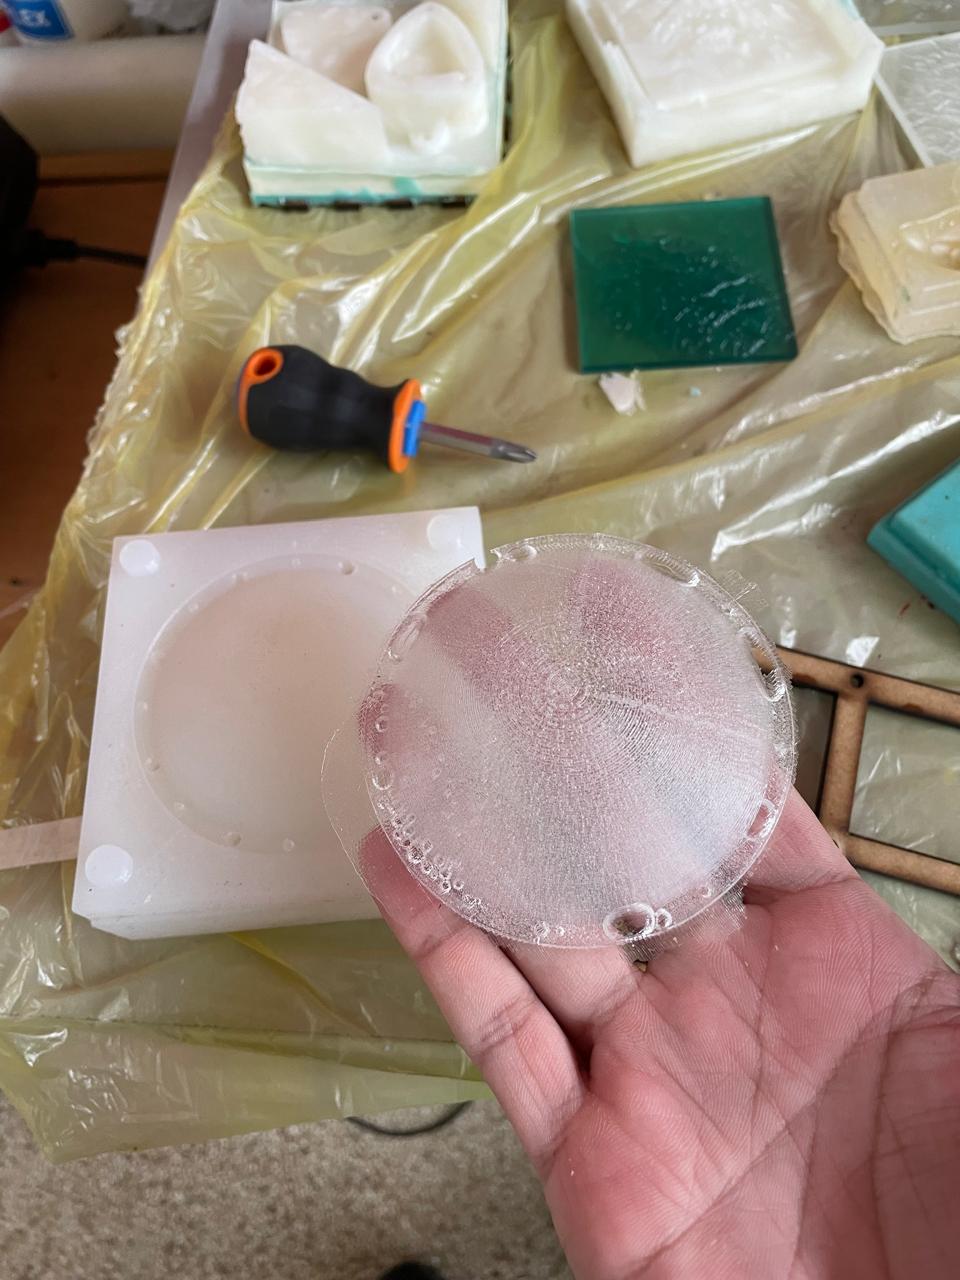
Figure 12.14 - Demolded piece
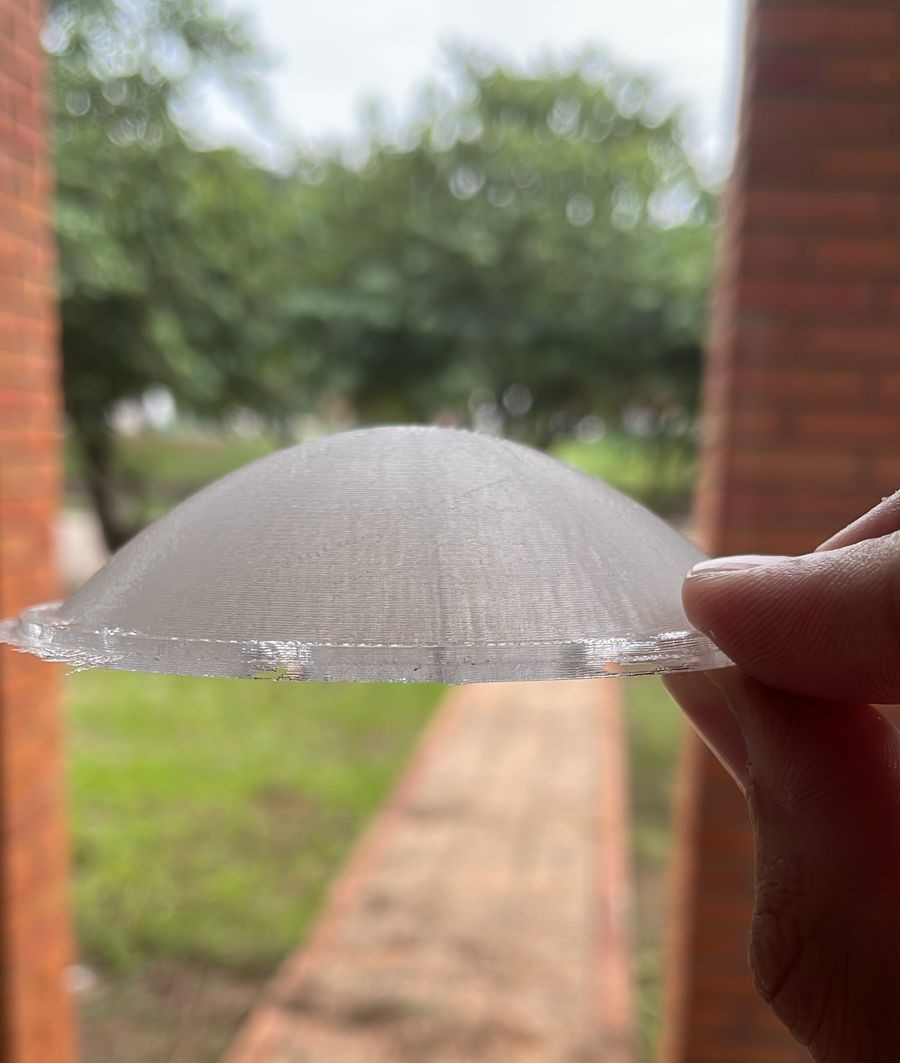
Figure 12.15 - Profile view
Material used: I am very satisfied with the performance of the mold. The thickness of the dome is uniform, and the mold is reusable. In the final piece, some bubbles appeared at the base of the object. Since the object is inverted in the mold, this corresponds to bubbles trapped in the silicone. I believe this could be improved by using a vacuum chamber and applying small vibrations.