Computer controlled machining
This week I spent half my time looking for and designing a piece of furniture, and the other half getting familiar with the CNC router.
It was a very busy week, the activities of the week were:
- Choosing a piece of furniture to design.
- Furniture design.
- Lab's safety training.
- Small scale printing of the furniture design with a laser cutter.
- Cutting furniture pieces.
- Assembly of parts.
Choosing a piece of furniture to design.
After spin around some ideas, and wander through the cloud looking of inspiration and thanks to the relaxing effect of a beer.
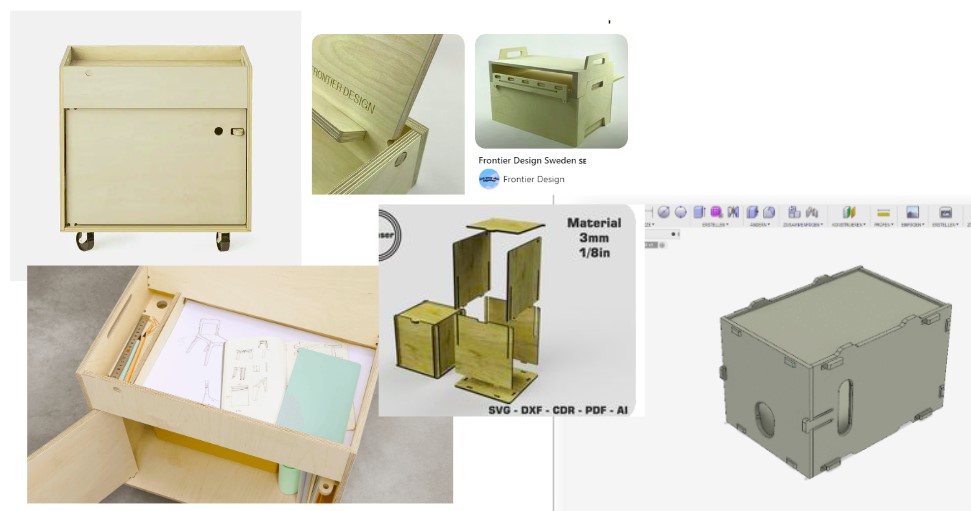
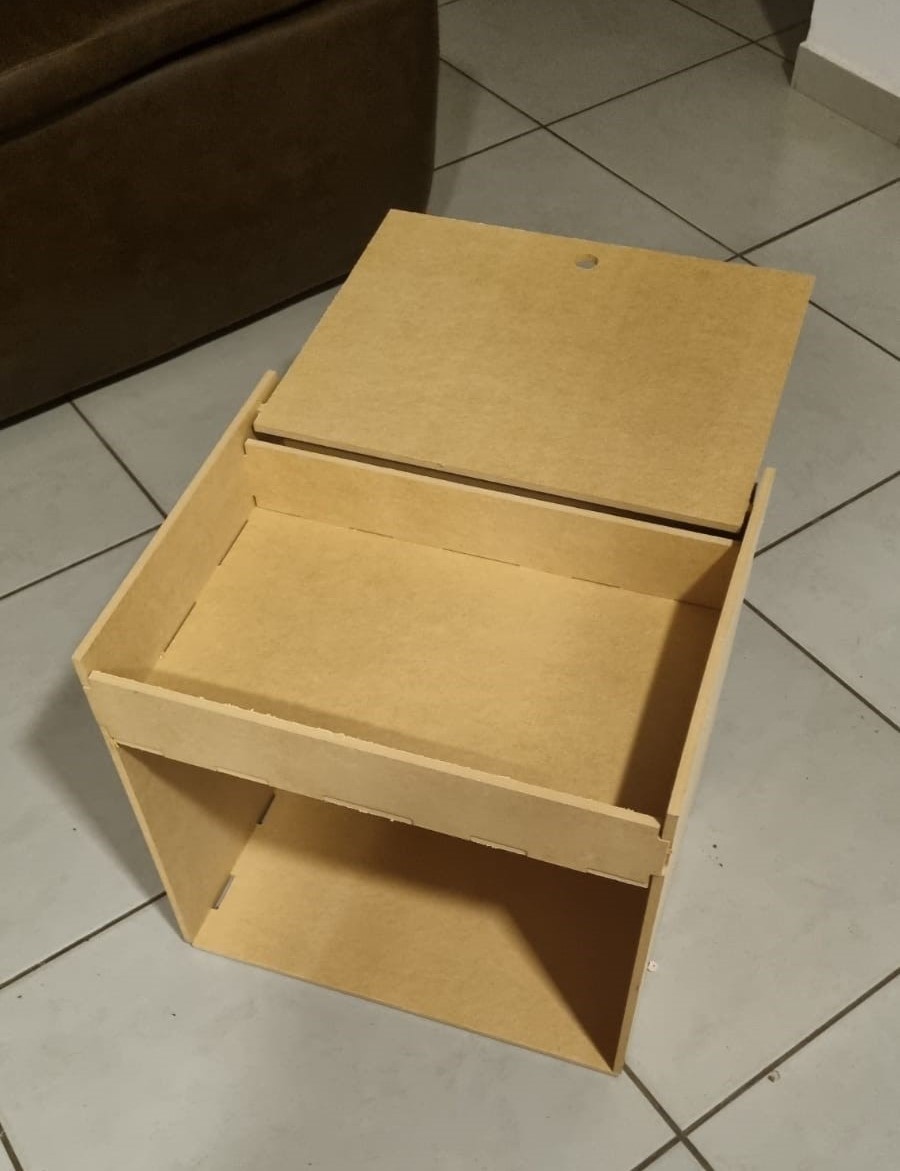
I decided to design a piece of furniture Multi-use that can be placed under a desk that can also be used as a small table.
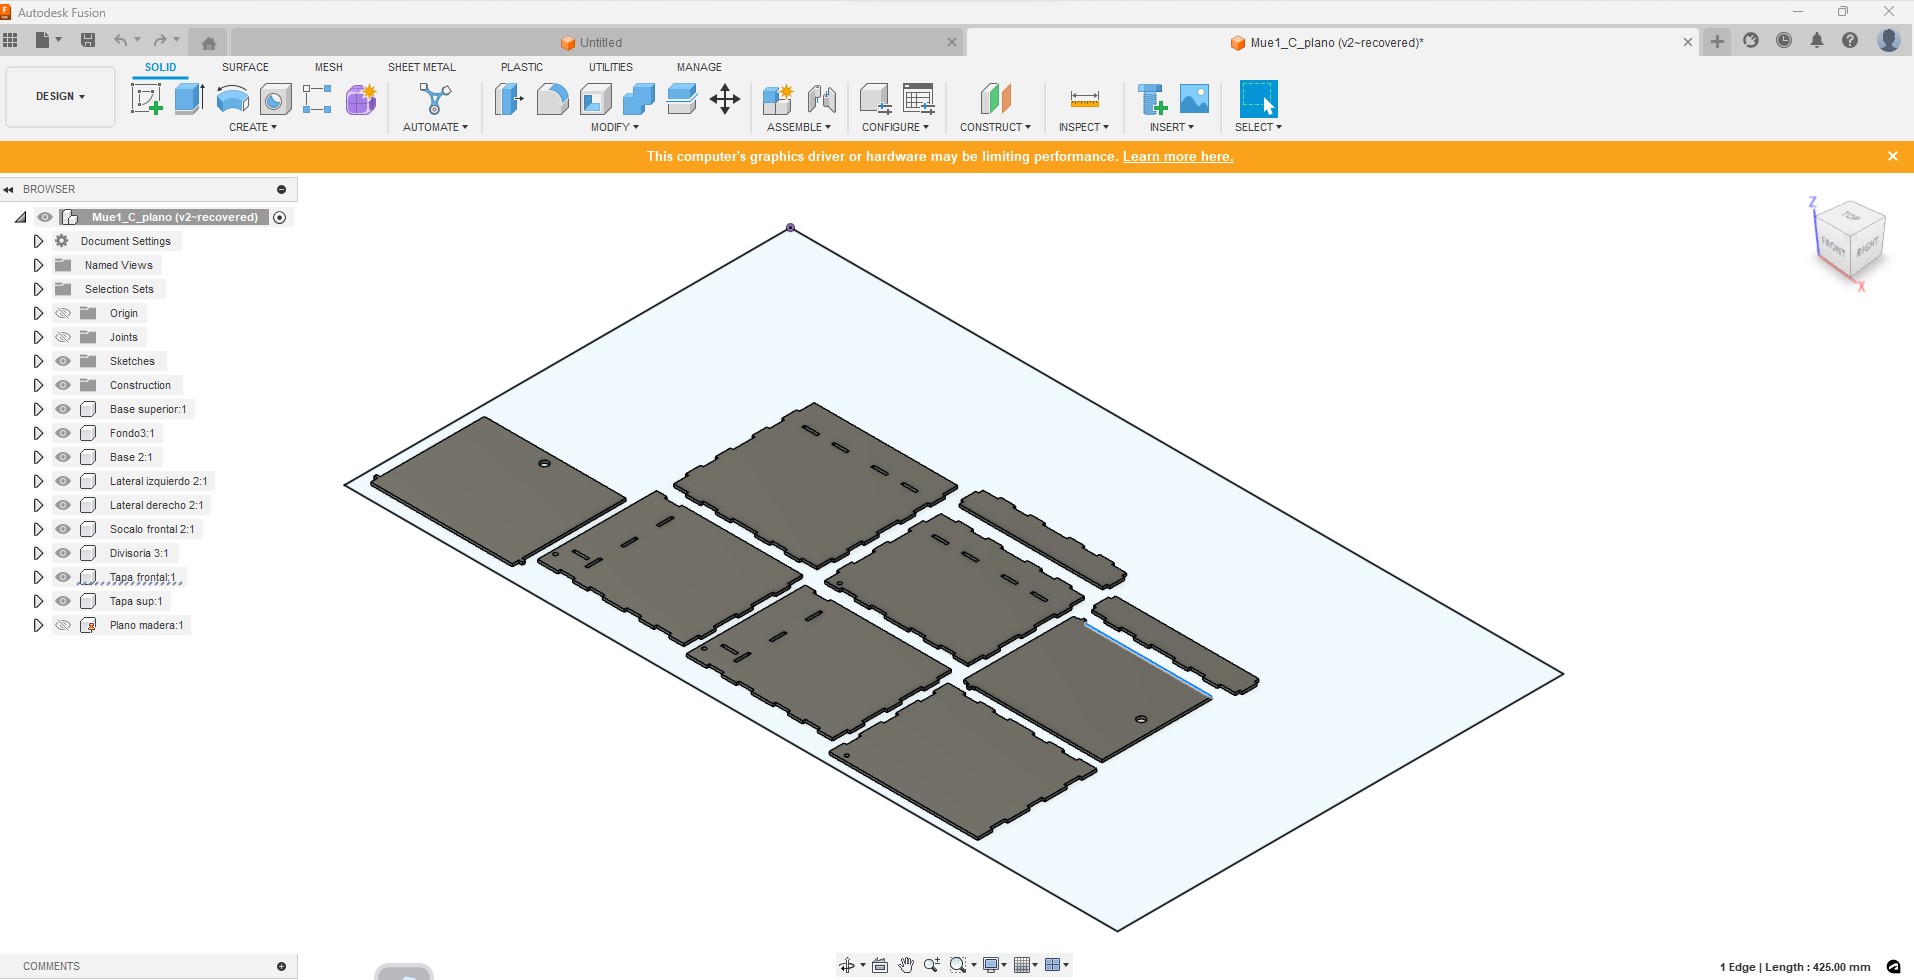
Furniture Design.
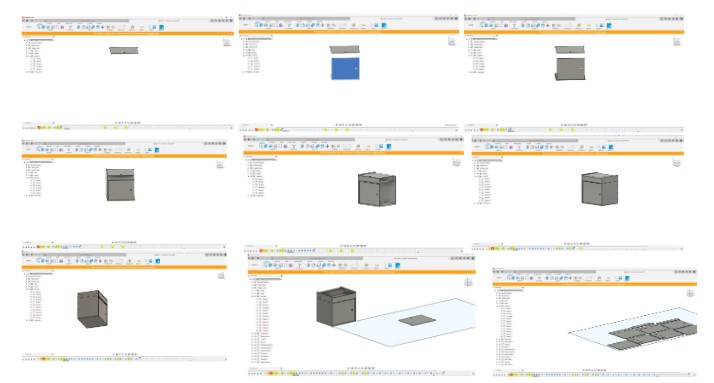
To design the furniture I used the “Fusion” software that I had already used the previous weeks.
To design with all the parameters for cutting with a CNC router, I recommend this video:
CNC Router with Fusion 360, Bookshelf TutorialThis video explains particularly well how to make the inserts and how to break down our design into pieces and place them all on a plane to be able to save them in dxf format and prepare them for cutting.
And this is the final design
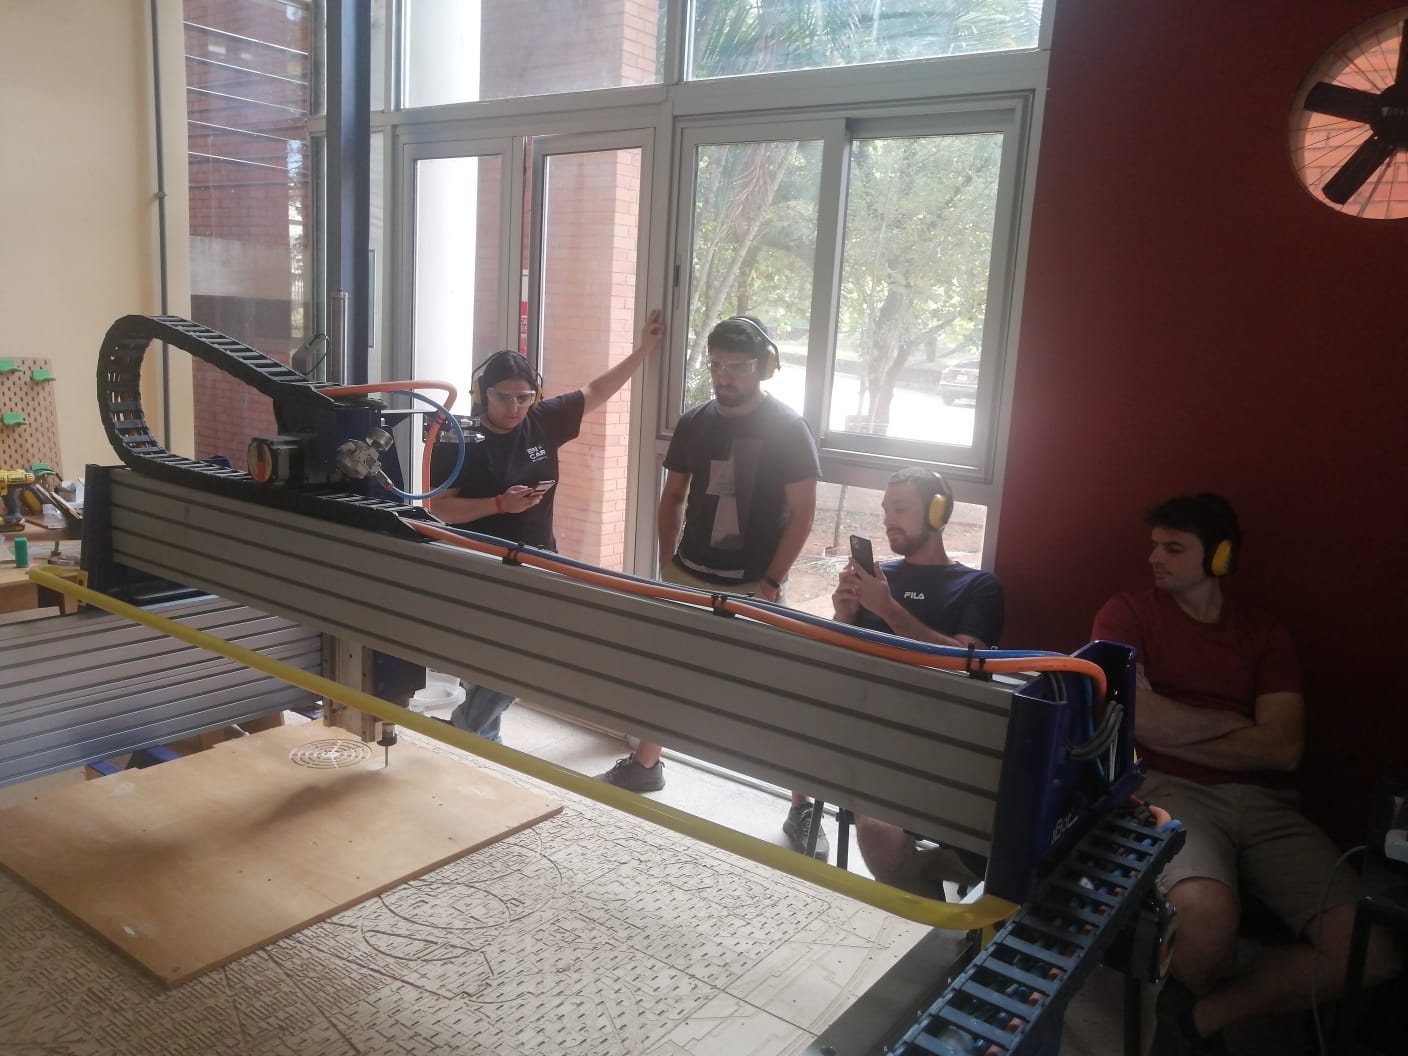
Lab's safety training
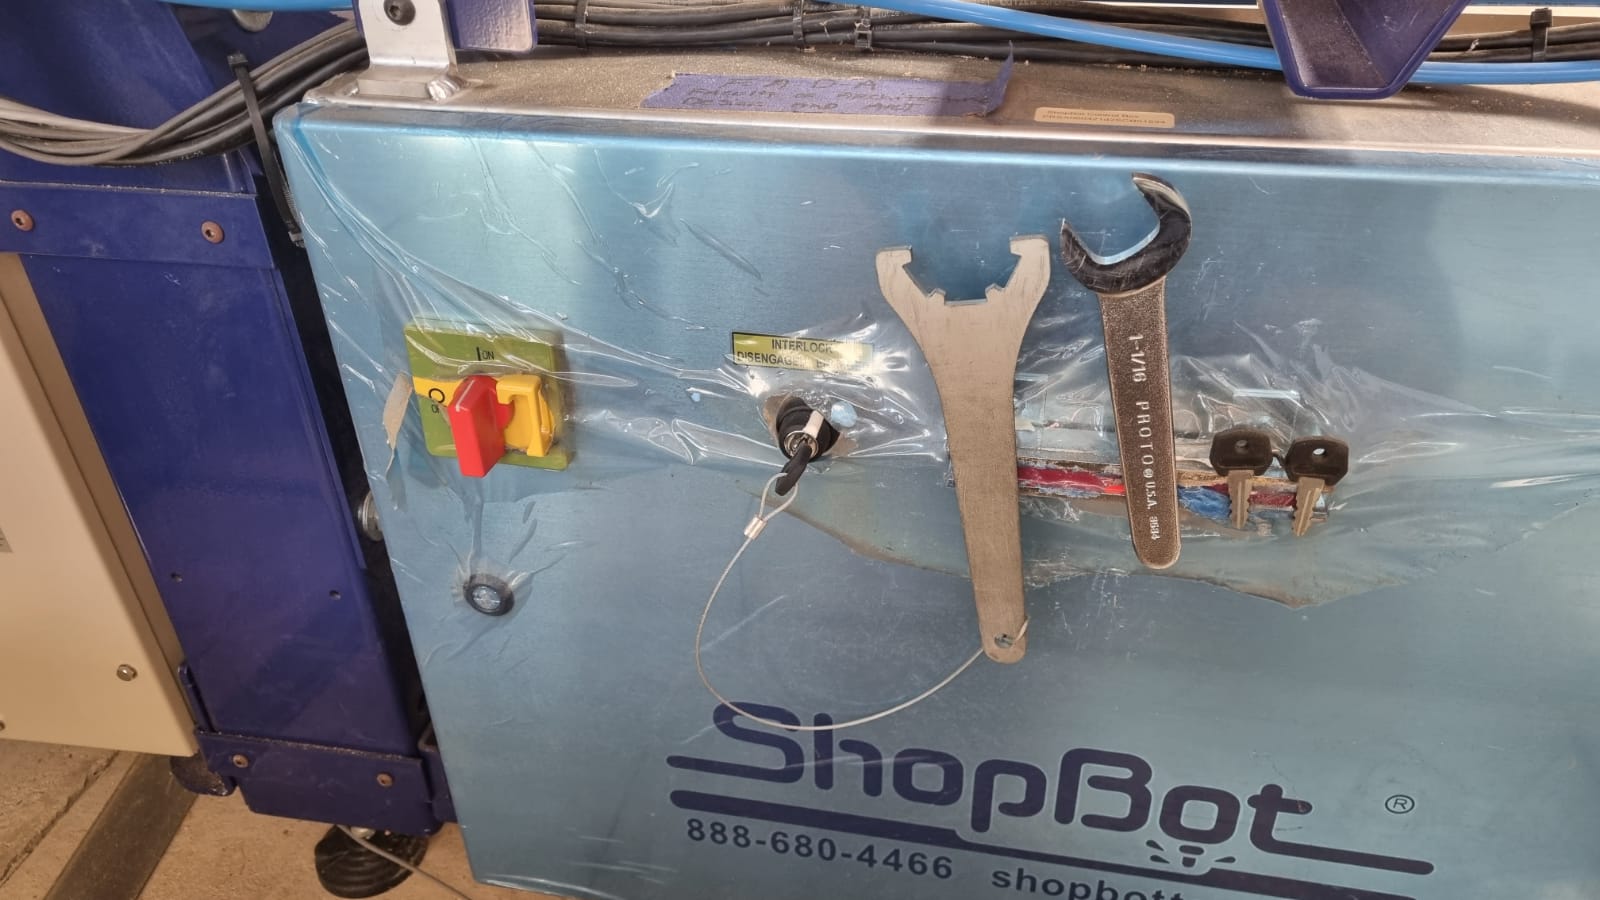
Before being able to use the cnc router we had a day of safe use of the machine. The talk consisted of locating the safety shutdown buttons.
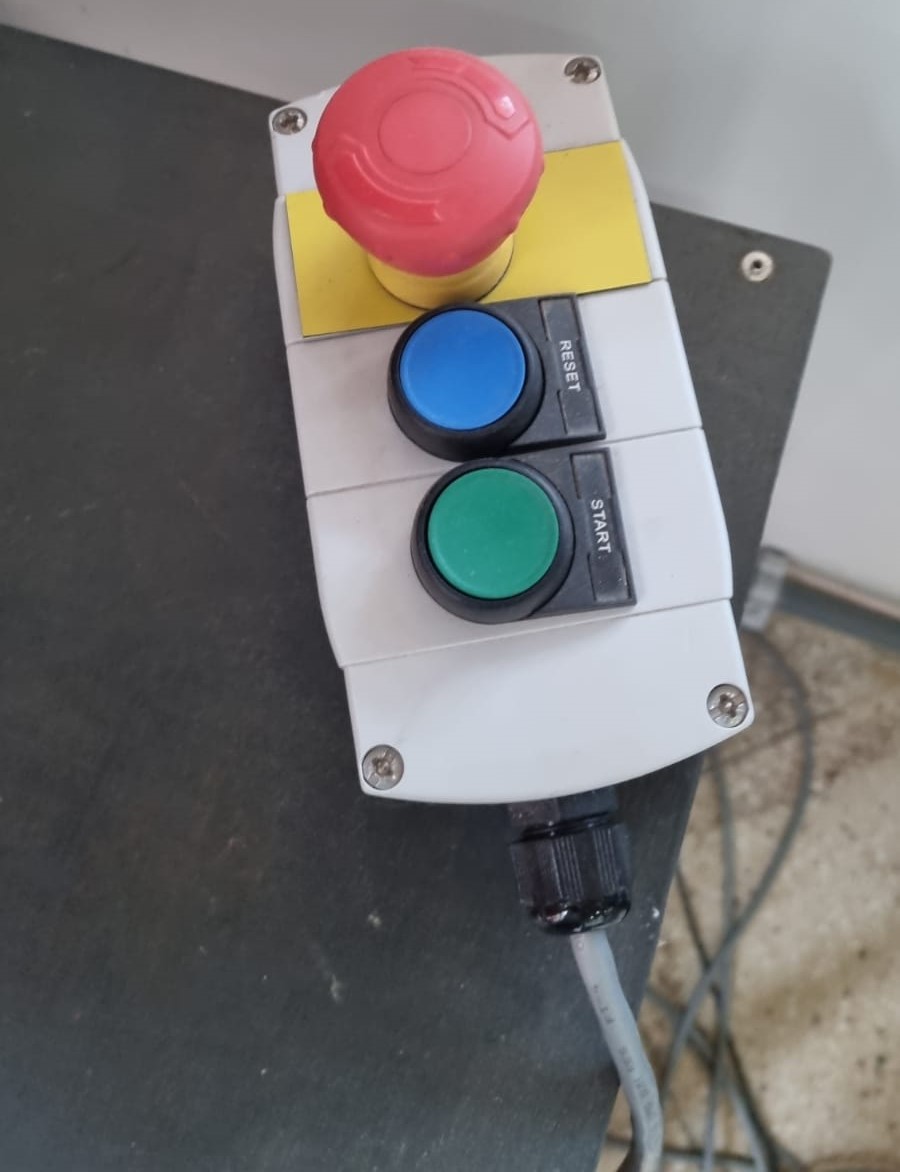
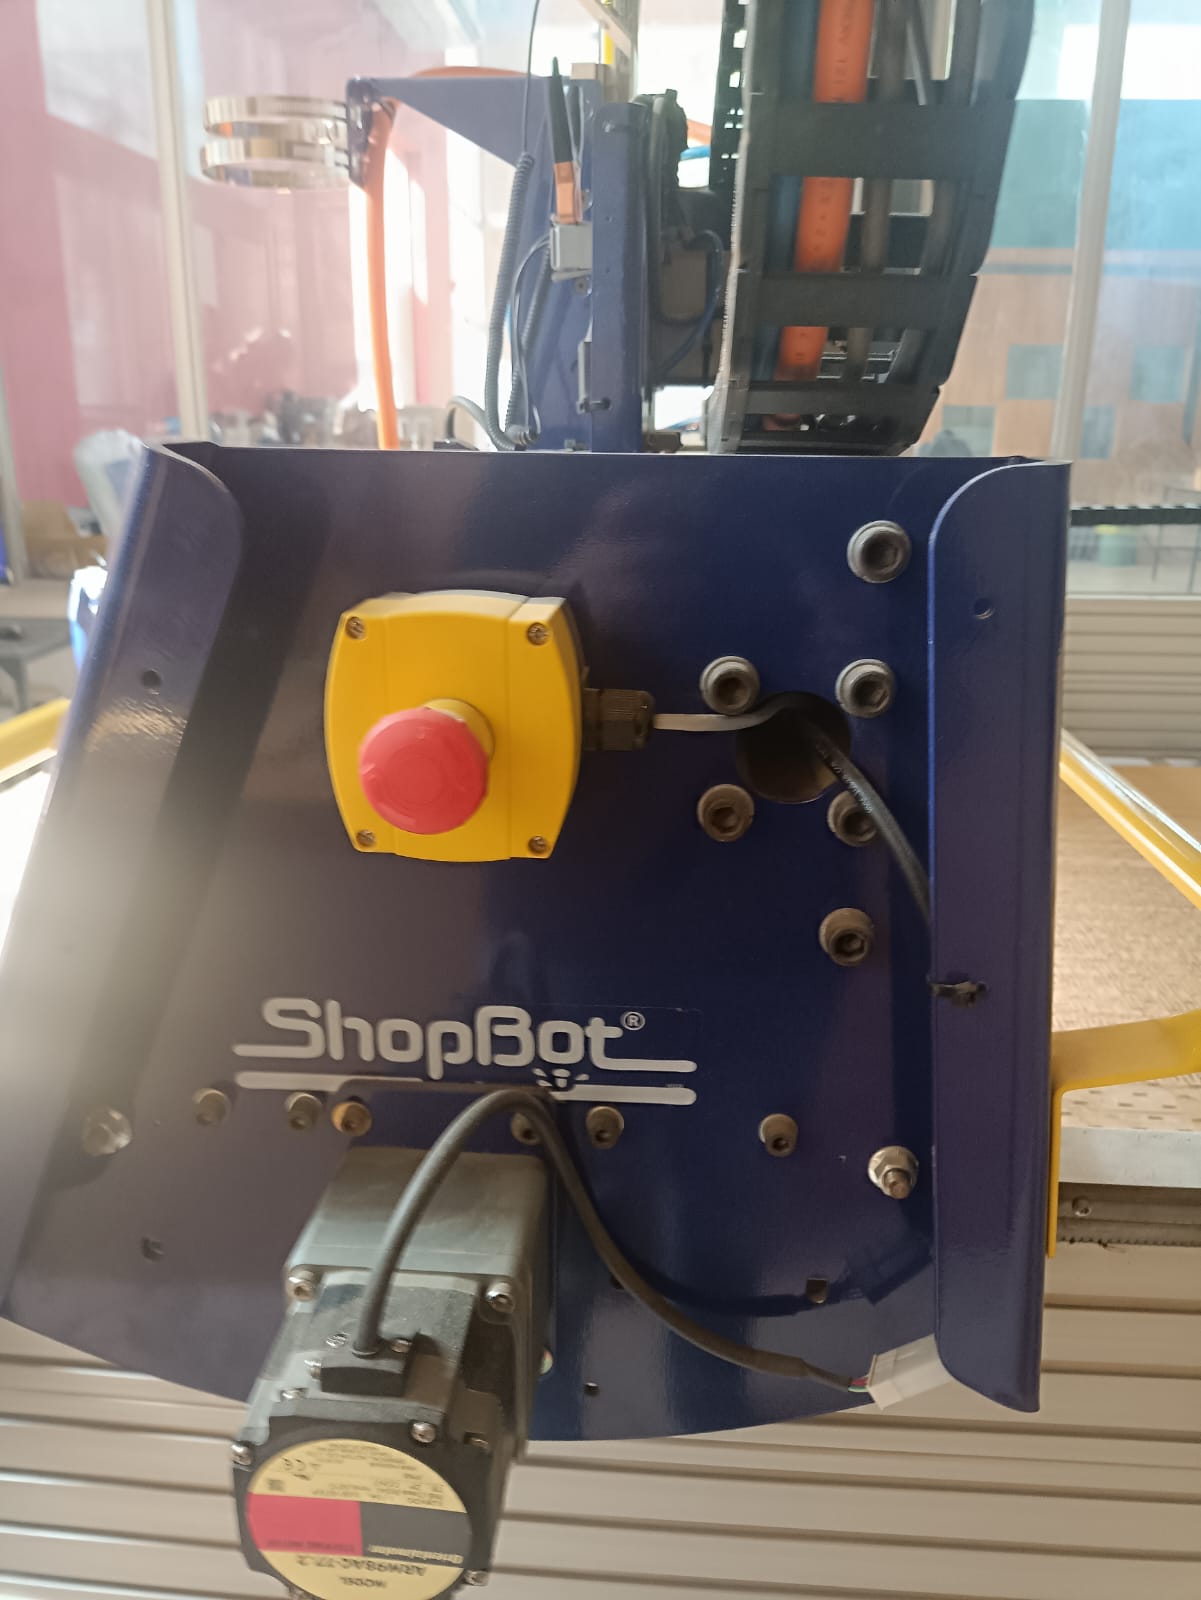
Figures 3 and 4 -Recognition of emergency buttons.
We locate the main key, they are located next to the cutter changing tools, the tools are subject to a safety key so that the key can only be used when disconnected and cuts off the possibility of the machine moving.
After having reviewed all the security systems, we began to explore the equipment control software, the same are the softwares: Vcarve Pro" and "ShopBot", typical of the equipment we use.
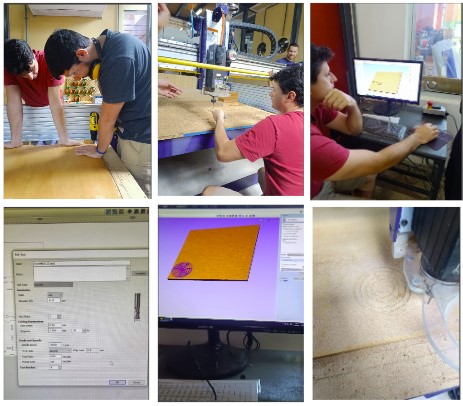
Small scale printing of the furniture design with a laser cutter
When the design is finished, we save a file at a 1:3 scale, this file will be used to test the design on a smaller scale. The test was carried out on a 2 mm MDF board, and I used a kerf value of 0.182 mm, which gave me excellent results.
Fortunately, the model and the inserts worked very well on the first test. We are ready for the big court!
Cutting furniture pieces
The next and penultimate stage consists of:
- Choose the final material. I chose to use a 9 mm thick MDF board.
- Change the file with the chosen parameters, vectorize the image and save it in the .dxf format.
- Final adjustments were made with "Vcarve Pro" software.
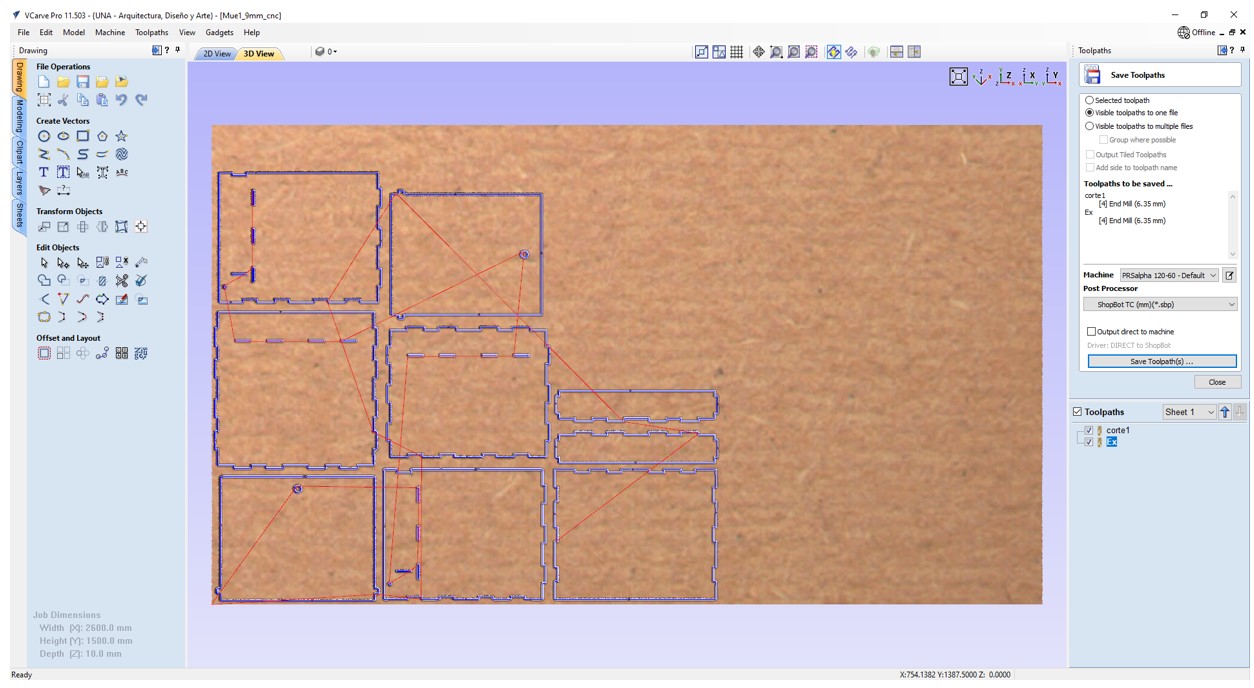
Below I provide the drill bit configuration
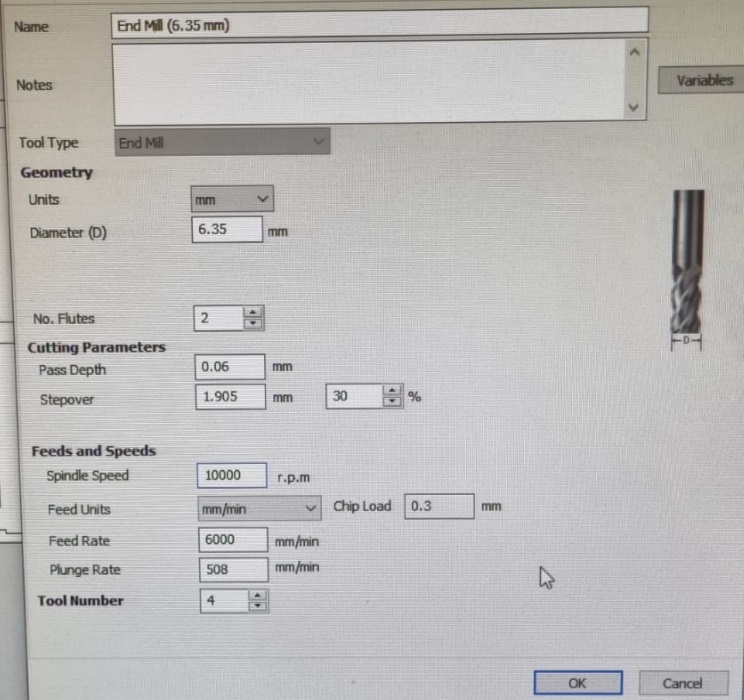
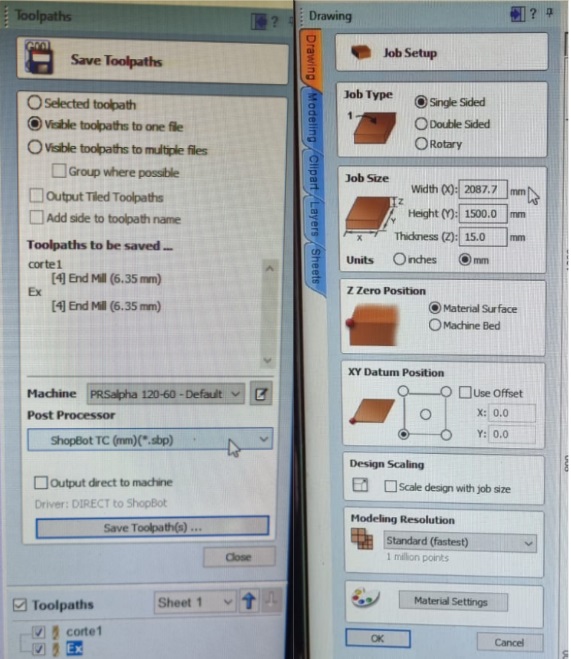
And here are the cut settings
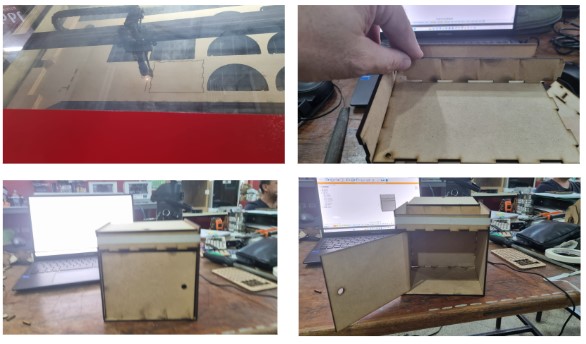
For the assembly of the pieces, I chose to use the Dog Bone joint type, and I don't regret the decision.
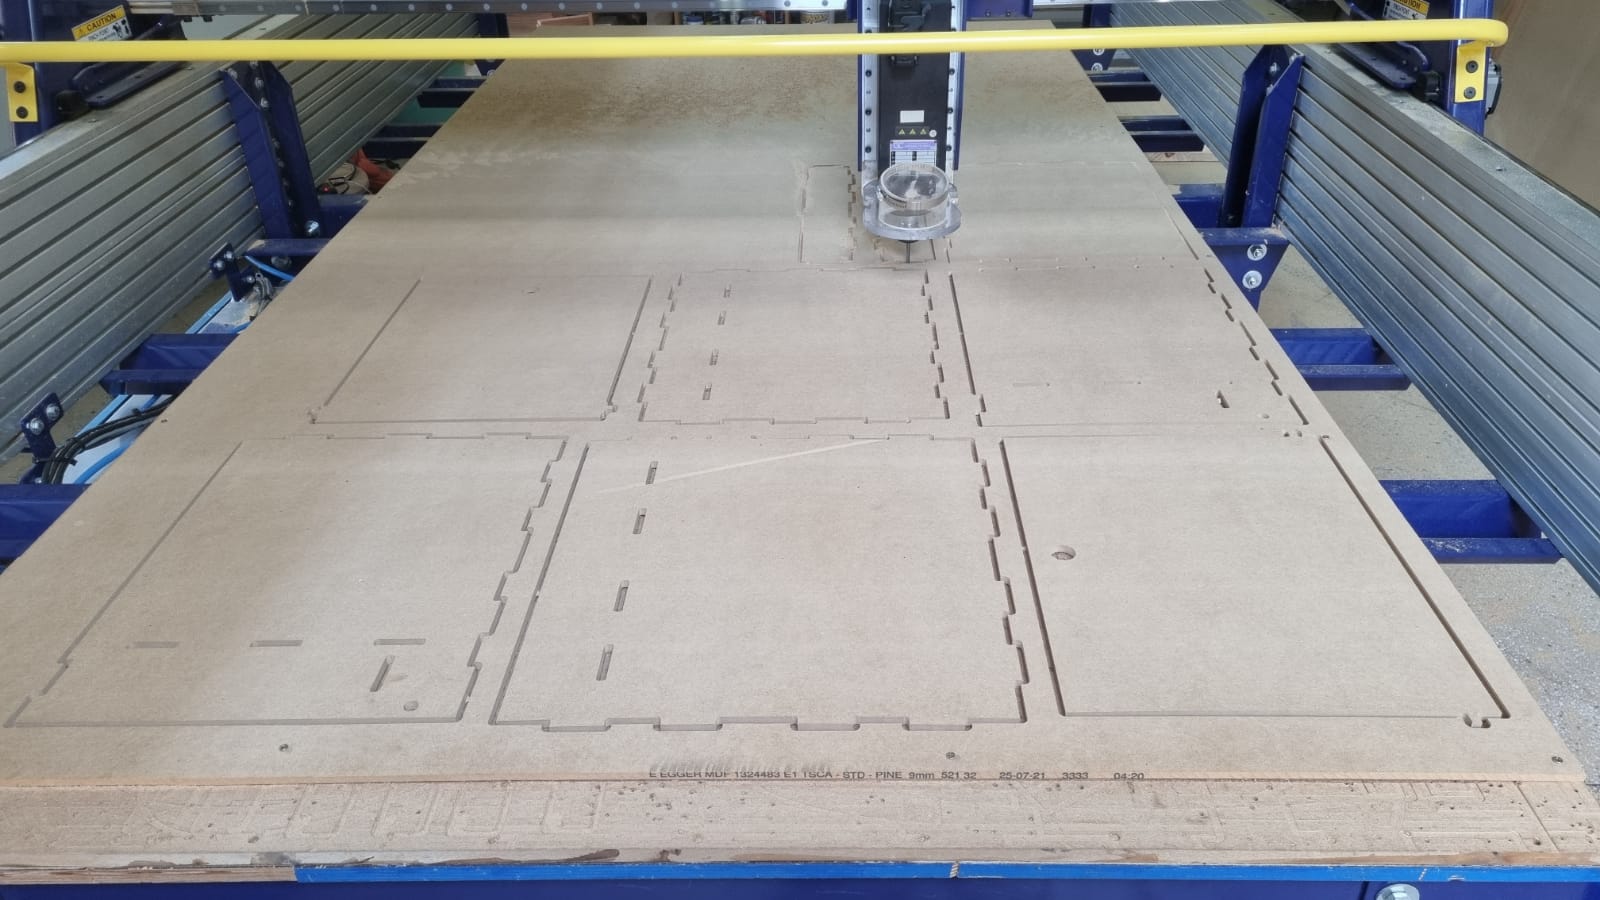
Cutting time! with everything configured and ready to cut with a 6mm diameter router bit. .
Assembly of parts
To finish we clean the pieces and assemble the furniture, due to a certain curvature of the table it is necessary to fit the pieces together.