Embedded programming.
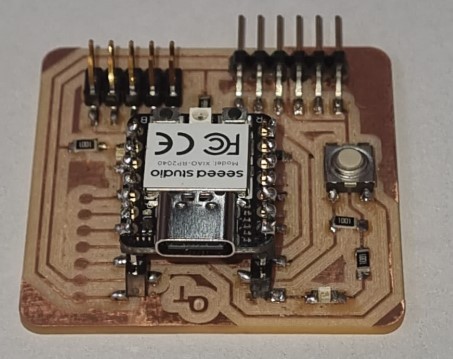
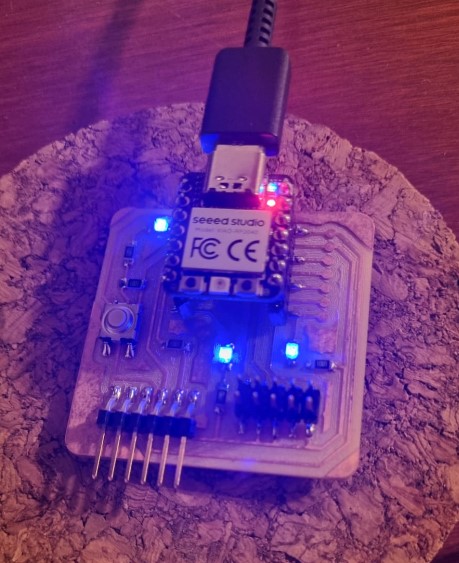
This week we played a little with programming using the board we made (Using the Quentorres board) and to which we placed the XIAO RP 2040 microcontroller and we tried it in the activity of week 4. We did the programming with Thonny and Arduino
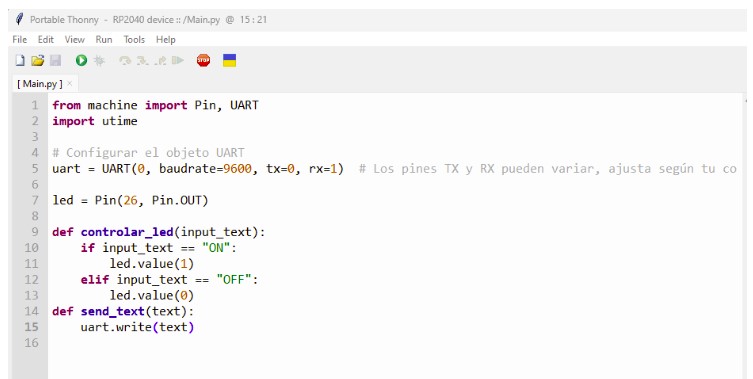
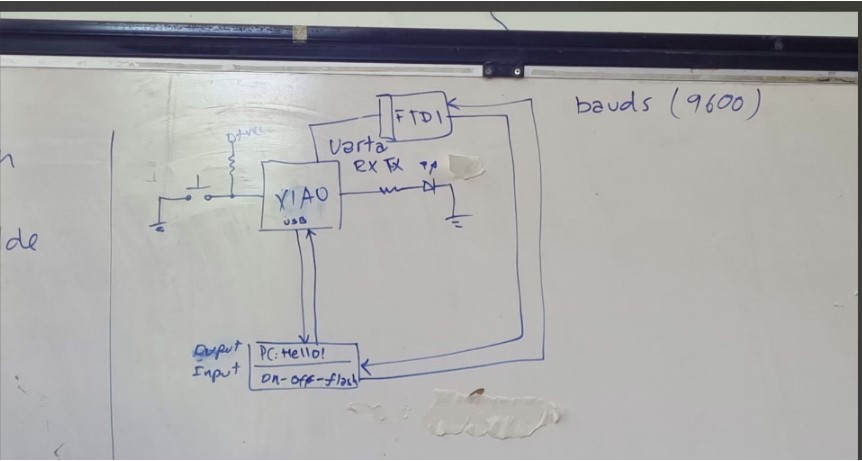
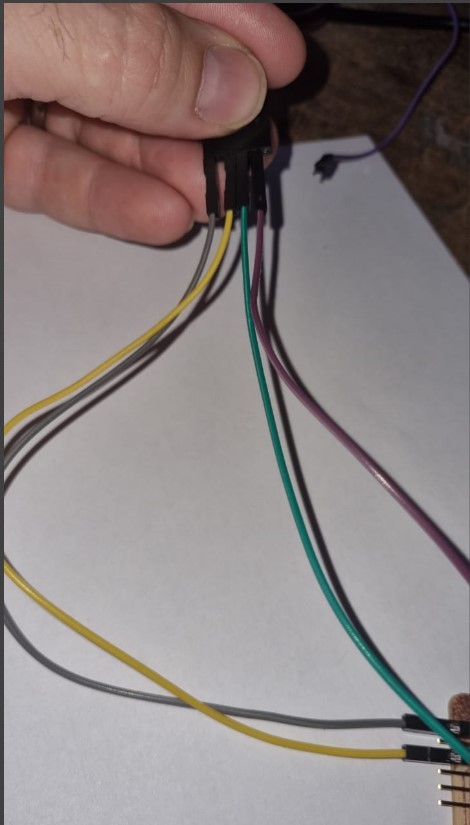
My goal is to establish a basic wired connection to allow the Xiao board to communicate with the computer via the FTDI cable. My aim was to display a simple "Allo mundo" message on the PC when a button on the Quentorres is pressed, which we programmed in Thonny.
As these are my first interactions with microcontrollers, it took me a long time to analyze how they work and their interaction with the board we had printed.
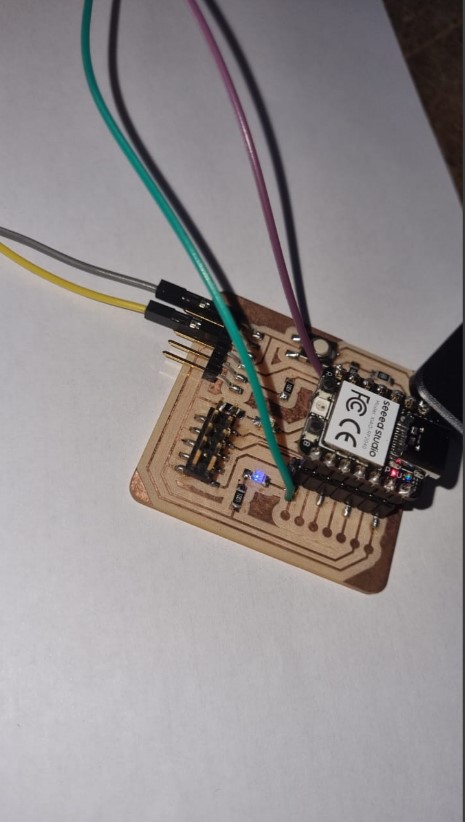
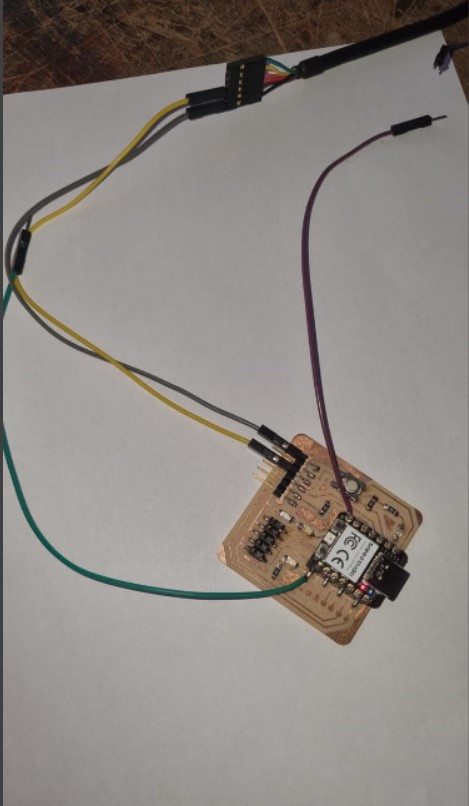
To clarify, I made a map of the pins, that's when we realized that some pins did not fit well with the theoretical location of the pins.
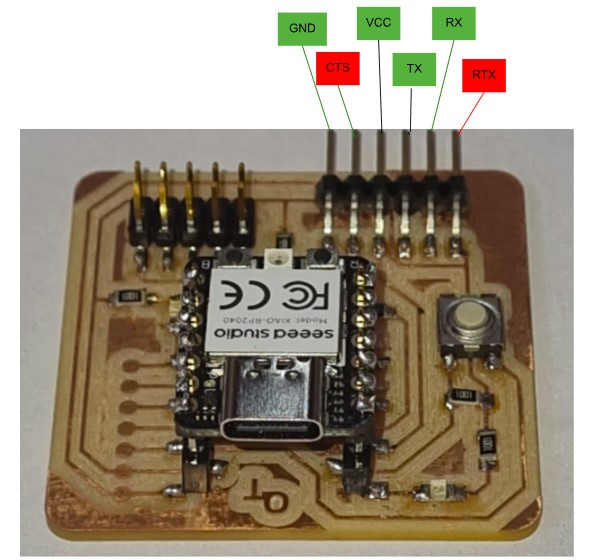
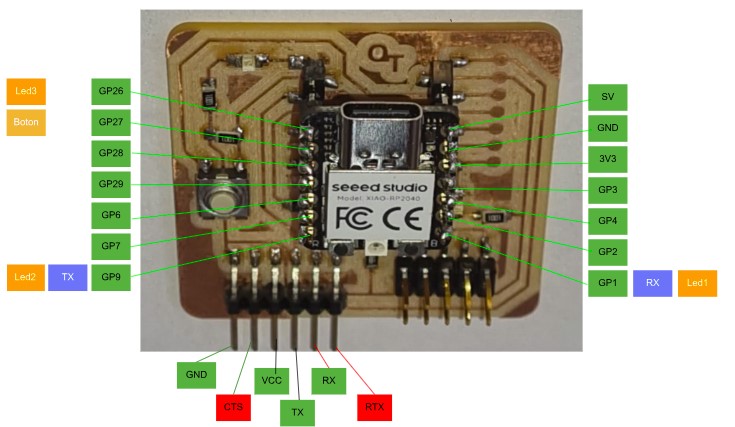
While testing it, we encountered an error that indicated the ports designated for the UART connection, TX and RX, were incorrect. After troubleshooting the problem, we discovered that MicroPython does not allow the use of non-designated pins for UART in wired connections. The solution was simple: connect two cables to the ports specifically designed for UART communication
To rectify the problem, we had to perform a small "surgery" on the board to rectify it so that in the future we can connect the UAR cable.
With these pictures I made a 3D model and obtained:
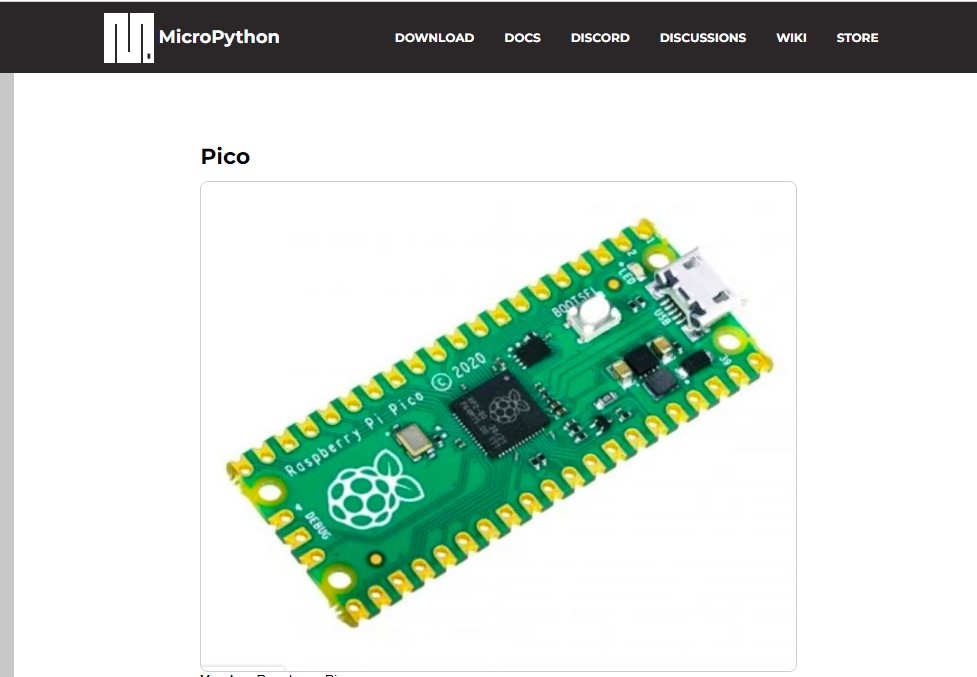
Before programming we need to install a Firmware. We download it from the page: https://micropython.org/download/RPI_PICO/ and install the version:
Vendor: Raspberry Pi
Features: Dual-core, External Flash, USB
Source on GitHub: rp2/RPI_PICO
Installed version: v1.22.2 (2024-02-22) .uf2
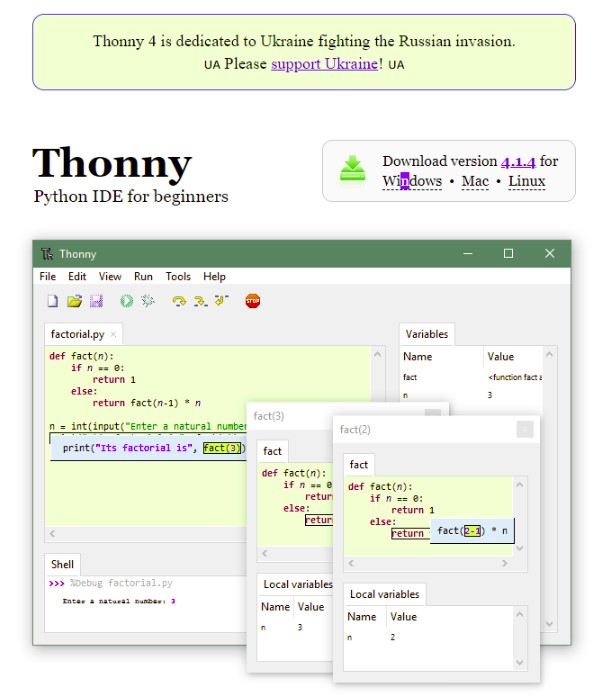
Thonny is downloaded to be able to run the codes written in Microphyton on the microcontroller.
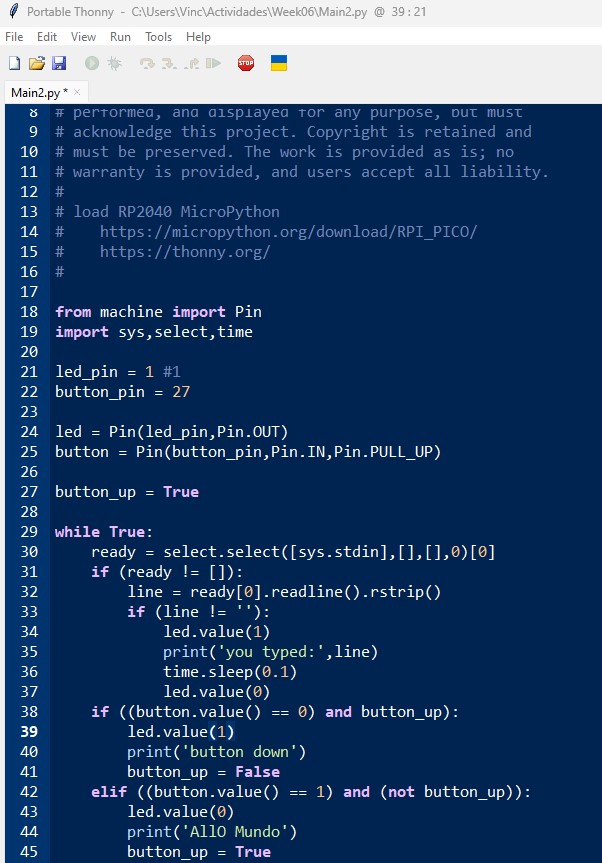
I have carried out several tests using microphyton, controlling the LED lights, the button and printing response messages.