Electronics Production
The objective of the week is to use a microcontroller, for this we are going to start with a virgin copper electronic board, place the circuits and electronic components..
We download the design of the copper plate from the FabAcademy site:
Inside the folder the file that we are going to use is: quentorres-main -> design -> gerber -> v2 ->
FlatCAM is an application to prepare printed circuit designs to be manufactured on a CNC mill/router. Among others, it can generate G-Code for insulation routing from Gerber files generated in your favorite PCB CAD application.
I downloaded the software from the website:
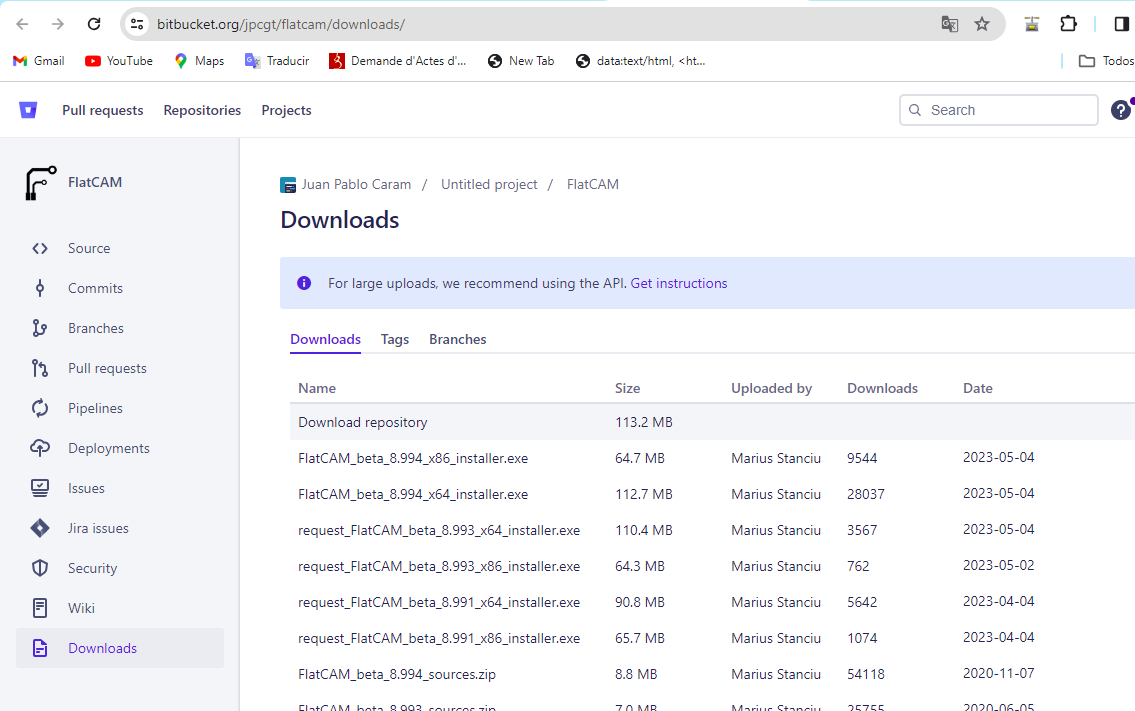
I downloaded the version: FlatCAM_beta_8.994_x64_installer.exe.
The installation is common and intuitive.
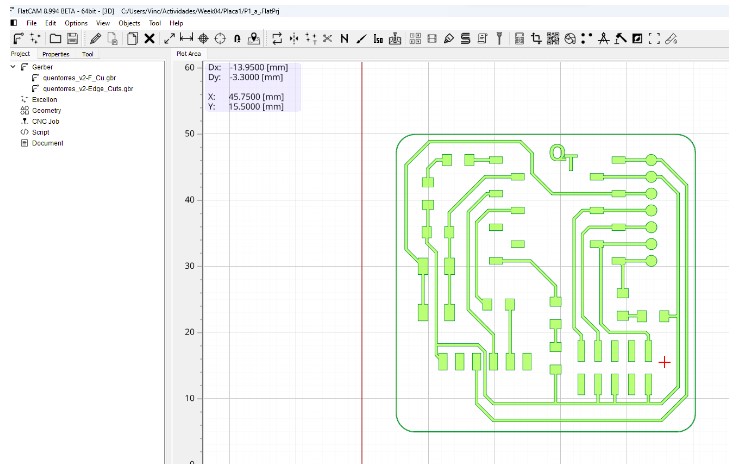
Once the software is installed and opened, we will load the downloaded files. The format of the circuit will be in SVG or DXF.To do this we go to the menu File -> Import -> Gerber Object (SVG or DXF). In our case we open the file: quentorres_v2-F_cu.gbr.
For the outline, vectorize an image and save in .svg format To open the outline, go to the menu, -> import -> SVG geometry.
In this case the image was vectorized using the Inkscape software
But for our final design we are going to use a more classic shape, as the following image shows:
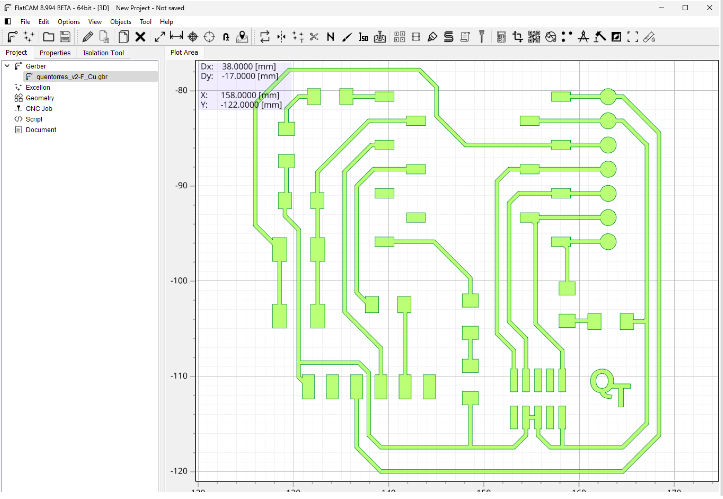
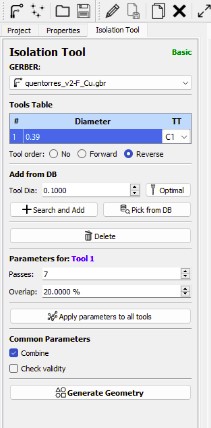
To configure the parameters we will start by clicking on the gerber, In our particular case it will be the file: quentorres_v2-F_cu.gbr.
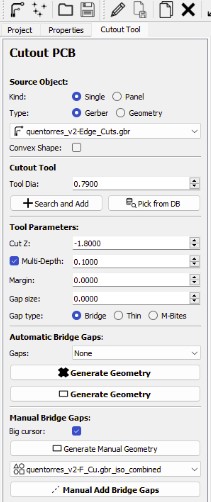
And we will go to the option: Isolation Tool
Where we will configure with the parameters that we see in the figure.
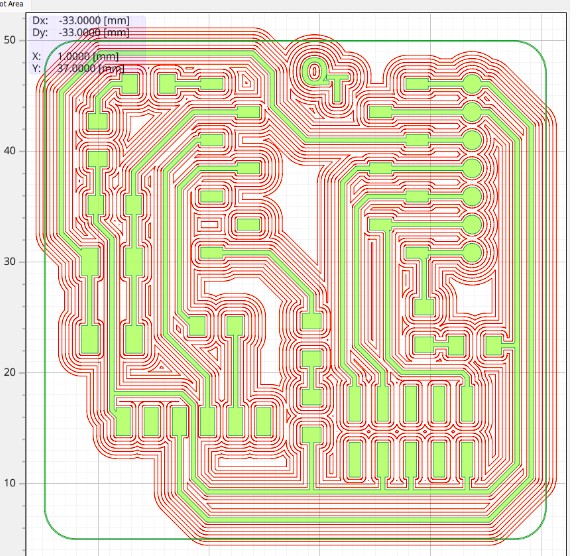
With these parameters, we obtained the following result:
Once done, go to the configuration of the cutting line, to do this we mark the file with the svg format, and use the parameters of the image below
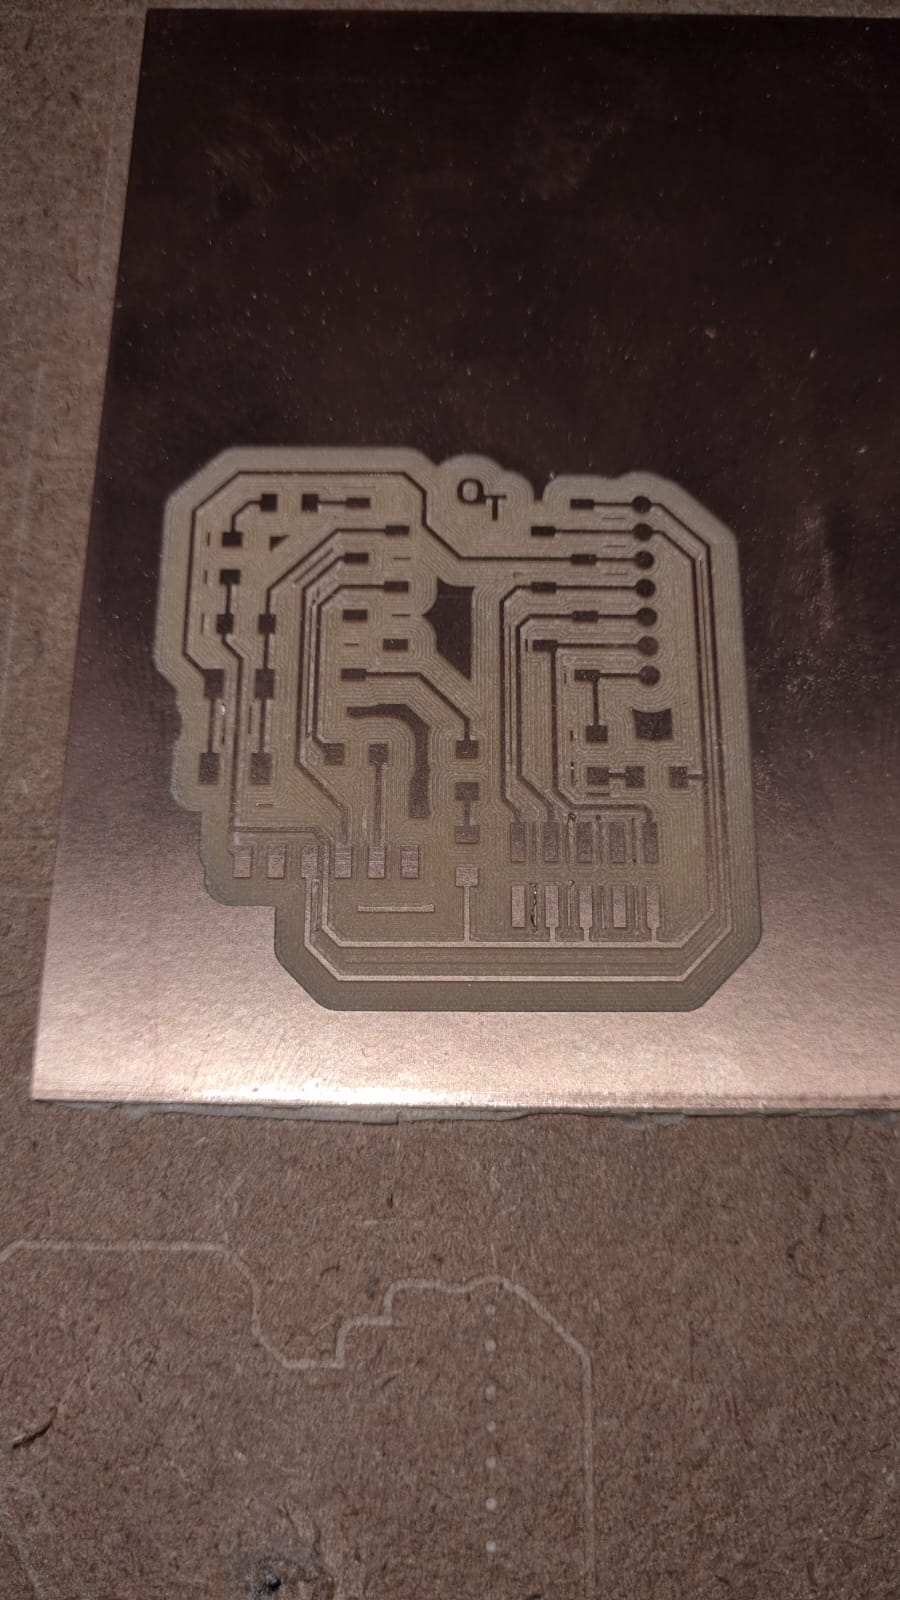
Finished, we save the files and copy them to a pendrive to take them to the engraving machine.
Now we will start the process of engraving the circuit. We will use a copper plate with a cellulose substrate measuring 10cm x 10cm.
The machine we will use is a Rolland MODELA proII MDX-540, And the software that controls it is
the Vpanel software.
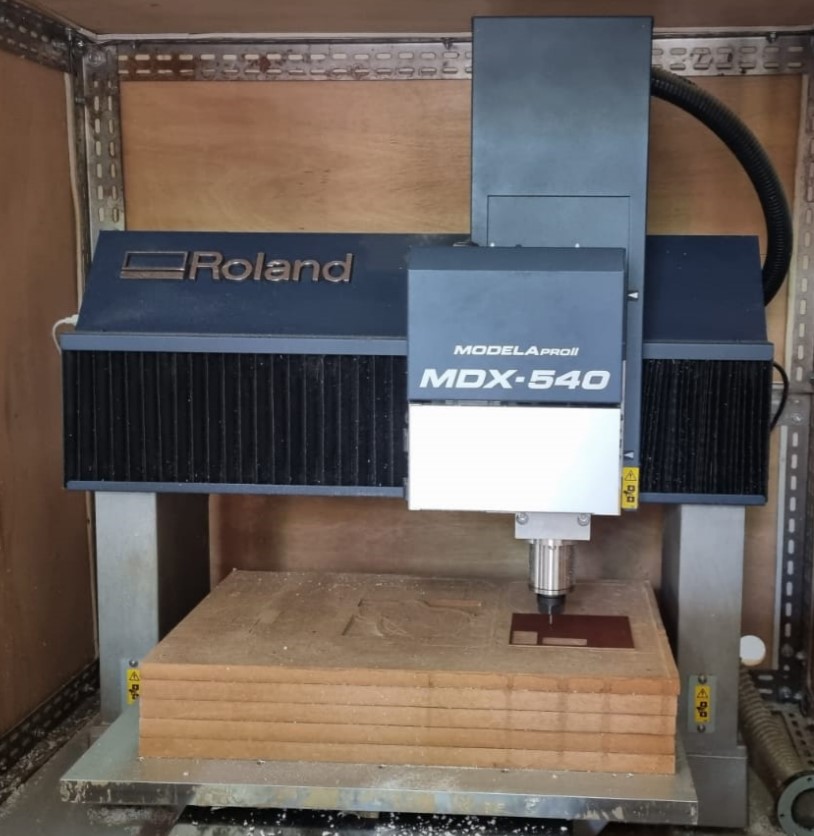
The steps we followed were:
 |
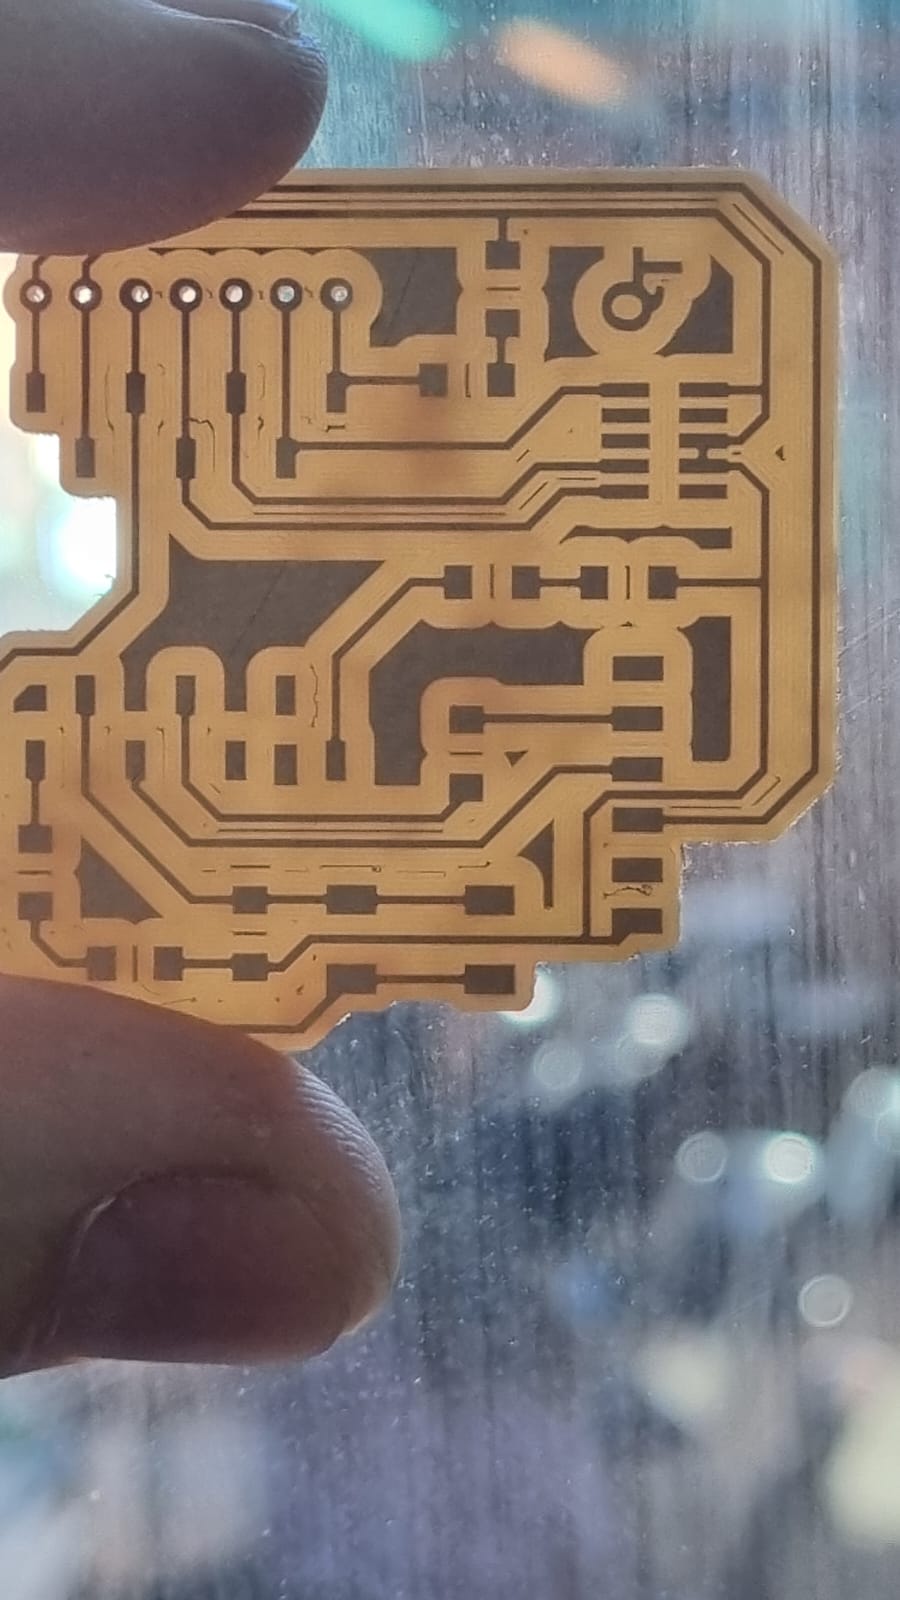 |
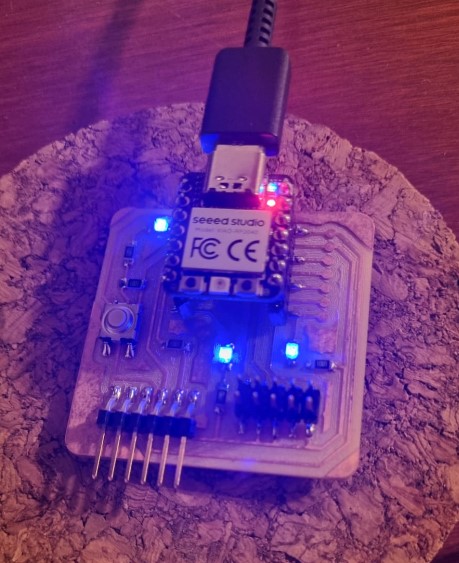
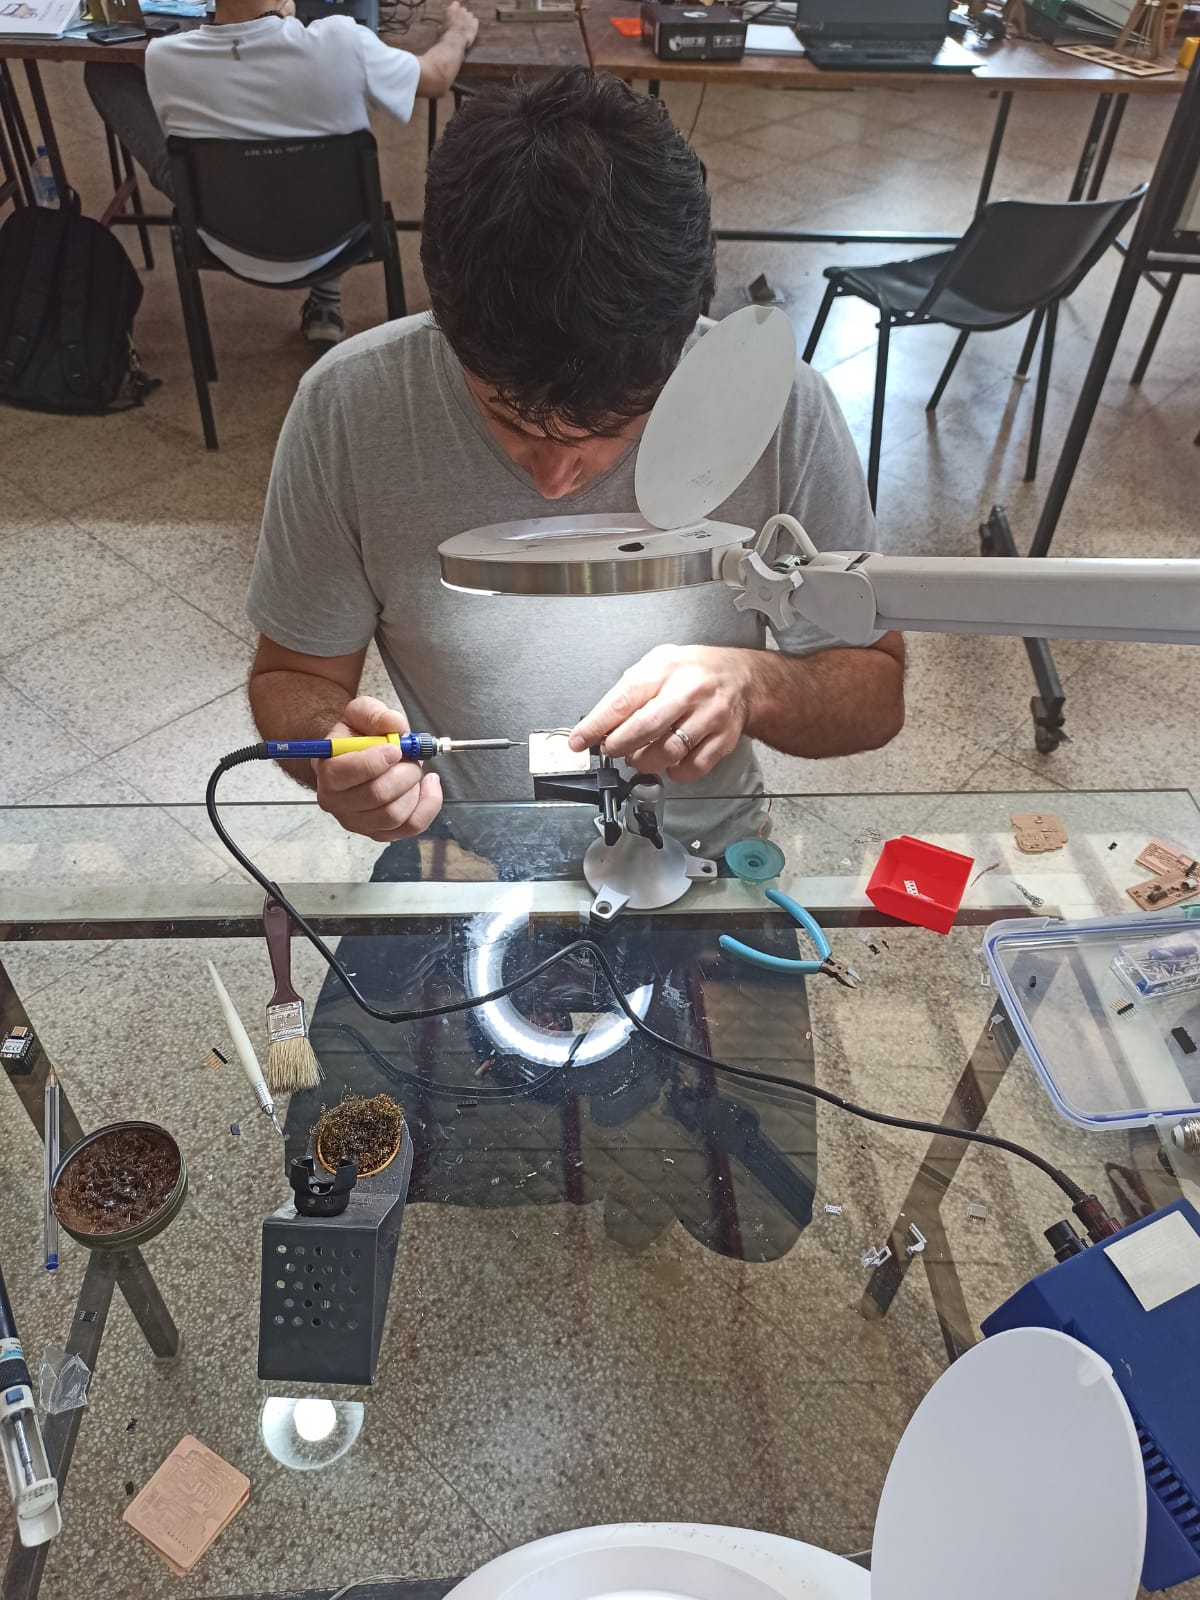
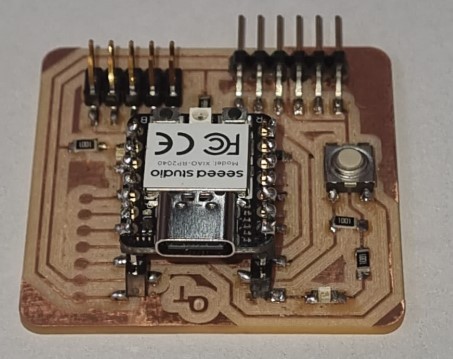
Once the CNC router board was removed, we proceeded to clean it and solder the electronic components.
We use:
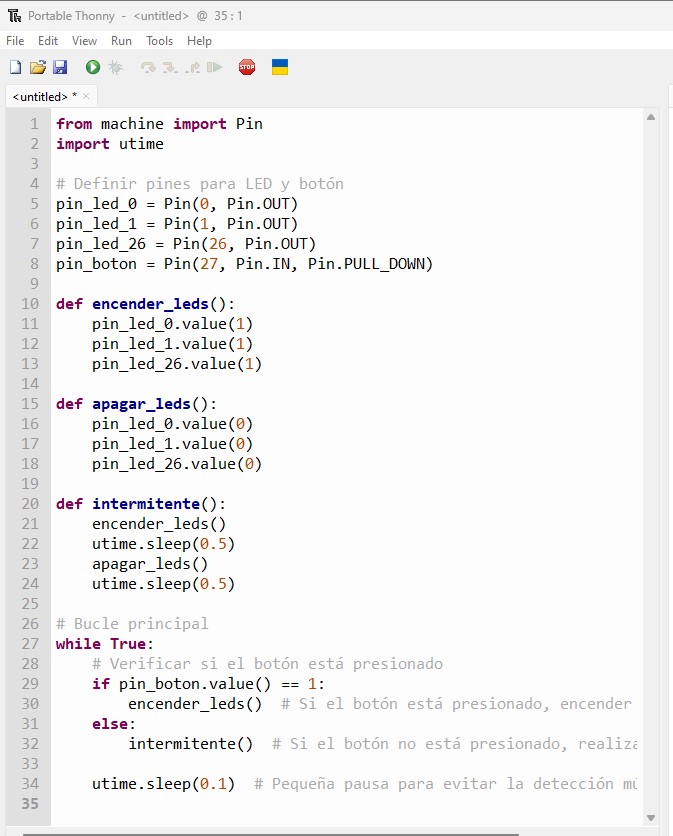
To test the board we are going to have to download some programs. The first step is to have Python on your PC. If you don't have it, you must download it from the official website.
Then we proceed to download the thonny program from: https://github.com/thonny/thonny/releases/tag/v4.1.4
Download micropython firmware for raspberry Pi pico: https://micropython.org/download/RPI_PICO/
The firmware must be downloaded to the microcontroller. To do this you have to connect the microprocessor to the PC, in my case I use a cable with connections c and c, and when connecting the microprocessor you must press the Booth button
open tonny, specify that MicroPython (Raspberry Pi Pico) will be used in: Tool -> options -Interpreter -> MicroPython (Raspberry Pi Pico)