GIMP
Installation of the GIMP Software
I installed the GIMP software from the official website http://www.gimp.org.es.html. On this page, you can select your operating system, and the installation process is straightforward and user-friendly.
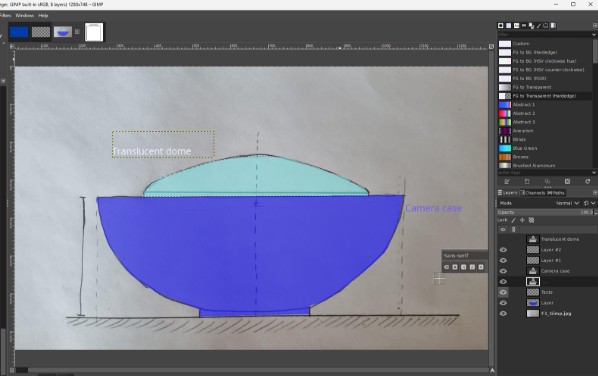
To familiarize myself with the software, I decided to modify a hand-drawn sketch of my final project and color it using GIMP.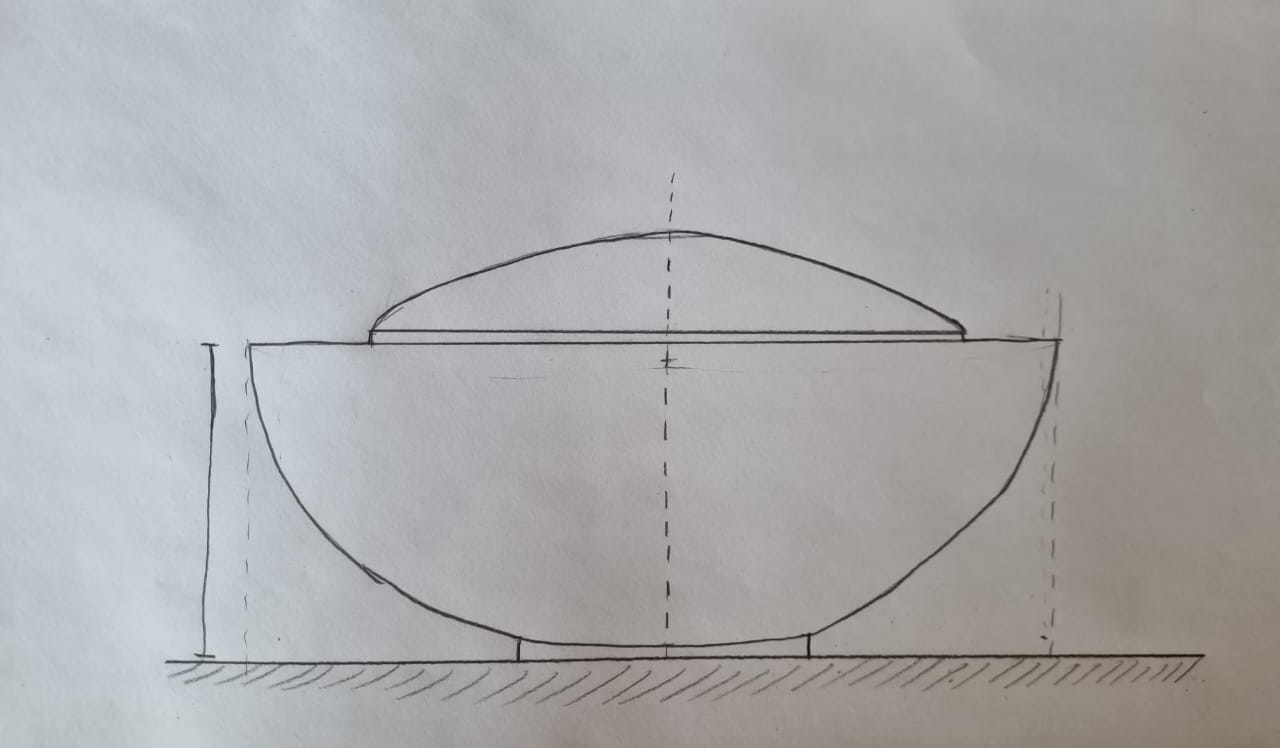
Getting Started with GIMP
I began by opening the installed program. First, I created a new file and set the dimensions that suited my project. In this case, I opted for a transparent background. This can be done by navigating to: File > New > Advanced Options, where you can select various configurations, such as background color, resolution, and more.

Working with Layers
The next step was to create a layer with the scanned image of my hand-drawn sketch. Using layers allowed me to organize the elements of my project more effectively and edit them separately without affecting the others. I opted to create the following layers:
Sketch Layer: This layer contains the scanned sketch of my project. It serves as the base for all modifications and coloring.
Zones Layer: A layer dedicated to marking and coloring specific areas of the sketch, such as different sections or regions of the project.
Text Layer: This layer contains all the textual elements, such as labels or annotations, to clarify different parts of the project.
Internal Camera Layer: A layer specifically for detailing the internal camera of the project, where I focused on refining its design and adding color.
Blender
First Steps with Blender
The first step is to become familiar with the controls for both the mouse and keyboard, as they can feel a bit unique compared to other software. To help with this, I found the following video tutorial extremely useful:
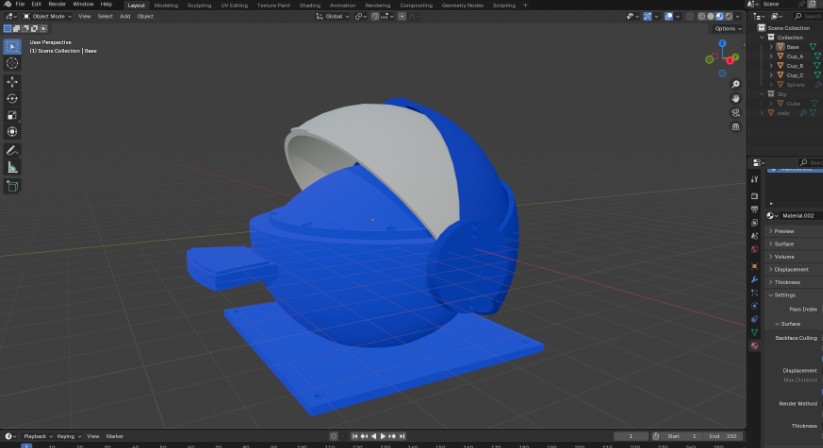
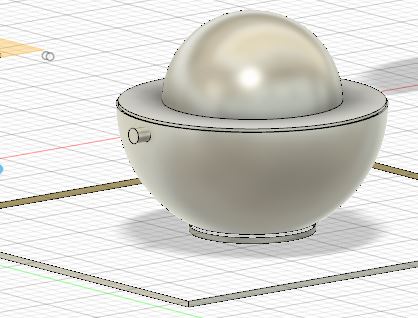
After getting comfortable with the basics, I imported a few objects previously created in Fusion 360 and added color and texture to them.
Adding Color and Texture
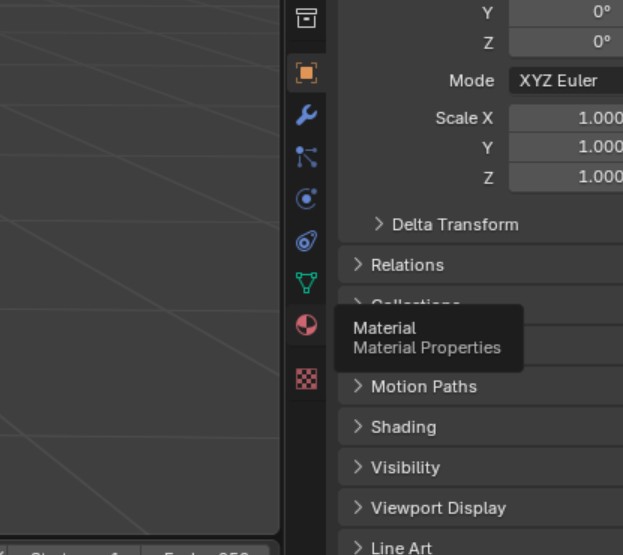
To add color and texture to objects, I stayed in the "Layout" workspace and accessed the "Material Properties" tab (represented by a spherical icon). By experimenting with the available parameters, I applied colors and textures to the objects to achieve the desired look. Adjusting properties like base color, roughness, and metallic levels allowed me to enhance the visual appeal of the imported models.
Lightingd
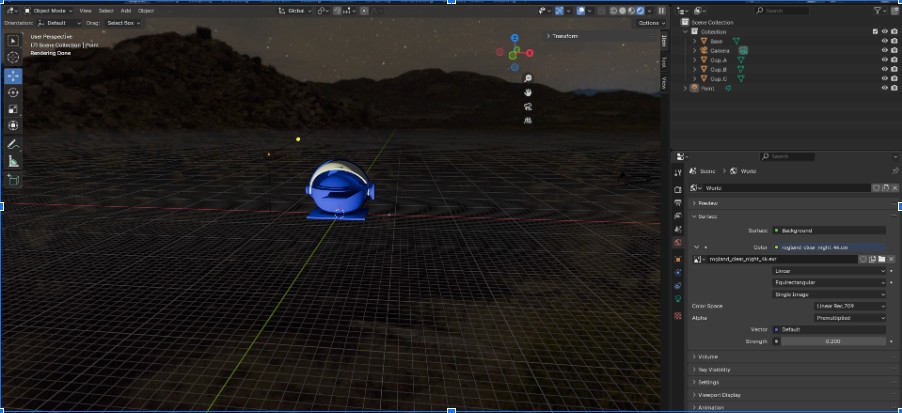
To improve the scene’s lighting, I downloaded an environment file that emulates realistic lighting. This HDRI file was downloaded from Polyhaven. Using an HDRI file provides soft and realistic lighting for the entire scene without needing multiple light sources.
Animation
I decided to create a simple animation with the following steps:
Eeating a Circular Path: Using the Mesh option, I drew a circular orbit for the camera to follow.
Setting Camera Constraints:
Went to the Constraints tab and added a Follow Path constraint.
Selected the circle as the path for the camera to follow.
Added a Track To constraint to ensure the camera always points to the object.
Rendering the Animation:
After setting up the movement, I rendered the animation in MP4 format.
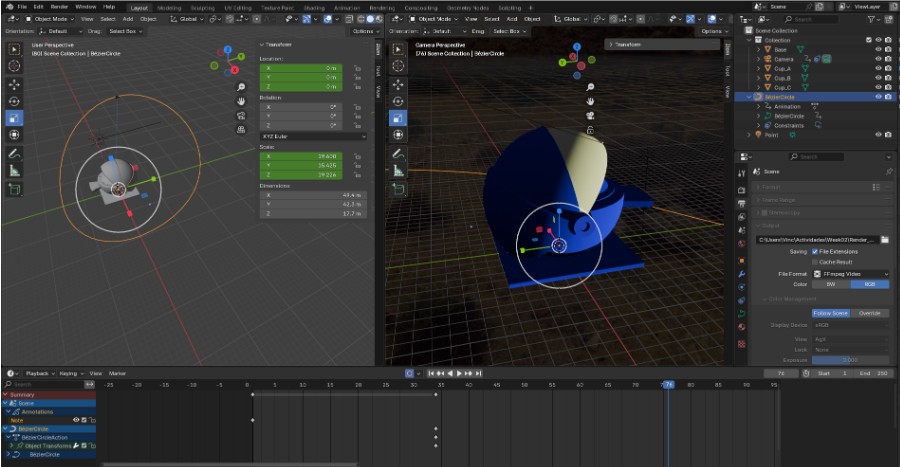
Final Result
The final result is a smooth MP4 animation featuring the object in focus, a starry sky background, and realistic lighting. Blender proved to be a versatile and powerful tool for both static renders and animations.
QCADCAM
QCADCAM is a post-processing software that allows you to use a wide variety of formats. I downloaded it from the page:
Downloaded from the page: https://qcad.org/en/download.
All the installation instructions are on the page and I did not find any particular problems.
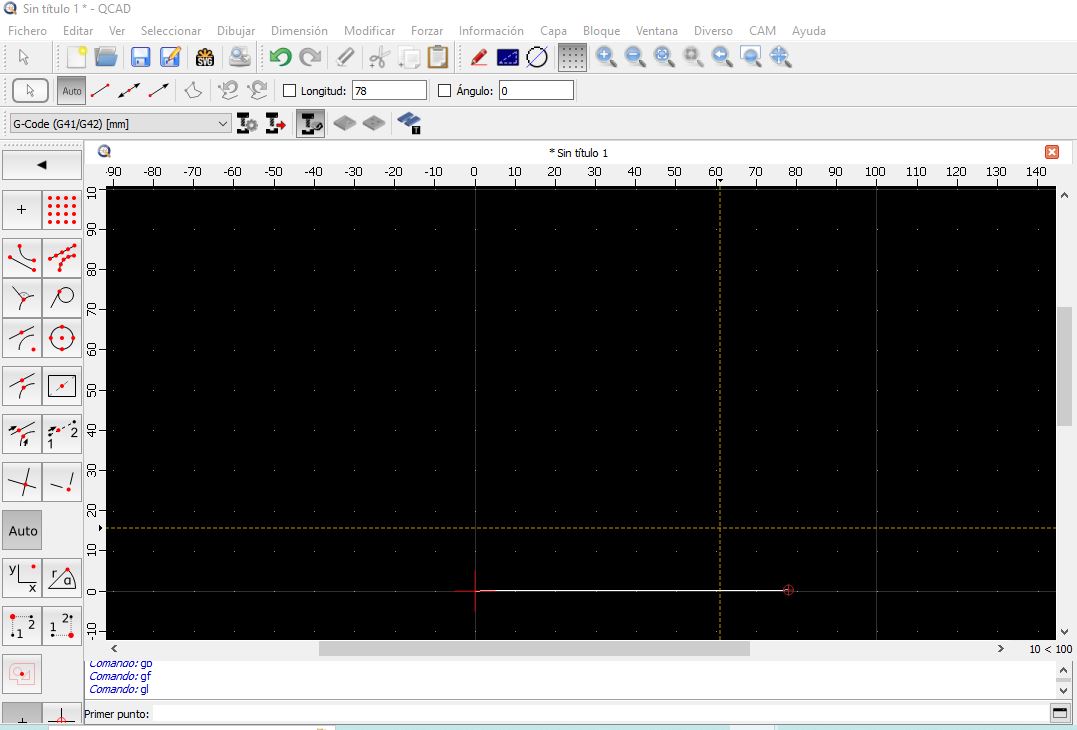
About how to use the software, I started with this tutorial that I recommend, since it was enough to start making the designs:
I decided to practice with the software by making designs and testing 2D designs of my final project.
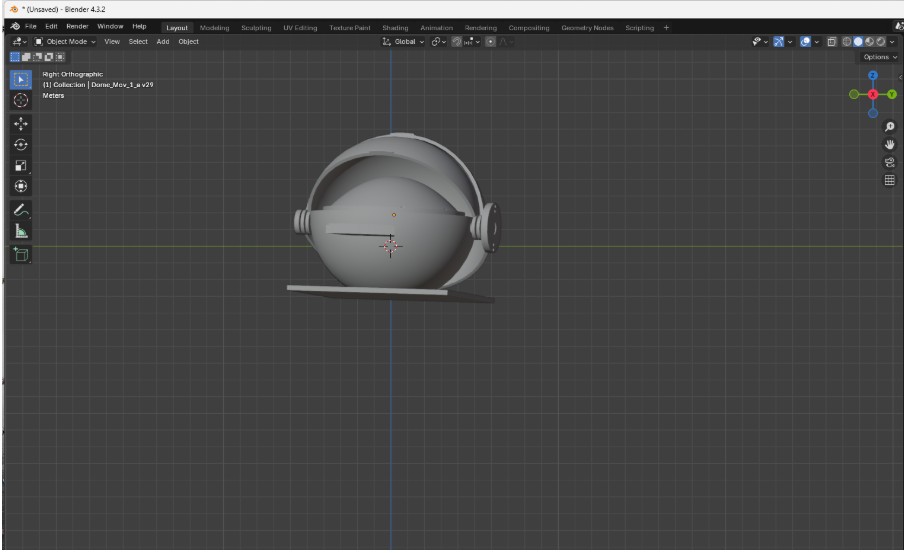
I started by making a sketch of the camera I intend to use and the dome that will protect it.
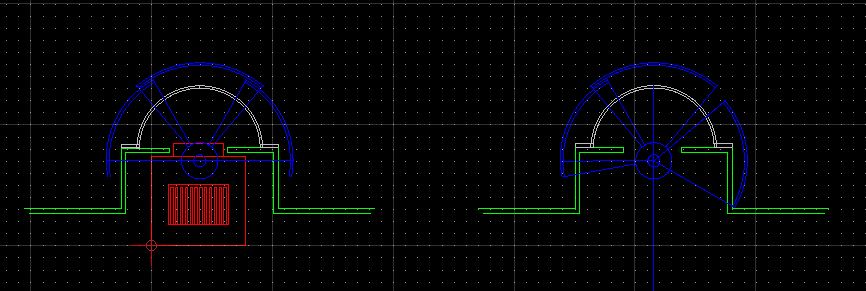
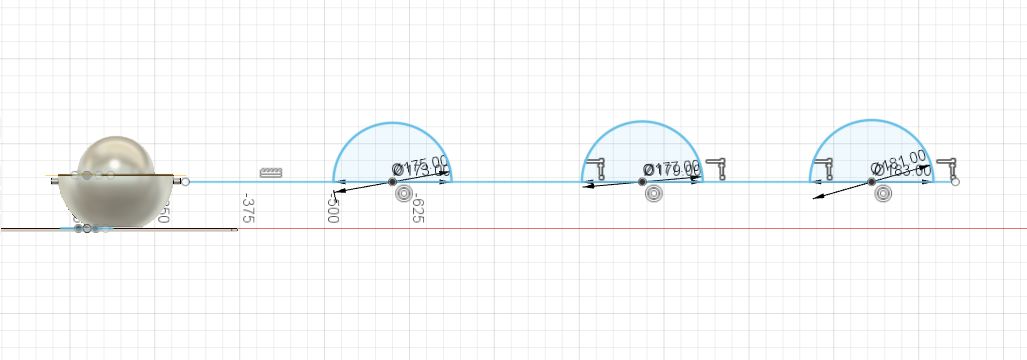
IContinue making two designs of telescopic domes that have an adequate field of vision.
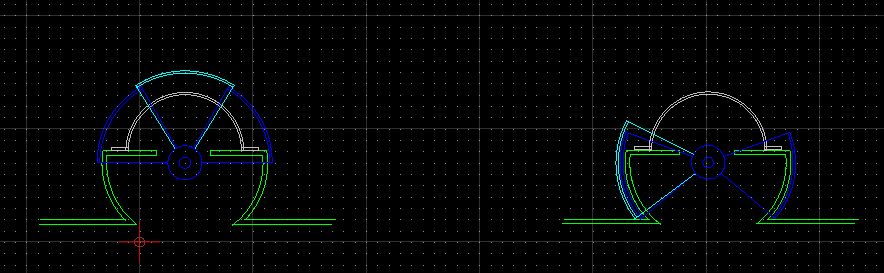
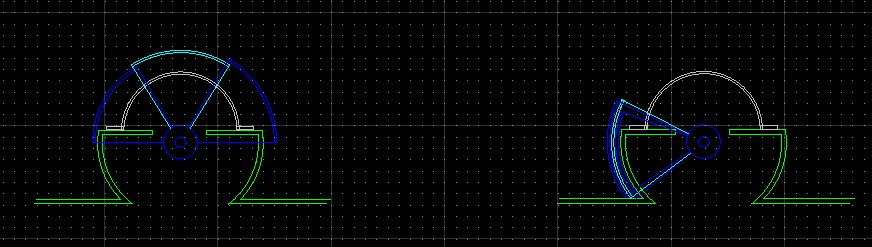 Qcad document in PNG
Fusion 360
With this software I had a lot of problems with the license, until now I don't have it, I made these drawings with the 30-day trial version.
Downloaded from the page: https://www.autodesk.com/products/fusion-360/trial-intake.
About how to use the software, I started with this tutorial that I recommend:
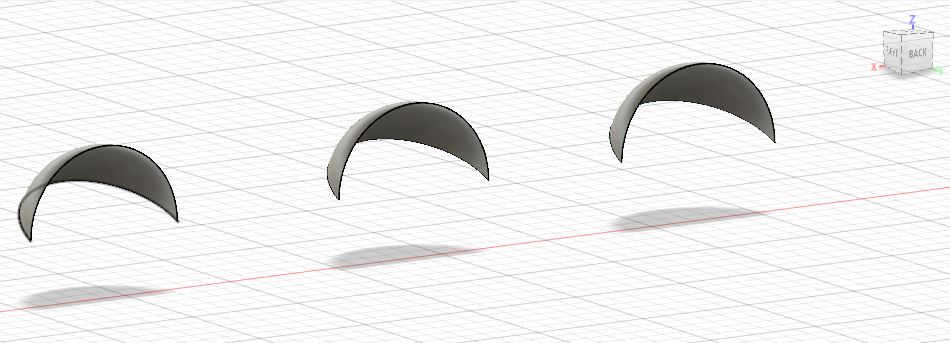
As with the previous software, I started drawing the camera with its dimensions, but in 3D.
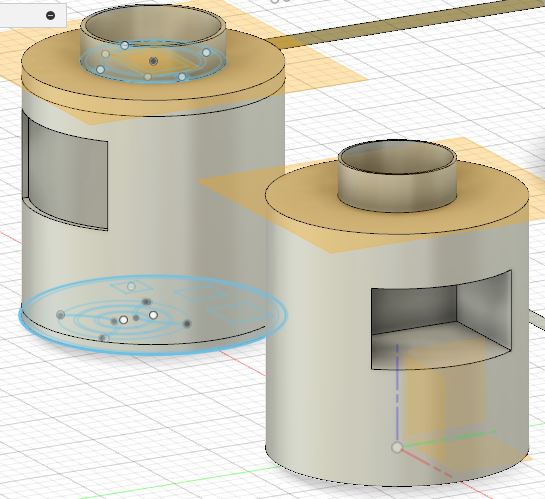
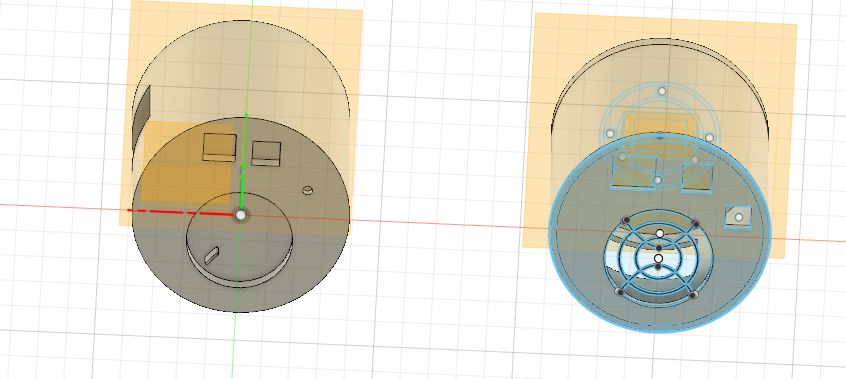
I continued the design of objects by making the box that will contain the camera with the translucent dome.
I am currently working on the design of the telescopic dome.