1. Principles and practices and project management
Setting up a documentation website
On Jan 24, the Charlotte Latin Fab Academy students watched the lecture and then we got to work in creating a documentation site.
Installing Git and generating an SSH key
In order to install Git I looked at the instructions on git’s website. For Mac users specifically, it is possible to download git via MacPorts, Homebrew, or by using the bundled version of git provided with Xcode.
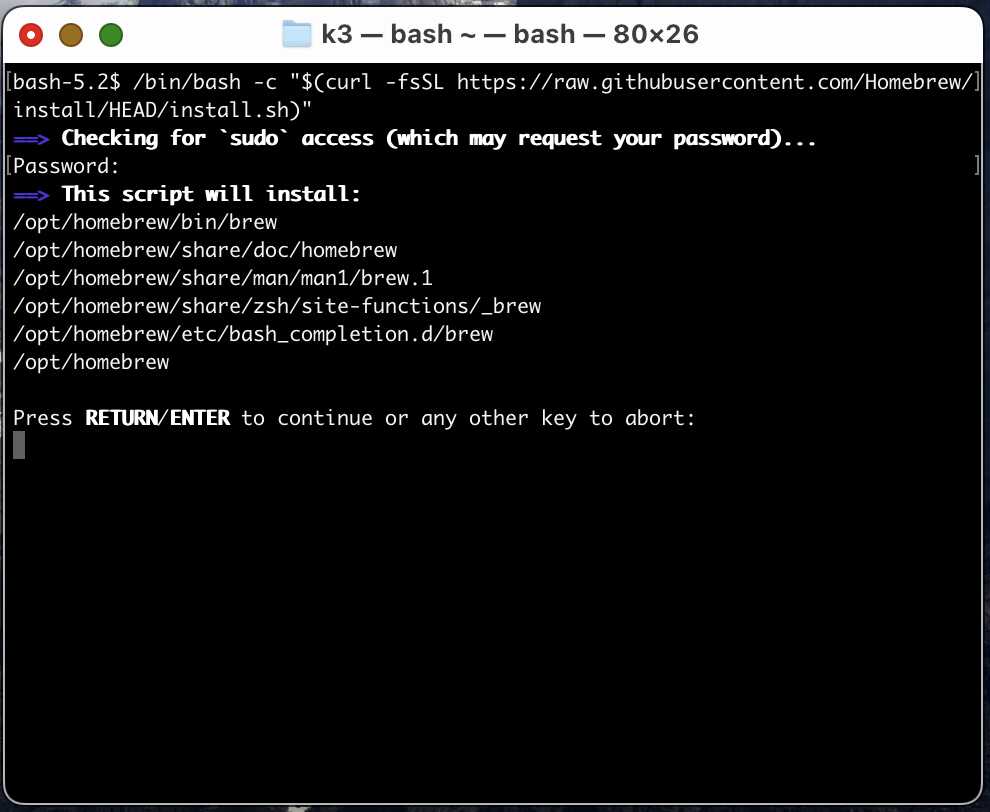
I decided to install Homebrew to get git. First, I opened Terminal and used the installation command I copied from the Homebrew website: /bin/bash -c "$(curl -fsSL https://raw.githubusercontent.com/Homebrew/install/HEAD/install.sh)".
 Then, after following the installation script’s instructions, I used
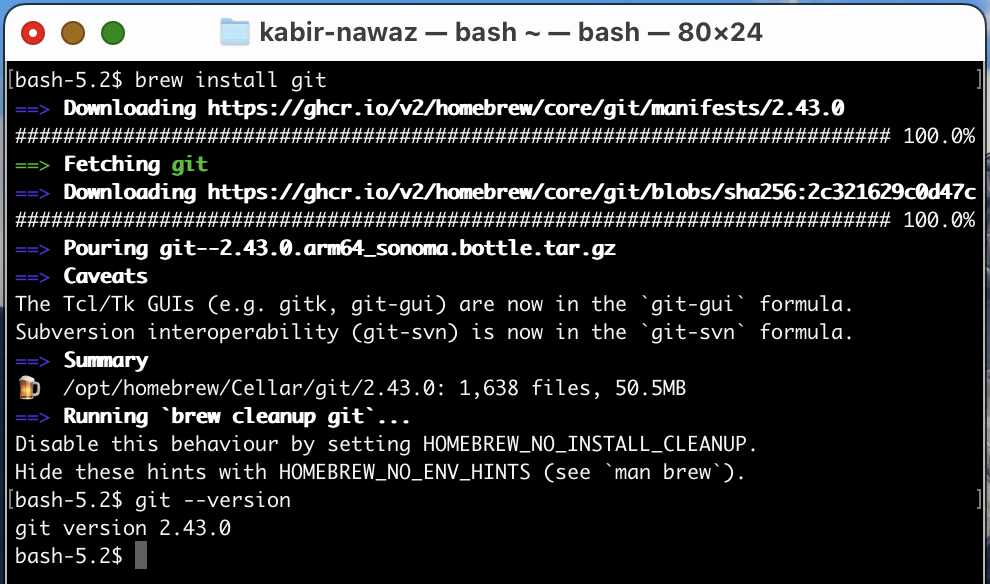
 brew install git to install git. I tested git --version to confirm that git was accessible.
 After confirming that I was able to log into GitLab with my fablabs.io login, I used a GitHub tutorial in order to find out how to generate a key. Fab Academy uses GitLab, but this specific tutorial is mostly applicable to Git in general.
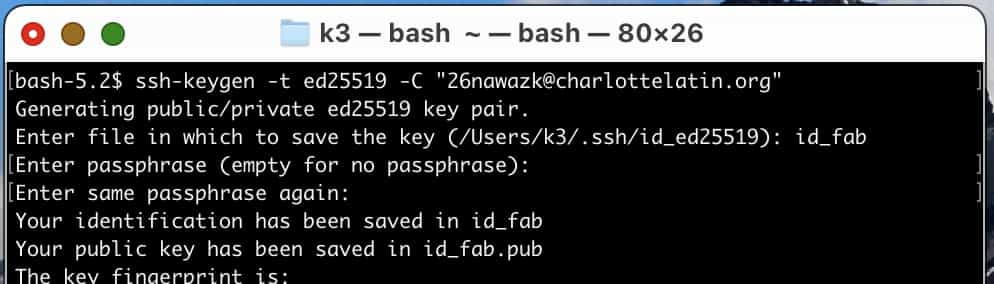
To generate a key, I opened Terminal.app and ran the command ssh-keygen -t ed25519 -C "26nawazk@charlottelatin.org" (substituting my own email). After that, I specified a custom file name (id_fab) in the prompt for the key to make sure I didn’t overwrite any previously generated SSH keys.
Cloning the repo
I made a new folder called fab in my home directory to make sure my things were properly organized. Then I used git clone to clone it. The exact command line is provided by clicking on Code -> Clone with SSH when you have browsed to the index of any GitLab repo. To clone my repo, I used git clone git@gitlab.fabcloud.org:academany/fabacademy/2024/labs/charlotte/students/kabir-nawaz.git in the terminal.
My first attempt at cloning the repo didn’t work because I had forgotten to add the generated key into the GitLab user settings, so I found the User Settings page on GitLab then went to SSH Keys to add an SSH key.
My second attempt unfortunately didn’t work either - because I had previously specified a custom file name, ssh was not finding the key by default, so I had to write an ssh config file to get it to use my newly generated ssh key when connecting to the gitlab.fabcloud.org domain. This was covered in the GitHub tutorial which I previously linked. To do this, I just used the nano text editor to make the .ssh/config file, and then wrote the following:
Host gitlab.fabcloud.org
  IdentityFile ~/.ssh/id_fab
After that, I wanted to make a commit and push it to make sure that Git was working. I used git config to make sure that my commits were identified under the correct username:
git config user.name 'Kabir Nawaz'
git config user.email '26nawazk@charlottelatin.org'
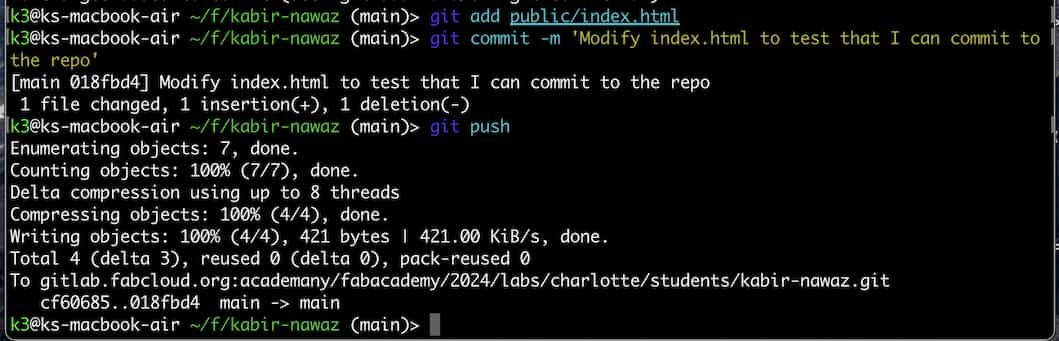
Then, I modified public/index.html on my local repository in order to change my name in index.html. I used the commands git add public/index.html, git commit -m 'Modify index.html to test that I can commit to the repo', and git push to push my changes. Everything worked as expected and my site updated after I pushed to the repository.
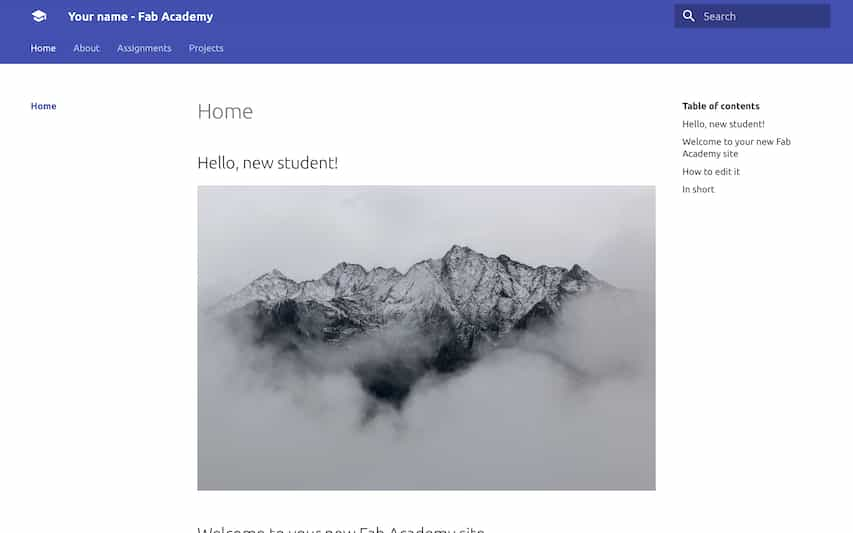
 This is how my site looked like after I modified the default template:

Setting up the MkDocs template
After that, I wanted to try replacing the default provided template with Fiore Basile’s MkDocs template (https://gitlab.fabcloud.org/fibasile/fabacademy-student-template). I cloned that repo, deleted all the files in my repo (except README.md, which I modified to remove the template), then copied all the files from the template repo to my site repo. (I made sure to include .gitlab-ci.yml, which has a dot before its name and gets hidden, by using the command line to copy files.) After pushing it I found that my website now contained the template.
Installing Python and MkDocs locally
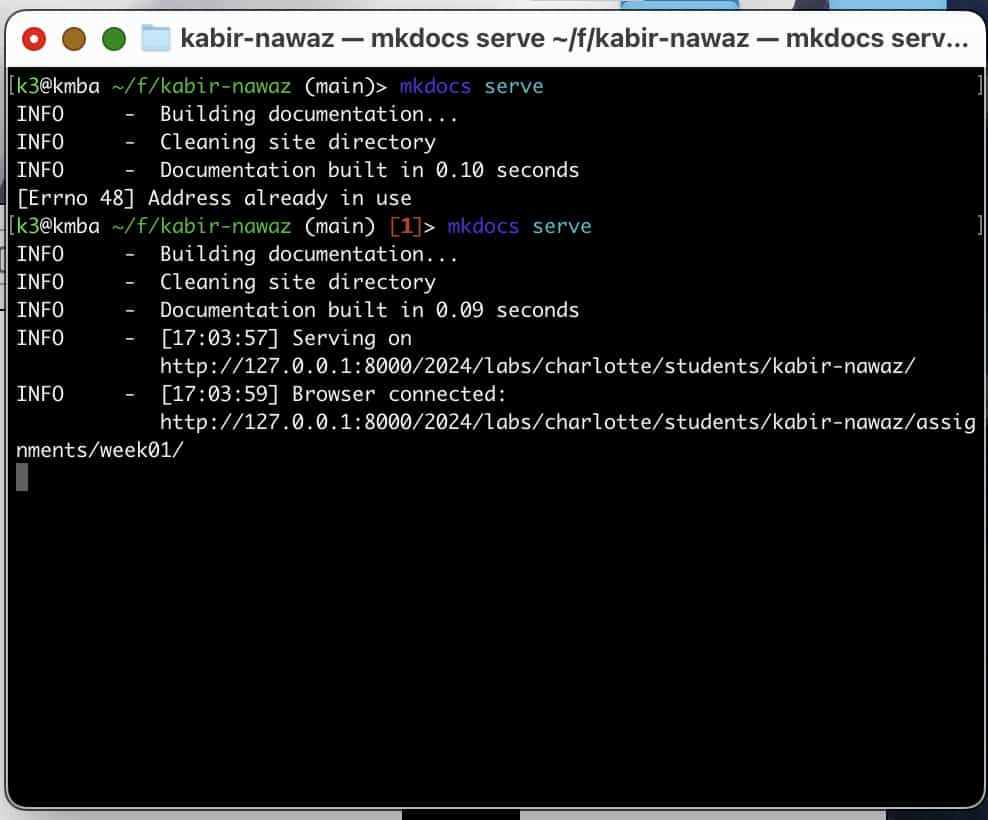
In order to locally work on my site without having to push every time to see the changes, I needed to install MkDocs locally. To do this, I first installed Python, which I could do via Homebrew by executing brew install python. Then, I cded into the root of my site, and ran pip install -r requirements.txt, which installed the MkDocs version which the template used onto my machine. After that, I was able to use mkdocs serve in the command line to be able to access a locally hosted version of my documentation site.
 I opened my documentation site in IntelliJ IDEA, removed most of the example files, and I personalized the website by replacing all the instances of “Your name” with my name.
Modifying the MkDocs template
I like the MkDocs Material theme in general, but I wanted to modify it to personalize my site a bit more. To do this, I opened the mkdocs.yml file in the root of my repo and found the color scheme:
theme:
    primary: deep
    accent: indigo
I changed the ‘deep’ color to ‘cyan’.
Final project sketch
For my final project, I wanted to set up a machine to automatically press light switches in my house. Oftentimes I find myself leaving the downstairs lights on during the night and then forgetting to close them. I think a project that automatically is able to turn off and on the lights on a schedule or remotely would be very useful. My plan is to have servos controlled via a microcontroller that can switch the state of the lights.
Reflections
This week, I set up a documentation site with SSH, Git, and MkDocs. I have already had some previous experience with SSH and Git, but MkDocs and GitLab were new to me. I learned more about project management and started on a final project. I also learned more about how to set up websites with continuous integration (GitLab CI).