Week 16 - Wildcard Week
Individual Assignment
-
Design and produce something with a digital process
(incorporating computer-aided design and manufacturing) not covered
in another assignment, documenting the requirements that your
assignment meets, and including everything necessary to reproduce
it.
Reference Links
Week16 Wildcard Week Guide for my Fab Academy Journey.Make a Hat for my daughter
During the World Card Week, I plan to make a small hat for my daughter as a gift for her newborn.
Tools and Materials
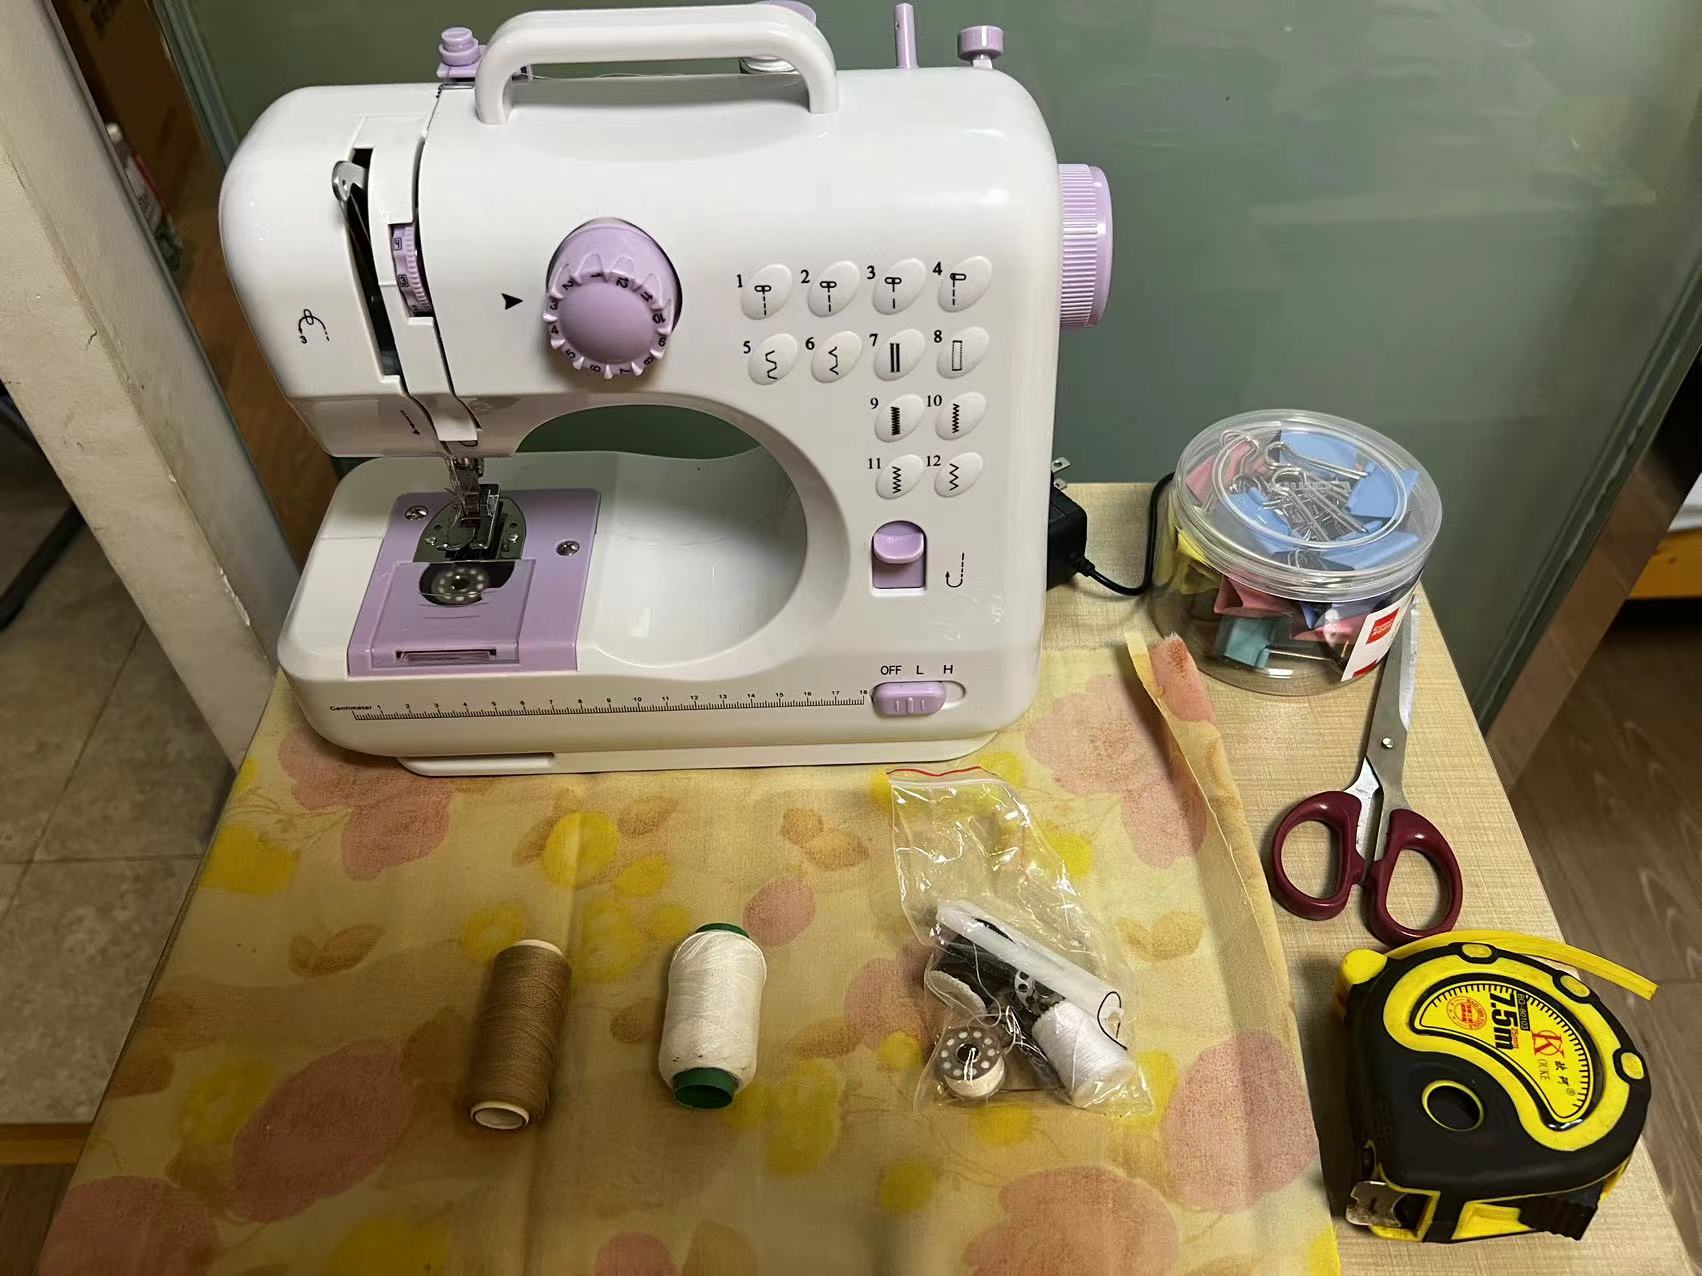
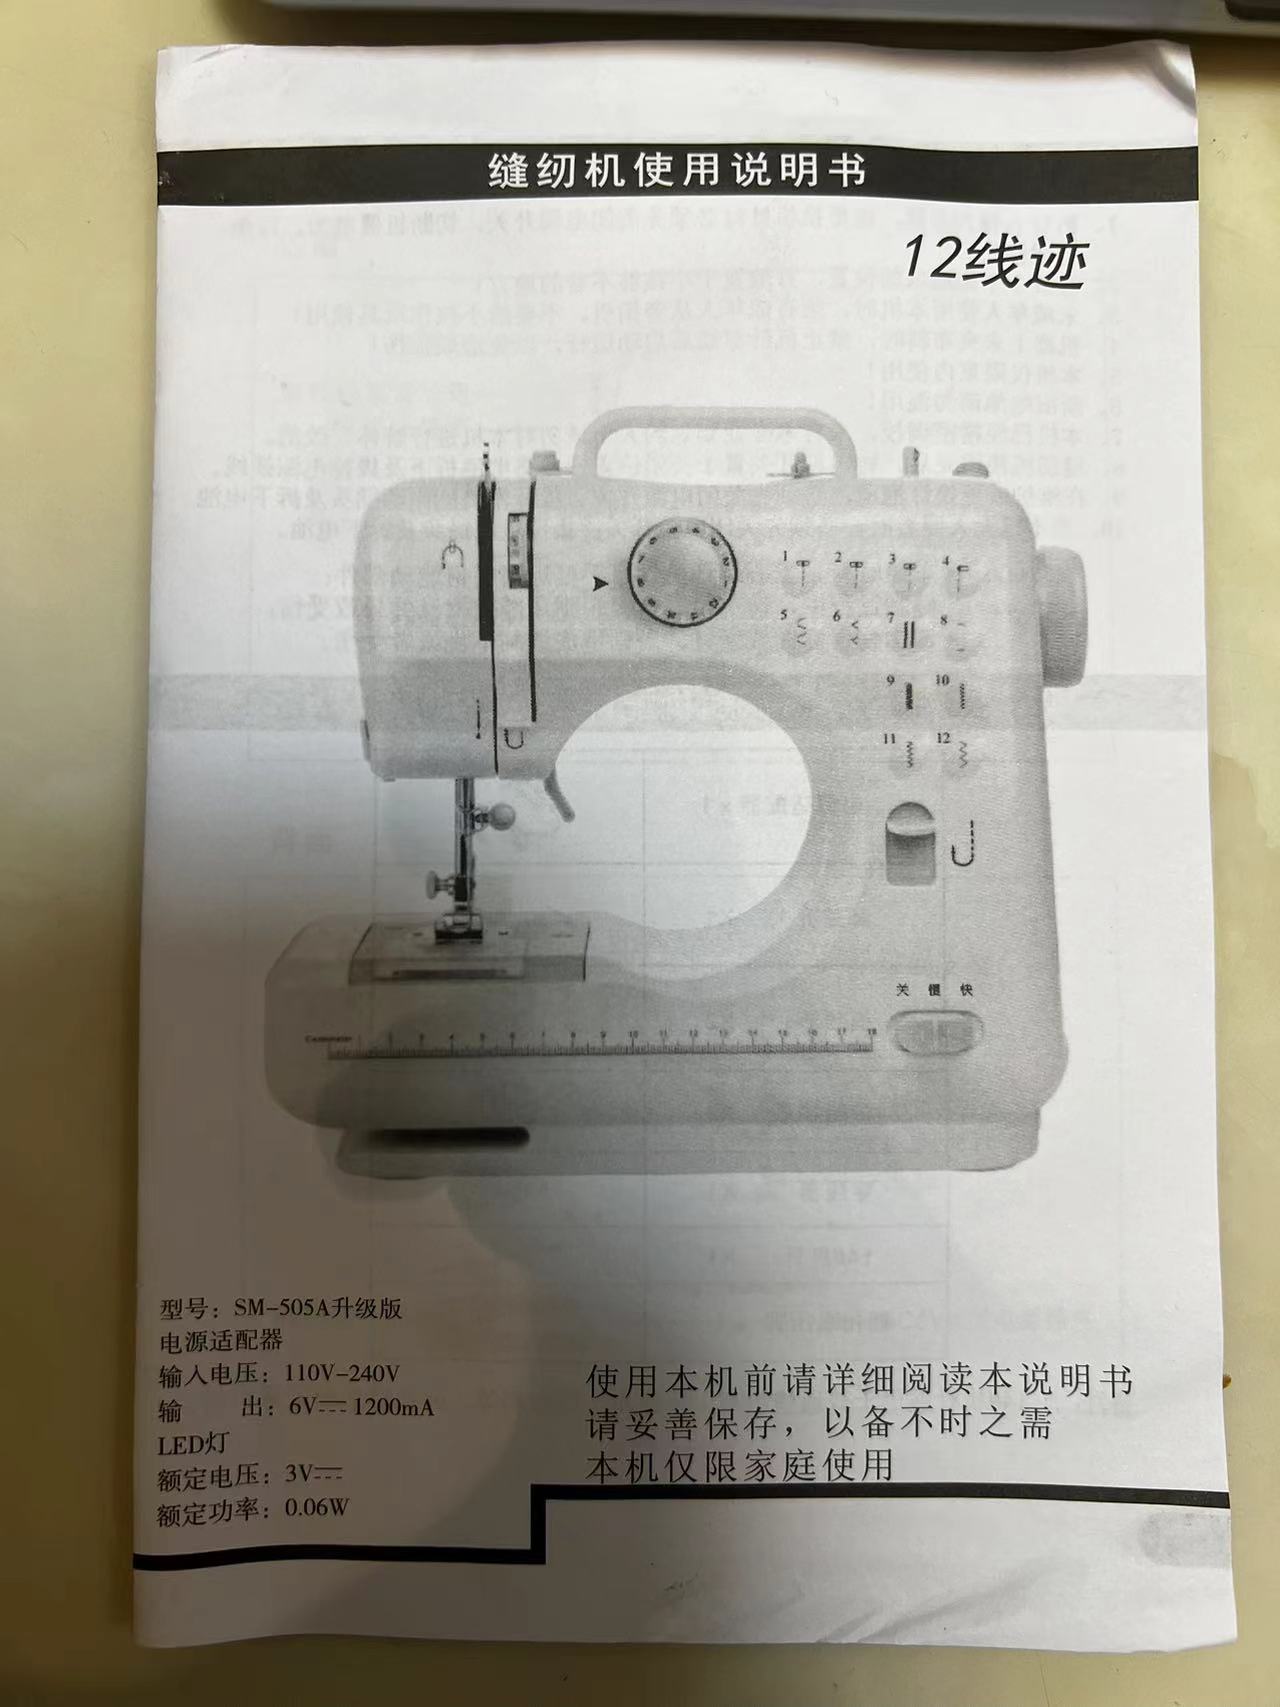
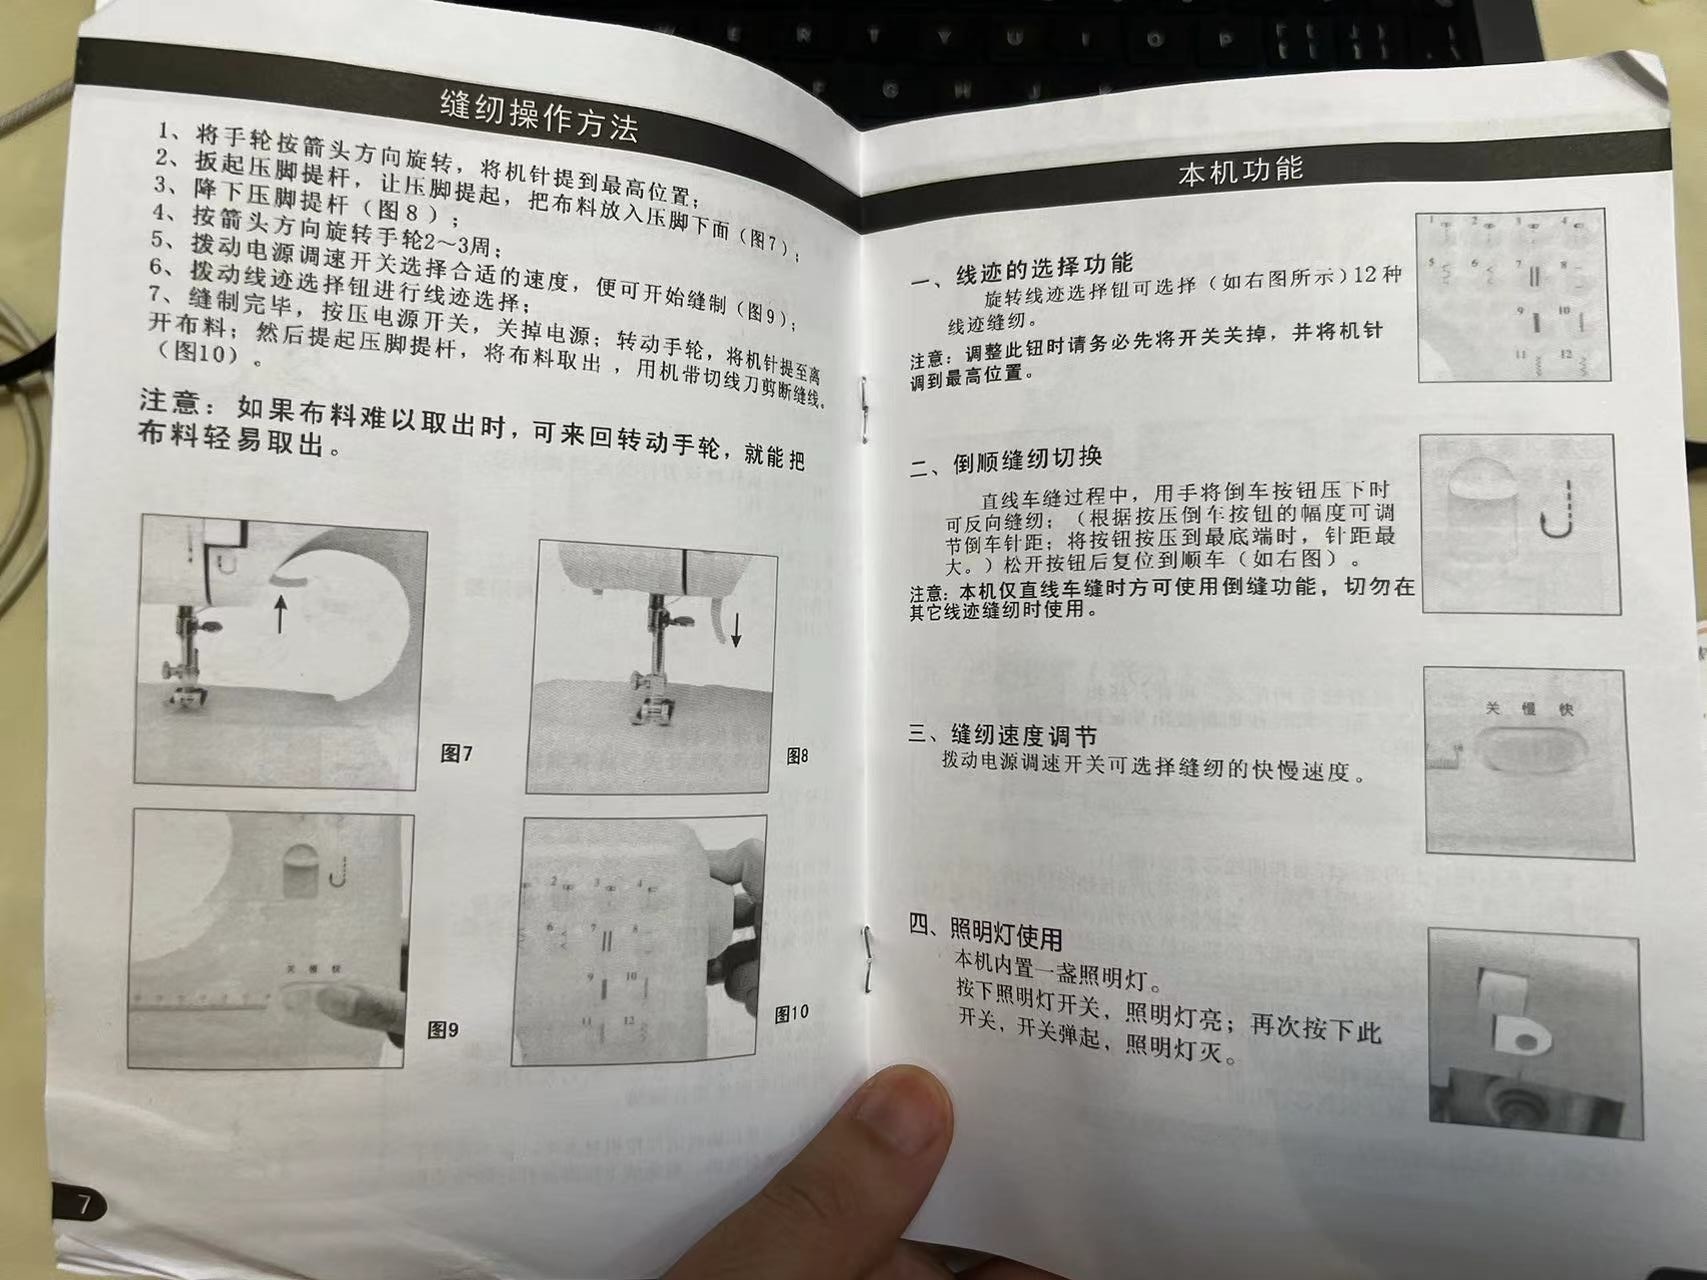
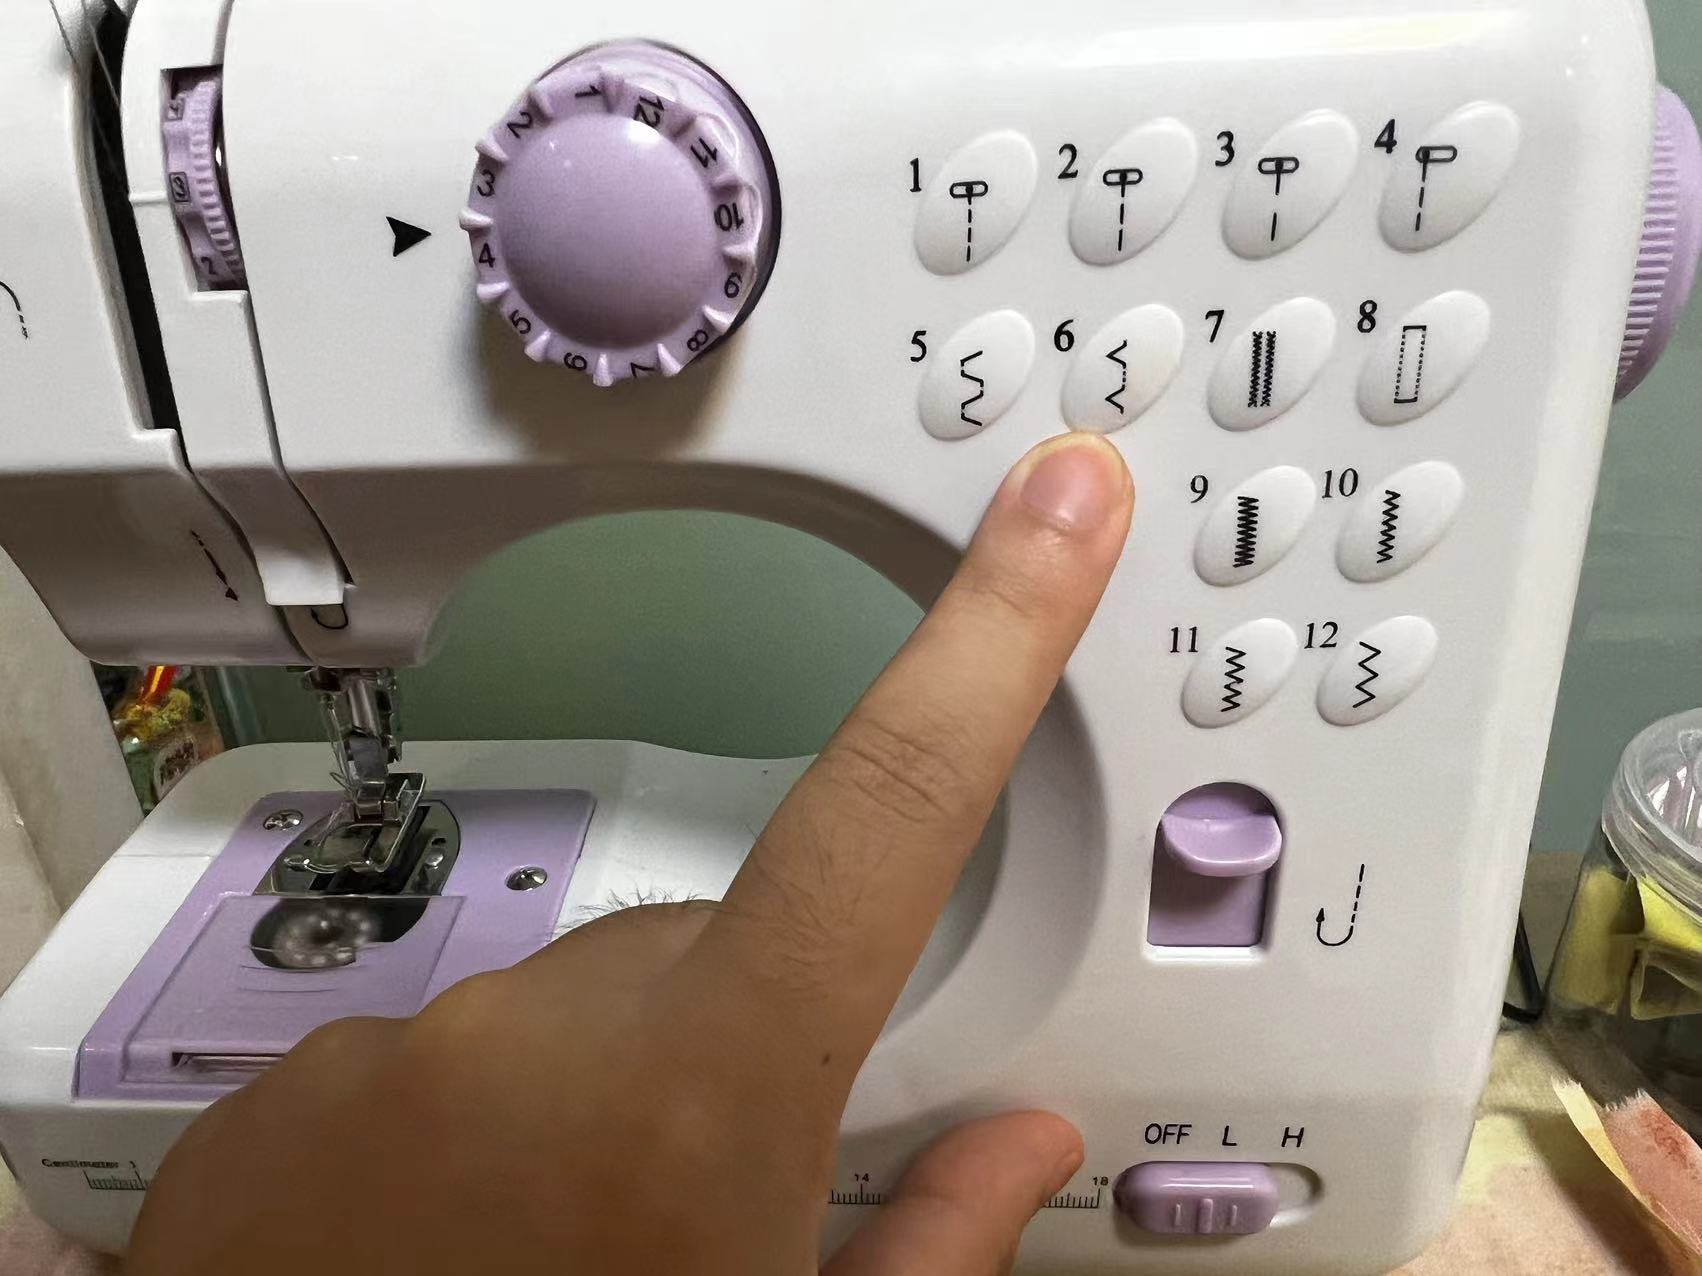
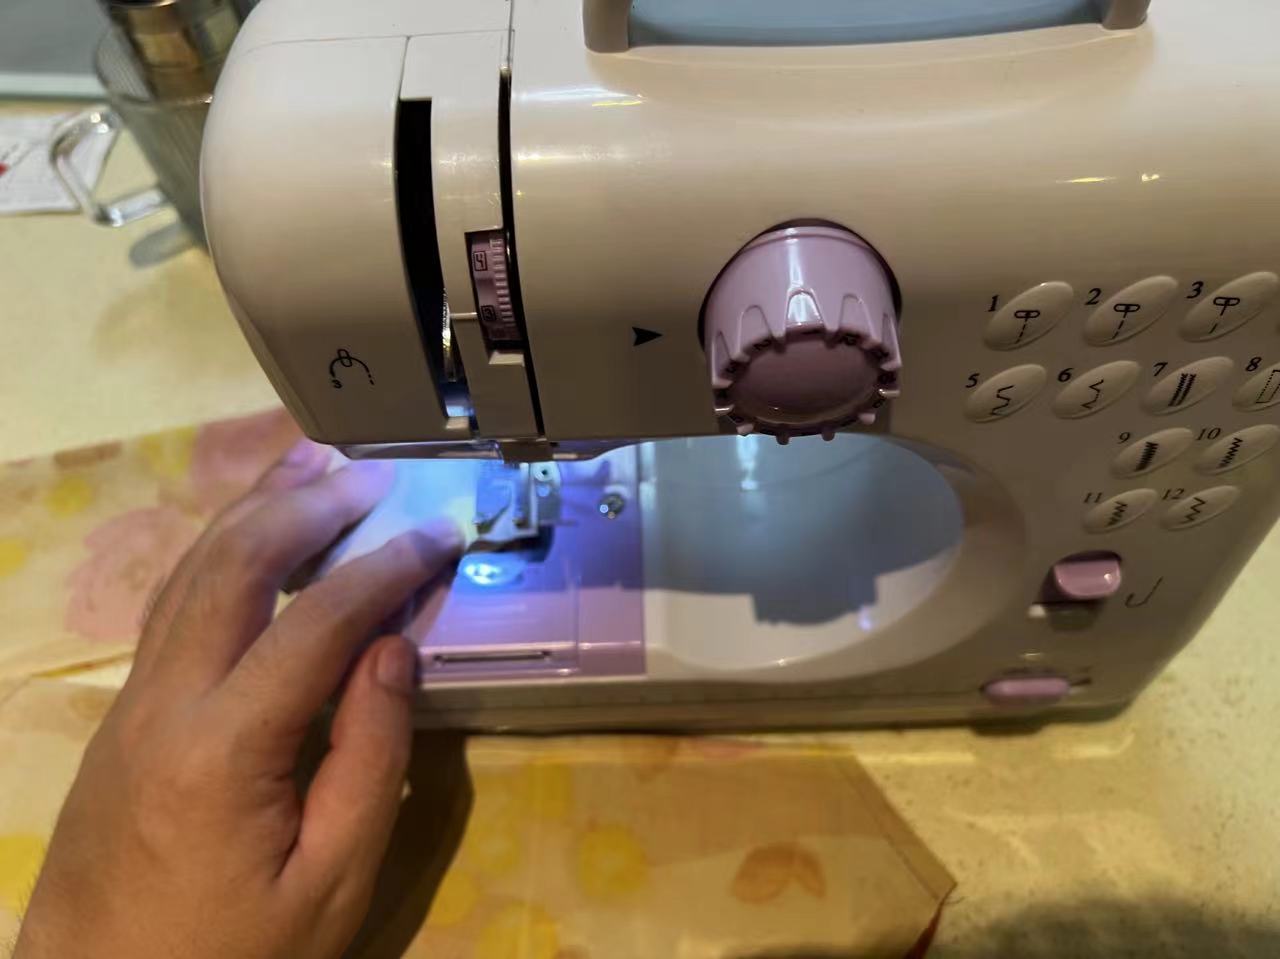
Learning the Sewing Machine
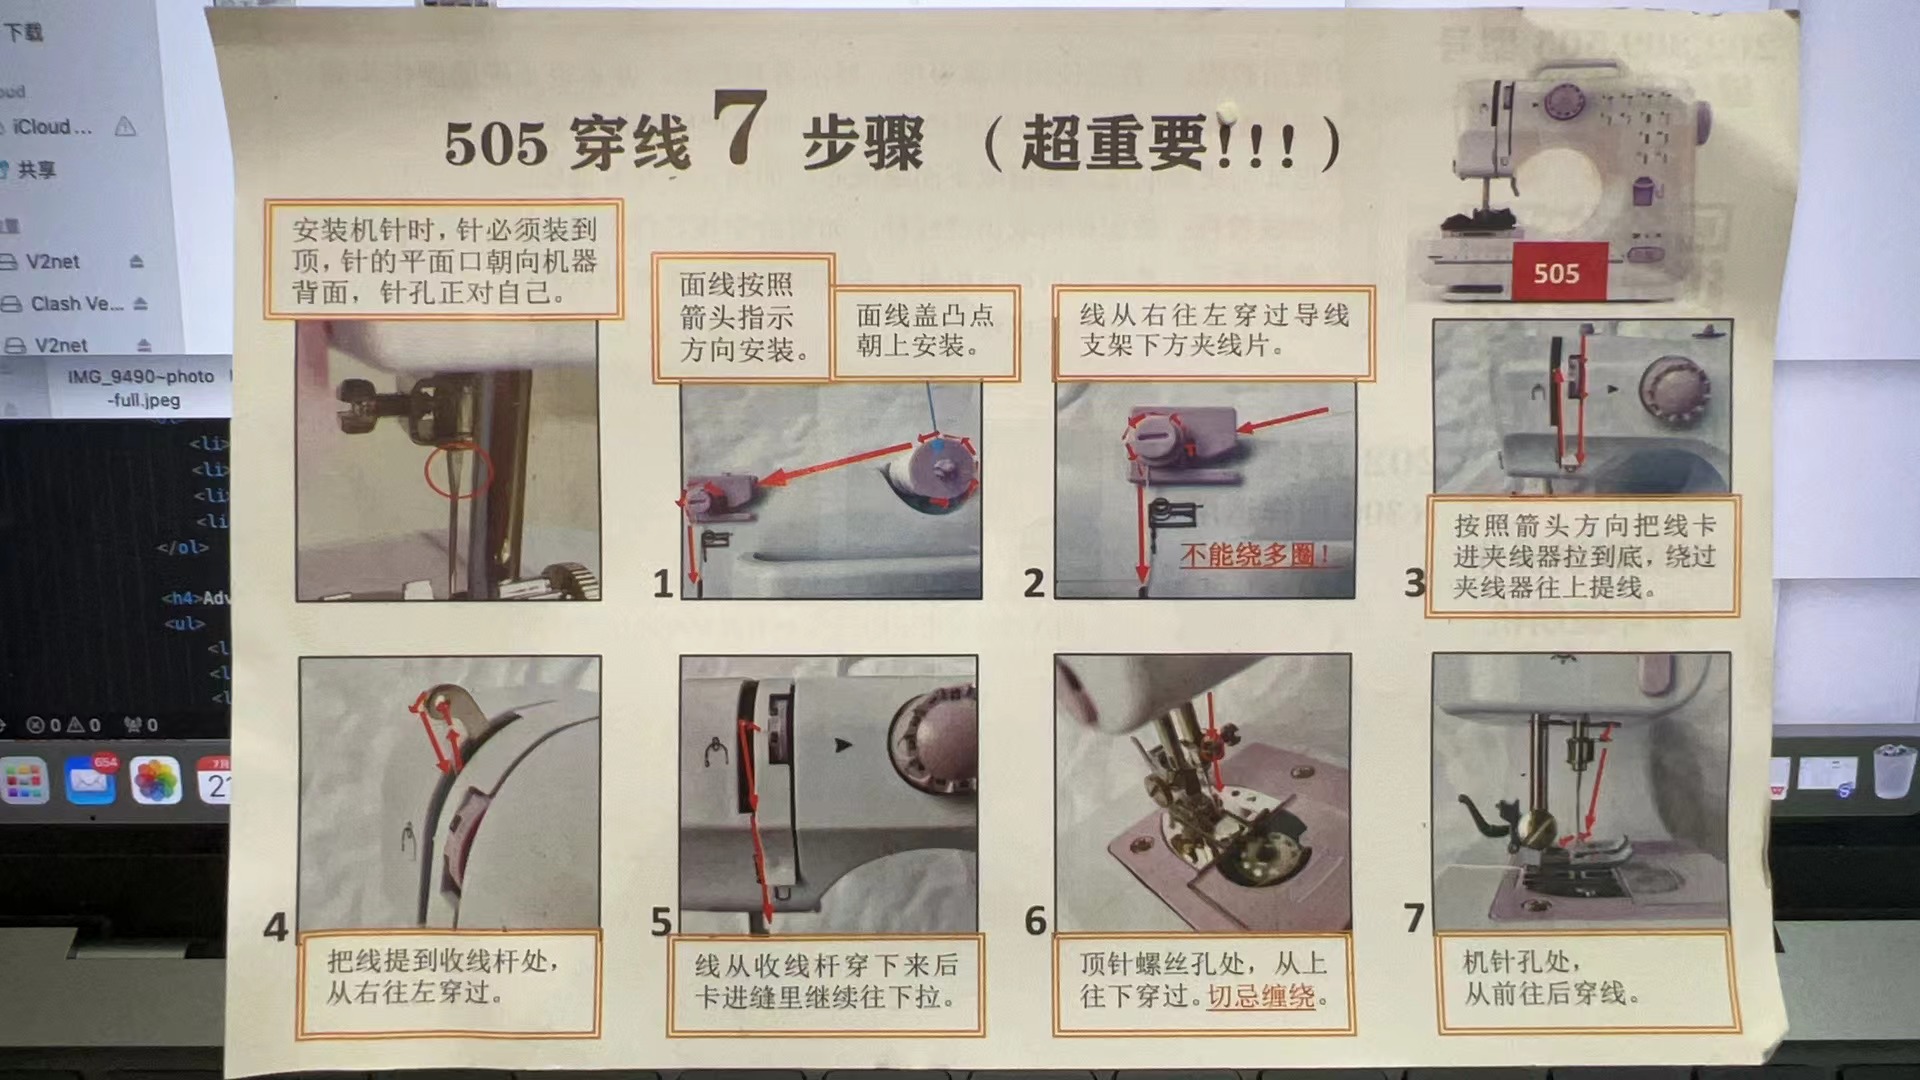
505 Sewing Machine Threading Steps (Super Important!!!)
- Install the Needle: When installing the needle, it must be fully inserted. The flat side of the needle should face the back of the machine, with the eye of the needle facing towards you.
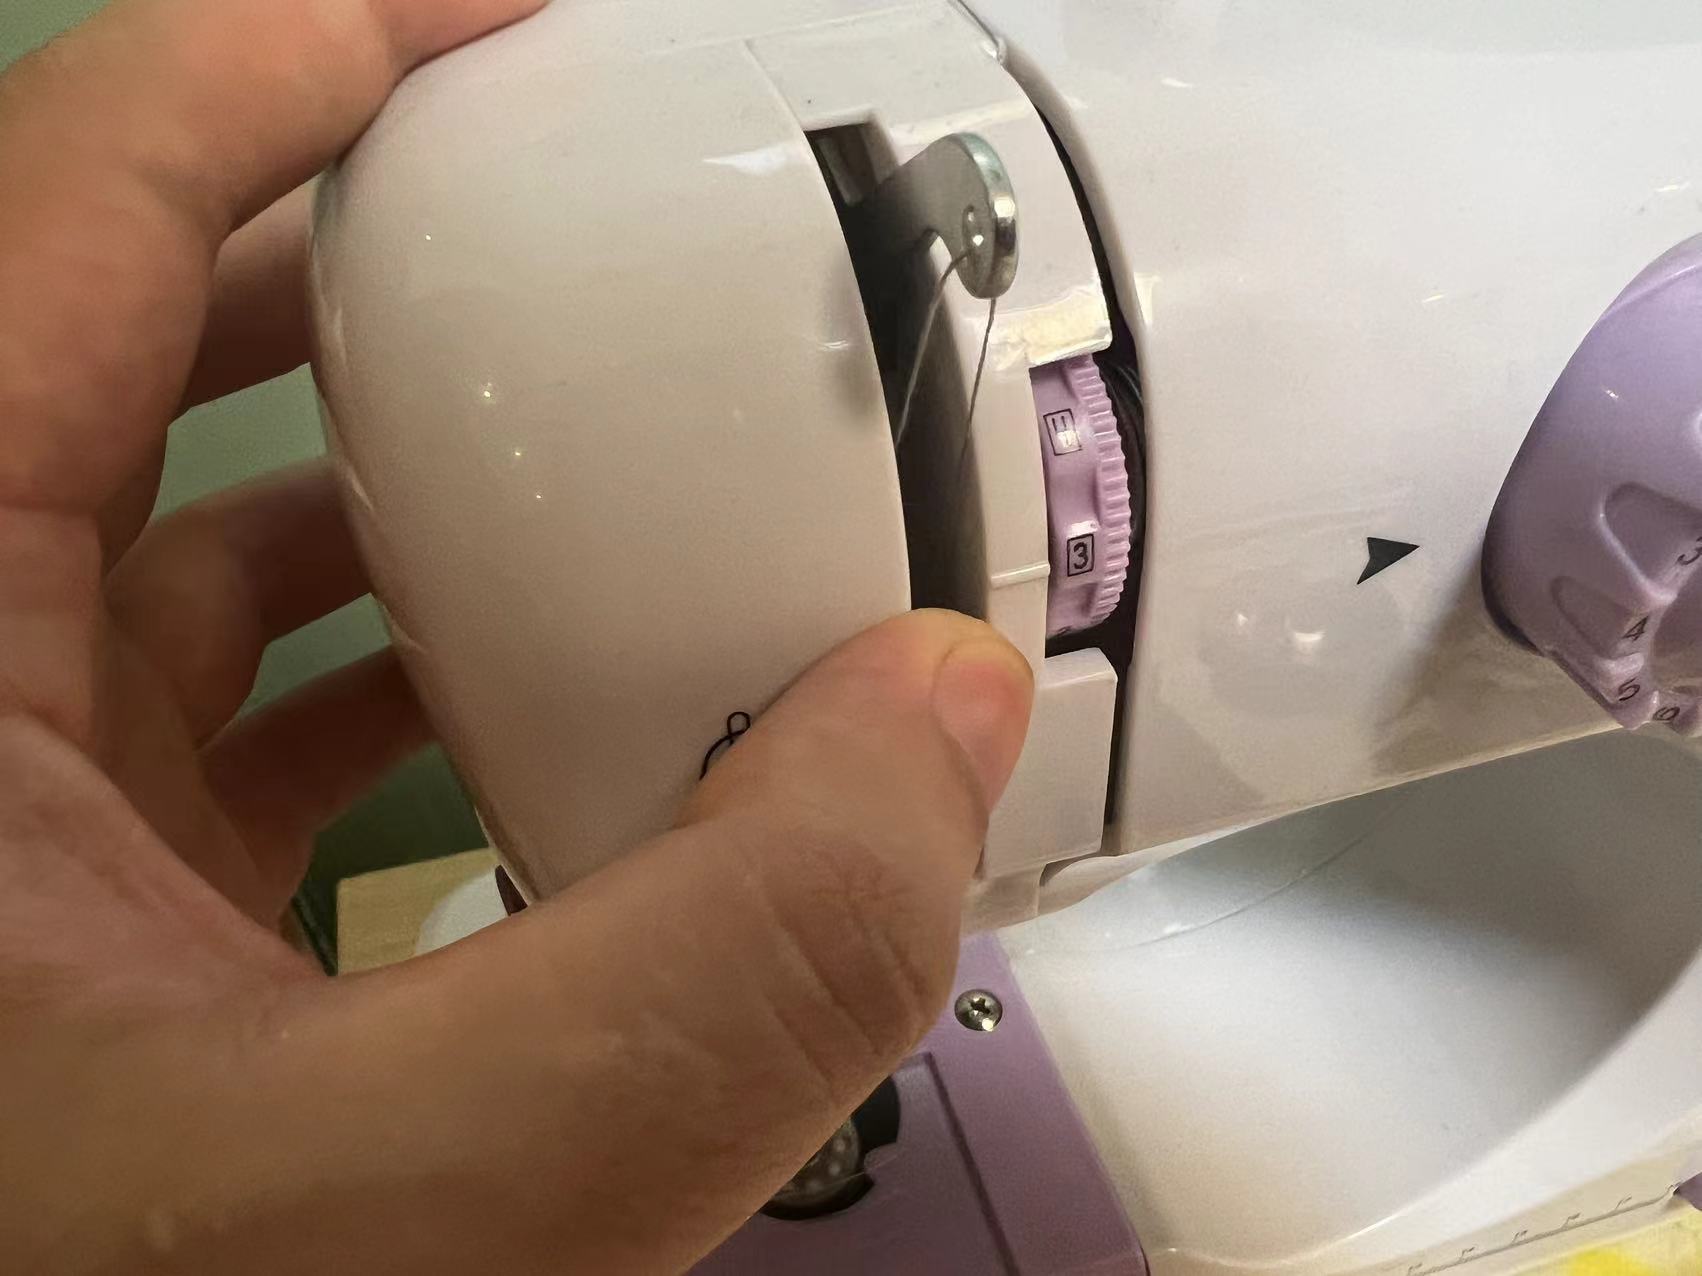
- Thread Guide Installation: Install the thread guide in the direction indicated by the arrow. The raised dot on the thread guide cover should face upwards.
- Pass Through the Thread Stand: Thread the line from right to left under the thread stand. Note: Do not wrap the thread around multiple times!
- Secure in the Thread Clamp: Following the direction of the arrow, clamp the thread into the thread clamp and pull it all the way down, then loop it upwards.
- Thread Take-up Lever: Bring the thread up to the take-up lever and thread it from right to left.
- Continue Pulling Down: After threading through the take-up lever, continue to pull the thread down and tuck it into the seam.
- Thread the Needle: At the top needle screw hole, thread from top to bottom, making sure the thread does not wrap around. At the needle's eye, thread from front to back.


Steps
The Design of the baby's hat
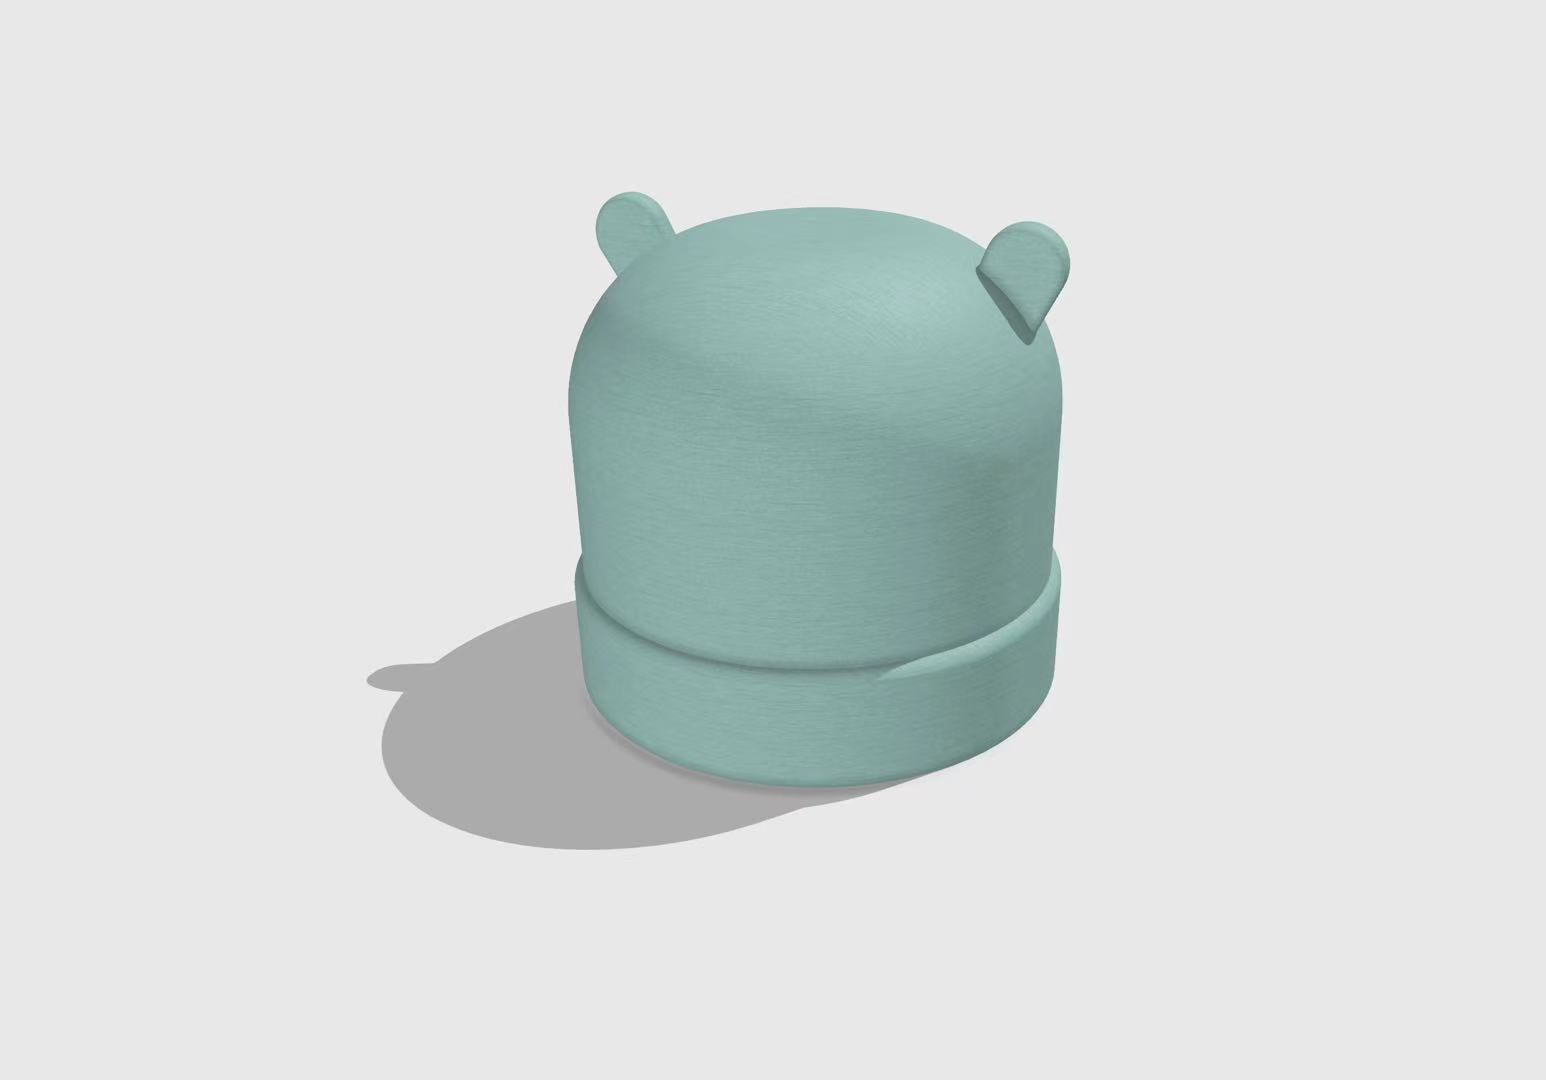
I want to make a small hat for my daughter. First, I created a 3D model of the finished hat using 3D Design software.
I did a simple rendering of this little hat.
While designing this little hat, I wanted to use laser cutting to cut the fabric to complete these tasks, but because my time in the hospital delayed my opportunity at the Fablab, I ultimately had to manually complete it in the following work.
Here is my design, this is a fabric cutting drawing for the hat.
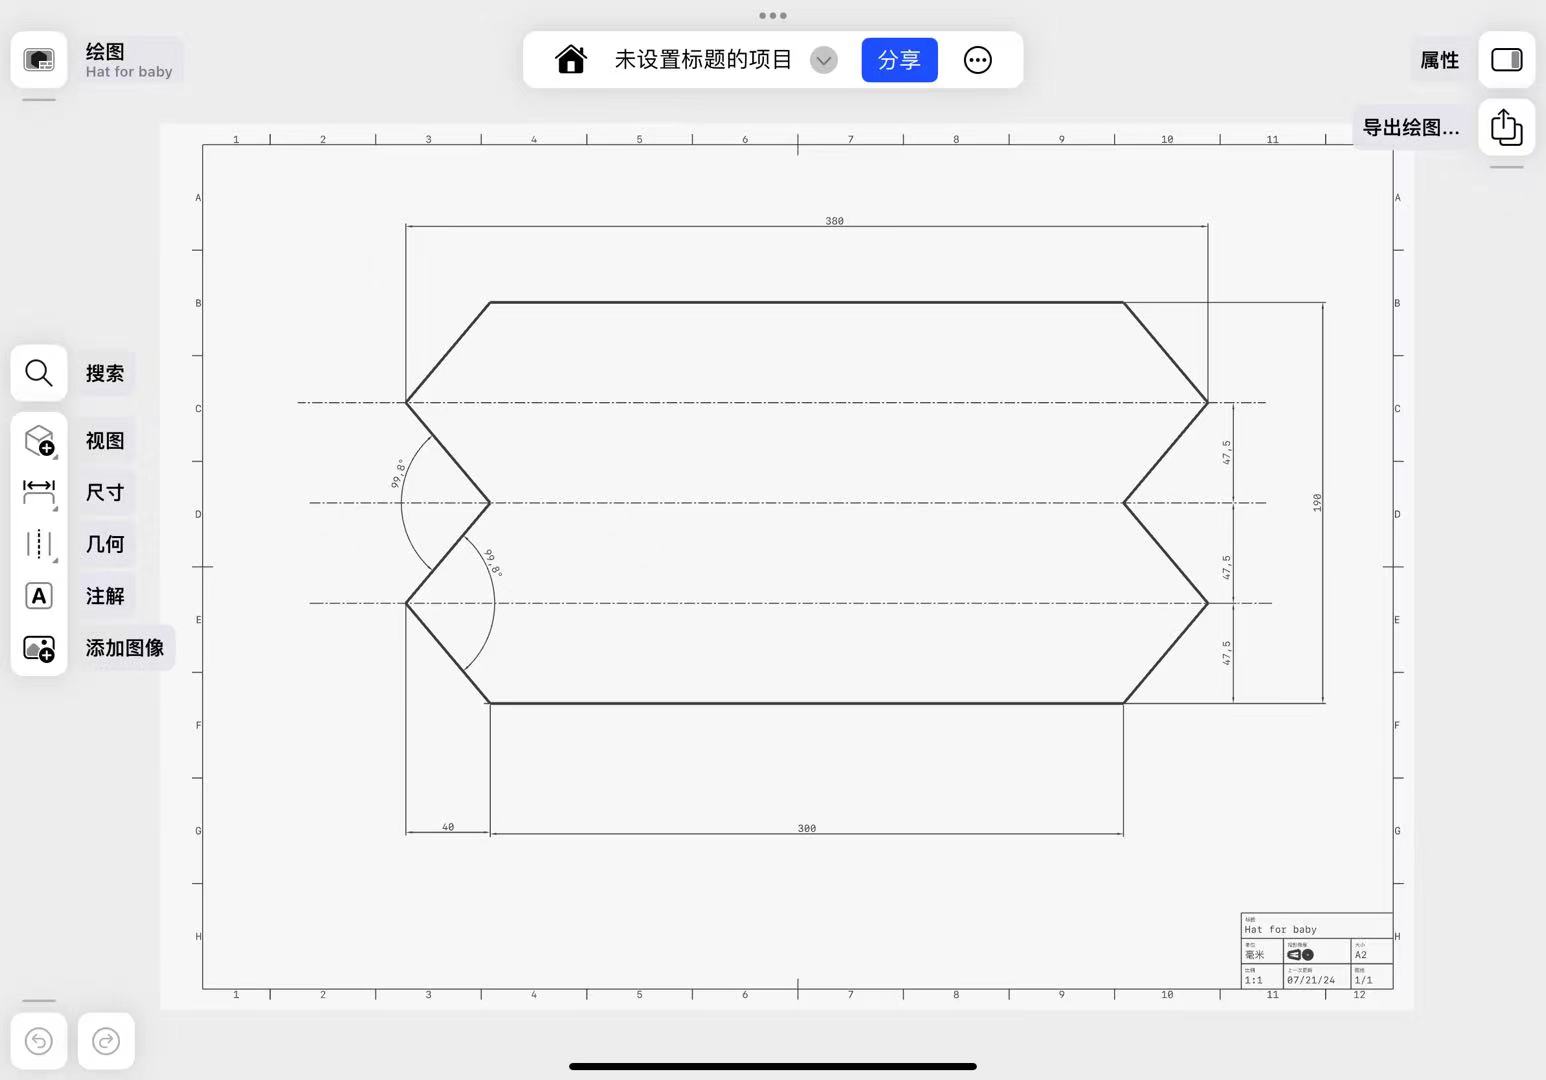
Here is the files of the 3D model and the laser cutting drawing.
Baby's Hat.obj
Hat for Baby.dxf
Material Preparation
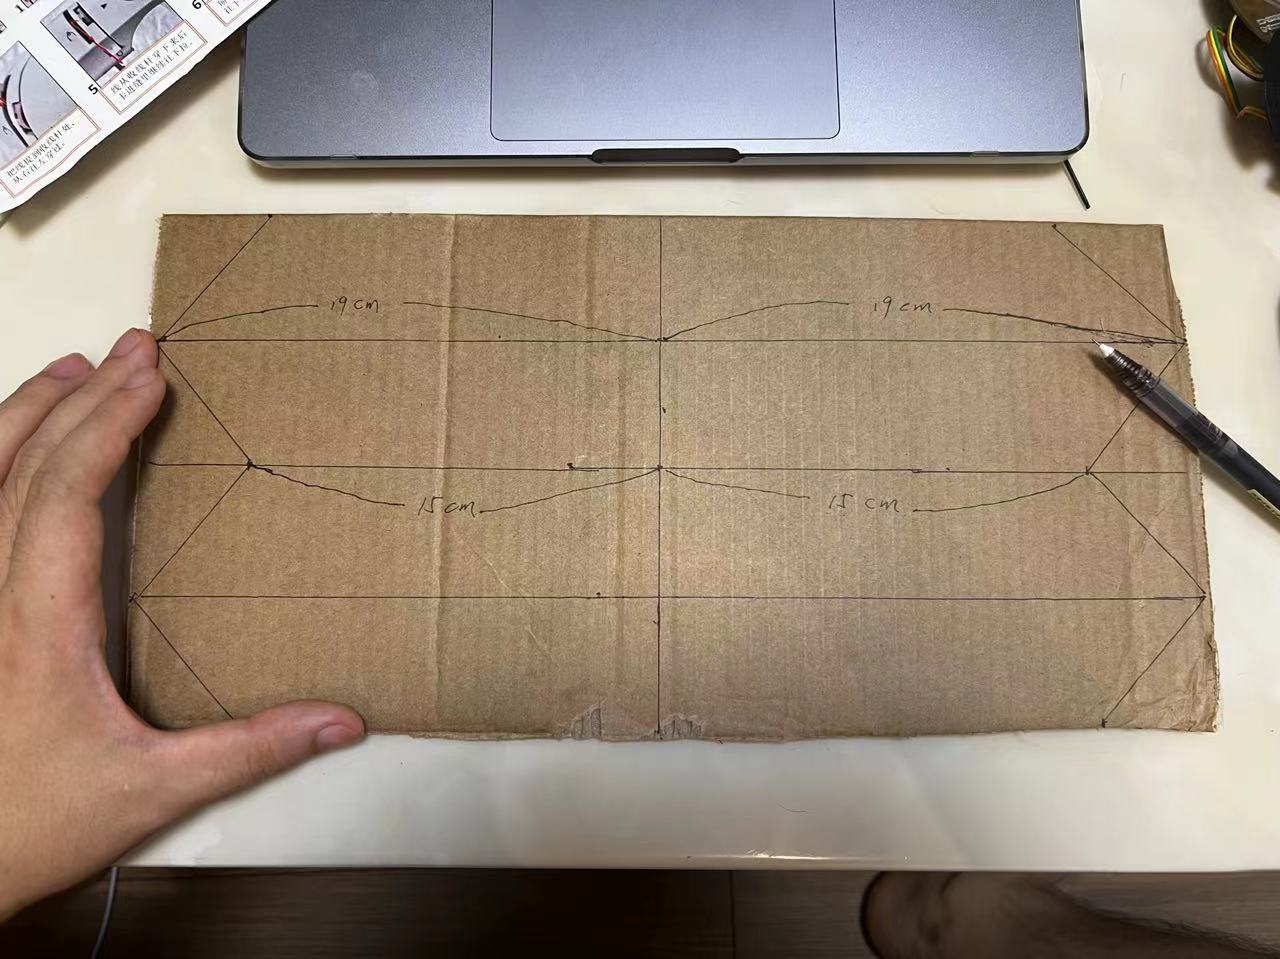
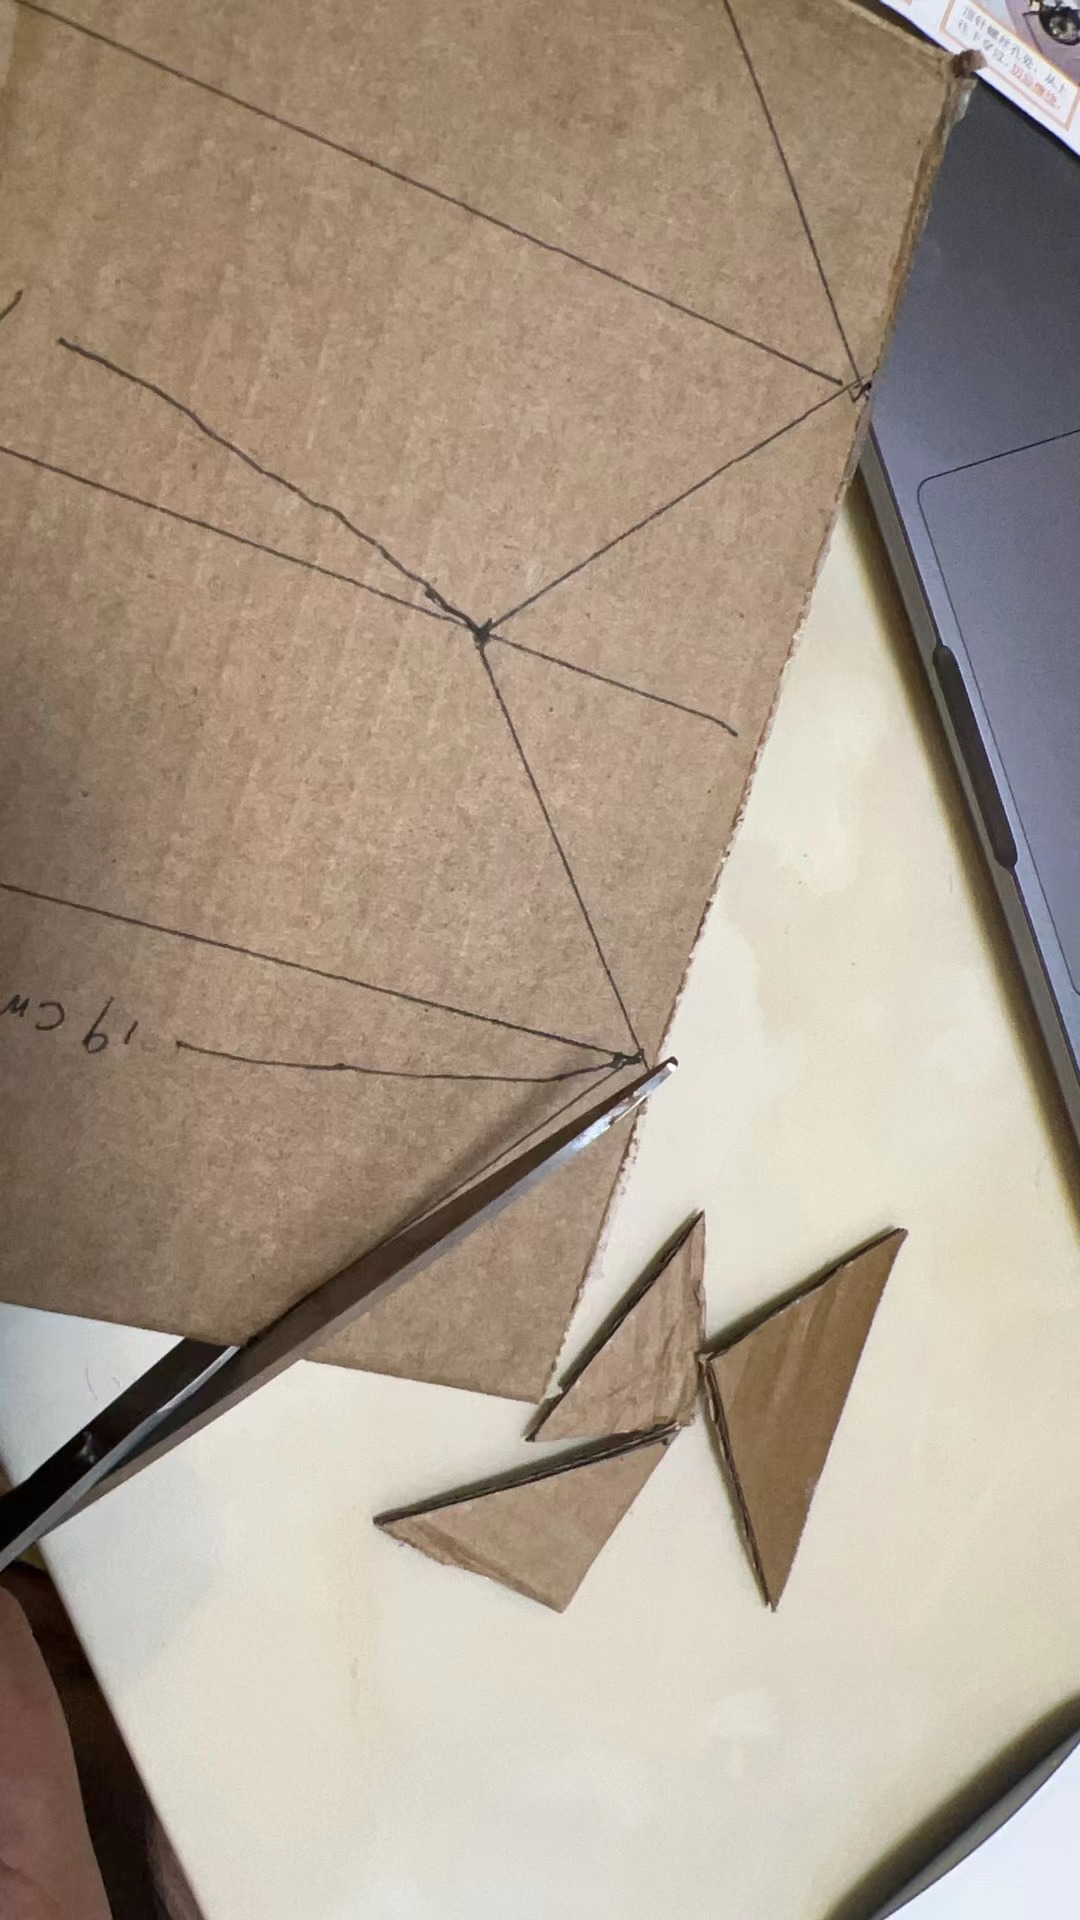
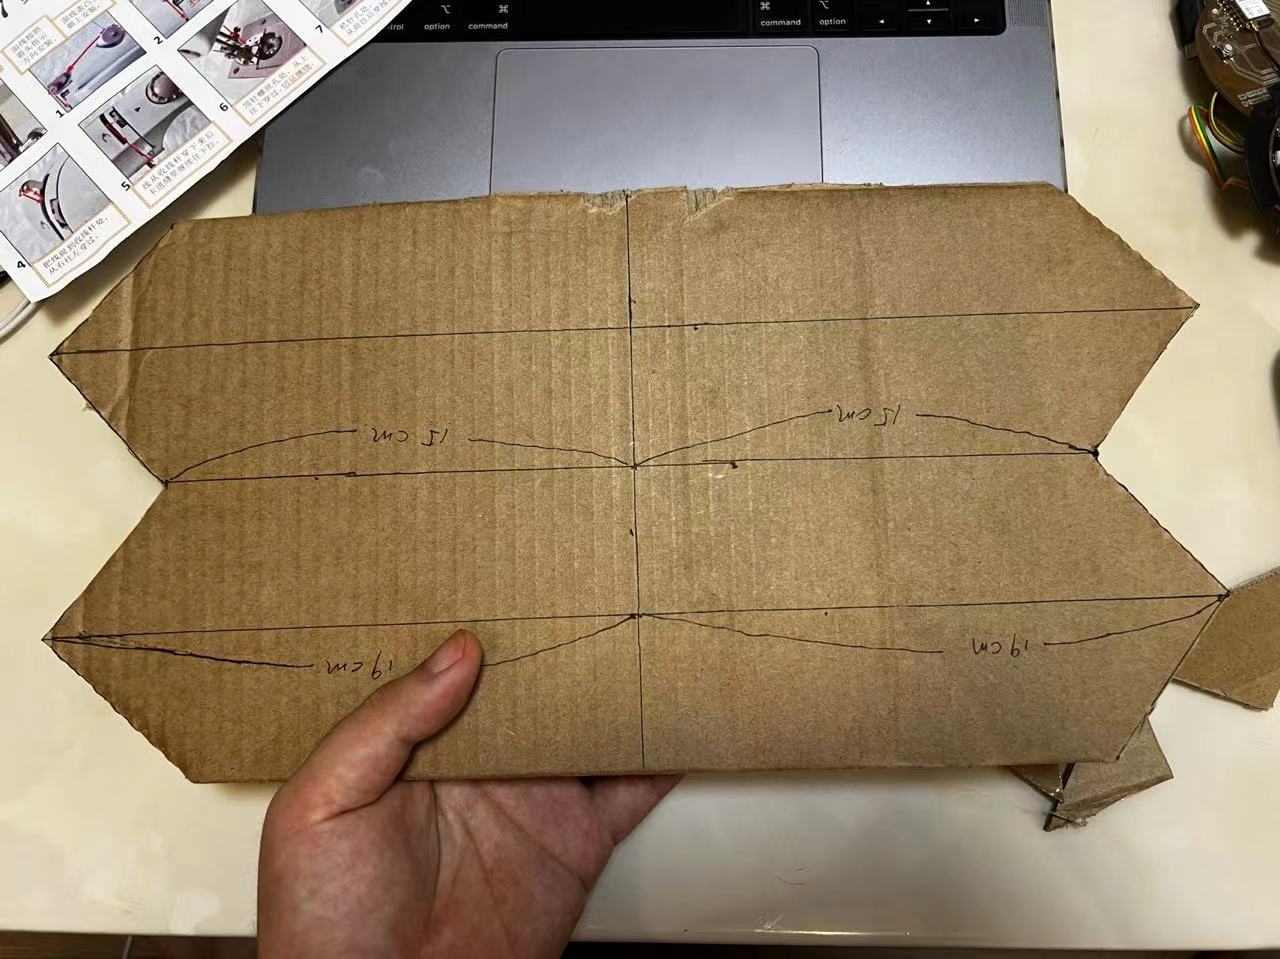
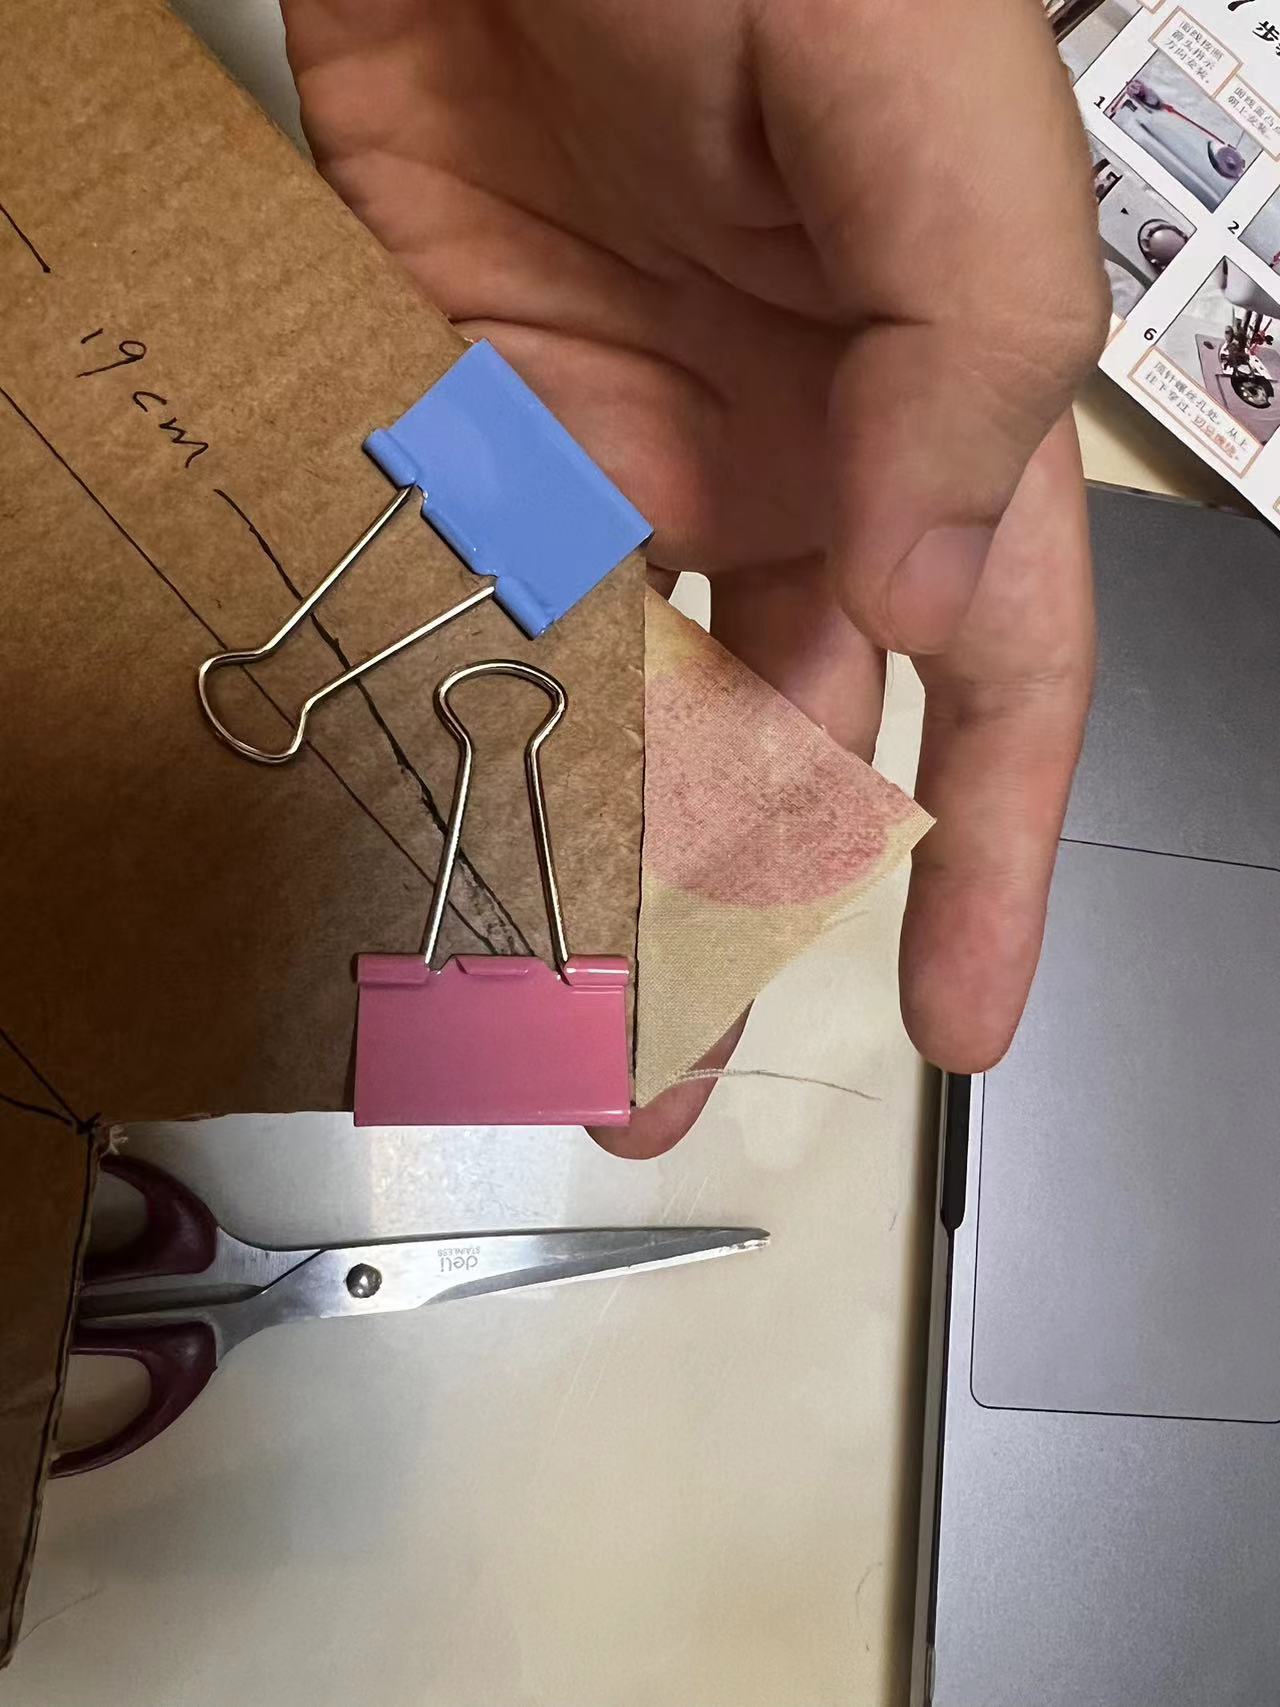
First, I need to use cardboard to draw the corresponding dimensions of the fabric, cut the cardboard to the appropriate size to use as a template for cutting and drawing the fabric.
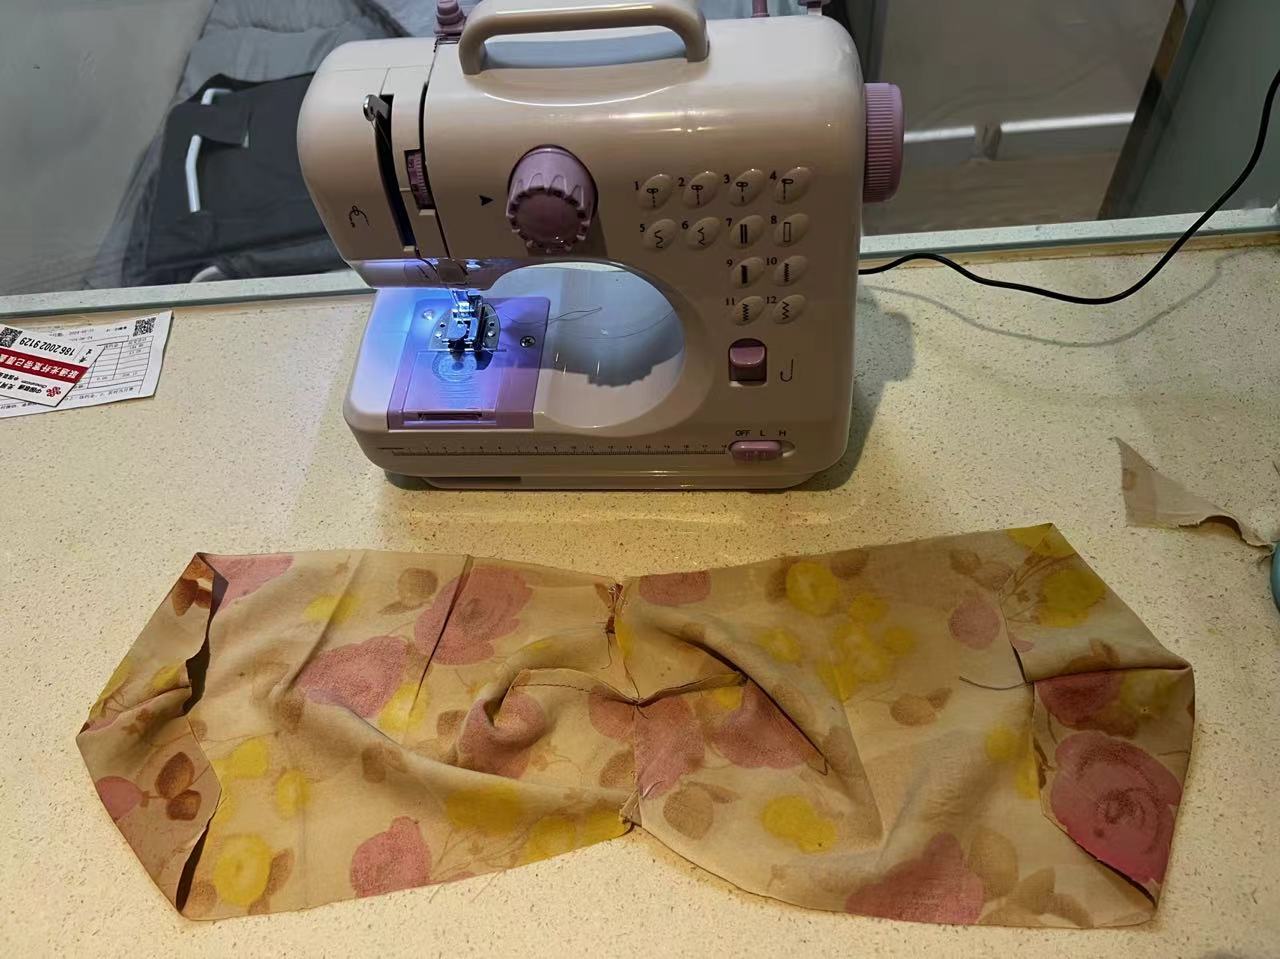
Cutting Fabric
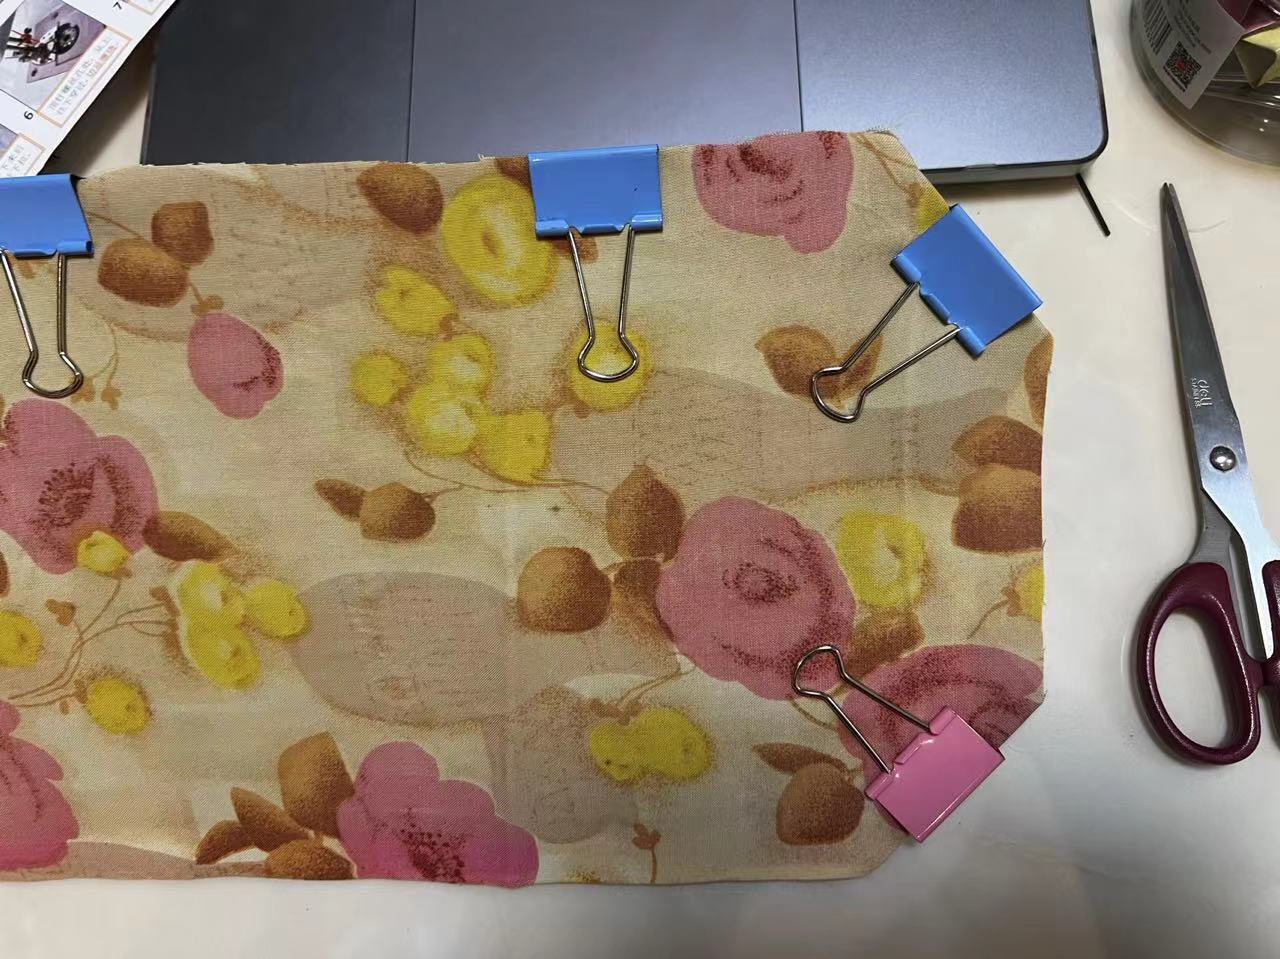
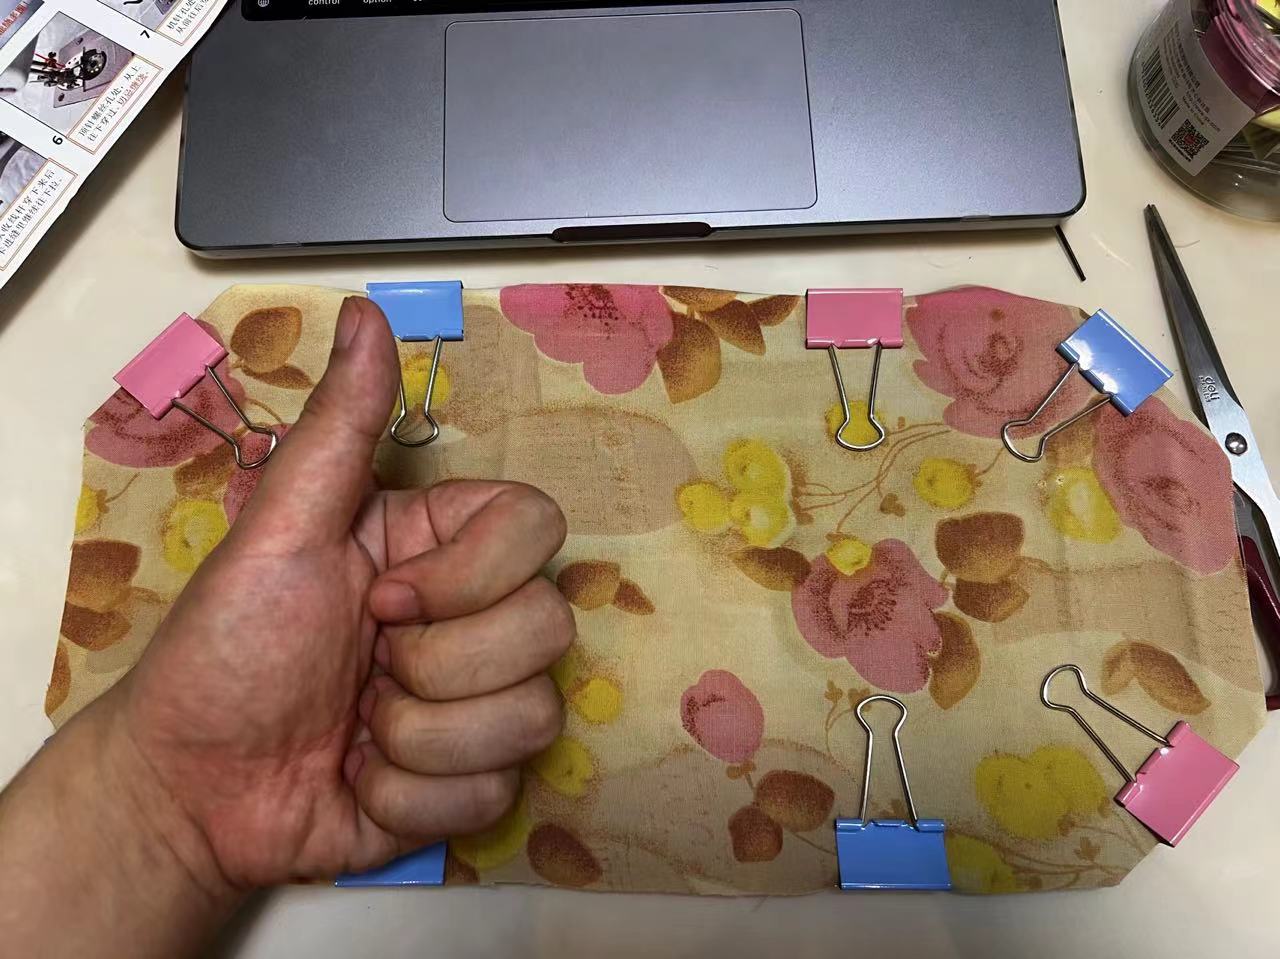
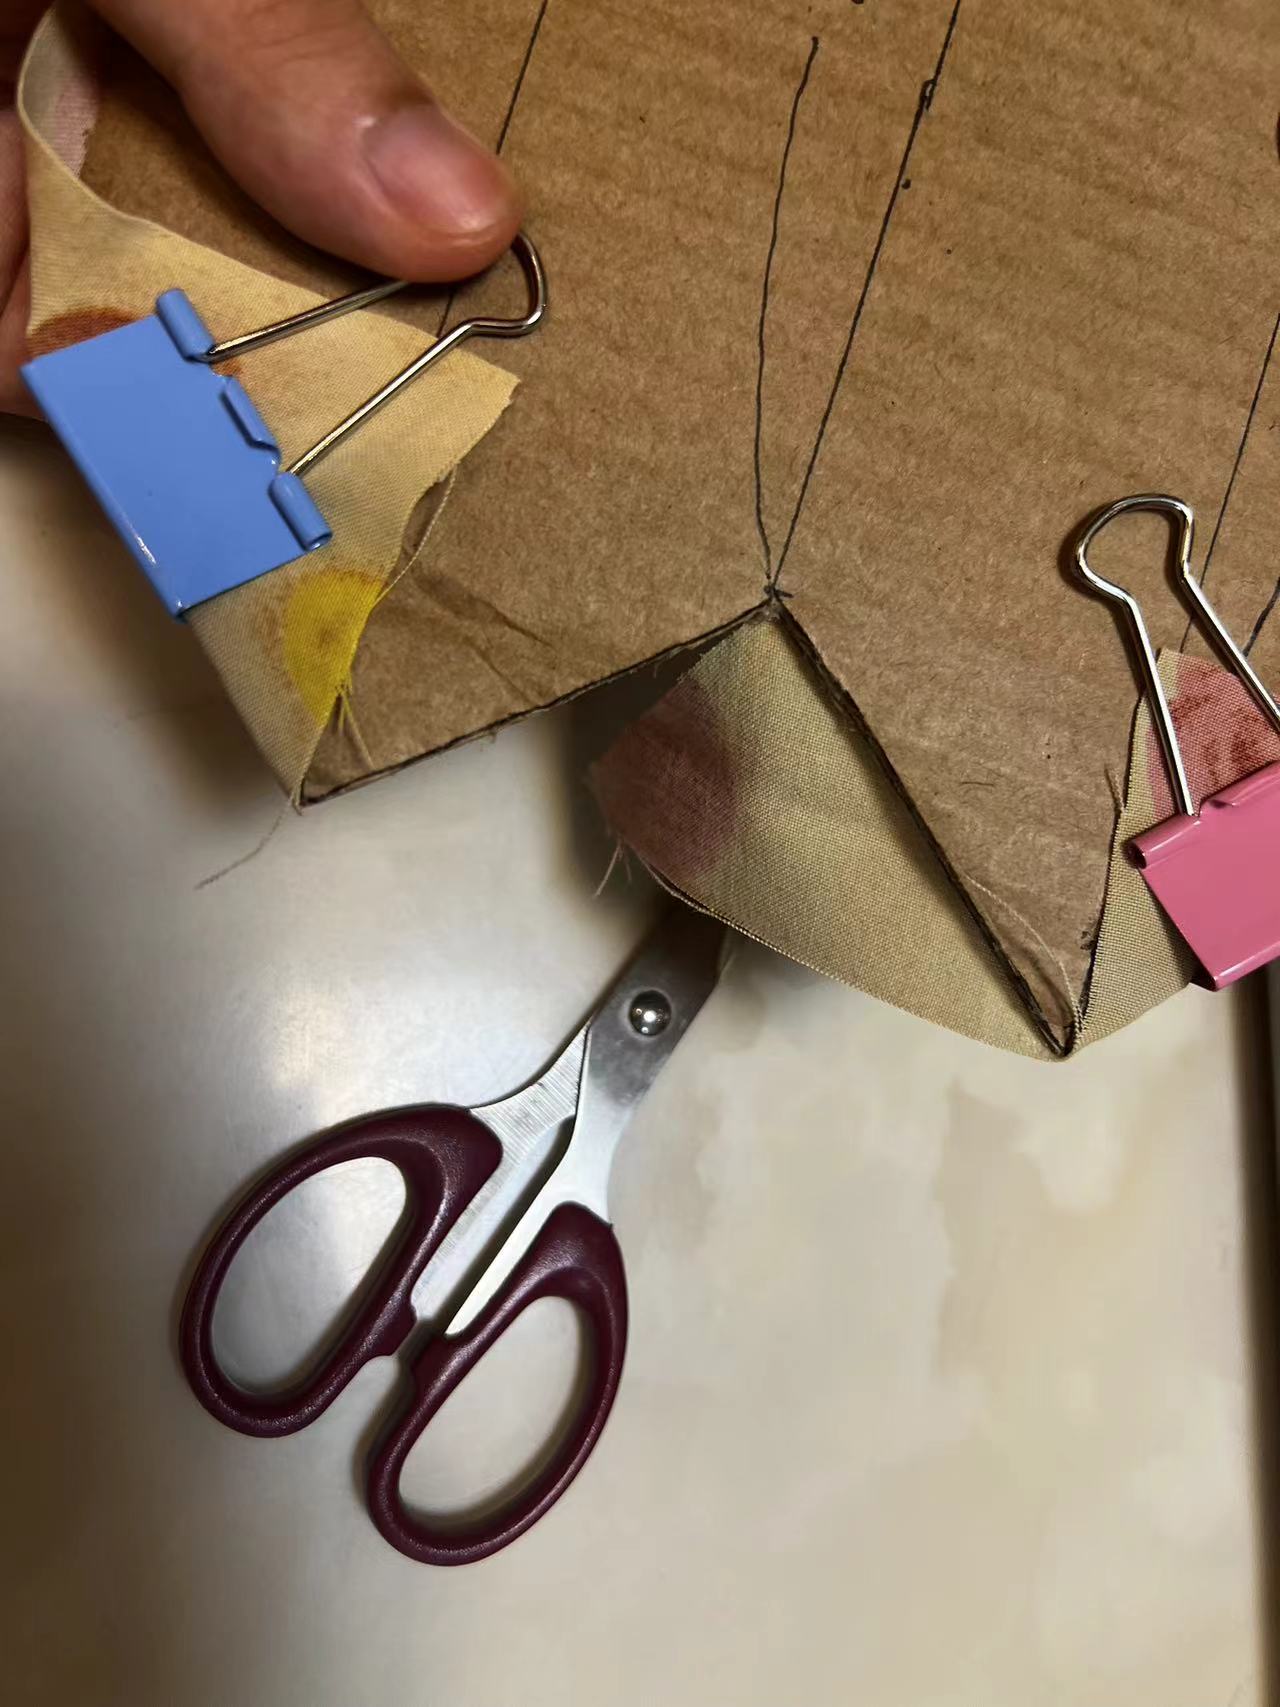
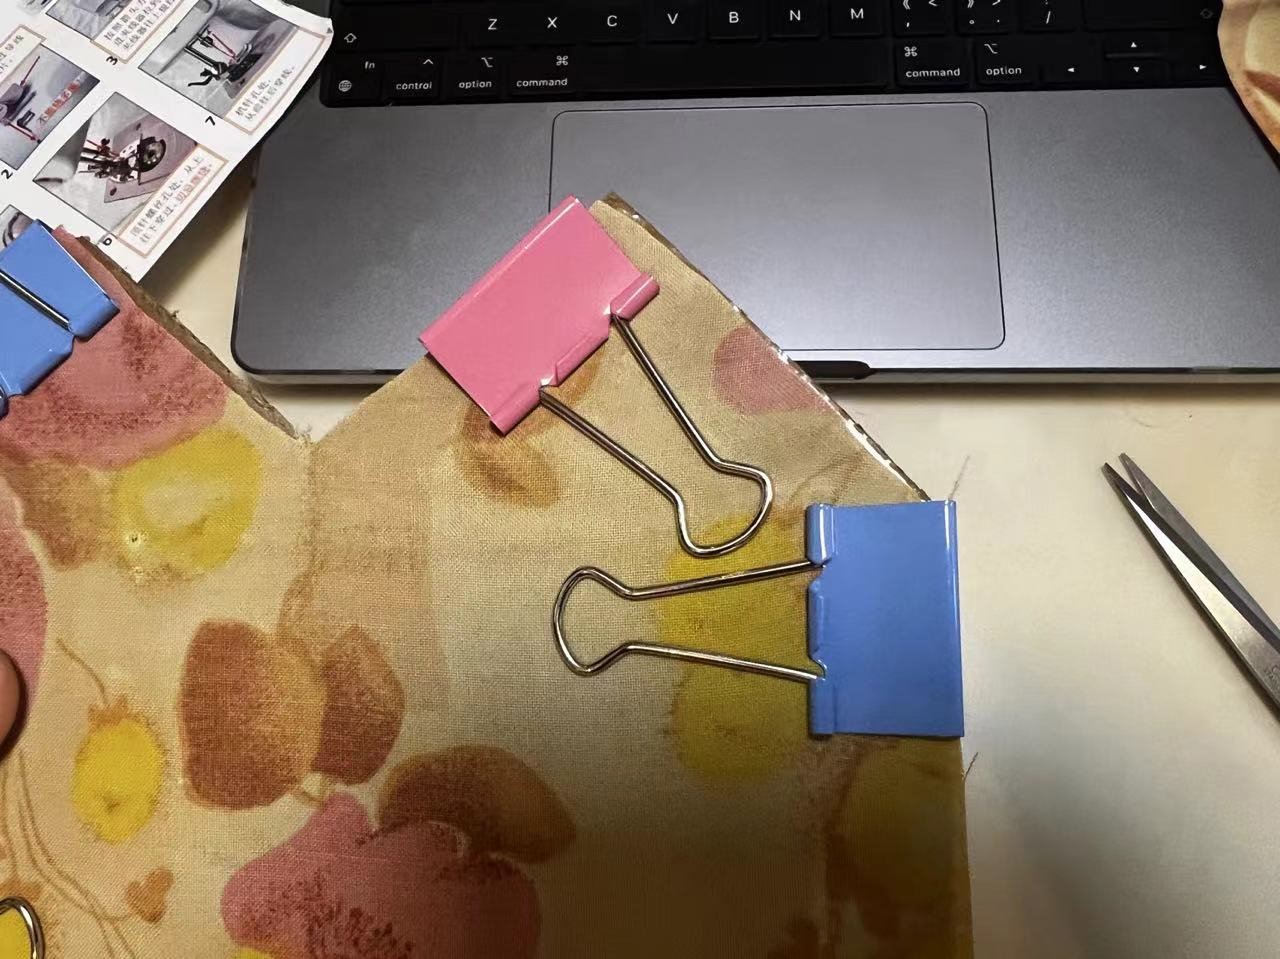
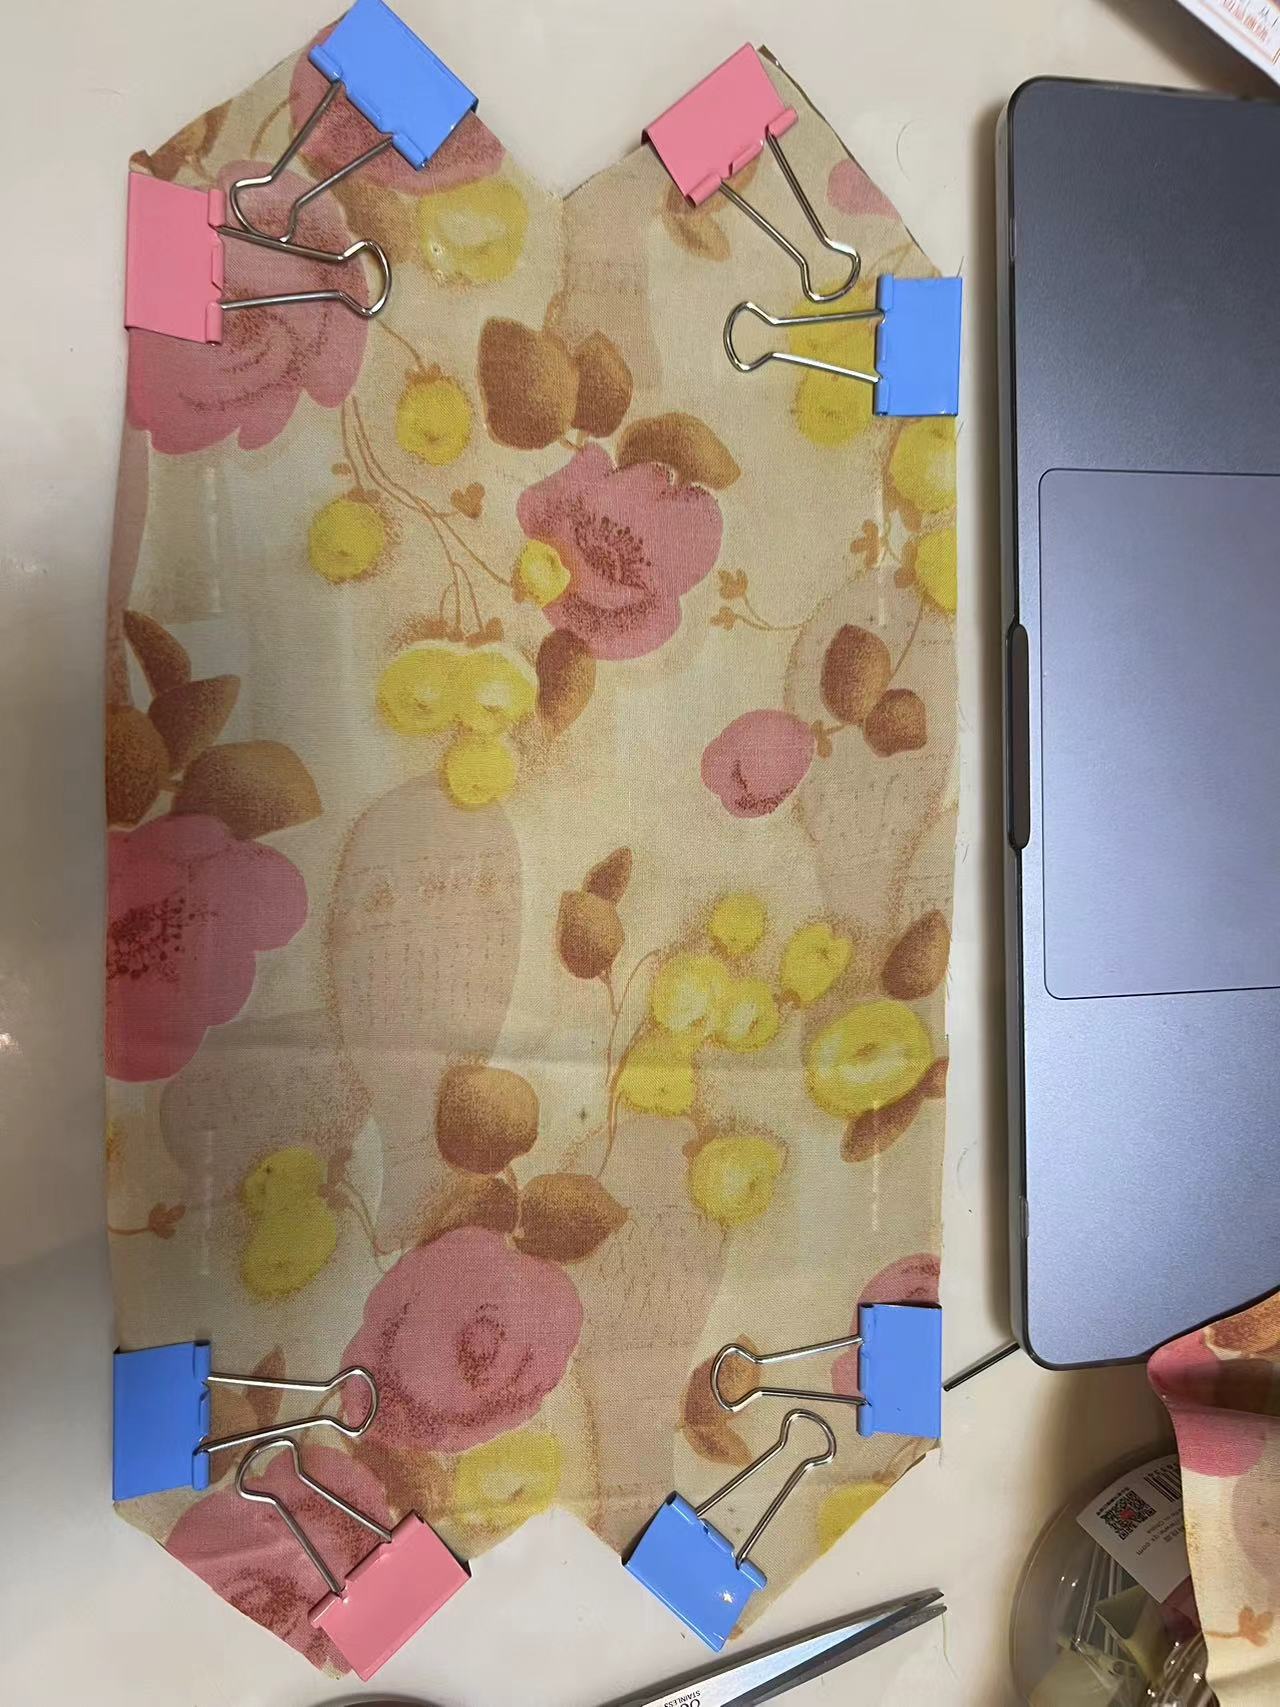
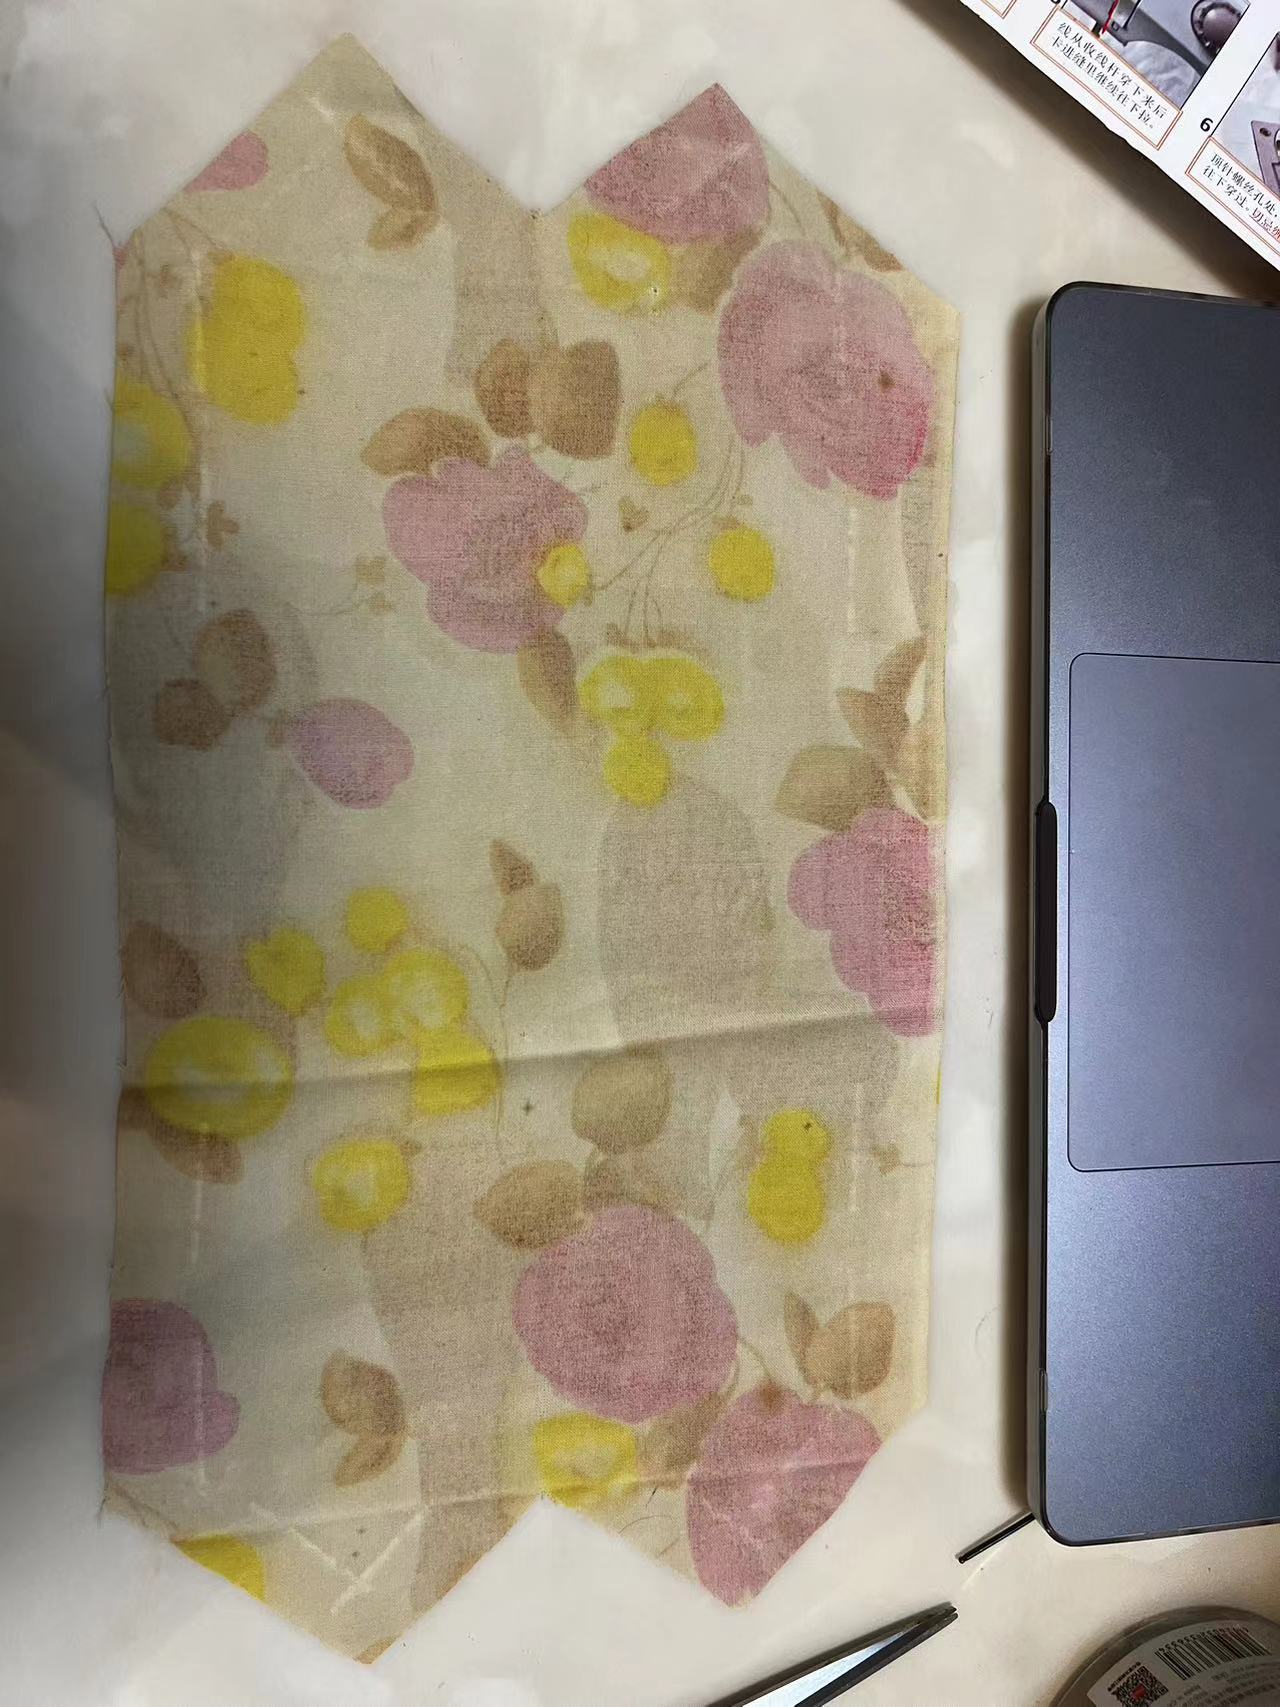
For the second step, I use clips to secure the fabric to my template, making it easier to cut it to the required shape. Once fully clipped, I begin cutting along the edges of the cardboard, repeating the steps to achieve the desired shape of the fabric.
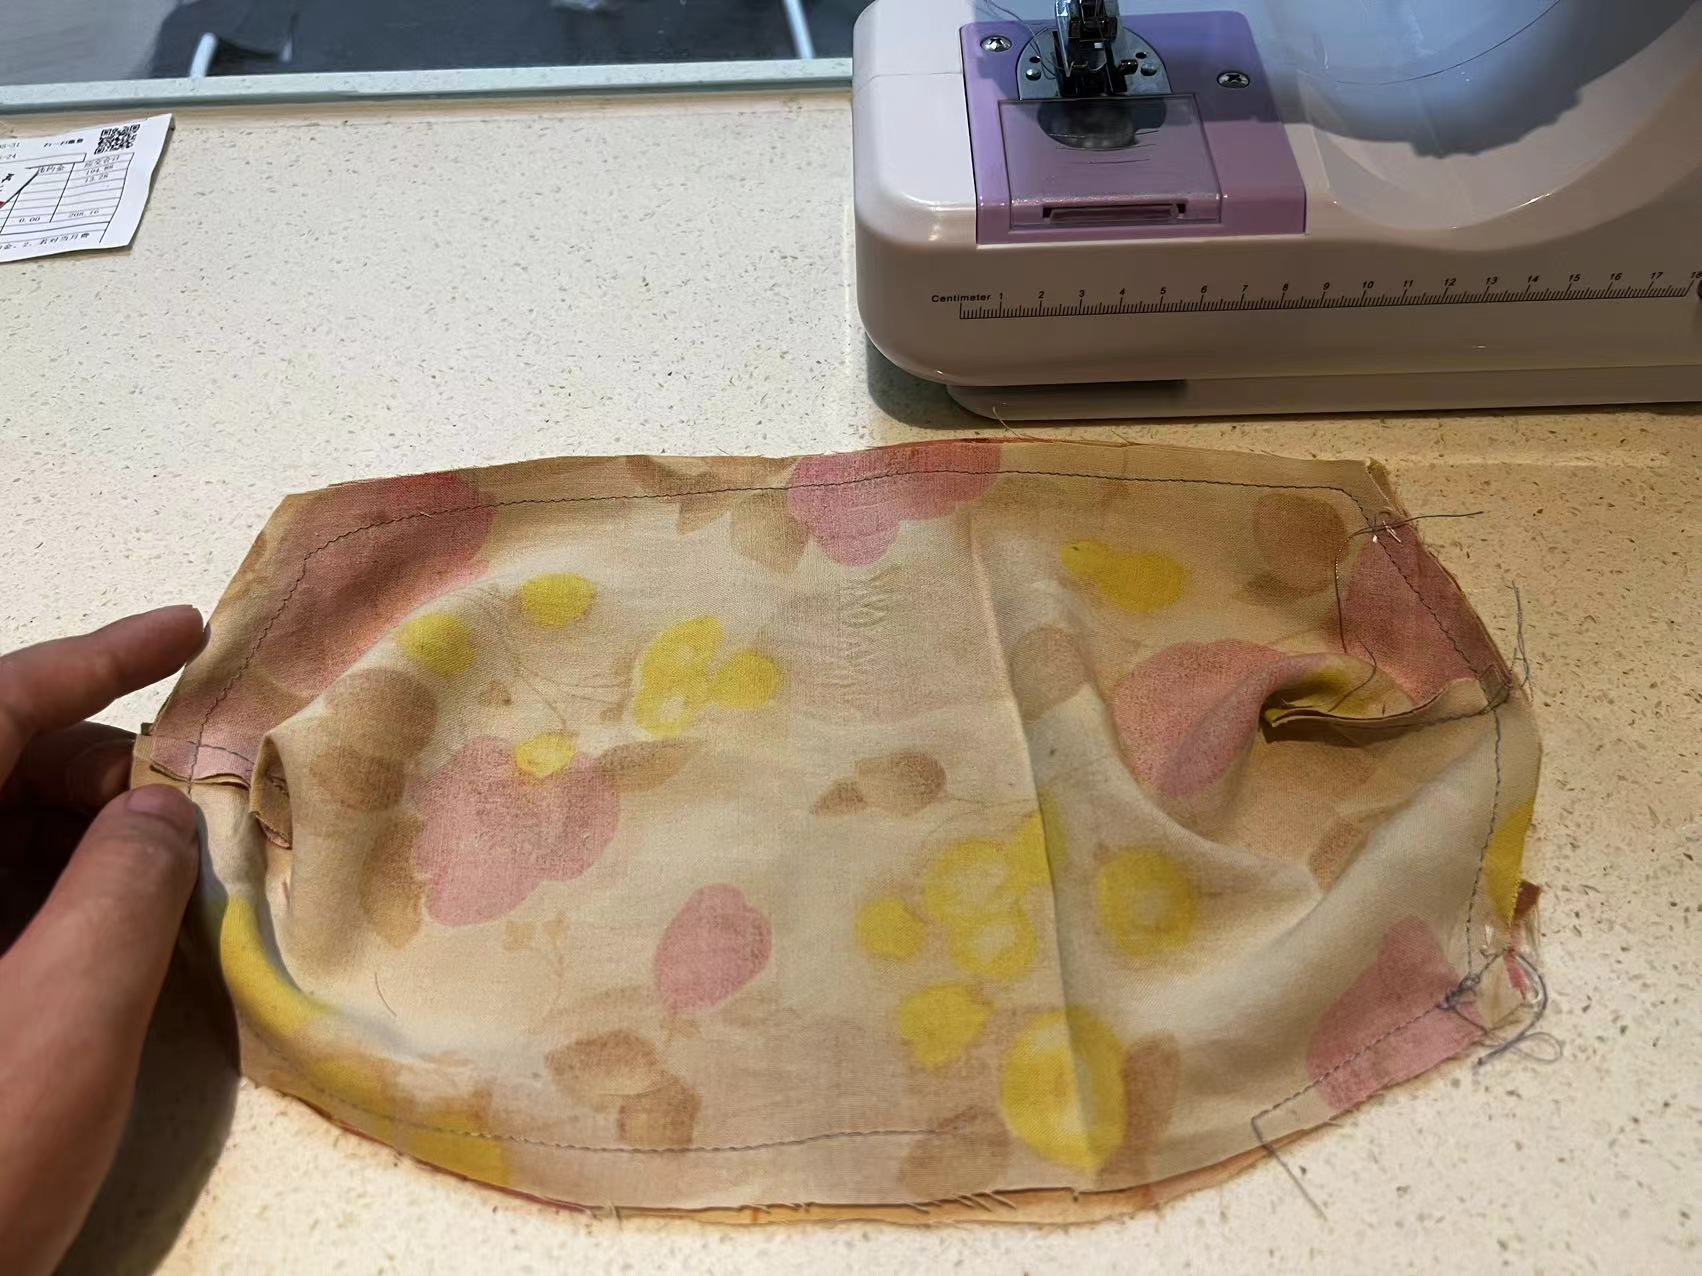
Pre-assembly Check
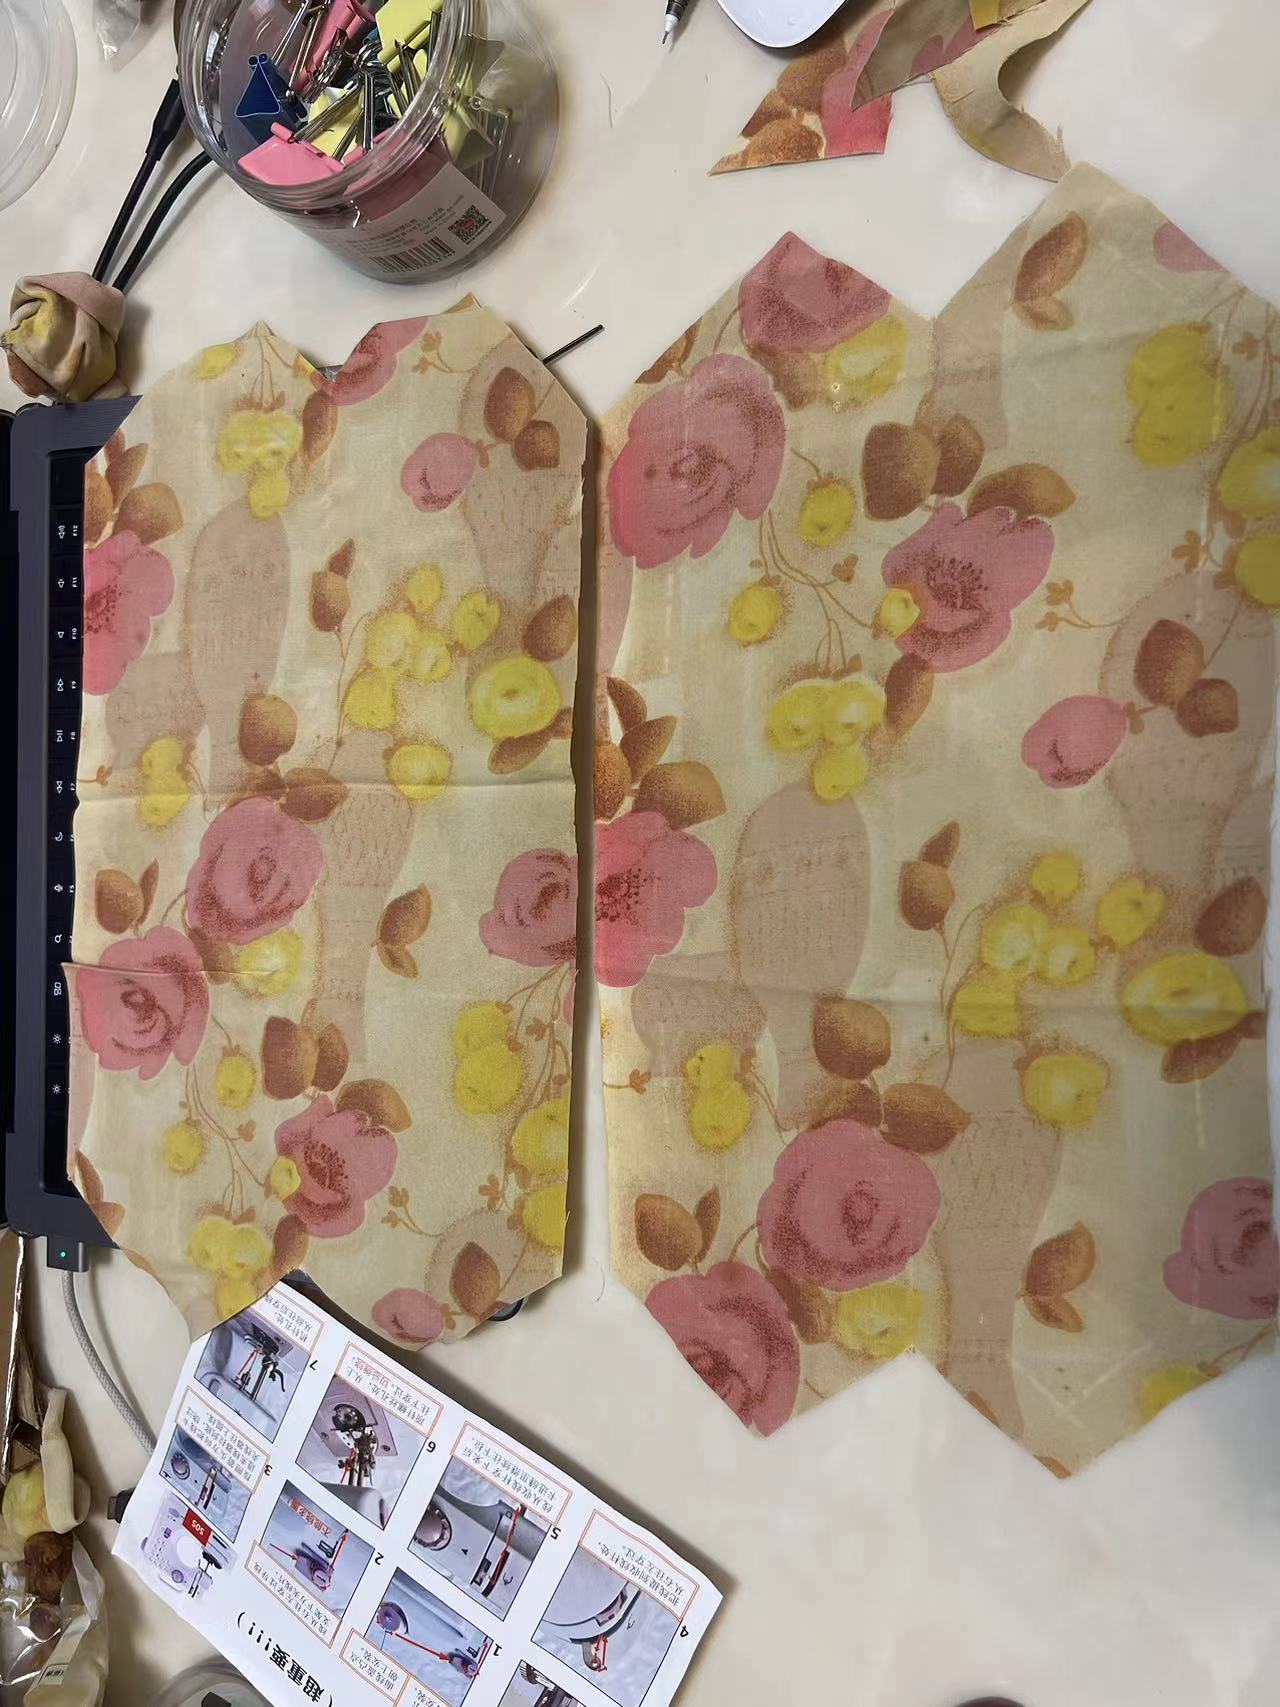
Before the pre-assembly check, I need to sew the hat's structure into two parts, then combine these two parts together for final stitching. I start by folding a single piece of fabric and sewing the connecting points. I do this for both pieces of fabric, then I check if their lengths are appropriate.
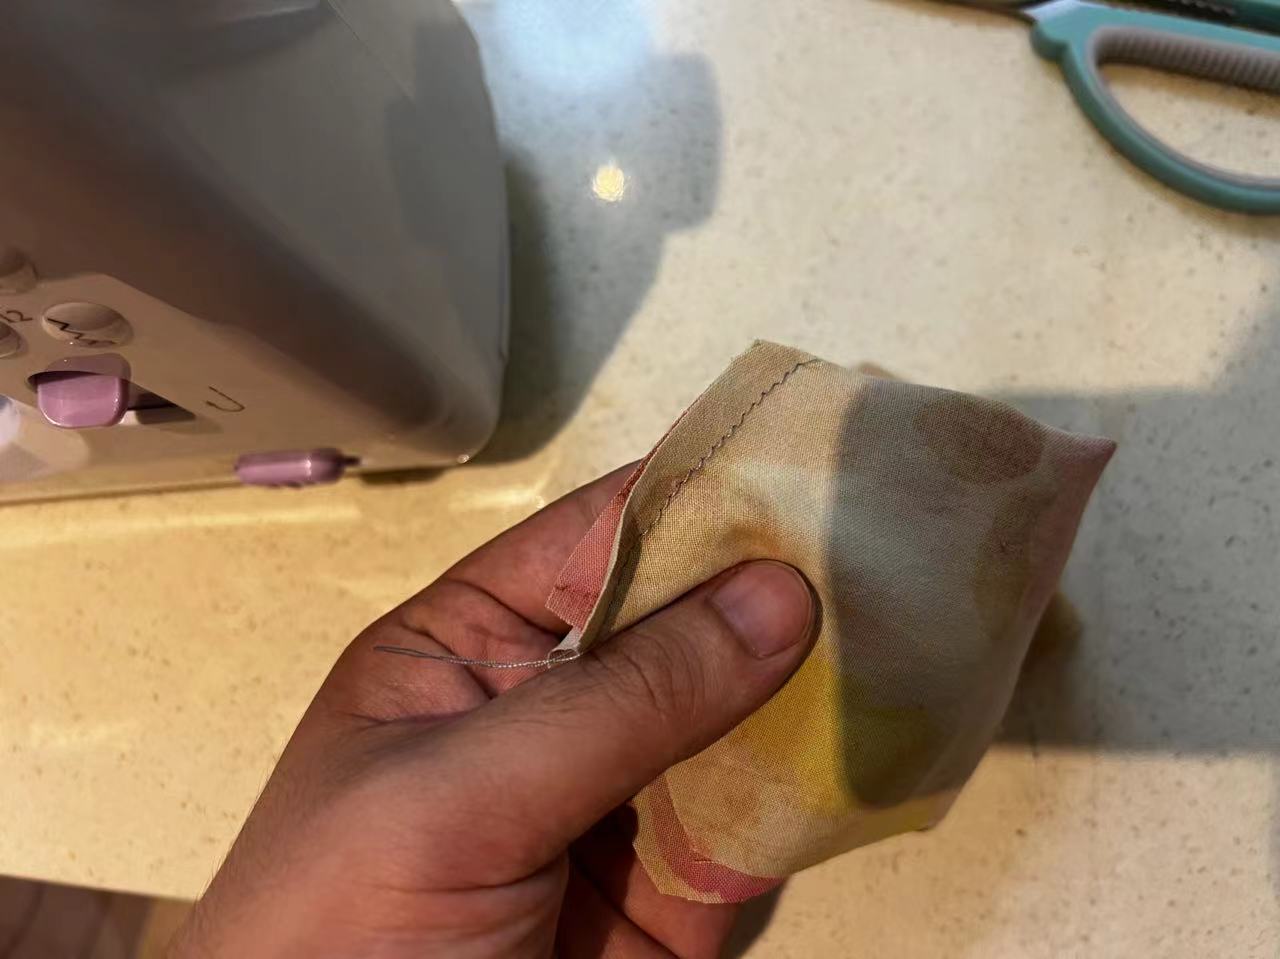
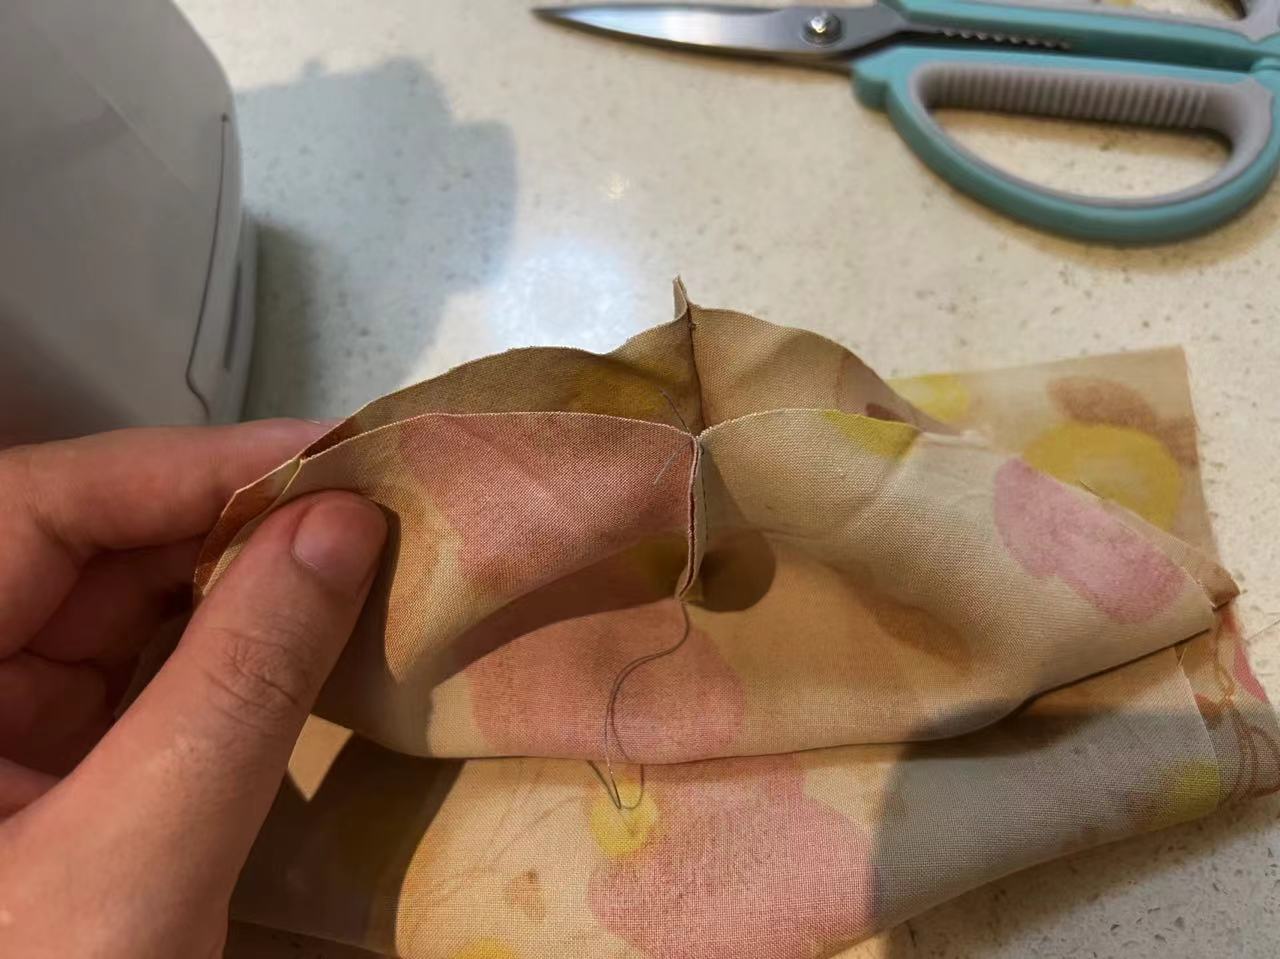
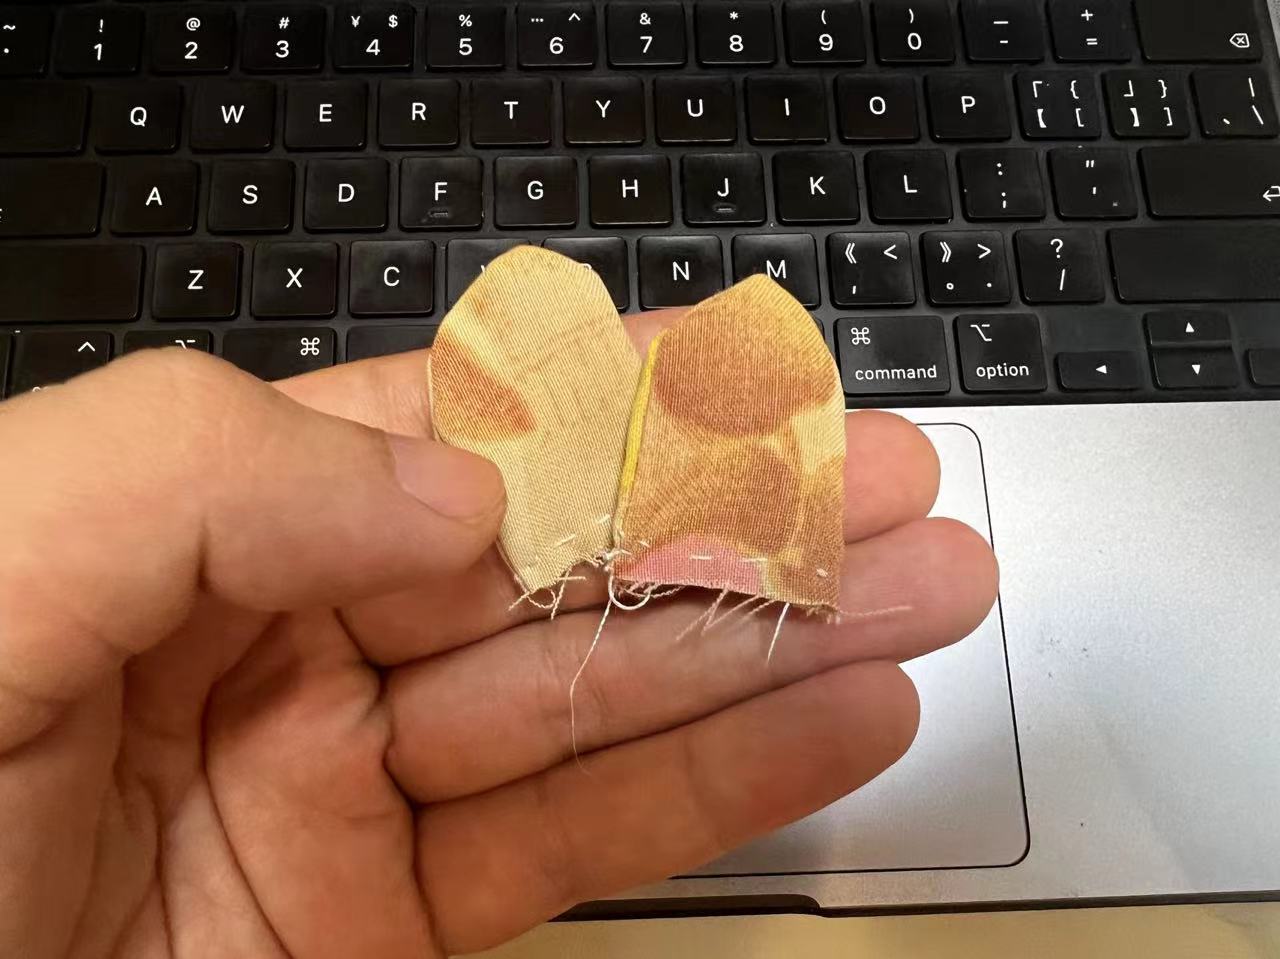
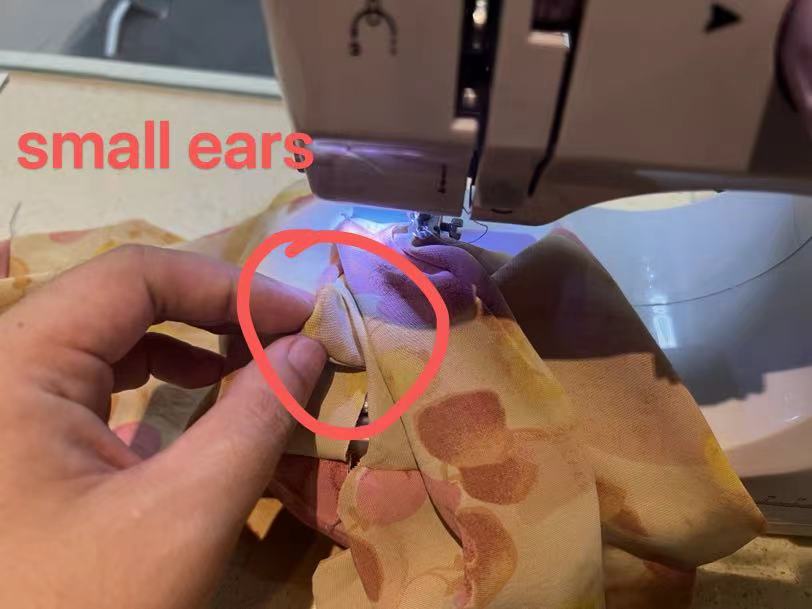
PS: I used the extra fabric to attempt sewing two small ears, thinking it would make my hat look better. This was a spontaneous idea, and I hope I can realize it.
Sewing the Hat
At the final sewing stage, I first secured the small ears between the two pieces of fabric by pinning them in place, and then began the sewing process.
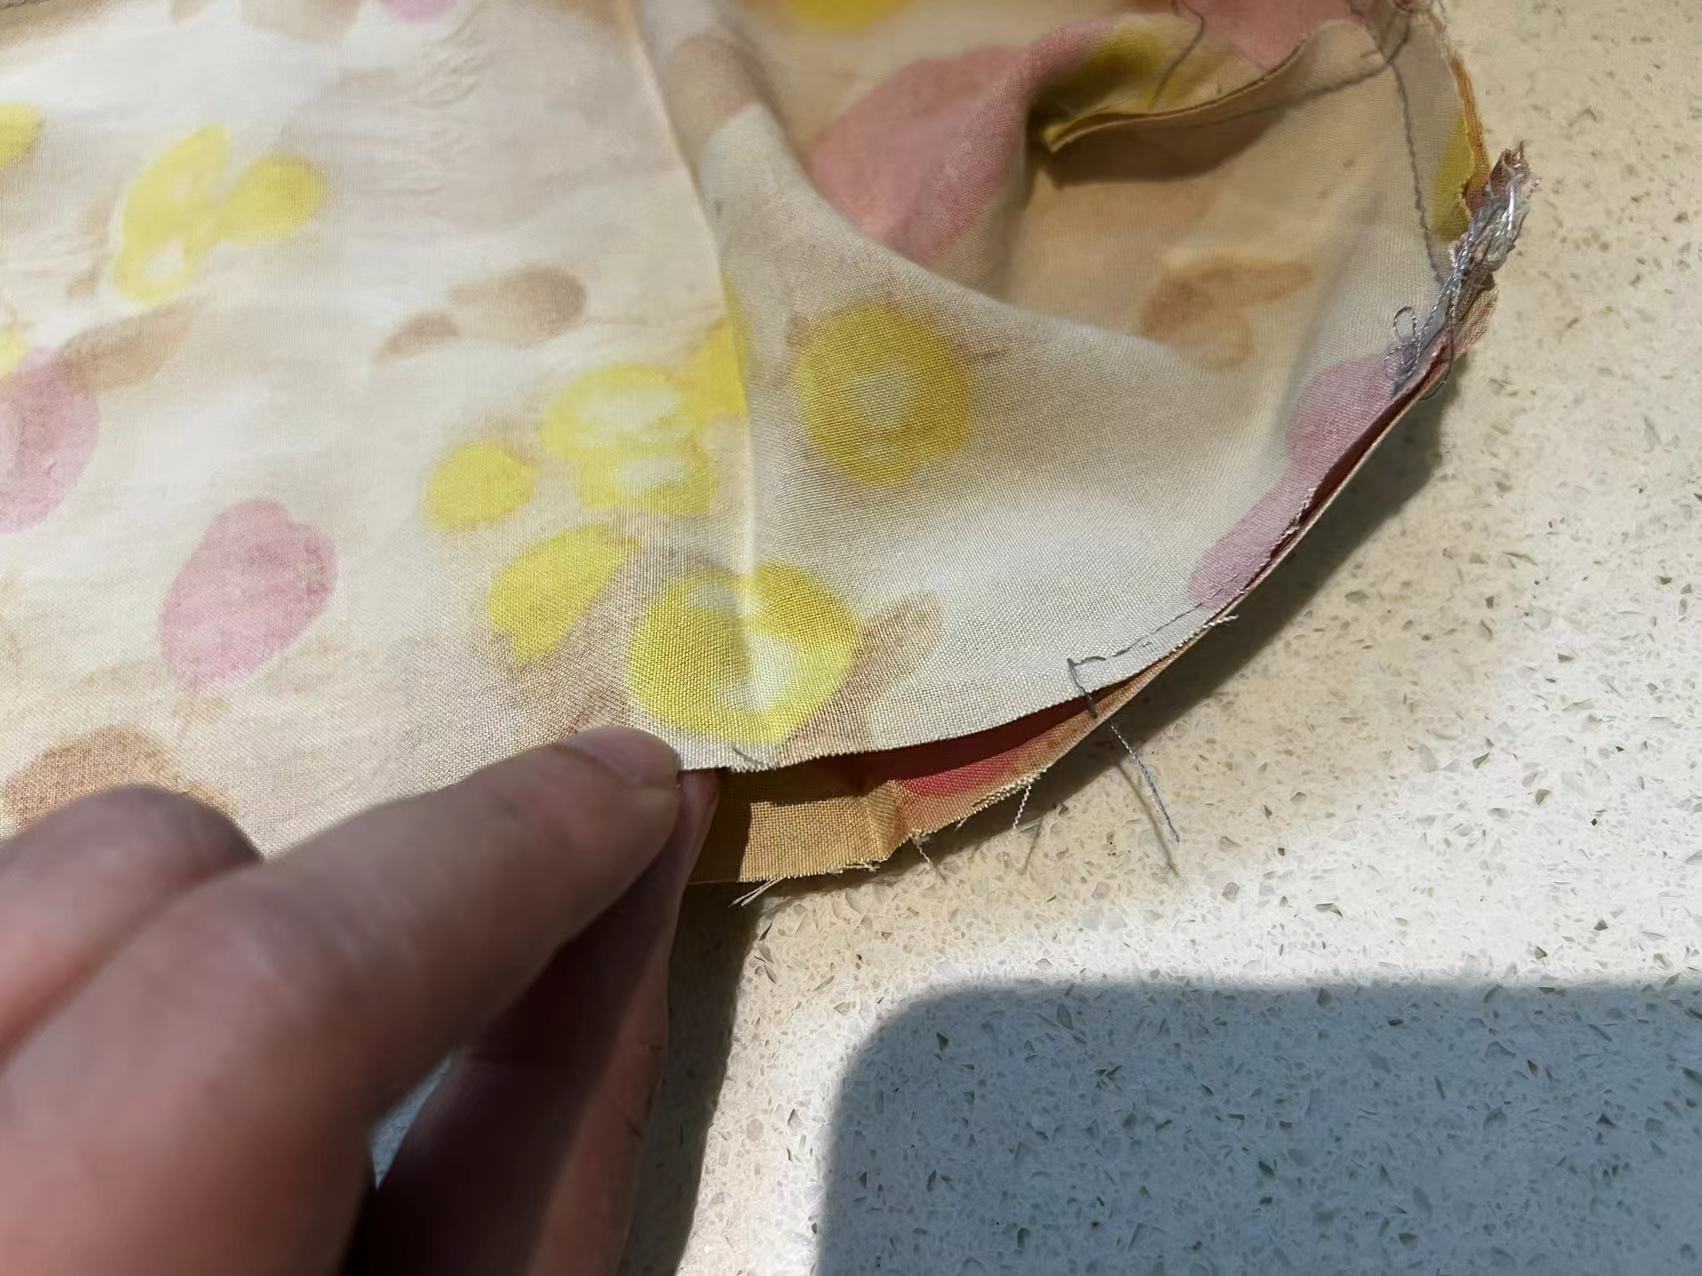
Sew around the hat to connect the two pieces of fabric together. Make sure to leave a small opening to ensure that the fabric can be turned over after sewing to form the front of the hat.
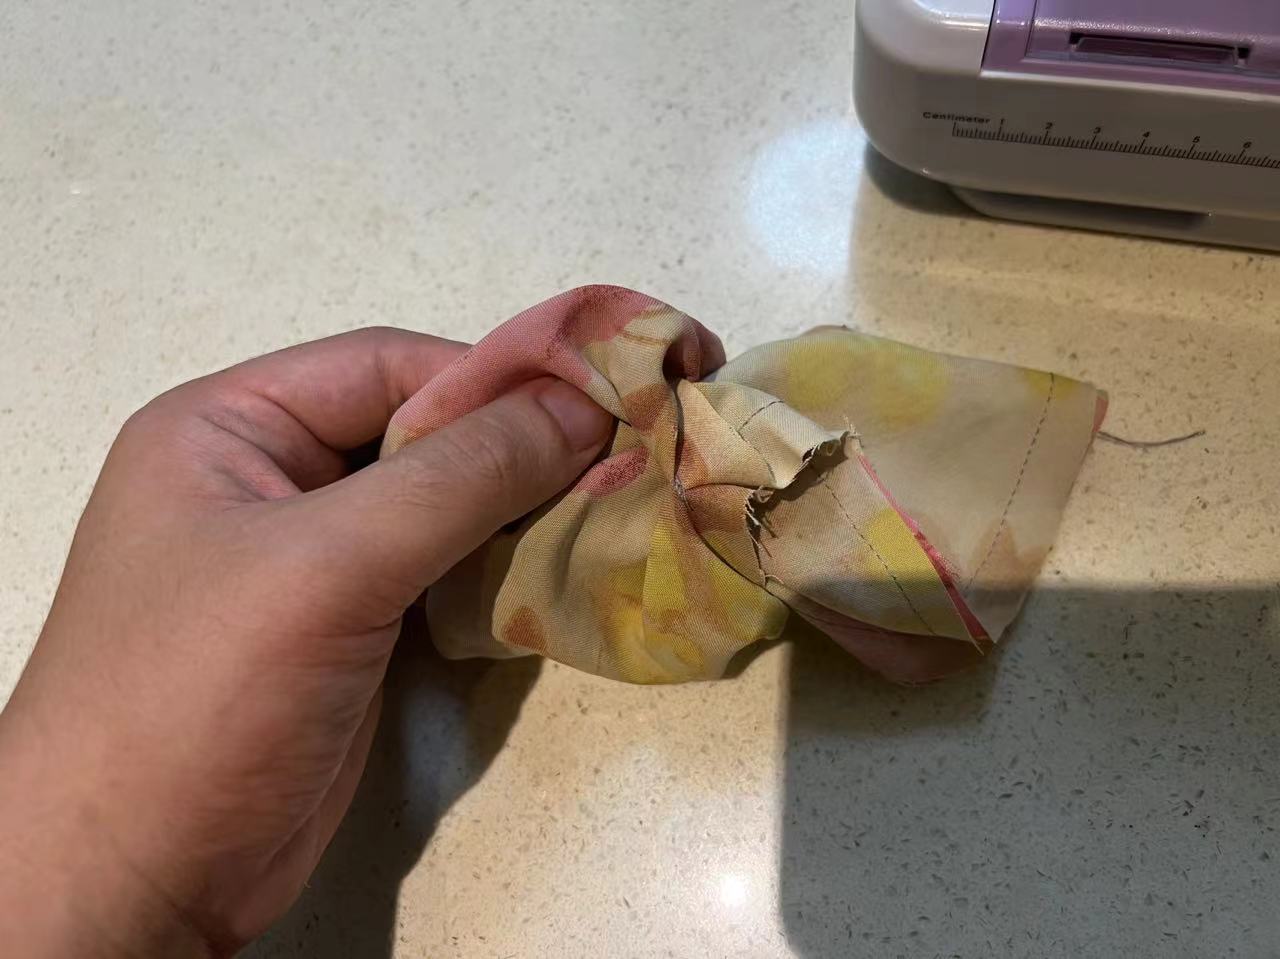
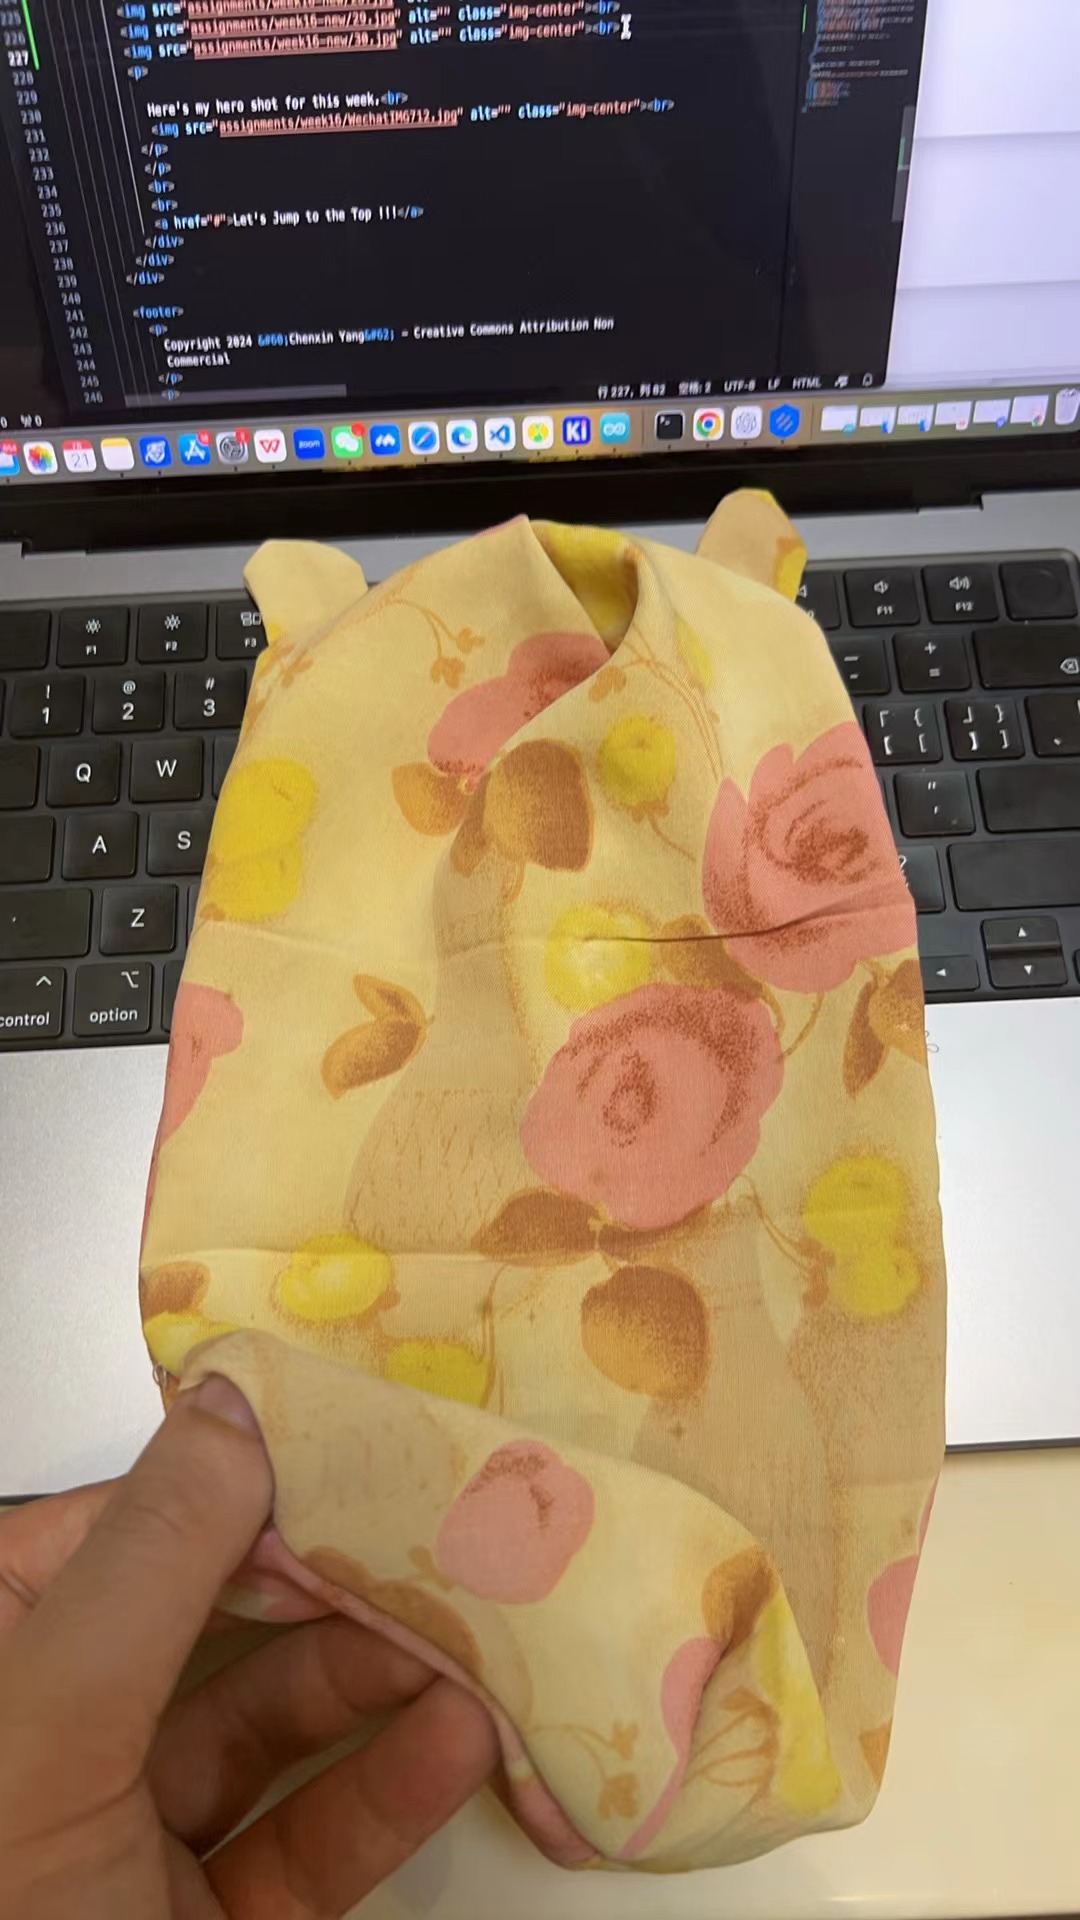
The front of the hat is shown in the picture. Then, we fold the turned hat inward to achieve a basic shape.
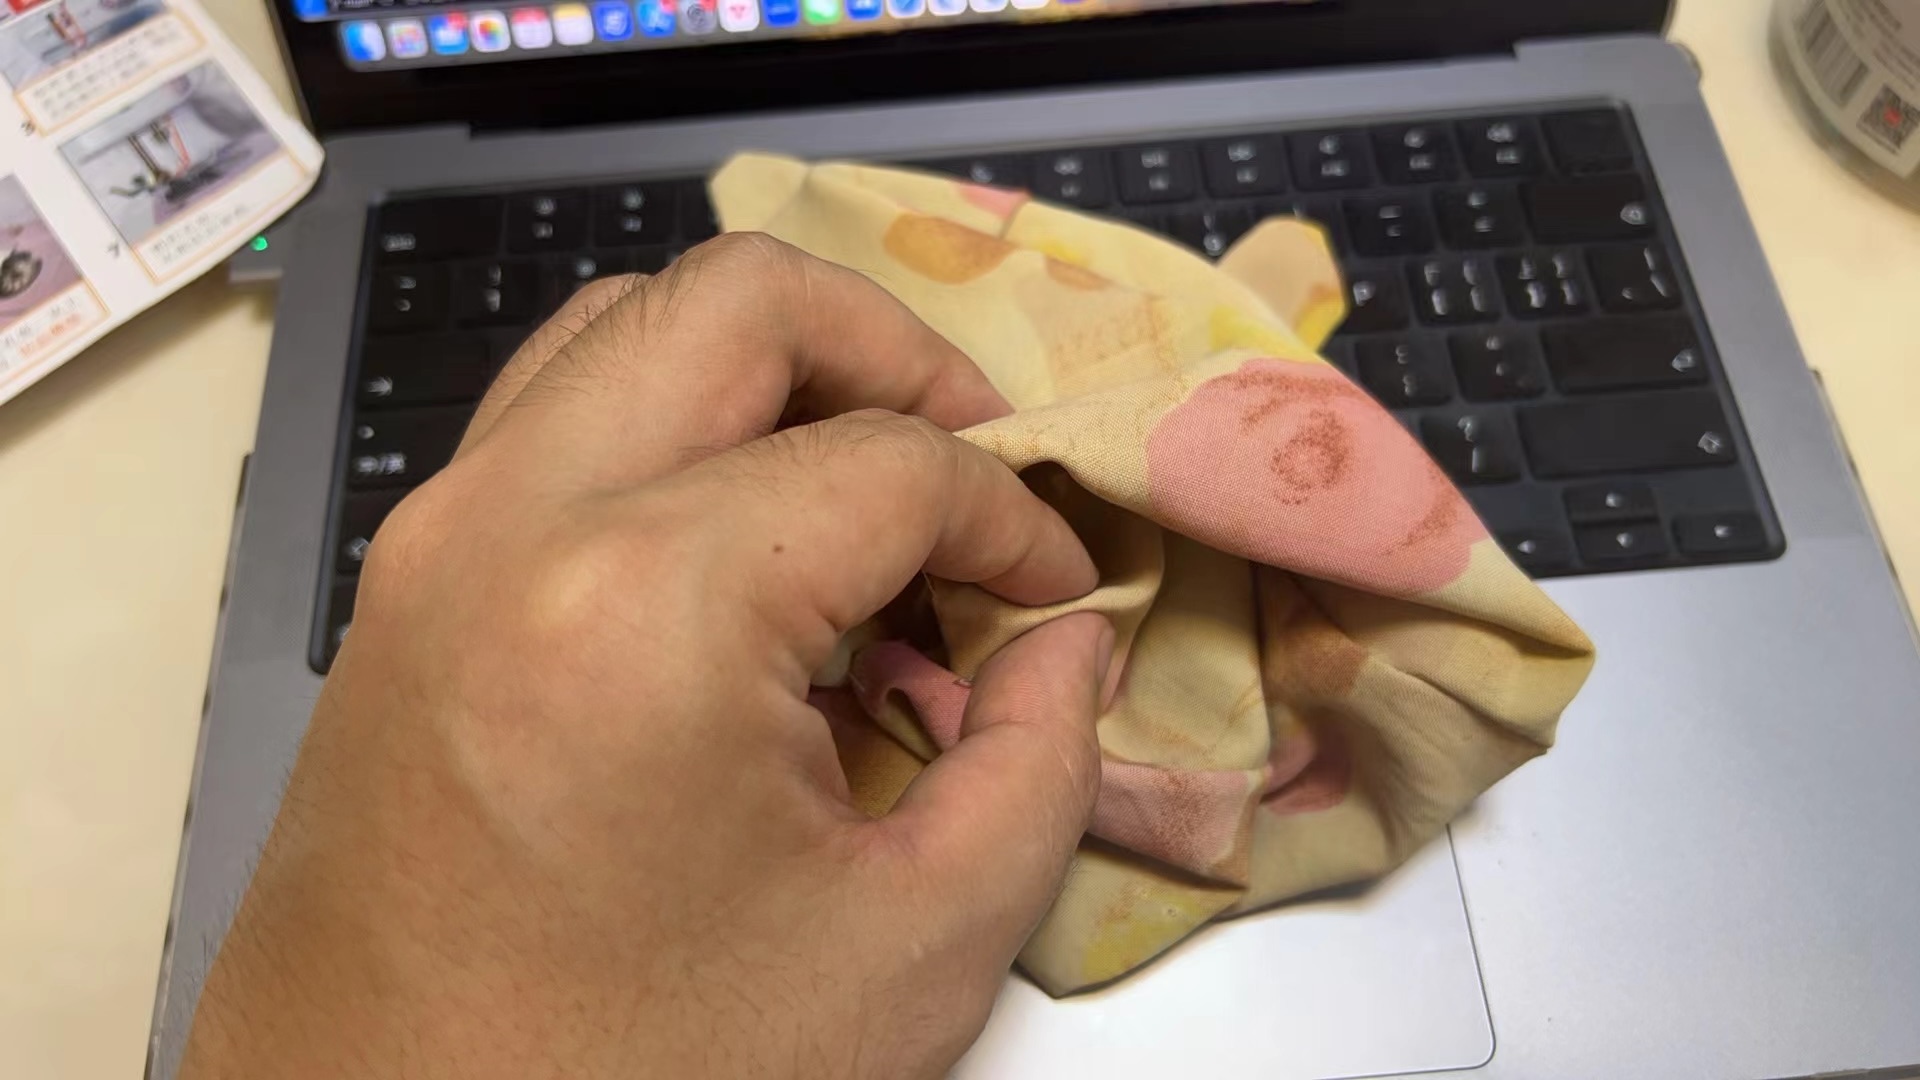
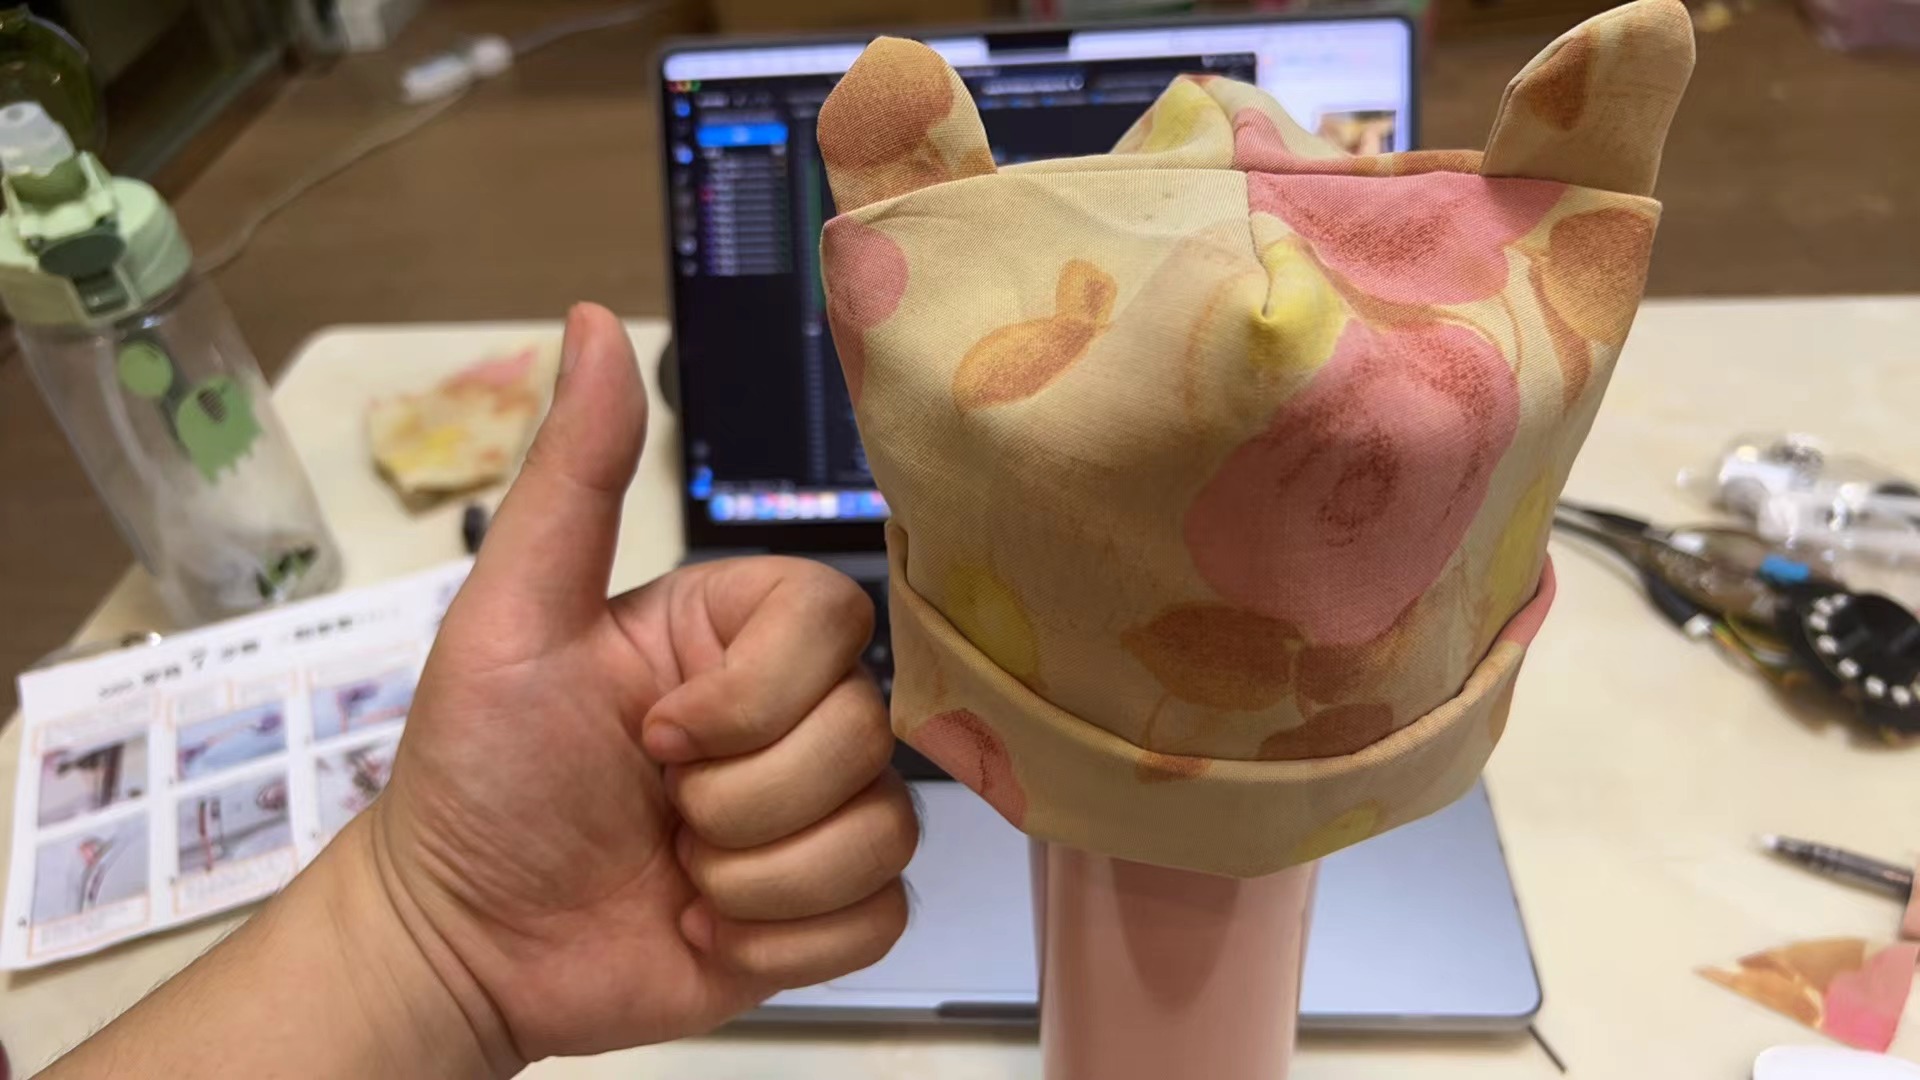
In the end, I need to flip up the brim of the hat to make it look even better. After a series of adjustments, I finally got the look I wanted.
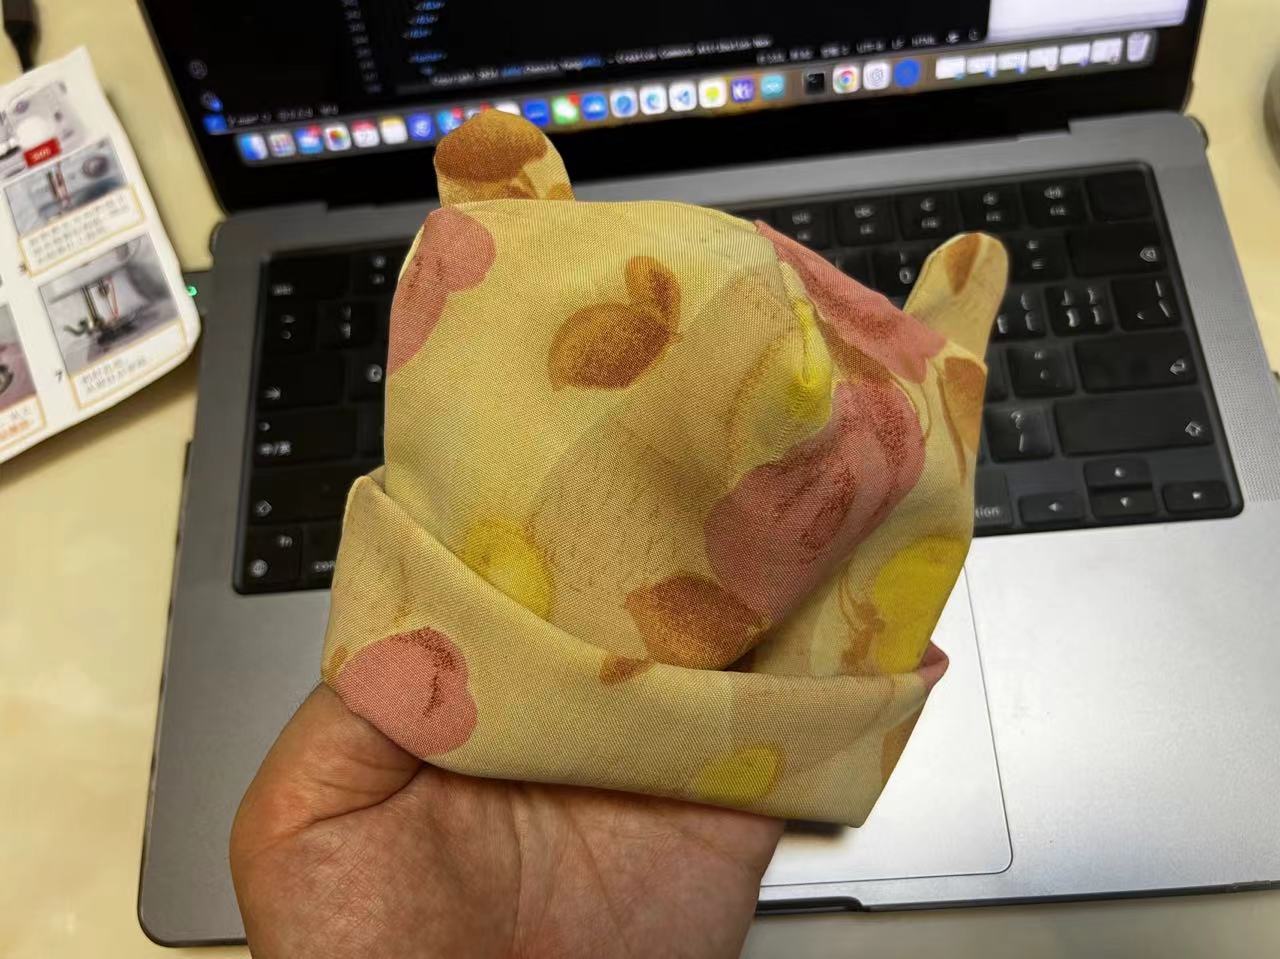
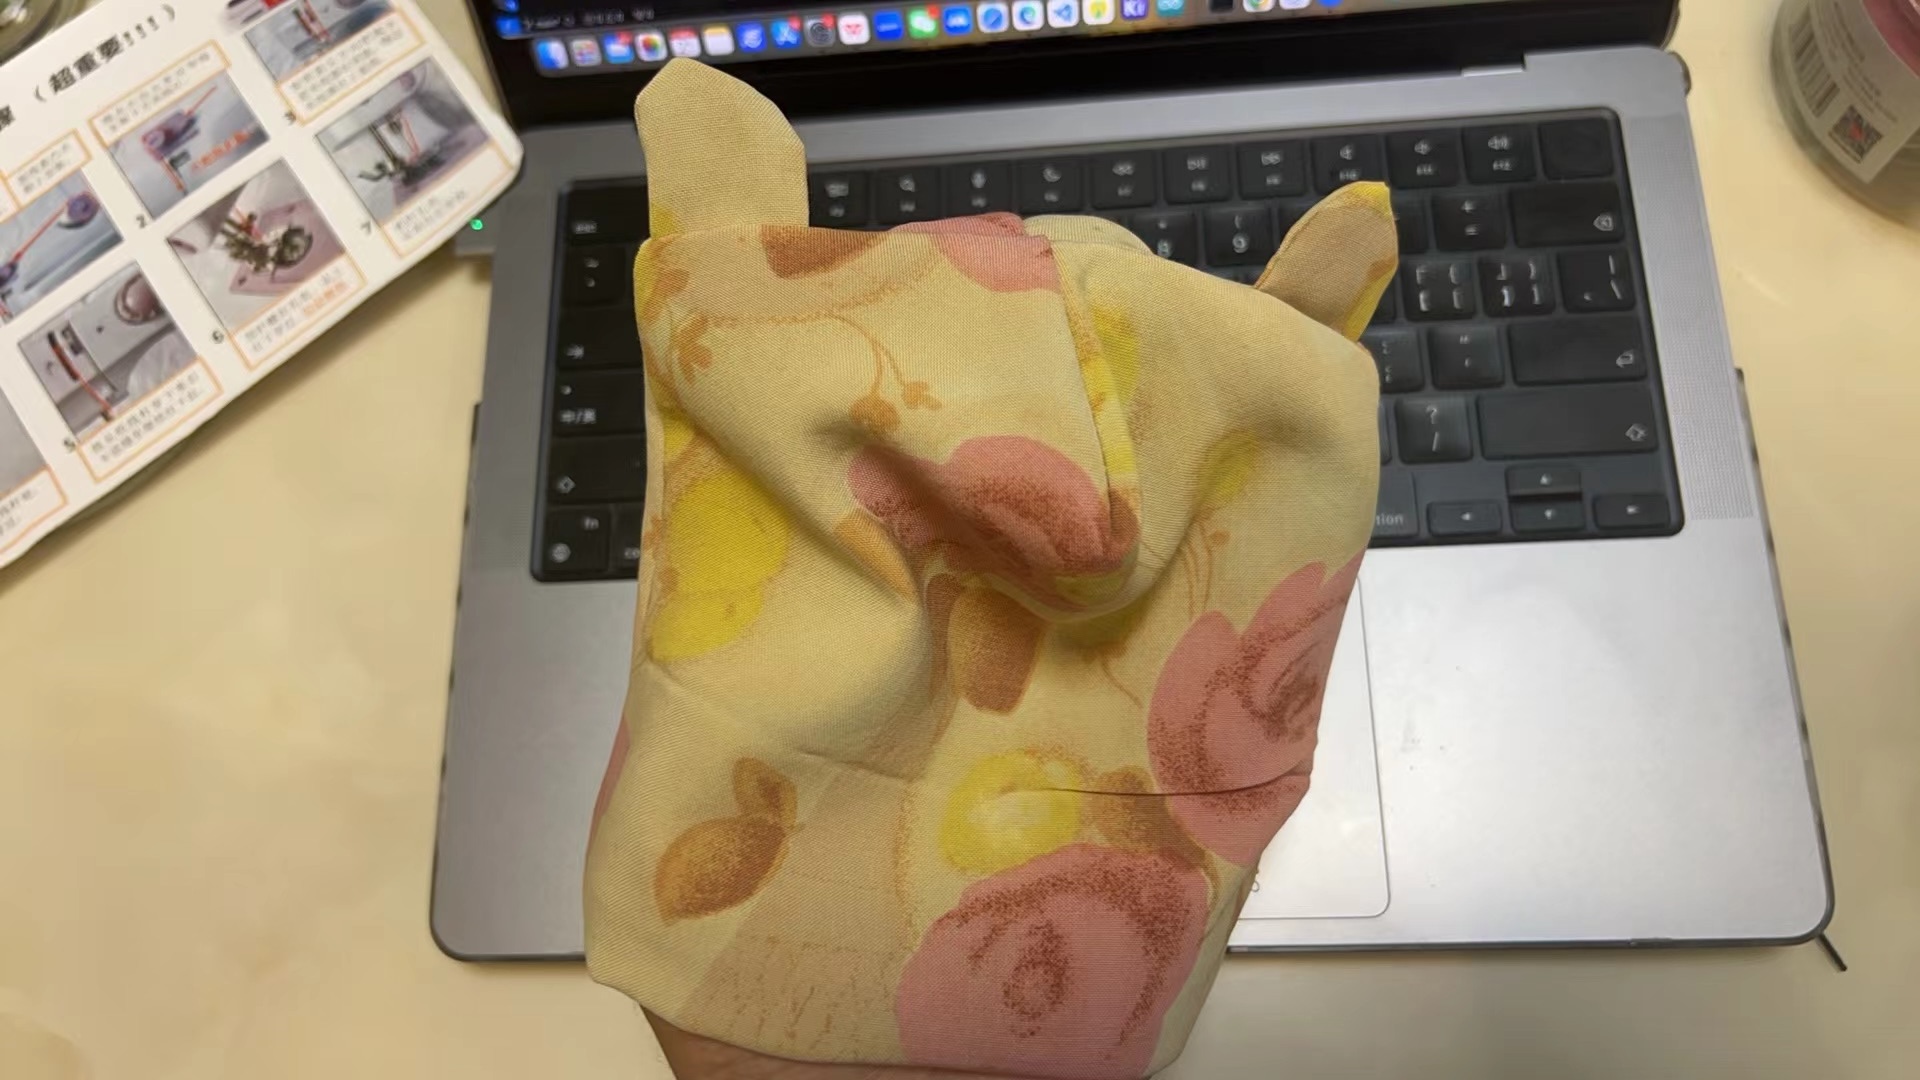
The Hero Shots
Here's my hero shot for this week.
Let's Jump to the Top !!!