3. Computer controlled cutting
Checking Out Our Lasercutters
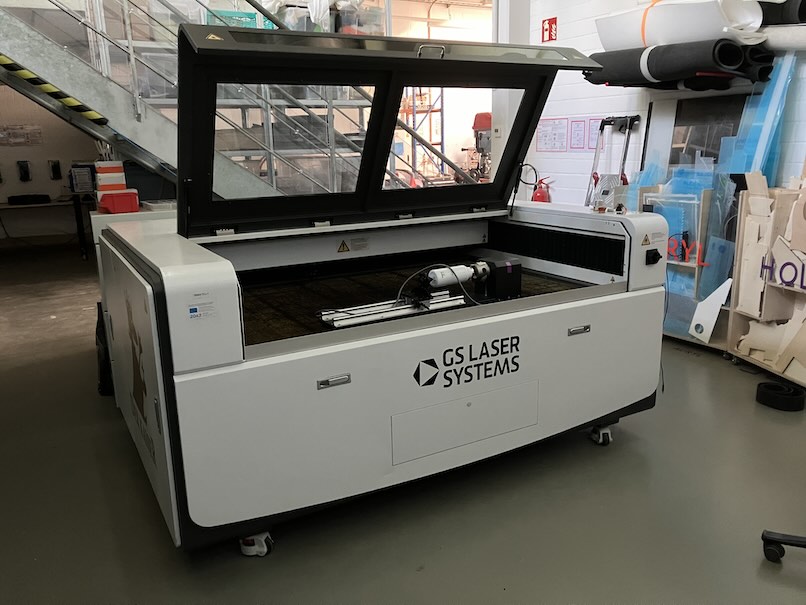
For the first part of this week, we had to find out what our Lasercutter can do. We did this using the largest (not strongest) laser cutter of the lab, "Der Kaiser" (GS Laser Systems 150W), as documented on the group page of this week.
Making My Own 3D Puzzle
As I had way too much fun with OpenSCAD last week, I decided to use it again for this week. Doing parametric models is easy in OpcenSCAD, as models are programmed. It is also easy to work in different files and include them in other files:
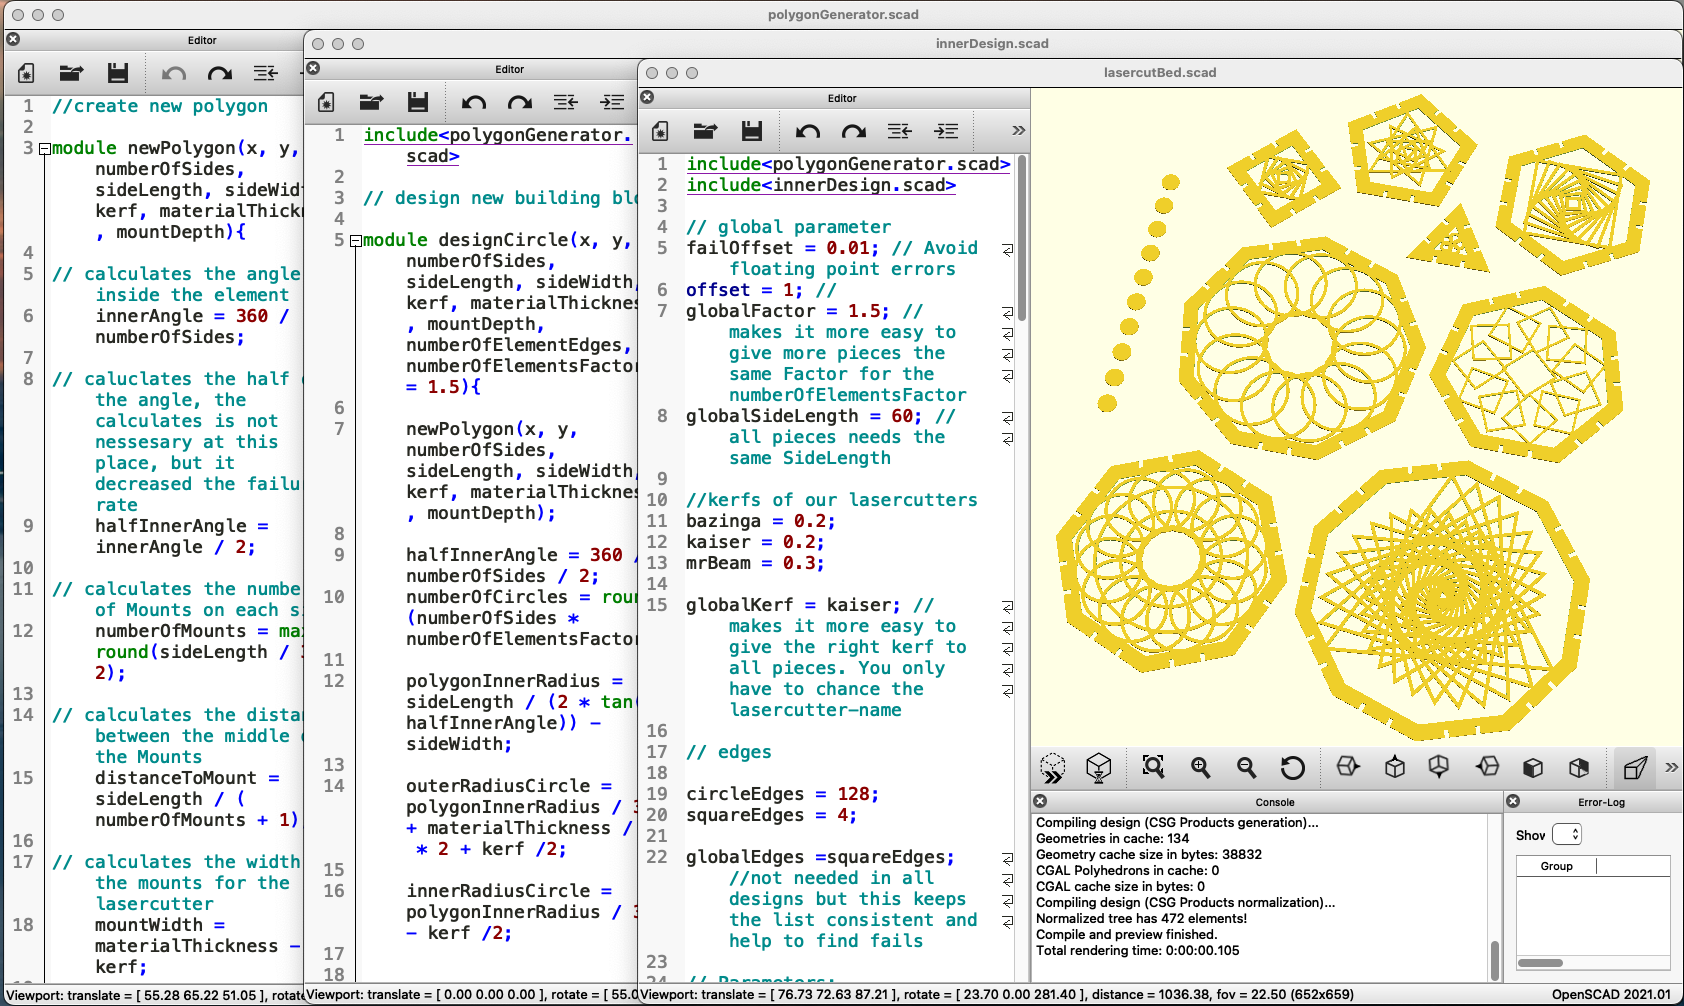
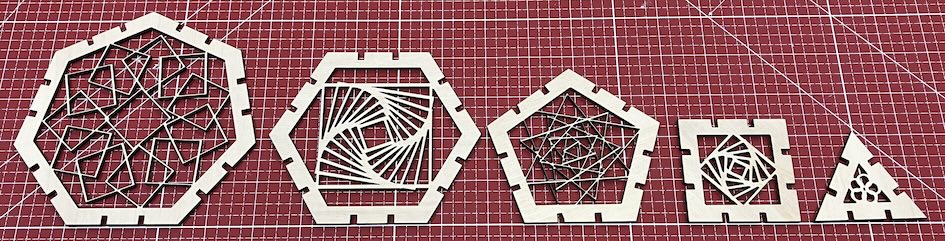
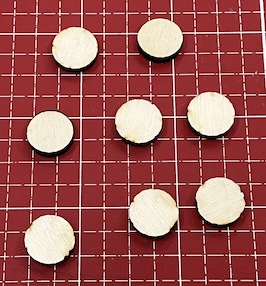
I wanted to mostly build a lamp shade from my design kit, so I planned on making the parts for something roughly looking like a ball. Regular polygons can do a lot in that area. So, I made an OpenSCAD module (a sub-program) to do polygons (with any number of sides, and a lot of other parameters), then made different designs to cut out their inner areas, heavily inspired by what Nadieh did. Any Design can be combined with any number of sides. I did some test cuts with different combinations, and also some simple connector pieces:
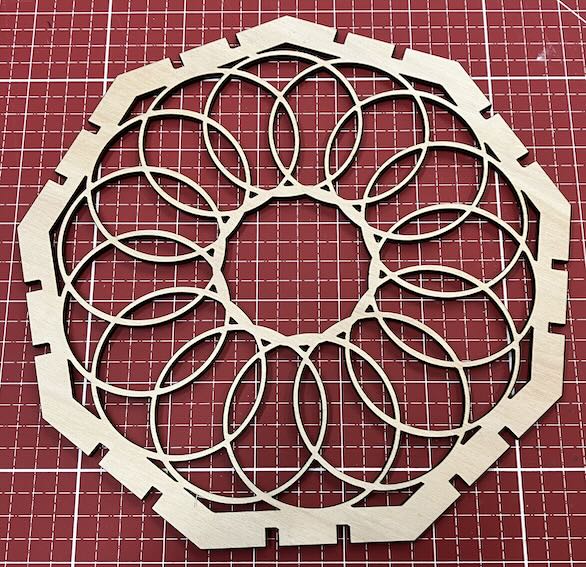
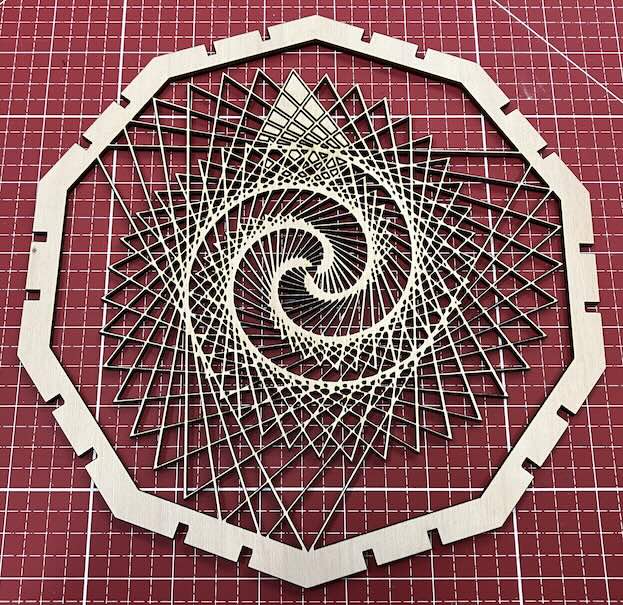
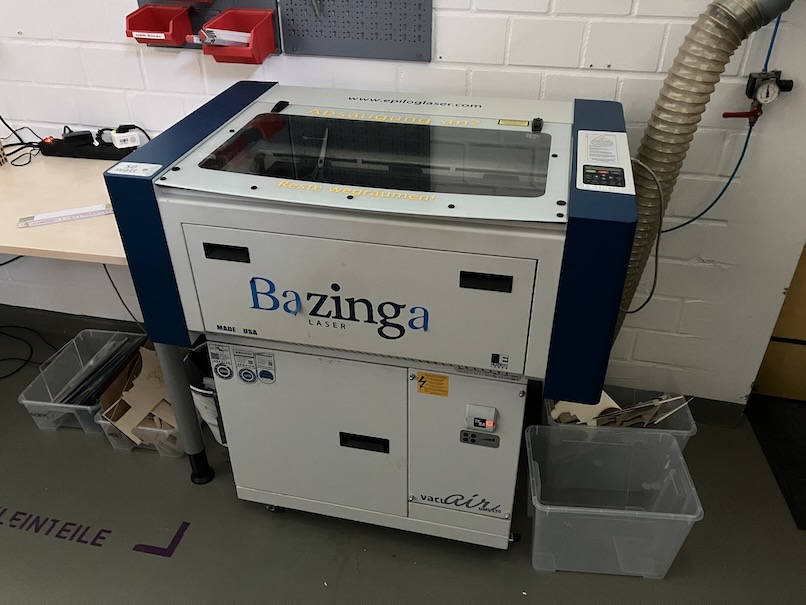
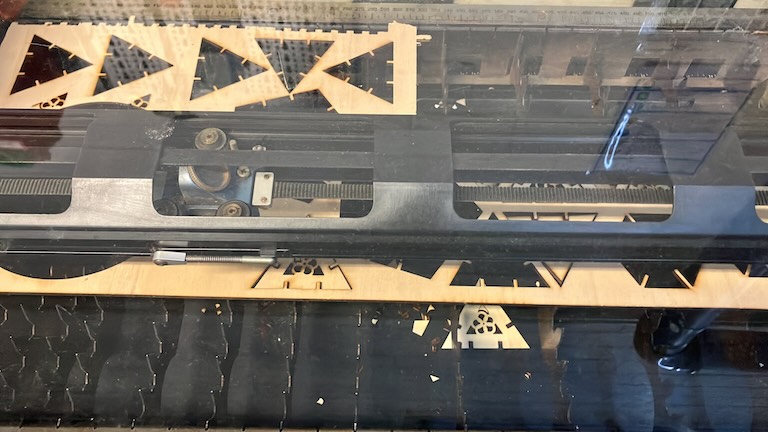
Our larger laser cutter "Der Kaiser" had developed a hardware-side focus problem during cutting those, so some of the larger (and beautiful) parts are not fully cut. This lead to some more work, as it could not be immediately repaired, and we had done the calibration tests on it. So, for doing the actual for-use parts, I had to use the other laser cutter "Bazinga" (Epilog Zing 50W).
I measured and set its kerf (yay parametric design!) and export new files to cut.
To cut on Bazinga, a different software called "Visicut" is used. It is used from inkscape, by first opening a drawing in inkscape, selecting the geometry to cut and then exporting it to visicut:
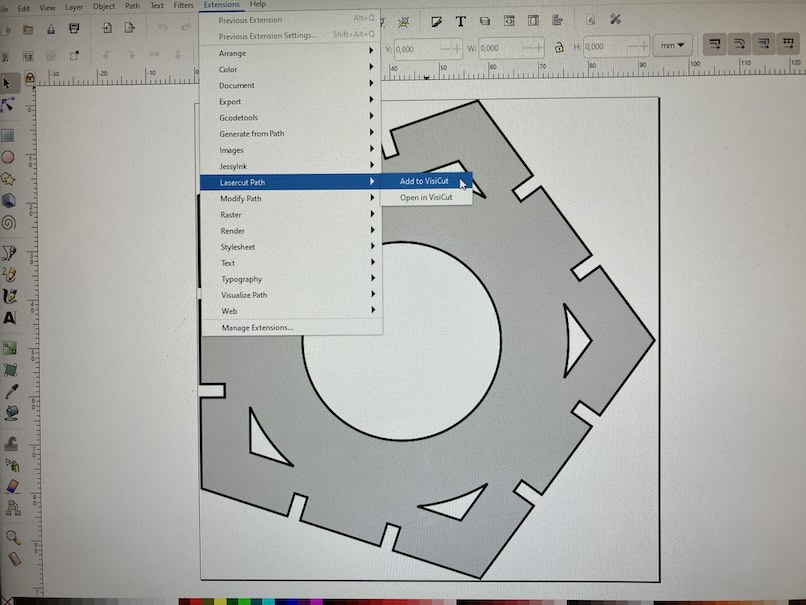
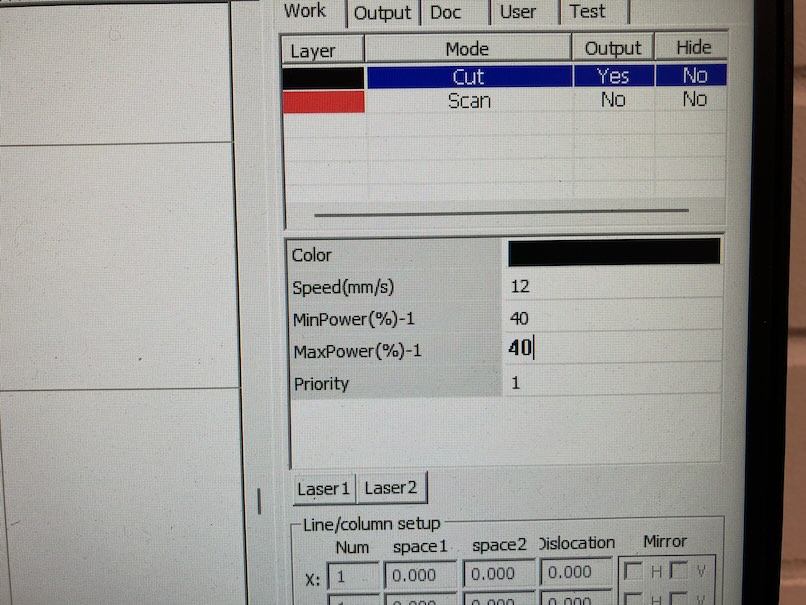
In visicut, the colour of the lines and fillings can be assigned to different parameter sets for cutting (or engraving):
The resulting cutting data is then sent to the laser cutter through a network connection, and can be started on the laser cutter (after starting the large vacuum cleaner underneath, and opening the pressurised air valve). Since there can be all kinds of problems leading to stuff spontaneously catching fire, you have to watch the cutting process. It has also proven to be better to wait for a bit after cutting before opening the lid, as that will lead to a lot less of the stench escaping into the lab.
As it turned out, the mass-export of a whole cut-bed full of parts was impractical, as I was mostly using "scrap pieces" of partially cut wood panels. Exporting only a single part at a time and importing them as single parts made it possible to push them around in visicut, so I could use what was left of the panels.
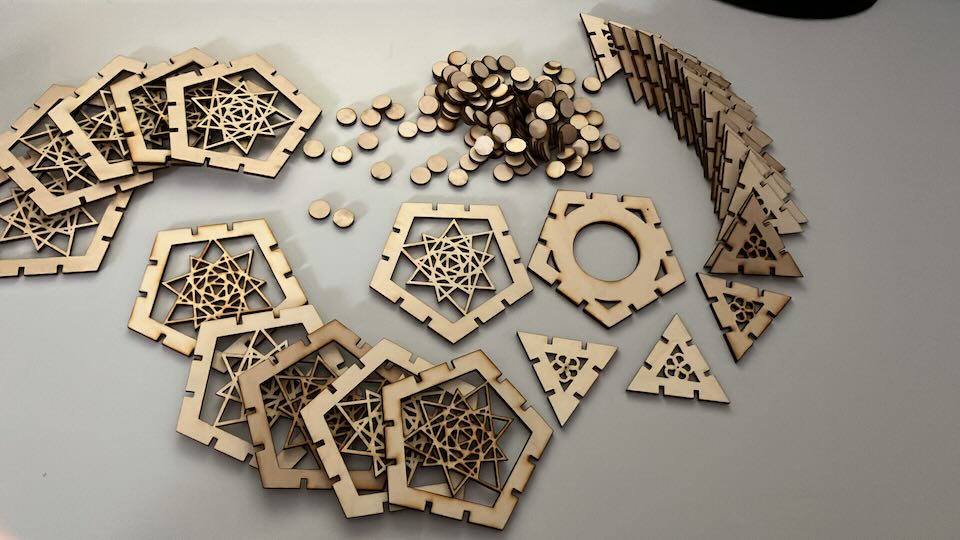
Over all, I needed a lot of triangles and twelve pentagons to build my lamp. I selected two relatively simple designs (with a lot less cutting time than the more complex ones), and added a "holder piece" design that will fit the lamp socket:
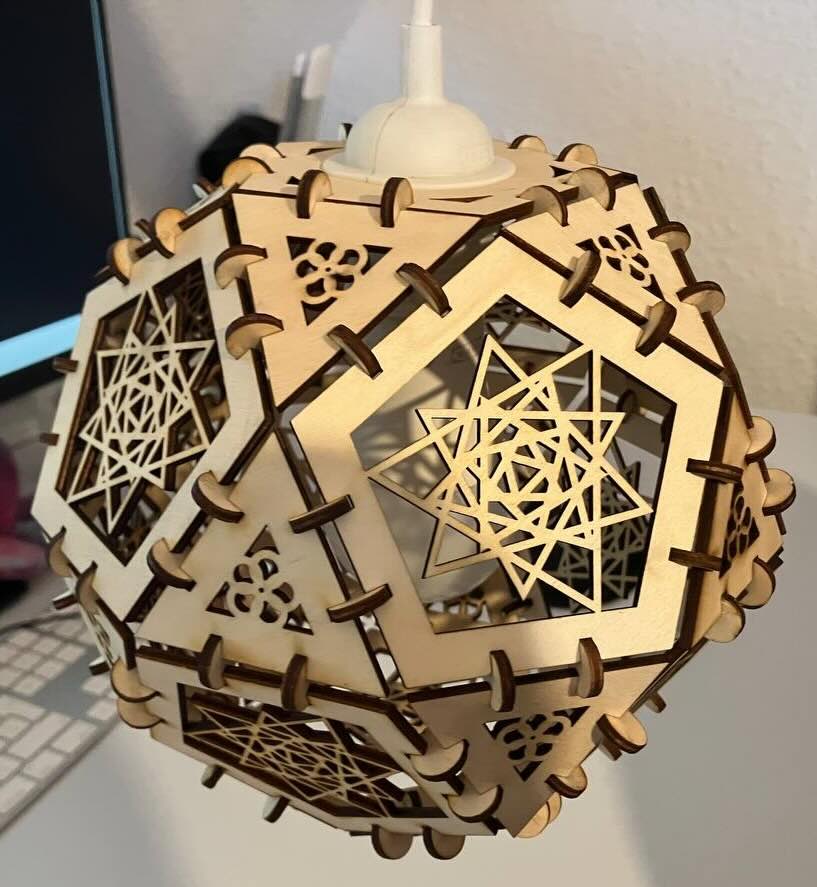
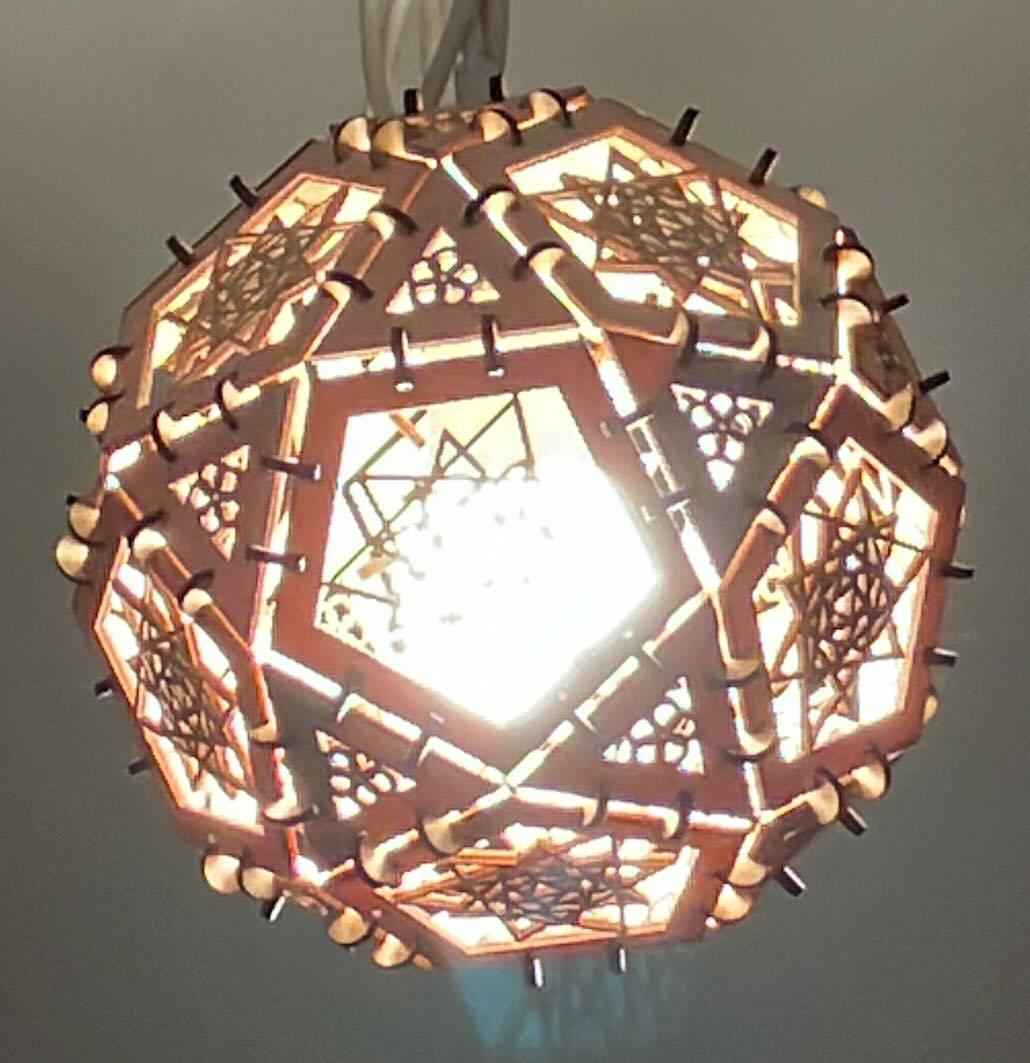
With any kind of construction kit, the fun part is to build something from it. While the parts of my kit are universal, and the OpenSCAD files can produce any kind of polygon, what I had planned to do was an icosidodecahedron lamp shade for one of the "standard" ikea lamps at home. It took some time to build, but the end result looks cool.
The lamp was temporarily used as a kitchen lamp. It is still there, and still refusing to fall apart. It will probably find its way elsewhere, though, as it really is not the brightest one with a weak LED and the shade around it.
Source files:
- Polygon Generator Module, is called by the design modules
- Modules for the Designs
- A test file for a wood panel full of different parts
- A triangle
- A lampmount-pentagon