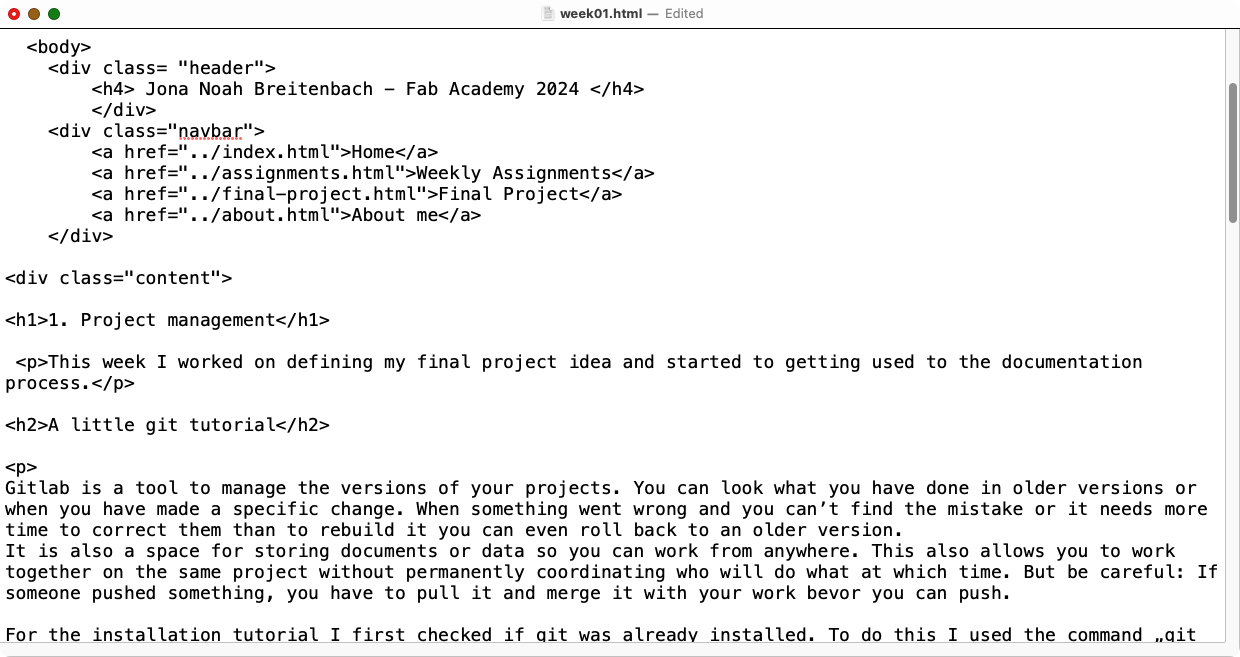
1. Project management
This week I worked on defining my final project idea and started to getting used to the documentation process.
A little git tutorial
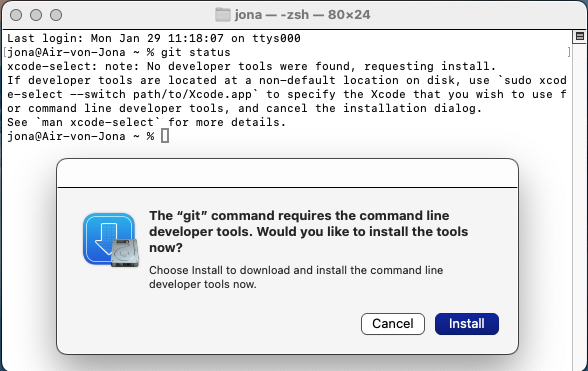
Gitlab is a tool to manage the versions of your projects. You can look what you have done in older versions or when you have made a specific change. When something went wrong and you can’t find the mistake or it needs more time to correct them than to rebuild it you can even roll back to an older version. It is also a space for storing documents or data so you can work from anywhere. This also allows you to work together on the same project without permanently coordinating who will do what at which time. But be careful: If someone pushed something, you have to pull it and merge it with your work bevor you can push. For the installation tutorial I first checked if git was already installed. To do this I used the command „git status“. Since it turned out to already be installed I first had to uninstall it to show the installation process. After I had checked the status of git a second time I could start to install it again. To do the check I used the command „git status“ again. If git is not installed a popup window opens to ask to install git.
The installation just works after I accepted the licence agreement which opens in a new window.
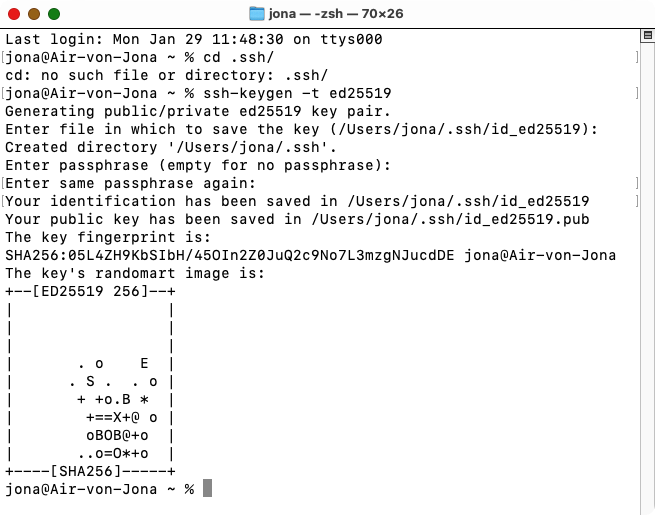
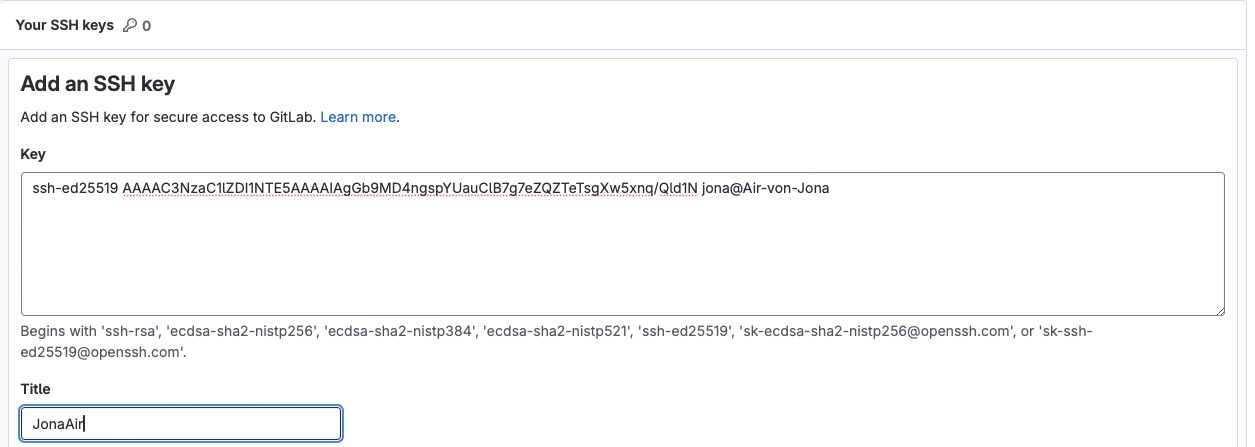
In the next step I had to upload a ssh-key to gitlab so I worked along the tutorial in the gitlab help.
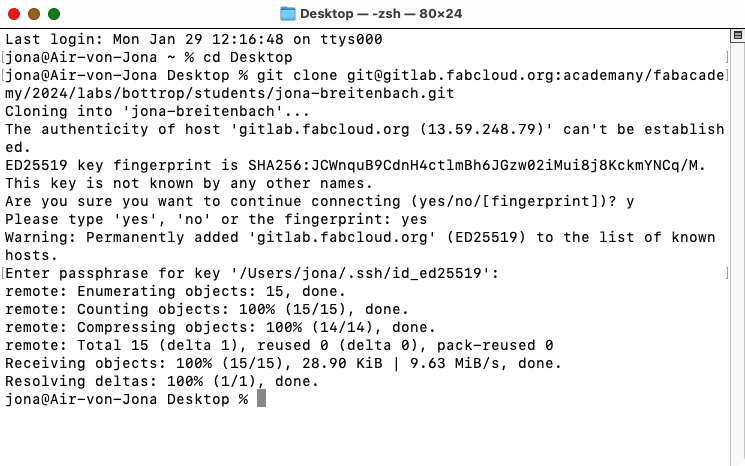
With that done, I could cloned my online repository to my computer using „git clone“ with the address from the web interface. I then asked my instructor for the „the authenticity of host…“ error message. The message tells me that my computer does not know the server yet and cannot be sure if it really is the server I wanted to connect to. Once the computer knows a server it will check wenn connecting if it is still the same.
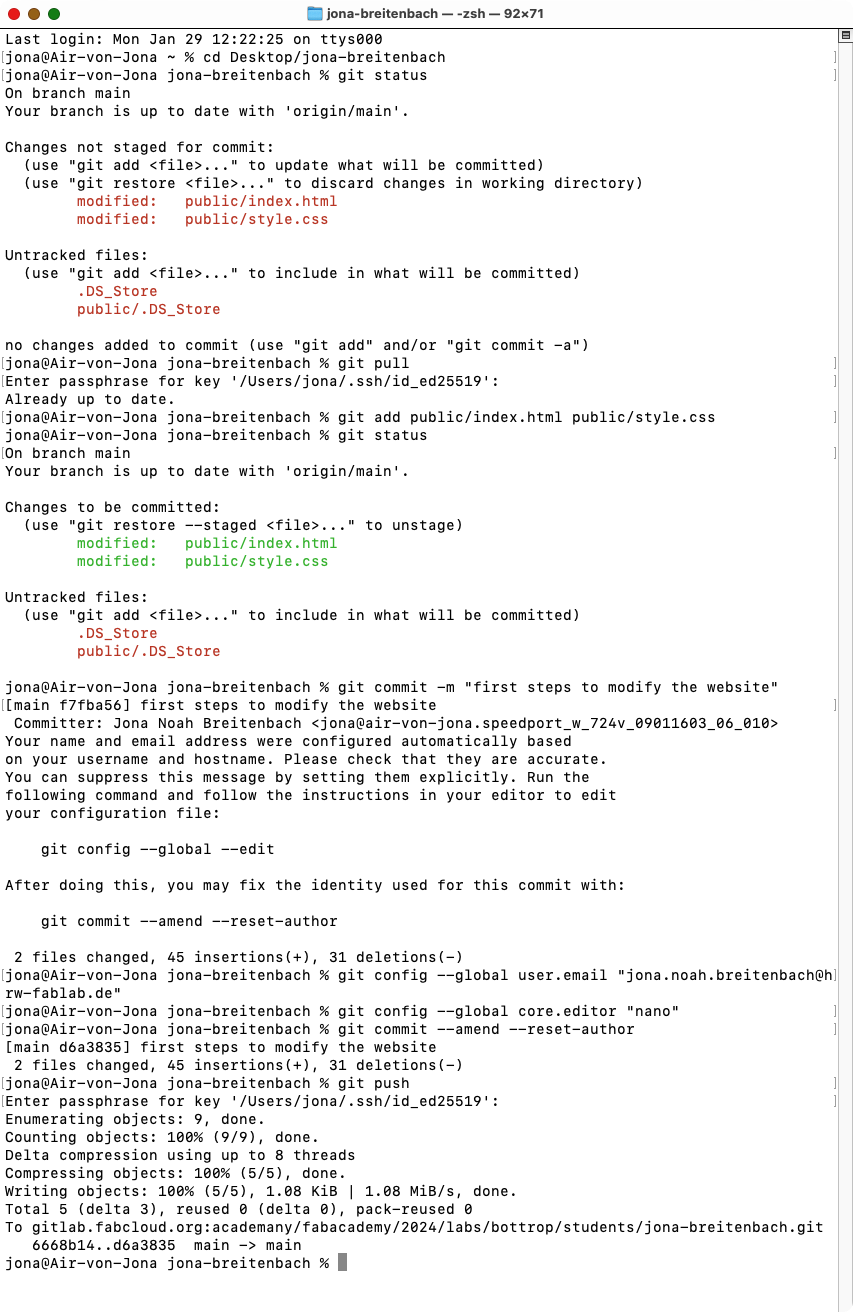
After I have something changed in some of the files on my computer it was time to upload them to git. The first step is to check the status with „git status“. This tells me that which files have changed and what the next step could be. The next step is to pull from the server with „git pull“ to get the newest version of the files. I was lucky, there were no changes. Then with „git add“ folder-name/filename git knows which files should be in the next commit. This can then be checked with „git status“. After that „git commit“ creates a new version of the files in the repository. With „-m „text““ the version gets a comment you can see on the web interface. At this point git threw an error and told me to configure my e-mail address. This can be done using „git config --global user.email“. I also changed git's standard editor to nano, so I do not have to get out of vi if git wants something changed. To change the e-mail address in the last commit I used the command „git commit --amend --reset-author“.
How I made my website
I started working on my website by looking at other people's sites for inspiration on what it should look like. I found some nice looking ones, but I did not like one of them enough to just copy the design.
After that, I took the example student website template that was in my repository and changed it for what I like more. I decided to first do something rough and put in the contents, then change the design later if I want to. Different colours, less flashy contrast when the mouse cursor is over an active element and some visible borders can all be changed in the css file without touching the html. Colour combinations were first chosen with Adobe Color and checked with the live editor at w3schools to get a quick impression of what they would actually look like when used in the site.
I did not use any kind of IDE for that, but the built-in text editor of MacOS. This wanted to be a pain first, as it really does not want to work with plain text in its default configuration and will ruin any html file by converting it to "rich text". This misbehaviour has to be changed in the settings before doing anything.