12. Molding and Casting
This week's task was to look over the safety sheets for all your molding and casting materials. Then, make and test each material by casting samples. Compare how printing and milling molds work, and design a mold based on the method you choose. We also had to make sure the mold had a smooth finish and use it to cast parts.
View the group assignment here
For the task I had initially decided to make a pug mold which would later become chocolate. We're a bit of a pug family so it was just a logical choice really.
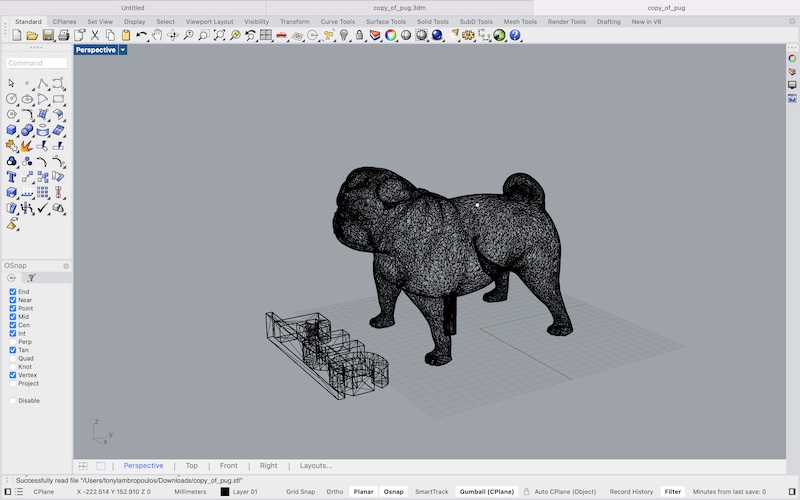
Now that's one fine pug. I found him on thingyverse.com, a website with premade models made by more talented artists than myself. The next step was preparing the pug to be chiseled and turned into a wax mold. Initially this was a confusing concept. In the molding and casting game there are 3-4 key steps which I will further break down later. These are
- Use the modeling program of your choice to prepare your model for either being milled in wax or 3D printed with SLA. The "positive" projection of your model will be milled. This is important to understand (for later). Note I will only be focusing on milling wax as this is the technique I chose to use.
- After you have milled your model out of wax using a milling machine you then use that to create a "negative" version of your model. This is done in silicon and is what will be used to actually cast your model. The point here is that after you have your negative or inversed version of your model, you can fill that silicon "negative" with whatever material you'd like (chocolate in my case) and bam, you'll get a chocolate version of whatever it is you modeled originally.
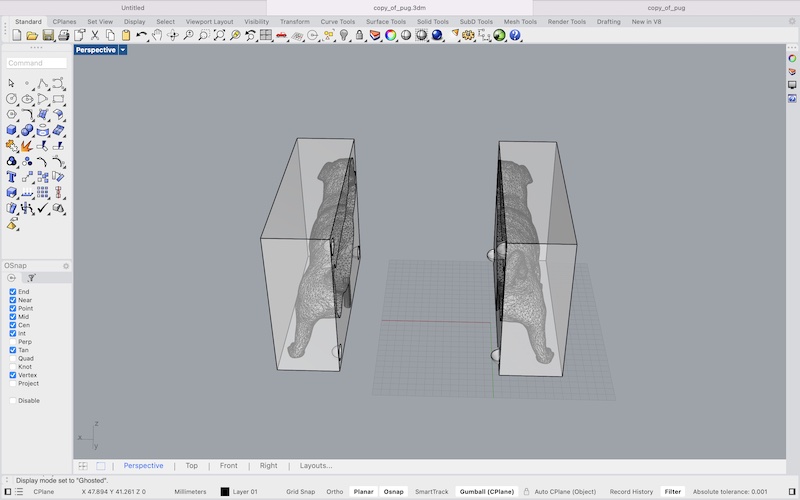
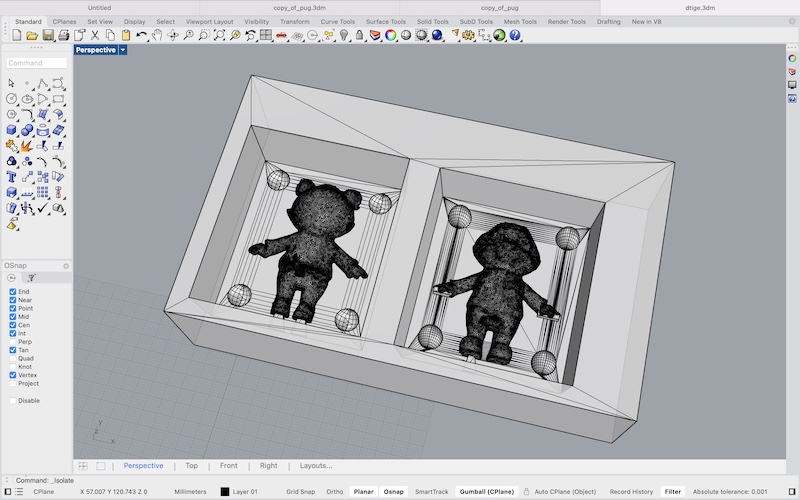
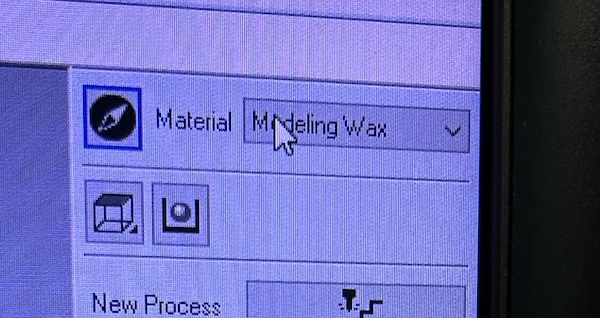
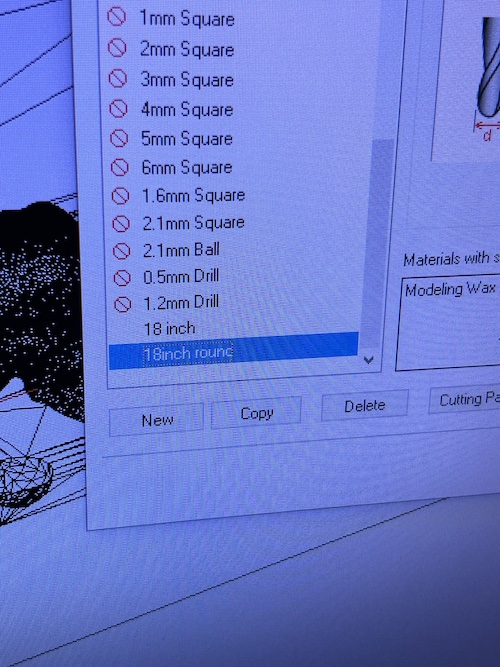
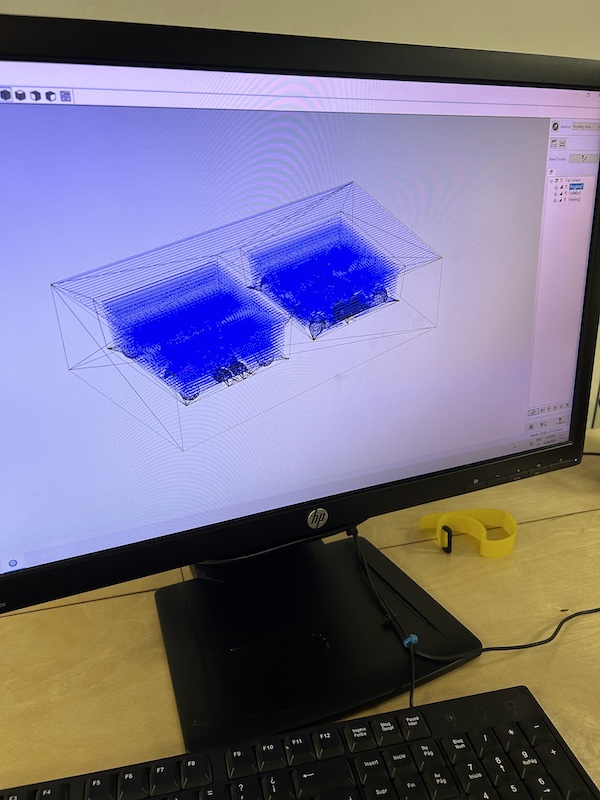
So, step one was preparing the pug to be chiselled from wax. Note: the wax is not actually pure wax, but a mixture of wax and metal, which gives it a bit more structural integrity. First thing I did, given the symmetry of the pug, was decide to make a mold with 2 sides. I split my pug in 2 and placed each side of him into a box with 5 millimeters of space on each side. This is important because you will need at least enough space for the size of the end mill you choose to use on the edges (in our case, 1/8 of an inch)
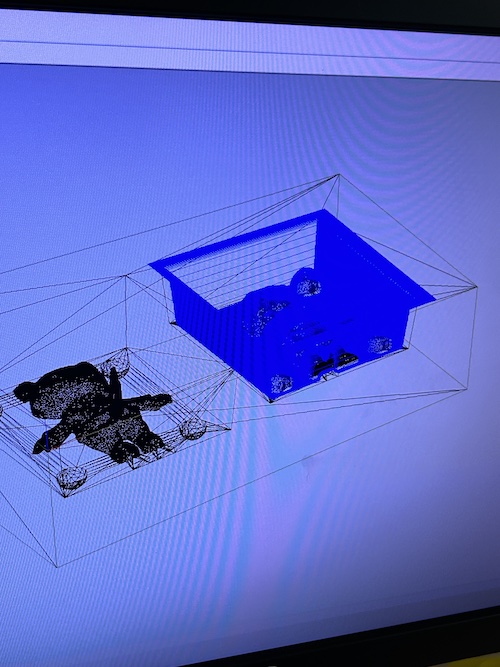
Now my poor pug was split in two. But I assured him it was necessary, beneficial even, as he would soon be an absolutely scrumptious piece of chocolate. Upon further inspection of my pug's haunches though, I noticed a very real issue
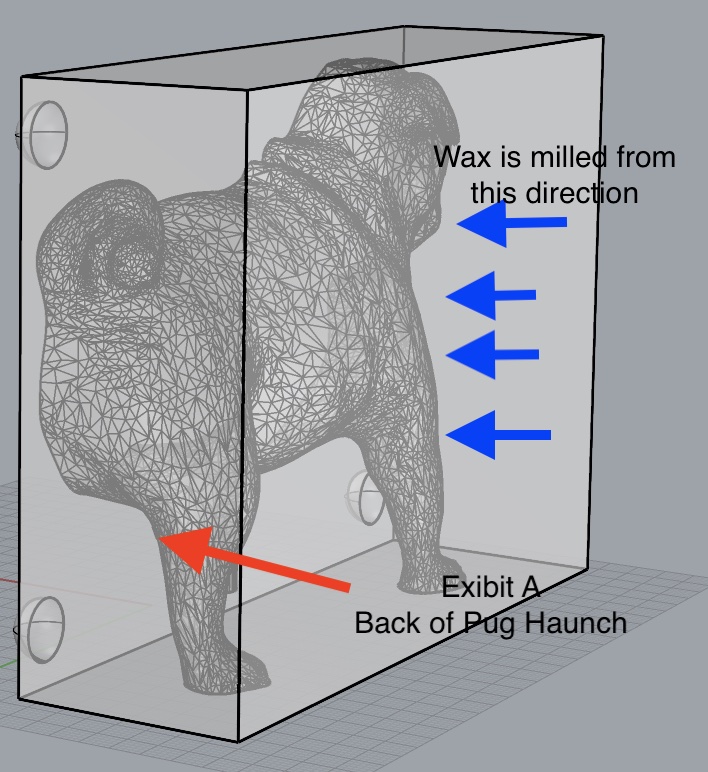
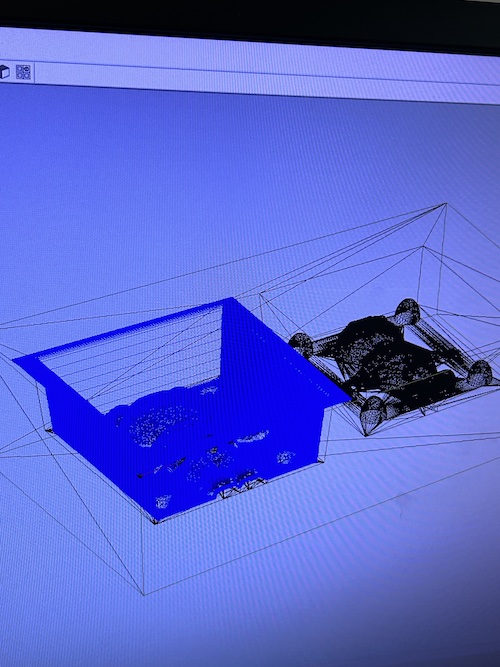
What is the problem you ask? By anyone's estimation that is a perfectly sculpted pug haunch. If you take a look at the blue arrows above, you can see the mill bit will be coming from right to left in that perspective. Unfortunately, the mill has no way to get to the back of the pug's body and chisel his perfect little haunch. This is called a "negative angle" and is one of the things you need to be aware of when preparing a model for casting and molding. There are ways around it, like splitting the model into more segments or actually 3D printing it, but I decided for a first effort all of that was a bit much. I had to abandon the pug.
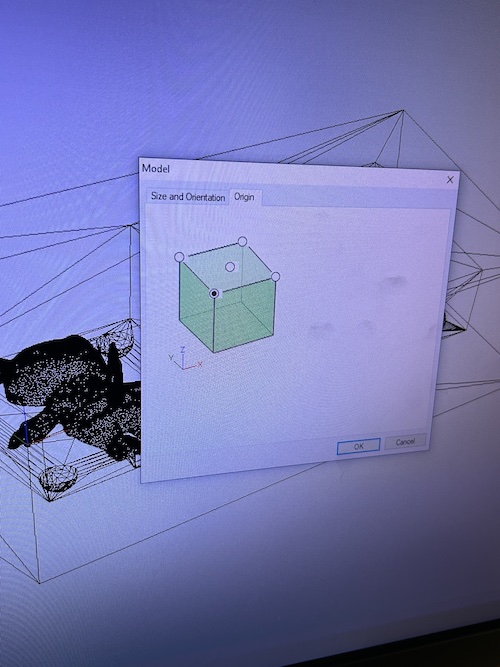
After some deliberation, I decided on making a Daniel Tiger mold for my niece and nephew. Daniel Tiger is a show on PBS kids, a cartoon version of Mr Rogers's show, Mister Rogers' Neighborhood. It's probably my favorite thing to watch with them so I selfishly decided that is the chocolate mold they'd get. I went in search of a nice Daniel Tiger model. Thanks to a classmate of mine, Emily, I learned of a website, Luma AI, that makes 3D models based on some text input. Wowzers! I typed in "Daniel Tiger" and got some reasonable options. I chose the first one and downloaded him. Being symmetrical I also split and boxed him. He, too, had some negative angles but very small ones that were easy to patch and would not affect the final product. Along with a hole in his foot to pour the chocolate in, I also added an air hole to allow air to escape as the chocolate flows in. This is very important to ensure whatever liquid you're casting with can reach all parts of your mold. You also must model the block of wax you will be using and put your model in that so the mill knows where to chisel.
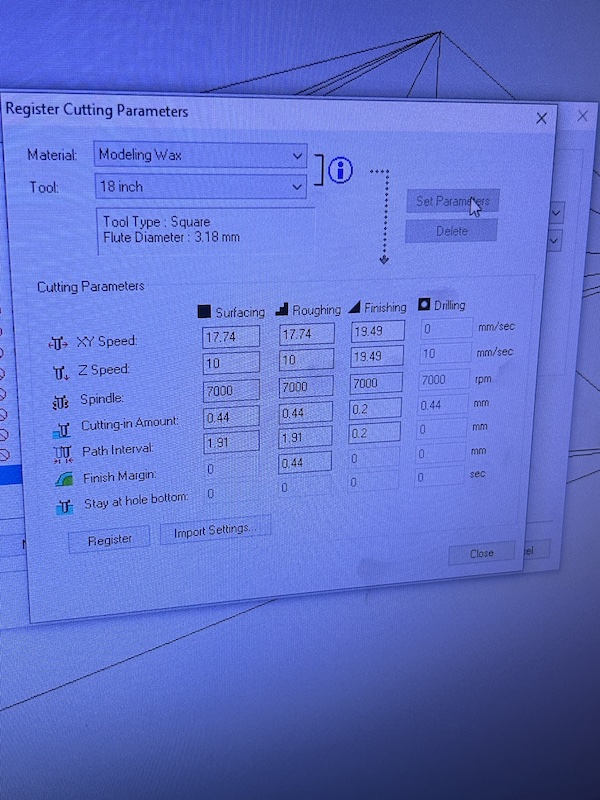
Next we export our model to an STL file and use a special program called Modela Player 4 that does a lot of the leg work as far as mill settings for different materials goes along with the actual path of the mill bit as it carves out your model from the wax. Generally, you prepare 2 pieces. The rough pass and a final pass. The rough pass cuts out the general shape of your model in the wax and the final pass actually smooths it over. For the rough pass, a flat mill bit is appropriate and for the smoothing, final pass a ball shaped end works well and it moves along the x and/or y axes.
Once the file is prepared for the SRM-20 mill and I taped down my wax block to the floor of it, we put the mill to werk.
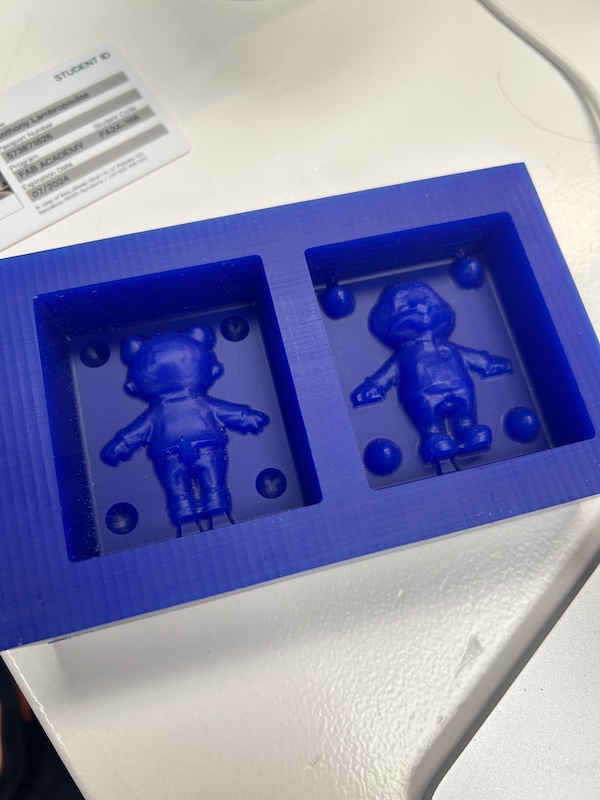
The guy looked pretty good if you ask me (I'll assume you did). I didn't quite leave enough space on the little nubs to connect to the sides later, which probably isnt the biggest deal but means there will be some small openings on the silicon negative.
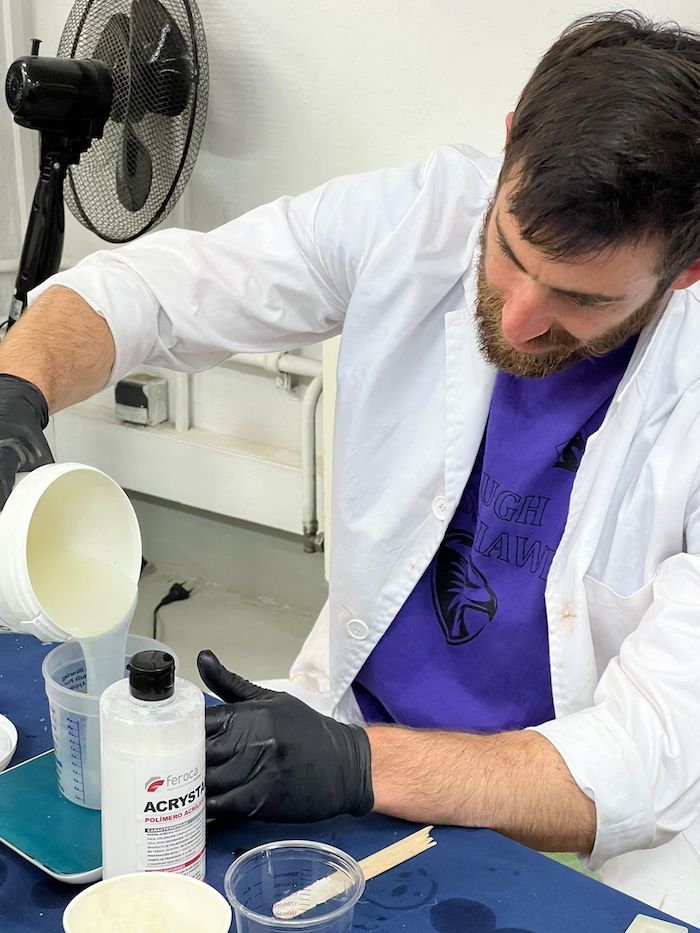
Onto making the silicon negative. I used a food safe silicon to ensure the chocolate would be safe for us Daniel Tiger fans to eat. The silicon is prepared by taking an "A" and a "B" solution that when mixed together, harden and become solid after a certain amount of time. It is really important to
- Wear gloves- this stuff ain't great to touch.
- Mix the 2 parts very well before you pour the solution into the wax mold. This also is good for minimizing air bubbles.
- Pour slowly and very thinly from high up into your mold. This also helps with getting rid of pesky air bubbles.
- Try to pour the silicon onto just poured silicon and not directly onto the wax.
- Get the A:B ratio right. This differs for different molding solutions and you must be careful on whether or not it should be done by weight or by volume. In my case it was 1:1 by volume.

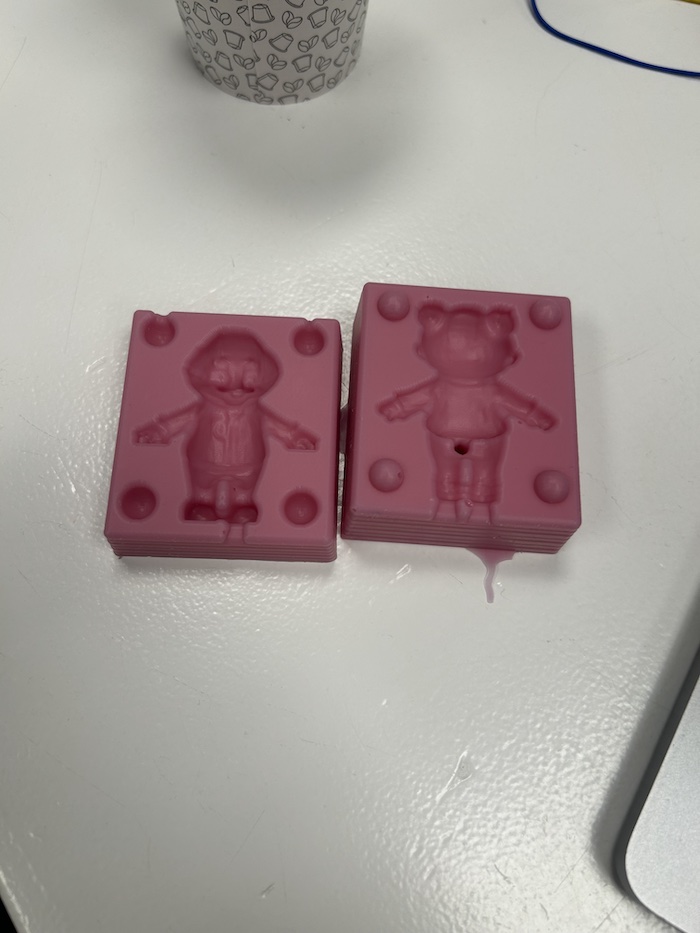
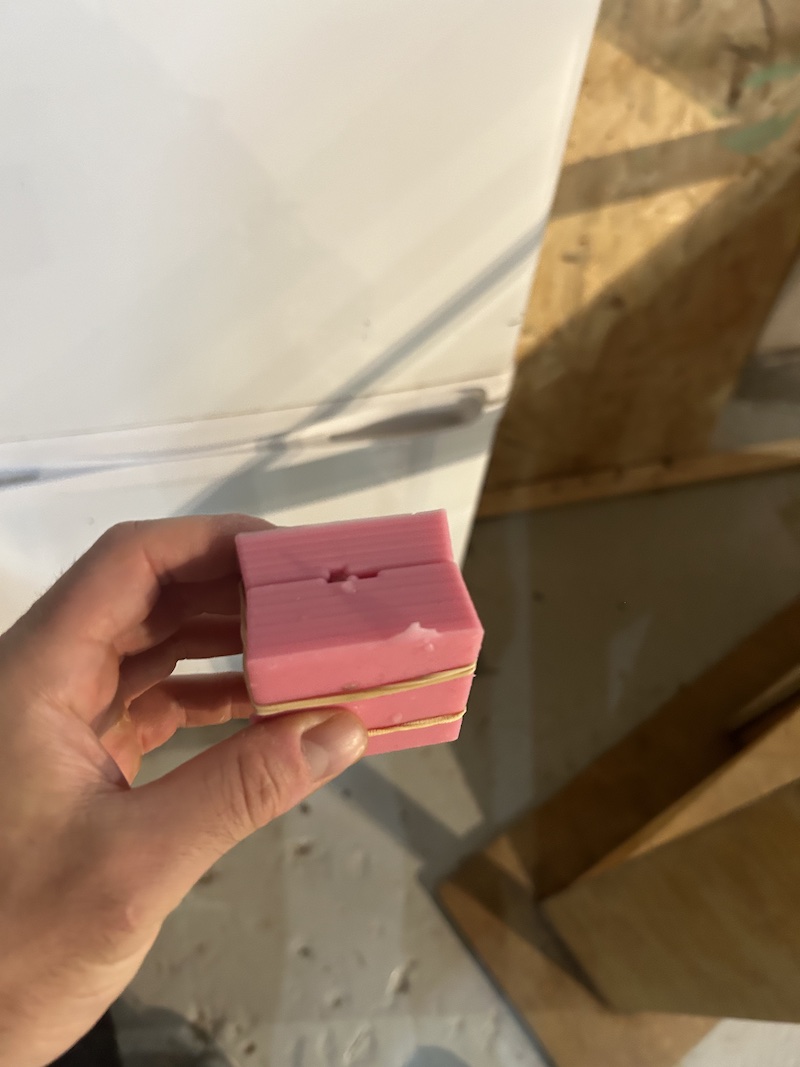
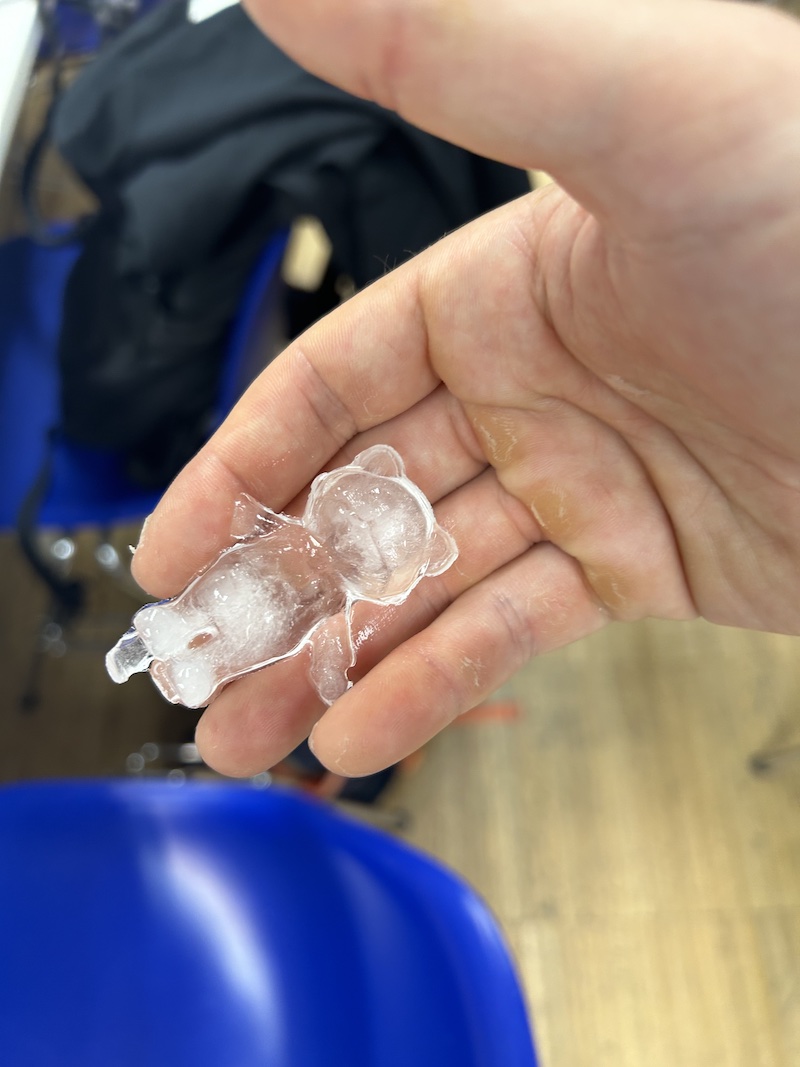
There he was, ready for chocolate to be dumped into him. I was a bit worried at seeing how small the holes I made were for the chocolate to go into, especially given how viscous it is.
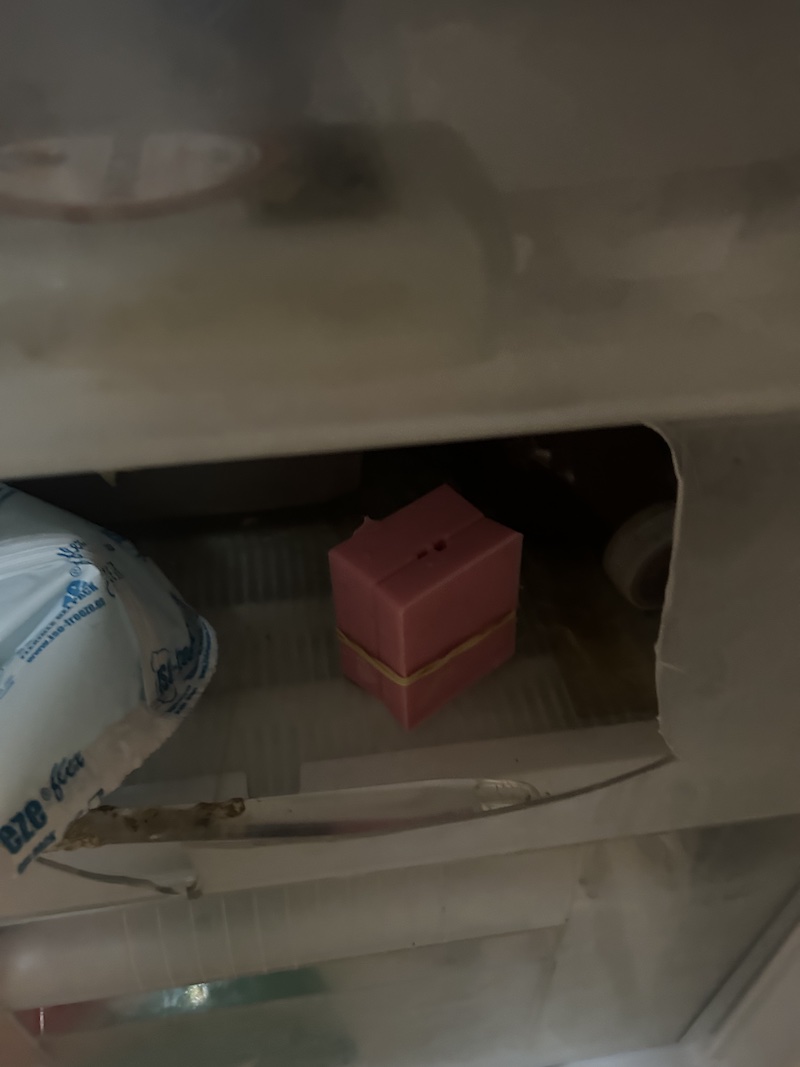
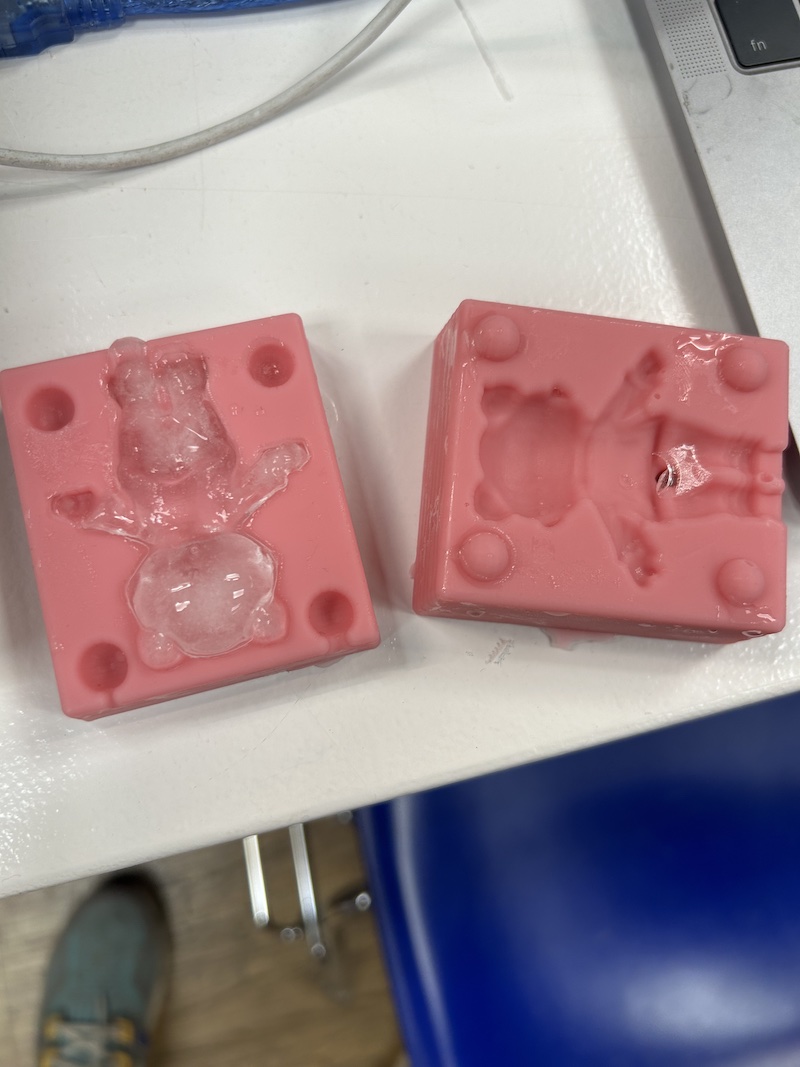
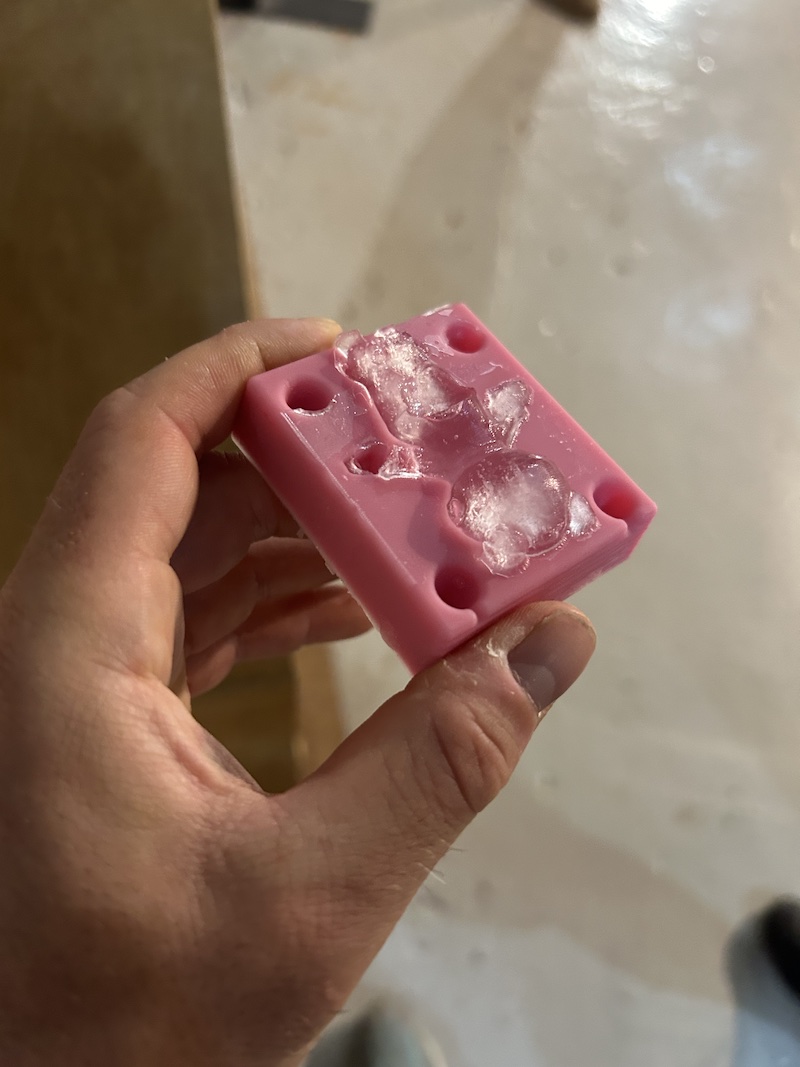
In the end I did a trial run with ice and it worked decently well. Daniel's poor tail was not strong enough to make it through the process though. In the end it was successful though, and I hope to make some chocolate versions in the future for those chocoholics out there.