5. 3D Printing and Scanning
This week we got an introduction to 3D printing and scanning. The tasks for the week were to
- Design and 3D print something that could not be done subtractively. This generally means starting with a lot of material and removing (subtracting) until you get your end result. The benefit of 3D printing is it works additively and therefore doesn't waste excess material as much. This is really important to emphasize because it is one of the best use cases for 3D printing. Read more on the difference here
- Scan a 3D object and export a 3D model from that
- Group assignment here
A Brief 3D Printing Overview
We learned important settings and key things to consider when printing our 3D models, such as
- layer height
- material. Common ones in our lab include:
- PLA- Polylactic Acid, is one of the most popular materials used in desktop 3D printing. Used in FDM (Fused Deposition Modeling). This is where a model is printed layer by layer as the material flows out of an extruder, usually through high heat.
- SLA- a resin that hardens with exposure to certain wavelengths of light. Each layer is hardened by exposure to an LCD light with that layers sliced view. This is great for very precise parts and because it does each layer all at once (vs FDM for example), this can save a lot of time if your piece isn't very tall but still has a lot of detail on each layer.
- TPU- thermoplastic polyurethane, a flexible material to give prints the ability to bend and flex with some elasticity.
- Clay, yes clay!
- the best material for the task
- the various printers' strengths/weaknesses
- support material- The material that holds the structure of the printed object while printing. This is very important and without placing support material in the correct places, your object could end up drooping where overhangs are at too acute an angle (45 degrees being the rule of thumb for the week).
- The slicer software- This basically cuts the model into a lot of very thin layers and outputs a file that tells the 3D printer what to print and how to do it.
- Infill- this is how much of the insides of parts are actually filled in. Less infill reduces weight and decreases printing time. But if you need something very structurally strong, increasing it will add that support.
Initial 3D Design
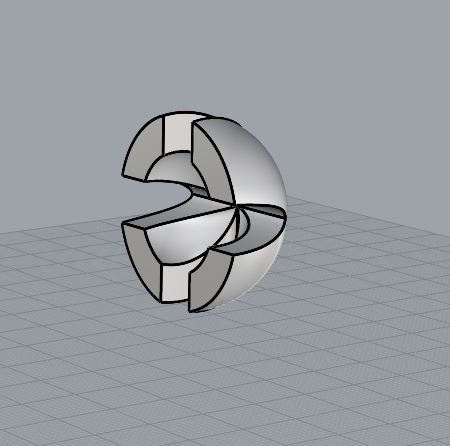
I designed a simple “shoulder” and “elbow” joint in grasshopper, all parametric. The shoulder I made a ball and socket joint and the elbow was a simple pin hinge. A big lesson I learned was to probably sketch the design before starting to do it parametrically. I had a vague idea of the design in my head but realized midway after adding components that some of my ideas wouldn't really work. All that experimenting made my code quite messy.
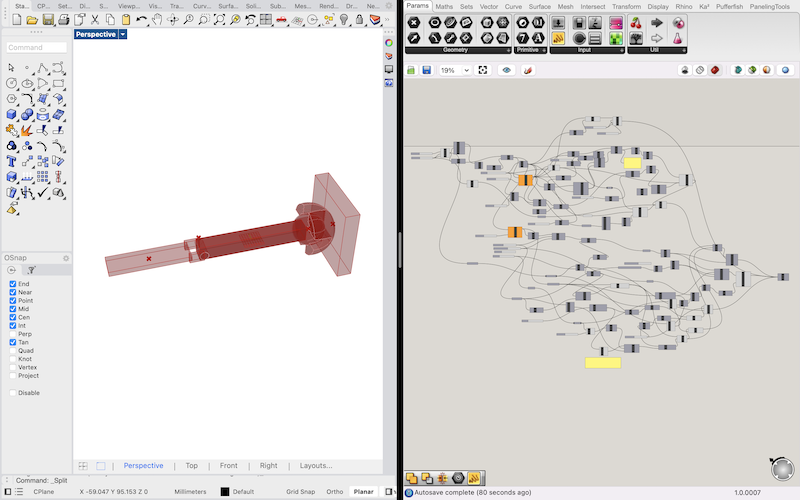
I also struggled with some elements that would've made my design better. softening the flat sides at the end of the socket really was a doozy. In the end I had some workarounds but decided they weren't quite good enough and left it as is.
First Print Attempt
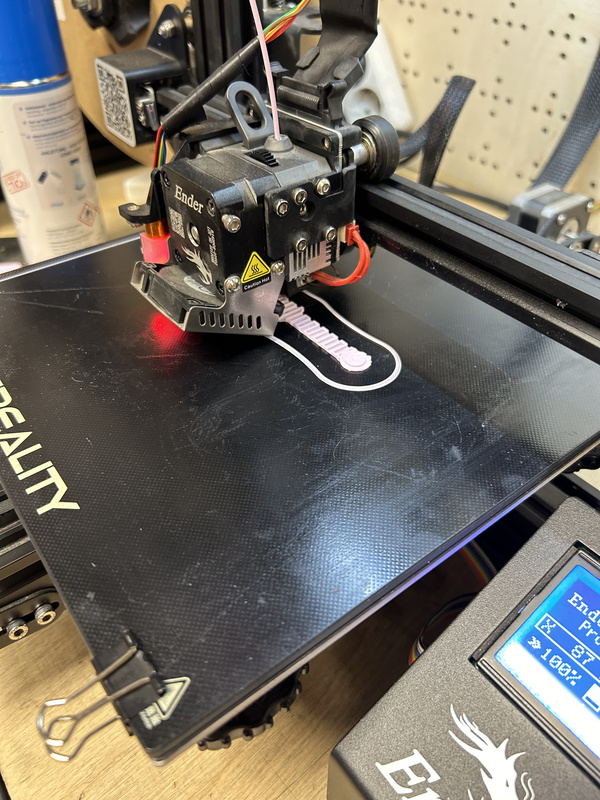
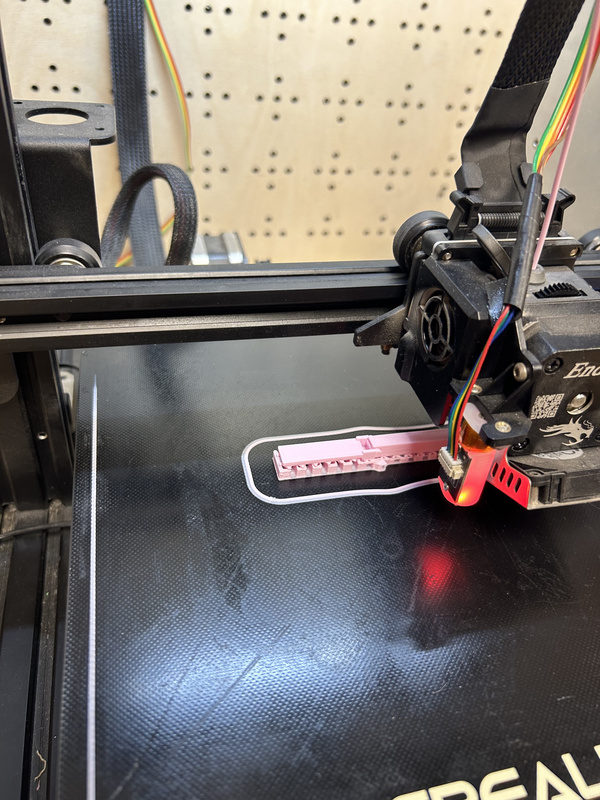
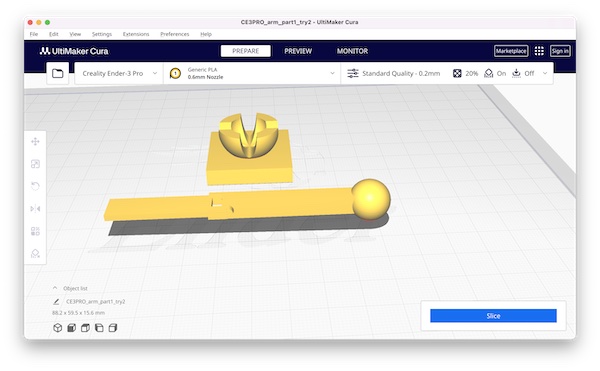
On the first print, to get faster feedback I had decided to just print the first component (so not include the socket portion of the joint). I also printed very small to cut down on print time. I used a Creality Ender-3 Pro printer with a 0.6mm extruder
Learning from Mistakes
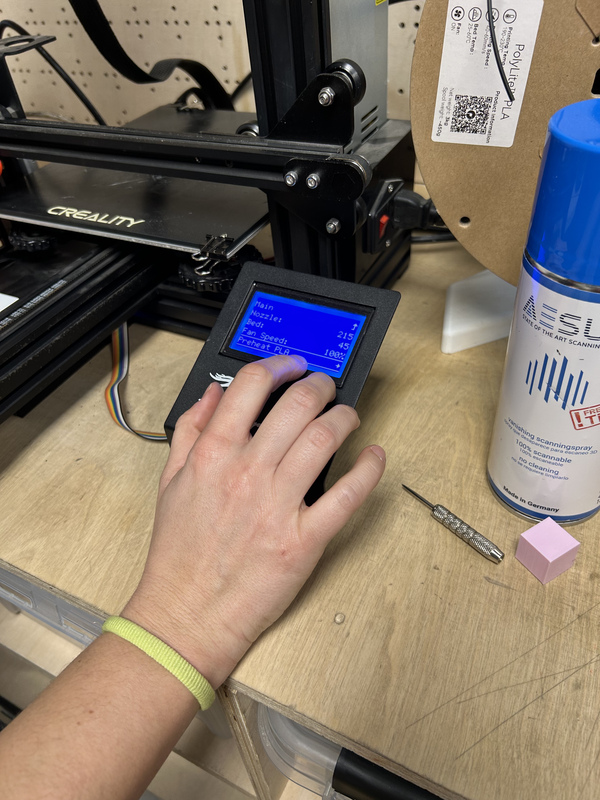
Finally I loaded the mini SD card with the gcode file containing my model and put it into the 3D printer's slot. GCode files are basically the instructions that most 3D printers take to know where to print and move. The first thing I did wrong was not check the printing material. I had simply assumed it was the one I wanted. It was not—it was the flexible material (TPU). That print was cut short. After that, I was advised to increase the heat on the extruder from the preconfigured settings the machine had for PLA material. The settings had 185 Celsius and we were advised to use 215.
Finally I hit print again with the correct material loaded into the extruder. This time printing went smoothly and it finished just about on the timeline it said it would (30 minutes). I had my first piece in my hand! It didn’t look like much but hey, it existed. It was a bit rough to get off the build platform but with a spatula eventually it pops off the surface.
Post-Printing Challenges
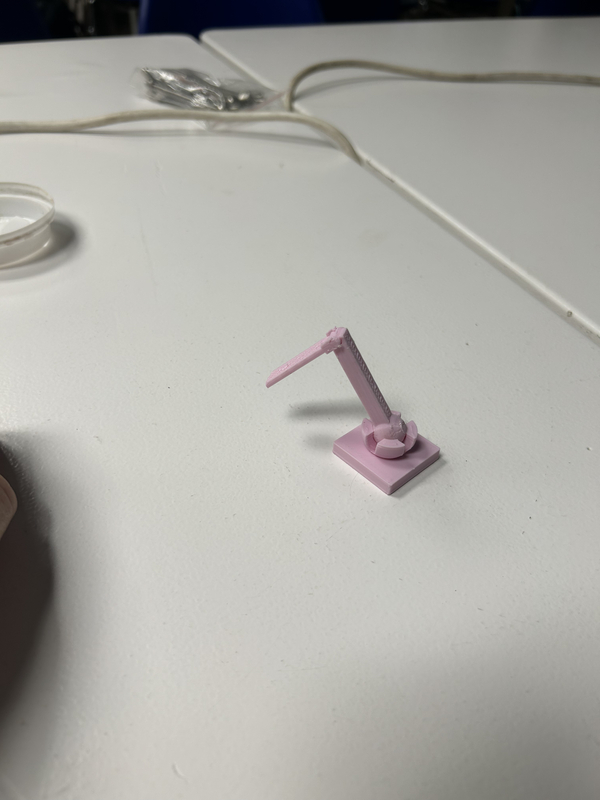
Then the supports were the next issue. Because (I think) my piece was already so small and dainty, taking the supports off proved to be a pain in the rump. I used a mix of a box cutter and pliers to cut and pull off the support material. Once that was done though it became very apparent that the hinge was not bending! I could see the rod was more or less completely attached to the holes it went through, which meant it could not rotate freely defeating the purpose of the idea.

Refining the Design
I was told 0.35 mm was sufficient in terms of spacing but I went ahead and added another 0.3 mm of spacing between the holes and rod. The bigger issue though was more likely related to a setting I had in the 3D printing software. I had supports “everywhere” vs just from the build platform. This meant that support was built between technically separated parts. And since my arm was so cute and small, that was already enough to bind them together by accident.
Successful Hinge Mechanism
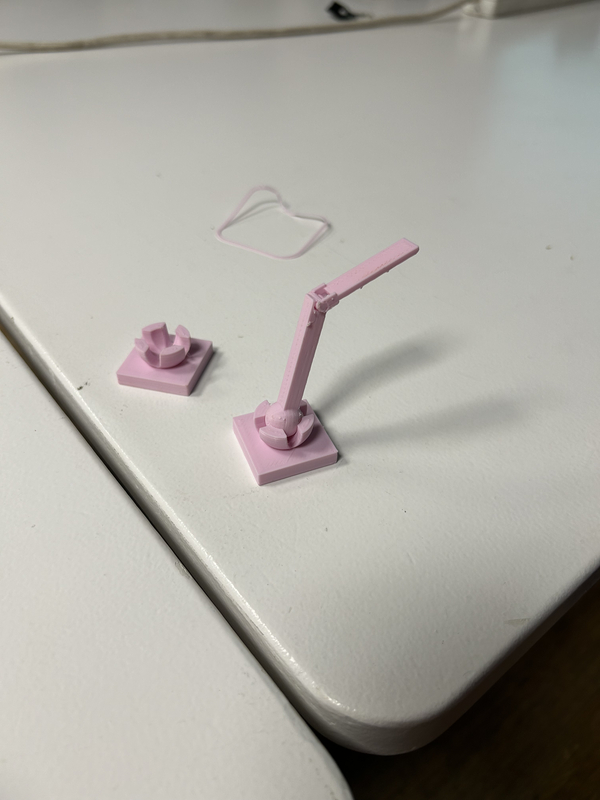
So I made those changes and reprinted. But this time for the sake of efficiency I also printed the socket + platform component next to the reprint of the arm. The reprint went well and this time after removing the supports the hinge worked!
Adjusting the Joint Fit
Now time to pop the ball end of the arm into the socket to see how that goes. It clicked in but was far too loose. It worked unstably and would pop out often. I had put too much size difference between the ball and the socket. I also wondered if the socket was too shallow.
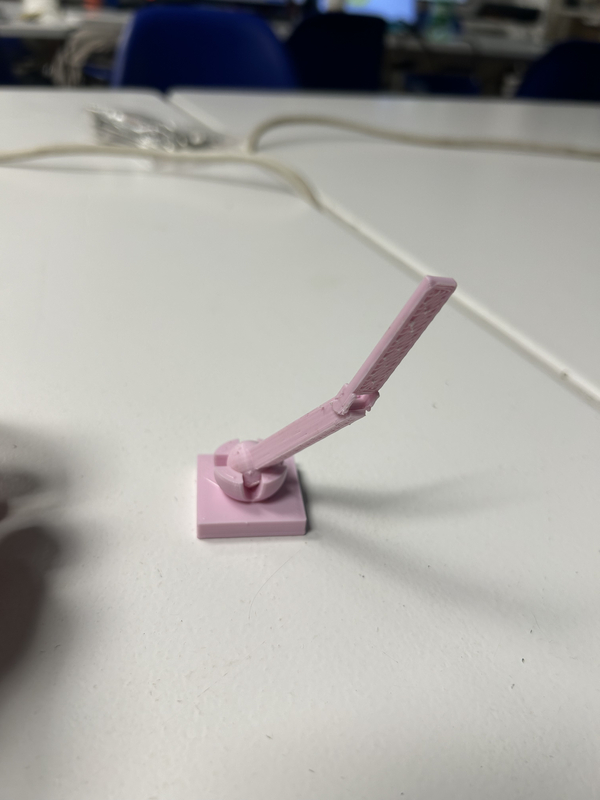
I increased the wall height ever so slightly and also made the socket a bit smaller—effectively removing 0.3 mm of spacing. Because I had the working arm hinge already I only reprinted the socket. This time the ball popped in more snuggly and was able to move. The required force to move the arm was a bit too much for my taste but it did work.
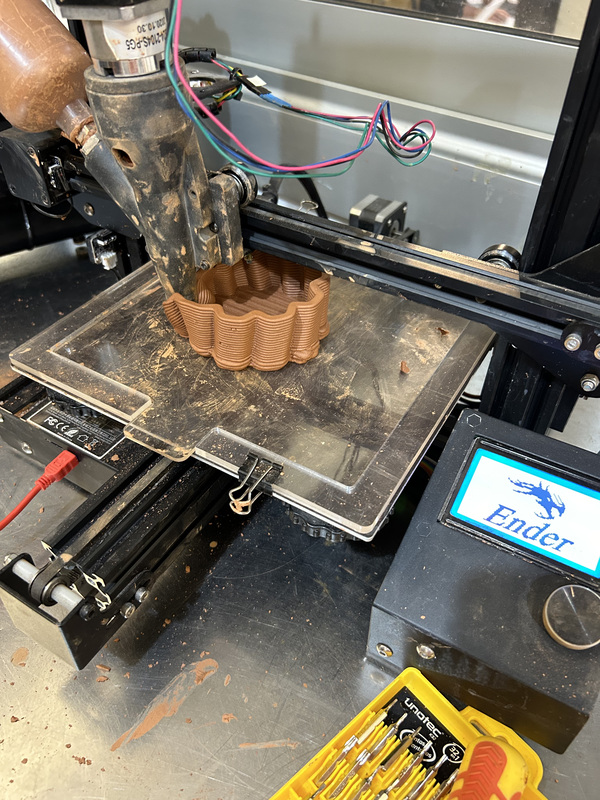
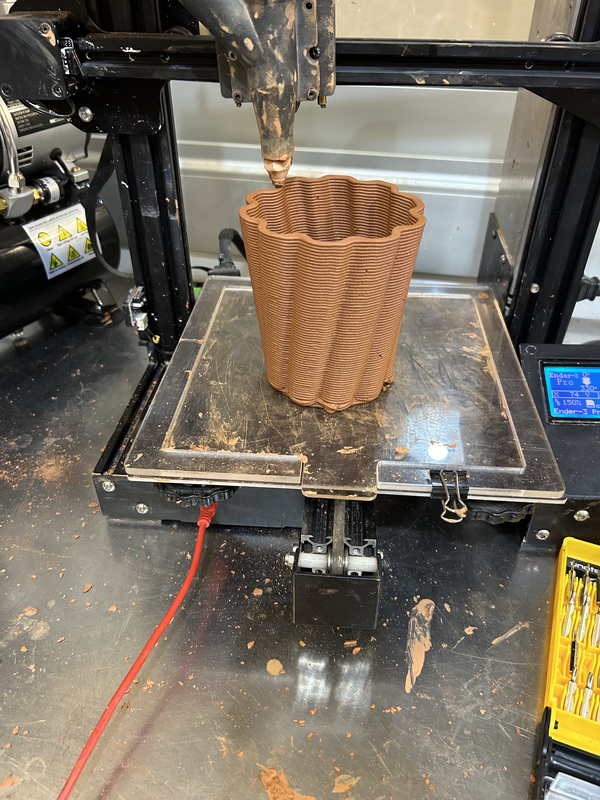
Clay 3D Printing
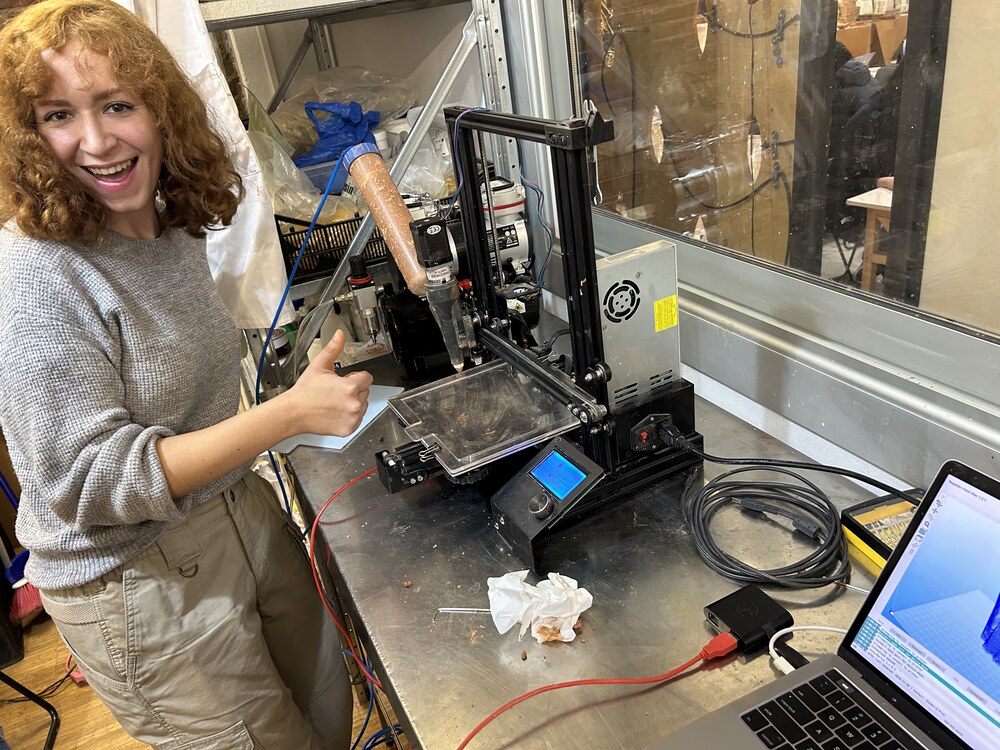
On the final day of the week I really wanted to give the 3D clay printing a try. As one of my peers, Andrea, is a resident expert it seemed like a great opportunity to learn.
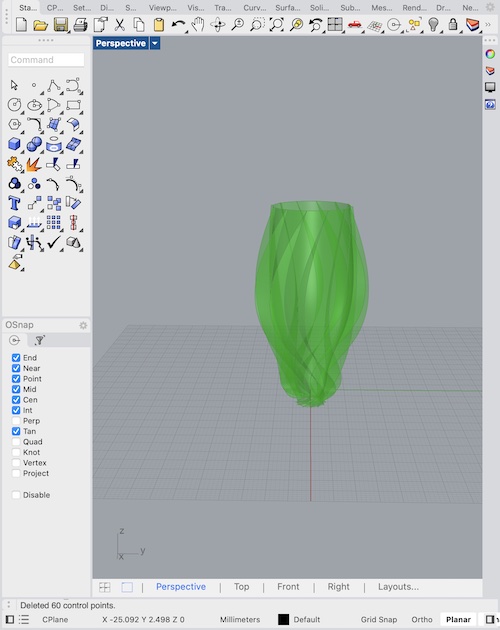
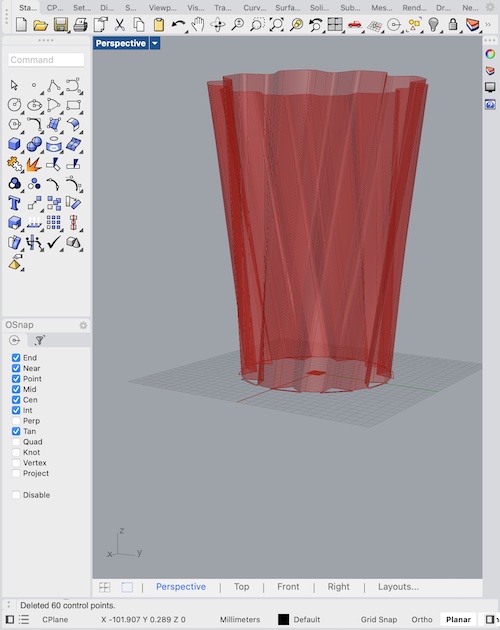
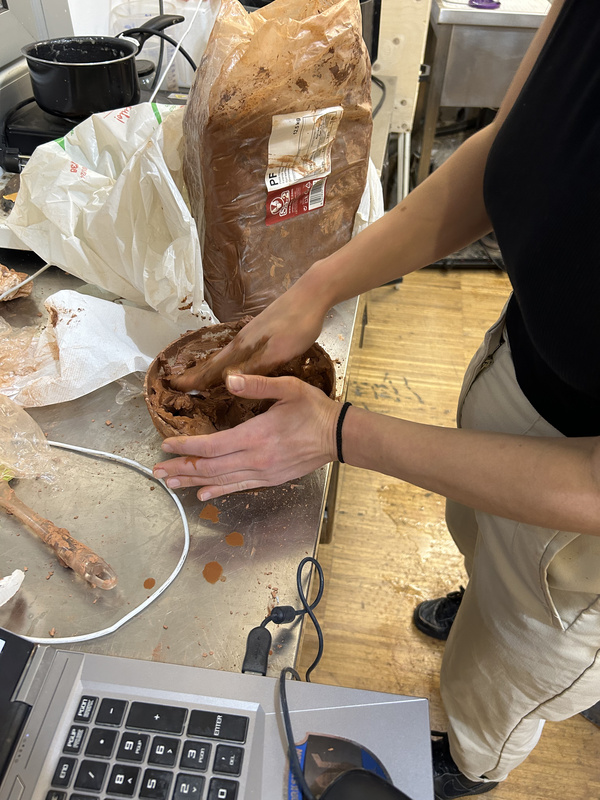
The first issue I ran into was with my model. Because of the softness of the printing material (clay), I had to make changes to my original vase design.
After that I had to download Repetier-Host This program takes a gcode file which the 3D printer with the clay extruder works with. Conveniently, a grasshopper plugin, Mamba, created right here at the Barcelona fab lab was also created to help created gcodes and plan the paths for 3D models to work with ceramic printers. Some very important settings had to be set before the gcode output would work well with the printer, however.
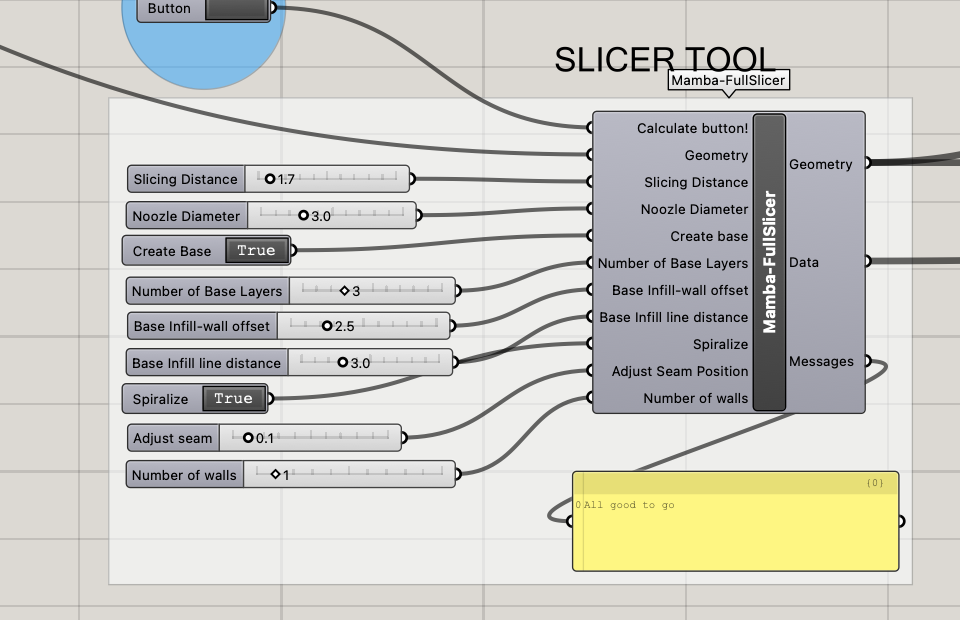
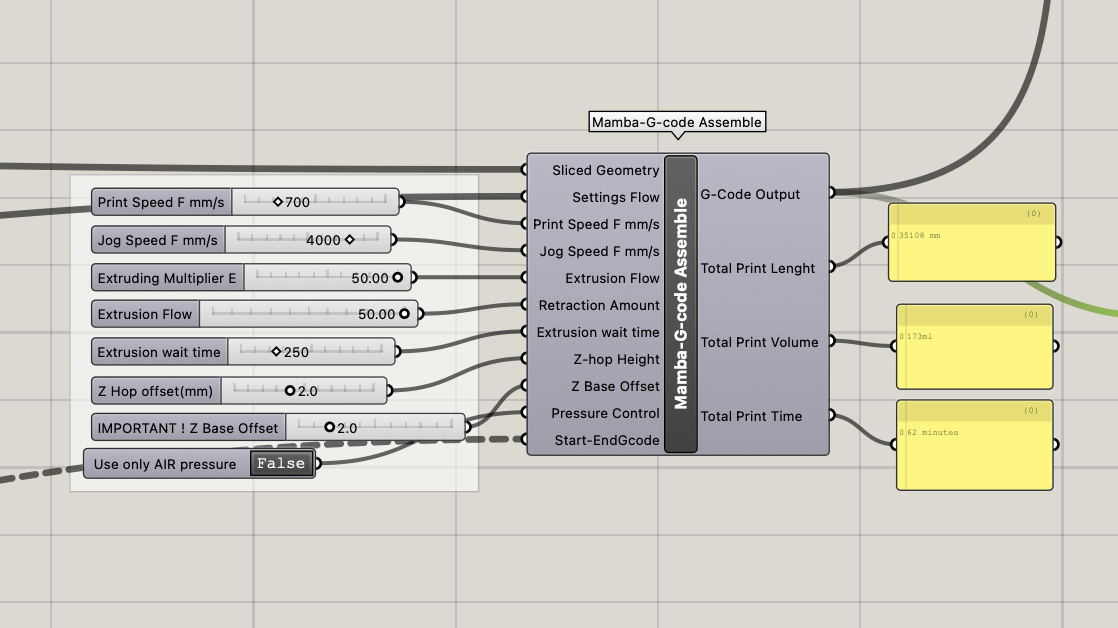
These were extremely important, like ensuring the base has enough layers for stability, for example. The major gotchya setting, however, was "Extrusion flow" on the g-code settings. The default was 0.5 which I did not notice or change. For hours I wondered why no clay was being extruded when I started my job.

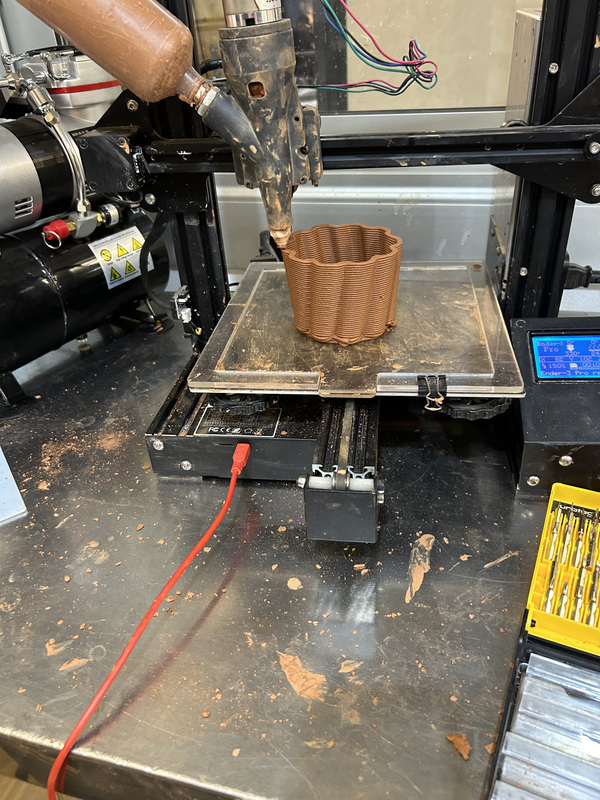
With the help of my classmate, Riichiro, we were able to tediously go through all of the differences in our settings until we happened upon this one. The correct flow setting was closer to 50, which meant my value was 100x off! After switching that and recalculating the g-code for my model, clay finally did start to flow, although not perfectly. Thanks to Andrea we were able to make tweaks to the speed of the nozzle and flow rate of the clay to get things working really smoothly. And because Riichie and I took everything apart and put it back together it was a great learning experience.
Unfortunately though, at some point my computer lost connection with the printer and when I reconnected...
So I relaunched. But this time with more success. Next time upon reconnecting, I'll be more careful of where the extruder is located.

3D Scanning Overview
We went over 3 different types of scanning.
- Projection Scanning: This method uses a projector to shine patterns onto an object. Cameras then take pictures of these patterns. By looking at where the patterns bend and stretch on the object, a computer can figure out the shape of the object and make a 3D model of it.
- Laser Scanning: In laser scanning, a laser light is pointed at an object. This light bounces back to a sensor, which measures how long it takes and at what angle. This information helps create a 3D representation of the object based on how far away each part of the object is.
- Lidar Scanning: Lidar is like laser scanning but is used to scan bigger areas. It shoots out laser beams and measures how long they take to bounce back. This tells us how far away things are, which helps in making a detailed 3D map of large spaces.
- Photogrammetry: For photogrammetry, lots of pictures are taken of an object from different angles. These pictures are then analyzed and stitched together to form a 3D model. This method relies on seeing the object from many perspectives to understand its shape.
3D Scanning Fun
For my 3D scan I worked with Carolina and Christine. I also participated in scanning Danni's glorious face.
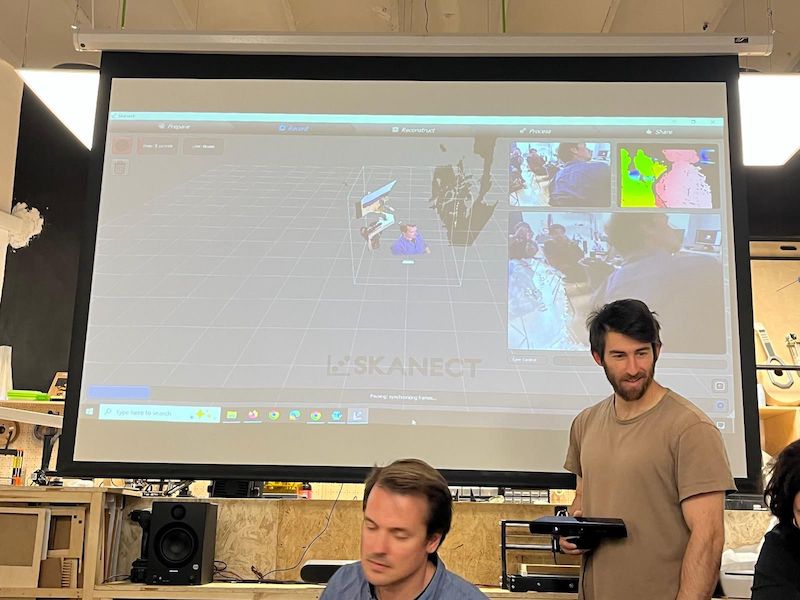
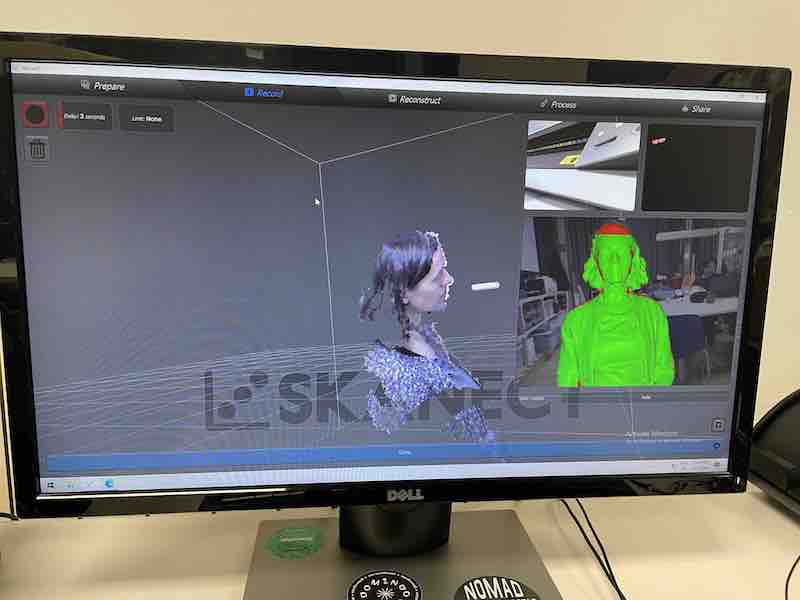
For the main task of scanning each other we used a program called Skanect and an old xbox connect camera. These were opensourced several years ago and now work as serviceable 3D scanners. Impressive! To scan each other, we opened the program, select we want to scan a "body" and hit run. You then walk around the person as slowly and steadily as possible. Think a sloth but much slower.

After a few lousy attempts we managed to scan Christine and export an STL file to be edited in other modeling software. Some key things to keep in mind were filling holes- the areas where we didn't scan as well- and cutting off the bottom portion of the scan to ensure we had a closed solid at the bottom.
Lessons Learned
- Be aware of where the supports will be placed when printing
- Be aware of the orientation of the print
- Review all your settings before launching a print job
- Print small to begin with. Even piece-wise. This worked out really well for me as I got feedback very quickly.
- Begin with an informal sketch before jumping into the visual code. This can help quite a bit with organizing.
- For clay printing, ensure your clay is moist enough. Dried clay really ruined many prints.
- Be careful with the Z-offset setting for clay printing. Too much or little can ruin the job.
- For scanning, be careful about being the right distance from what you are scanning.