2. Computer Aided Design
3D Modeling Programs Overview
Mesh vs. NURBS
- Mesh: Composed of vertices, edges, and faces. Ideal for complex, organic shapes. Not as precise for manufacturing.
- NURBS: Uses mathematical models to represent curves and surfaces. Better for precise, smooth models necessary in engineering and animation.
- Pros of Mesh: Flexible for artistic modeling; widely supported.
- Cons of Mesh: Less accuracy for precise dimensions; can get heavy with complex models.
- Pros of NURBS: High precision; easily modifiable.
- Cons of NURBS: Can be complex to understand; not as suitable for highly detailed or organic models.
TinkerCad
- Web-based, very accessible for beginners.
- Limited tooling compared to professional software.
- Great for simple projects and education.
- Not ideal for complex modeling or high precision needs.
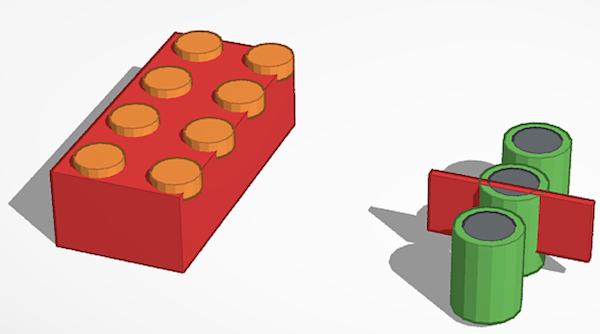
I found TinkerCad to be really intuitive to use (in spite of not finishing the lego!) and having it accessible online was also really convenient. Based on my small bit of experience and what I've read online though, it seemed it may be limited in some functionality like simulation, mesh tools, and a lack of import/export options. Even though I think I could've used this tool to complete my project adequately and the learning curve wouldn't be nearly as steep some of the other options, I figured it would be good to be a bit more amibtious to start learning a more powerful tool to use after the program.
Lego
Blender
- Extensive toolset for mesh modeling; supports sculpting, animation, and more.
- Recently added features for parametric and non-mesh models.
- Can be overwhelming due to its complexity and shortcut reliance.
- Highly versatile but with a steep learning curve.
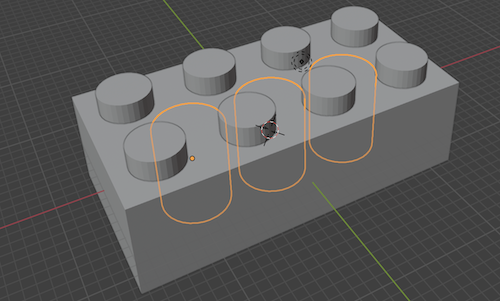
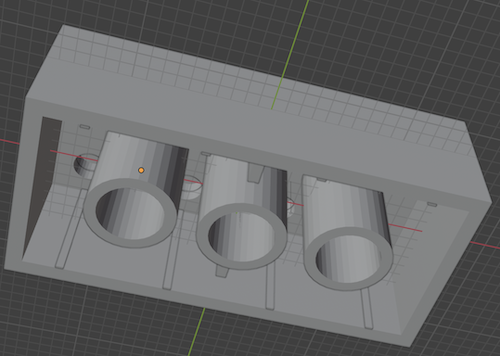
Blender had a lot of options and functionality, especially working with meshes. It seemed to offer lot of flexibility to be creative. Unfortunately, although I did finish the lego, the learning curve and setup seemed like it would be difficult for me to learn in a short time period.
Lego
Rhino
- Focuses on NURBS for highly accurate modeling.
- Intuitive command-line feature for finding tools and commands.
- Considered logical and grounded in mathematical principles.
- Offers a good balance between power and usability for precise design work.
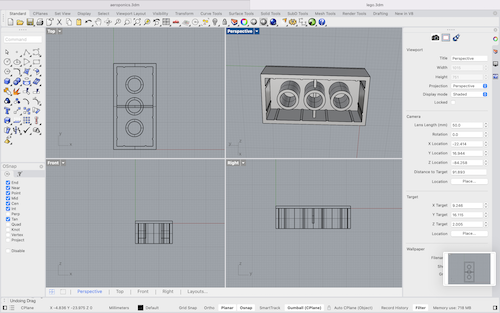
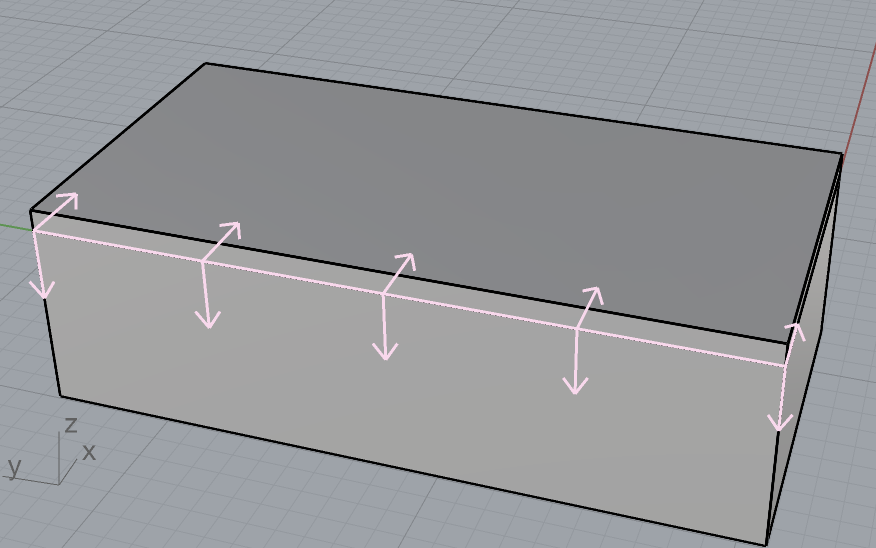
I really enjoyed Rhino's user experience. It has many features that made sense to me. The ability to type in commands rather than look for their icon and the step by step approach it takes when running a complex command on an object are really appealing features. After doing a few tutorials with grasshopper, a visual programming tool that works with Rhino, I also felt the workflow would be really useful to go back and make changes while having a clear idea of how everything iteracts with each other. It also works with Python which I am very comfortable with so that may come in handy at some point down the road.
Lego
Autodesk Fusion 360
- Mix of powerful features with a user-friendly interface.
- Action history feature allows for easy modifications and troubleshooting.
- Not as complex as Blender or Rhino but very efficient for engineering and design.
- Well-suited for both beginners and experienced users looking for a blend of simplicity and power.
- Has excellently organized history
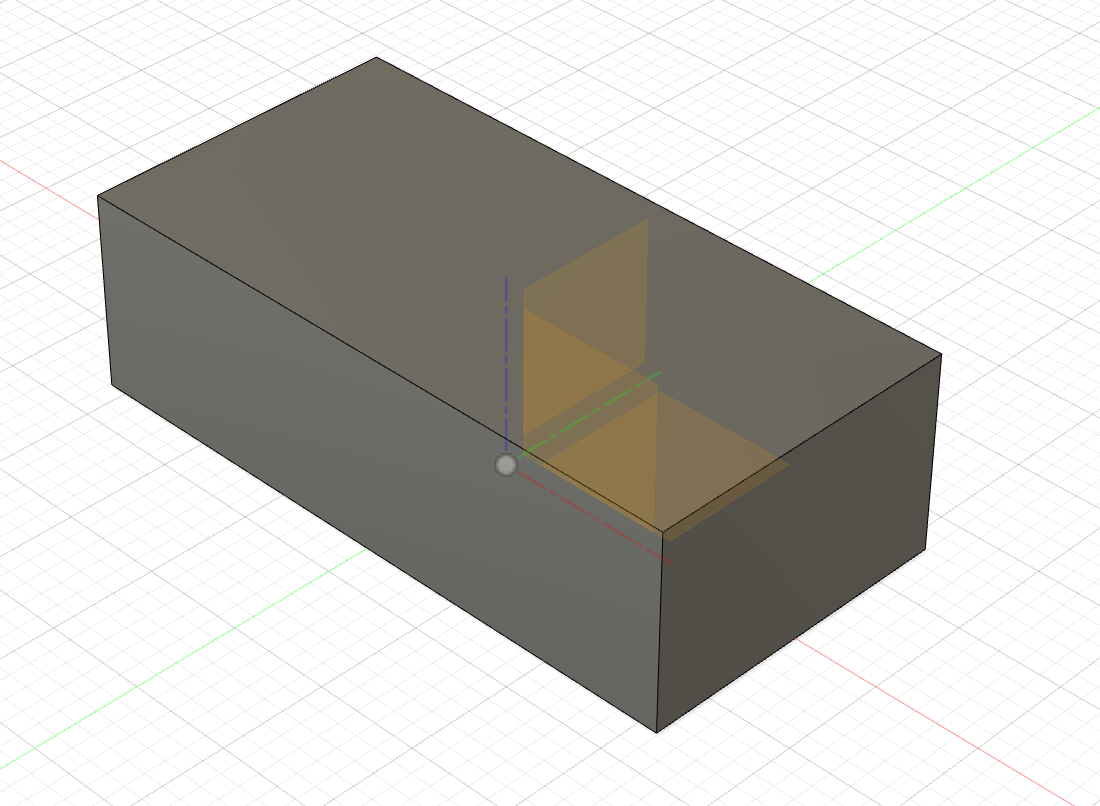
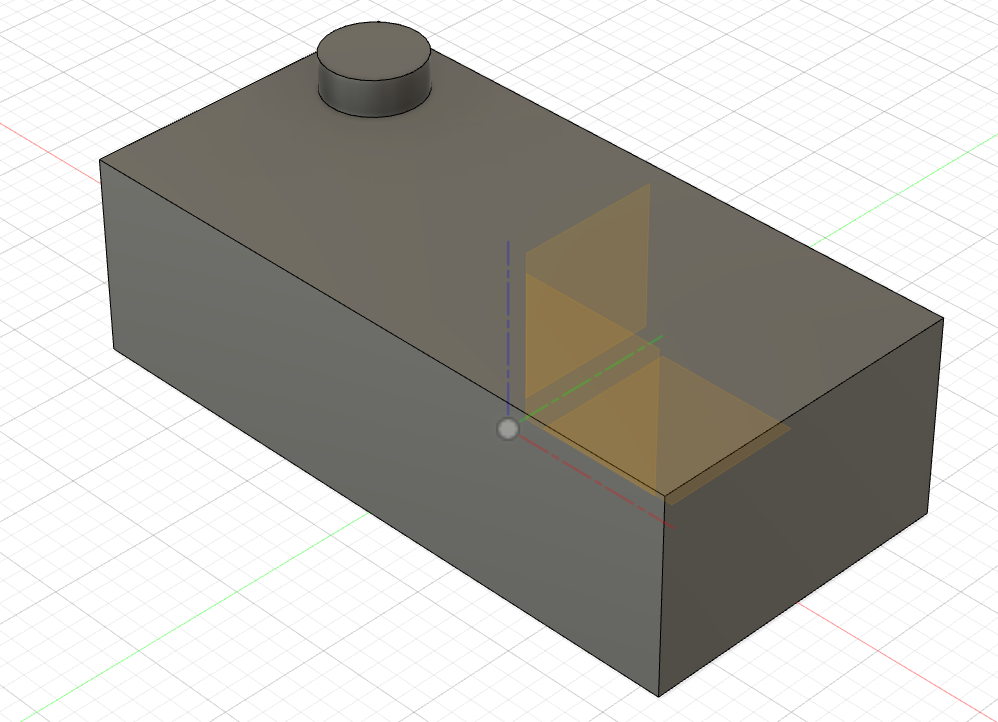
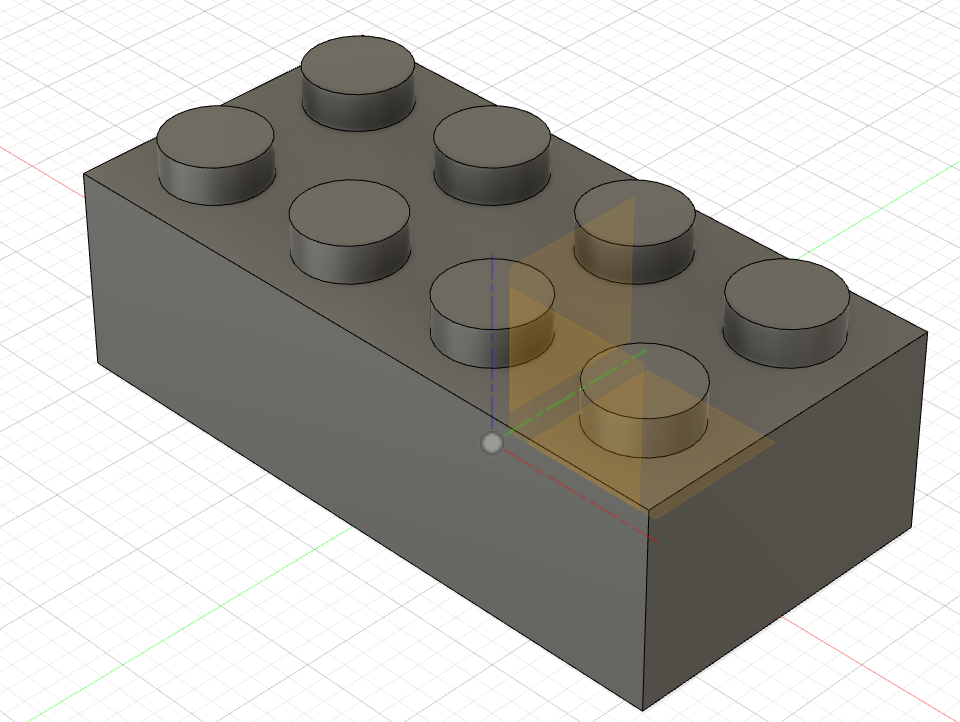
I found Fusion to be relatively easy and intuitive to use. Its system of constraints to tie different shapes and objects together made a lot of sense to me and really spelled out how these things would interact when scaled. It also keeps a complete, easy-to-access history of each step taken. This allows you to go back in time and make edits that get propagated forward to everything that comes after that point in time.
Fusion is definitely one of my top choices.
Lego
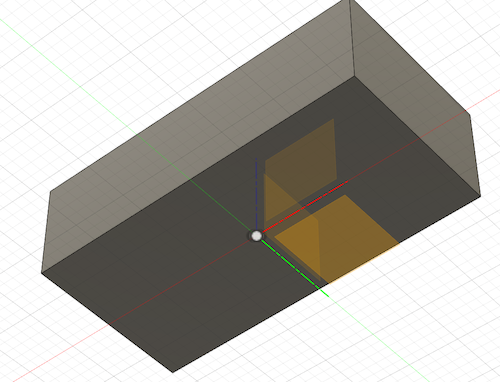
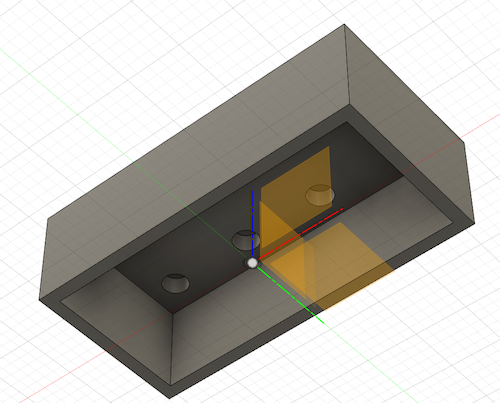
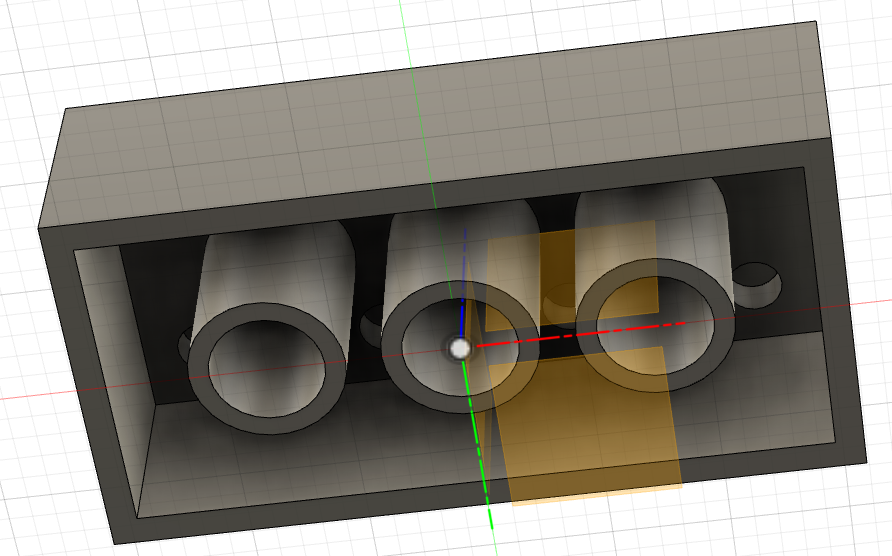
So Which Did I Choose??
I have ended up putting all my eggs into Rhino (for now). Even though I really liked Fusion 360 and its workflow, I decided that I could get more out of Rhino in the long haul. This is, of course, based on pretty limited experience and information so there's always a chance I change my mind. I also believe that any of these pieces of software could meet the needs of my project and have a good deal of respect for all of them. They all seemed very well put together.
I also went through a few more tutorials in Rhino to get a better sense of some of the features.
Here are the results of my efforts!


V1 of Final Project Model
For this first week of modeling my final project I decided to forego using grasshopper and model everything by hand to get used to Rhino's functionality and to soften the learning curve a bit. This will probably mean I will have to repeat the same work when I do begin using grasshopper but kept my mental workload manageable for the week. Some key things I learned are
- Modeling is really difficult without a mouse! I've been using the trackpad on the macbook this week and after borrowing a mouse for a session or two, I've decided it is a very worthy investment. Panning, zooming, rotating, and selecting objects are far easier with it.
- Drawing temporary lines as placeholders is a convenient way to center objects and get the correct spacing you want.
- Mirroring, especially with a project as symetrical as mine, saves a lot of work.
- I couldn't find a really easy way to change measurements of objects after they are created when just using Rhino. This will be greatly alleviated by Grasshopper (I think).
- Hiding objects helps keep things out of the way when I was working on a component that wasn't related.
- Control points are a really useful tool to manipulating objects. I also learned about adding more of them to increase the "moldability" of the object/arc in question. You can see this on the pipes that connect the various containers.
- Using different materials for different layers really adds a nice touch to the renderings. I ended up using a wood rendering material I found online here. There are many great materials for download online.
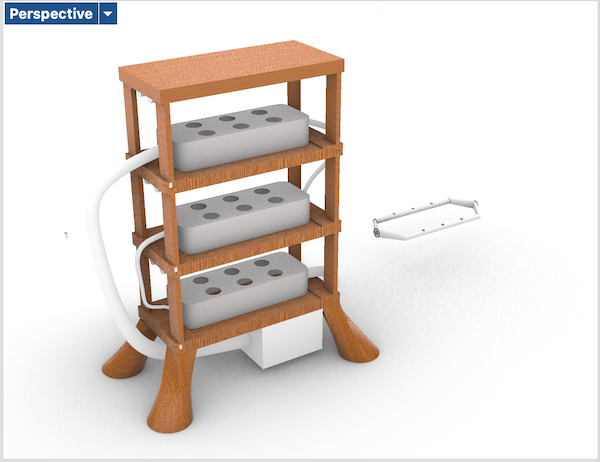
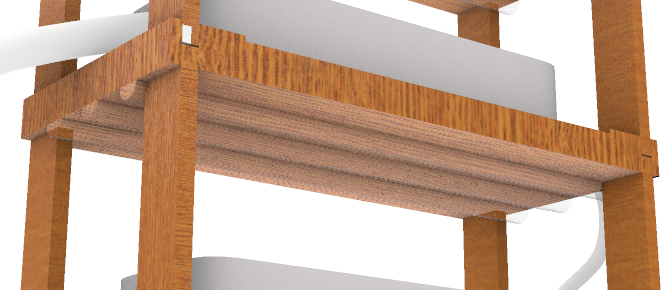


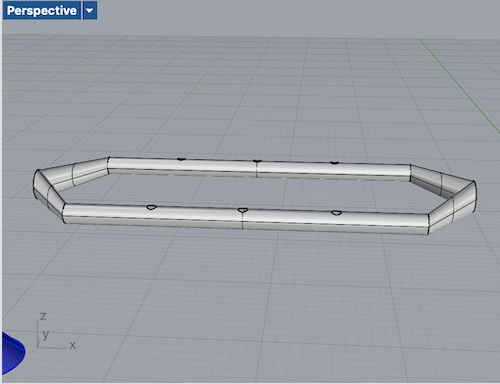
Things Missing
- An animation showing how shelving and containers can be added and removed would make the idea of it being stackable more clear.
- I did not put in the models for the actual misters inside the the plant containers for the roots.
- I did not model where the machine would be plugged in for power or the wiring that goes with that.
- Also I did not model the controls, through pumps and the other electronic functionality in this version. Since this was my first go at modeling this and I plan to redo much of it with grasshopper I decided to leave it with the broad strokes and then get into the details on V2.
2D Design
We also learned about using different 2D design softwares. The main one we looked at was InkScape. It's basically considered a free alternative to Inkscape. Because I was so tied up with the 3D modeling I didn't have a lot of time to focus on my 2D Design. I ended up making a lego by giving ChatGPT some examples and having it output a simple, flat design for me. Then I edited it in InkScape to my liking. I trace bitmapped ChatGPT's version
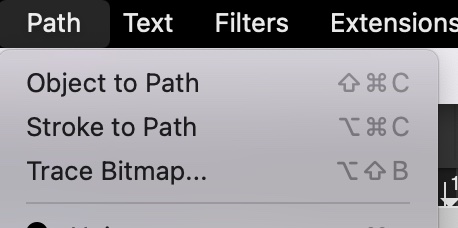
and deleted certain segments while adding color blocks elsewhere using the node tool to copy relevant areas.
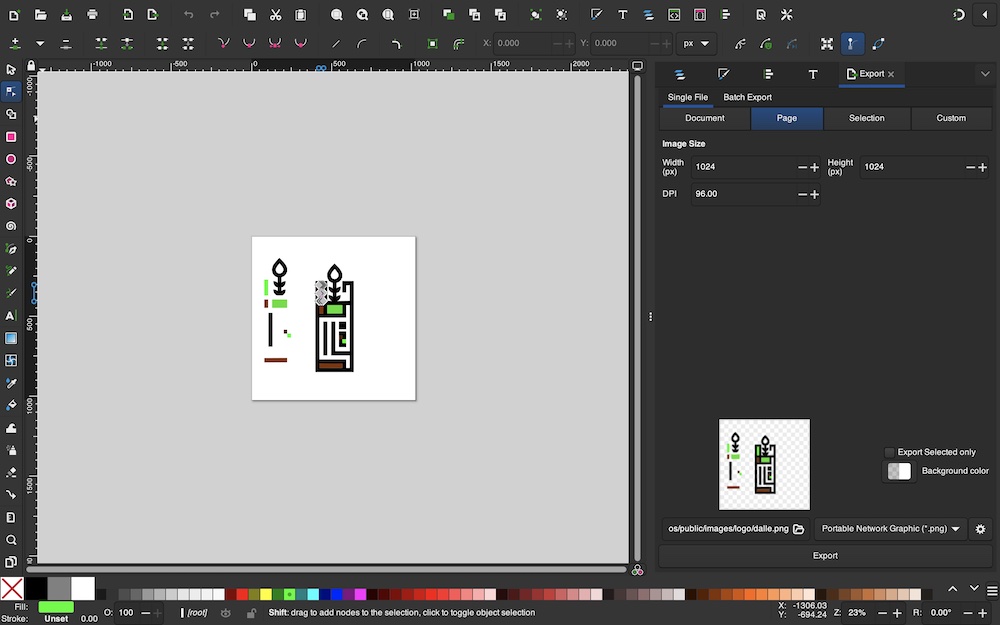
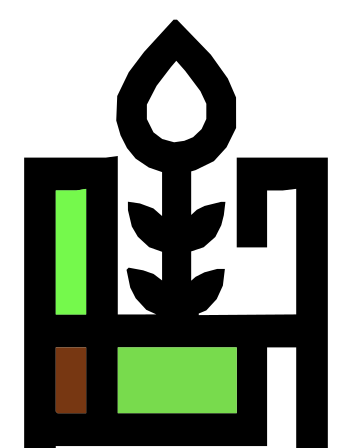
Below are copies of my favorite output from ChatGPT and my edited version with InkScape. I also owe credit to Magdalena for helping me a whole bunch with editing.

And here you can find my design file.