WEEK 15 / WILDCARD WEEK
INDIVIDUAL ASSIGNMENT
Design and produce something with a digital process not covered in another assignment, documenting the requirements that your assignment meets, and including everything necessary to reproduce it.
EMBROIDERY
I followed Julia Gäse's documentation to set up a file for an embroidery test. Her documentation is quite complete as it explains how to setup the file on InkScape and InkStitch.
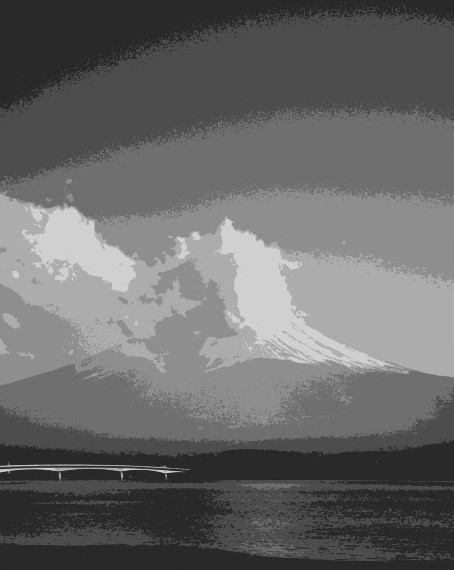
The image I wanted to work with was a picture of Mount Fuji I took from Lake Kawaguchiko during the midterm break this year. There was a cute spherical cloud right in front of the framing. I started processing the bitmap image on InkScape, but didn't like the result much. I thought I could get a cleaner and more cartoonish result drawing it myself, so I traced the image manually on Rhino. Then I proceeded to work with the outlines to create the embroidery lines.


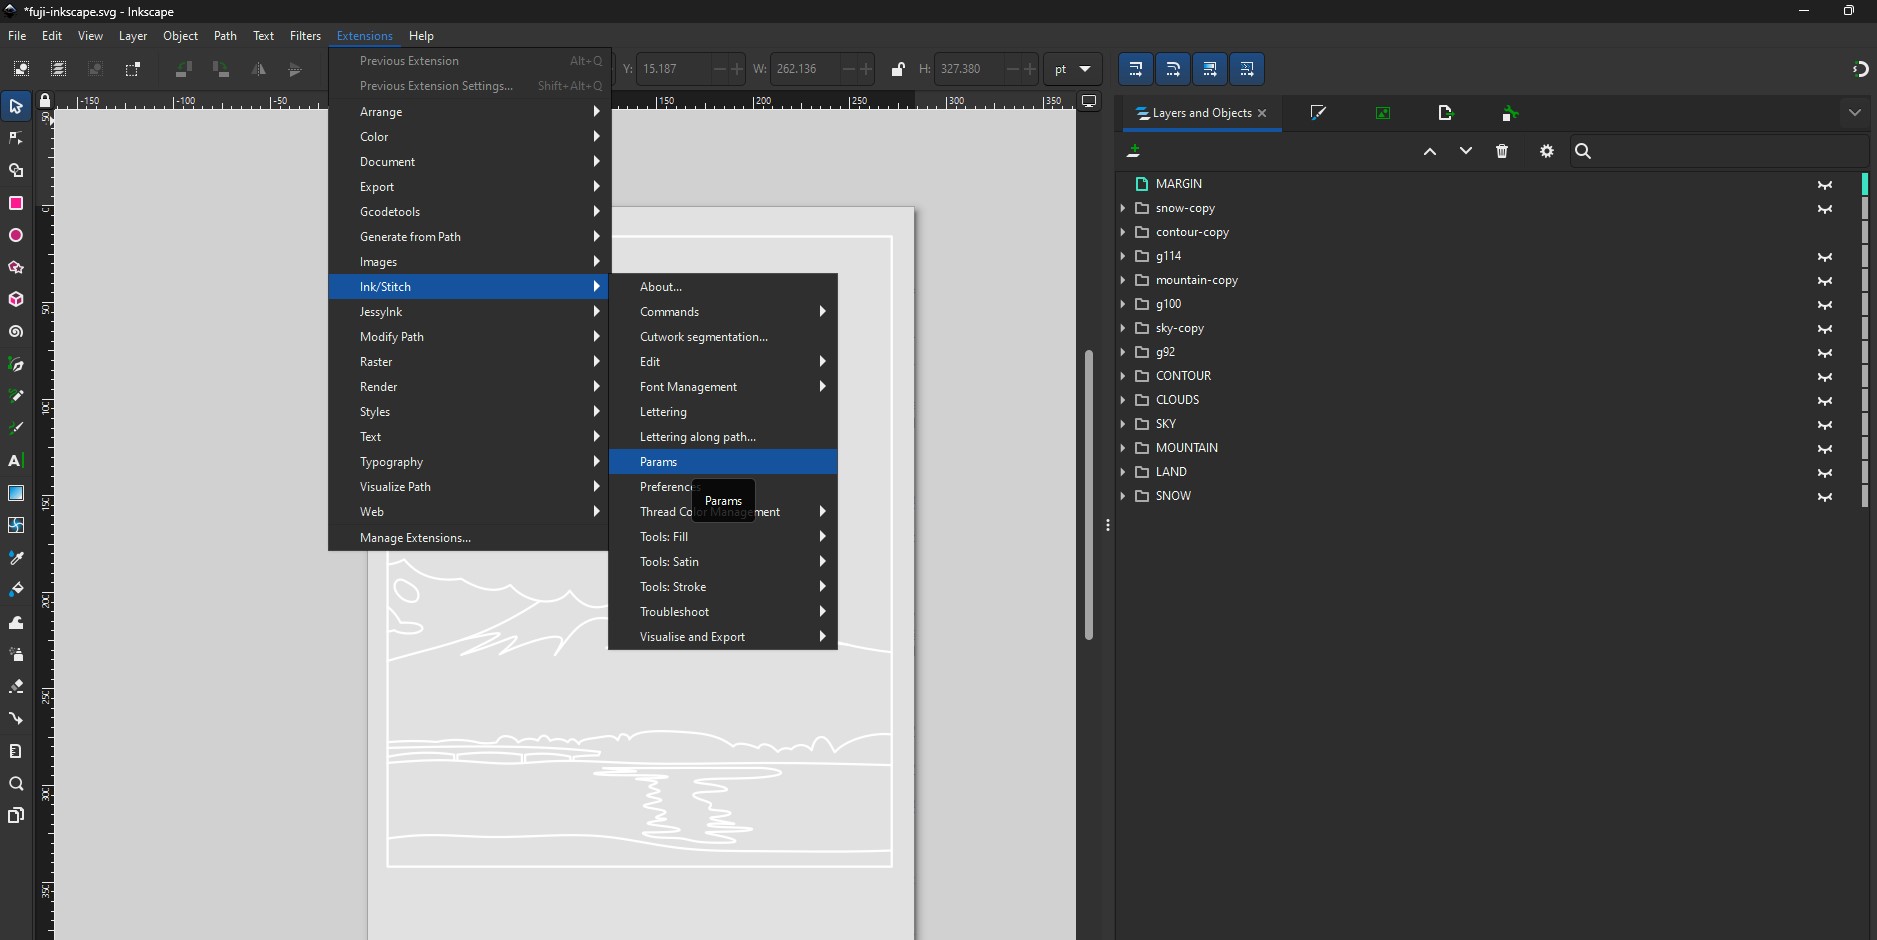
Embroidery is a complex craft, so there are many ways to set up a file - really depending on what the design aims to explore. For an in-depth explanation of all those, I recommend going through Julia Gäse's embroidery page above. How I set up my file was a bean stitch outline, which was a straightforward way to get a first draft done. The InkStitch plugin will consider all the visible layers to post-process - so anything is not desired, should be hidden. Then go to Extensions > Ink/Stitch > Params and a setting page will appear. The only thing I changed was the "Repeats" value to "2", so that I would get bean stitch (which is more fatty) instead of running stitch.
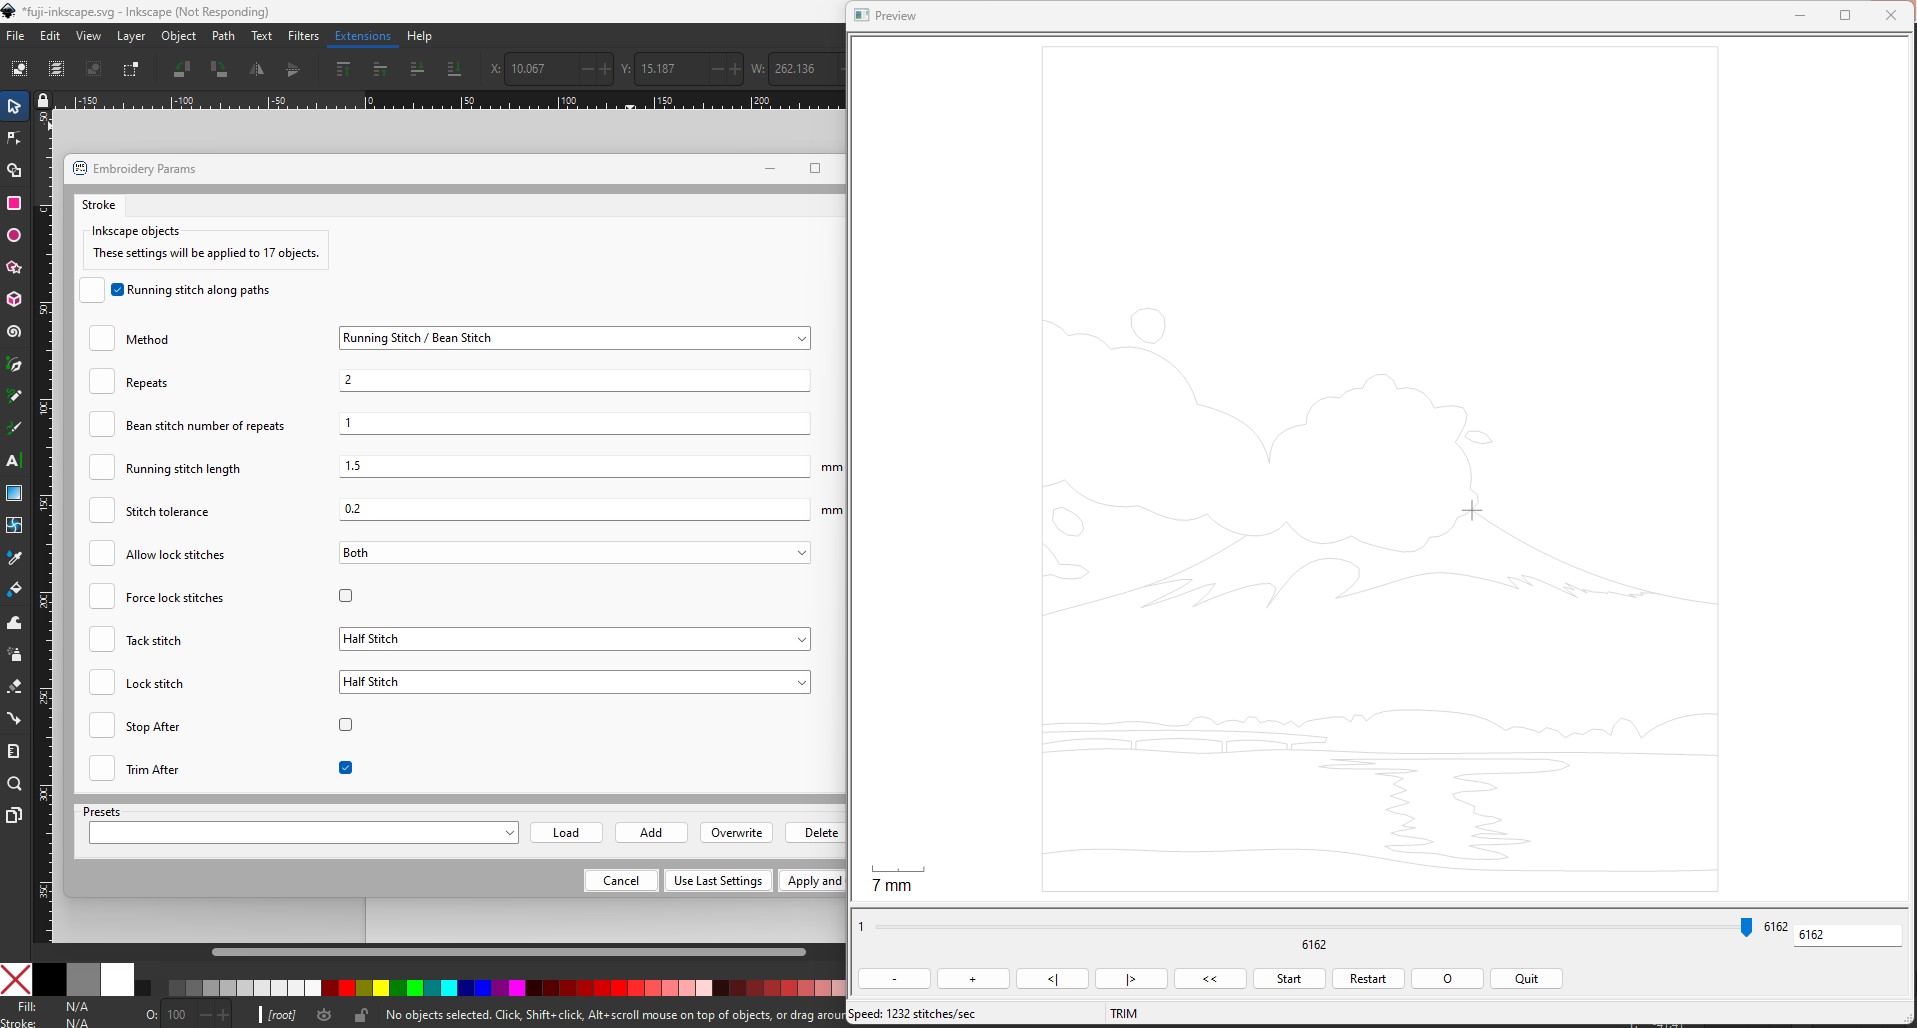
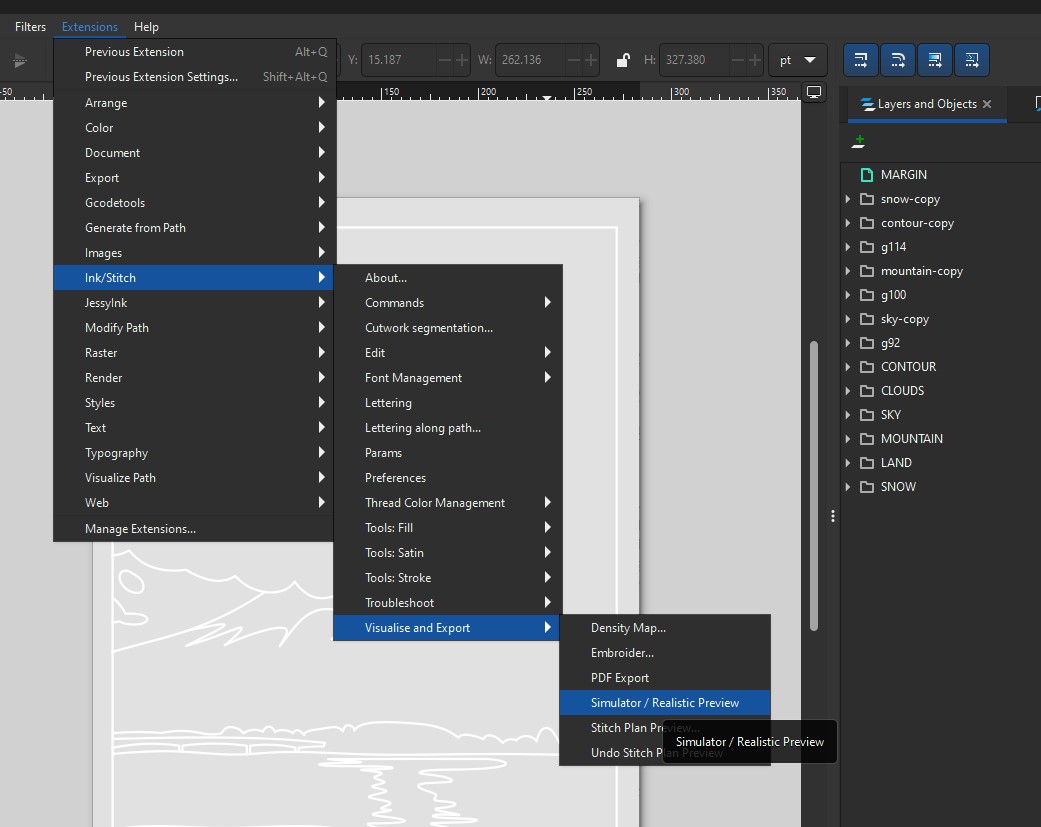
The image on the right is a preview of the paths. There is also another way to visualize the outcome, which is by going to Extensions > Ink/Stitch > Simulator/Realistic Preview. When done with that, the file should be saved to the machine SD card or USB. The filetype that our machine accepted was .PES (some machines can operate on .DST) and that can be saved directly from Inkscape.
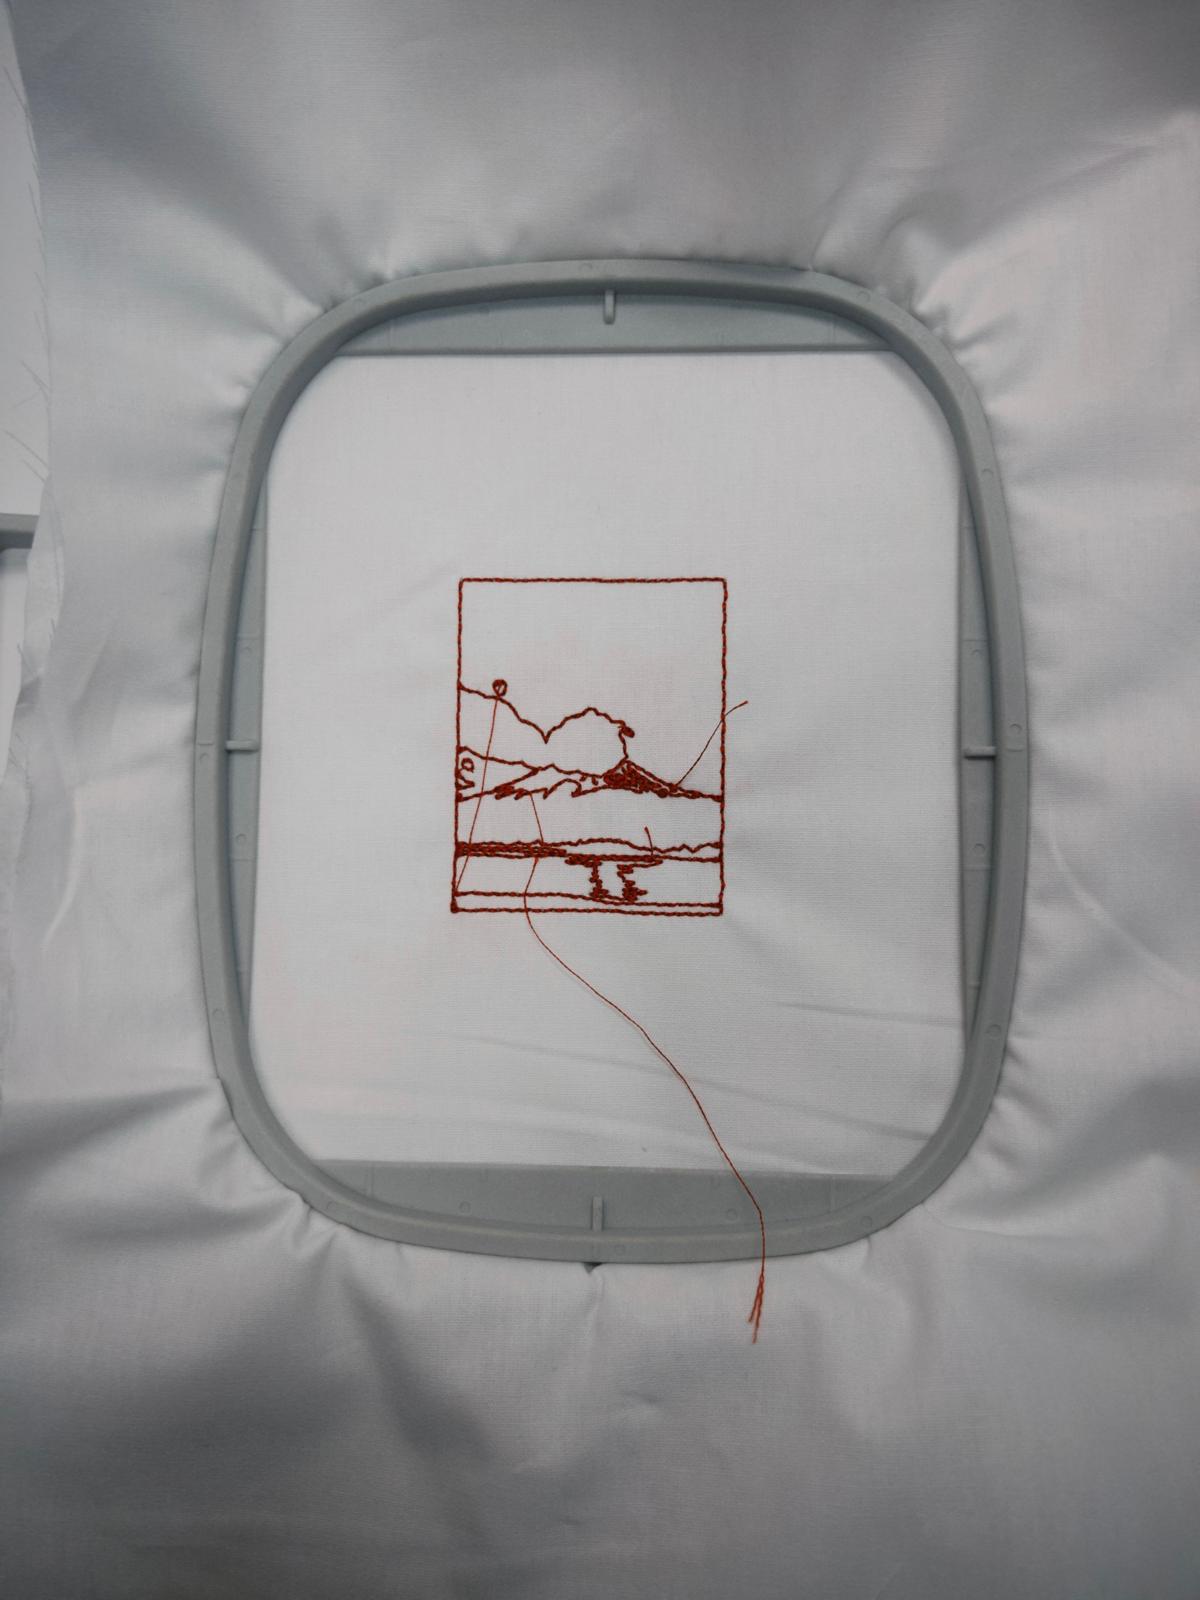
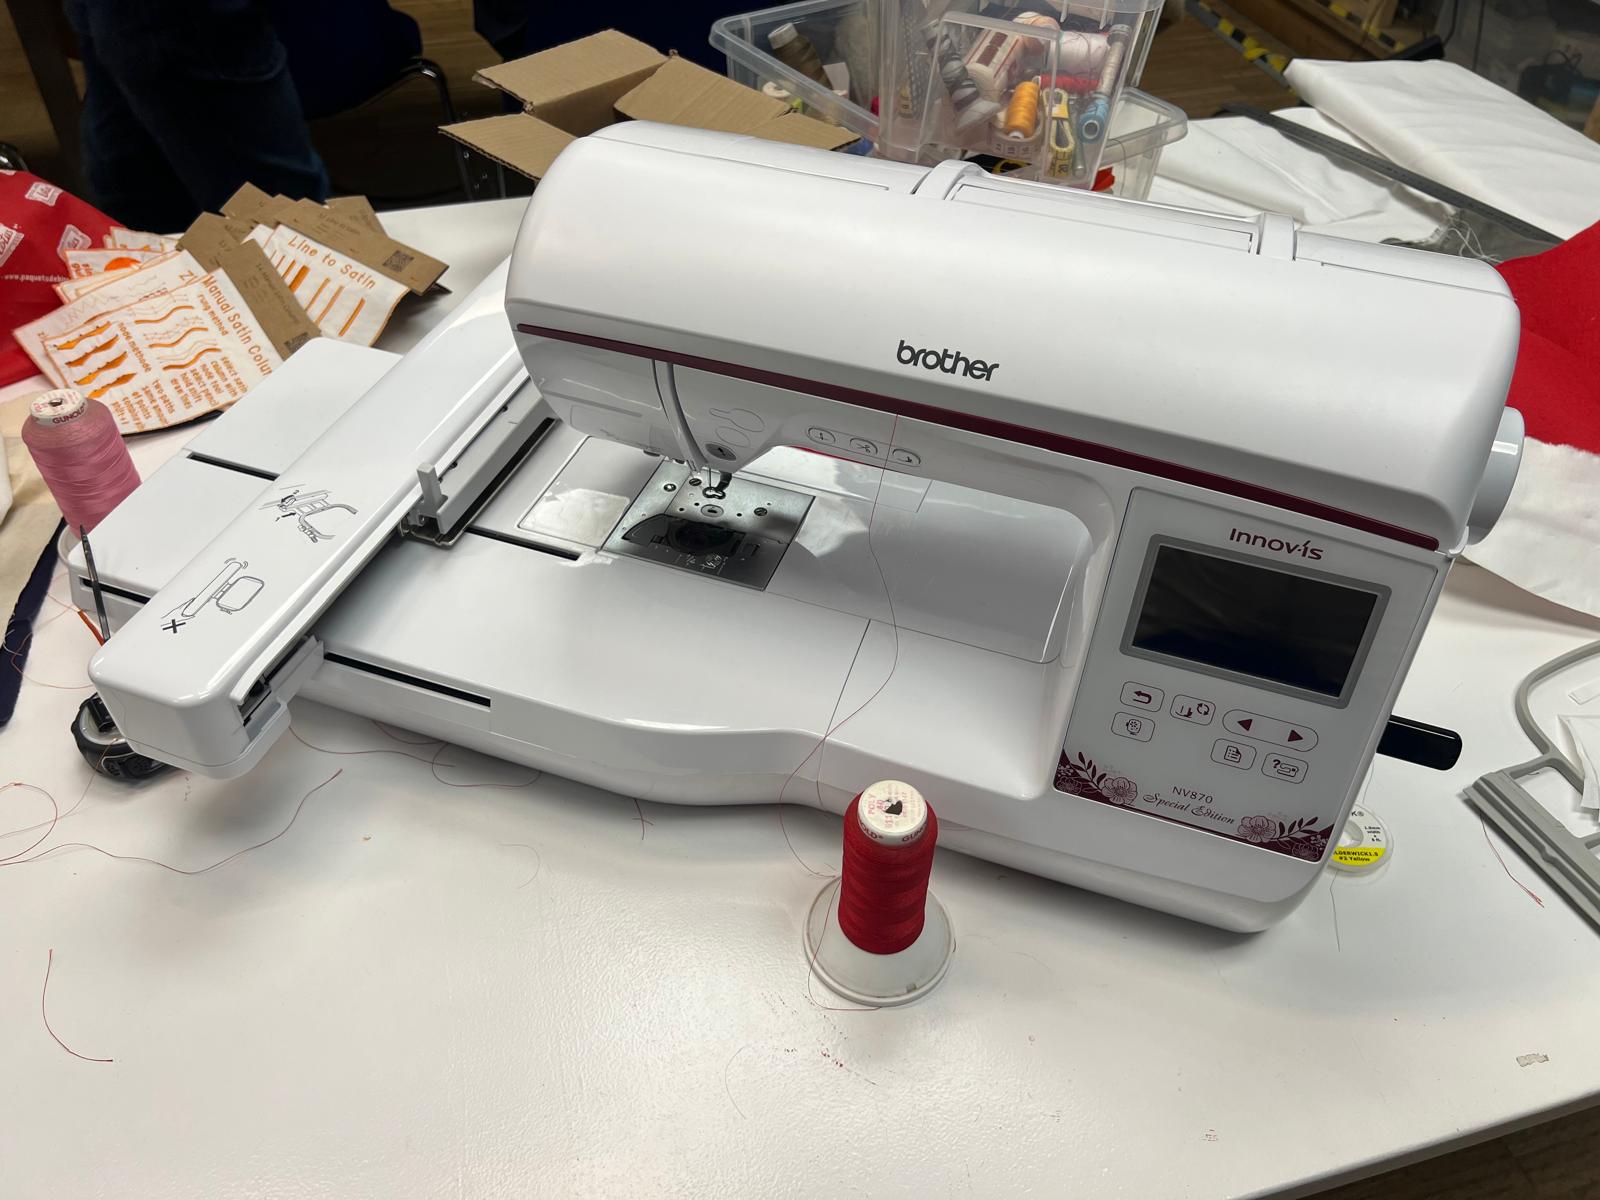
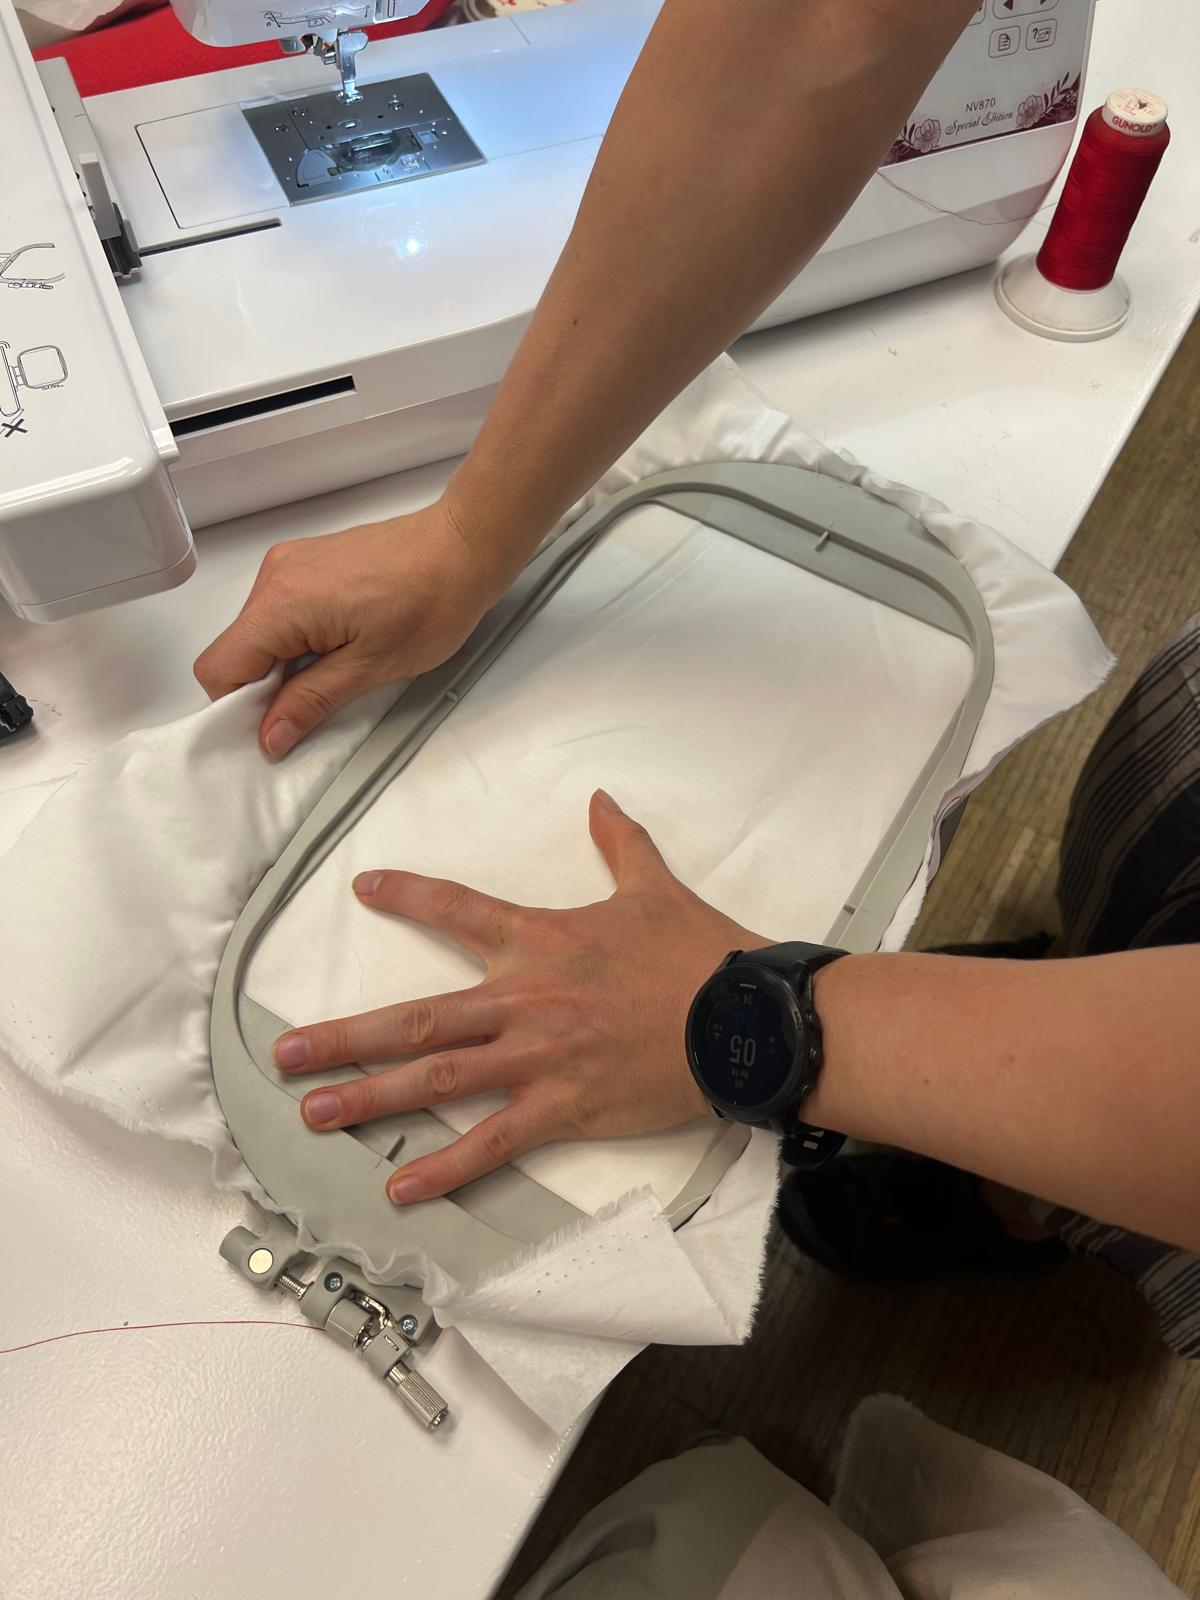
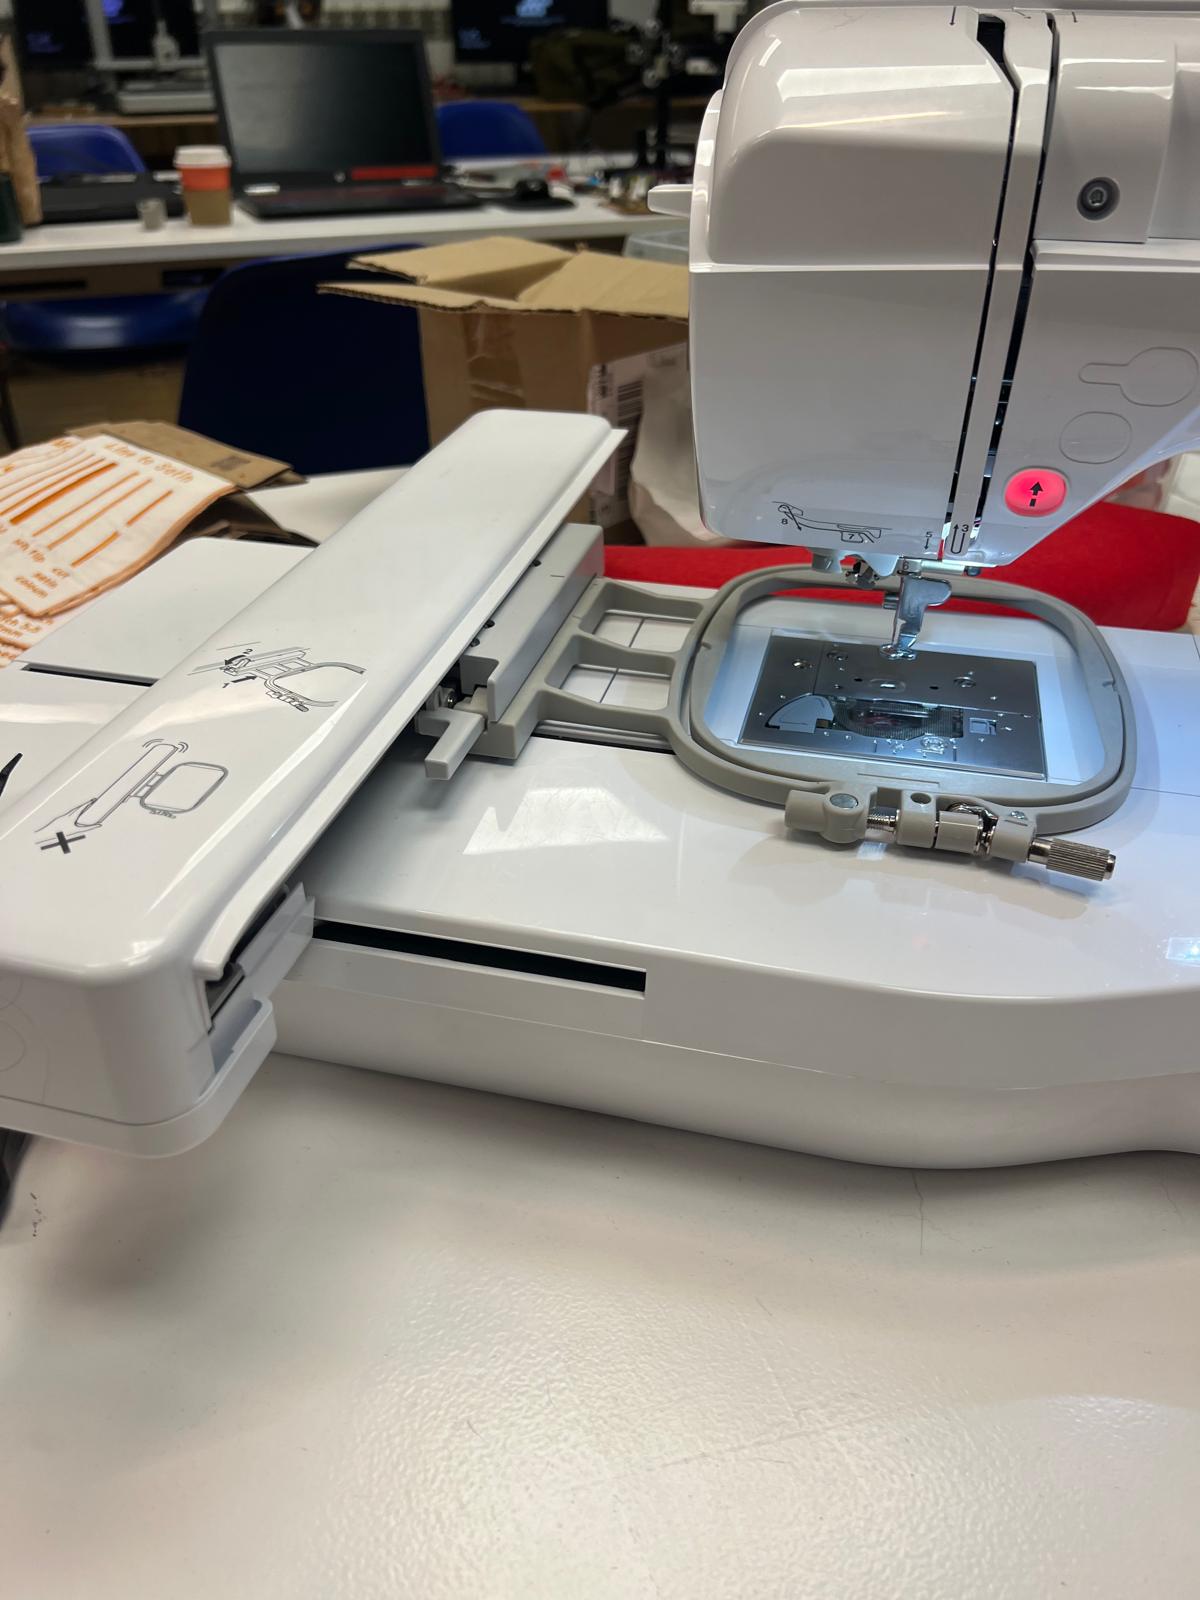
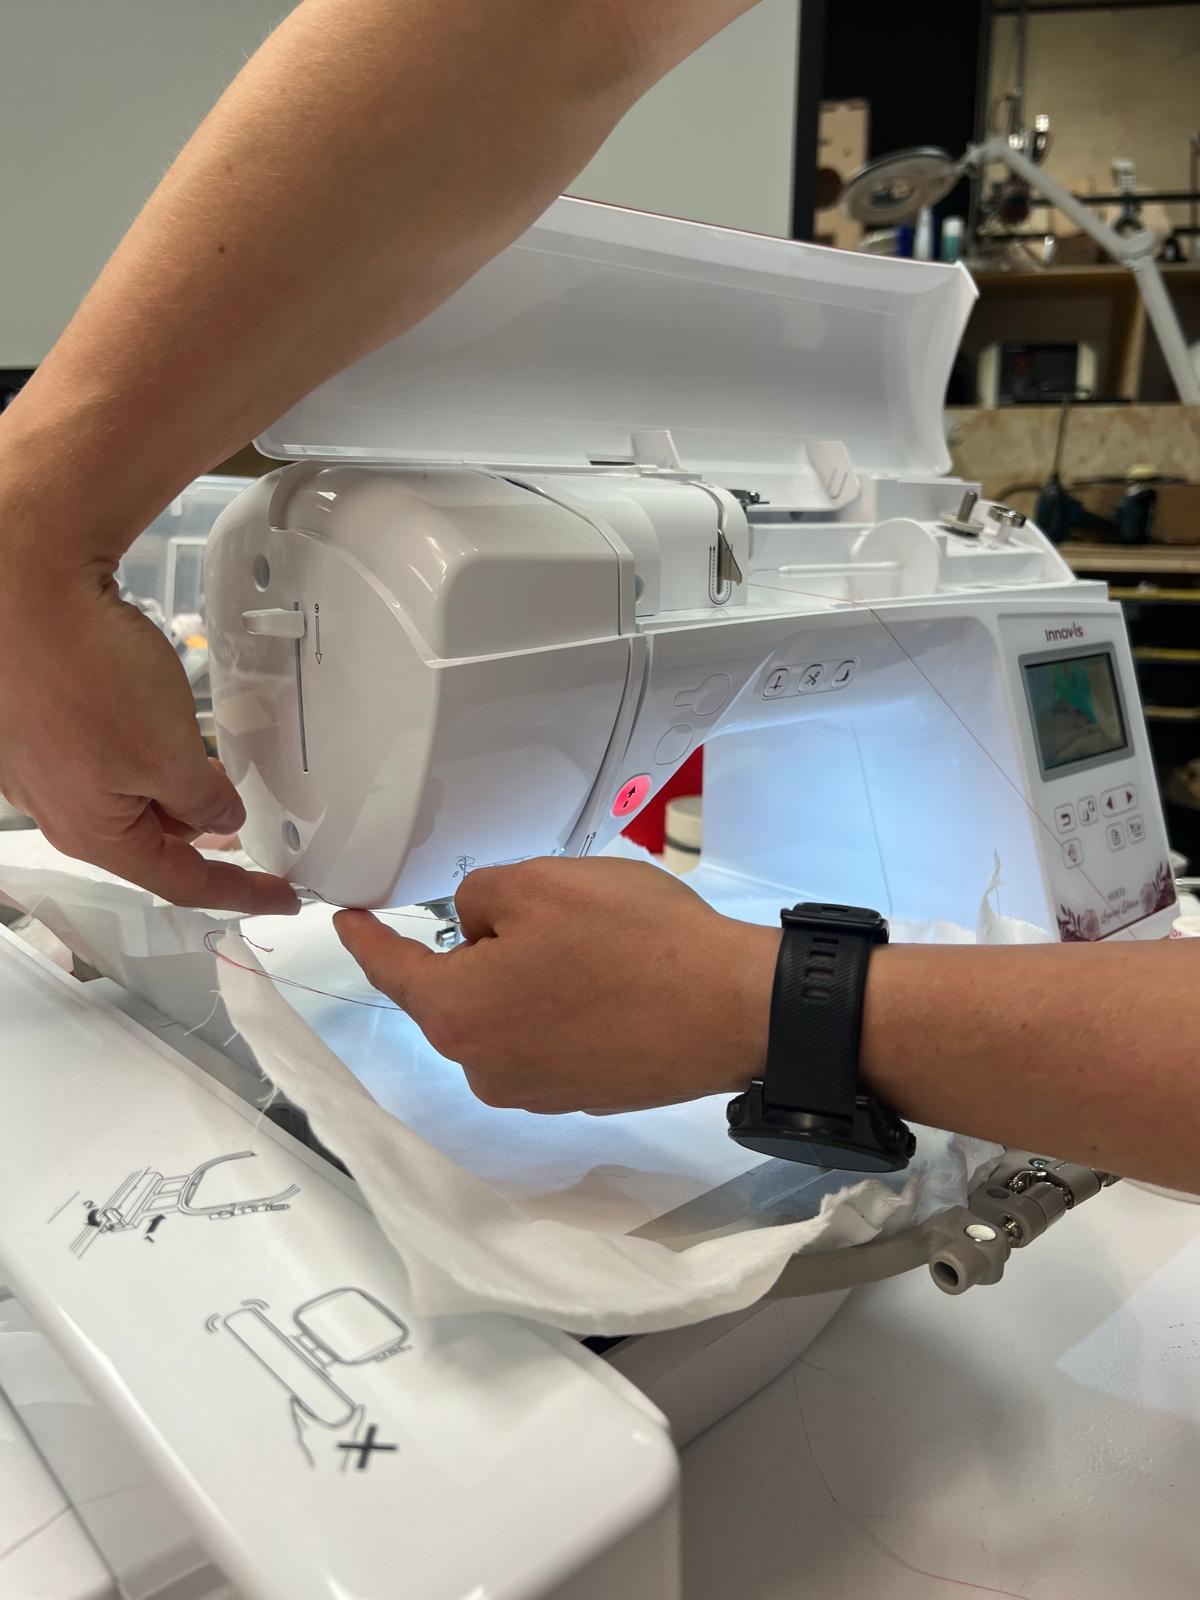
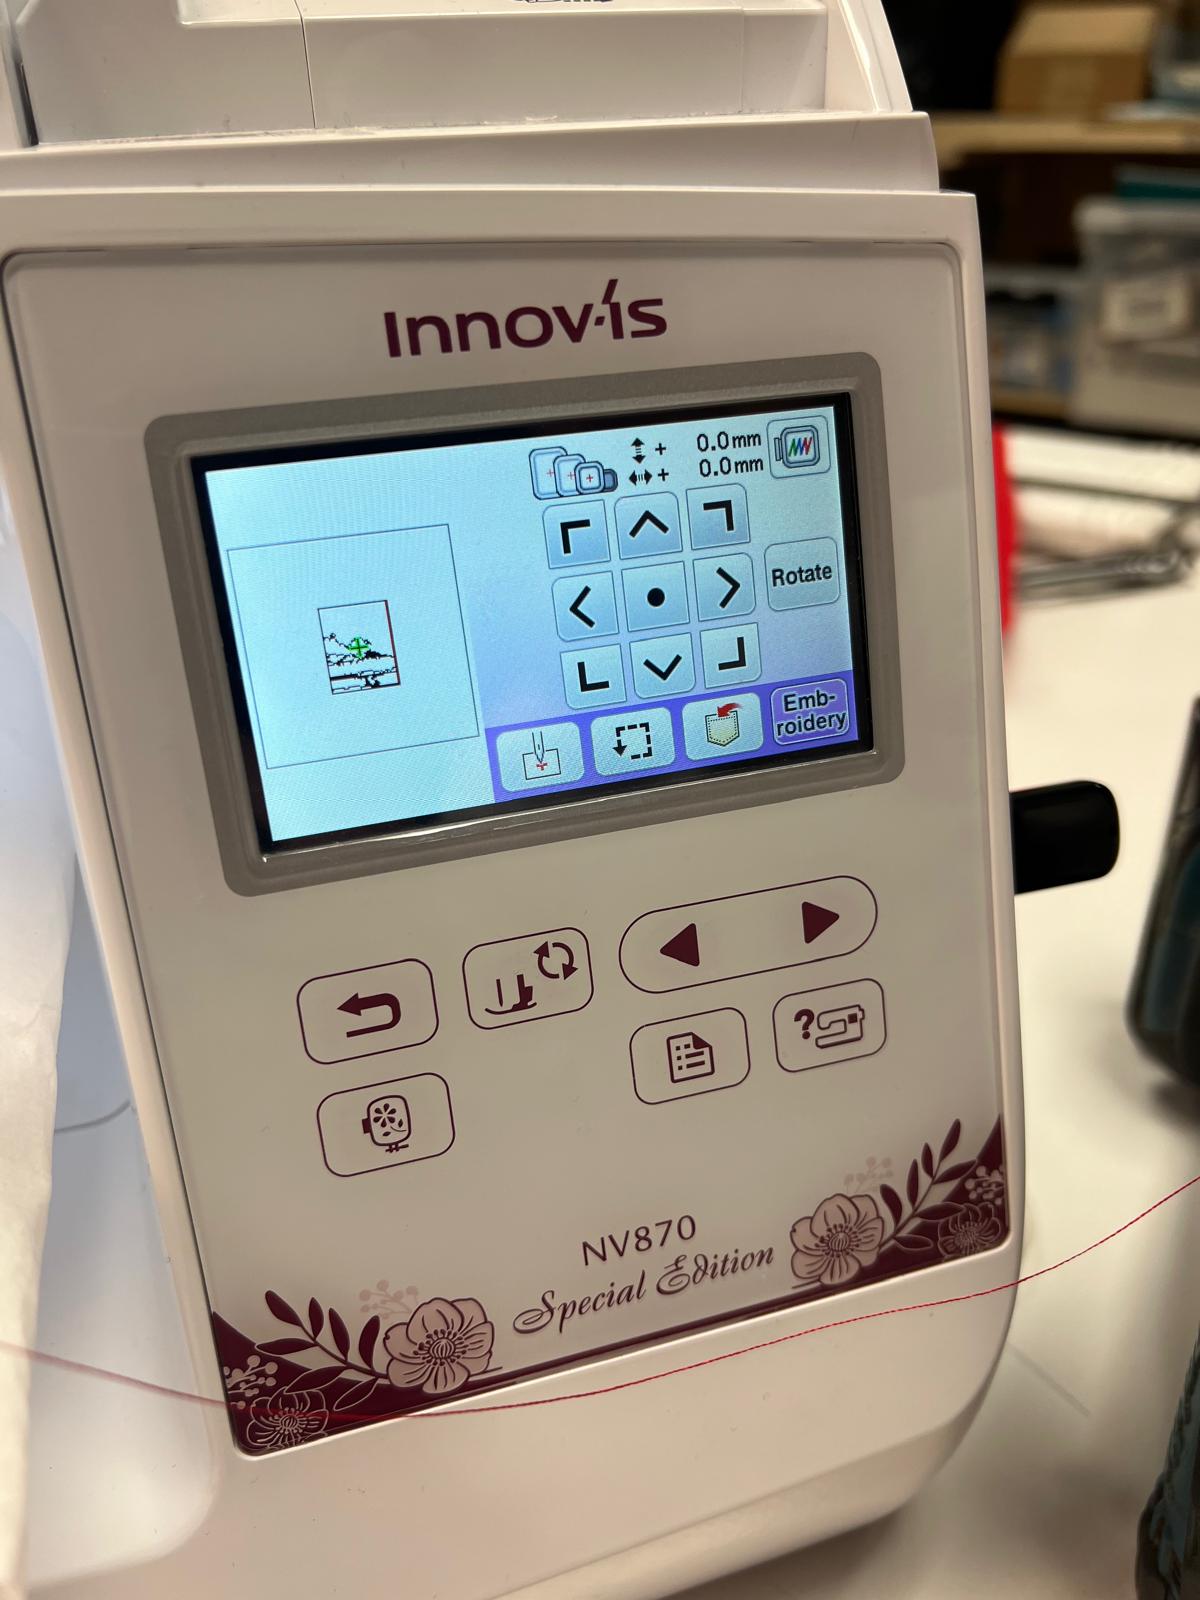
This is the machine we have in the lab. Emily helped me place the fabric on the right way of the frame and place it back on the machine. To set up the upper thread, one must follow the printed numbers on the case of the machine, it is pretty straightforward. After setting the thread, there is a button to lower the needle base. There is an arrow button, which when green means the embroidery can start. If red, means something is off and should be adjusted before starting. This same button is where you start/pause the job.On the machine screen, one must find the file in the USB drive, edit the size, rotation and position if necessary, then start embroidery.
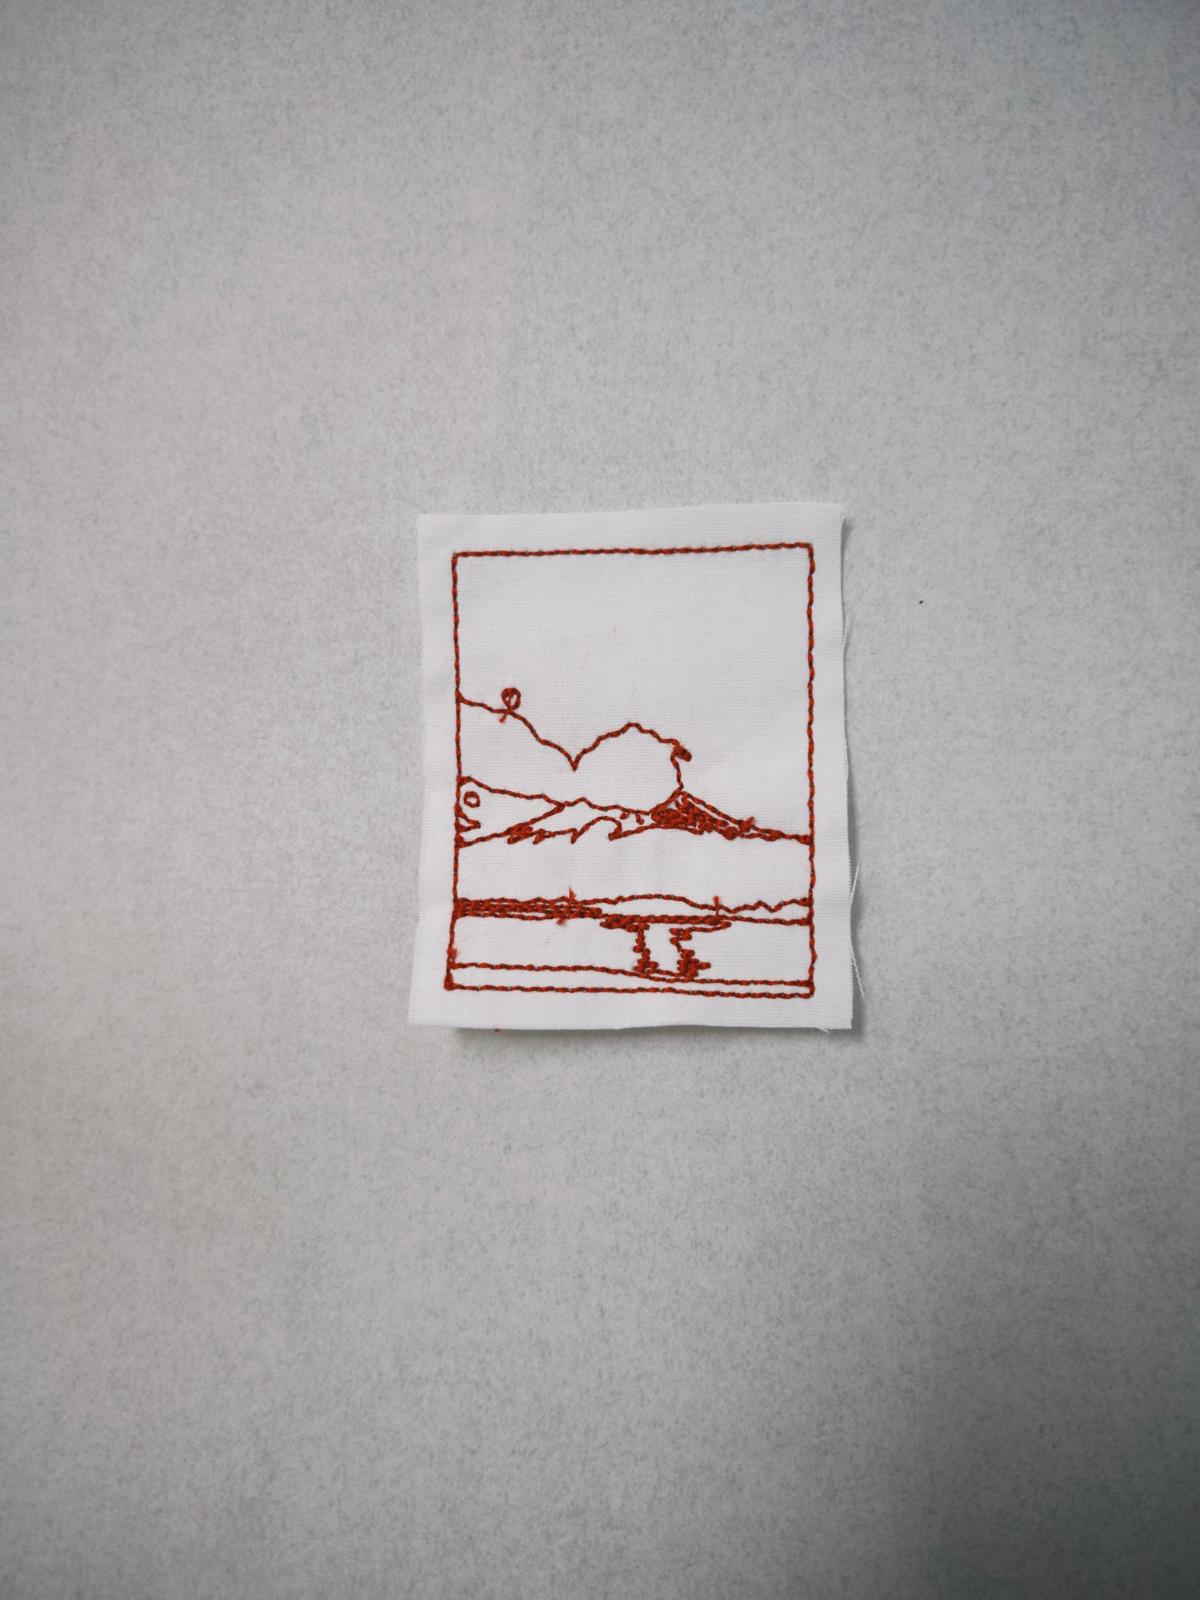
Below is the end result.
