WEEK 12 / MOLDING AND CASTING
This week we learned how to make different types of molds and cast parts.
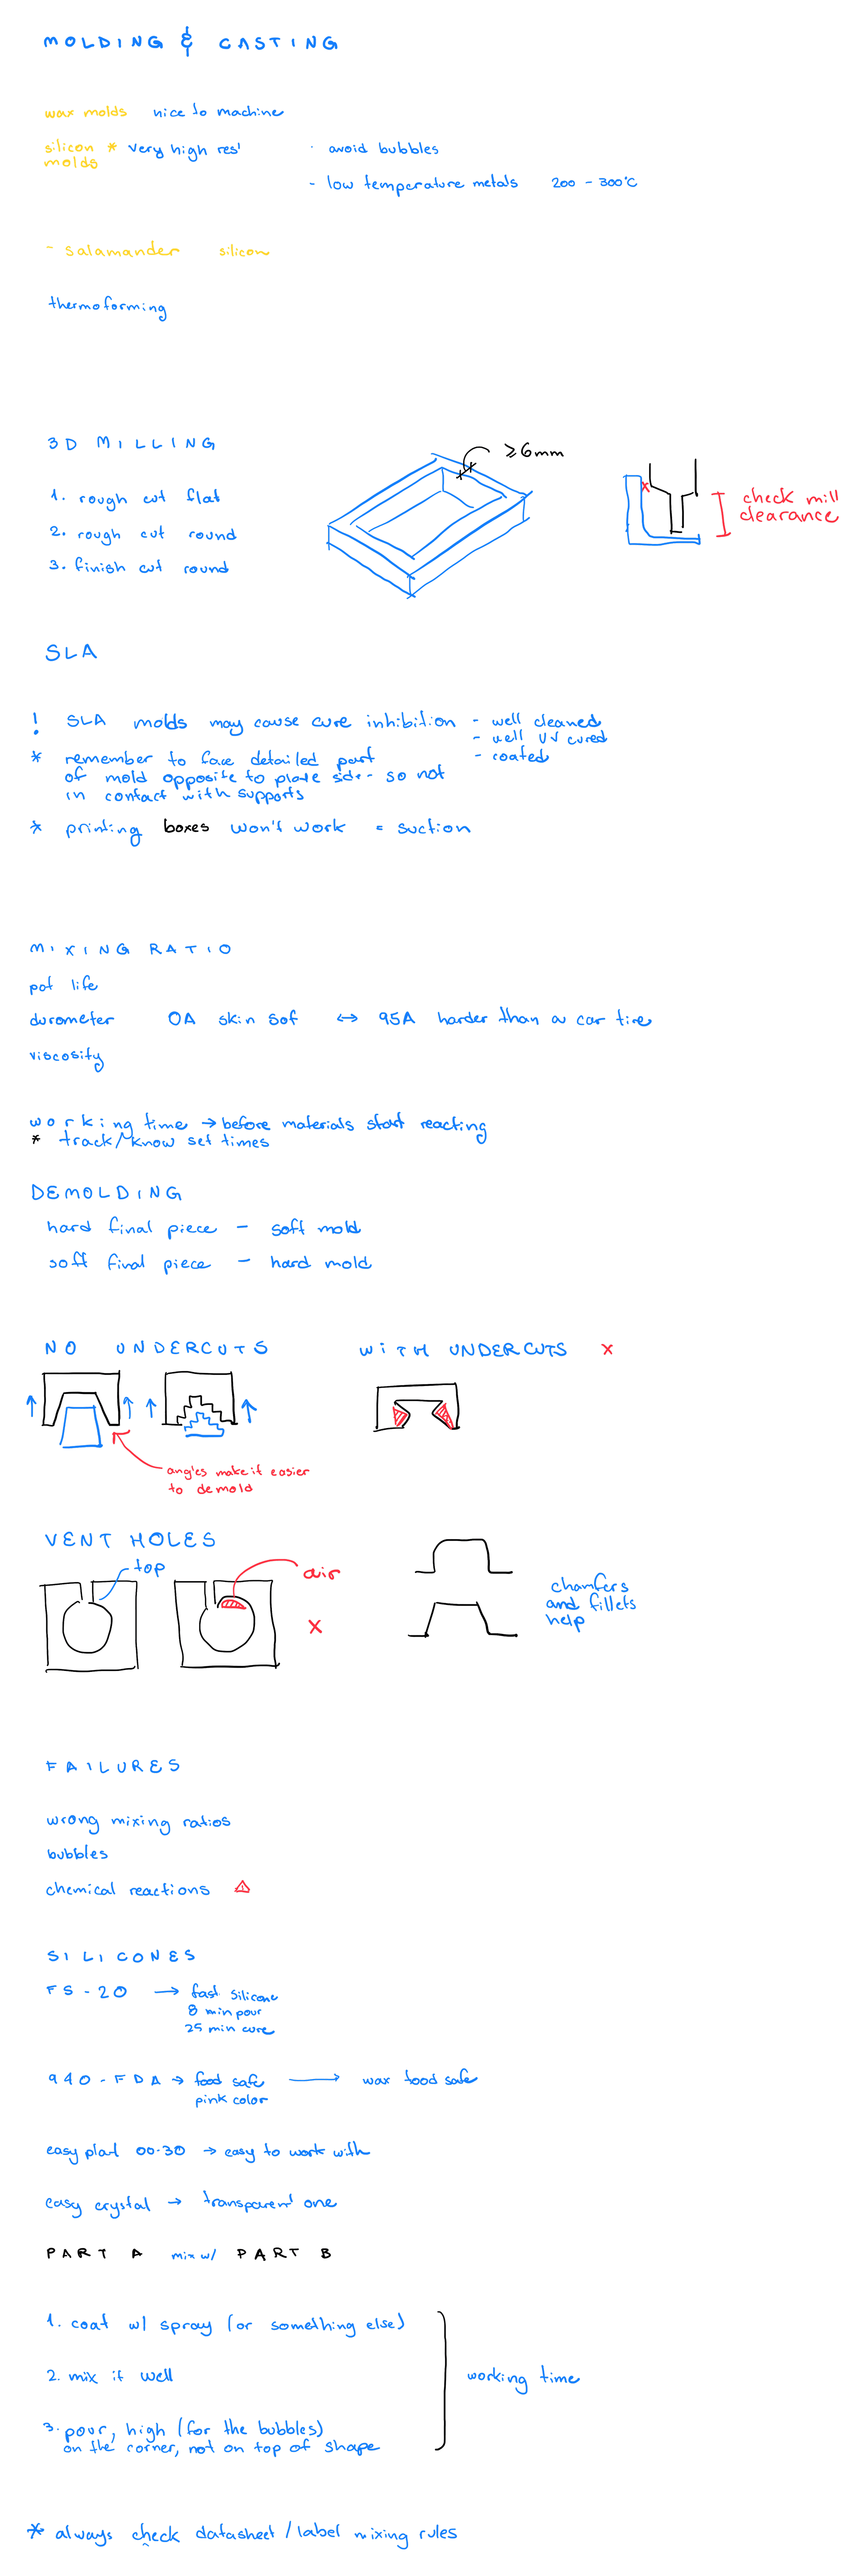
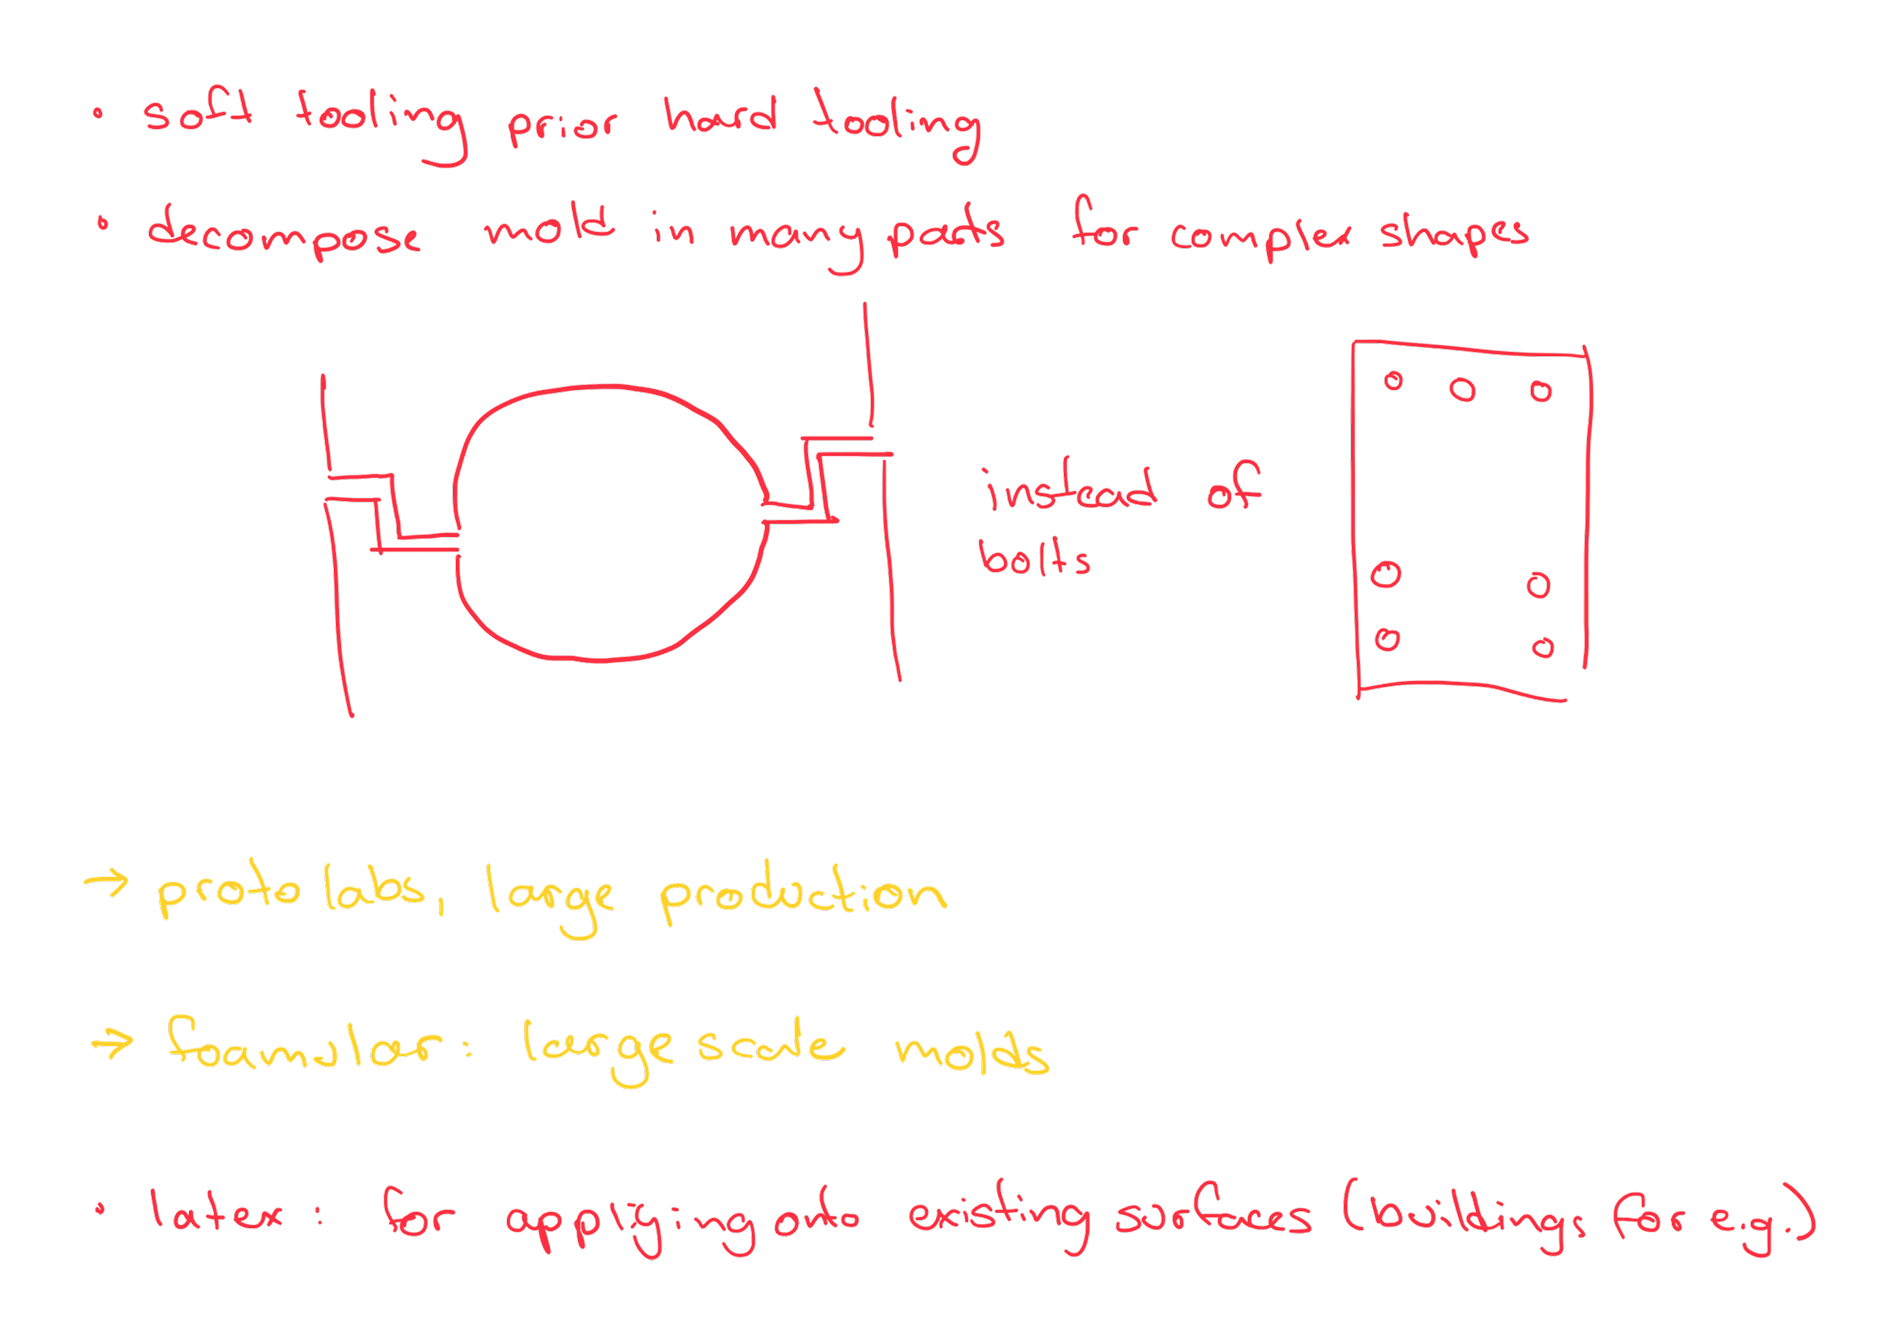
Weekly assignments
TASKS:
Review the safety data sheets for each of your molding and casting materials
Make and compare test casts with each of them
Compare printing vs milling molds
You can find the group assignment in our group page.
Design a mold around the process you'll be using, produce it with a smooth surface finish, and use it to cast parts.
My project for this week was to cast a sphere.
Designing the shape and the mold:
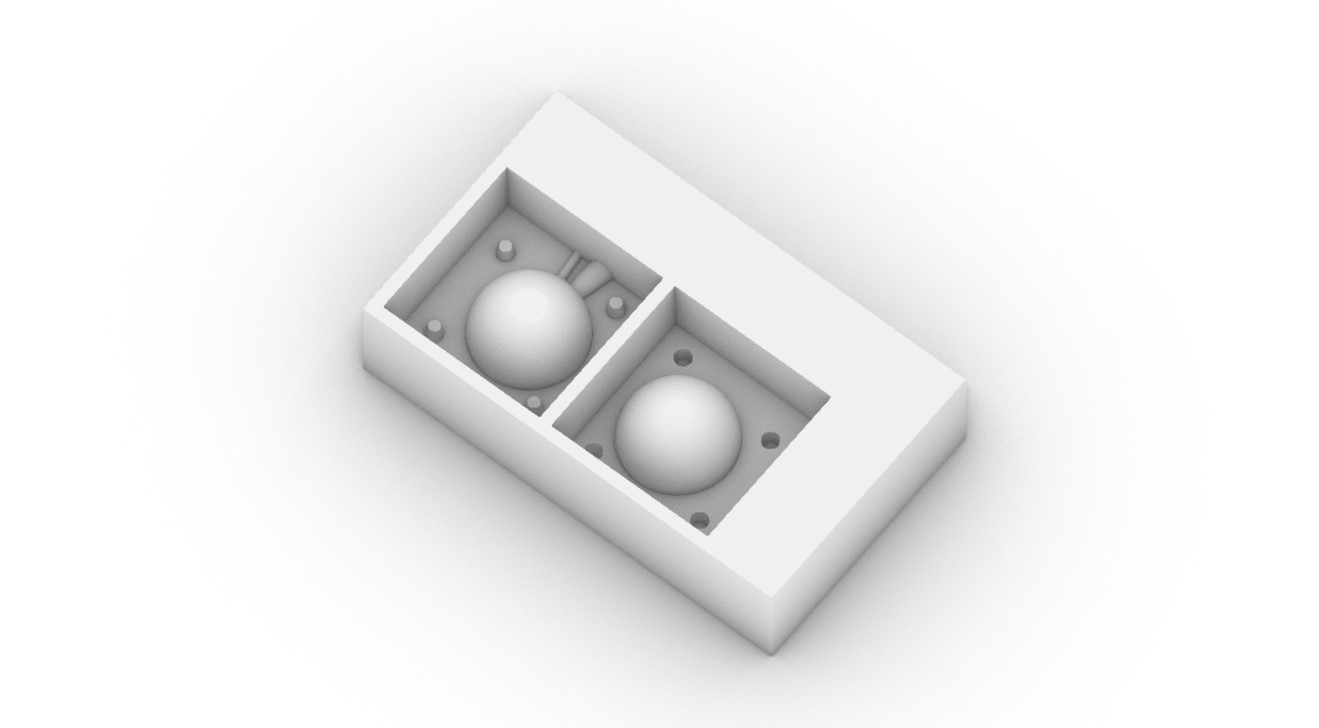
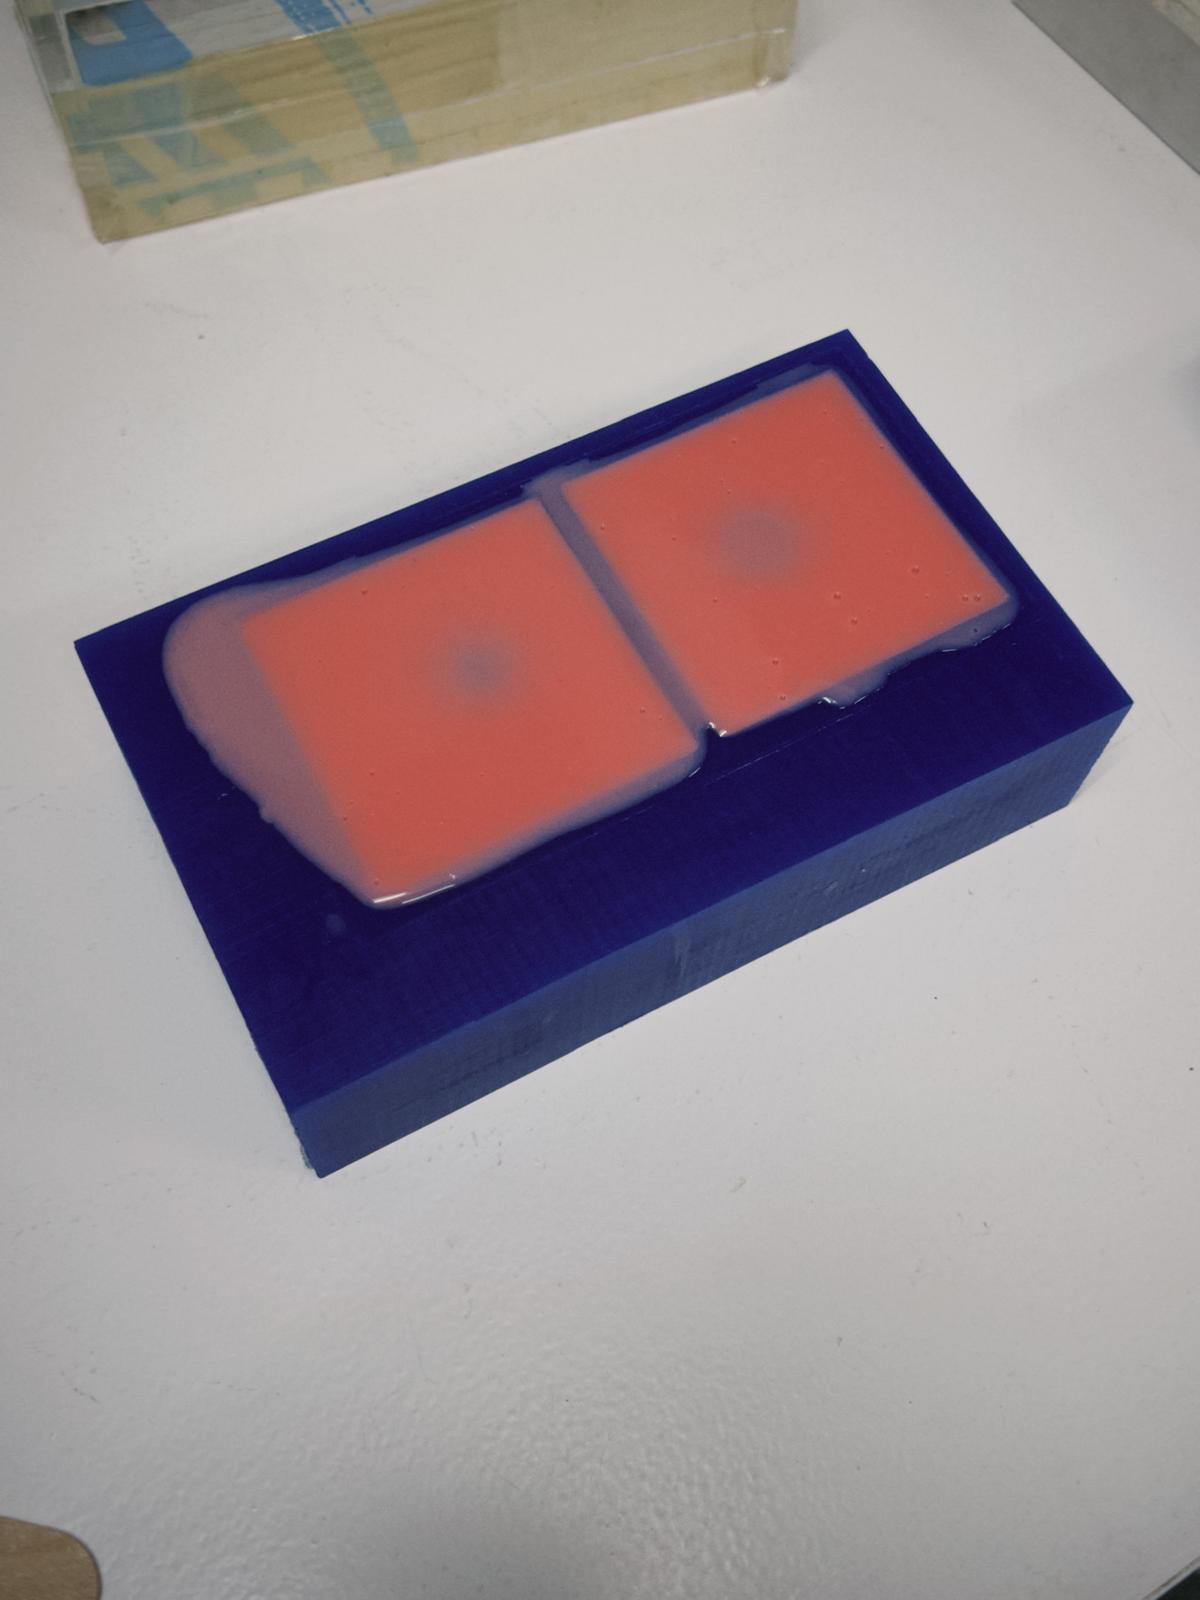
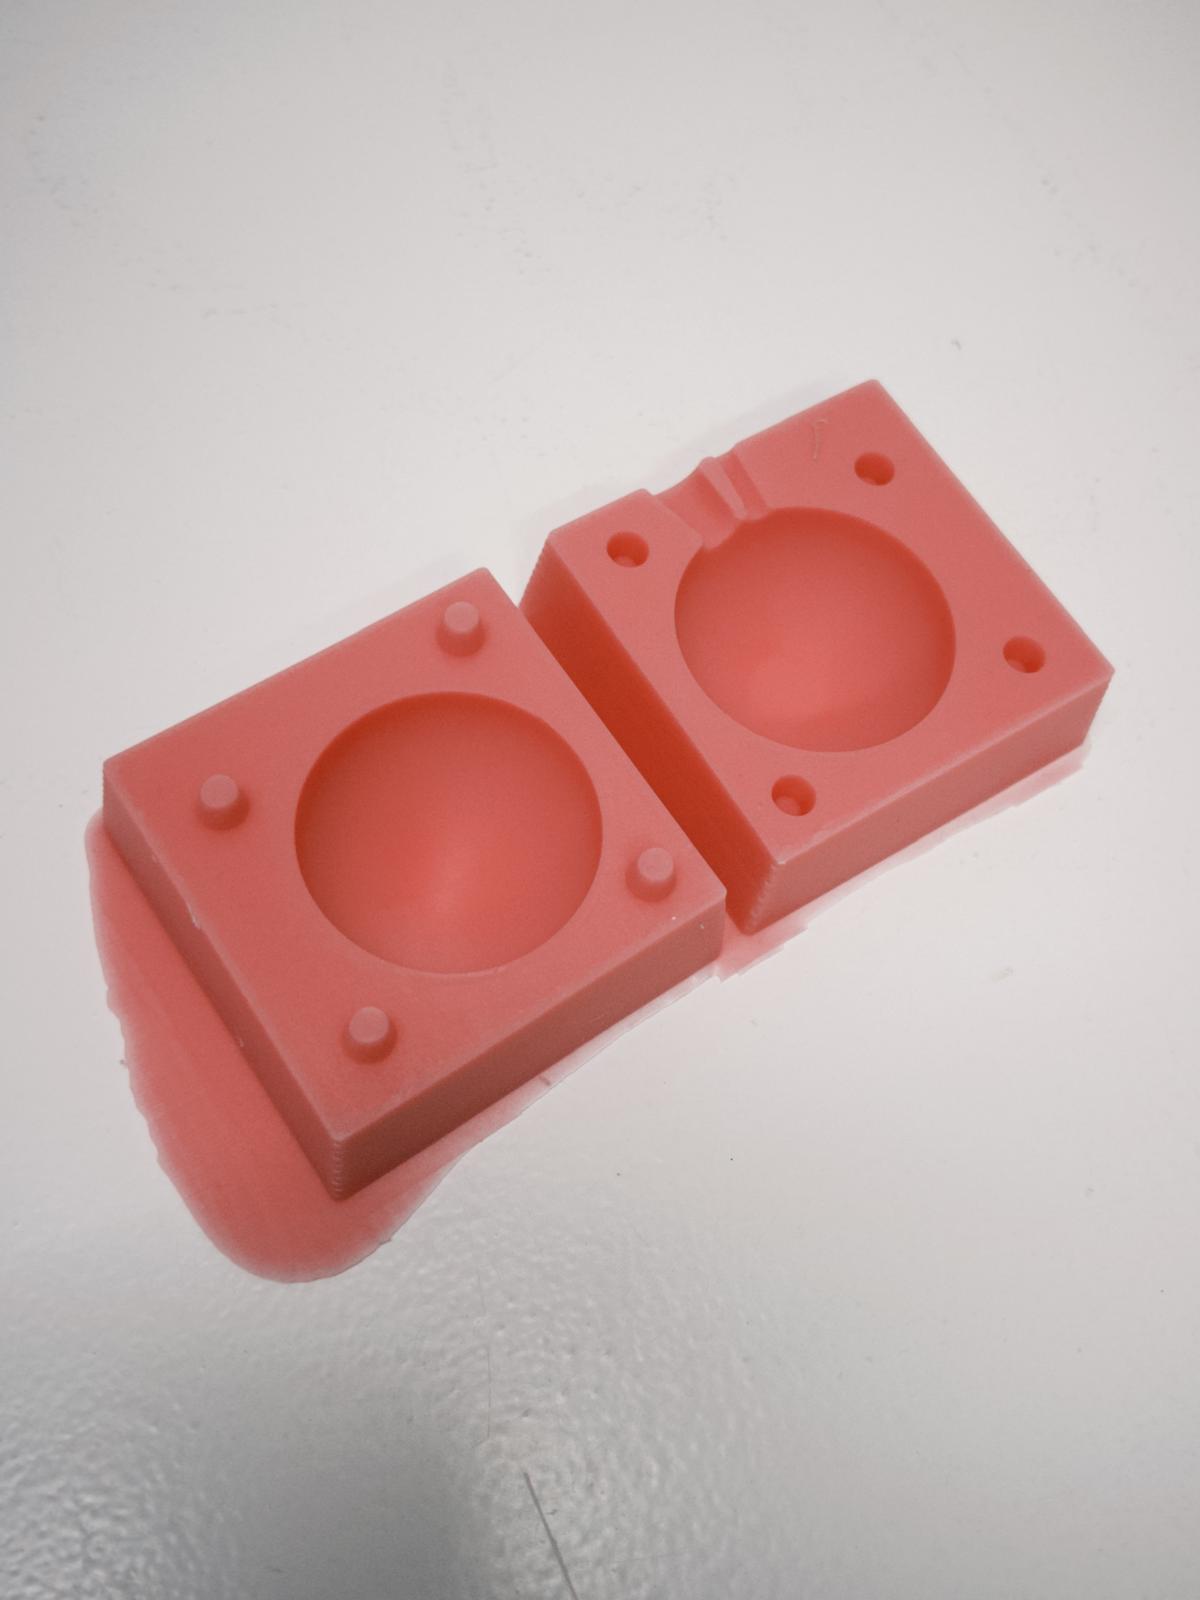
The mold for the mold would be milled in wax. I modelled 2 half-spheres, one of which had a small flat part so that the sphere stand still on a flat surface, 4 bolts, and 2 funnels on one side (one for pouring and the other for air release). Later I realized doing that on both sides would have been better
Setting up the file to mill the wax block:
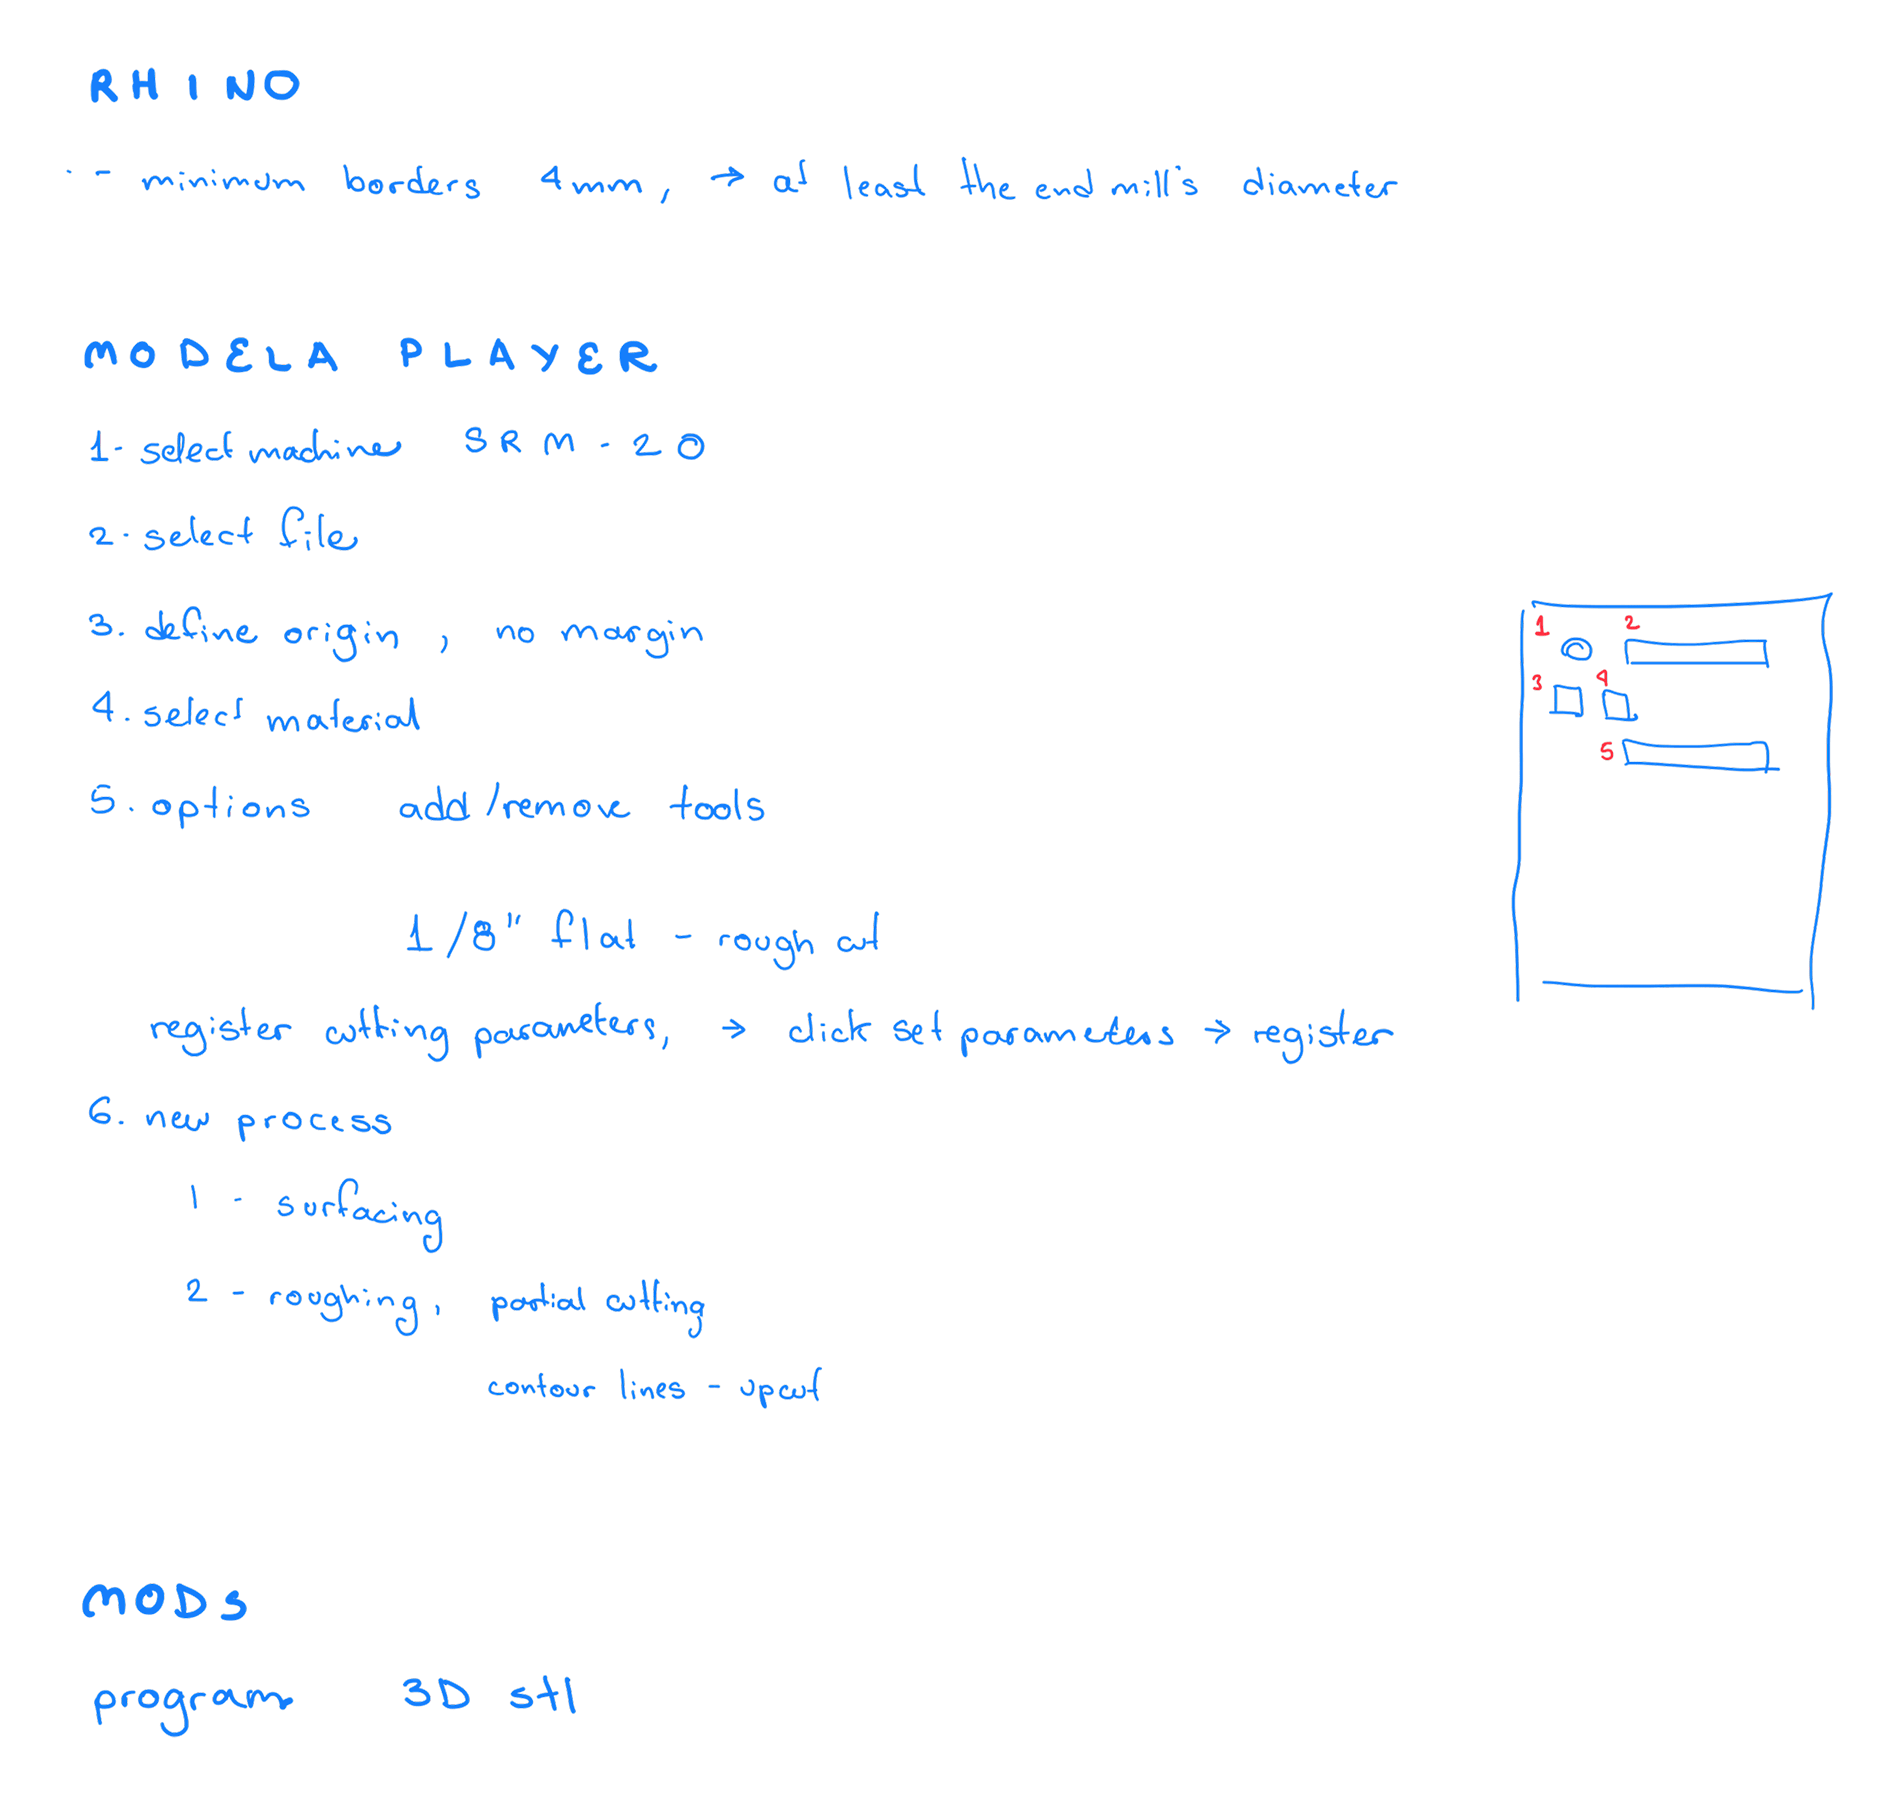
For the Roland SRM-20 machine, we used the Modela Player 4 to process the files. The program is quite straightforward and intuitive. Basically it works from setting up the tools on the top right corner, going from top left and following the sequence to the right and to the bottom icons. So selecting modelling wax as materials.
Before adding a new process, we need to add the milling tools for the jobs we'll use. In my case, I added a 1/8" flat tool for the roughening process, and a 1/16" for the finishing. I did finishing in both X and Y axis. So basically I had to create 3 separate processes, and export them to the machine.
Cutting the wax:
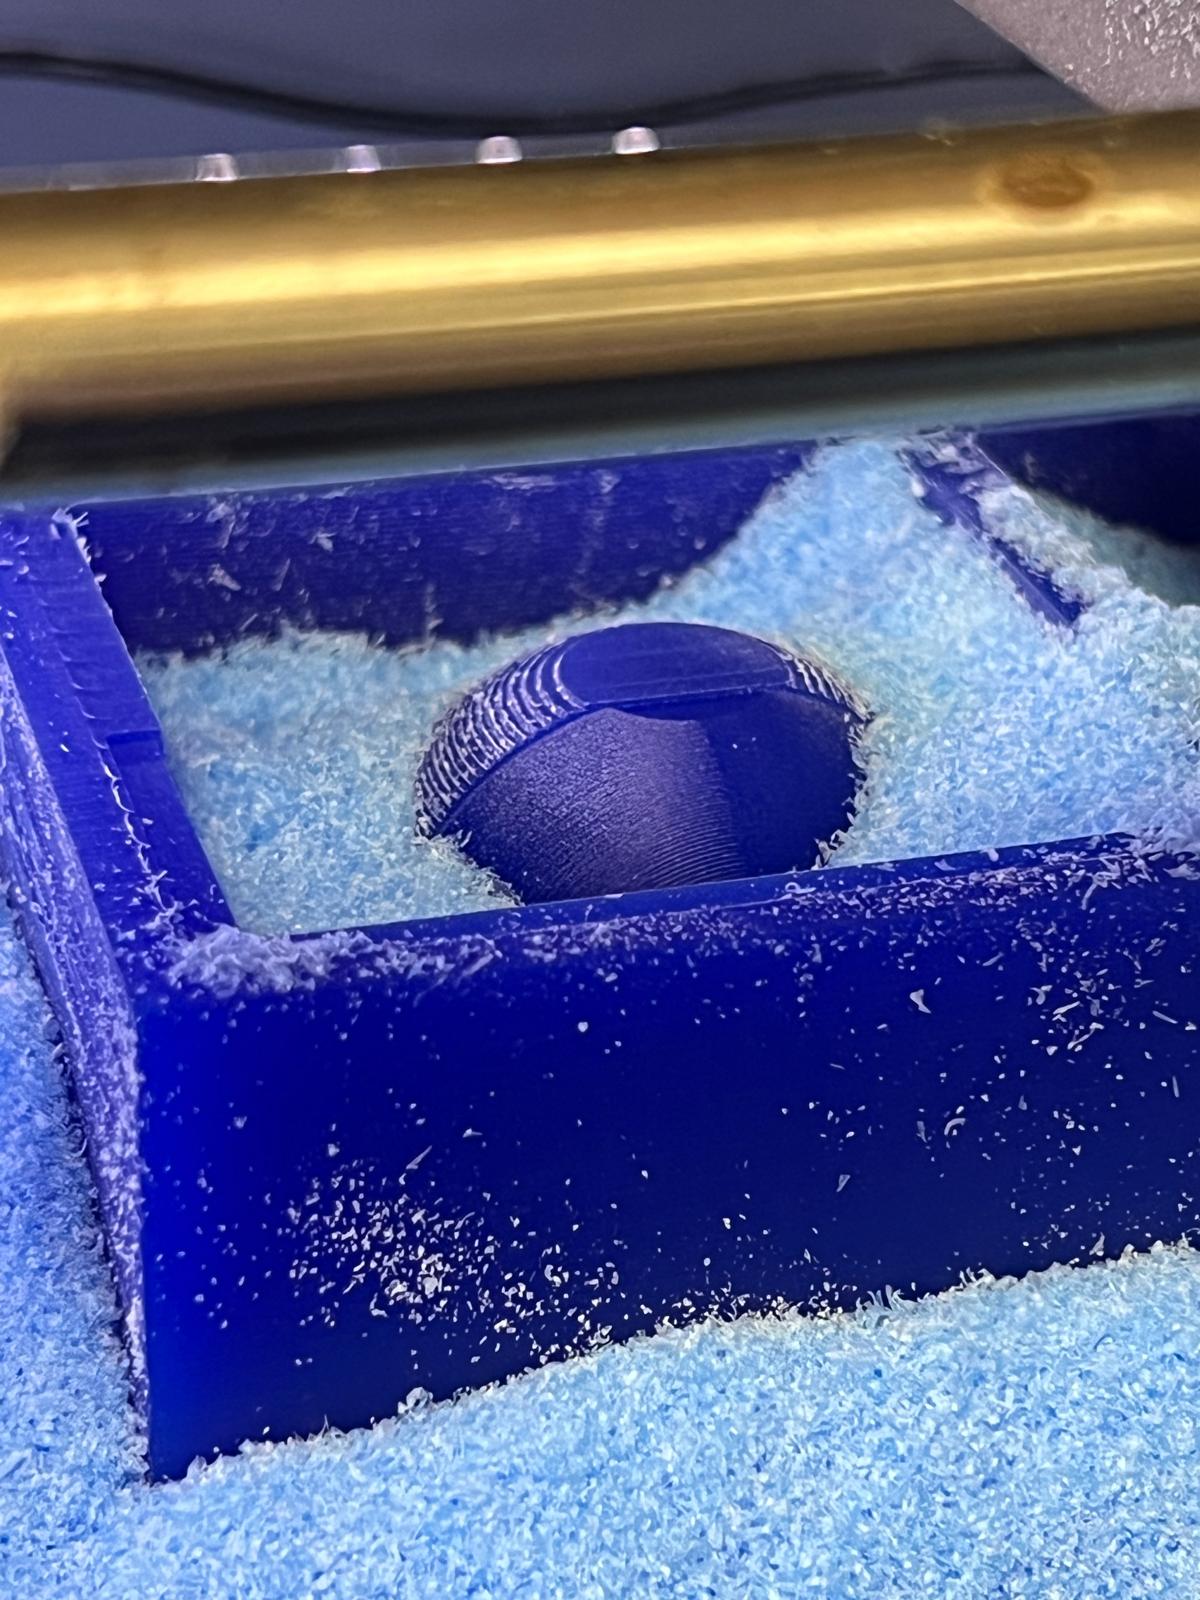
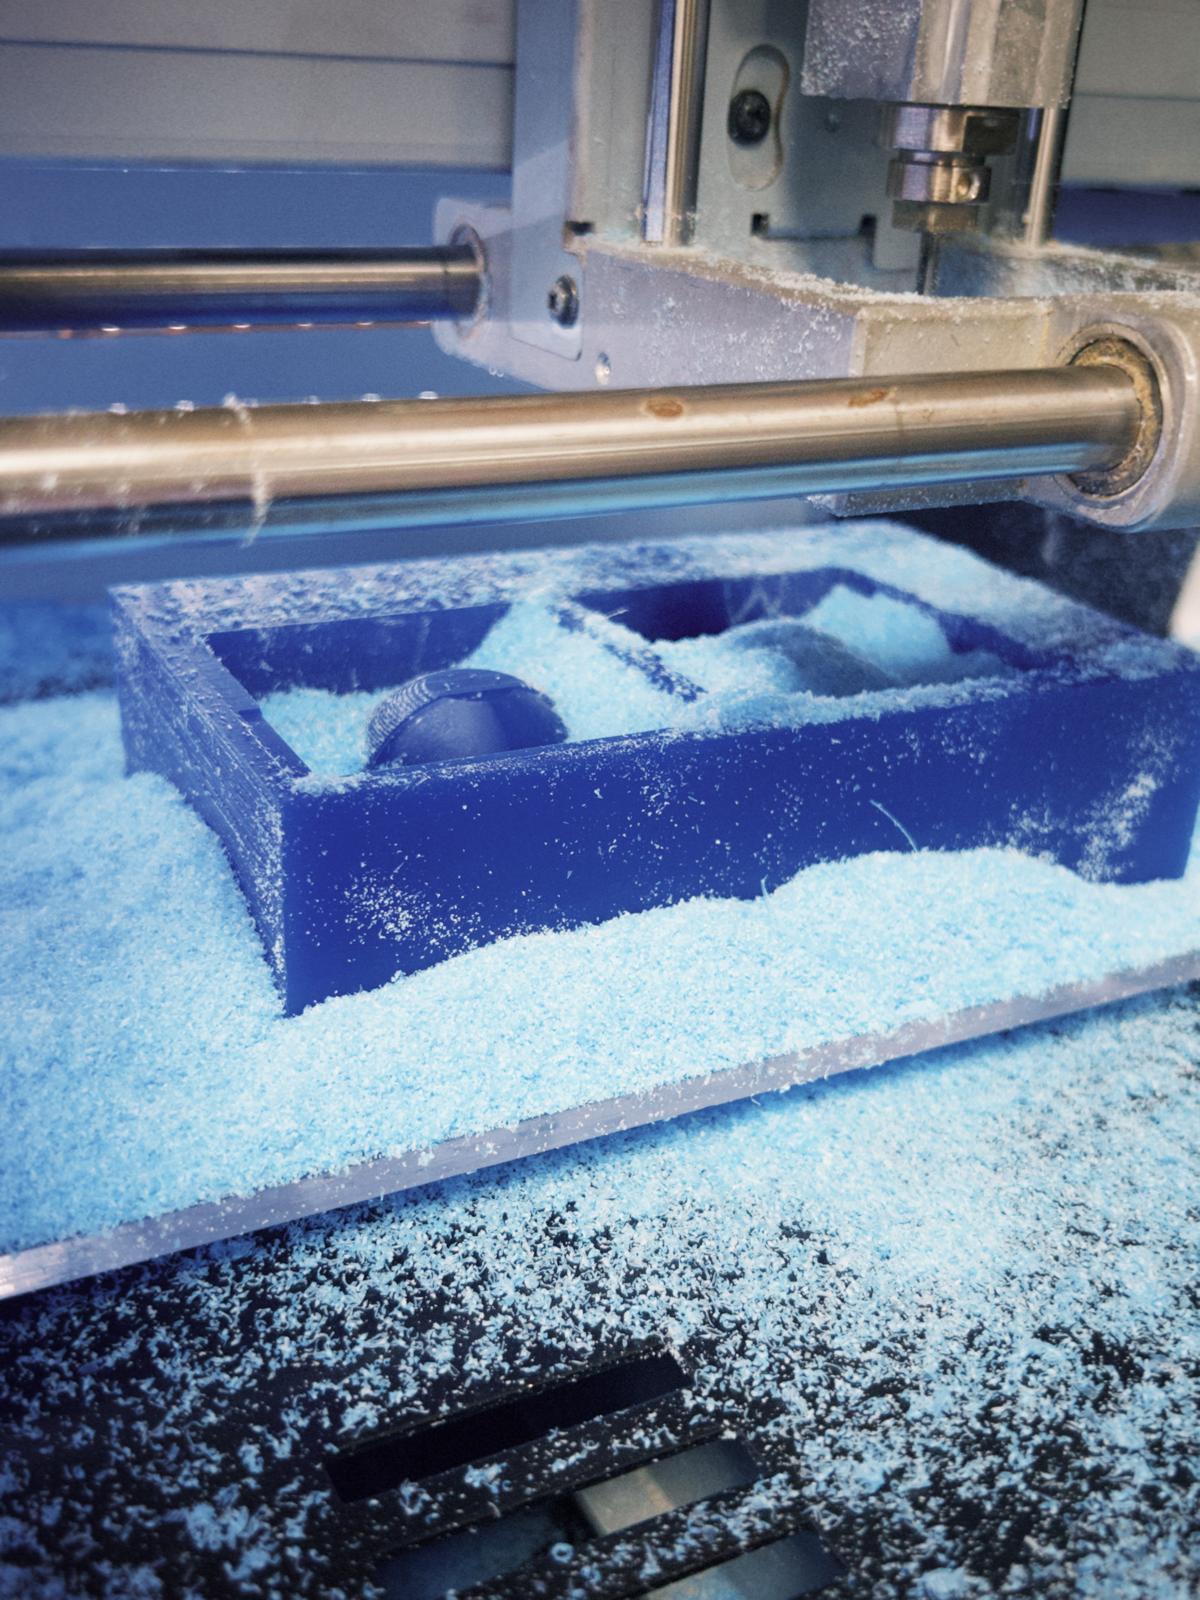
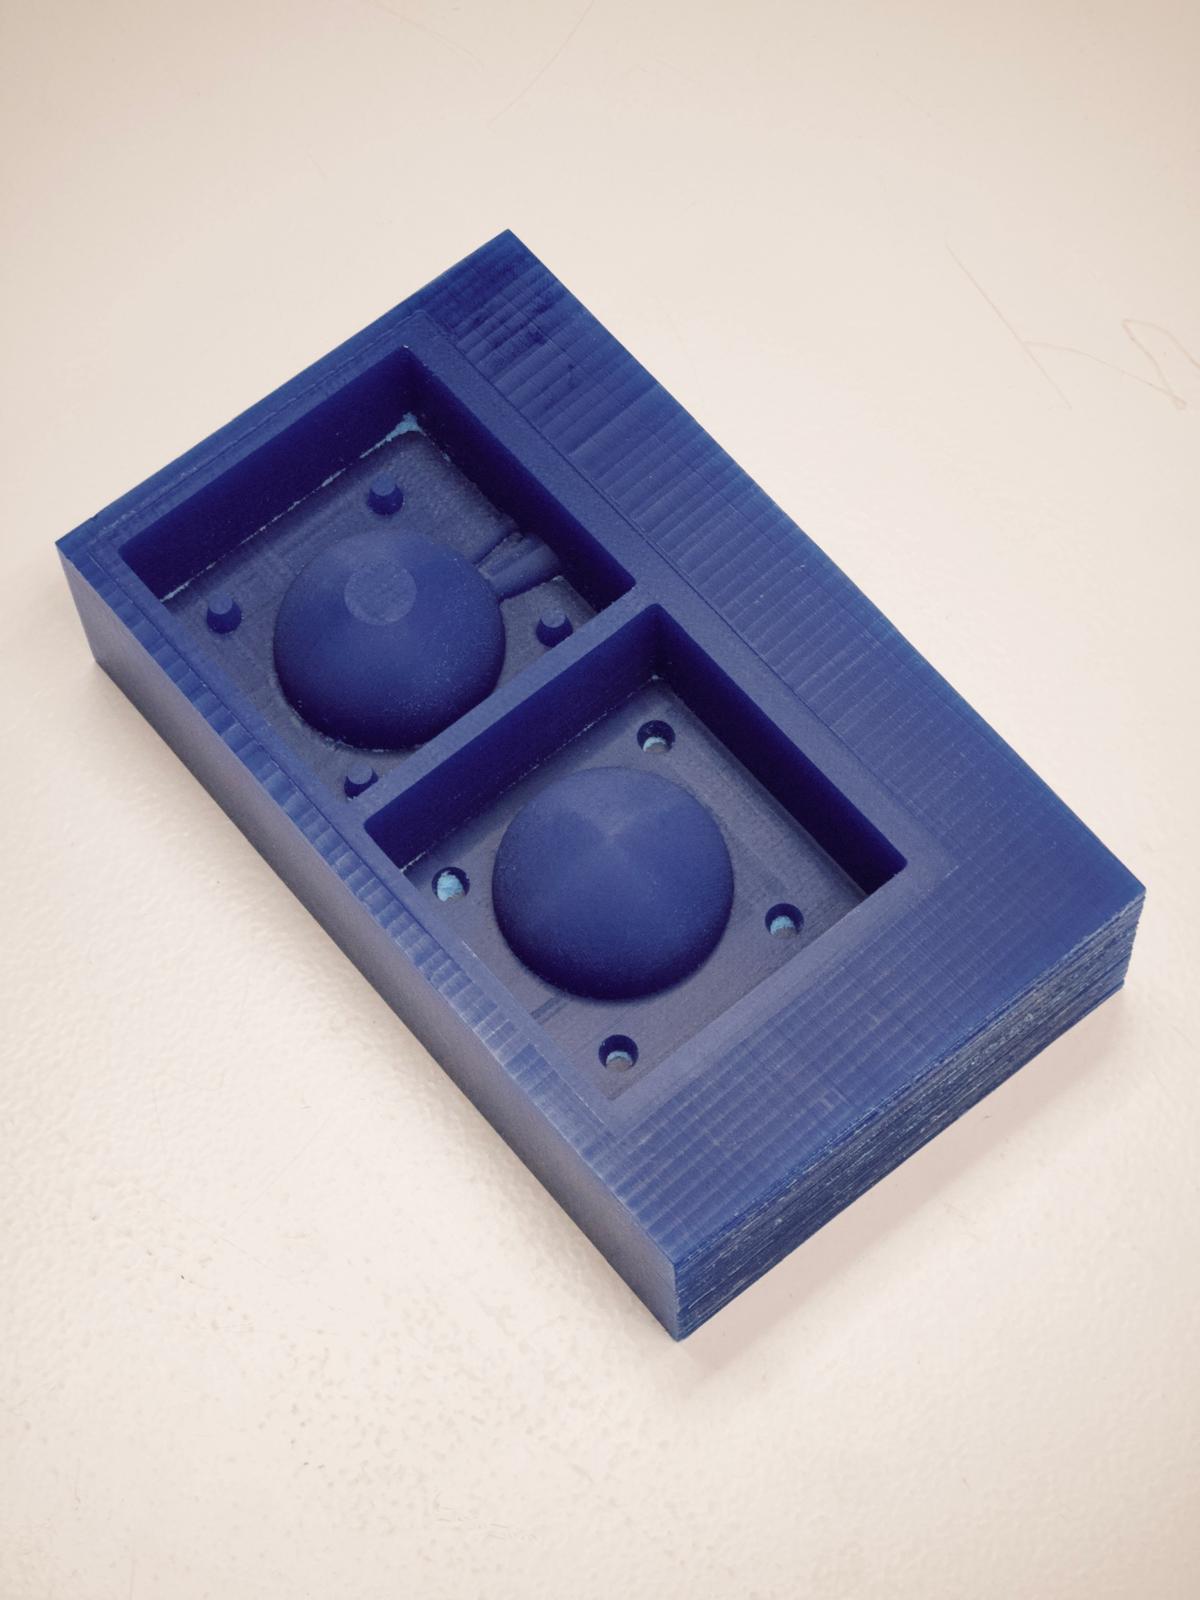
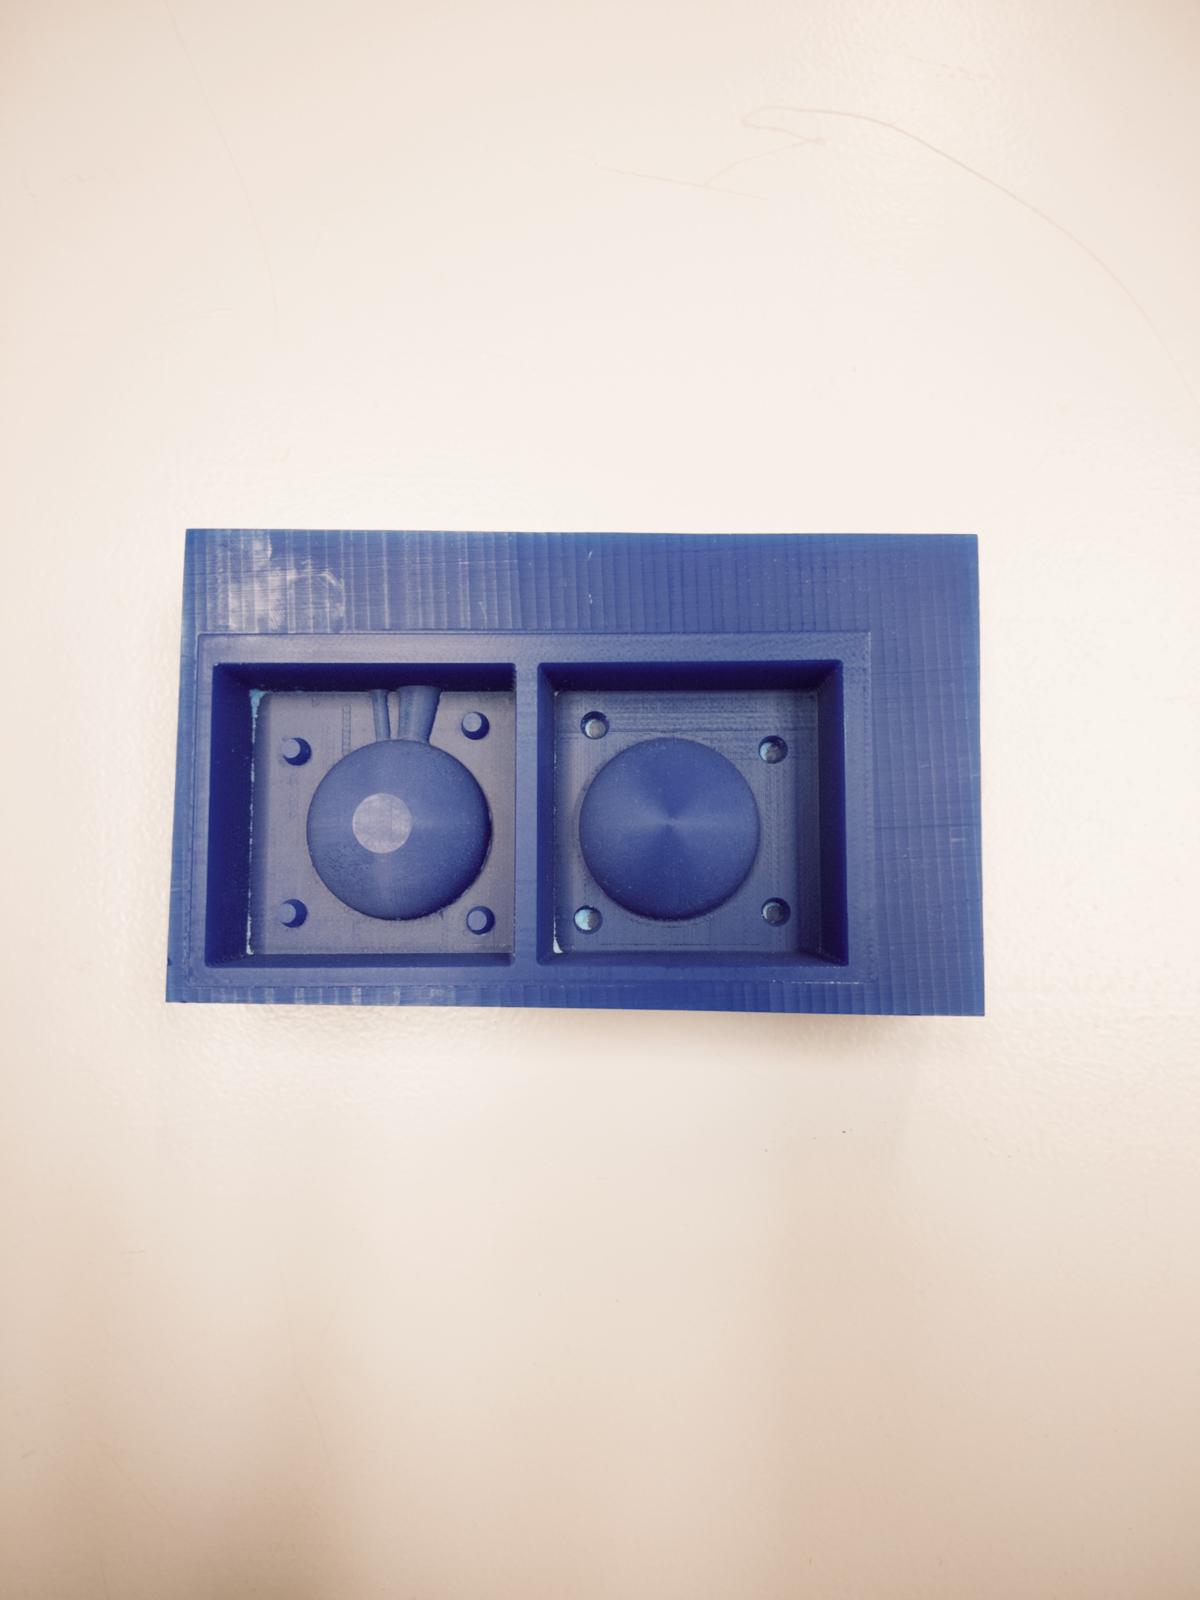
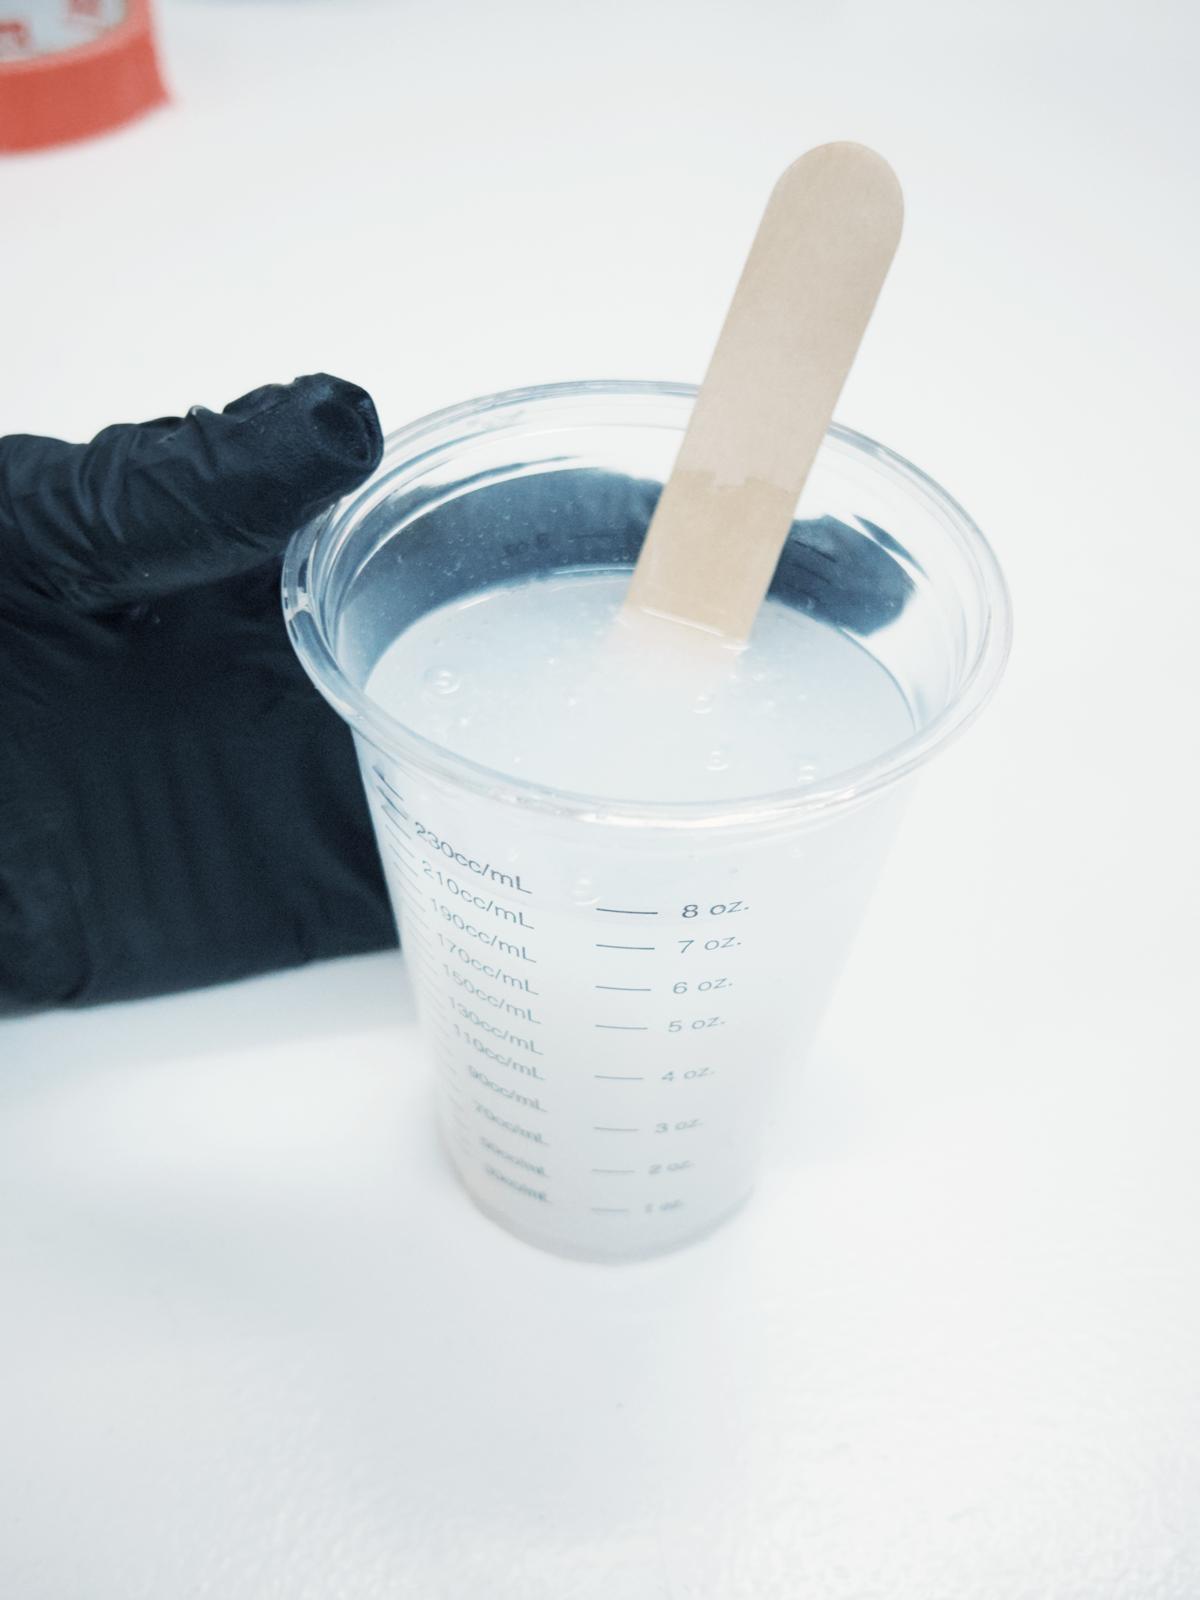
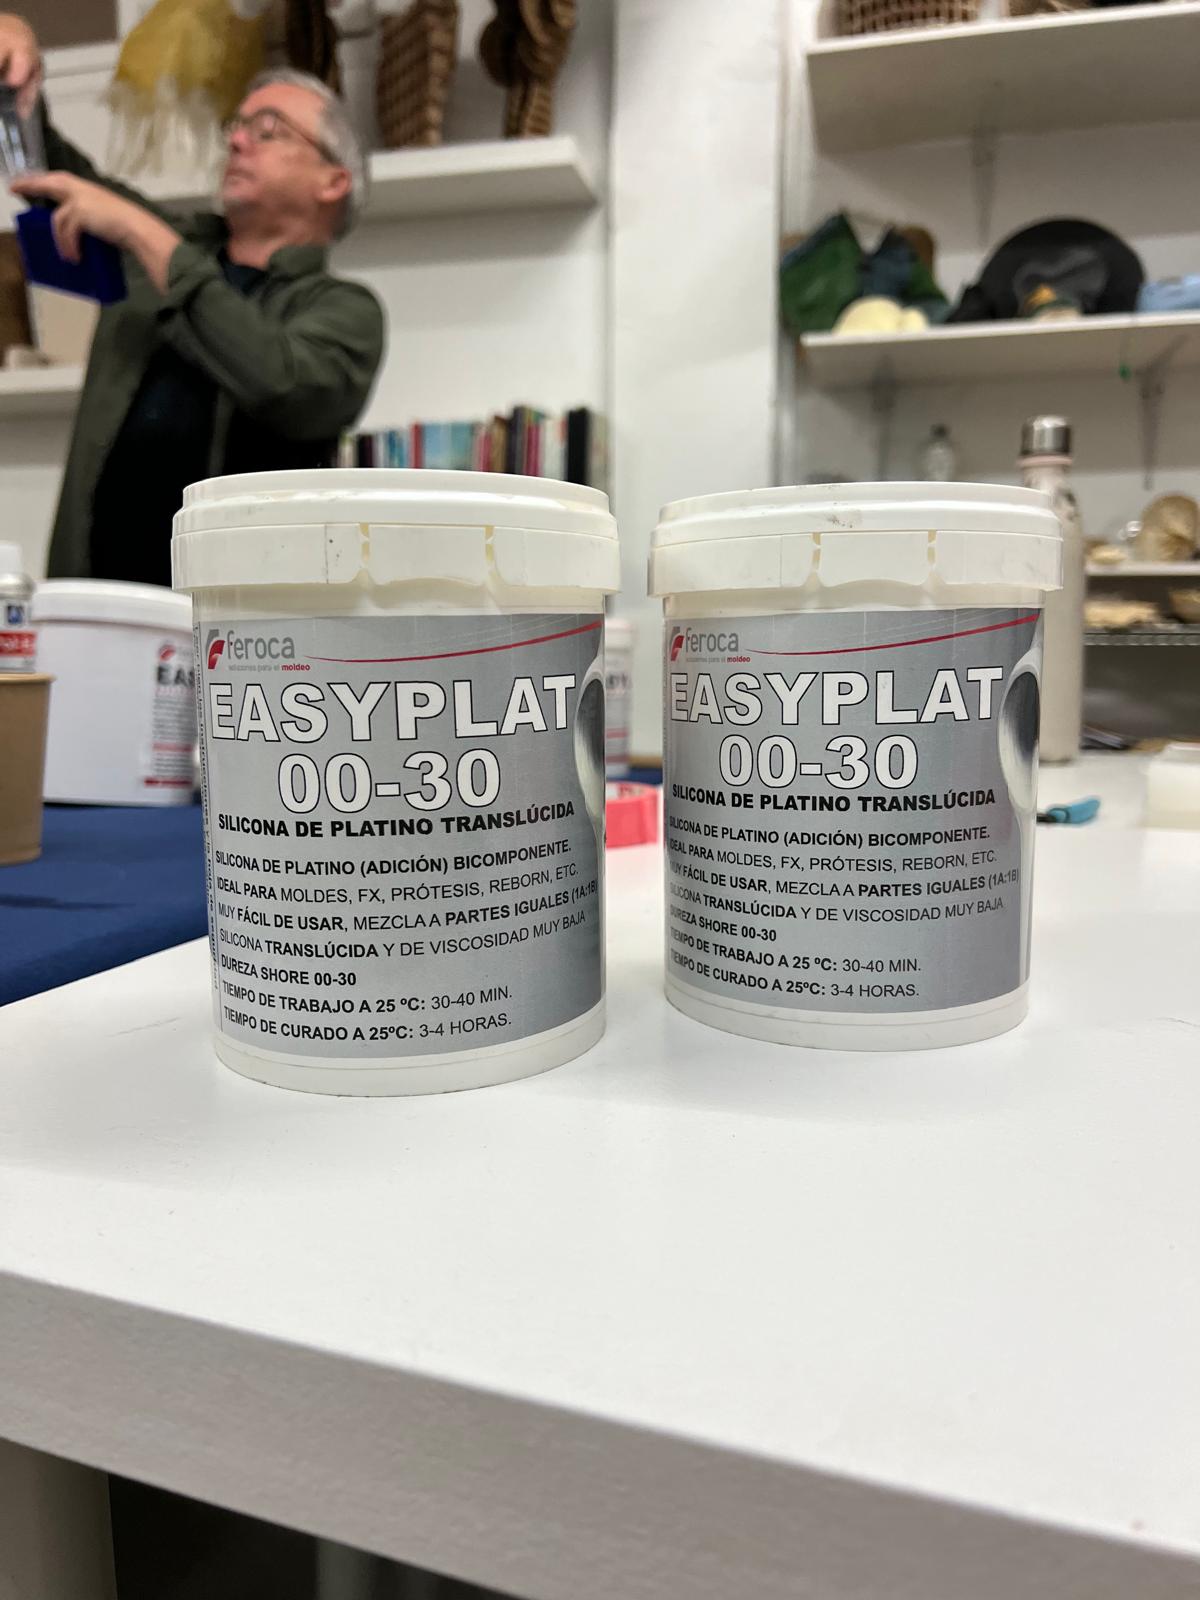
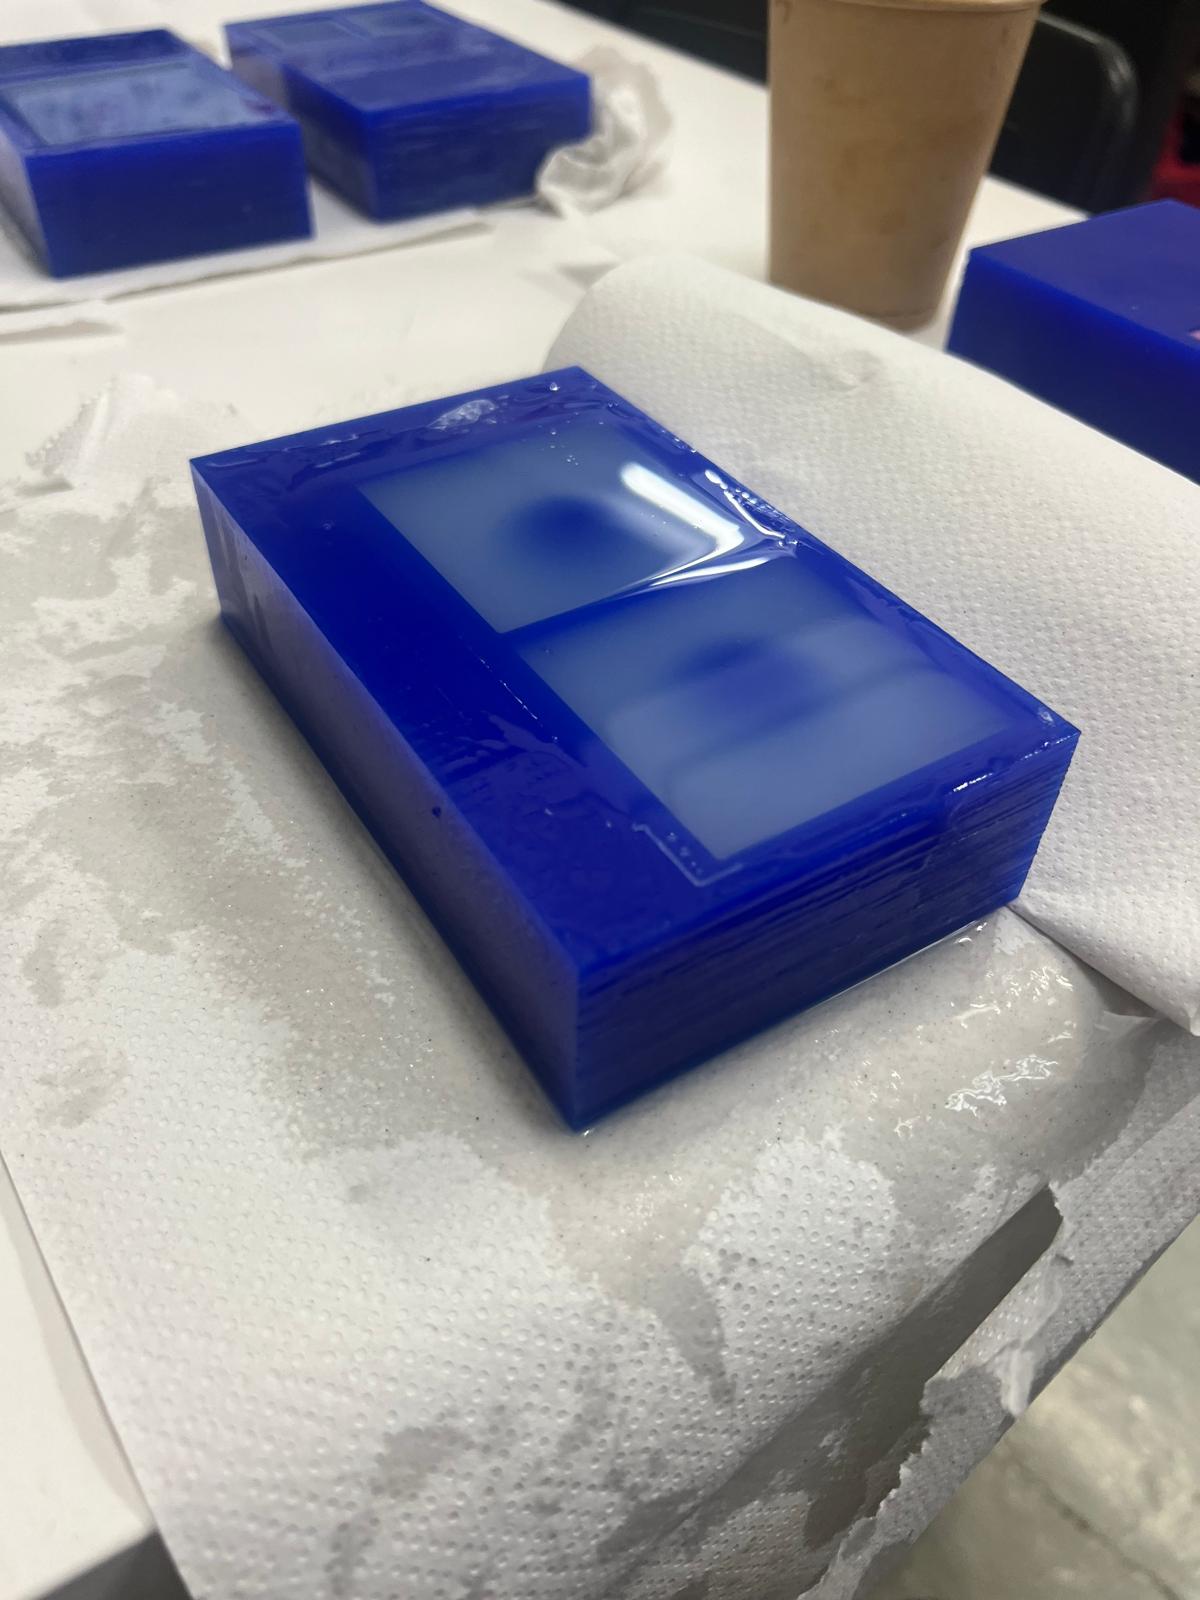
Milling the wax was quite satisfying. The final result isn't a fully smooth surface, the paths are visible - but very high res. For the first mold I used easyplat 00-30 silicone, which is a very maleable one. Mixed equal parts A and B, then poured into the wax. We used a vacuum machine to remove the bubbles.
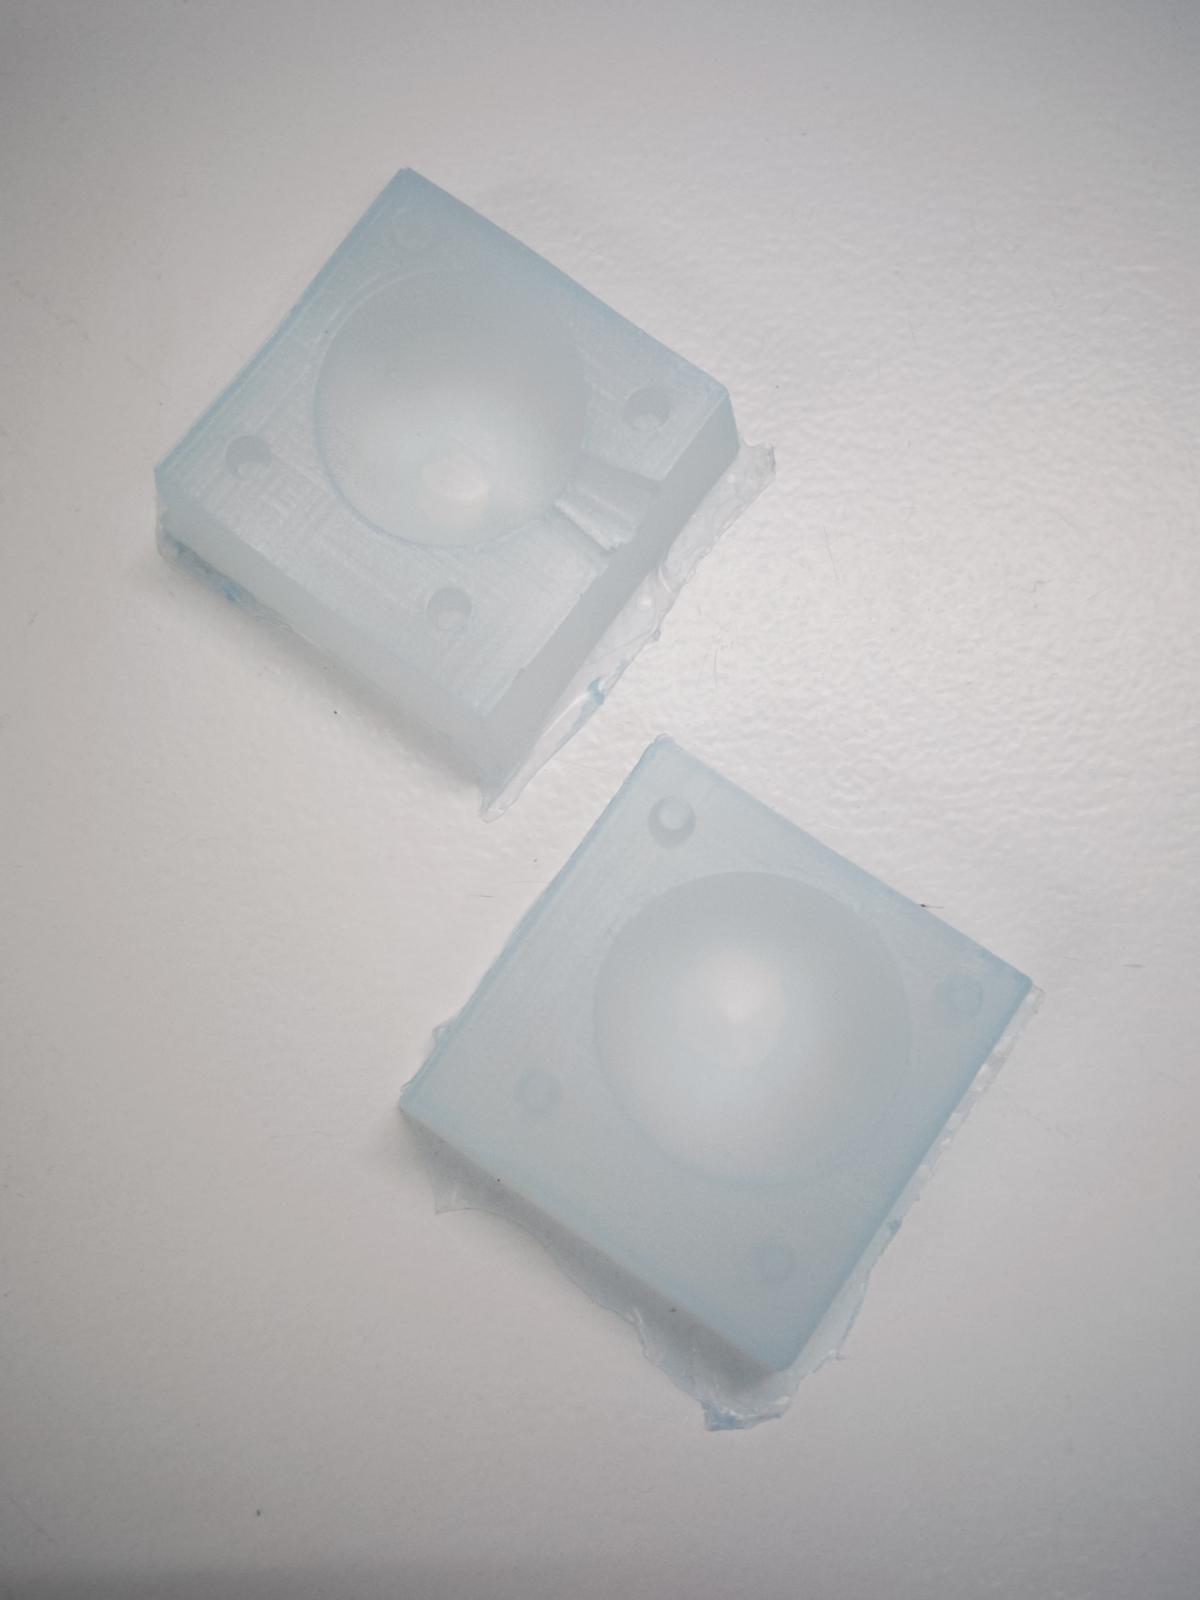
For the first round of casting, I used epoxy. There were some visible problems with it - the joints are pretty visible (probably due to the mold being a very soft silicone) and the top surface of the fluid was below the limit of my shape, which is showing as this separate surface. Apart from that, the machined surfaces are pretty visible in the final piece, but it does create a cool effect.
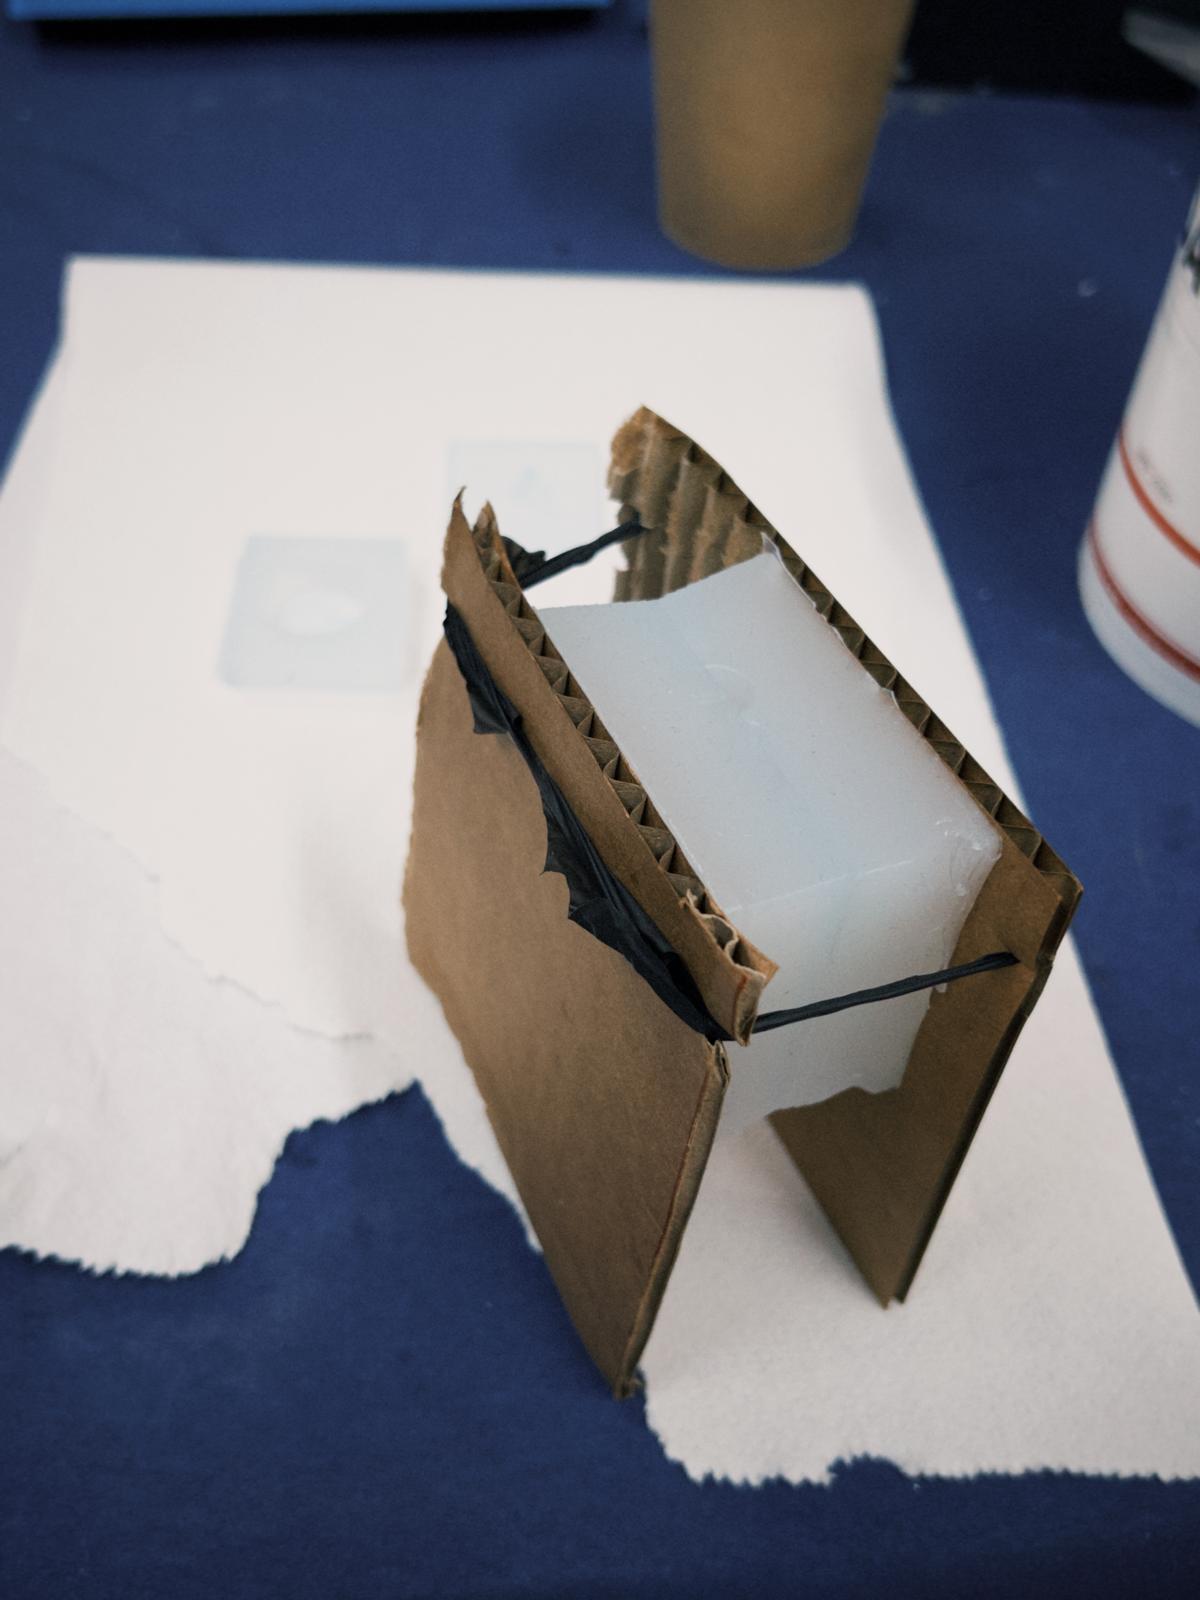
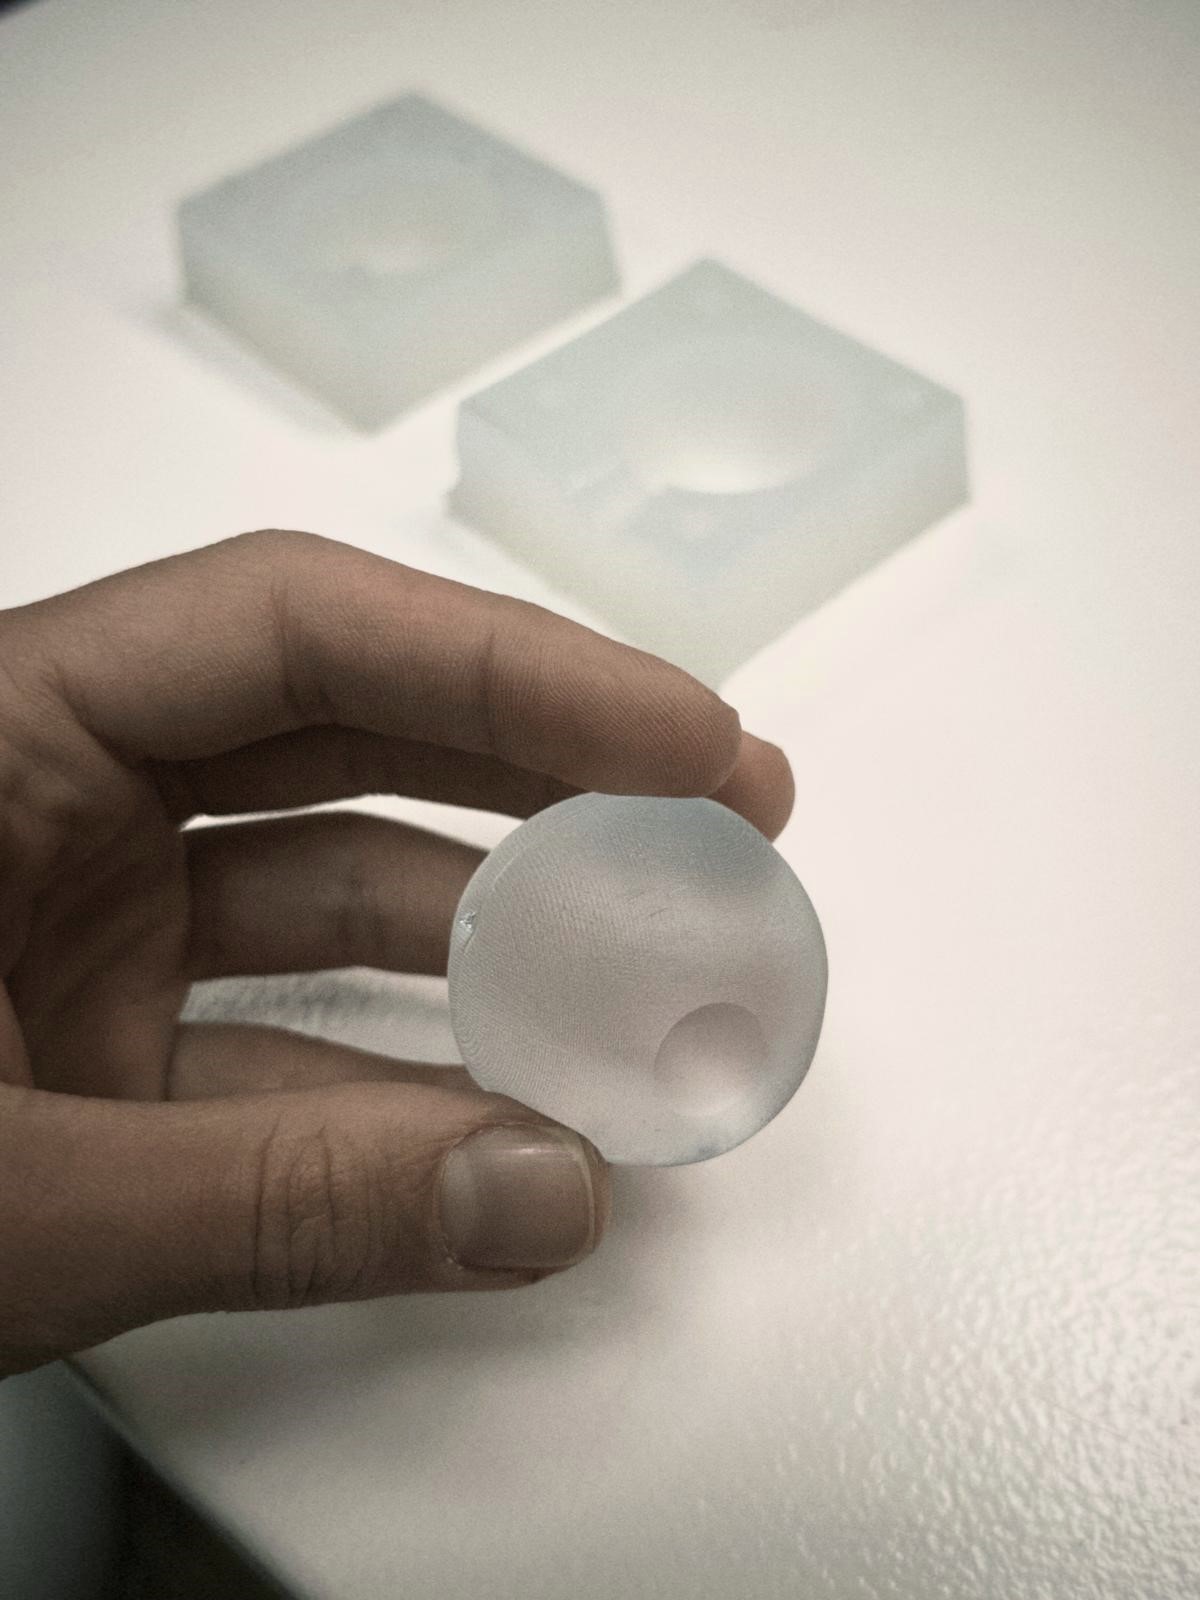
We then made some more molds, this time with the food safe silicone. Below is Max, Tony and I mixing our shared mix of silicone.
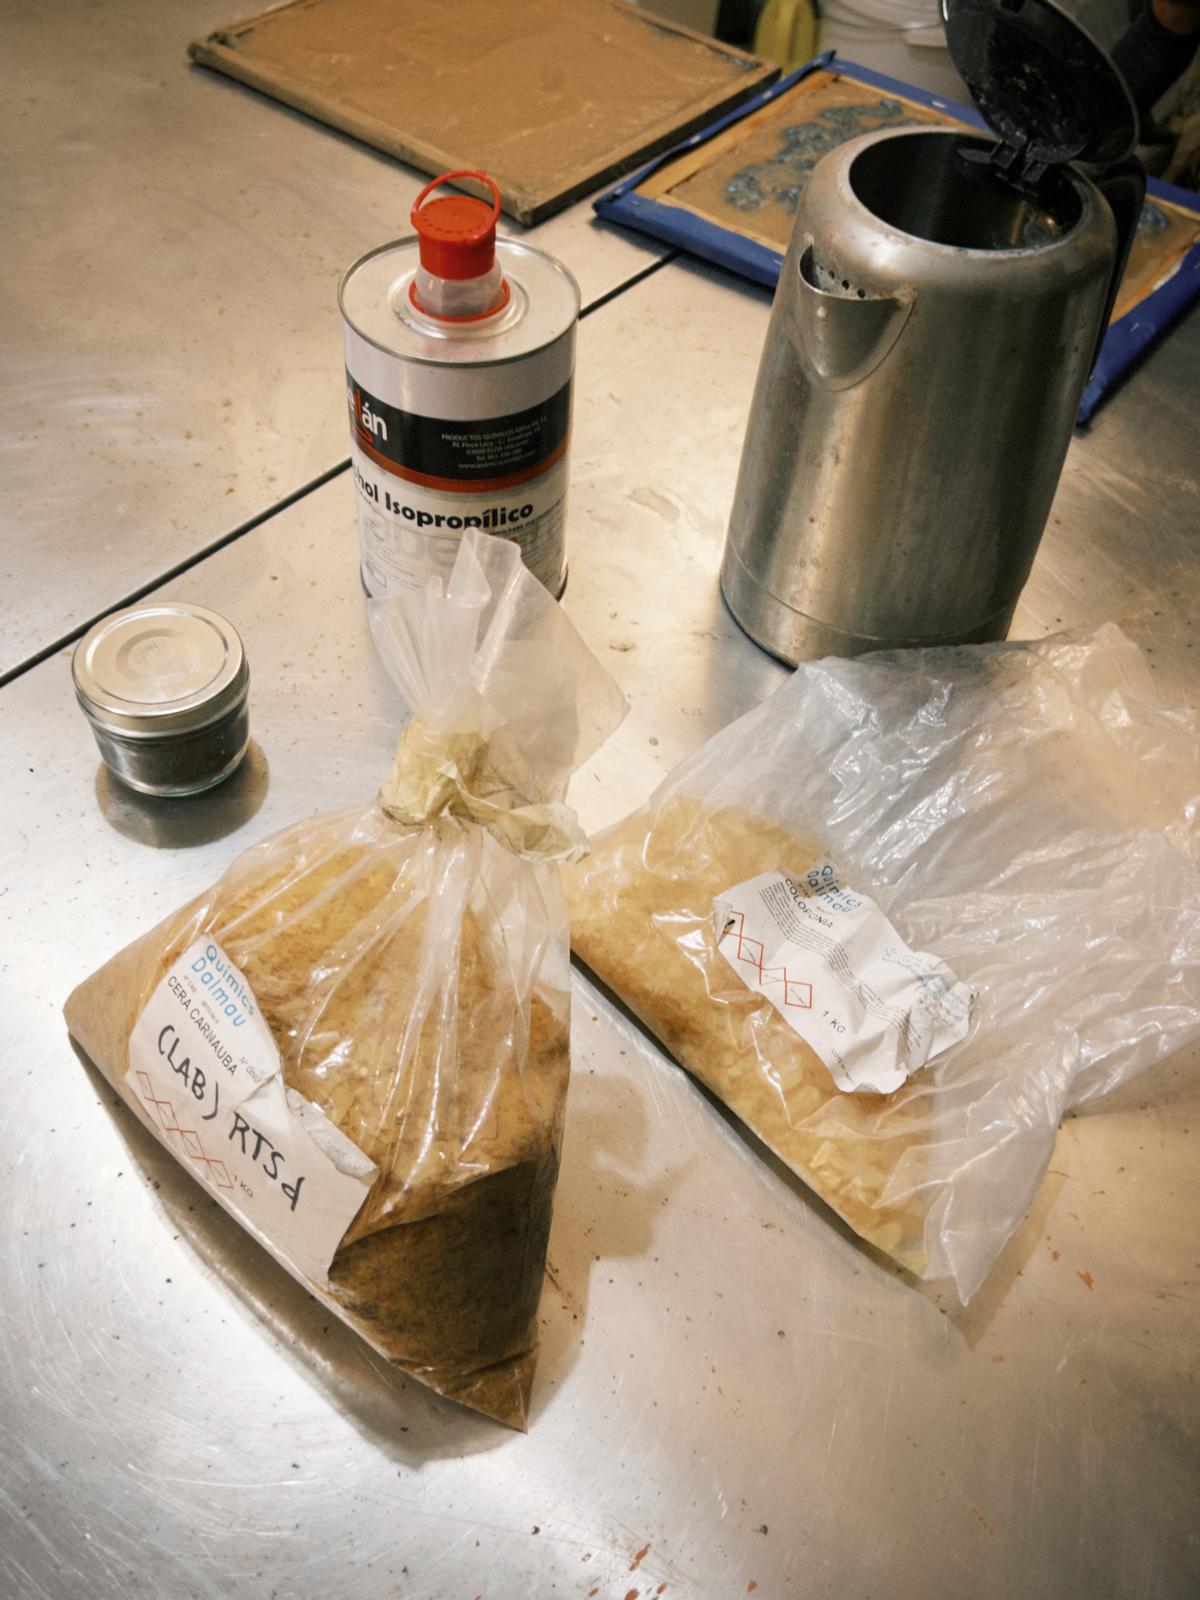
For this one, Max and I made some a bioresin mix our of pine resin. The proportions are:
+ Pine resin 45g
+ Carnauba wax 5g
+ Alcohol 20ml
+ Filler 50g (we used coffee)
Mix it on a pan, on this order, slowly added components as they are mixed. Resin gets really sticky and quite impossible to entirely clean, so it's important to use pans and accessories dedicated to this task (or ones you don't mind ruining!).
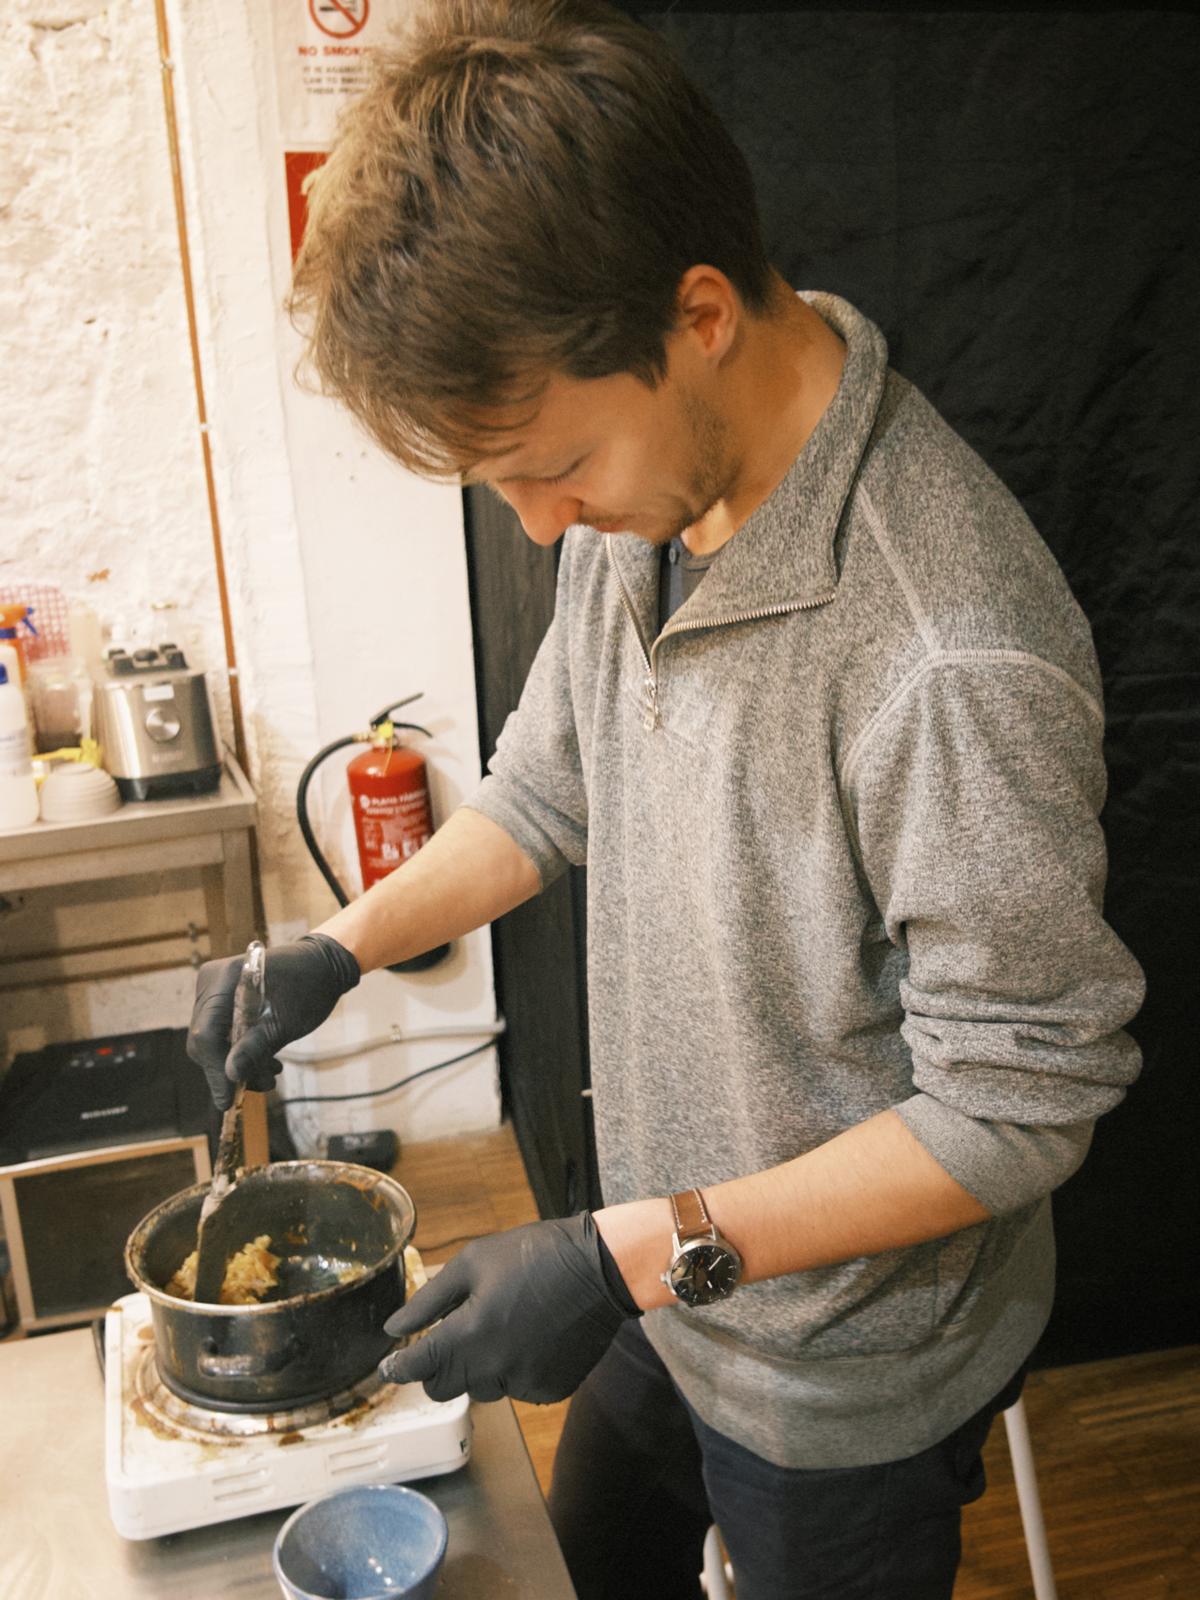
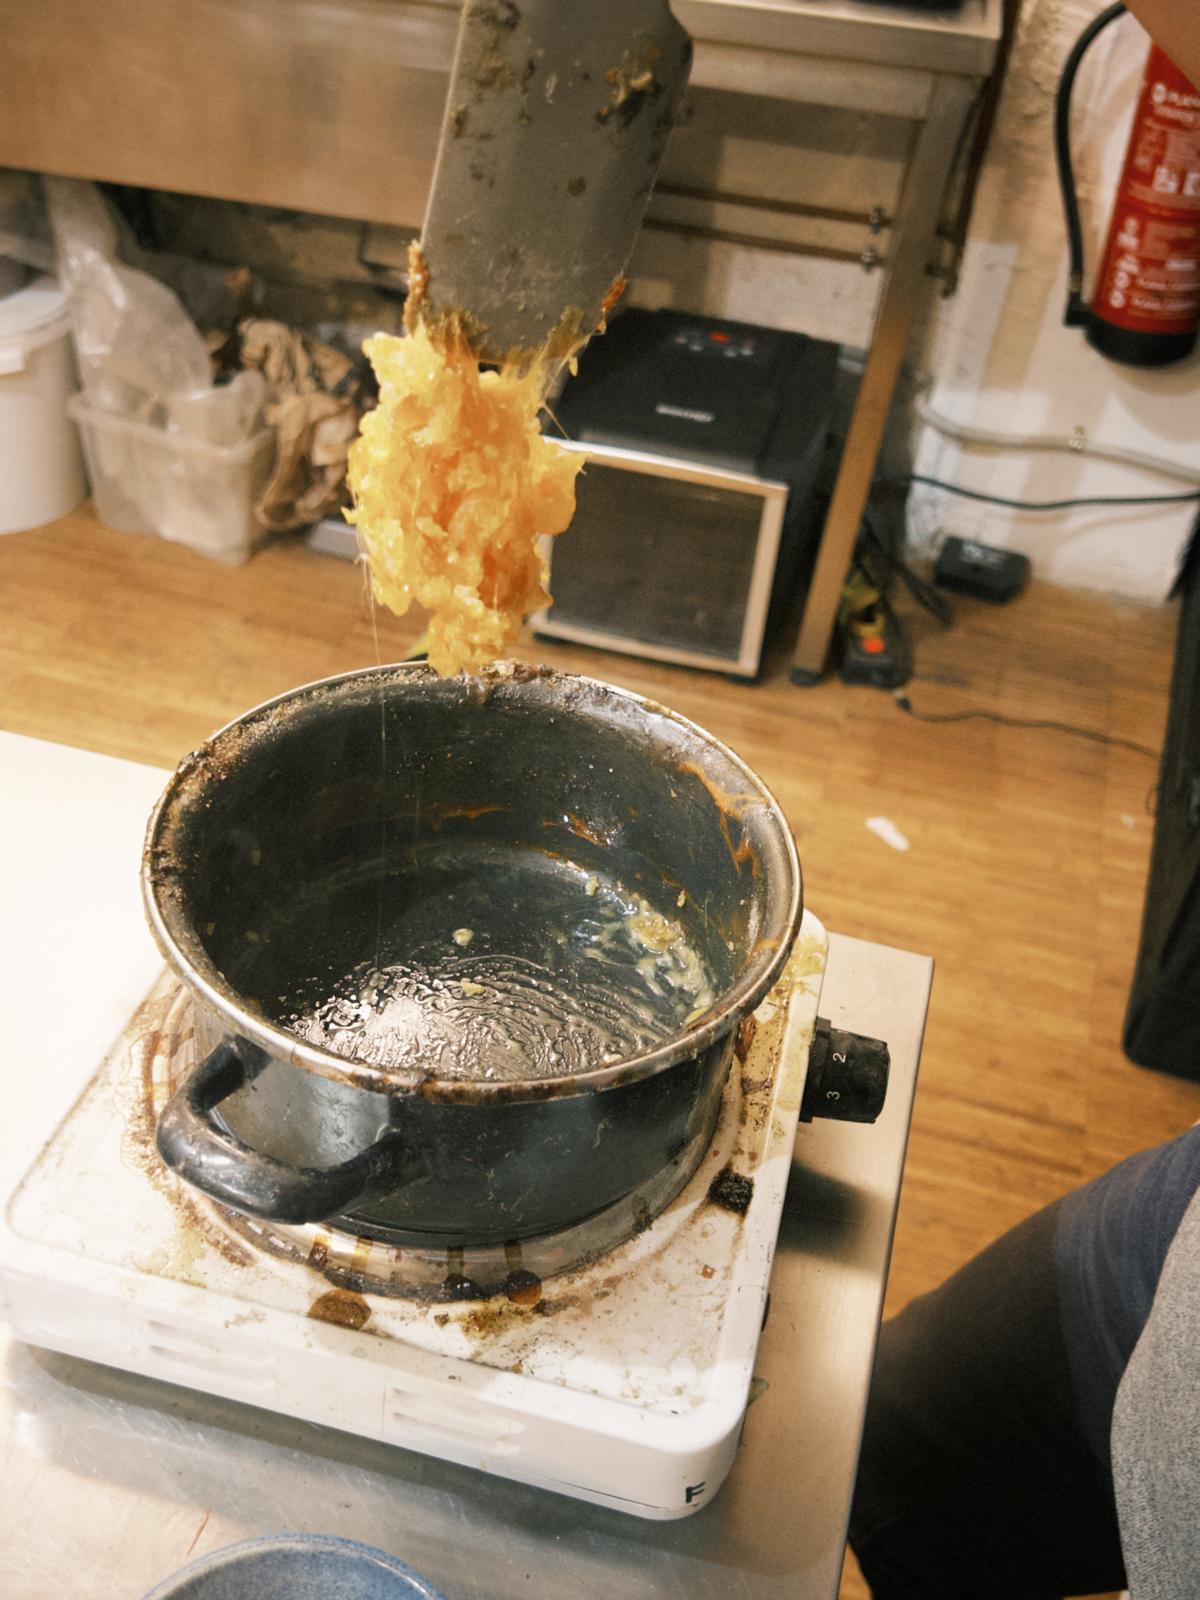
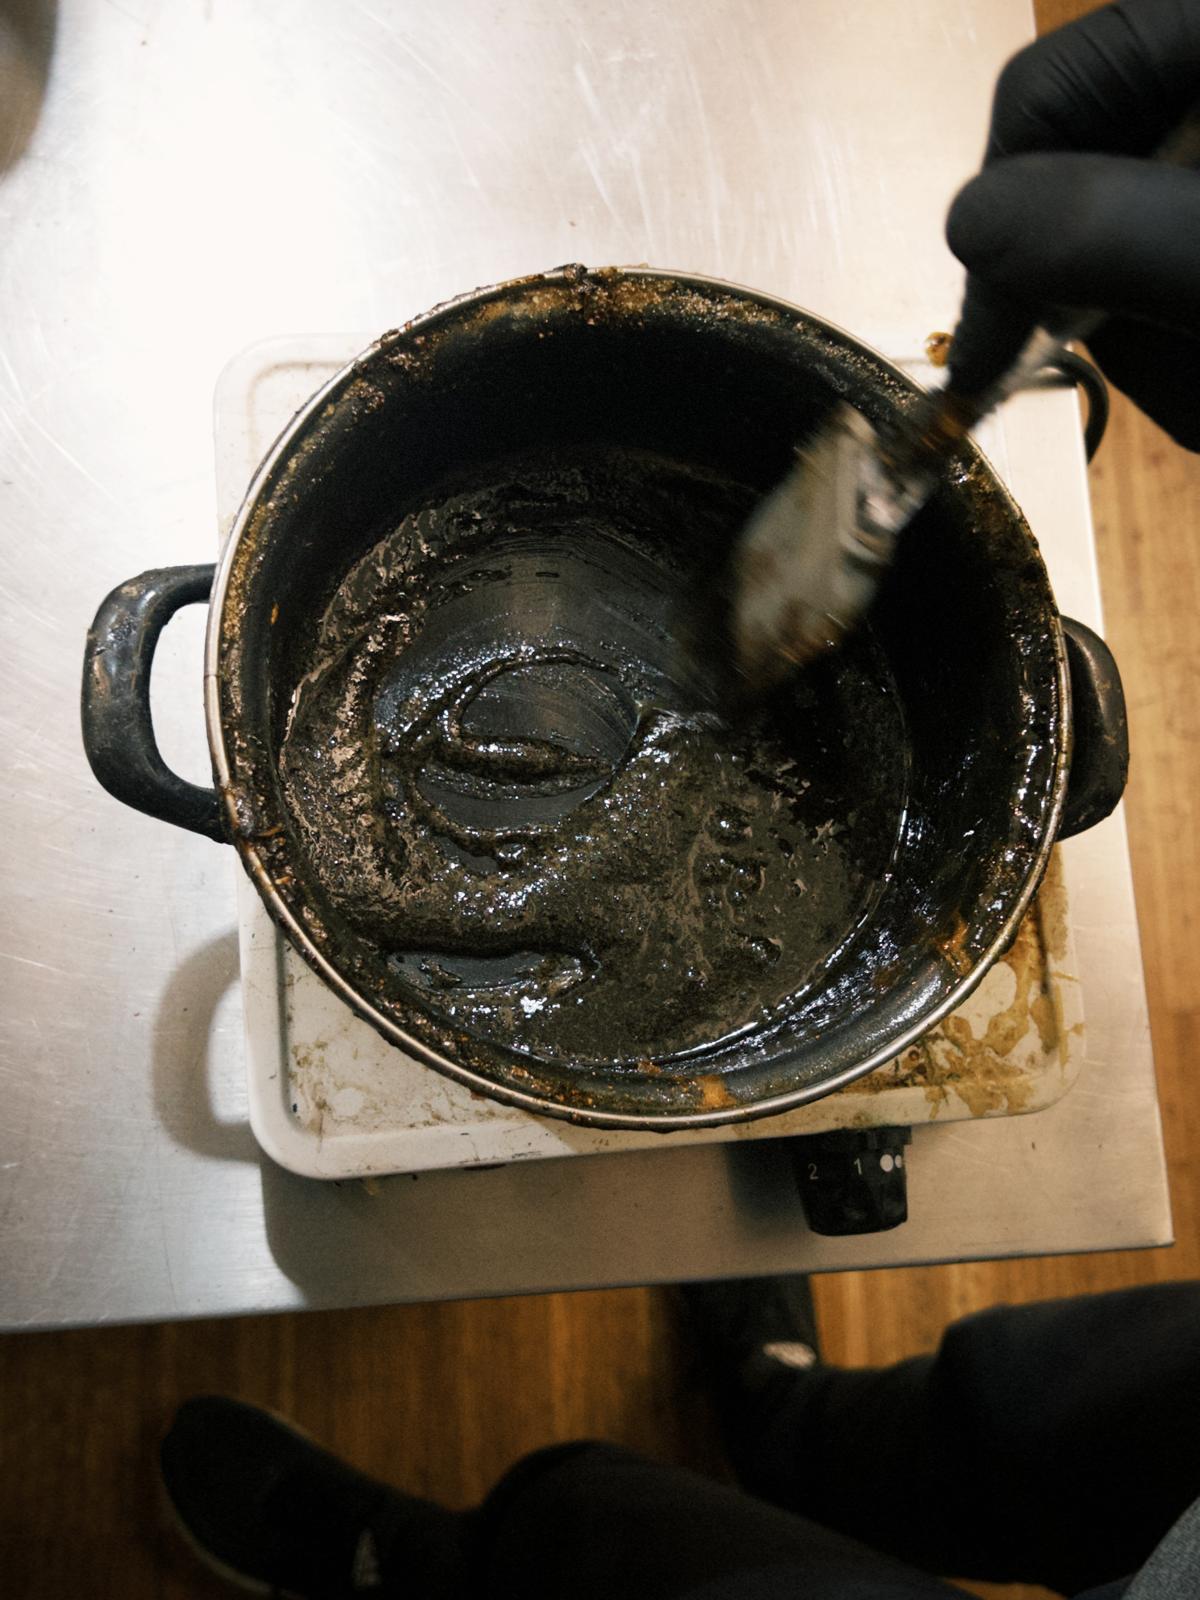
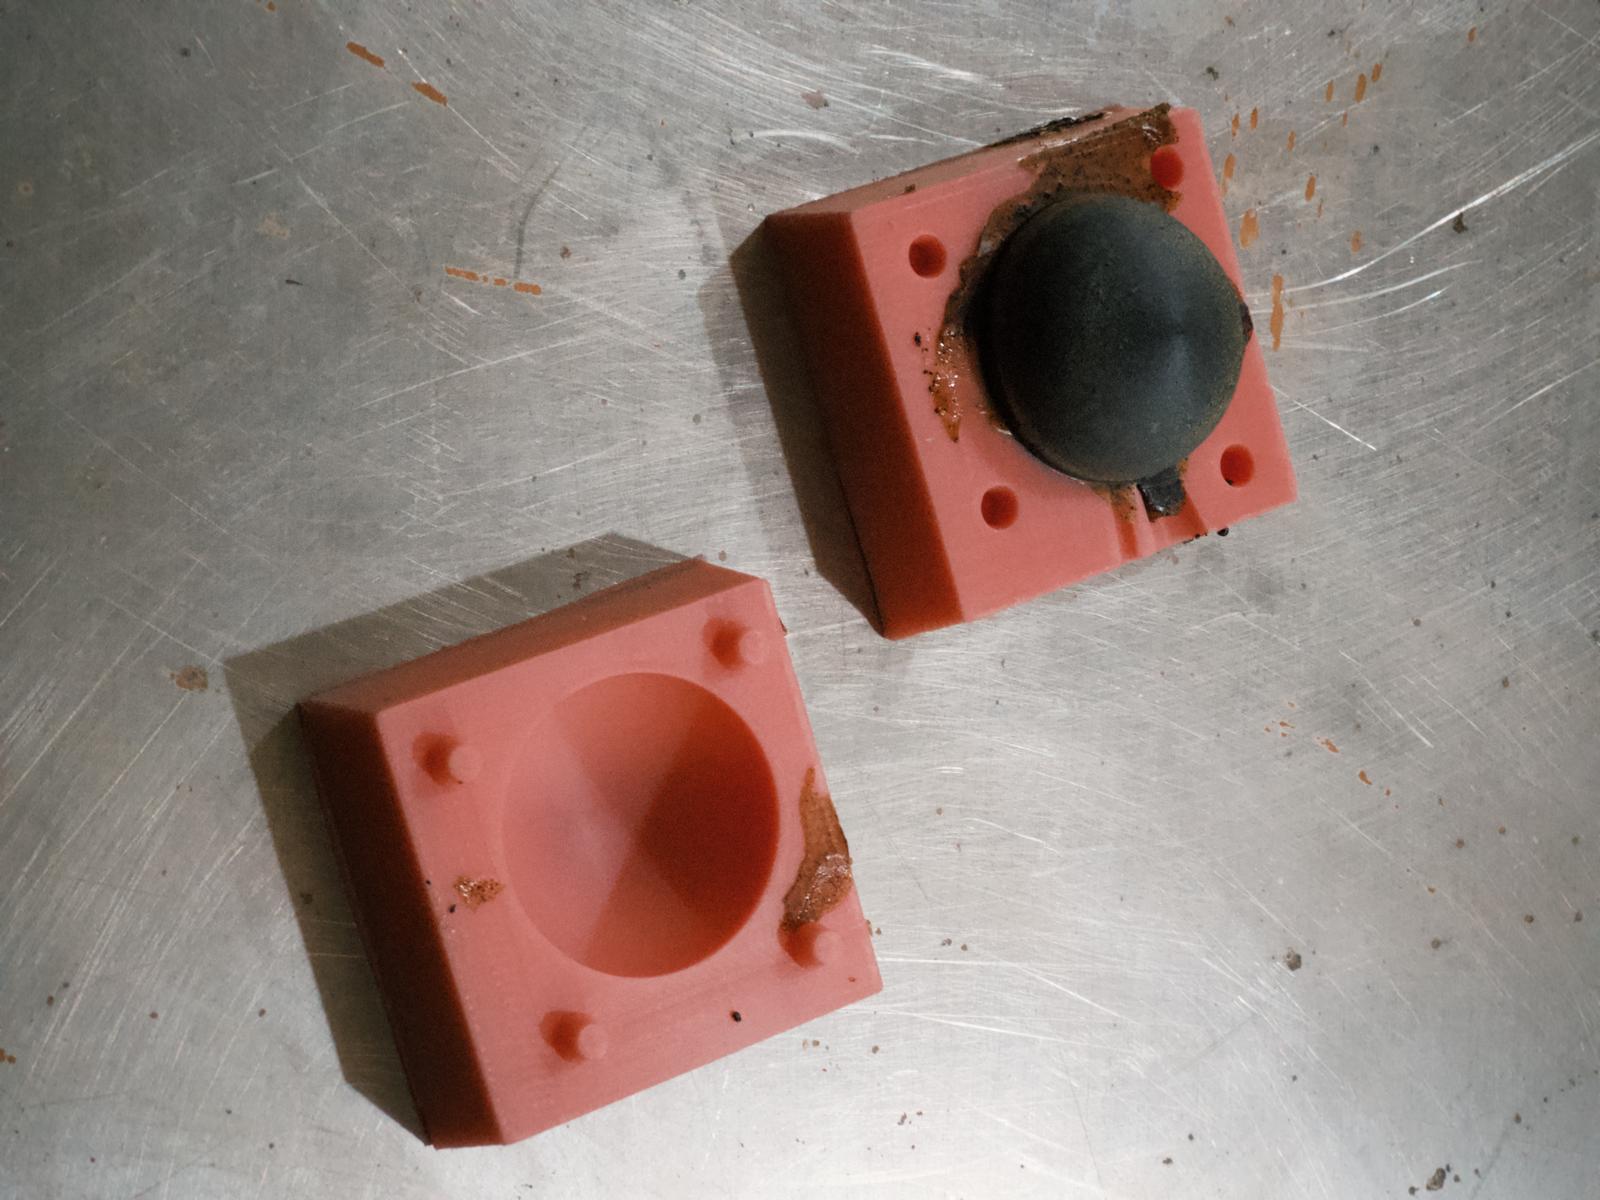
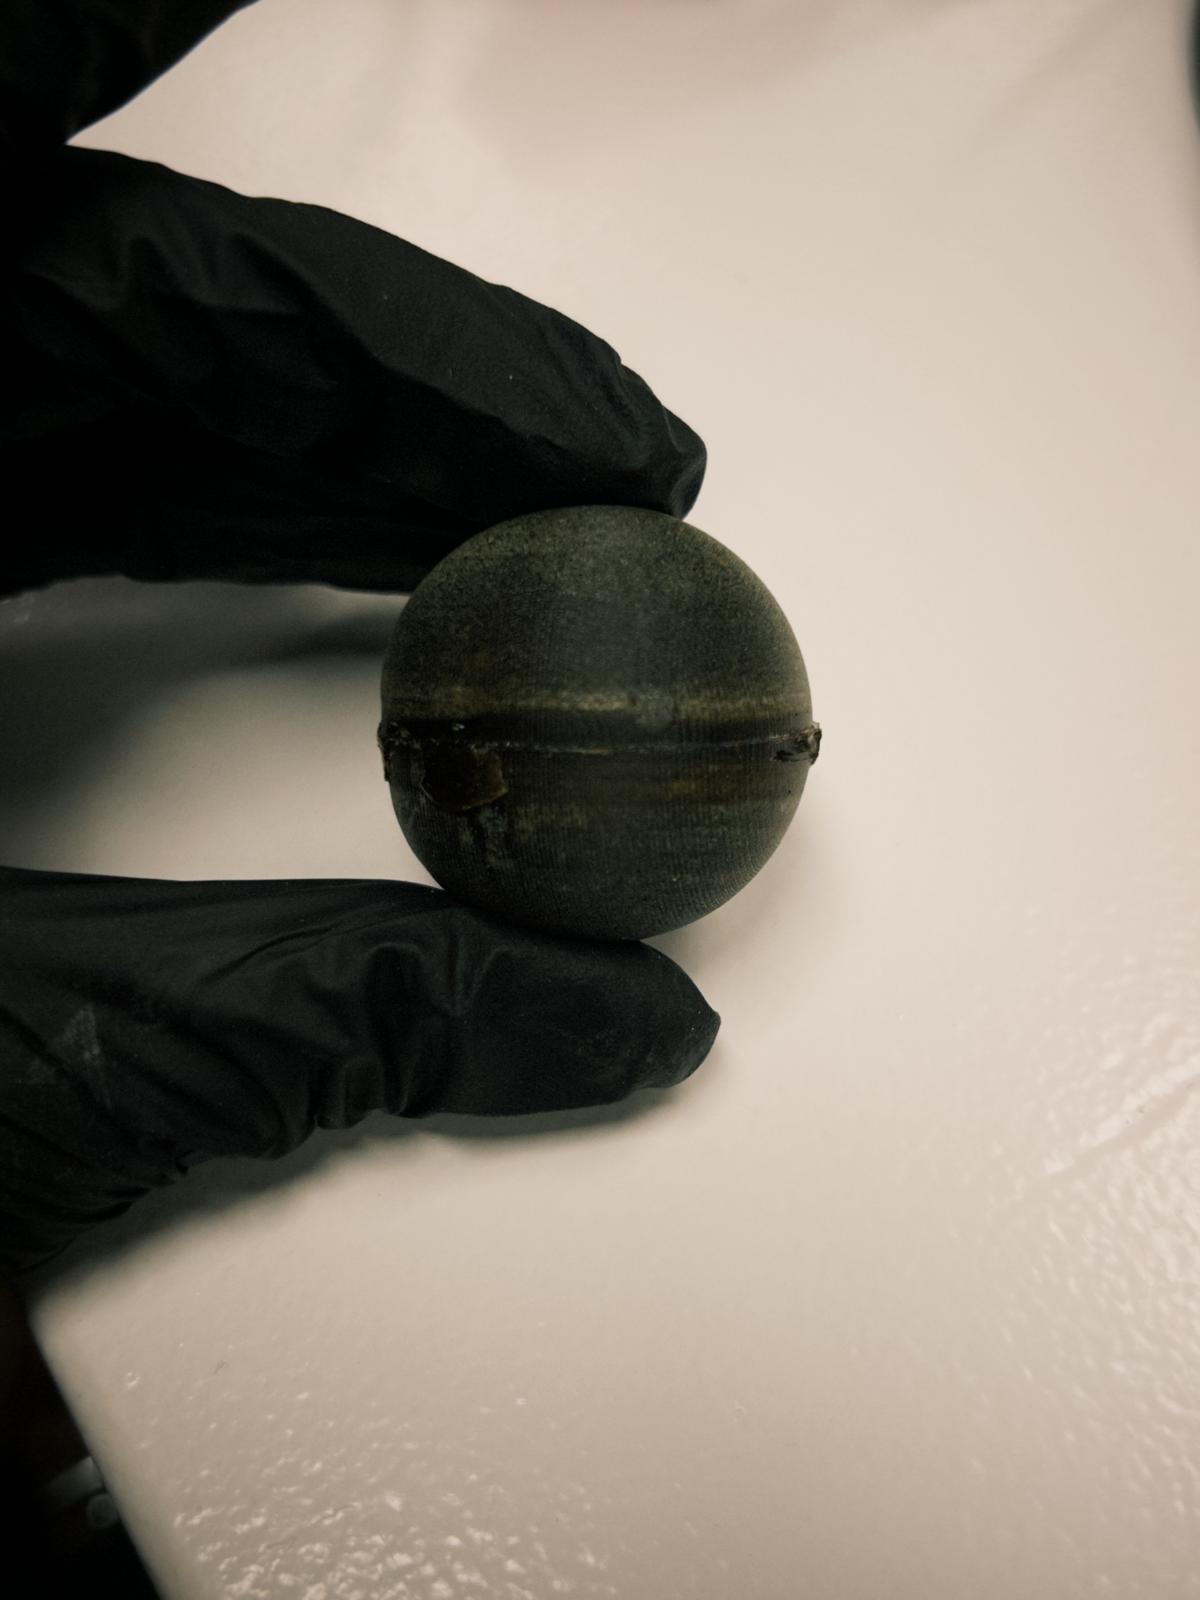
Due to the thick texture of the resin, I couldn't pour it through the dedicated pouring hole. I added resin on each side of the mold and then quickly flipped one of them on top of the other, which made the final piece's equator pretty visible.
+ FILE: wax mold stl