WEEK 7 / Computer controlled machining
This week we learned how to machine!
Weekly assignments
Complete your lab’s safety training.
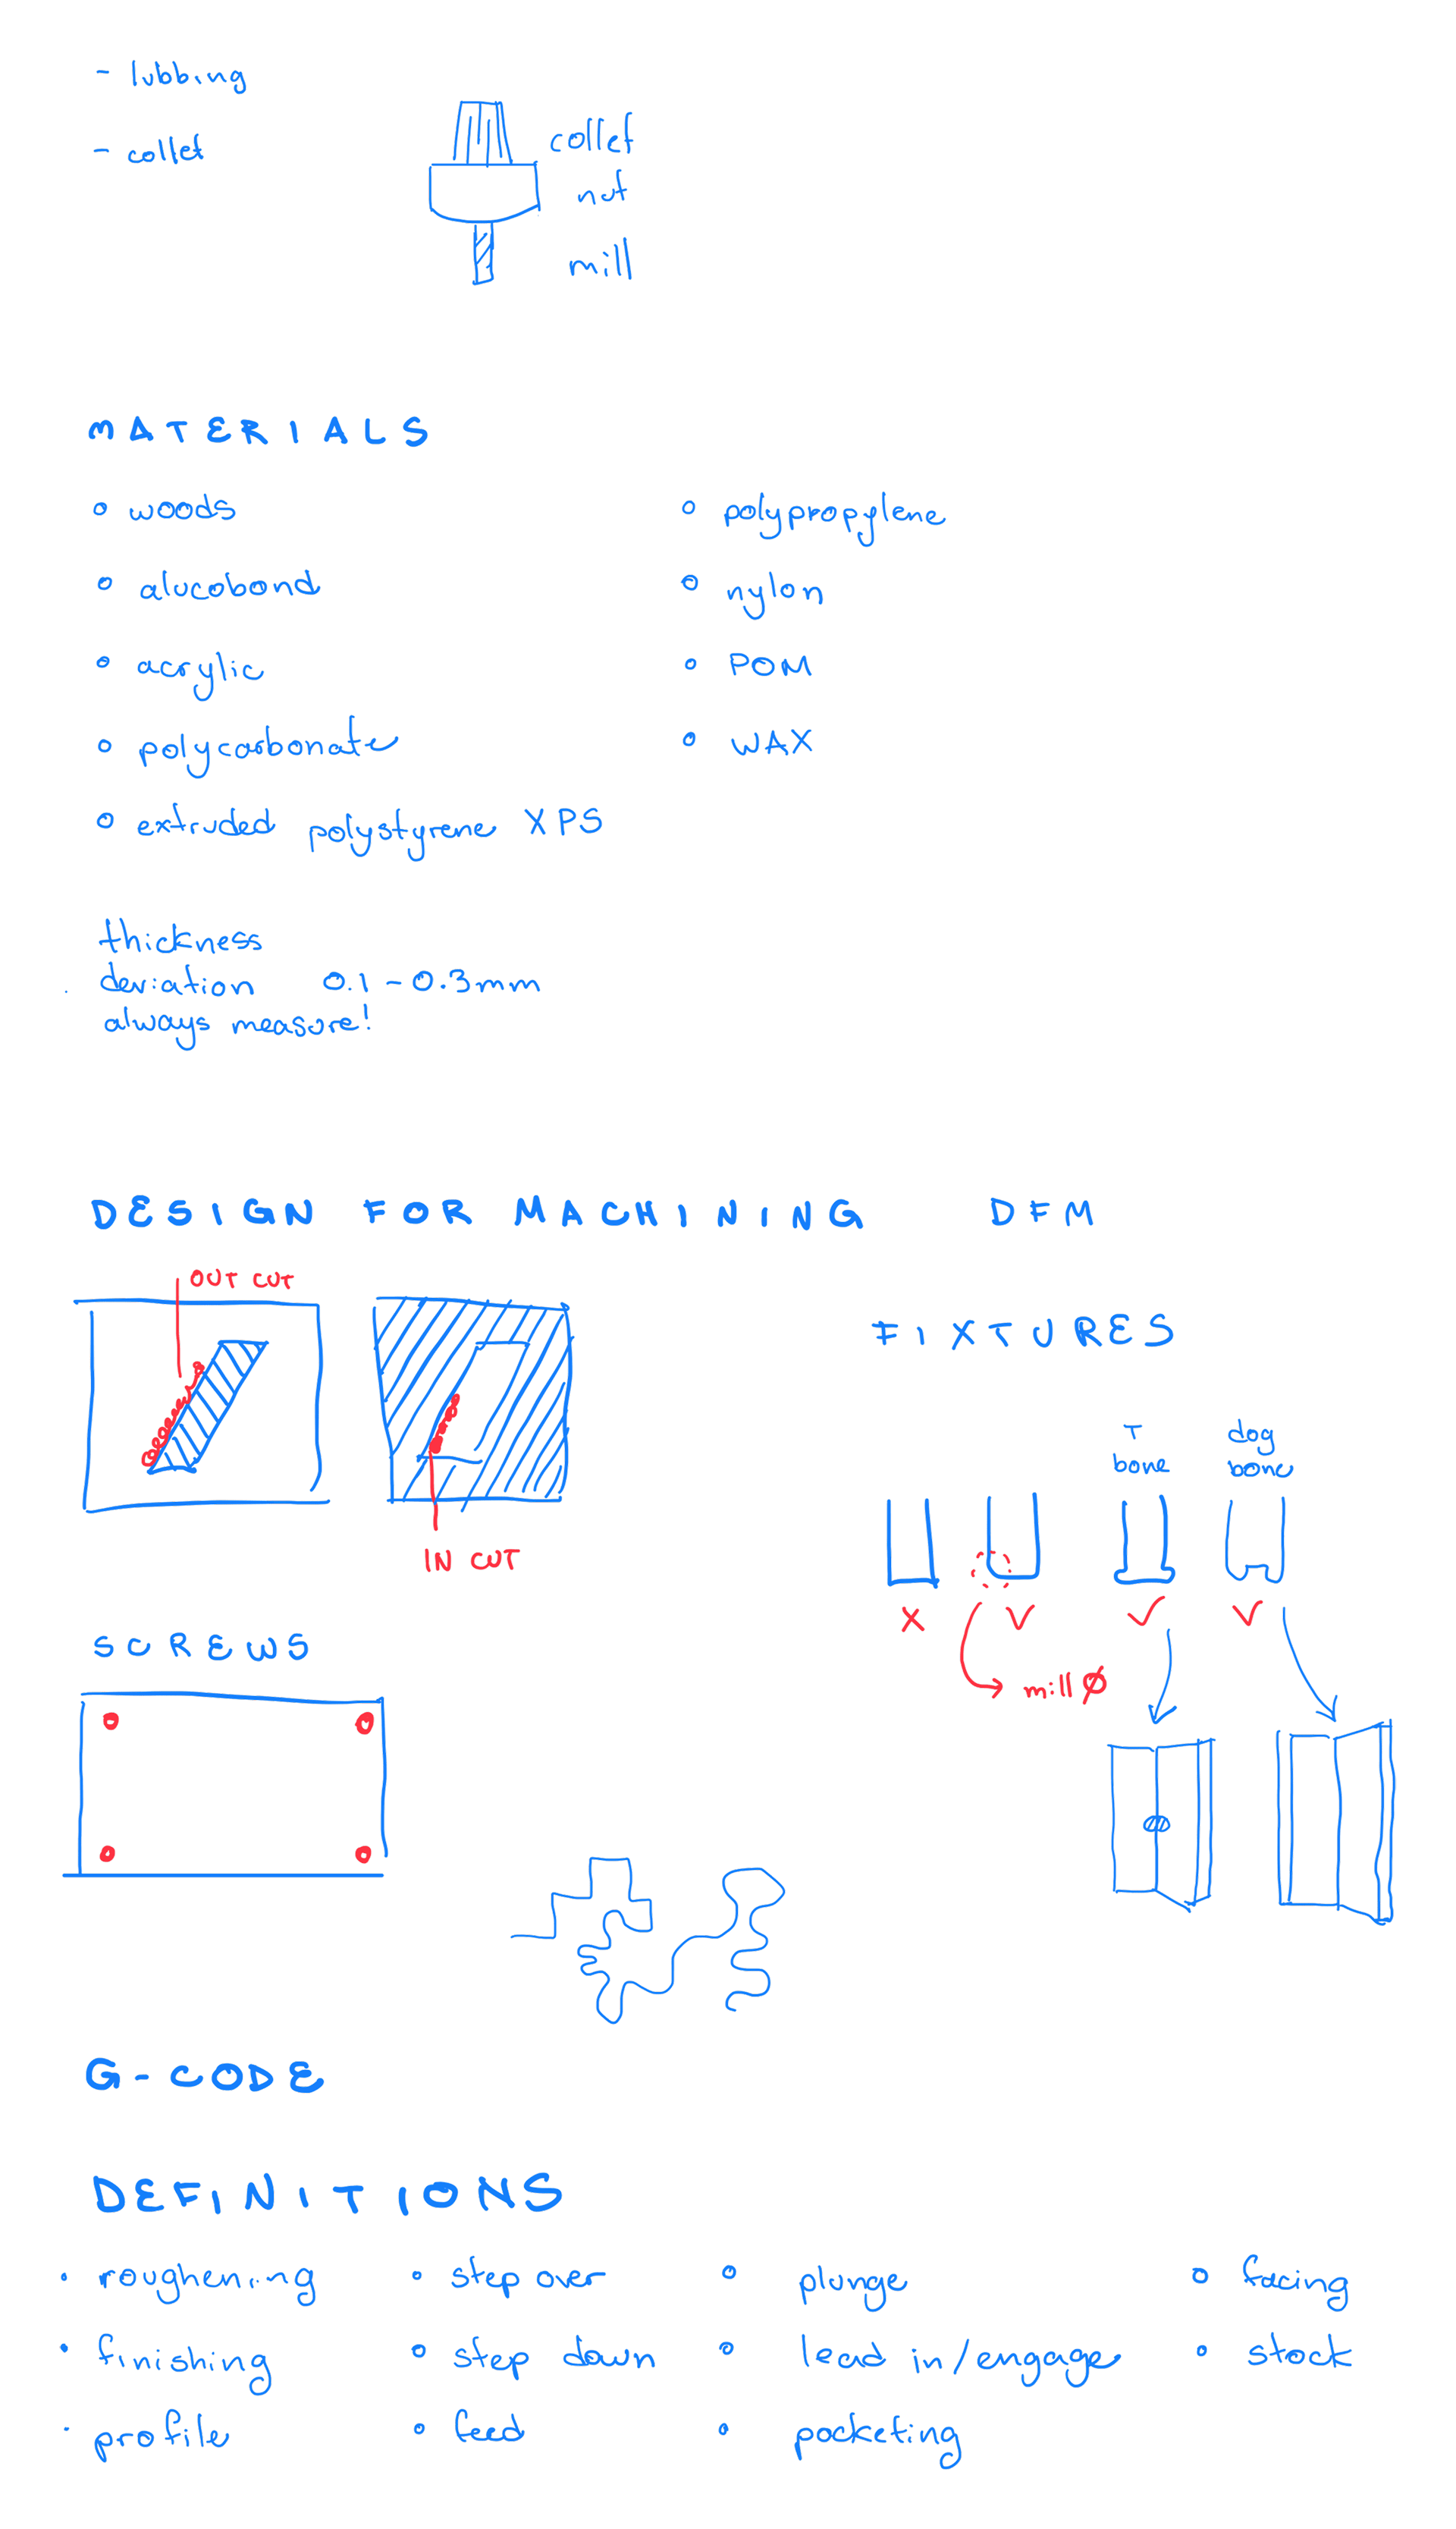
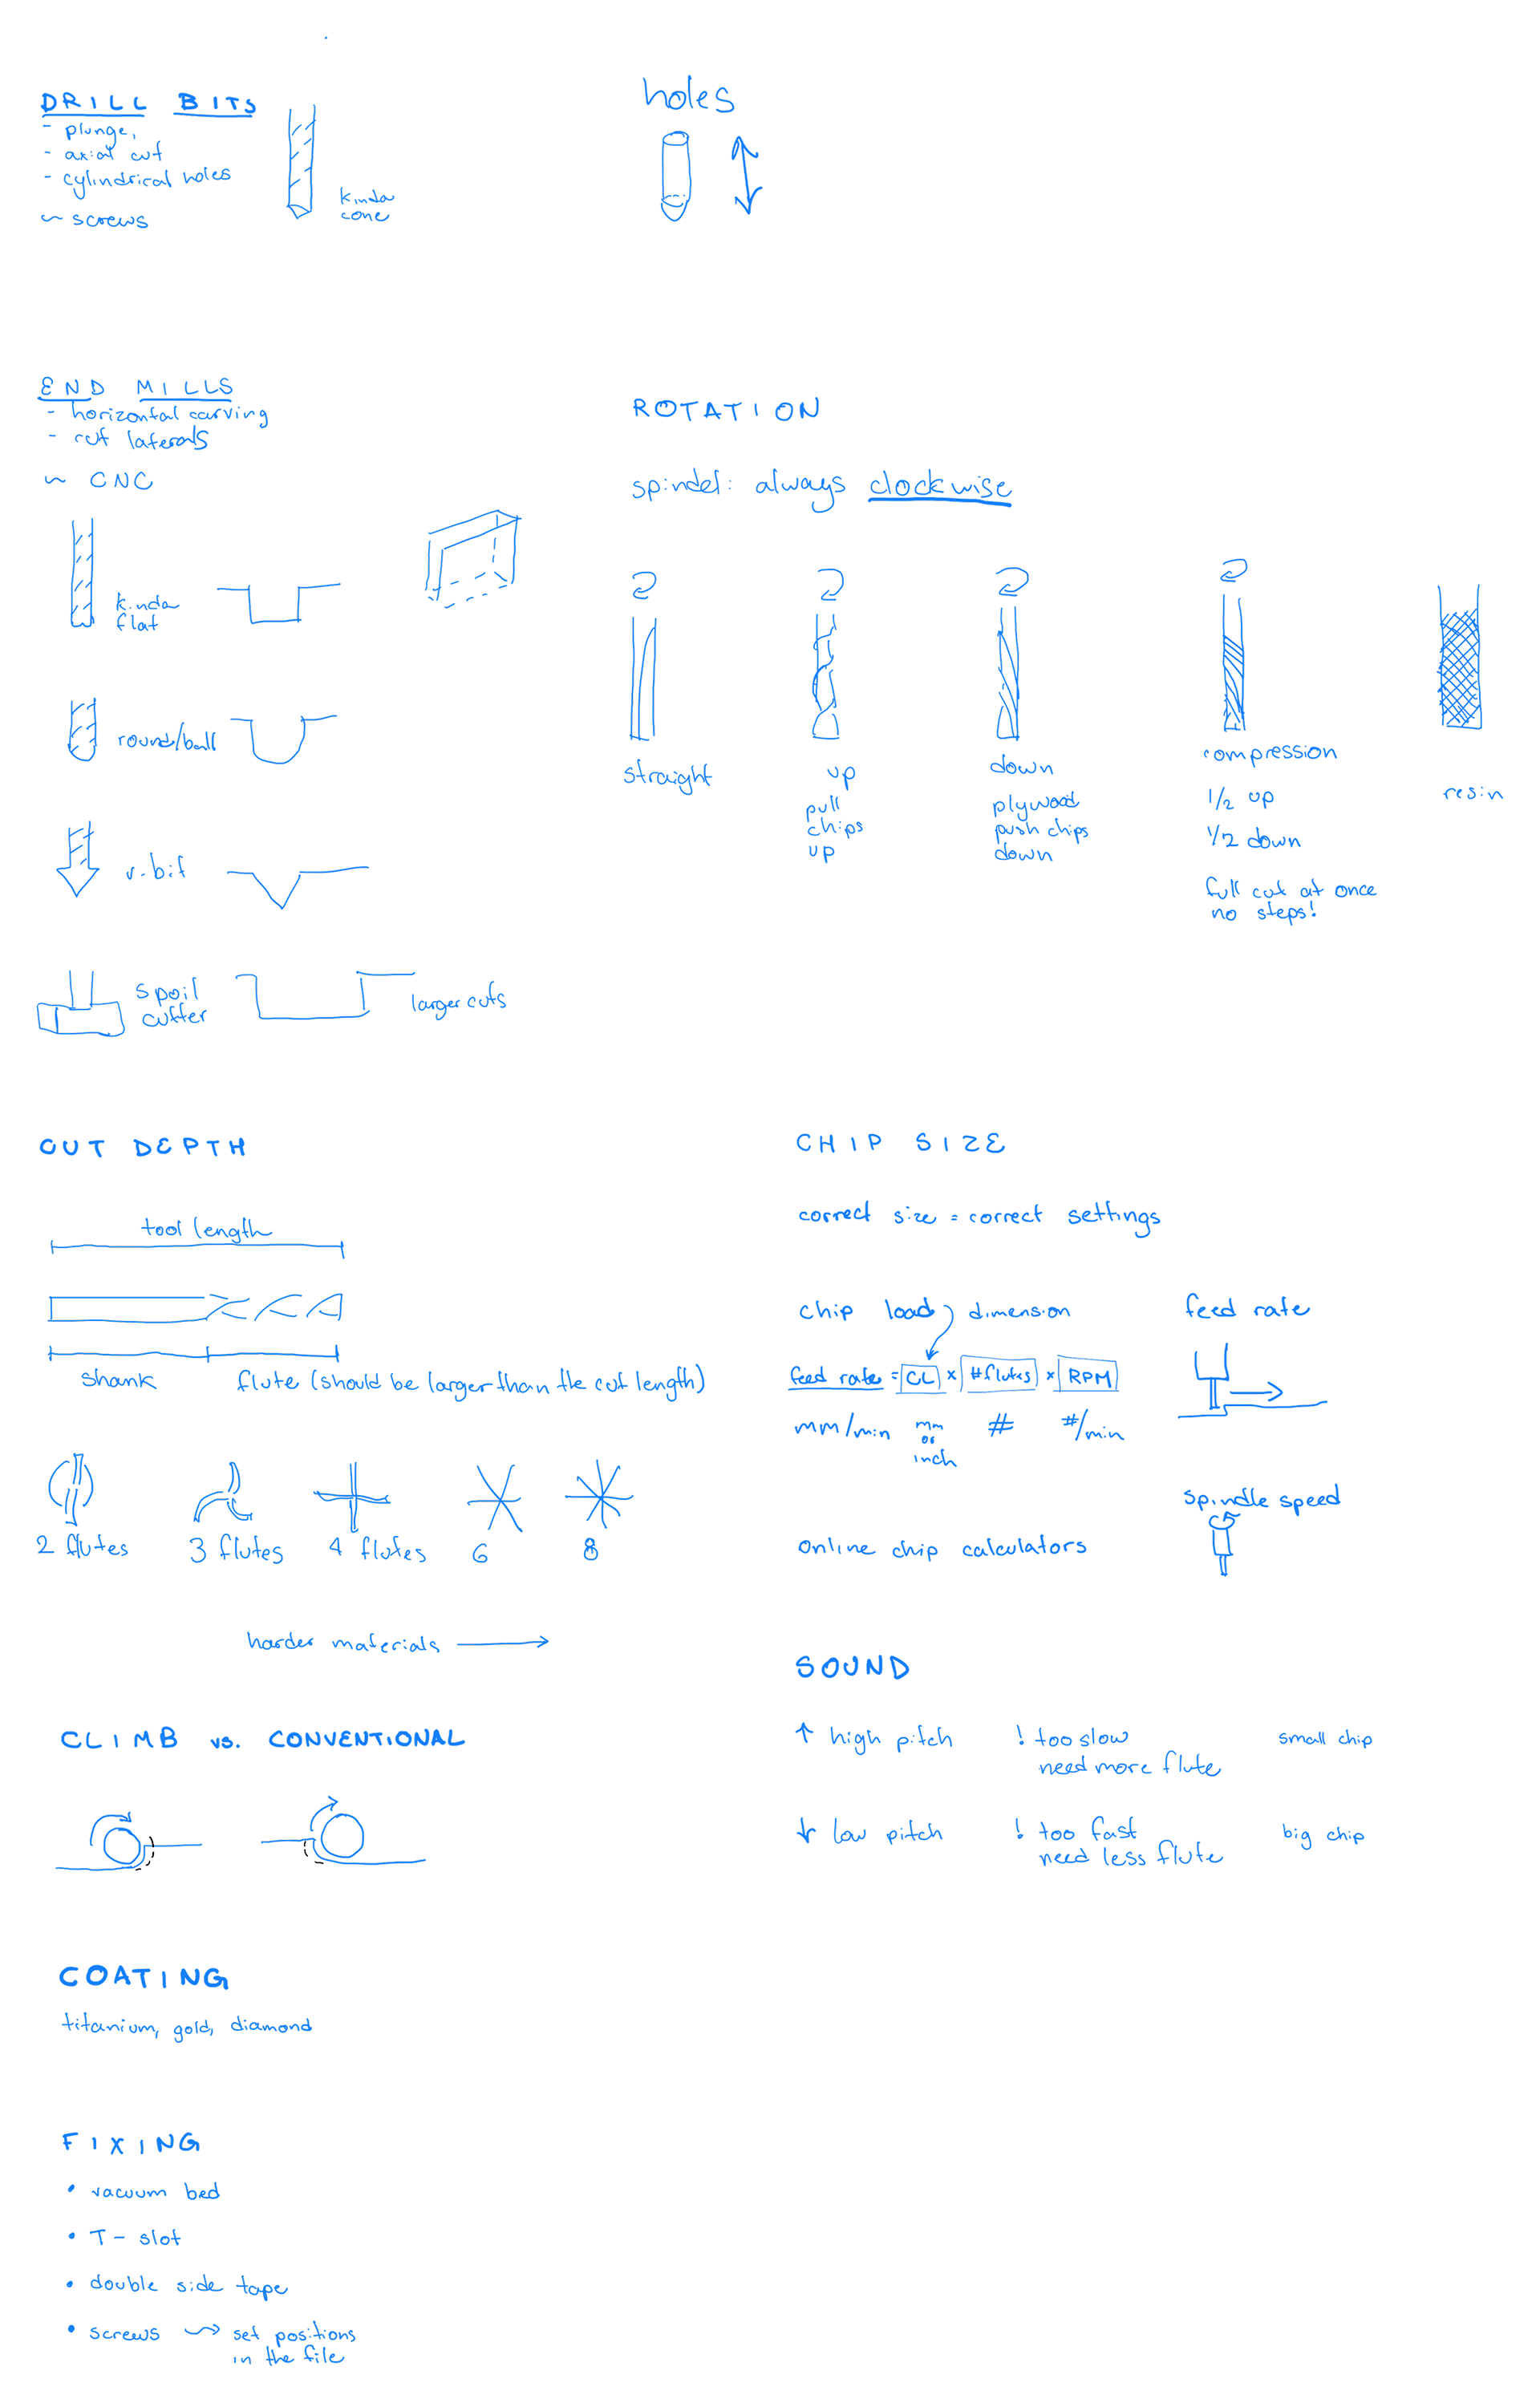
Test runout, alignment, fixturing, speeds, feeds, materials and toolpaths for your machine.
Document your work to the group work page and reflect on your individual page what you learned
You can find the group assignment in our group page.
Make (design, mill & assemble) something big.
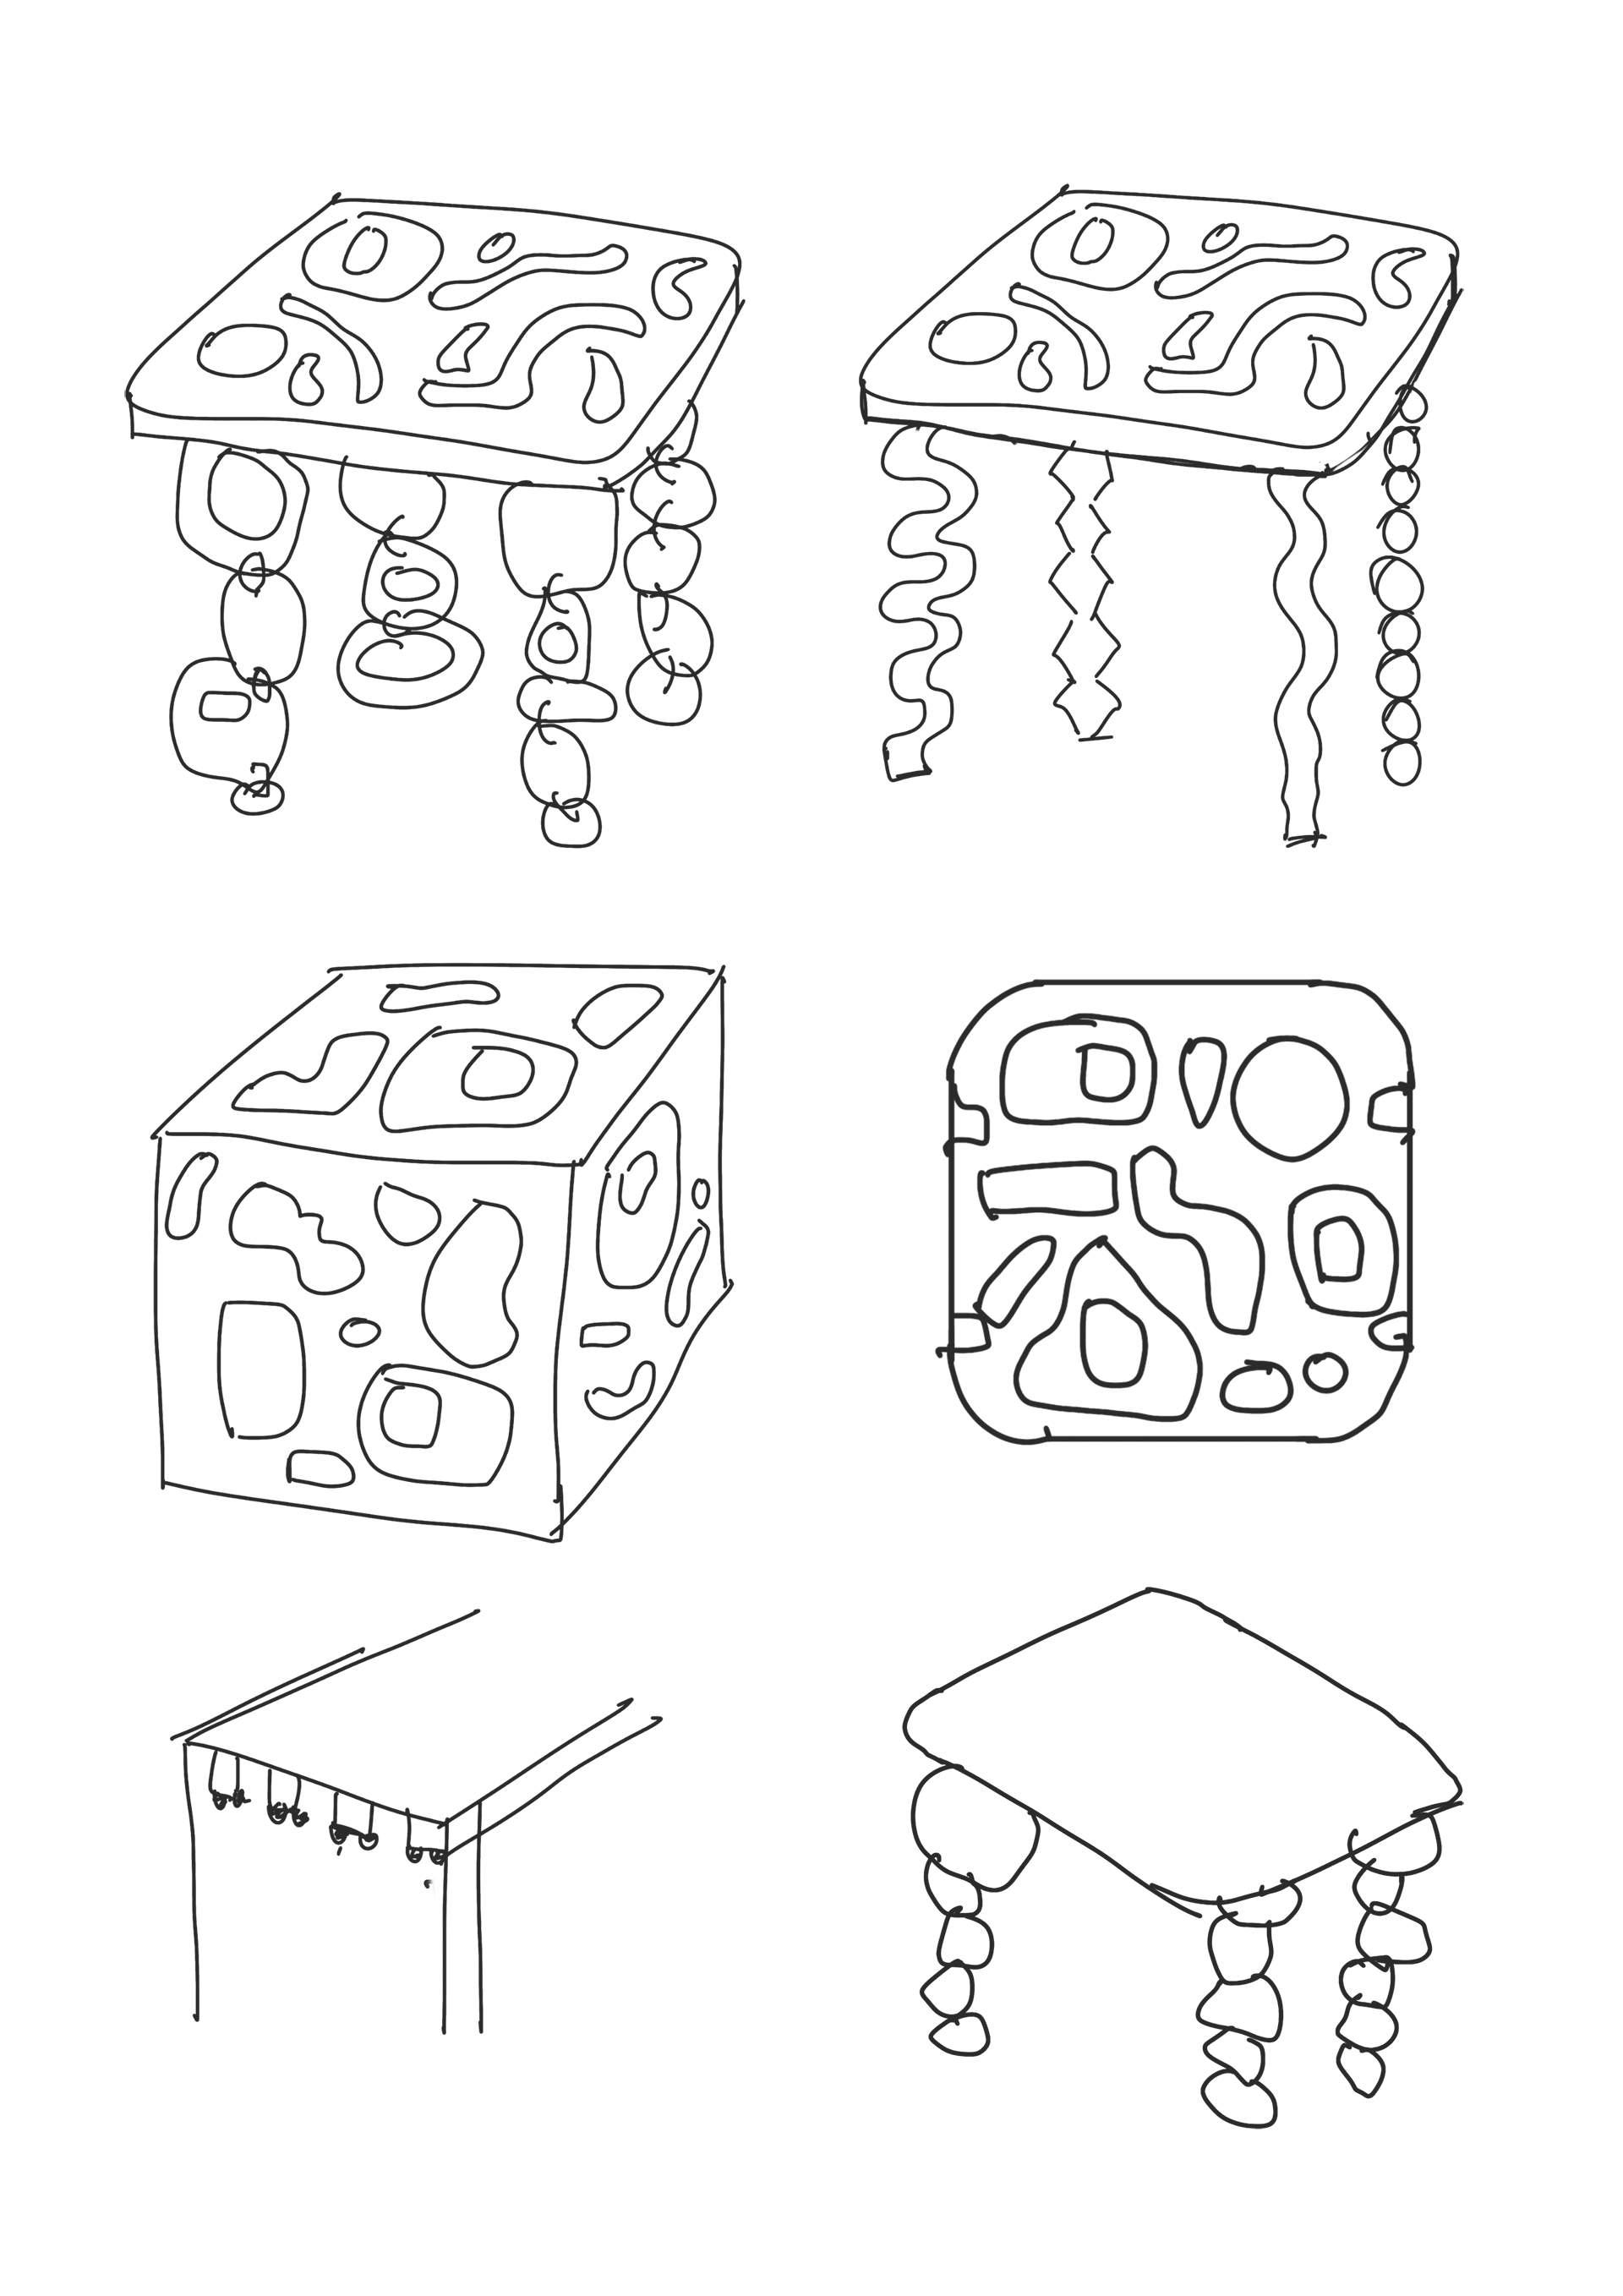
I wasn't really sure what to make this week, because 1. I've been having new ideas for my final project (which is a tiny scale), so big things ideas just wasn't coming to me; and 2. the range of possibilities with machining seemed like too many things were possible, so it was hard to find one idea to explore. I think one of the many cool things about machining, is the ability to easily cut and carve curves. So I sketched some table ideas with some curved patterns in 2D. I chose I table because I knew I wouldn't have a lot of time to try/test/develop something complex this week - also due to limited machine time for each student in the lab.
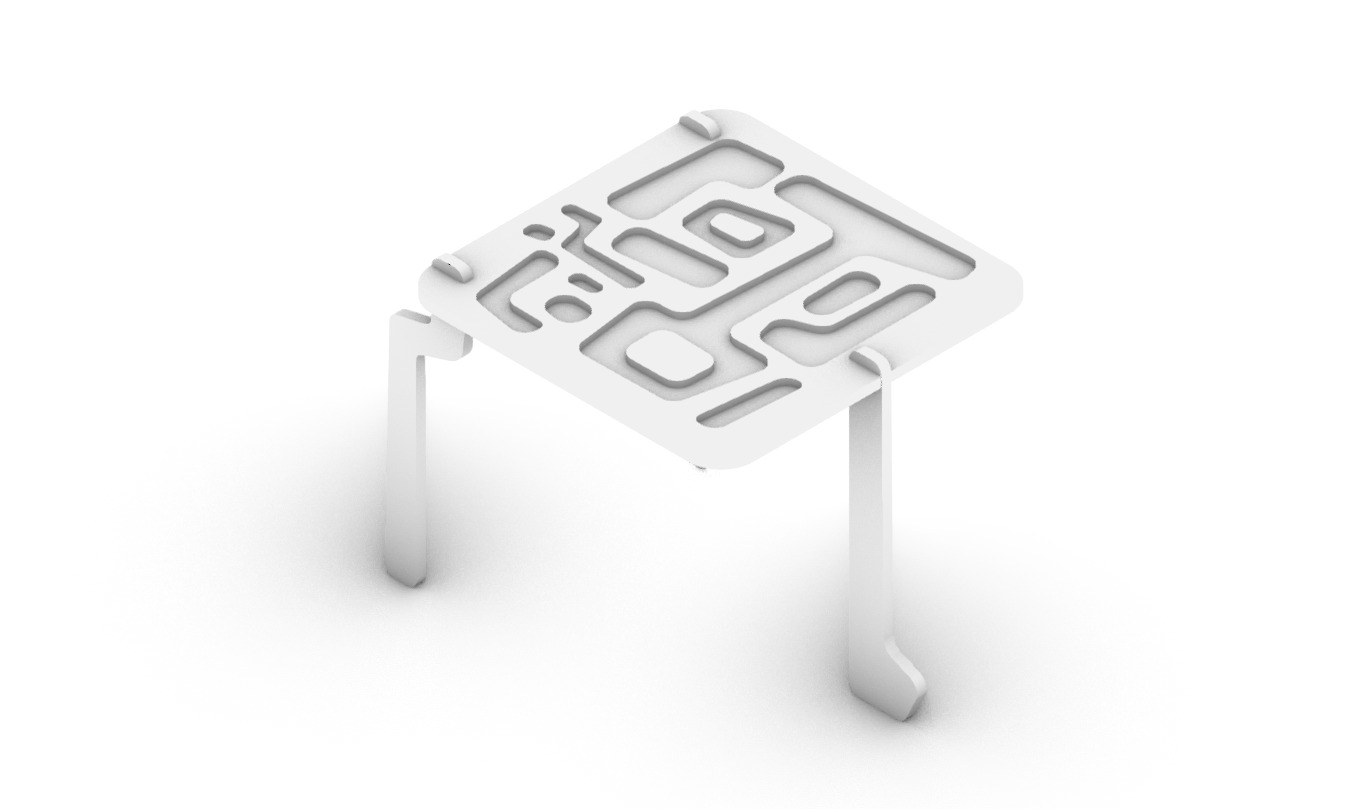
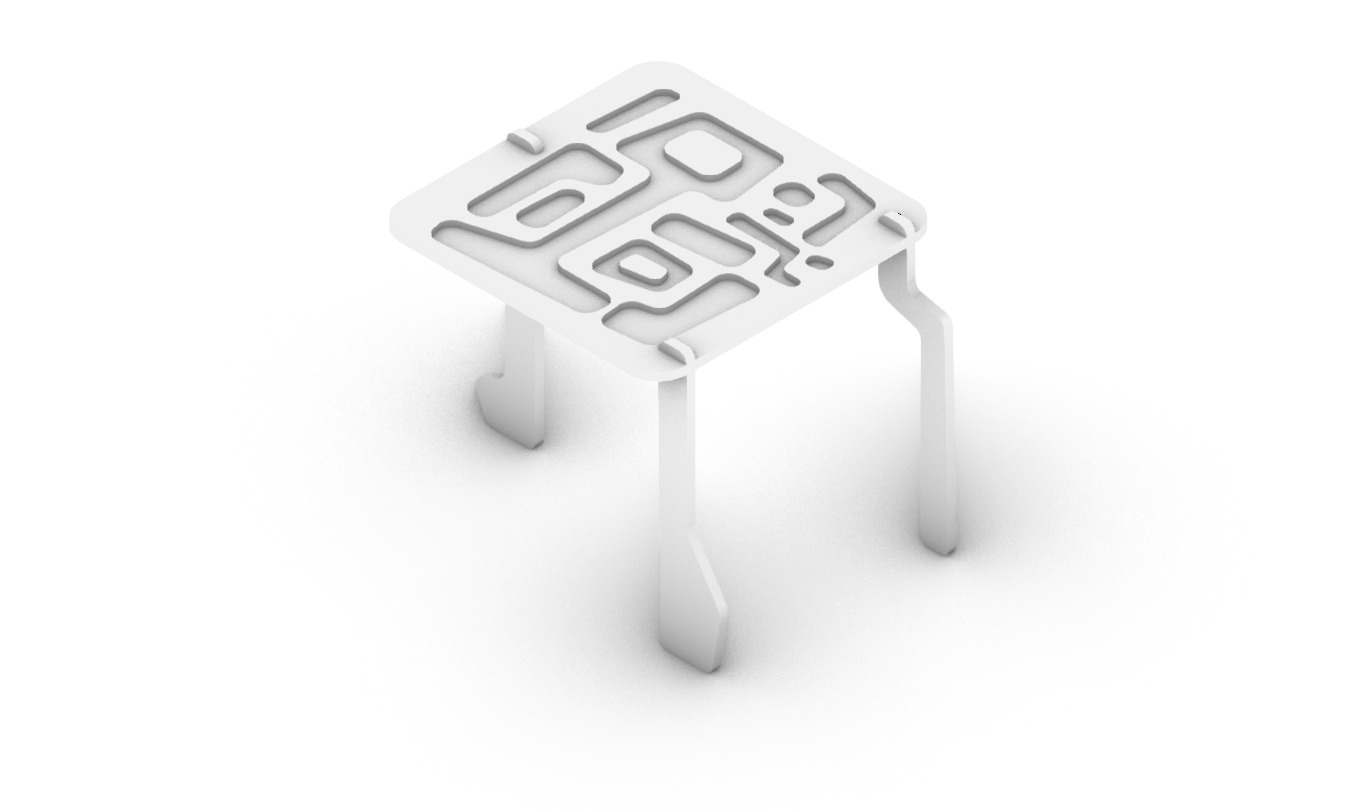
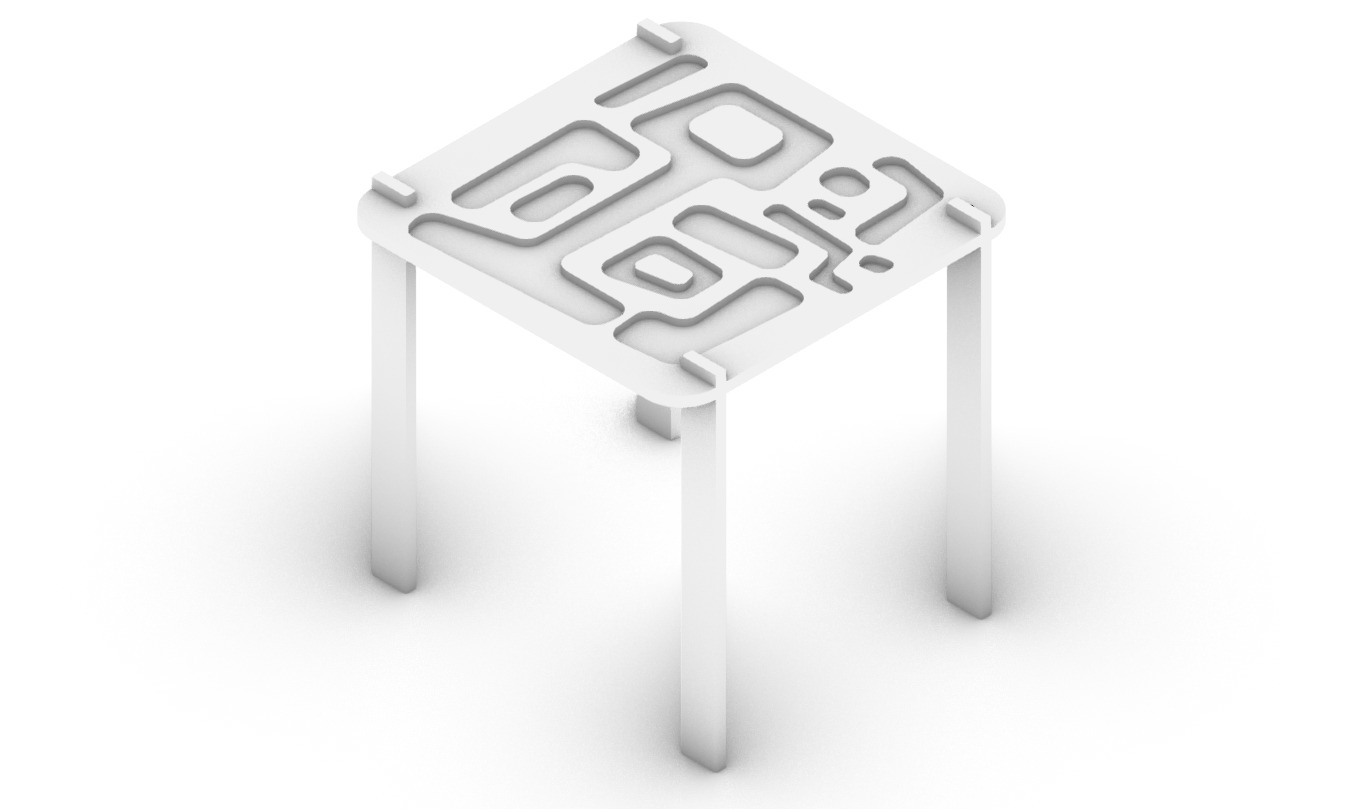
I modelled in Rhino. I tested a curved approach for the legs, but didn't think it worked, so settled for a simple rectangular leg. On the table top I drew the pockets. When done with the main geometry, I separated into the layers for cutting and for pocketing. I also added T-bones for the joints.
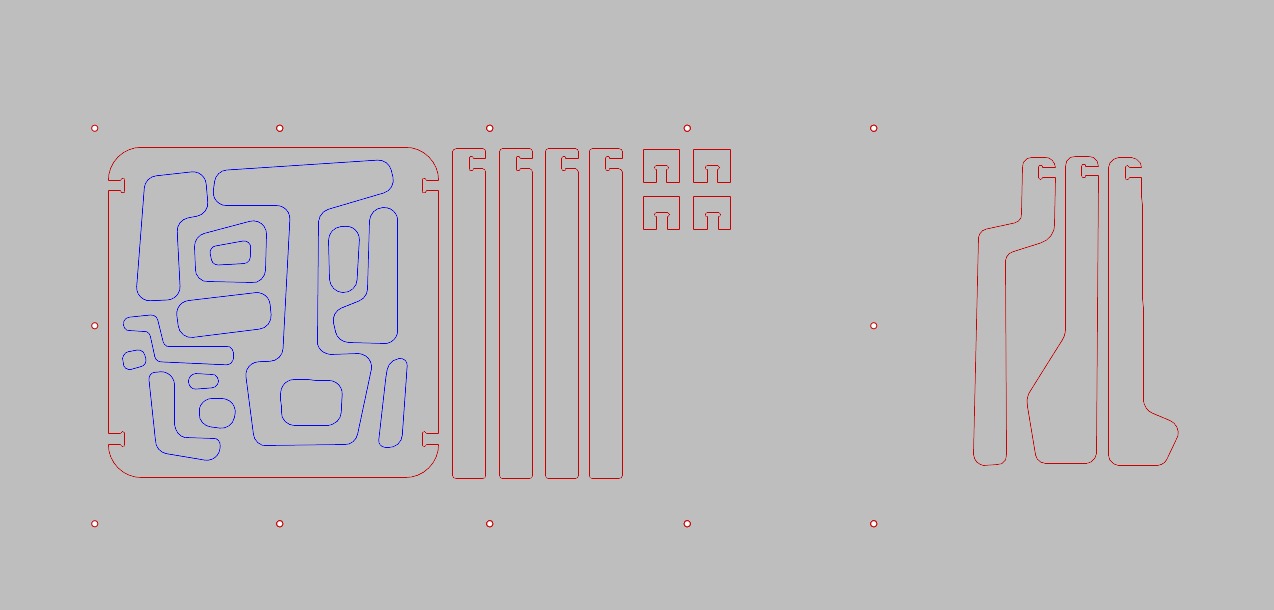
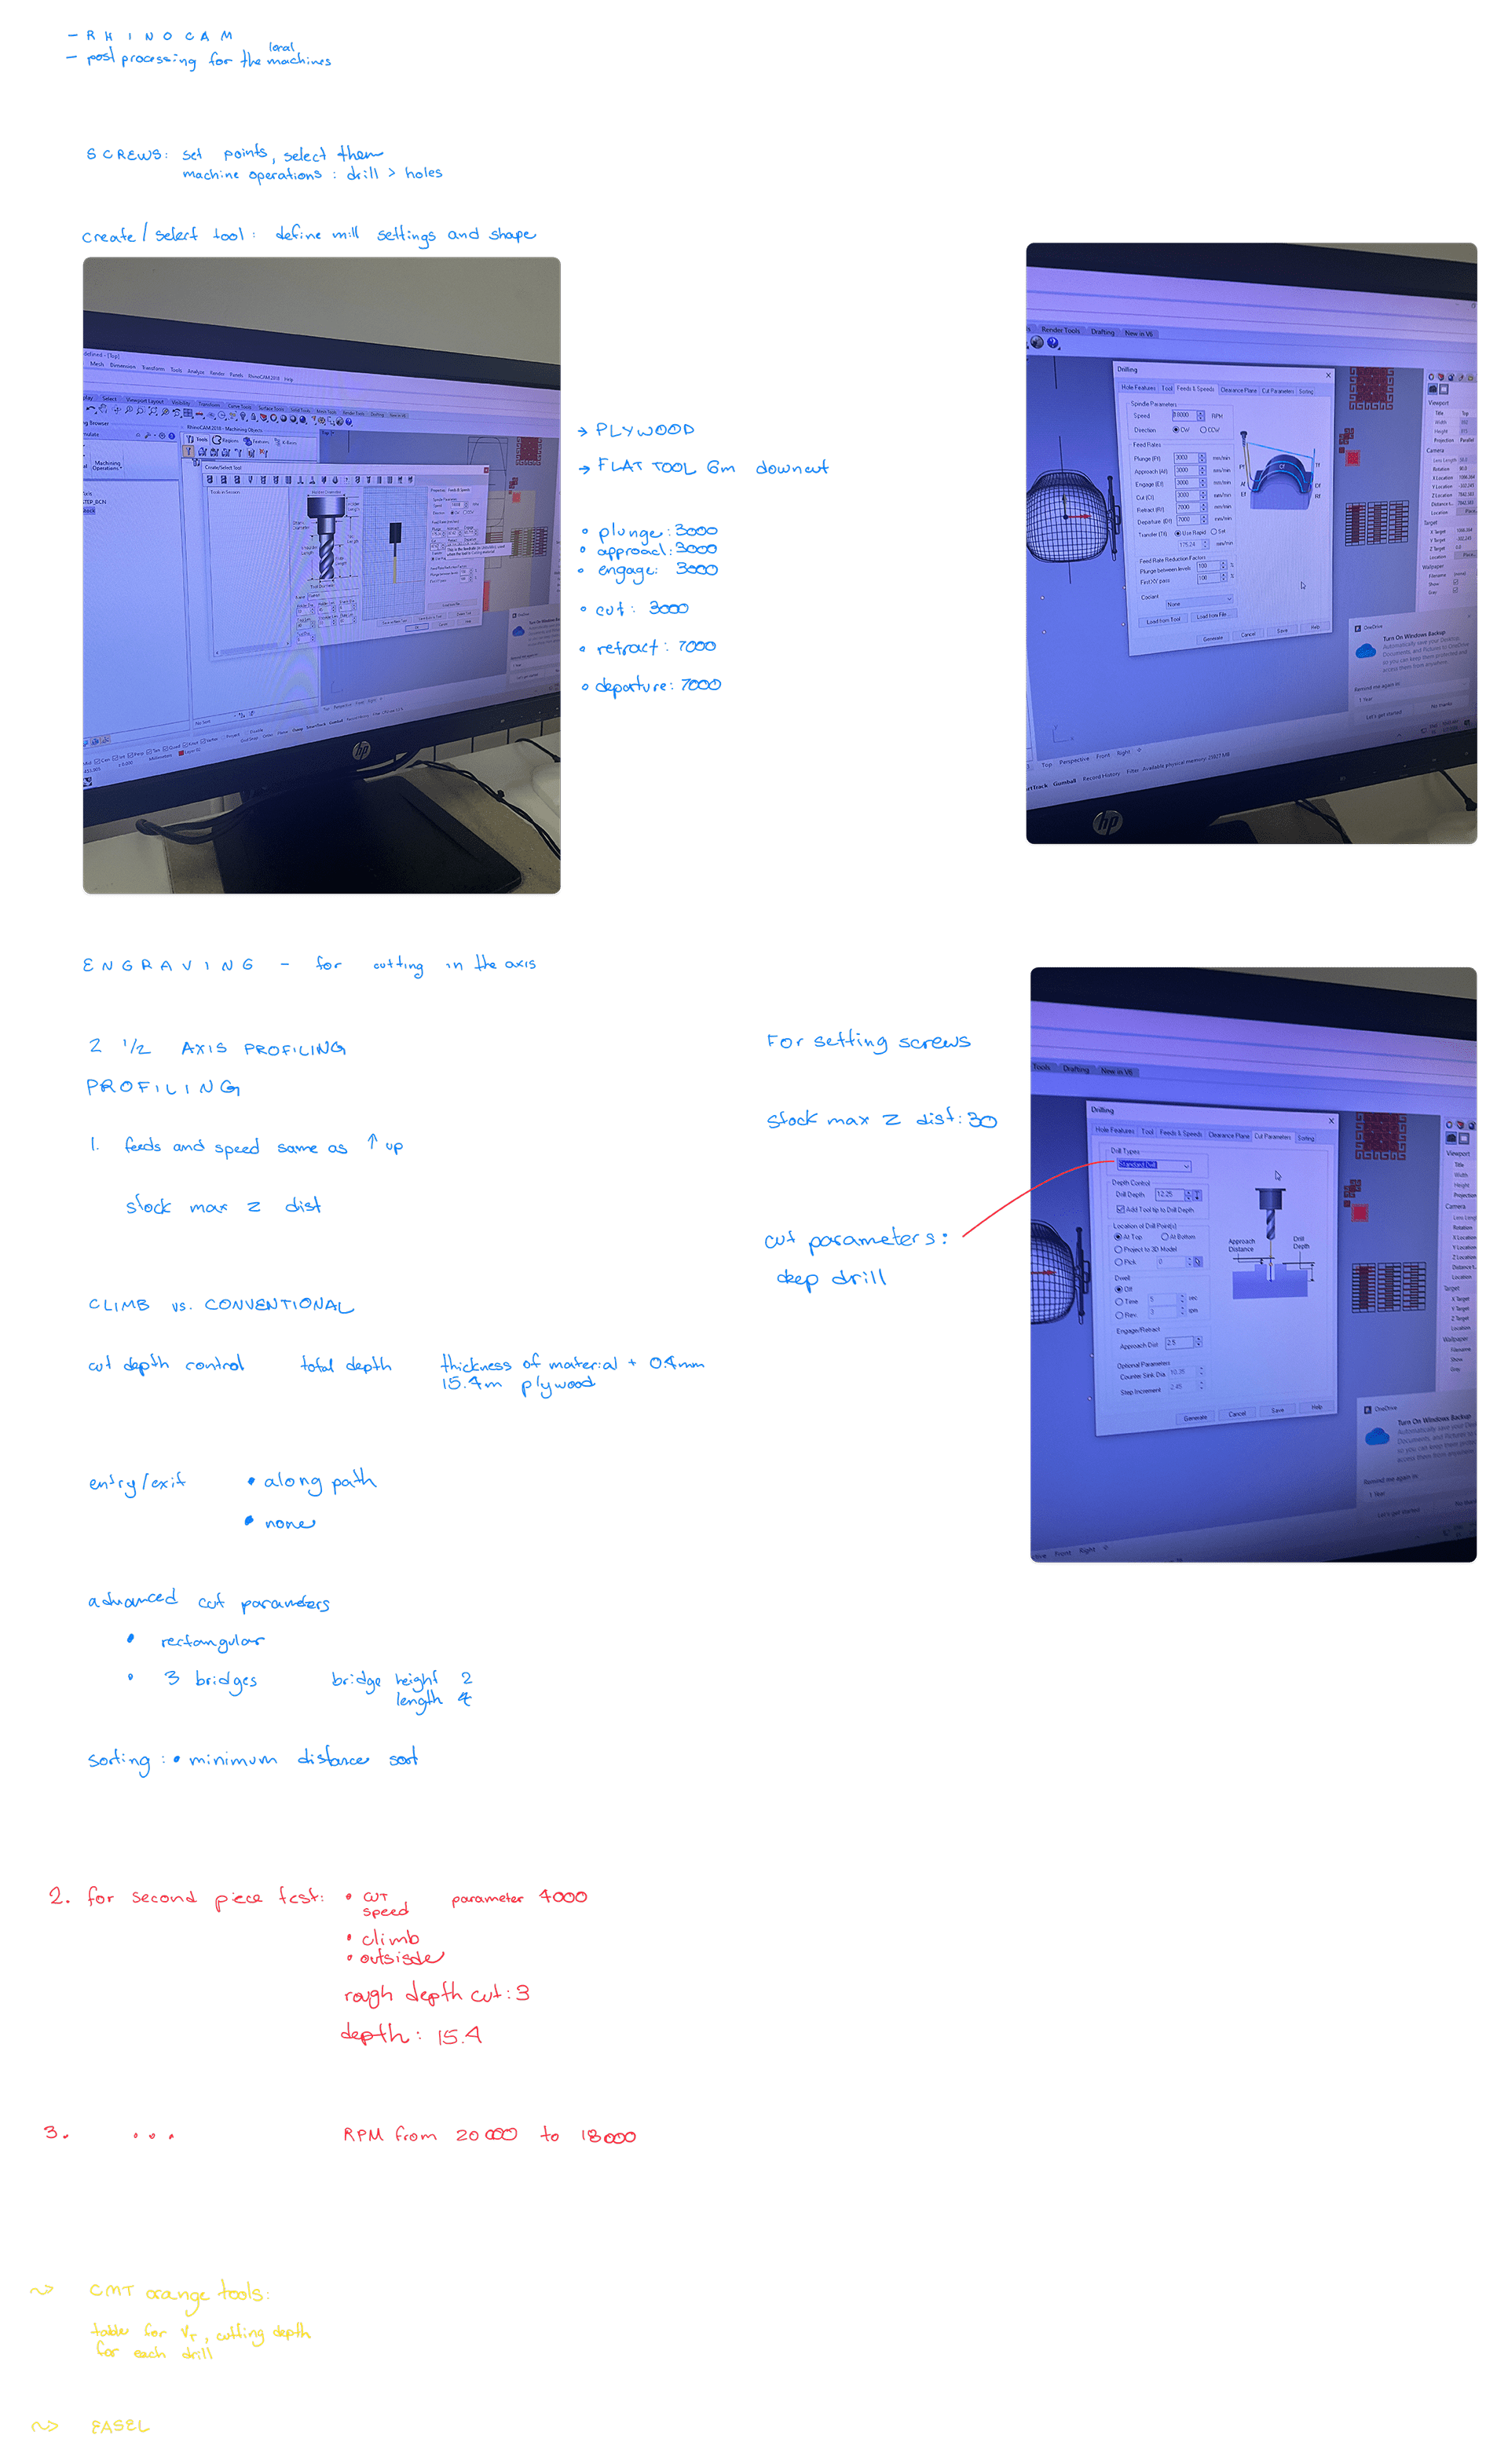
To set up the files for cutting, we use RhinoCAM, which is a plug-in for Rhino for machining setup. To set it up:
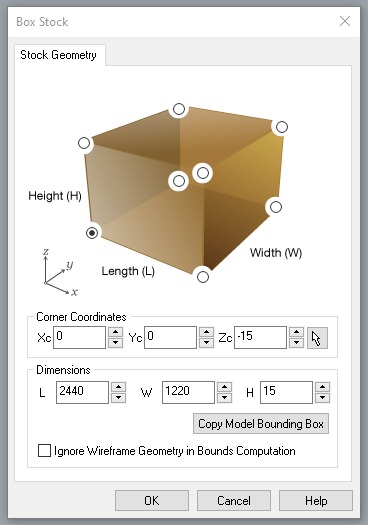
1. Set up stock dimensions with your material dims.
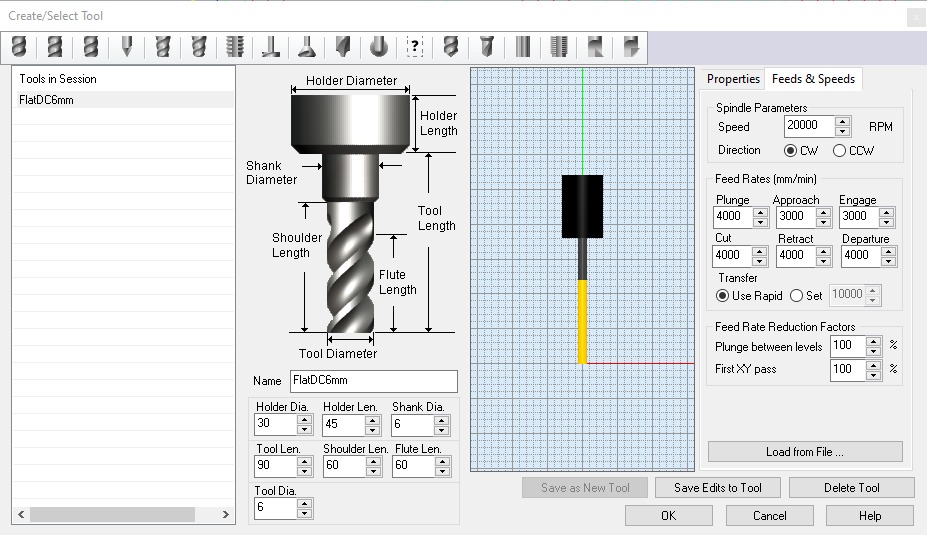
2. Set up the milling tools the jobs will require.
3. In "Machine Operations", select the type of cutting for each path or group of paths in your model. In my case, I had the paths that would be cut (profiled) and the drawings wich would be pocketed. Also, the points that would be drilled so the board could be screwed to the base.
4. After assessing the results of the group assignment tests with different settings, I chose to conventional down cut - since it looked like the cleanest result, at these speeds.
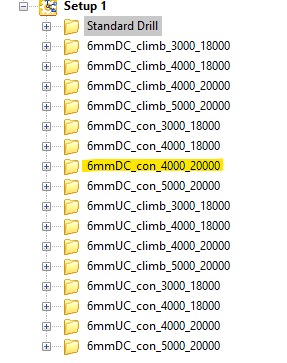
PROFILING SETTINGS:
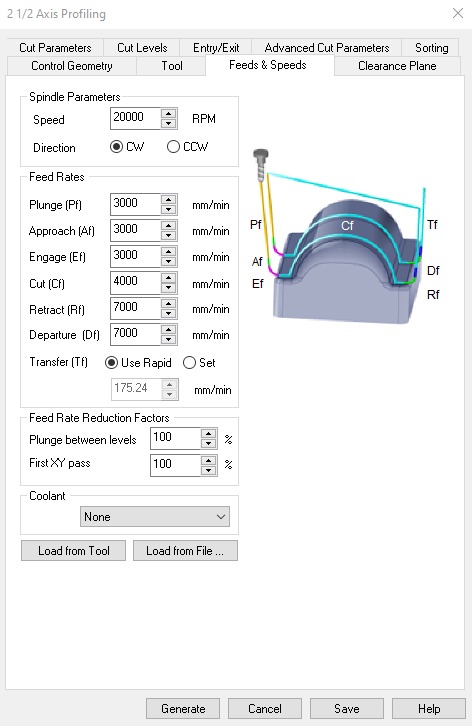
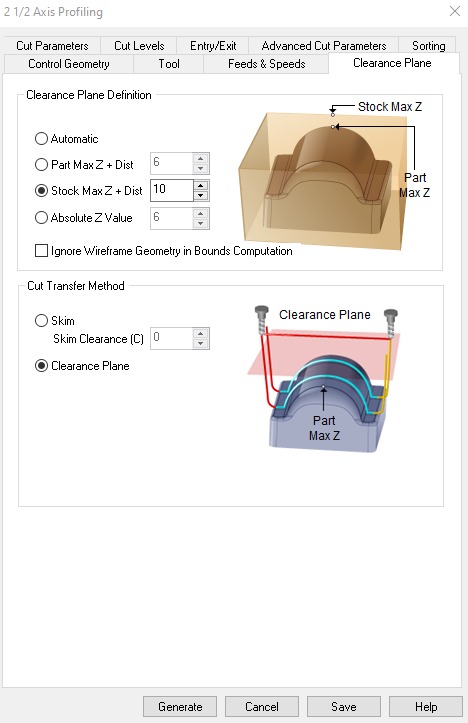
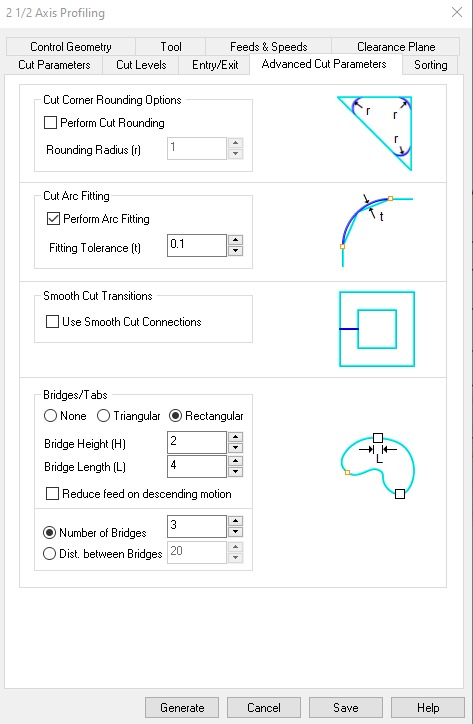
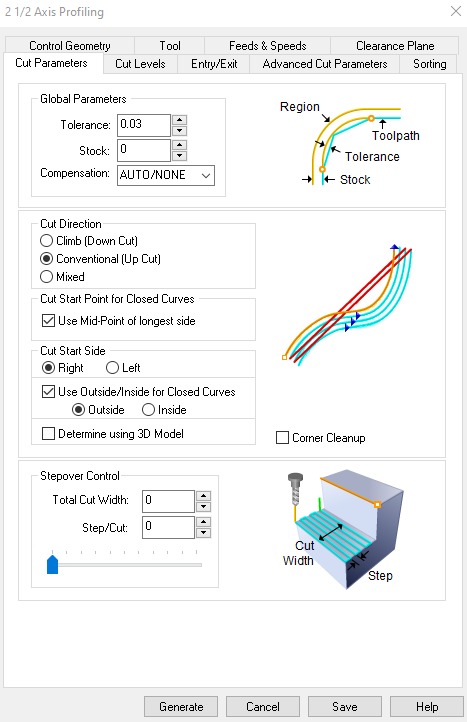
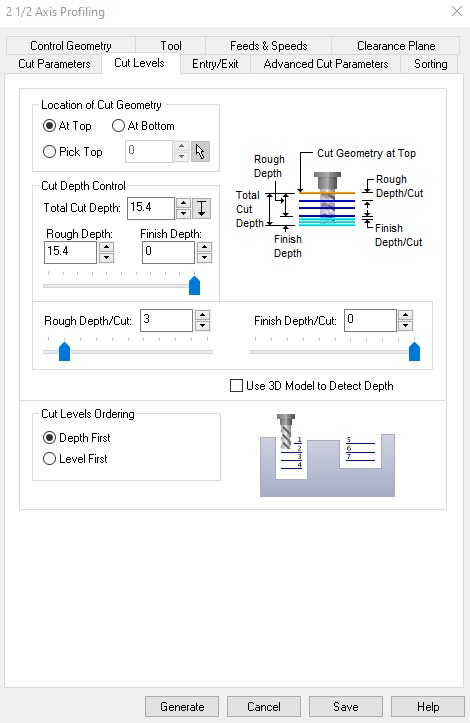
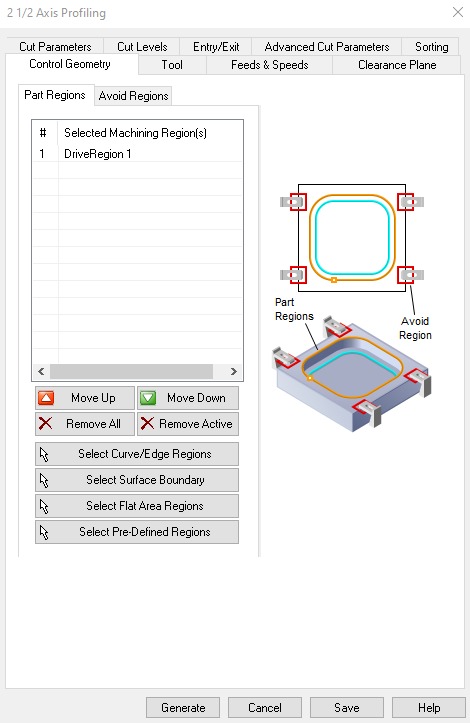
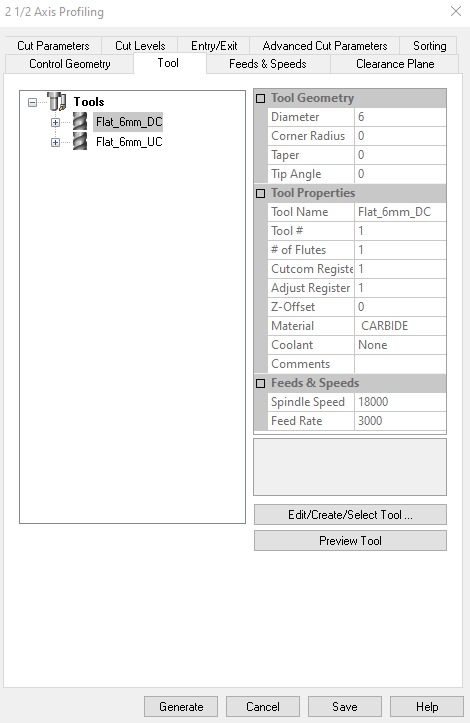
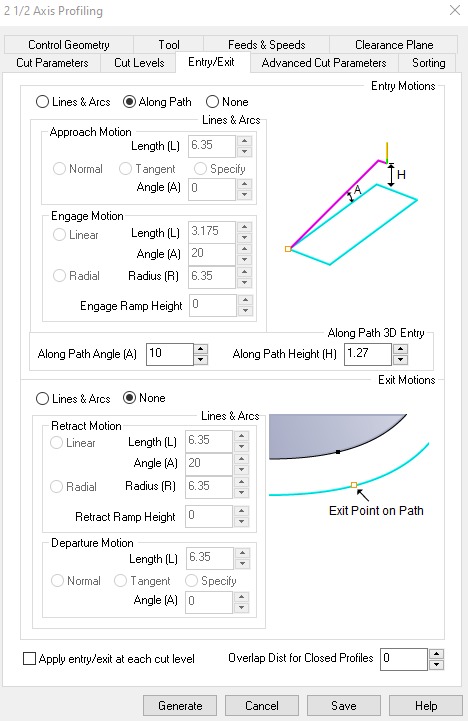
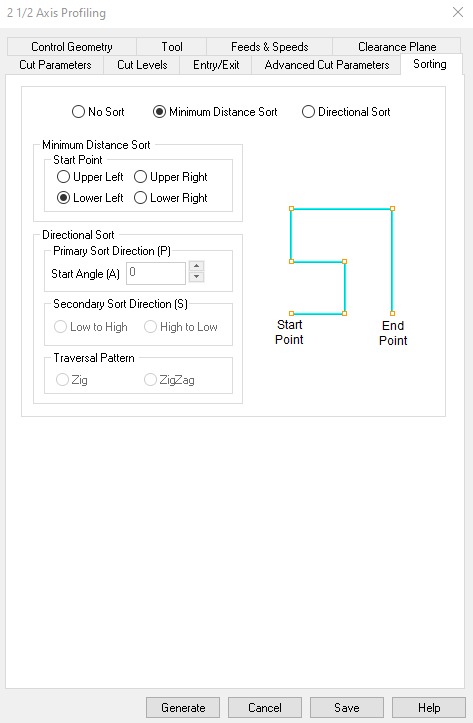
POCKETING SETTINGS: I used the default and used the same speeds as the pocketing. Changed the cut levels to 5 mm, and kept the same step.
5. When done setting all the paths in your file, you can export the G-Code by right clicking on the jobs. You can export them separately, or several at once. These are the files you'll load on the CNC software to launch the jobs. When batch exporting, the cutting order will be the top of the list to bottom.
Then to the machine.
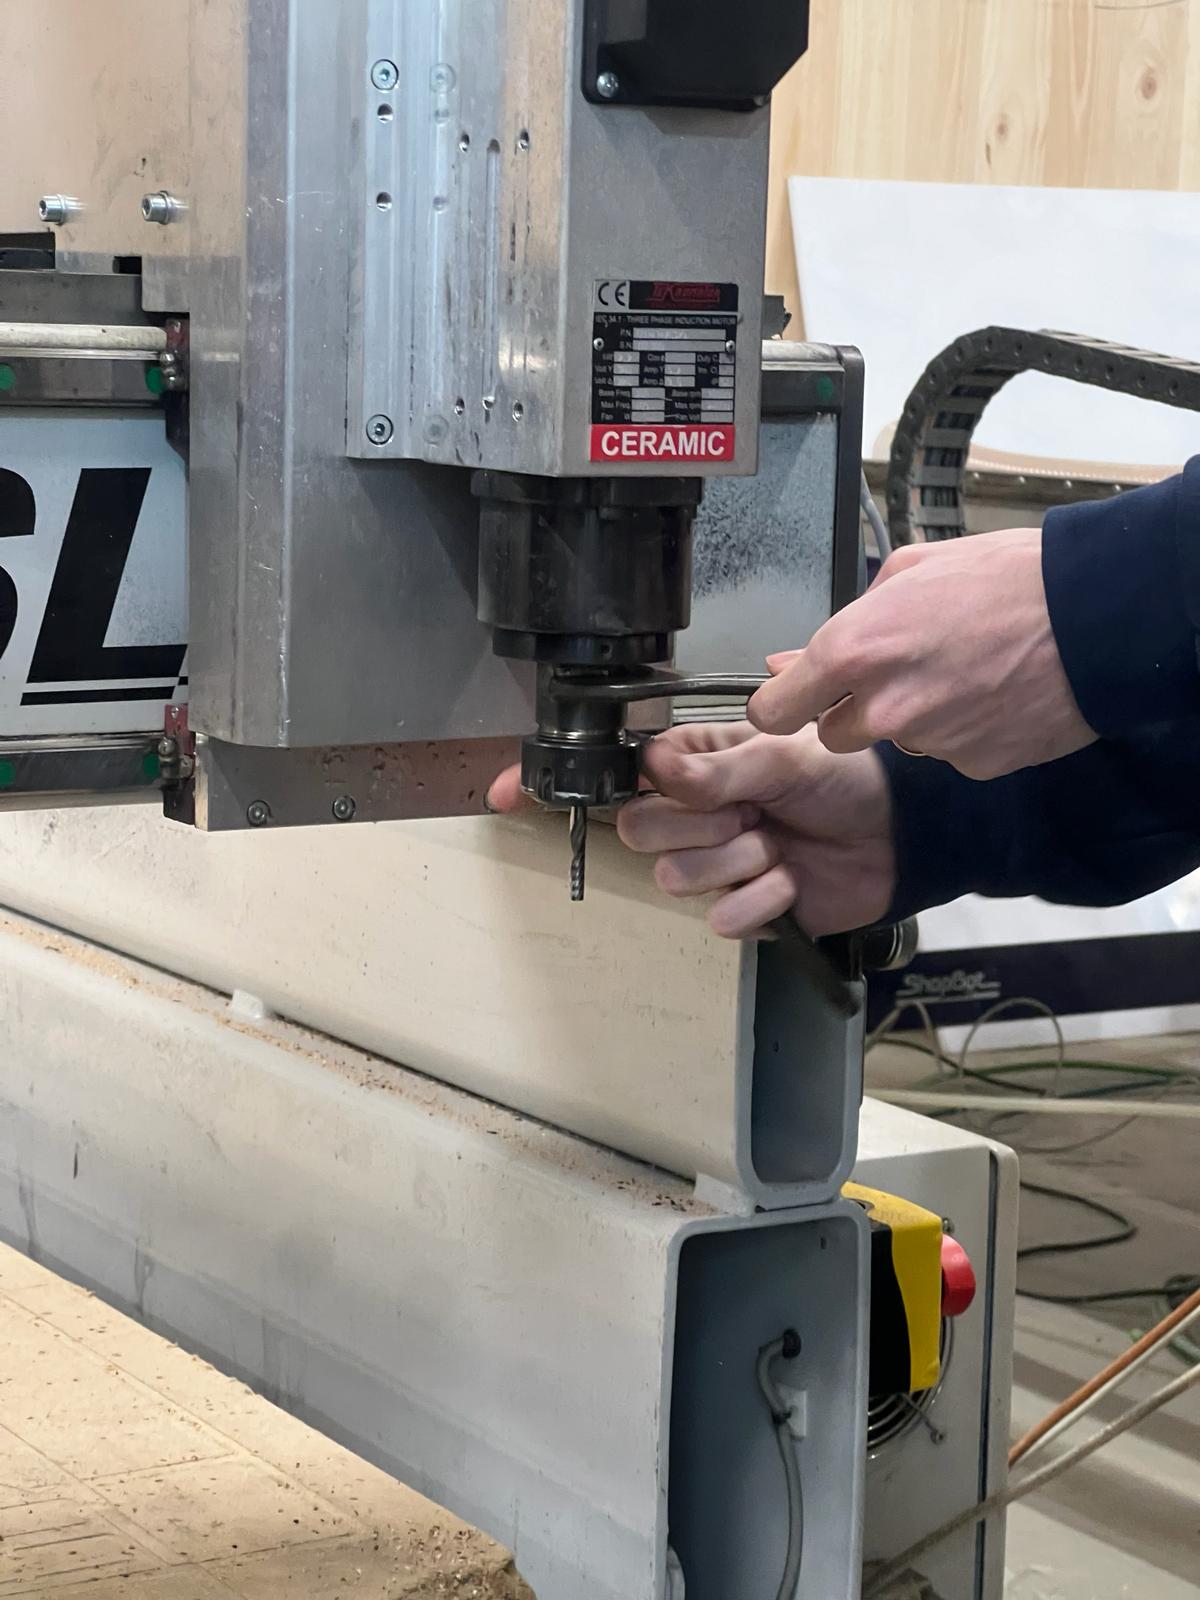
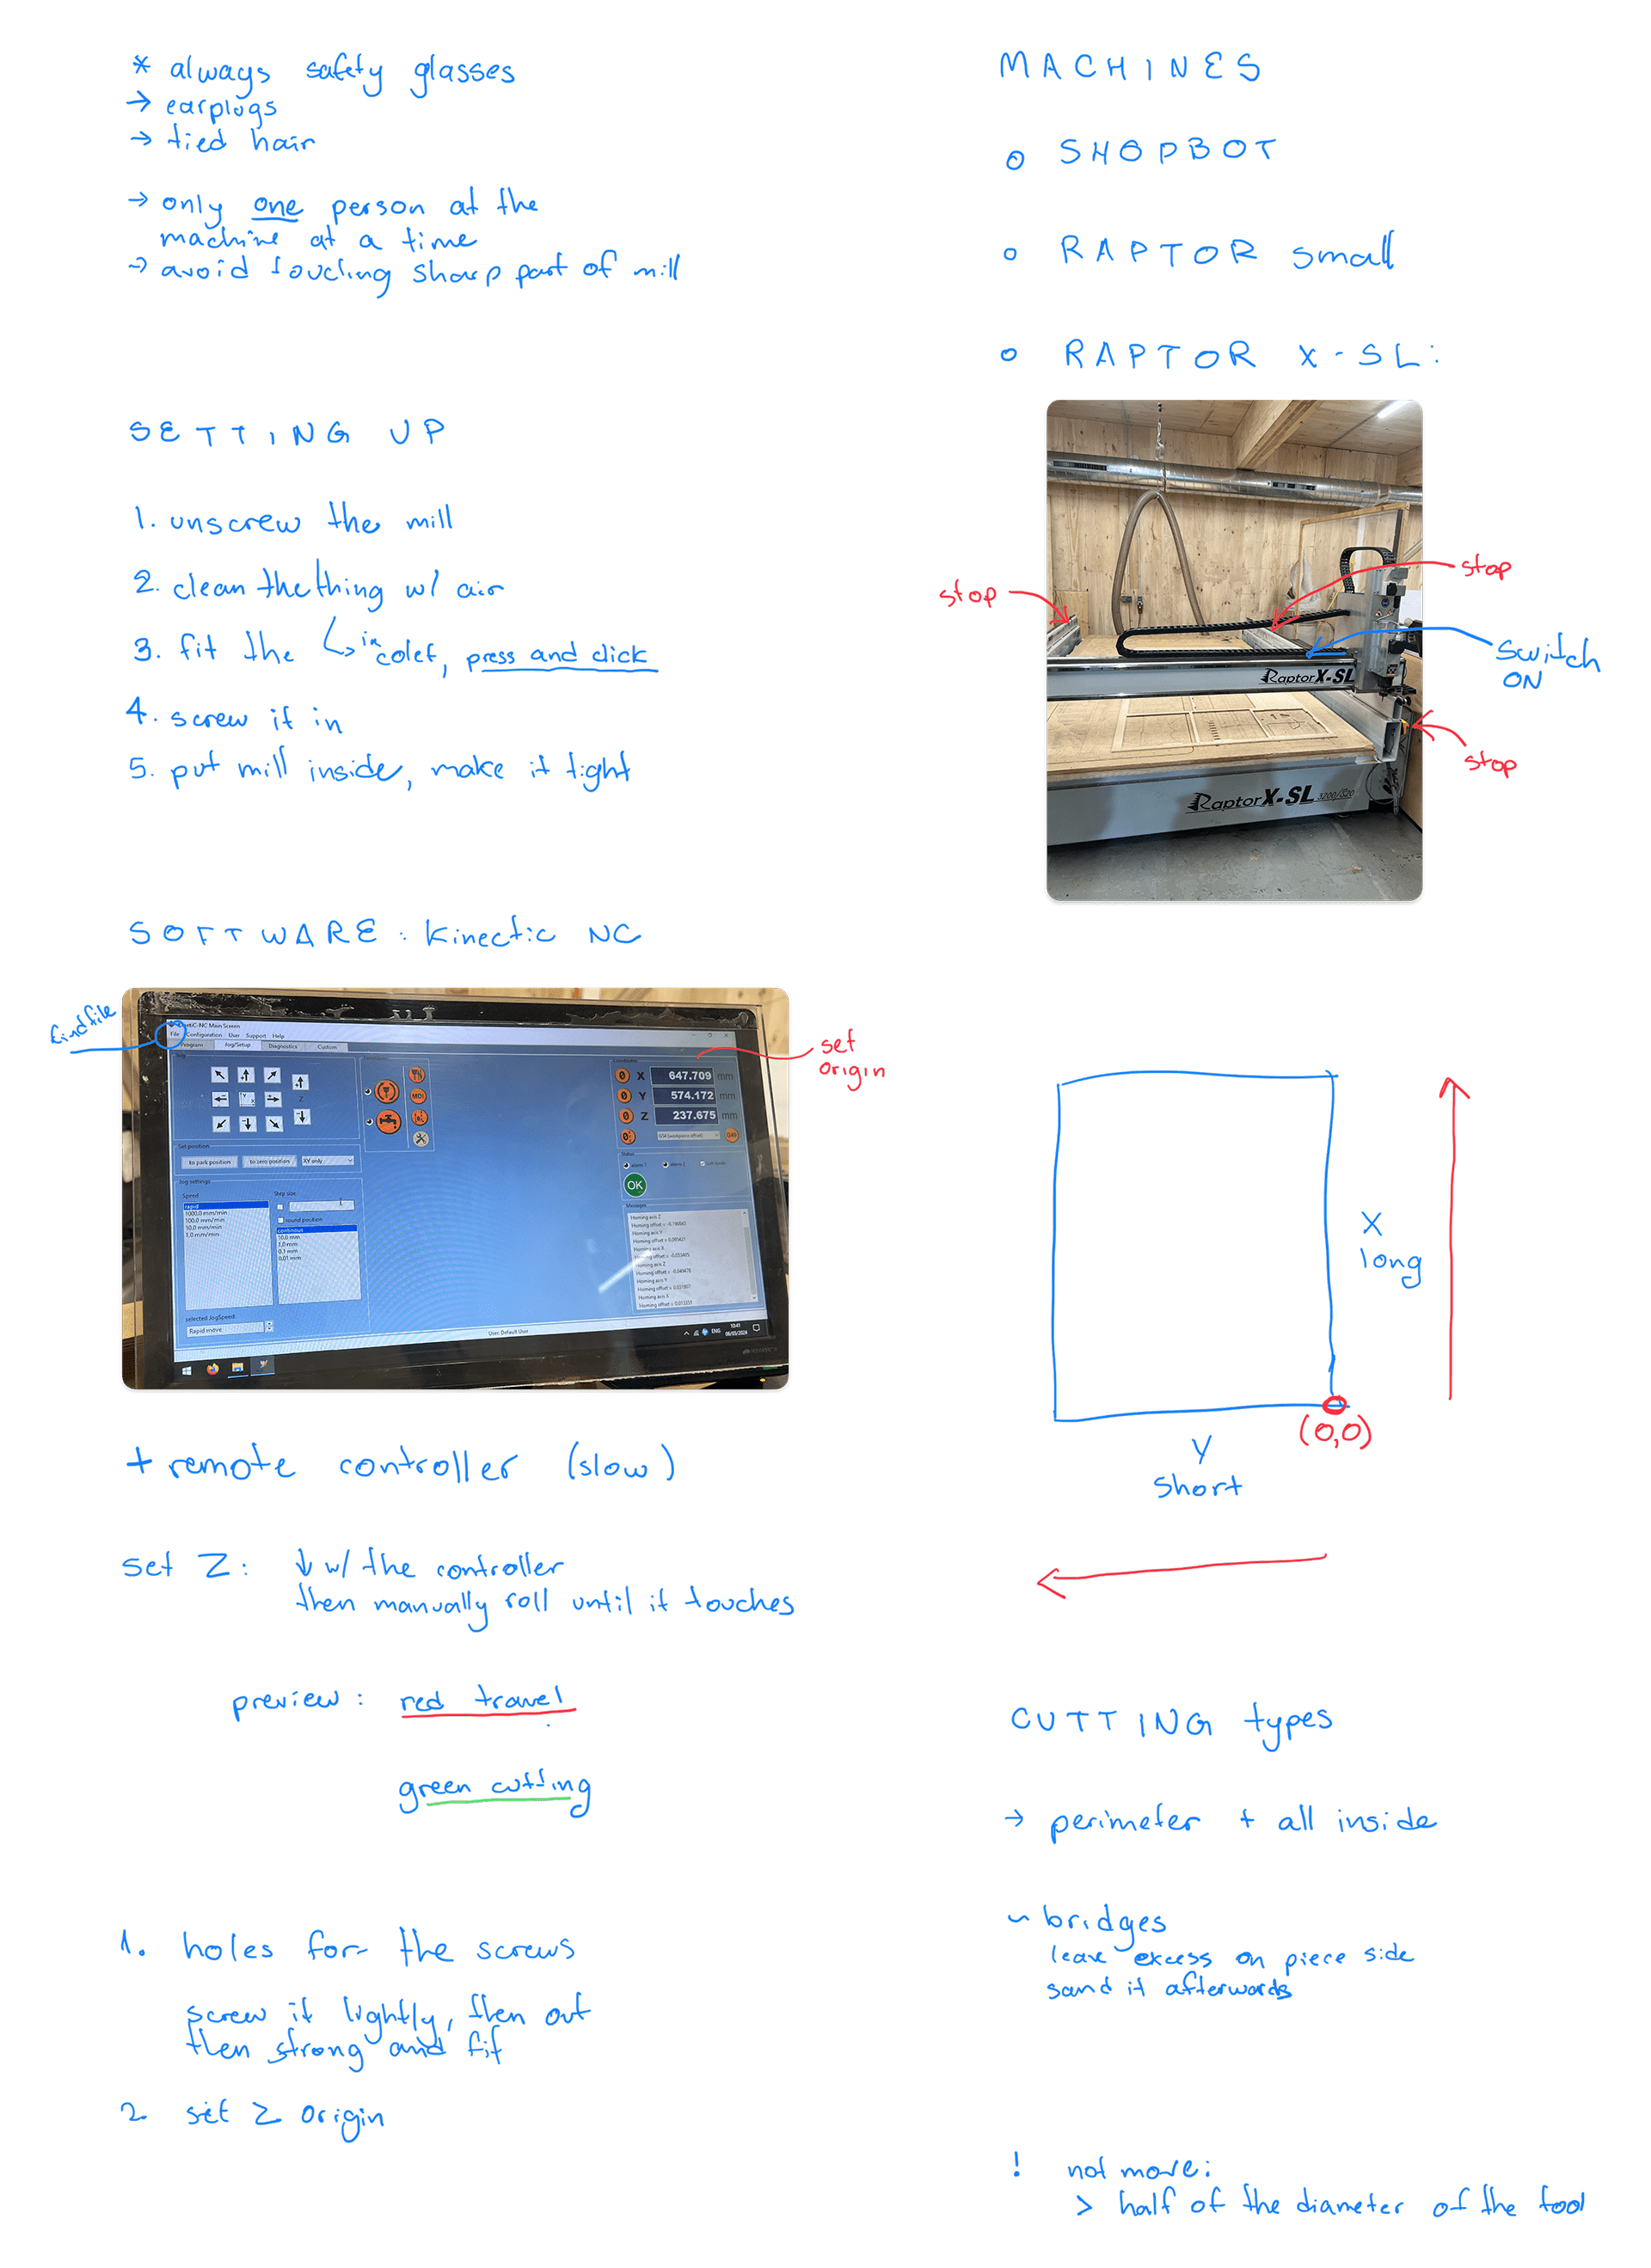
First, remove the nut and collet and place the mill you wanna use. Make sure it's locked in place using wrenches.
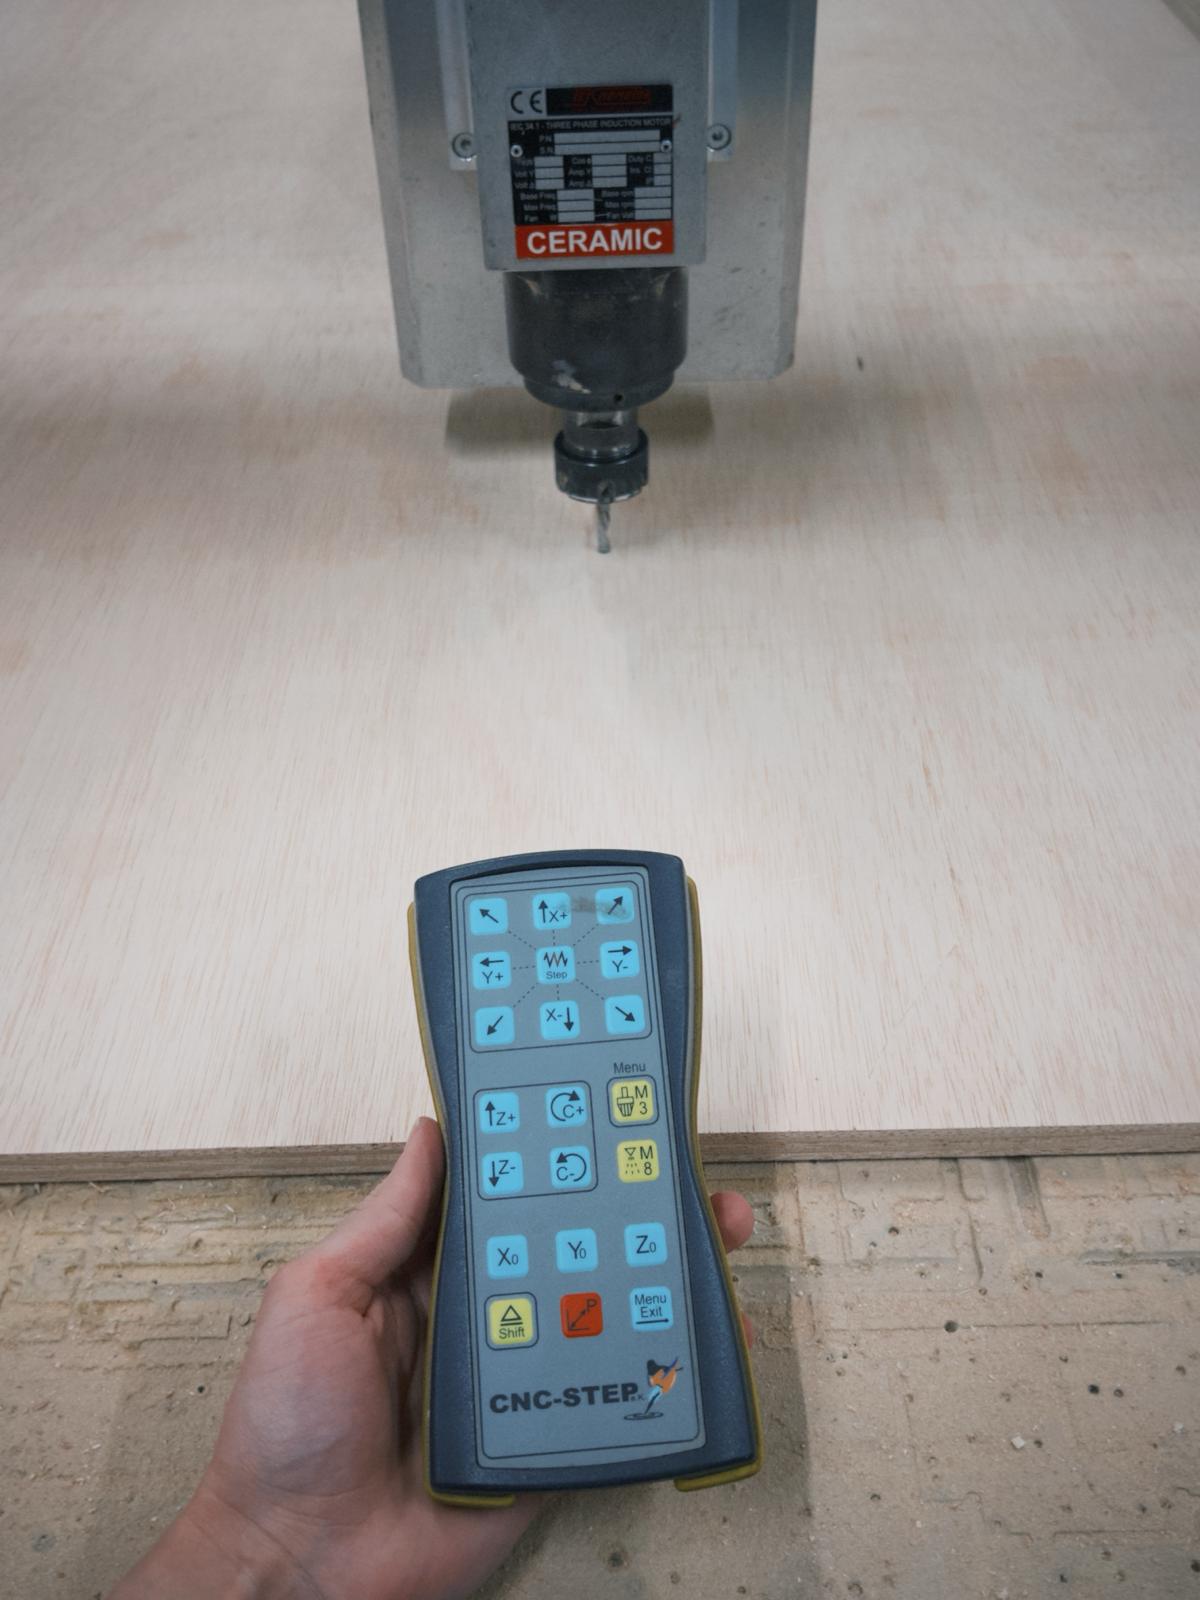
Then, set the origins. Move X and Y axis on the arrows to the origin (likely, the bottom left when looking at the machine landscape mode). To set Z, one must move X and Y to somewhere in the middle where the board is more flat. Slowly move the Z with the arrows with the remote controller and manually spin the nut. When it stops rotating, set that to Z. Also set "jog speed" to rapid, so that the machine moves fast when it's not cutting.
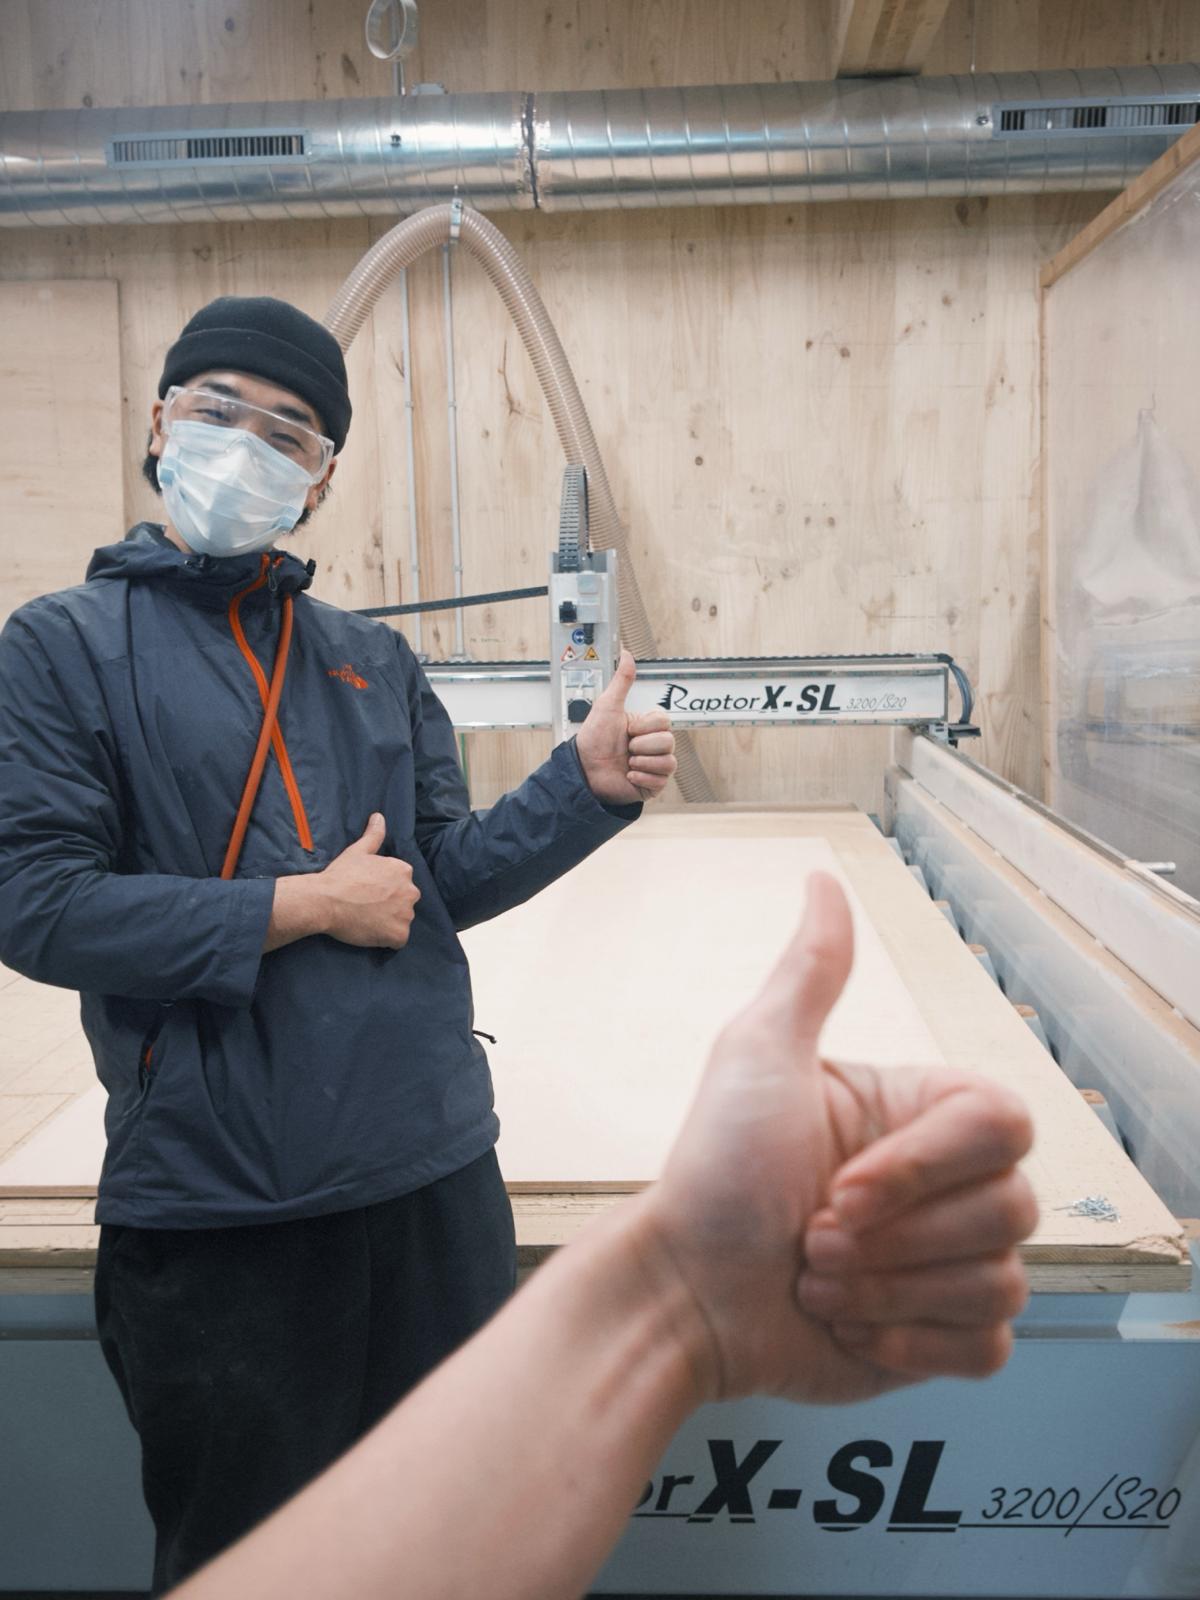
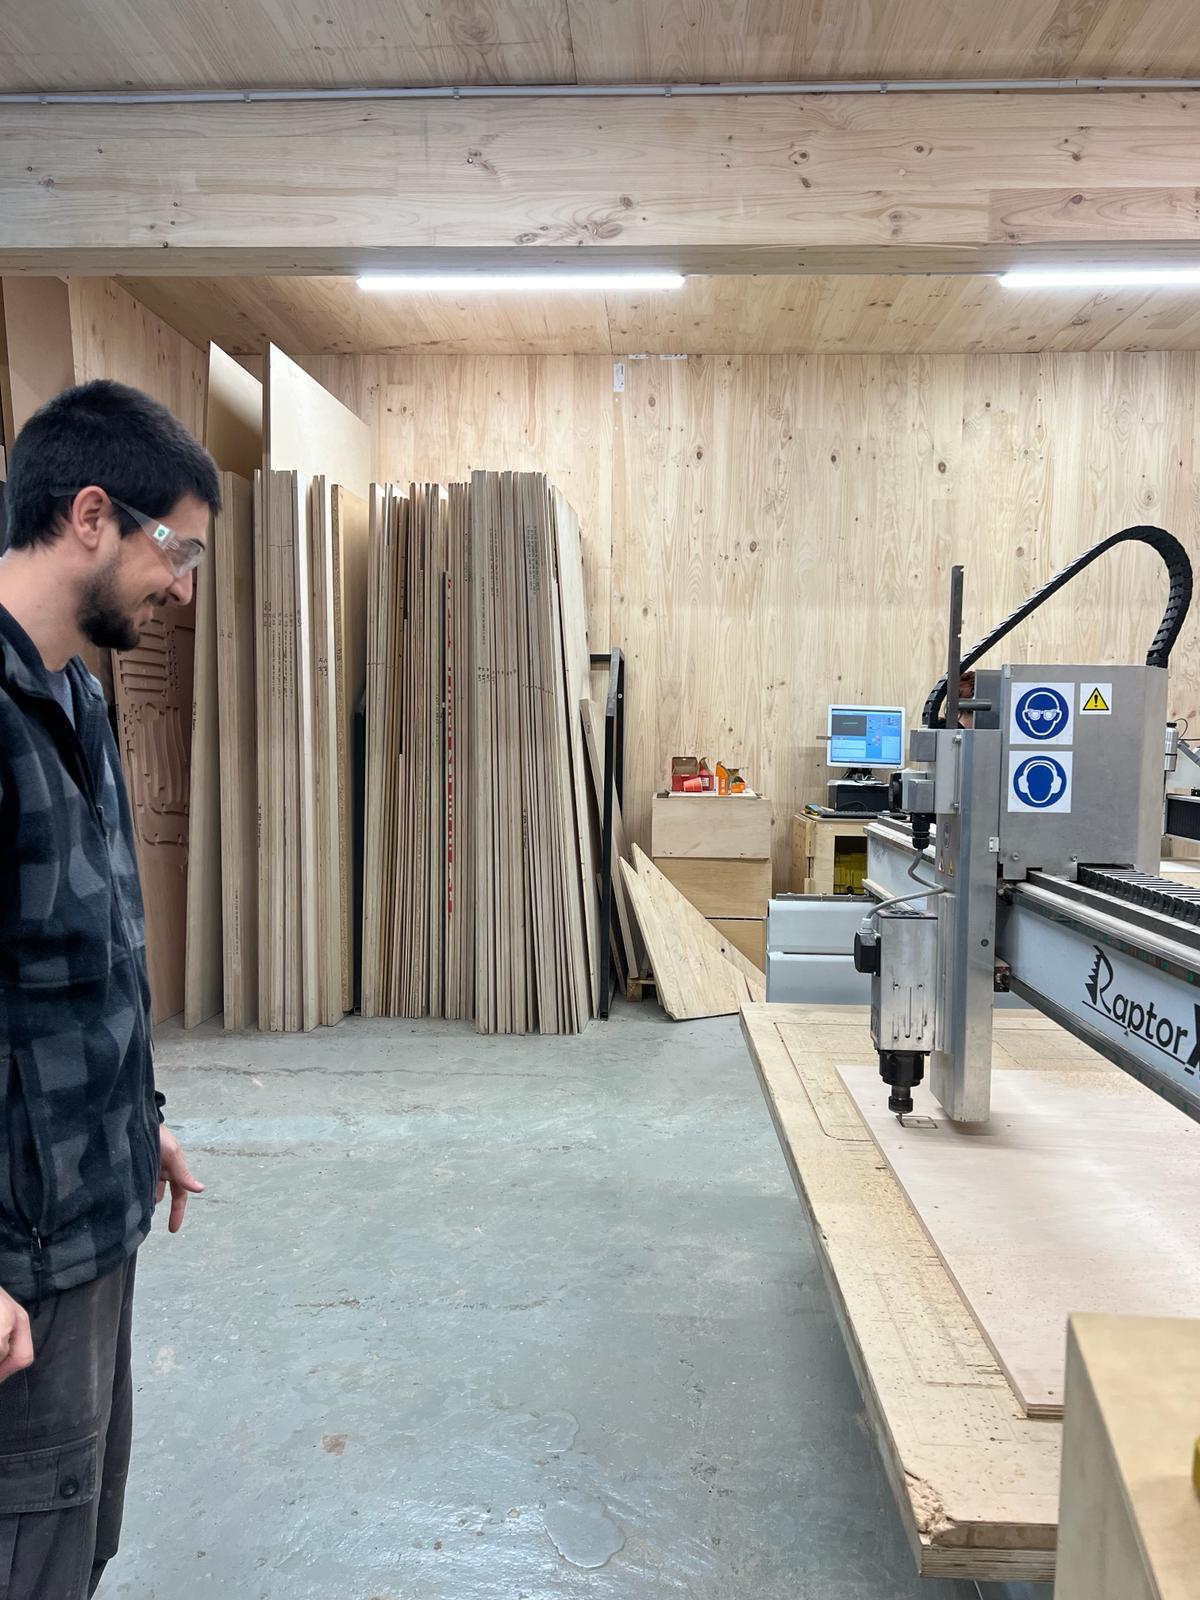
Thanks Richi and Adai!!
When all is set, load the drill file to set the holes.
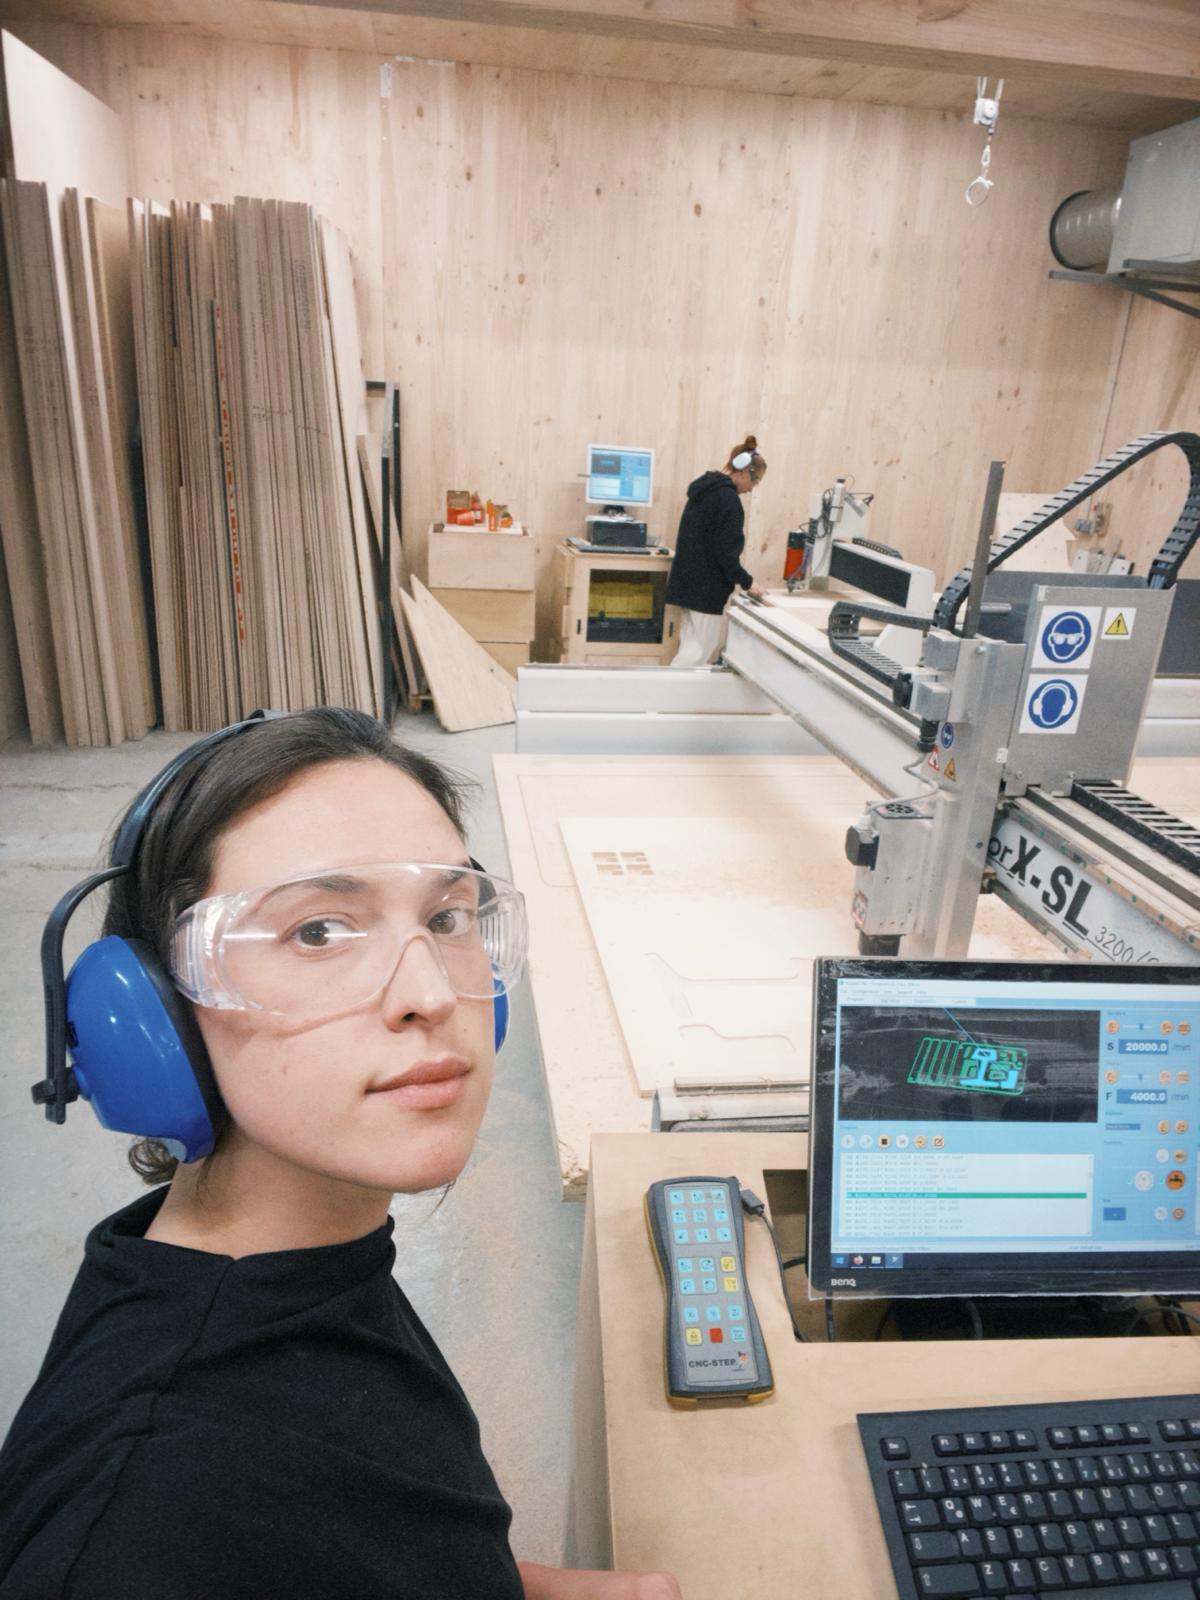
When done, move the mill away, get on the board and drill the screws.
Then make sure you place yourself to the side of the machine, wearing glasses and ear plugs.
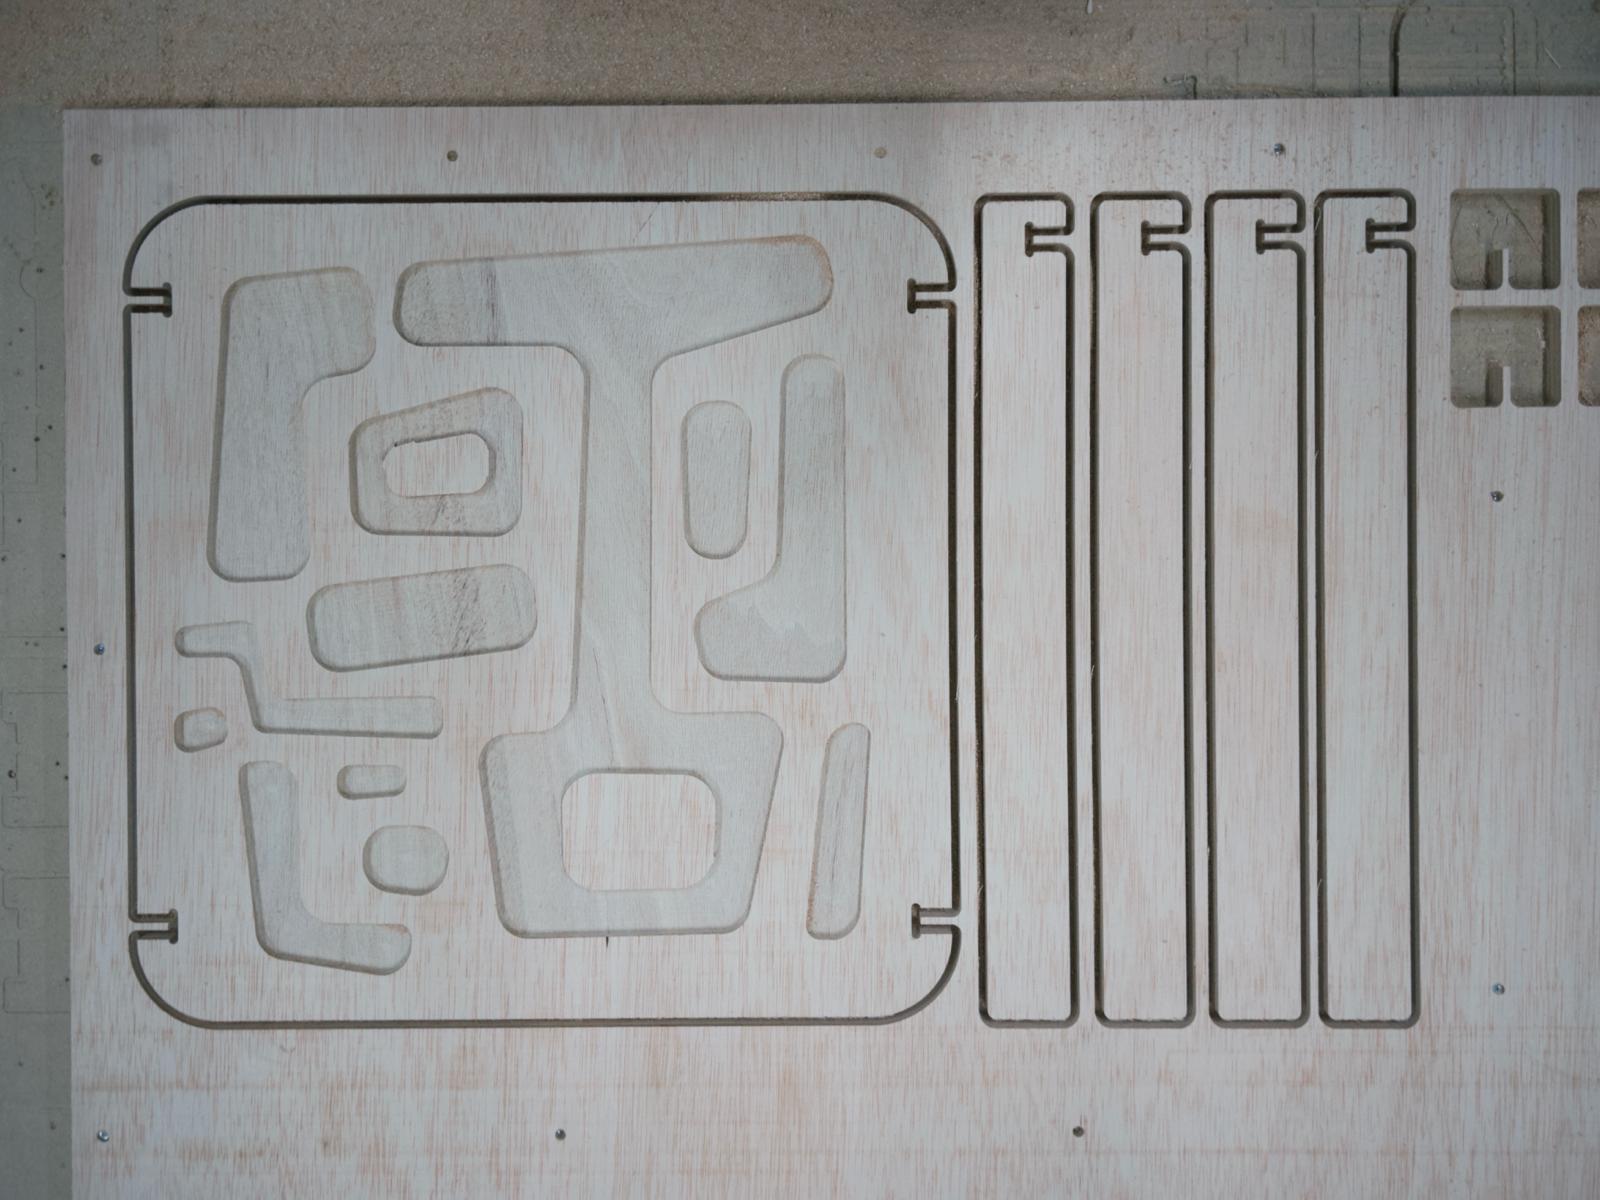
Then you can play the rest of the jobs to cut. I first did a test to check if my joints were working. They were, so I continued with the rest. Did pocketing first then the remaining profiles.
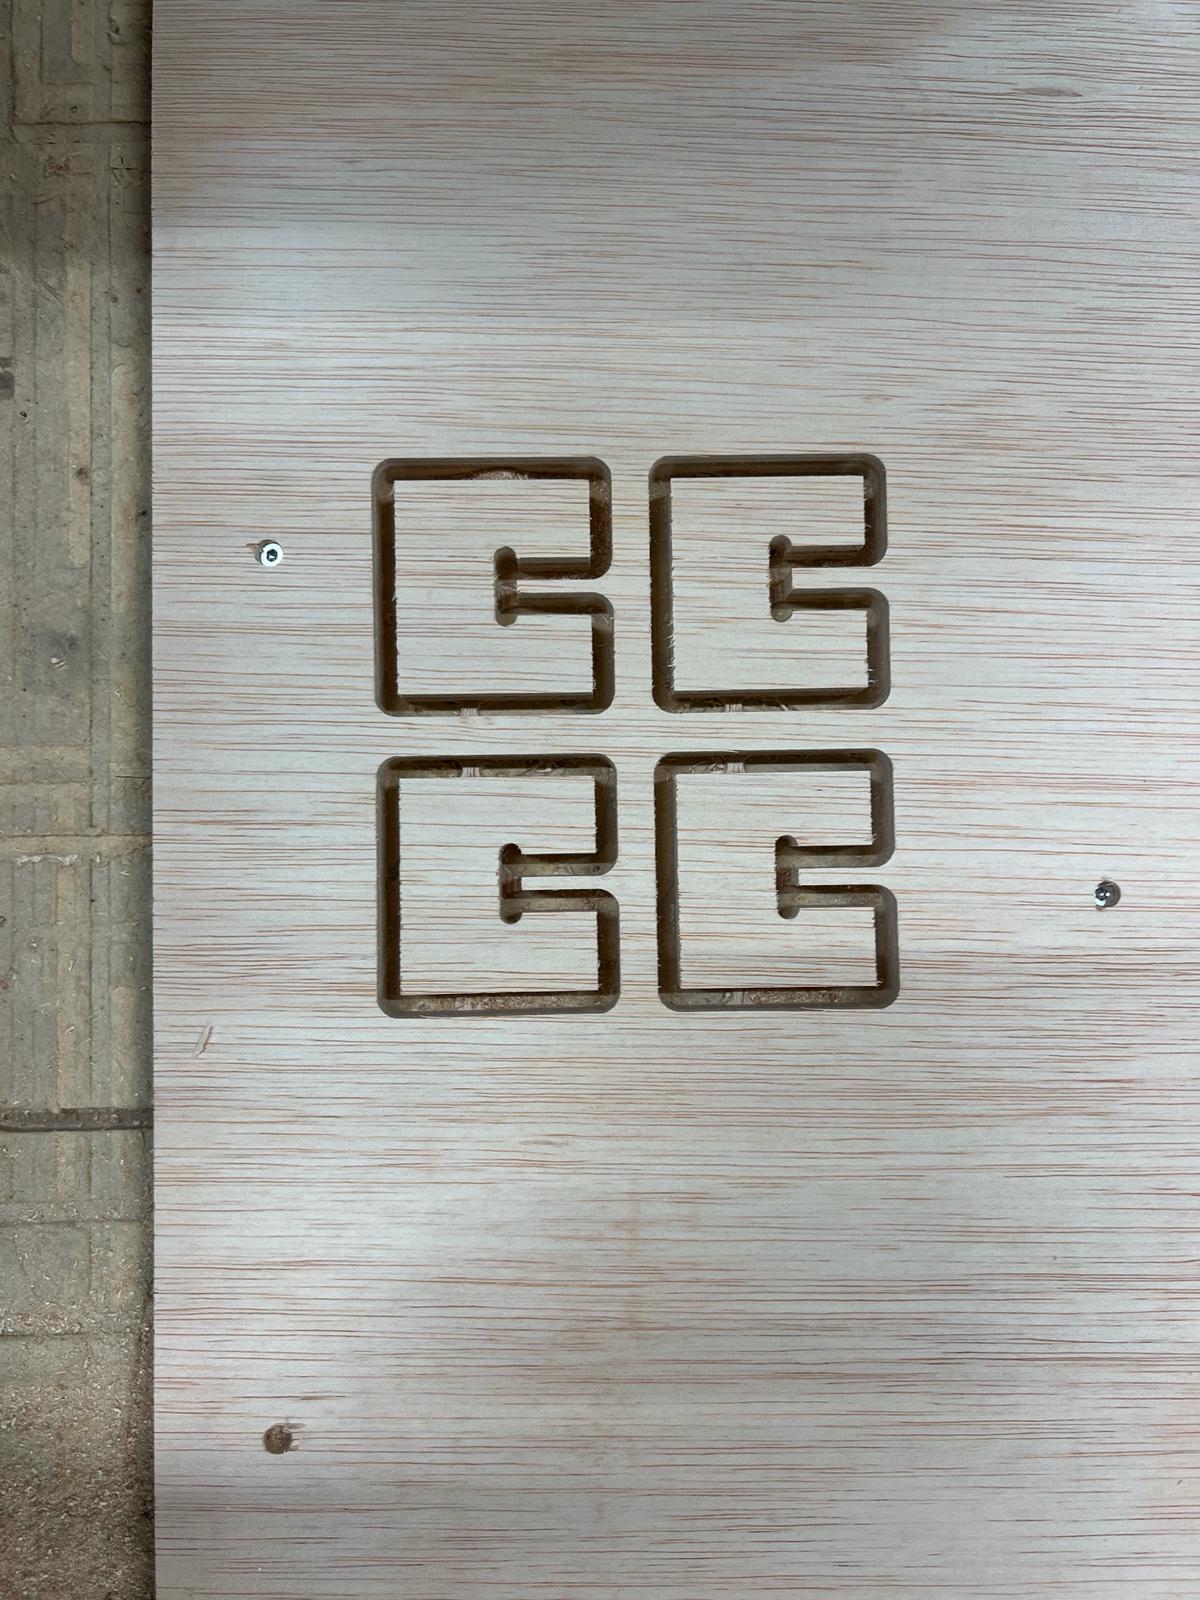
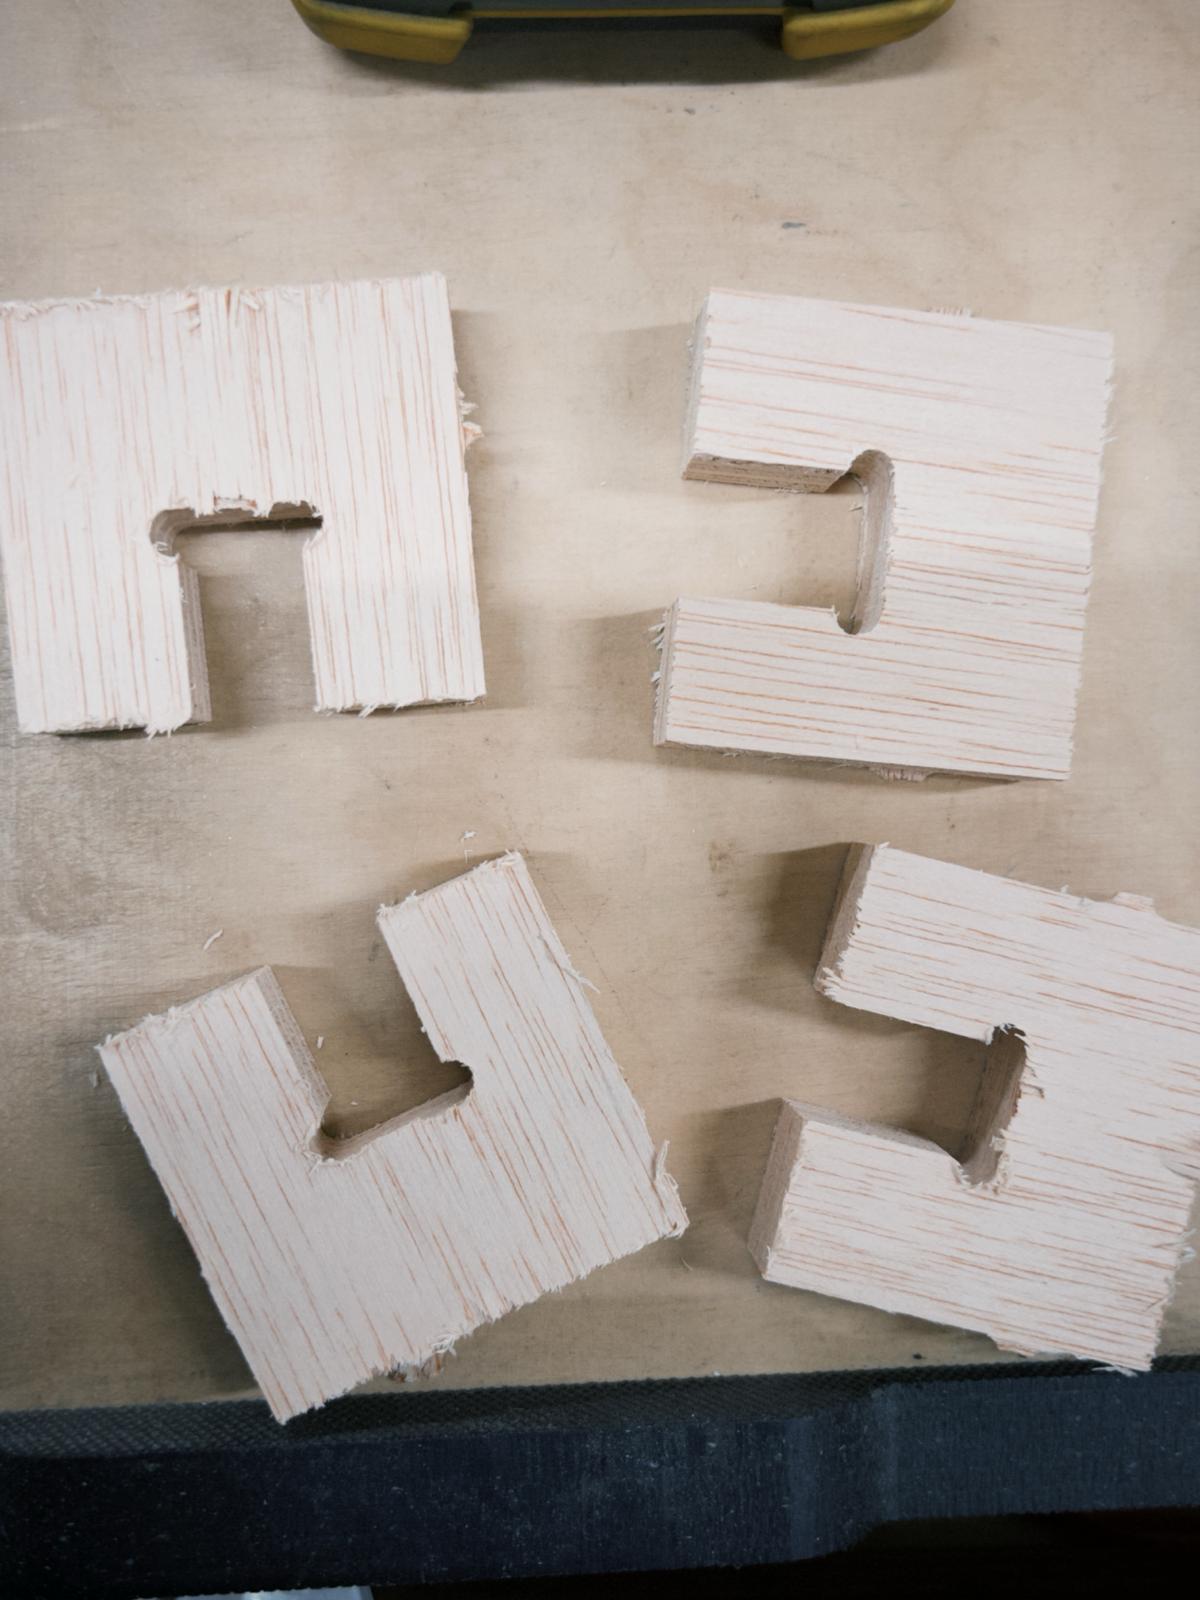
When done cutting, clean up the mess, unscrew the board, get your pieces, and maybe go sand them!
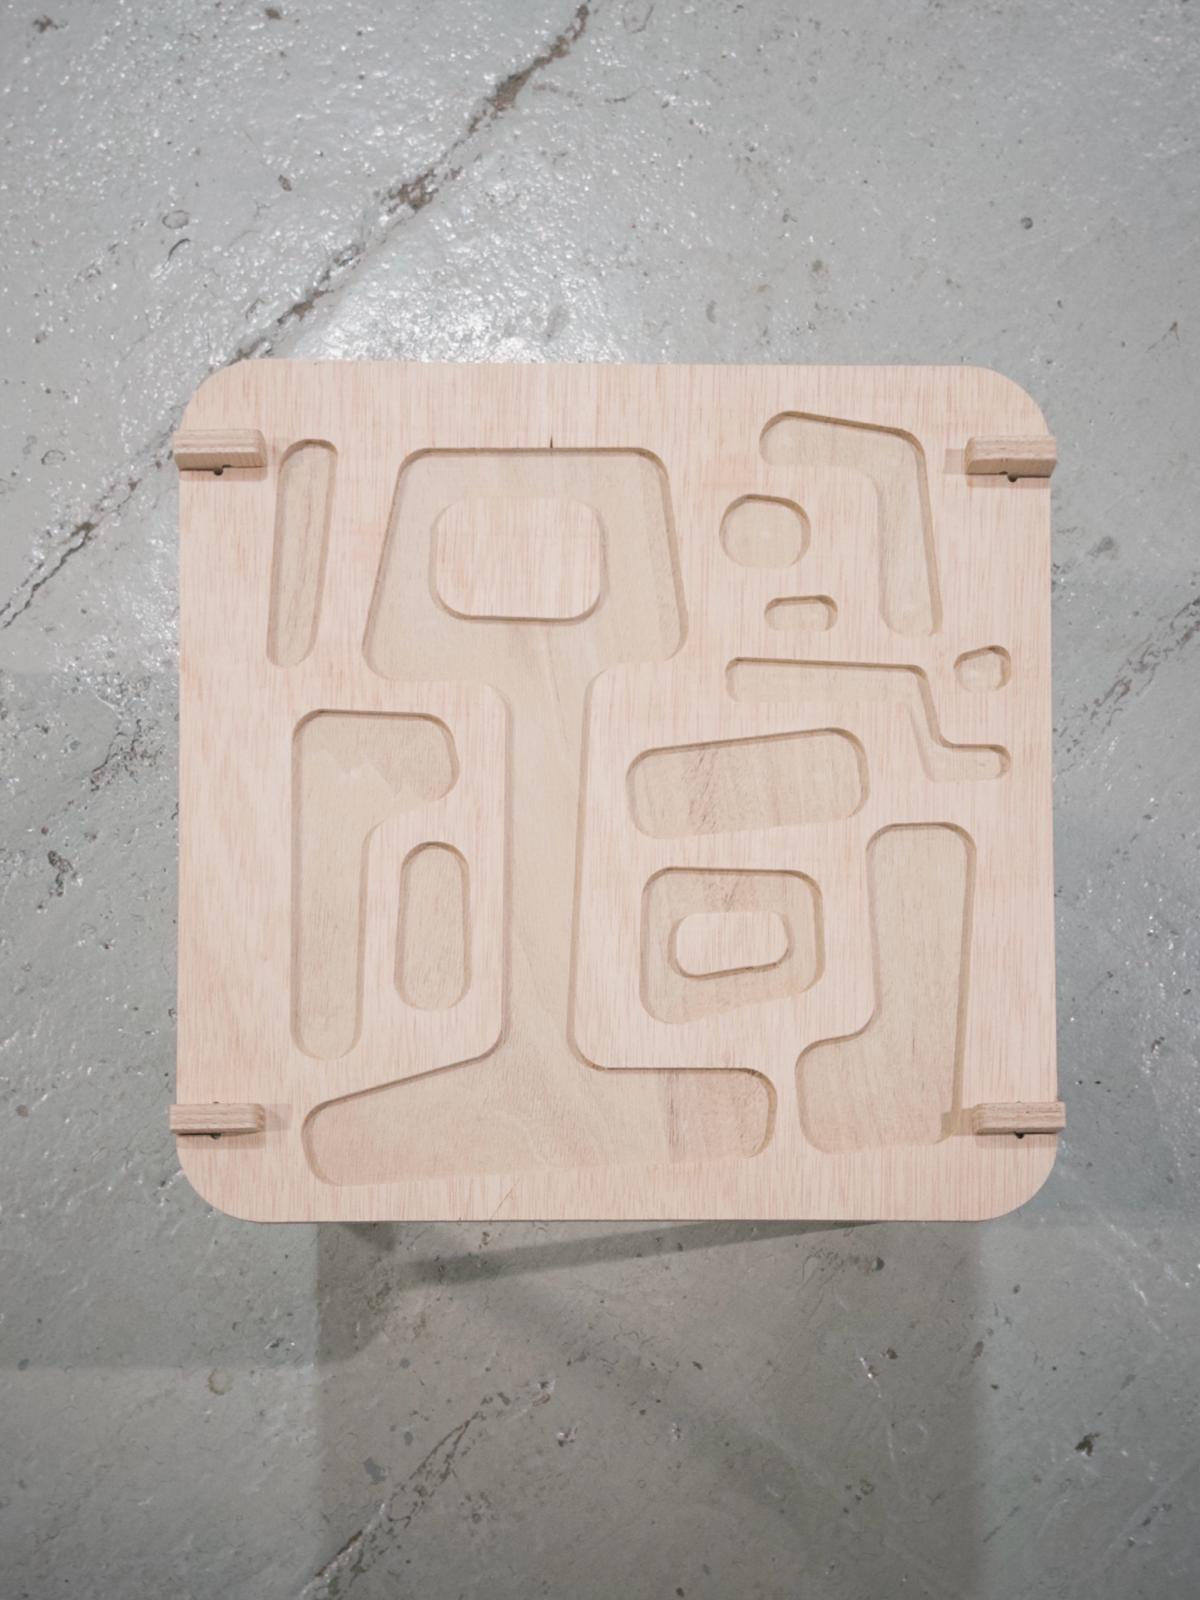
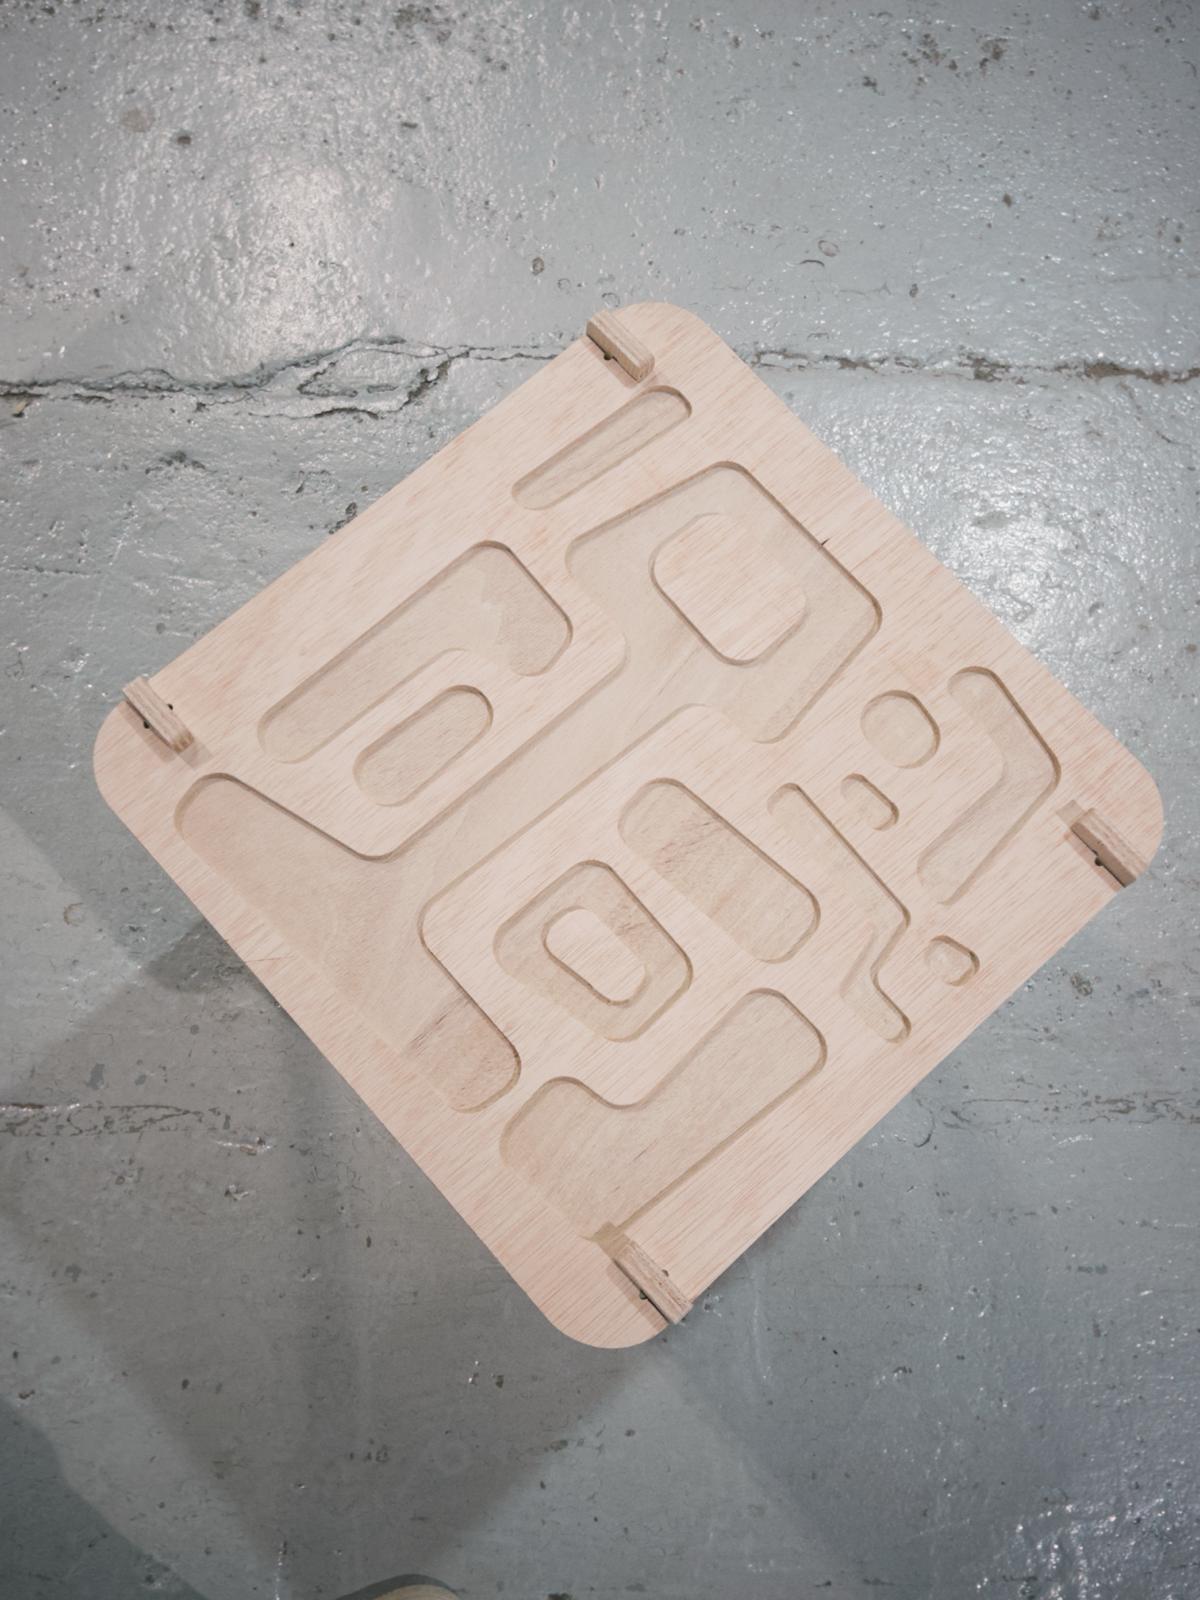
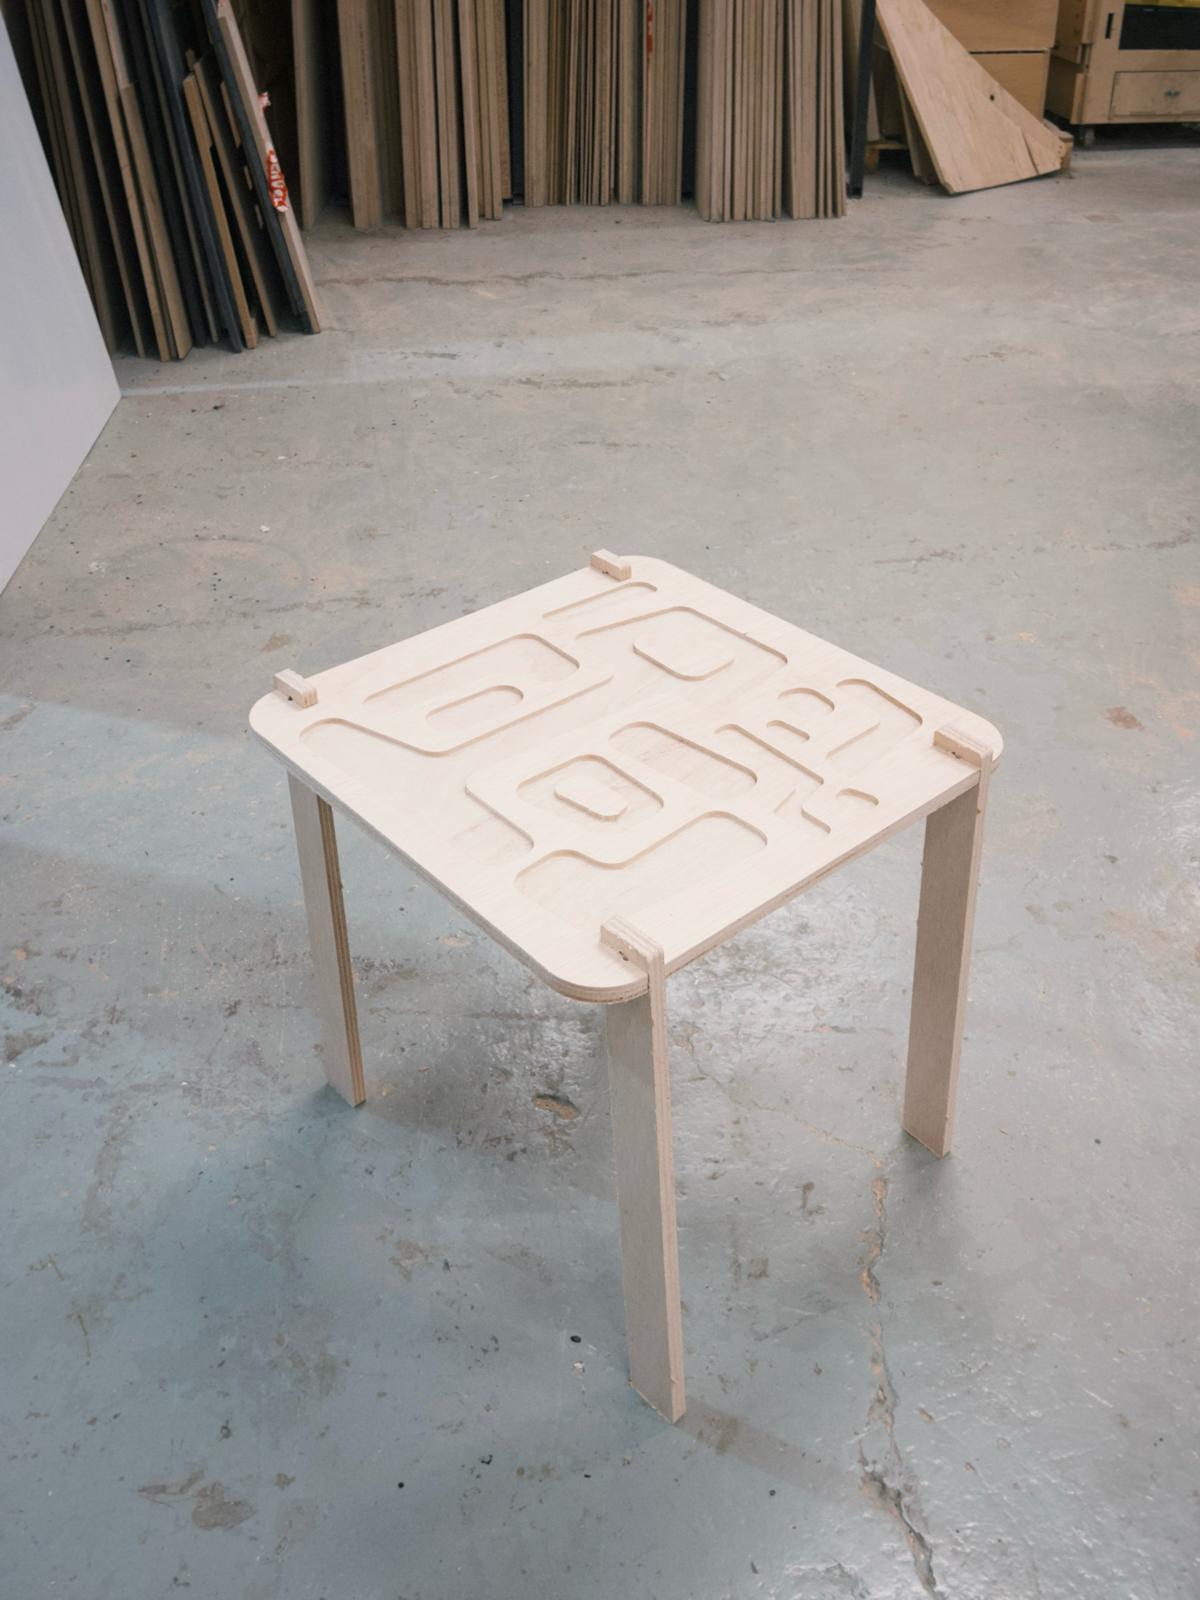
This is the final result.
FILES: