WEEK 6 / EMBEDDED PROGRAMMING
This week we learned about different microcontrollers and how to program them using Arduino IDE and MicroPython.

Weekly assignments
Group assignment
TASKS:
Browse through the datasheet for your microcontroller
Compare the performance and development workflows for other architectures
Document your work to the group work page and reflect on your individual page what you learned
You can find the group assignment in our group page.
Individual assignments
TASK:
Write a program for a microcontroller development board to interact (with local input &/or output devices) and communicate (with remote wired or wireless devices).
For this assignment, I used the Quentorres board I made on Week 4.
The first code is supposed to make the board button control the start and stop of an LED fade effect.
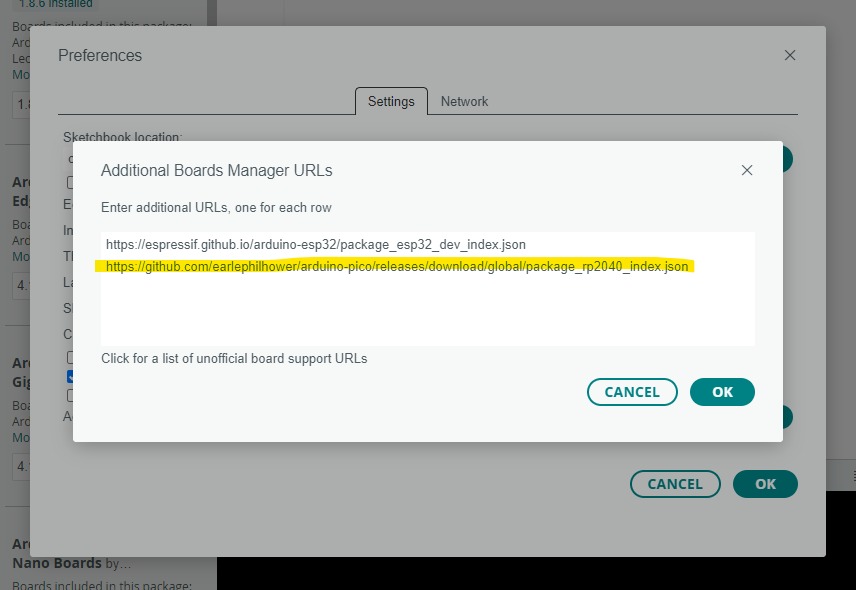
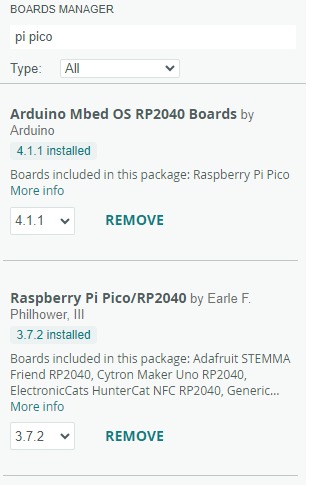
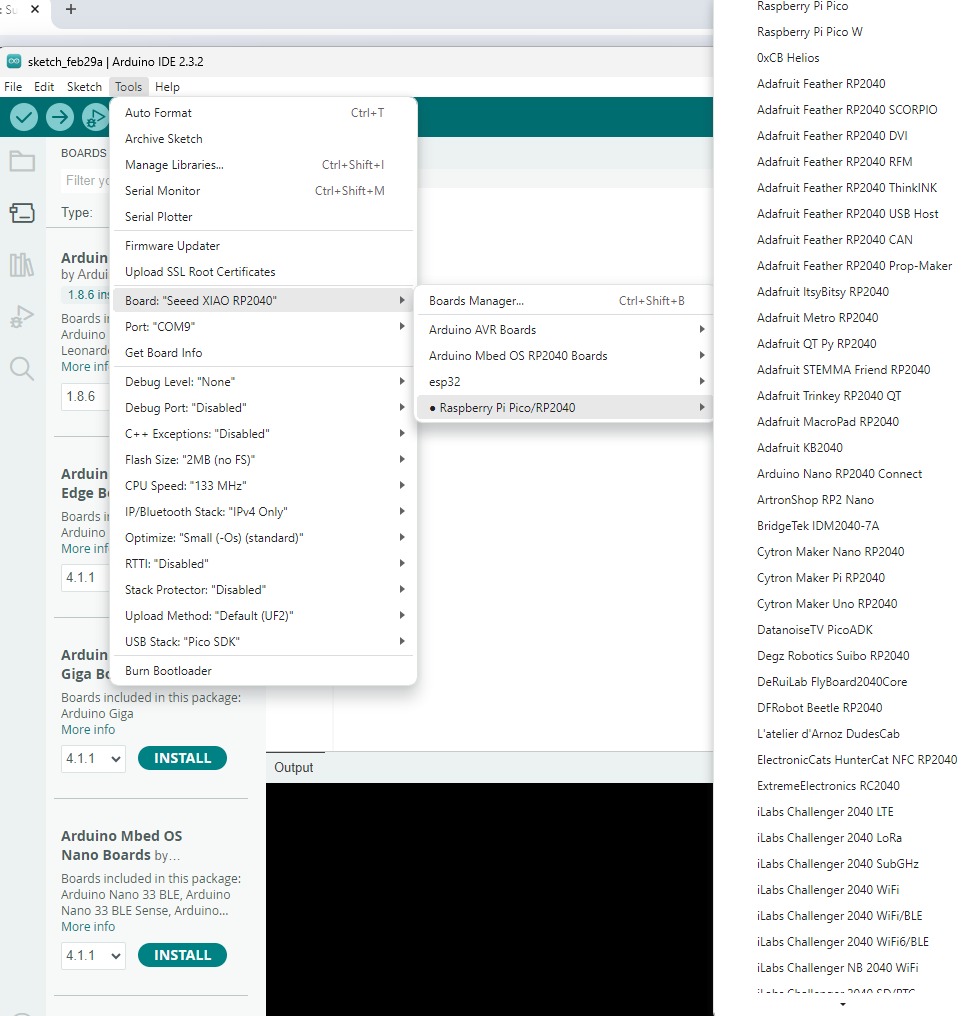
After installing, the first step on Arduino IDE is to make sure the RP2040 package is installed. Then need to select the correct port the USB cable is connected to, and find the XIAO board on the board list.


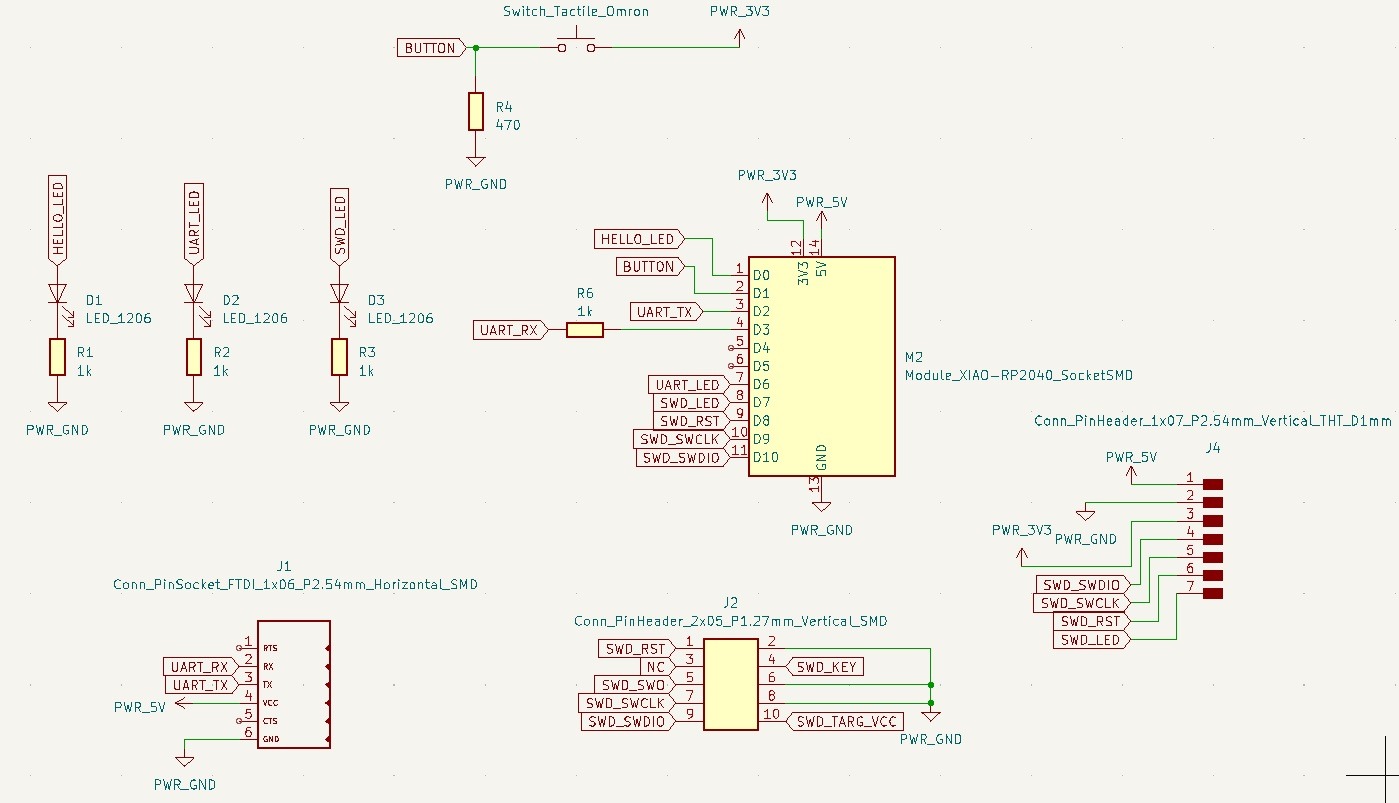
Then get the board's schematic, to find which pins are the inputs and outputs you can control. In the Quentorres, one of the LEDs is D0 and the button is D1.

I first rant the blink test to make sure everything was connected and the pins were right. Click verify (check mark) then upload the code.

Then edited the code and added the button as an input pin, added brightness and fade variables.

In this following video I show the board communicating via serial and showing the button state:
here is the MicroPython code for the button test.