WEEK 5 / 3D SCANNING AND PRINTING
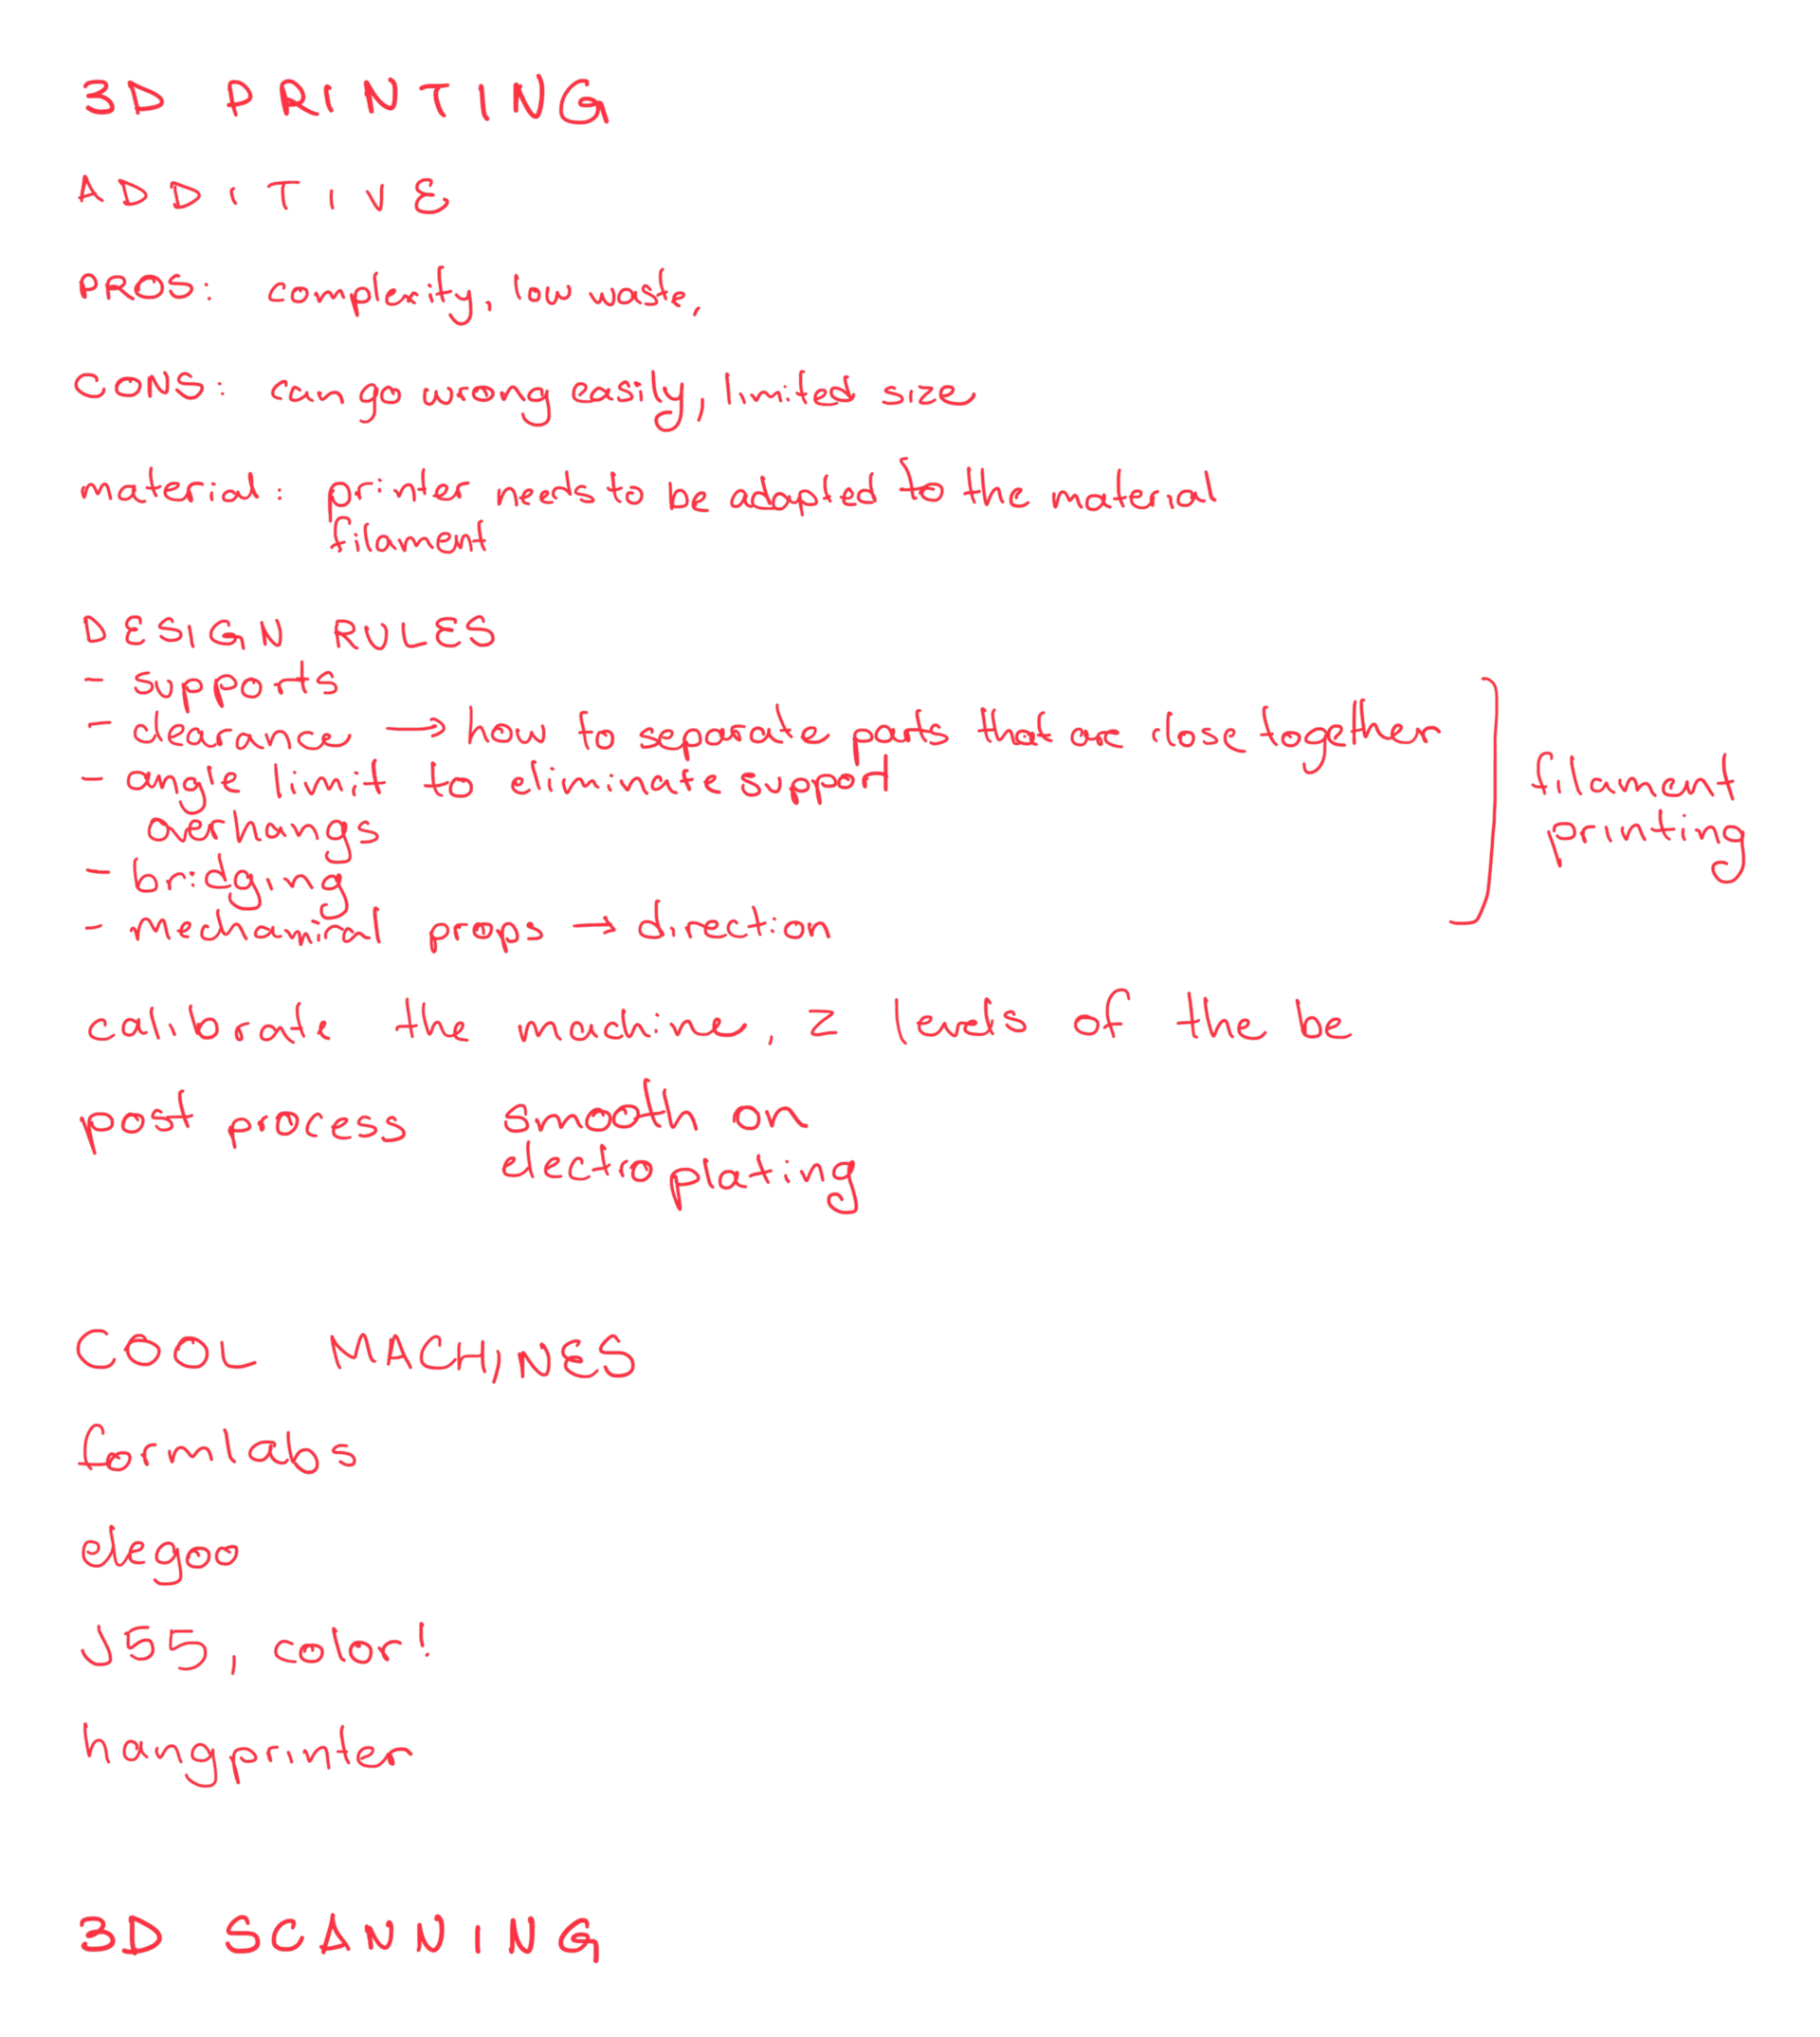
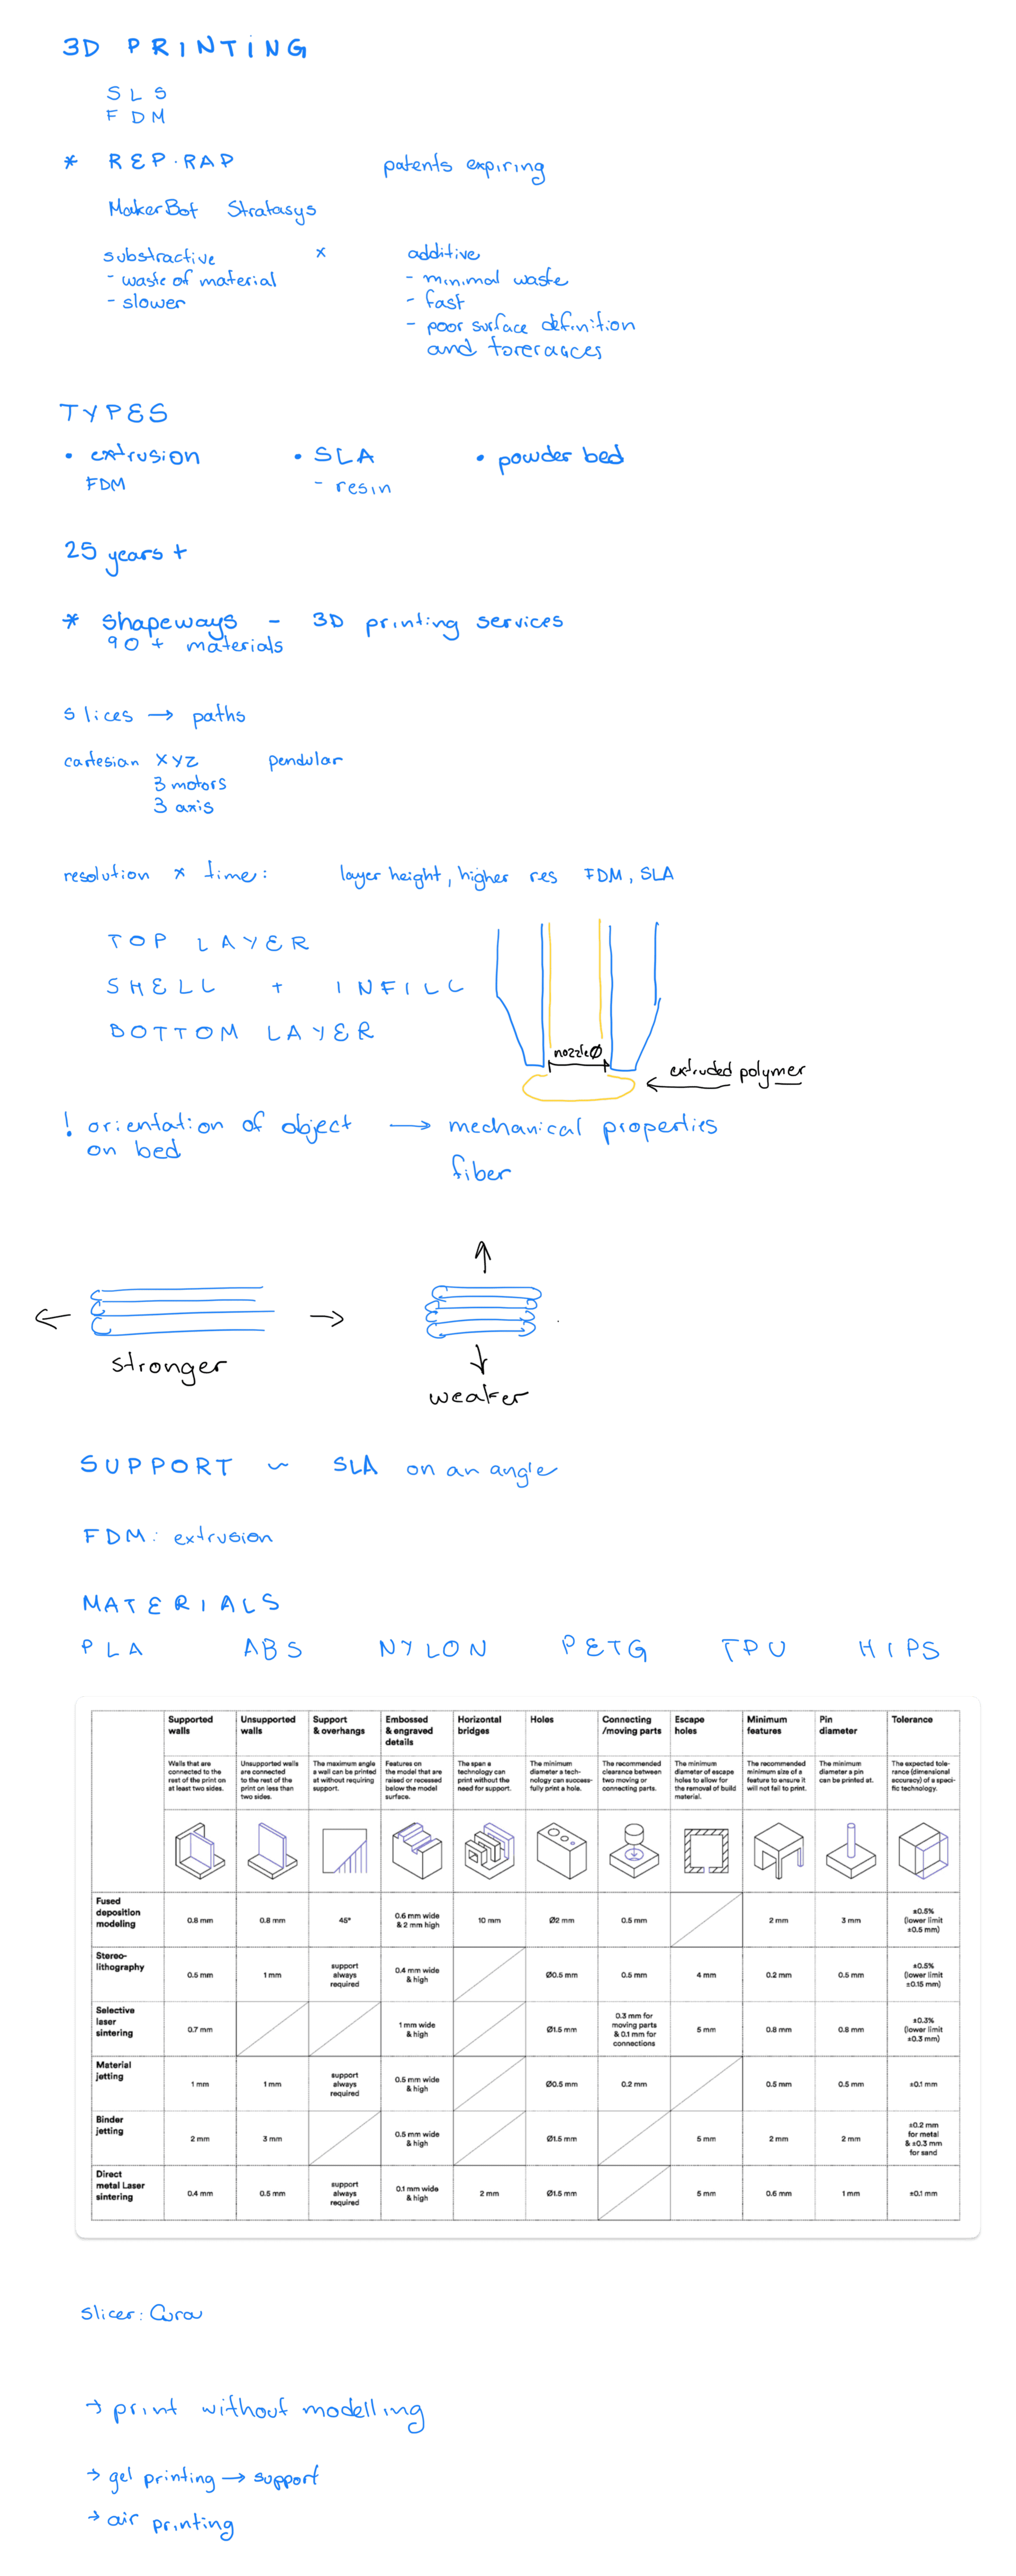
This week we learned about different additive manufacturing methods and 3D scanning technologies.
Weekly assignments
Group assignment
TASK: Test the design rules for your 3D printer(s). Document your work on the group work page and reflect on your individual page what you learned about characteristics of your printer(s).
You can find the group assignment in our group page.
Individual assignments
TASK 1. Design and 3D print an object that could not be easily made subtractively.
Clay print
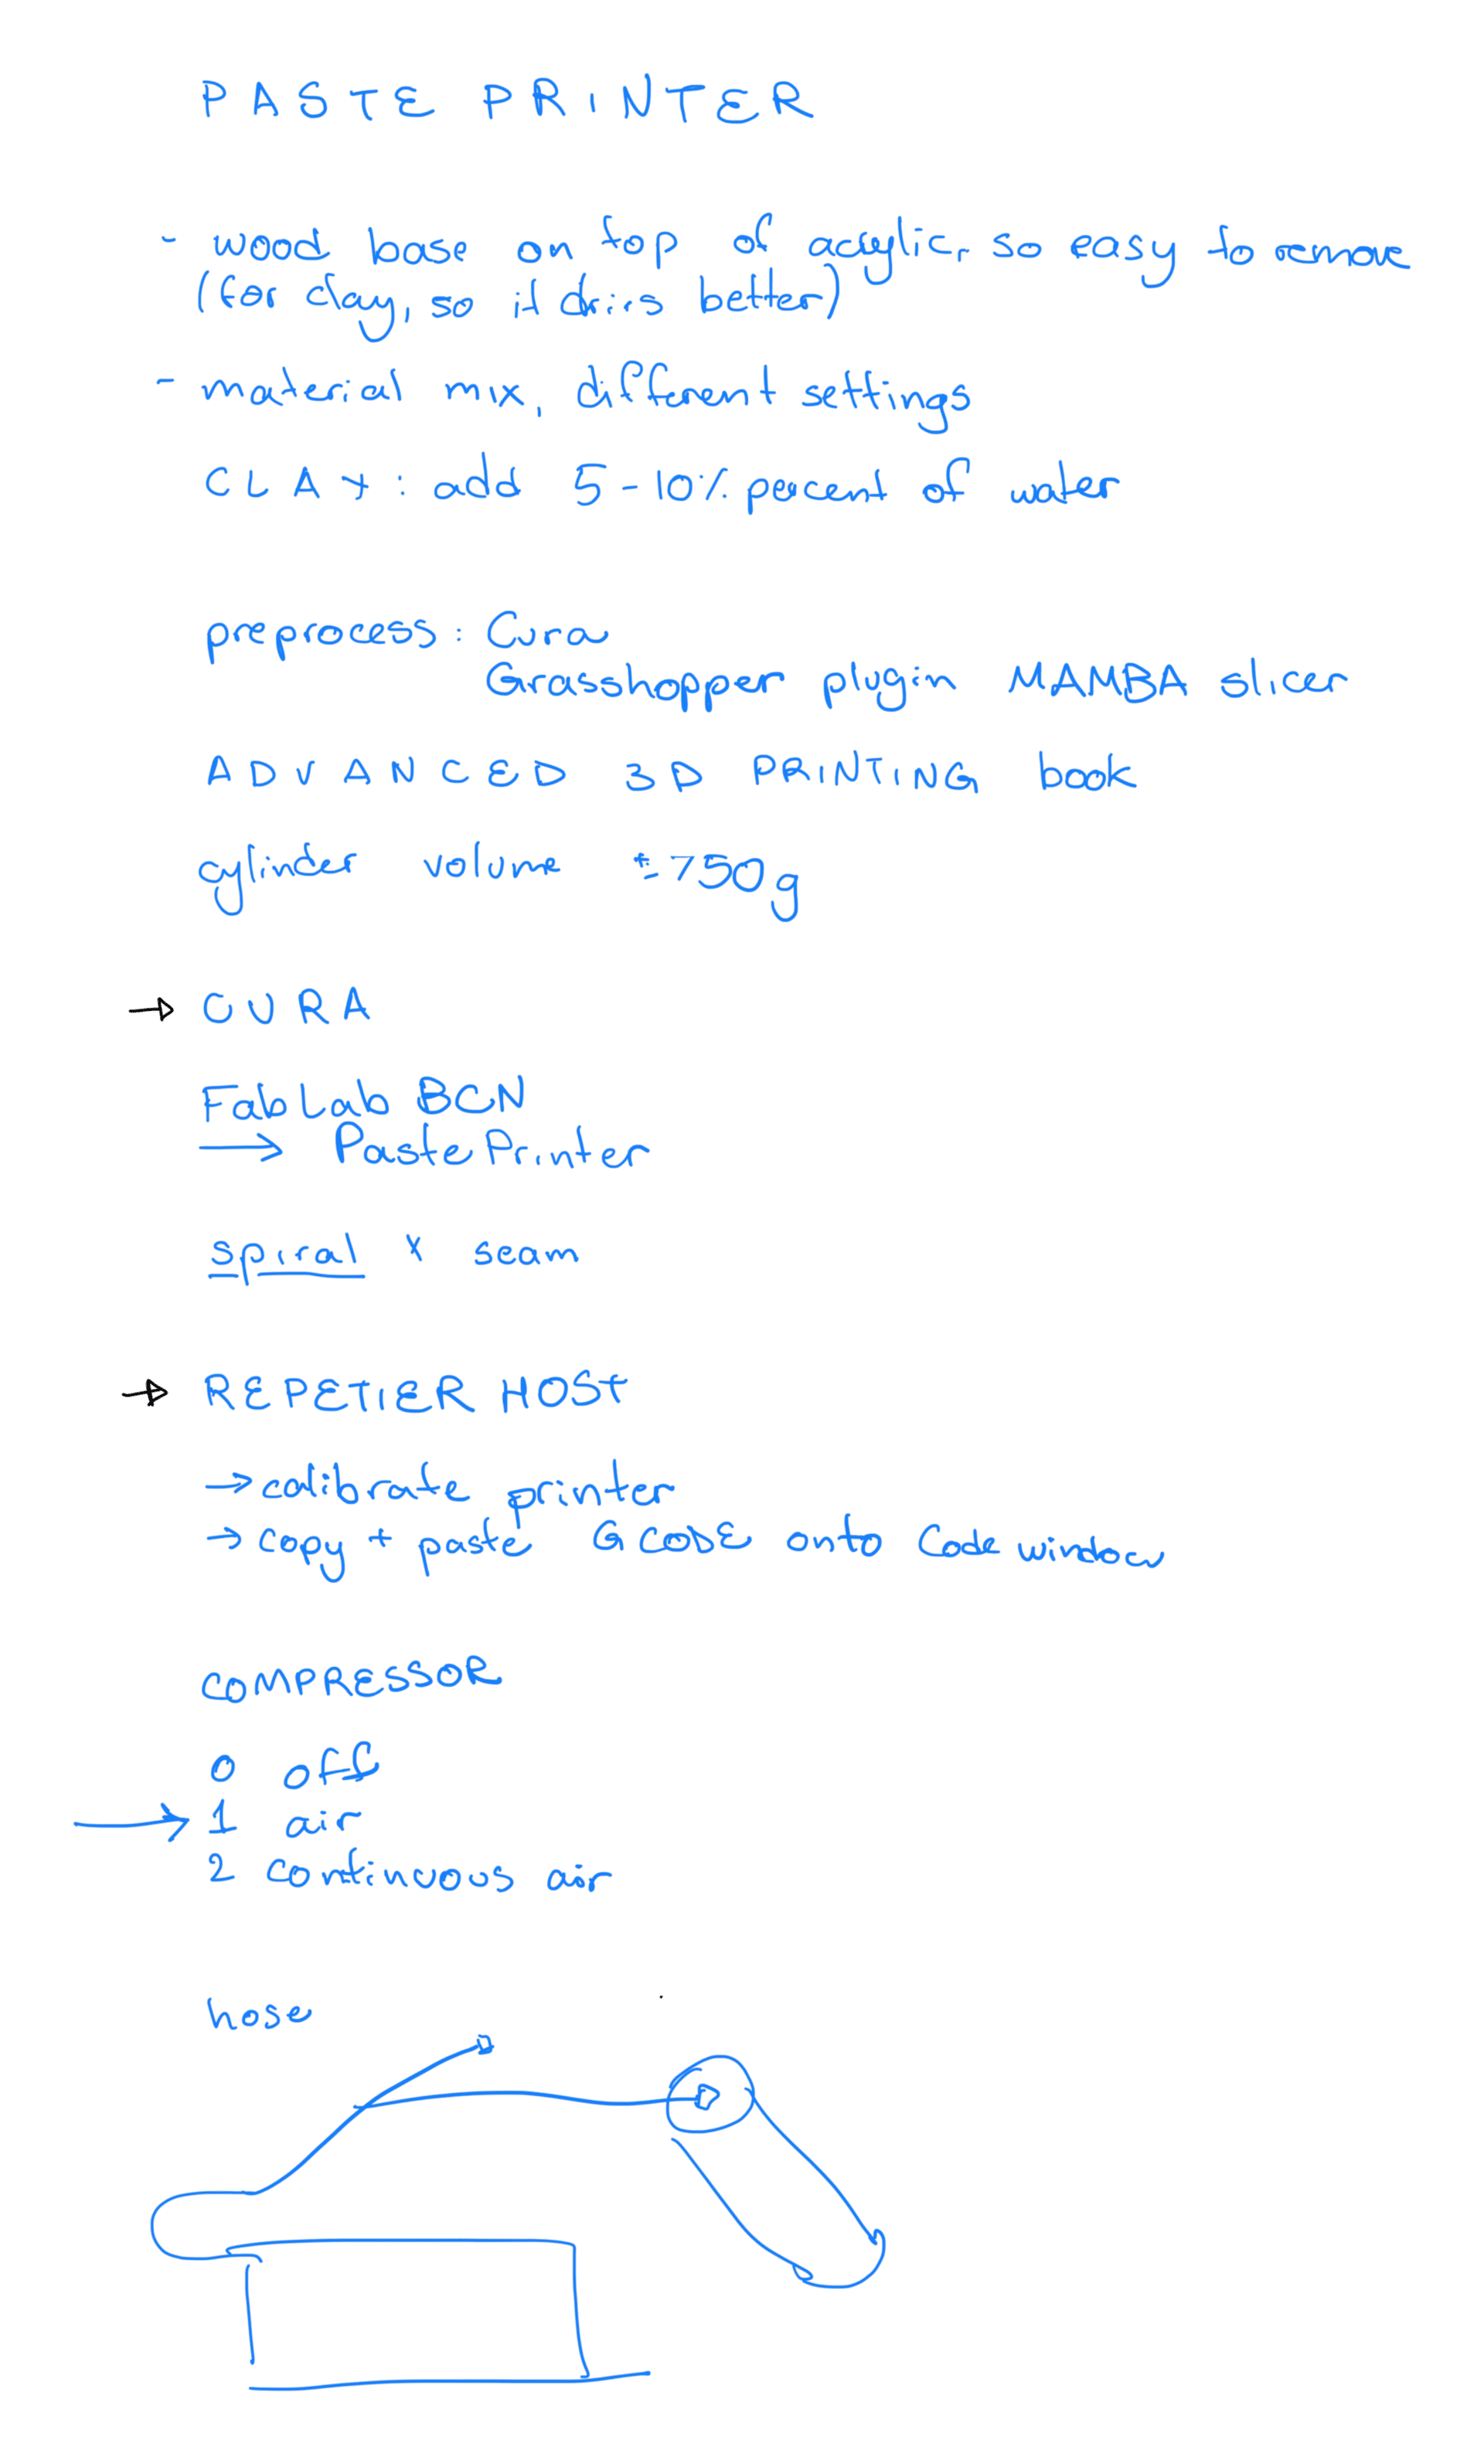
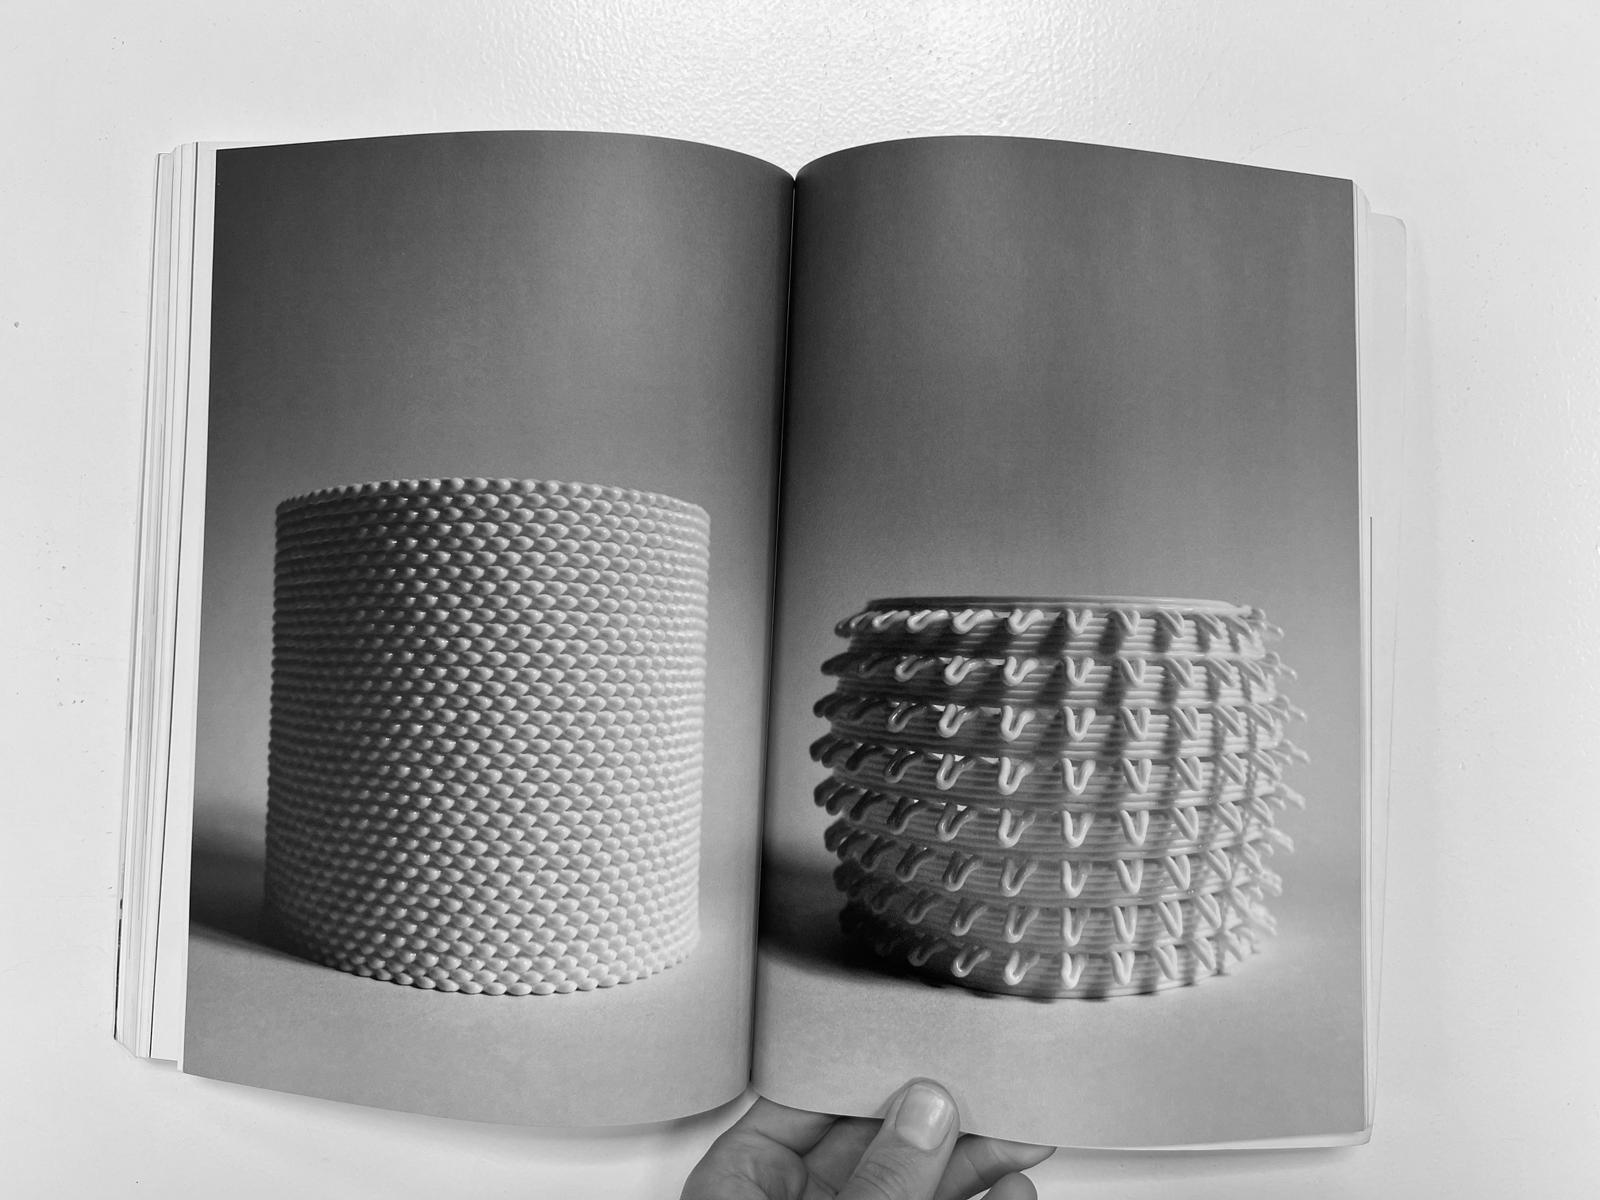
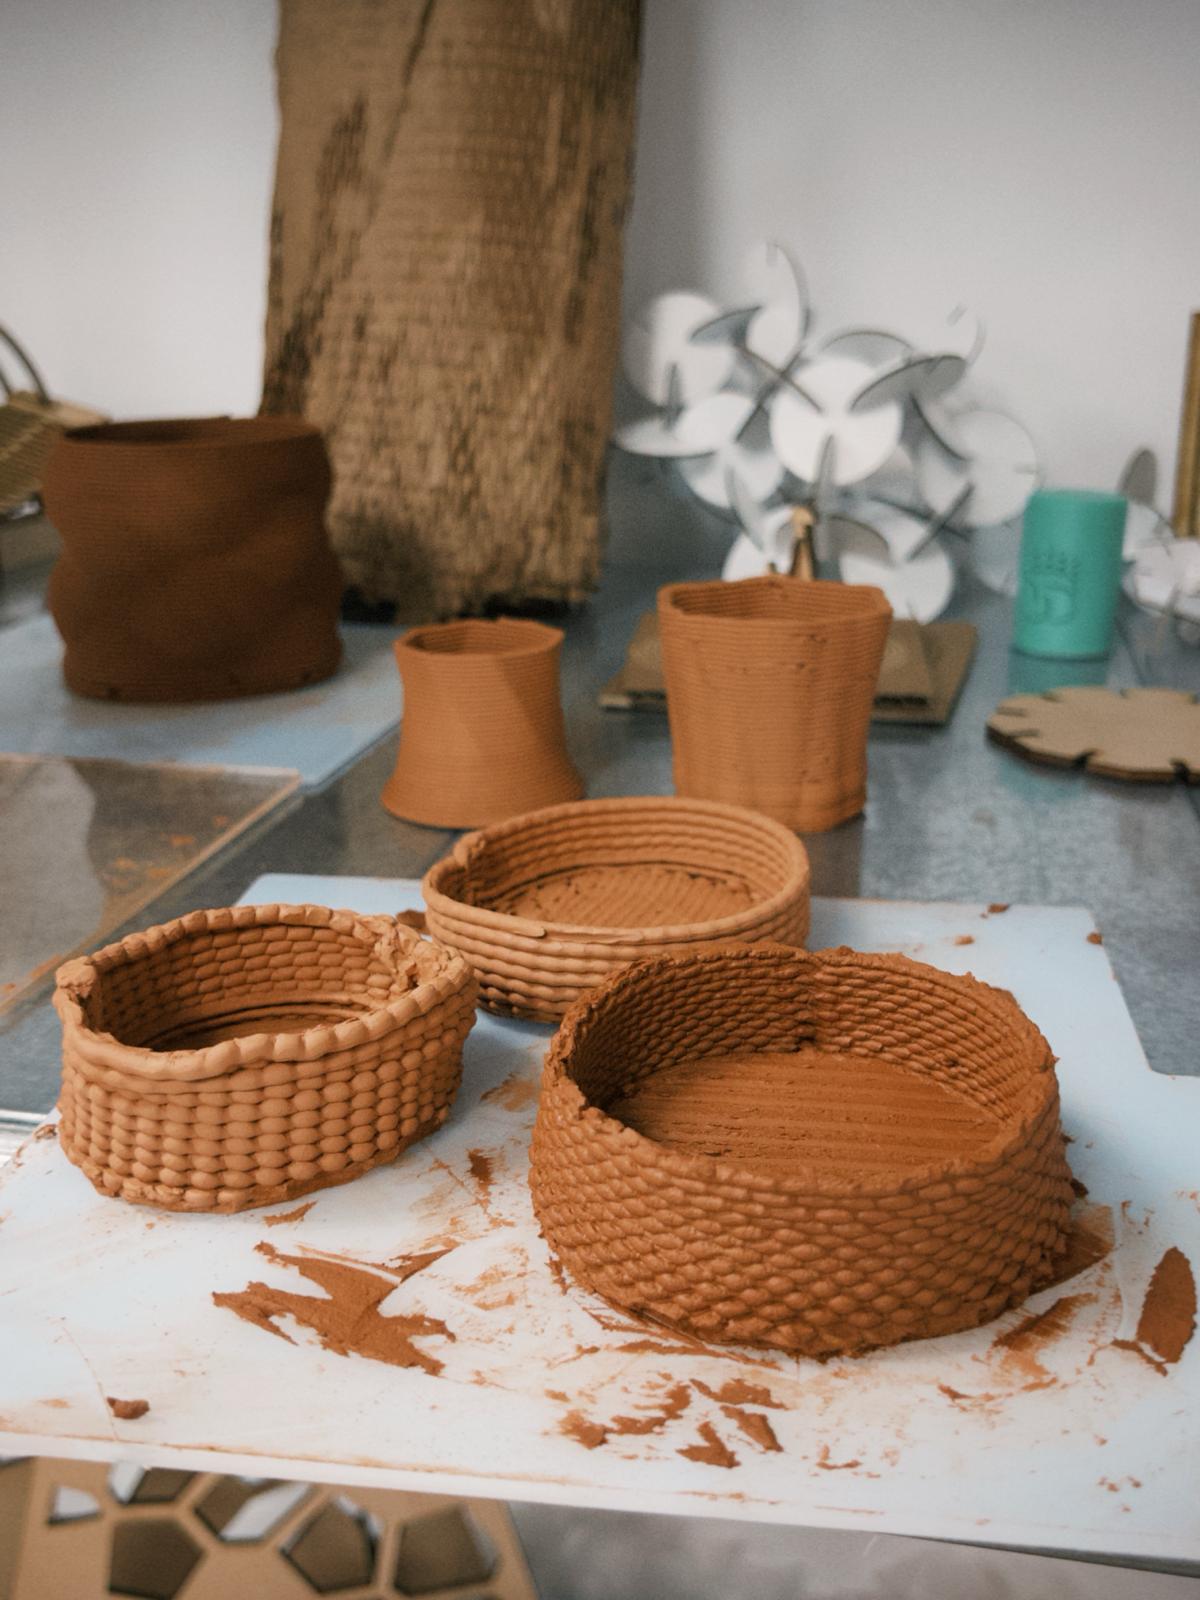
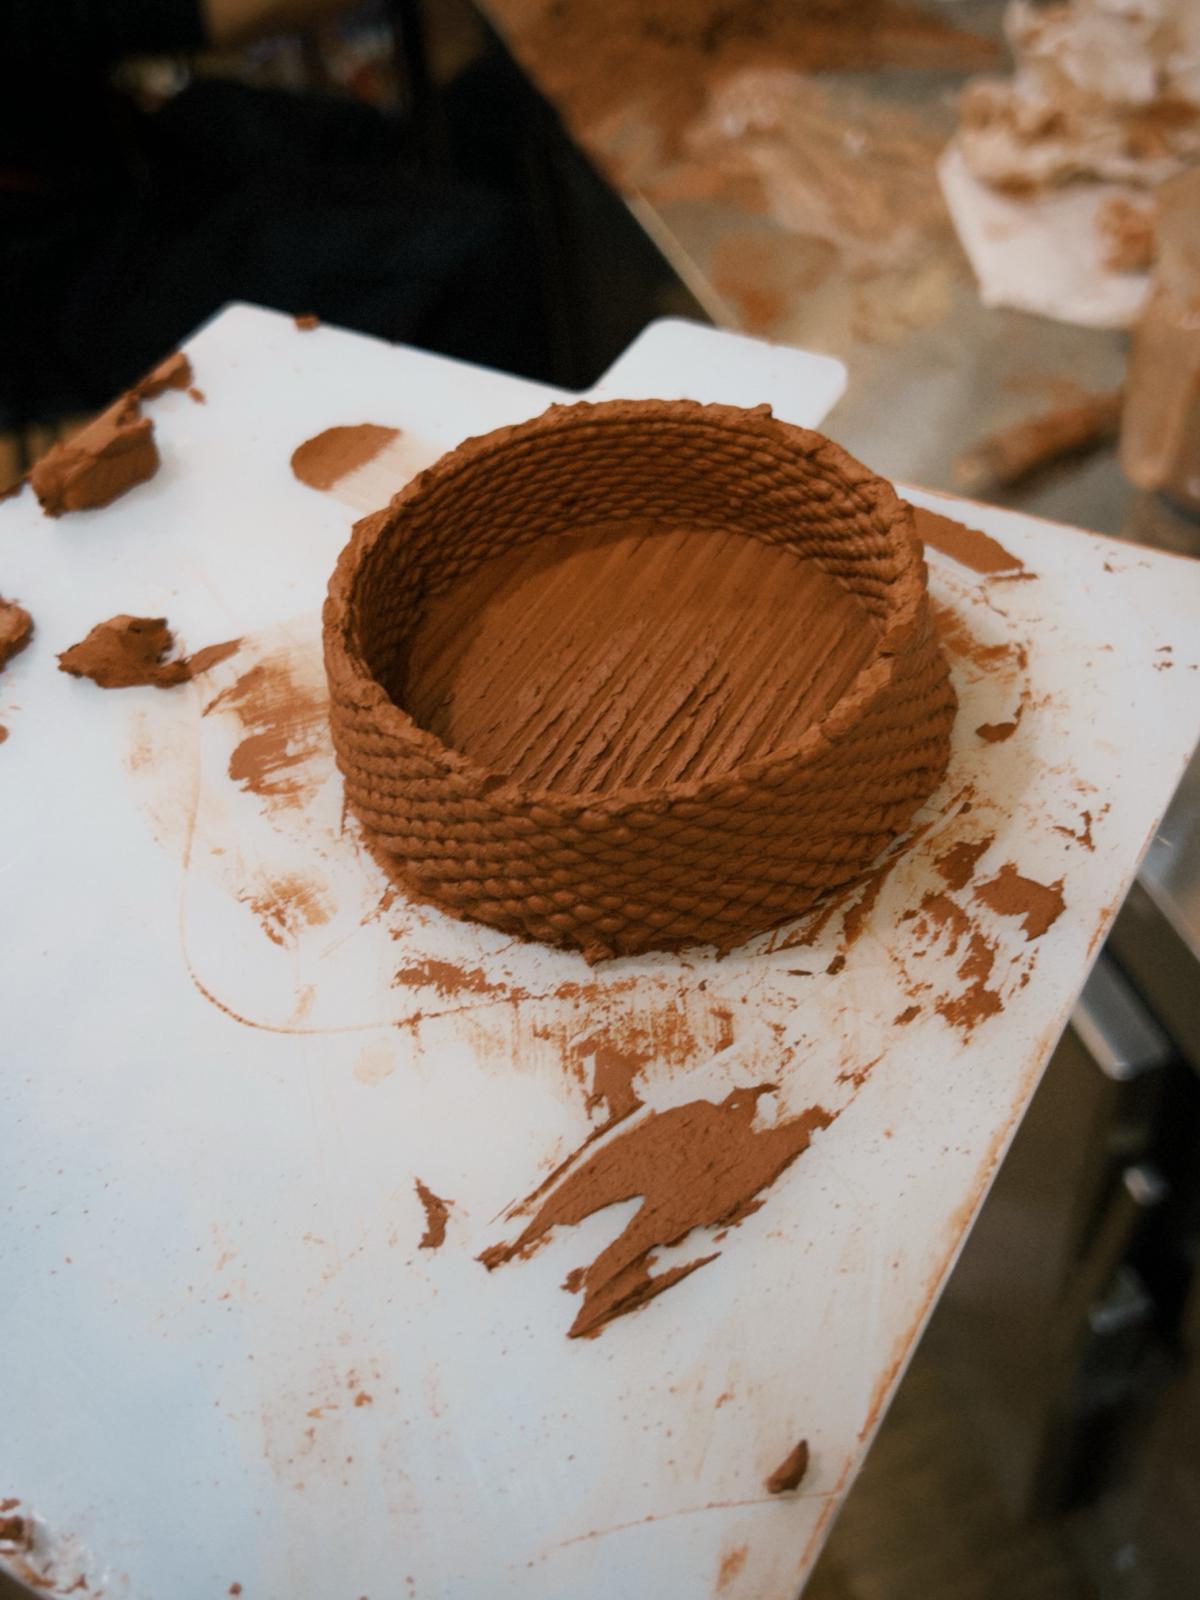
I was inspired by the book Advanced 3D Printing with Grasshopper, by Diego García Cuevas and Gianluca Pugliese. I am fascinated by woven textiles and the possibility of achieving a similar appearance with ceramic printing. This effect is not feasible using subtractive methods. Subtractive processes cannot replicate the intricate web of voids and interstices that result from the organic arrangement of material in 3D printing. In these methods, gravity causes the warps made of paste threads to deform in ways that subtractive methods, which rely on removing material rather than adding it, cannot achieve. Following the step-by-step guide from the book, I created a Grasshopper script. This script not only slices the geometry but also manipulates points from curve divisions to create the seams, resulting in a list of points that can be connected to form a printing path.

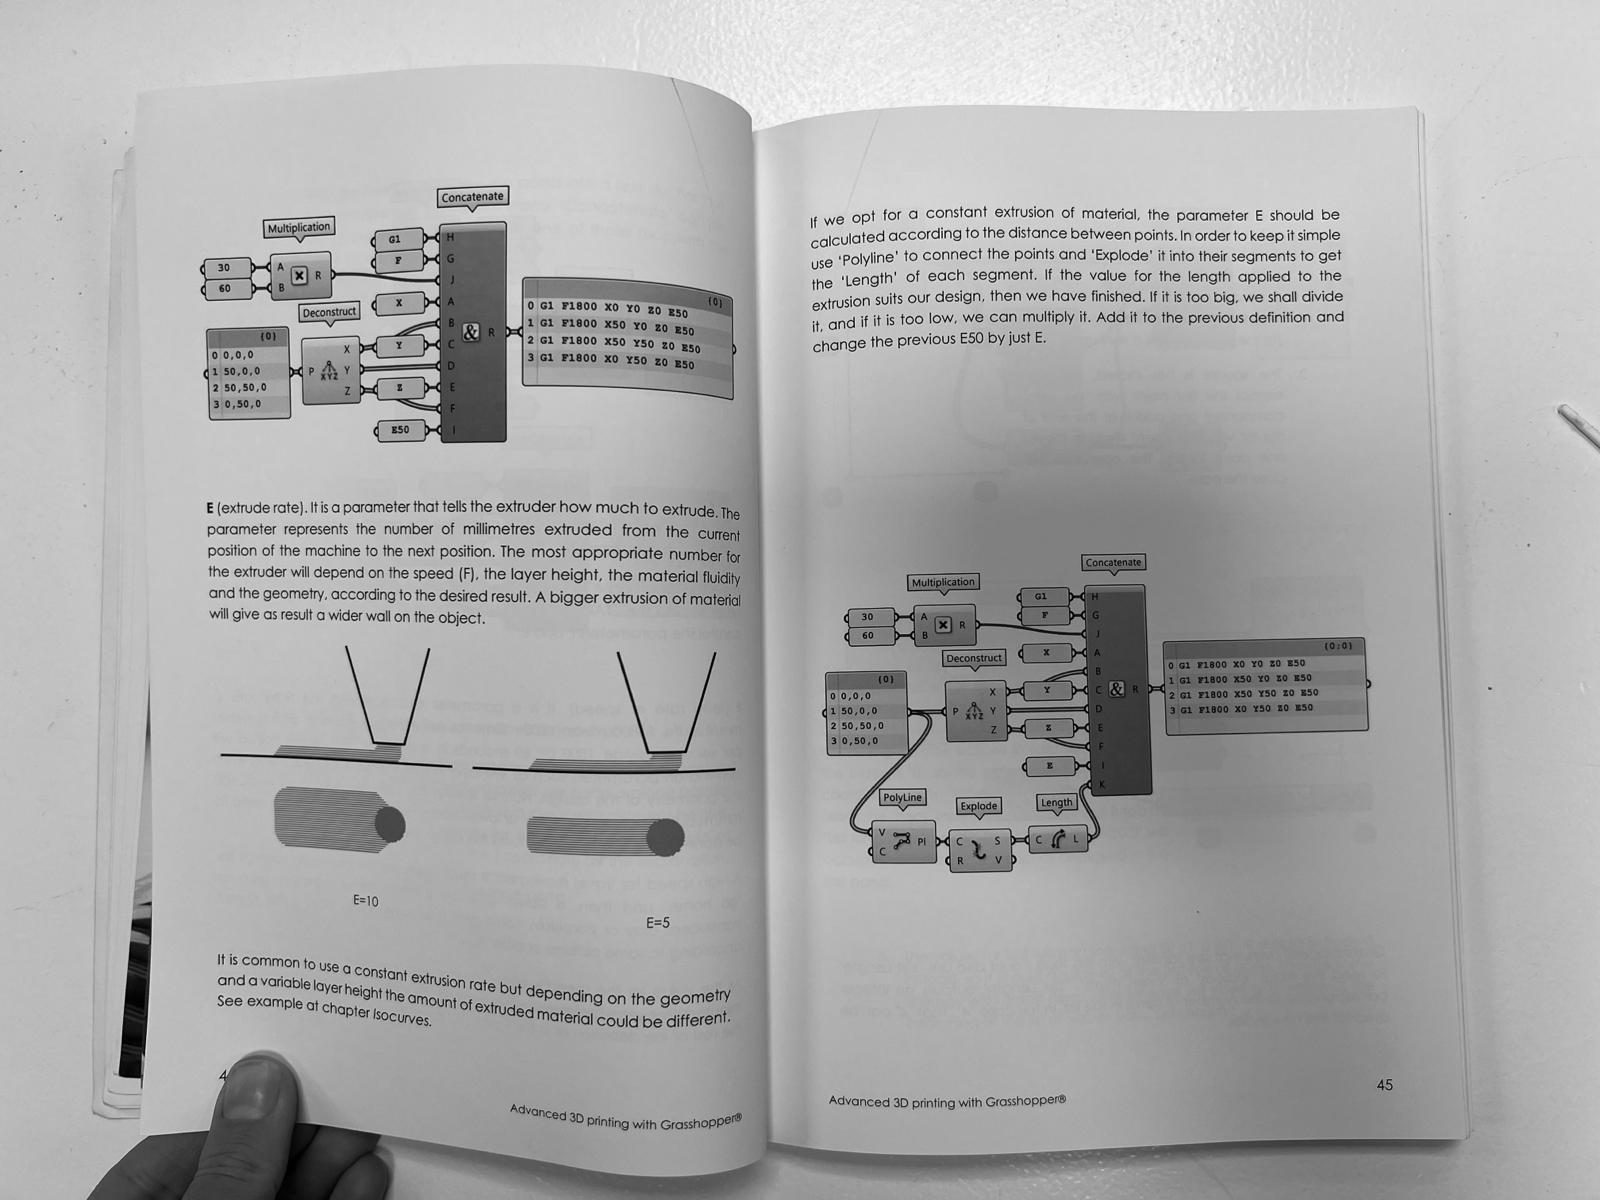
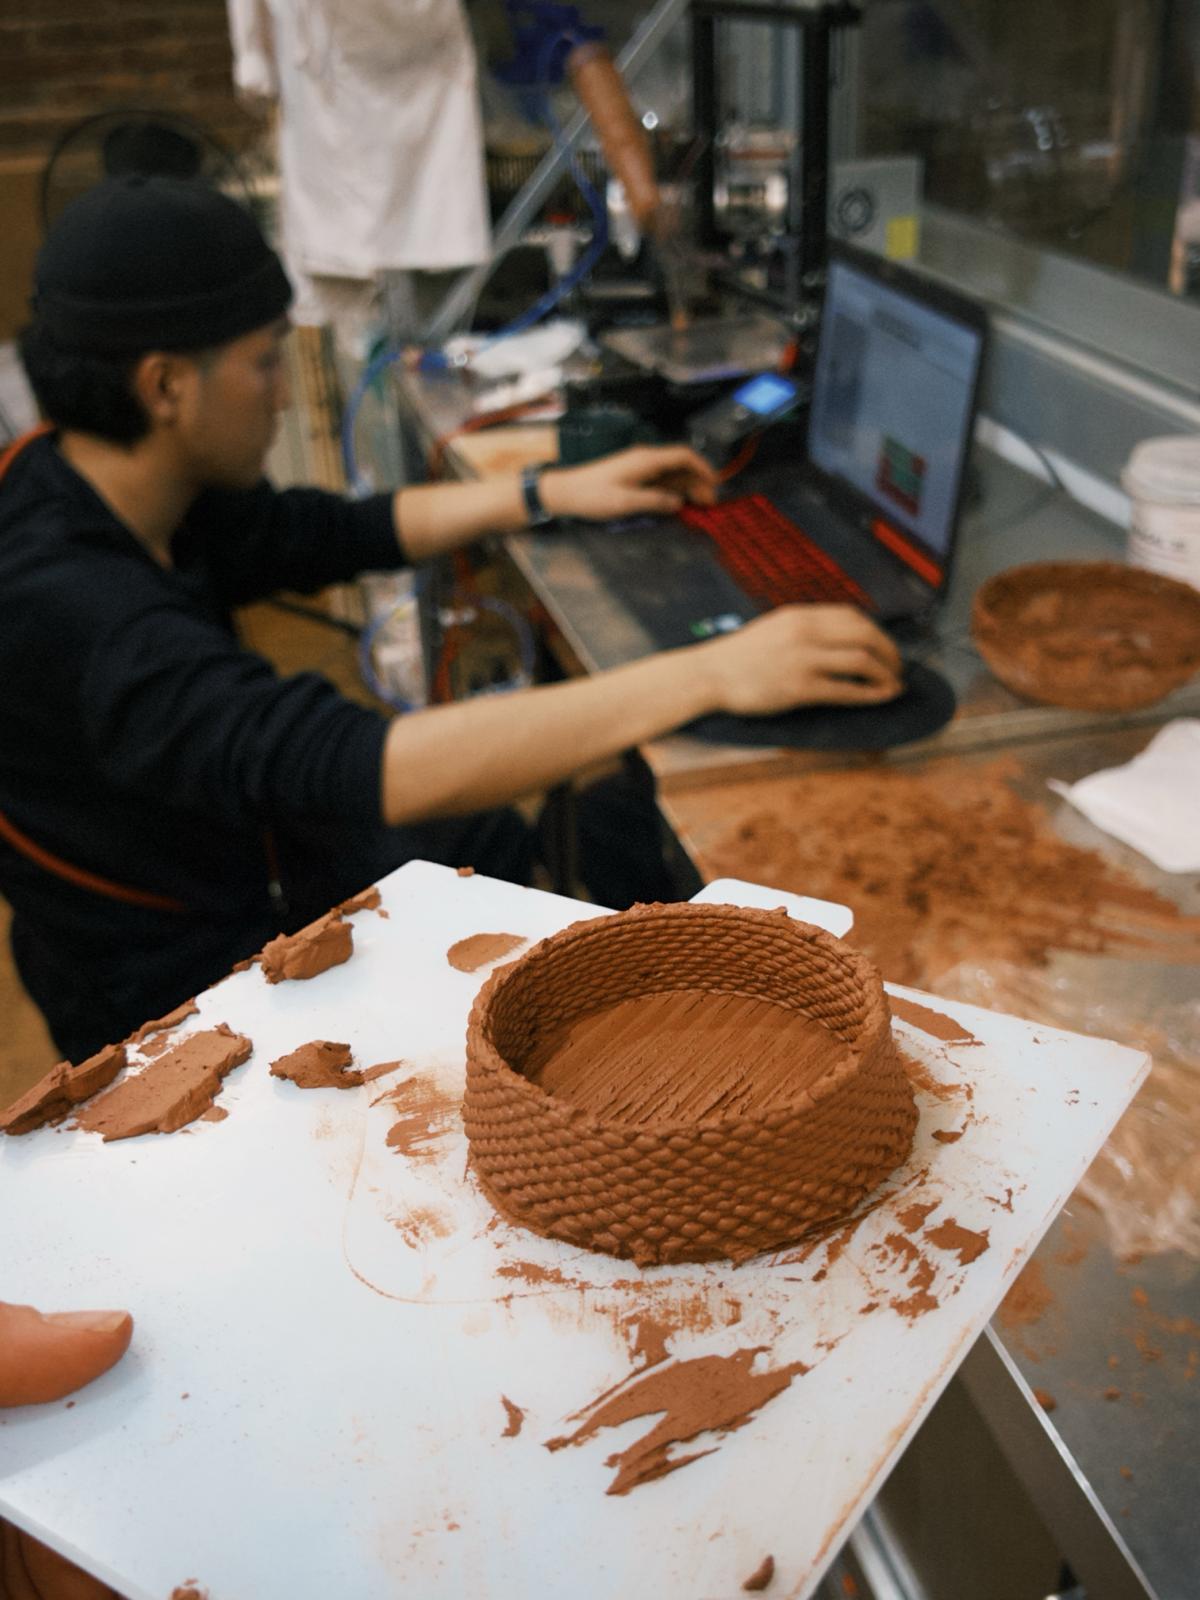
The book has a section that explains how to create a G-code (3D printer readable text file) directly. I used it to create the alternating pattern of circles and zigzags in a cylinder form. At first I tried using that approach to generate my G-code, as my paths were already generated in Grasshopper. We used Repetier Host, which is a program that launches the G-Code and communicates/controls the 3D printer. When I sent my Grasshopper script to Repetier, it didn't read. I believe the G-Code output was incorrect.
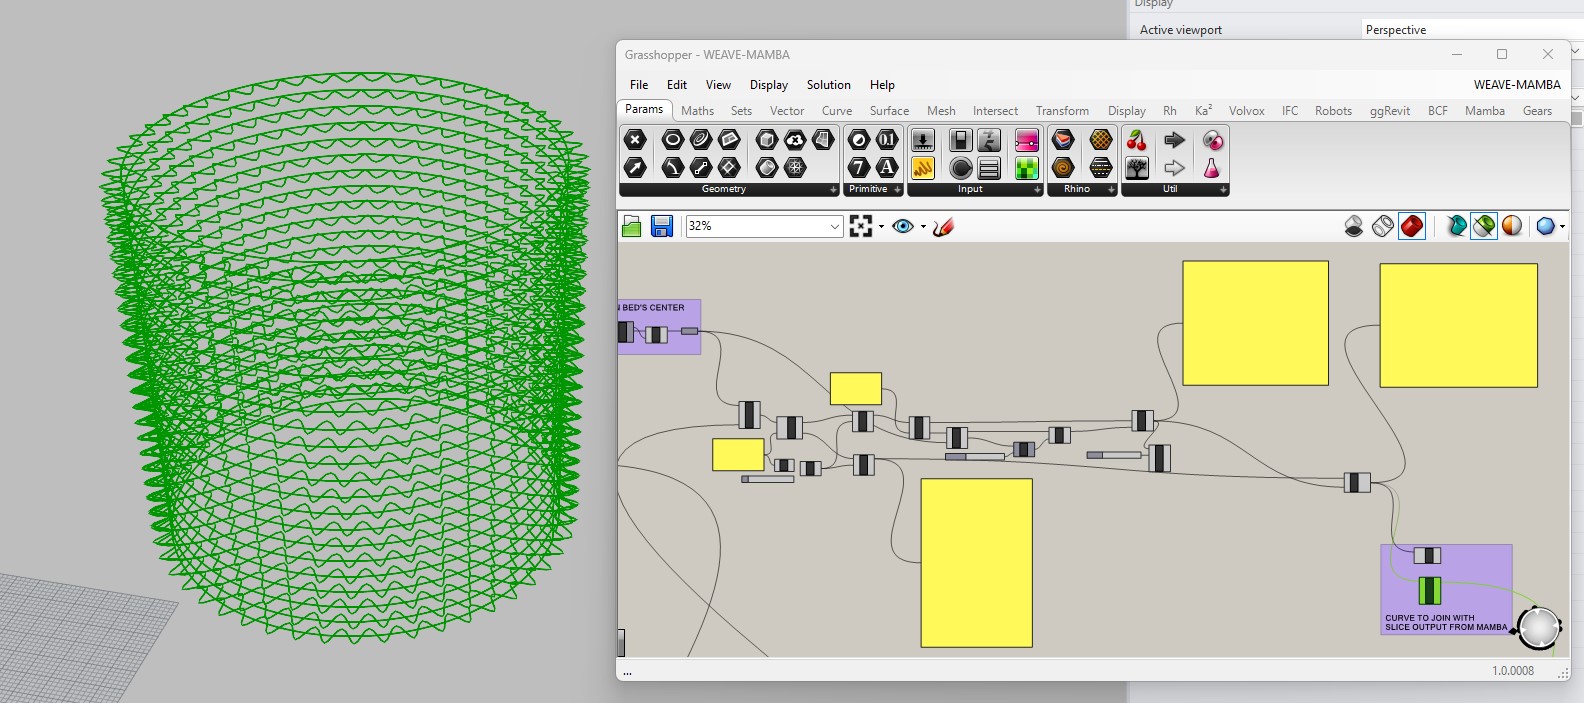
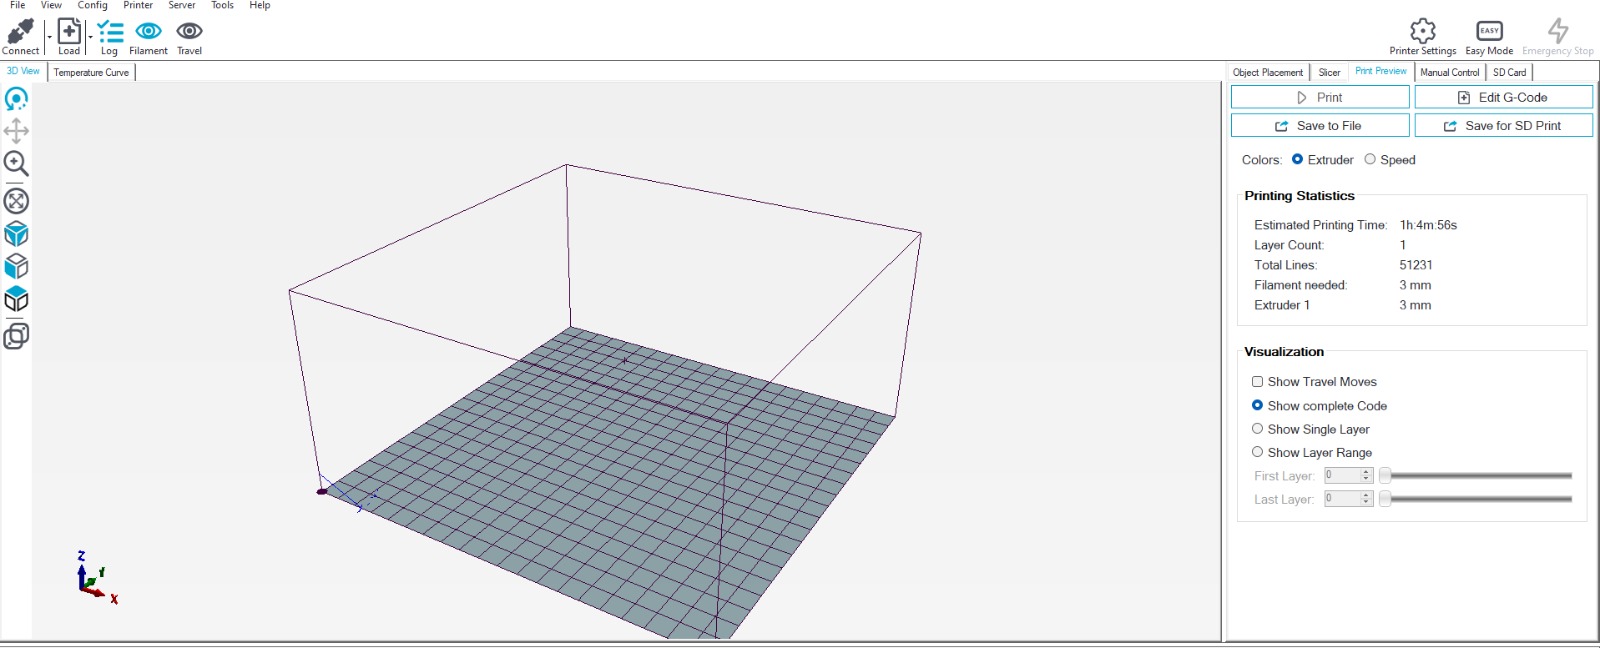
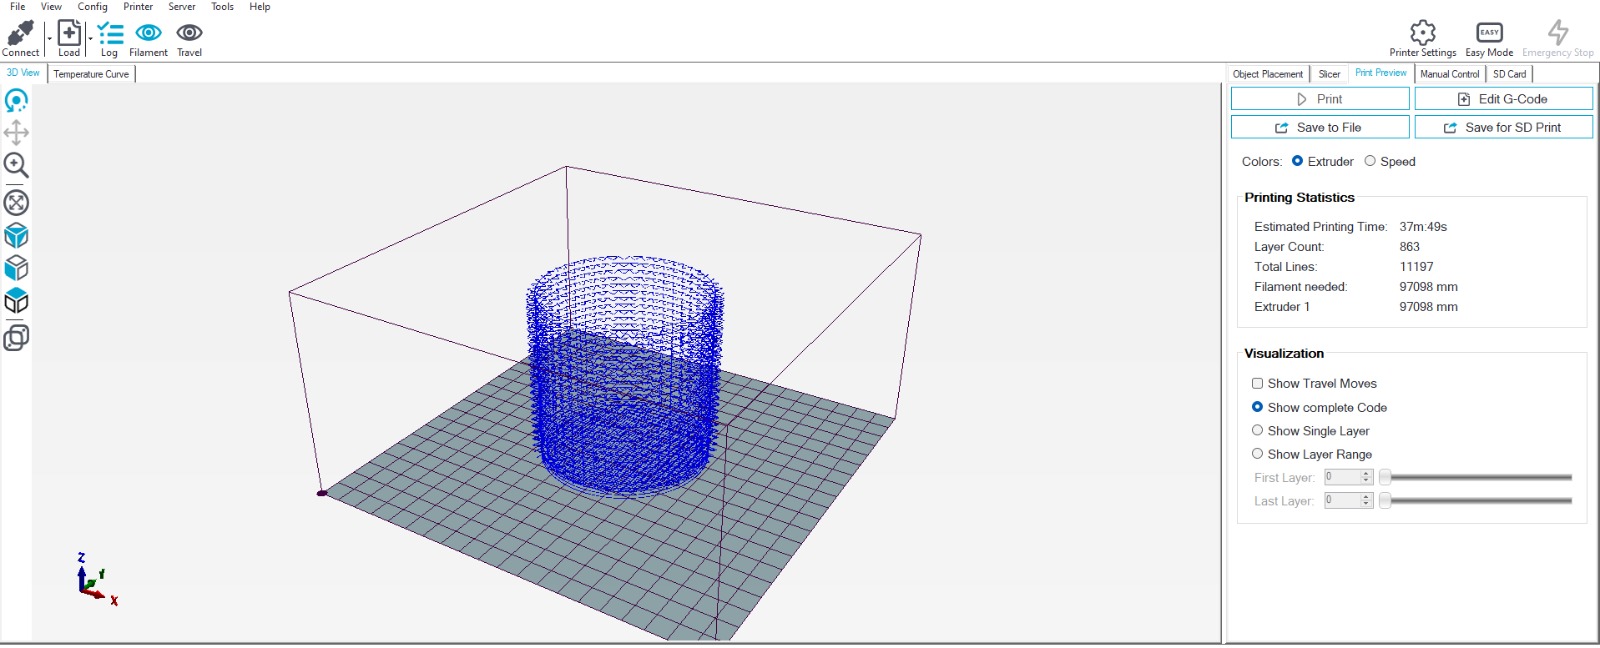
So I decided to use Mamba, which is a slicer plugin for Grasshopper that can slice geometries for both FDM or clay printing processes. The plugin provides Grasshopper templates for generating G-Code and customizing the settings, based on your printer. I used parts of my own GH path and combined with Mamba G-Code generation. In the end, I generated a base cylinder which I sliced on Mamba, for my base, and with the output of its Mamba sliced I joined with my custom path for the remaining of the cylinder. Then I used that Join as an input to the Mamba G-Code generator. When I attempted to load the G-Code on Repetier, it read like a full sliced geometry - I was honestly surprised it worked like I hoped it would.
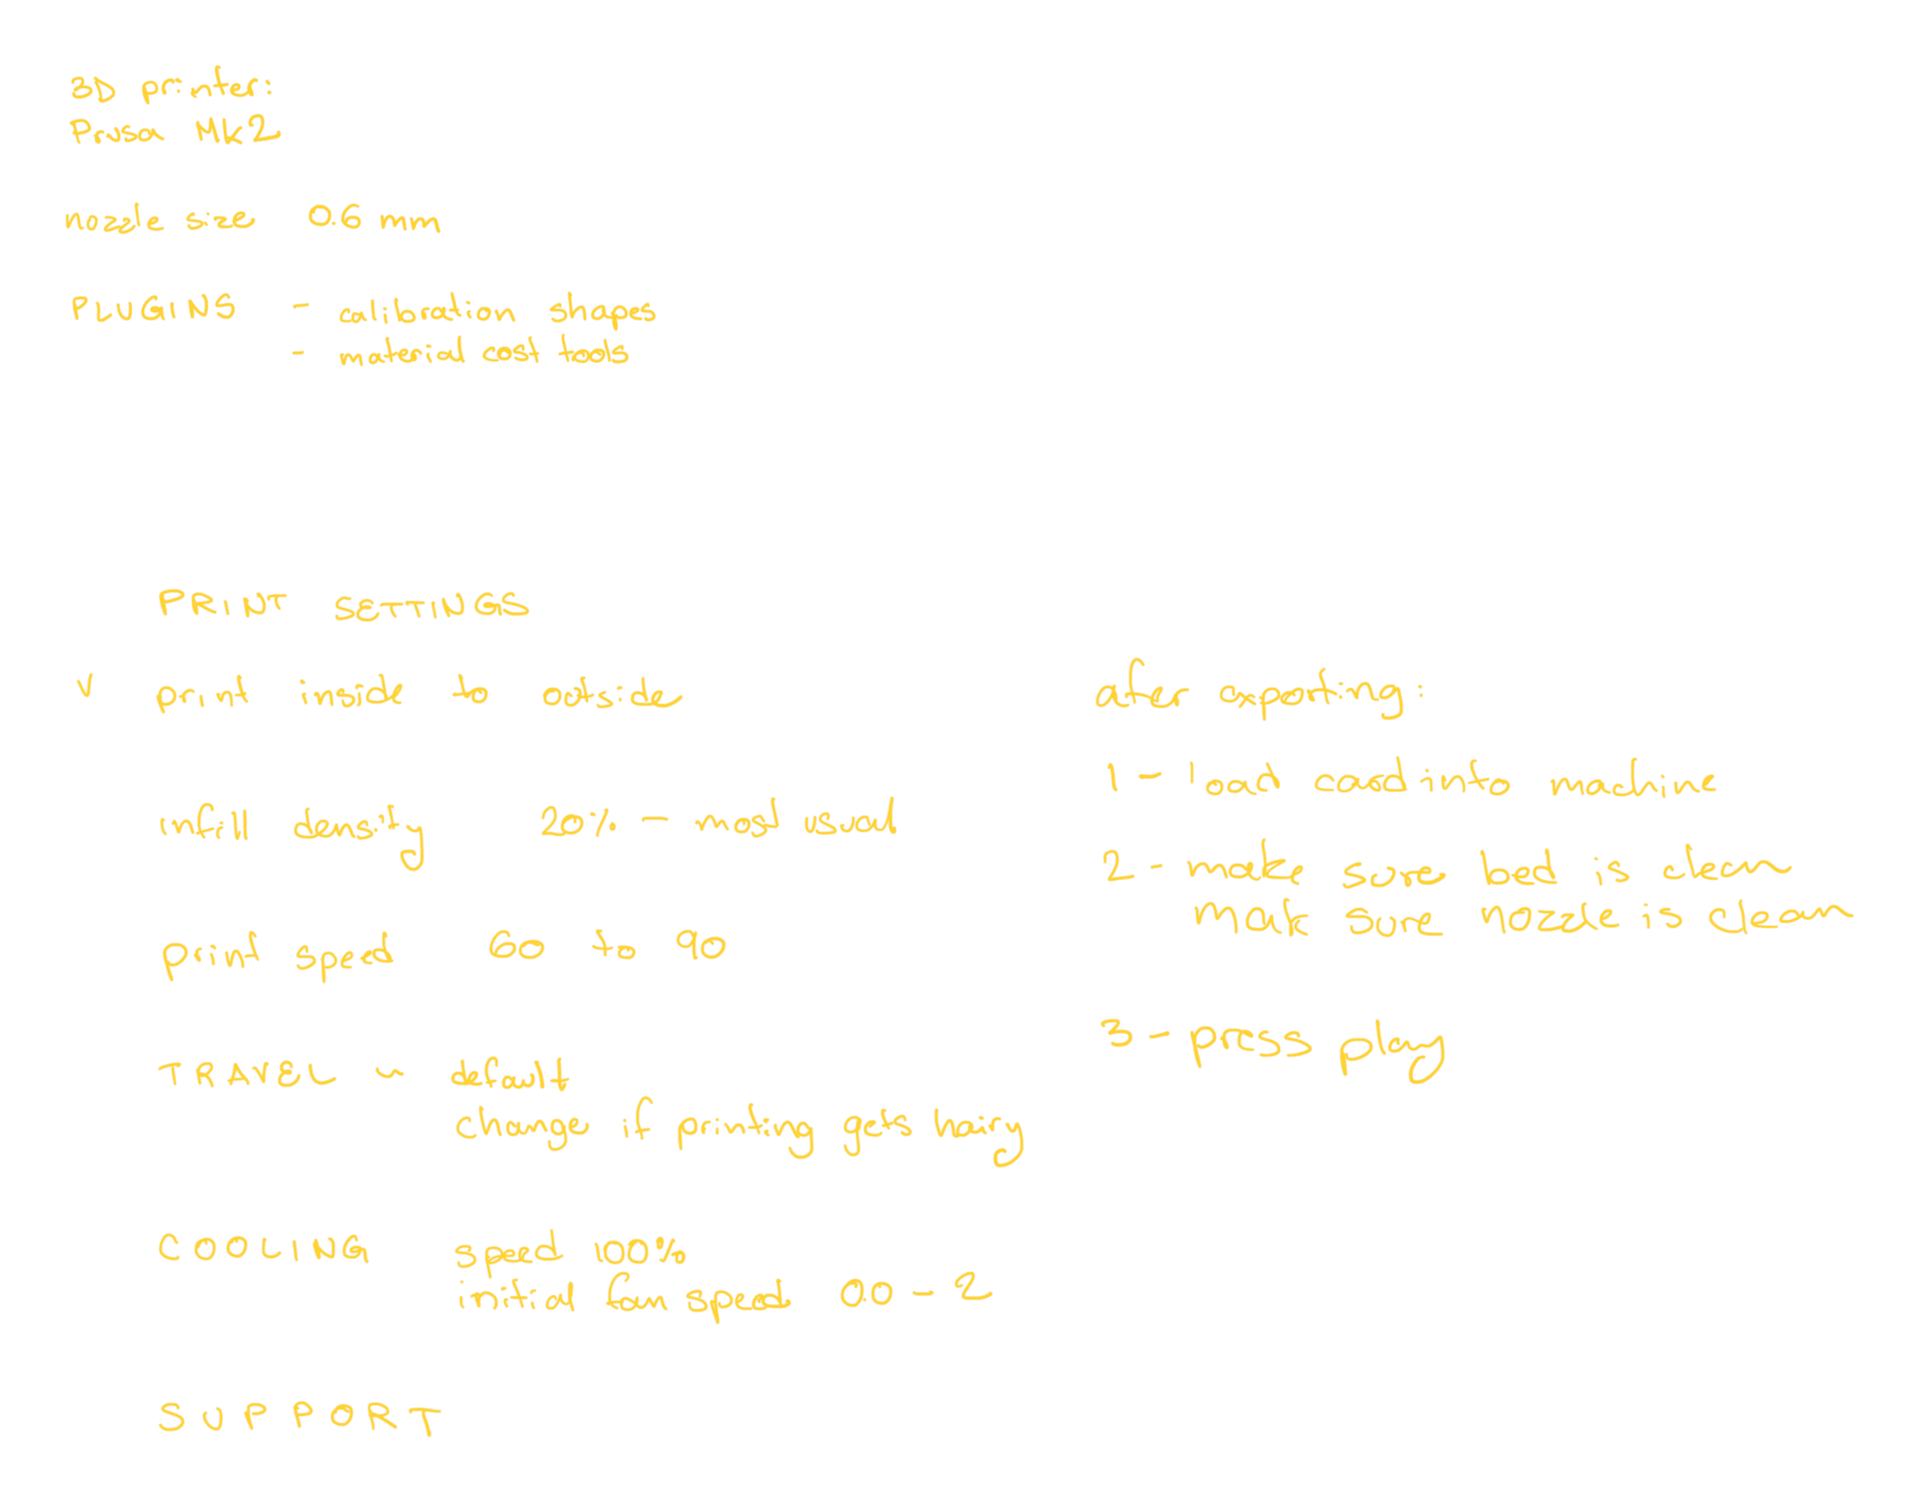
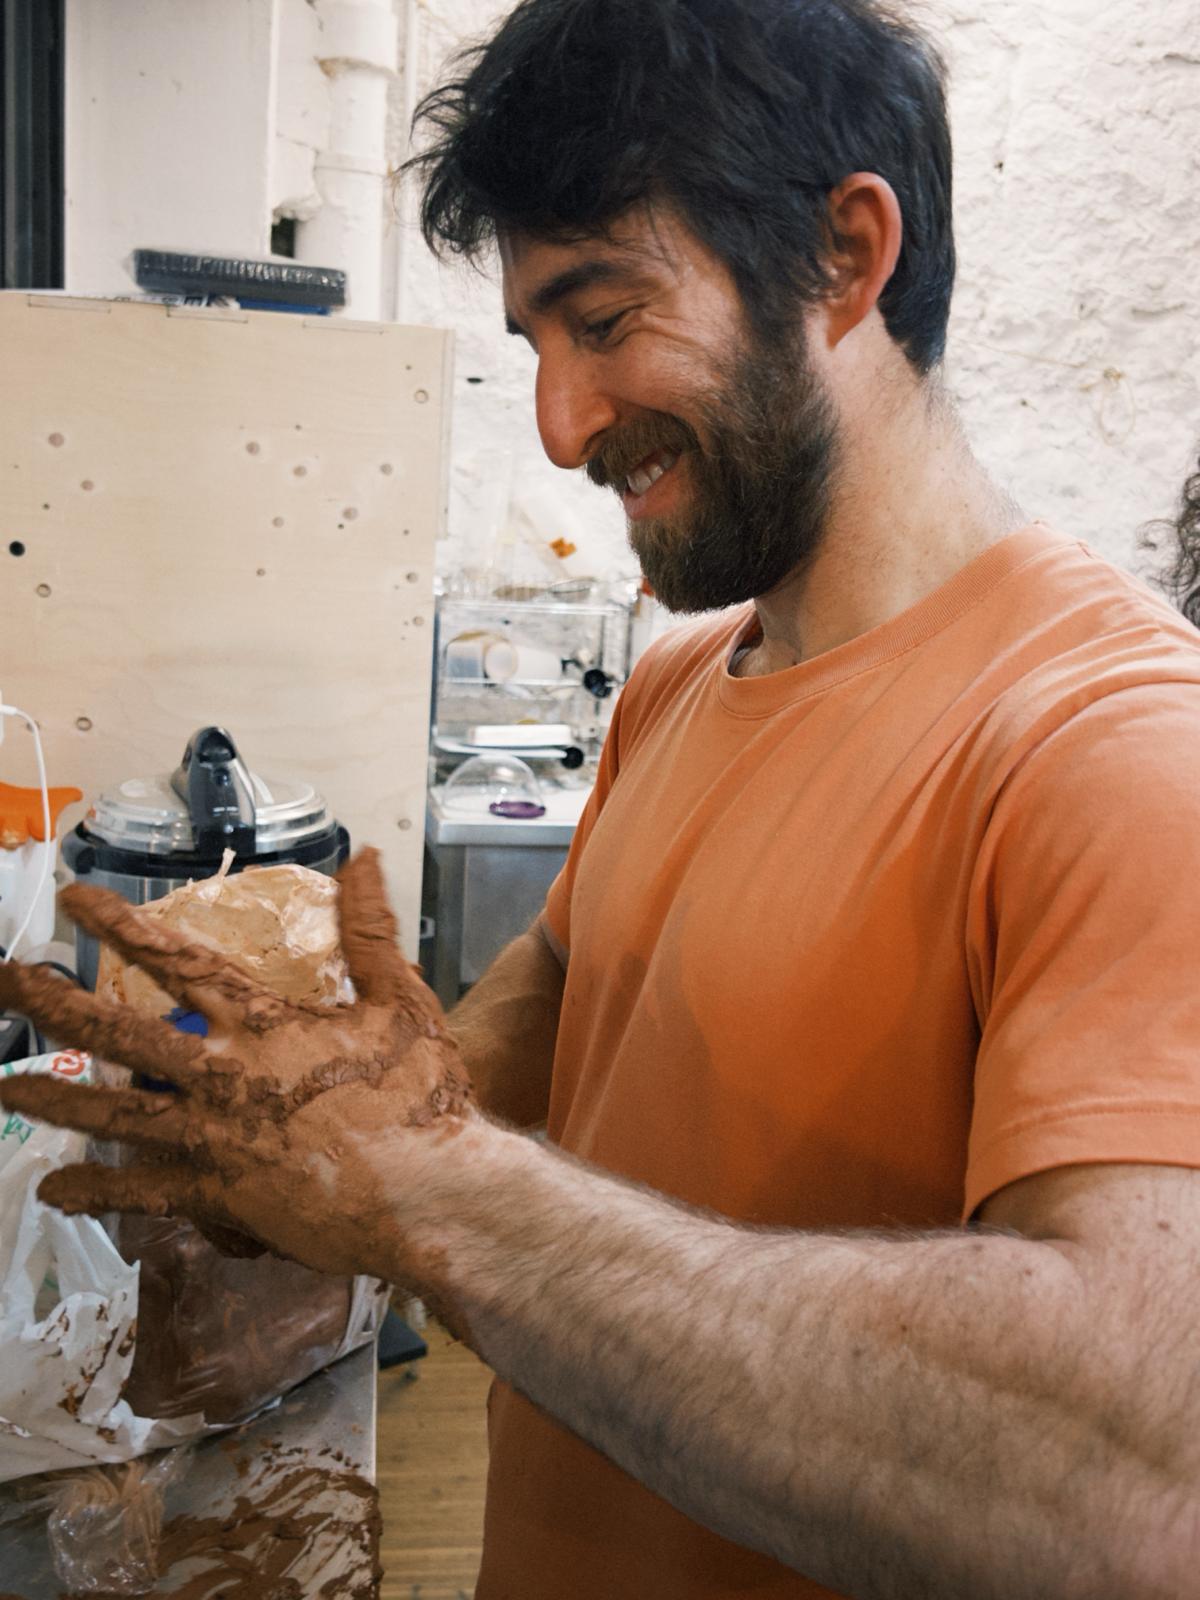
Now, printing. As a group, it took a while to find the ideal settings for our mix of clay. Our nozzle was 0.6mm. The steps to set up the machine were: 1. Achieving desired clay mix and proper moisture levels. 2. Add paste into the bottle - being careful with air bubbles and remove them with the air compressor. 3. Adjust the machine controls on the display: flow, z-axis origin and z-extruder. 4. Adjust flow rate and feed rate on Repetier.
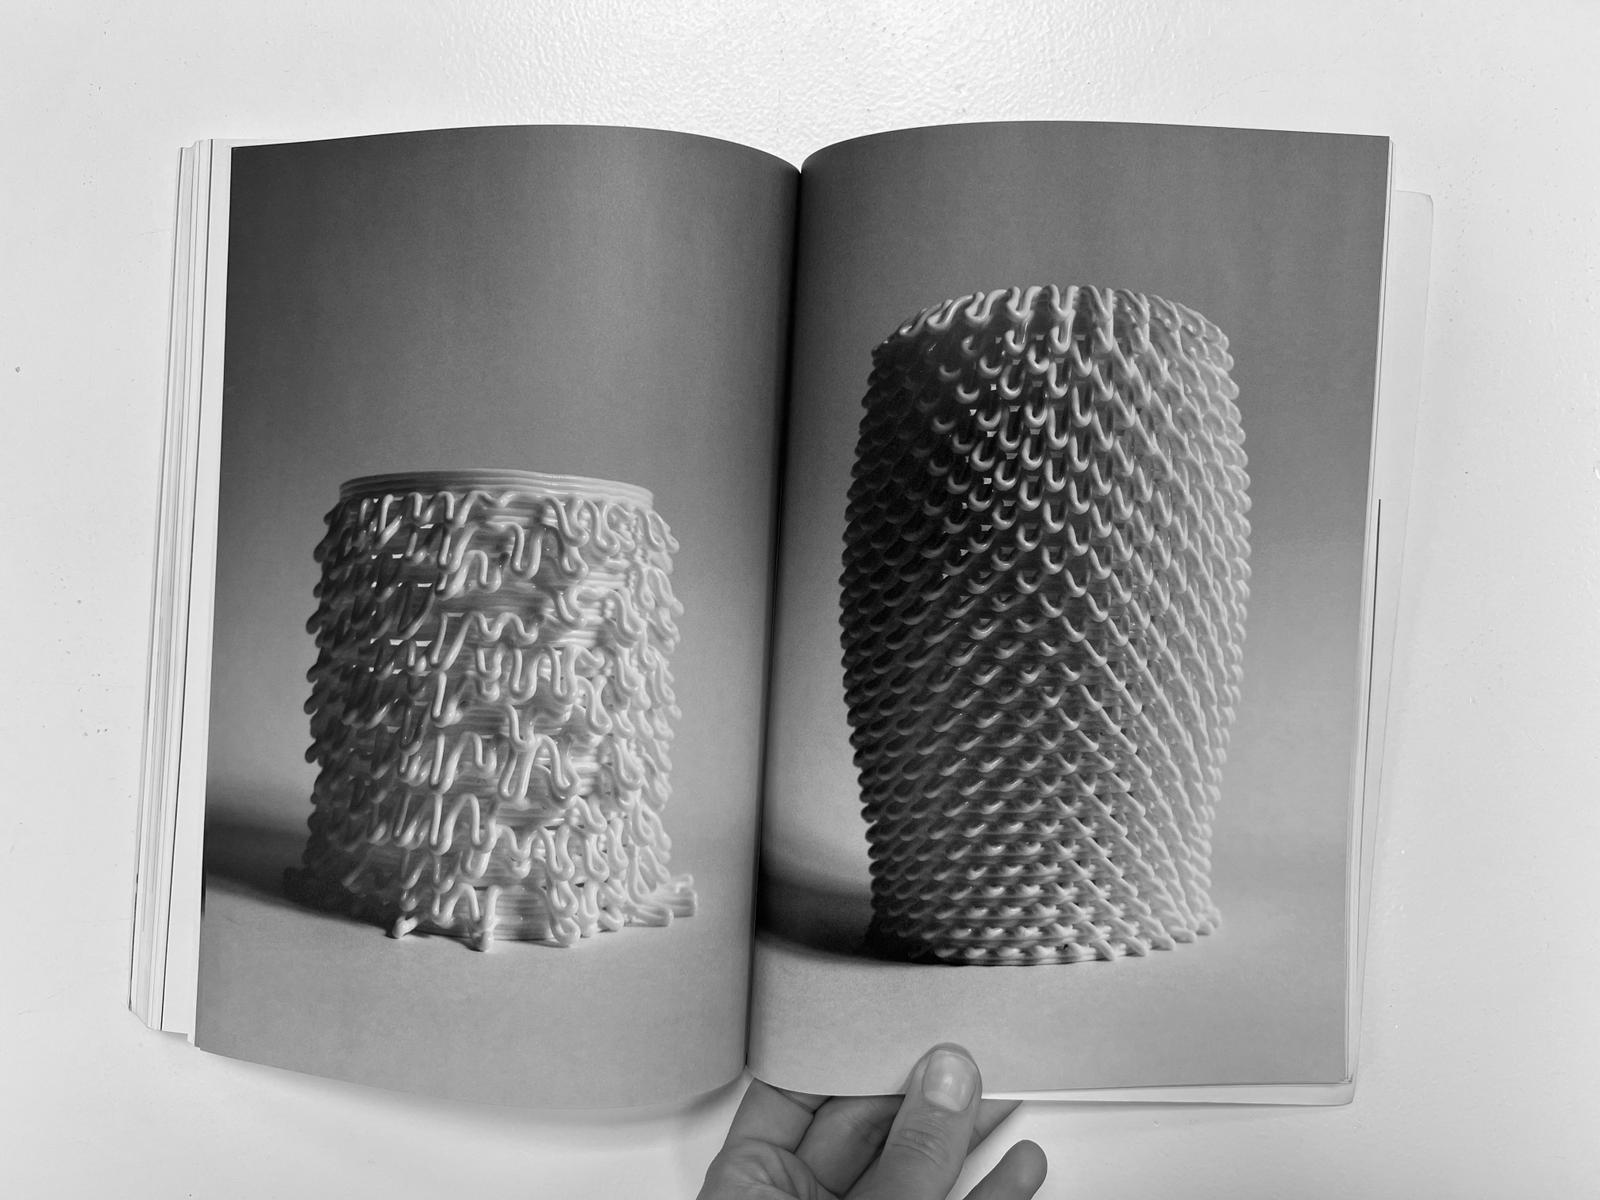
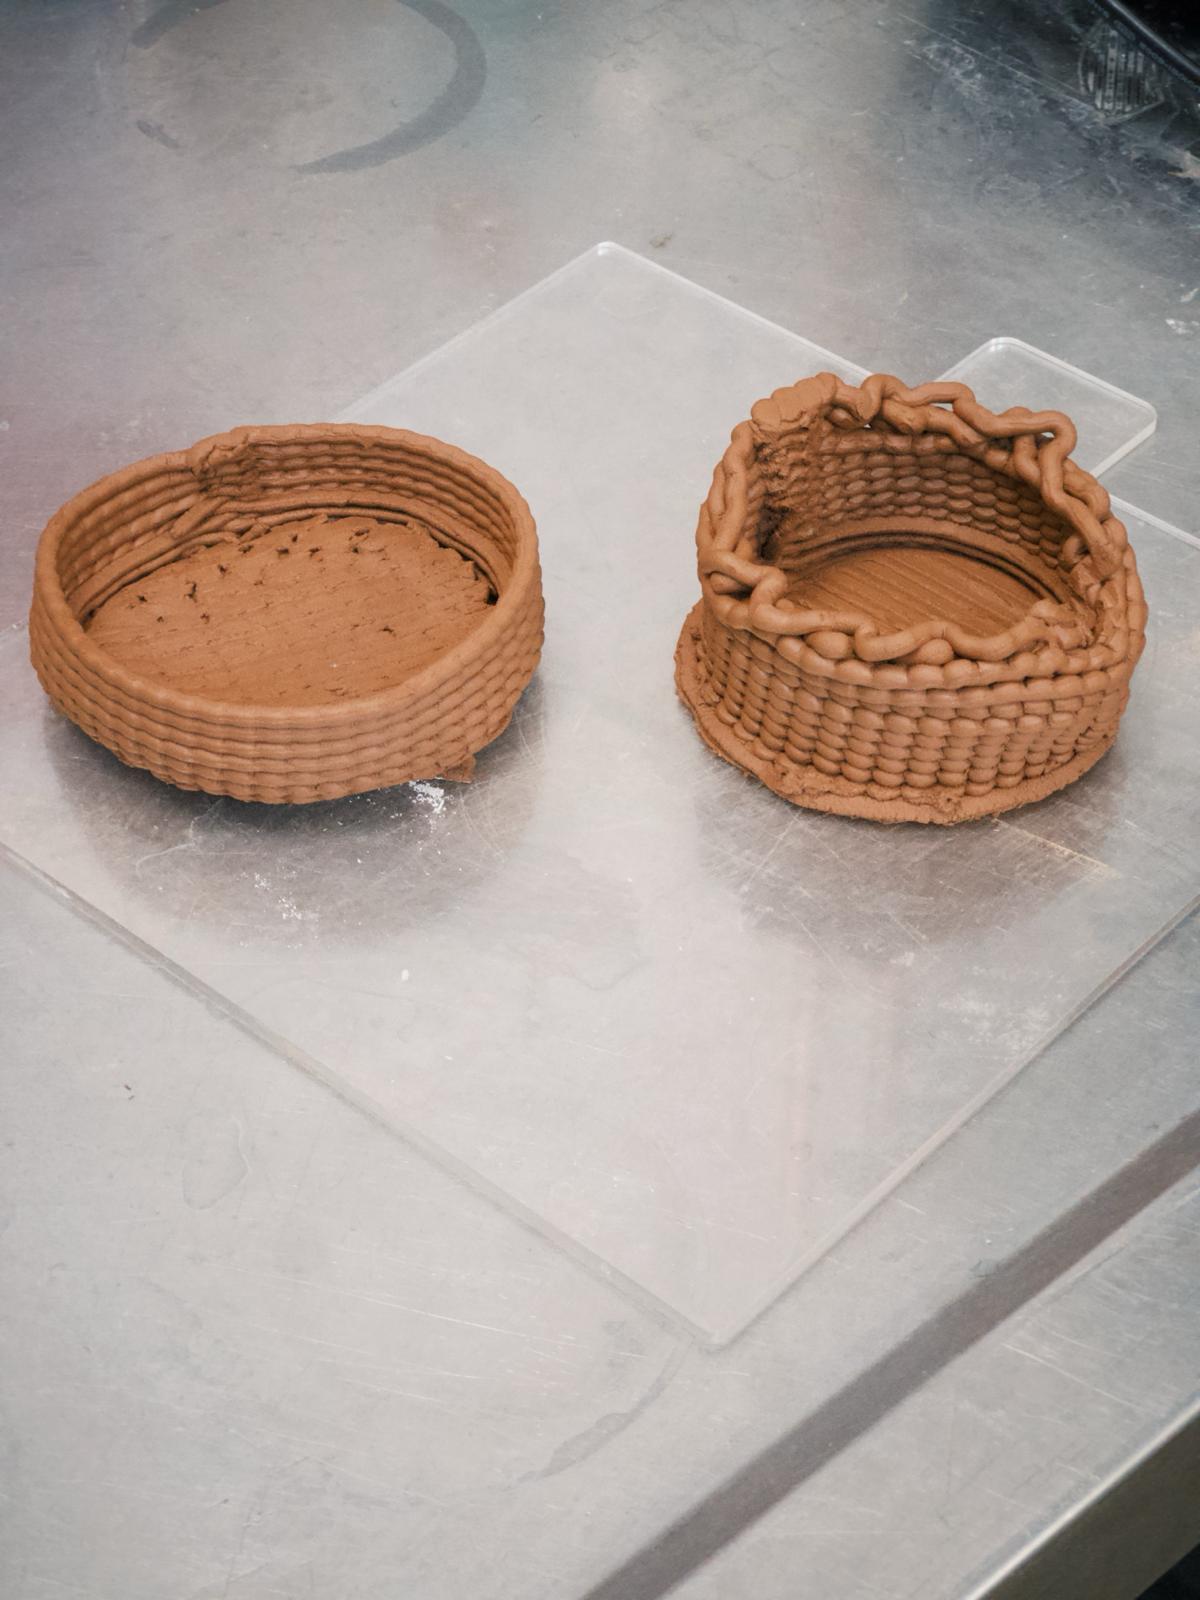
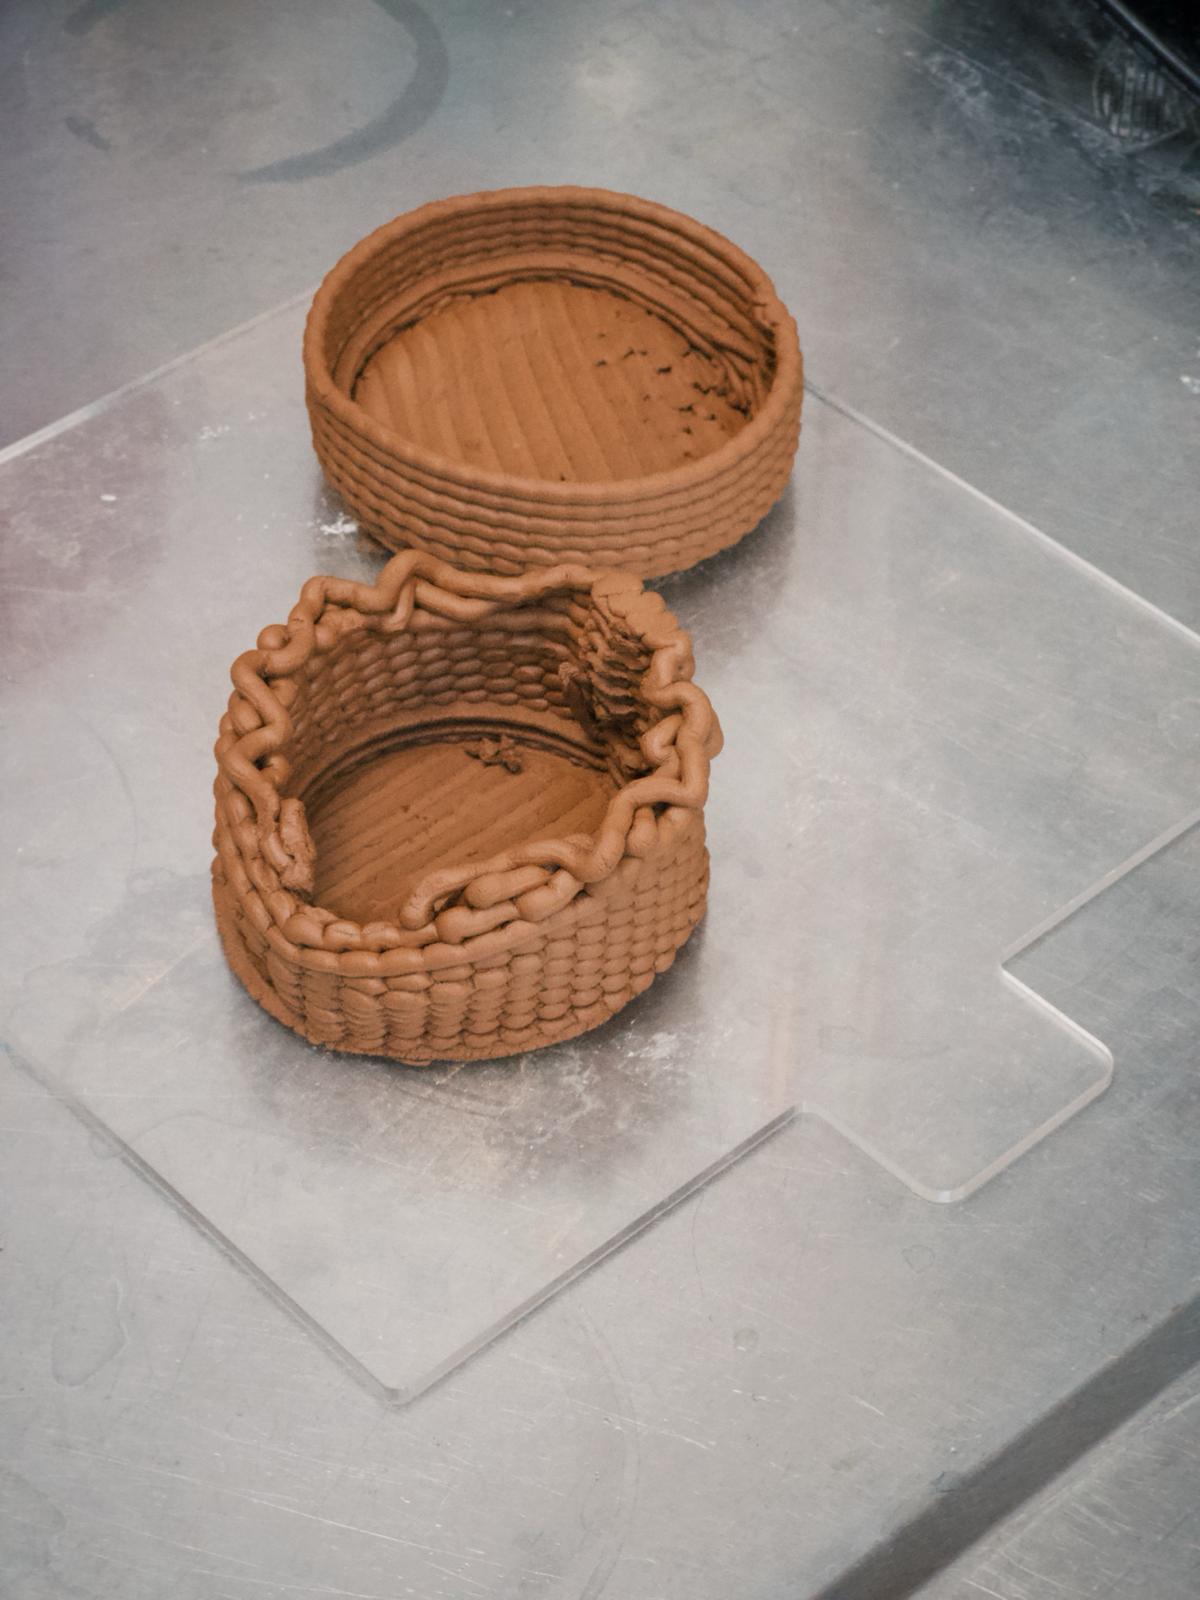
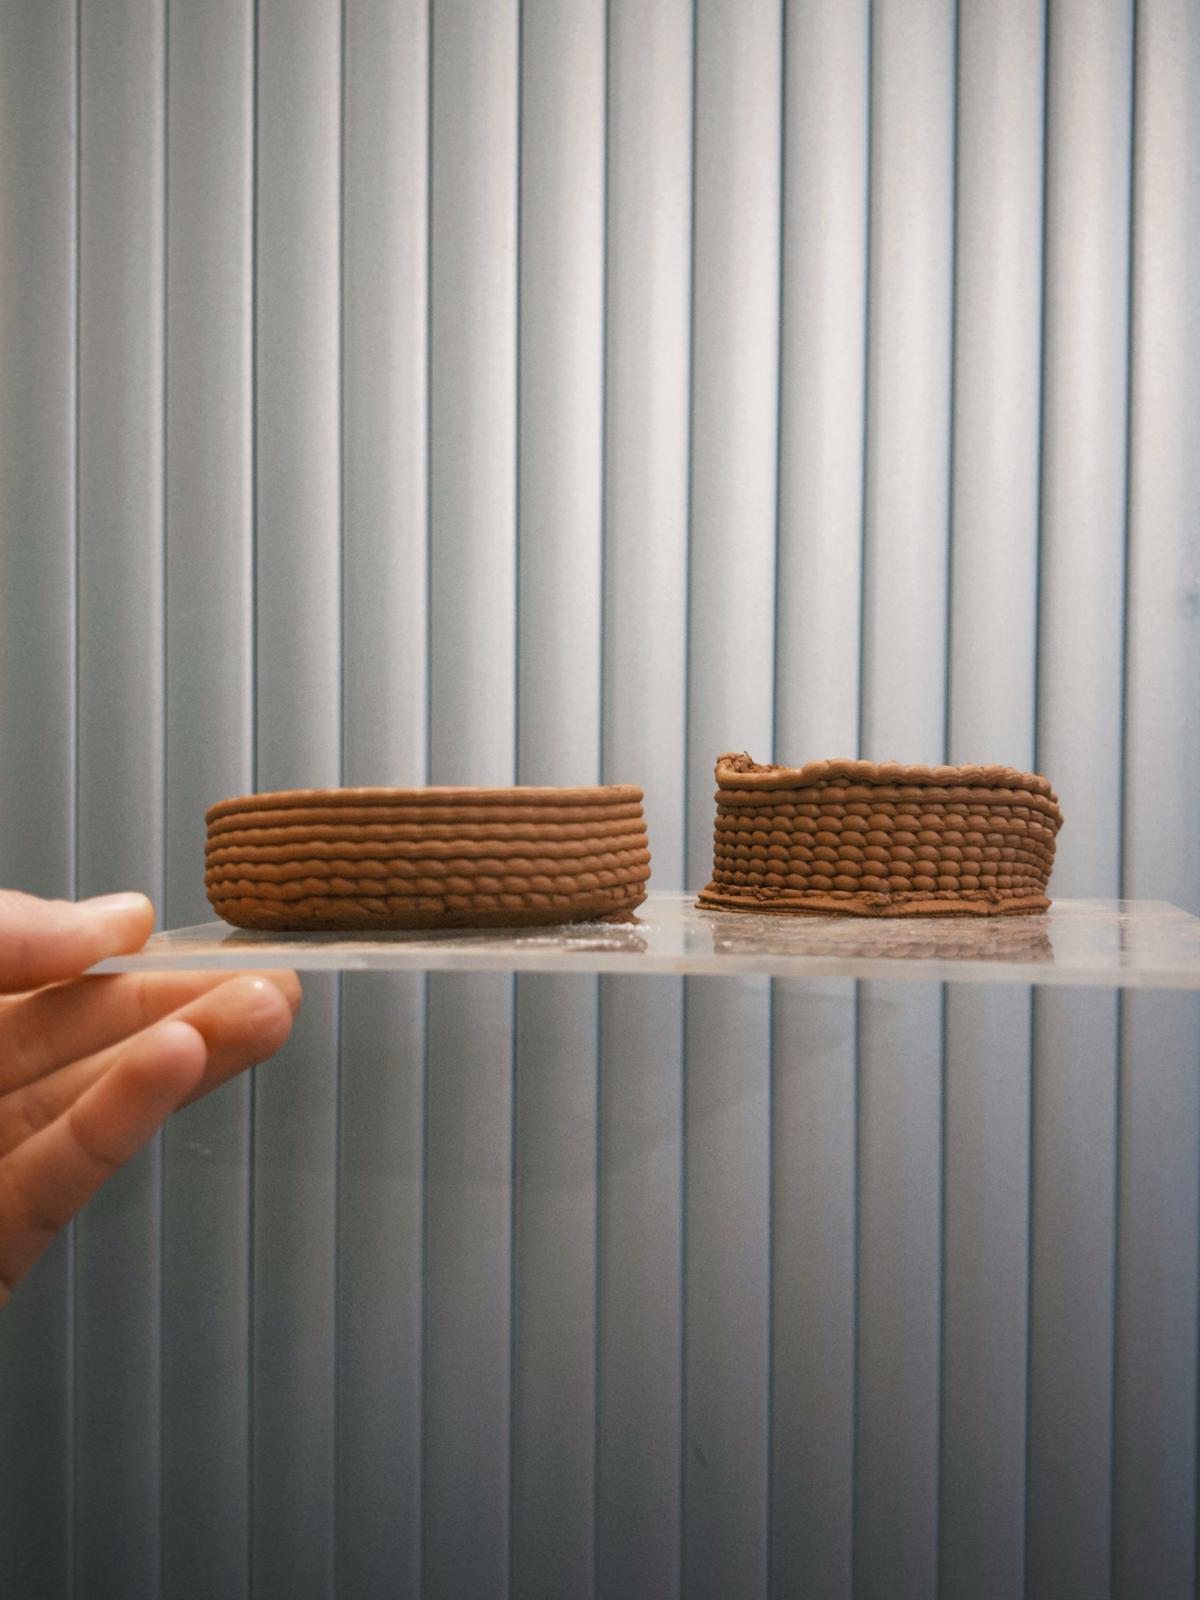
During my first print (left), I had 2 problems: 1. the outer wall of my first few base layers were printing before the infill, so when the infill started printing, the printer would push the previous layers to the side. This should be corrected in the Mamba slicing. The second problem I had, was that my design alternated between zig-zag curves, and spirals. The spirals were falling inside the cup, not gluing to the zig-zag walls. This was a design problem. On my second print (right), I changed the parameters for the base and that worked well. However, the spiral layers were still not sticking to the walls. The extruder decided to be rude by the end too.
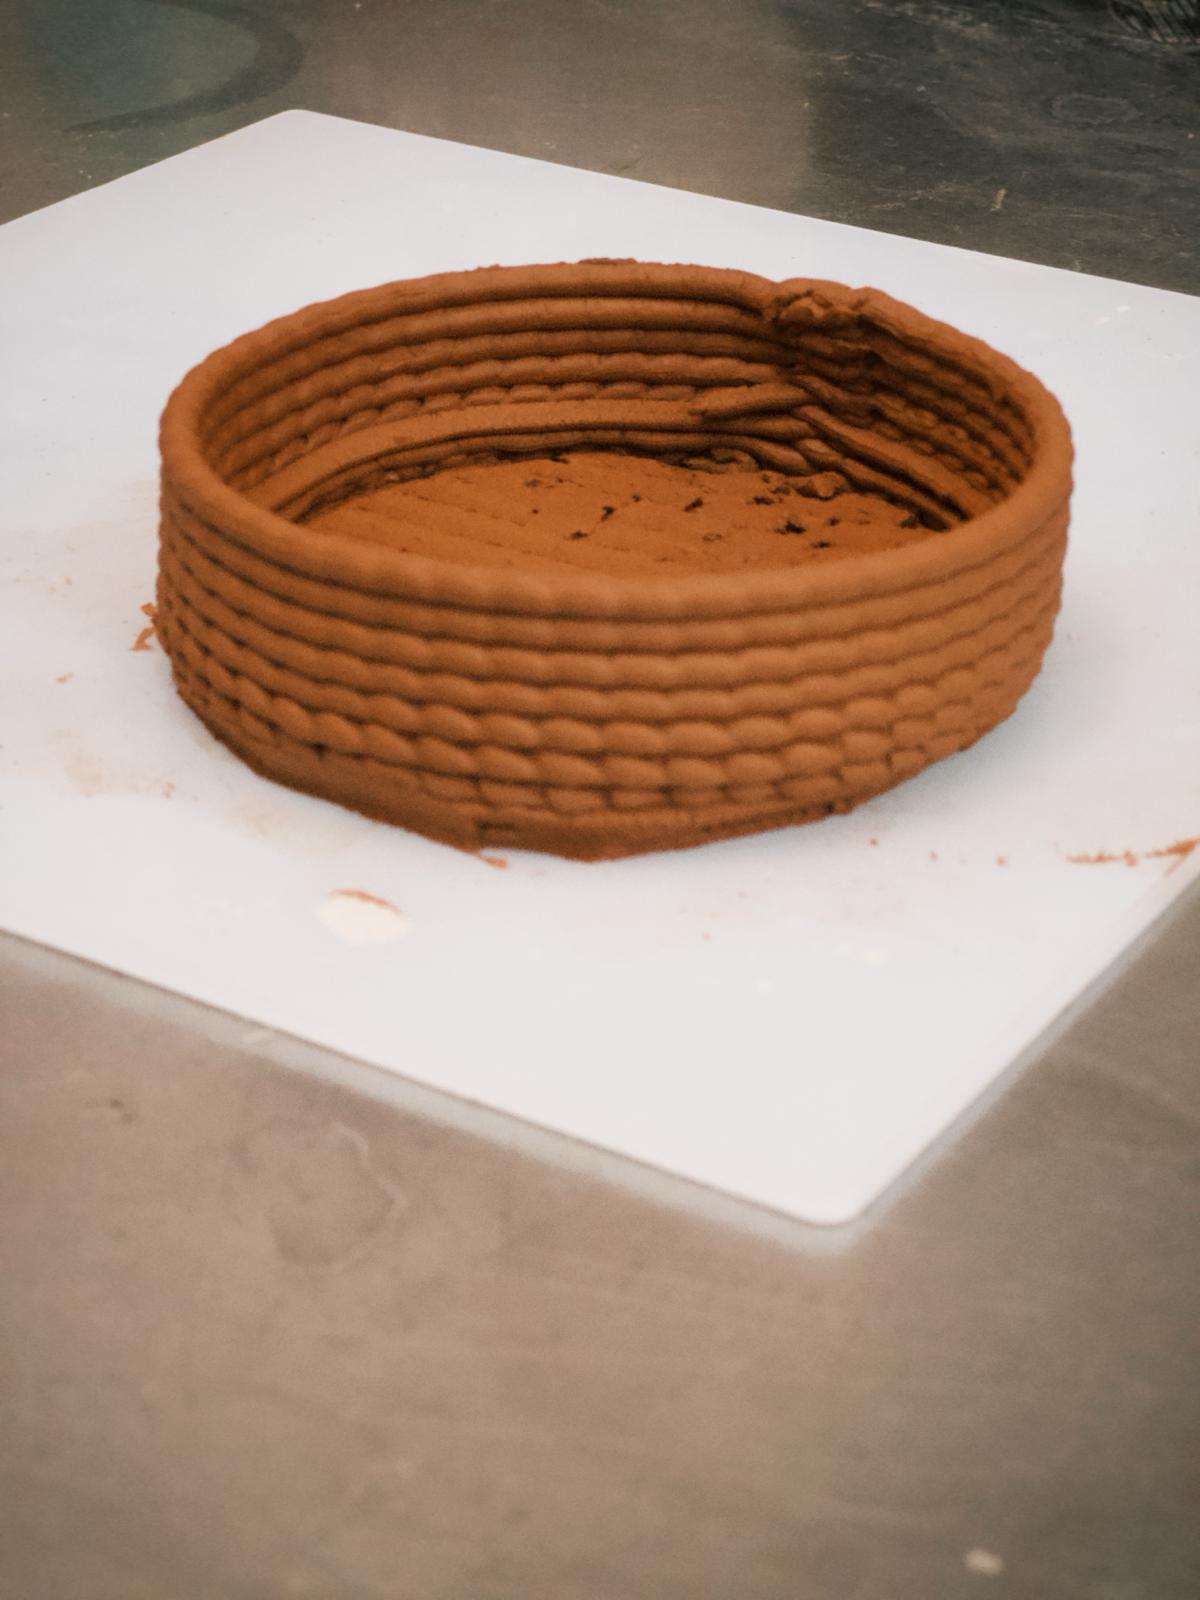
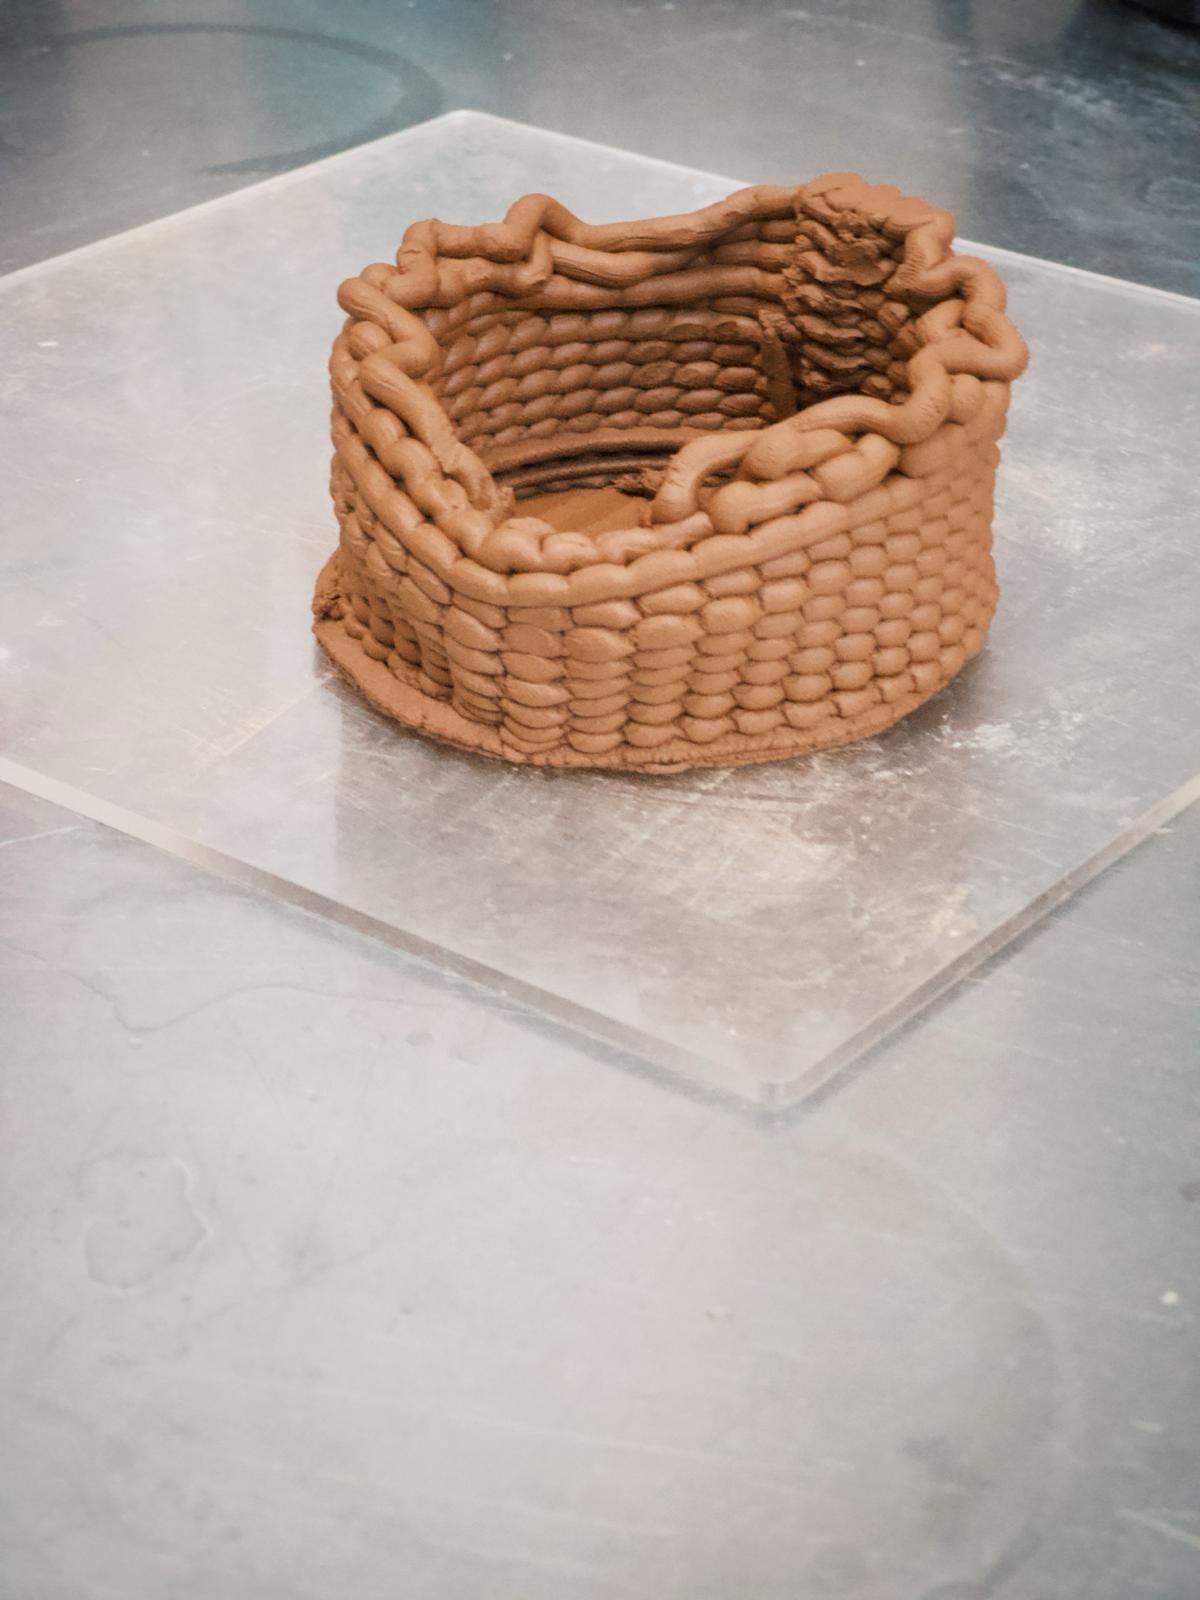
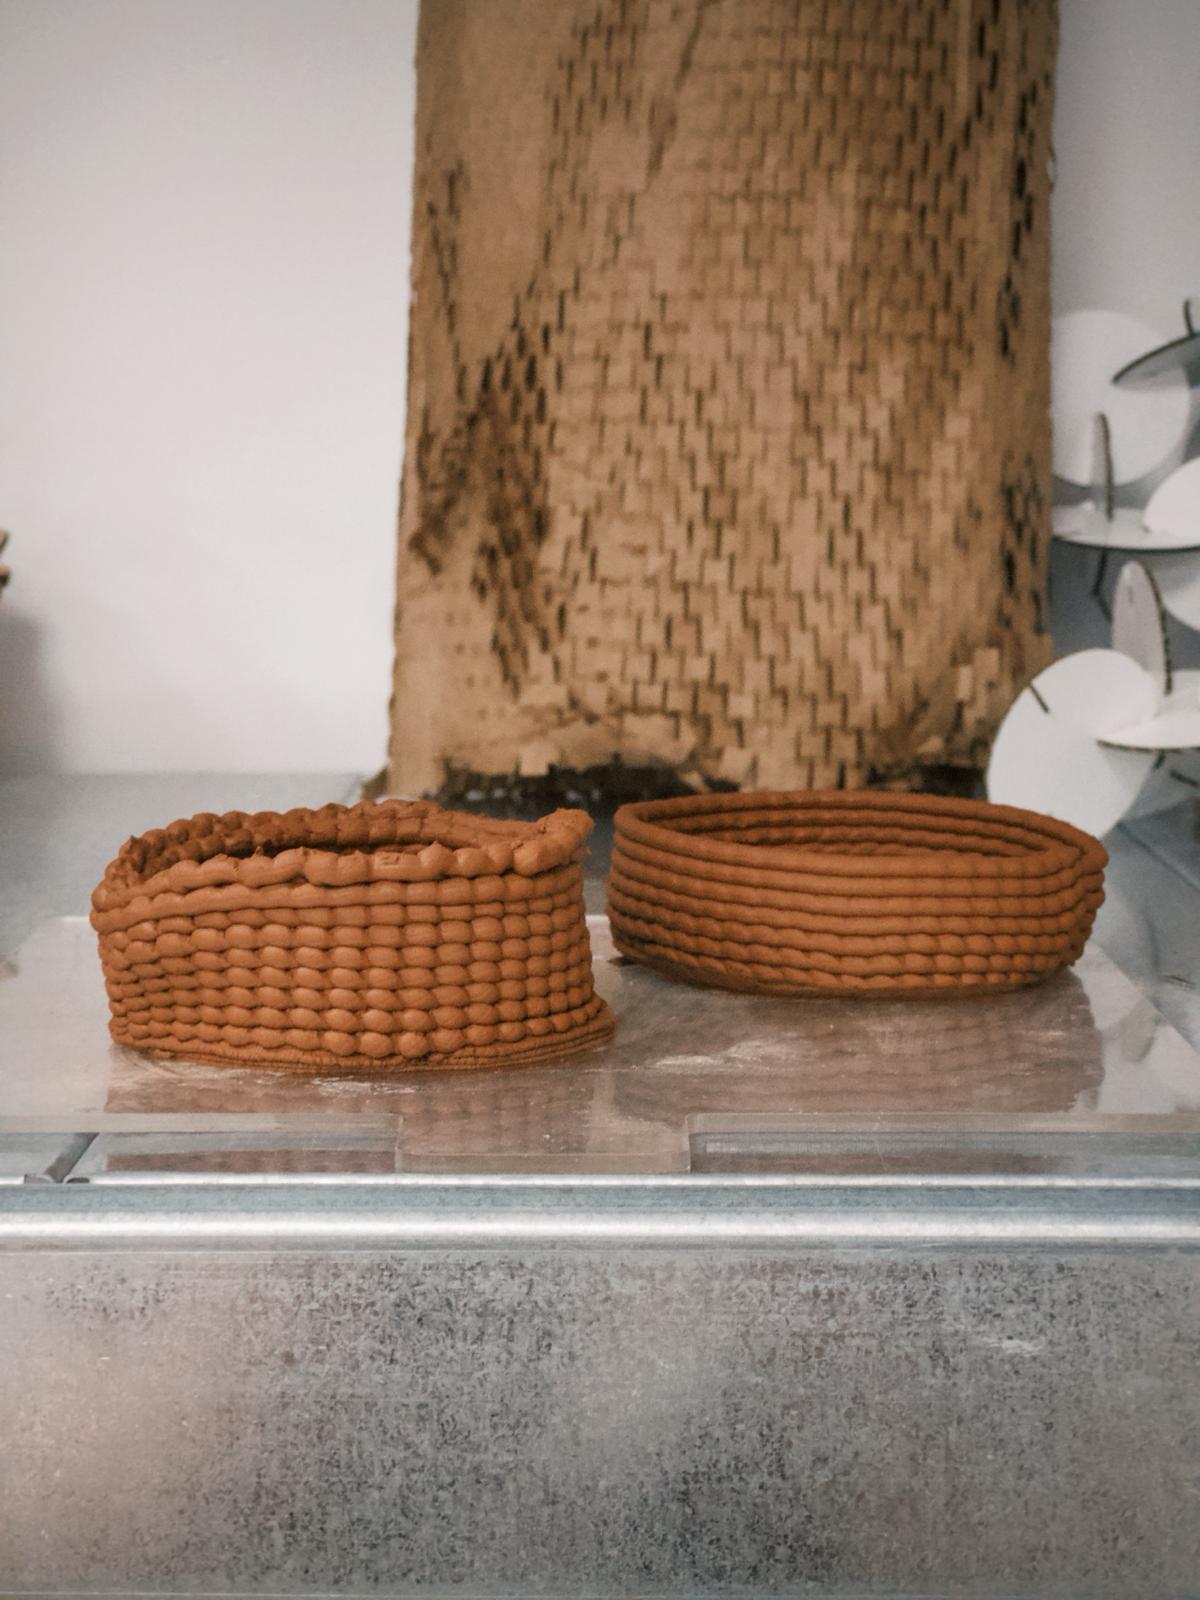
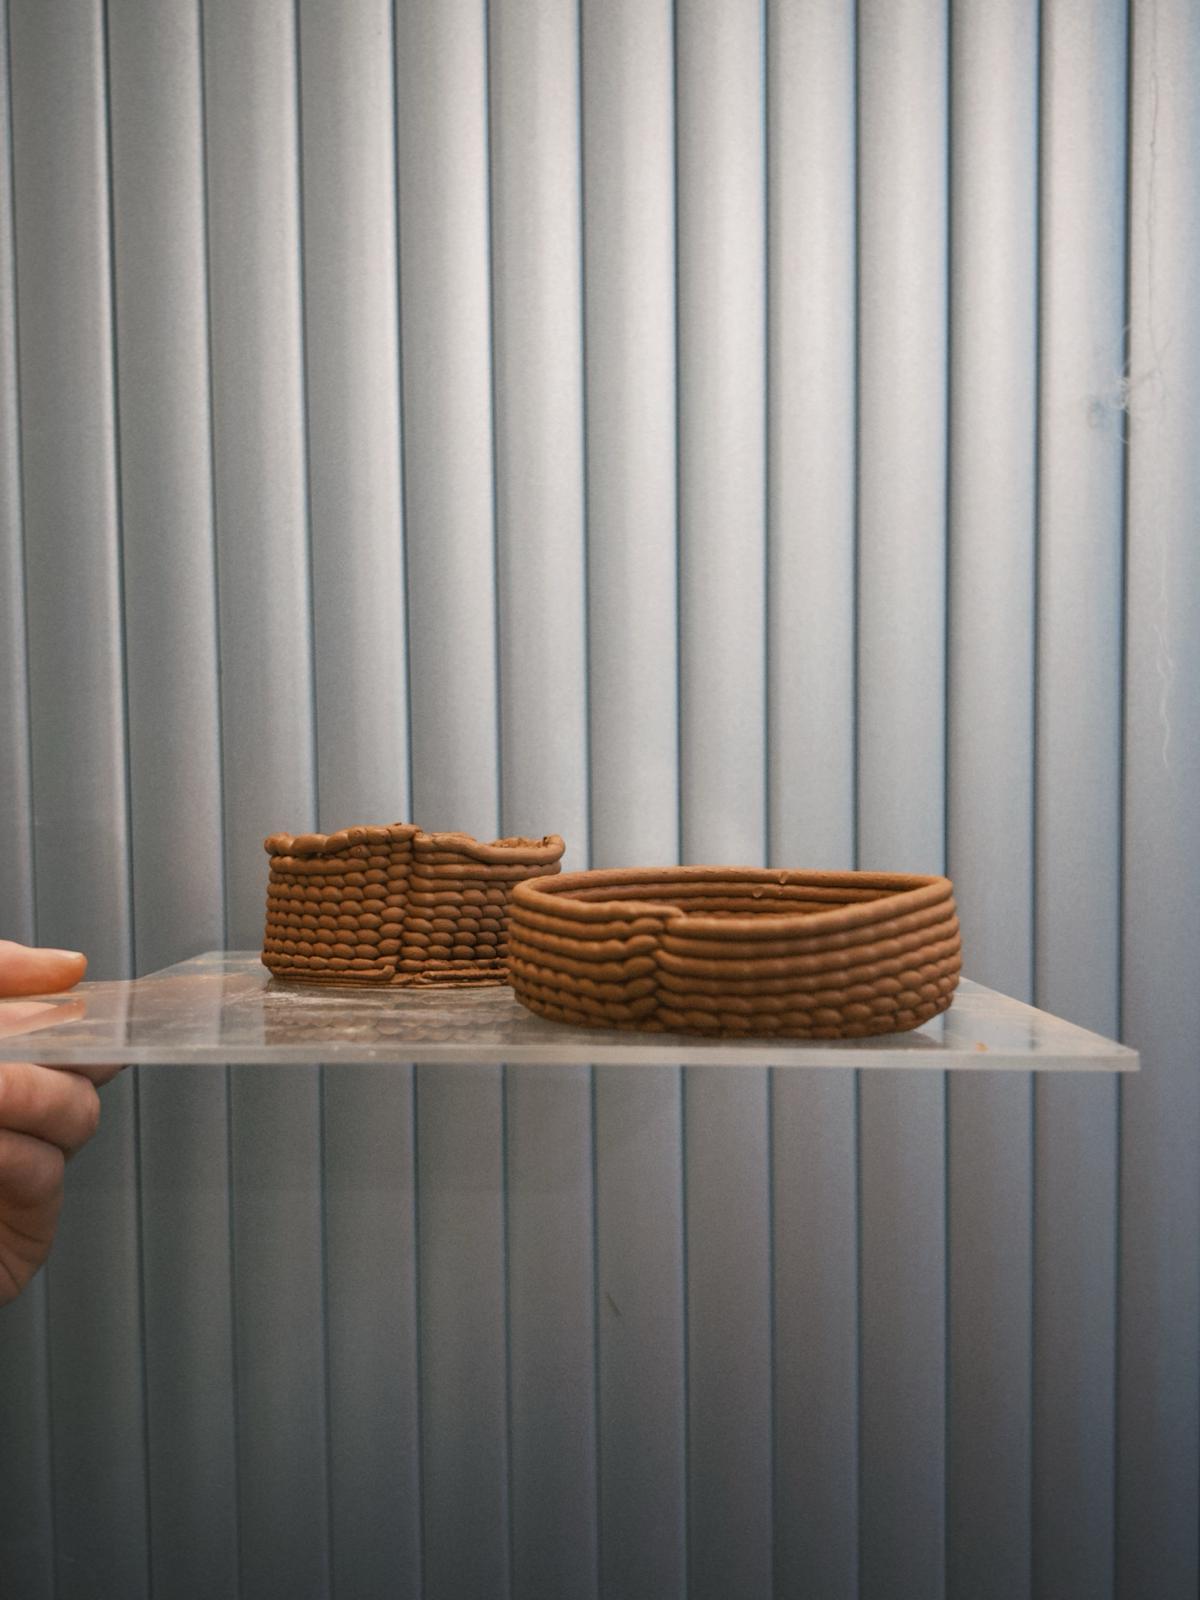
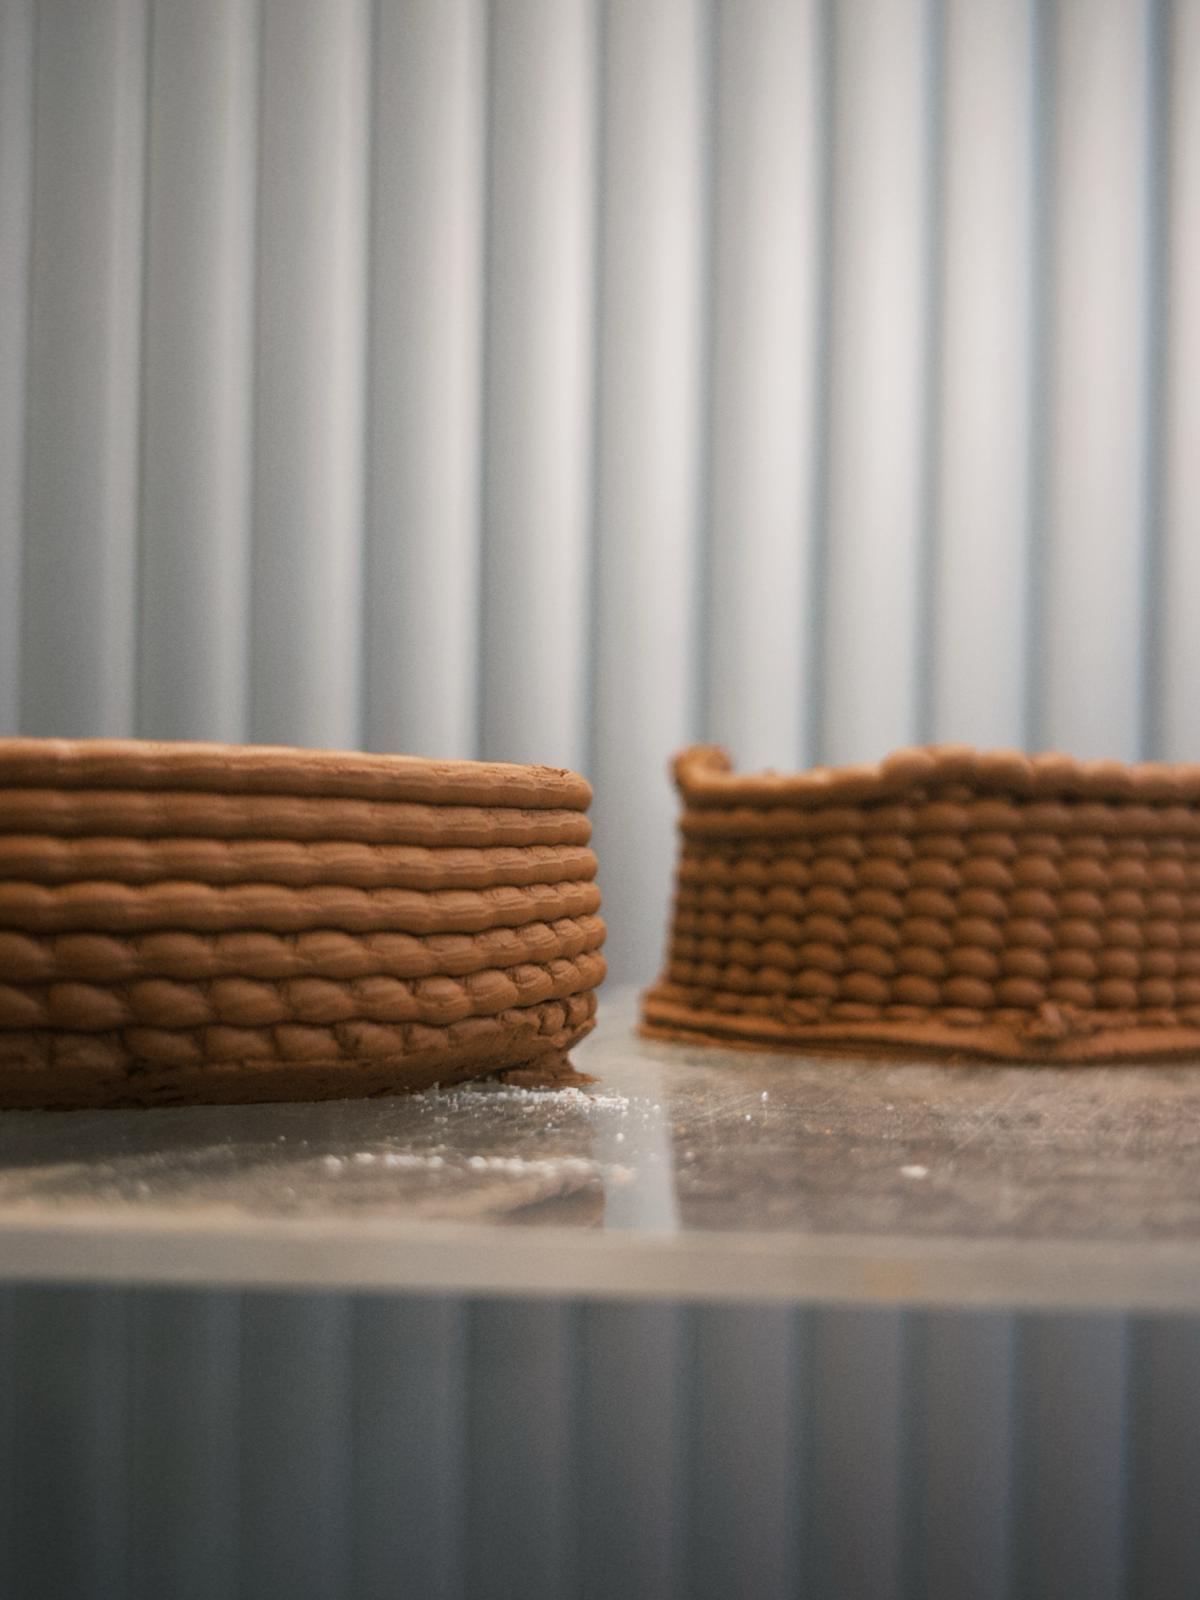
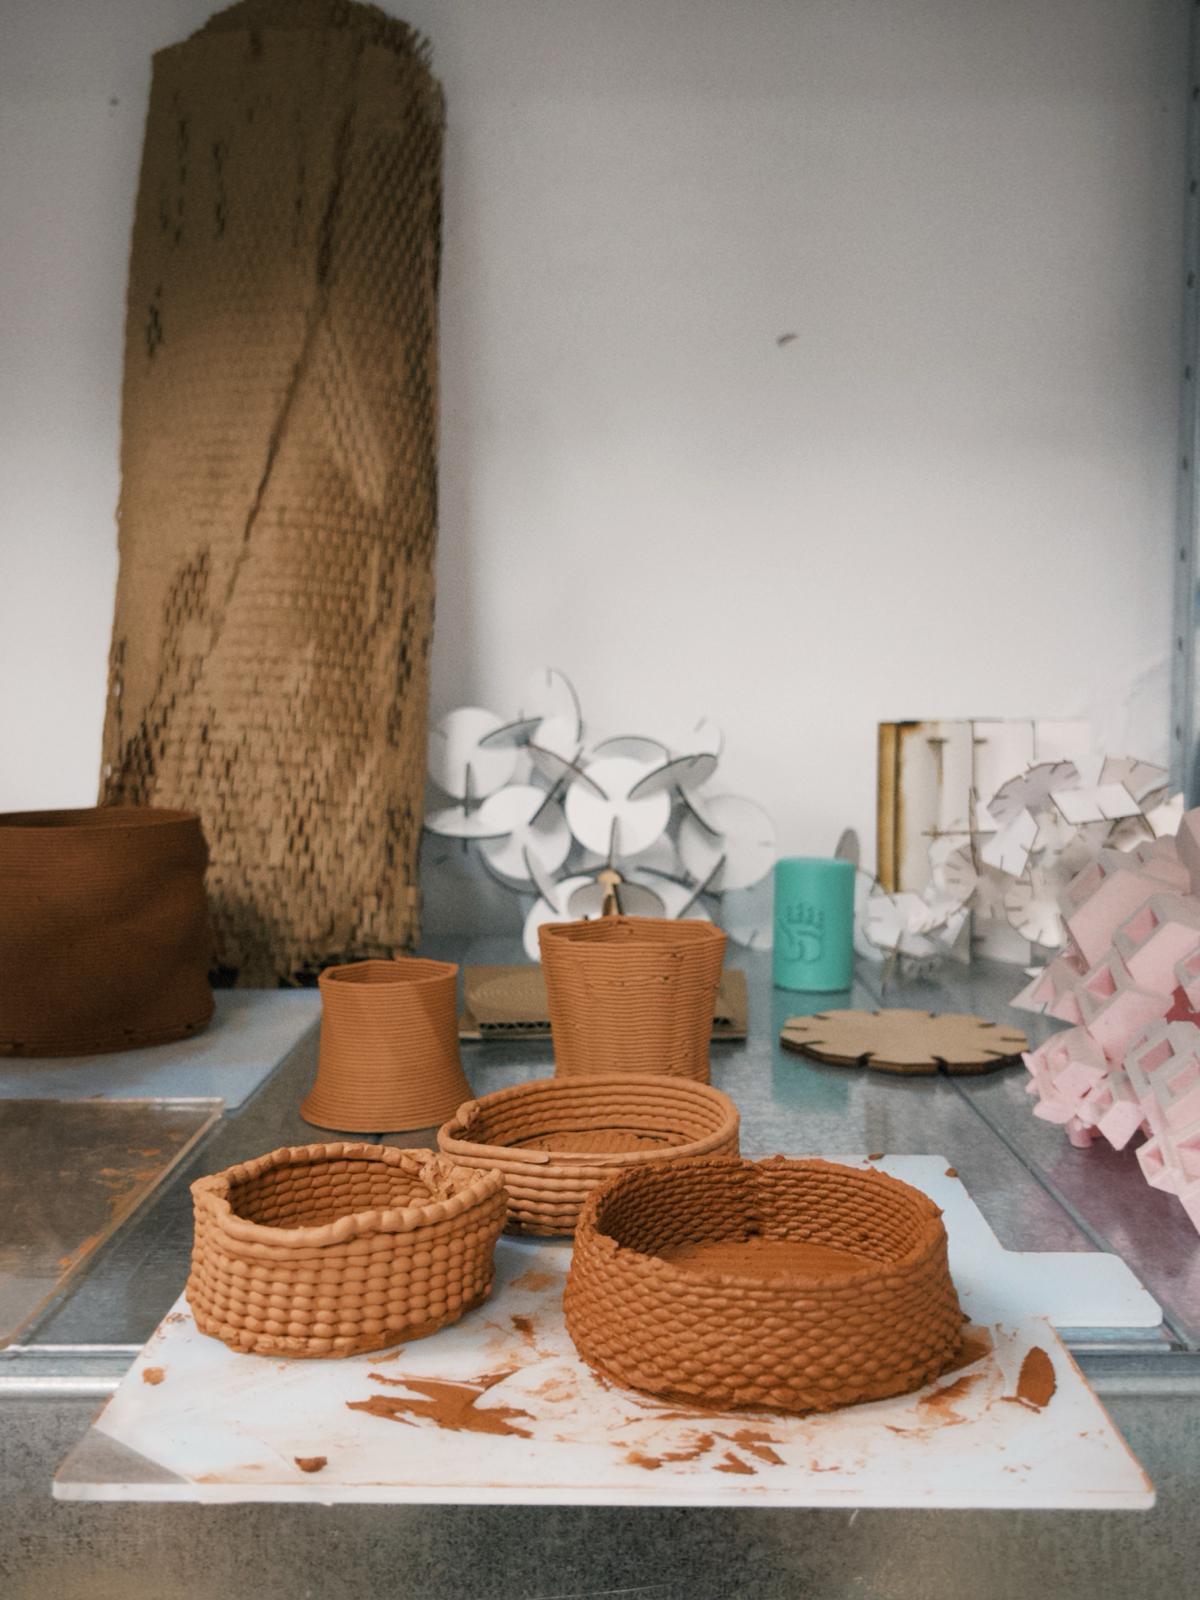
I wasn't unhappy with the result, but I knew it could be better. I gave another shot, and changed the design, for no spiral layers, only alternating zig-zags. This time, it worked nicely. Thanks Andrea, Richi and Tony for all the help and sharing the process!
Files:
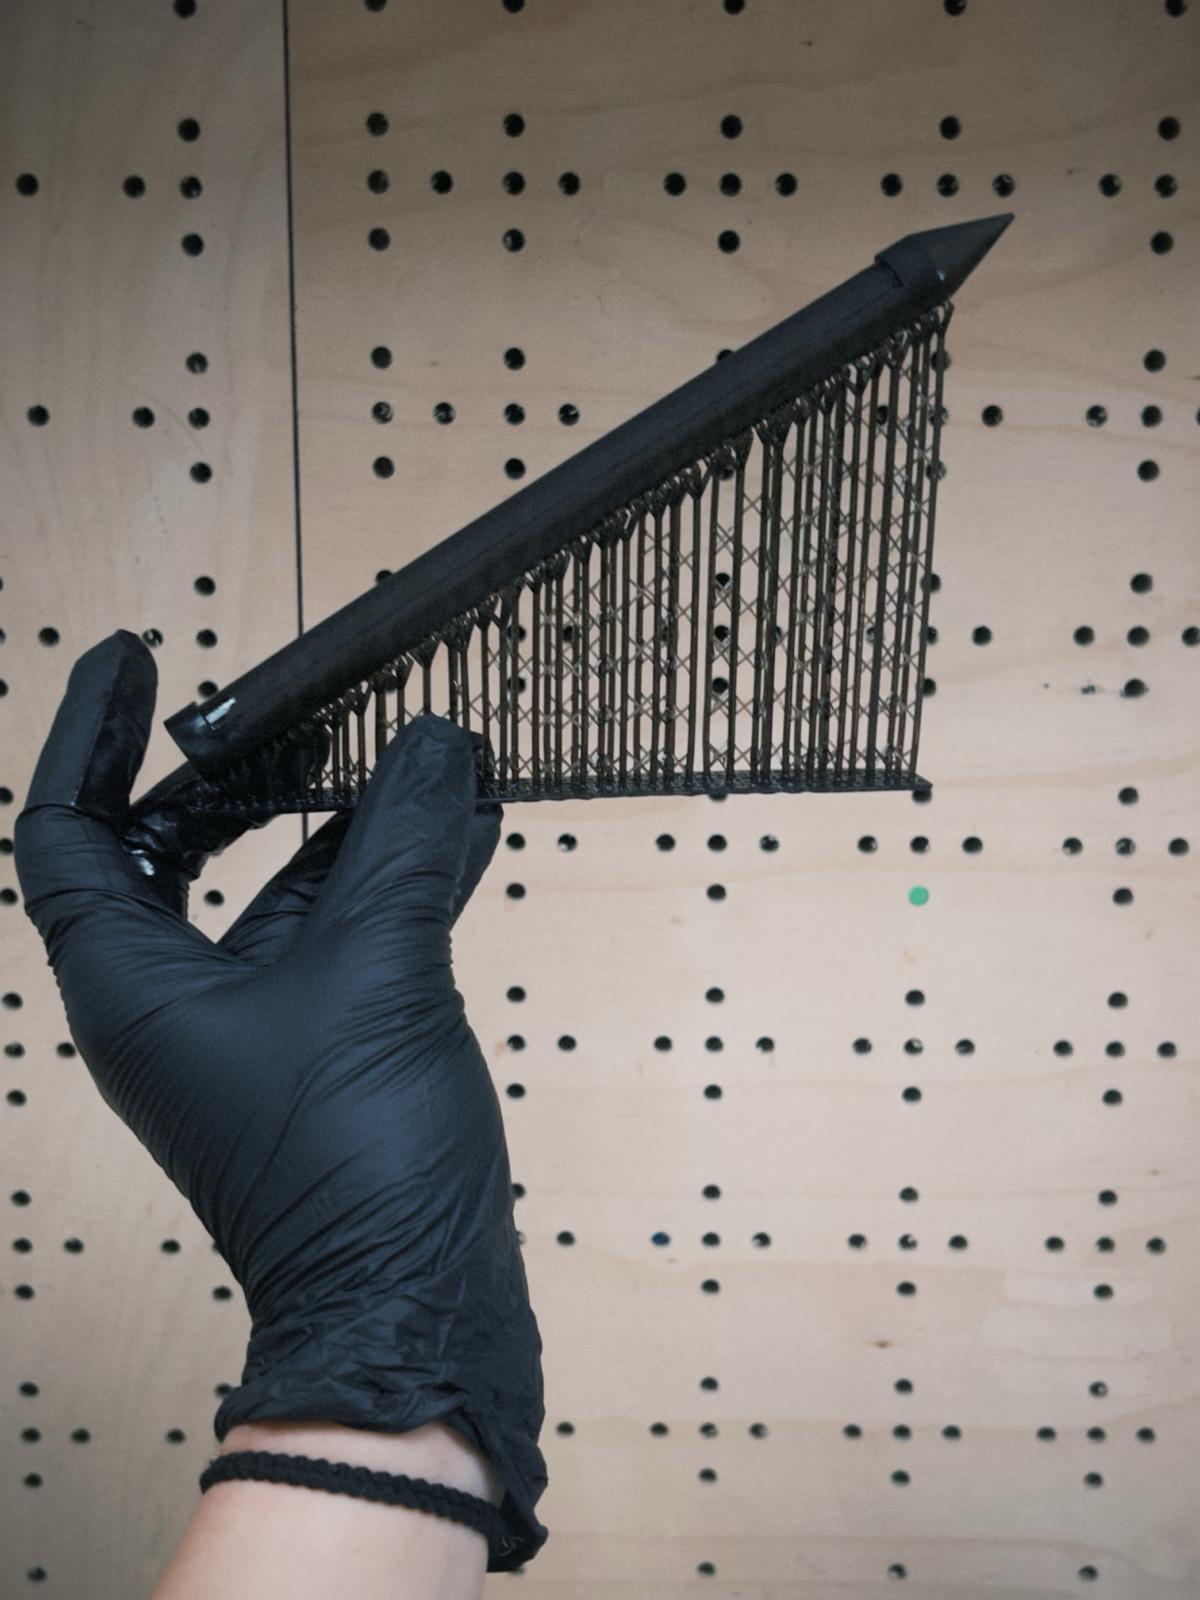
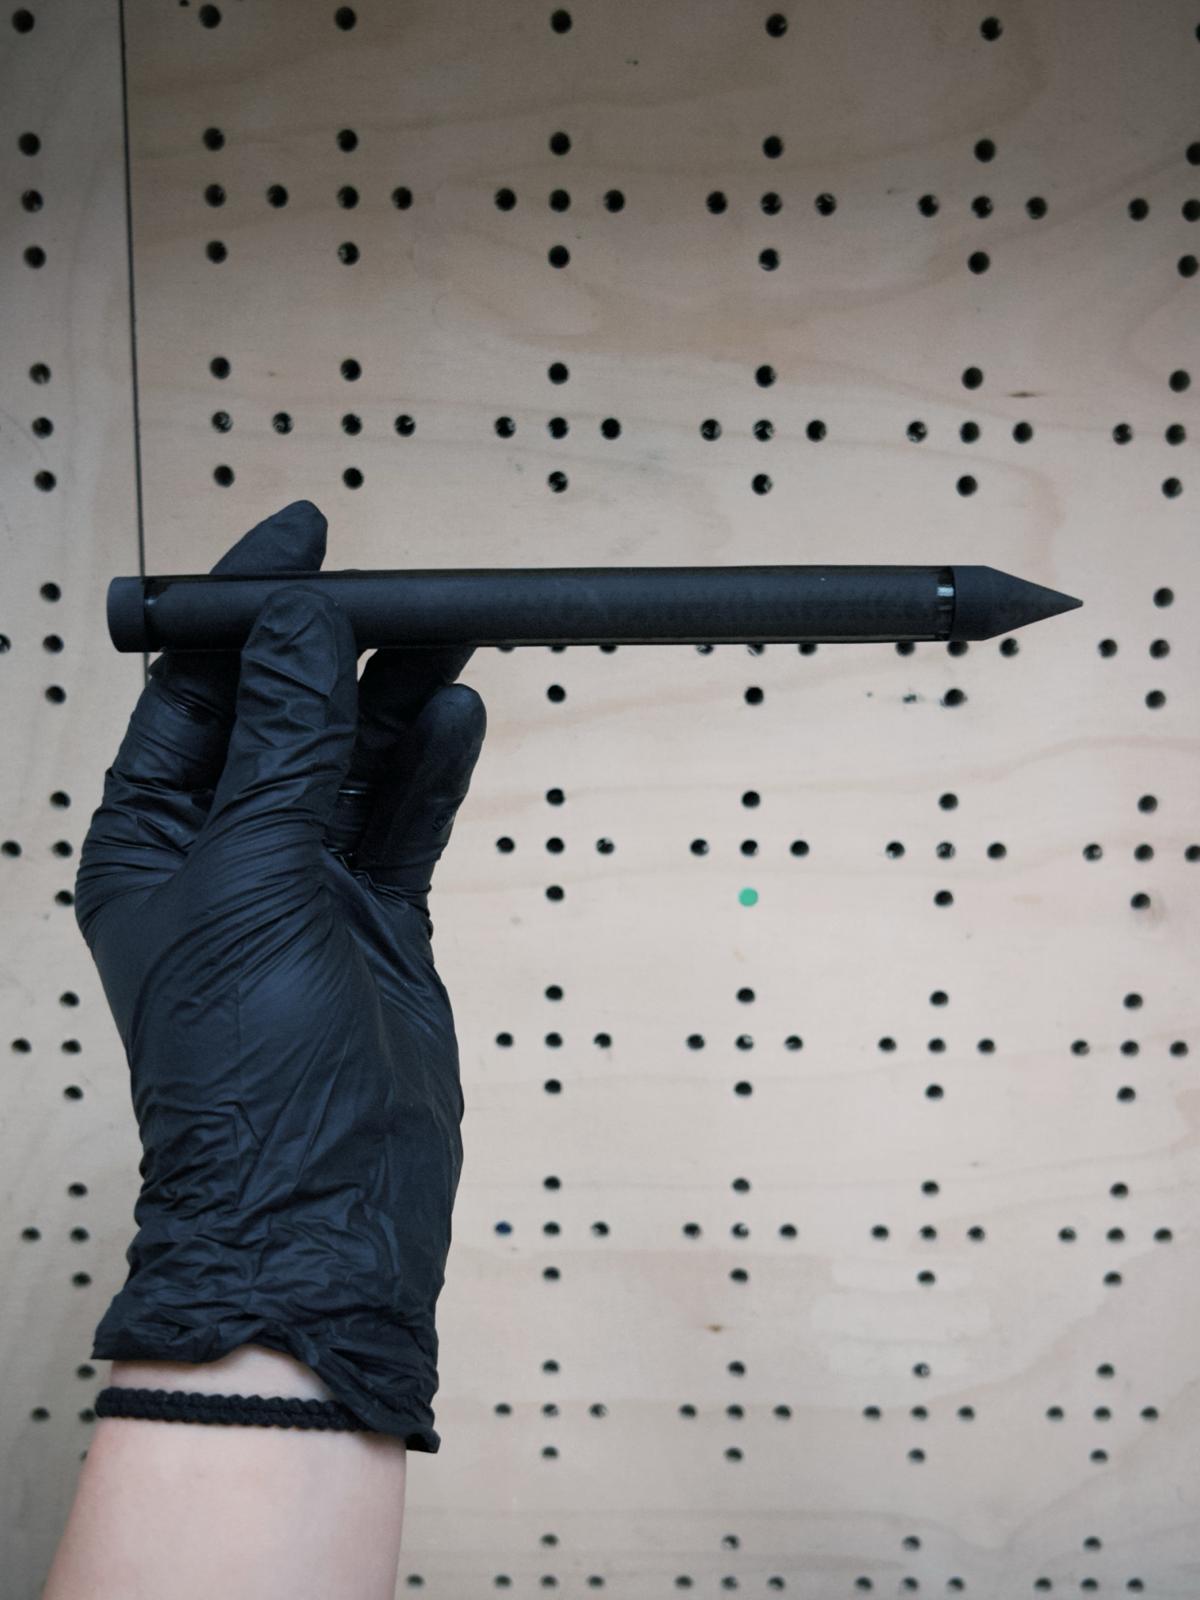
SLA Print
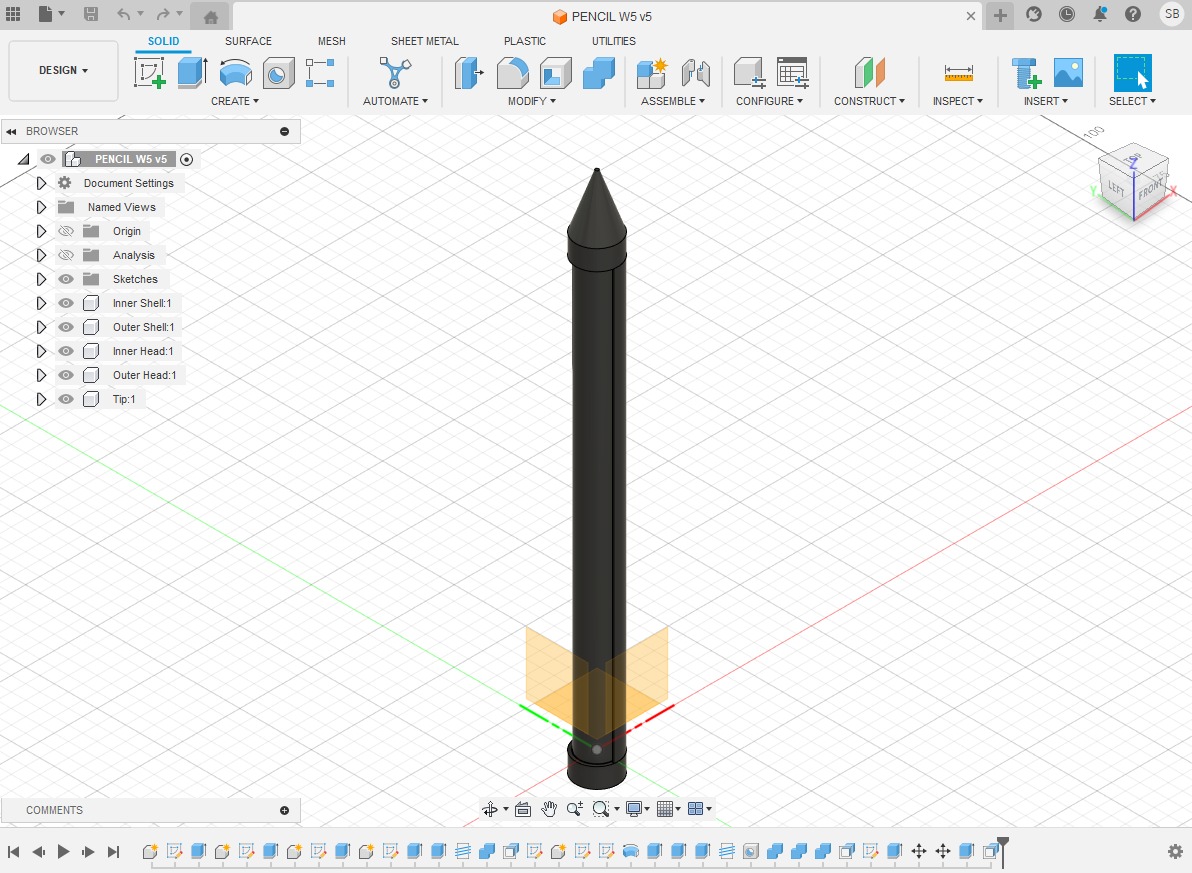
I also decided to model and 3D print a protoype for the shell of my final project. I sketched ways I could open easily, so I could test with different sensors/components throughout the process. I also thought there could be some rotatable threads so I could removee the tip and the cap. I then modelled on Fusion 3D. This model would be hard to achieve using substractive method, because of the hollow shape within one solo geometry.
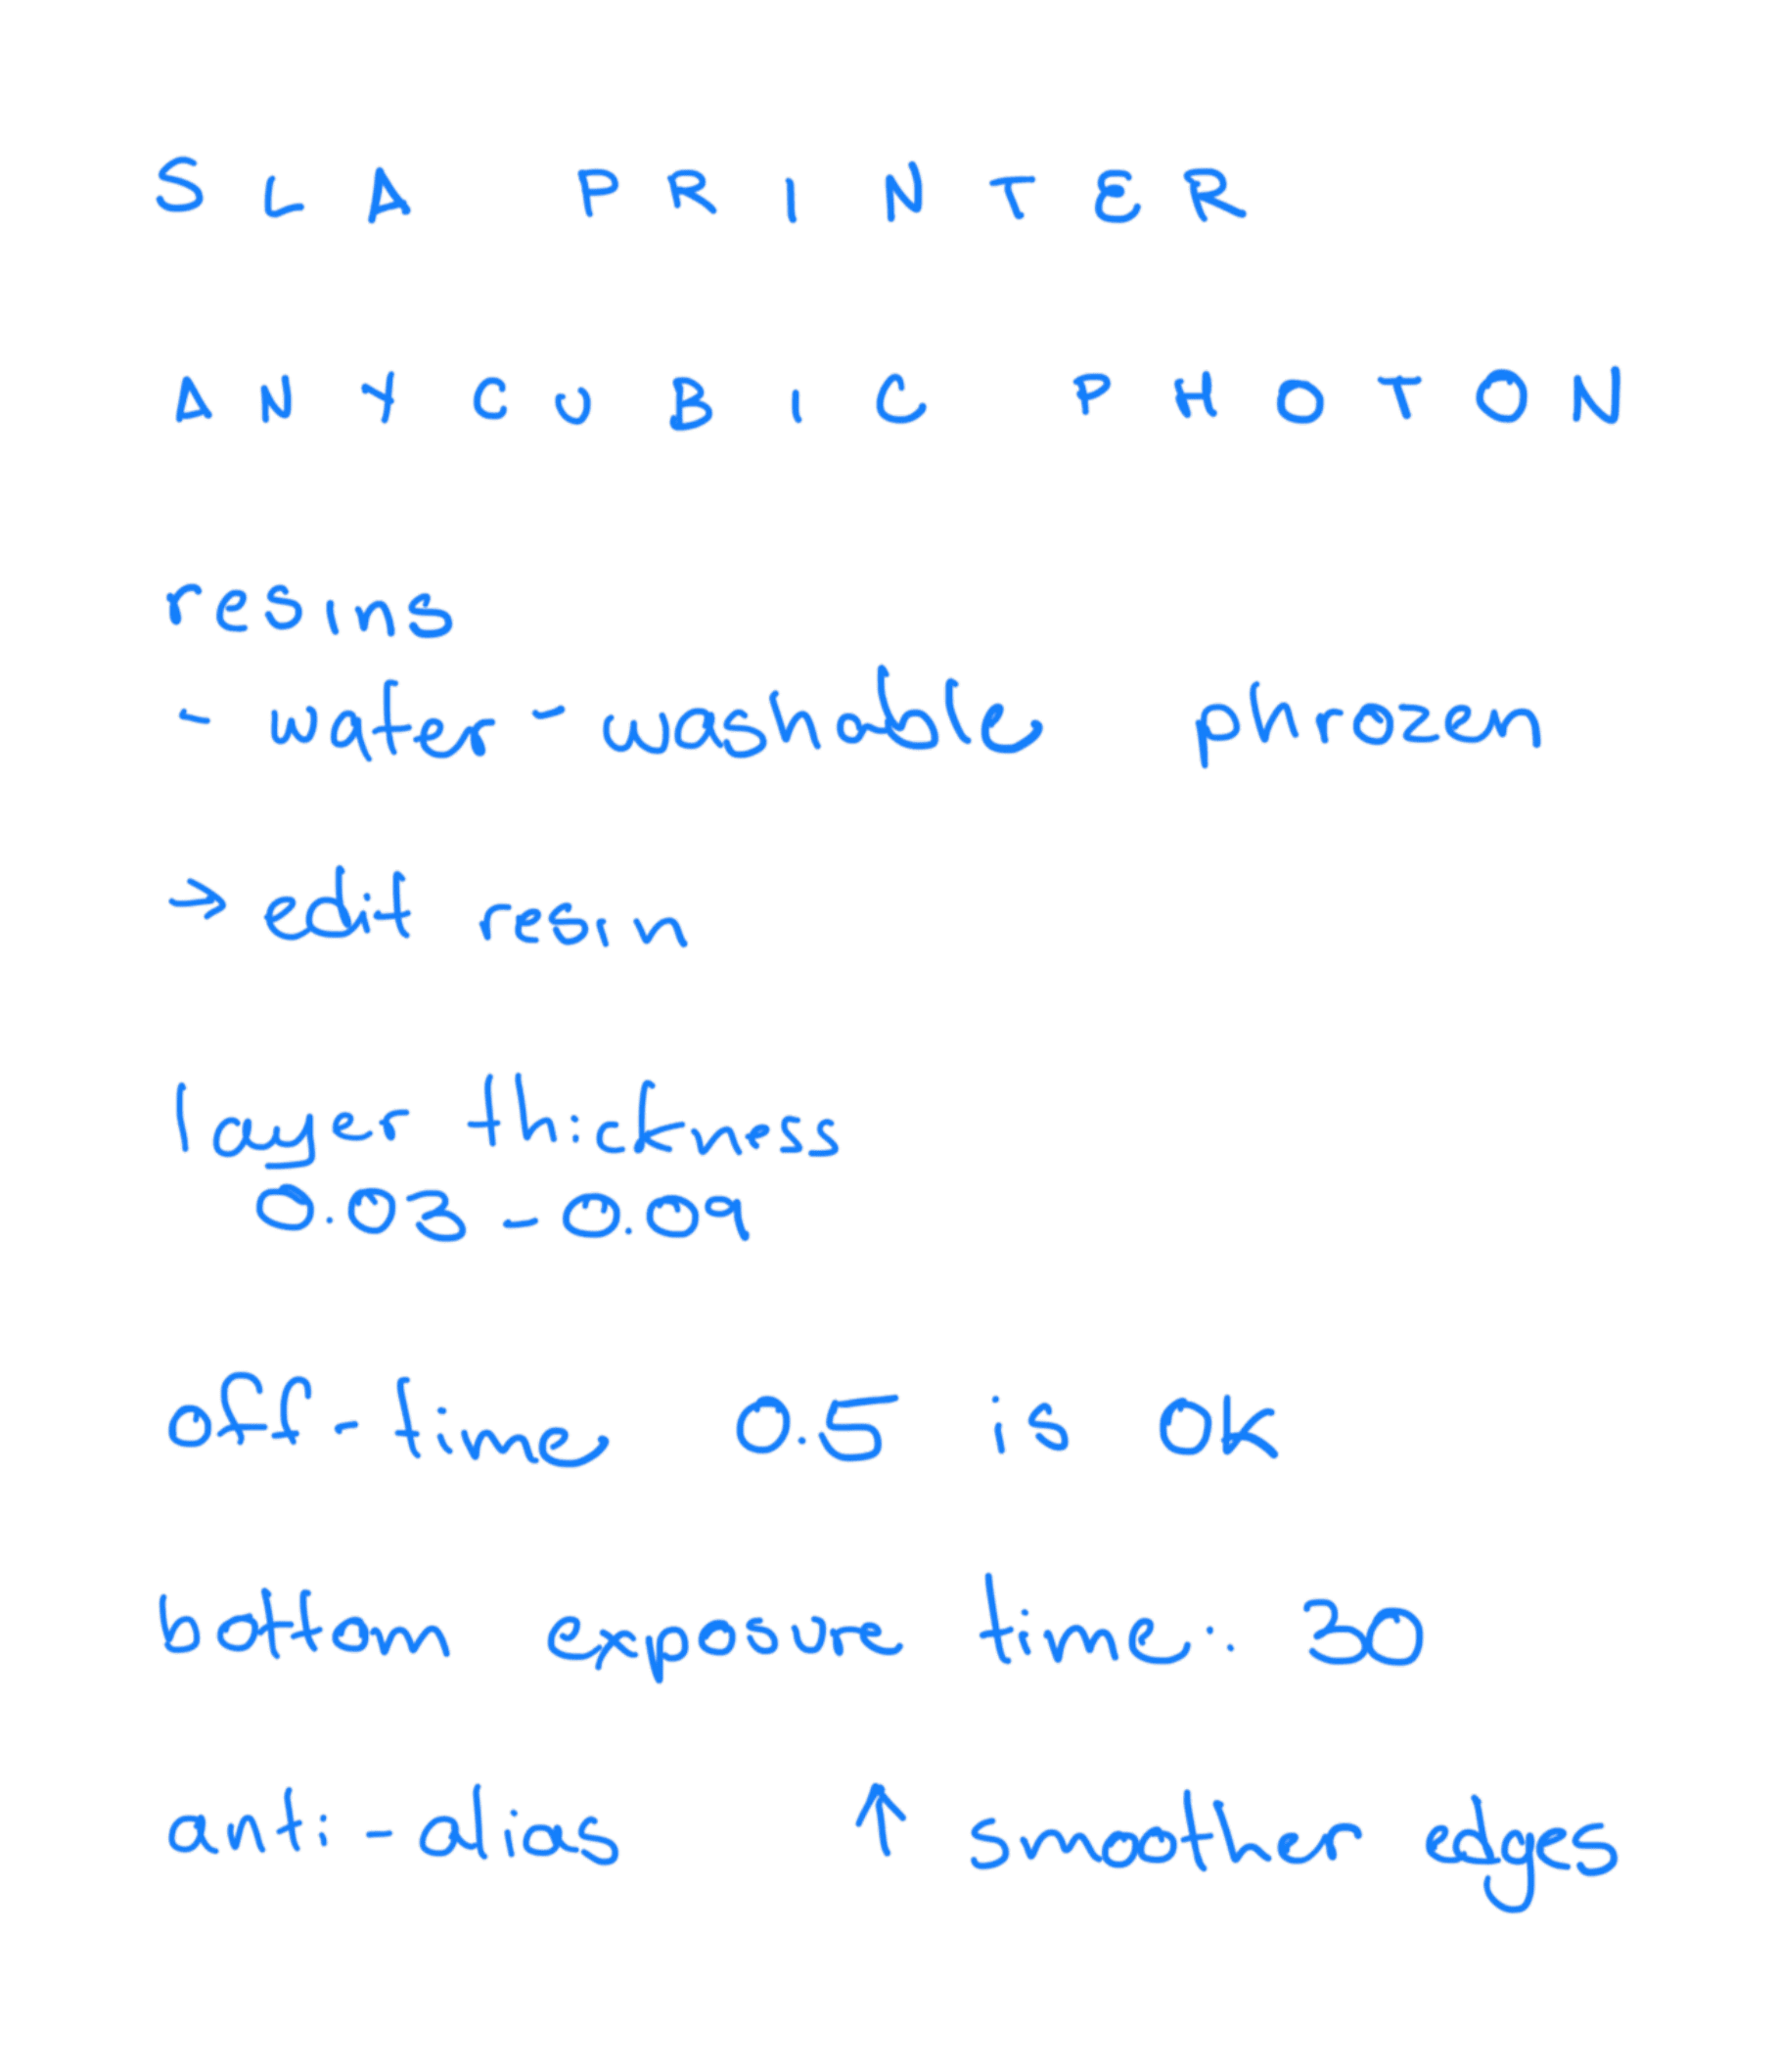
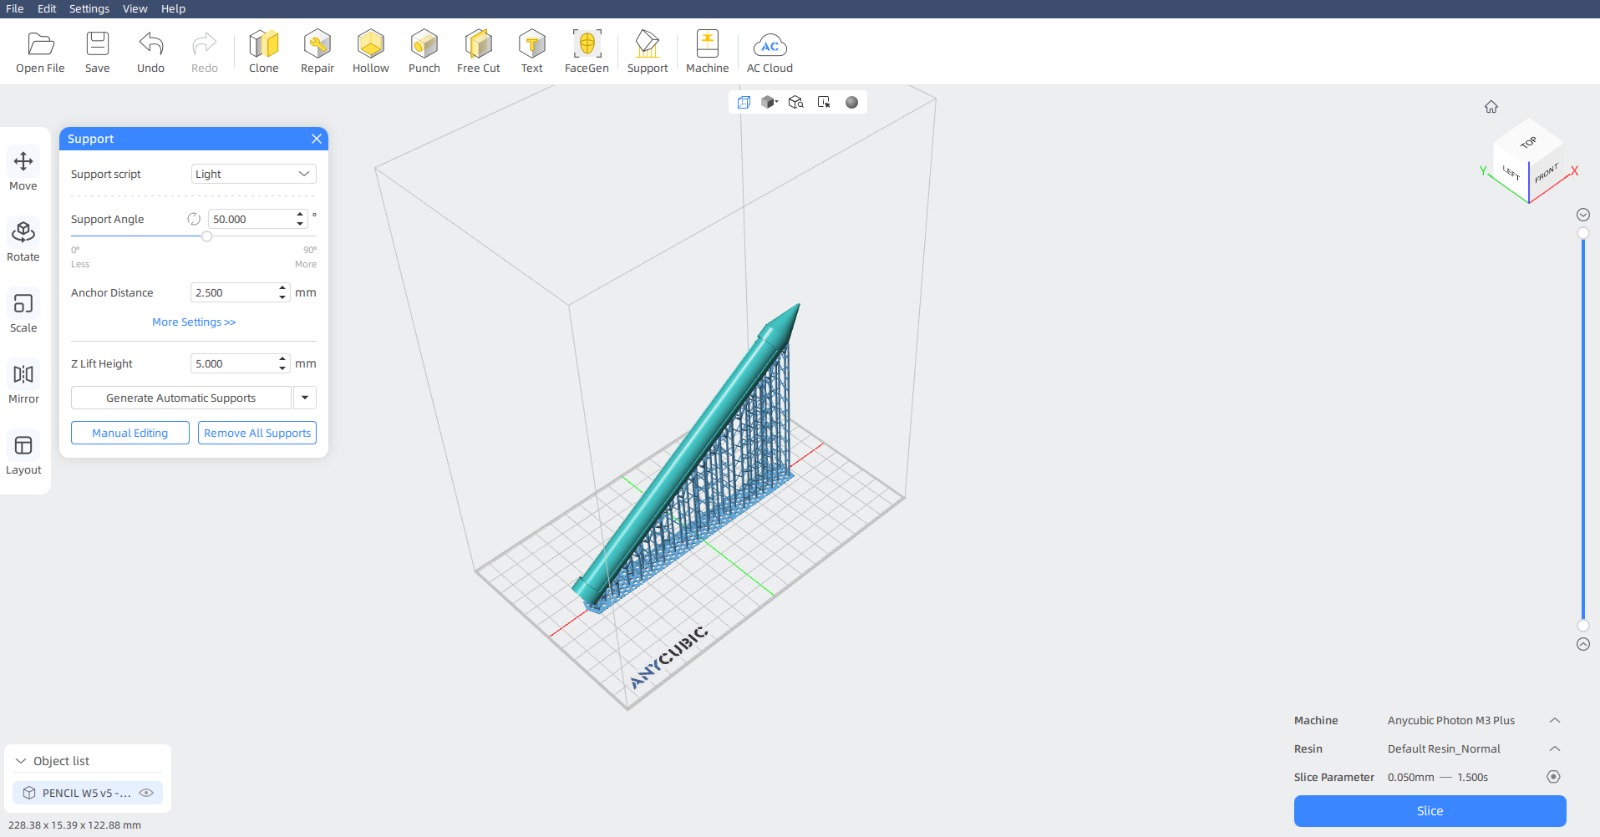
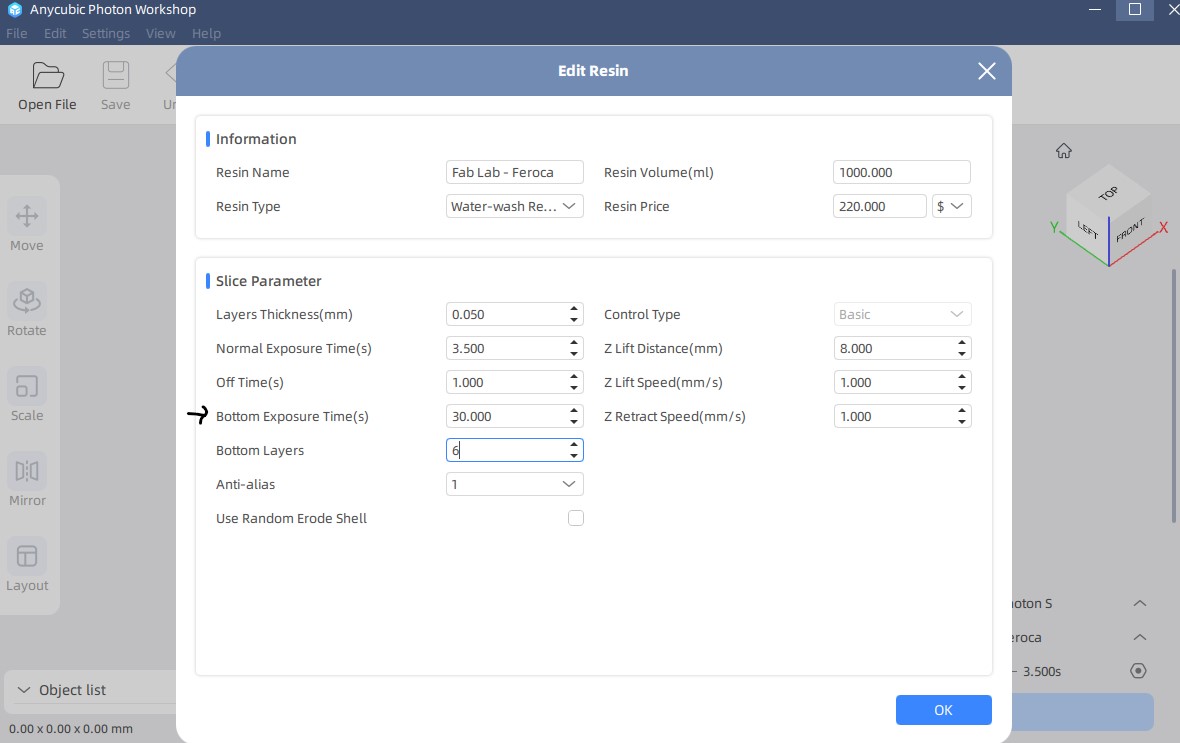
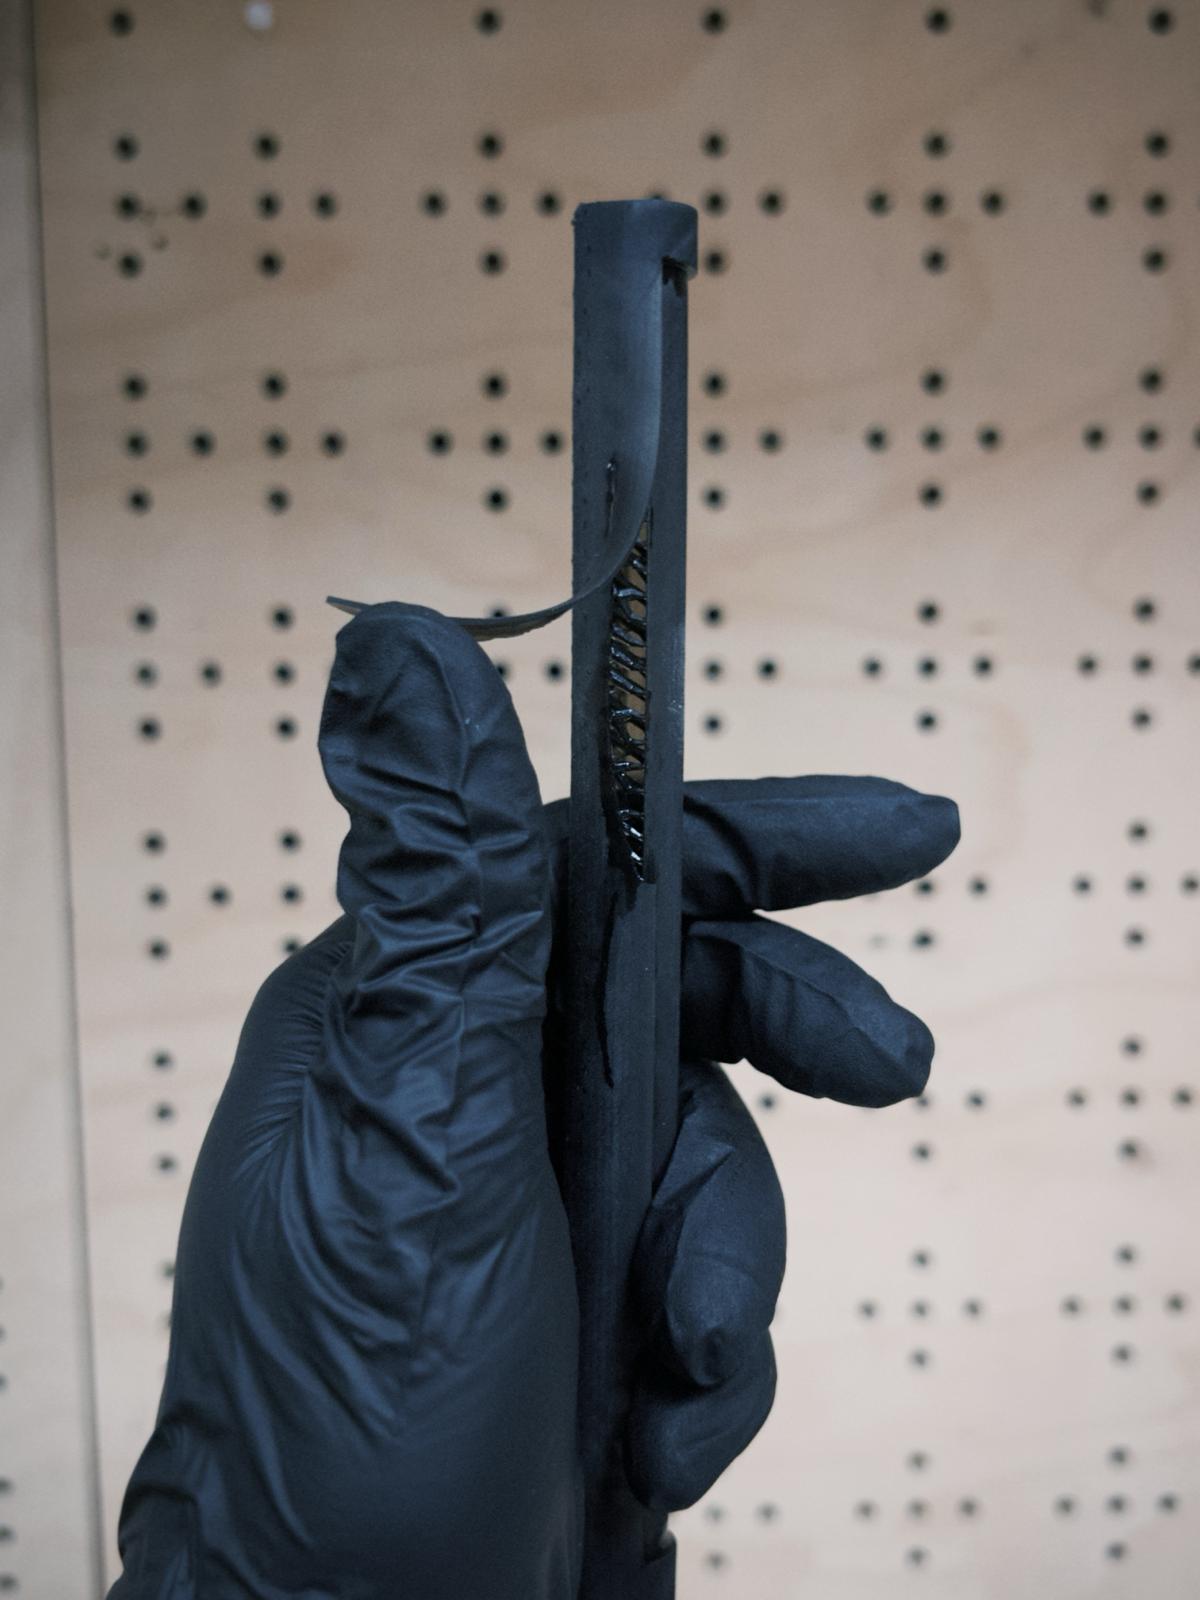
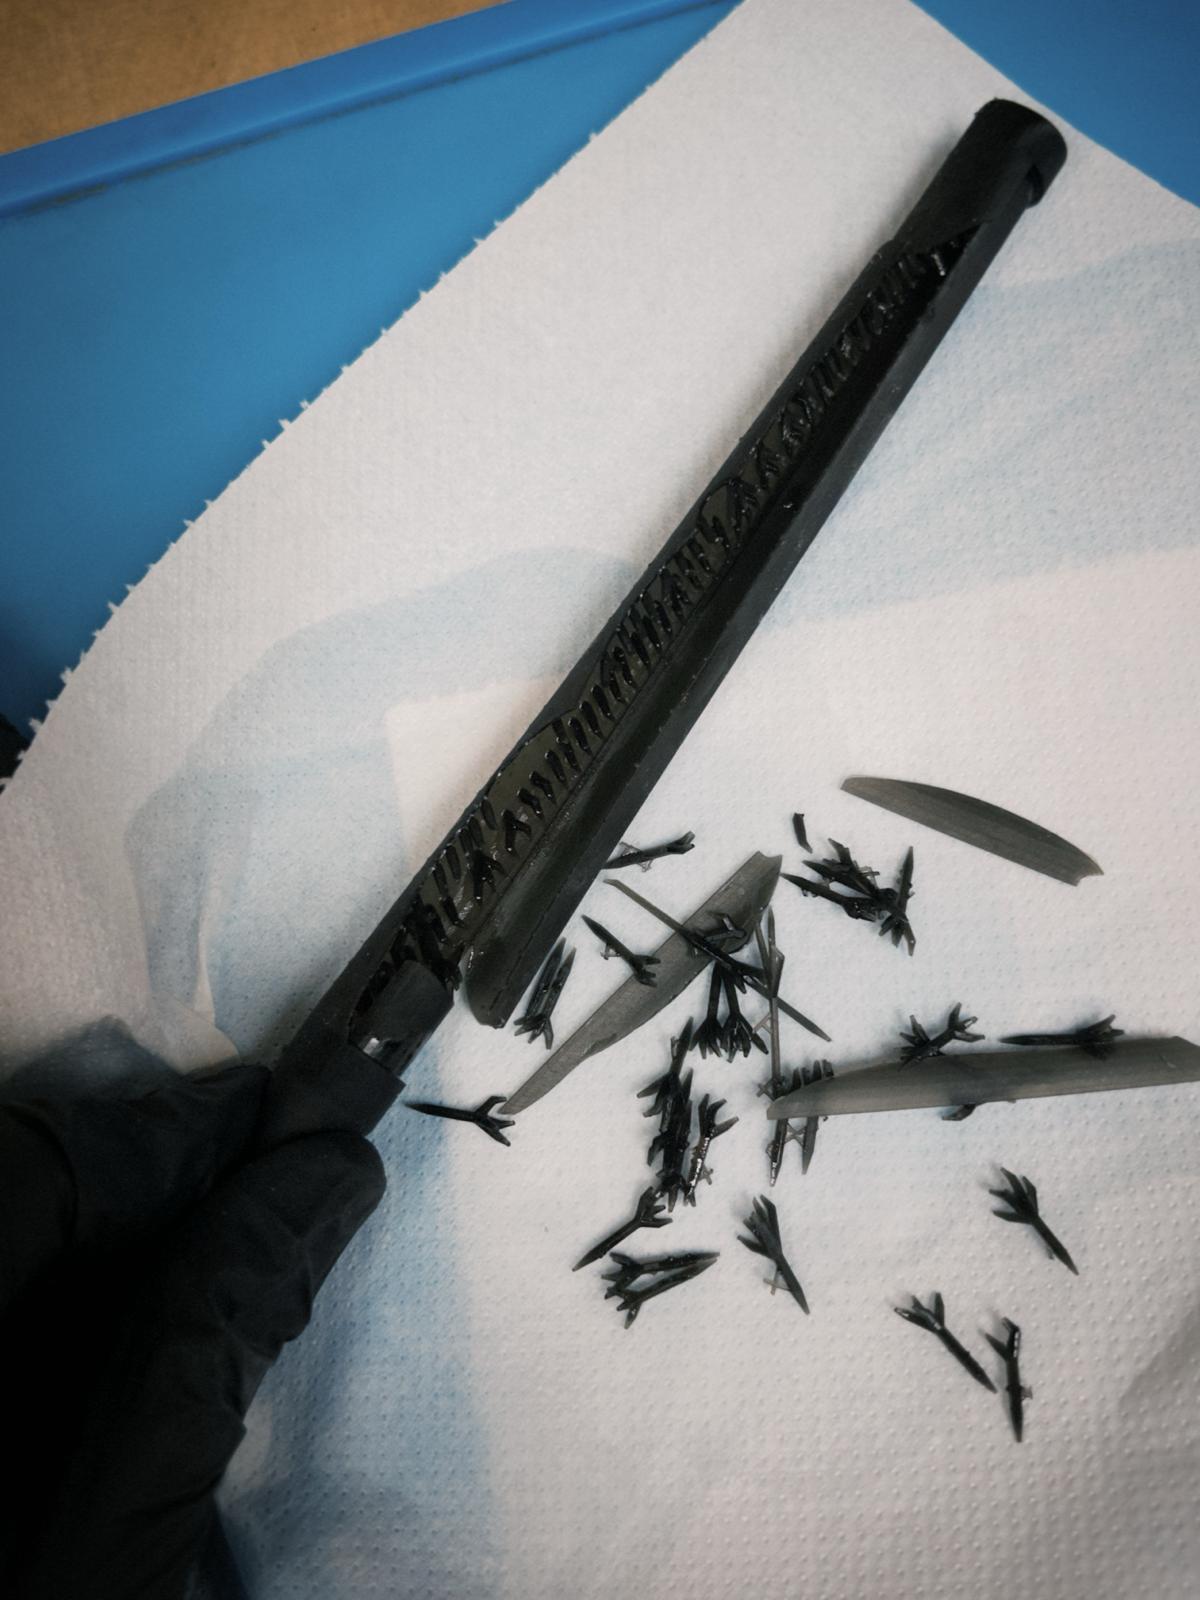
I used Anycubic Photon Workshop to slice the geometry and export the file to the Anycubic printer. The software contains default settings for different resins that can be added to the tray. I used the default settings, but increased the bottom exposure time to 30. This time parameter is usually defined by the resin type/brand. Usually a slightly longer exposure time is safer, because it guarantees the first layer actually sticks to the metal plate.
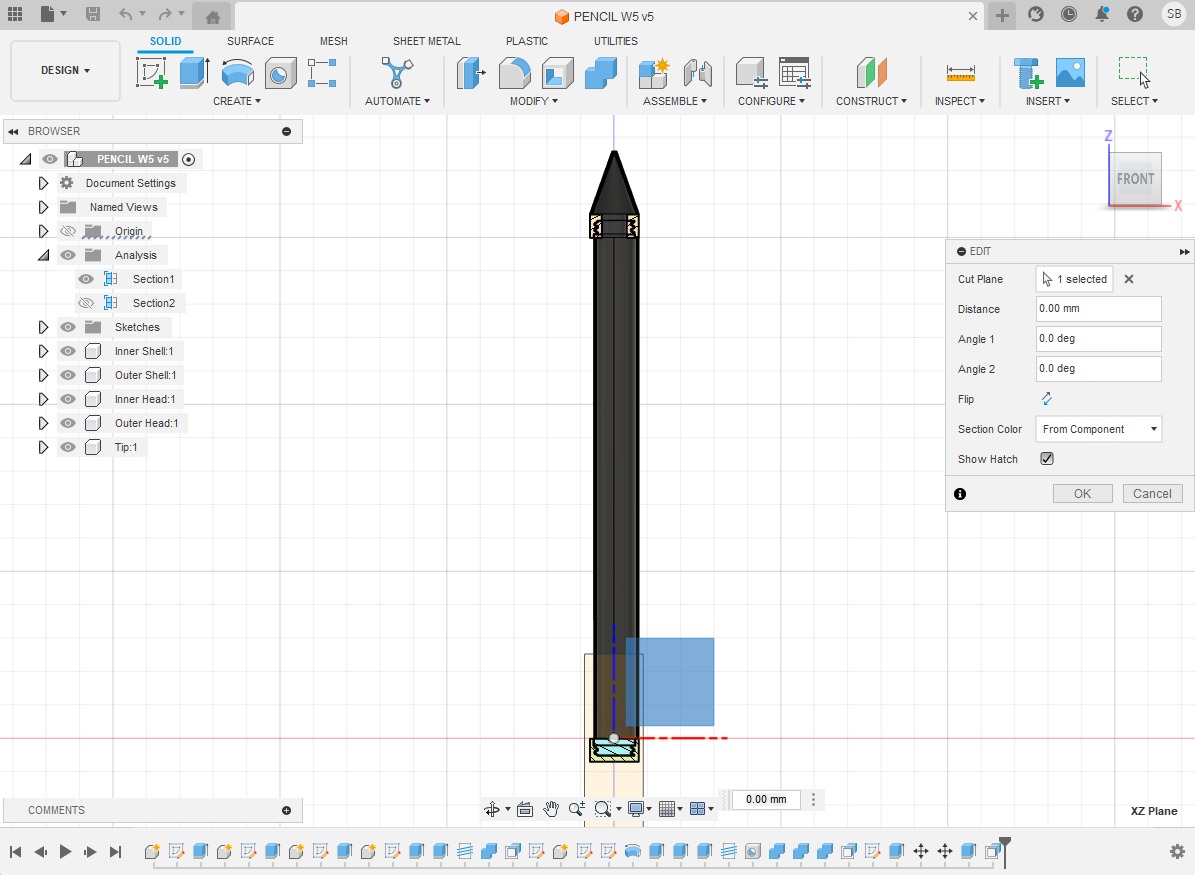
As expected for SLA printers, the print came out pretty nice: good resolution and smooth finish. However I had problems. One of them, my shell was quite thin. Maybe it would have hardened after curing, but, due to second problem - I couldn't try and twist my rotatable parts, because there were supports INSIDE the hollow shell - which was supposed to be hollow. Anycubic software shows a solid geometry in the visualization, so these inner supports weren't visible at first.
Files:
TASK 2. 3D scan an object (and optionally print it).
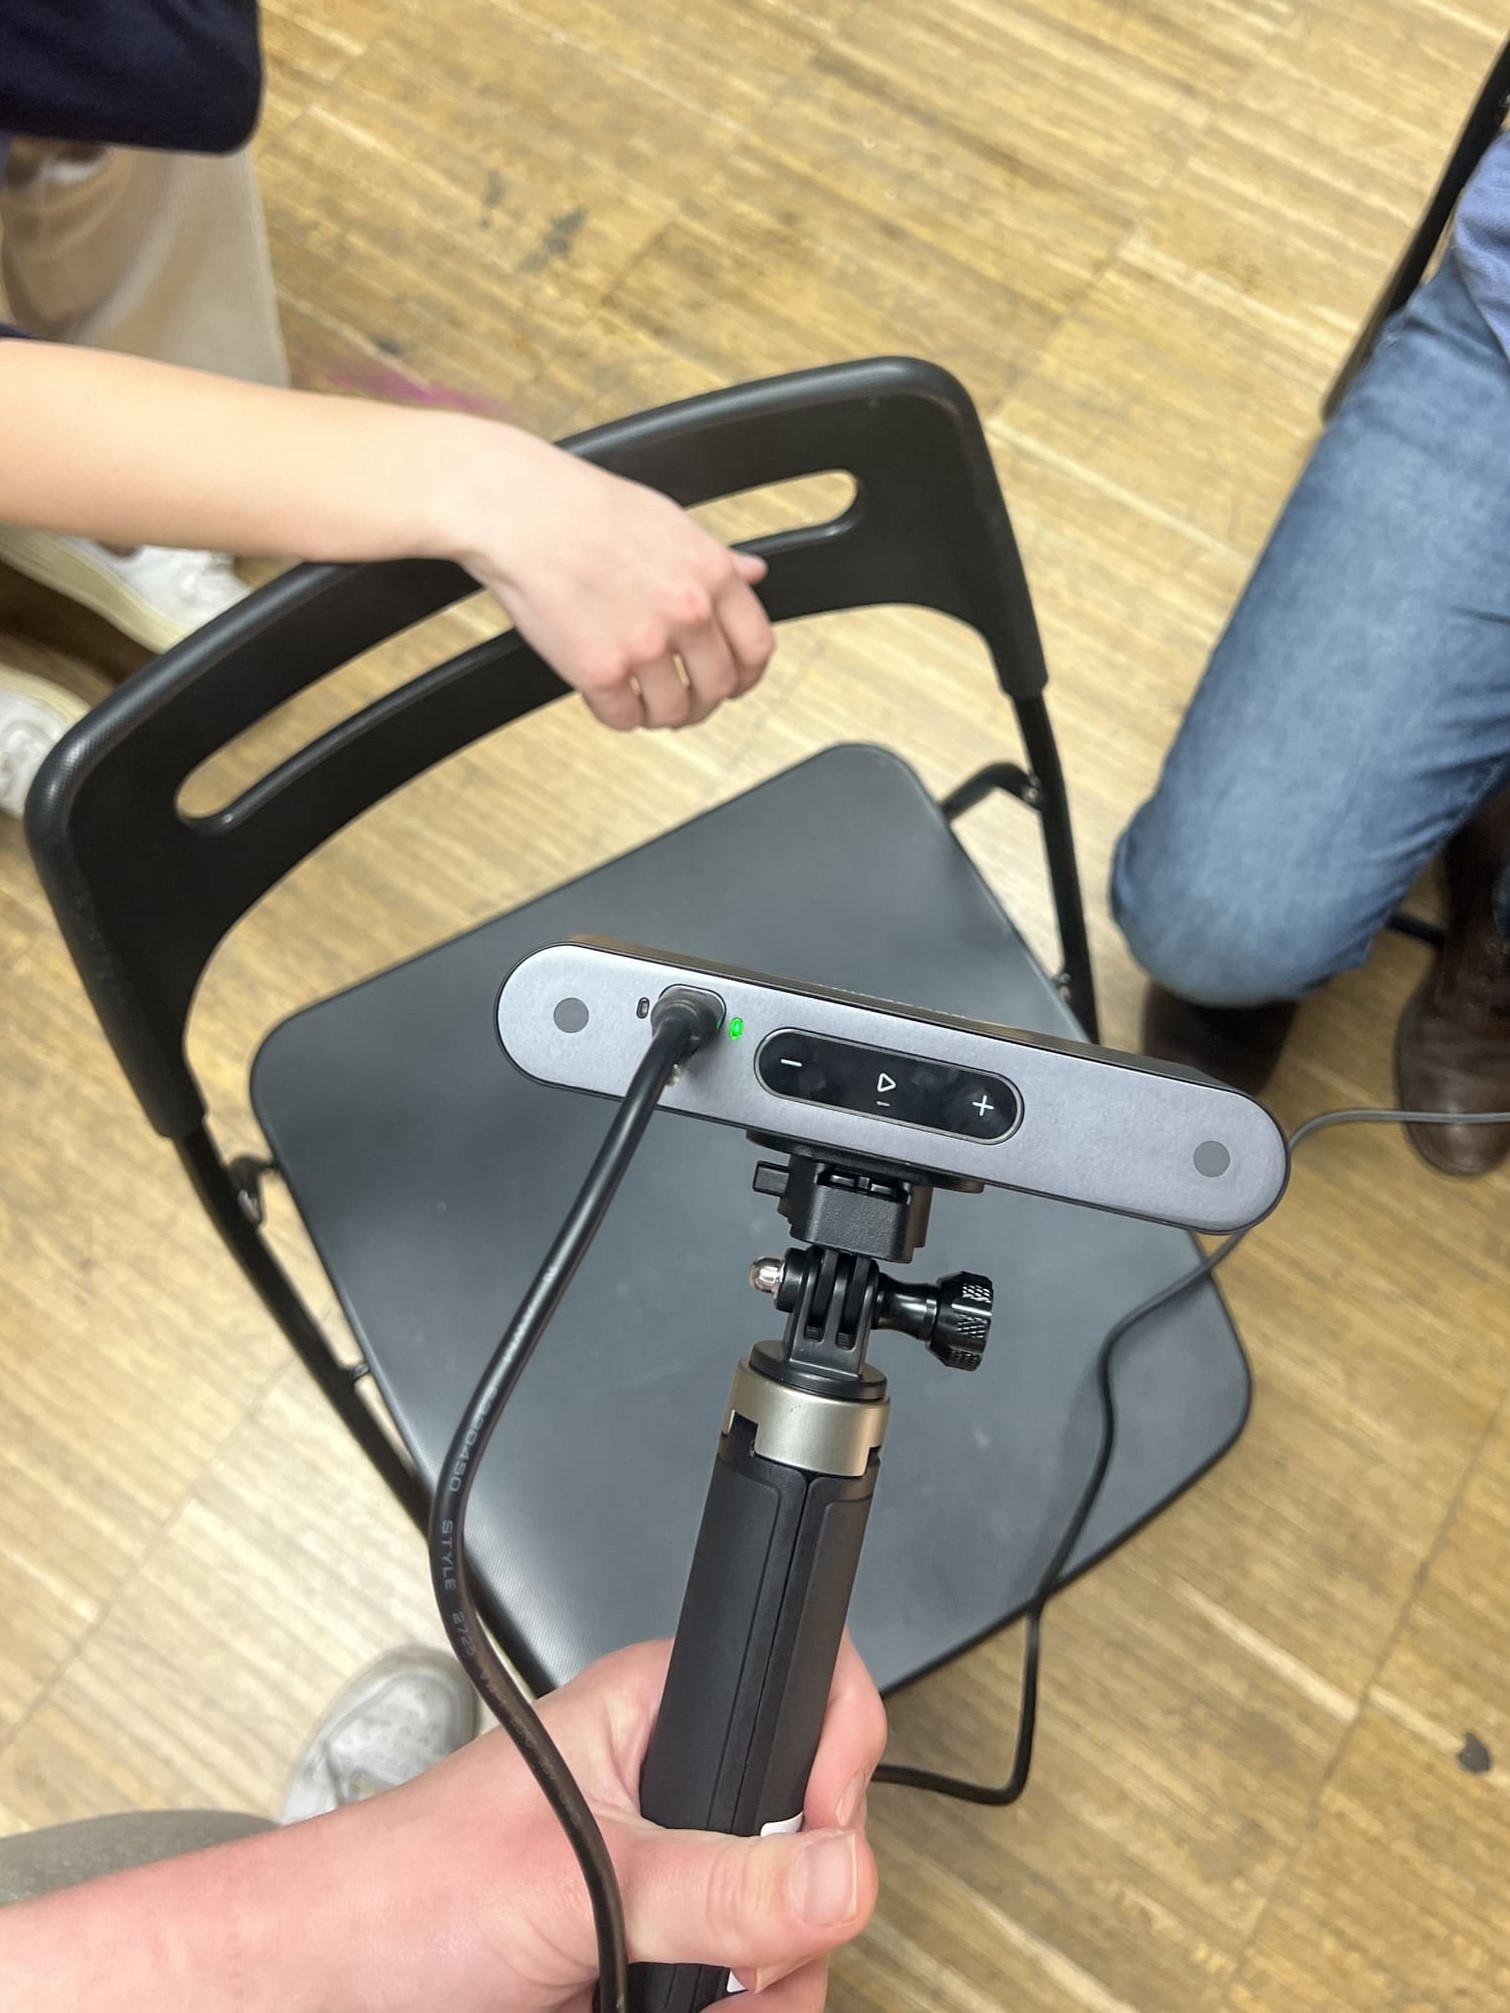
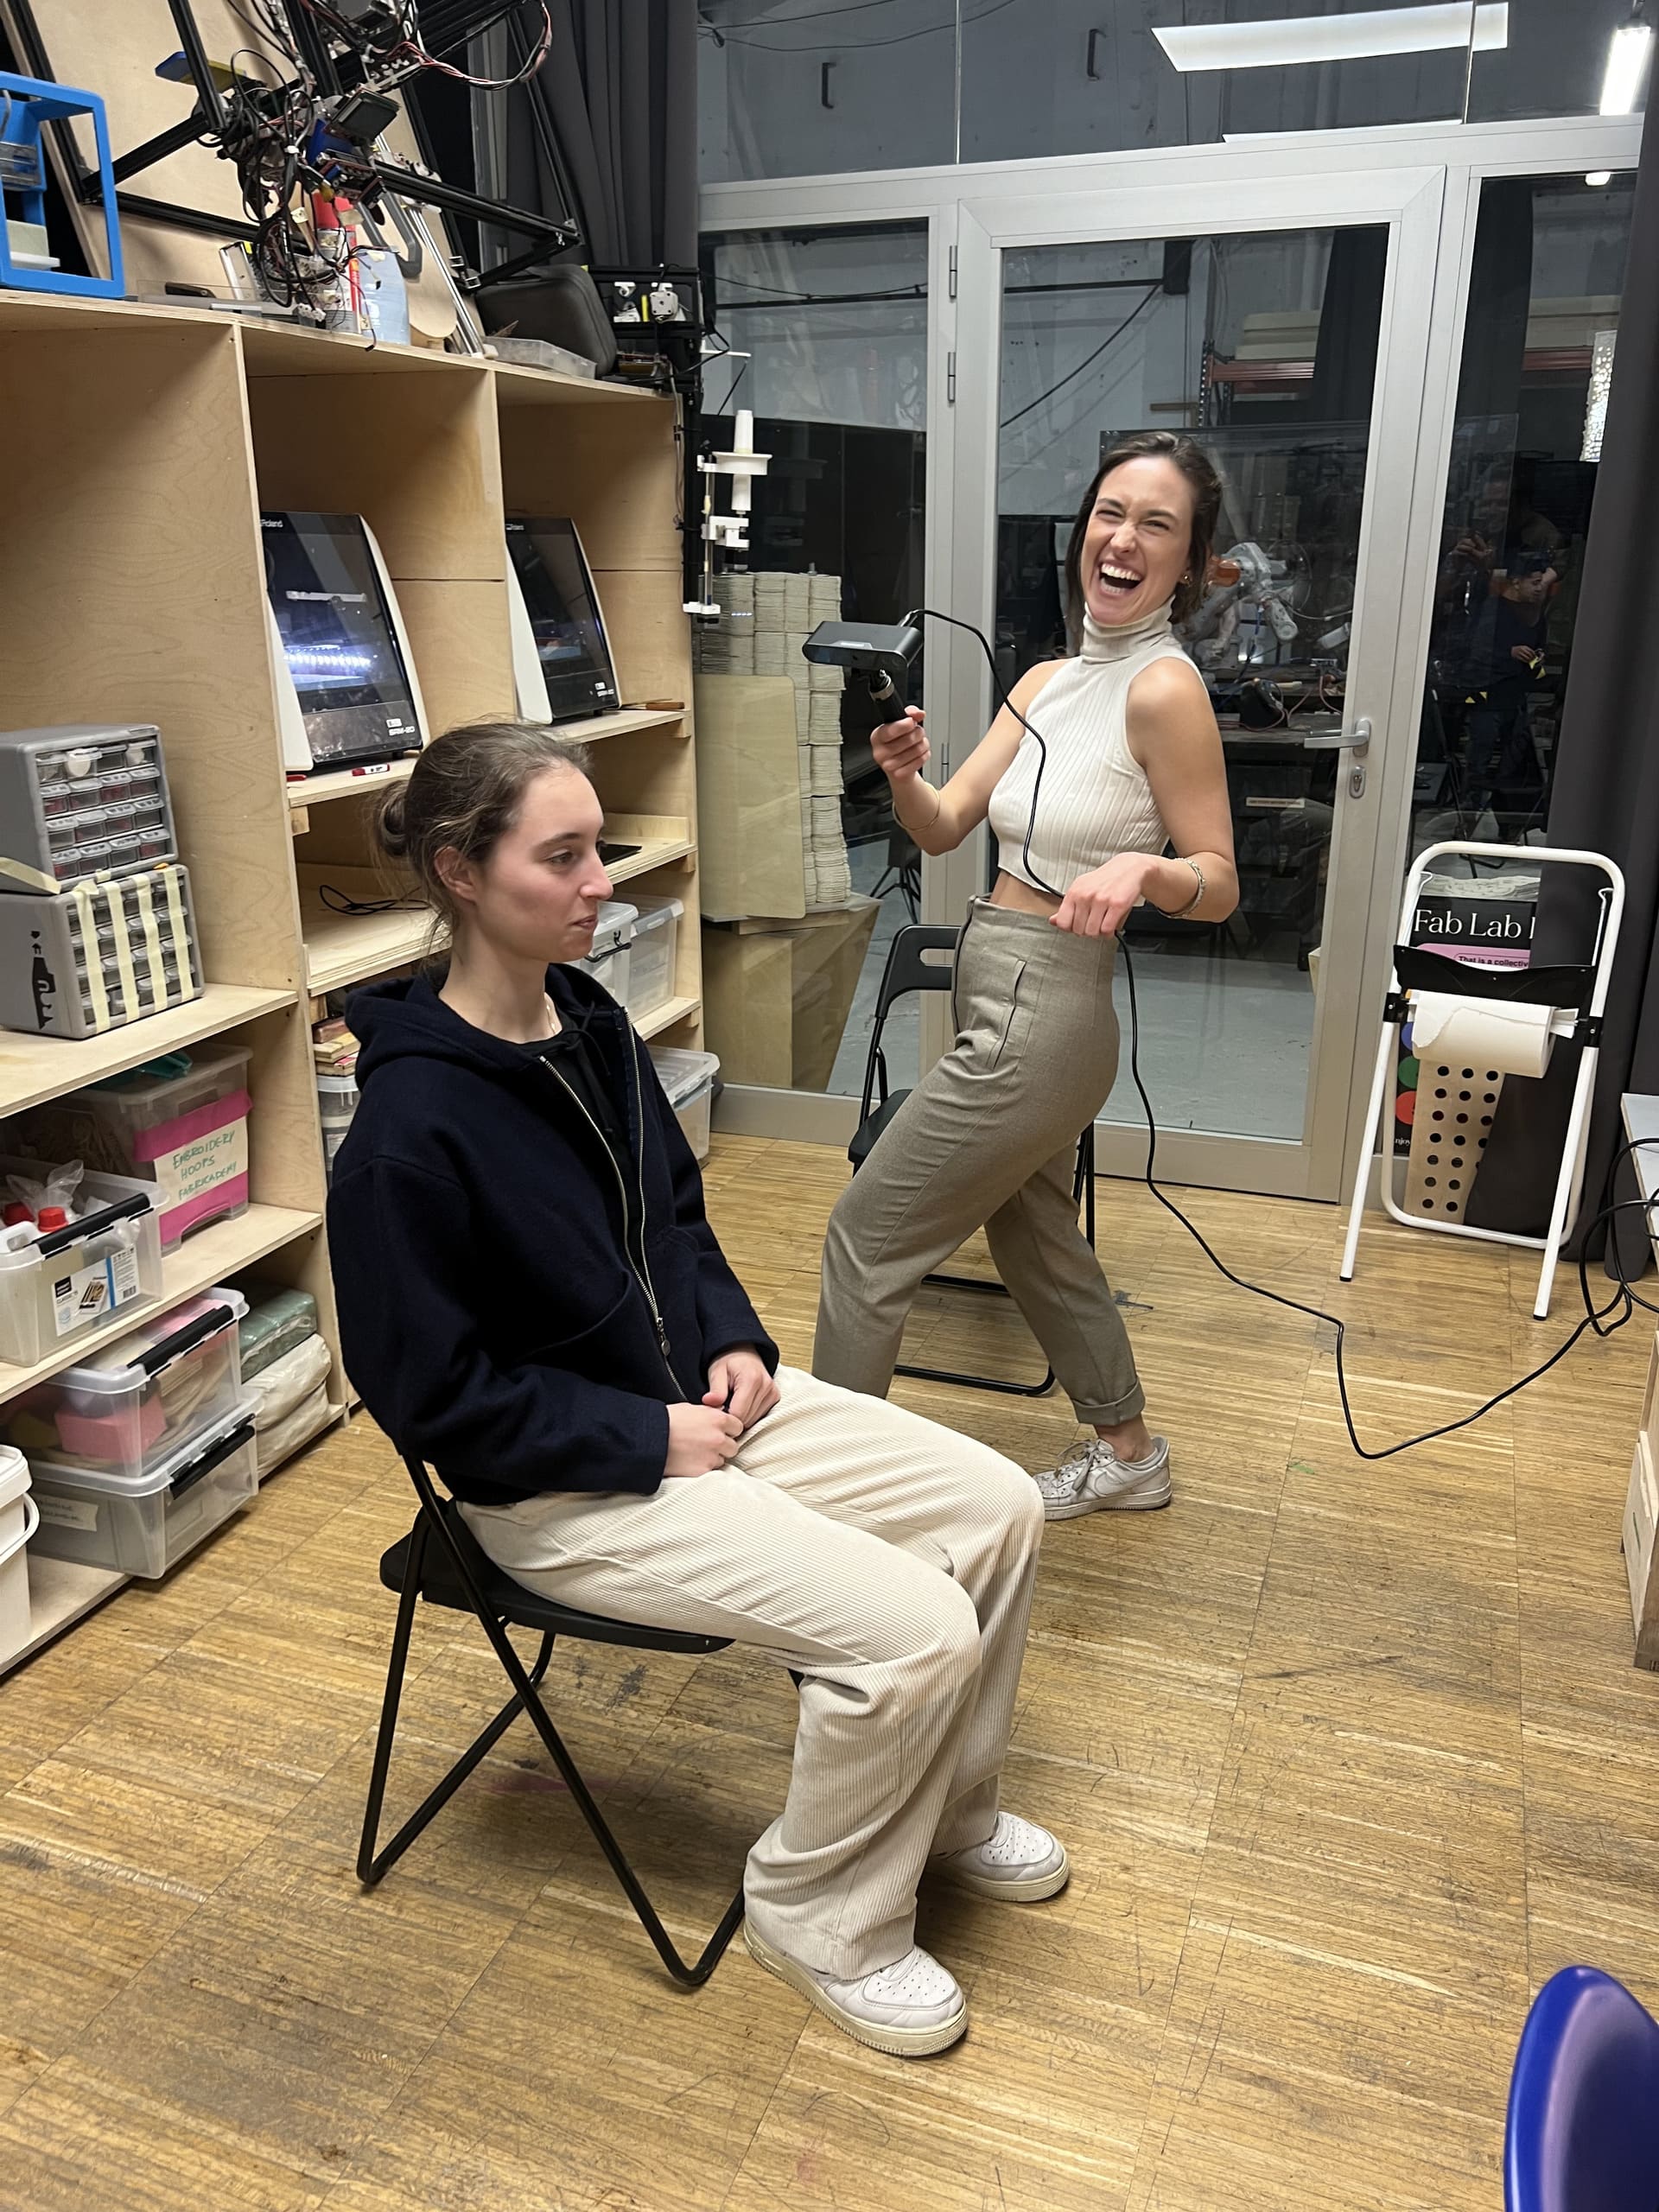
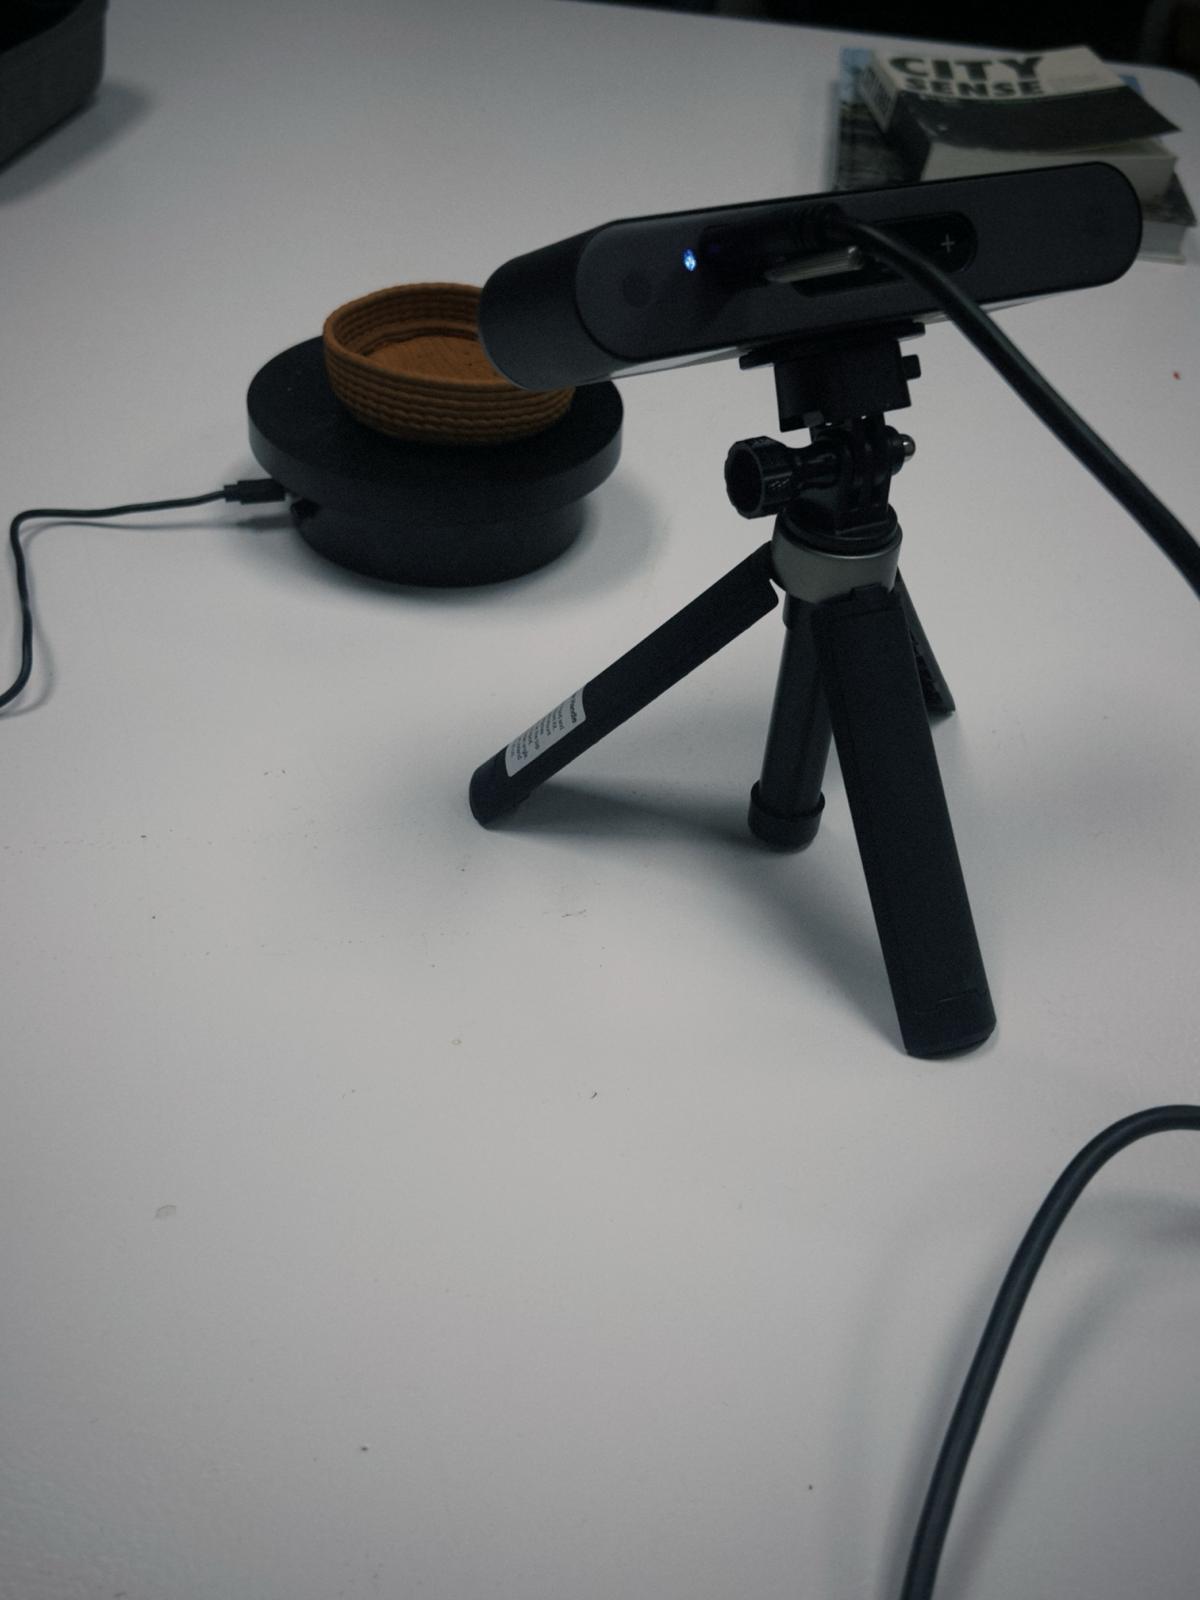
For this assignment, we tried a few different things. First, we tried using the revopoint structured light scanner. My mates and I didn't get to complete the body scans we were aiming for this one - we think it's because the persons scanning or modelling weren't quite steady. This is me trying to scan Mahe, but losing track every time
.
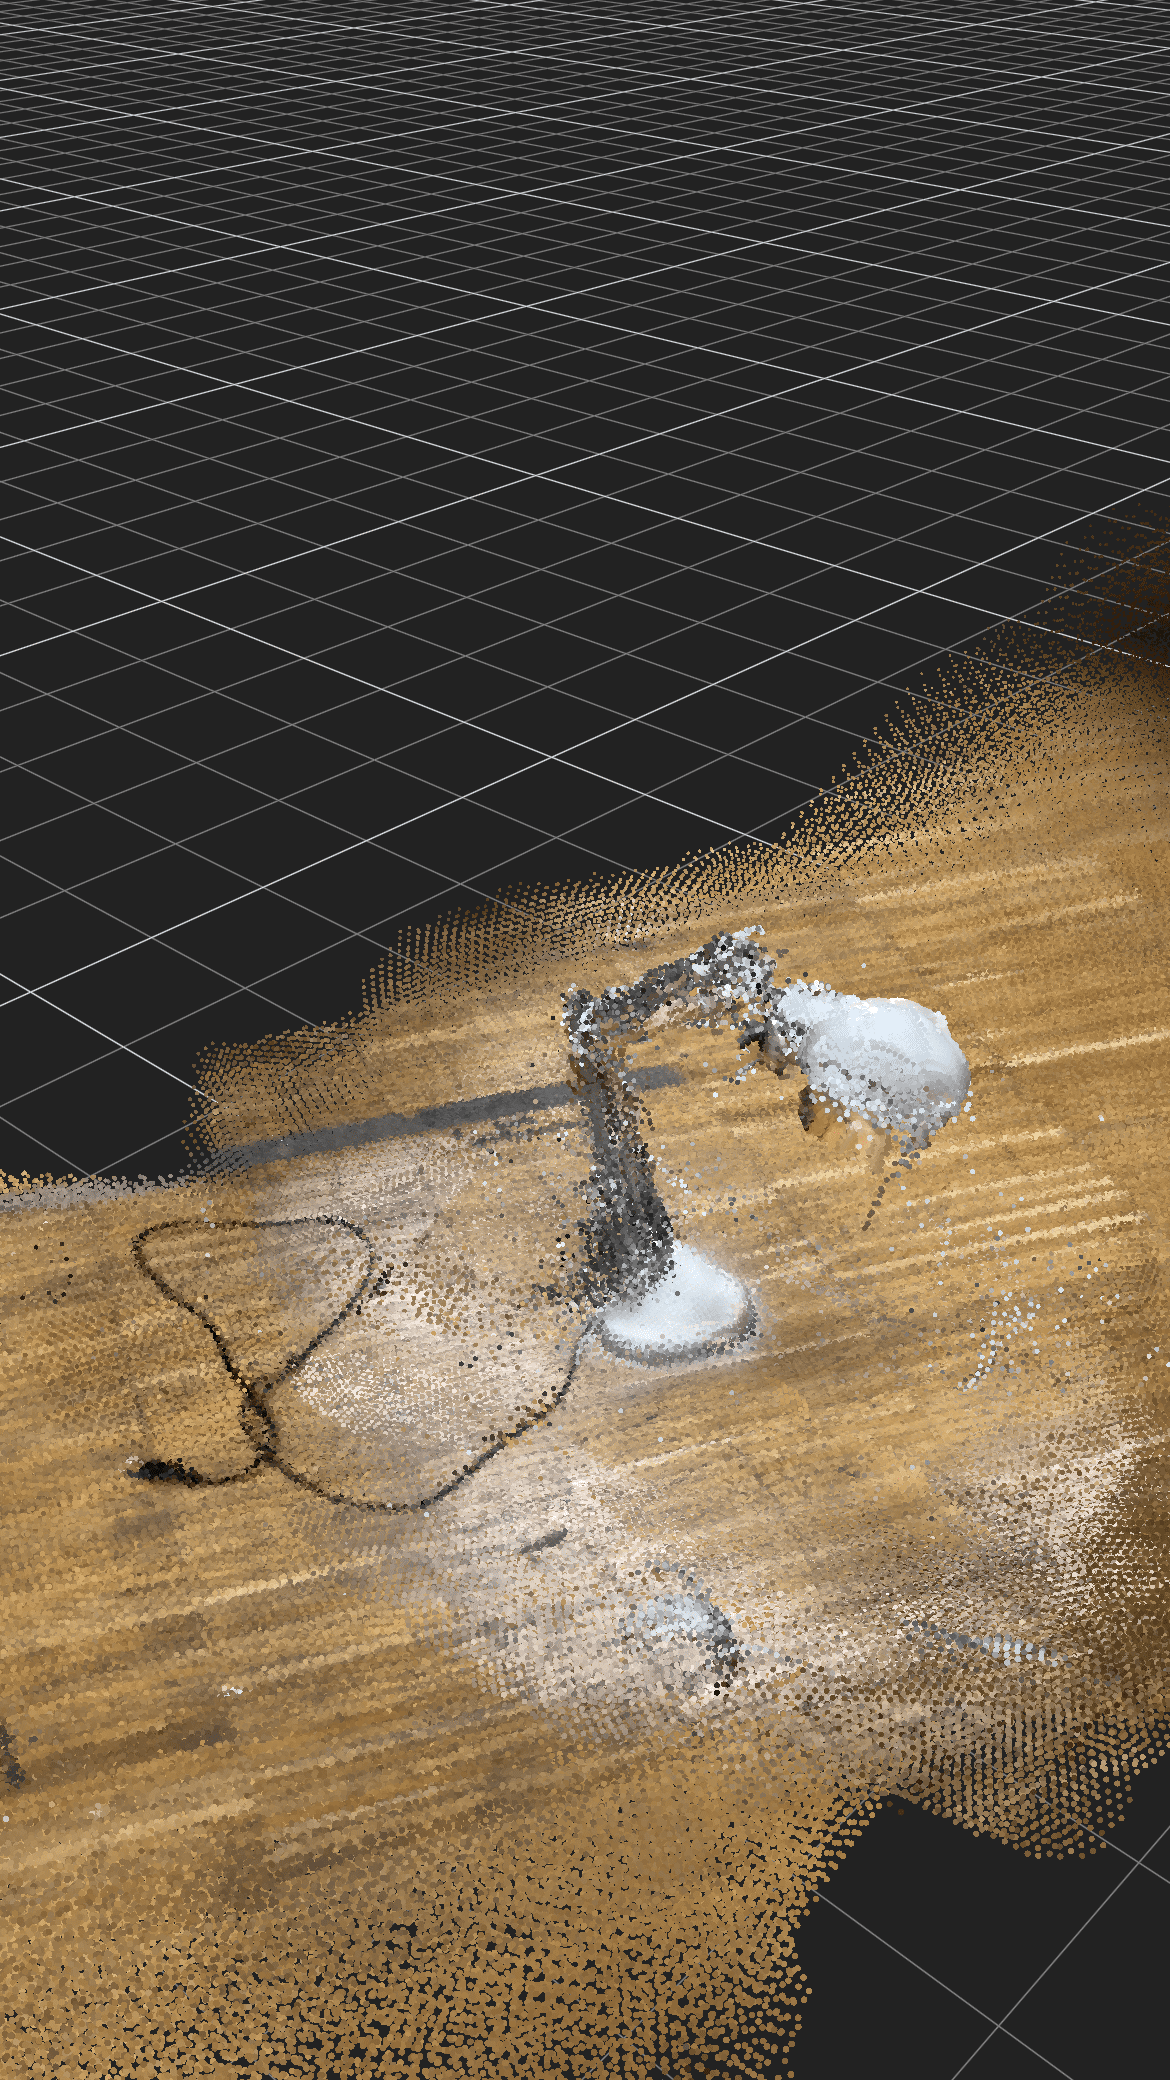
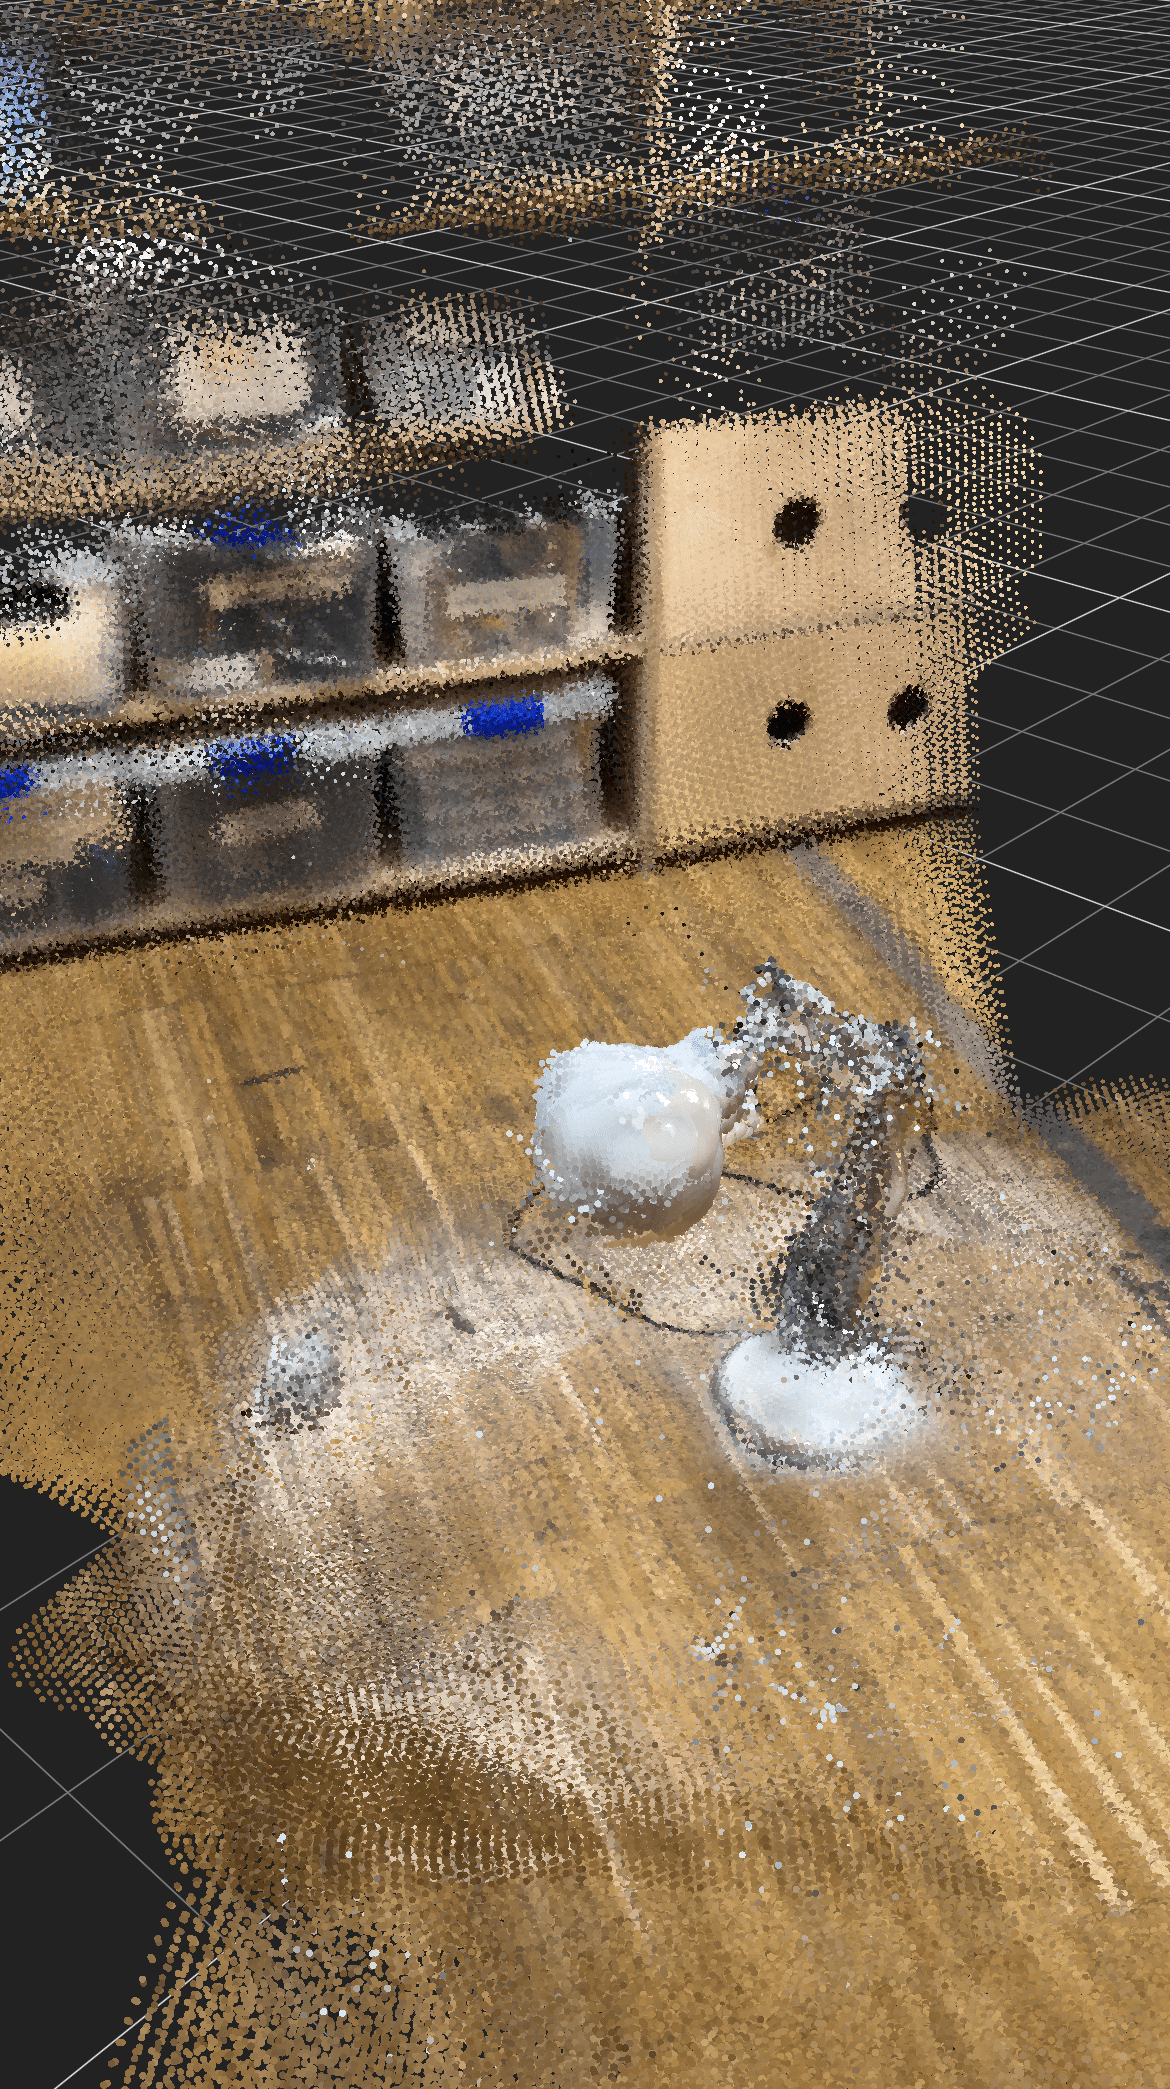
I then chose to try another object & scanner/software. I used the iPhone's LIDAR and the app SiteScape. I chose this lamp from our lab, and as it was quite reflective, I sprayed some scanning spray on it. The scan didn't turn out very good - probably didn't offer the precision for the delicate parts.


I also tried scanning Richi, using the same tools but had the same movement problem and he got an extra head.

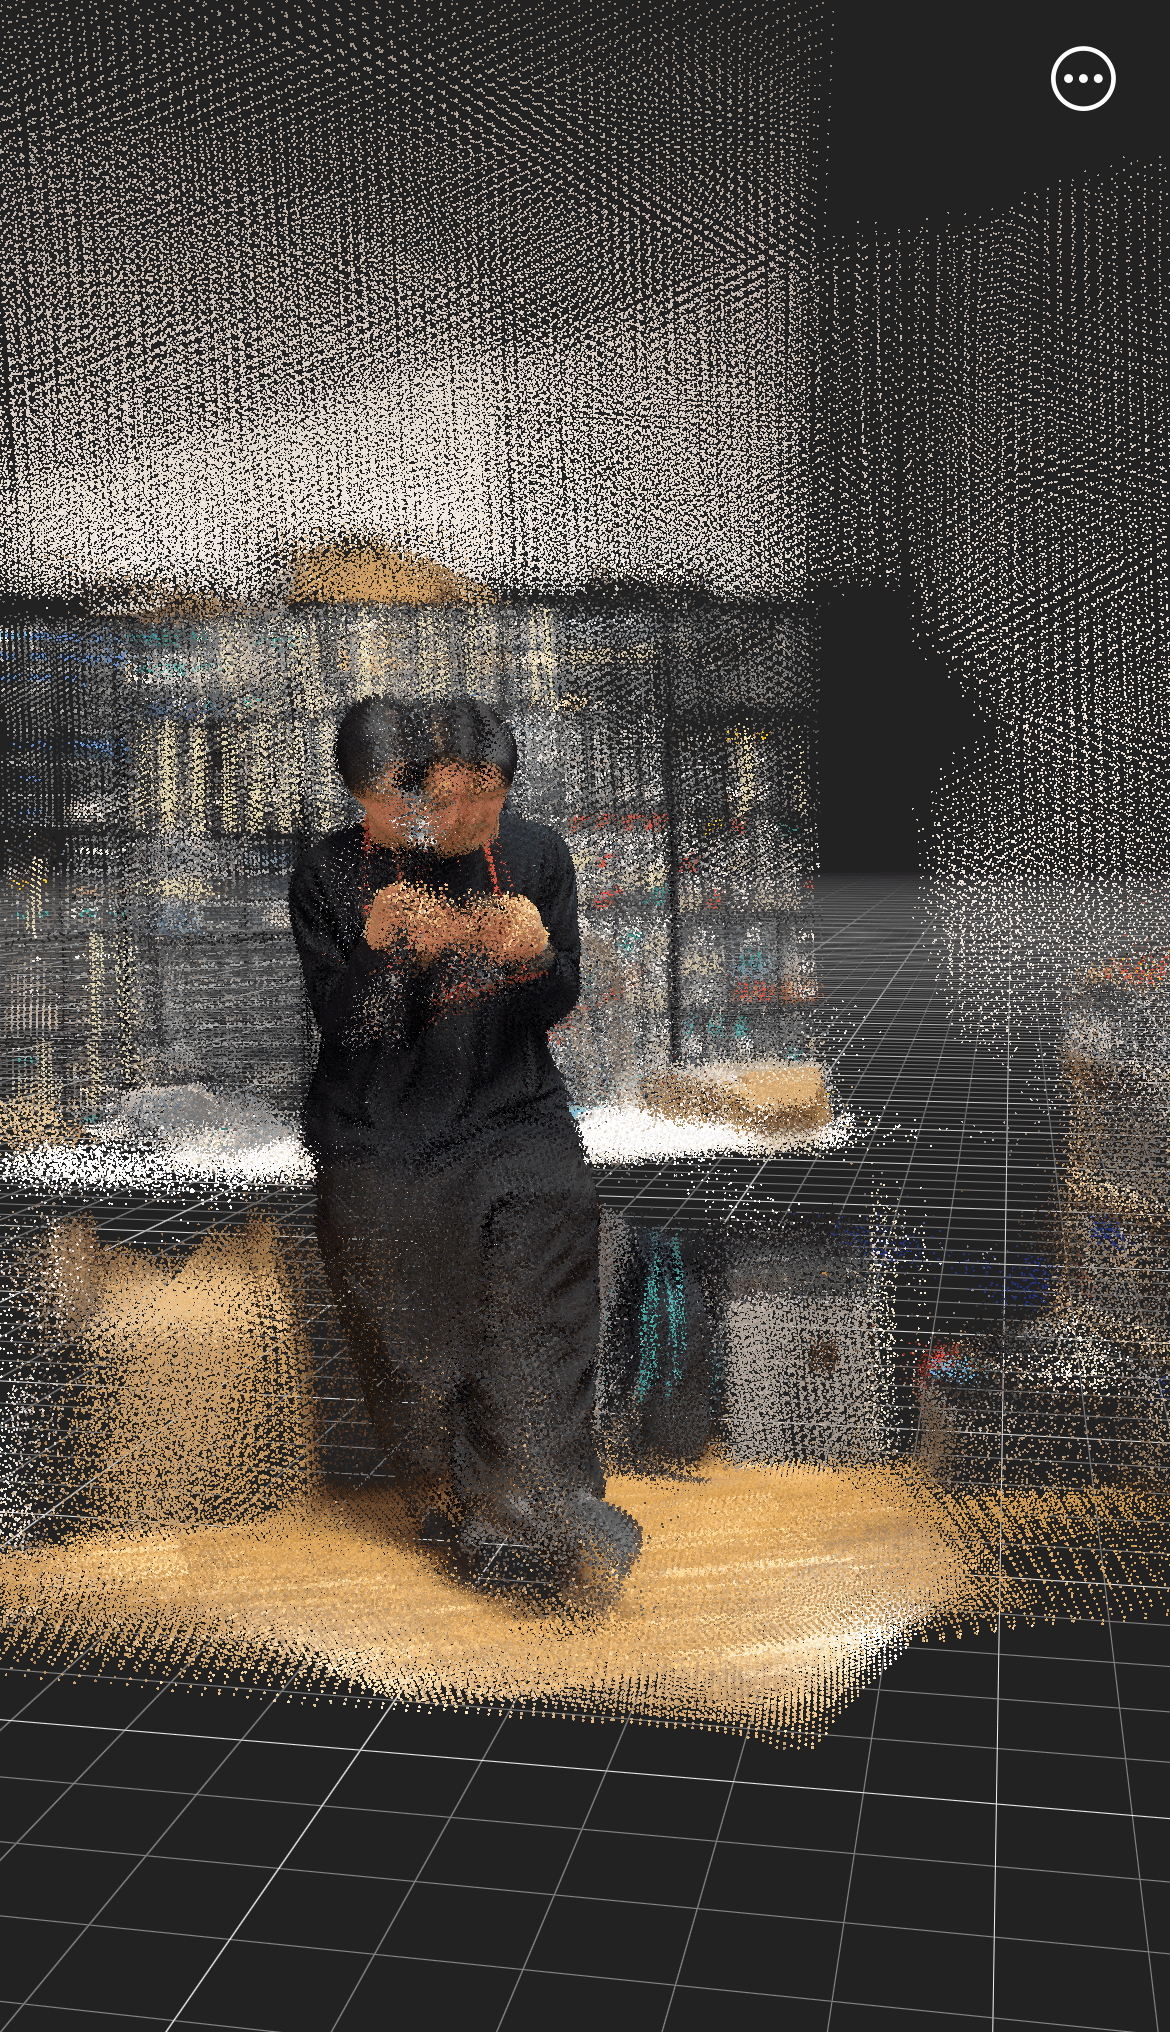

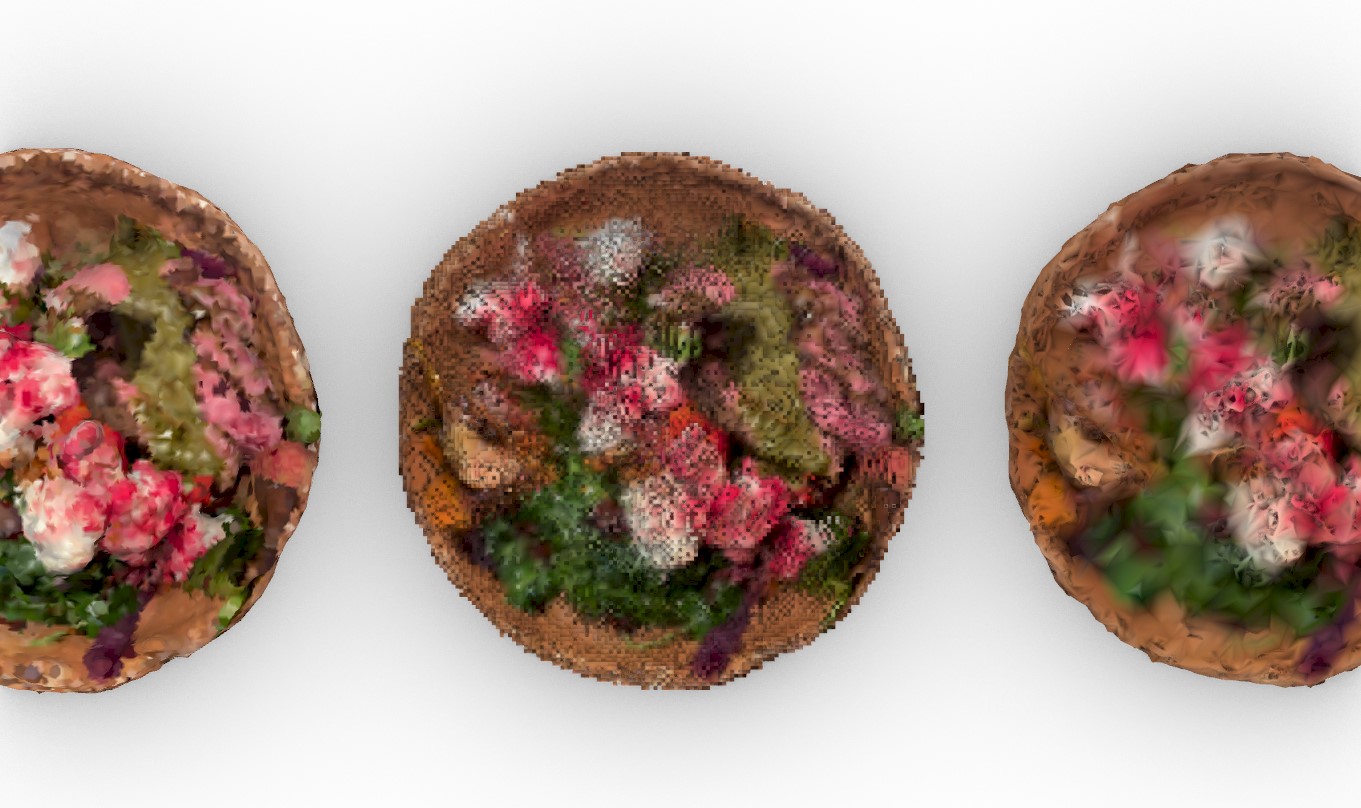
Having dinner at Honest Greens one night I thought the food was so beautiful (before confirming it was also delicious), and decided to feed the Lidar with a scan.

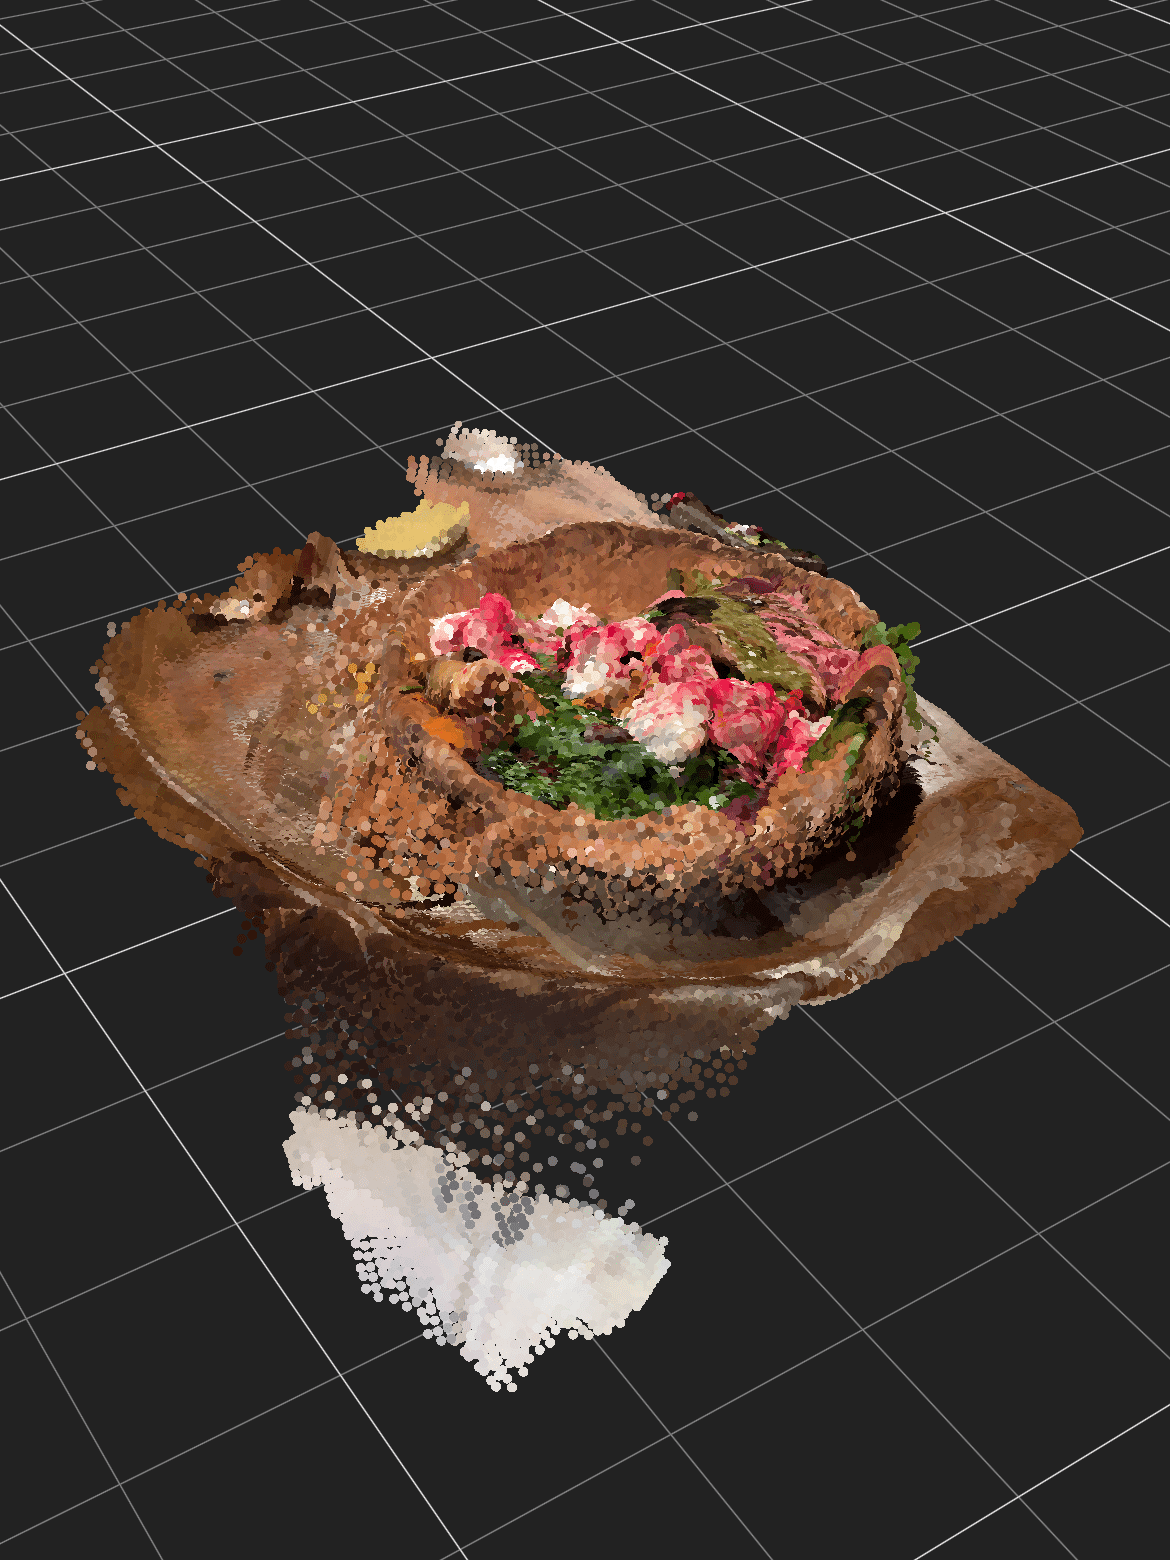
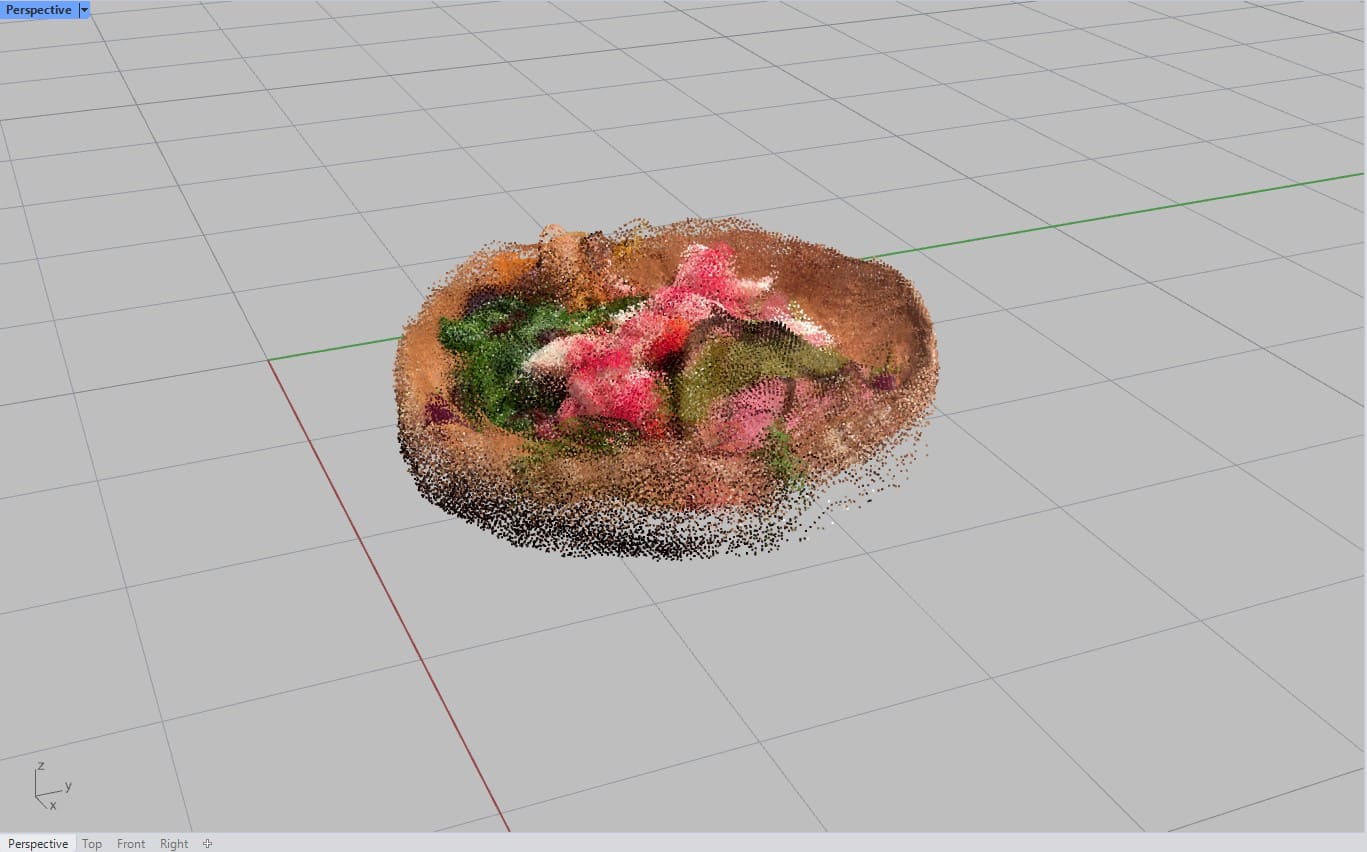
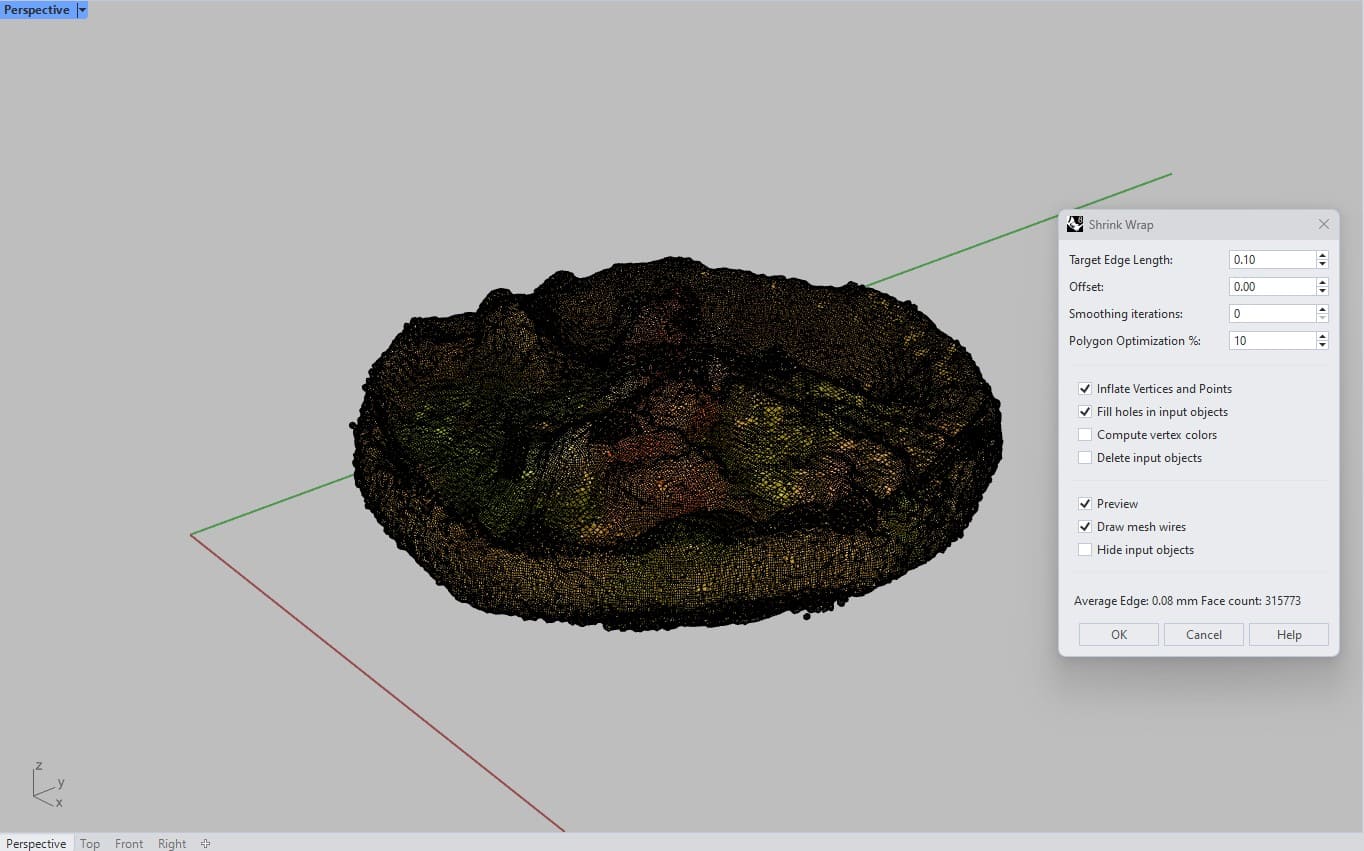
I used Rhino to open it, clean the points I didn't want - using Ctrl + Shift + Delete. Then converted into meshes with different approaches. I used the command ShrinkWrap on Rhino, and tested with different tolerances. Also tested with the plugin Volvox for Grasshopper, and extracted a vortex mesh. I got different mesh/textures results.

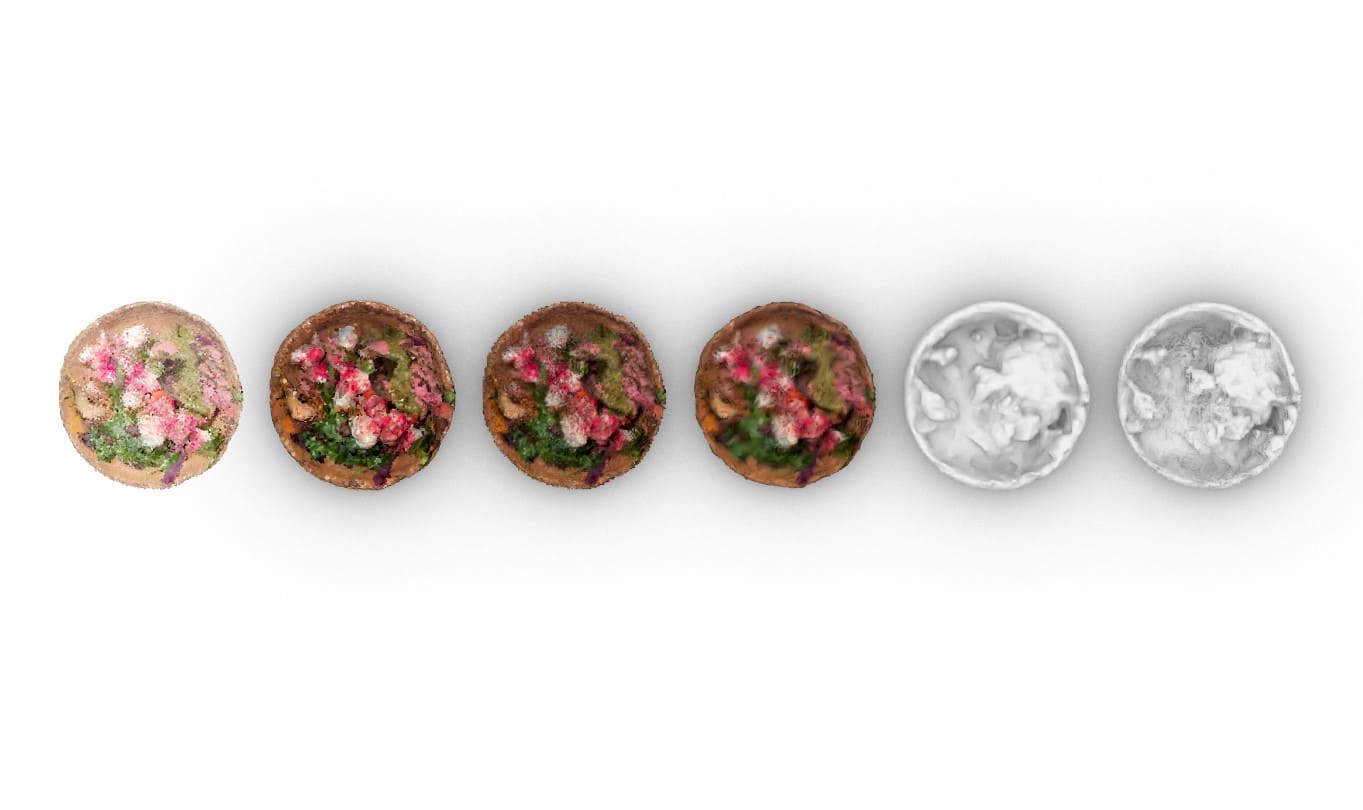
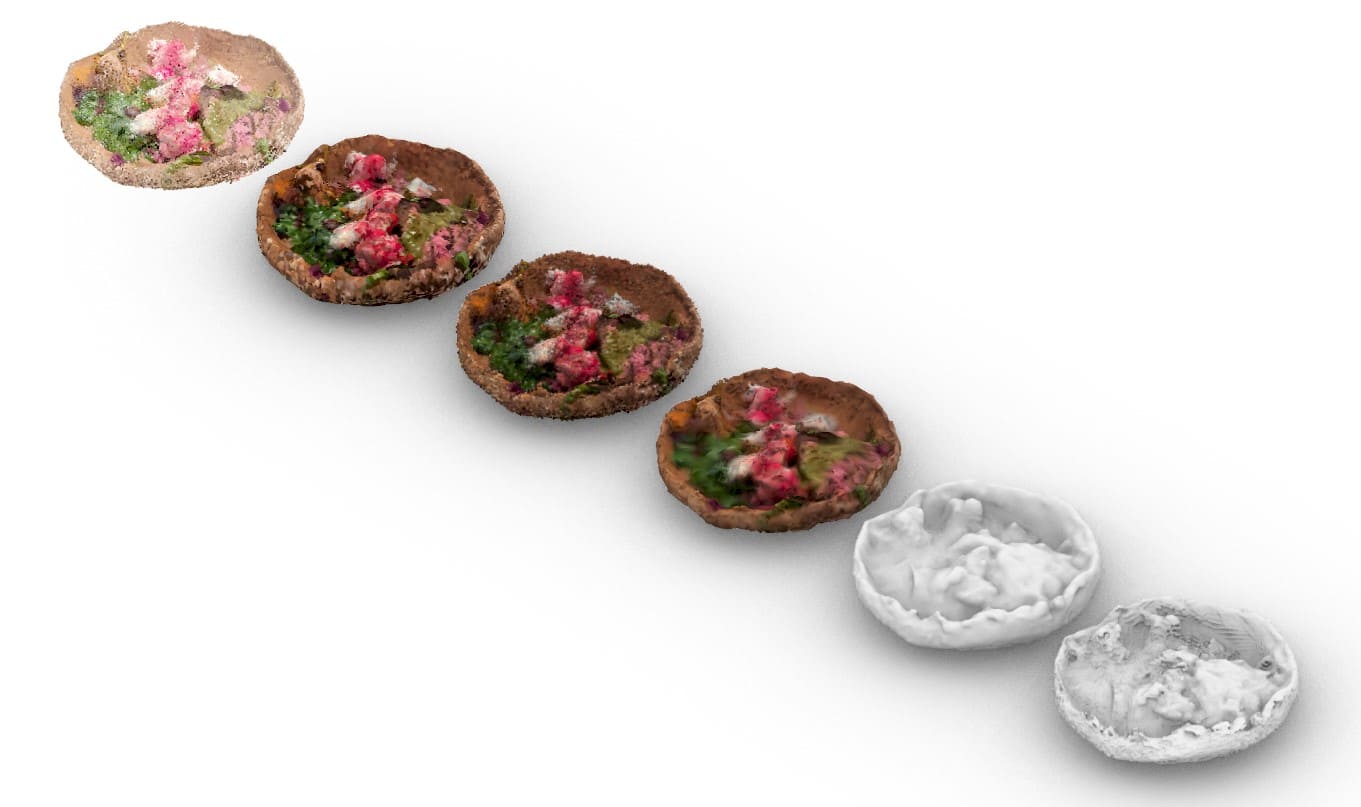
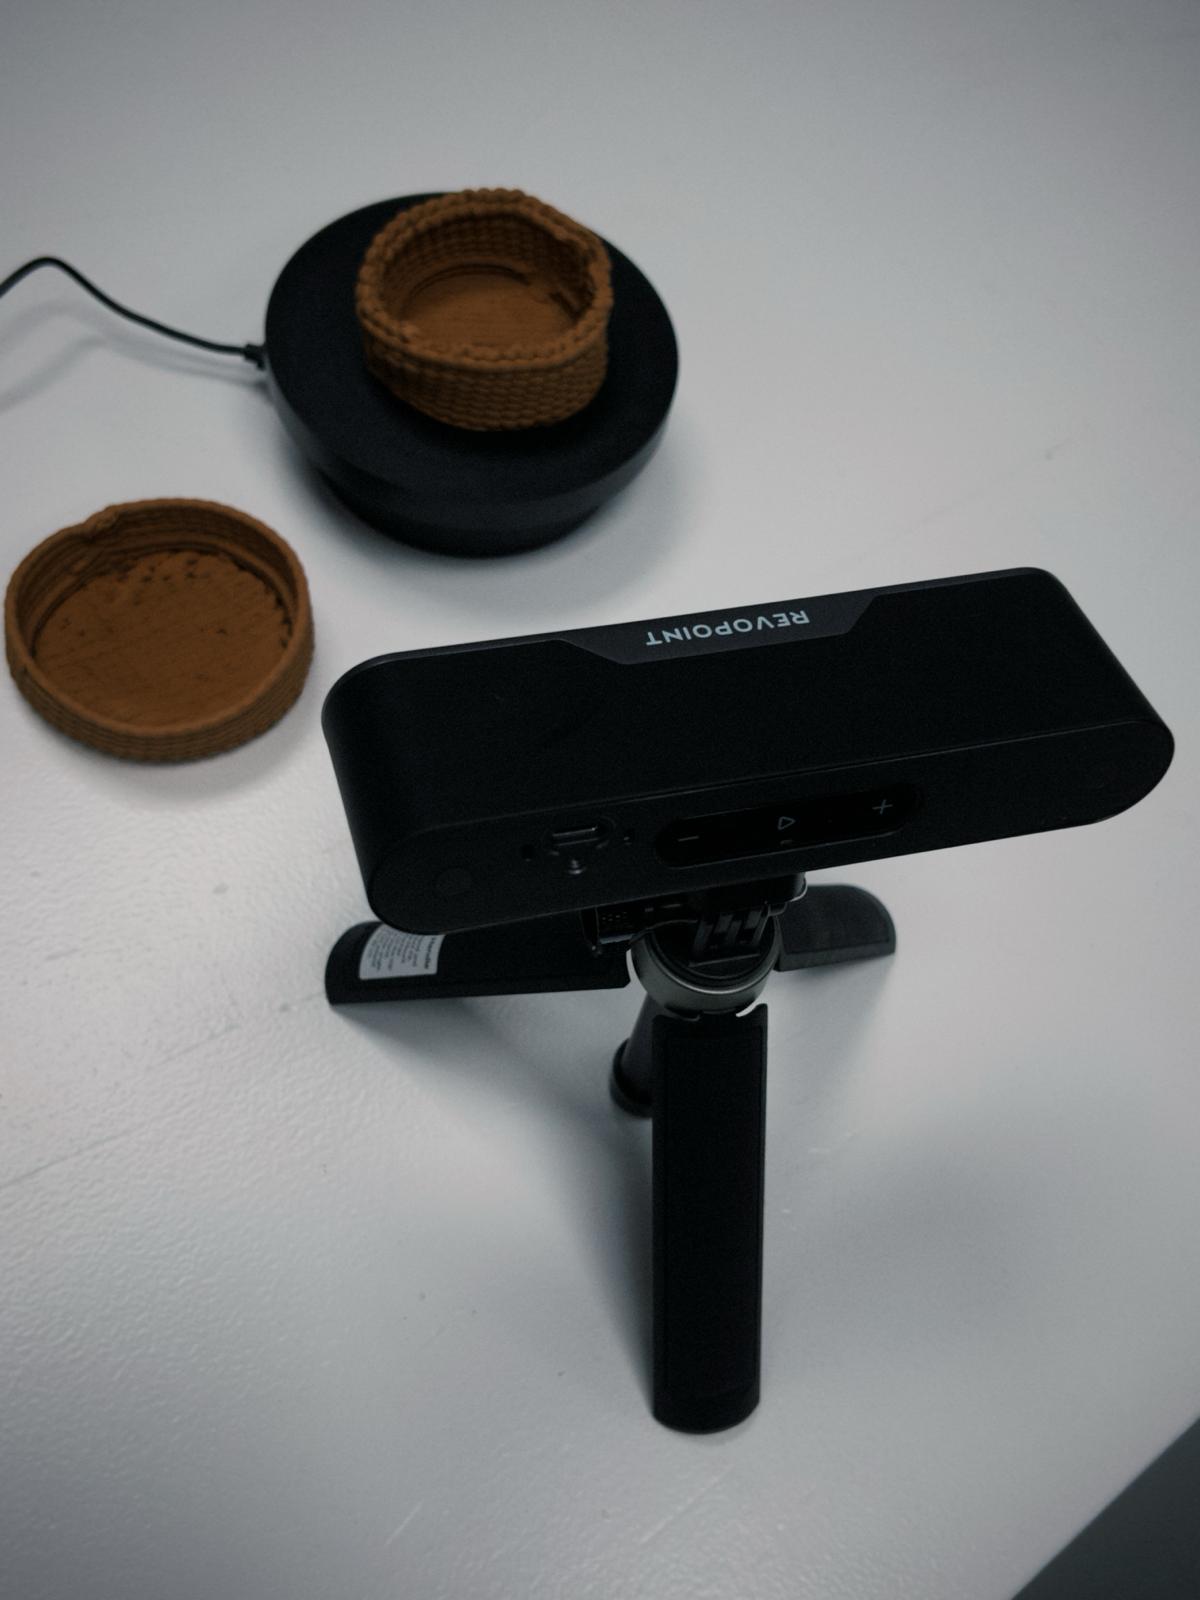
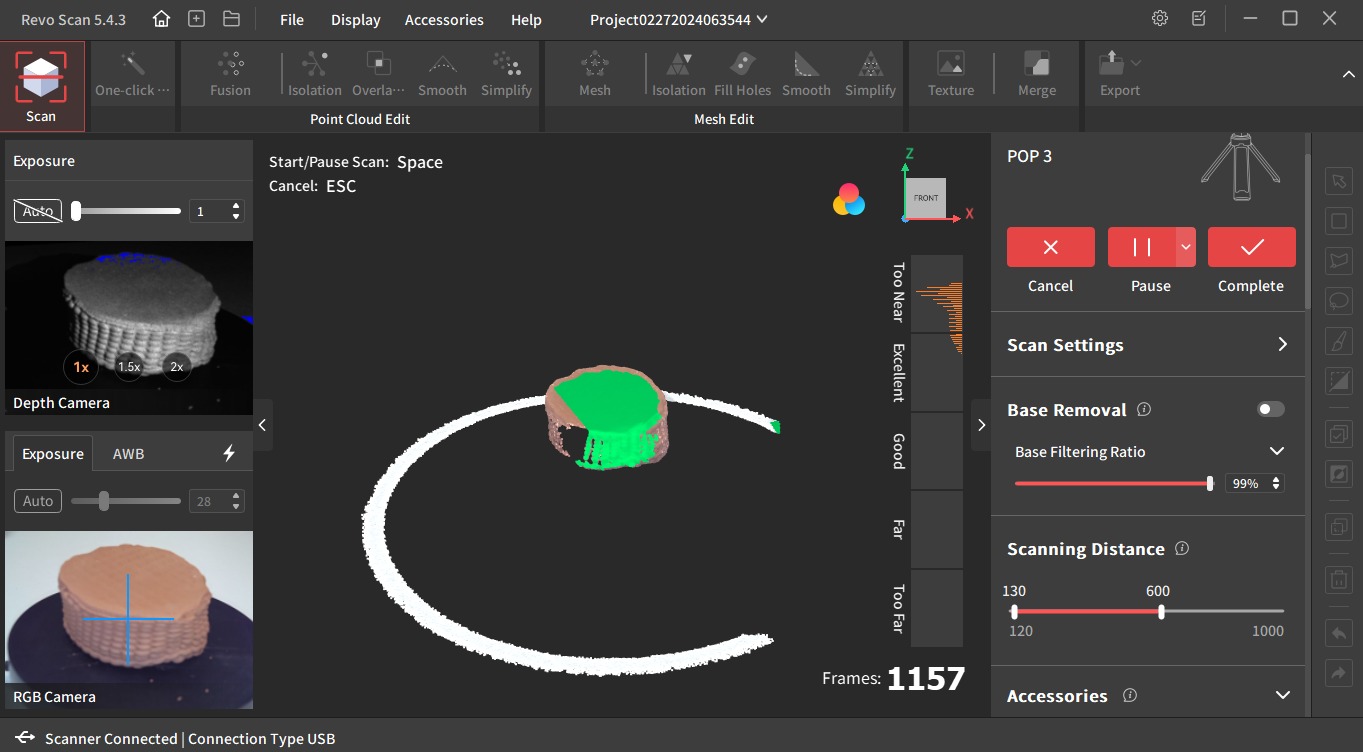
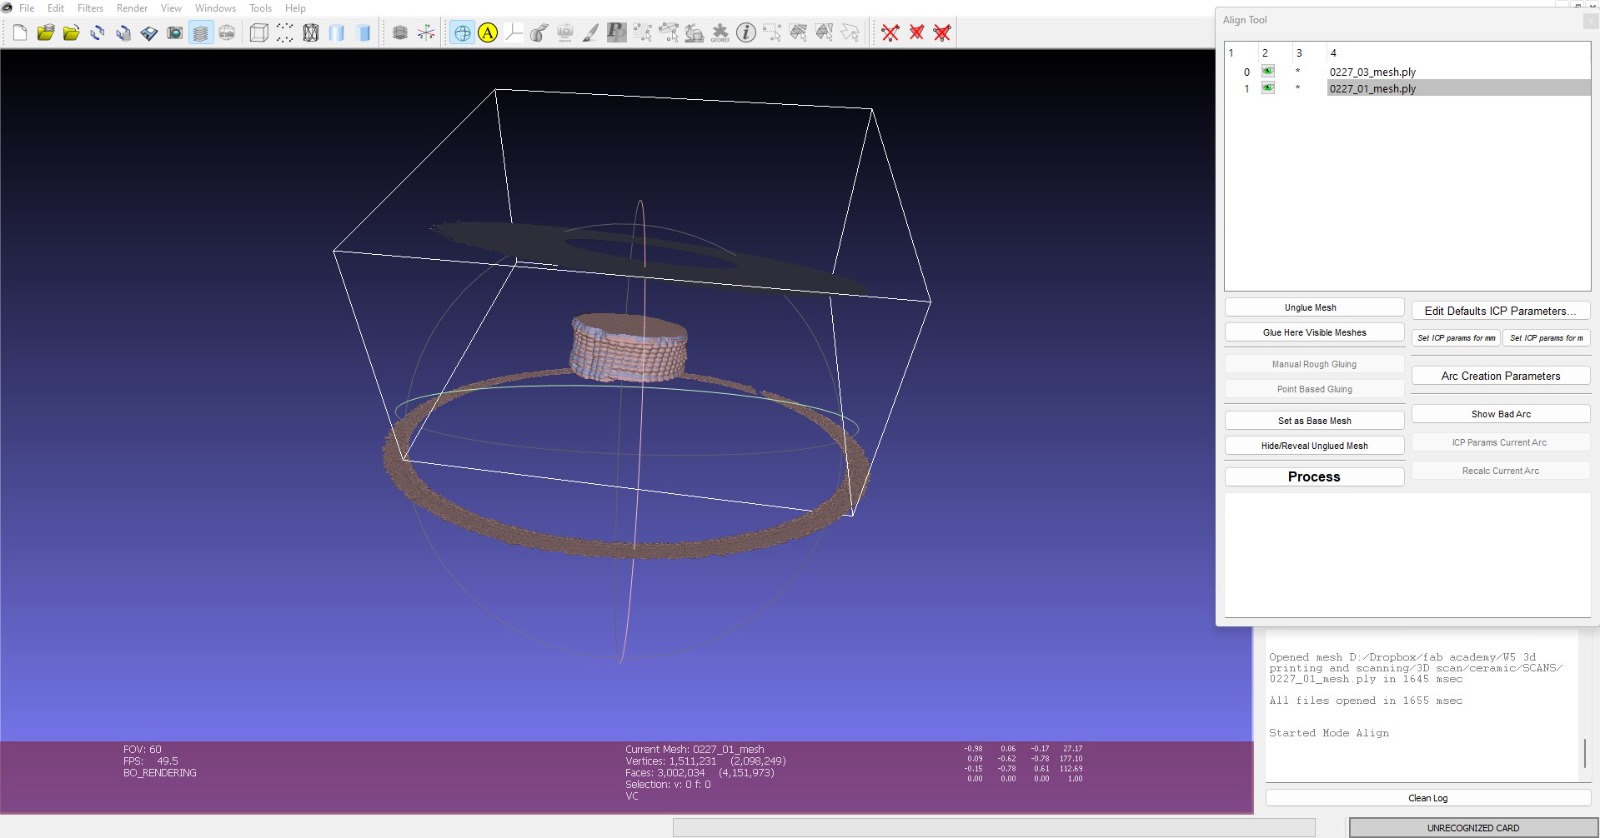
I then decided to try the Revopoint again, scanning the clay pots I printed. The program to scan with this one is Revo Scan. I scanned them side up and down to further.
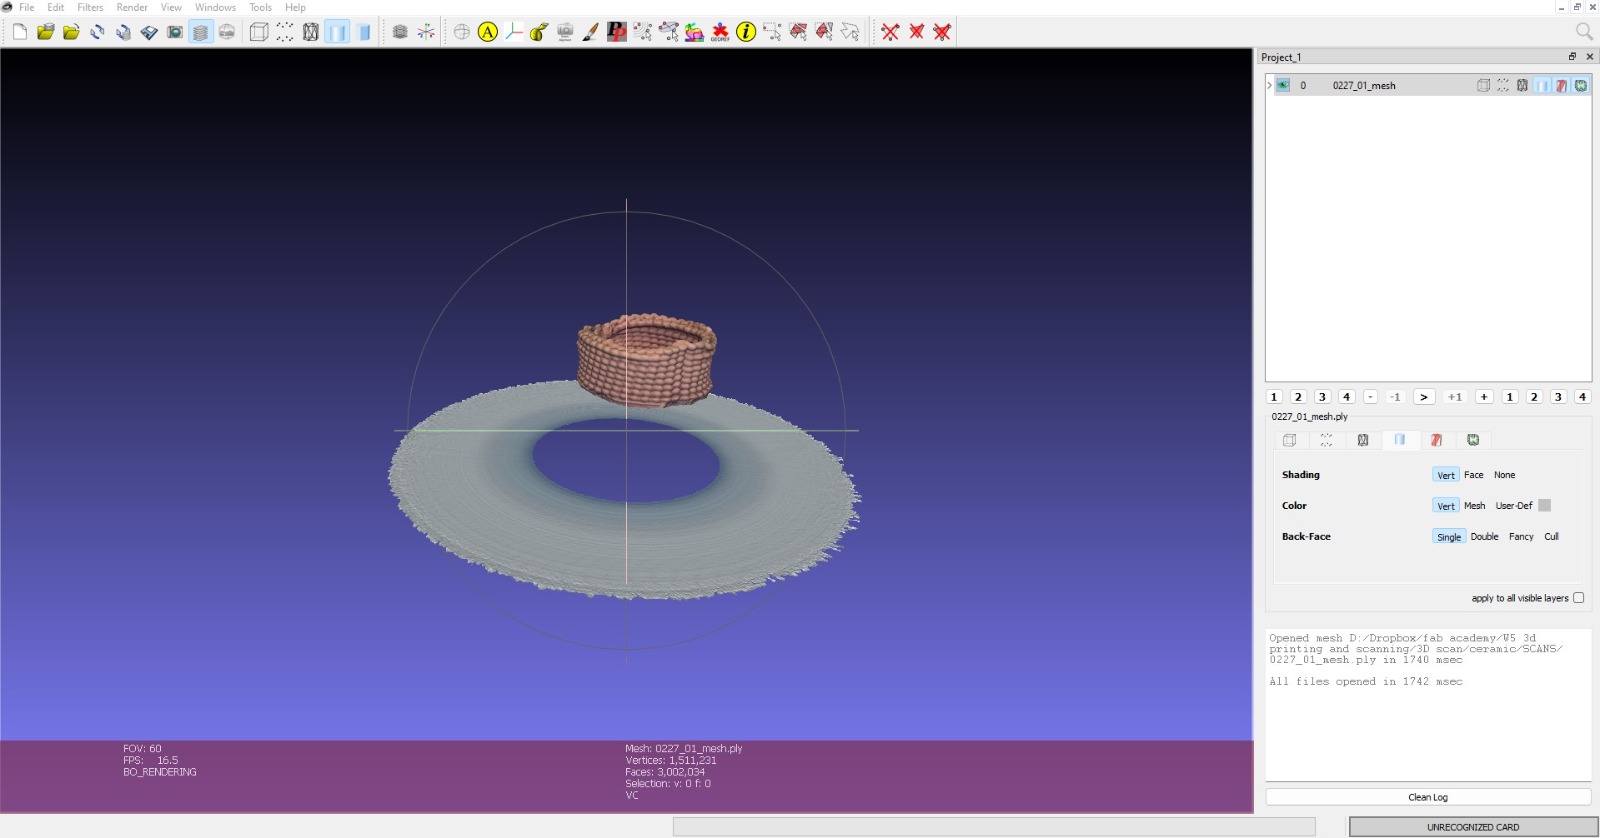
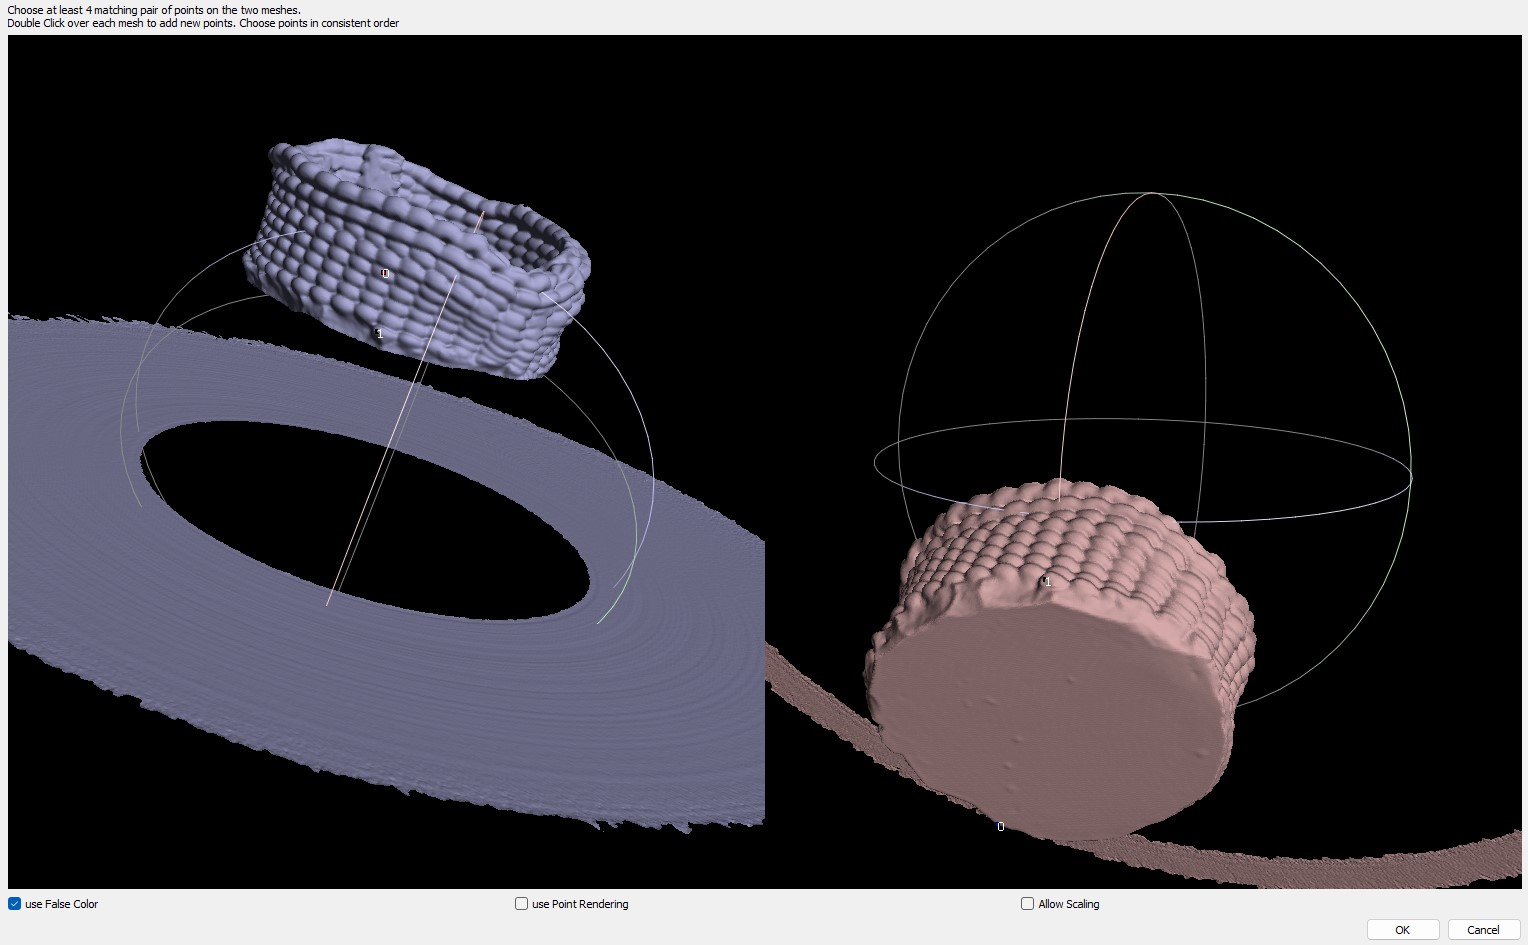
Then used Meshlab to merge my scans.

Files: