WEEK 3 / COMPUTER CONTROLLED CUTTING
The goal of this week was to get acquainted with cutting machines and workflows.
We learned how to use vinyl and laser cutters in theory and practice. We received training on the machines and did exercises in order to try and achieve the best cutting and fitting results - taking into consideration the different settings for several material properties.
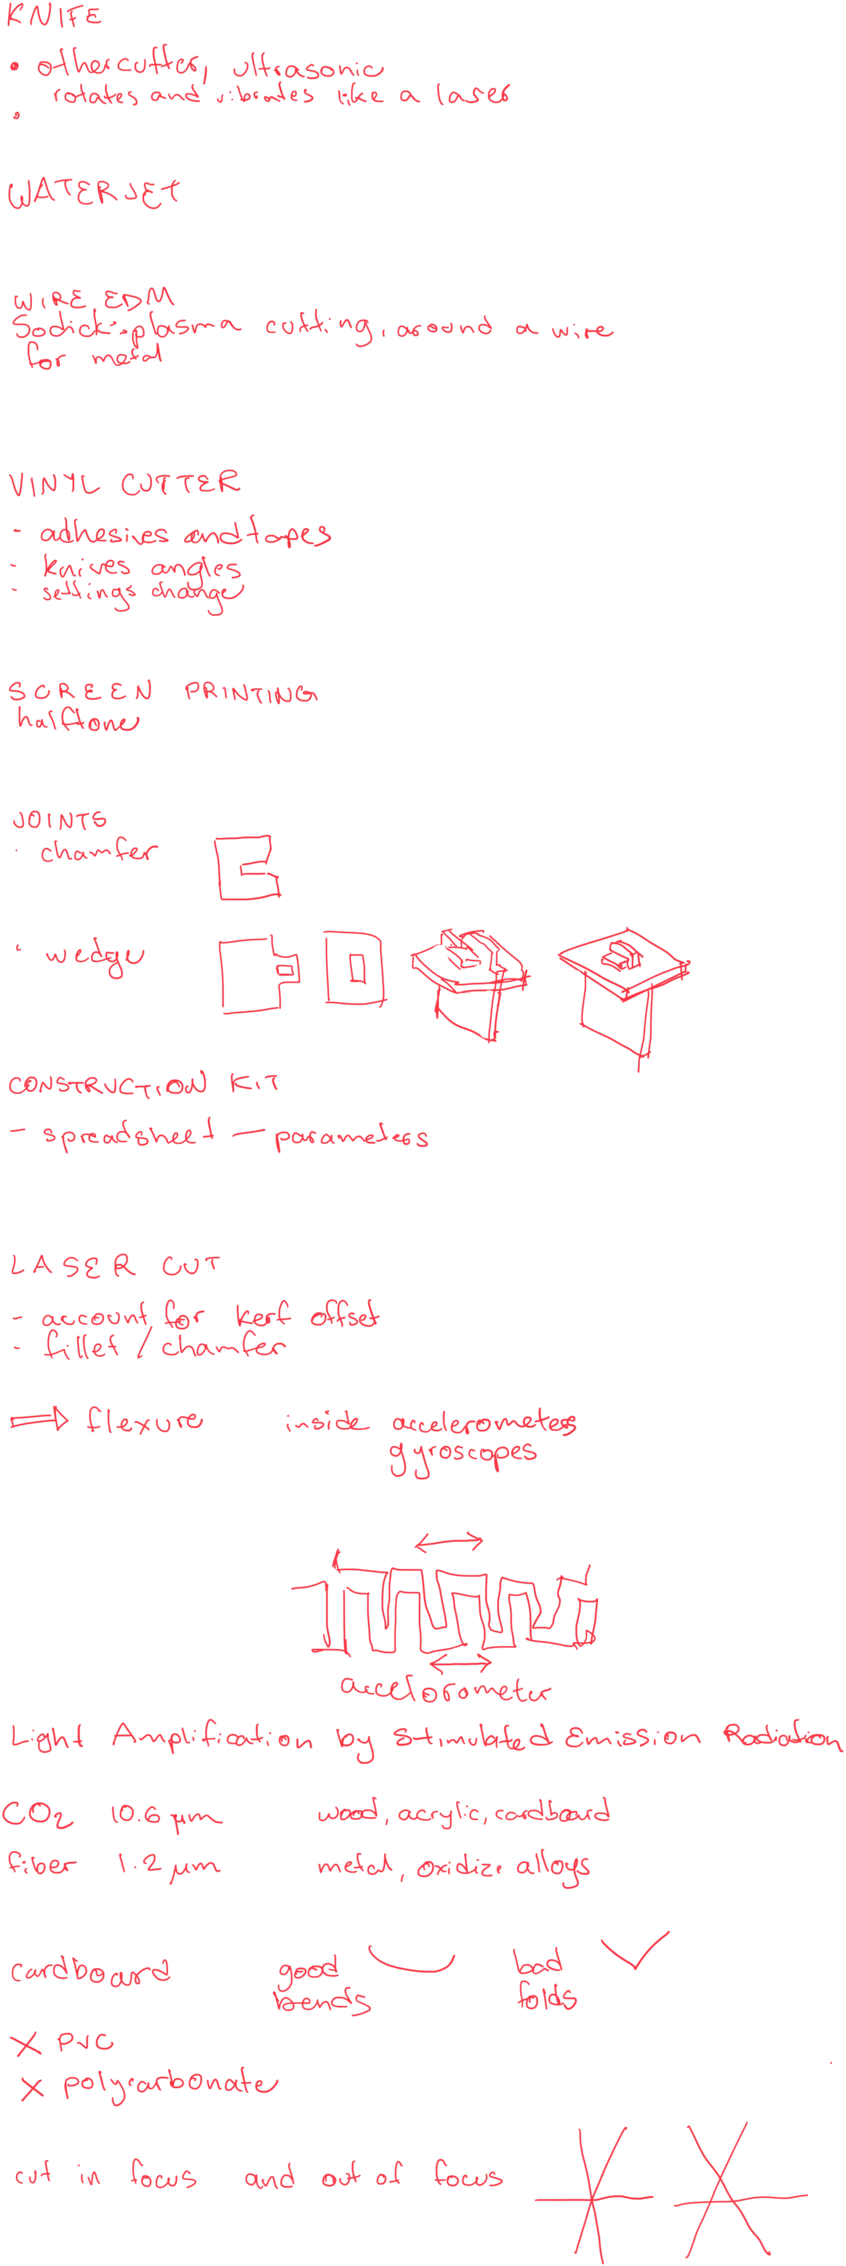
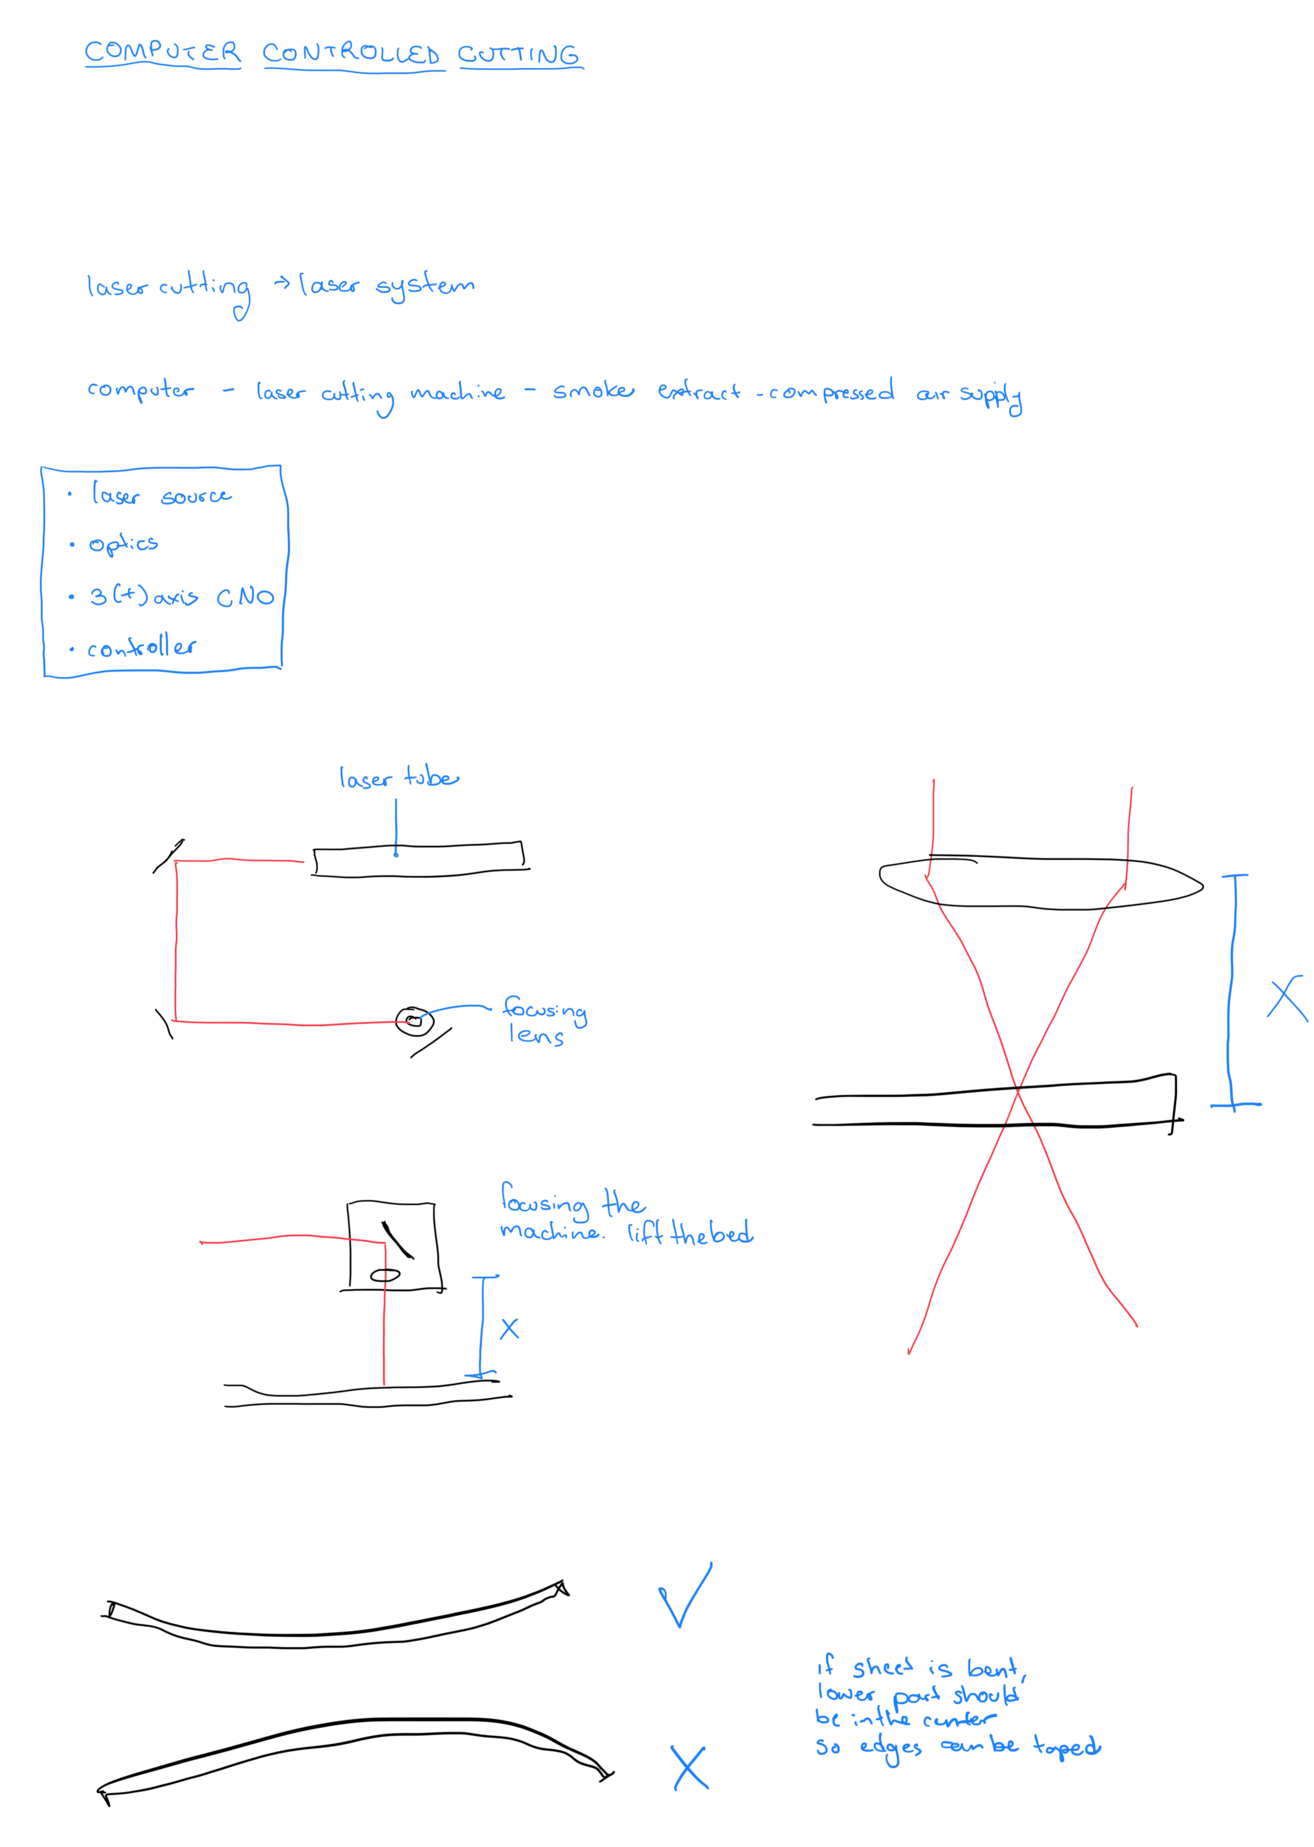
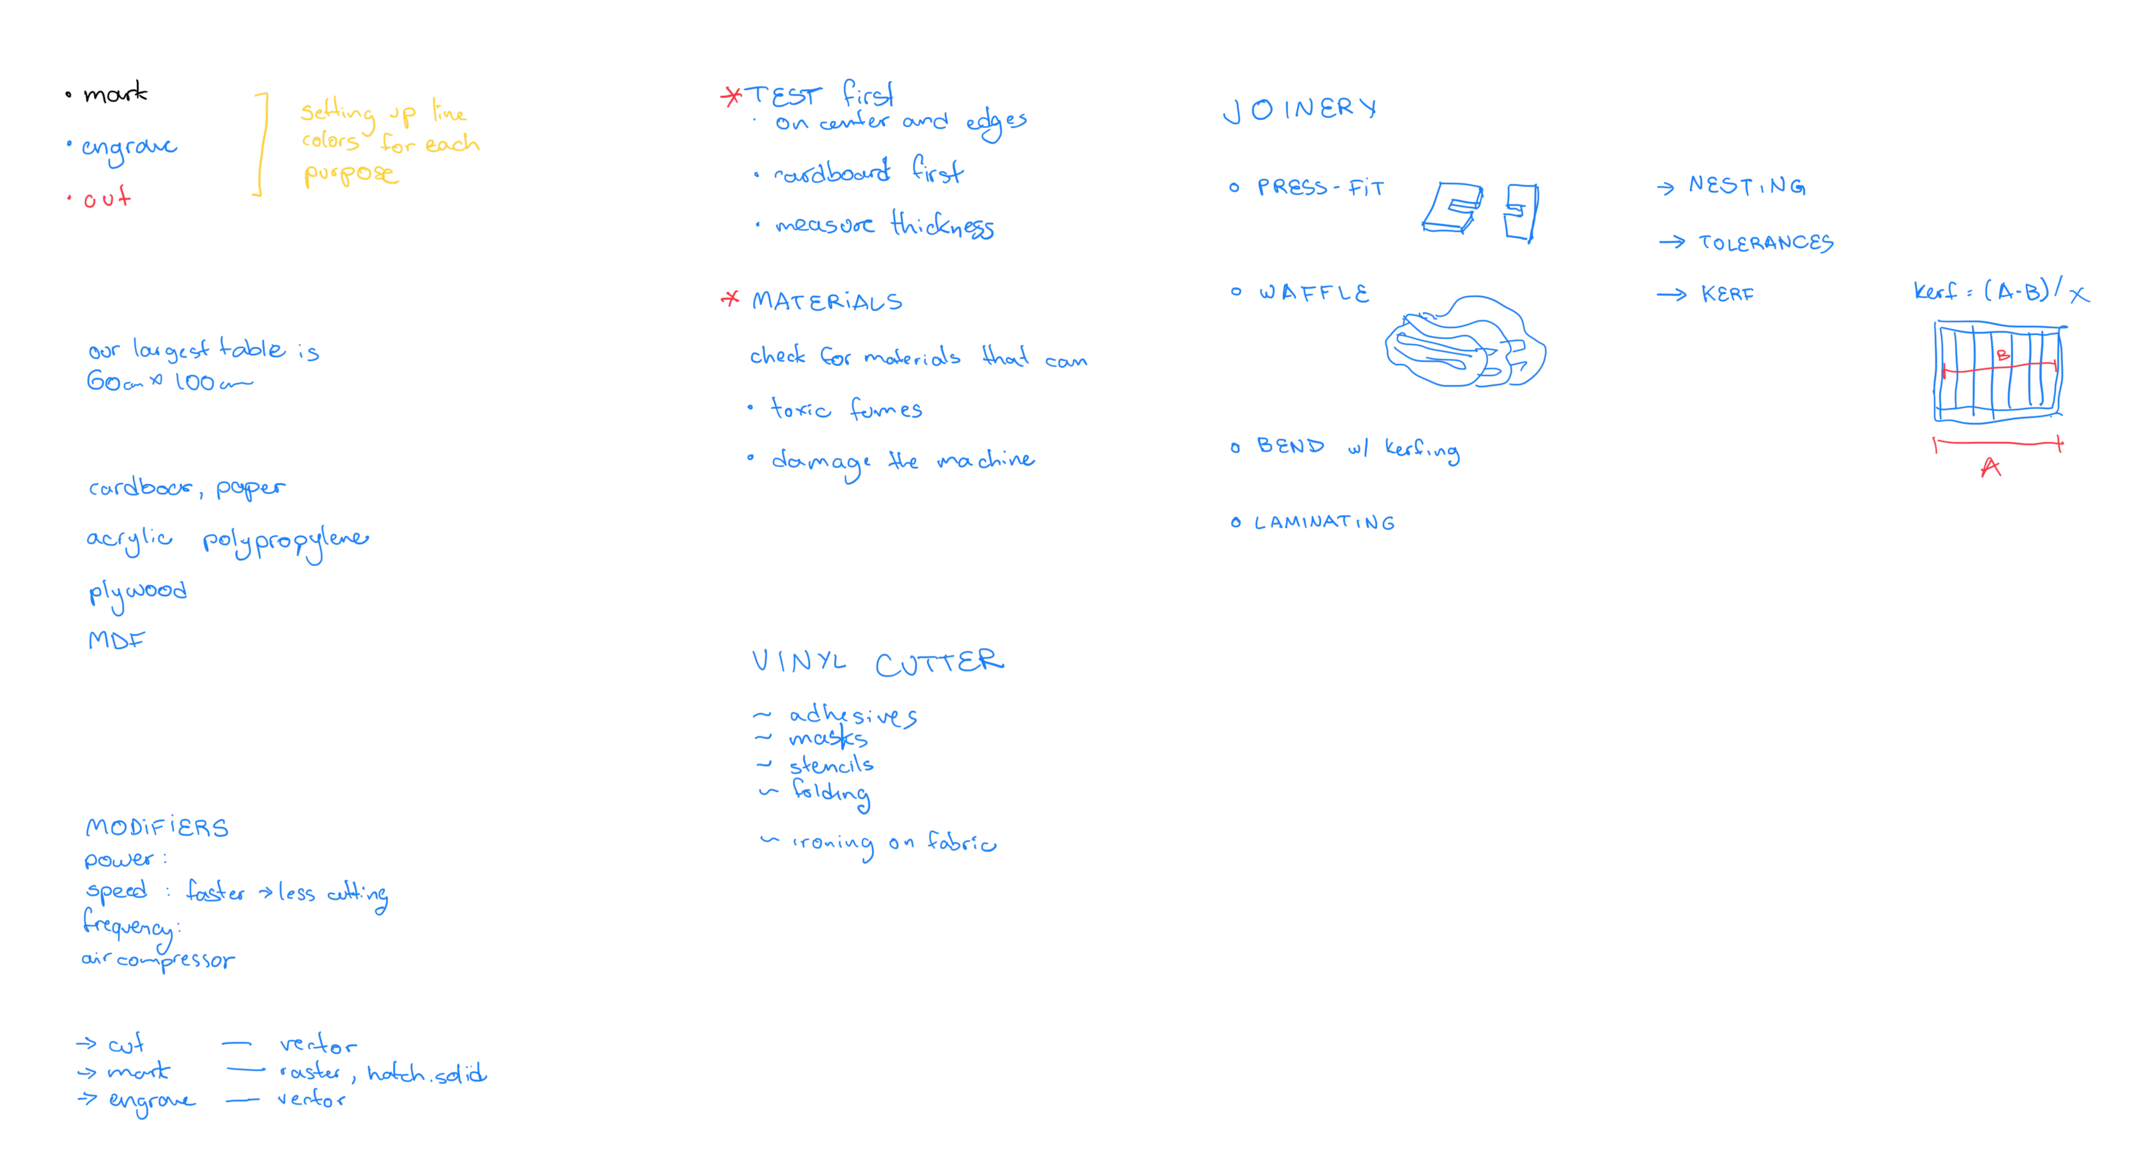
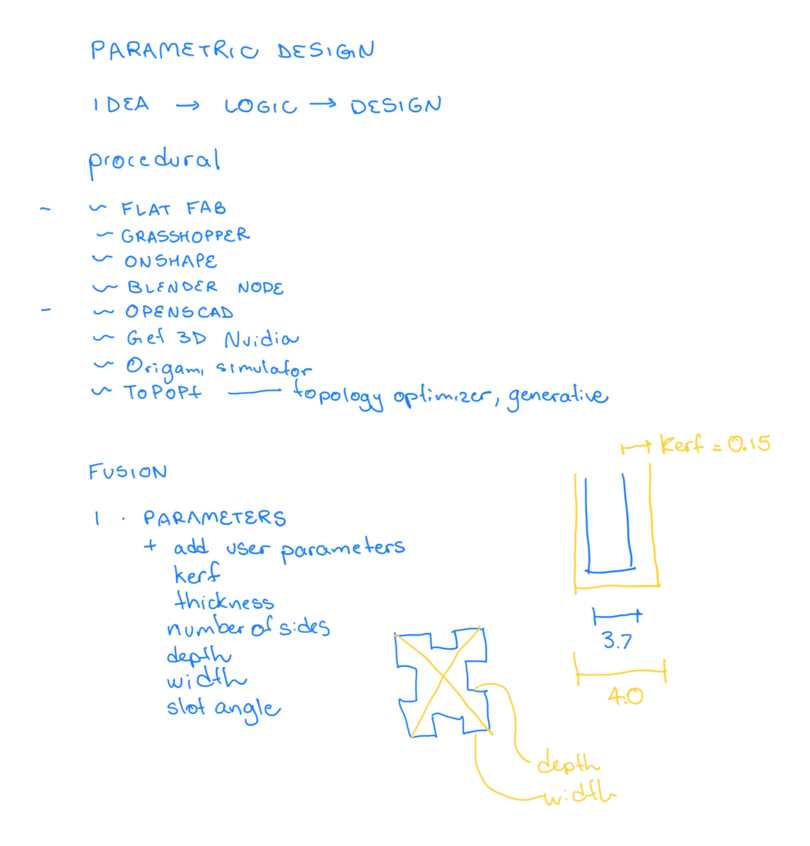
Weekly assignments
TASK: Characterize your lasercutter's focus, power, speed, rate, kerf, joint clearance and types.
You can find the group assignment in our group page.
MODELLING THE PIECES:
To create the pieces, I started a file on fusion. Started defining parameters.
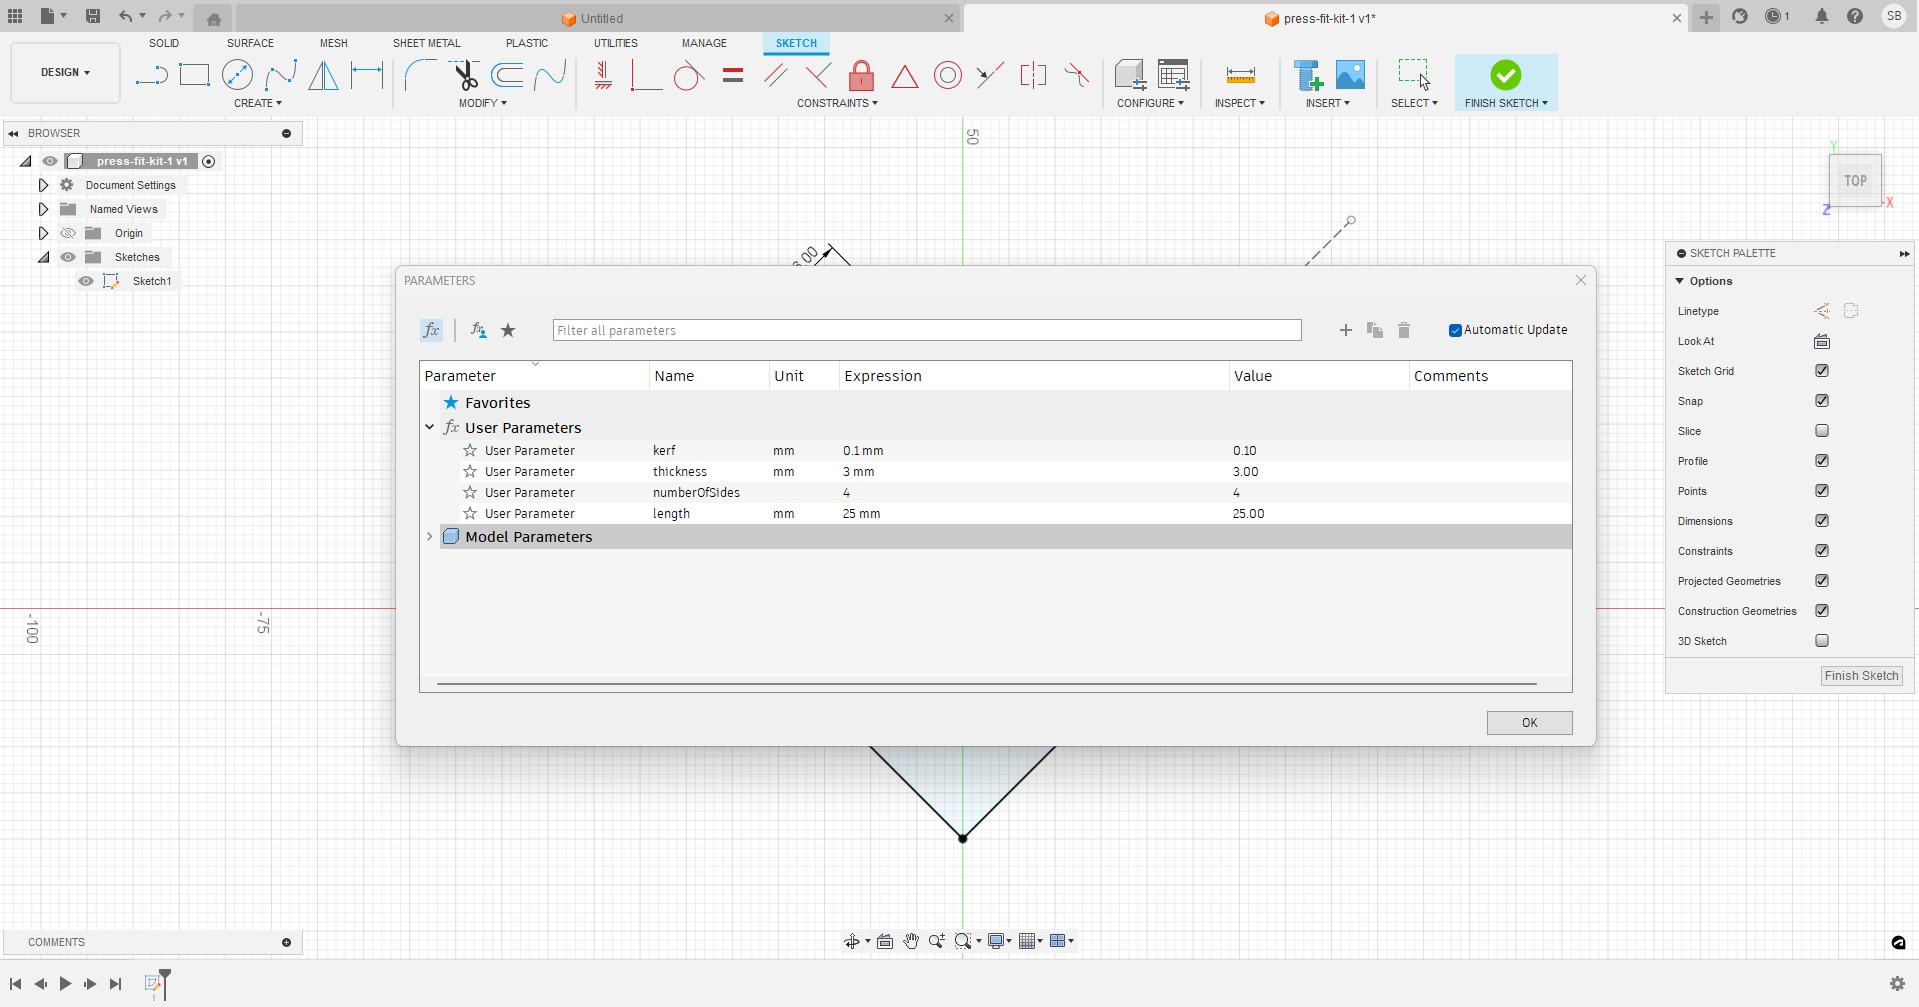
Went to sketch mode. I created 3 lines with the same center, set the middle one to be symmetric and the 2 other ones to be equal, one of them was the length parameter.
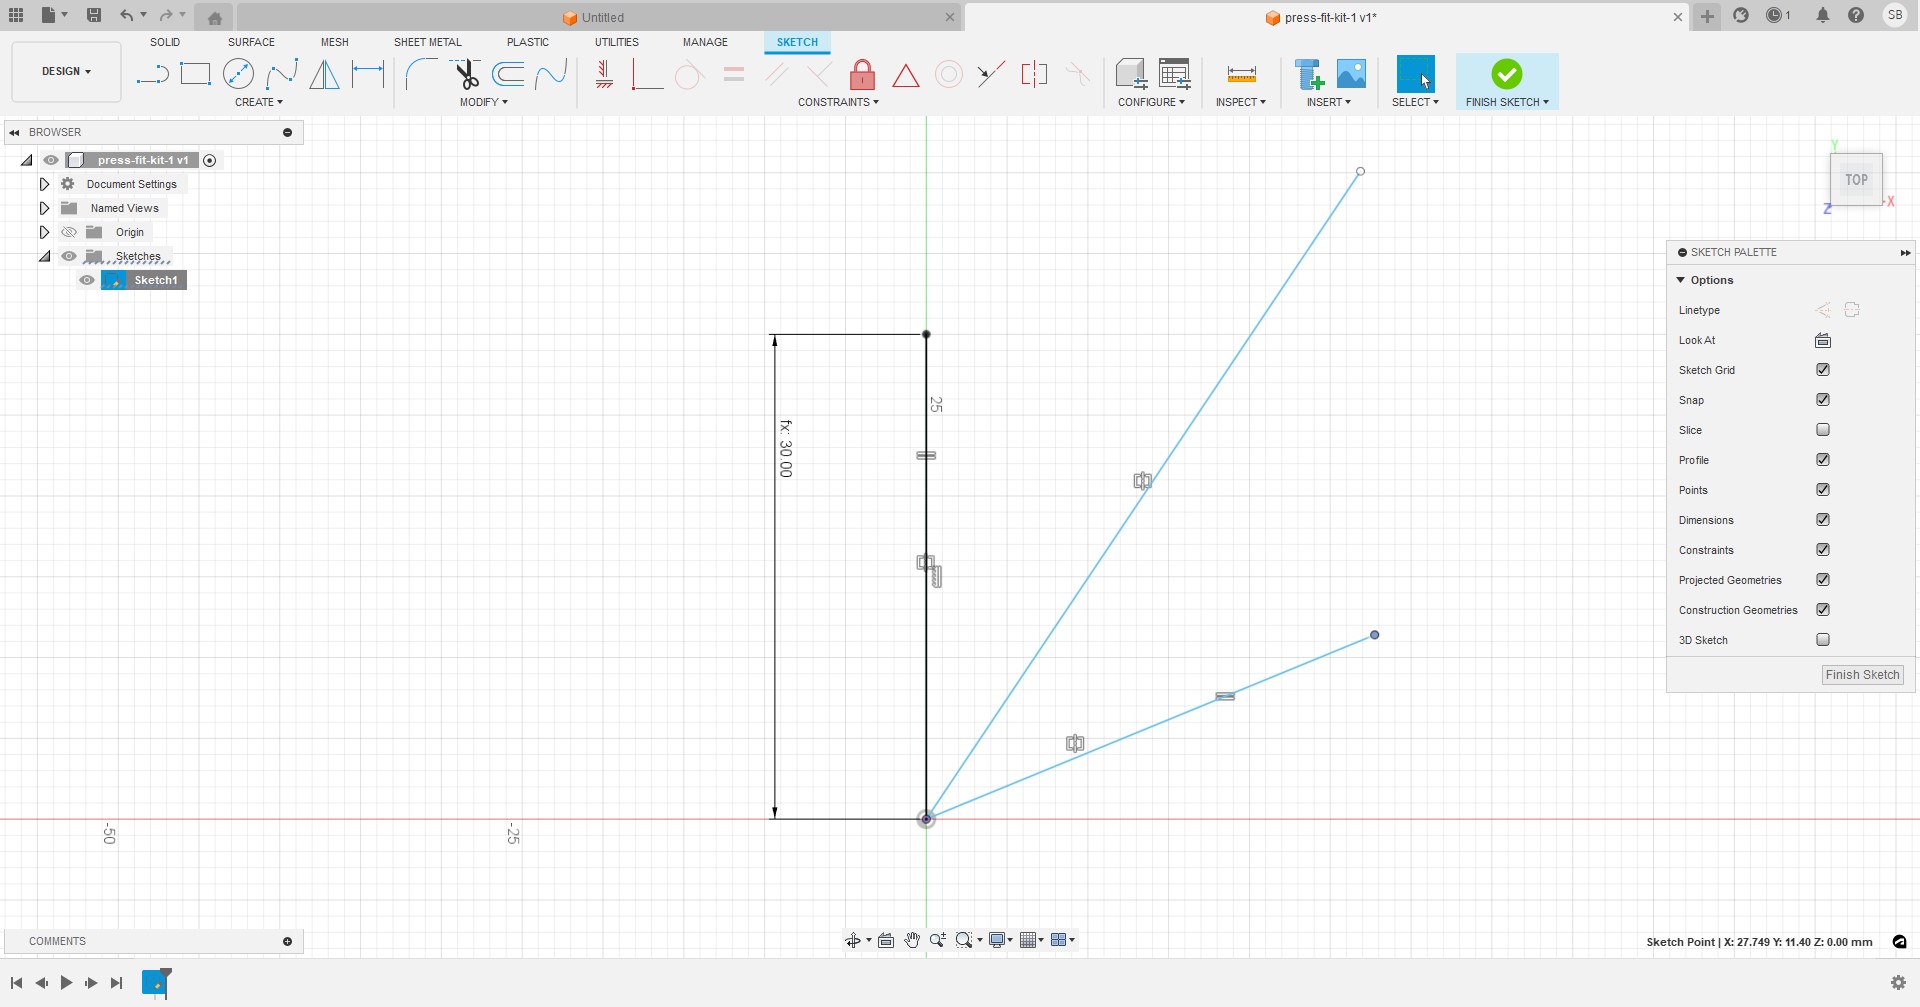
Then I defined the angle to be 360 divided by the number of sides.
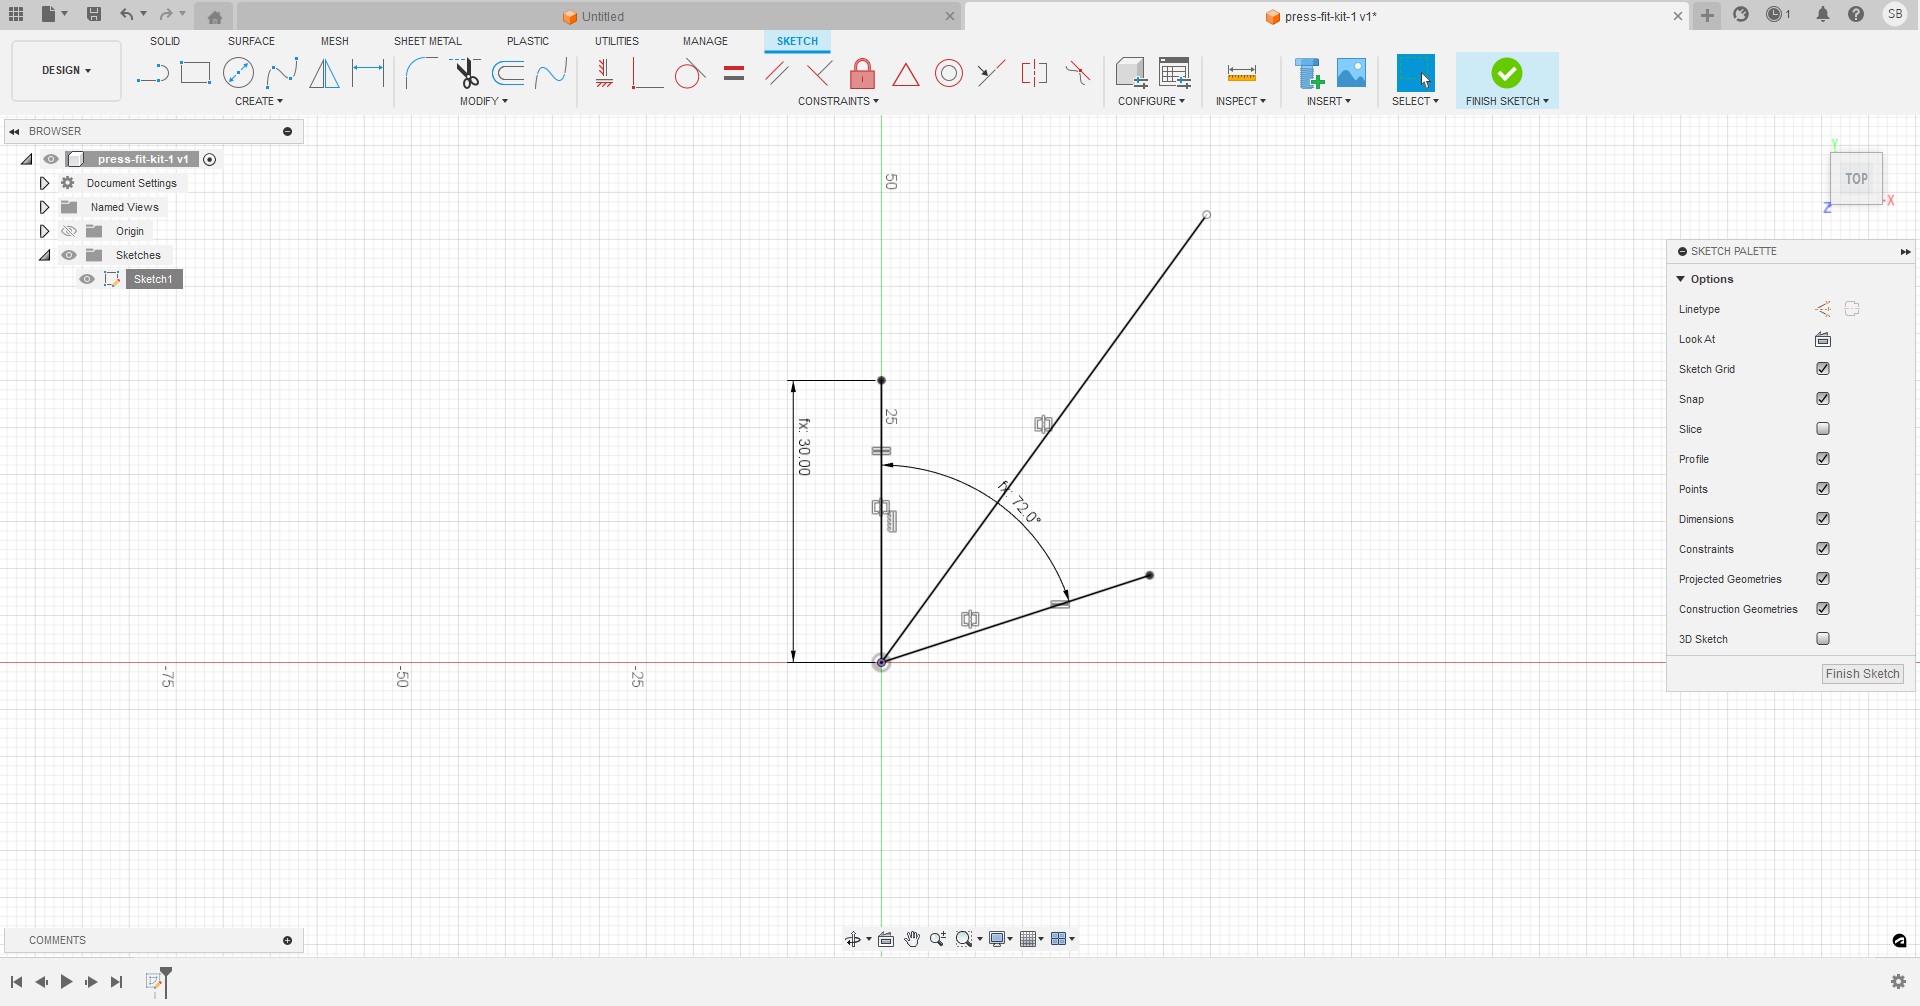
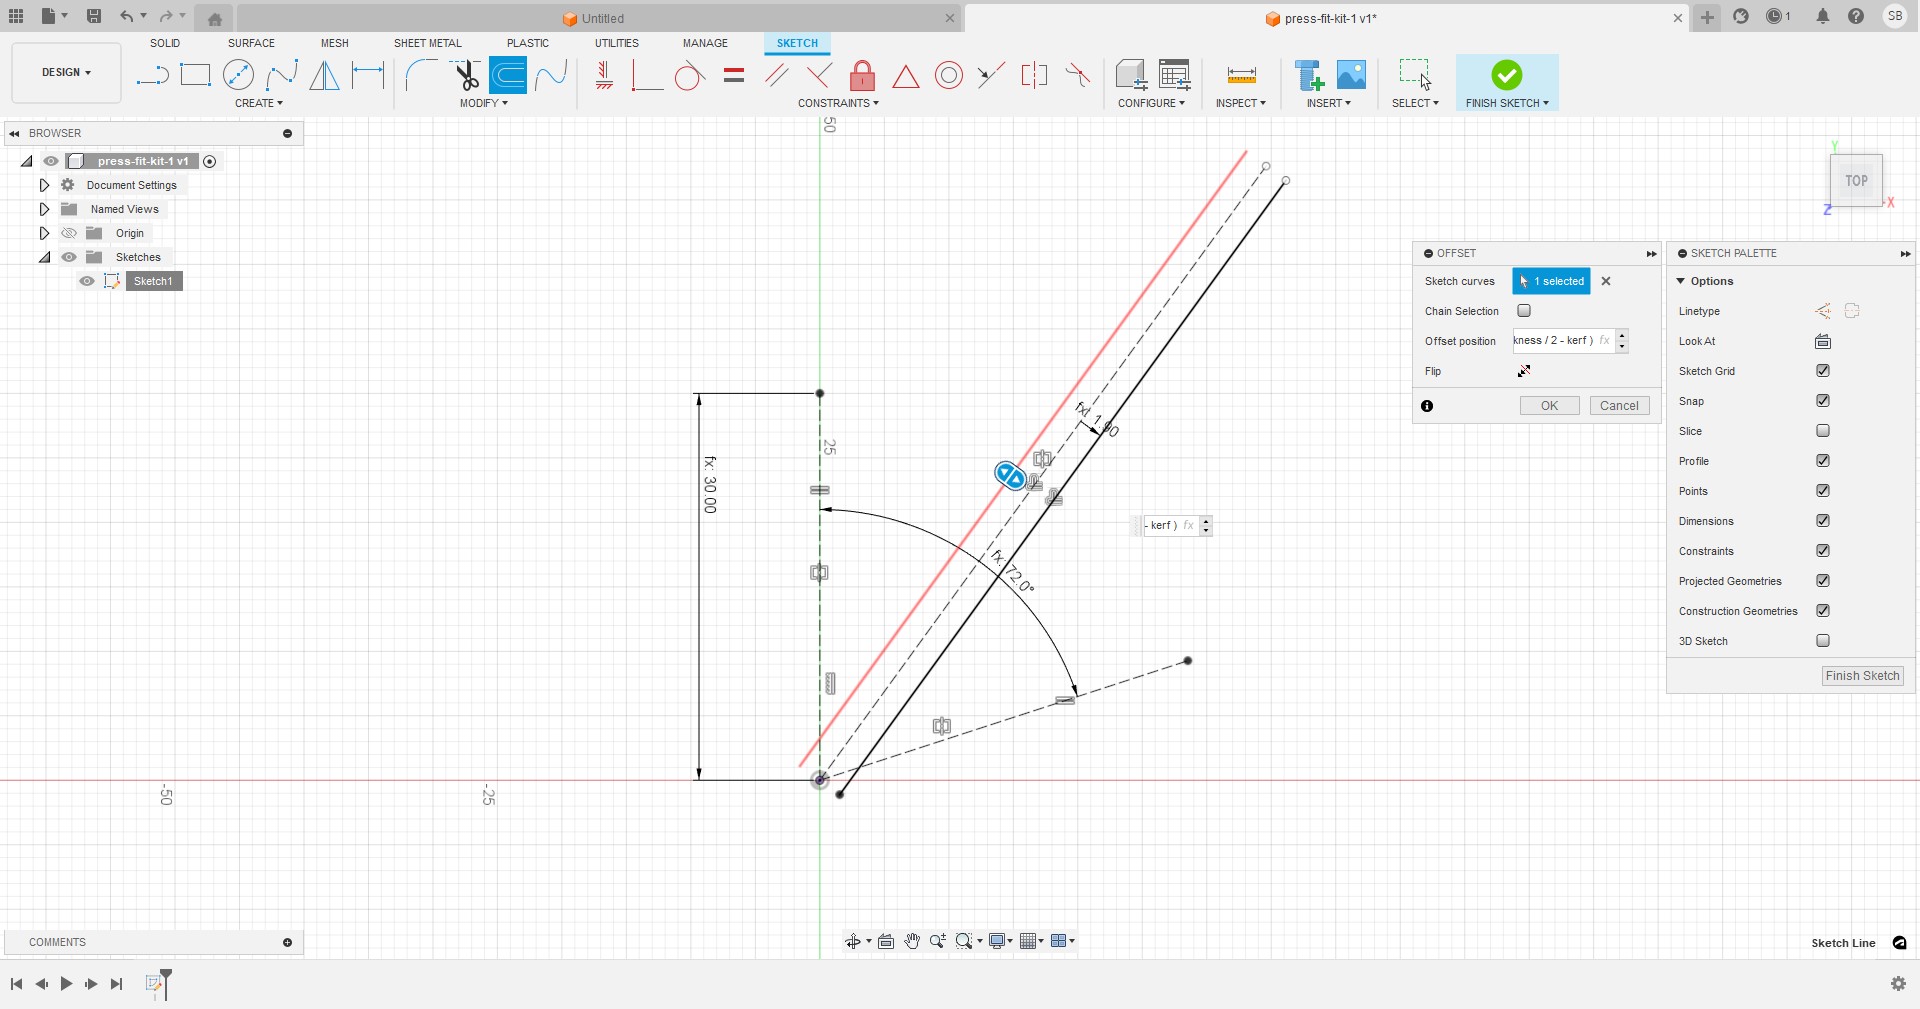
I set all lines to be construction lines, then offset the center one to the sides. The offset was the thickness divided by 2 minus kerf.
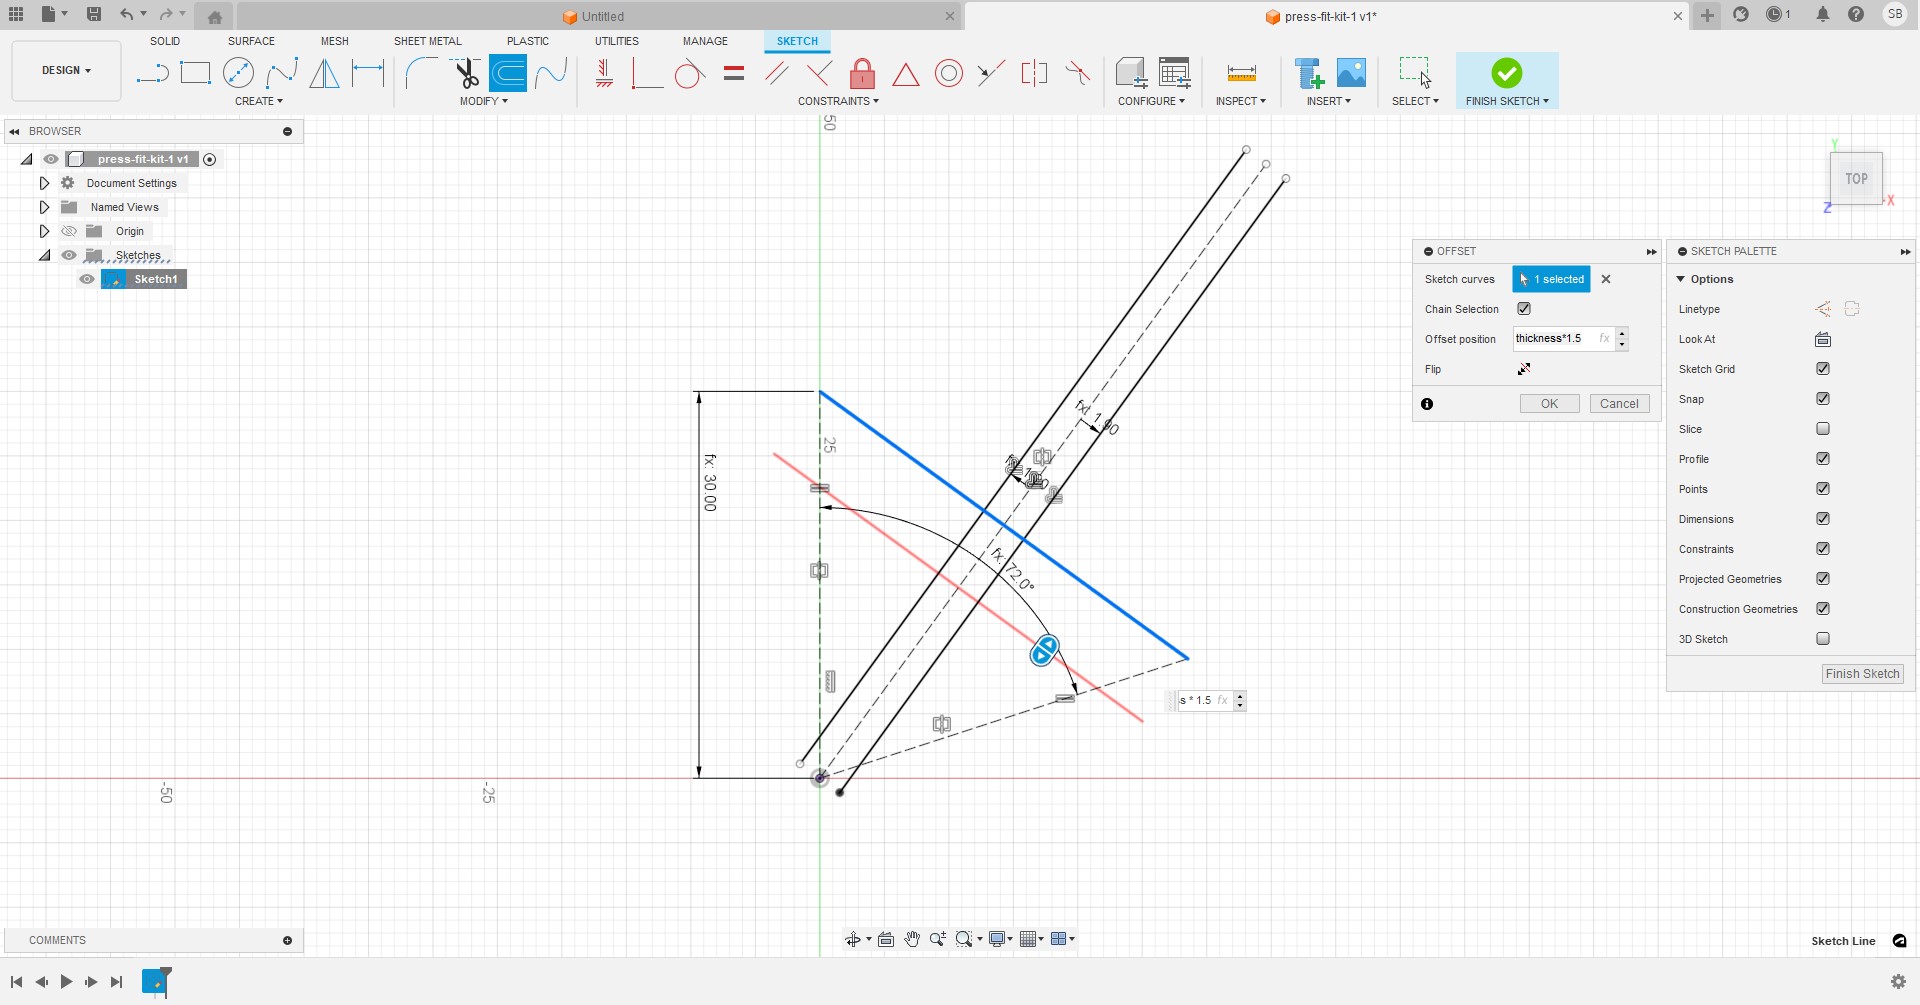
Then I drew the edge line and created another offset for the cut limit.
Trimmed the excesses.
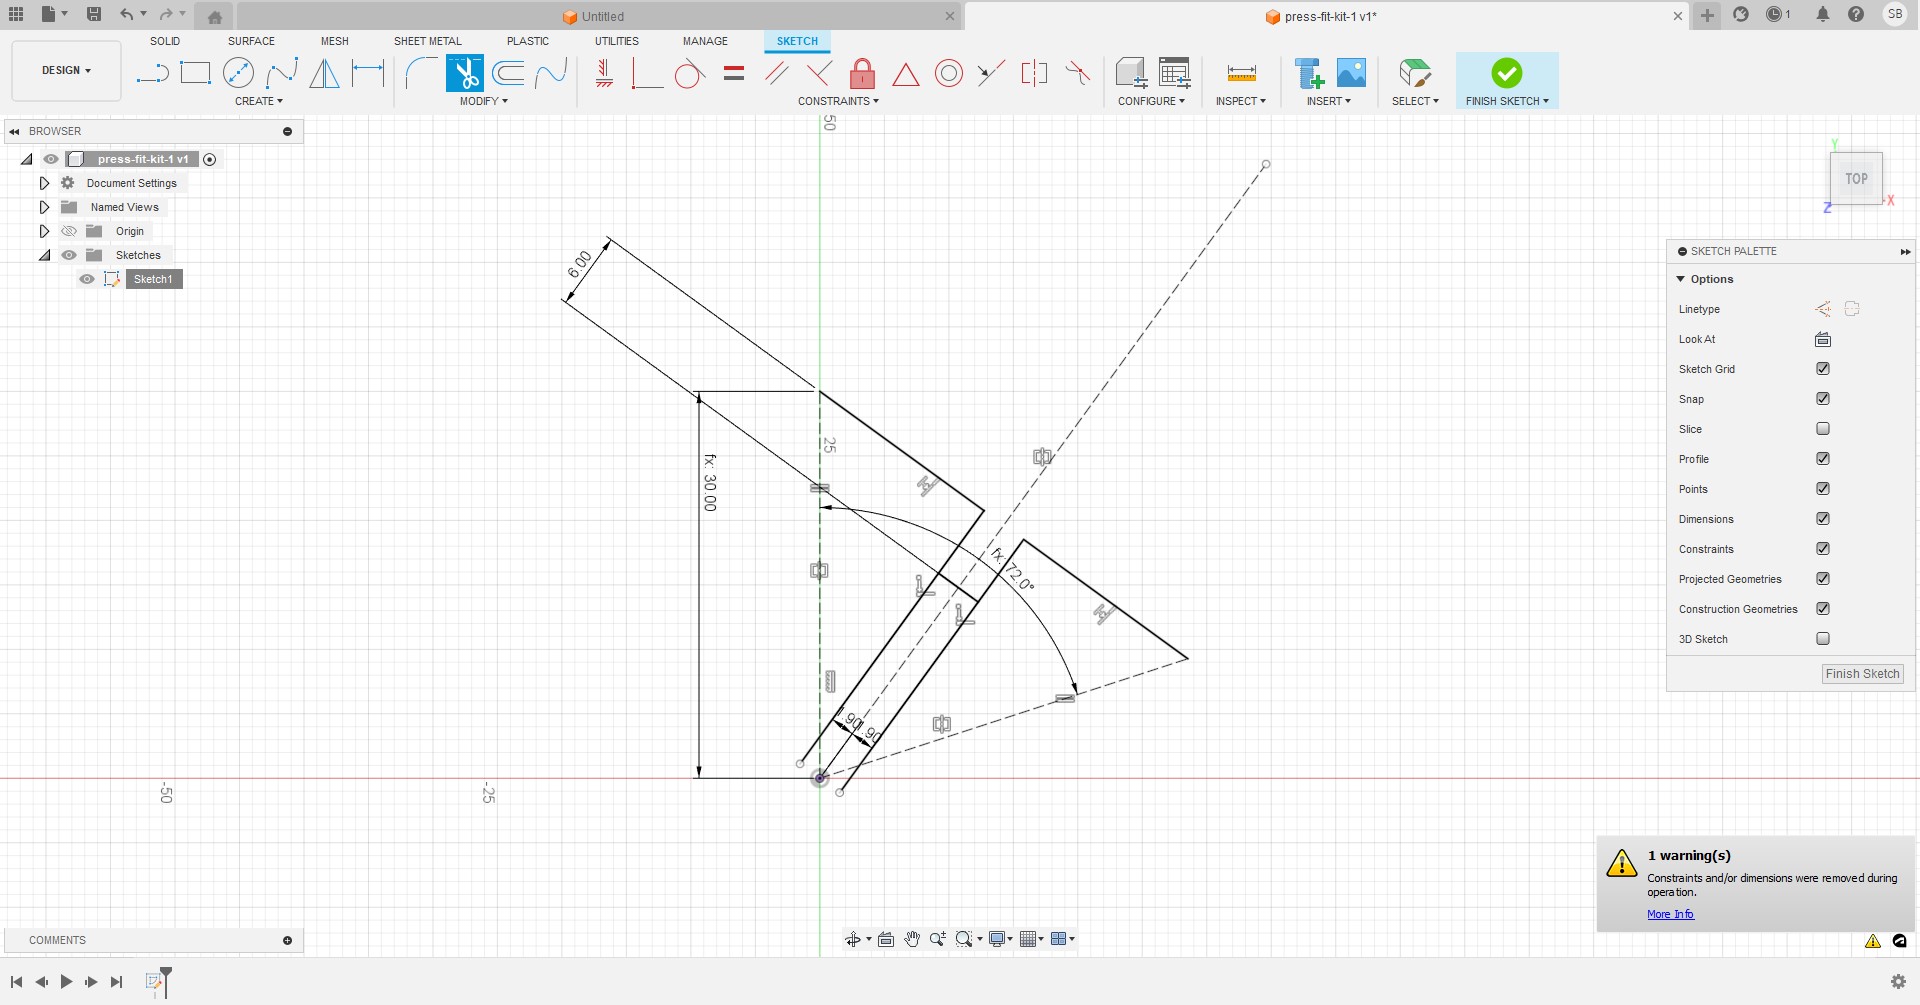
Some lines got unconstrained, so I set one of the offset dims again and created symmetry.
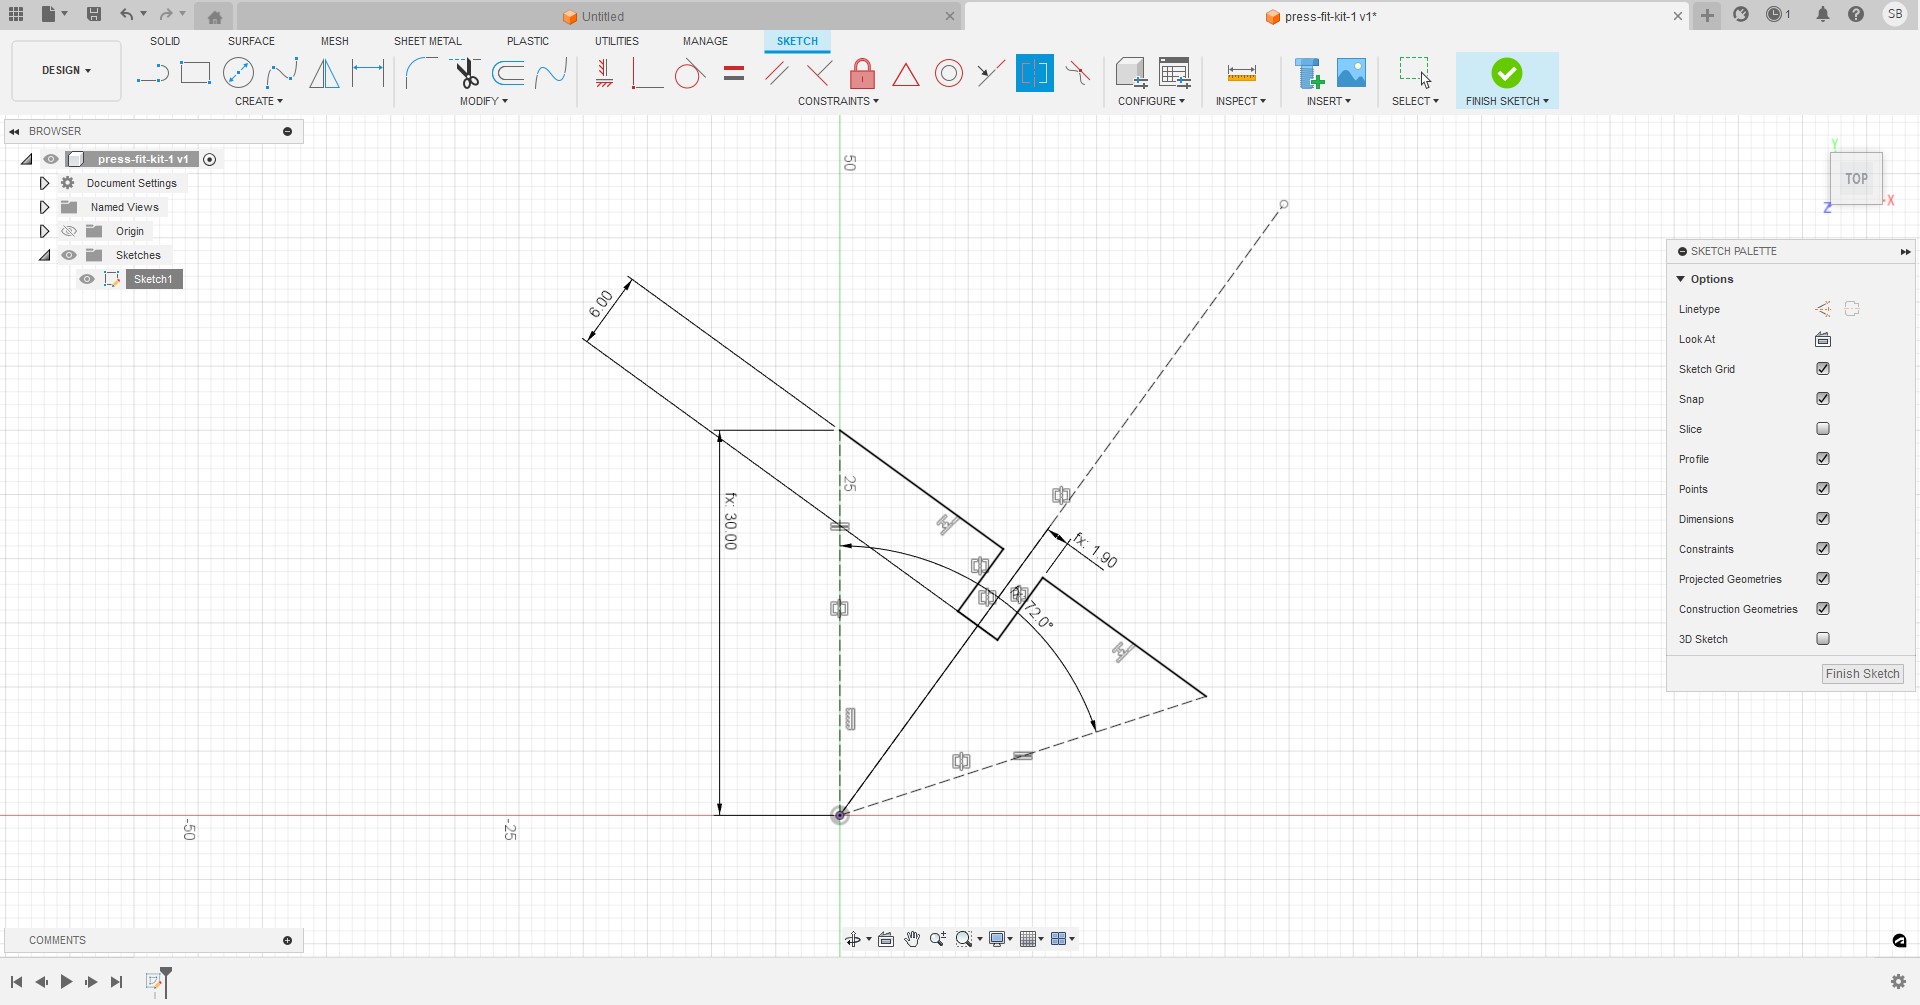
Created a pattern with the number of sides.
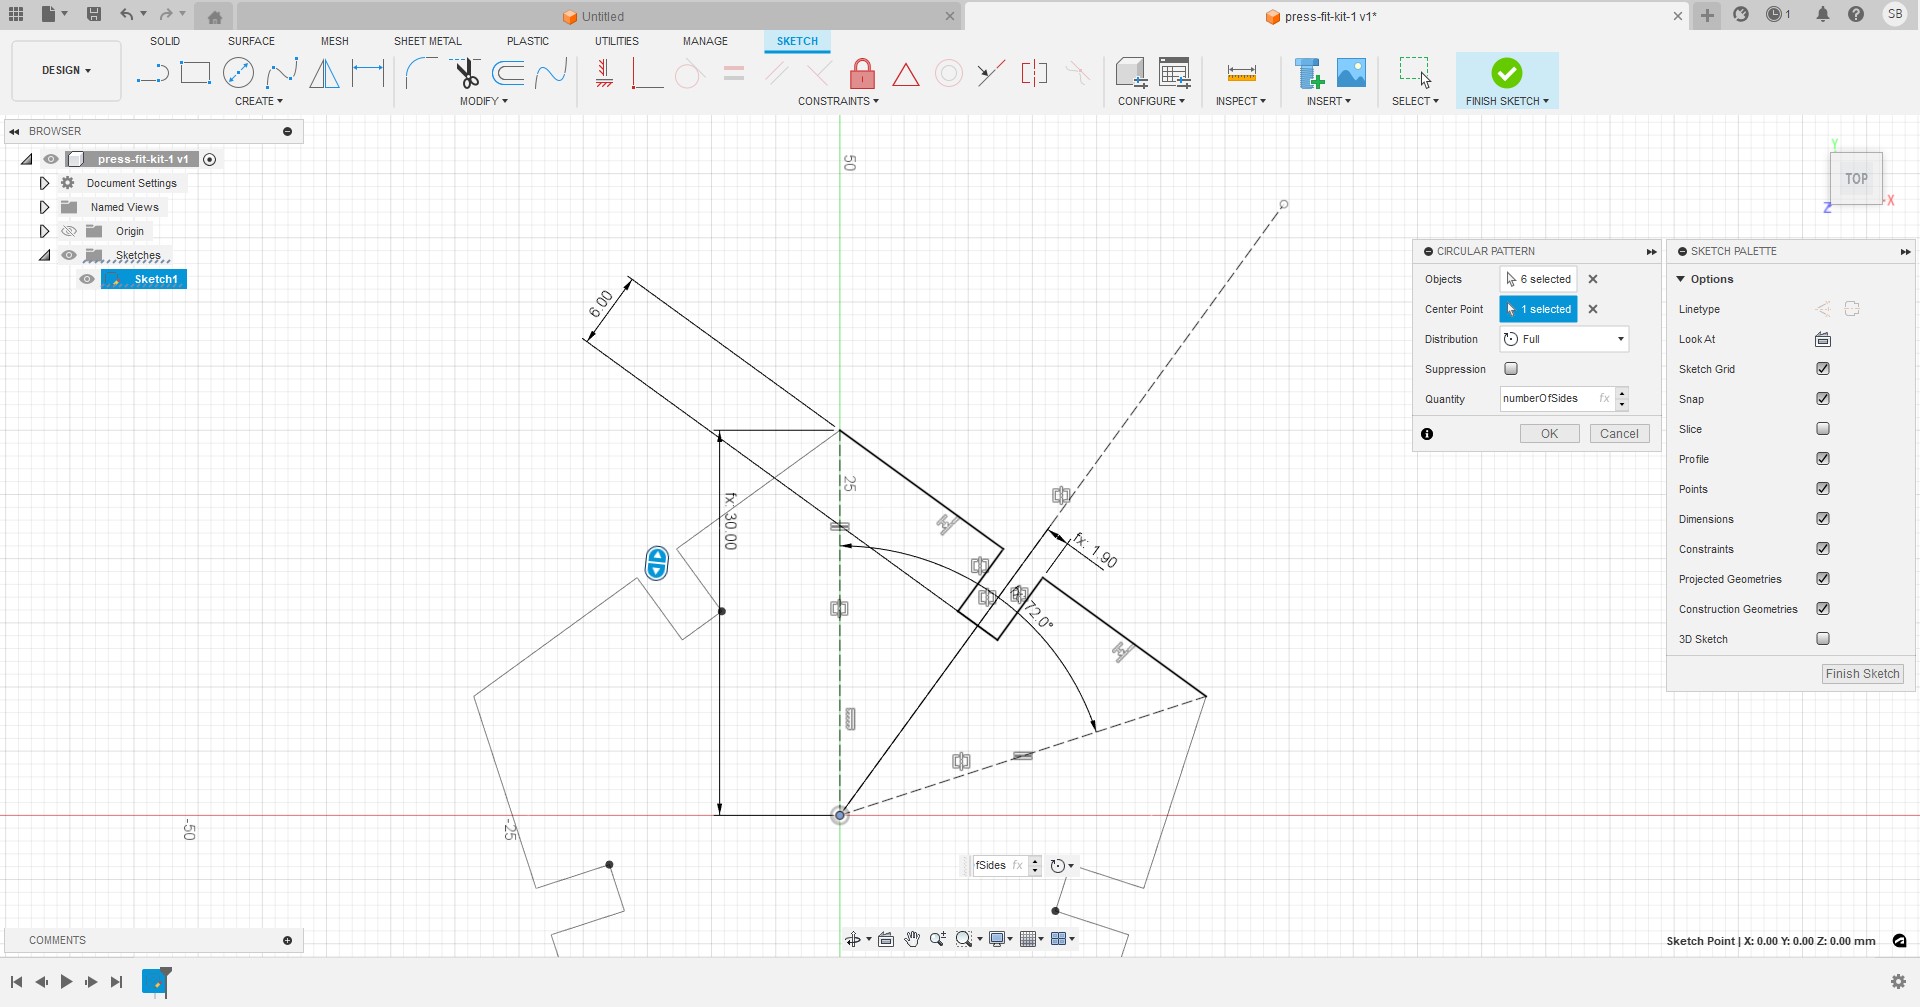
Realized I hadn't chamfered, so undid that and chamfered the edges.
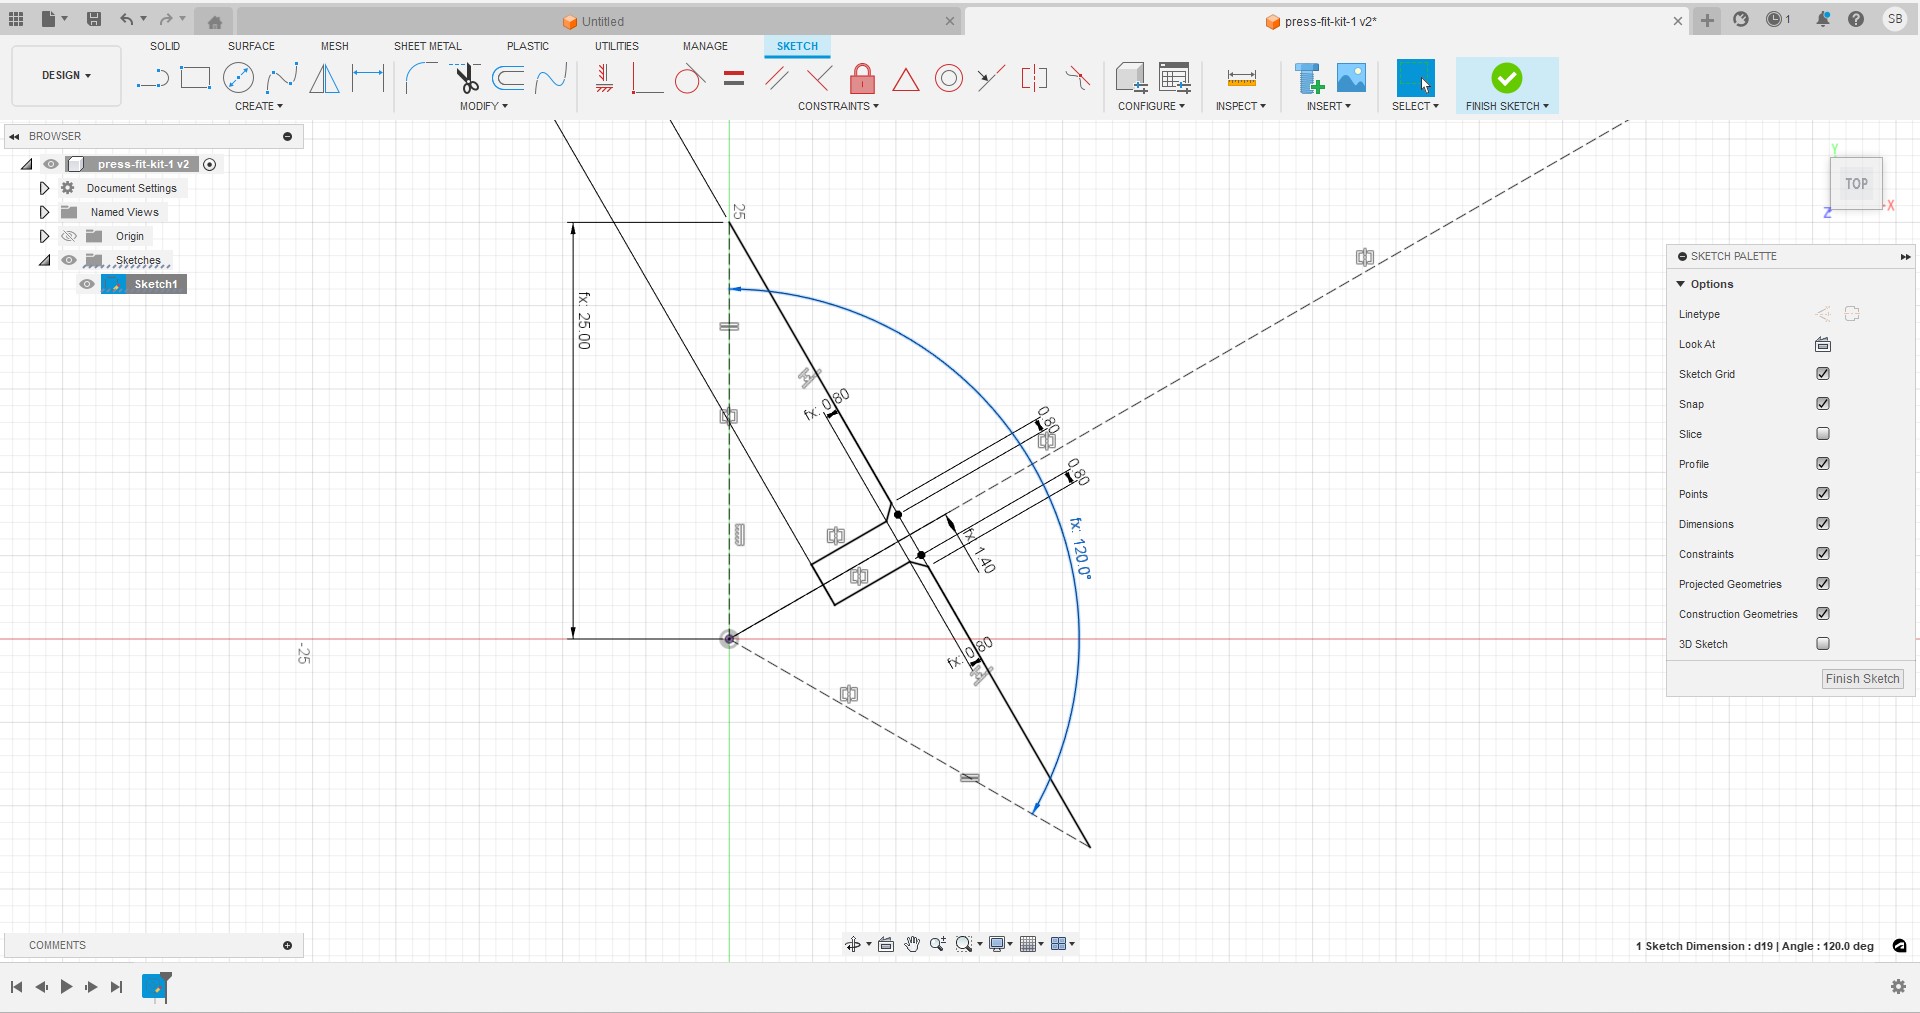
Square.
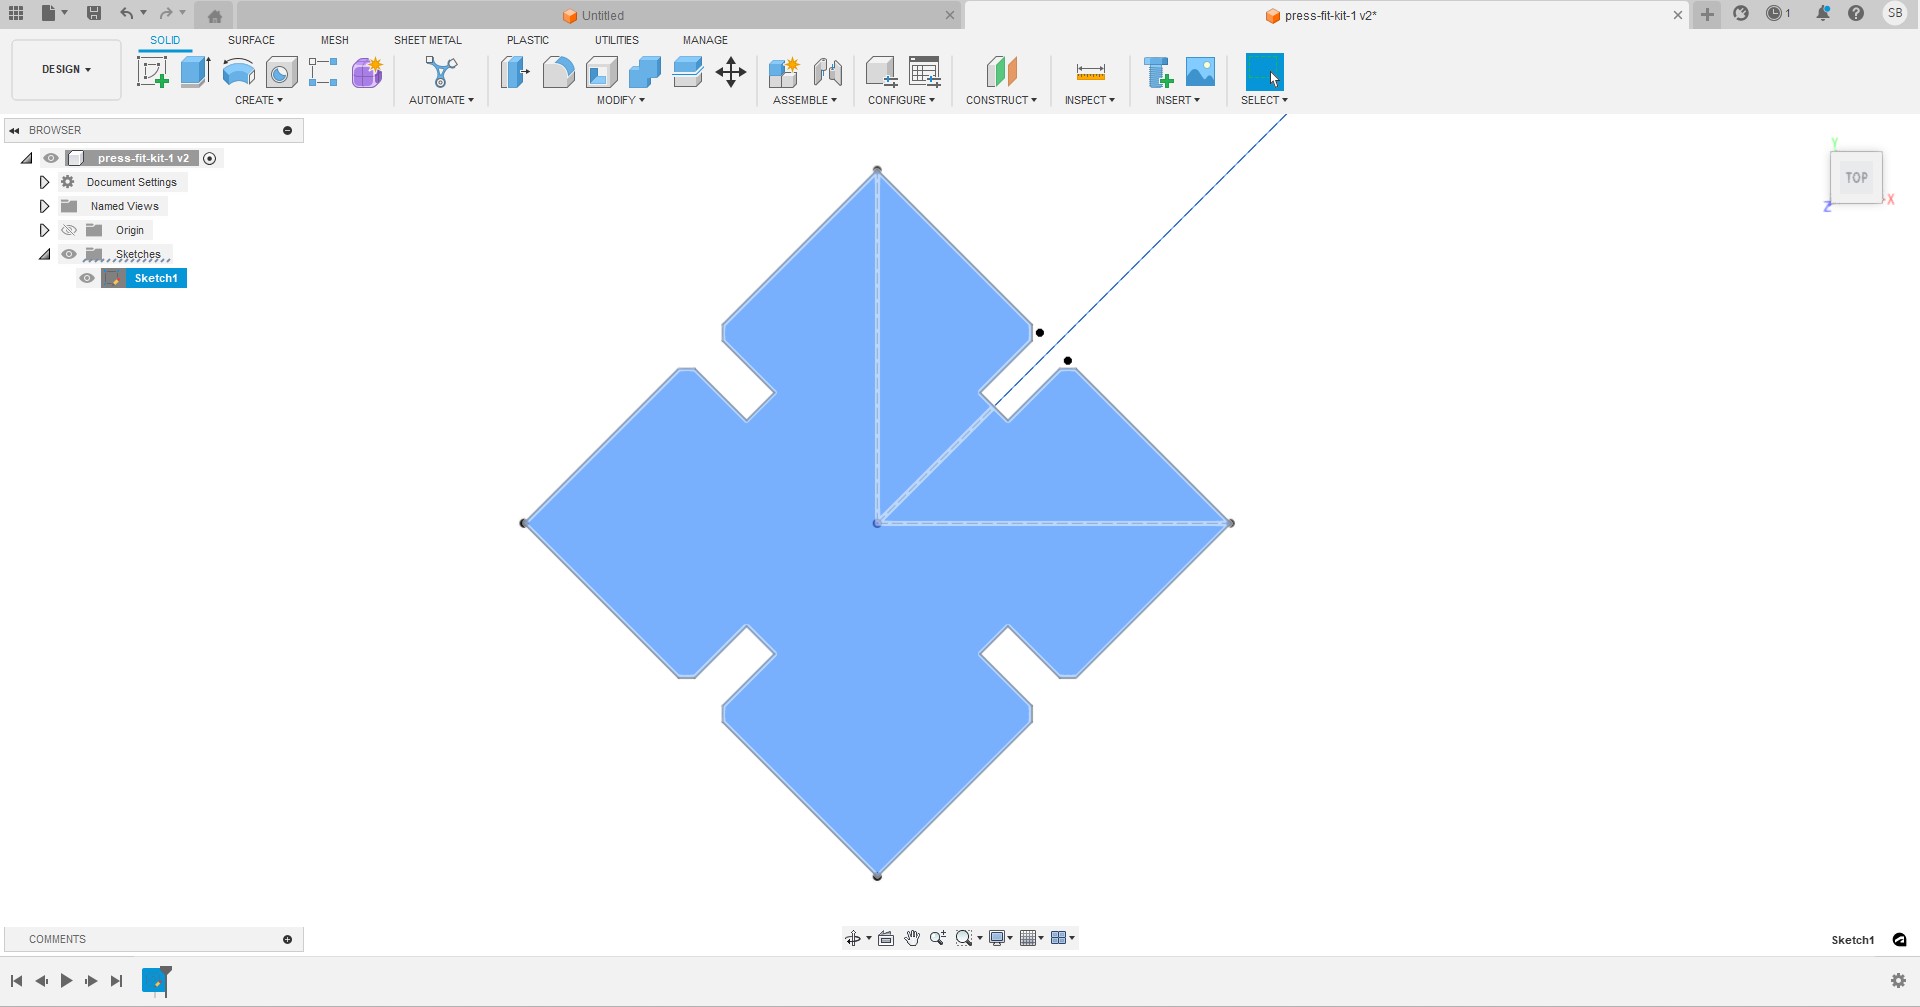
Did that and a triangle, exported to Rhino and arranged the pieces.
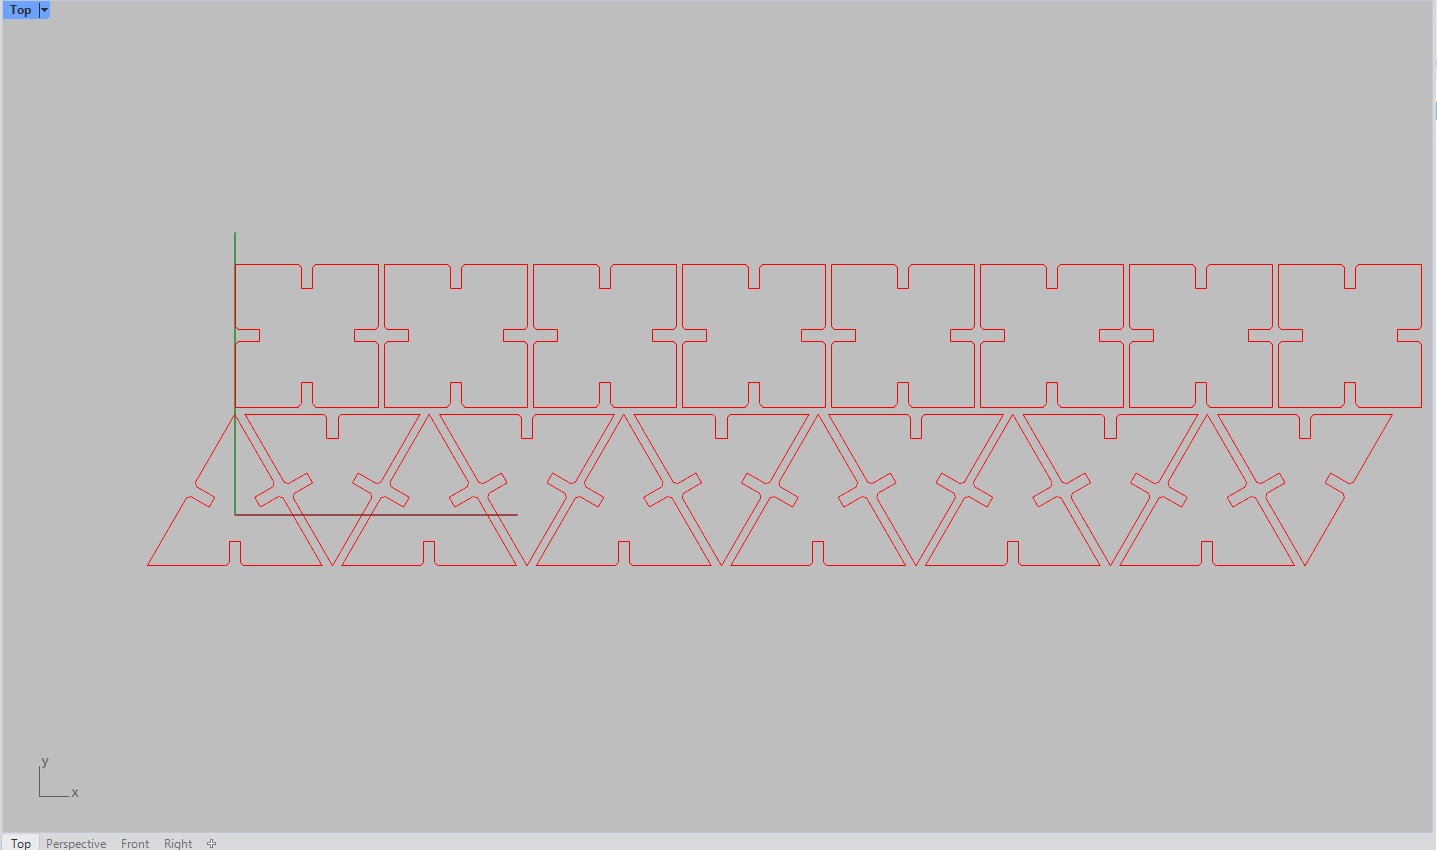
FILES:
Fusion file for the parametric 2D components
I created another parametric piece on Grasshopper. I first created a rectangle.
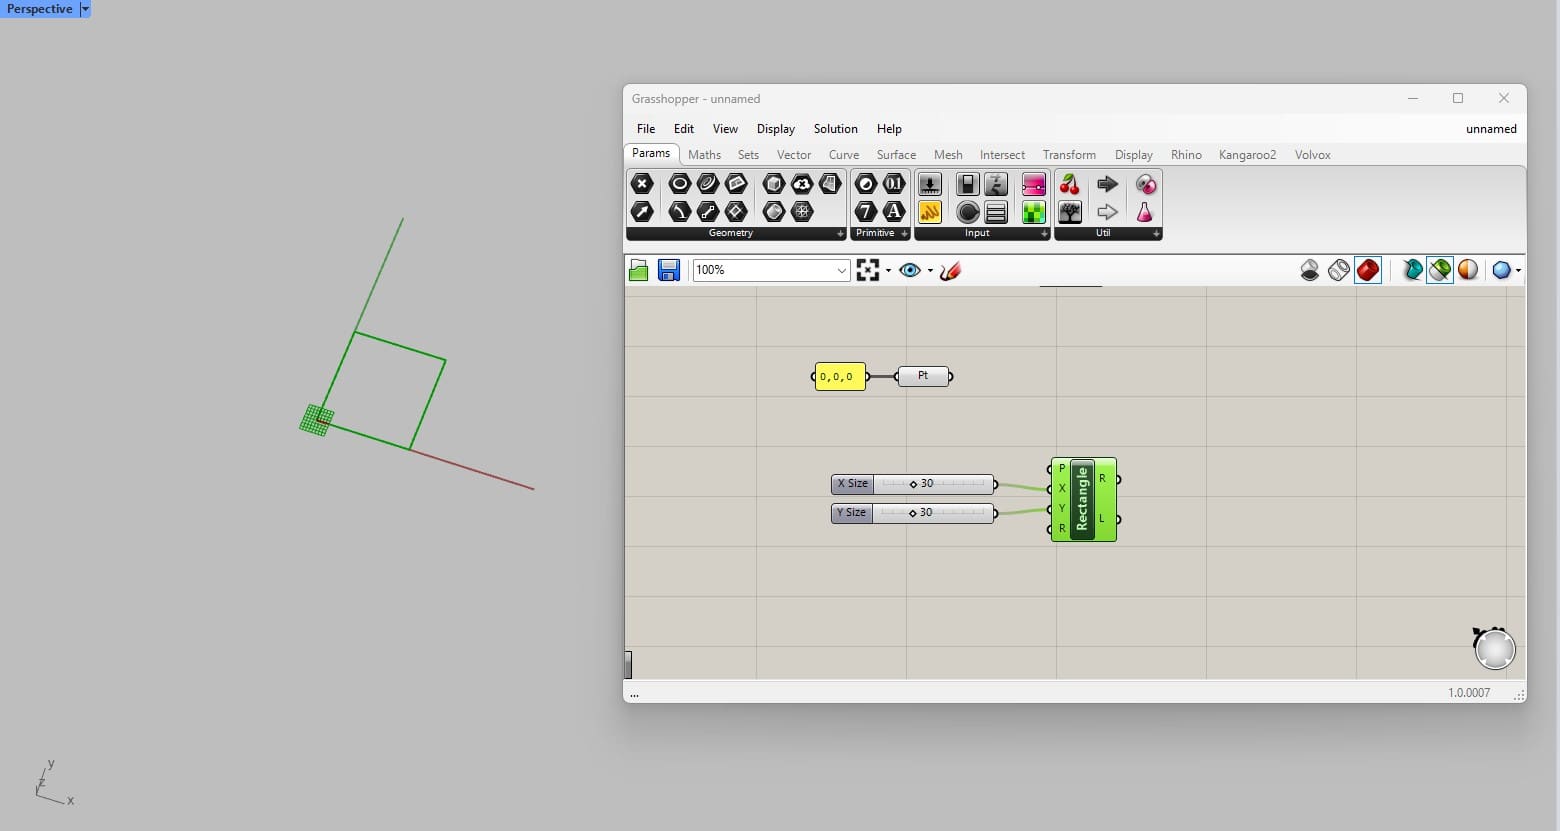
Then divided it.
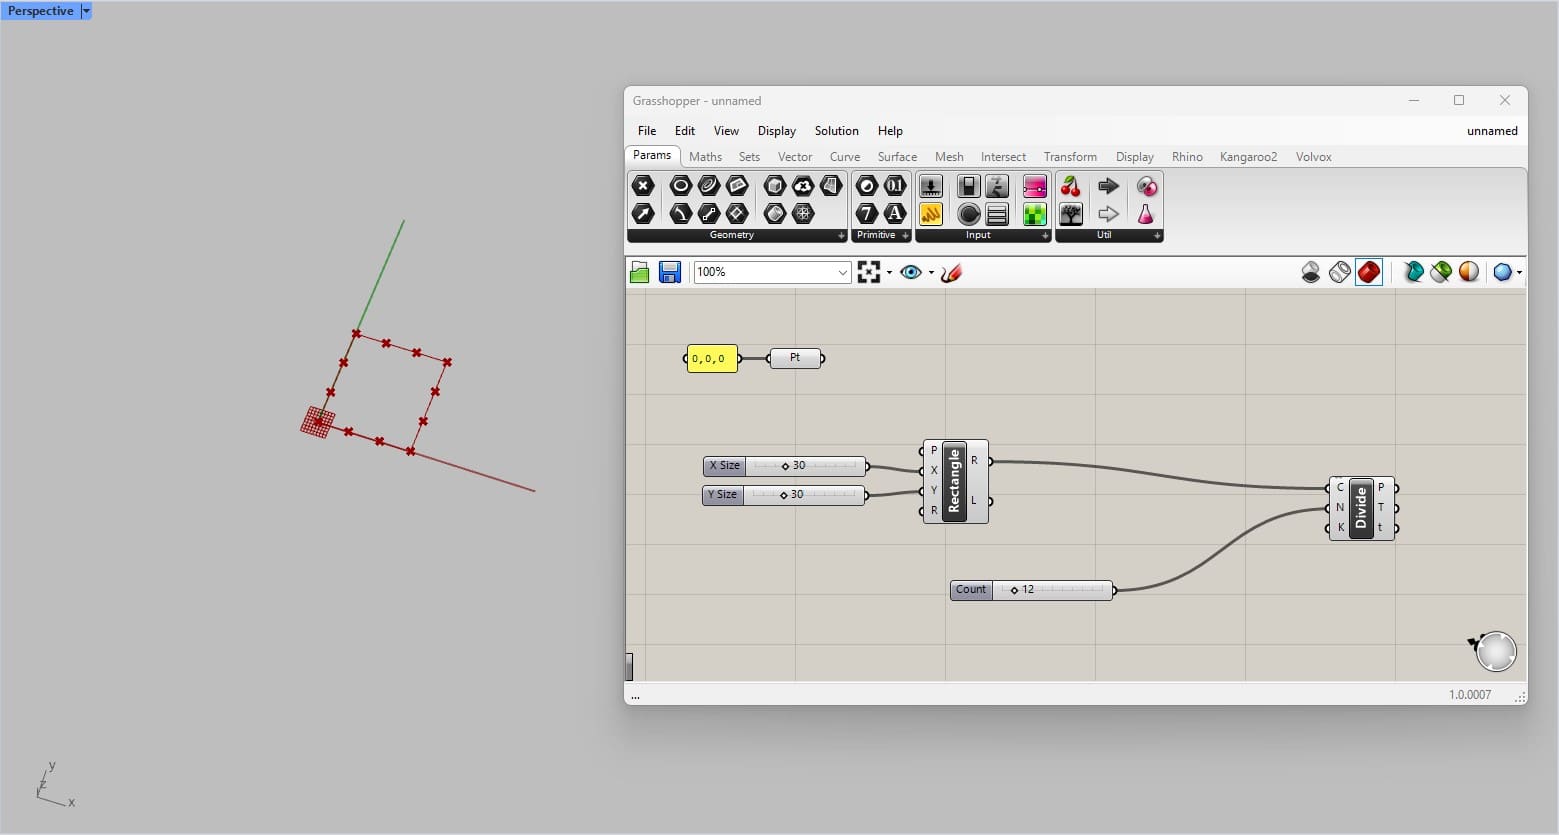
For the joints, I created an offset and divided it as well.
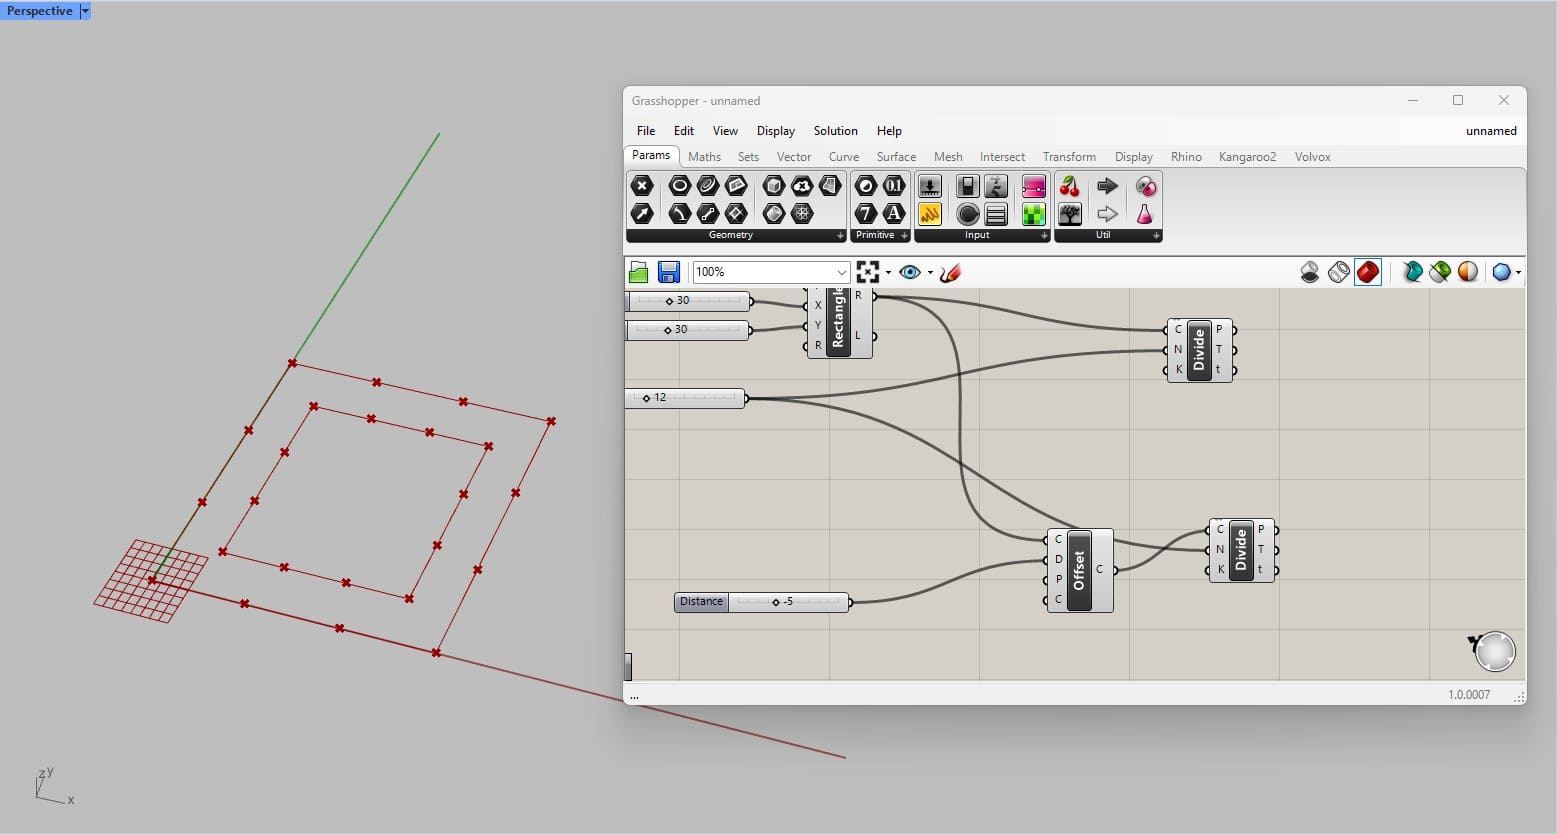
In order for them to be perpendicular to the edges, I exploded the input.
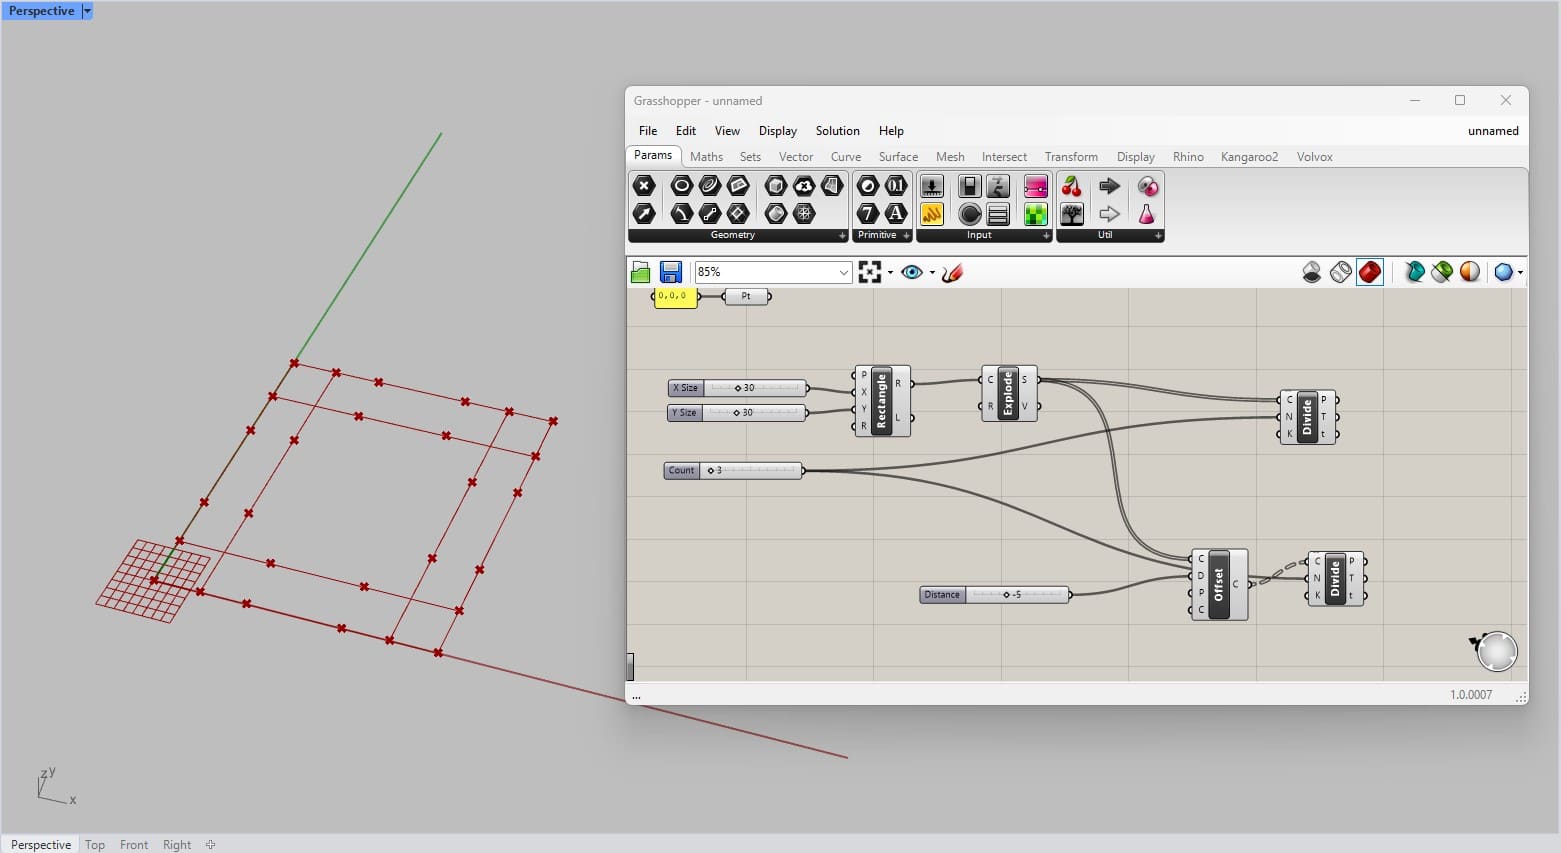
Created the lines between the division points.
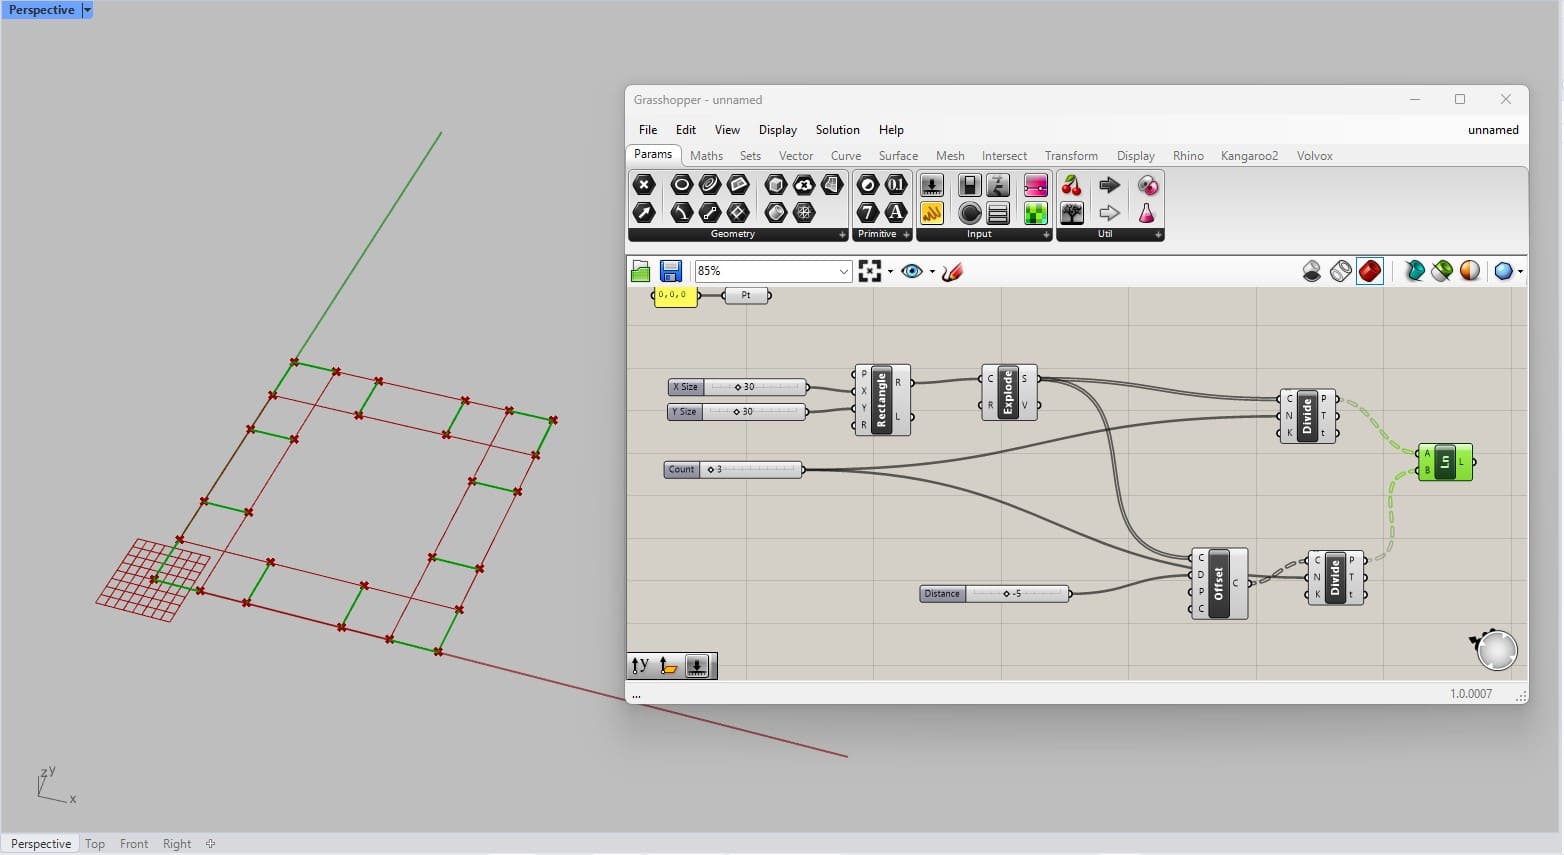
Now I had to start managing the lists to only select the elements I wanted to use and discard first and last line of each edge.
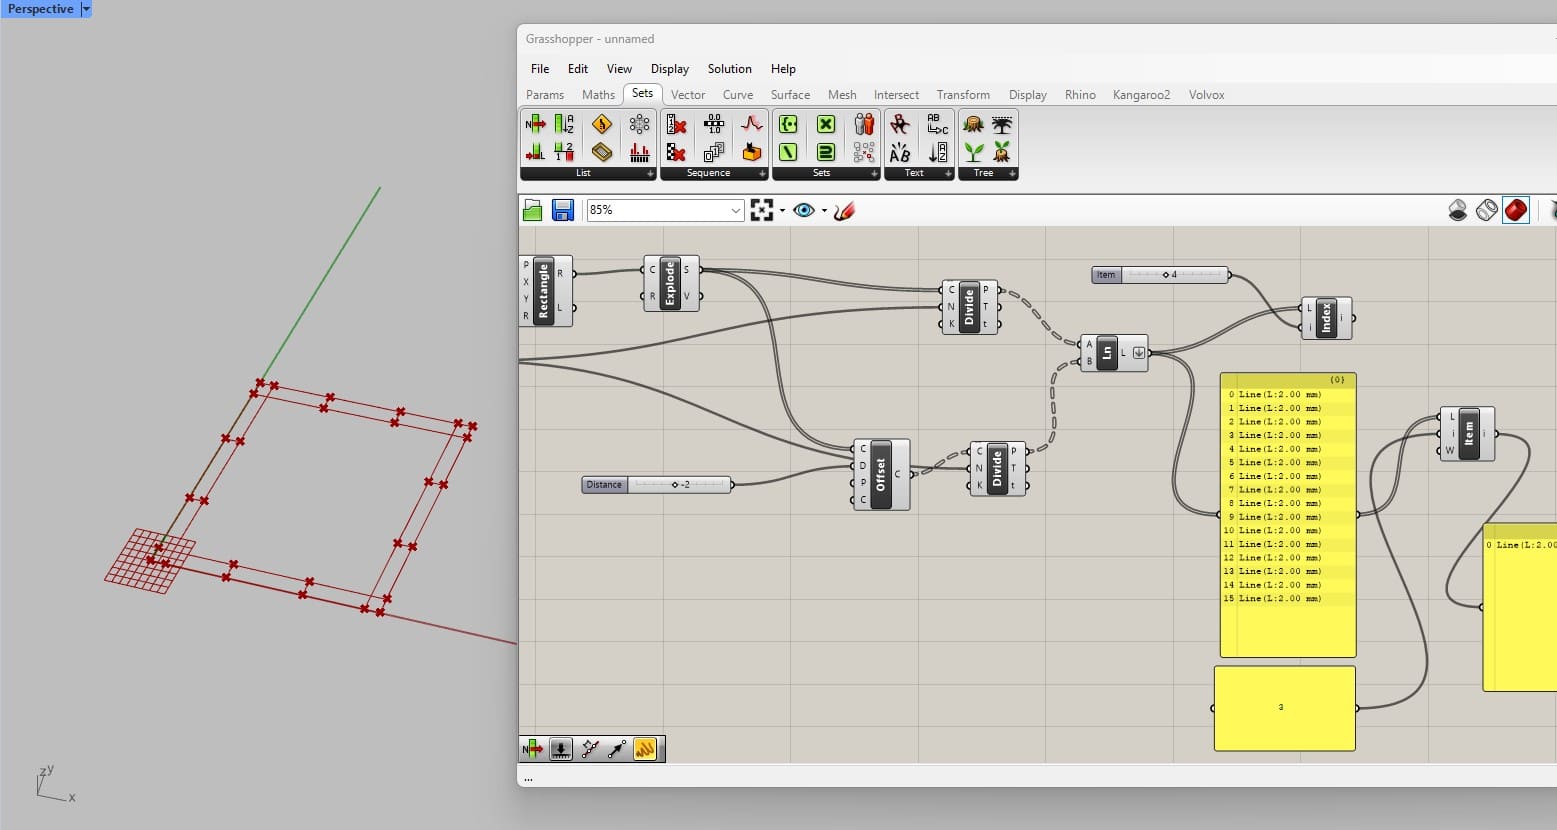
Created a series to select the indexes I wanted and grab those elements from the lists.
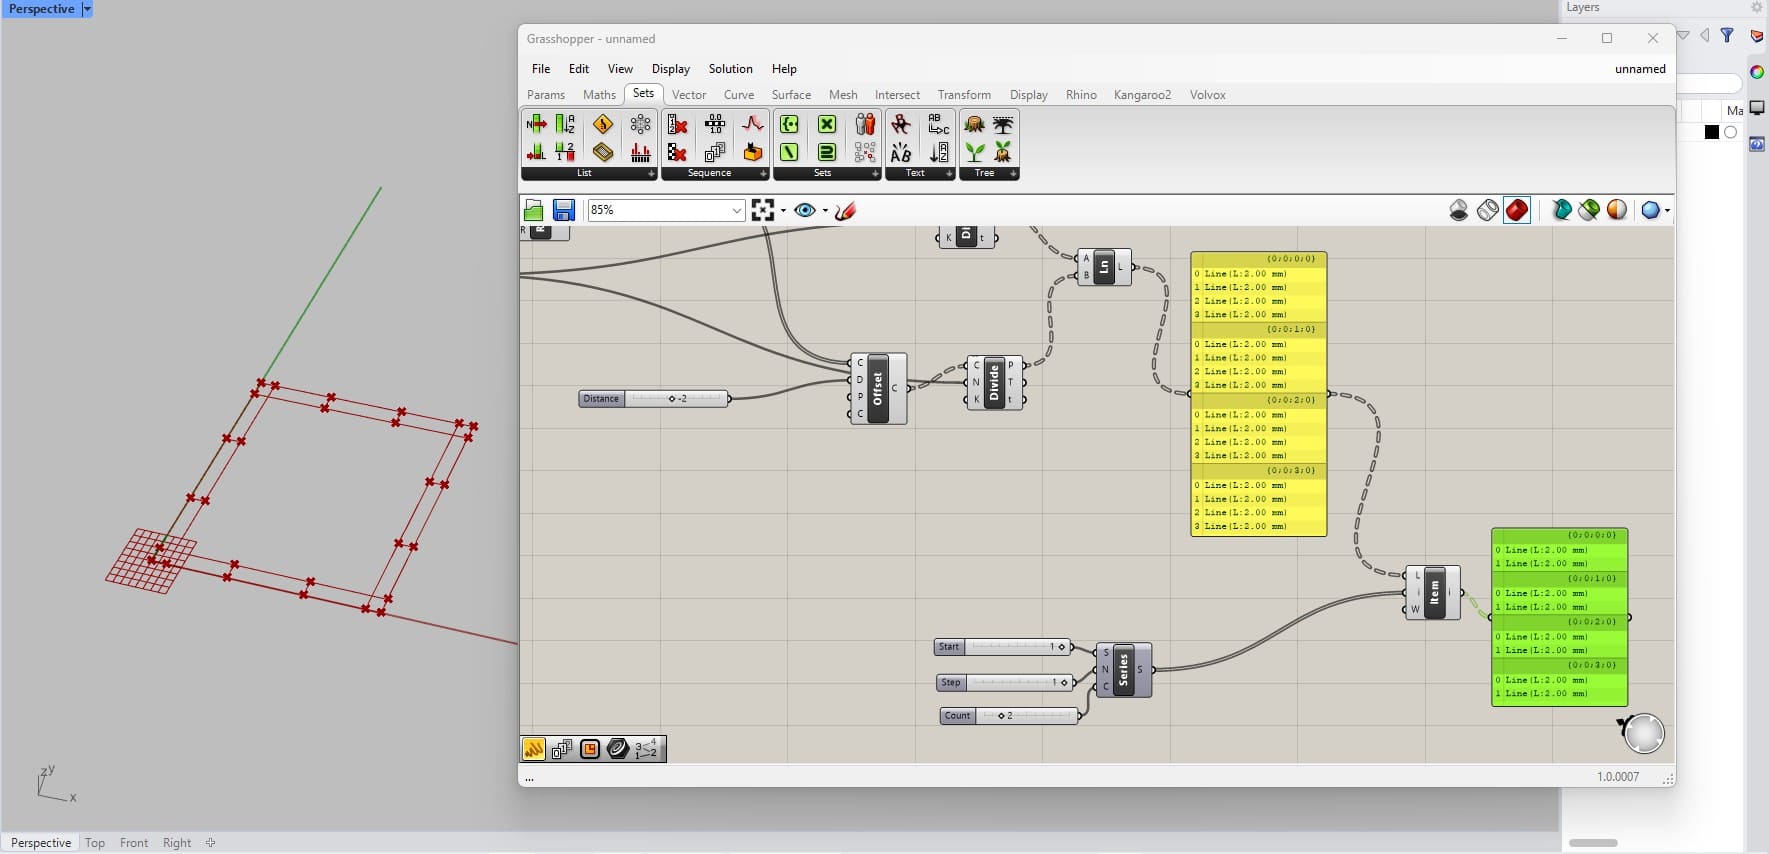
Done, selected only those.
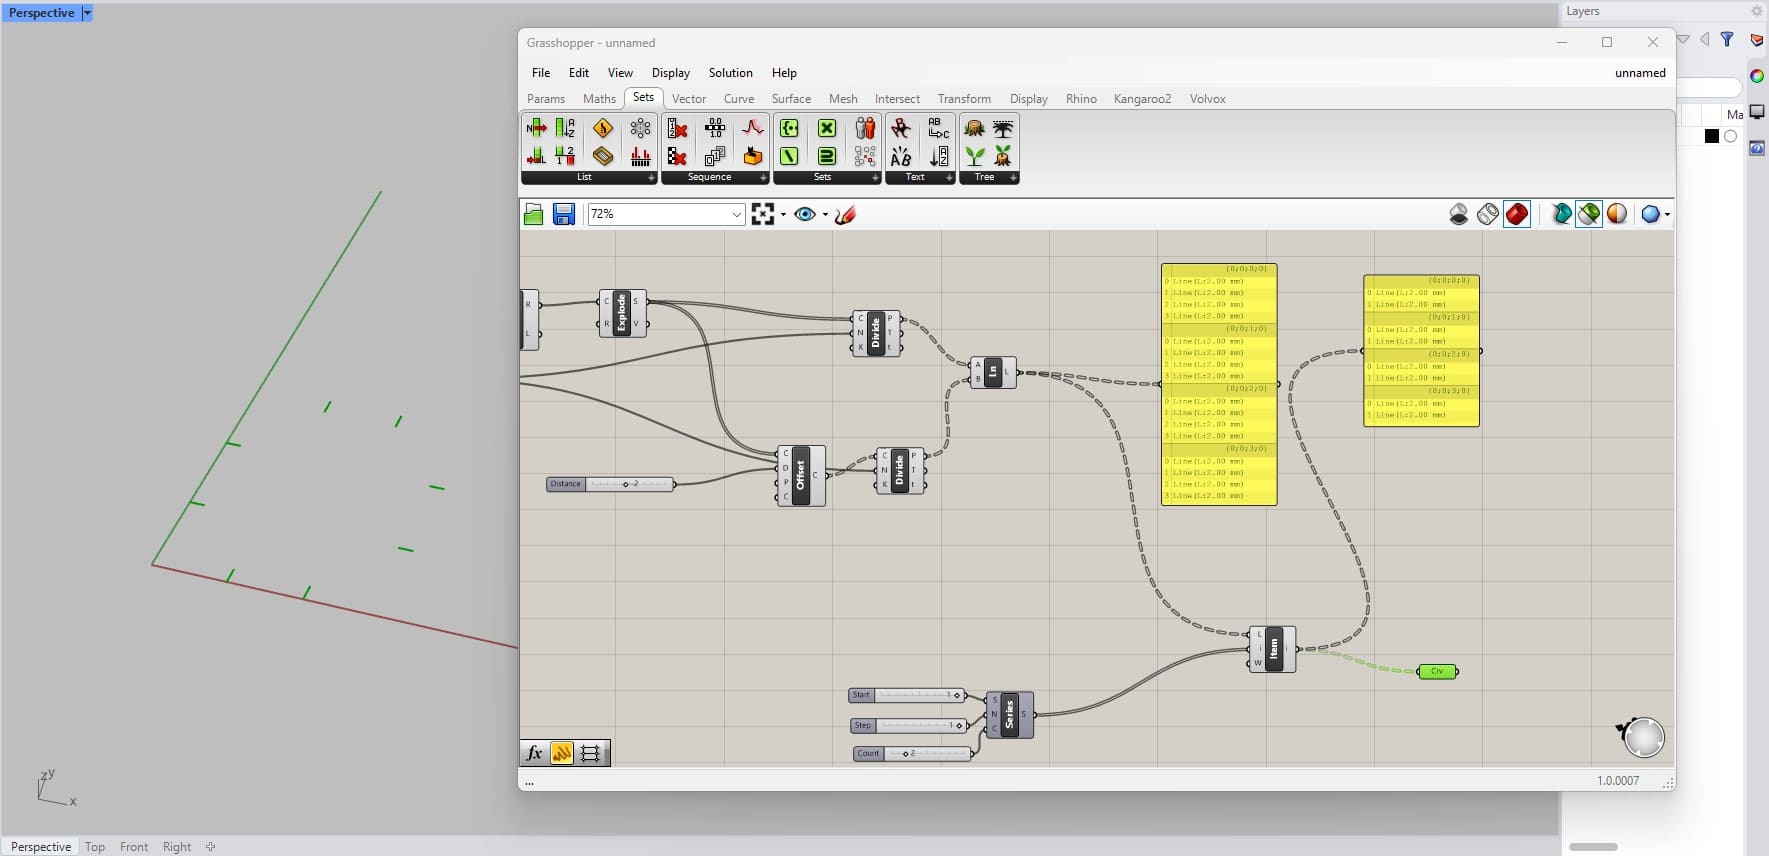
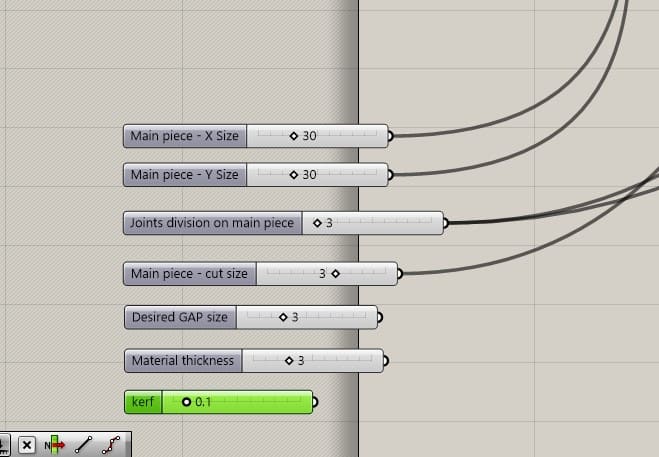
Organized the inputs. Now created offsets on each side taking into consideration the inputs (thickness and kerf included).
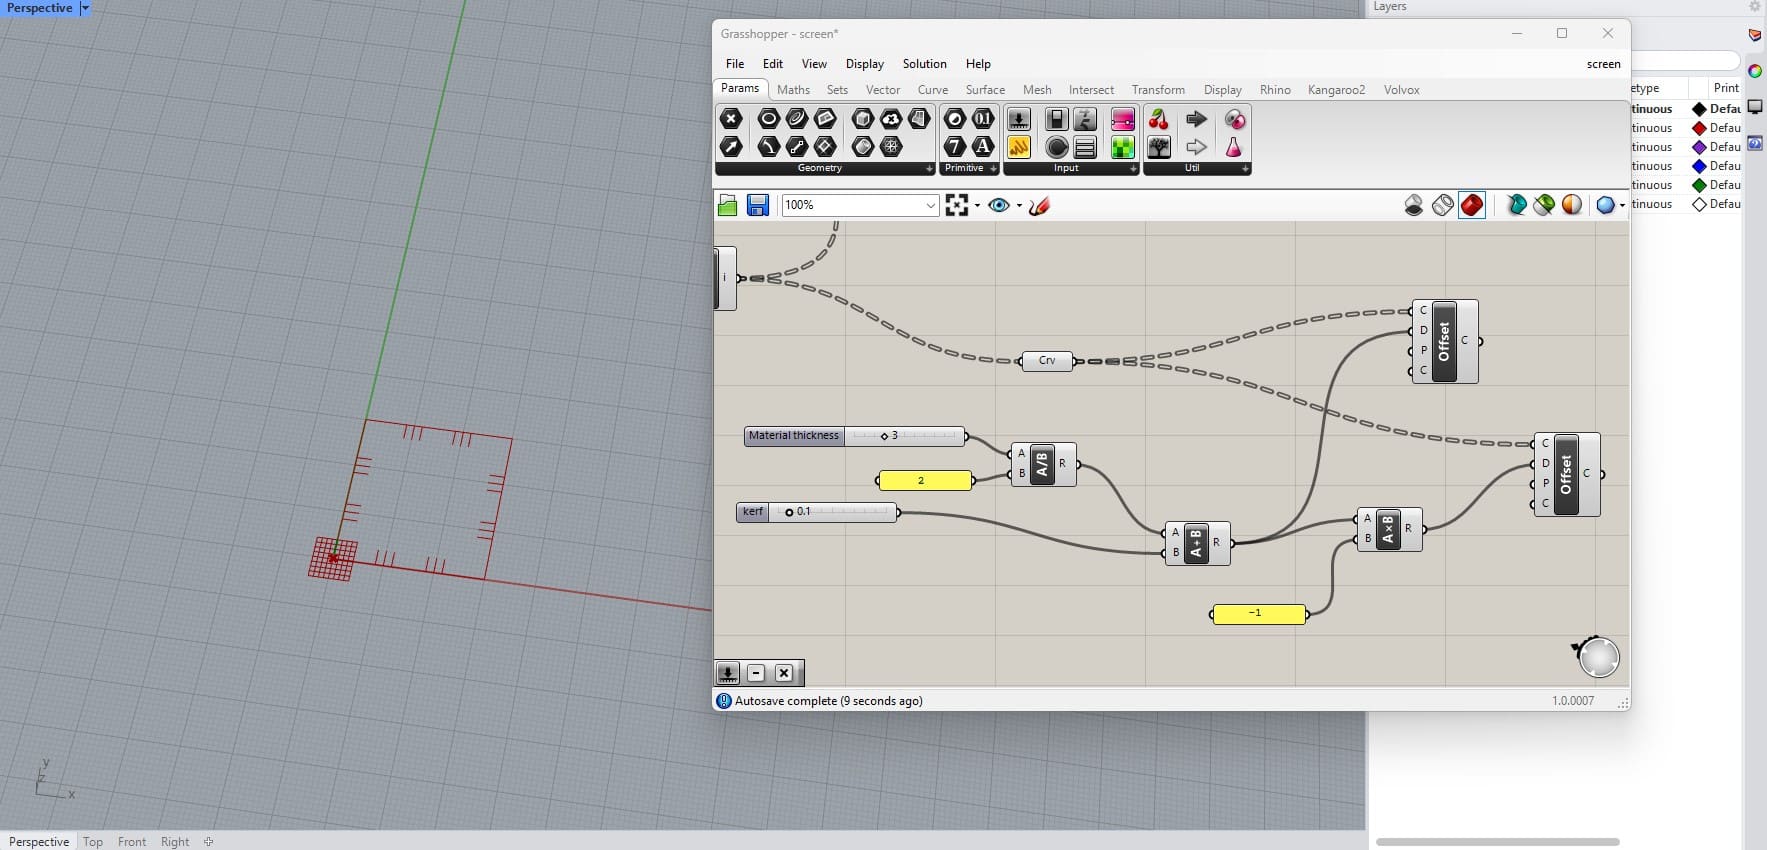
With series again, selected the inner points to create a line for the end of my joint line.
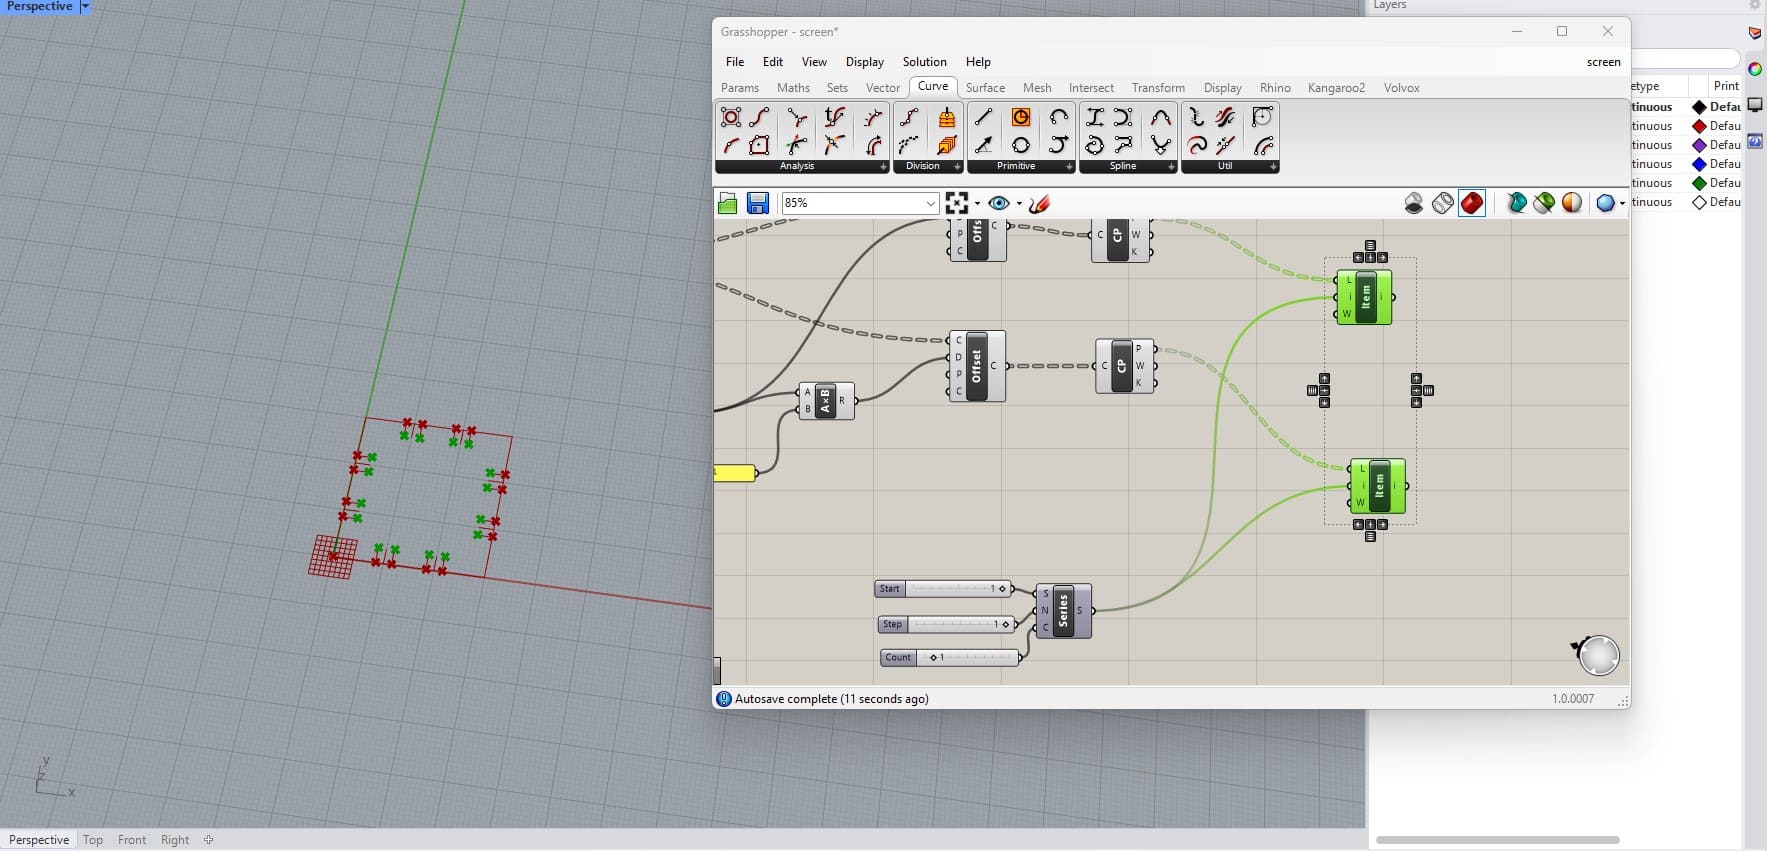
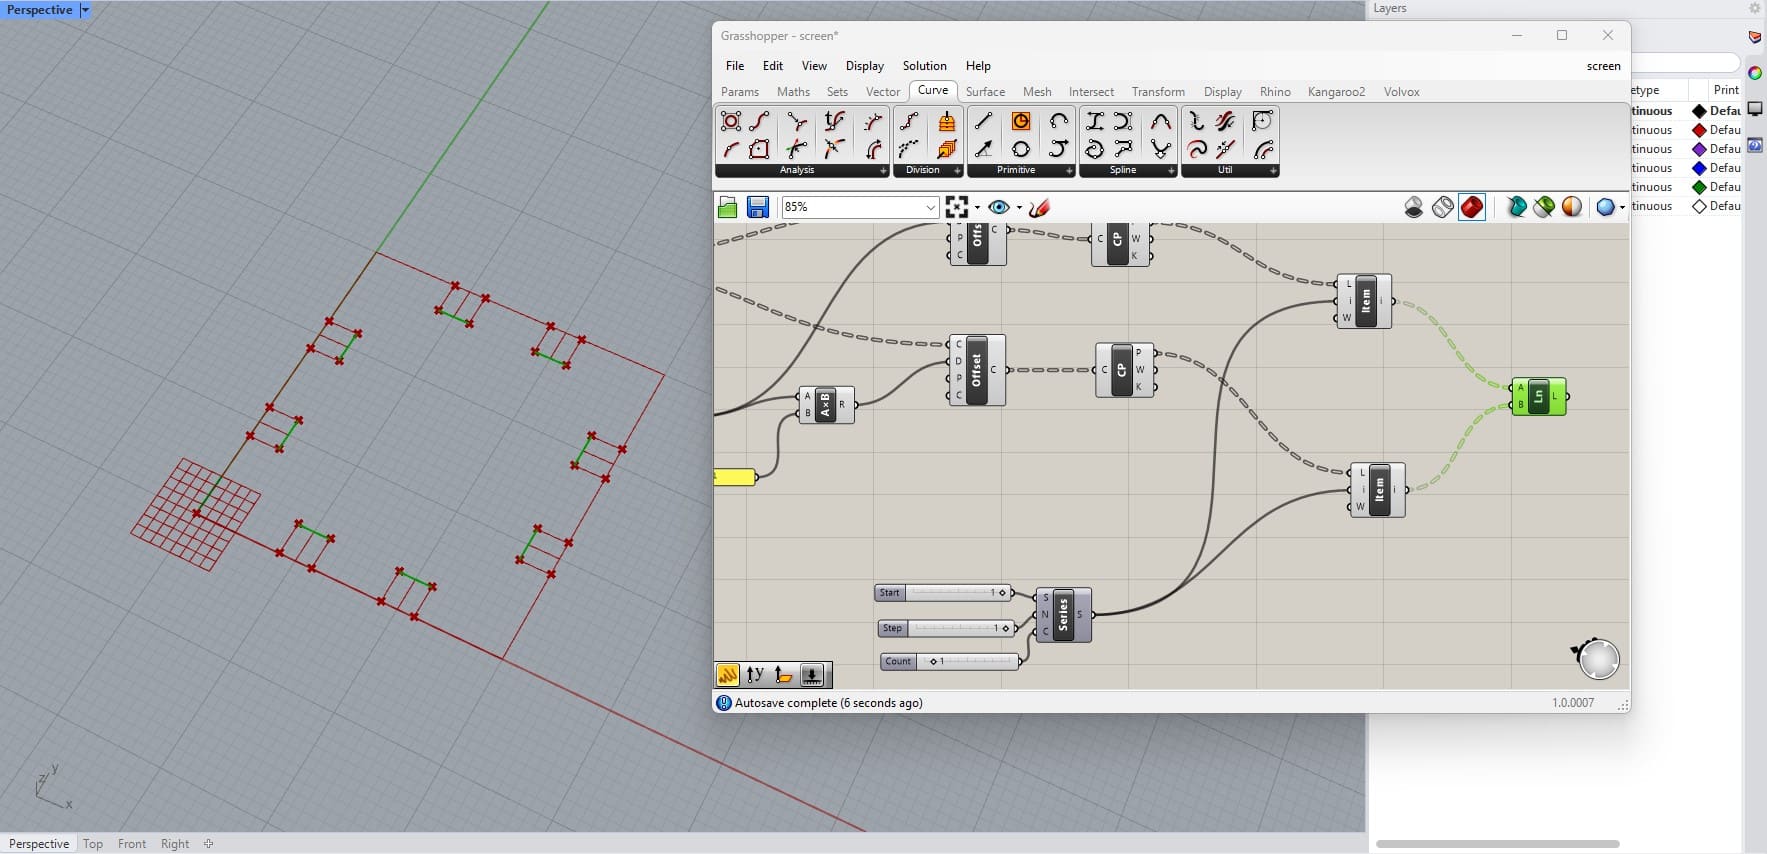
Selected the outer points so that I could trim the perimeter.
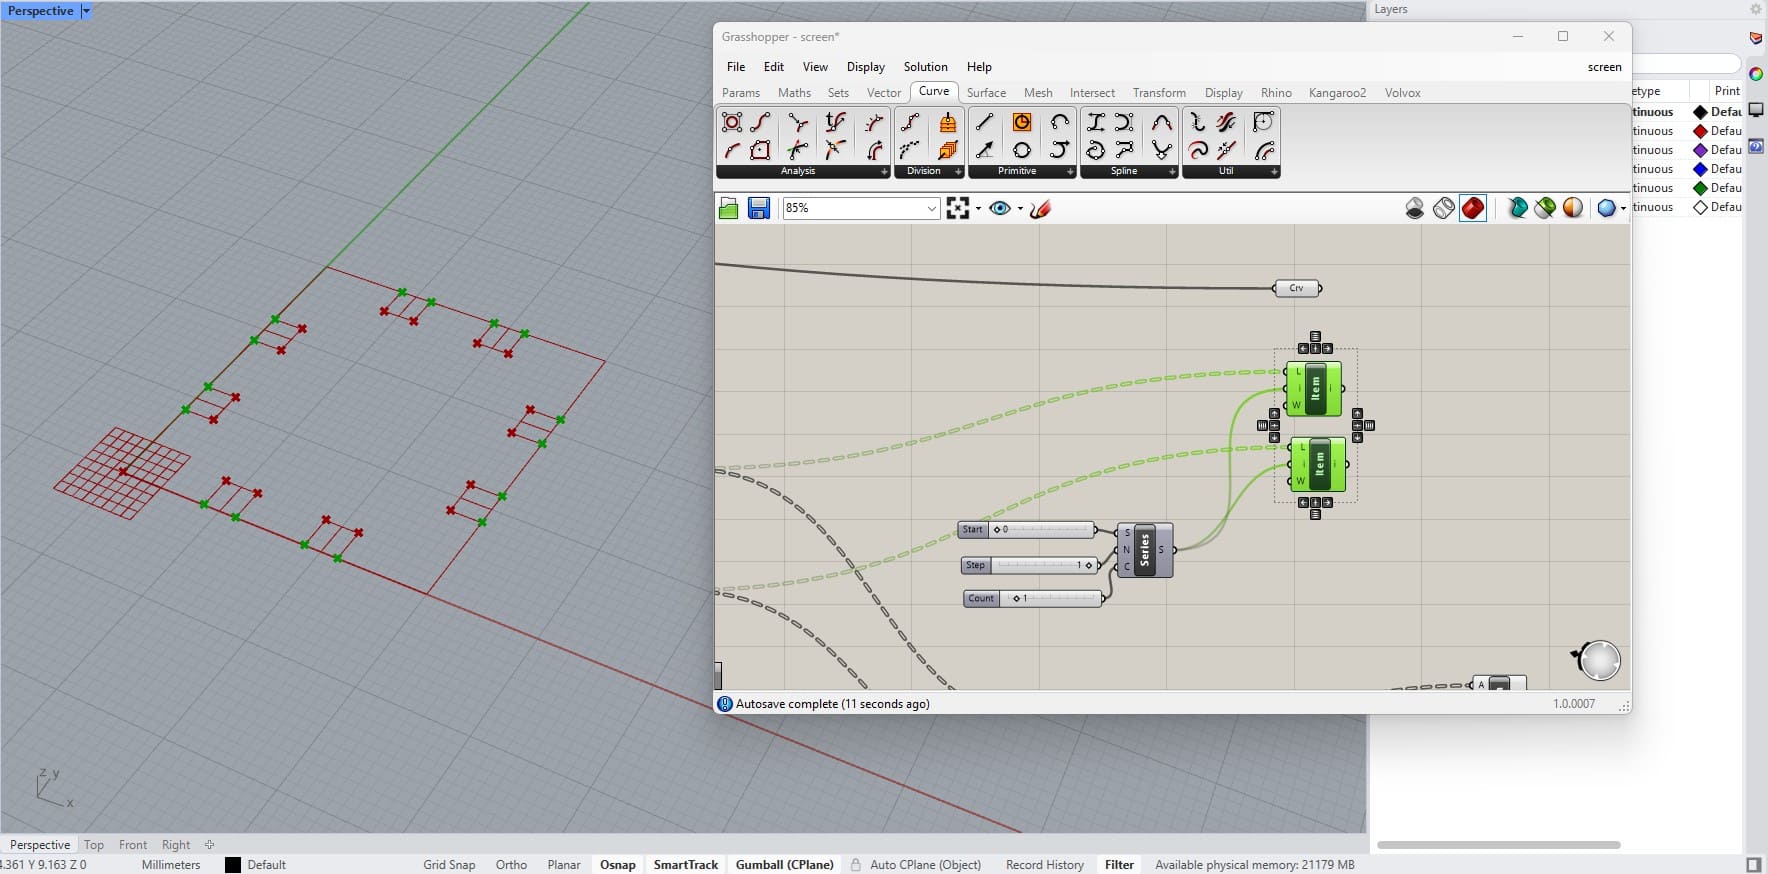
Used the shatter command to cut the perimeter lines and series to select the lines I wanted.
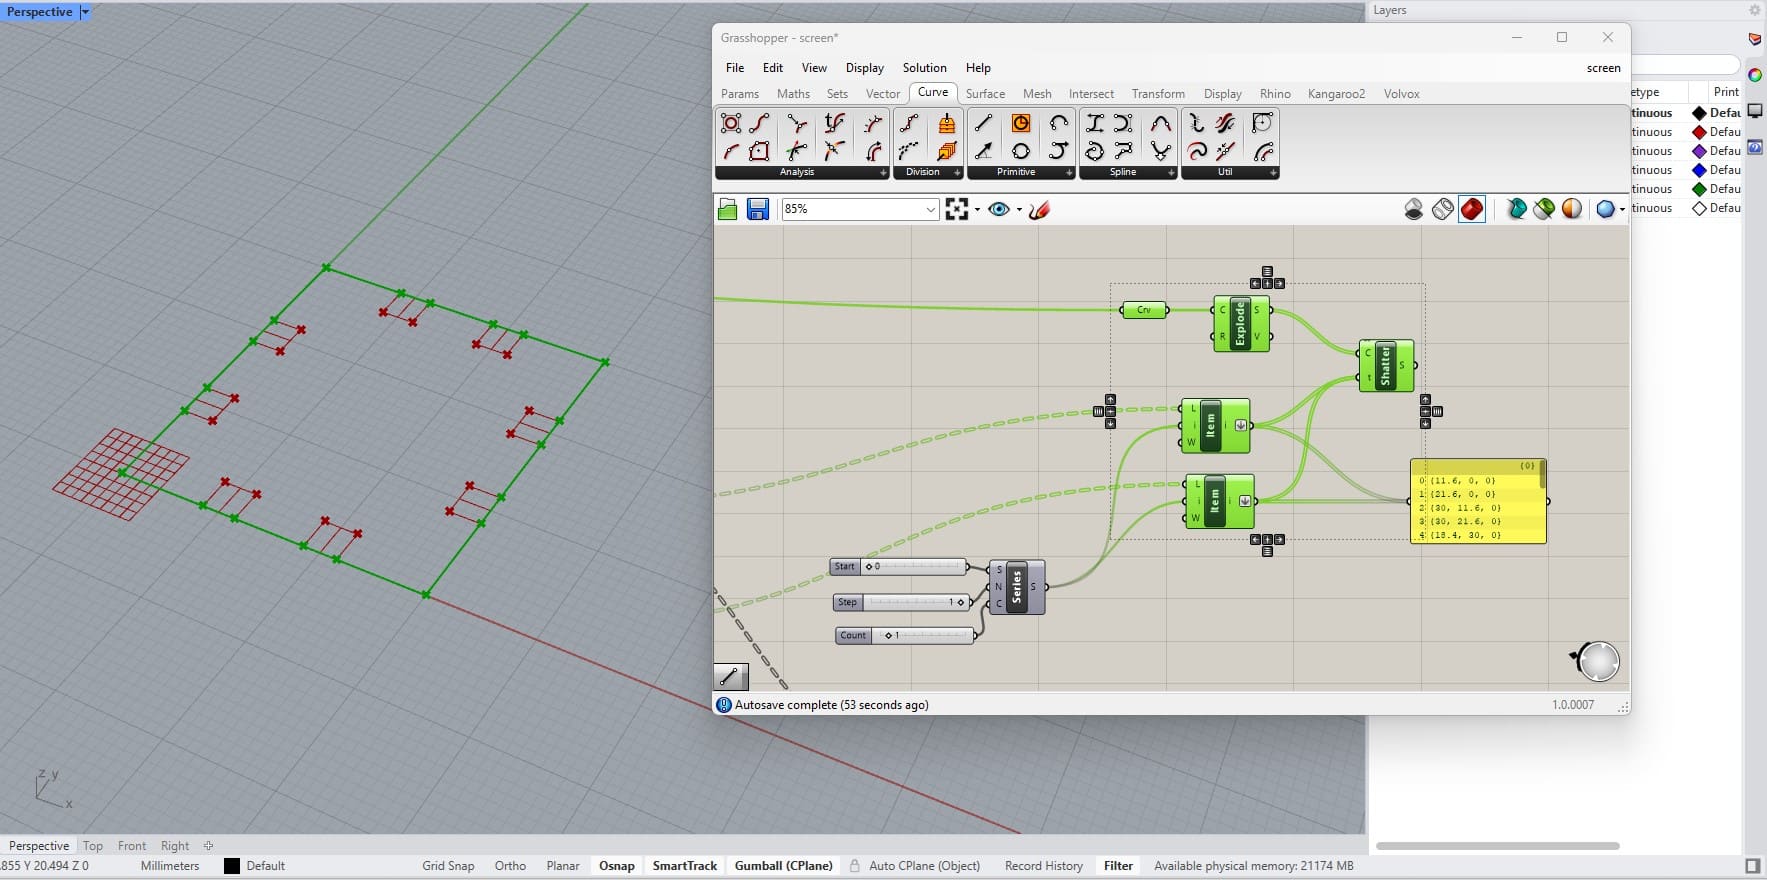
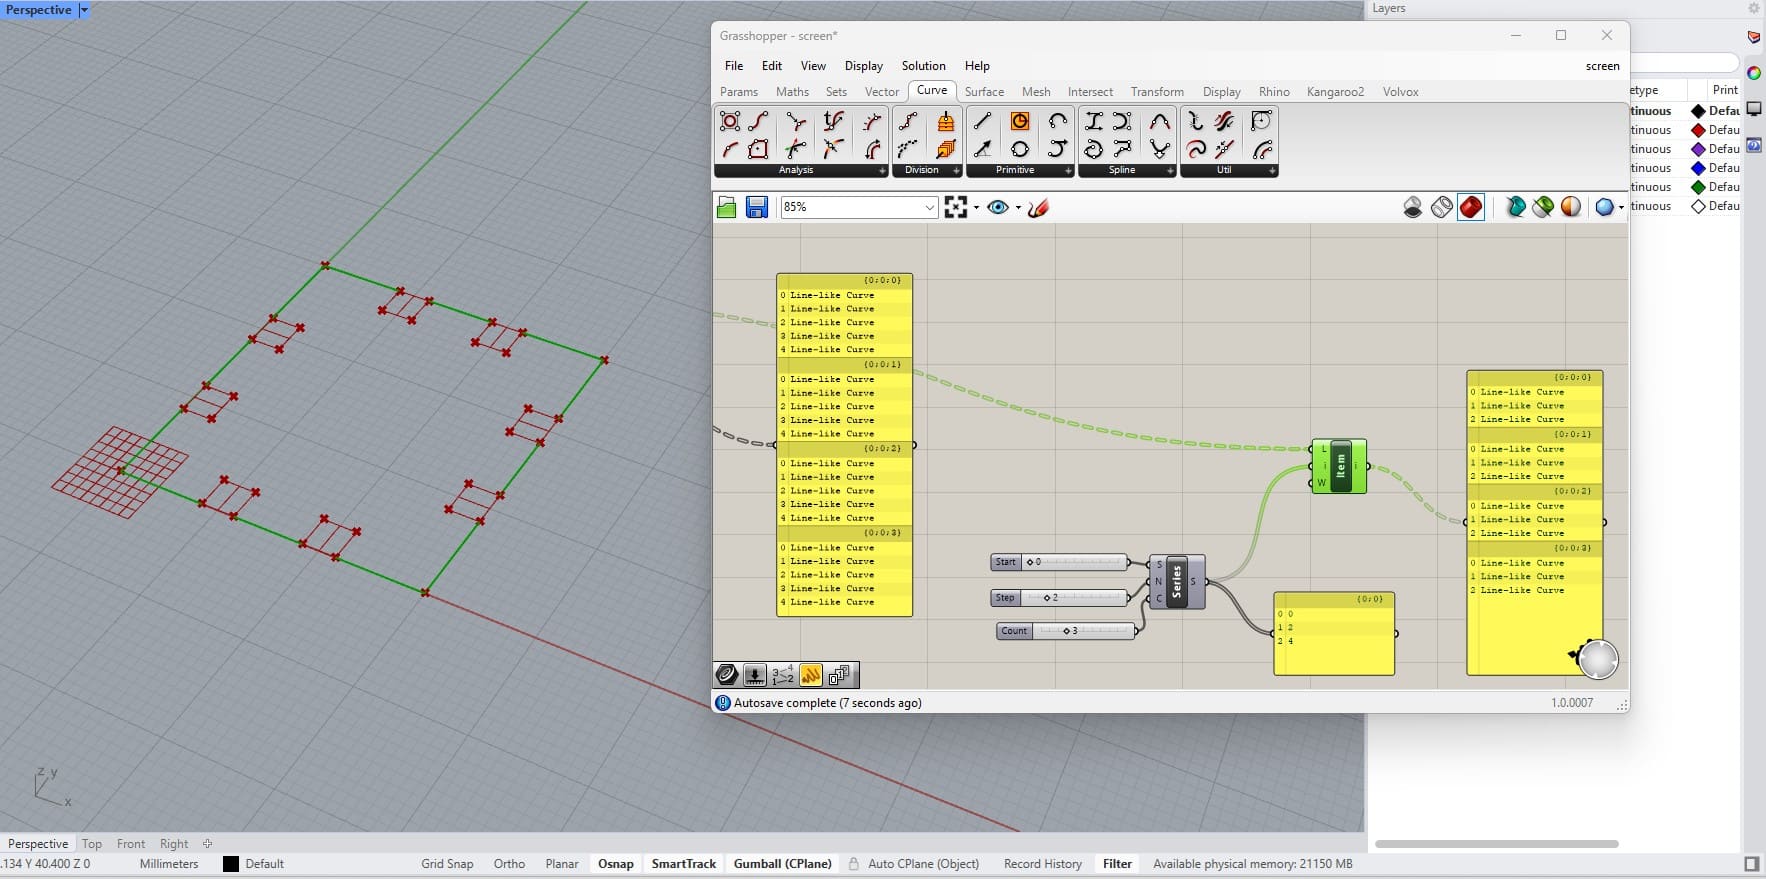
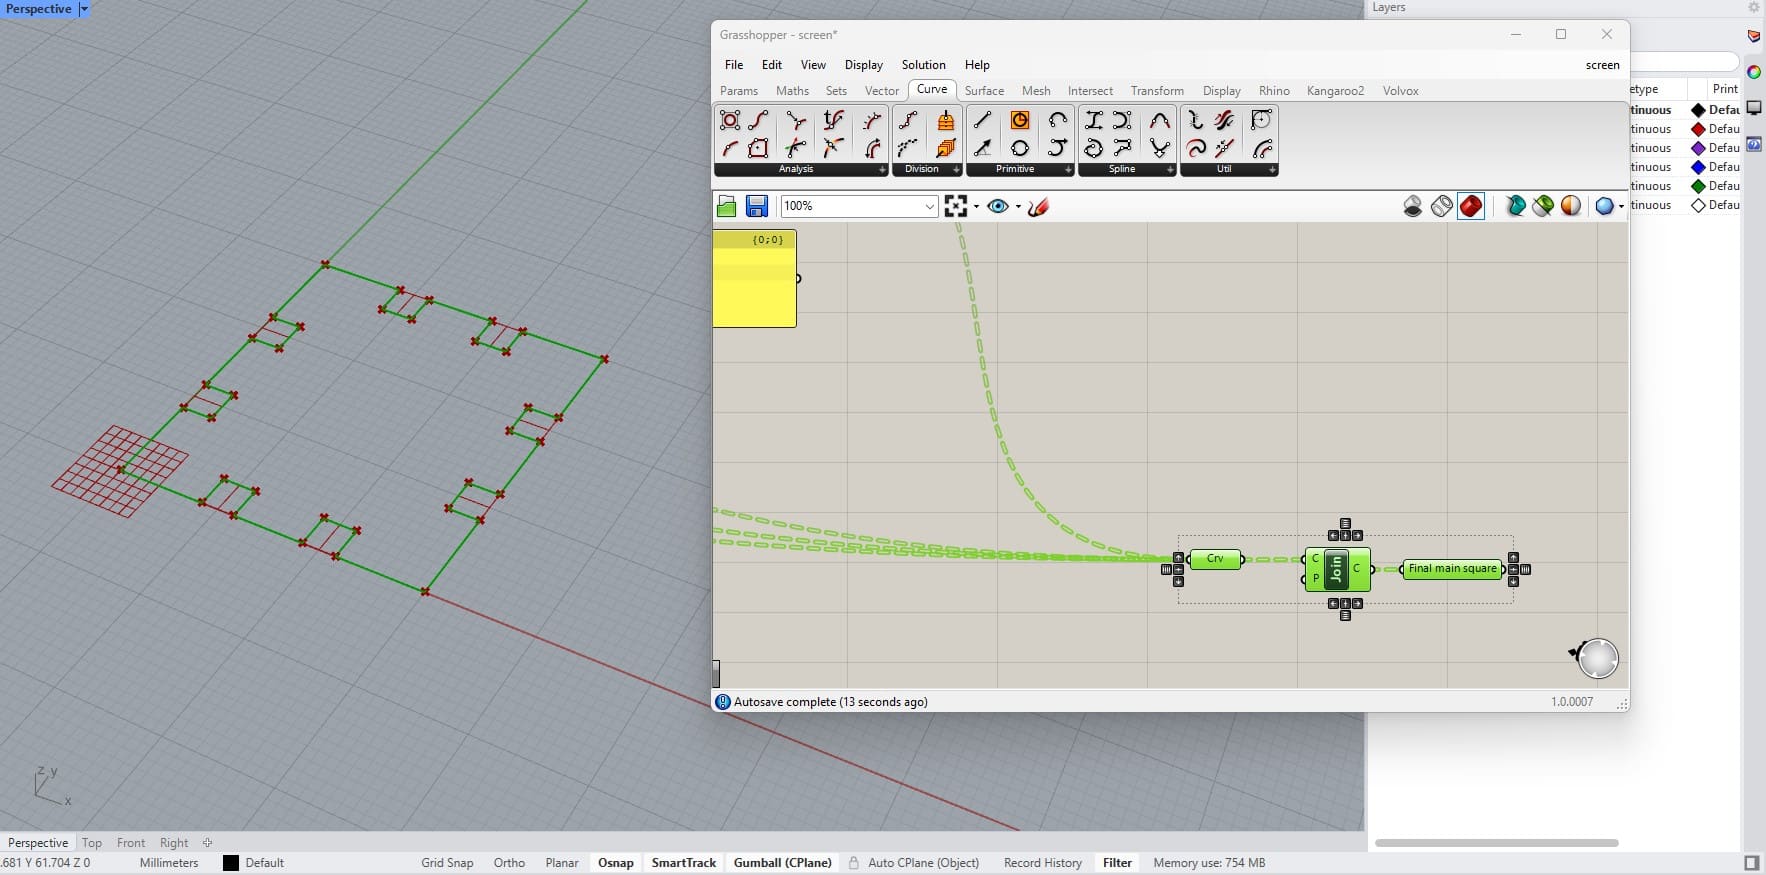
I joined the trimmed lines with the joint lines and filleted them all except for the inner joint lines. Then joined them all again.
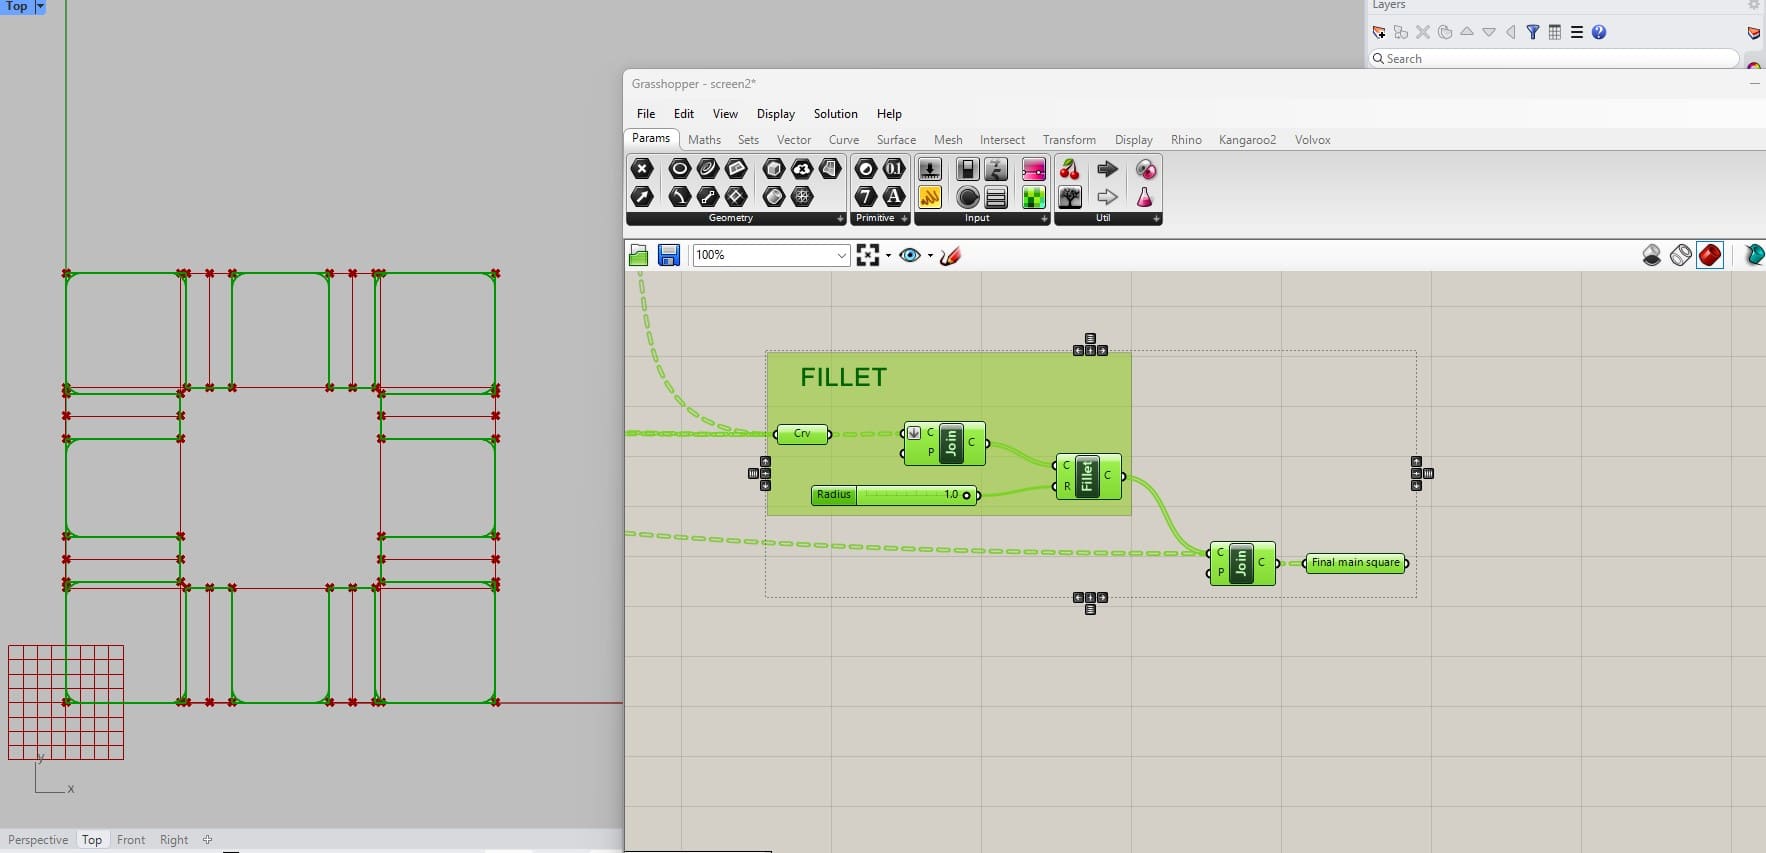
FILES:
CUTTING THE PIECES:
I assembled the pieces on Rhino, because this is the software connected to our printers.
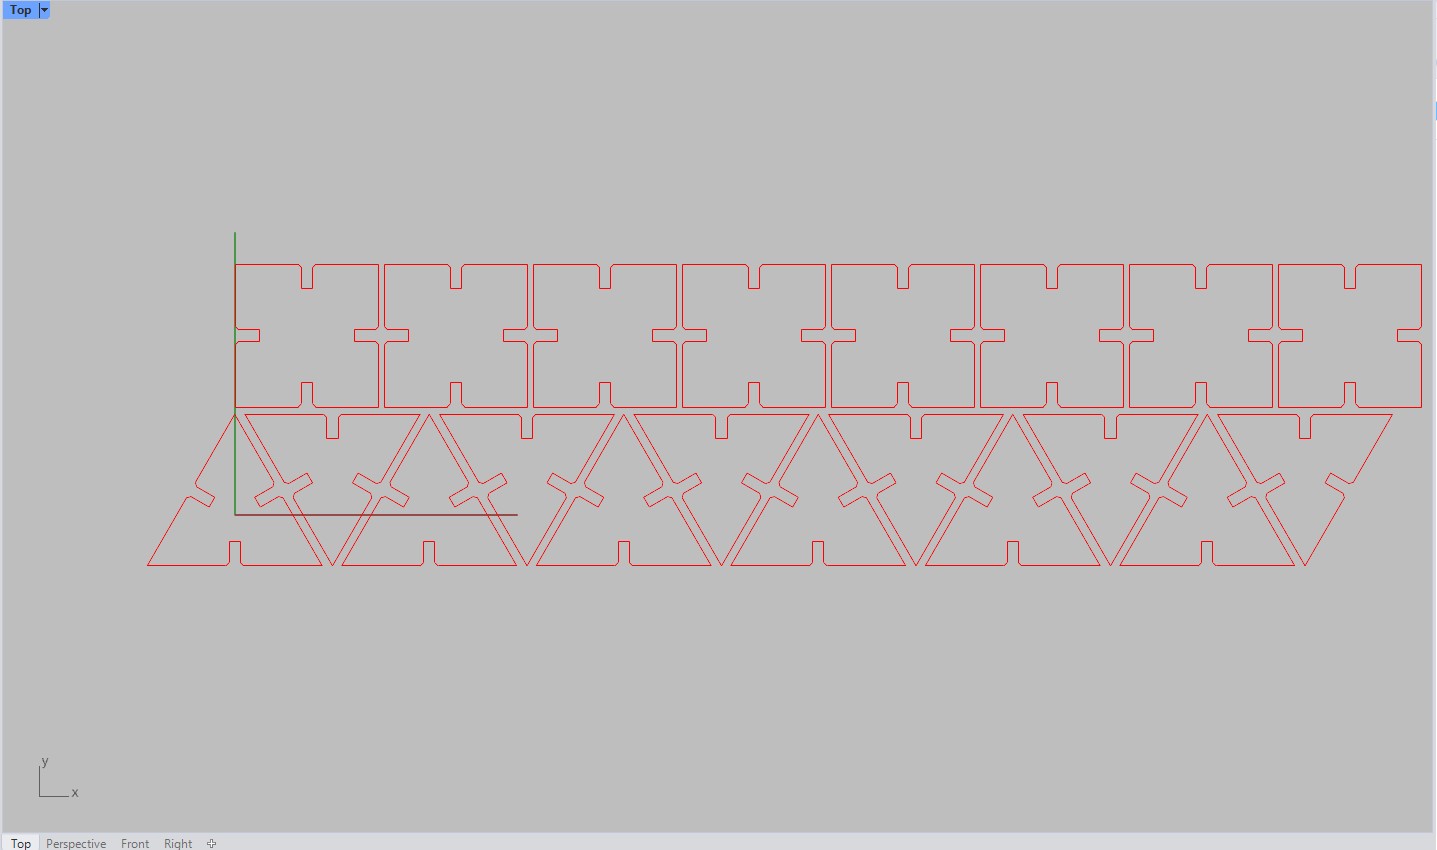

For the kerf value, I followed the tests we did in our group assignment, because I used the same cardboards (see here).
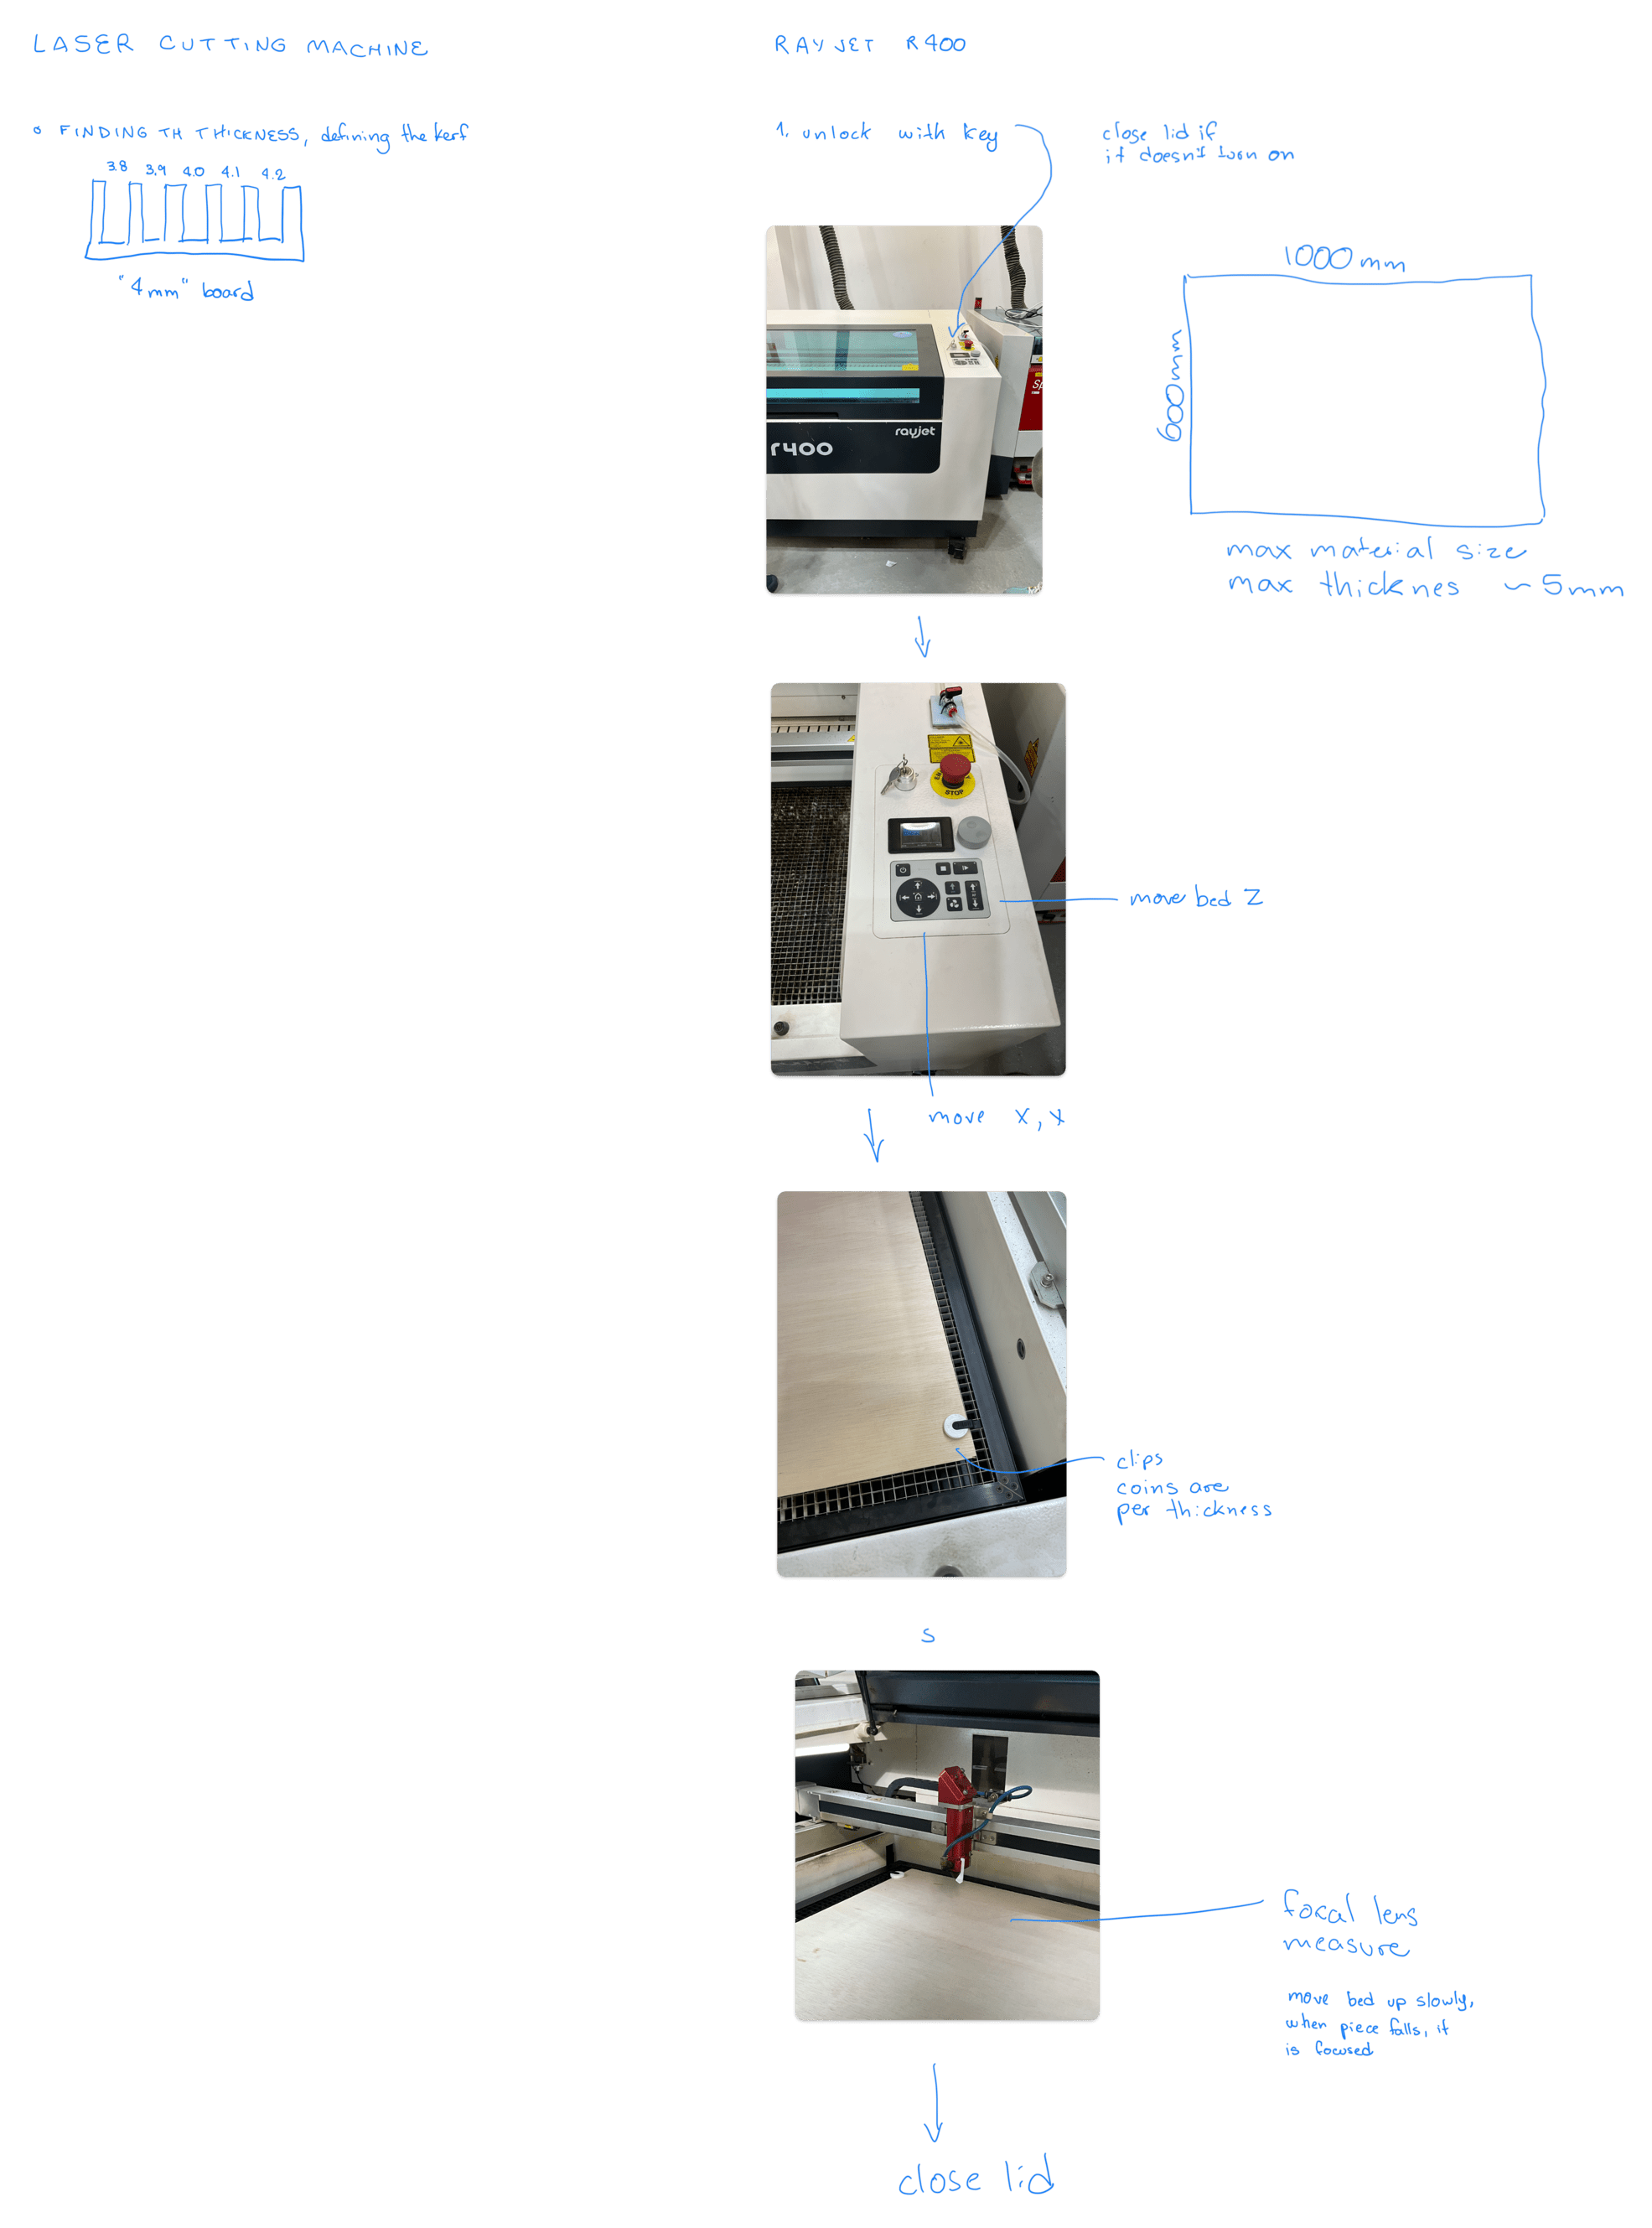
I set up the machine following these steps:
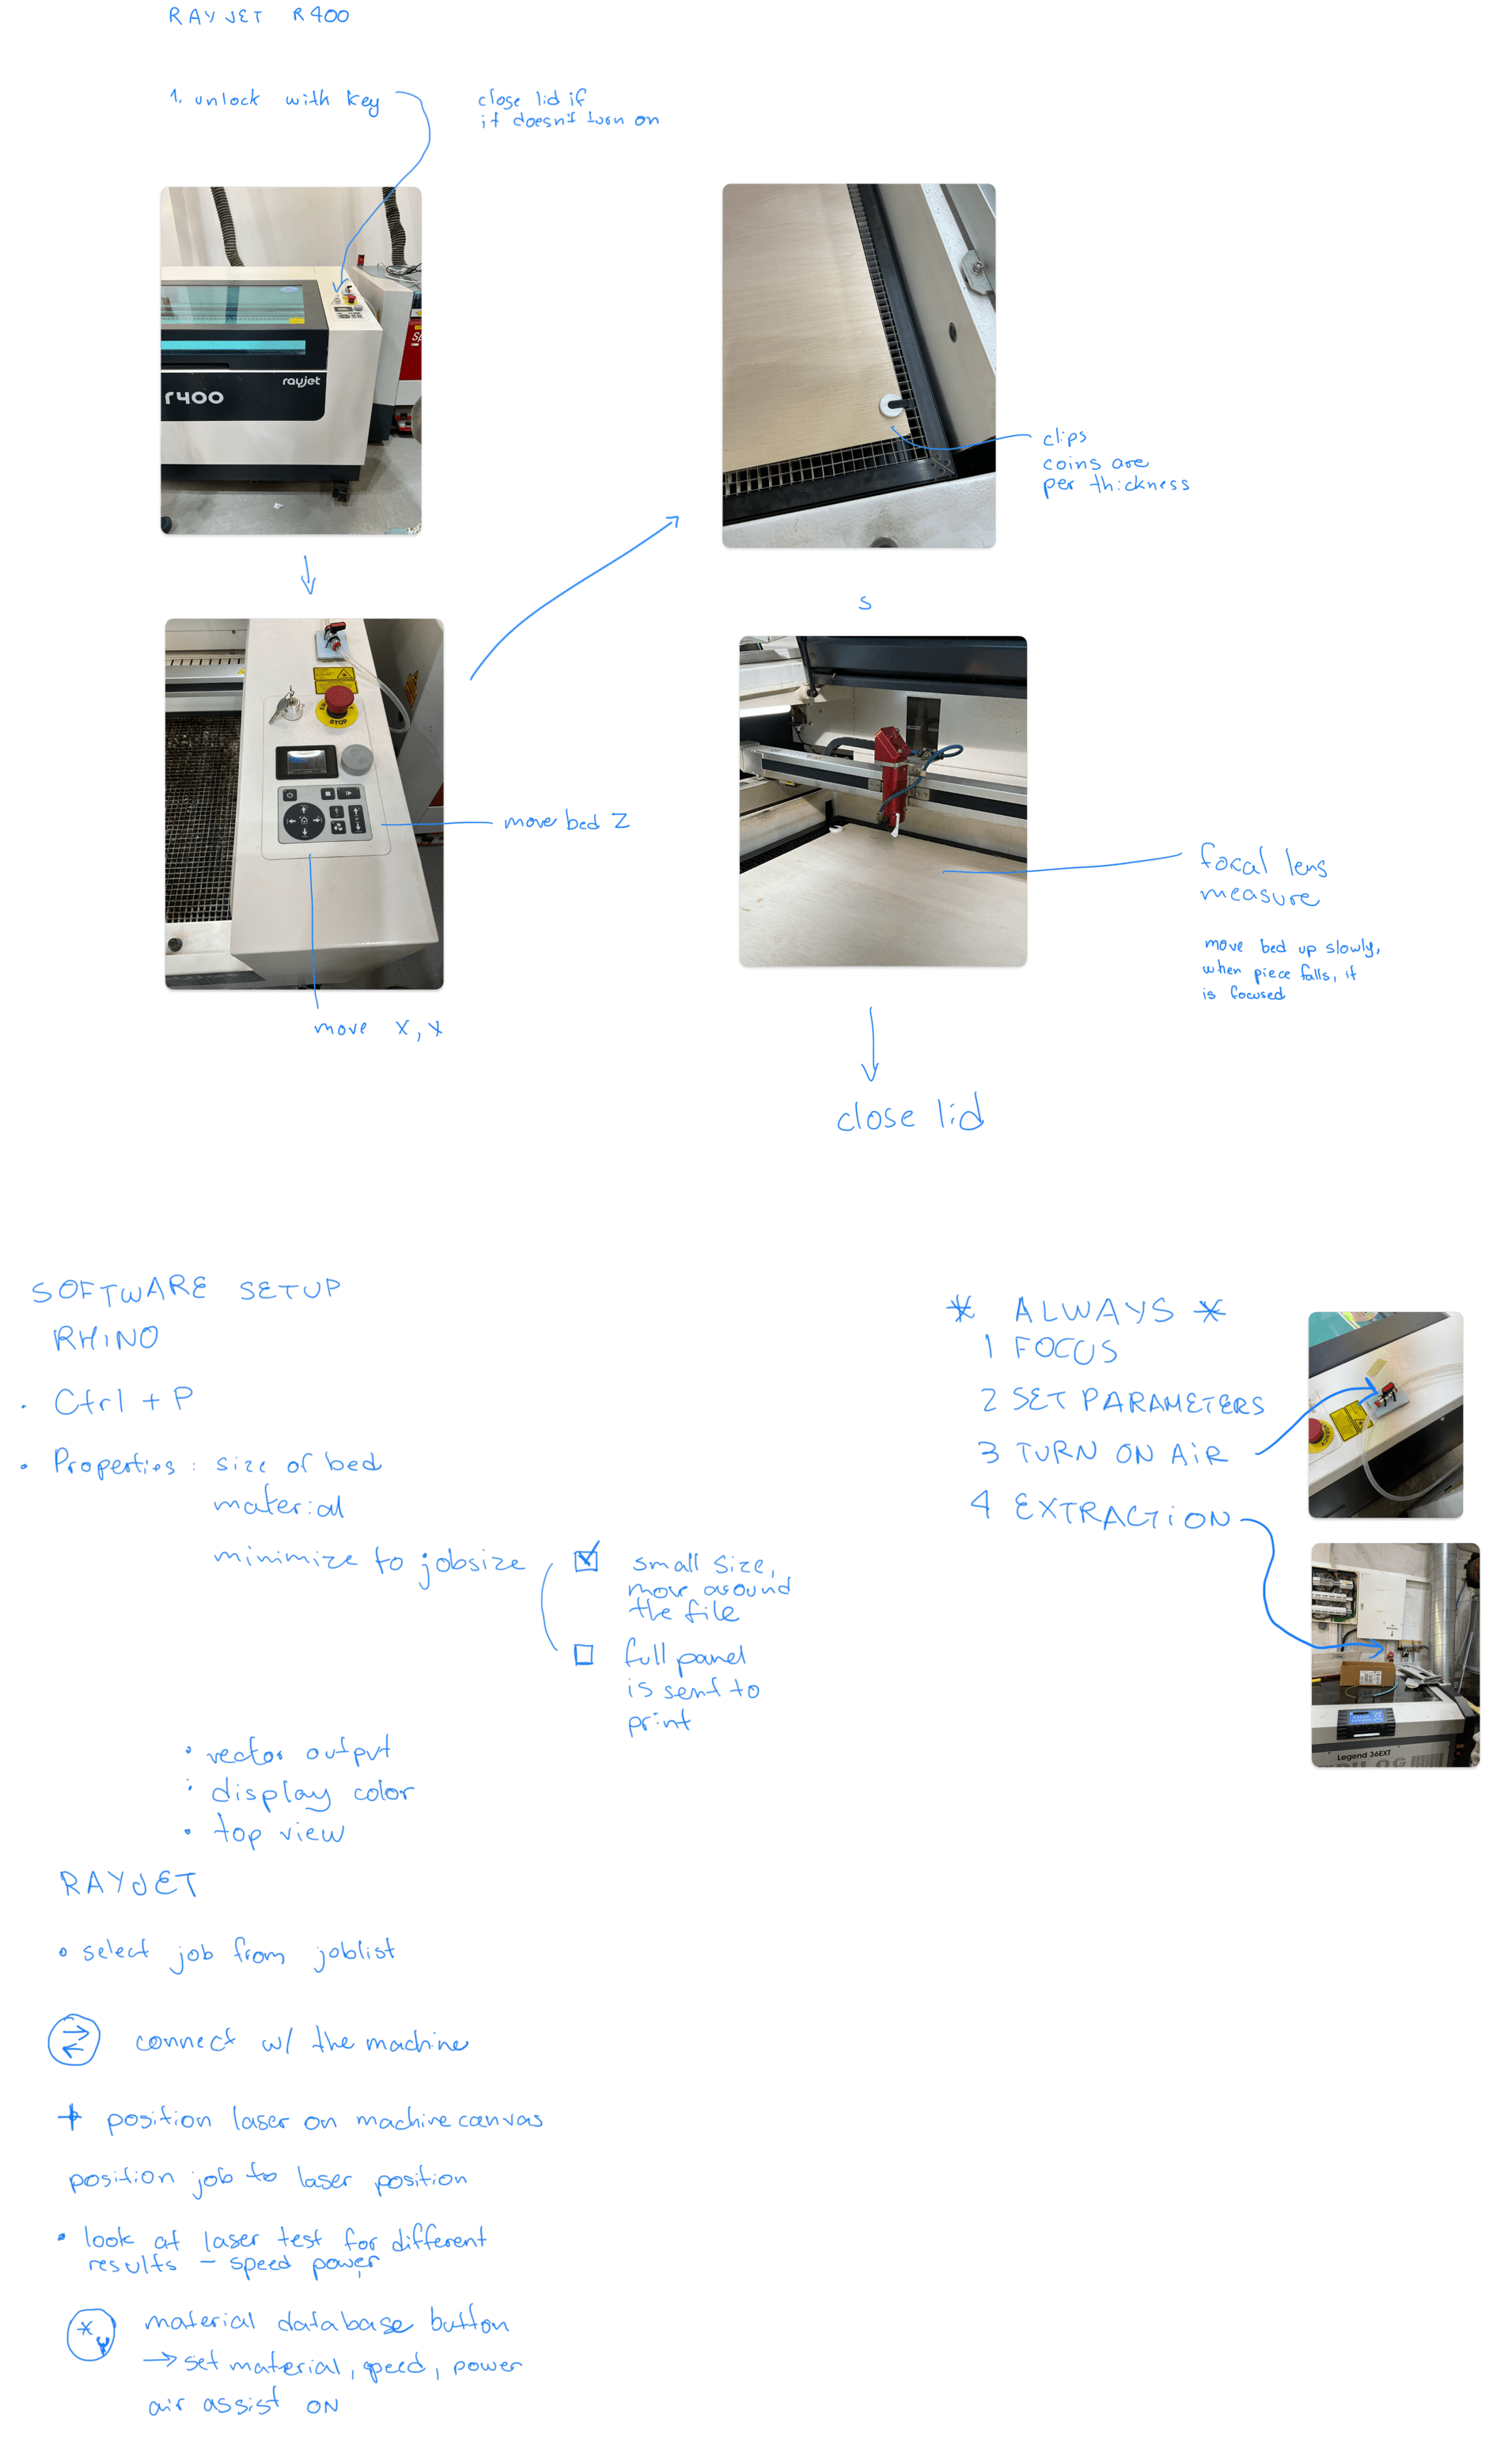
For the cardboard pieces, I followed our lab's sample's speed, power and rate parameters to cut:


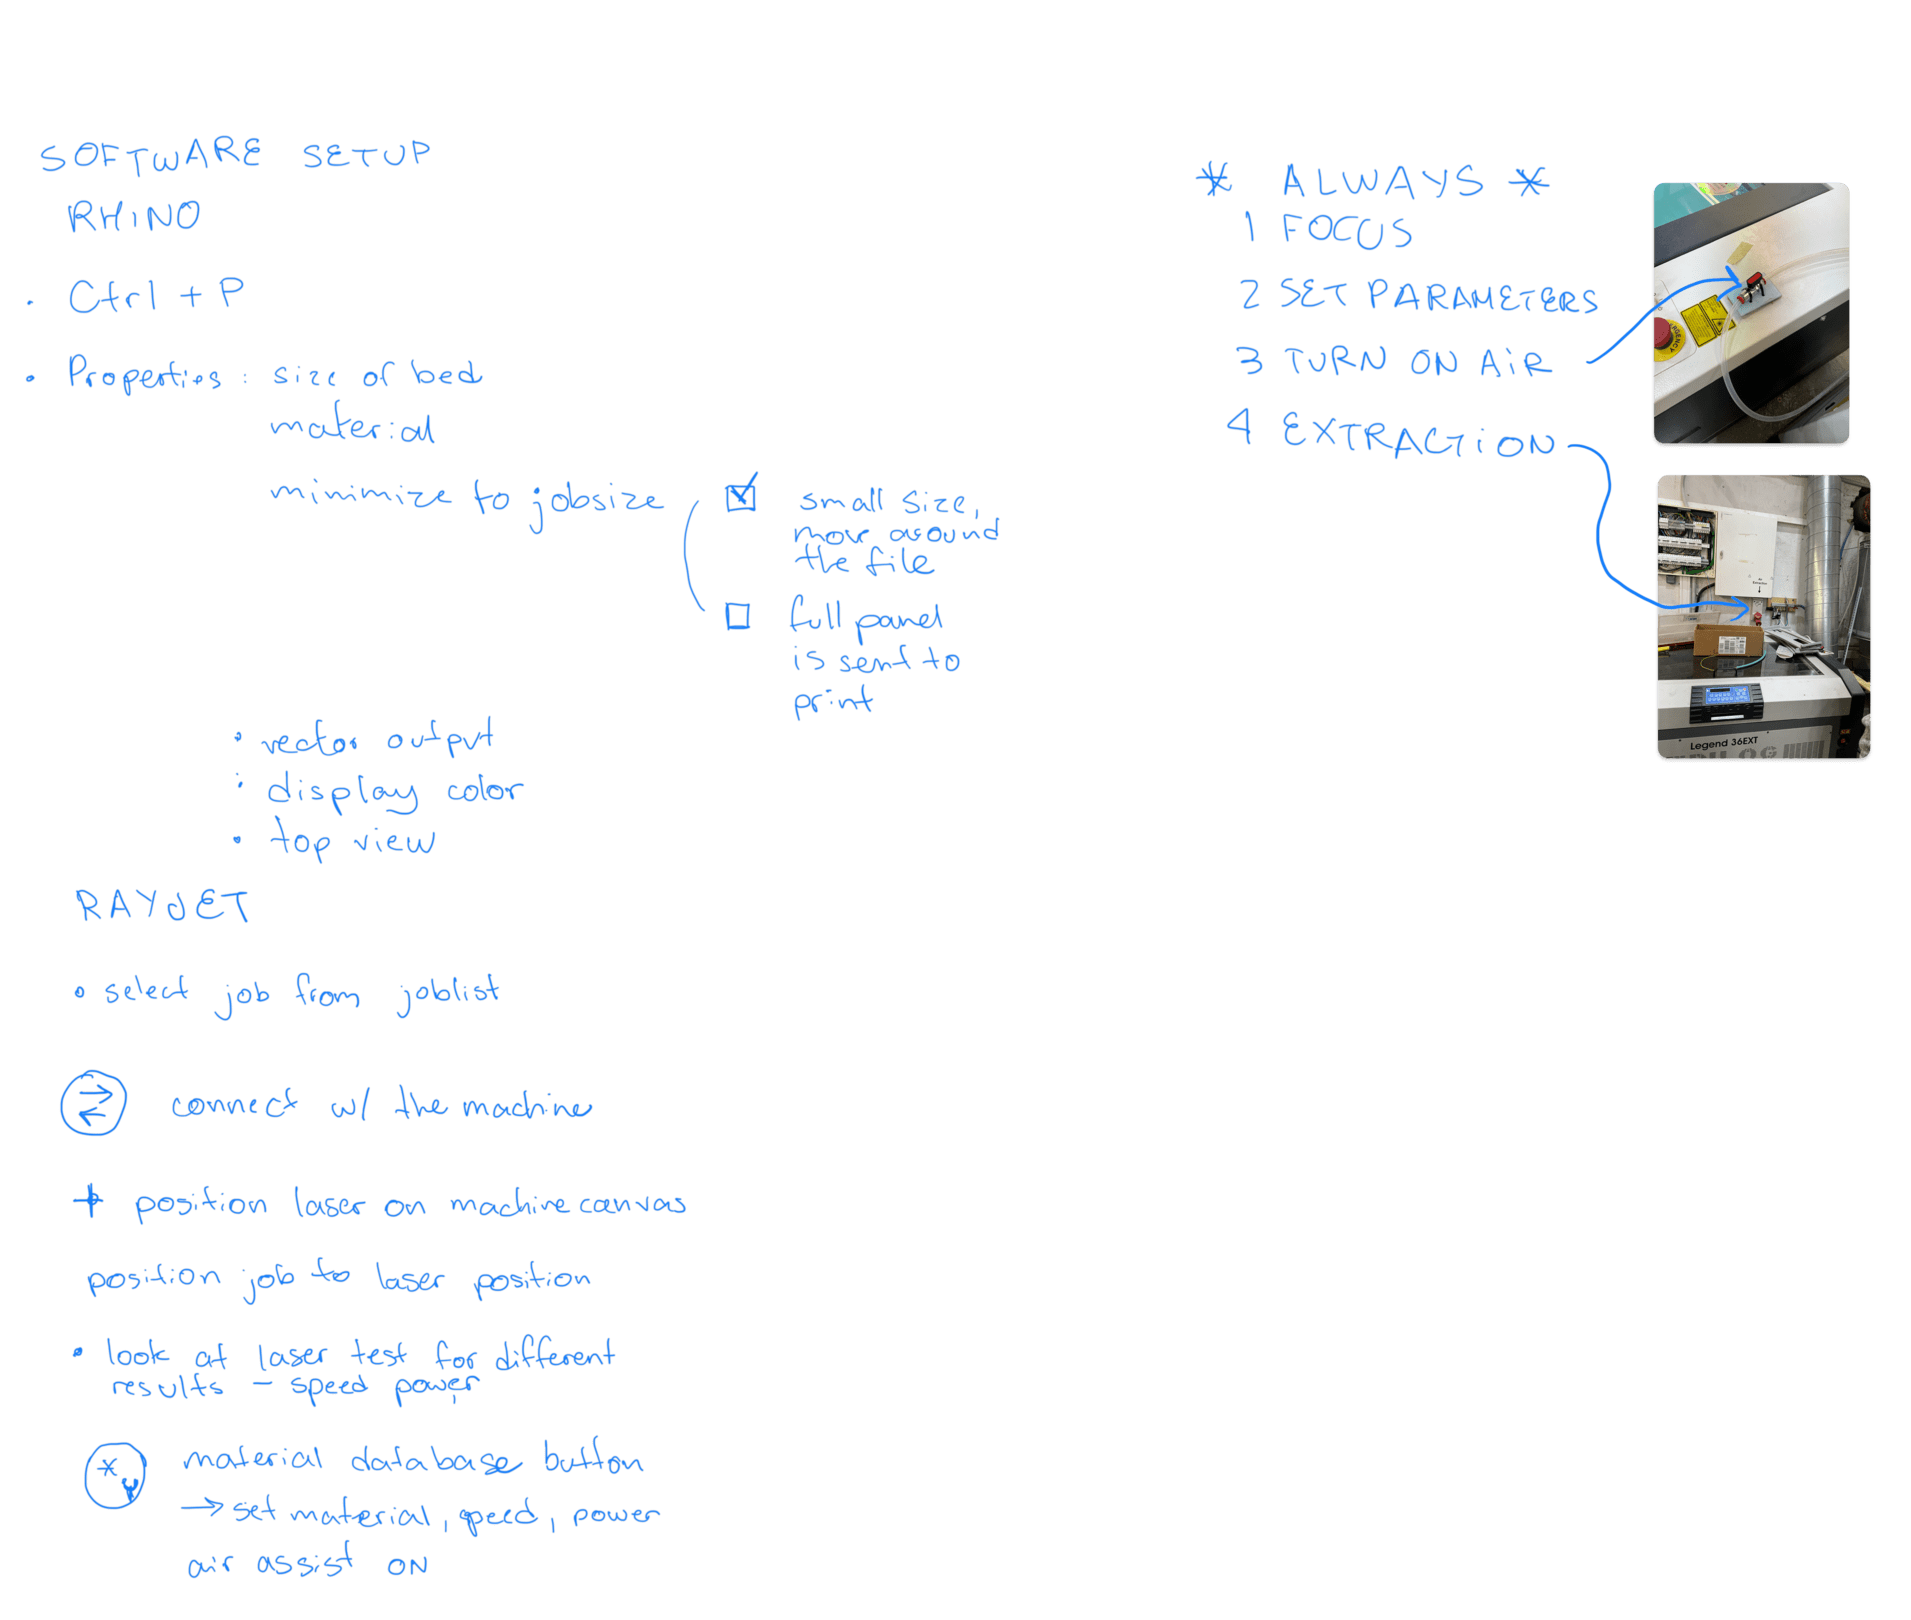
Then set these numbers to the material parametersof the laser cutter software. Then arranged the job on the sheet and pressed play.

RESULT:
The Fusion piece allowed me a few combinations:


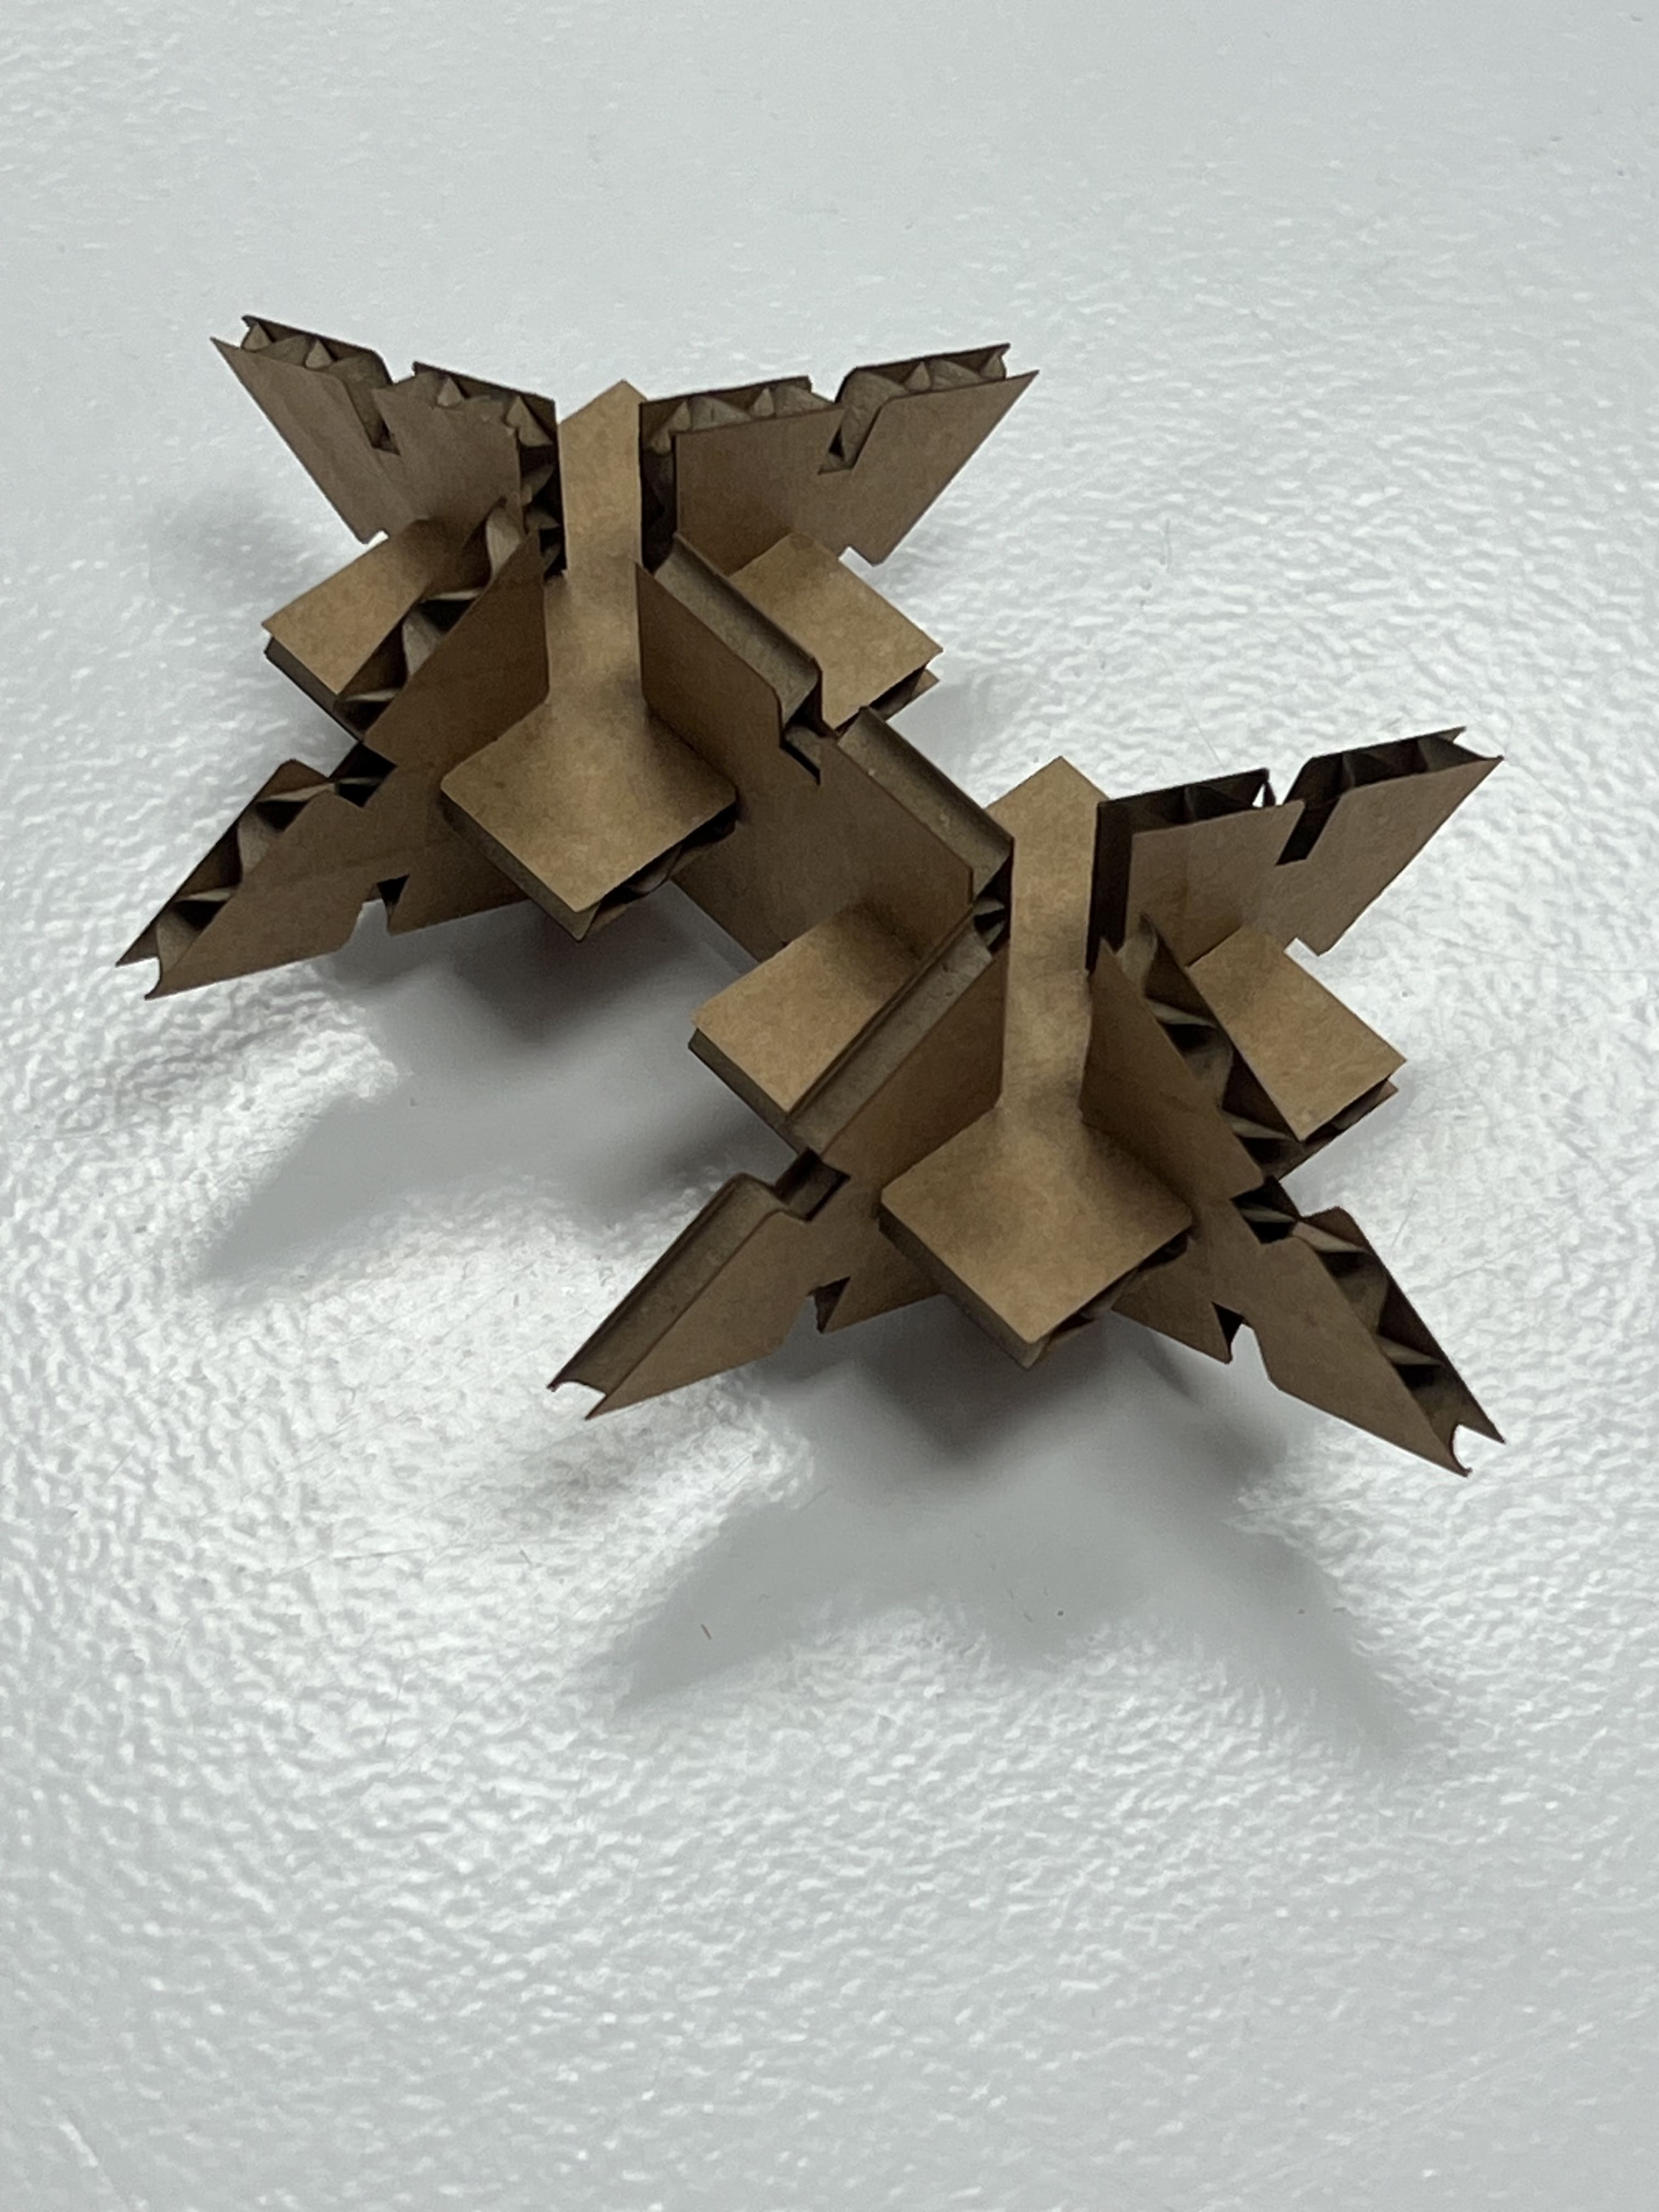

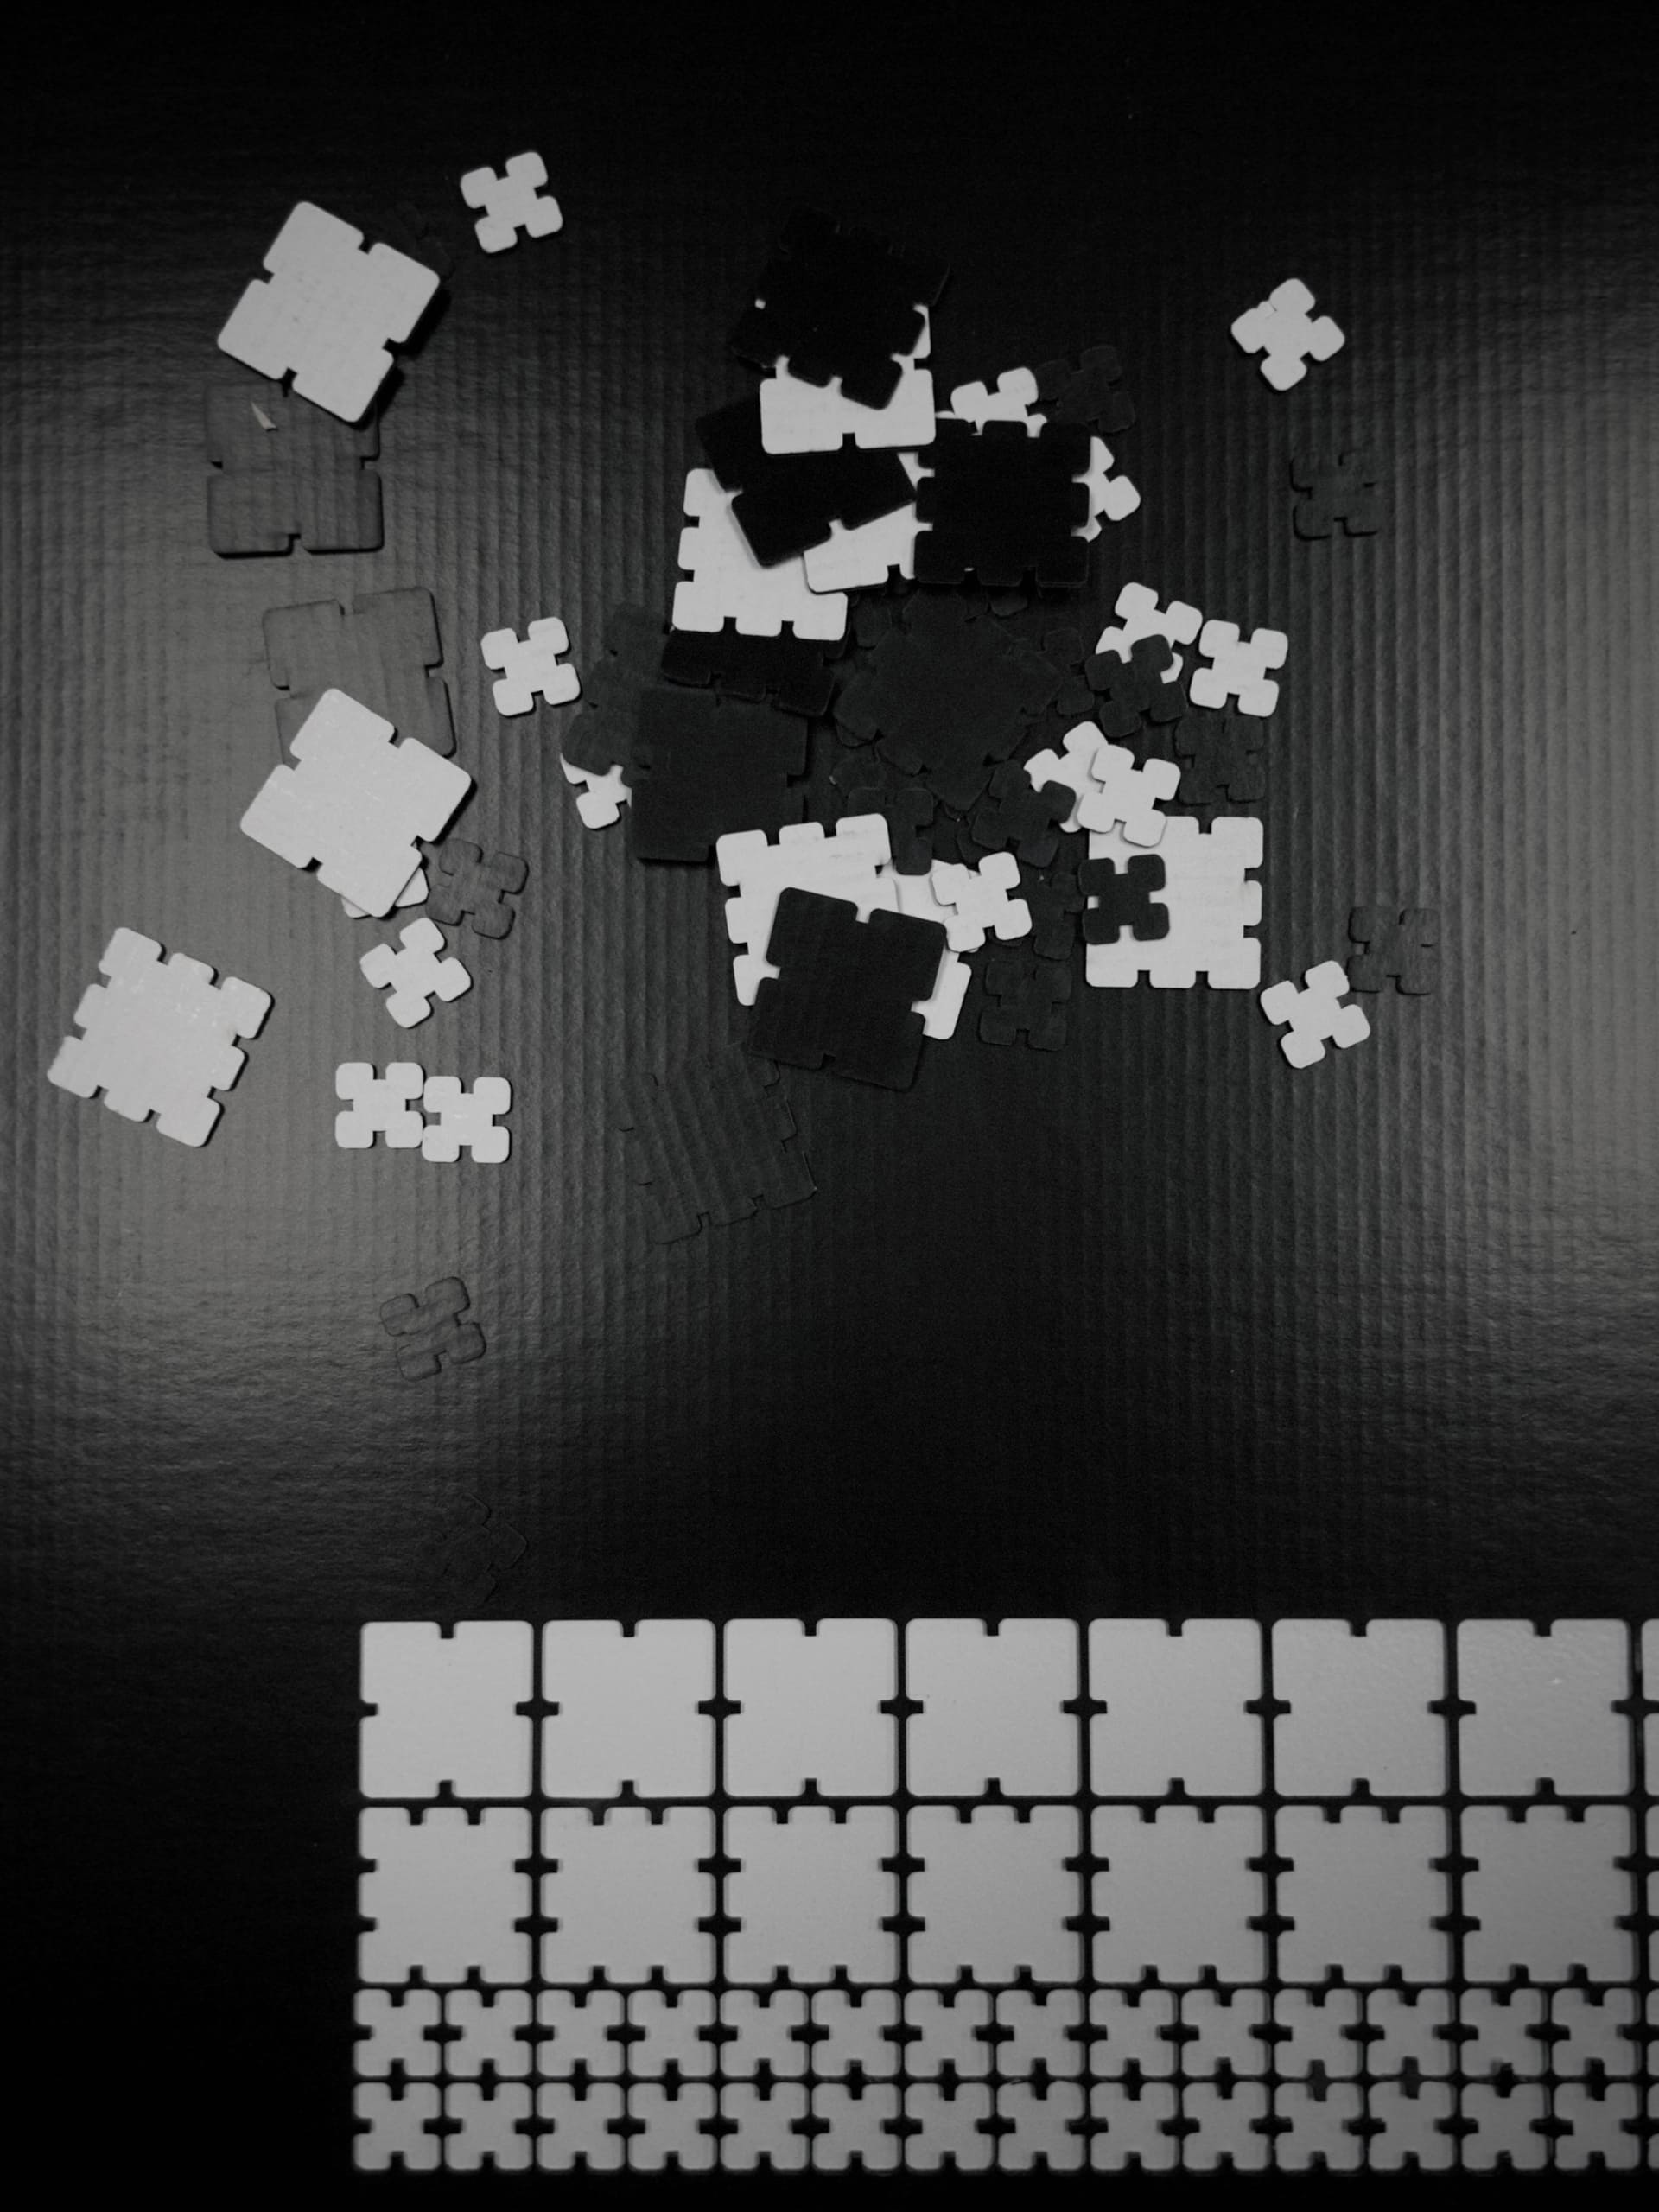
The grasshopper piece didn't work too well. I did account for kerf in my parametric file, but I realized the thickness measurement for the cardboard was off, so my joint cuts ended up wider than they should be and the assemblies were too loose. I learned not to skip the kerf test.
I sketched some flowers on what I initially imagined could be a matte acrylic with some adhsesives on the back.
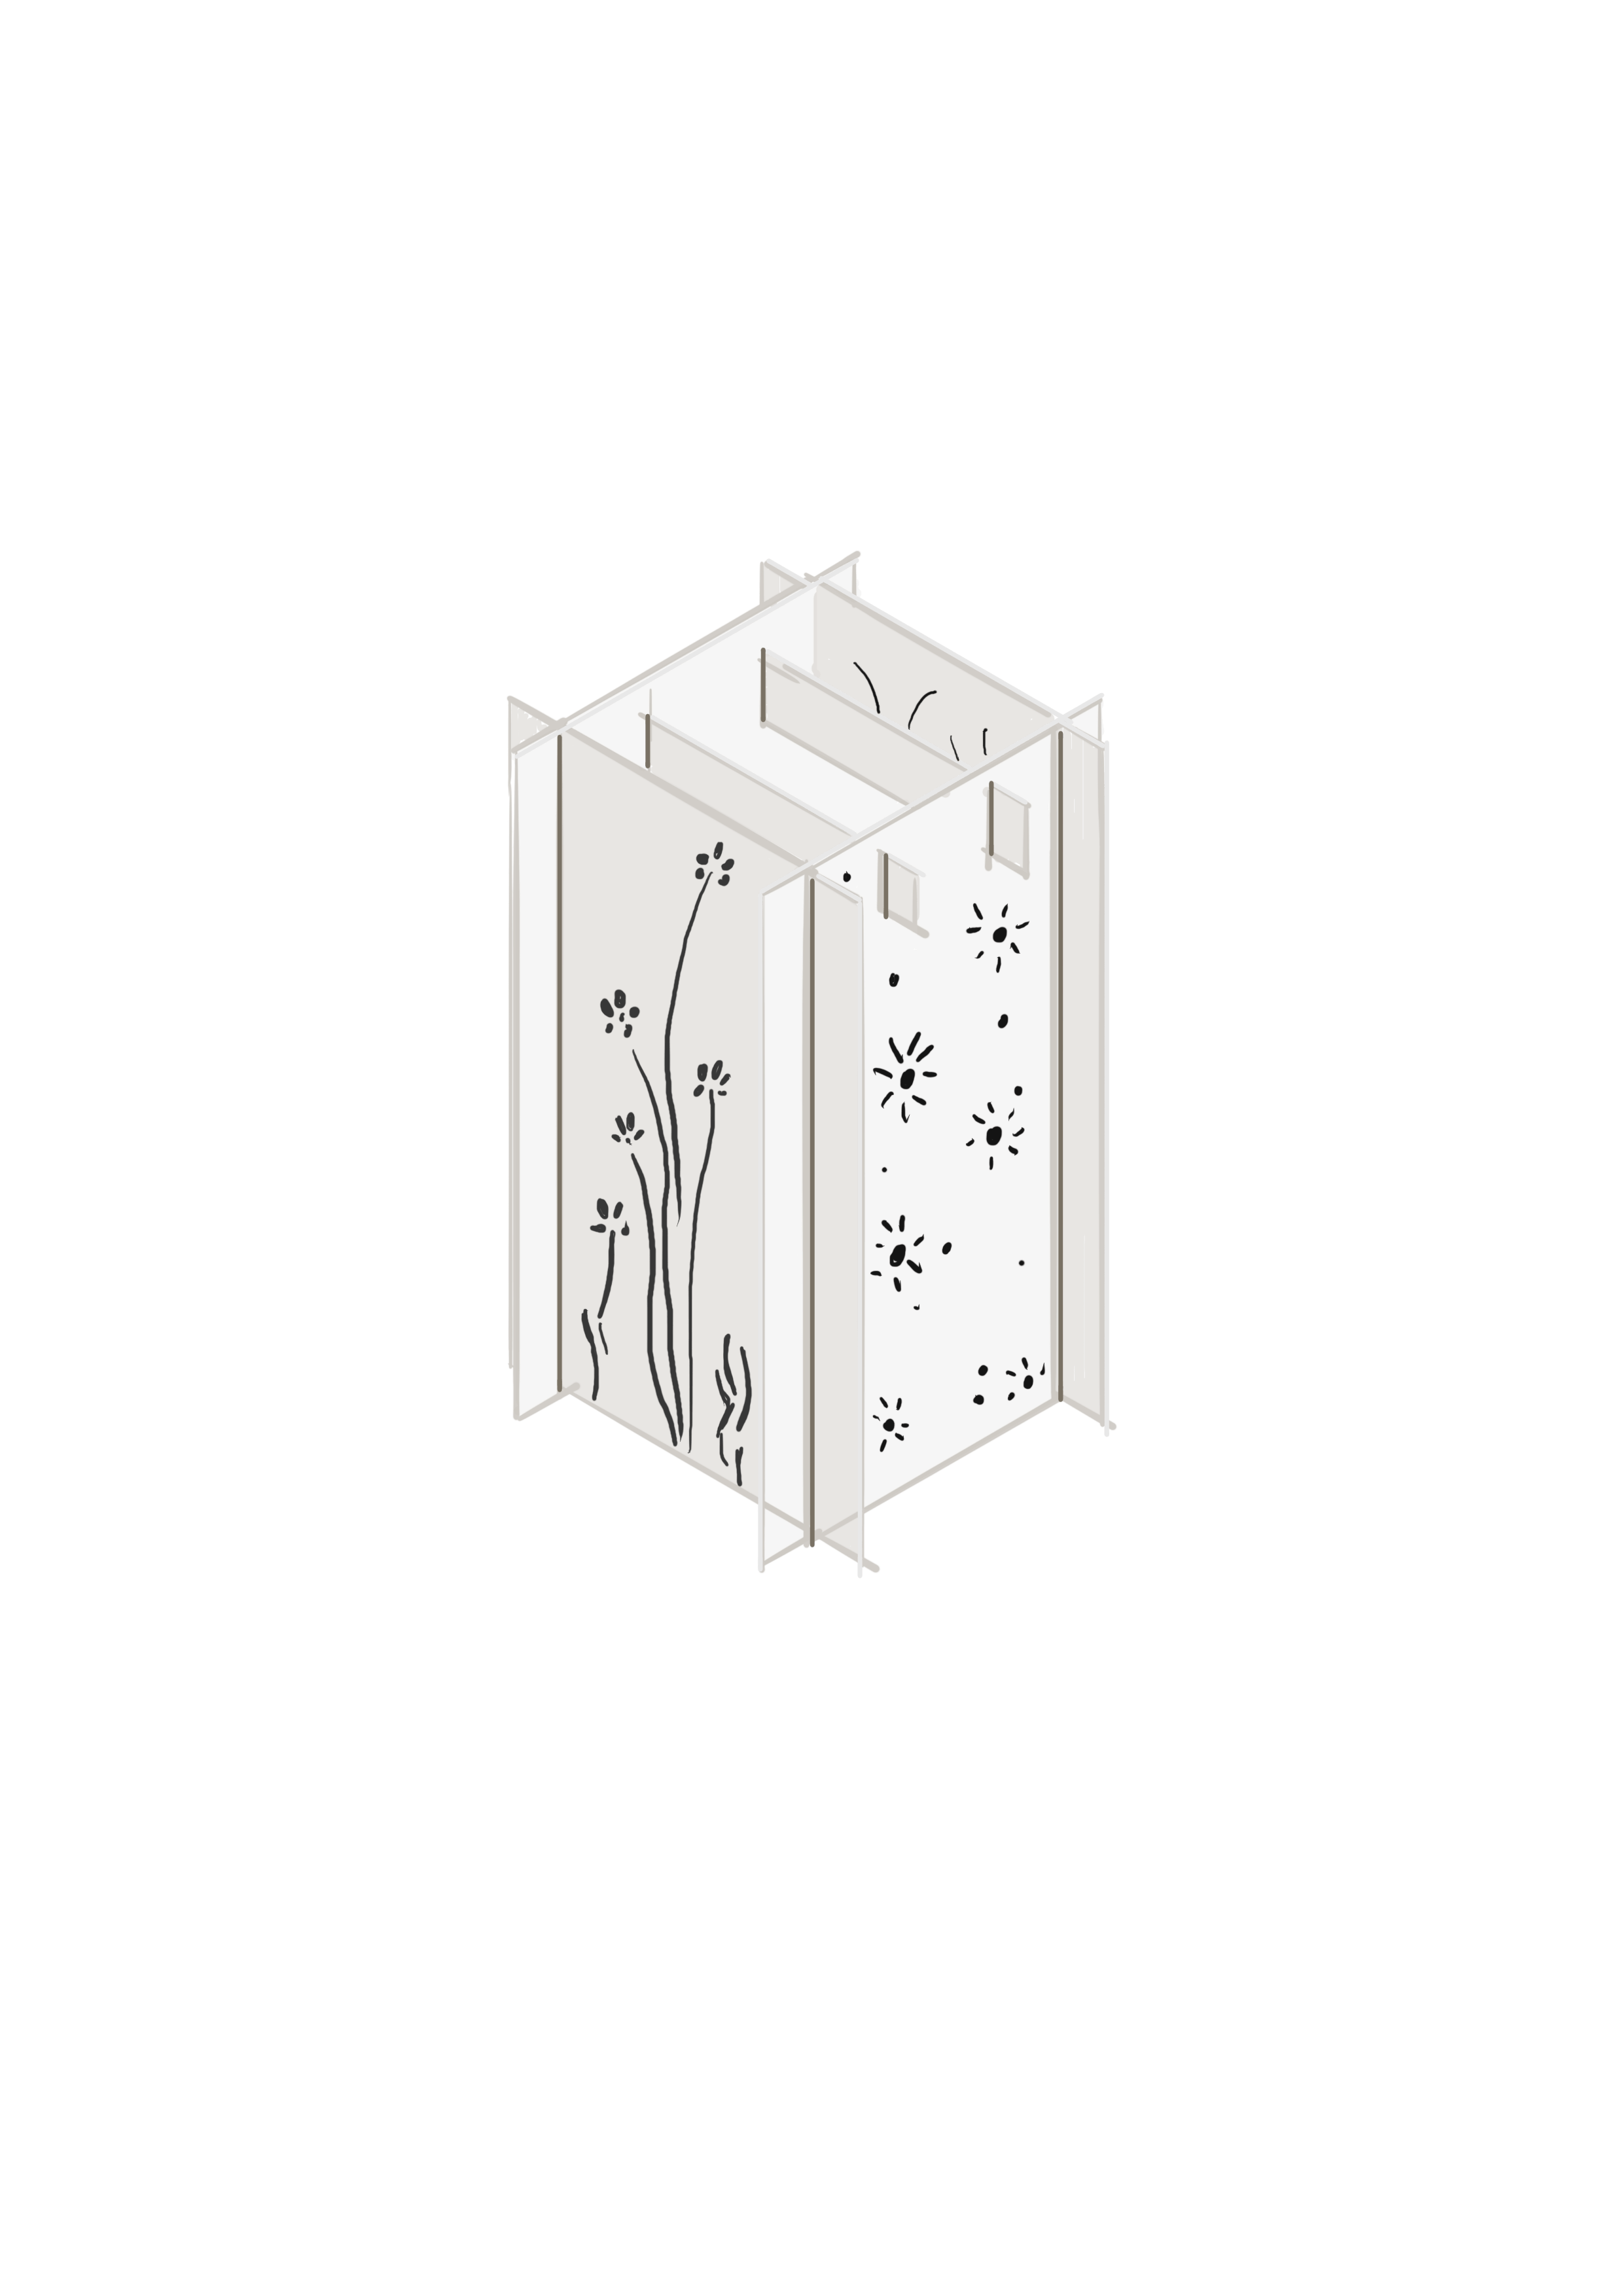
Then I decided to only use the vinyl cutter for this one, and print the flowers as adhesives, but a paper base for it. I started sketching the flowers on Procreate.

I imported the sketch on Inkscape and did the trace to bitmap to get a vector version of my drawing.
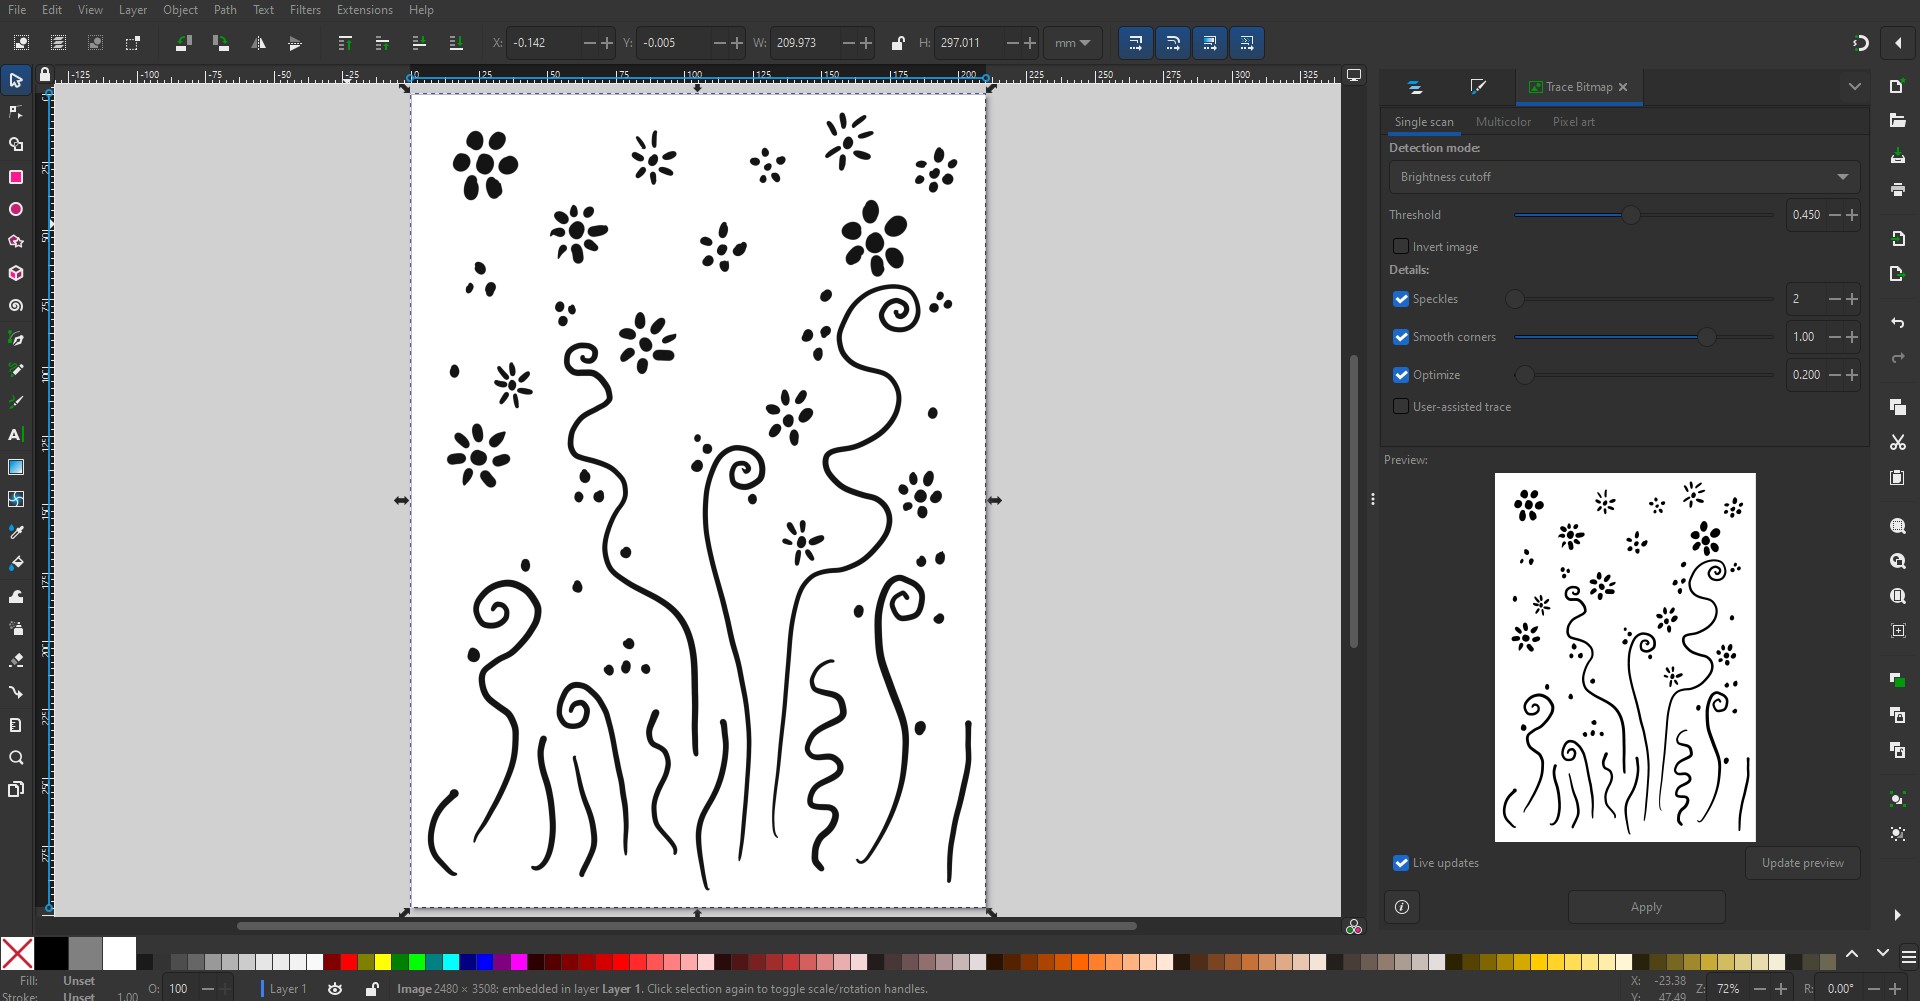
I exported the DXF file from Inkscape and opened it in Rhino.

I exported the DXF file from Inkscape and opened it in Rhino.
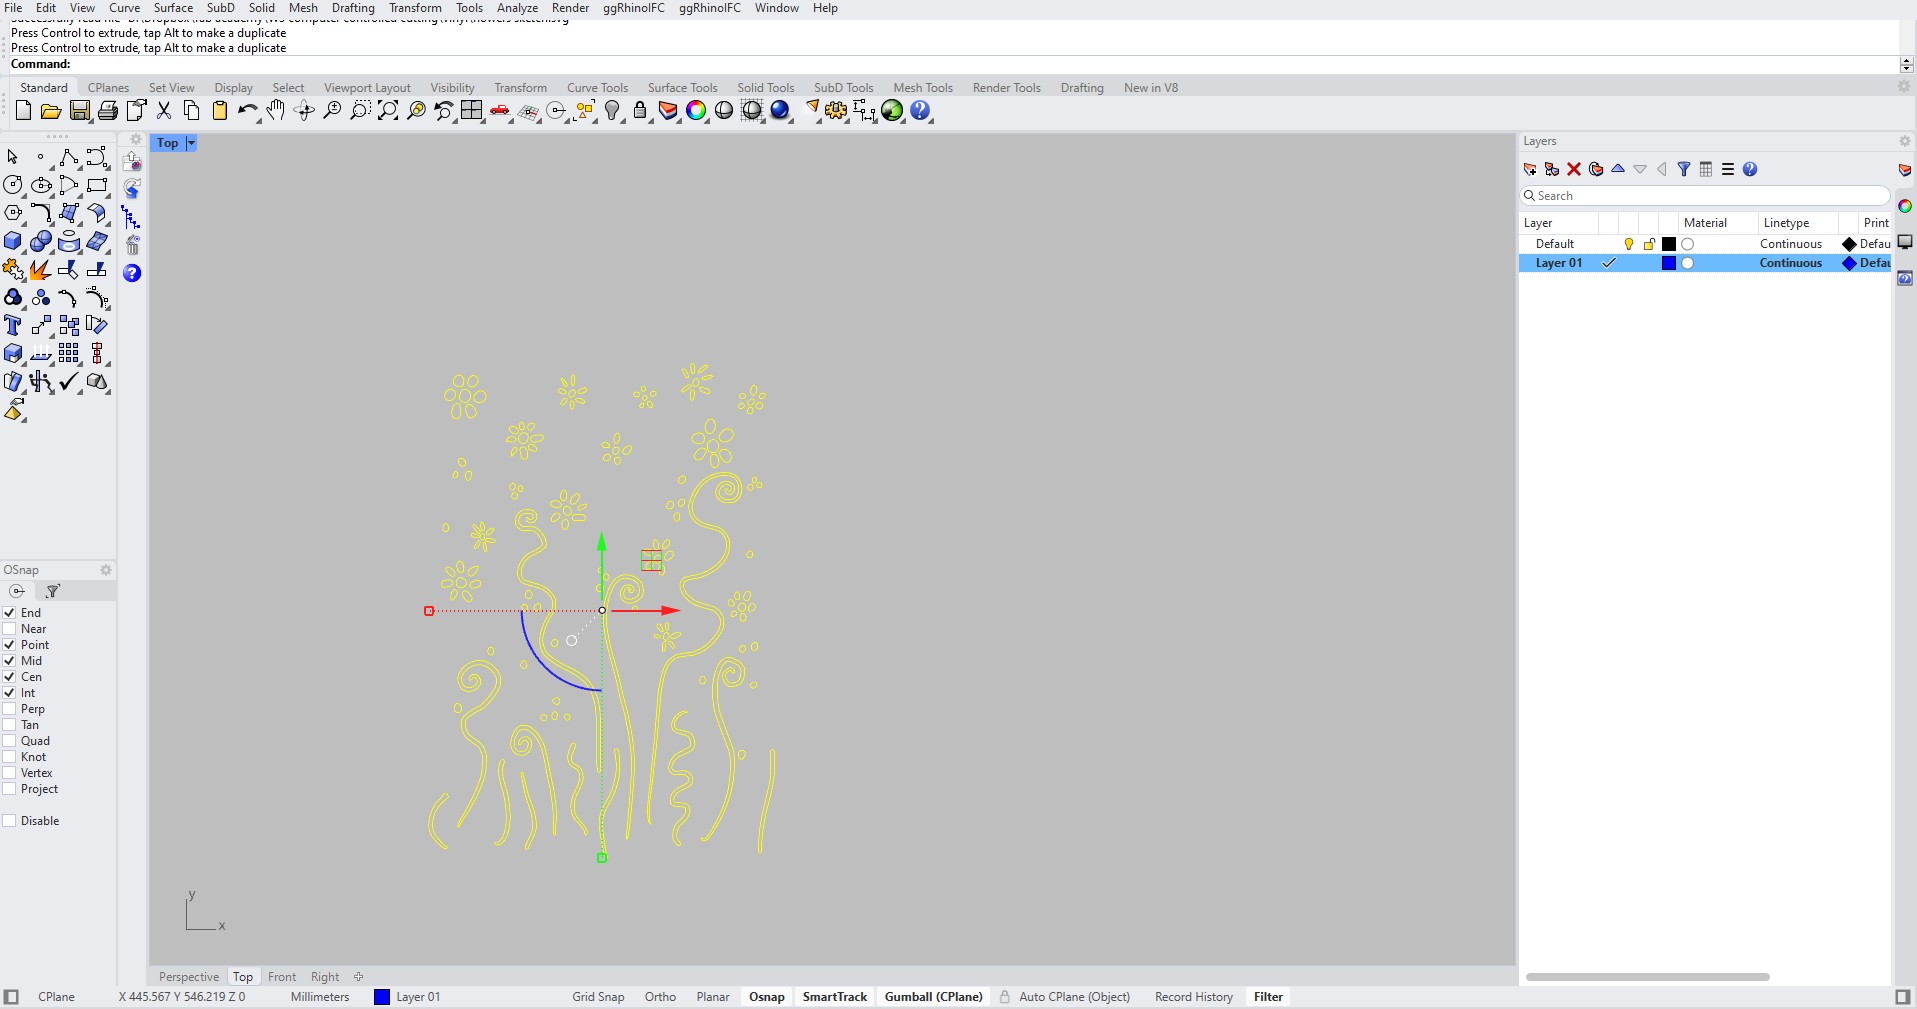
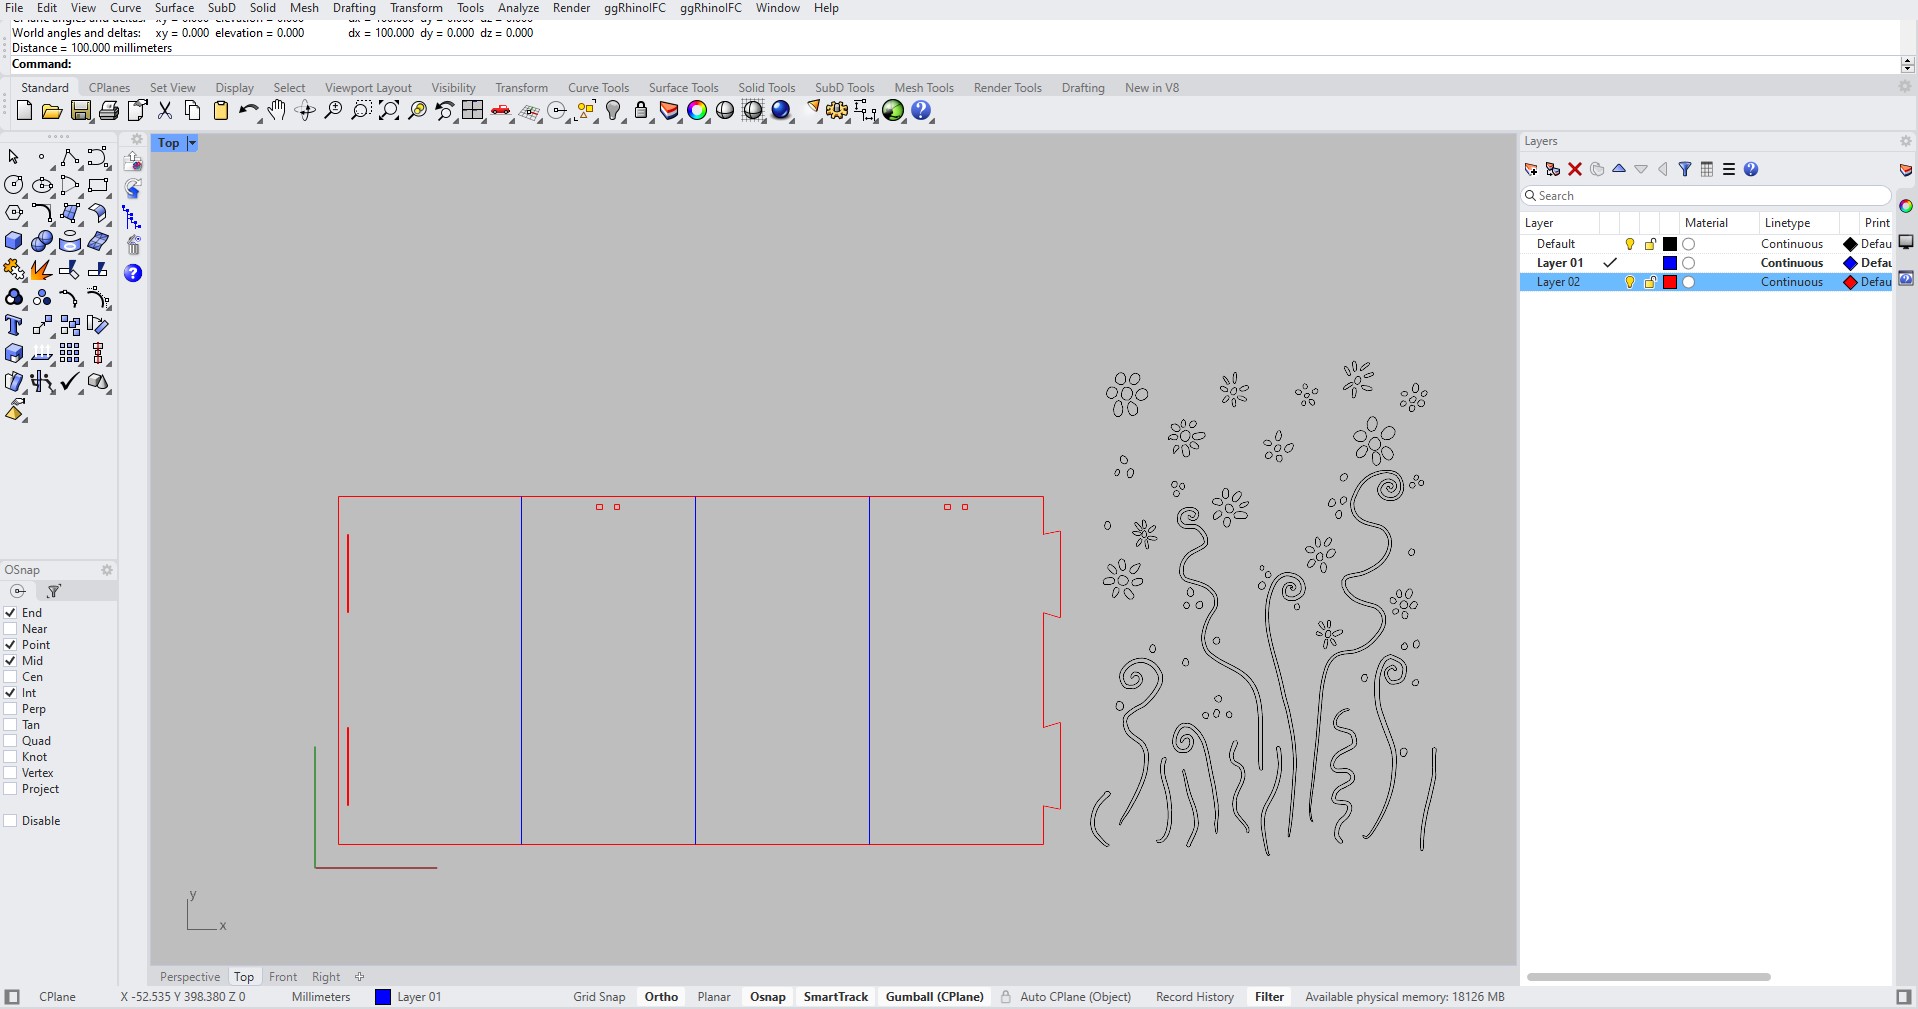
I drew the outlines of a foldable box. Added some holes on top so I could add a stick to hold the screen in place.
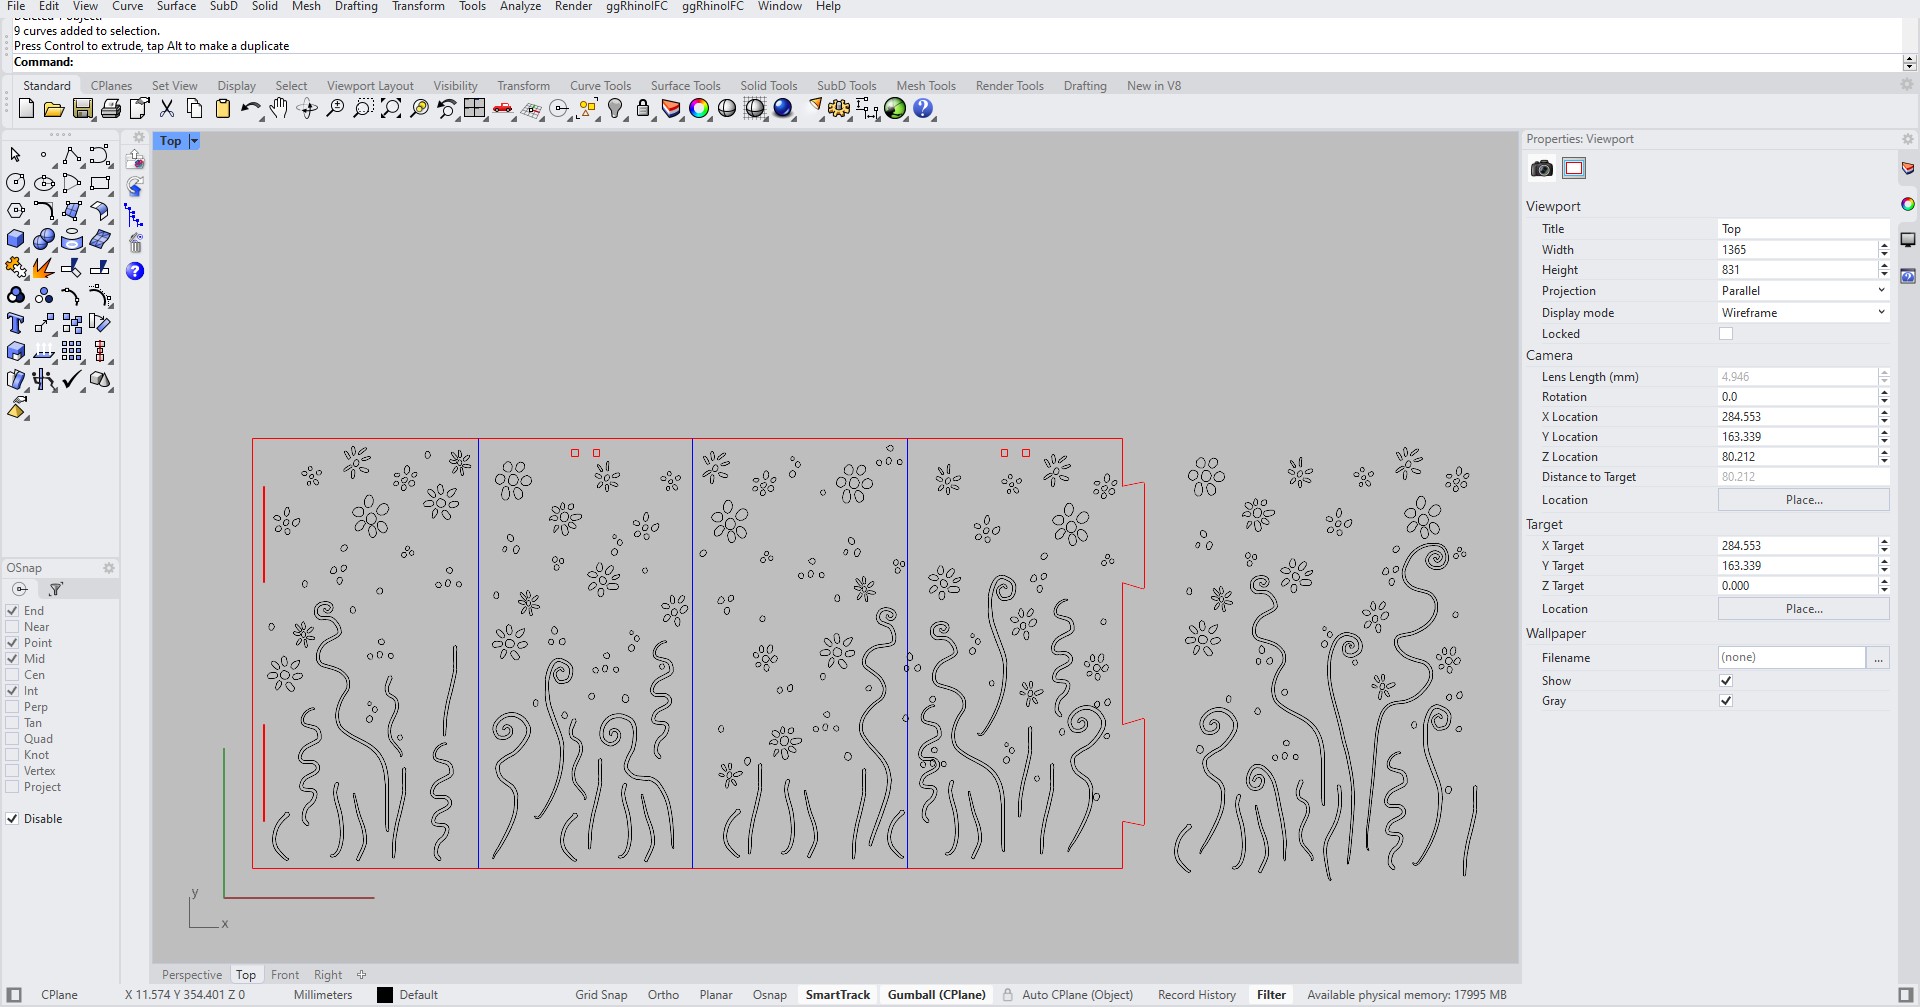
I then manually placed the parts of my sketch on this foldable sheet I drew.
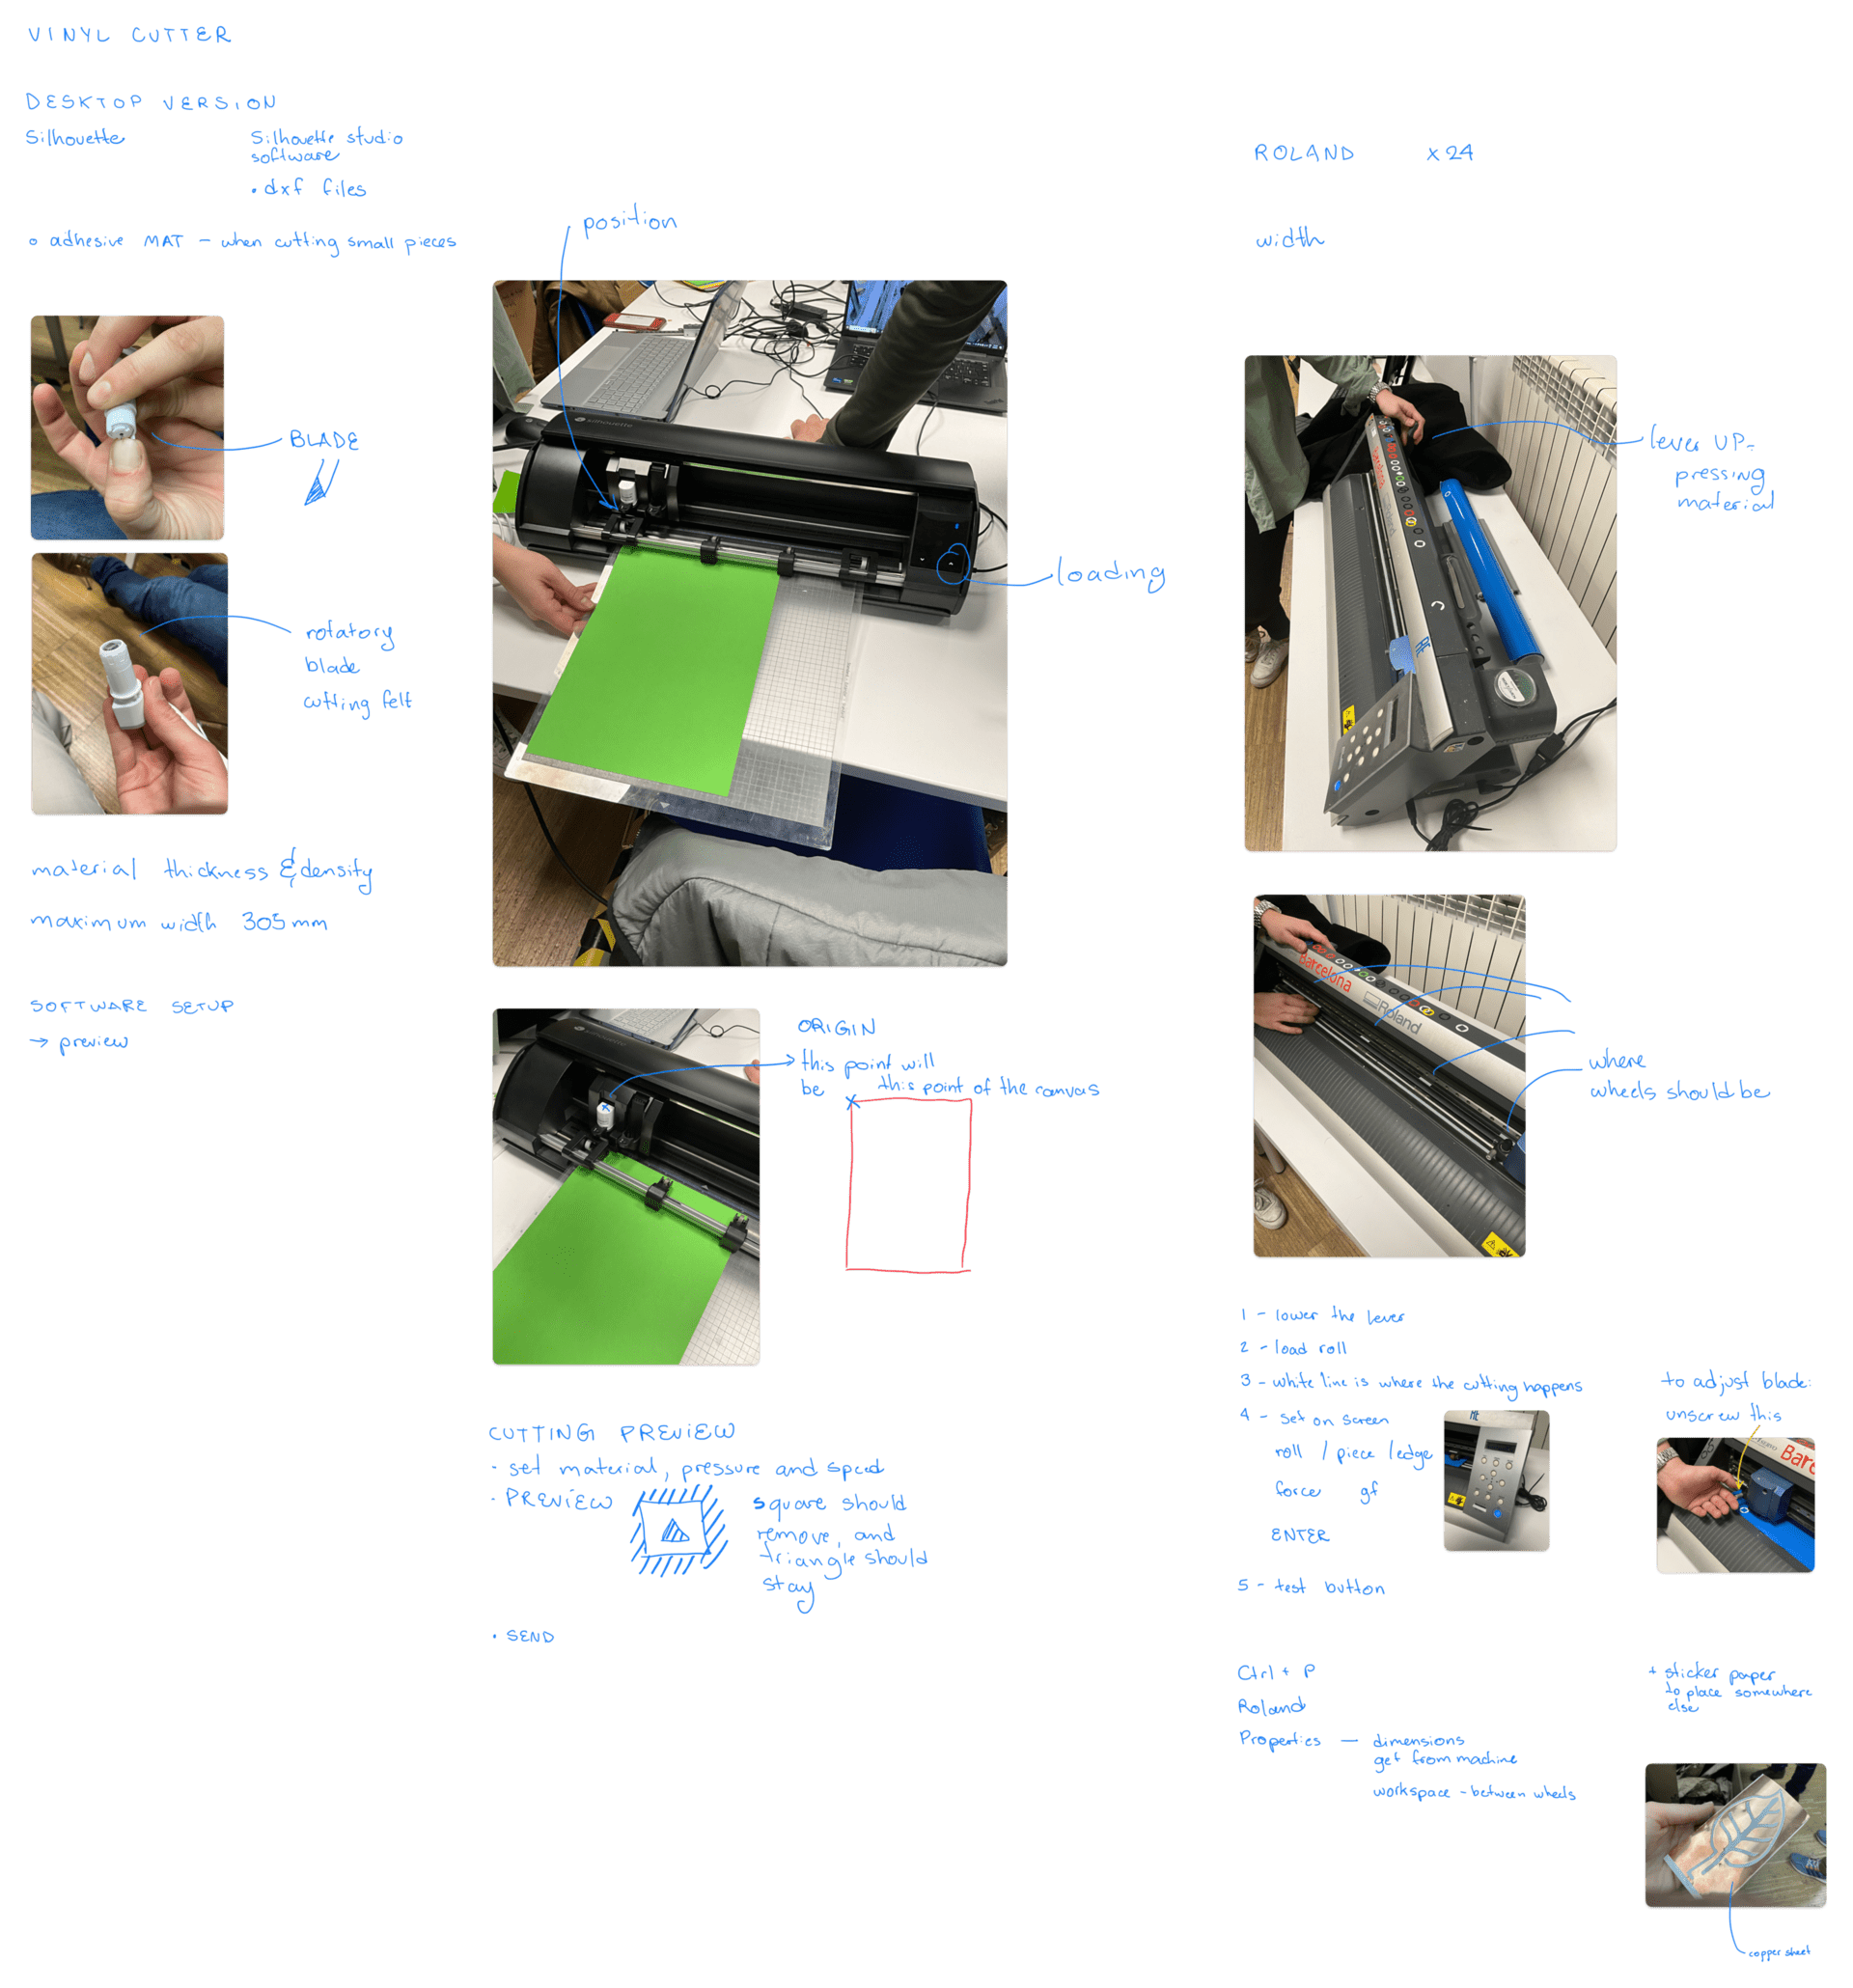
I cut the flowers on a sparkly beige translucent vinyl.
I cut the paper base with the laser cutter.
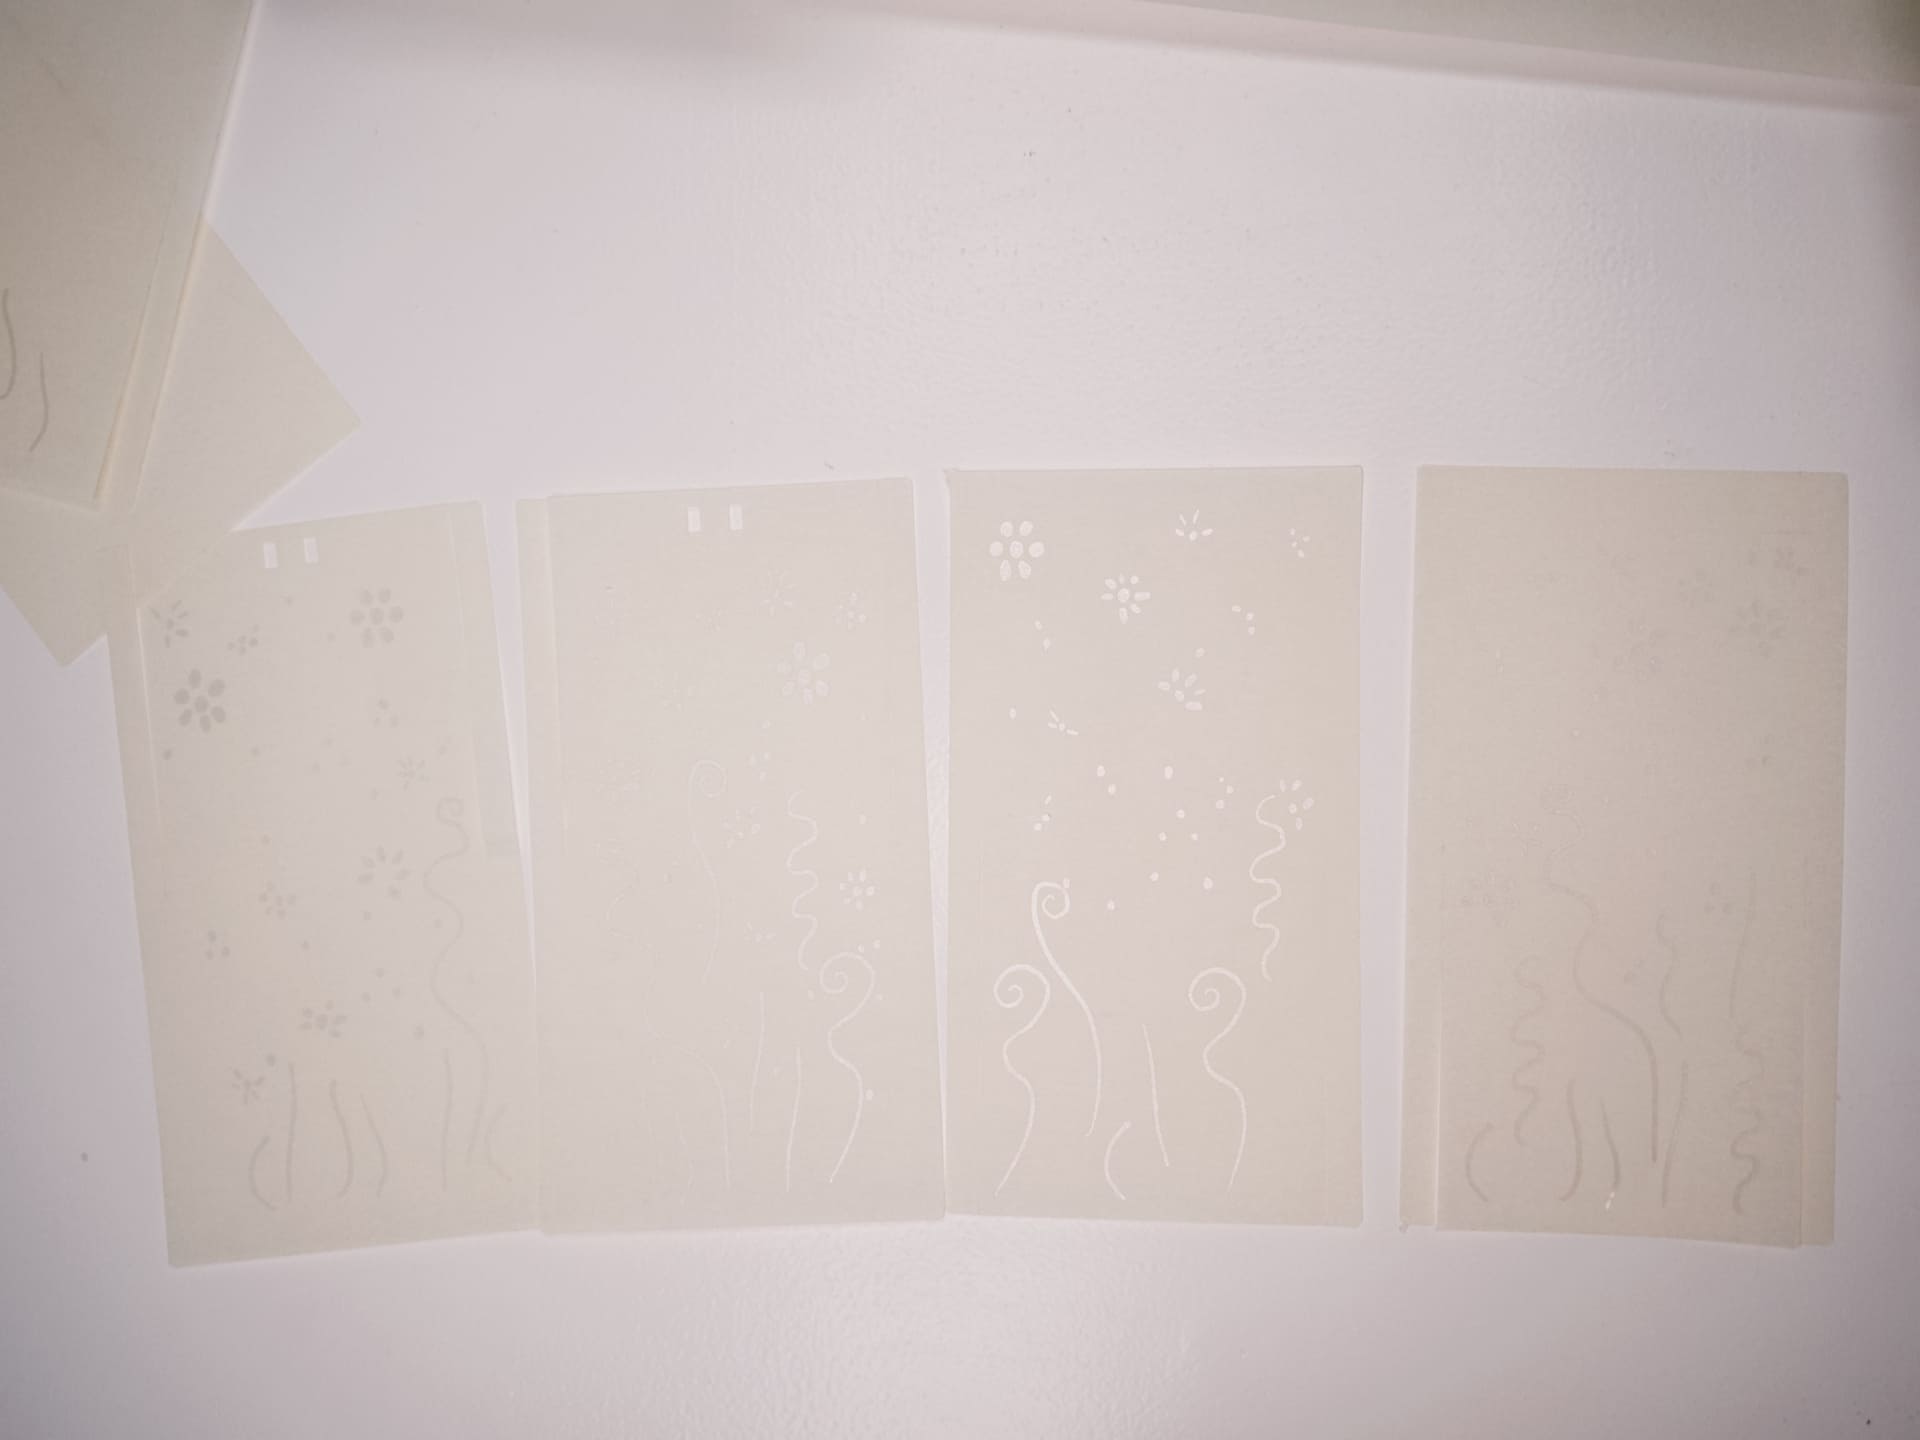
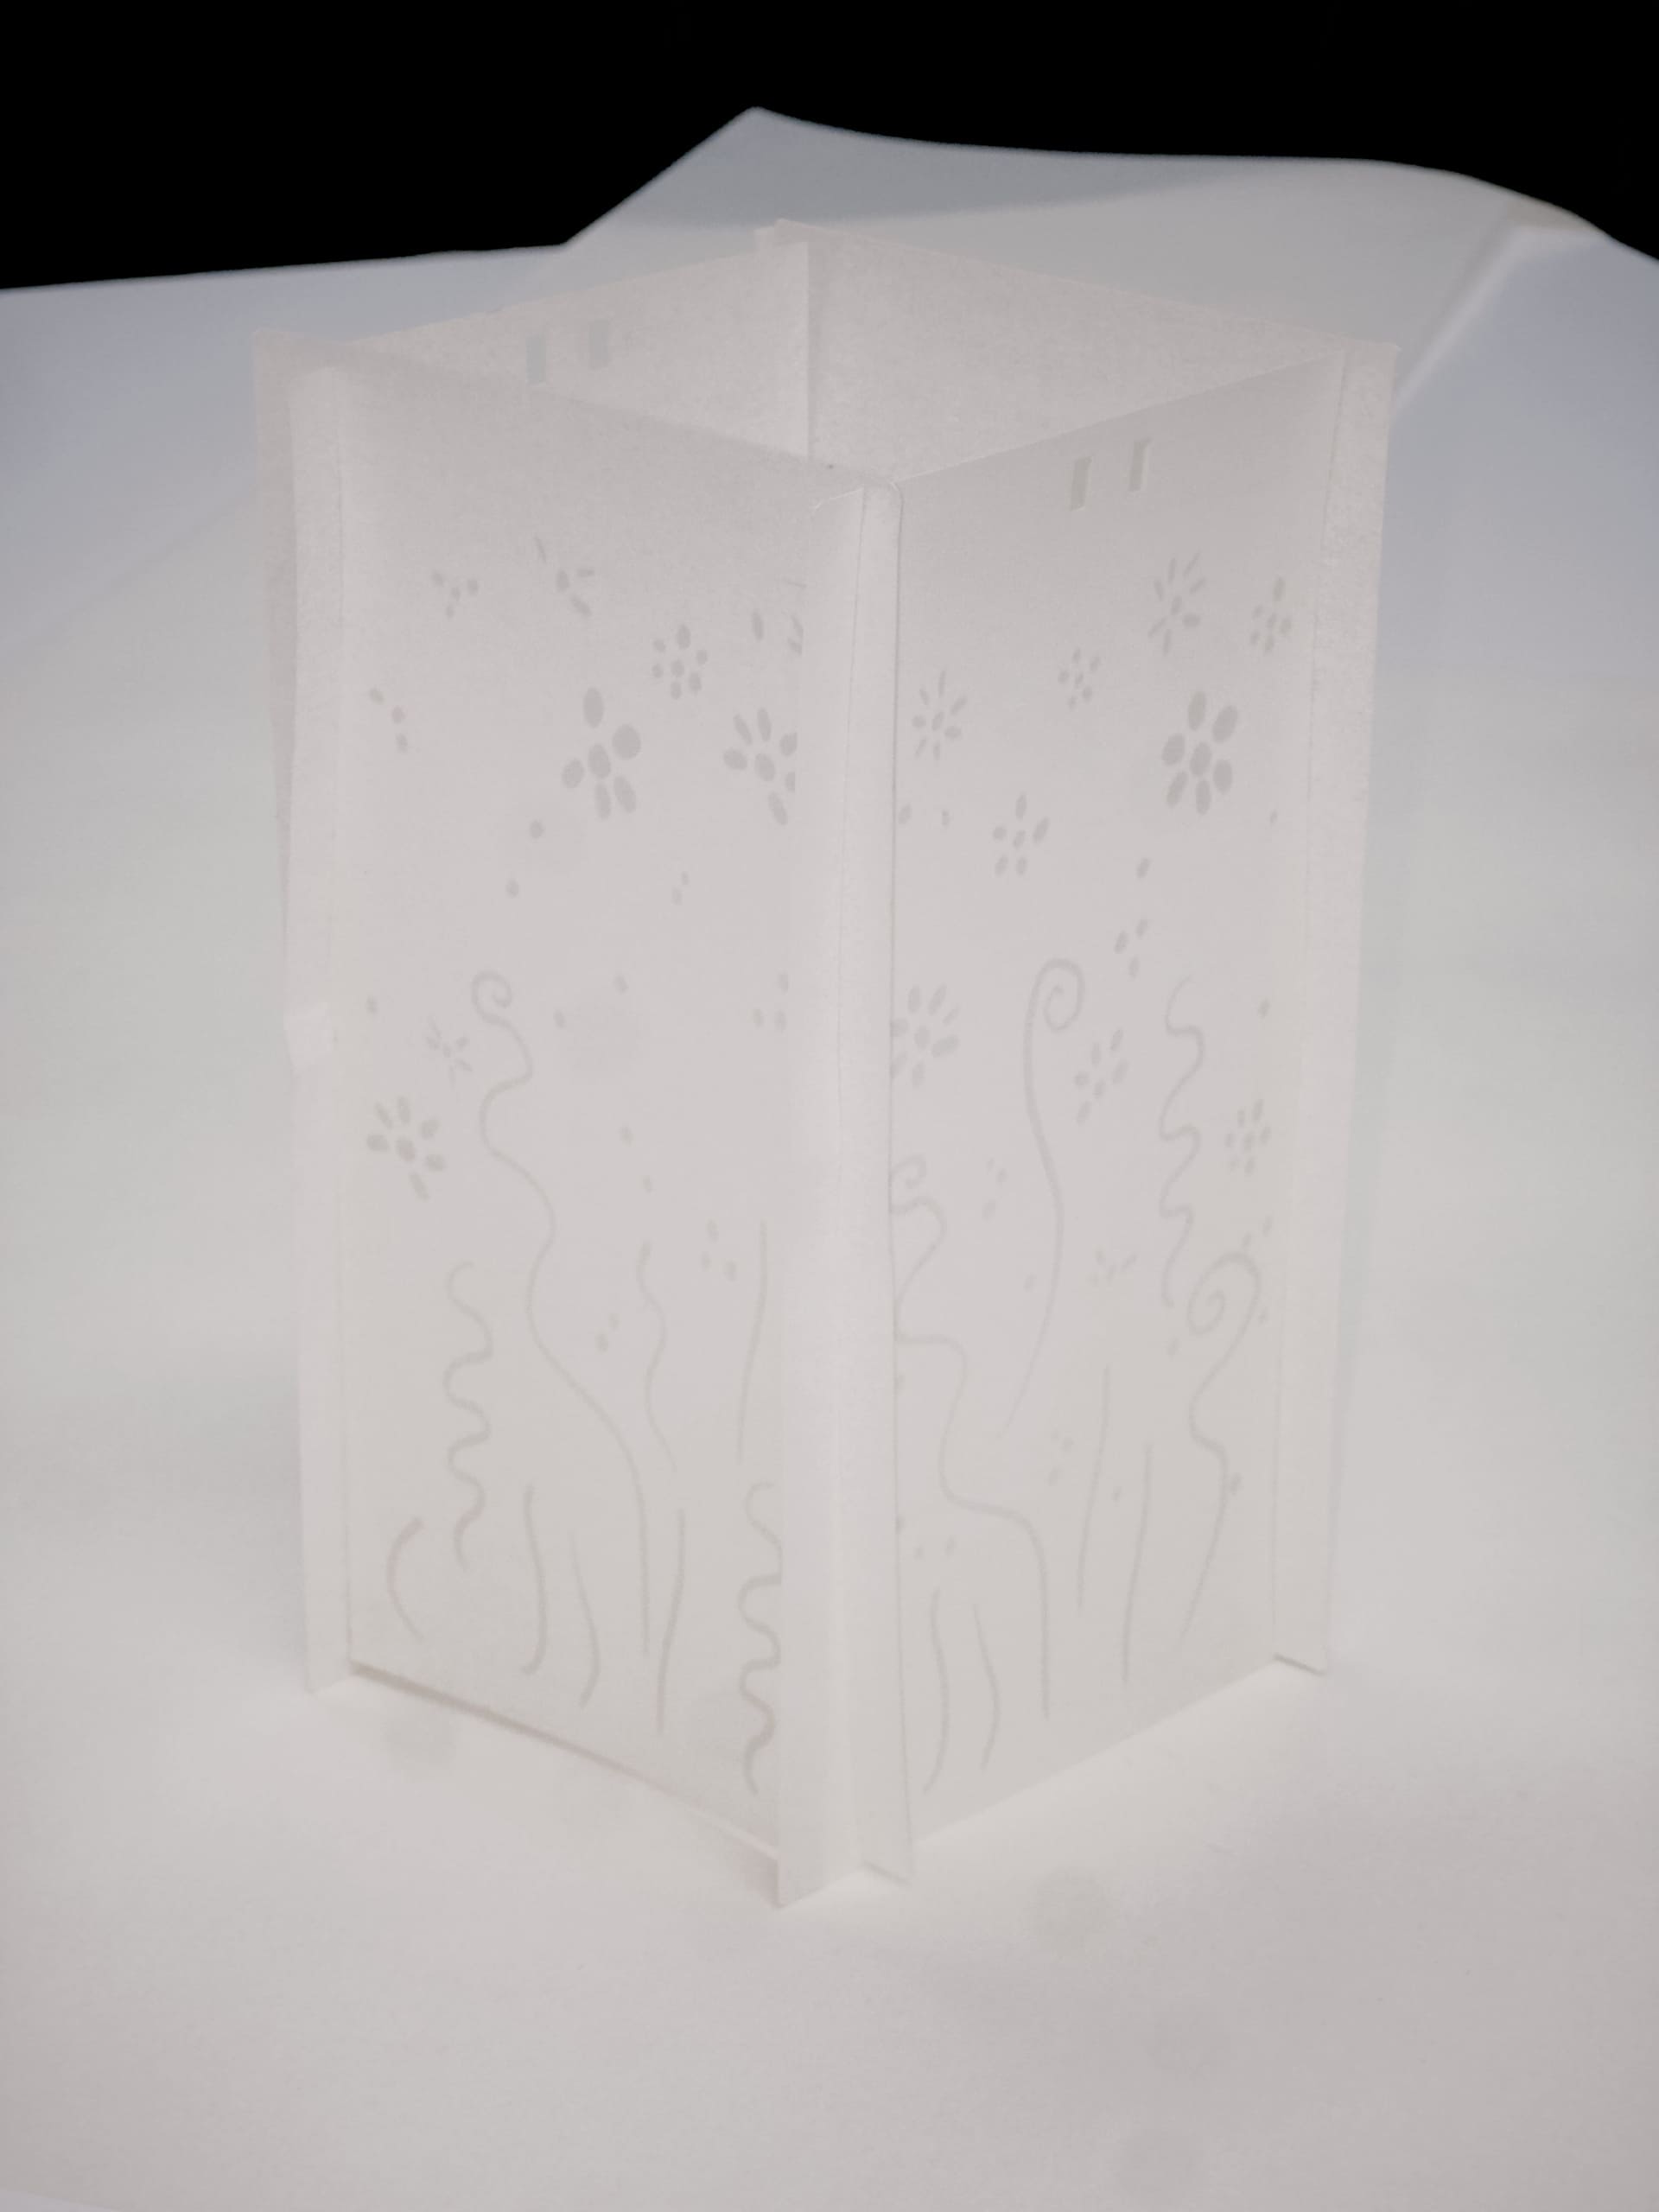
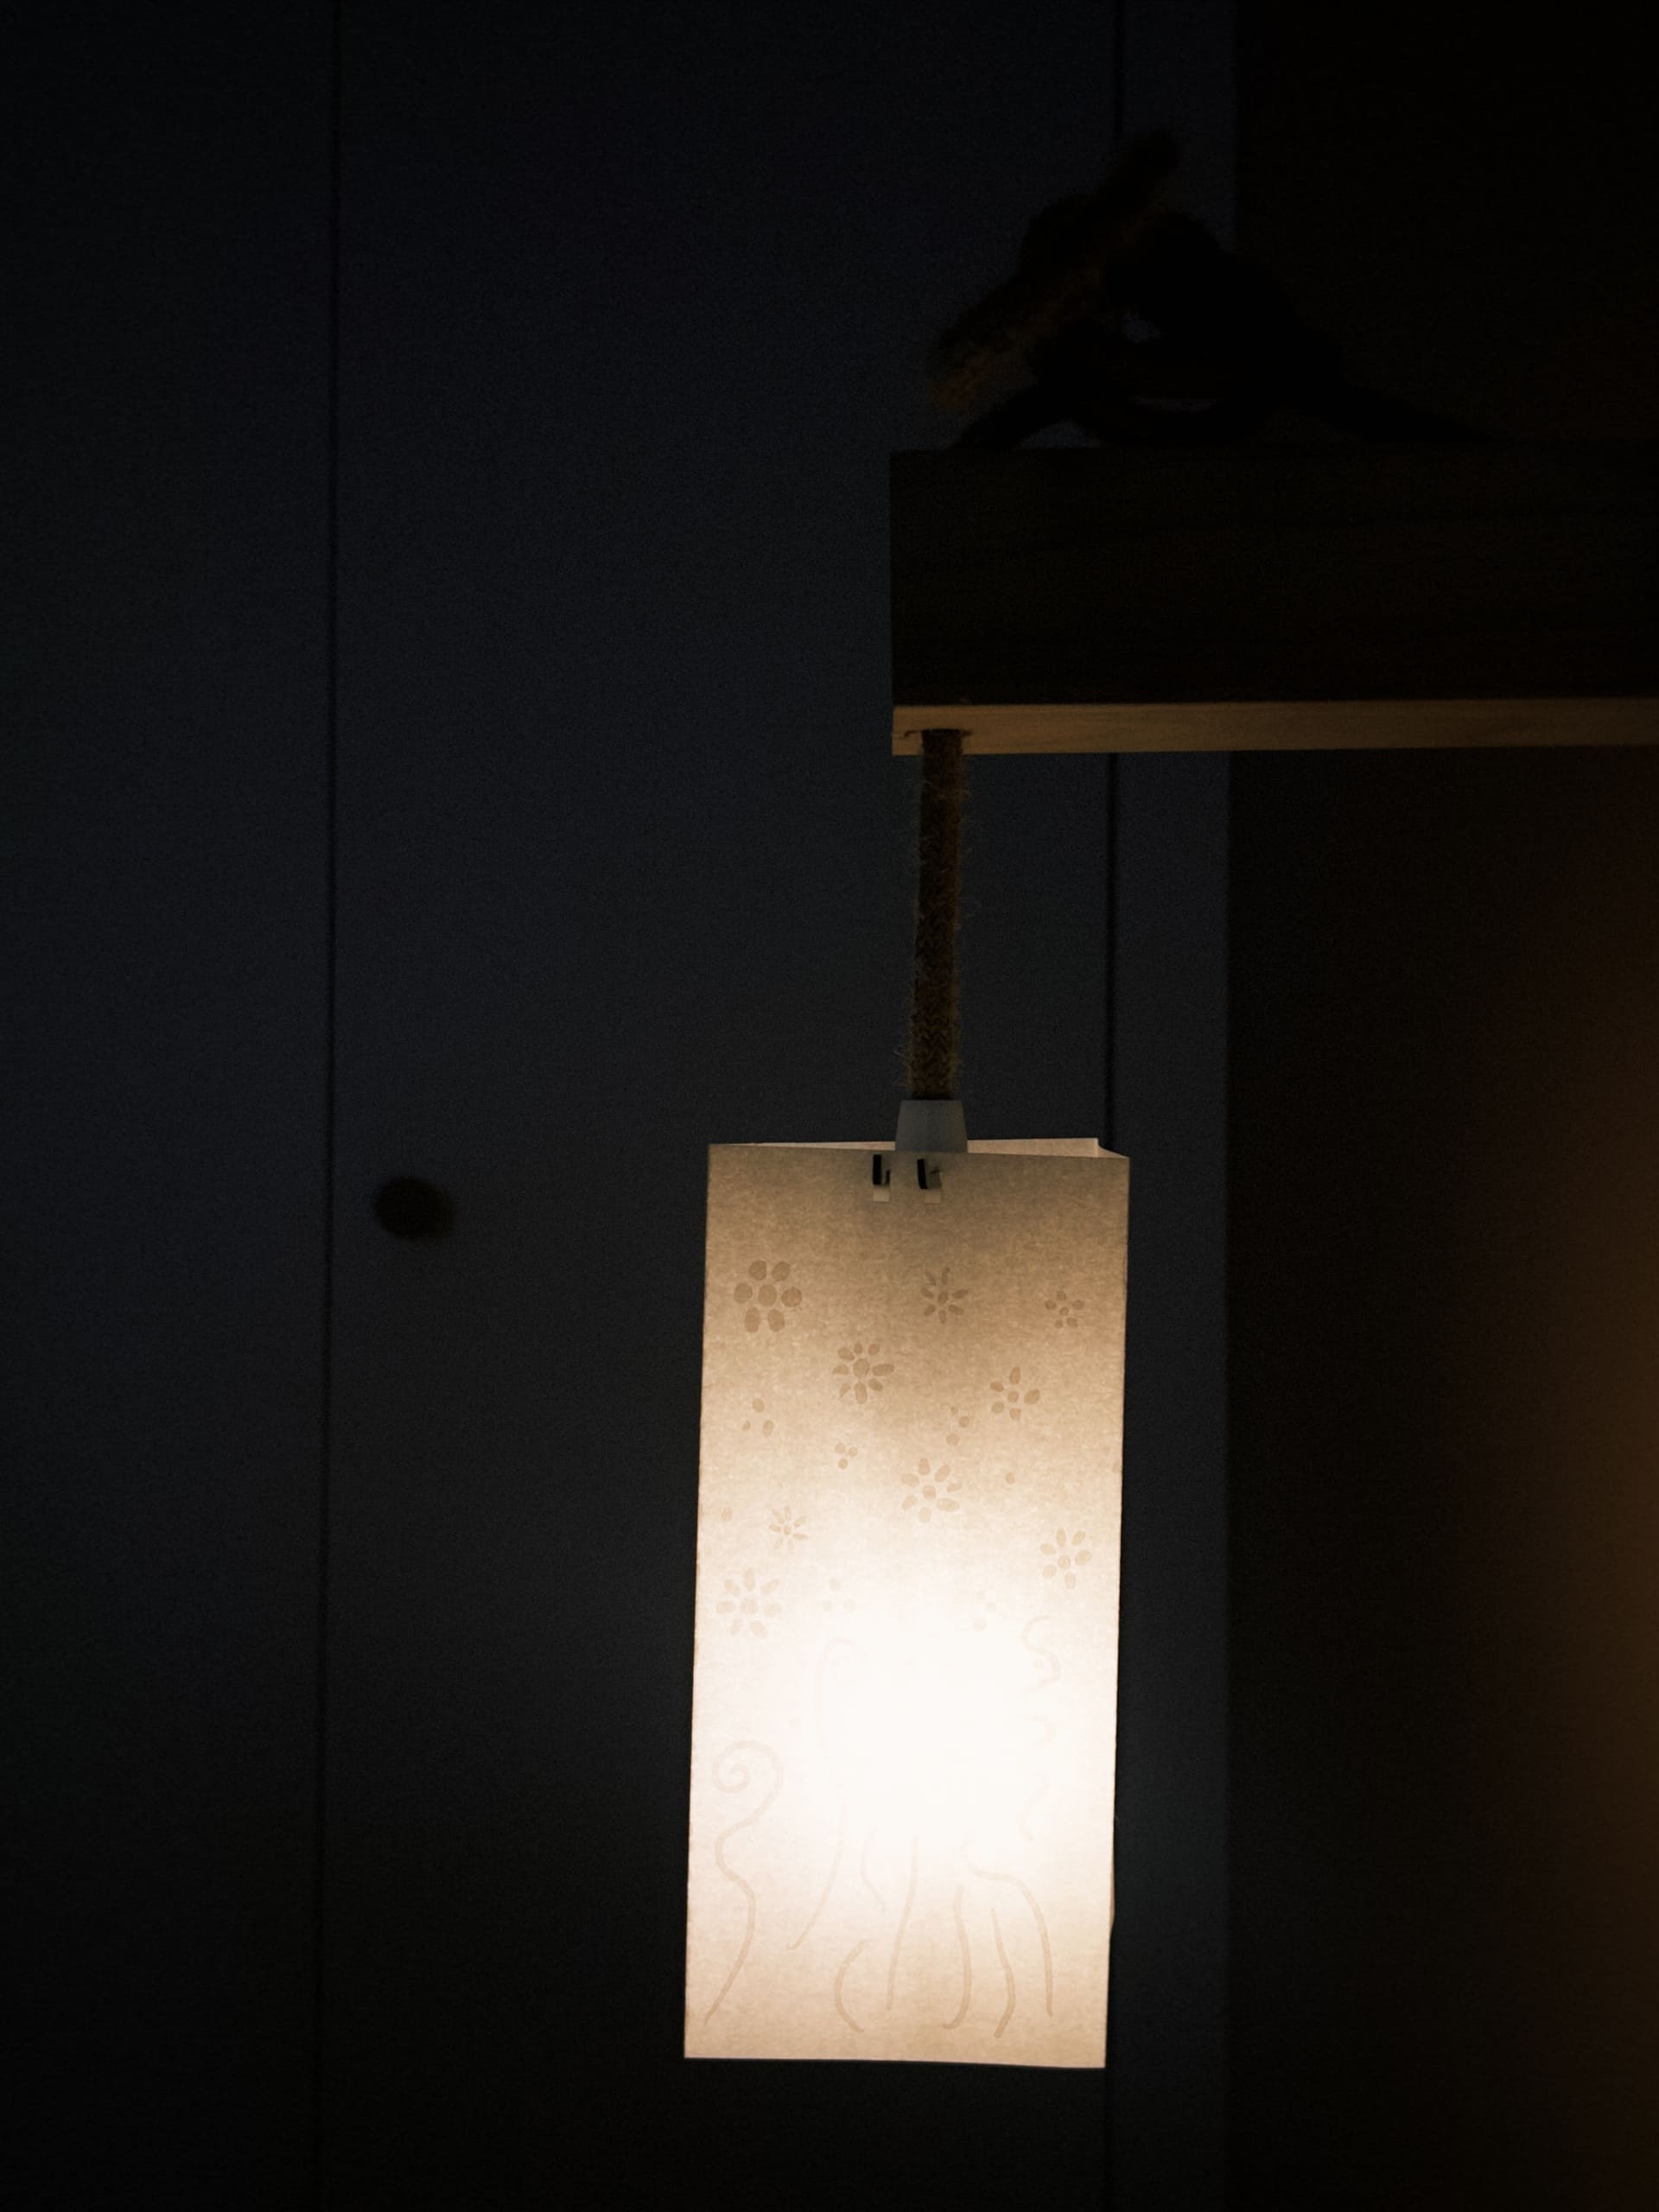
Then assembled the parts. It wasn't the most stable structure, so I proceeded to create another paper base with only one foldable structure (find it in the attachents below).
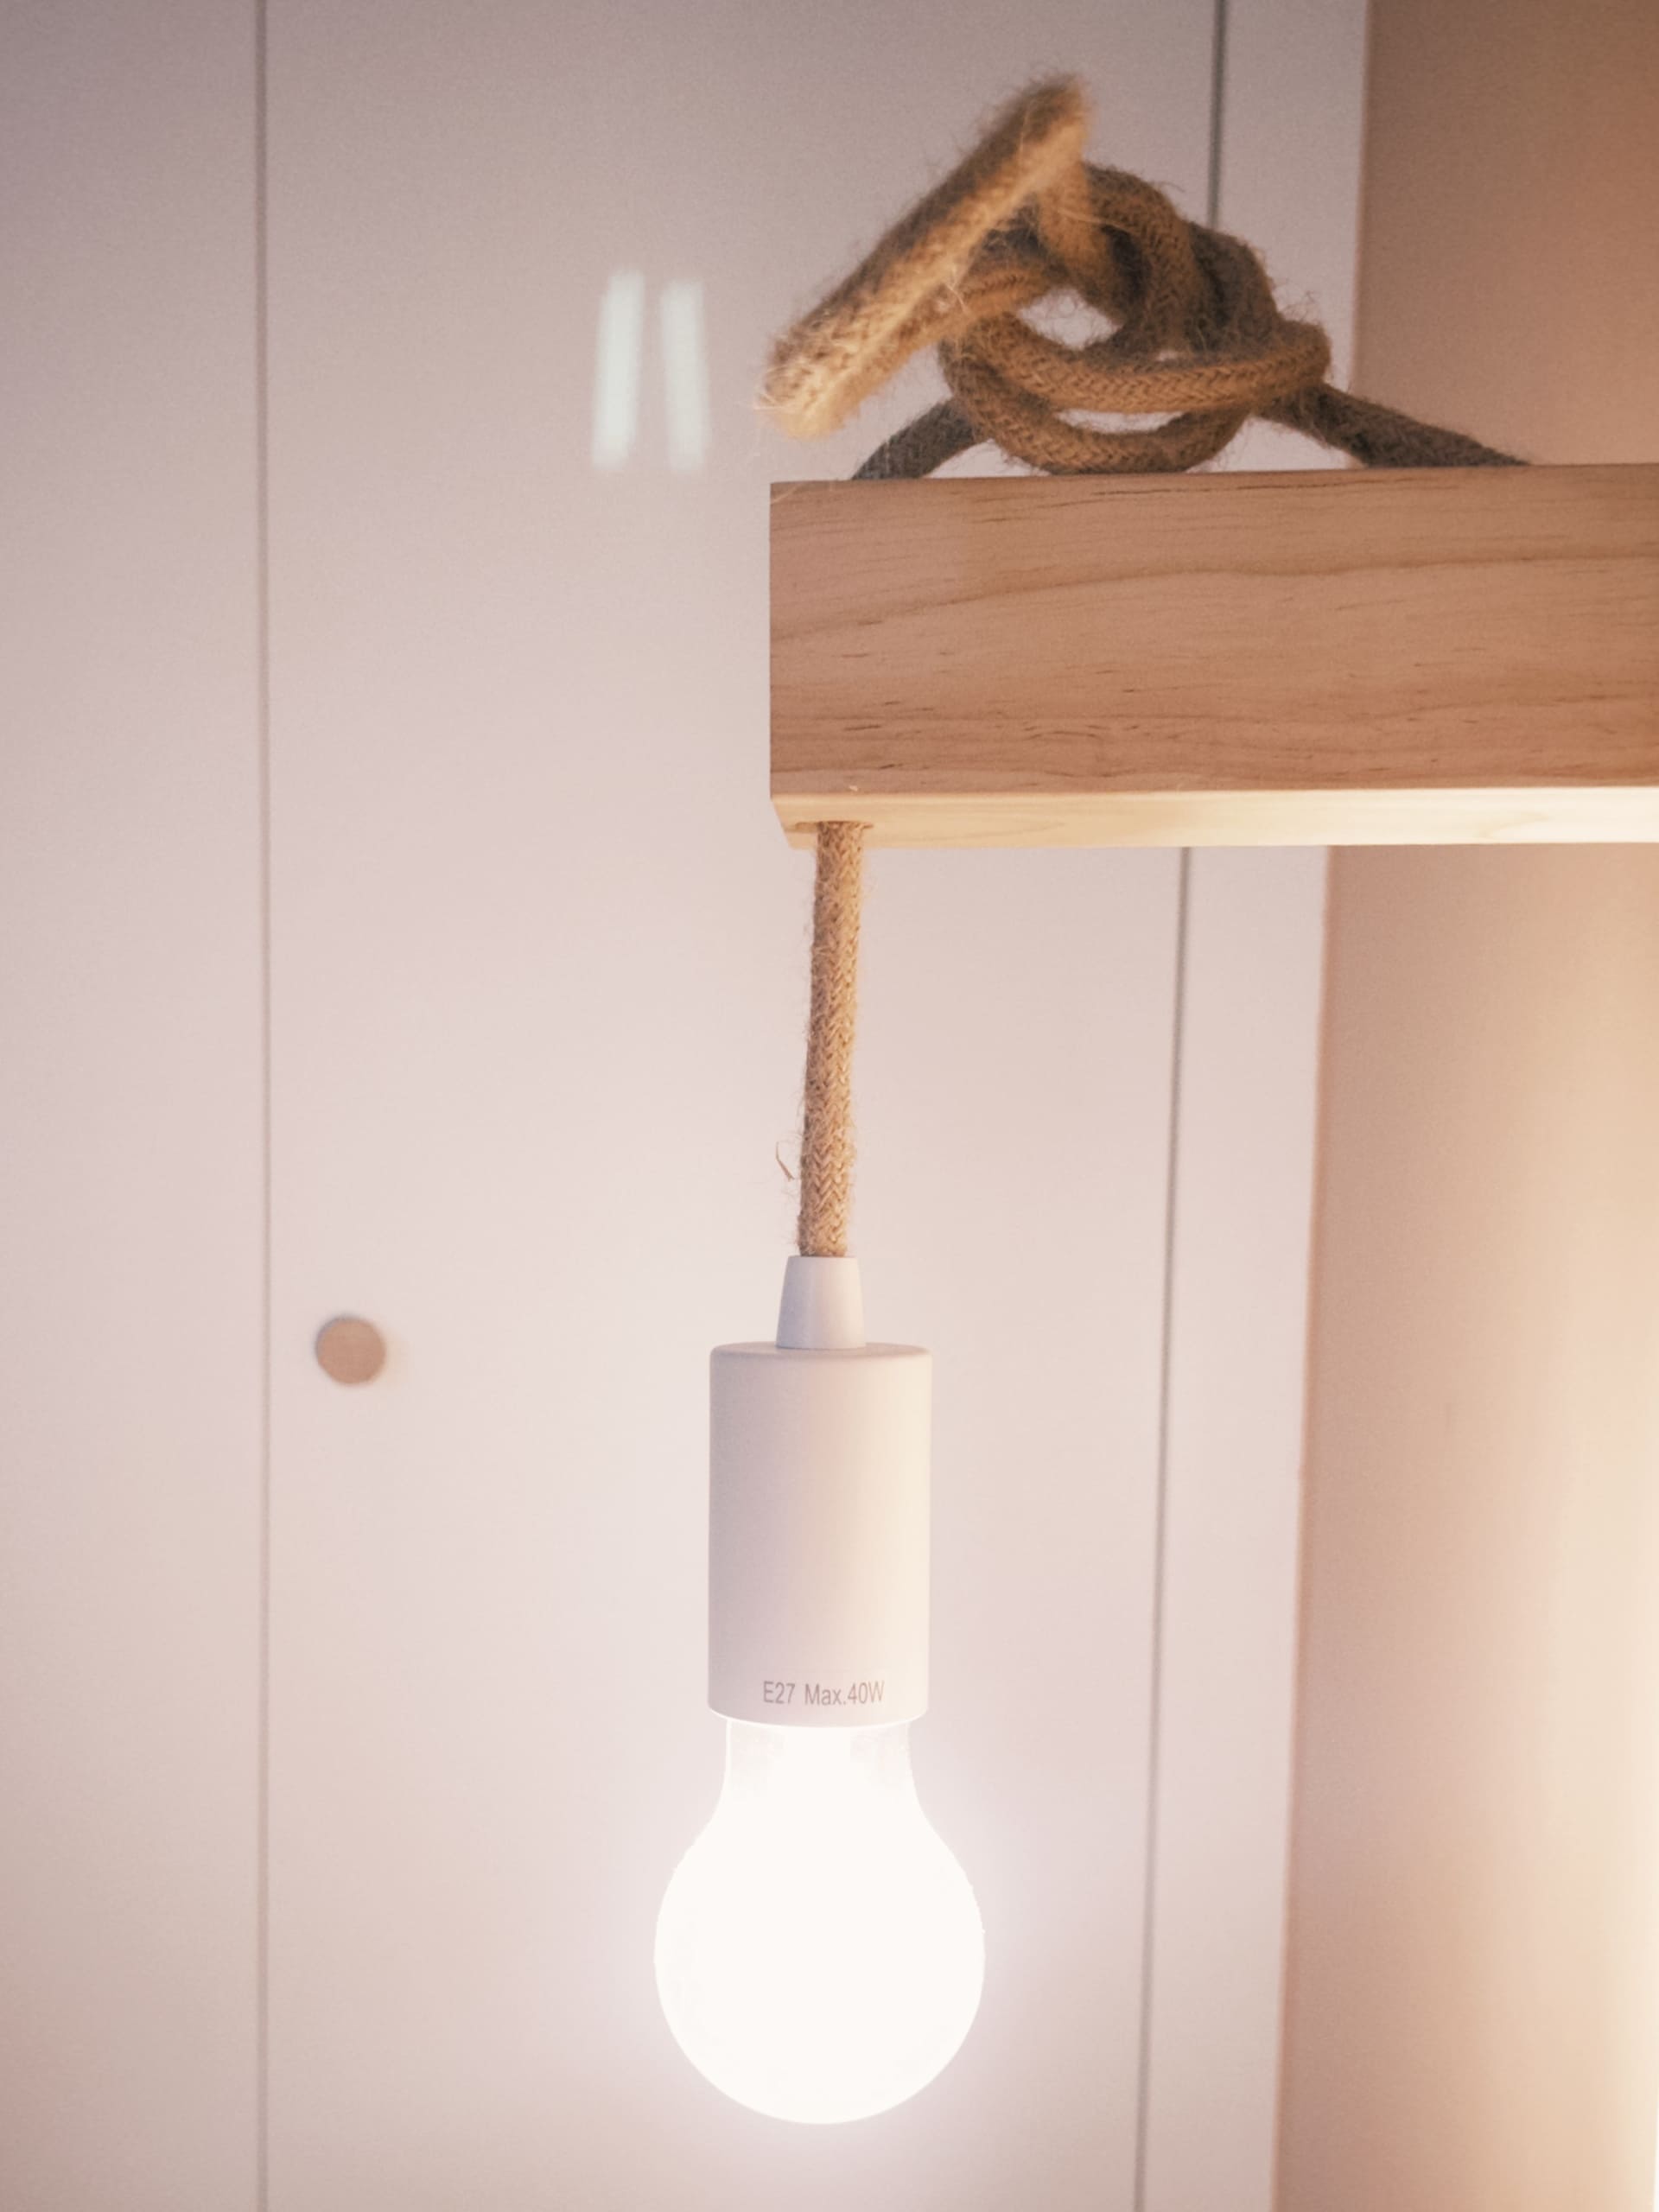
And voilá! It is not the fanciest structure, but it solved my problem.
FILES: