WEEK 1 / Project management
During the first week we learned about files, version control, how to use Git, GitLab, as well as how to work with local and online repositories.
We then learned how to set up our own websites with HTML, CSS, JS, as well as other platforms such as MkDocs.
We also learned a some project management strategies, to keep our projects on track.
- Working in spirals: develop your project for start to finish as soon as possible - fast, simple and raw. Add more layers of detail and do it again. Solve problems you encounter, reiterate, make it better! Never expect to create a functional project in one go.
- Documenting! Capture, capture, capture, explain and publish everything you absorb. You will need it later on!
(see class notes in the attachments below)
Attachments
Weekly assignments
1. Plan and sketch a potential final project
I had an idea for a project and created a page for it on this website. You can find it here.
2. Work through a Git tutorial
During the local class, we received a good introduction to Git and GitLab, including how to work with many essential commands and set up our SSH keys to use with GitLab (find in local class notes).
Installing Git
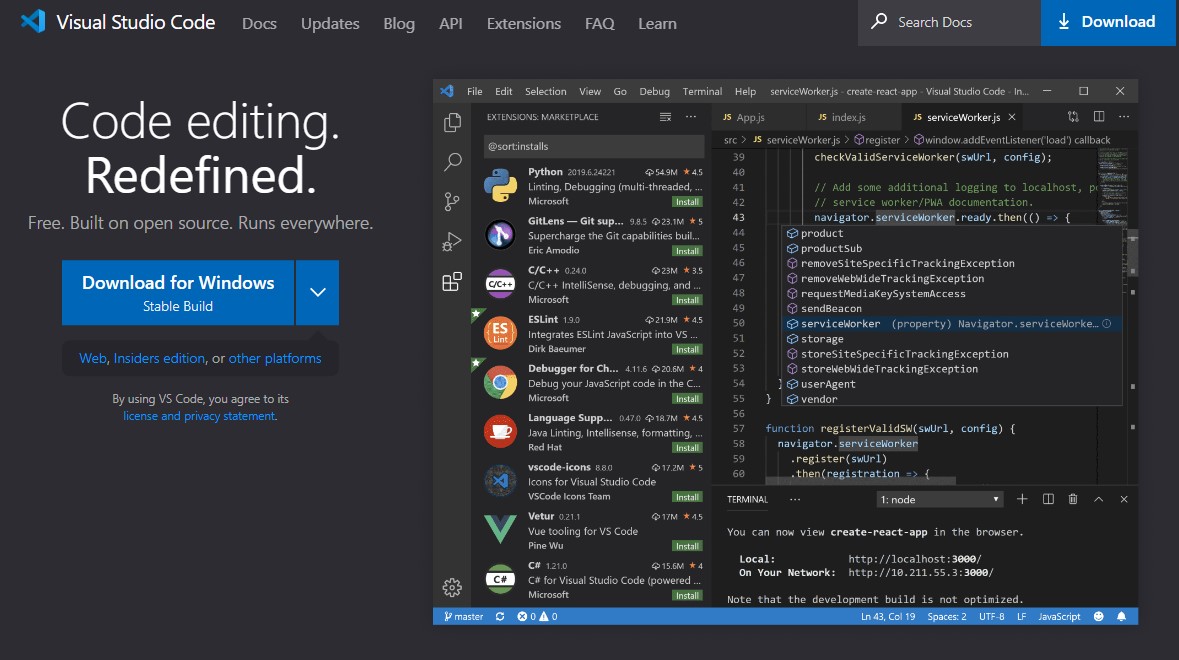
- 1. I first installed VS Code on my computer, as I didn't have any code editor installed yet.
- 2. Then download the Git installer from the official website and run: git-scm.com
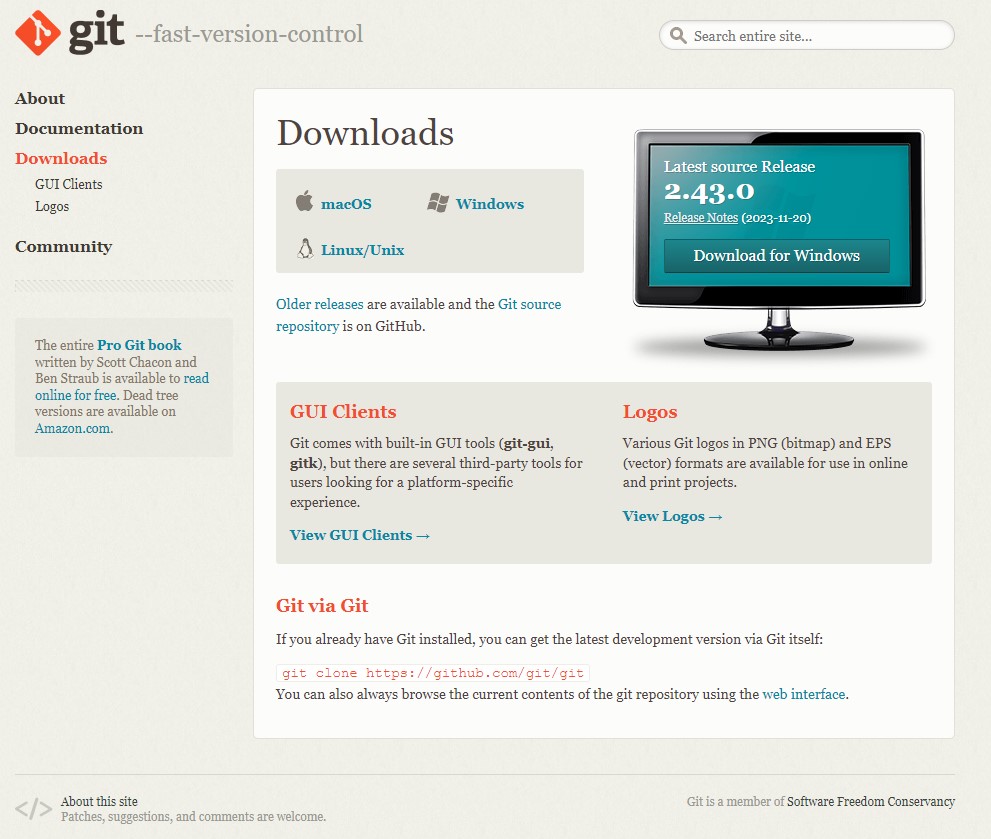
- 3. To verify the installation, you can open the command prompt and type "git --version" and press Enter. You should see the Git version installed.
Cloning a repository
- 1. On GitLab I went to my repository page and tried cloning my project, but received an error message. I realized I hadn't added my computer's SSH key to Git
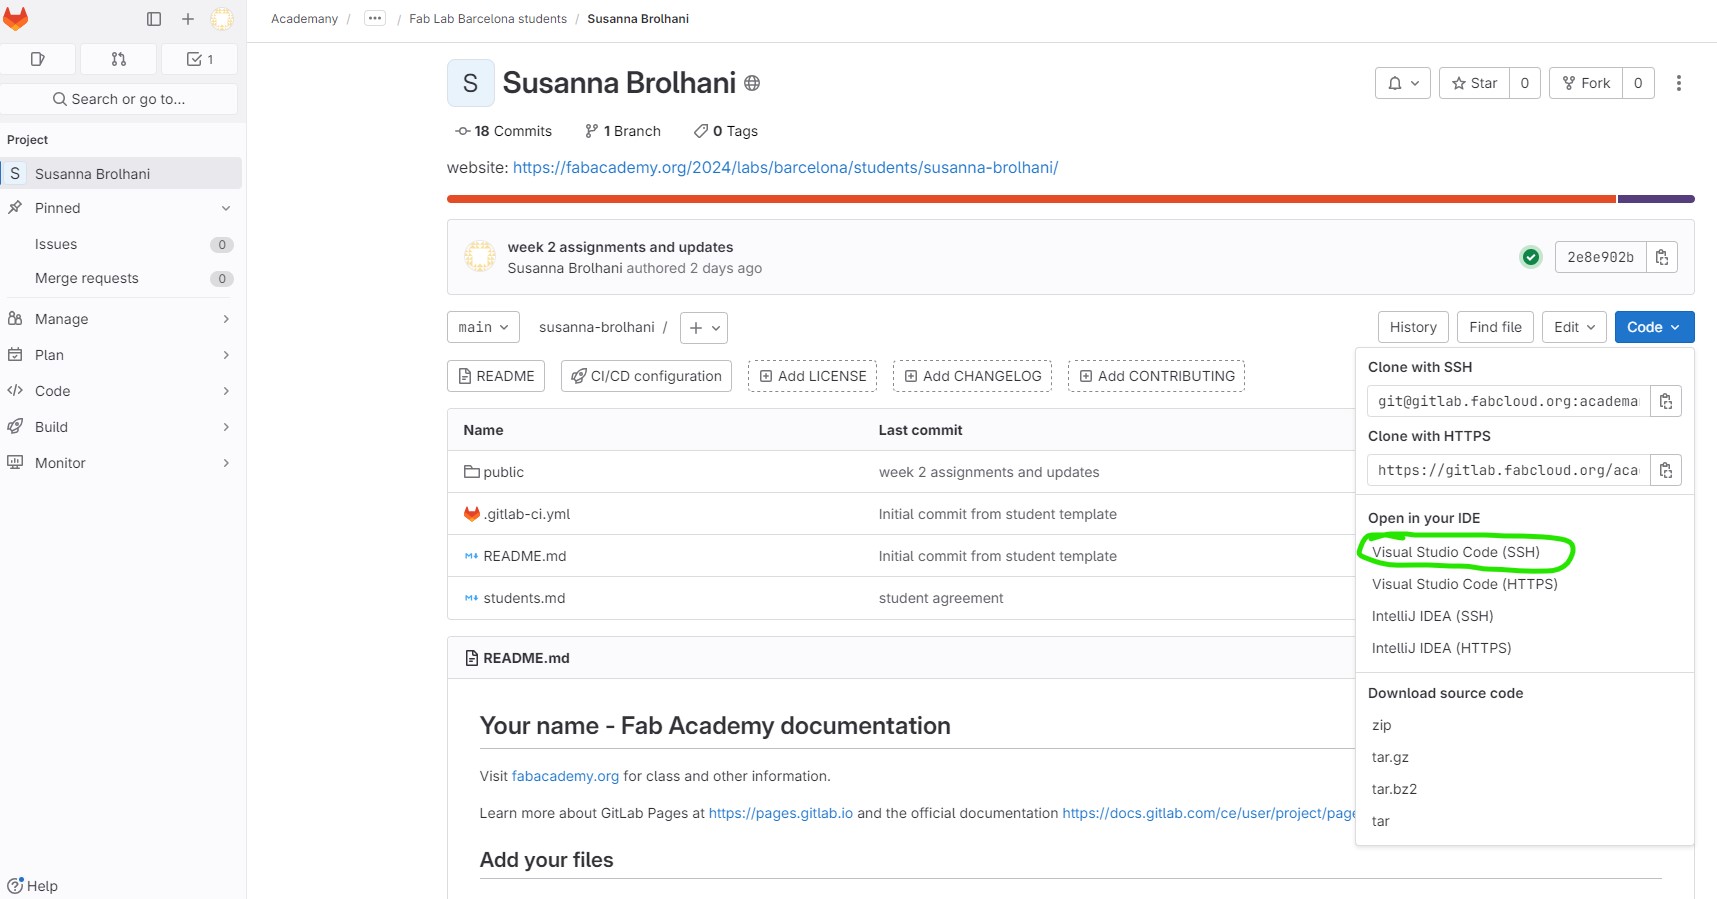
- 2. To find the SSH key:
- - on terminal, type "ls -al ~/.ssh" to find SSH key
- - then "ssh-keygen -t rsa -b 4096 -C "your_email@example.com" to create a new SSH key
- - I placed the generated SSH key in my GitLab settings.
- 3. Now, having found the SSH key on the terminal, I copied the public key and pasted in the preferences tab from the GitLab profile
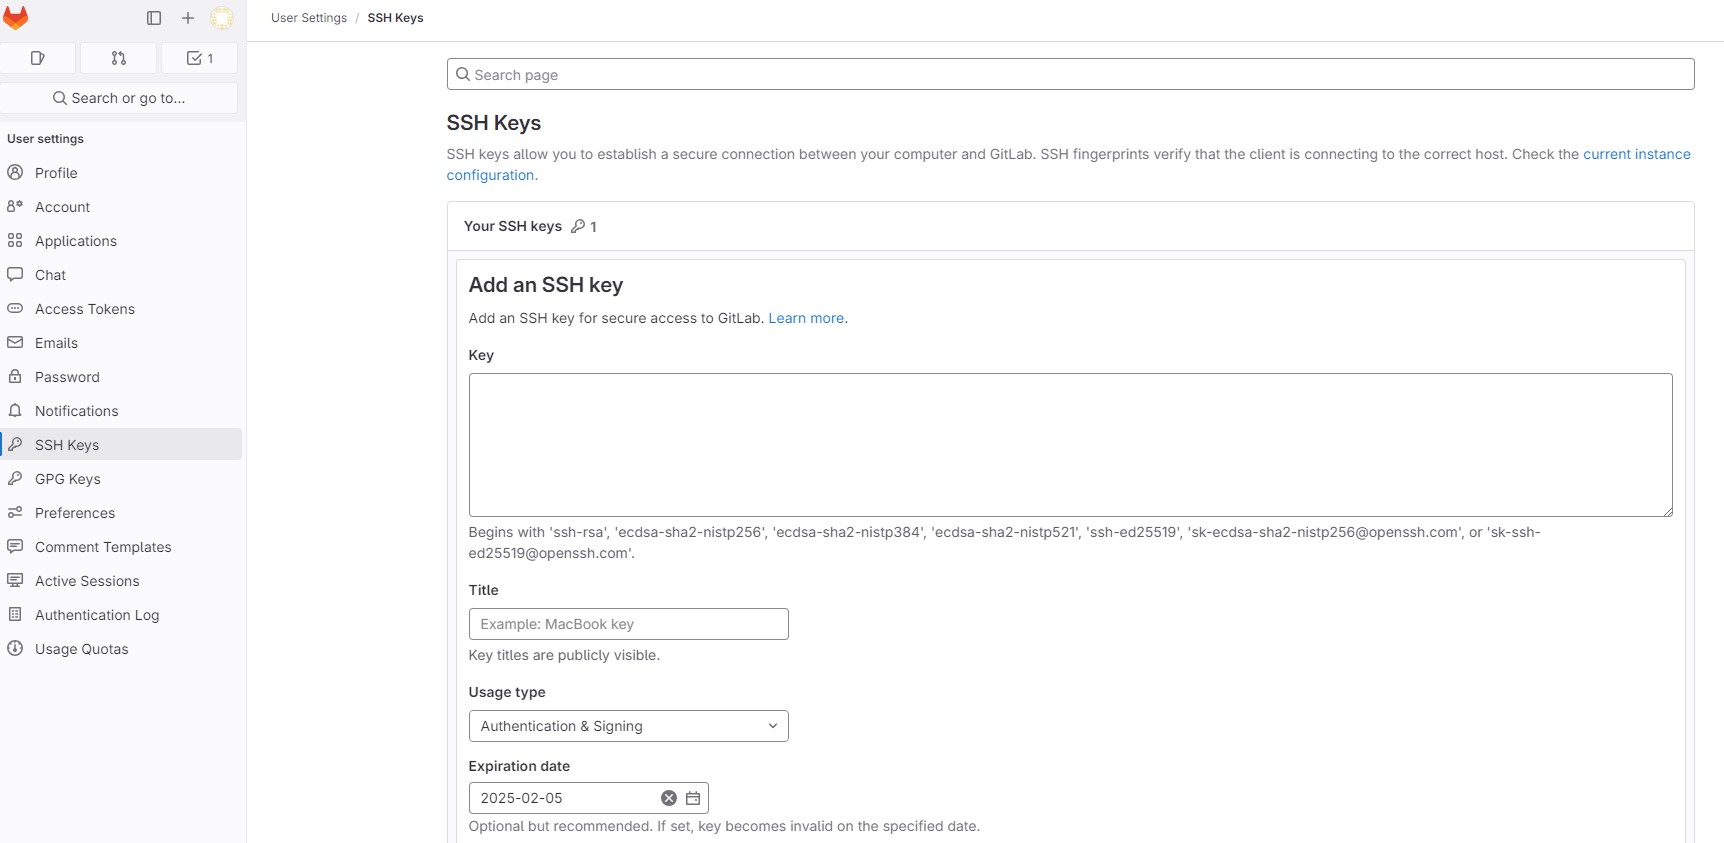
- 4. Repeated step #1 and could clone the repository to a folder in my computer.
Git workflow
- git pull: The git pull command fetches and integrates changes from a remote repository into the current branch. Pulling retrieves changes from a remote repository. The command should be "git pull (remote-name) (branch-name)", like "git pull origin main".
- git push: The git push command uploads local repository content to a remote repository. Pushing transfers commits from your local repository to a remote repository. The command should be "git push (remote-name) (branch-name)", like "git push origin main". If you are pushing for the first time and you want to set the upstream branch, the command should be "git push -u origin main".
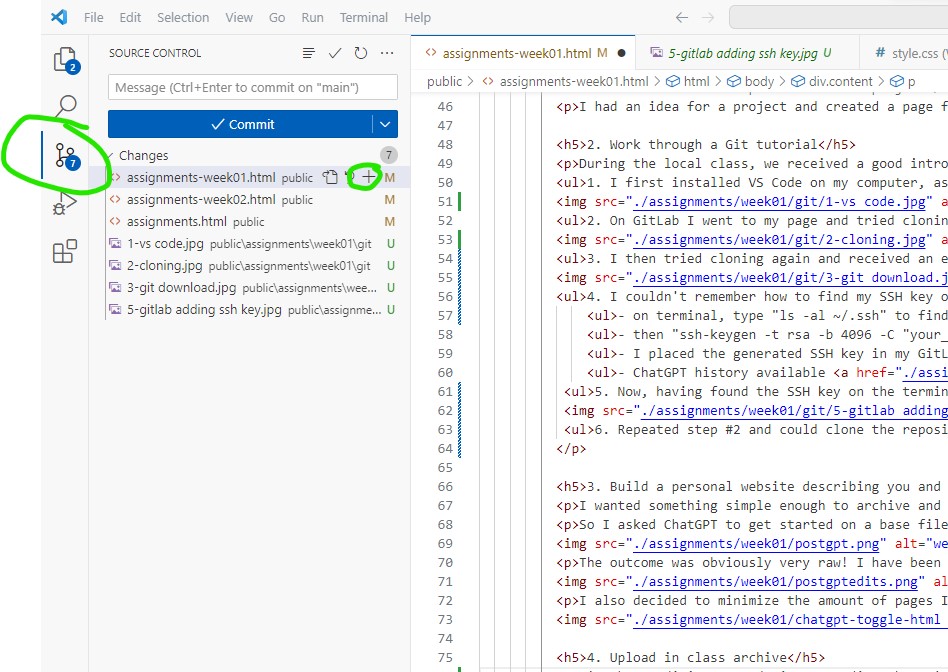
This is the standard approach, when using the terminal such as Git Bash. However, I'm using the Git functionalities from VS Code, as I liked how the visual interface integration of code editing uploading to Git. When I'm done with all the code edits, I access the stage tab on the left side, then click on the "+" button to stage the changes:
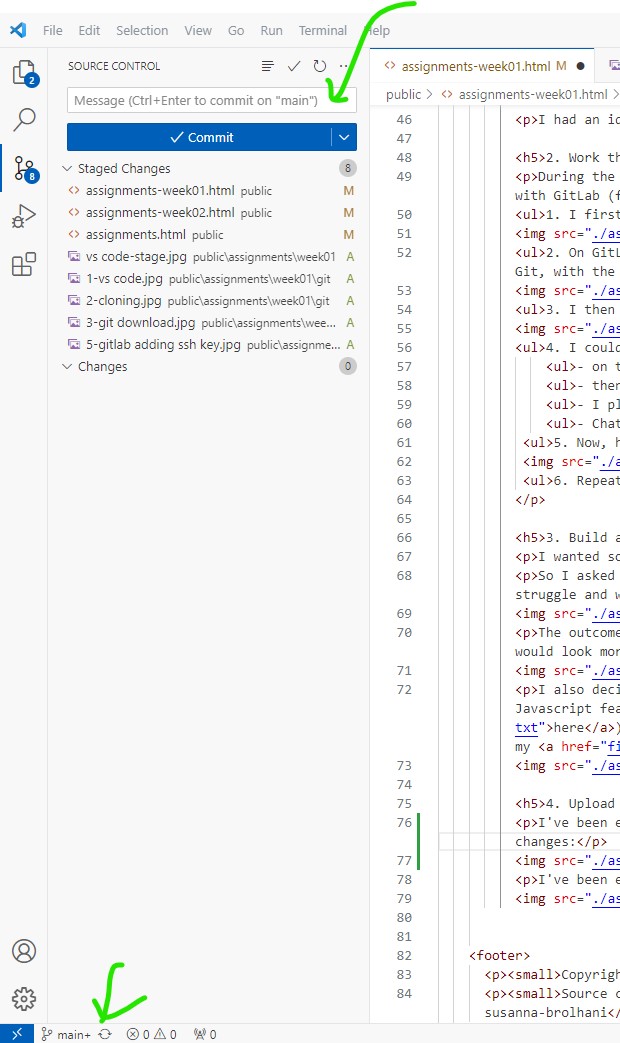
Once the files have been staged, there is a message space on top where you can add a description to the commit, and then locally commit pressing the commit button. Once it's ready to send to the online repository, you can click on the sync button on the left bottom of the page. This will send all your local commits to the remote commit, and your code will be on the repository.
3. Build a personal website describing you and your final project
I wanted something simple enough to archive and find useful documentation. Most templates I came across, had too many fancy features that seemed distracting.
So I asked ChatGPT to get started on a base file I could further edit, so I didn't need to worry about writing the structure from scratch, which I would struggle and would take a while. Here is what happened
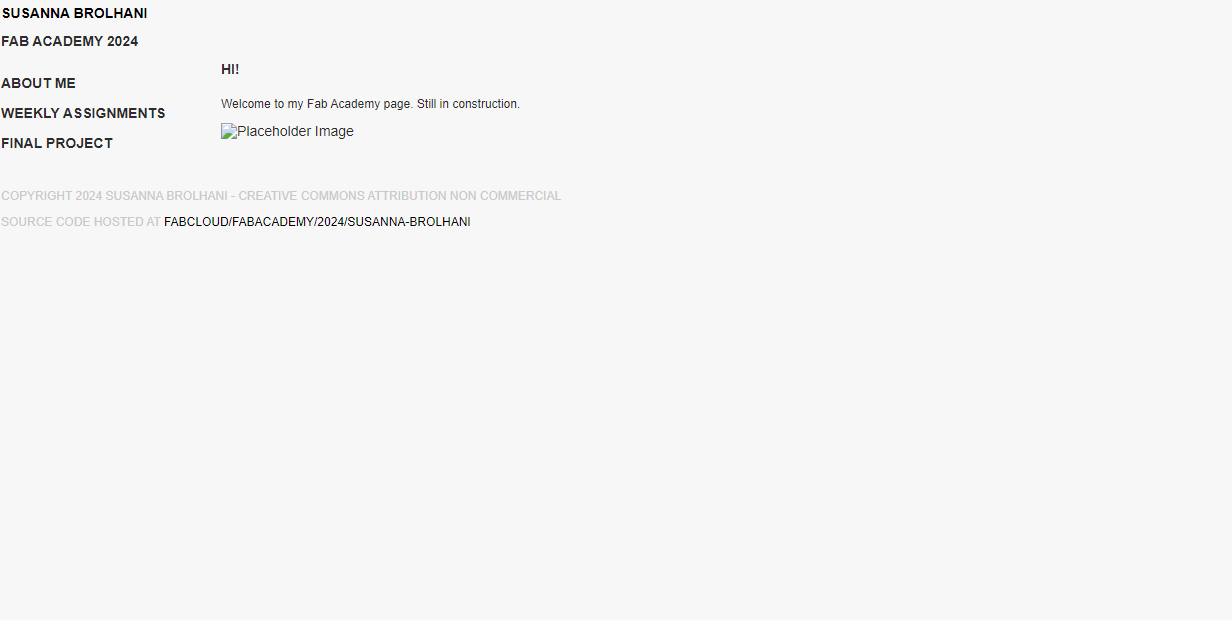
The outcome was obviously very raw! I have been consulting W3 Schools to find the tags to add and modify settings so it would look more like what I envisioned. So then updated the style a bit further to what you are seeing now:

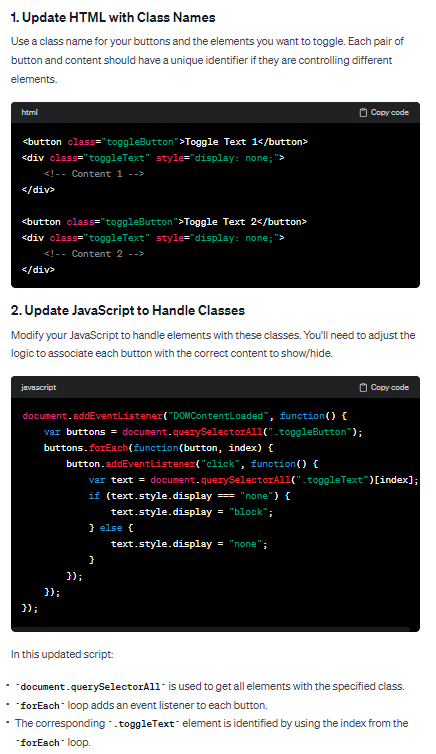
I also decided to minimize the amount of pages I would add to the page, but in order for each page not be too long, I thought it would be cool to add a Javascript feature to expand and collapse content. I asked ChatGPT how I could add this (find prompt here). The code pretty much worked on its own, so I added an "effects.js" file to my folder and header, and added the toggle button and content feature to my final project page.
