Week 6
Embedded Programming
Fab Academy 2024
Riichiro Yamamoto
Dear My Friend
This week I was introduced to embedded programming. It is the programming that is used to communicate with electronics and machining. A simple example will be turning a light on and off when a switch is pushed, or making a sound when a button is pushed. It is a whole different language that bridges between analogue and digital. I have no experience in programming, so it was very hard for me to understand the logic behind it. However, when I started to understand very simple basics, I felt really good about myself finally being able to talk to electronics.It was a tough week for me not only because of my lack of experience in programming but also because of an issue I had with software. So I was not able to explore as much as I wanted to, but still, It was a really good opportunity to get introduced to the programming universe.
Neil Gershenfeld said this sentence at the end of the lecture, which made me feel like I just entered Hogwarts, so I wanted to share it with you.
“Welcome to the world of embedded programming. This is where all the magic happens.”
Hope you enjoy
Riichiro Yamamoto
Group Assignment
this week's group assignment was to browse through the data sheet for your microcontroller, and compare the performance and development workflows for other architectures.
Here is the link to the group assignment page
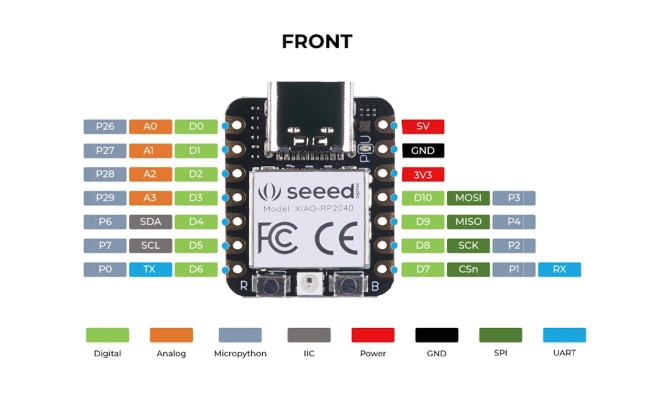
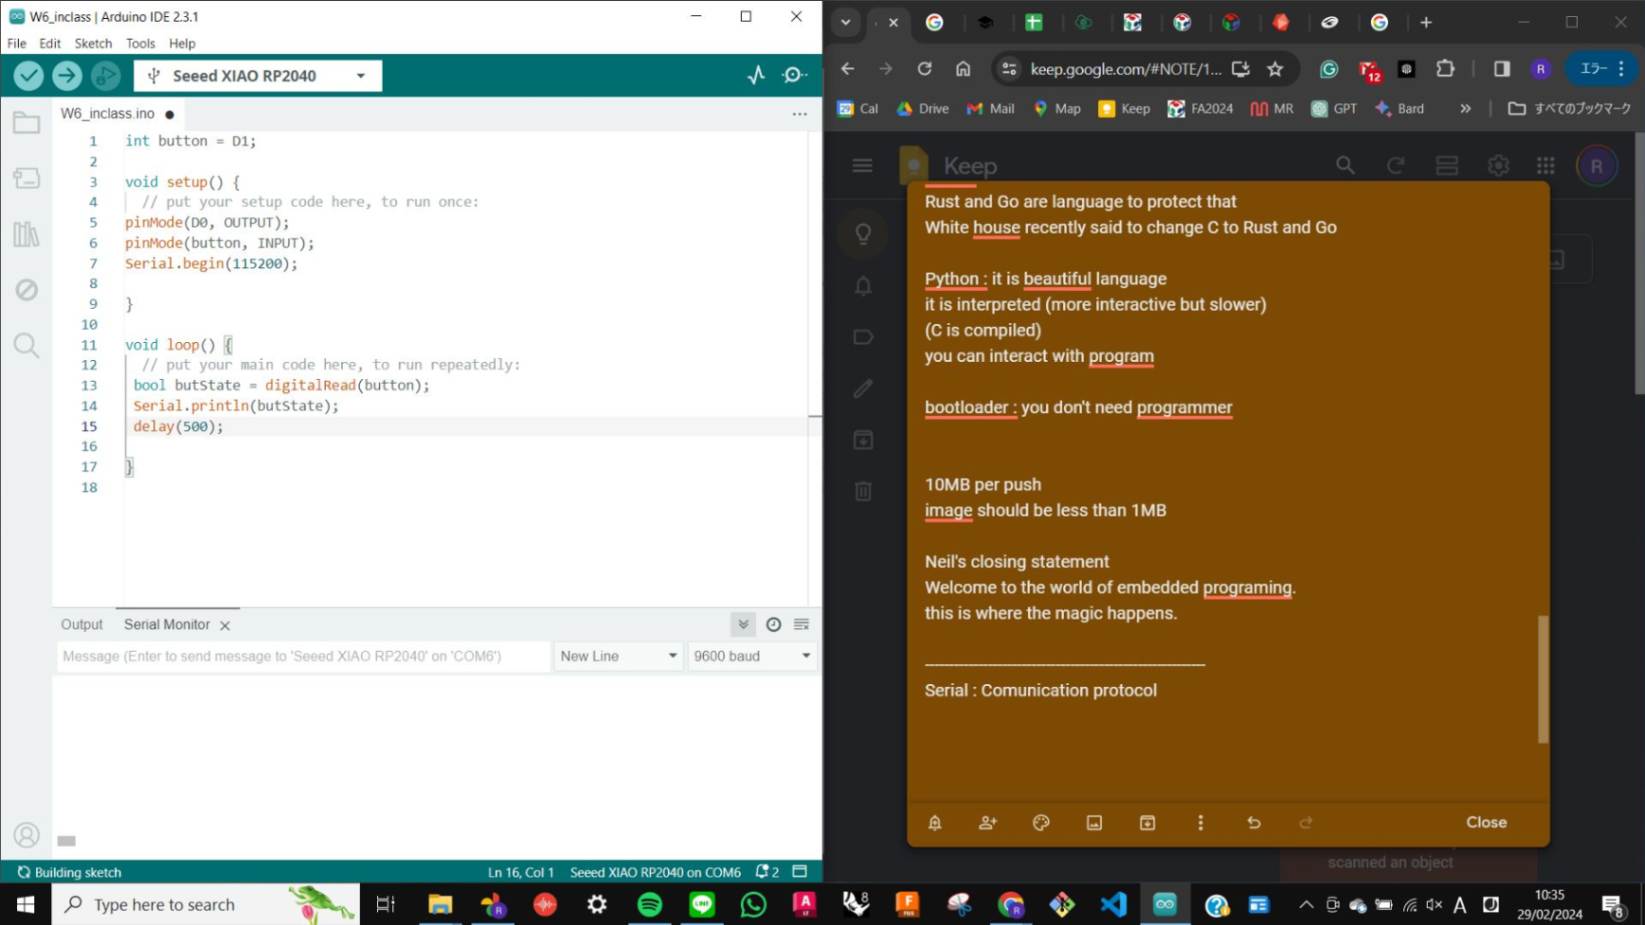
Seed XIAO RP2040
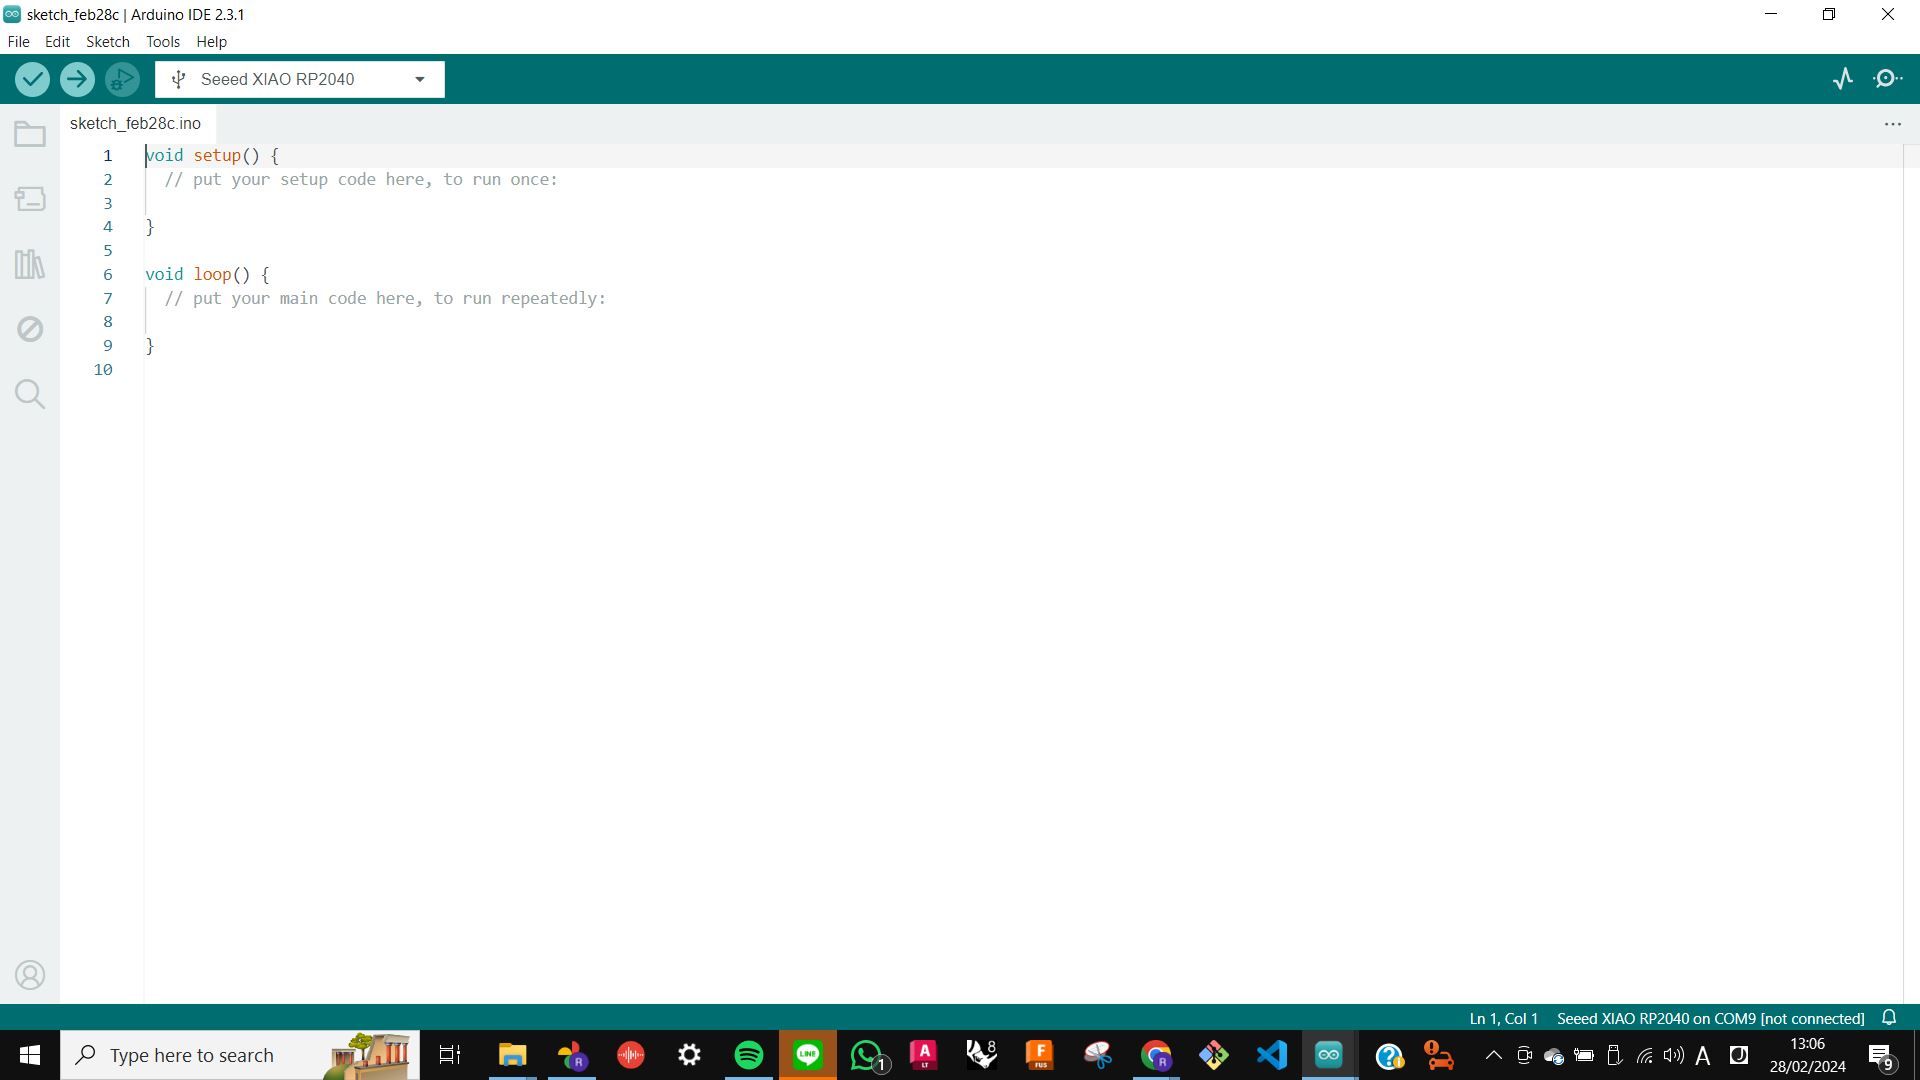
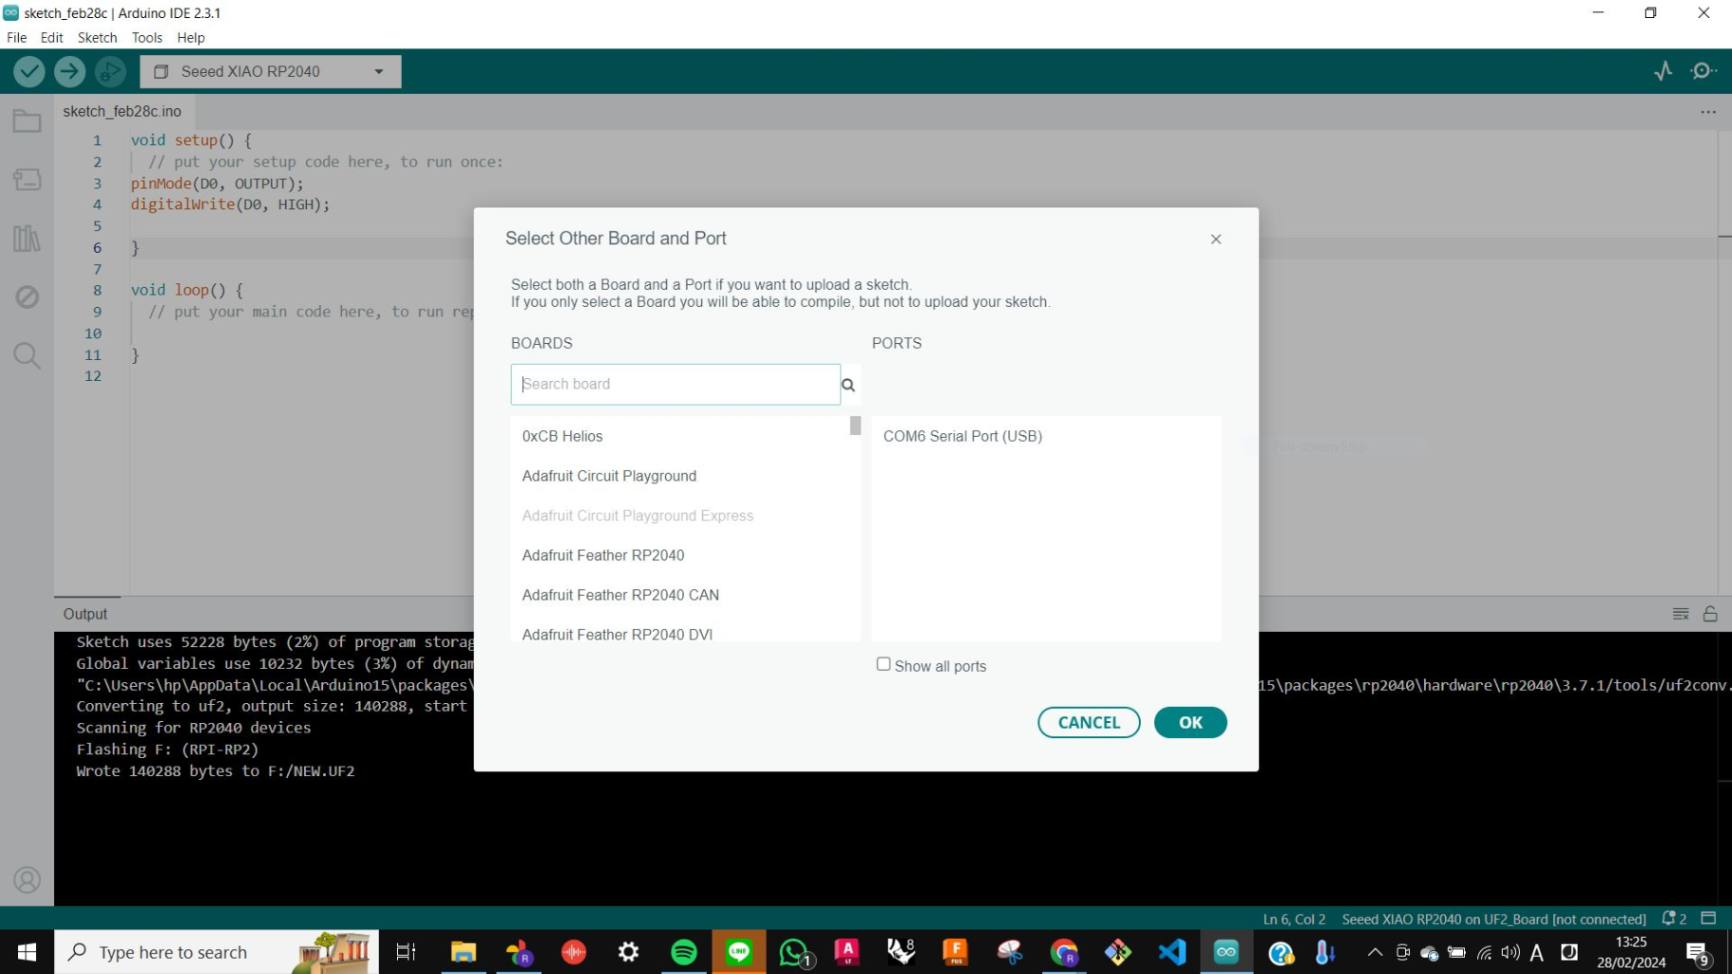
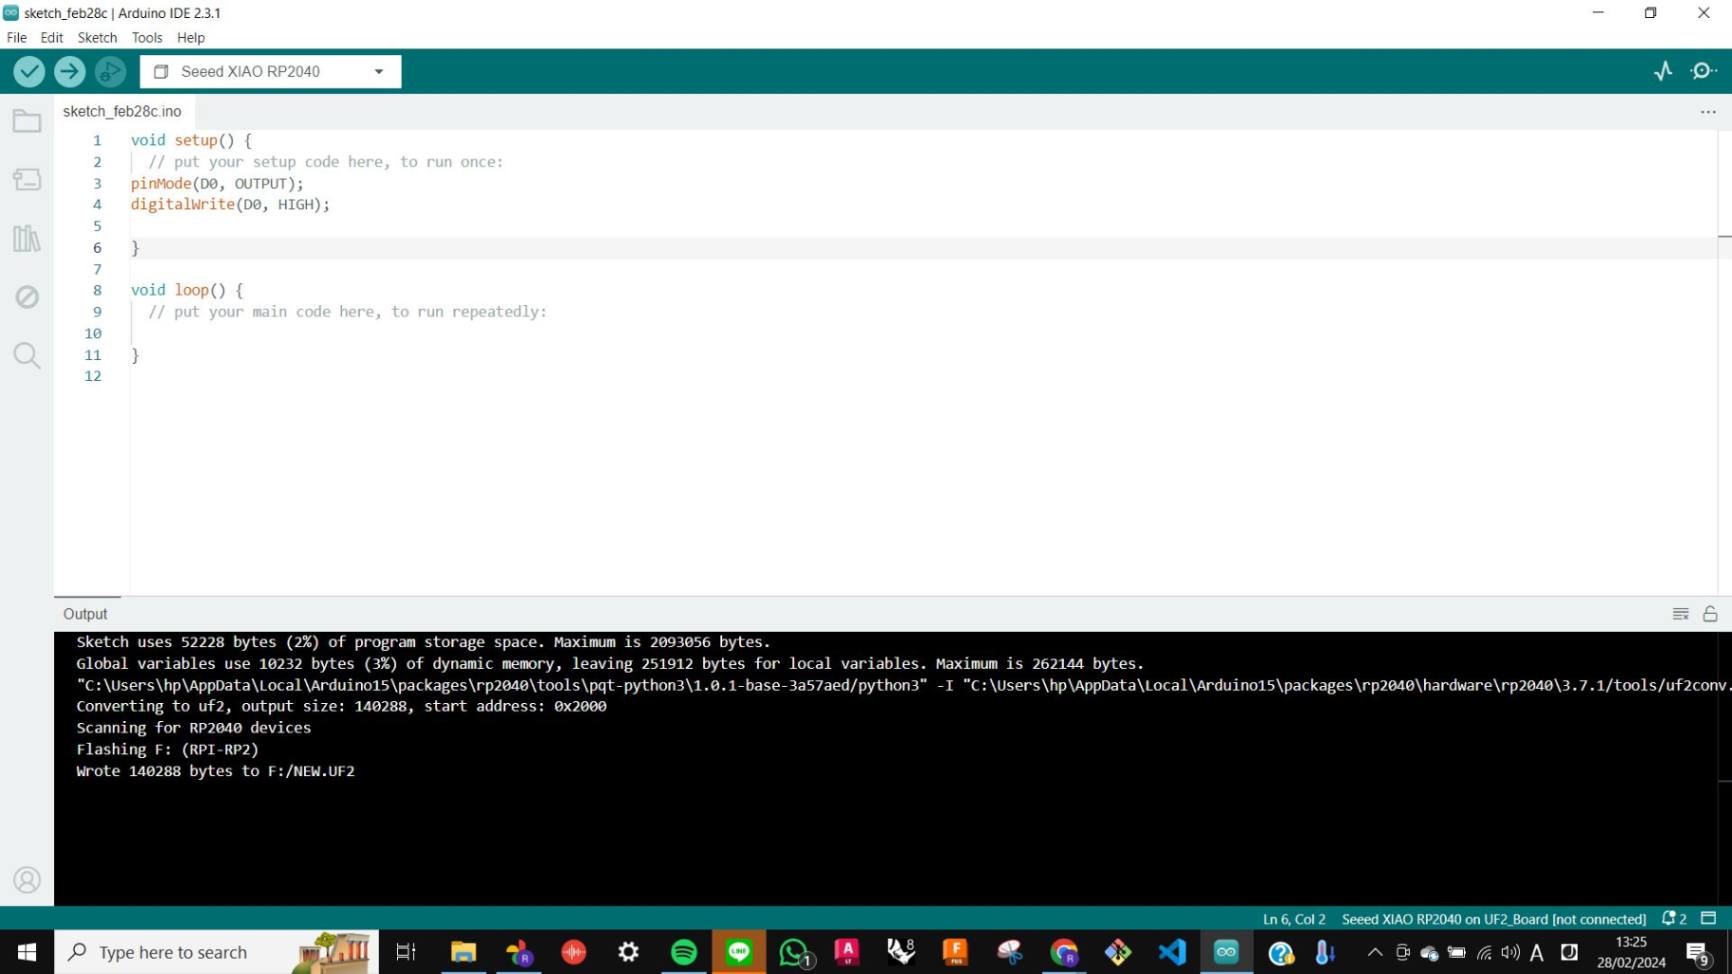
To program the PCB board I made during week 4 of Electronic Production, I used Arduino IDE. First, I needed to install the information of the board which in this case Seeed XIAO RP 2040 and then choose the board and the USB port from the Tool tab.
Second, I start writing a code. An important thing that I got introduced to at this point is the structure of the code. the void setup section is a setup section that runs the code only once. The void loop is the main code that runs in a loop. Also before the void setup section, I can define certain code which can be used in void setup and void loop.
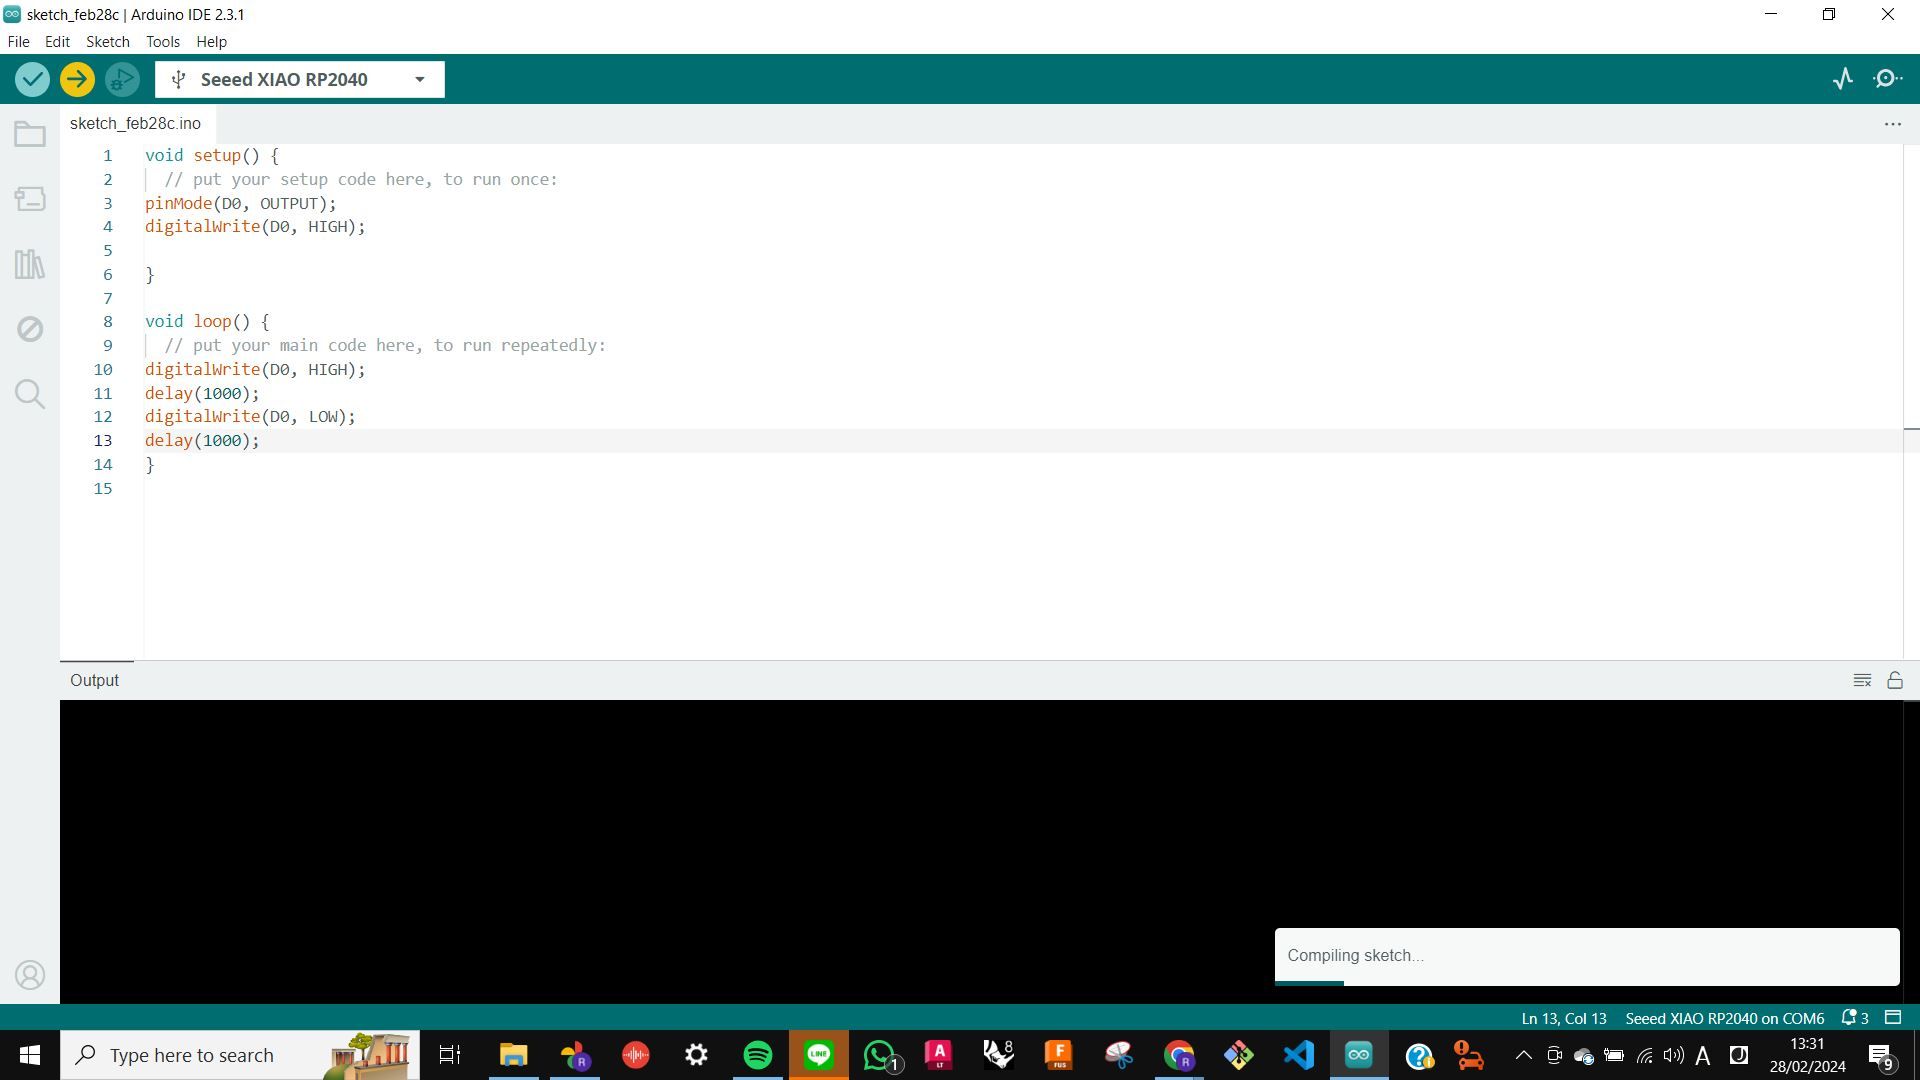
Blinking LED
I simply rewrote an example for a blinking LED pin. By doing this, I understand in the void loop section, I am saying to turn on the LED pin for 1000msecond and then turn it off for 1000msecond. In my understanding, the digitalwrite is output, D0 is a port where the led pin is connected, HIGH/LOW is on/off, 0/1, and delay defines the time between the previous code and the next code.
Files
LED_Blink.txt
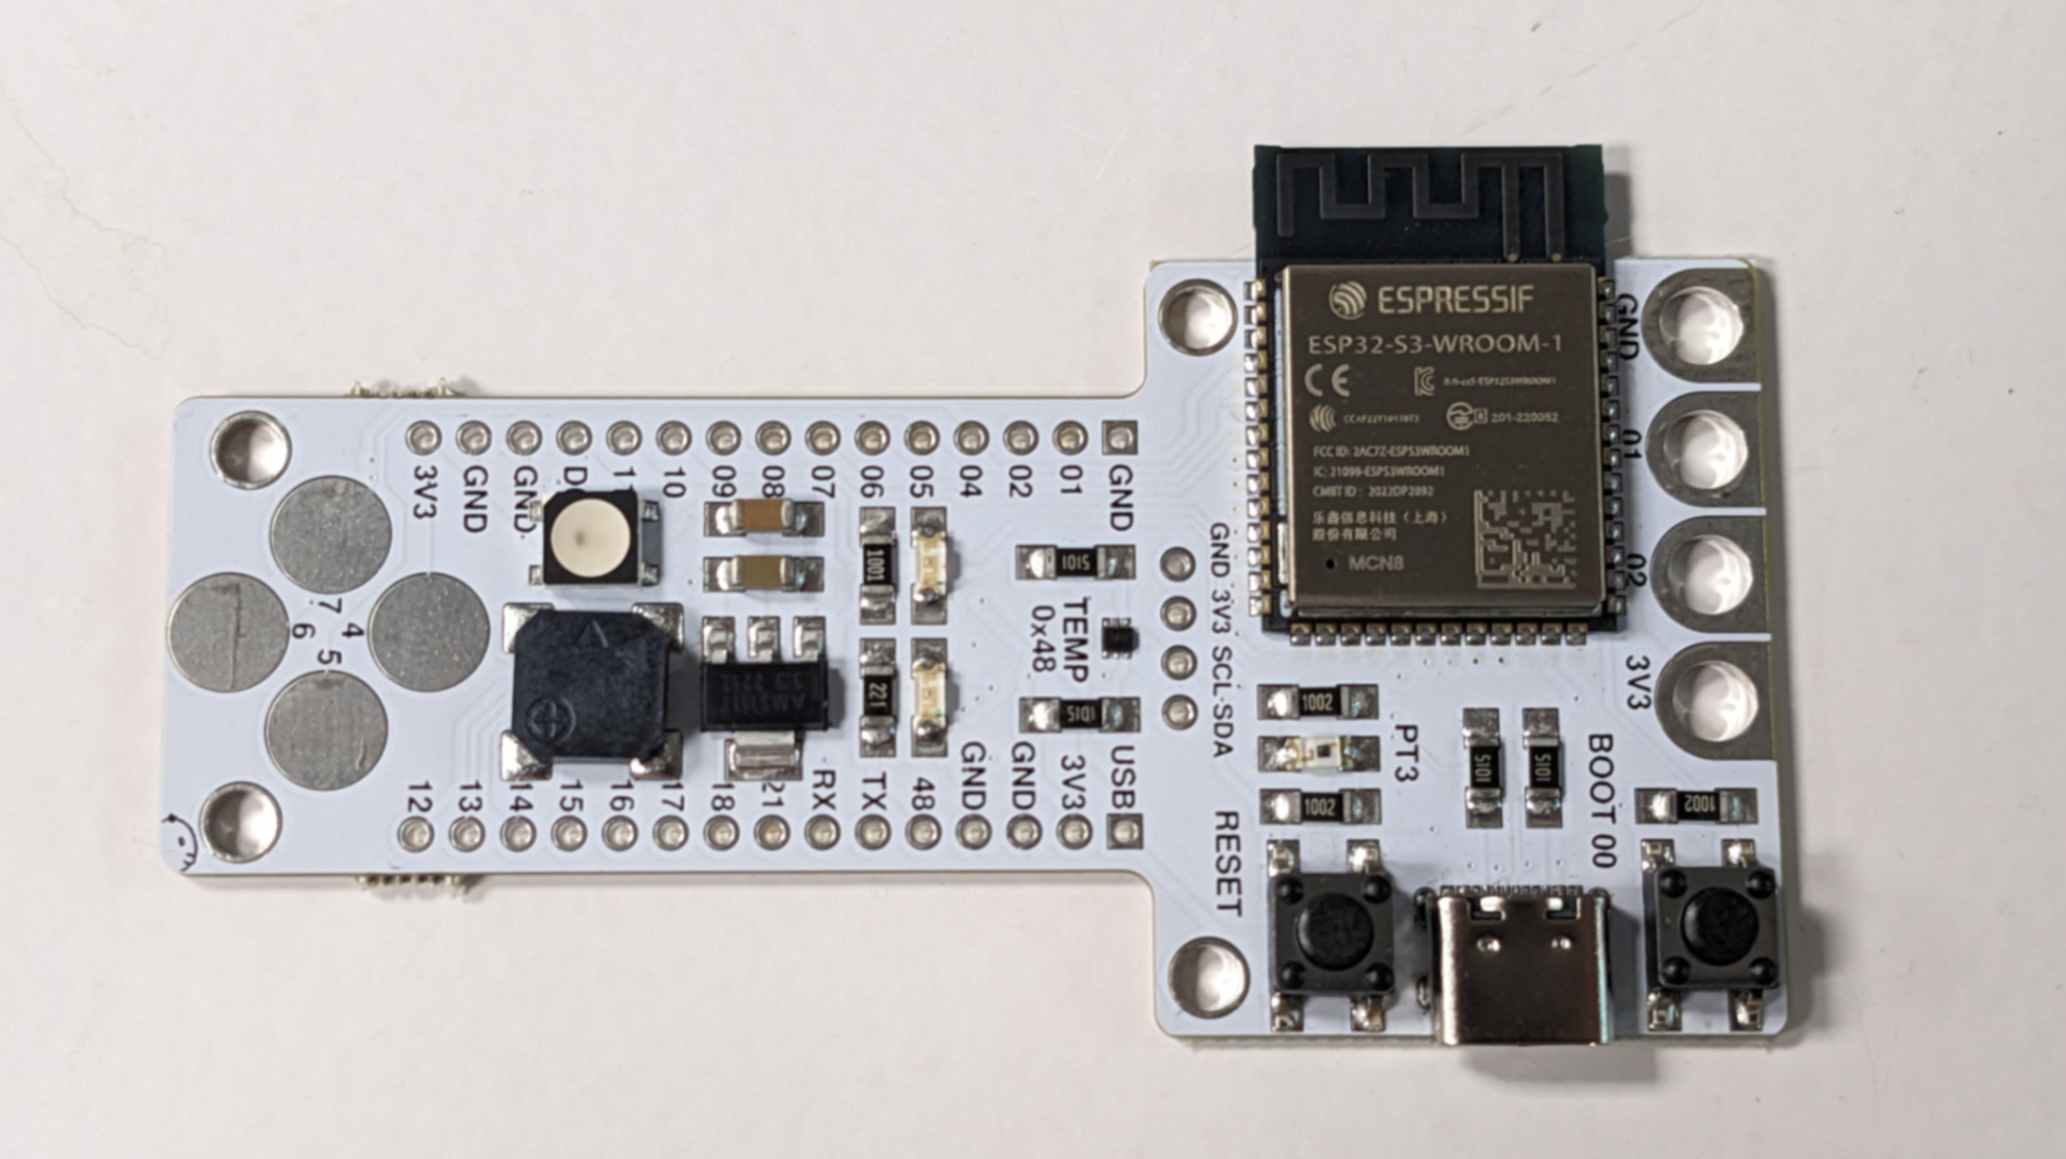
ESP32S3
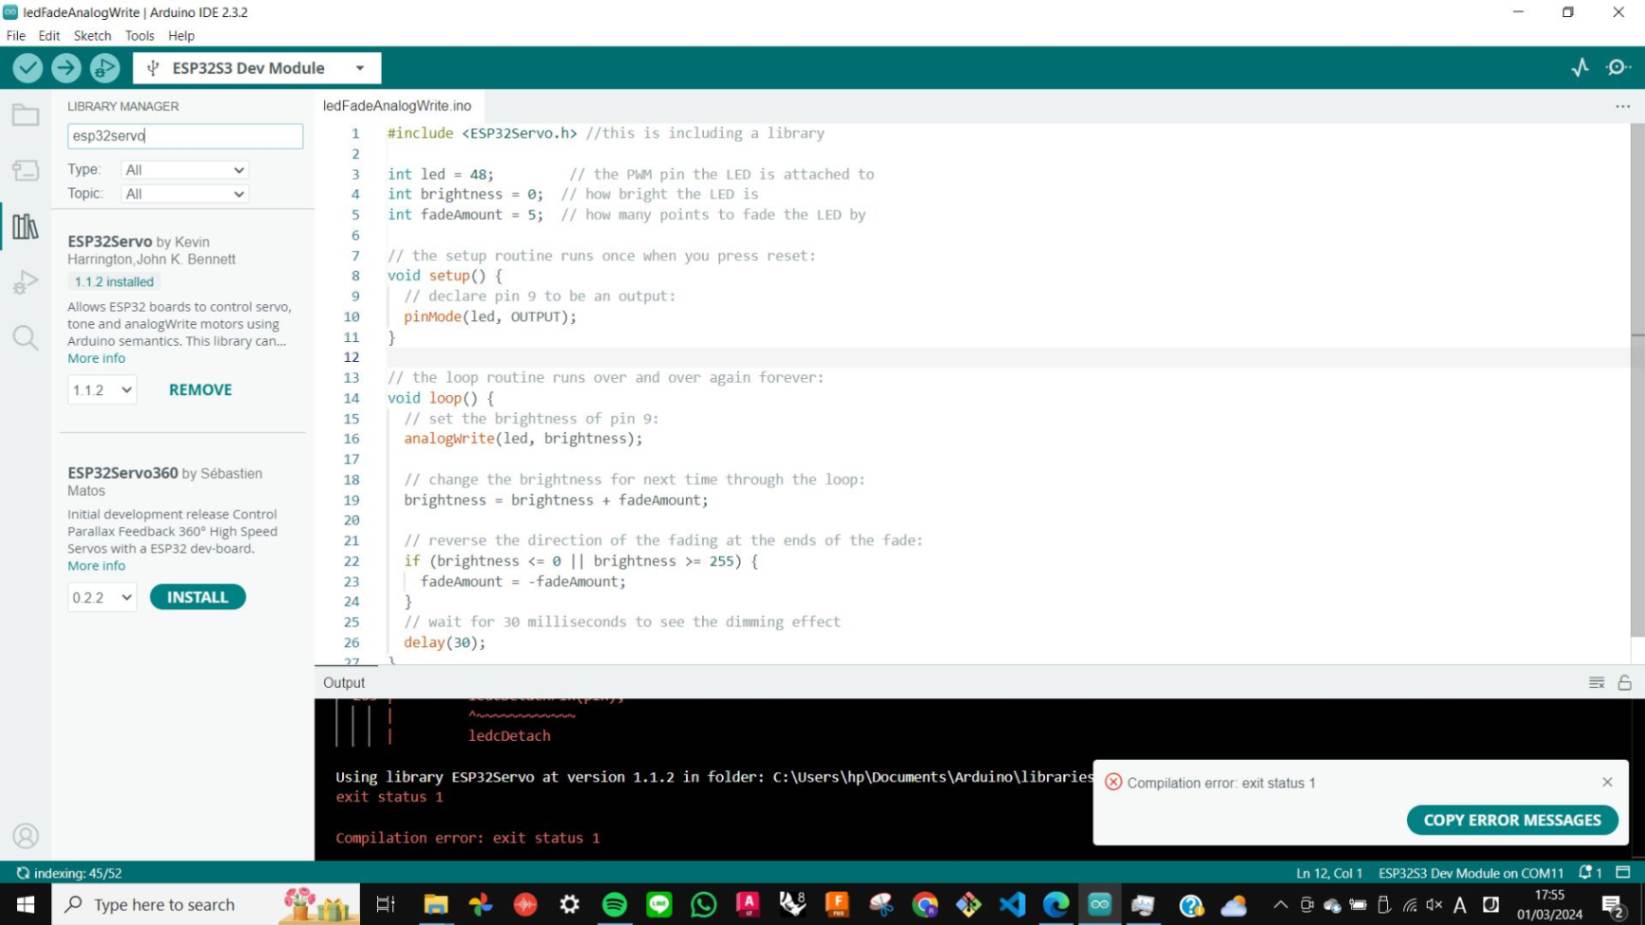
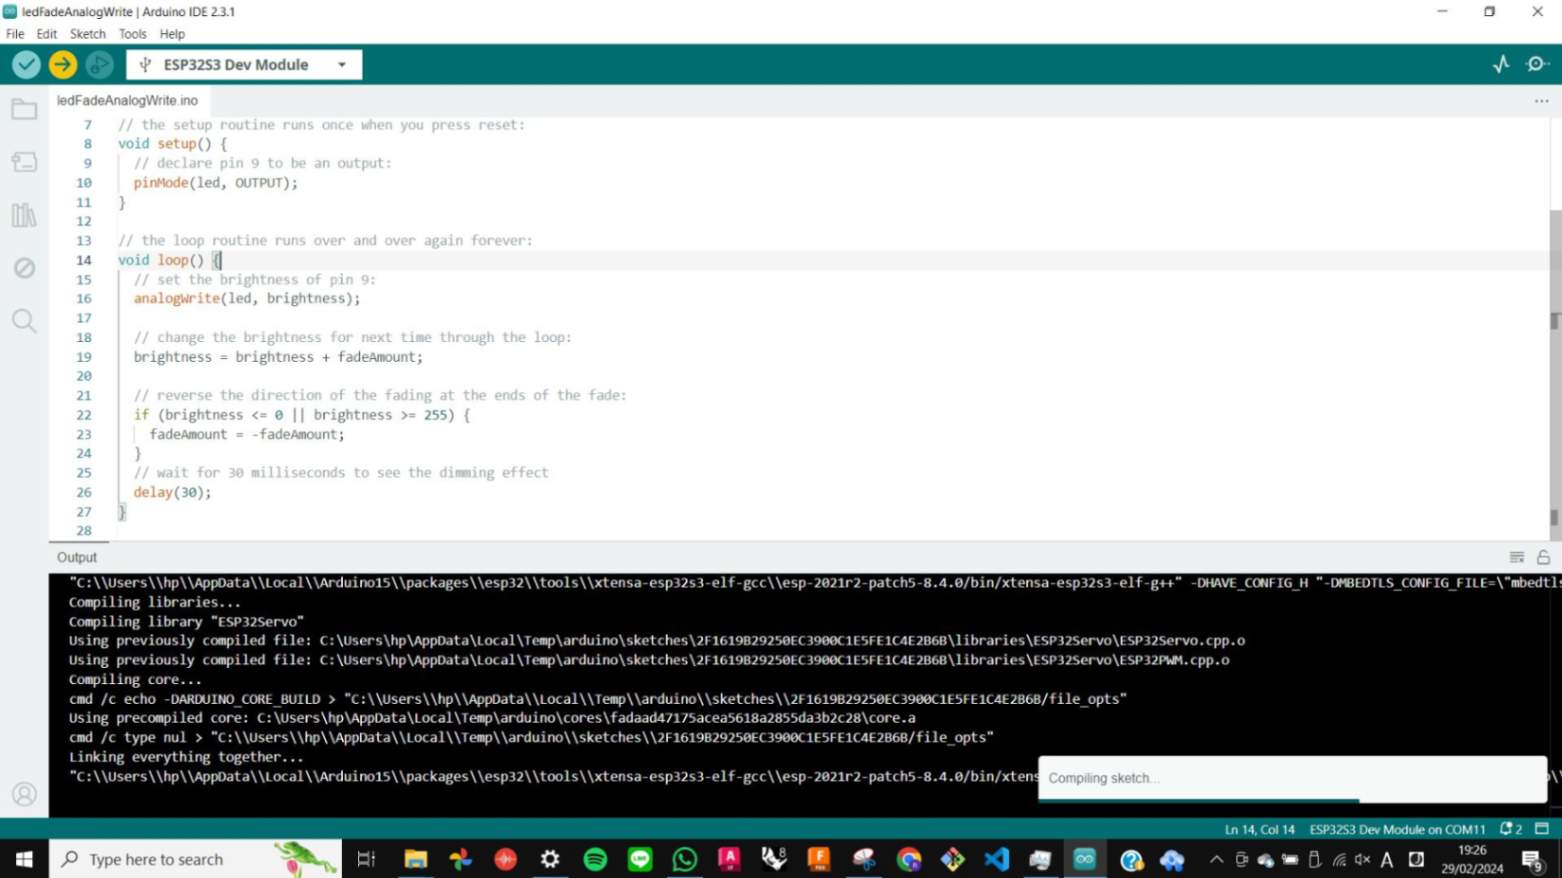
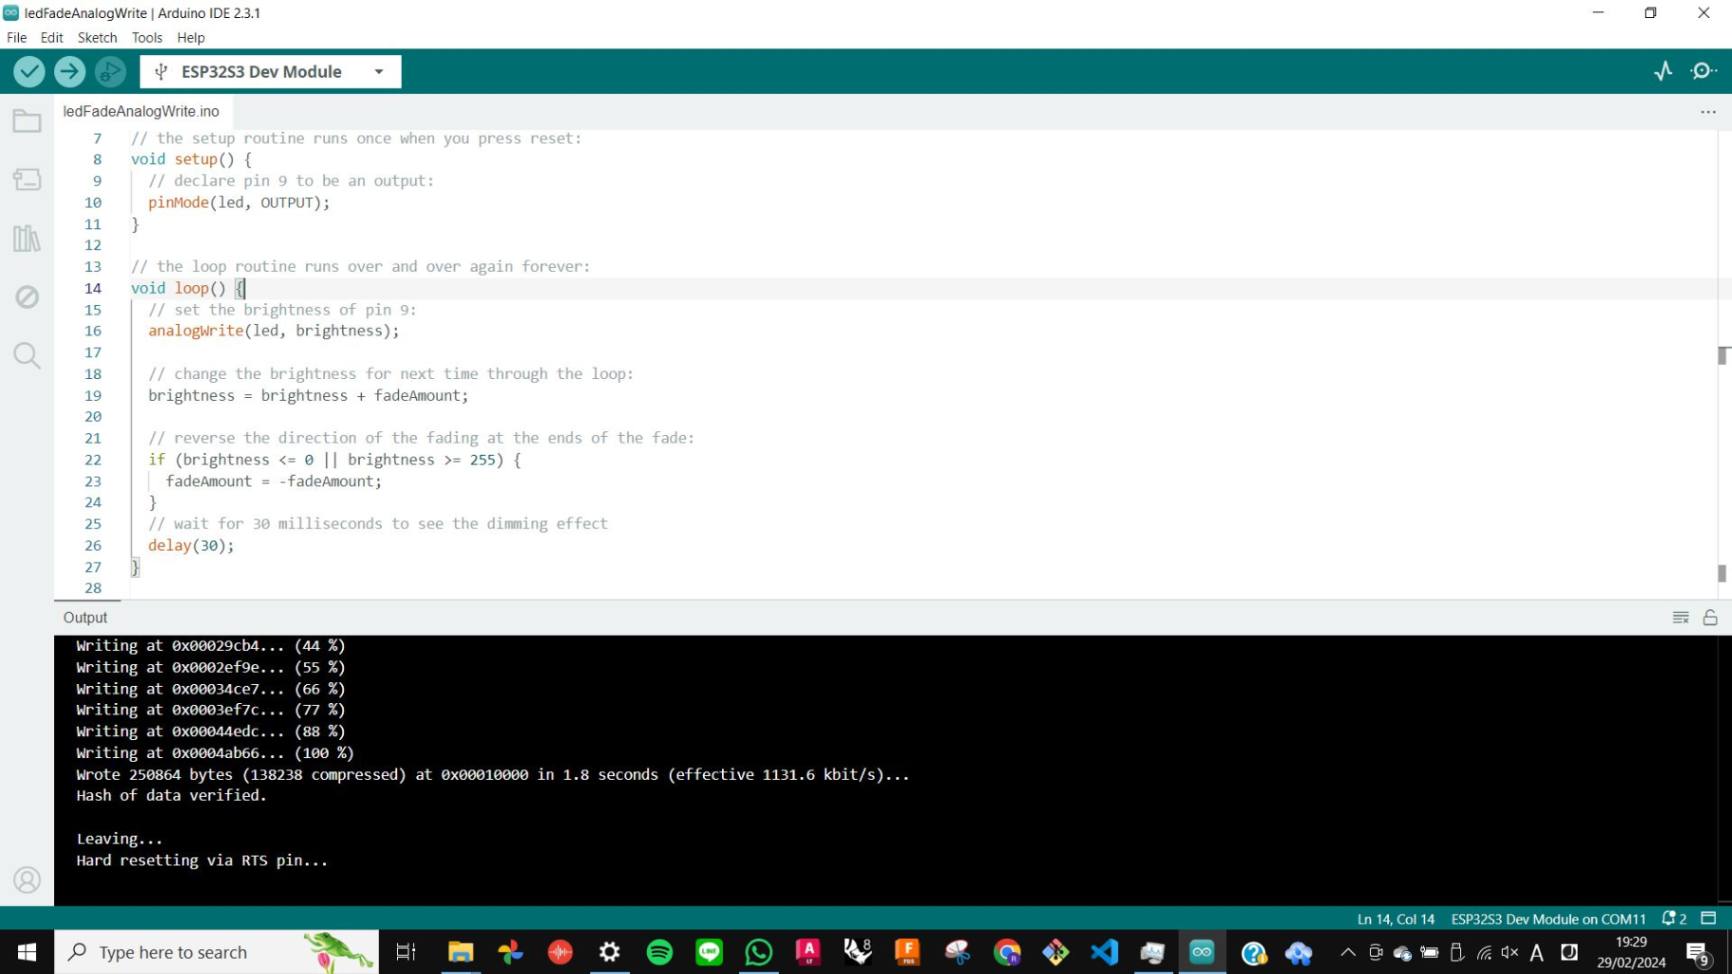
Next, I tried to use a different board such as ESP32S3 Dev Nodule. This board was provided by FabAcademy which has multiple sensors and pout put. First I installed and connected the board and port as same as last time. Then I used an example file which was provided during class. This time I chose the Fading LED example. As a quick test, I tried to upload the code to the board but an error occurred. This error was not about the code itself but the information I connected to the code. In the end, I figured out the new beta information of the board was causing this problem, so I installed the previous version of the board and it worked.
FilesLED_Fade.txt
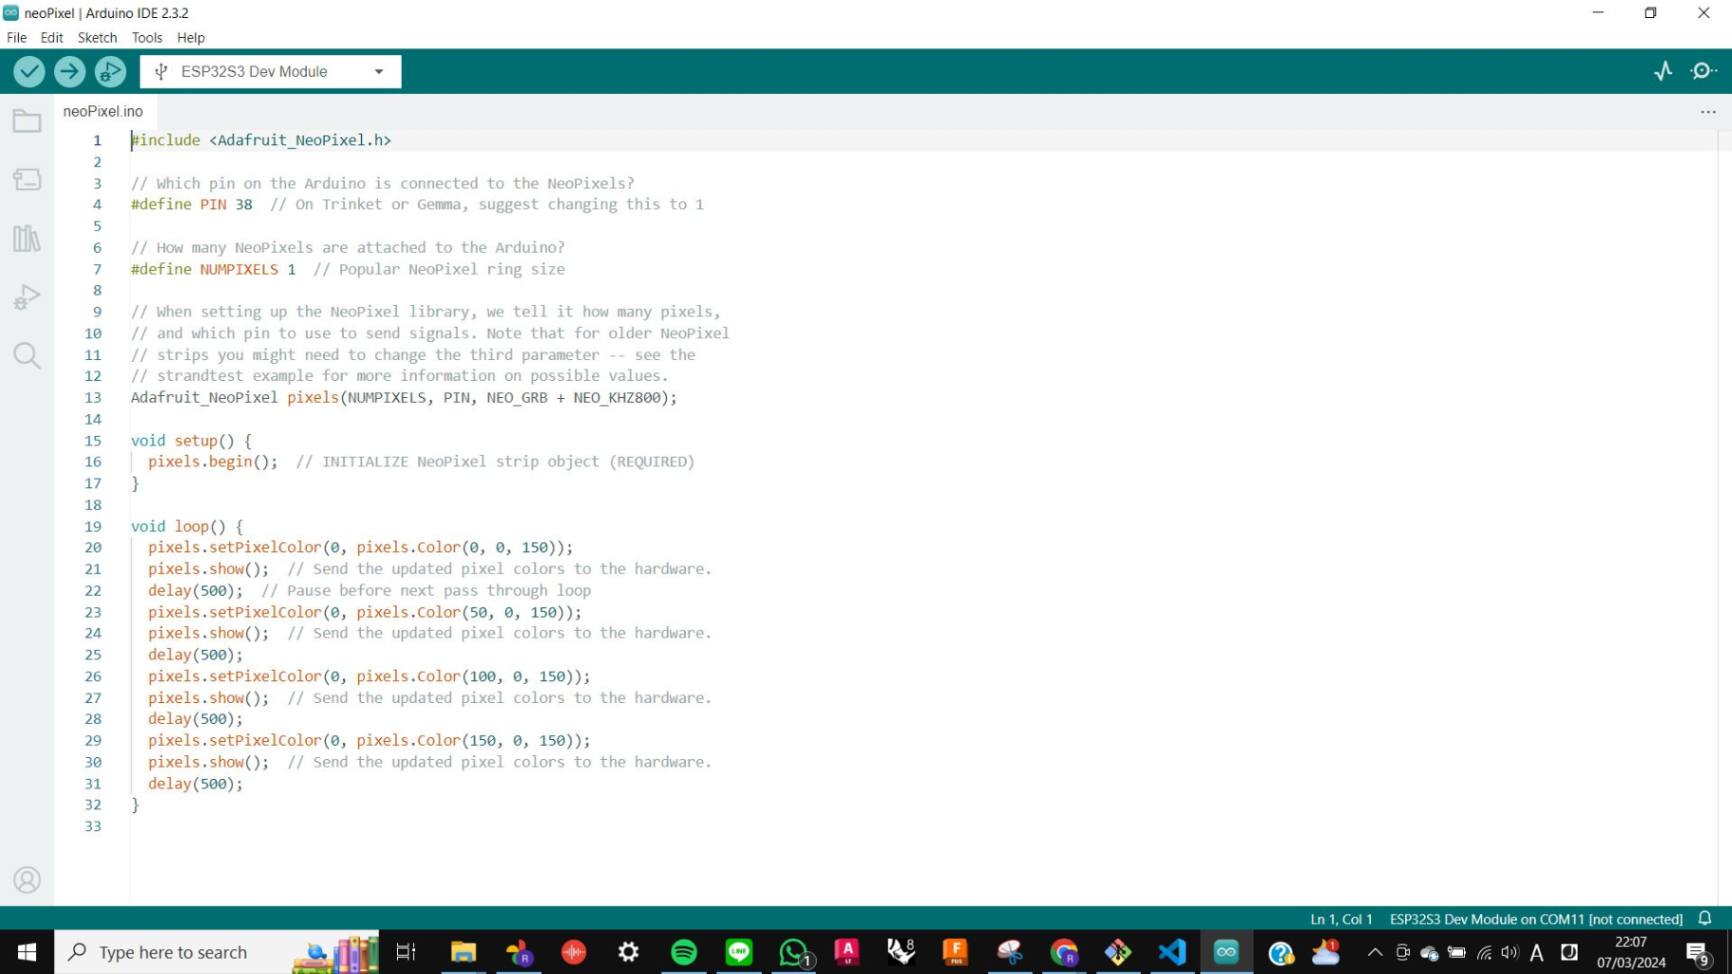
NeoPixel
Next, I tried using the NeoPixel example file. This is the code for lighting up the RGB LED light pin. This time I decided to tweak a little bit to get a little bit more control. I simply changed values for colour and made it in the way that the light would change from blue to purple. The trial was successful. Since the blue light is not as strong as Red and Green, the purple became more red.
FilesNeoPixel_Blue-Purple.txt
Video(.mp4)
W6_NeoPixel Blue to Purple_FA2024RY_compress.mp4
Problem
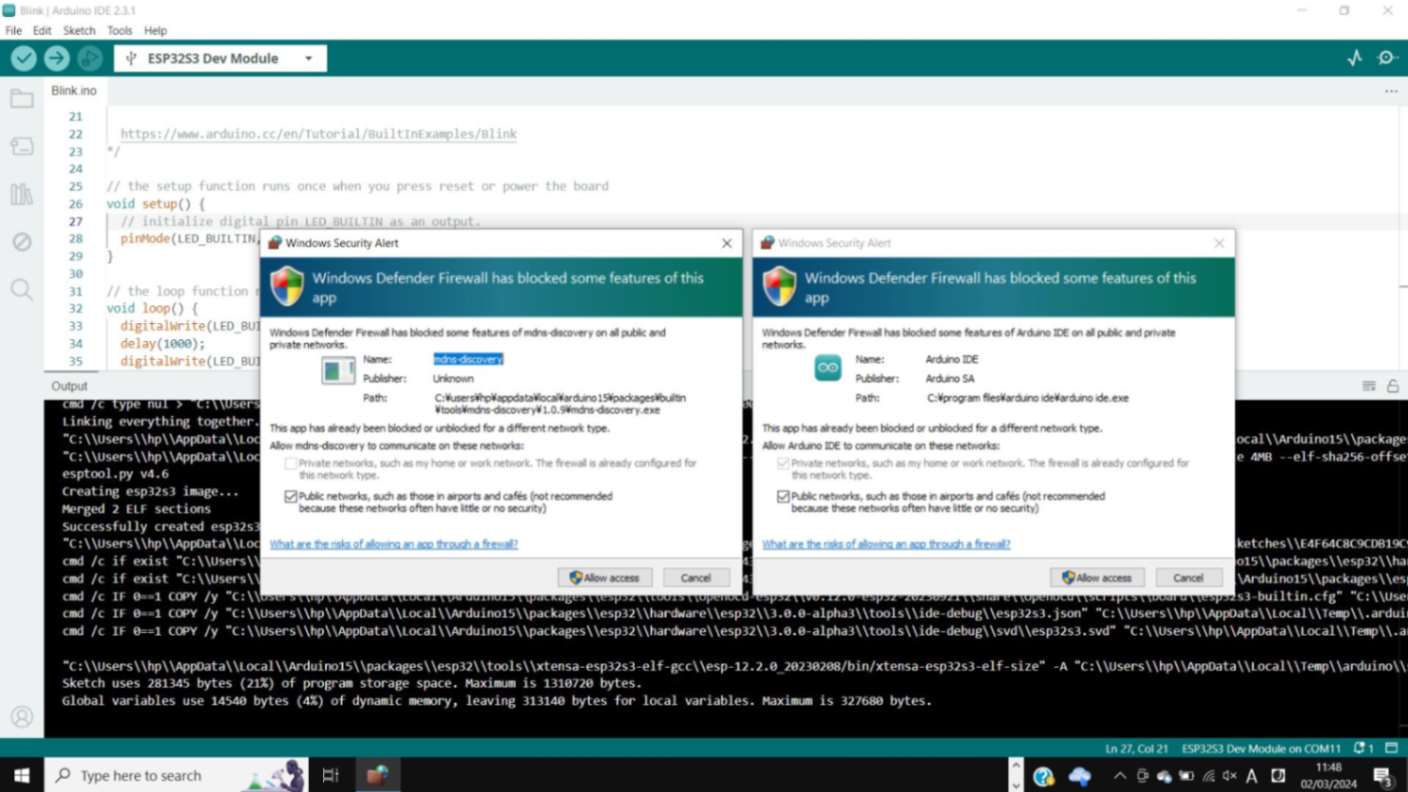
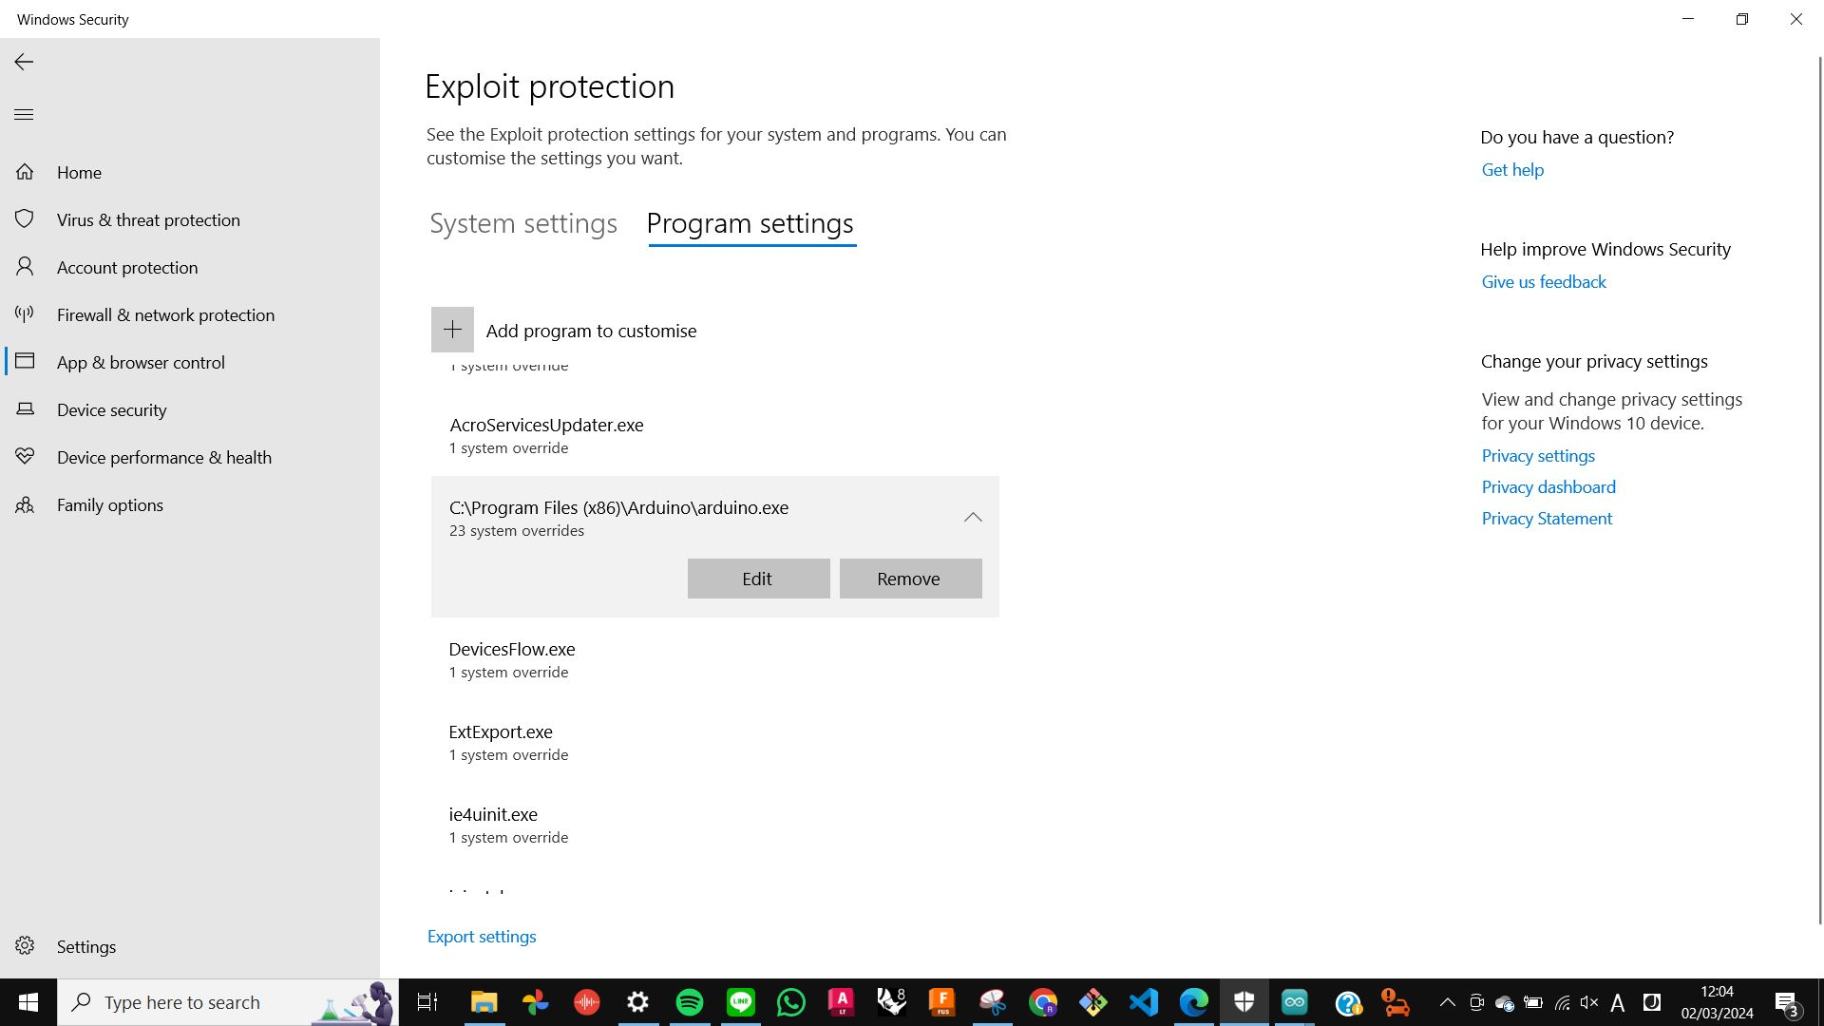
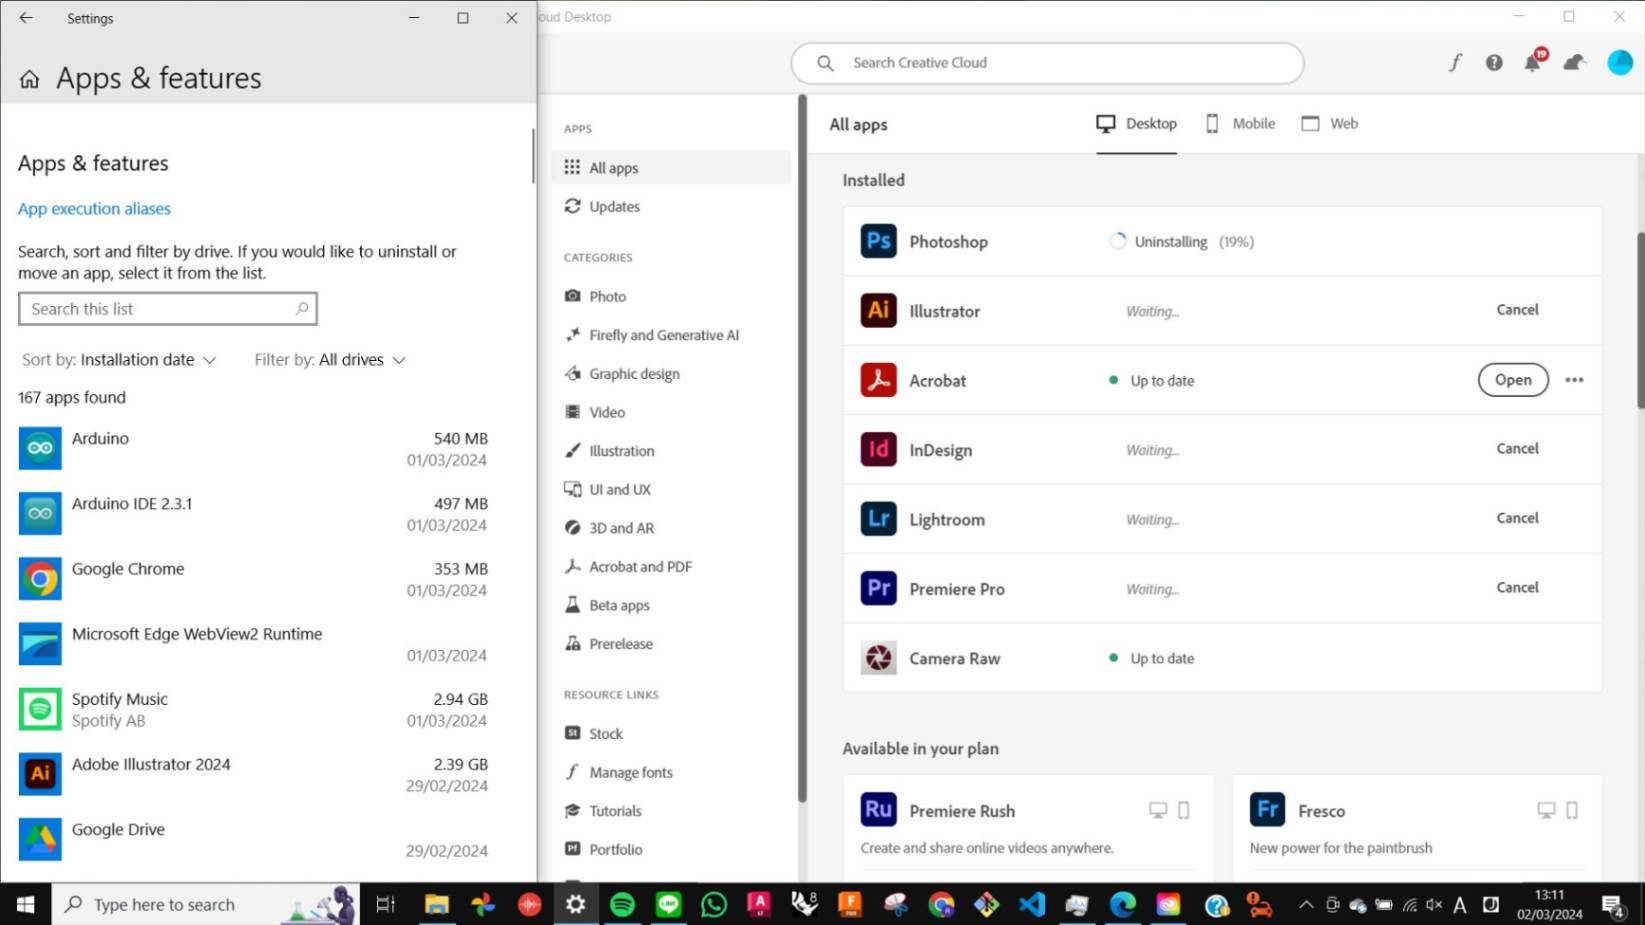
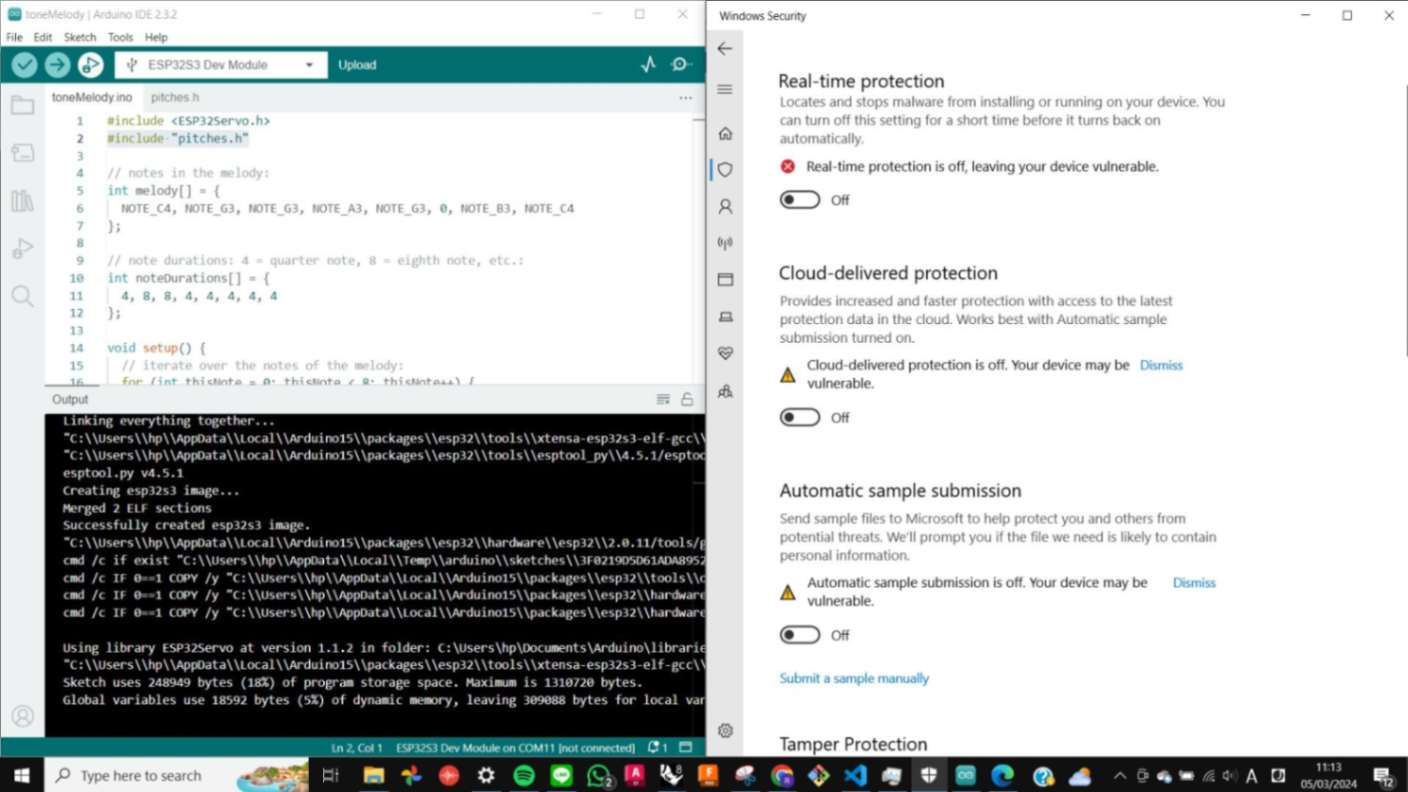
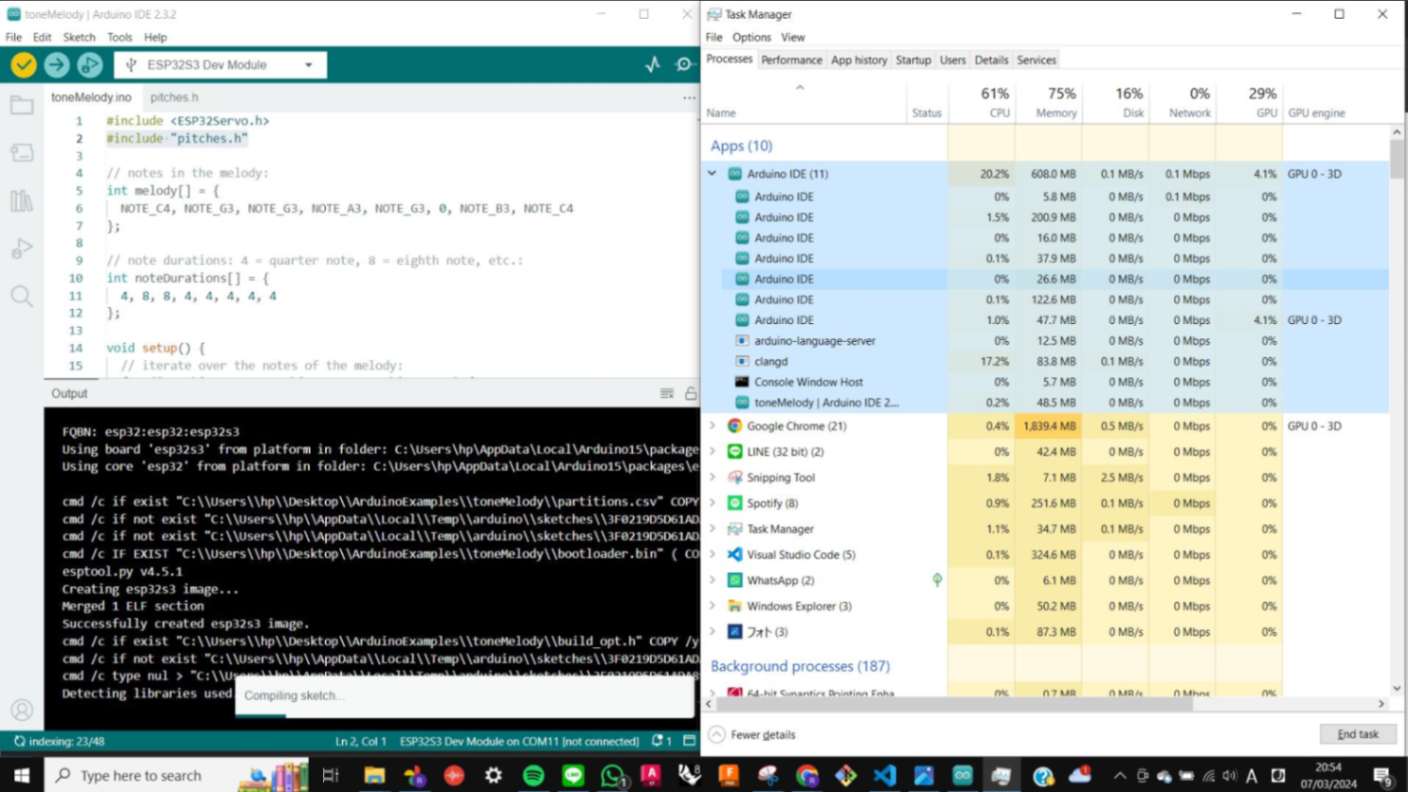
All this time I was having a problem with Ardurino. When compiling a sketch, takes an enormous amount of time. This is very unusual, so I started to look for a solution by searching on the web and seeking help from my tutors. Below is a list of things I tried to fix this problem and all of them failed to solve this problem.
- Checking the PC capability
- Temporaly deactivating Antivirus software
- Relocating Ardurino files
- Uninatalling & Reinstalling
- Giving Admin permission
- Using Legacy version of Ardurino
- Closing all of the Google Chrome tabs
- Cleaning a drive and increasing storage space
- Uninstalling memory heavy apps
In the end, I found out what was causing the problem. In my case, Ardurino runs multiple Ardurino when it is compiling a sketch. This behavior seems like the issue of the problem but I did not find a solution to fix it.
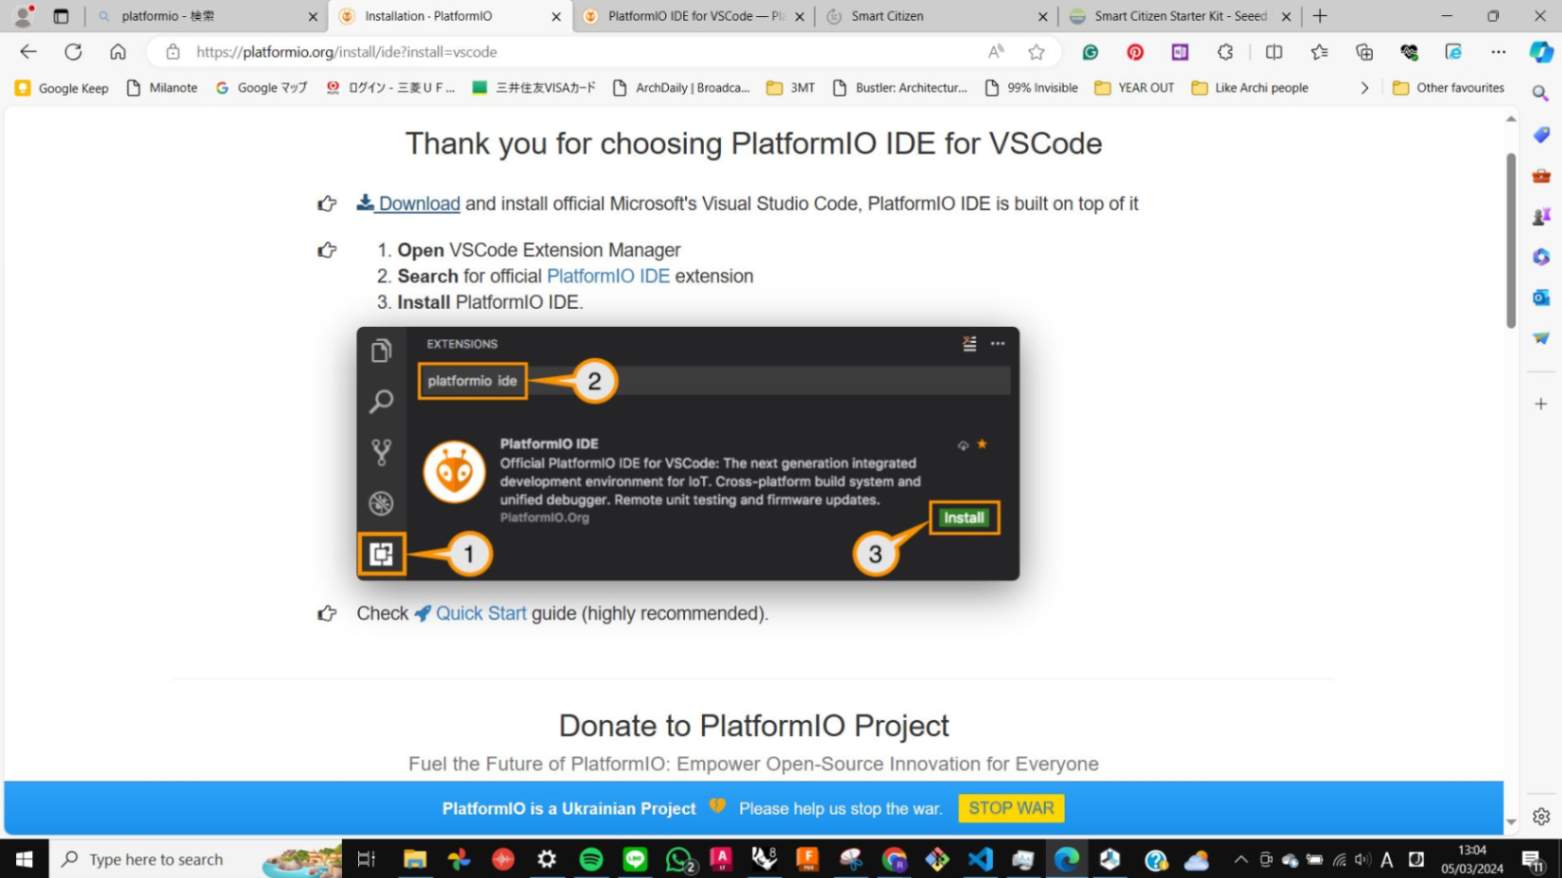
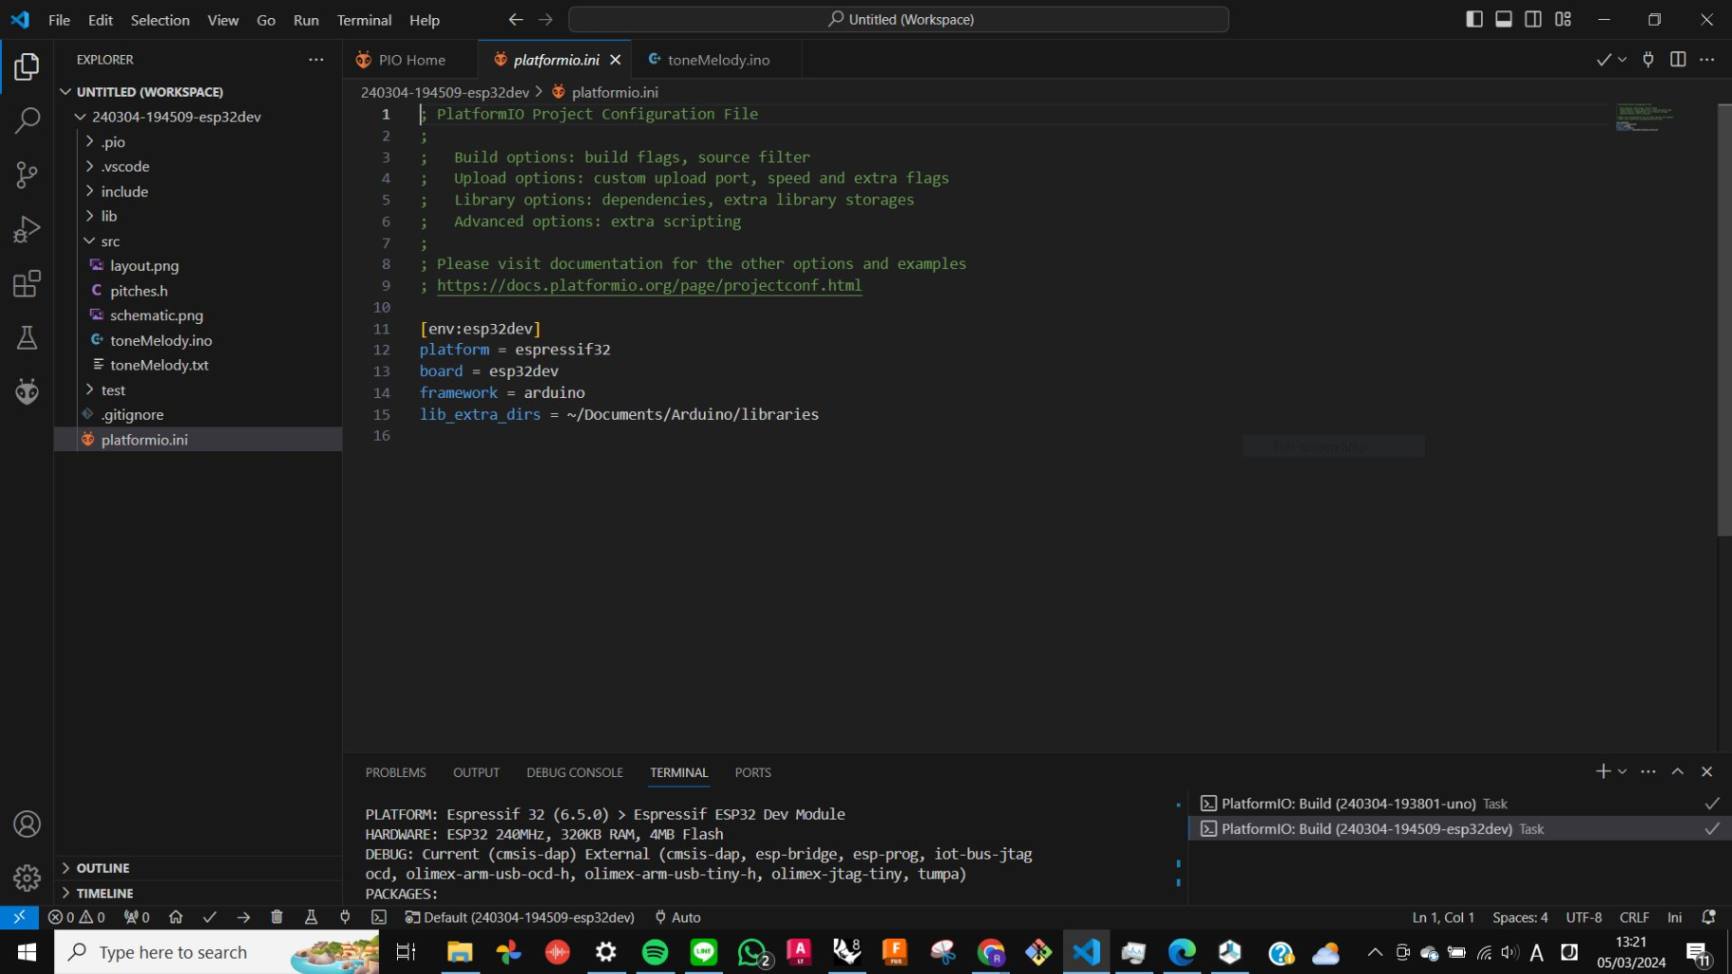
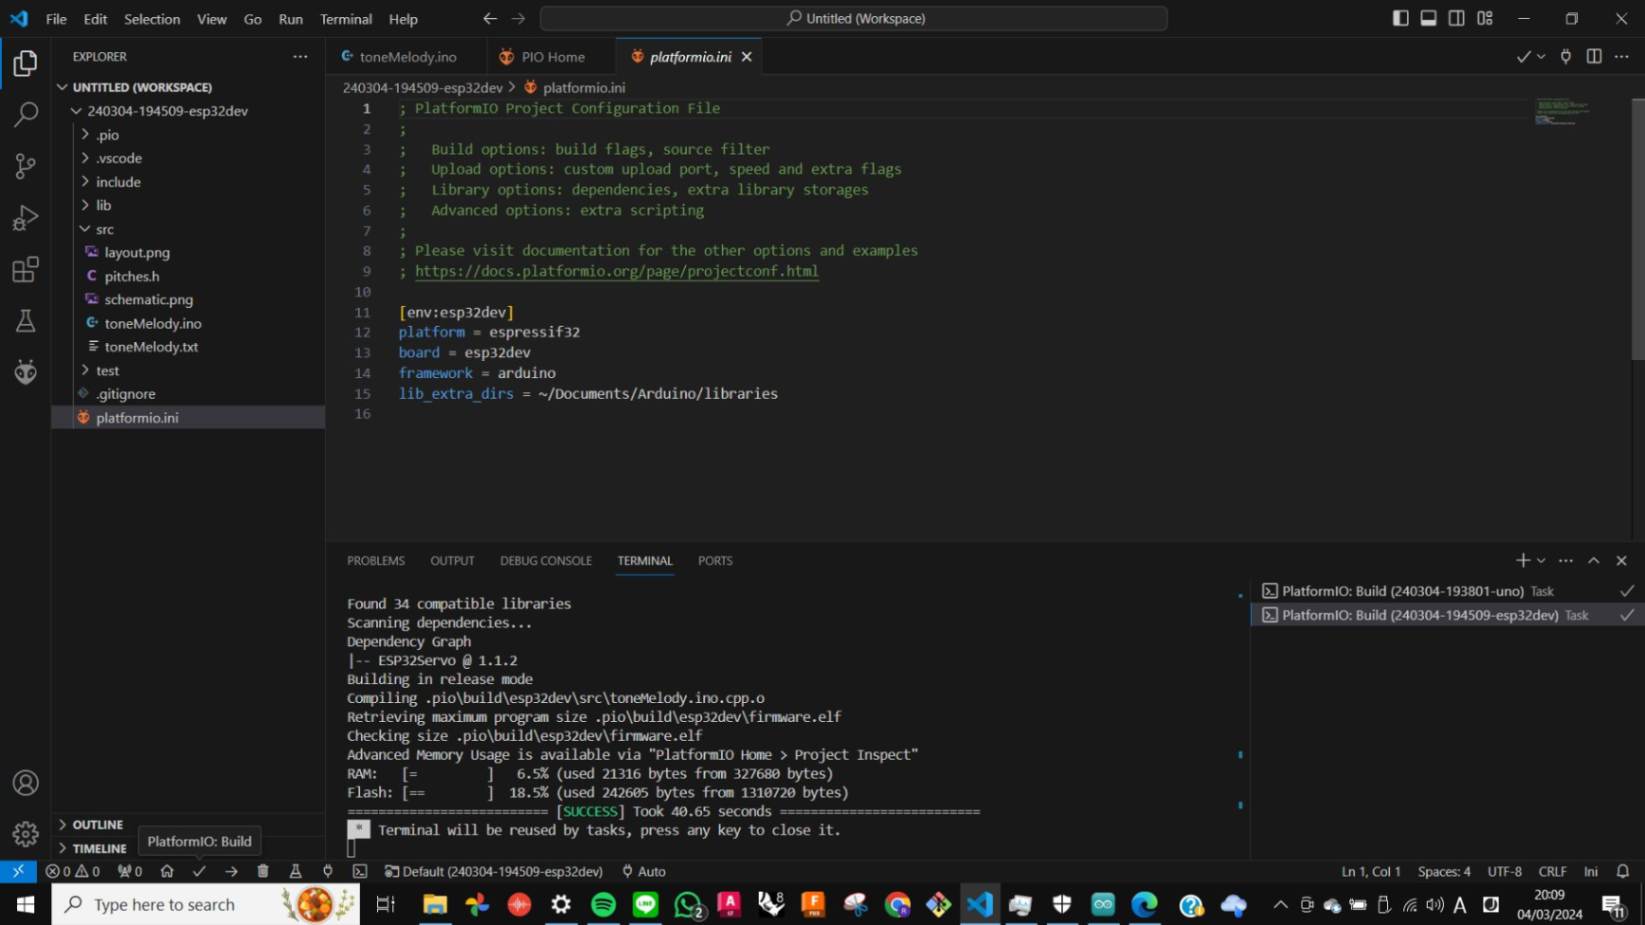
Platform IO
Since I was not able to solve the problem with Arduino, I was advised to use Platform IO. Platform IO is a little advanced for a beginner like myself. My tutor helped me set up the Platform IO plugin in Visual Studio and run a simple program to test the time it takes to send code to the microcontroller. This time it took only 40 seconds which is way faster than doing it Ardurino. Because of the situation, I will use Platform IO from now on. To get used to it, I will practice with tutorials in the coming weeks.