Week 1
Project Management
Fab Academy 2024
Riichiro Yamamoto
- Git : Set-Up and Getting used to Git
- HTML : Practice
- Documentation Template
- Final Project : Sketch ideas
Student Agreement
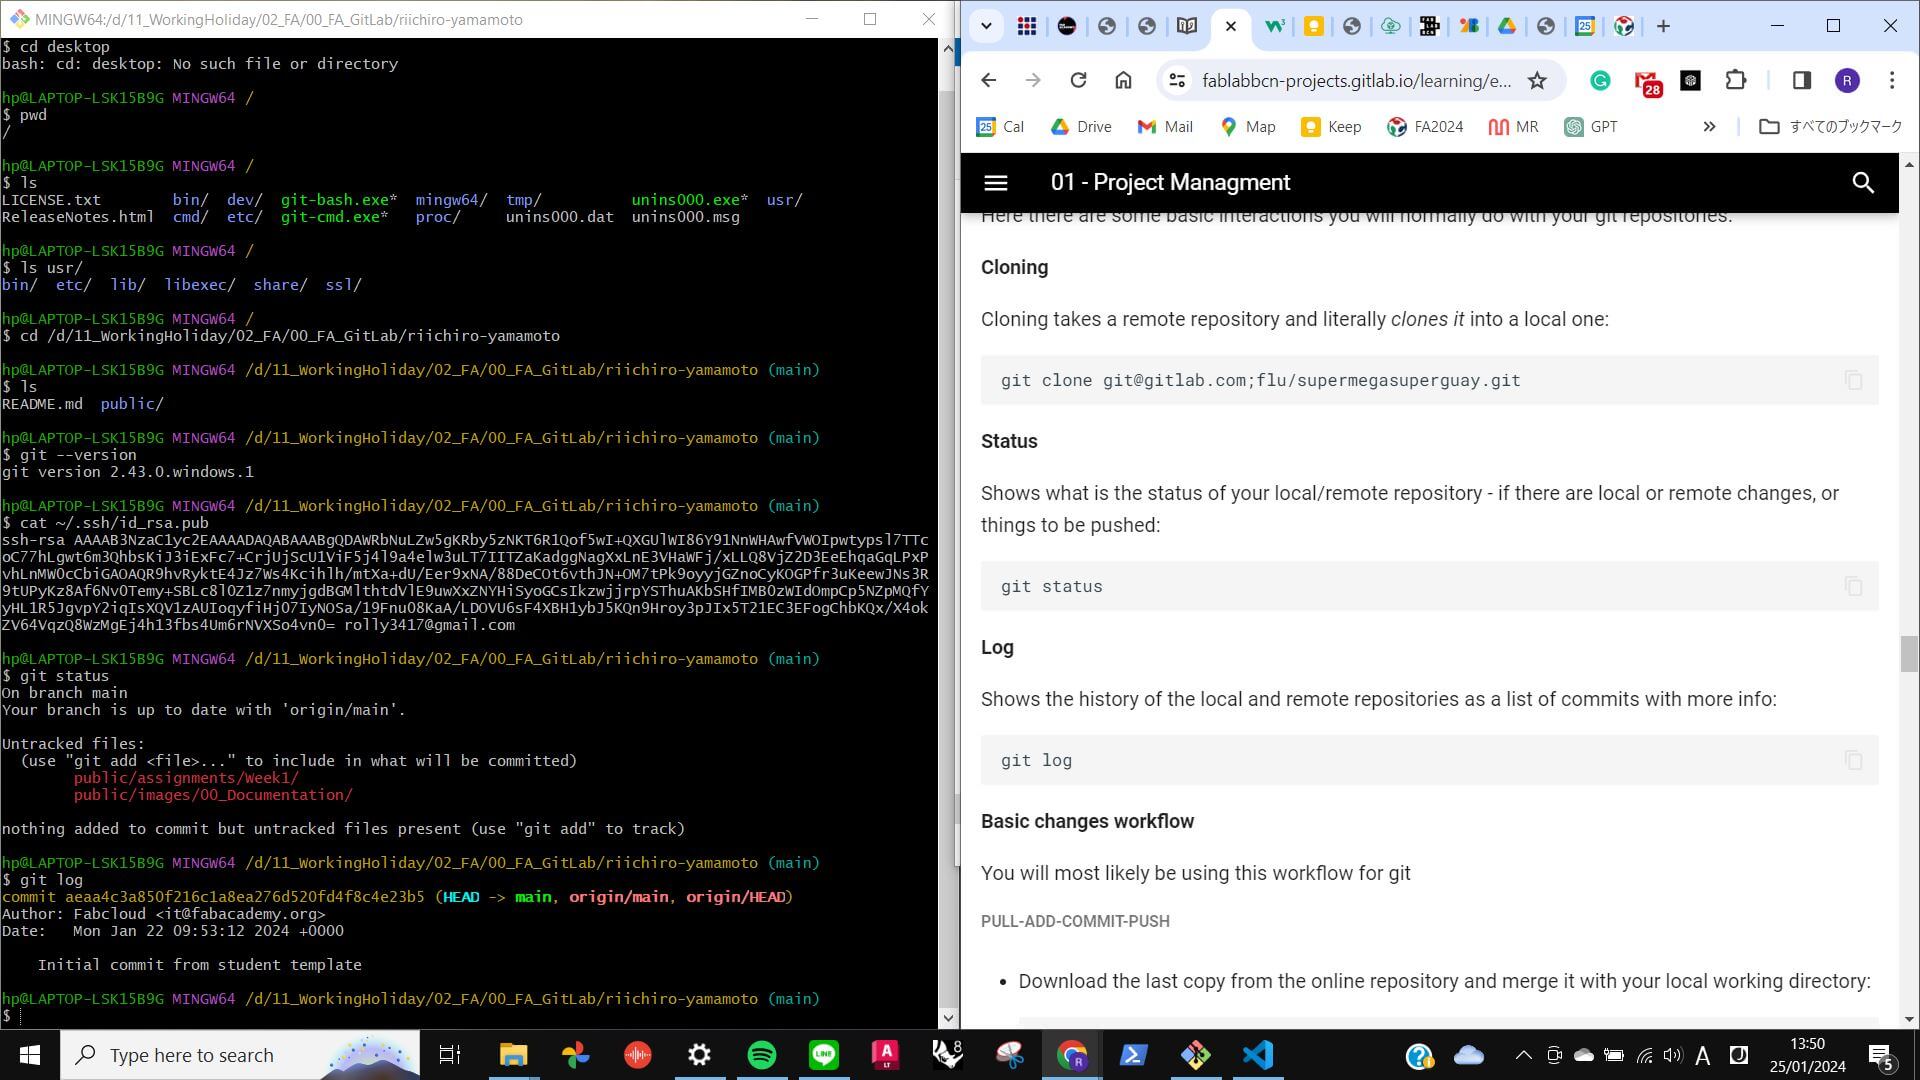
Git : Set-Up and Getting used to Git
I simply followed the instructions provided by Fab Academy. First, I downloaded Git for Windows and connected my Git Lab account ( which was already set up by Fab Academy) to my Git by using an SSH key.
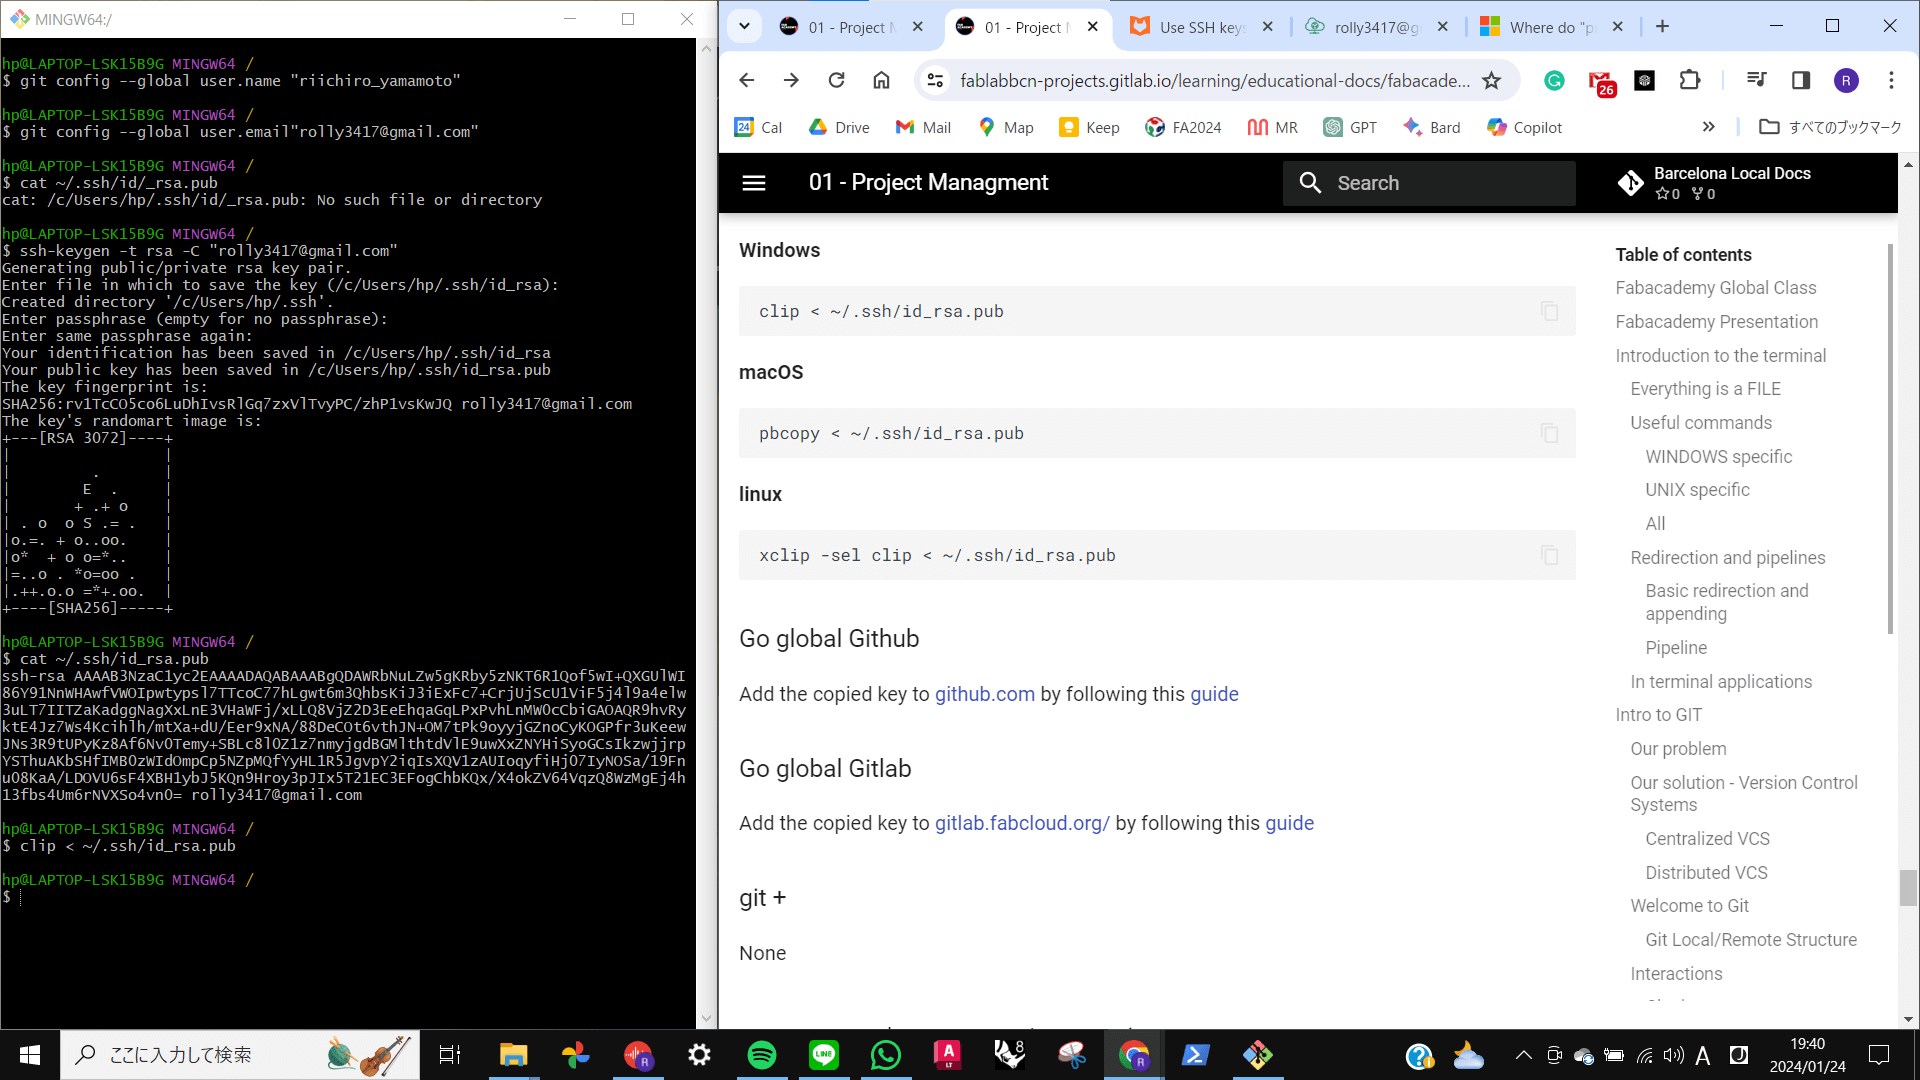
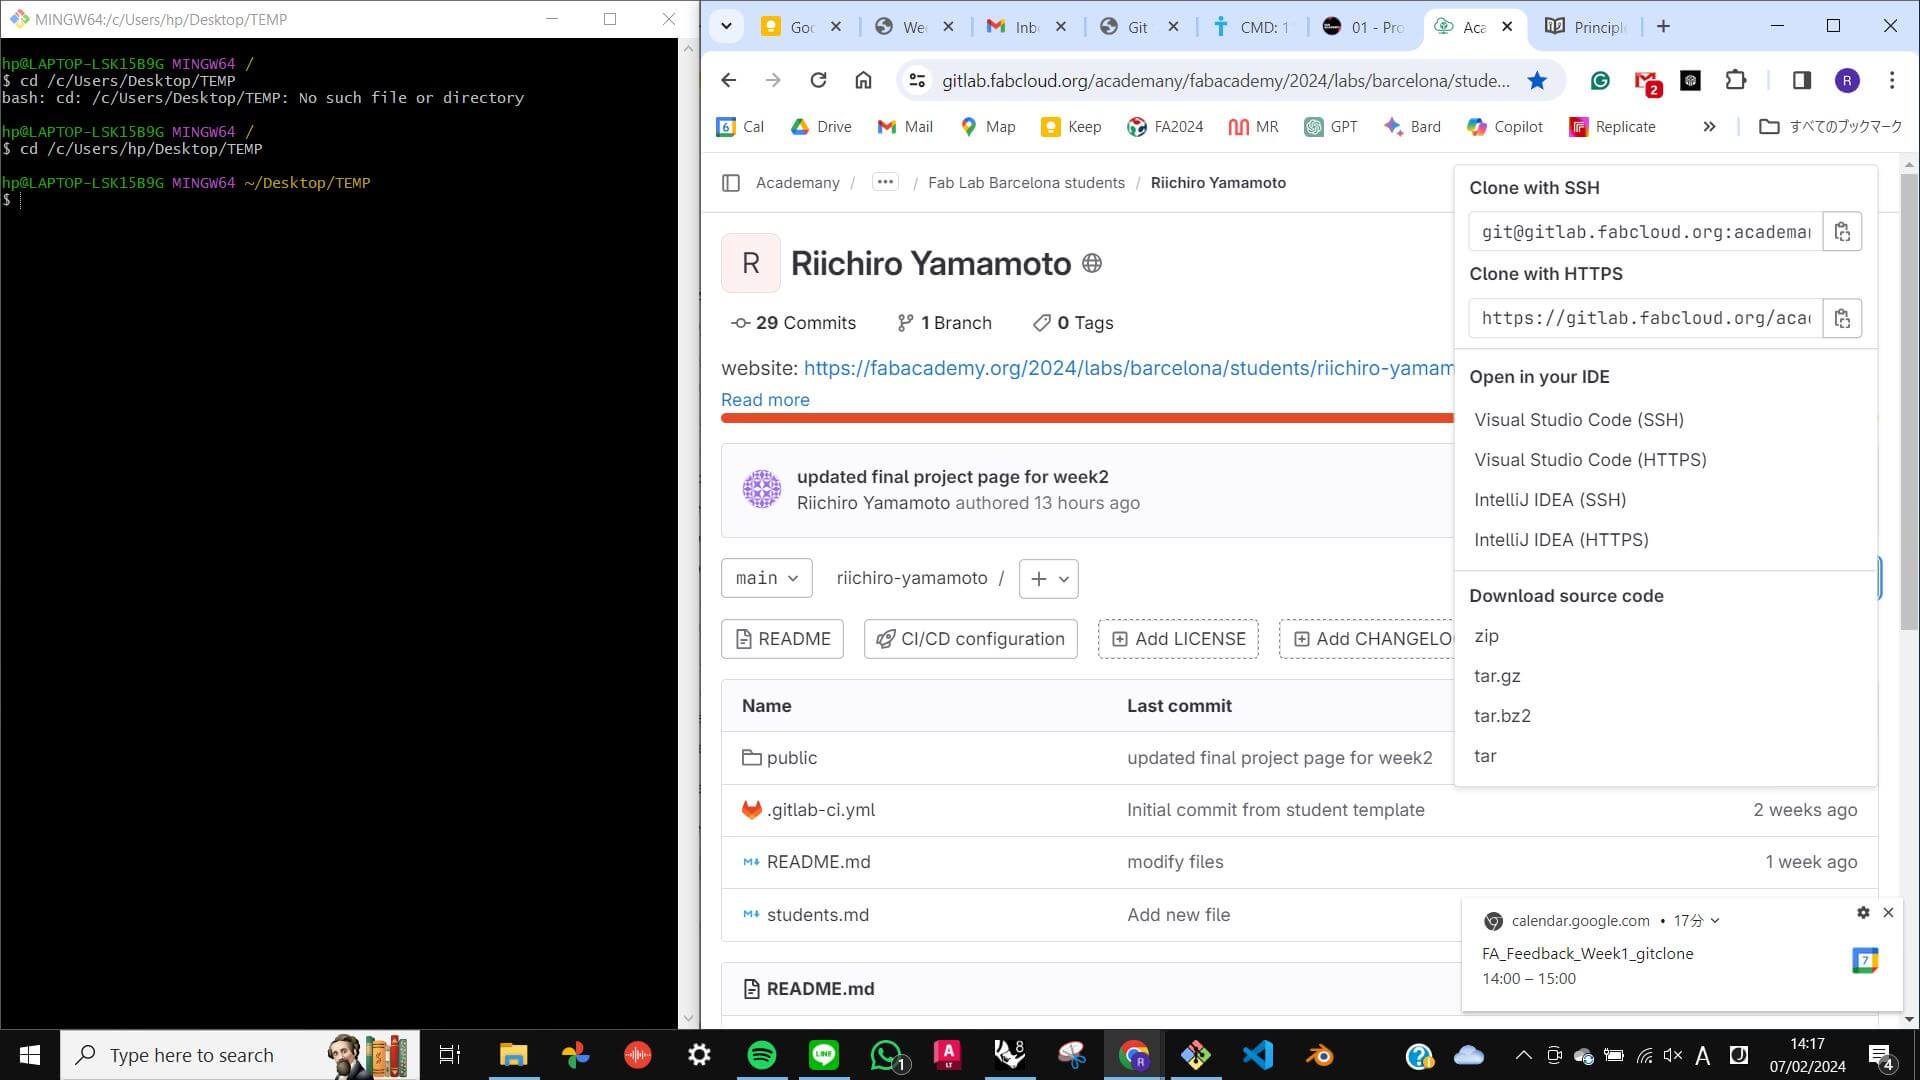
Cloning Repo
To clone my repo to the local repo, first, direct to a folder that I want to make a repo to clone inside Git ,simply use [cd] and locate the directory. then, go to GitLab to copy a code of connection made by SSH key. Then, [git clone] + [the link] to clone the repo to the local directory.
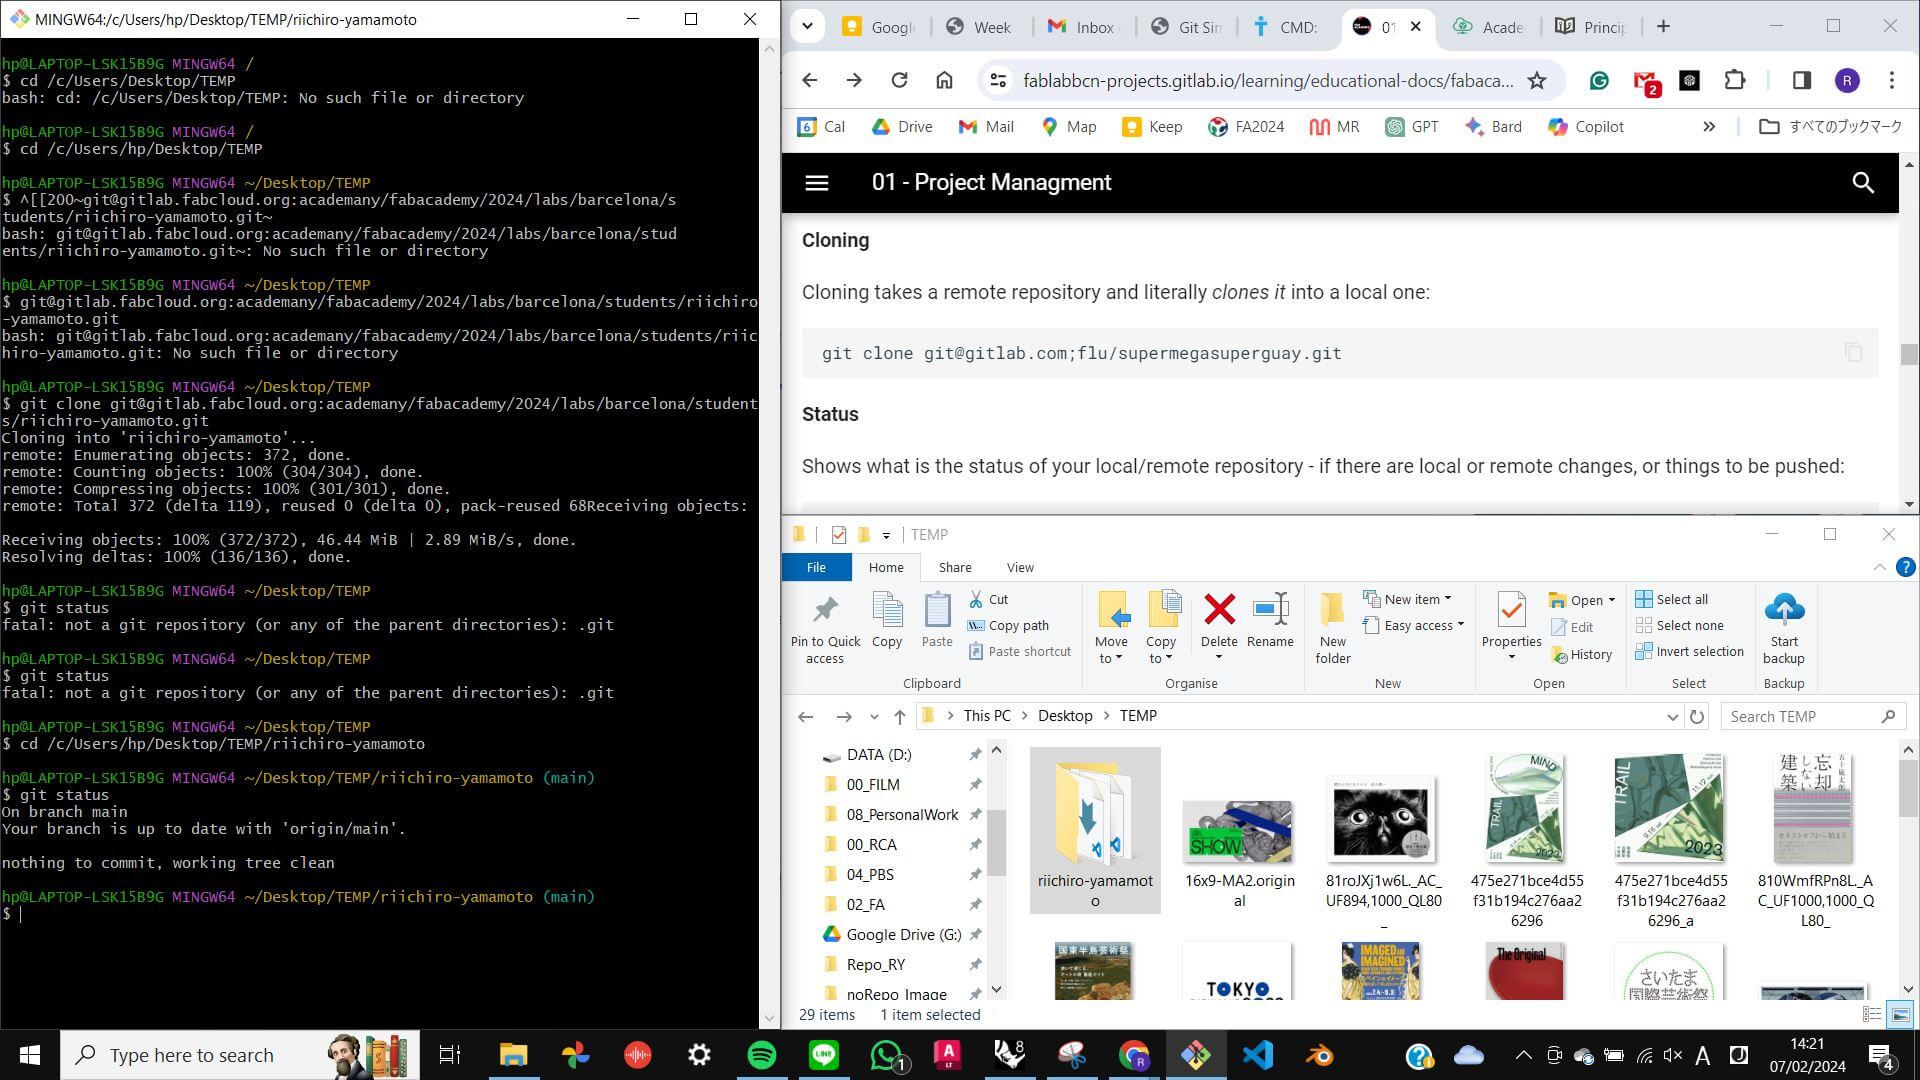
Problem
There was a problem starting Git first. It was not functioning the way I thought it would. Eventually, I discovered that I needed to navigate Git to my local re pository (the location of the main folder connected to Git Lab) when I launched Git first. To do that I simply type cd and drag and drop the main folder and hit Enter, then Git will show the address of my main folder and (main ) next to it. This is something I always need to remember.

5 commands
5 main commands are used a lot in the process of syncing files with my local repository and Git Lab repository. They are…
- Git status
- Git pull
- Git add .
- Git commit -m””
- Git push
When I make a change inside my local repository or add a new file I always need to remember that I sync with the Git Lab repository otherwise no one will have access to my work other than myself. To do that, I need to do the following.

Git status
This command will show the current situation of git. It will compare my local repository and Git lab repository and it will show all the changes I made in my local repository. This command is used in every step, just to check everything is working correctory.
Git add .
This command will add files to the Staging Area which is a middle part between the working directory and local repository. Remember to include “ .” otherwise it will not work.
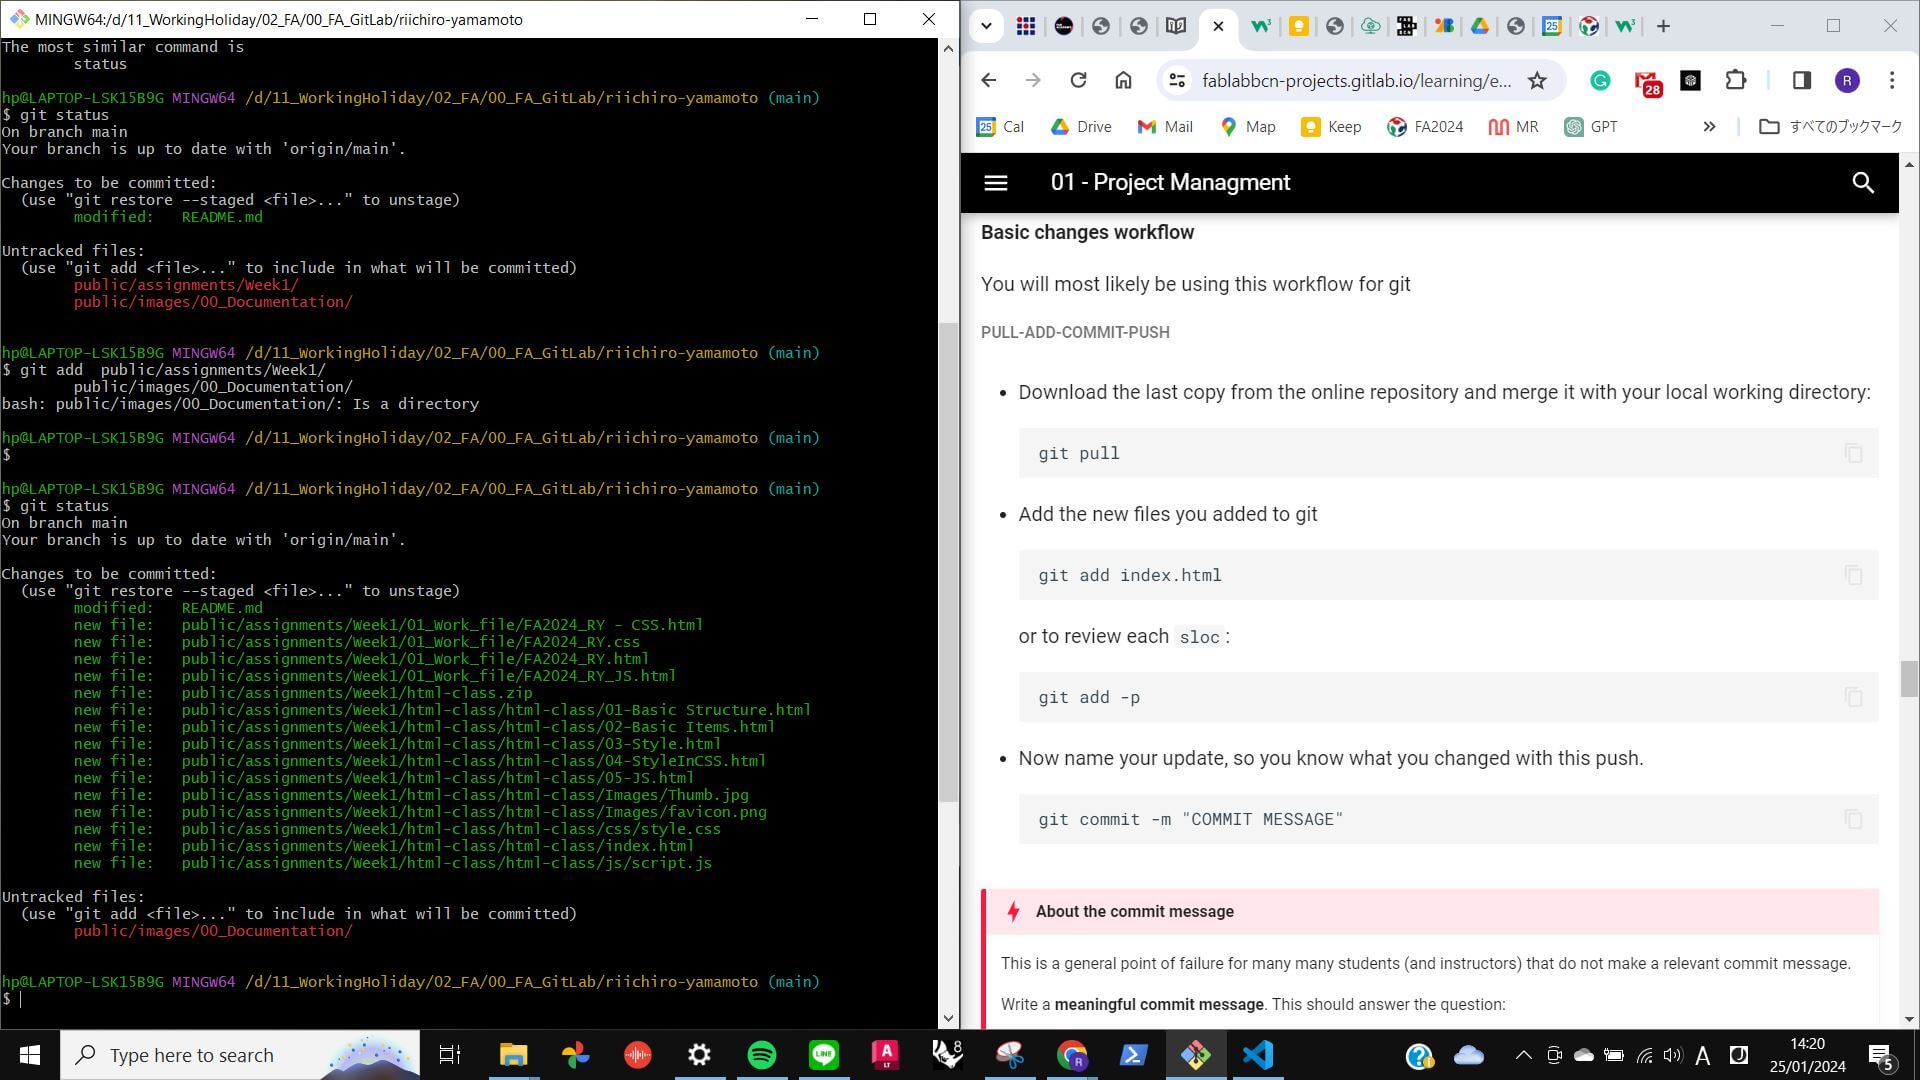
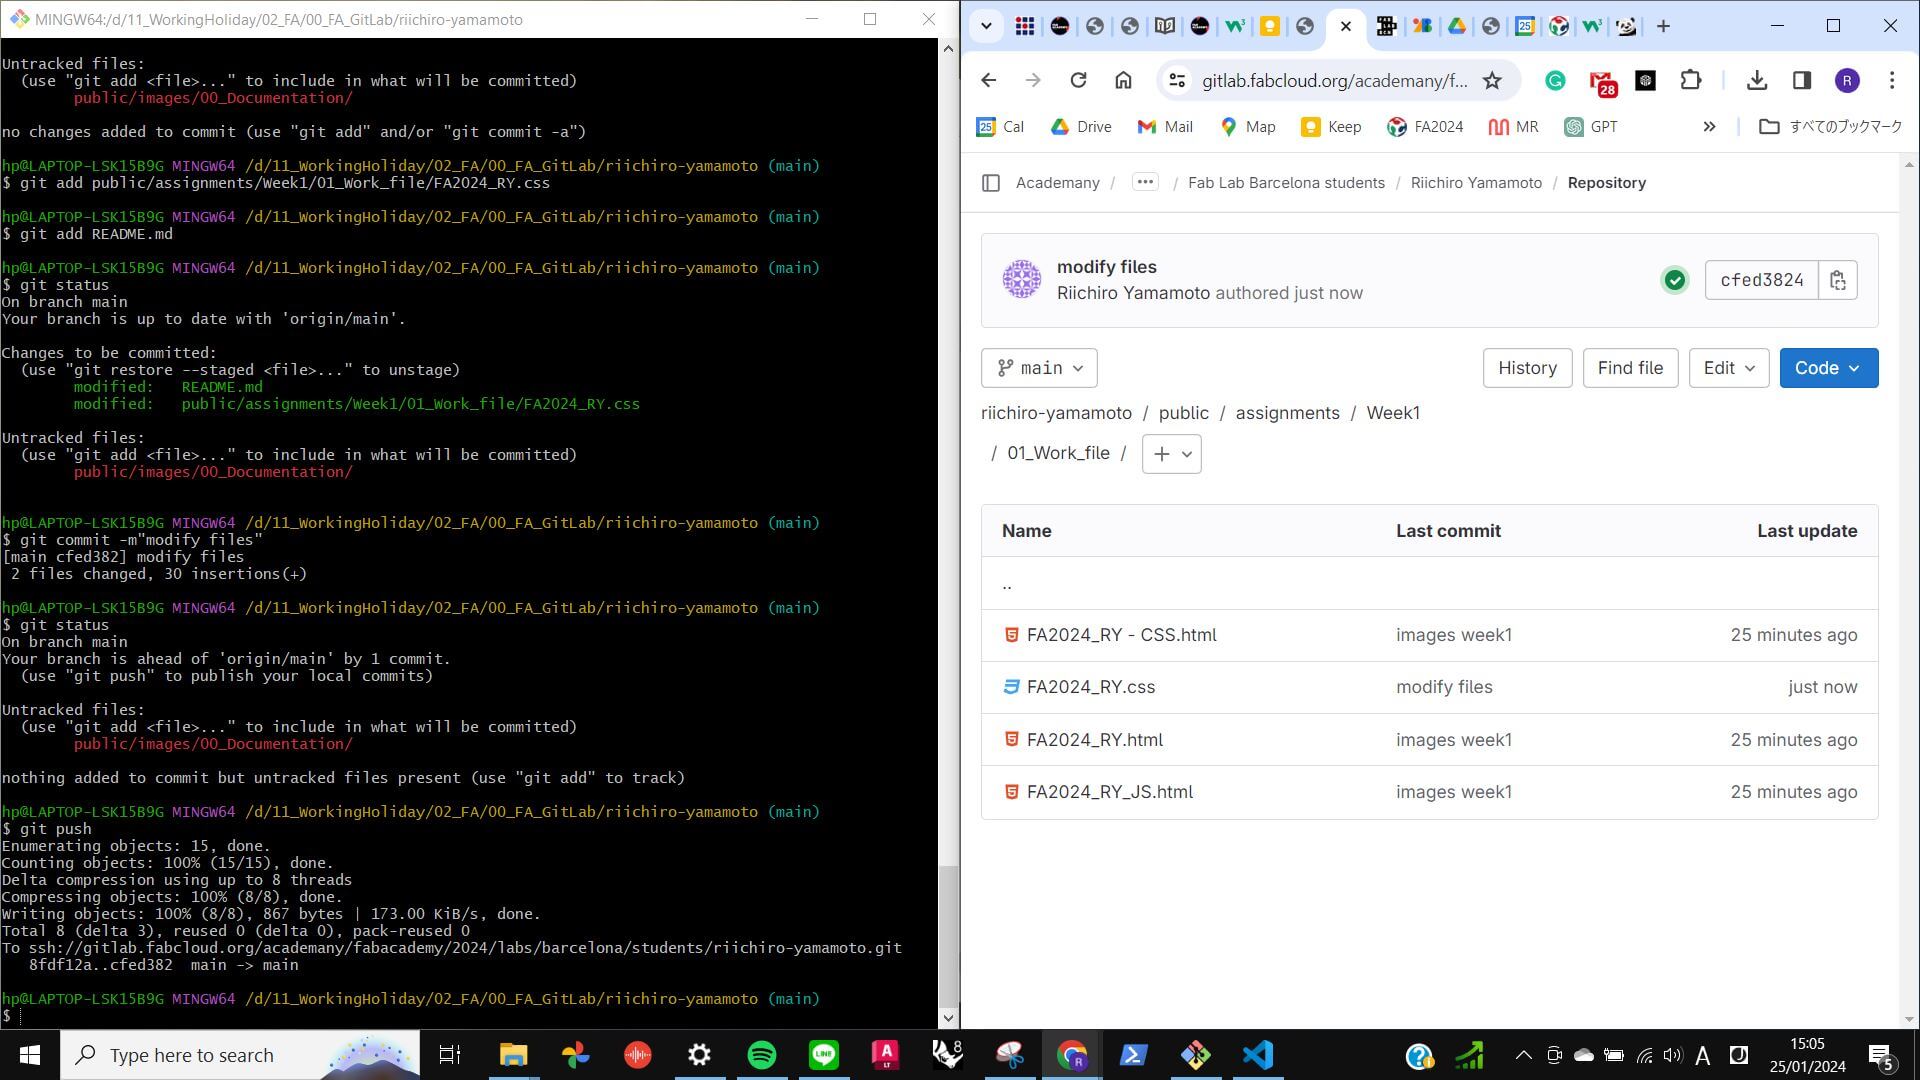
Git commit -m""
This command will move added files from the Staging Area to the Local Repository. Remember to include “-m” explanation””. This is necessary to identify what I am committing, also without it, it will not work.
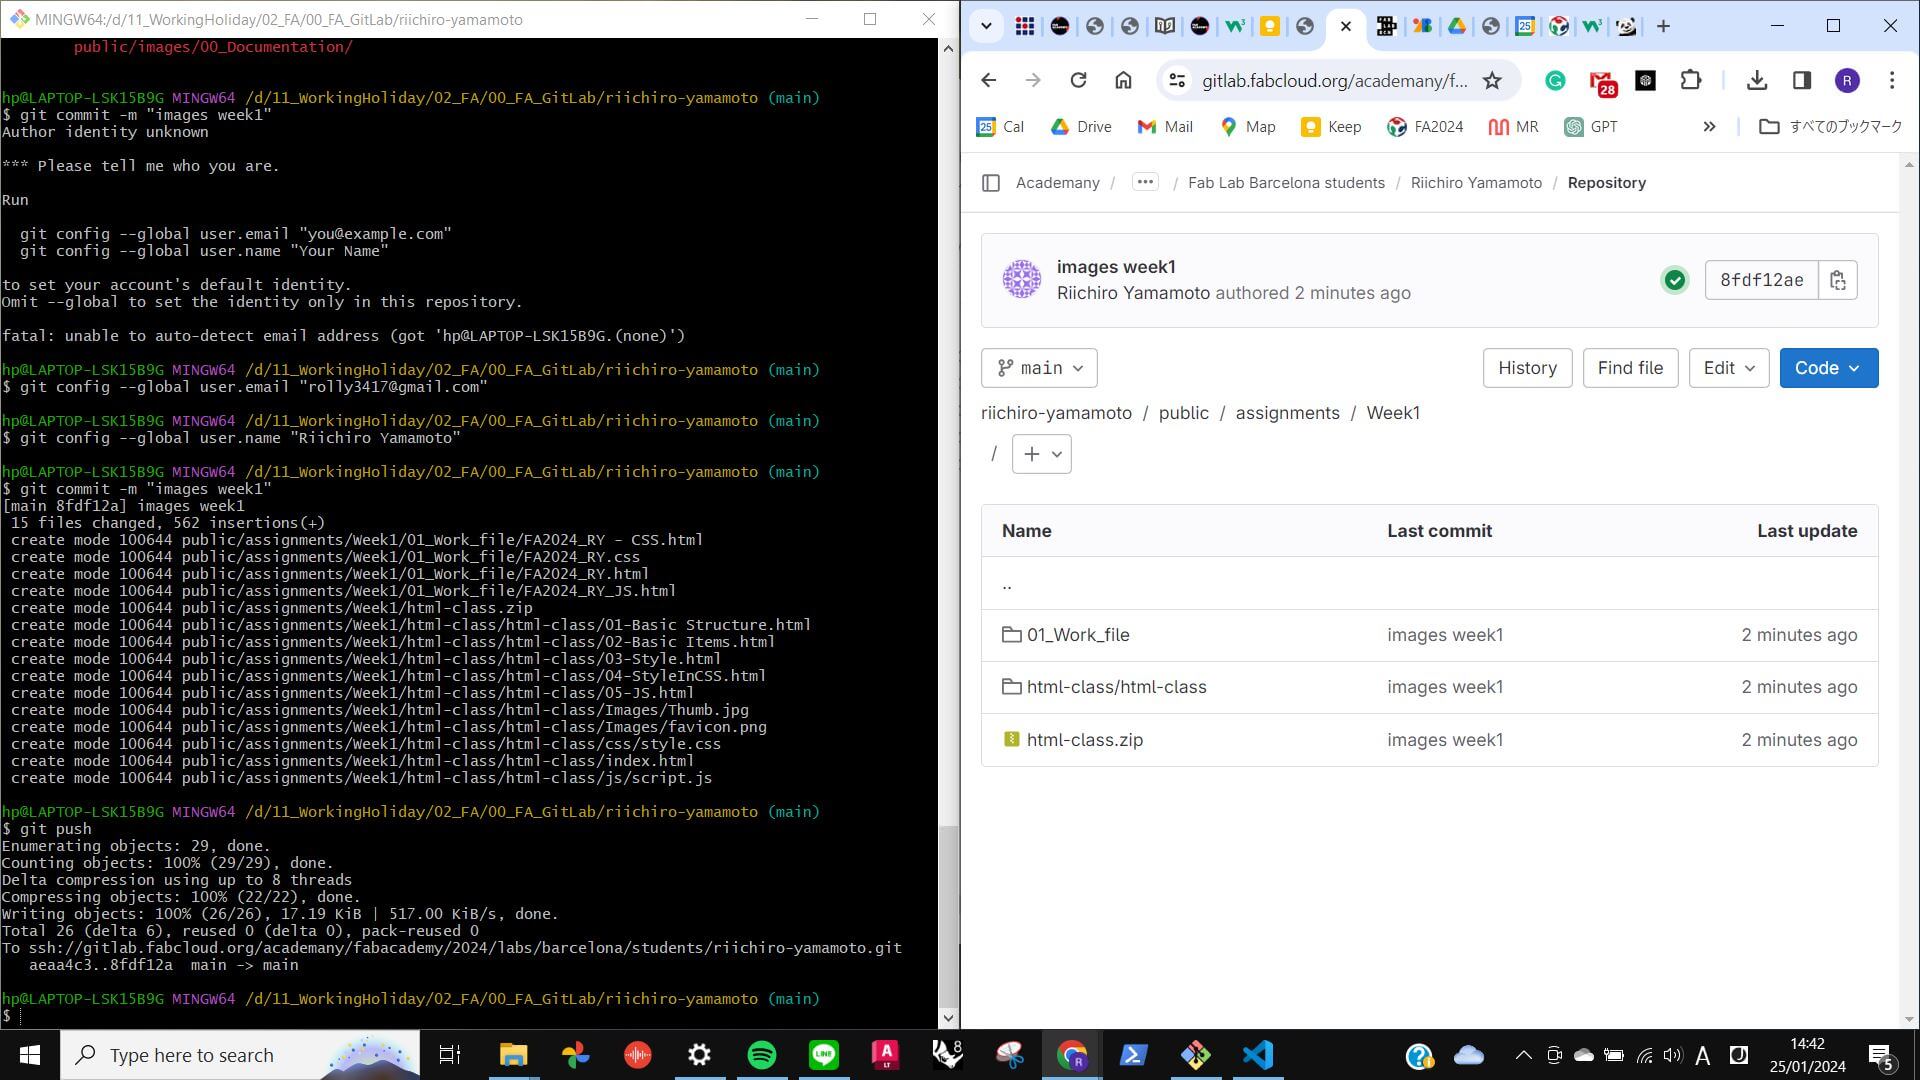
Git push
This command will move committed files to the Git lab Repository. This is the final step of syncing the files or transferring the files. After this step, I will be able to see changes made on the Git Lab page.
HTML : Practice
To write HTML, I first used Sublime Text but later I decided to write with Visual Studio Code because my tutor was using it and it looked easier to work with multiple HTML files.
I have been practising writing HTML with W3 School tutorials and also some documents provided in class. My record of practising HTML can be accessed from the link below. It is also my cheat sheet for when I forget some elements.
My HTML Practice Page
Problem
Most of the problems I had were easily fixed just by
looking at introduction documents or simply researching
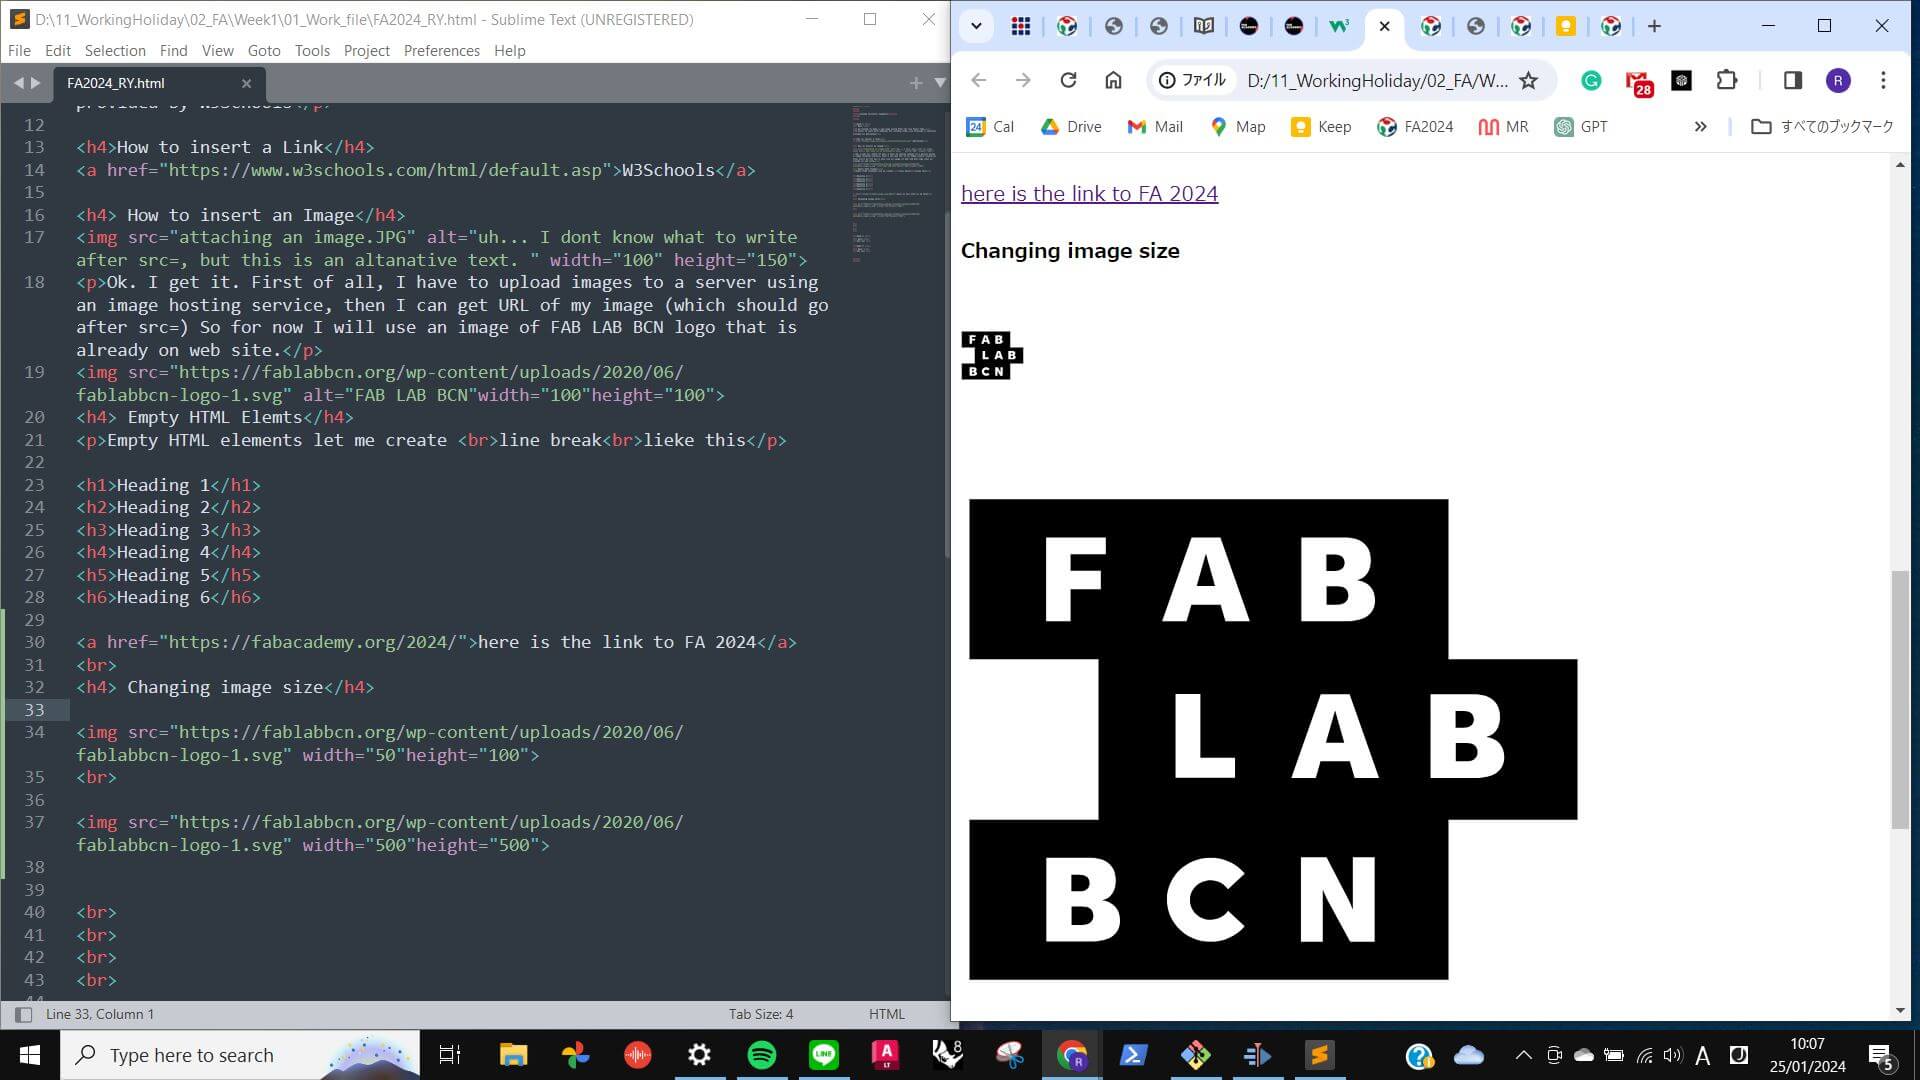
solutions on the web. However, attaching an image was
difficult. The reason for that is that I needed to work
with Git before I worked with HTML. I needed to first
compress images and upload them to Git Lab by doing the
process of add, commit and push. Then I needed to look for
a folder where those images are located by writing
../../public/.
It took me some time to understand how Git and HTML work together, but I was able to eventually attach images successfully.


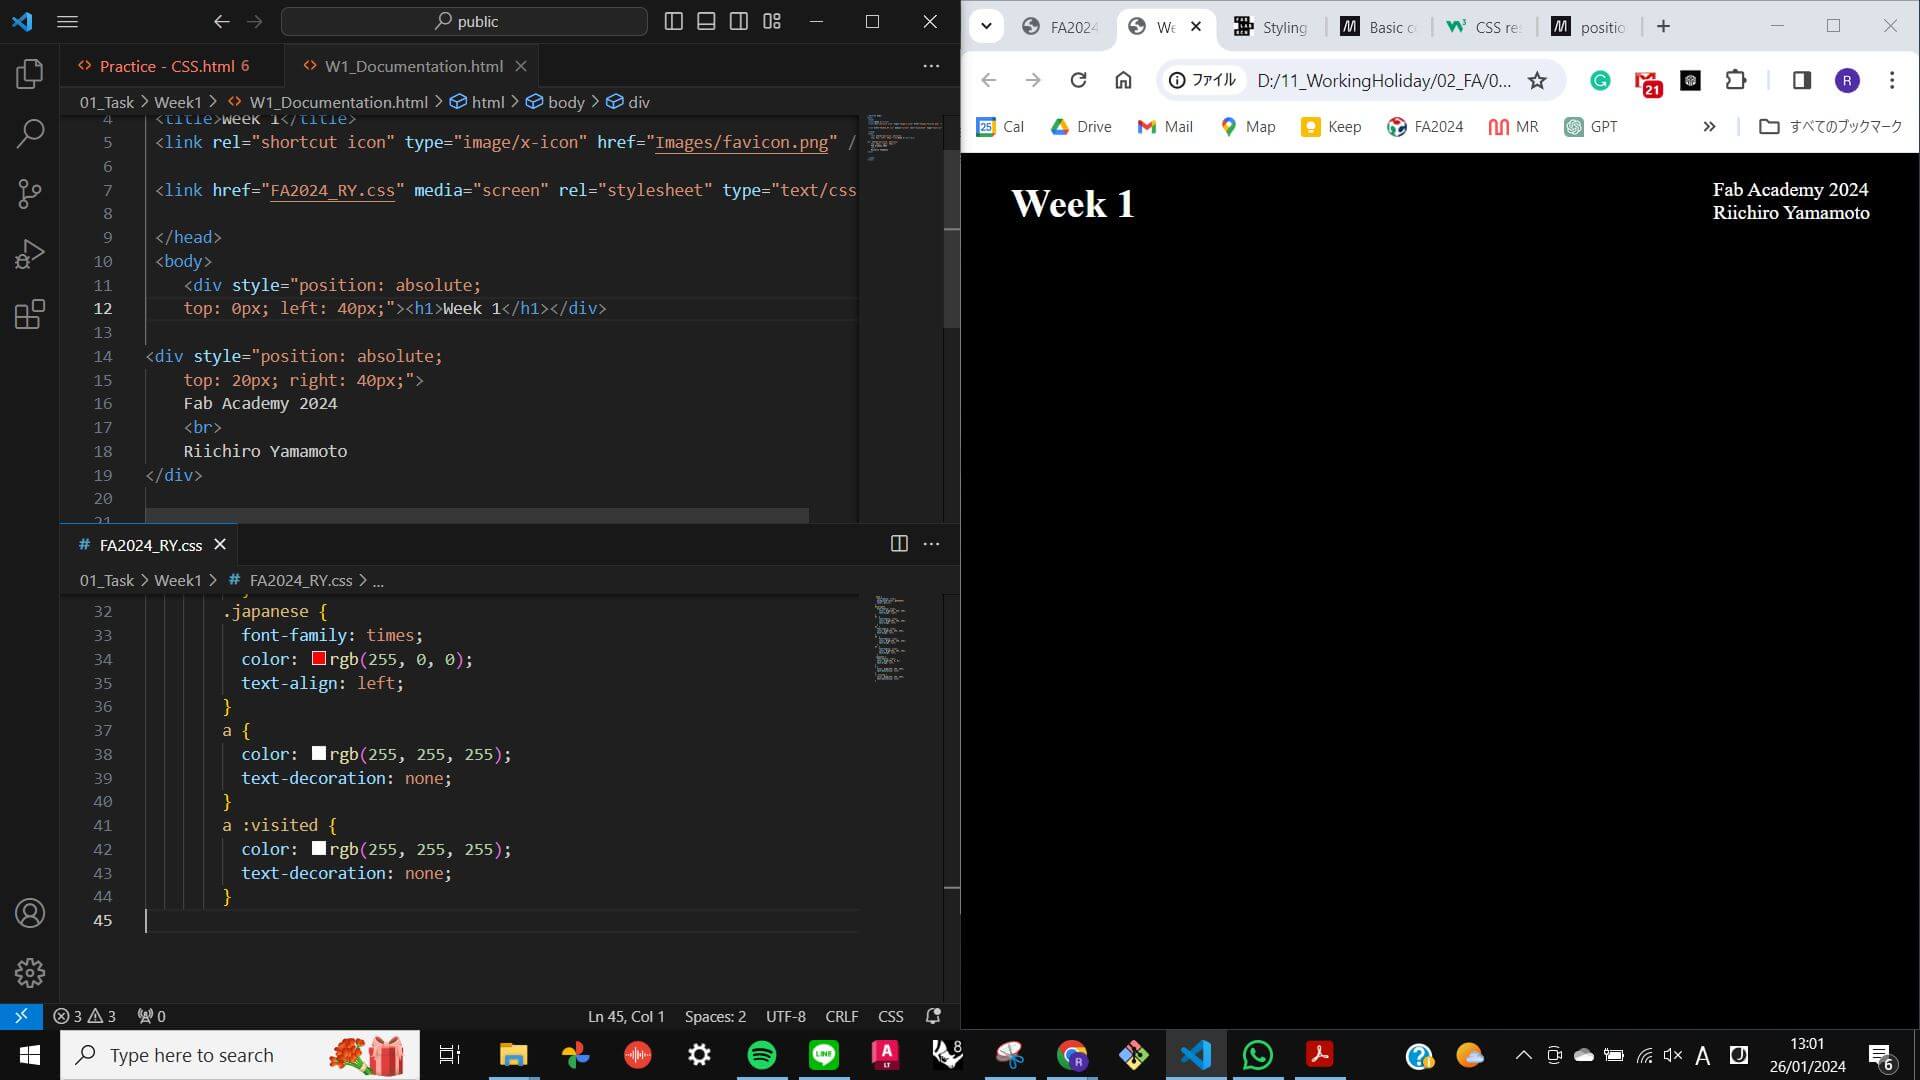
Documantation Template
After practising HTML, I have decided to make a template that I can use for documenting weekly assignments. I wrote HTML from scratch instead of copying and pasting HTML from some other website because I wanted to write an HTML structure that I could understand and edit afterwards. For that reason, my template is very simple at the moment, but I wish to continue working on it and I want it to gradually become something more functional at the same time aesthetically pleasing.
This is My Template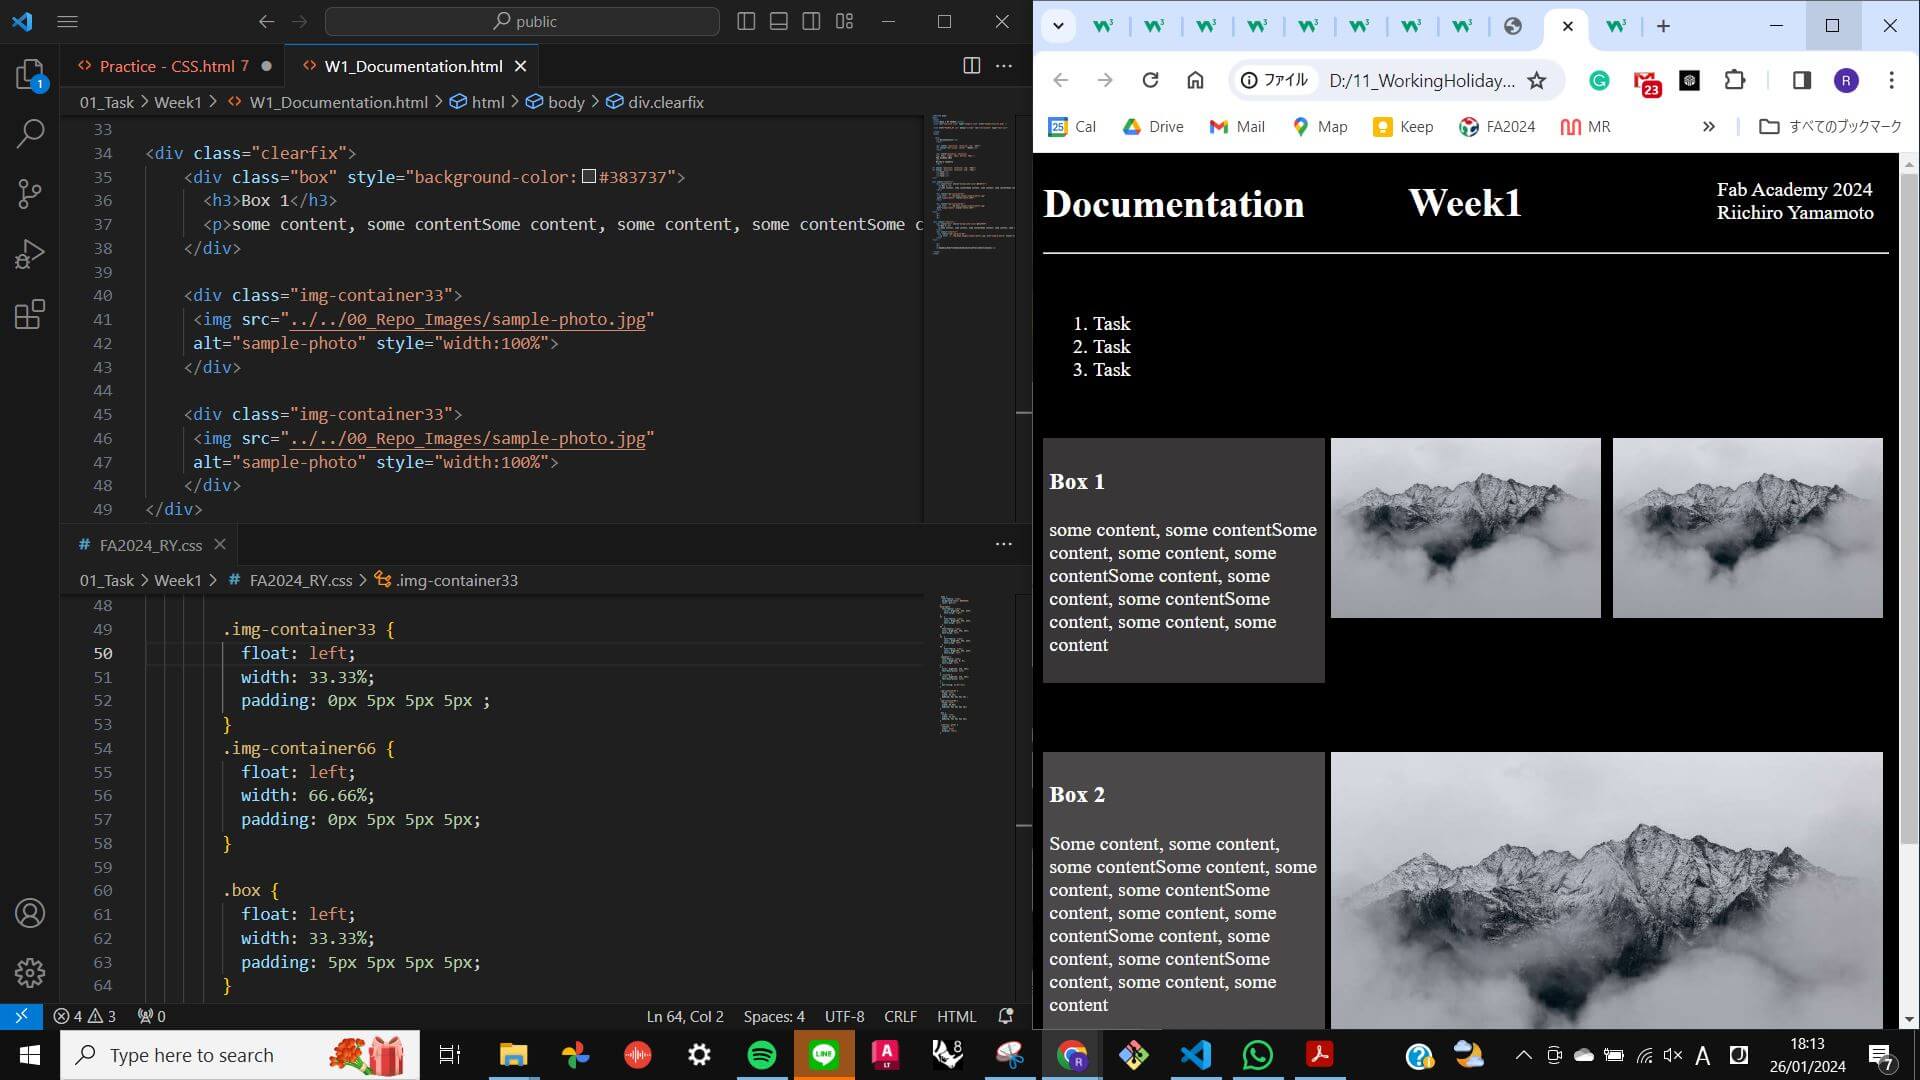
Problem
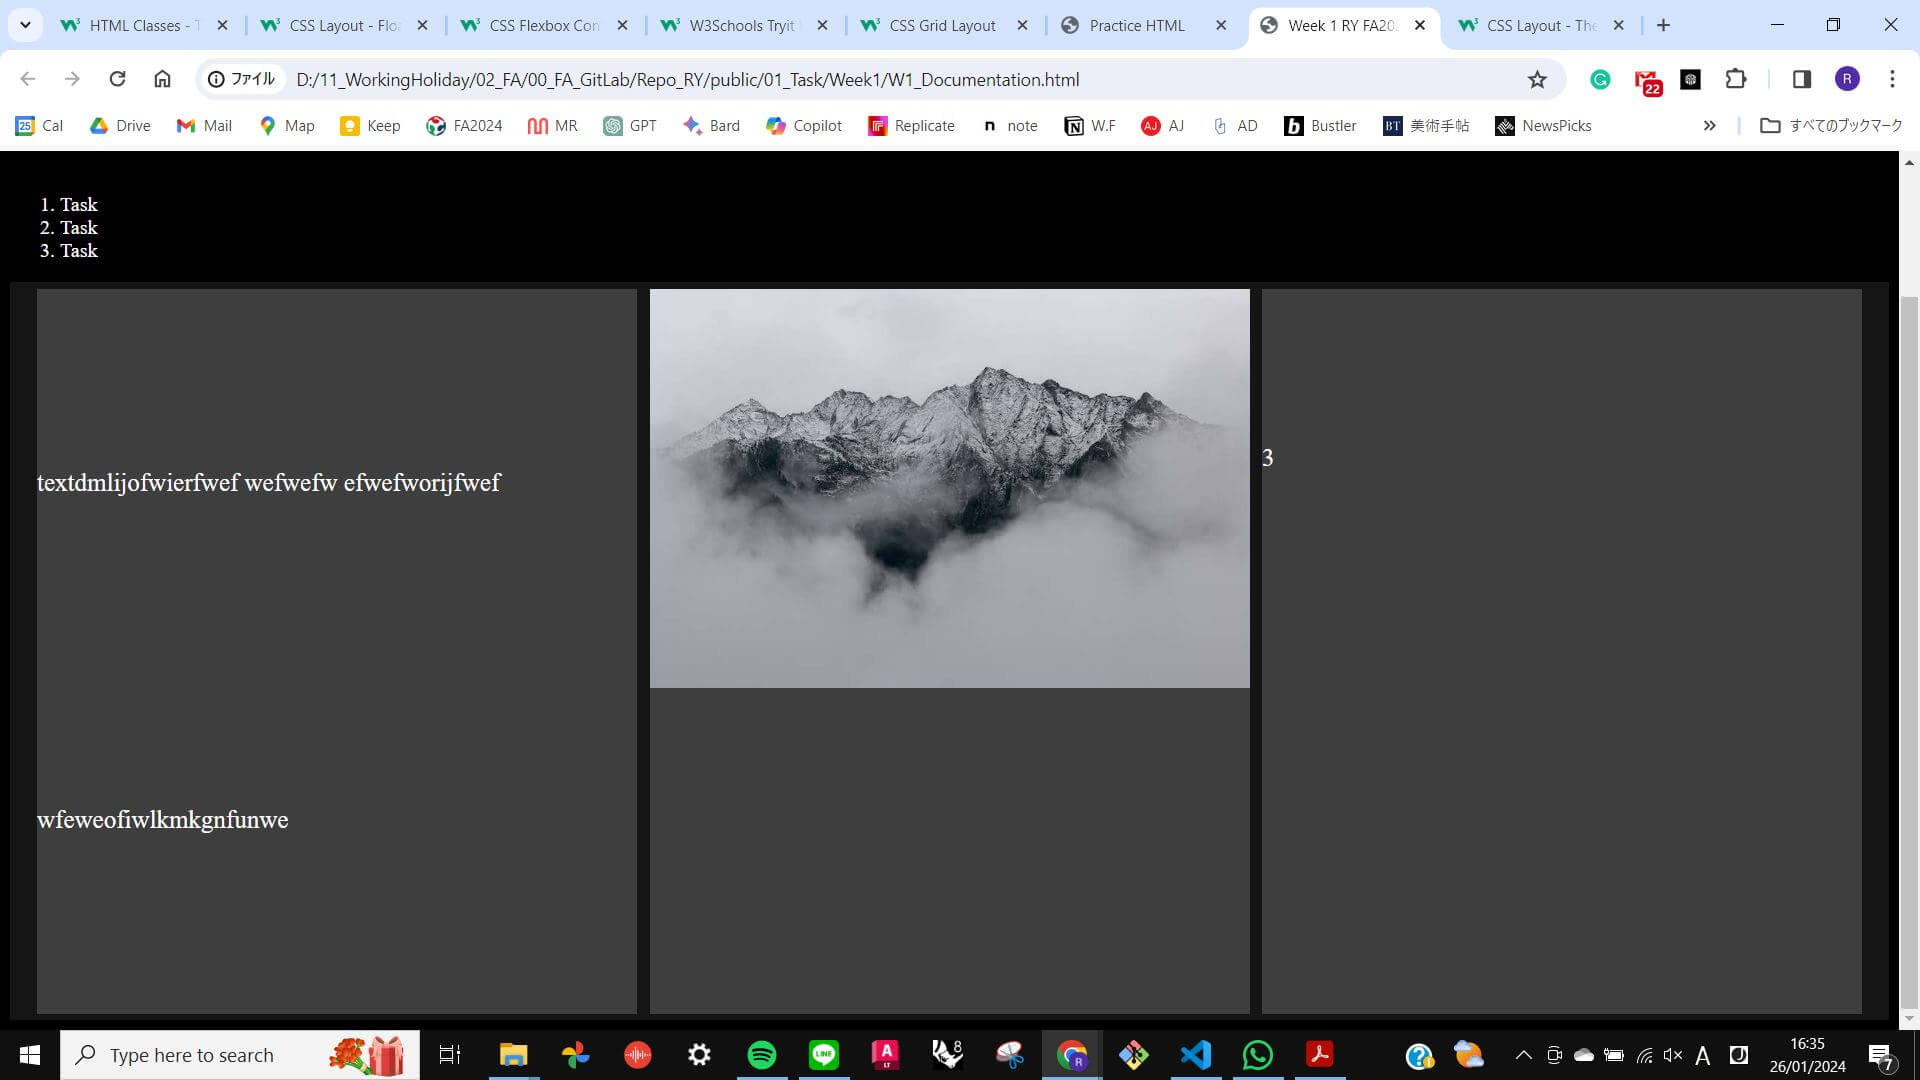
Though making a template, I faced some issues.
The most difficult one was to have paragraphs and
Images next to each other and make sure both of them
stayed in the same place even when the display size was
changed.
To do that I had 3 options, which are Floating,
Container, or Grid. I tried all of them and eventually
found out Container worked best with my layout of the page.
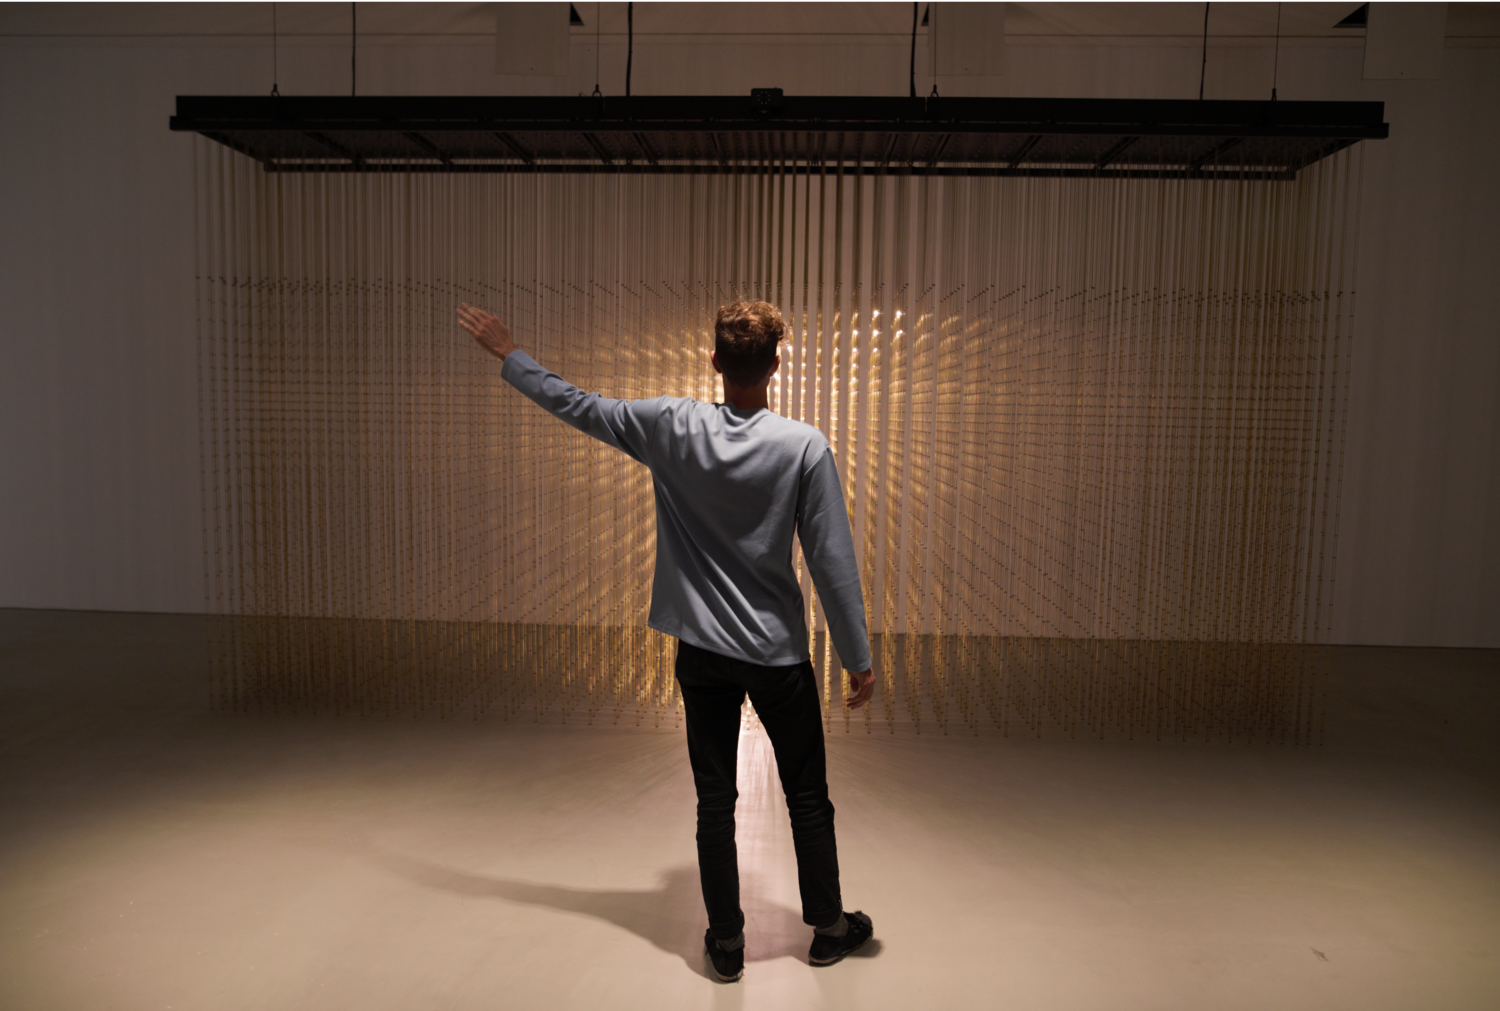
Final Project : Sketch ideas
Here is an image of my thought process for
realising an idea for my final project.
Firstly, I wrote my pure desire and constructed it in a word.
Secondly, I deconstructed the word by using other explanations.
Thirdly, I reconstructed a sentence using those explanations.

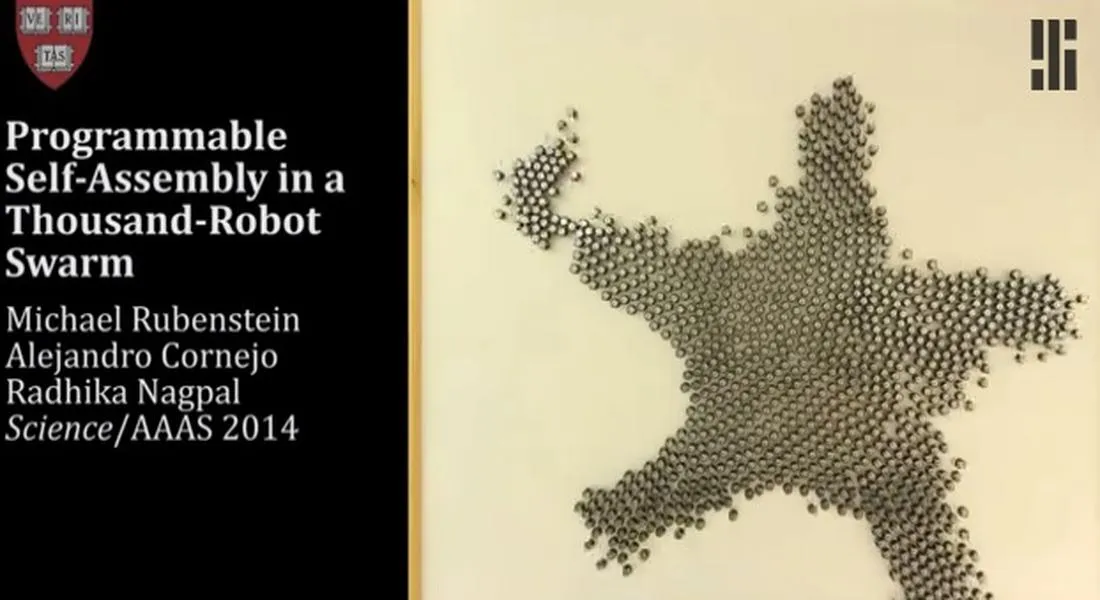
Initial Sketch
This is a quick sketch showing my interpretation of
Human-scale programmed aggregate particle that moves
in response to people's movement in its process of
self-assembly and deployment.
.jpg)
Ideal passway towards the outcome
At this point, my idea for the final project is very idealistic and it has a lack of actuality in the sense of accomplishing with limited time and knowledge within this programme. I thought about other ways and methods that could bring this project together. However, I would like to stick with my ideal passway (red arrow) for now, and I will decide which passway this project should go in the process.

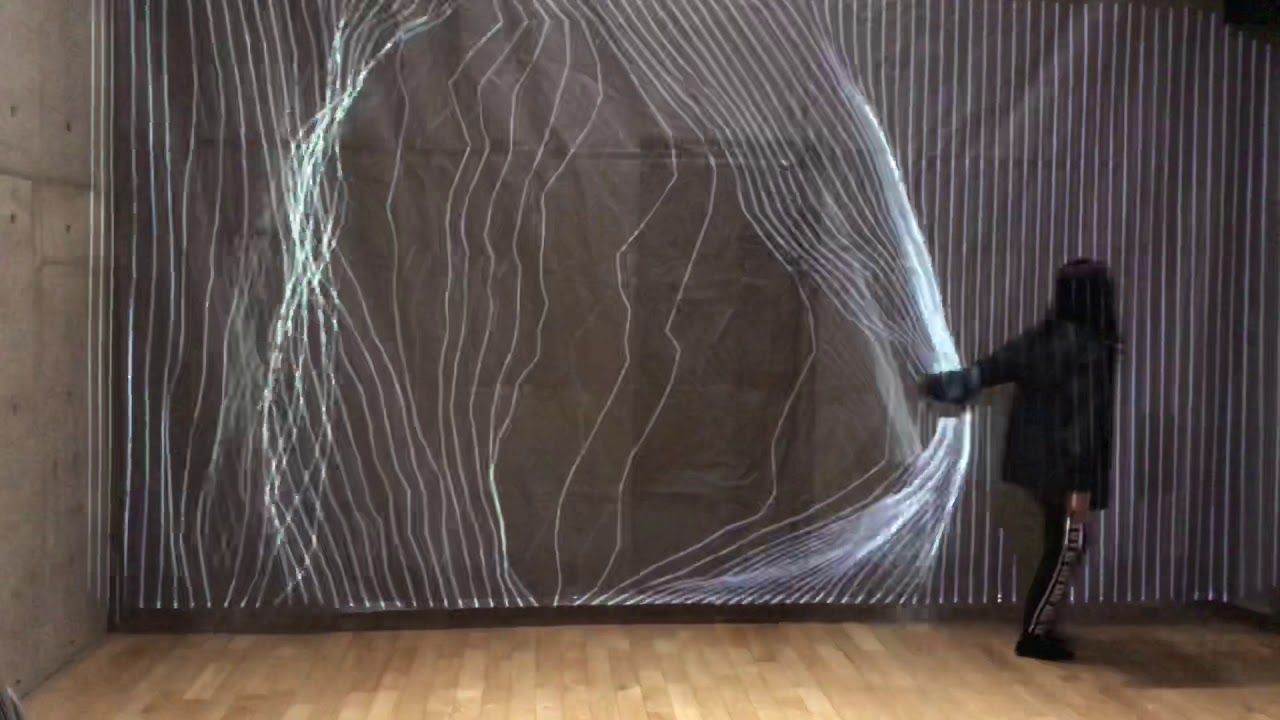
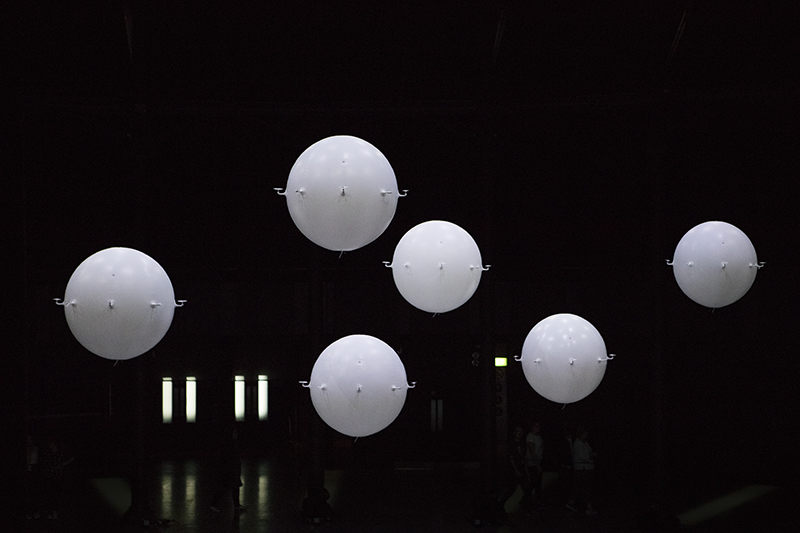
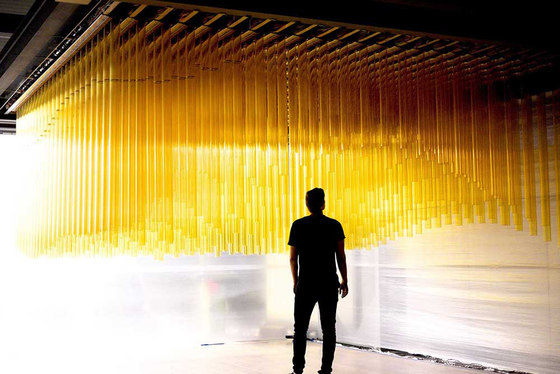
Visual Reference
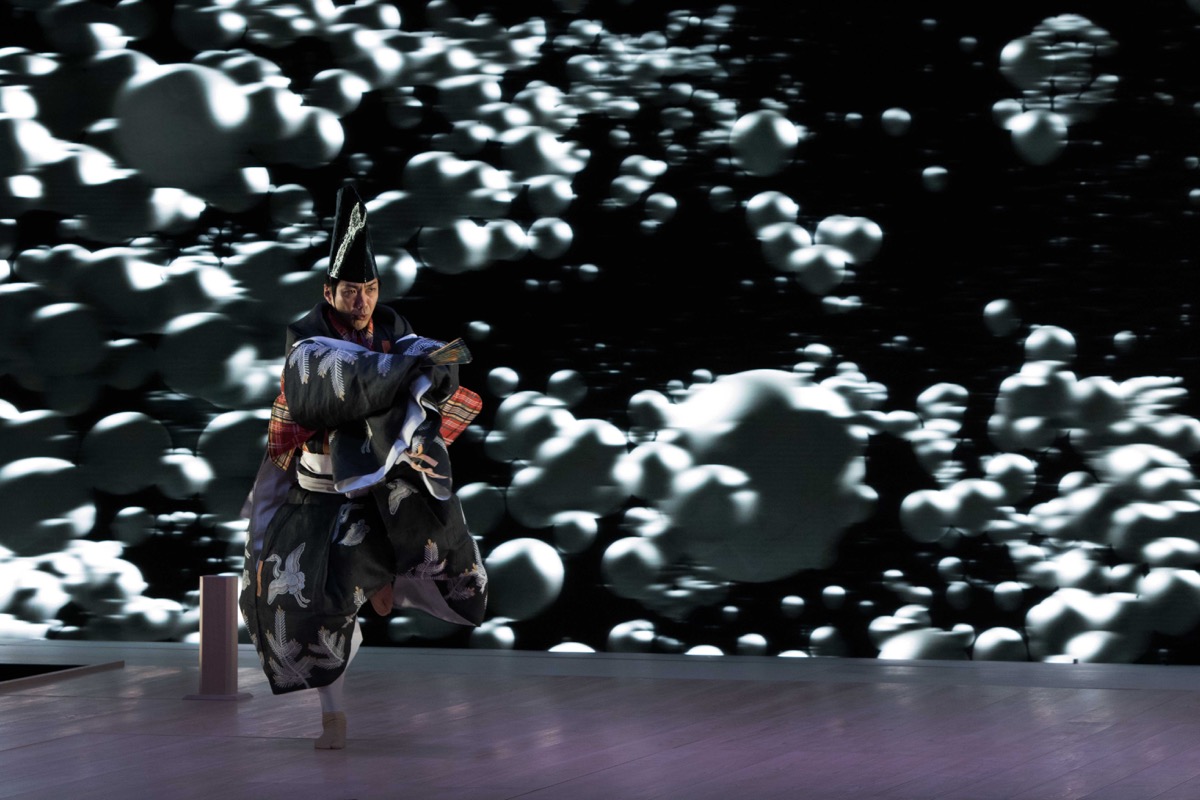
This is a short video of artwork titled "Ghost" by Tobias Gremmler.
I want to create something that looks like this...


:format(webp)/cdn.vox-cdn.com/uploads/chorus_asset/file/22459839/Screen_Shot_2021_04_21_at_12.30.52_PM.png)