12. Molding and casting
This week it was all about creating and casting a mold!
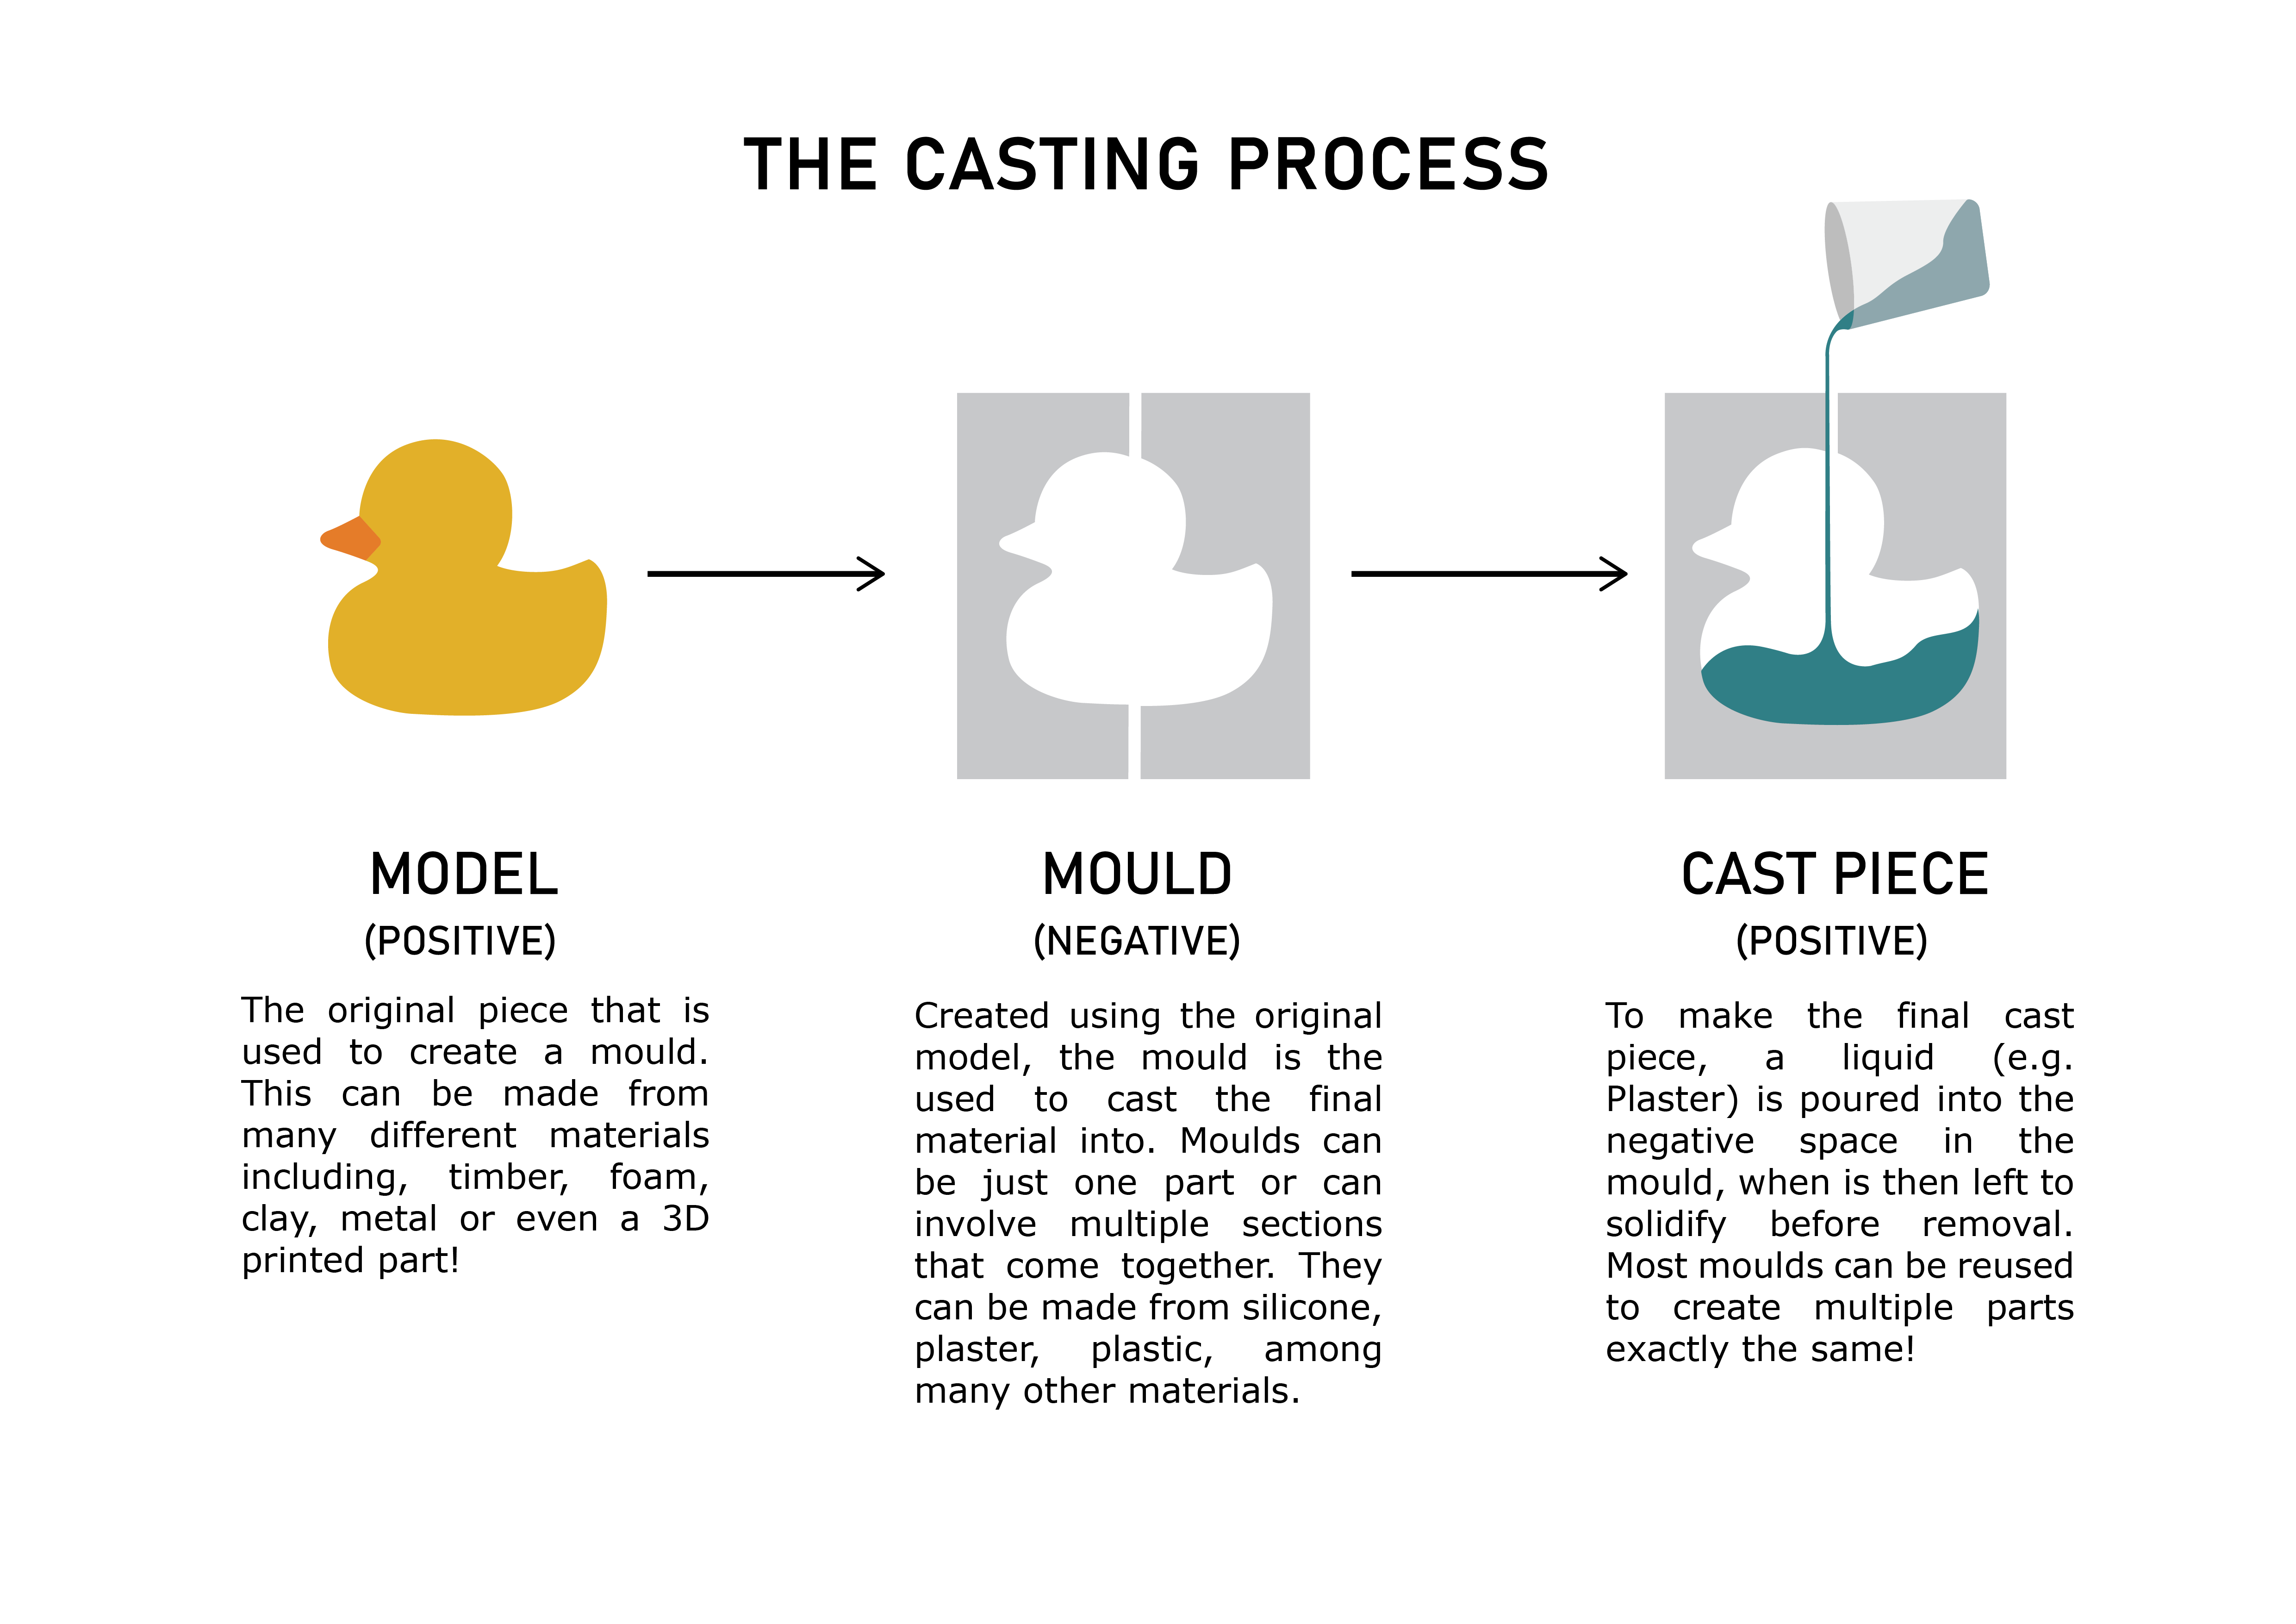
Casting= pouring a liquid or molten material into a mold.
Molding= shaping a material into a shape where a mold is the result.
Found the information about this on this website
Process
- Design the mold
- Create the mold (file + production)
- Casting silicone in the mold
- Check the silicone piece
Design the mold
To design the mold, it is necessary to have the positive shape first. Positive shape = the shape you want.
To design the shape of the object I'd like to have, I used rhino. Thought it would be fun to create a duck so here is
I downloaded from thingiverse :p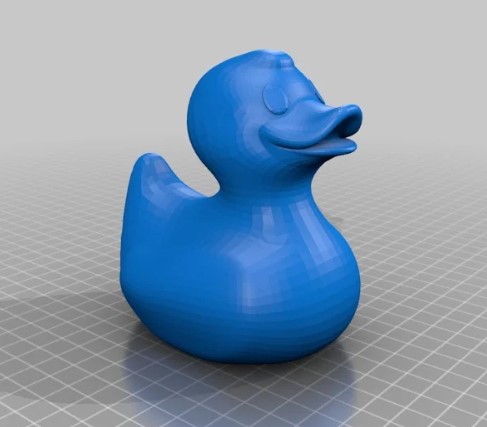
I used rhino to create the .stl file.

Create the mold (file + production)
There are multiple ways to create a mold. You can 3D print it or mill a wax brick. The difference between these two is that 3D printing requires some extra steps and is an additive process and that the milling is a substractive process where the wax block gets milled into the shape.
3D printing FDM
create and prepare the file
Sand the print till the finish is good and smooth. Might use primer to fill in the small imperfections in the surface.
Print the base/ matrix = walls. (Base can be lasercut PMMA too)
Use silicone glue or anything else to keep the parts together
3D printing SLA
The process is quite the same as 3D printing with the fdm printer. The only difference is the curing part. To avoid an undesired reaction with the resin, some primer can be used.
Milling wax brick
Another option to create a mold, is to mill a wax brick with the SRM20.
Software
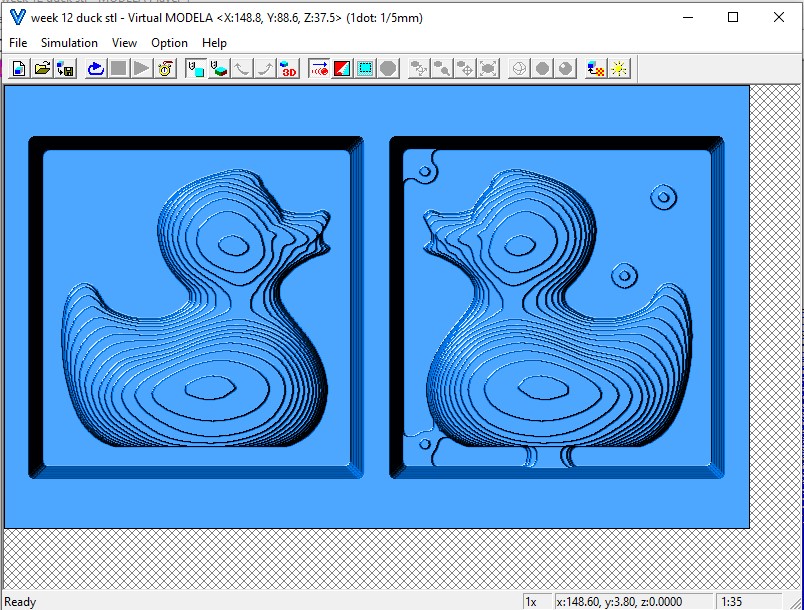
The software to create the file is called Virtual Modela and Virtual Player 4.
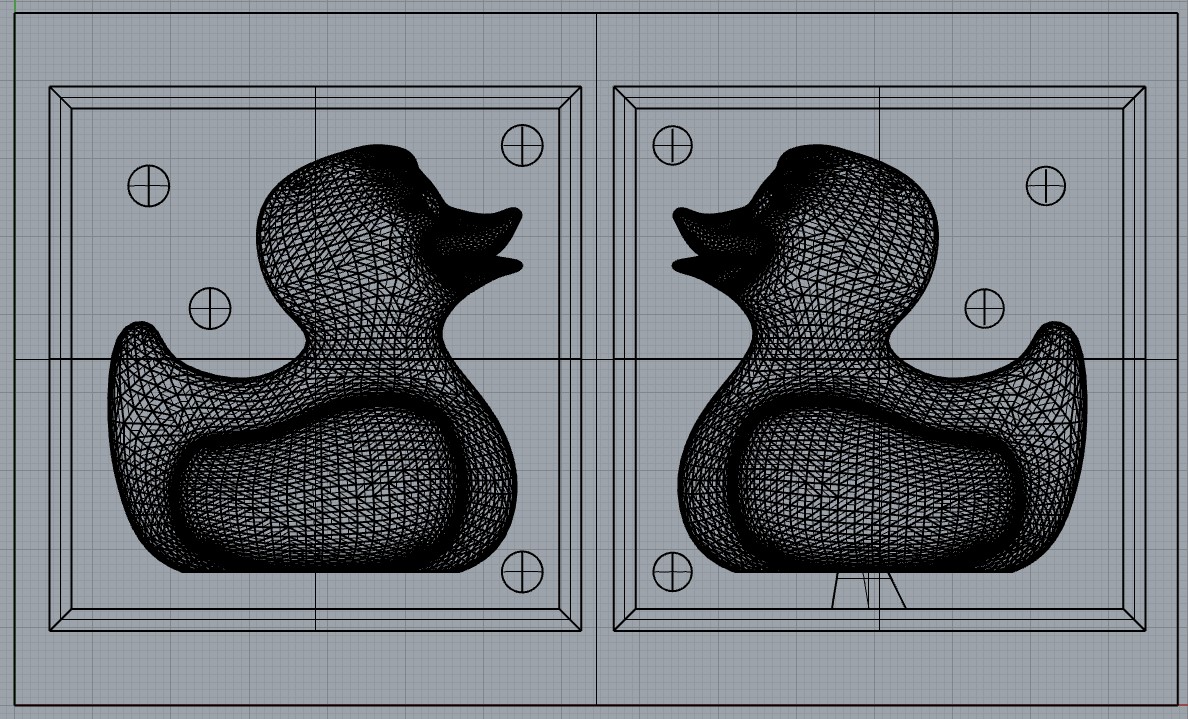
With this software, you can import the .stl file and set the parameters of how you'd like to cut.
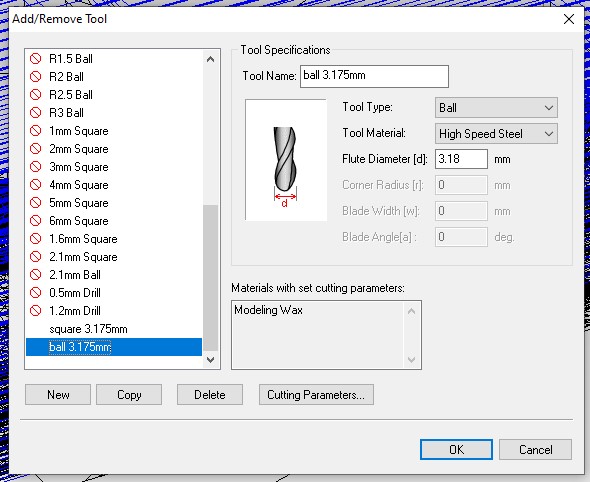
First, you need to create the correct tools that you're going to use. In this case, the new tools are square and ball mills with the flute diameter of 3.175mm.

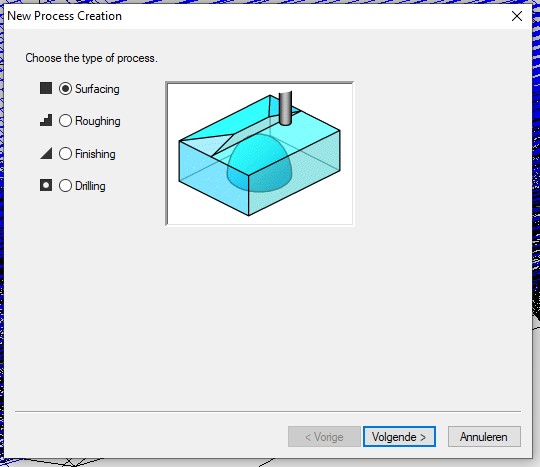
Once the tools are set, you can create the process for the paths.
Here you define which processs you'd like to have. The first is always Roughing. This takes away the material but does not go into details. To create the details and have a very smooth surface, you can select the finishing process.
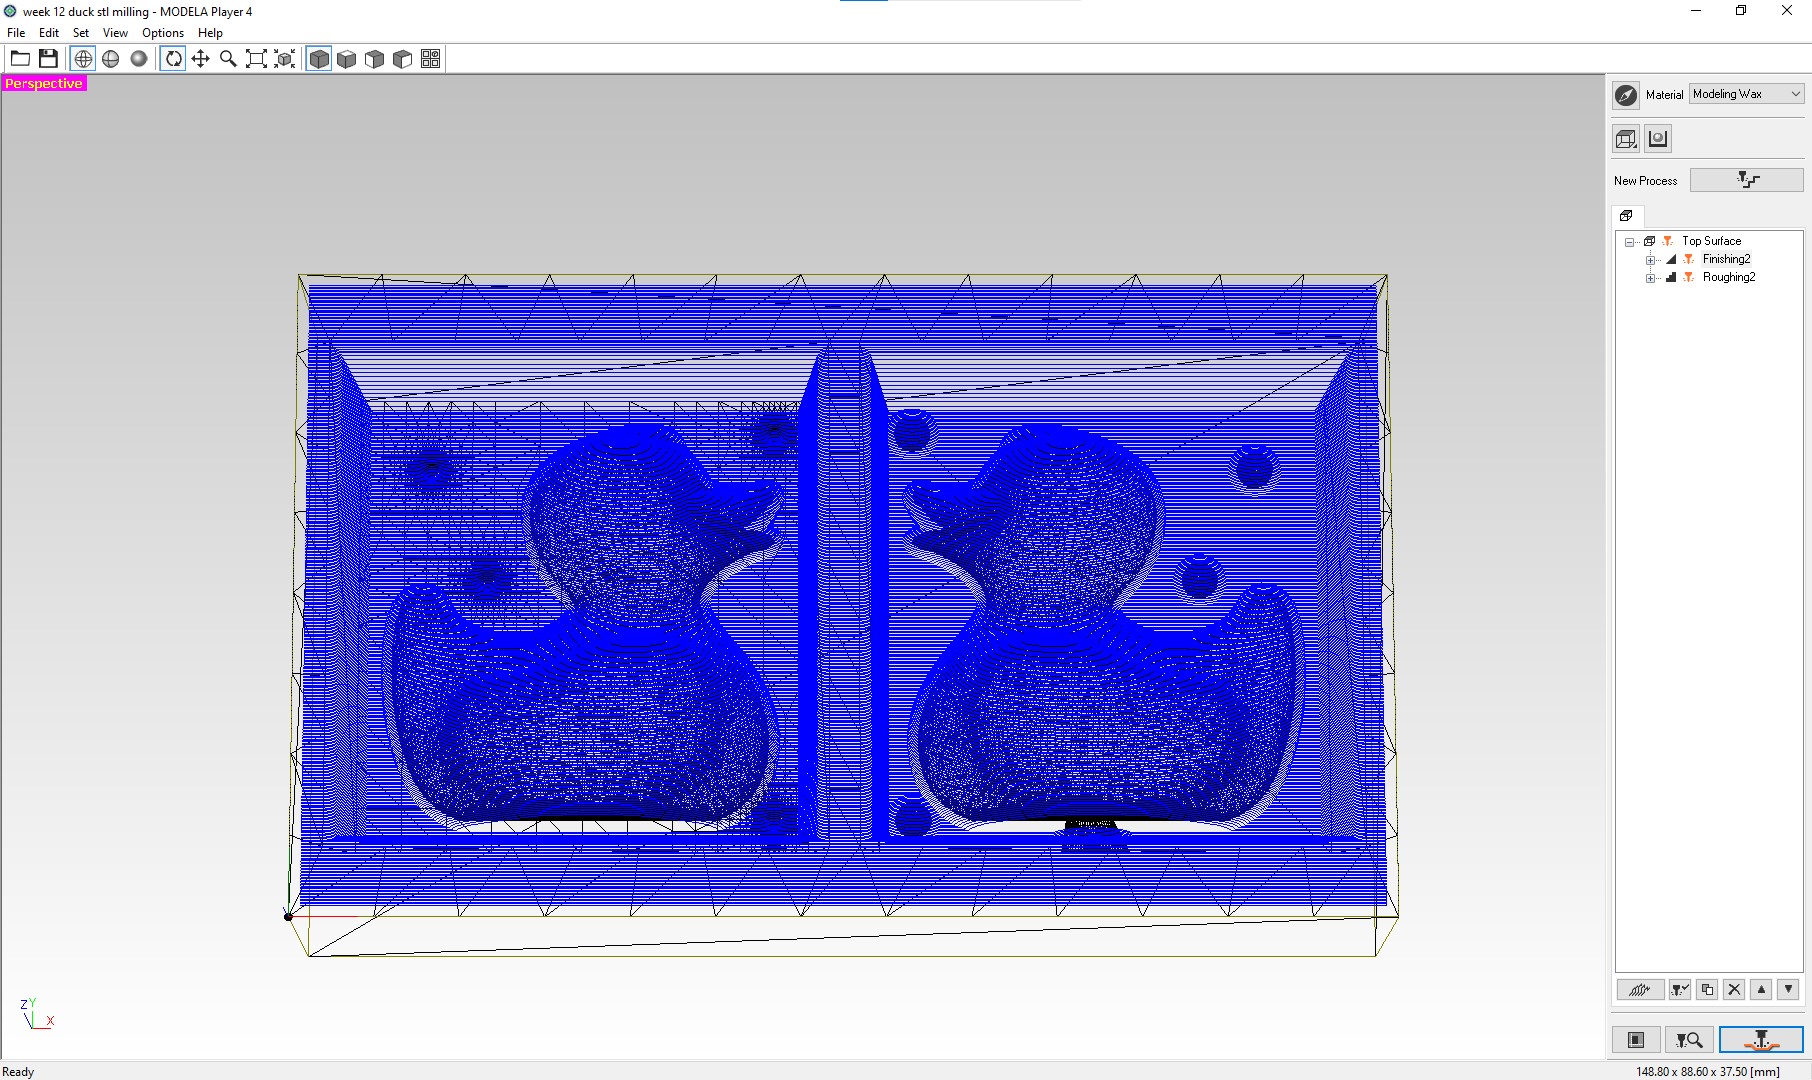
Now that the processes have been created, you can see the preview that gives you a good view of what it will look like. If it all looks good, the files can be saved and exported as .rml.
Milling the wax brick
The first step is to position the wax brick with double sided tape onto the milling platform. Second step is to set the origin for the X, Y and Z axis.
Before setting the Z origin, it s important to set up the correct end mill. For the roughing part = 1/8 square with the diameter of 3.175mm. and for the finishing part = 1/8 ball with the diameter of 3.175mm.
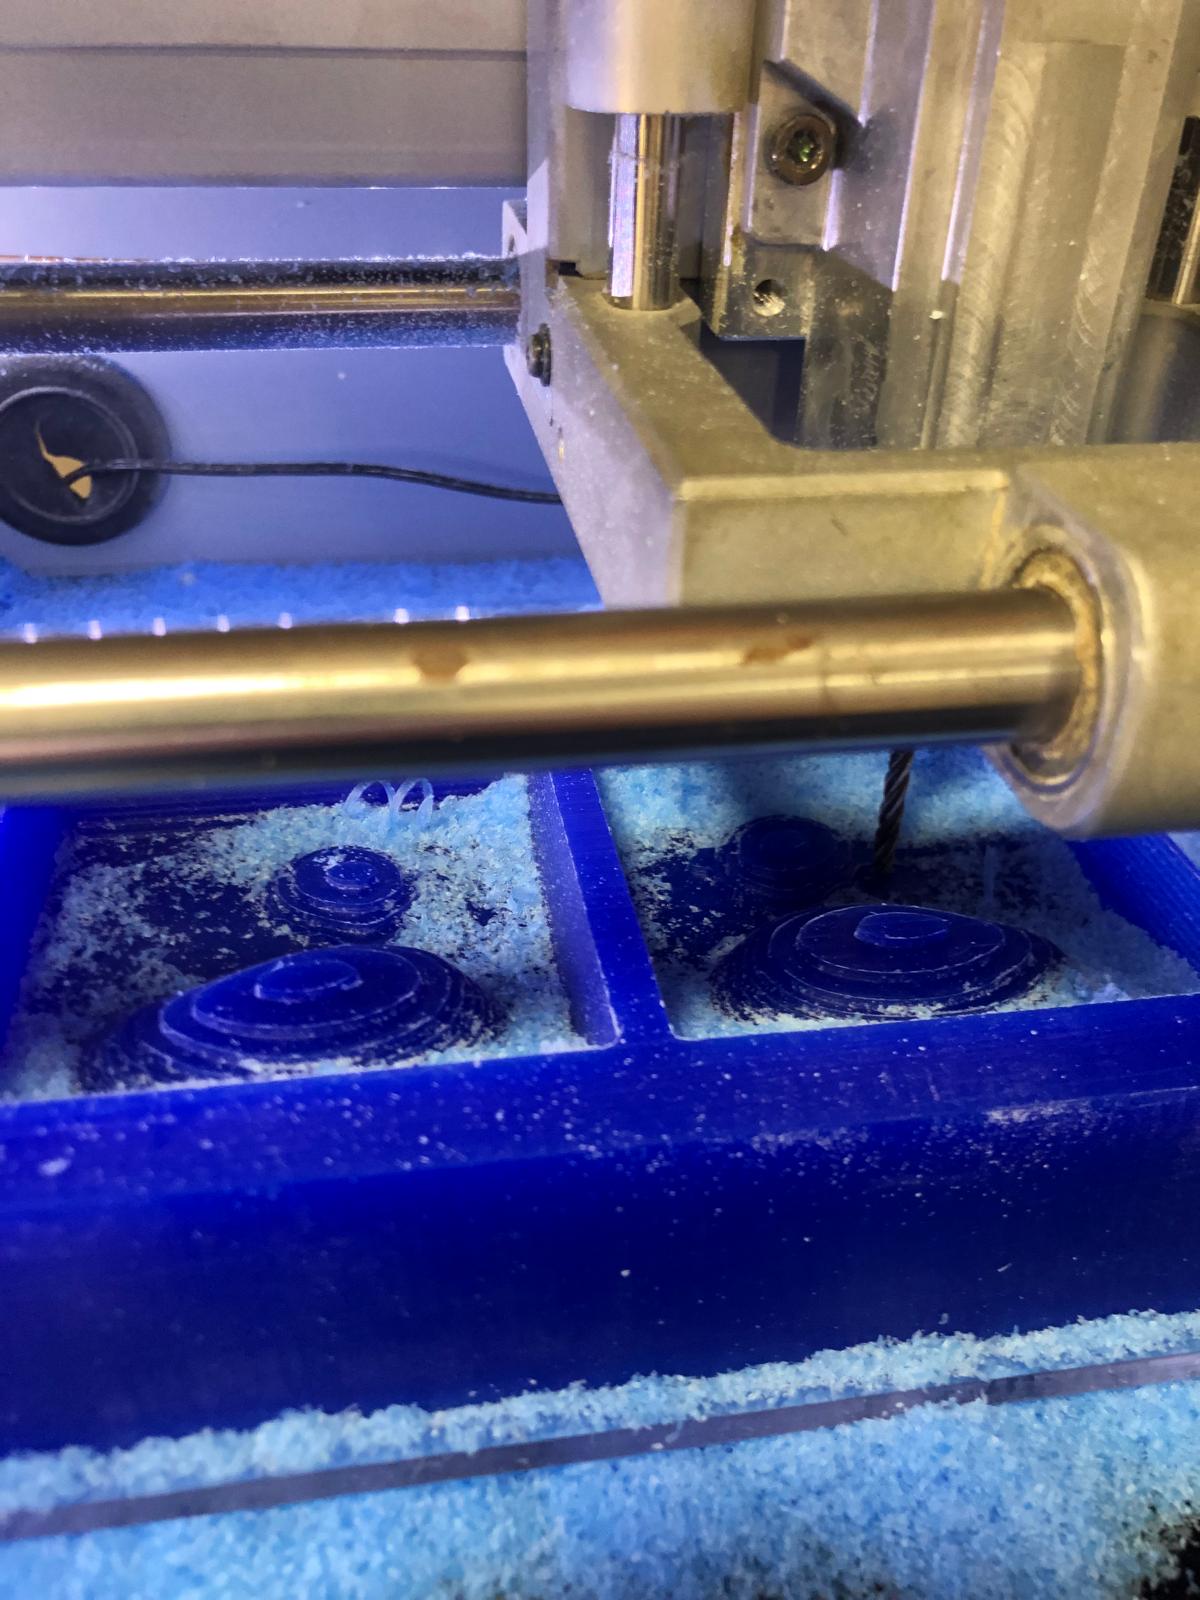
When everything is set up, the process can start!
This is what the roughing looks like:
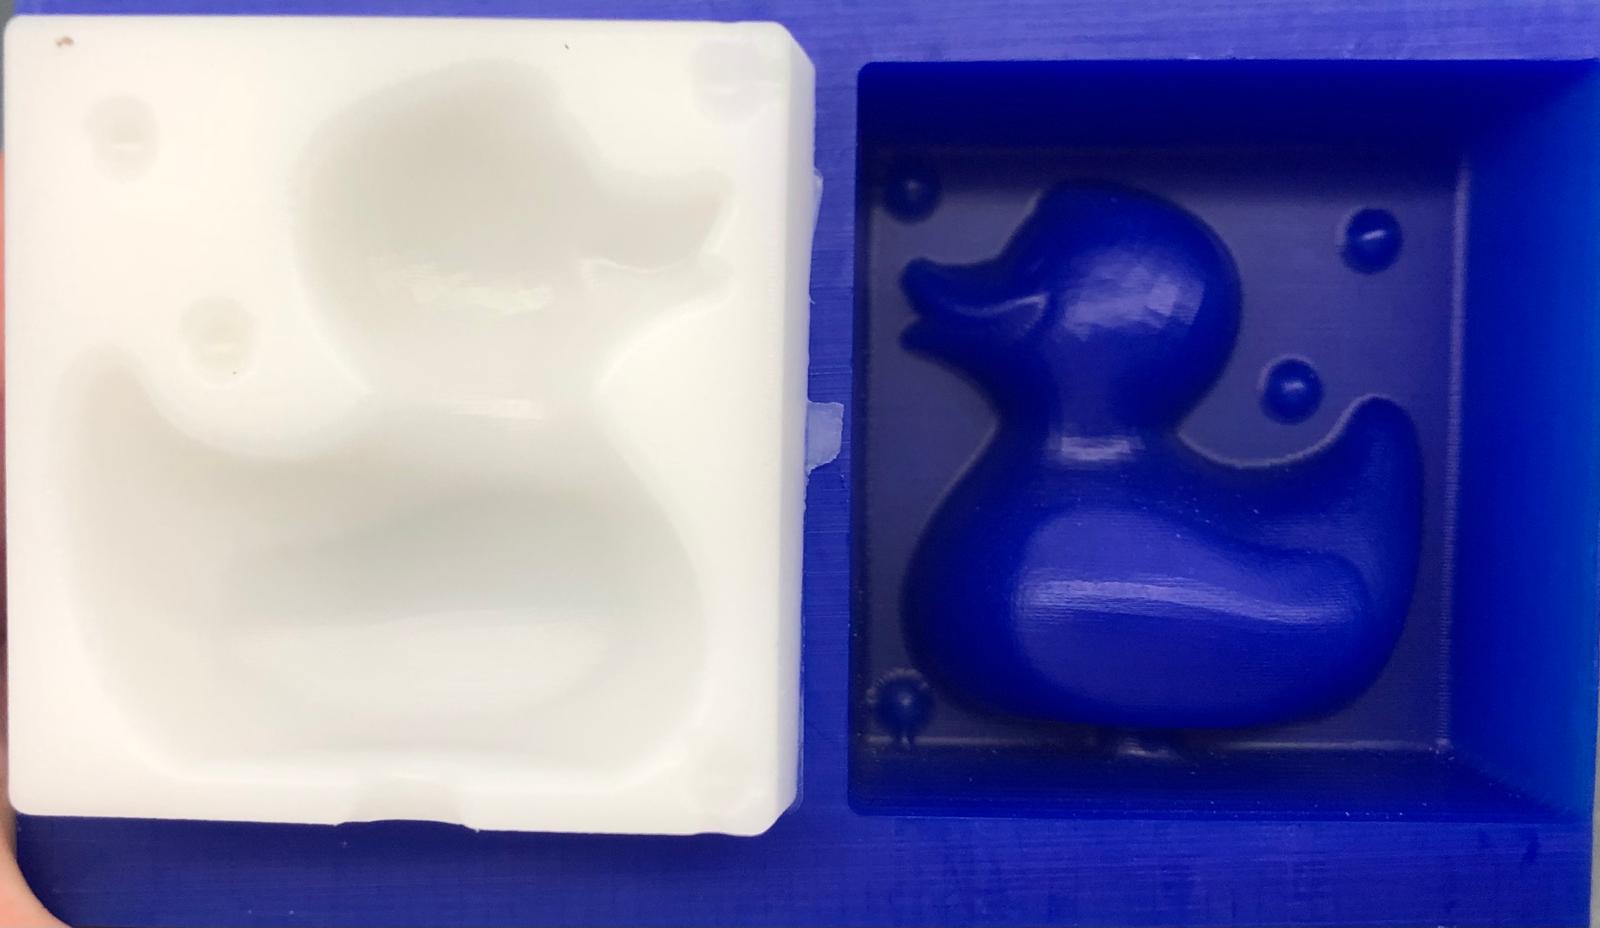
Underneath there is a picture of the silicone mold next to the wax brick where you can see the finished and smooth surface of the millied duck.
Casting silicone in the mold
The type of silicone that I am using is a foodsafe silicone ith a very short catalyzation time.
The silicone exists of 2 parts: A and B. These have a 1/1 ratio.
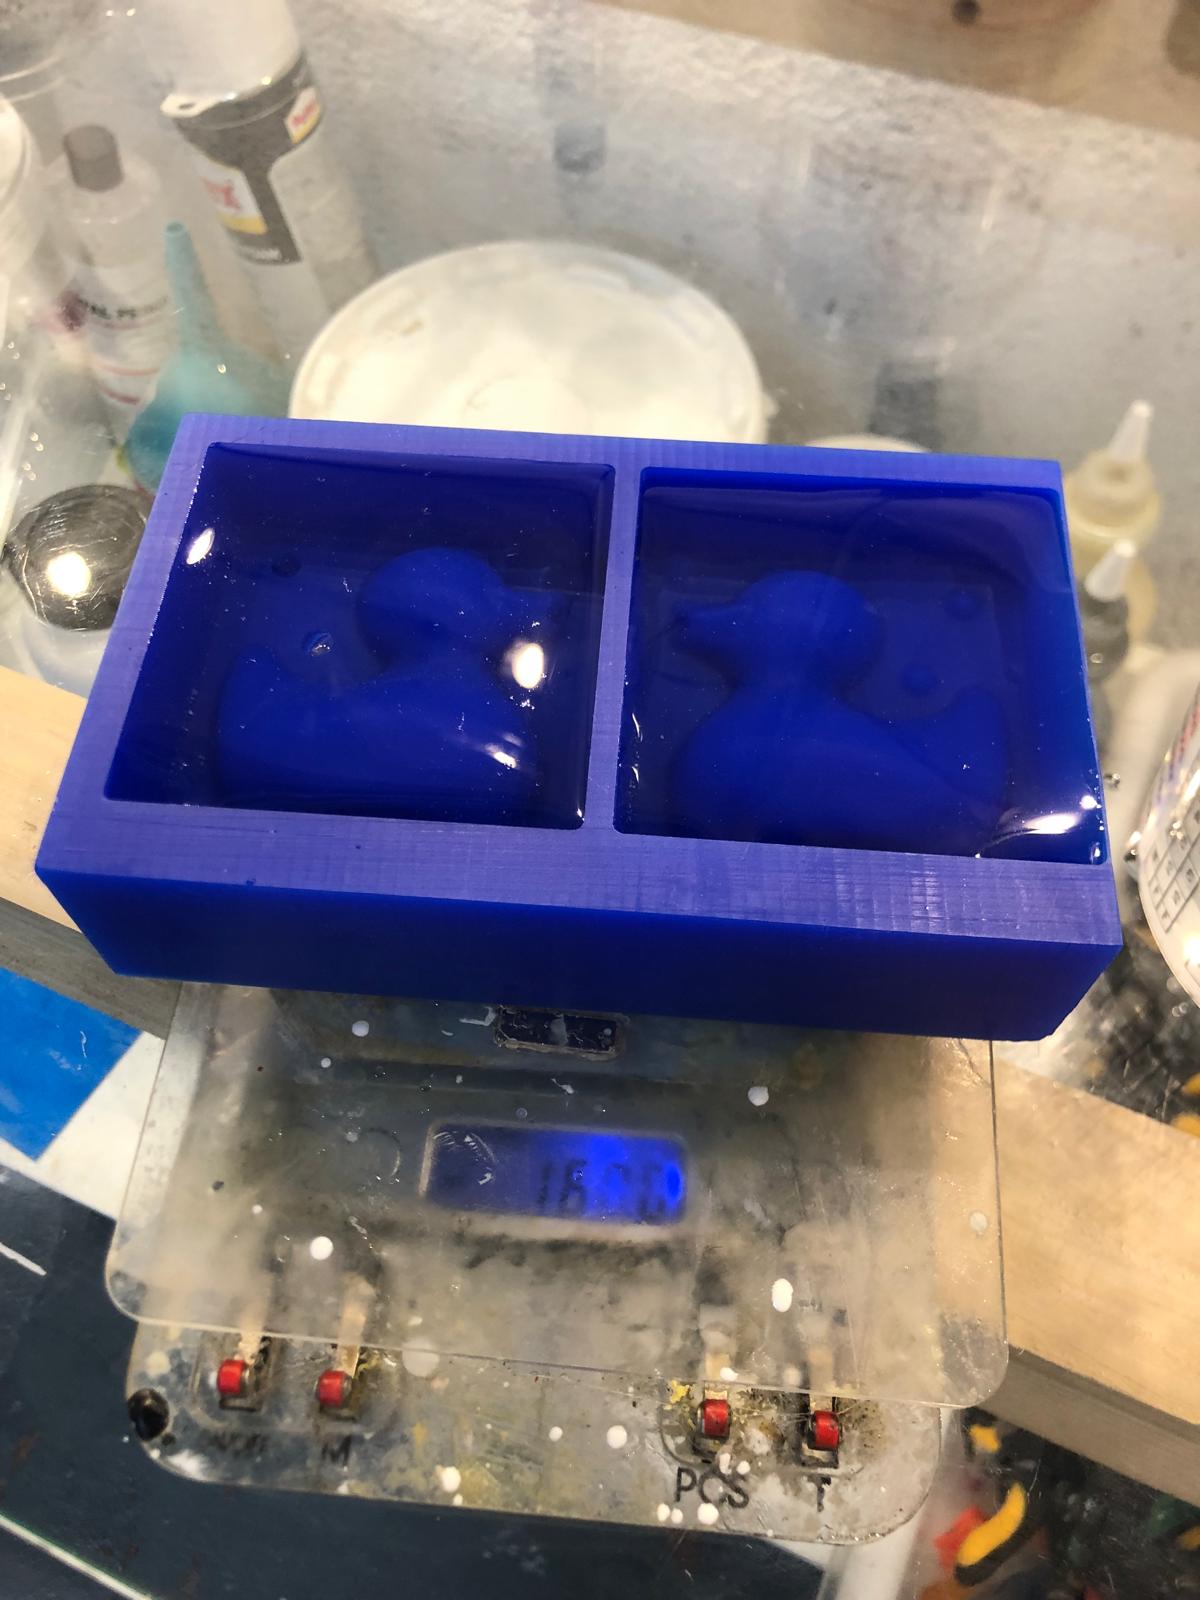
To measure the amount of silicone that I would need I filled the matrix with water. Here is it 160 gr. To know the amount of silicone I woyuld need in grams, I have to multiply the 160 by 1.2 (density of the silicone). The result is 192gr.
To prepare the silicone, you have to add the 96 gr of part A together with the 96 gram sof part B and mix it all together.
Once it is mixed, it goes into the vacuumchamber to suck all the air out of the silicone. This takes 3minutes.
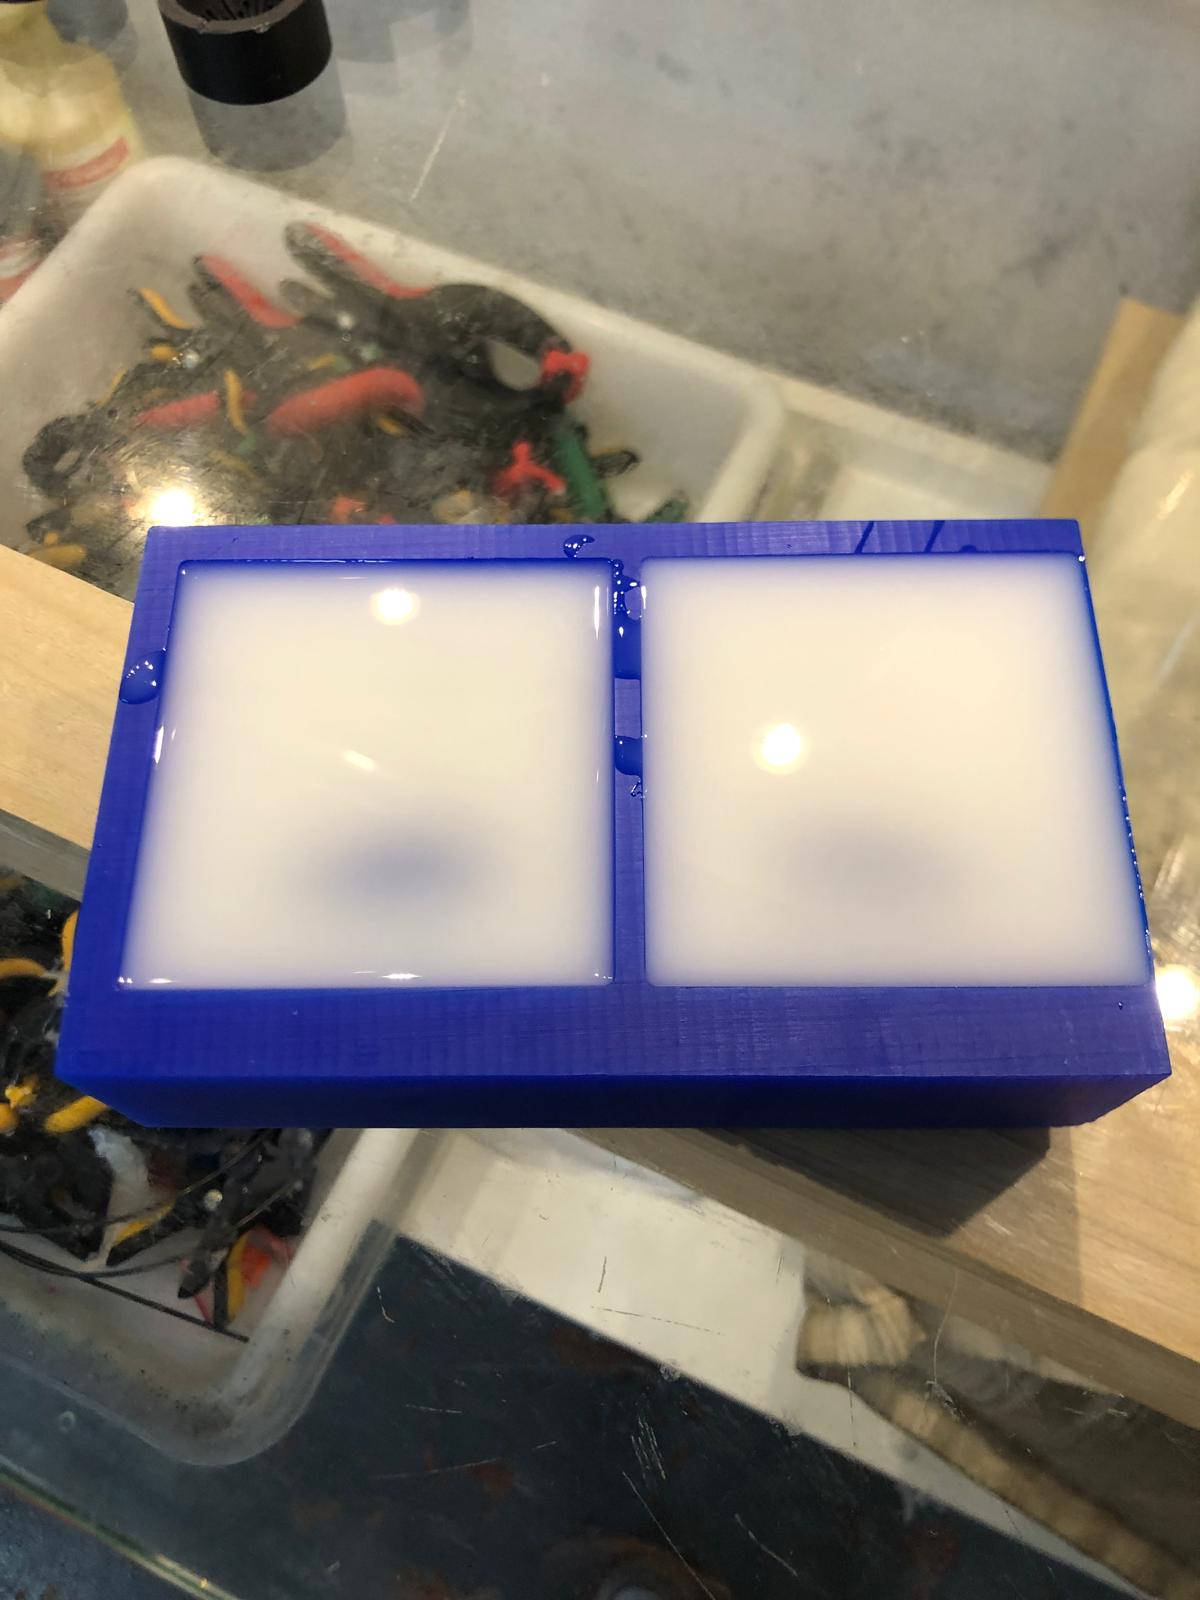
After those 3minutes it is time to pour the silicone into the matrix. The best spot to start the pouring is into the corner and let it flow slowly into the rest of the matrix.
When it is all poured, it needs 30 to 45min to catalyze. After that the silicone is ready.
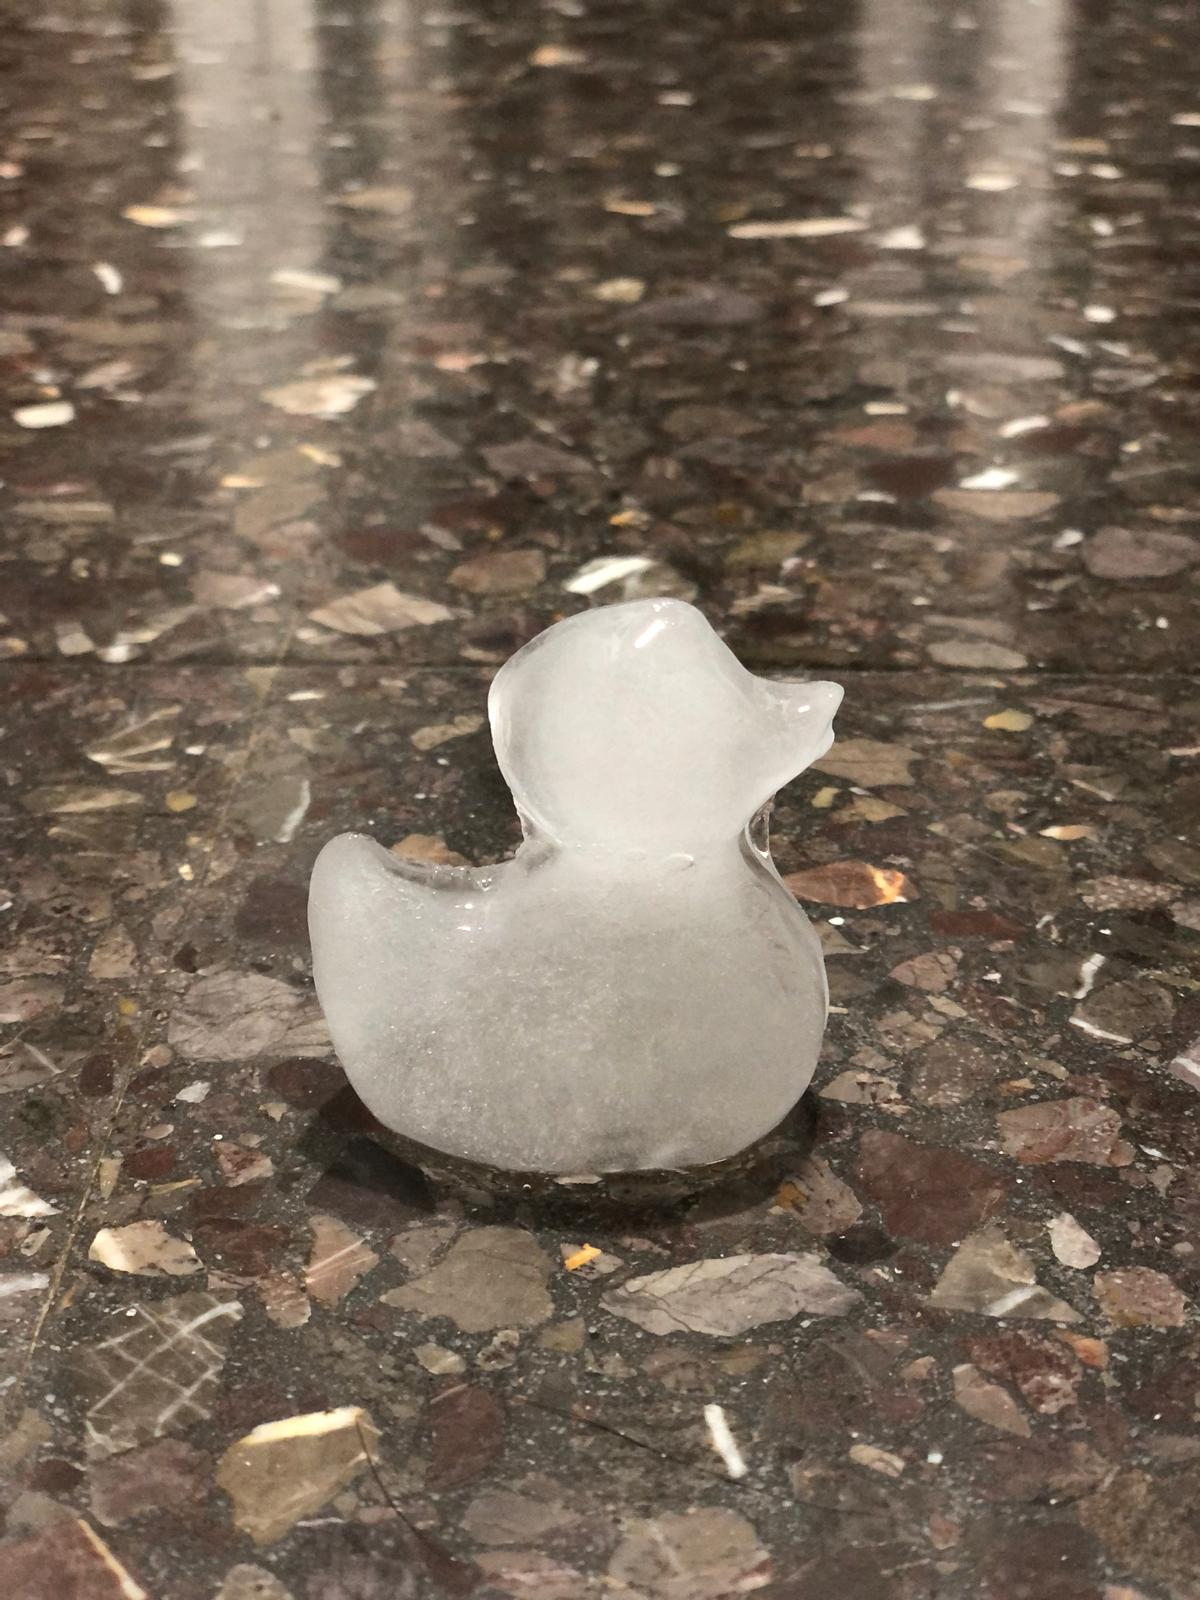
Check the silicone piece
Check if the pieces are good = check for airbubbles or parts that might not have been fully cured.
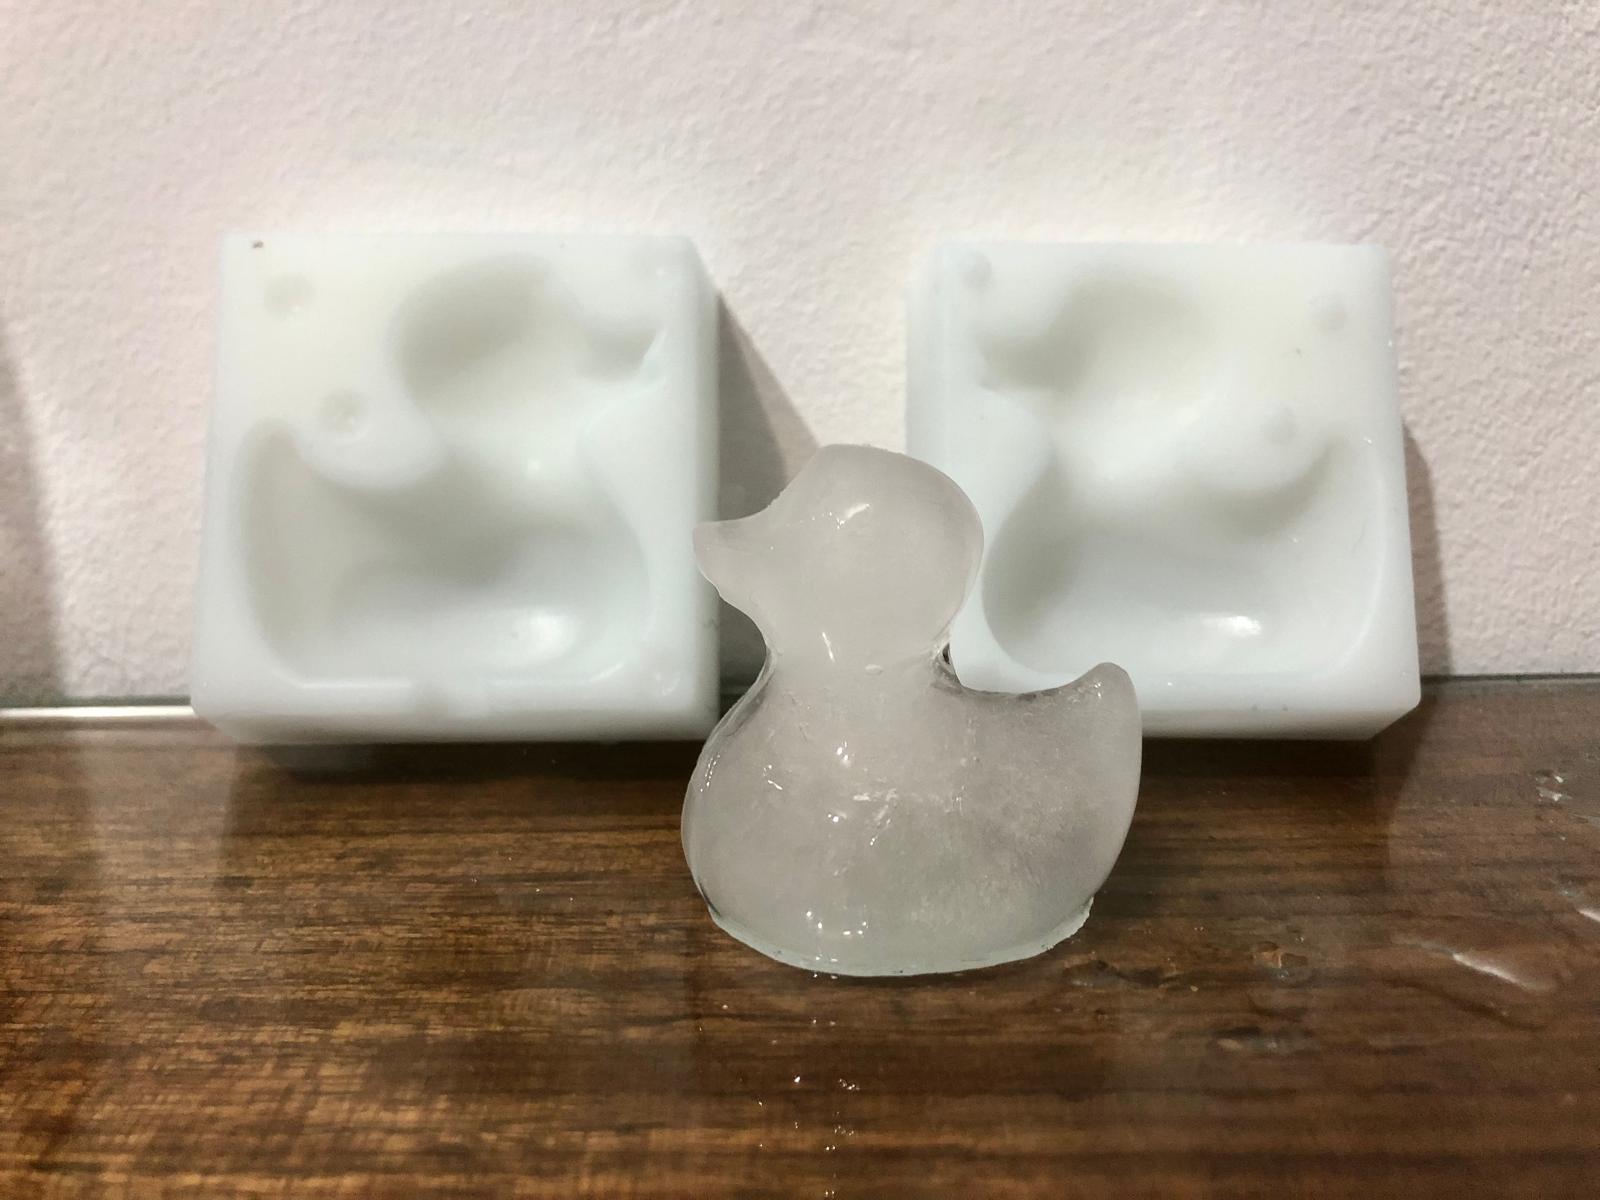
In this case, the mold is perfectly cured and has zero airbubbles.
Final result
files
milling file roughing duck mould
milling file finishing duck mould