3. Computer Controlled Cutting
The Lasercutter and vinylcutter are the 2 machines that we will learn to use this week. Both machines work with vectors. This means that everything is in 2D.
Vinylcutter
To create something with the vinylcutter, you first need a design.
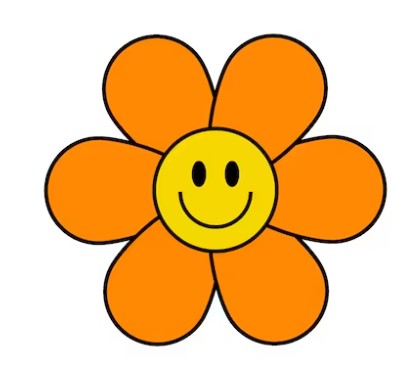
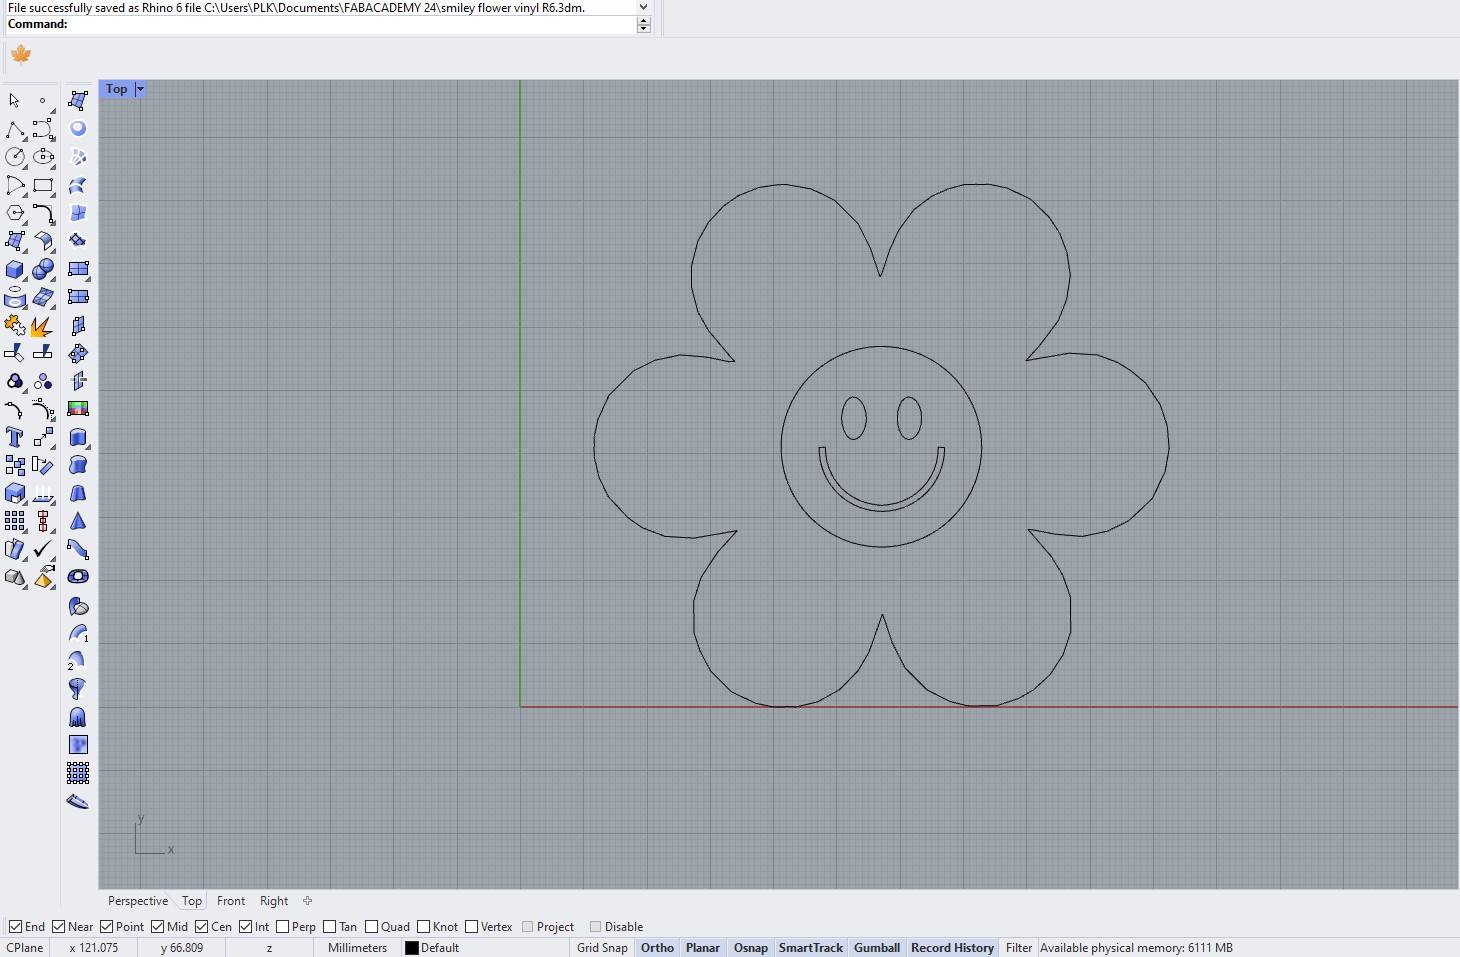
I choose a drawing of a flower with a smiley in it that I found on Google.
To create a vector of this drawing, I used a tool in Rhino to convert drawings into lines. I changed the petals and merged them all together.
Once the design is ready, I saved it as a Rhino 6 version (this is the version of the computer that is connected to the vinylcutter) and uploaded it onto the drive.
The next step is setting up the parameters. Here you select and place the vector into the right position in the window. The important position is in the bottom left corner.
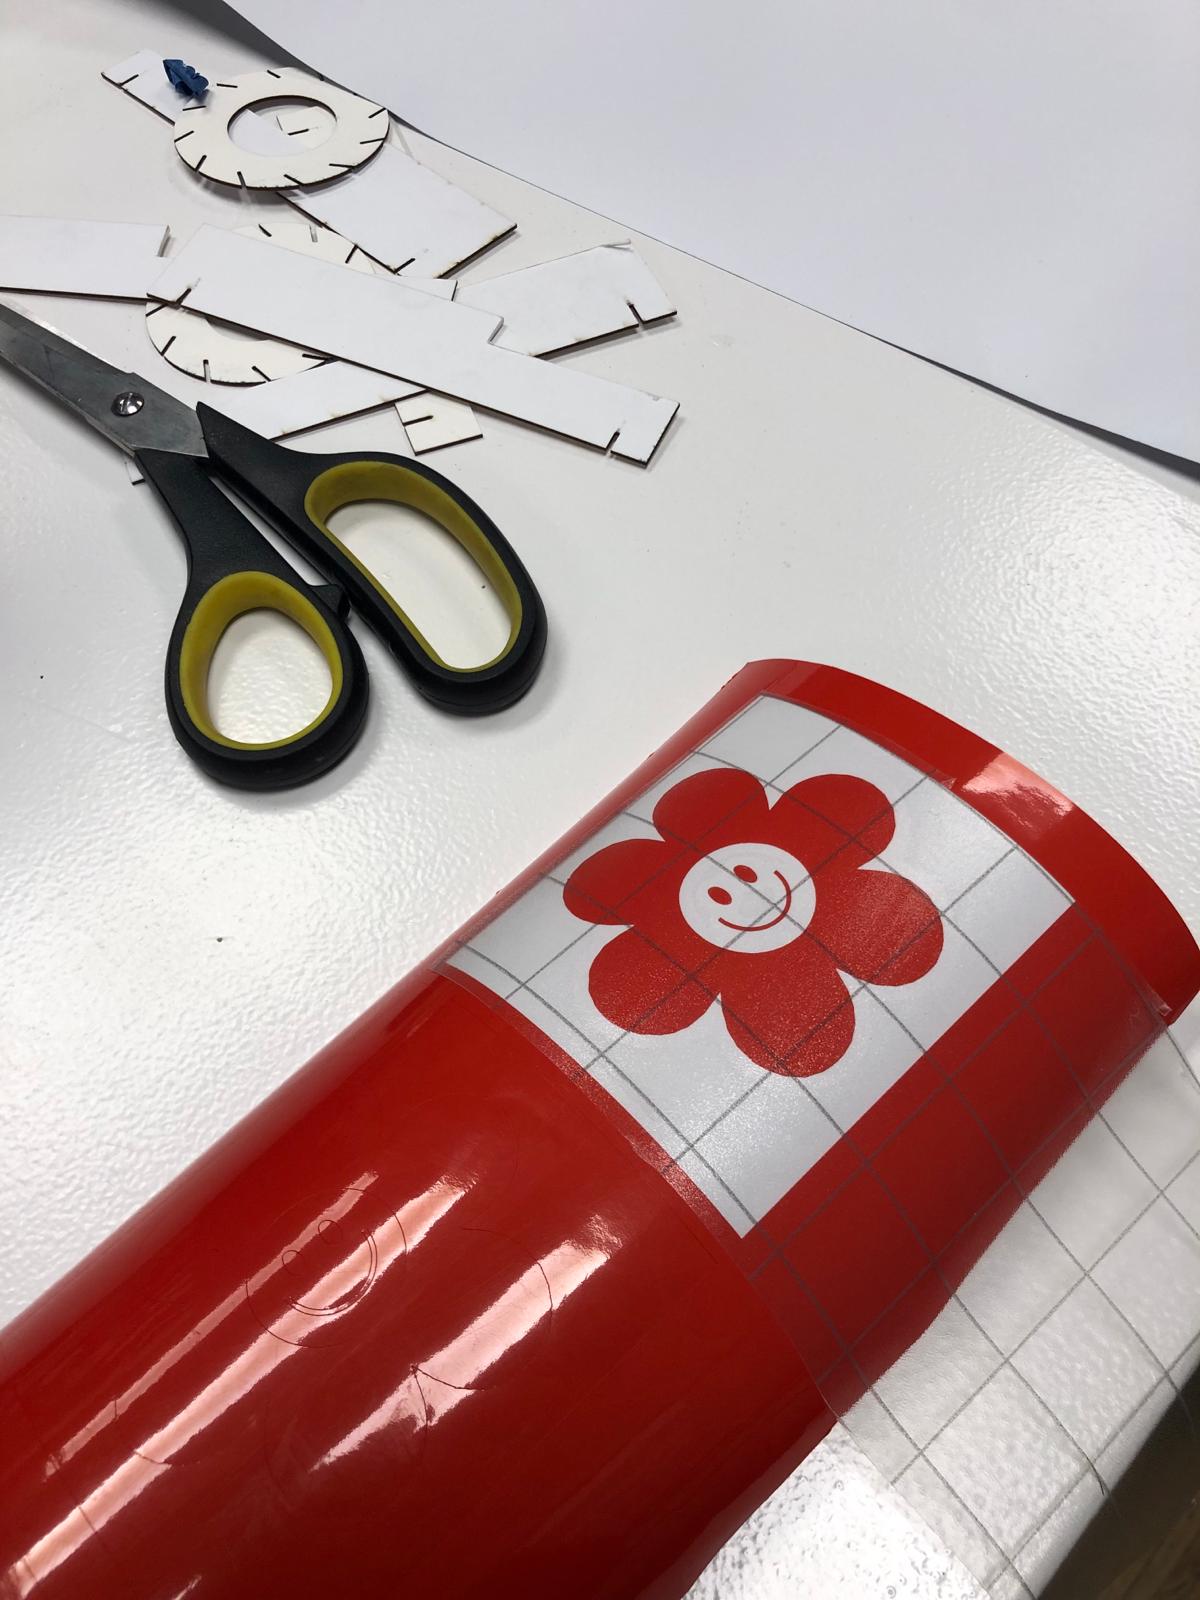
There are many colors of vinyl to chose from! I choose a strong red color for the flower.
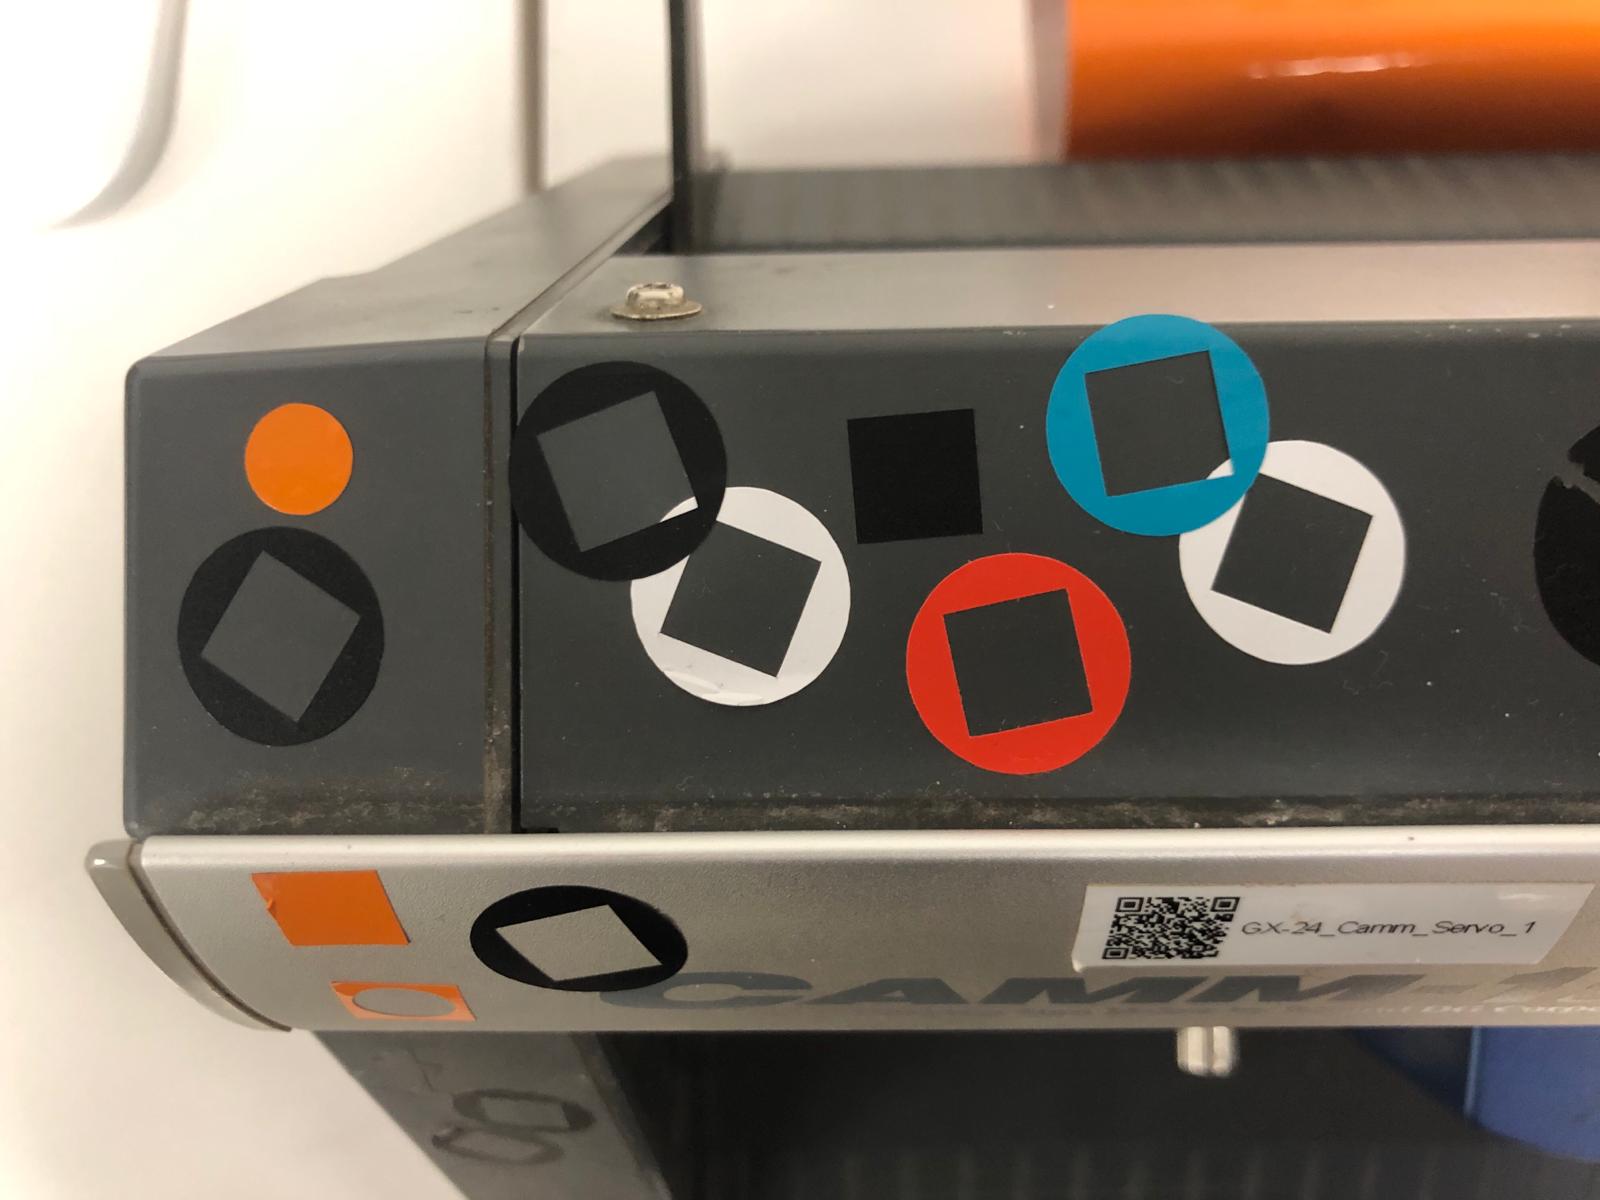
The first test that the vinylcutter does is cut a circle with a square inside.
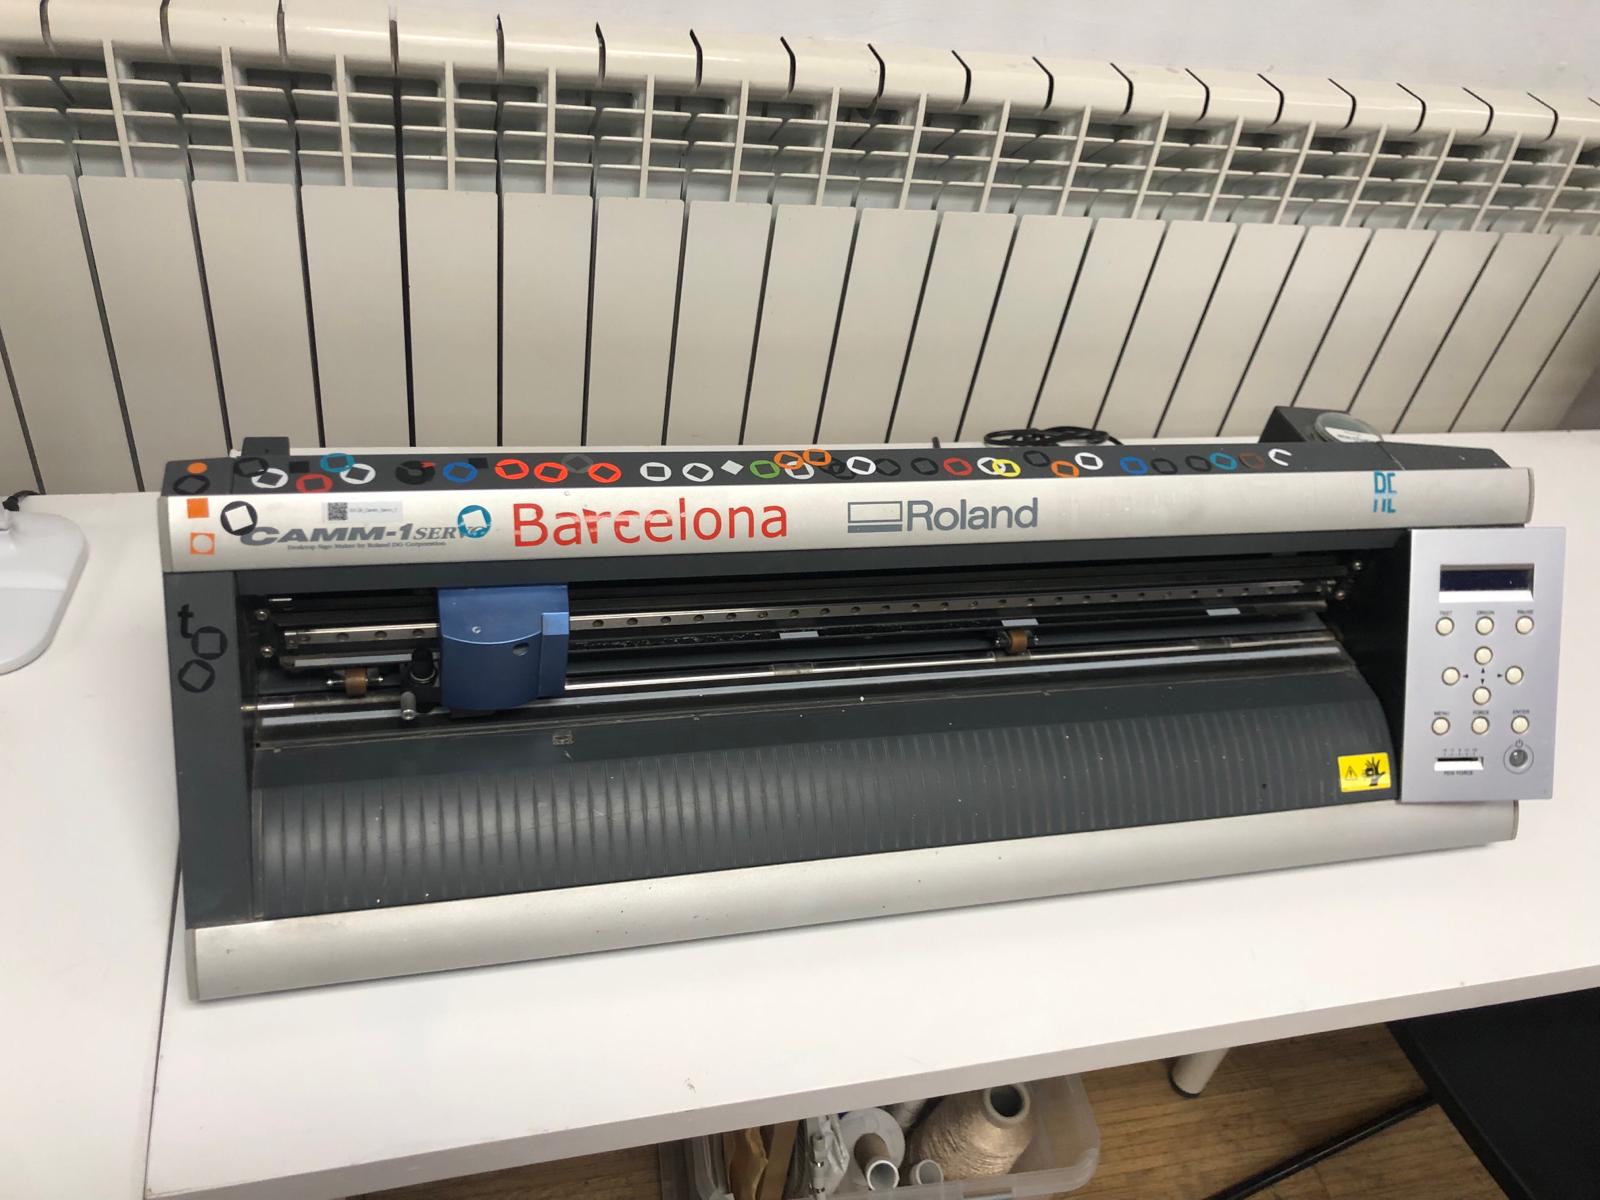
Once everything is set up, the machine is ready to cut.
This is the result! I used transfer paper to transfer the sticker onto another surface without lossing any details.
Lasercutter
A laser cutter is a precision tool that uses a high-powered laser beam to cut, engrave, or mark materials such as wood, acrylic, metal, and textiles. It operates by focusing the laser beam on a small area of the material, which absorbs the energy and either melts, burns, or vaporizes away, allowing for highly accurate cuts. The process is controlled by computer software that directs the movement of the laser head along the design path. The types of files used with laser cutters are typically vector graphics files, such as DXF, SVG, or AI, which define the paths the laser will follow. Raster images, like JPEG or PNG, can also be used for engraving purposes, where the laser intensity varies to create different shades and textures. The software translates these digital files into commands that control the laser's intensity, speed, and movement, ensuring precise execution of the design. -chatgpt
A lasercutter is a very nice tool/machine to do some try and error too. Engraving materials that are not wood, acrylic, metals or textiles but are biomaterials is very interesting to find the correct settings.
Parametric design
Parametric design is a process in which parameters and rules are set to define a range of designs, allowing for dynamic and easily adjustable models. This approach enables designers to quickly iterate and explore variations by altering input parameters, leading to efficient and flexible design solutions. -chatgpt
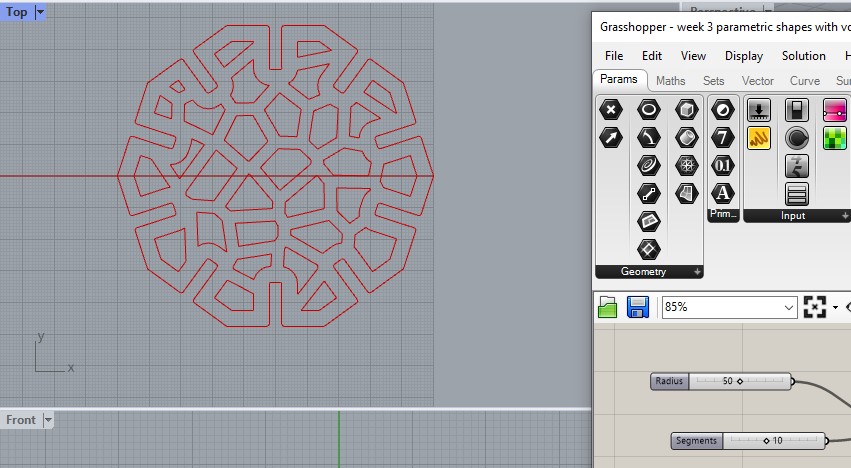
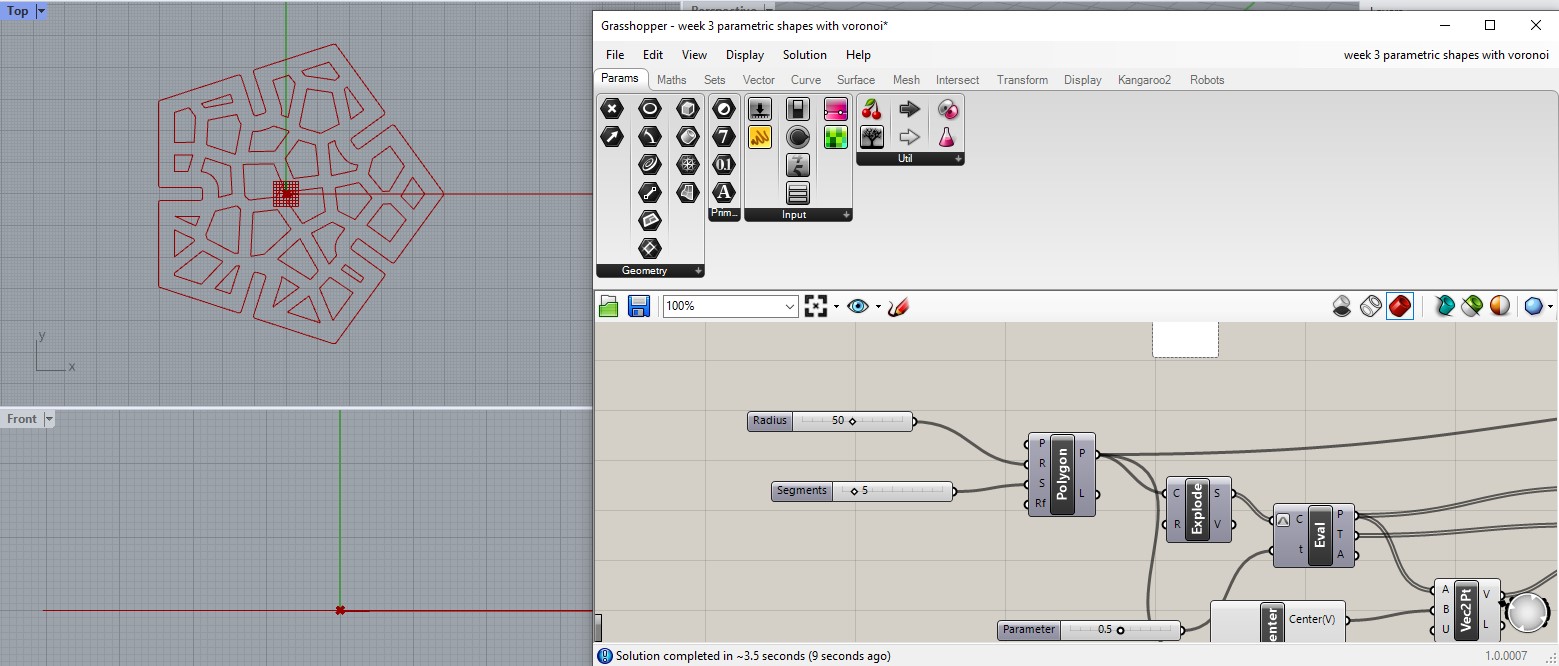
With rhino you can use the Grashopper software to create parametric designs. It is like working with command but visually. The nice thing about grashopper, is that you can change the inputs without having to start all over or make a million copies of your design. You can easily preview it and if it is the result youy want, you simple "bake"the command.
Parametric press-fit construction kit
For this weeks assignment, we need to create a parametric press-fit construction kit.
To do this, you need to create multiple different shapes that fit into each other.
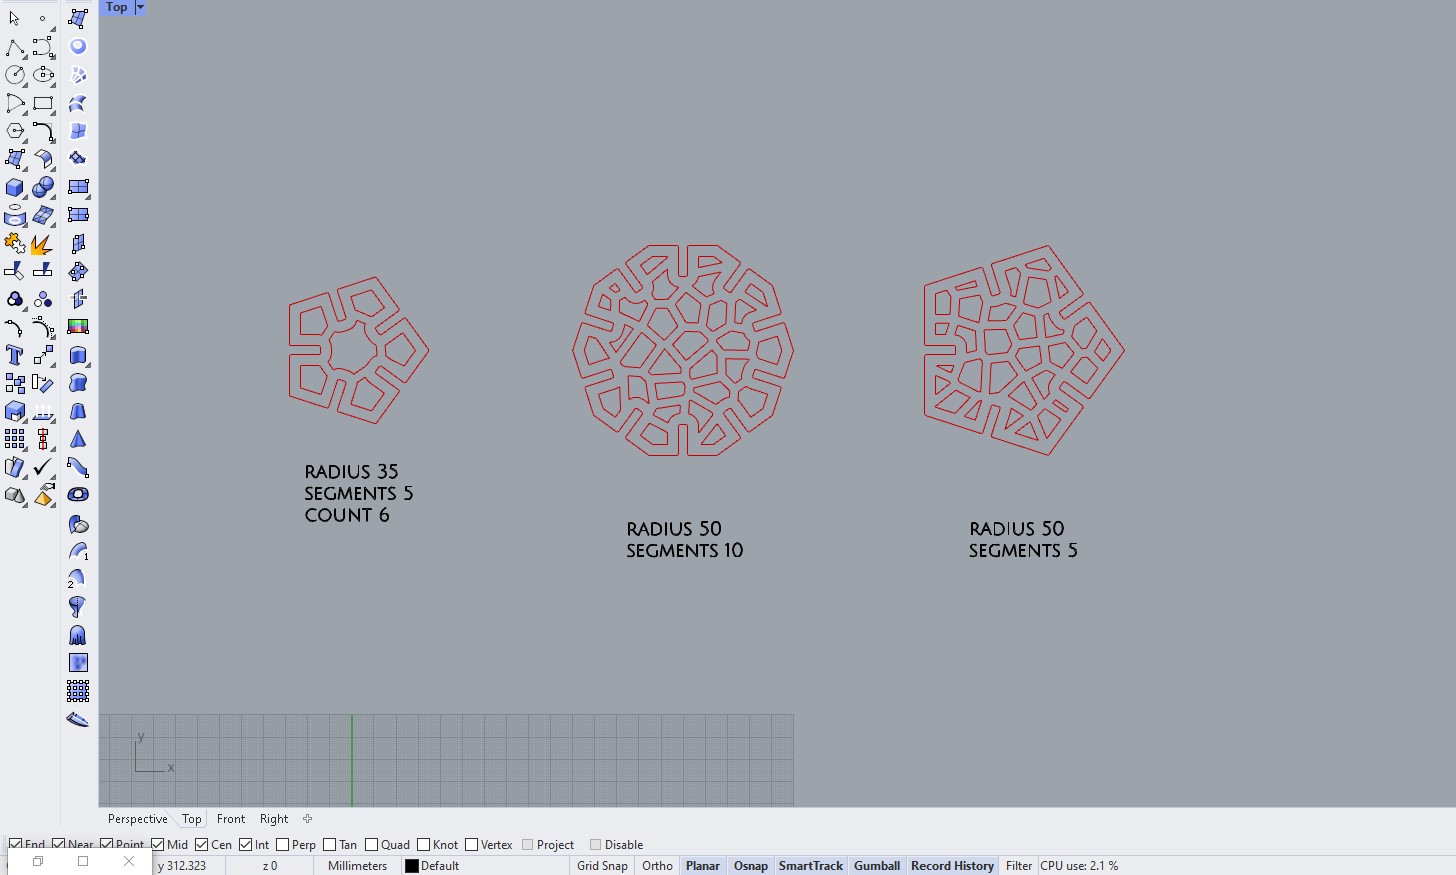
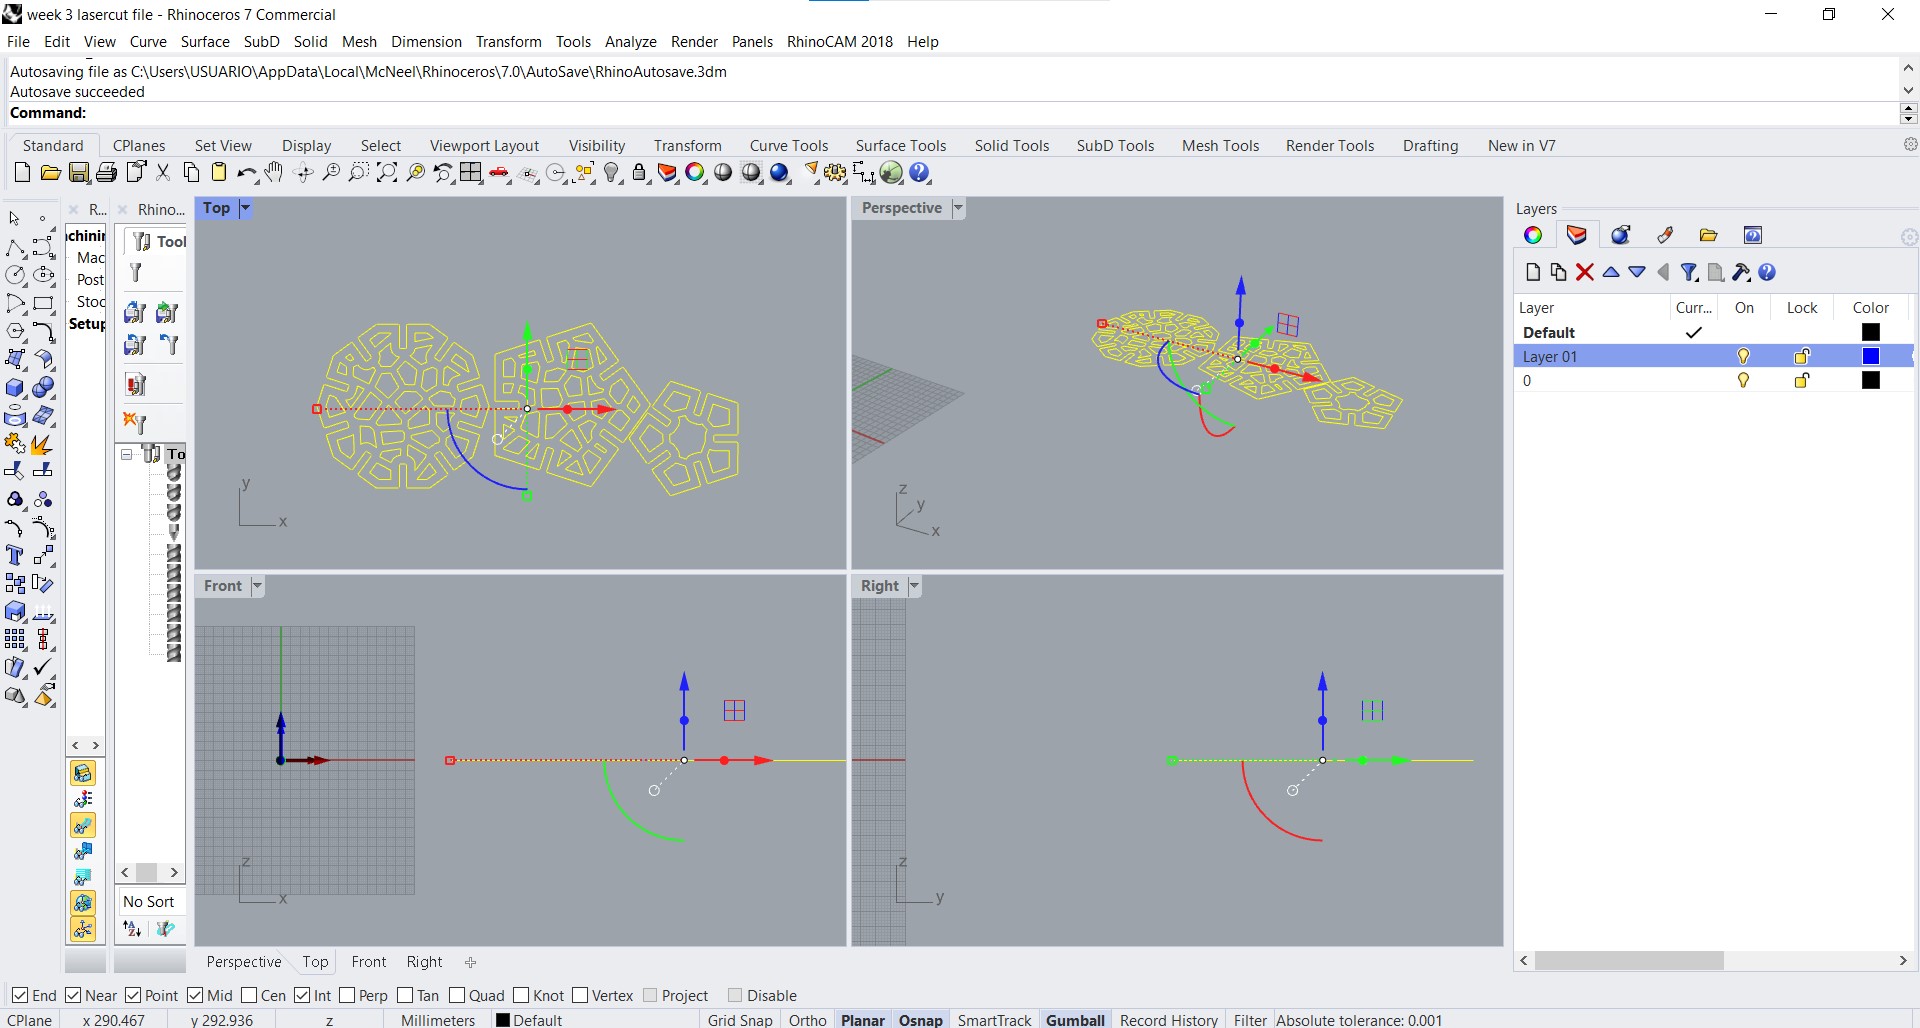
You can see in the screenshots below the shapes i made and the settings i used. You can also find the files below this page.
On the website food4rhino.com you can find plenty of plugins to use in grashopper. Here you can find the Voronoi plugin.
Lasercutting
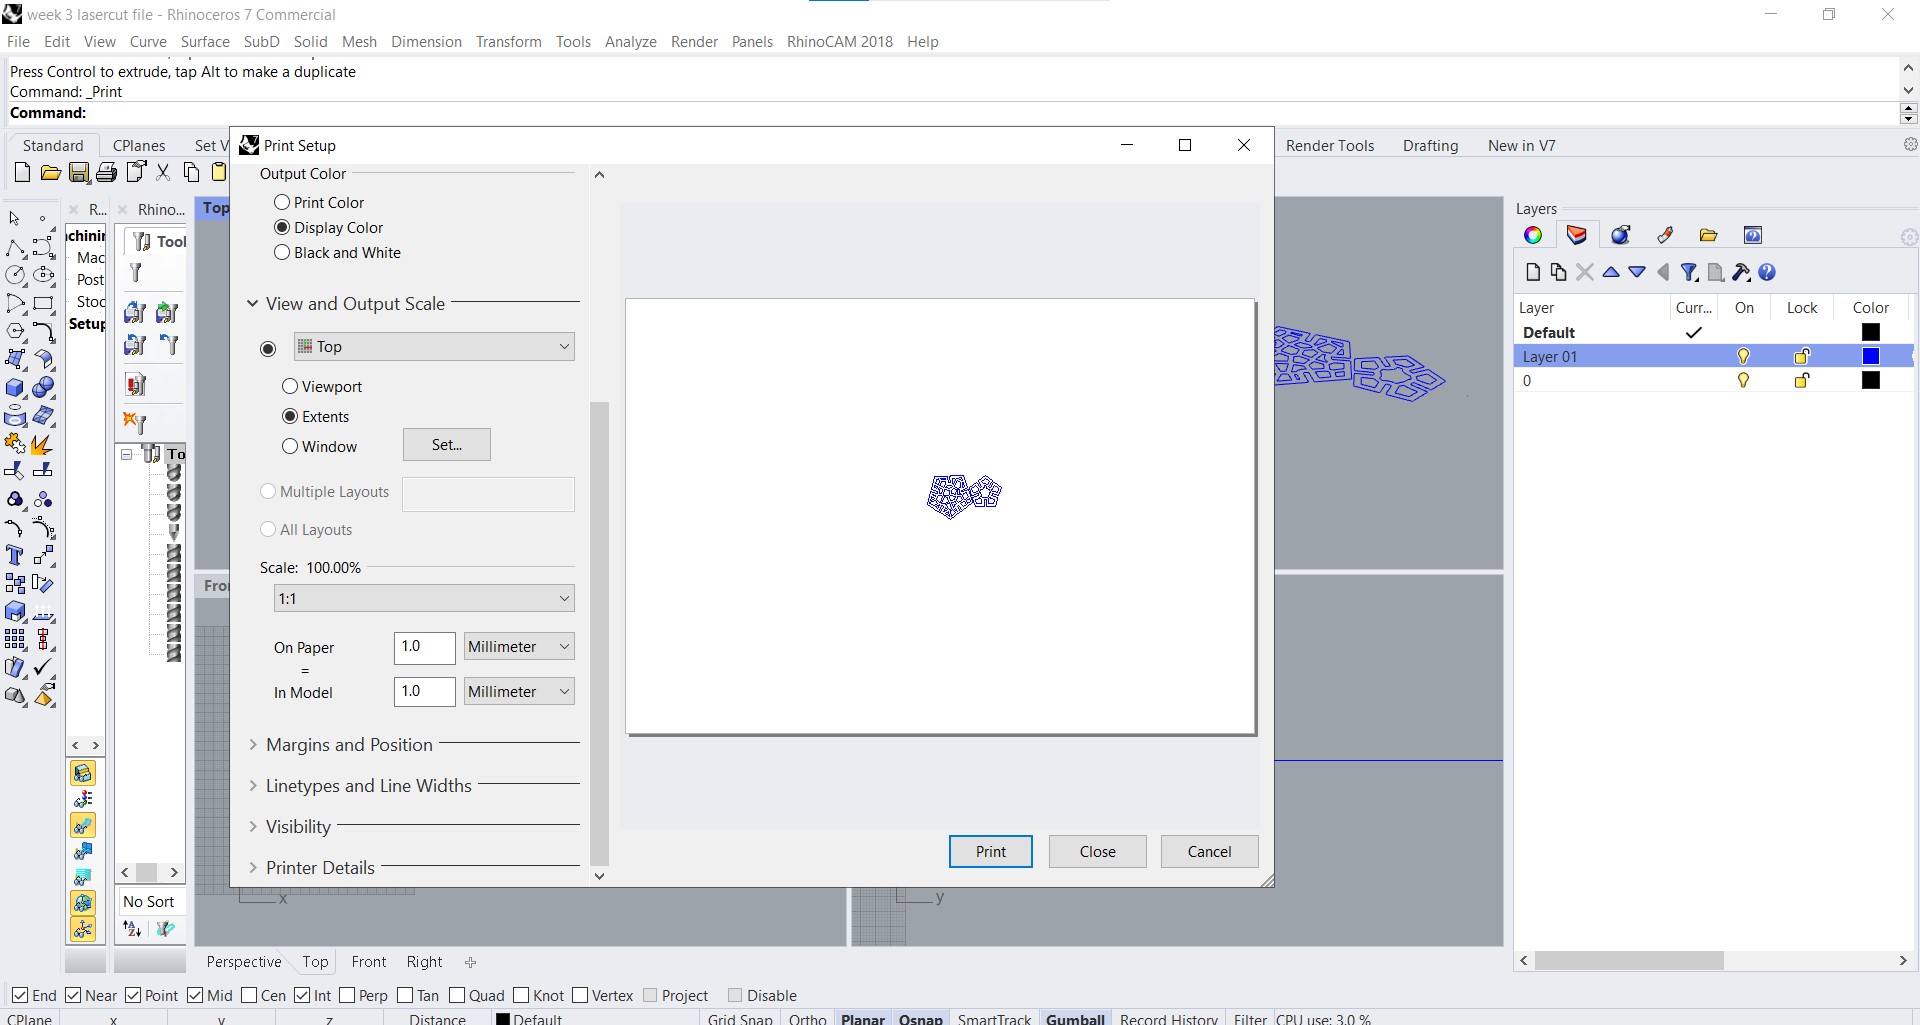
Now that the file is ready, it needs to be exported as a .DXF. In my case, i'll be using the Rayjet so i can just use the "print" option.
Once it is added onto the cloud, you can go to the lasercutter and download your file.
Something important is the lasercutting kerf.This refers to the width of the material removed by the laser as it cuts through a piece. This kerf width varies depending on the type of material, its thickness, and the laser settings, including power and speed. A narrower kerf is often desirable for precision work, as it allows for more intricate designs and tighter fits between pieces. For example, when cutting a puzzle from a sheet of acrylic, the kerf must be accounted for to ensure the pieces fit together snugly without being too tight or too loose! You can check out our group assignment to see the kerf variations (link at the bottom of the page).
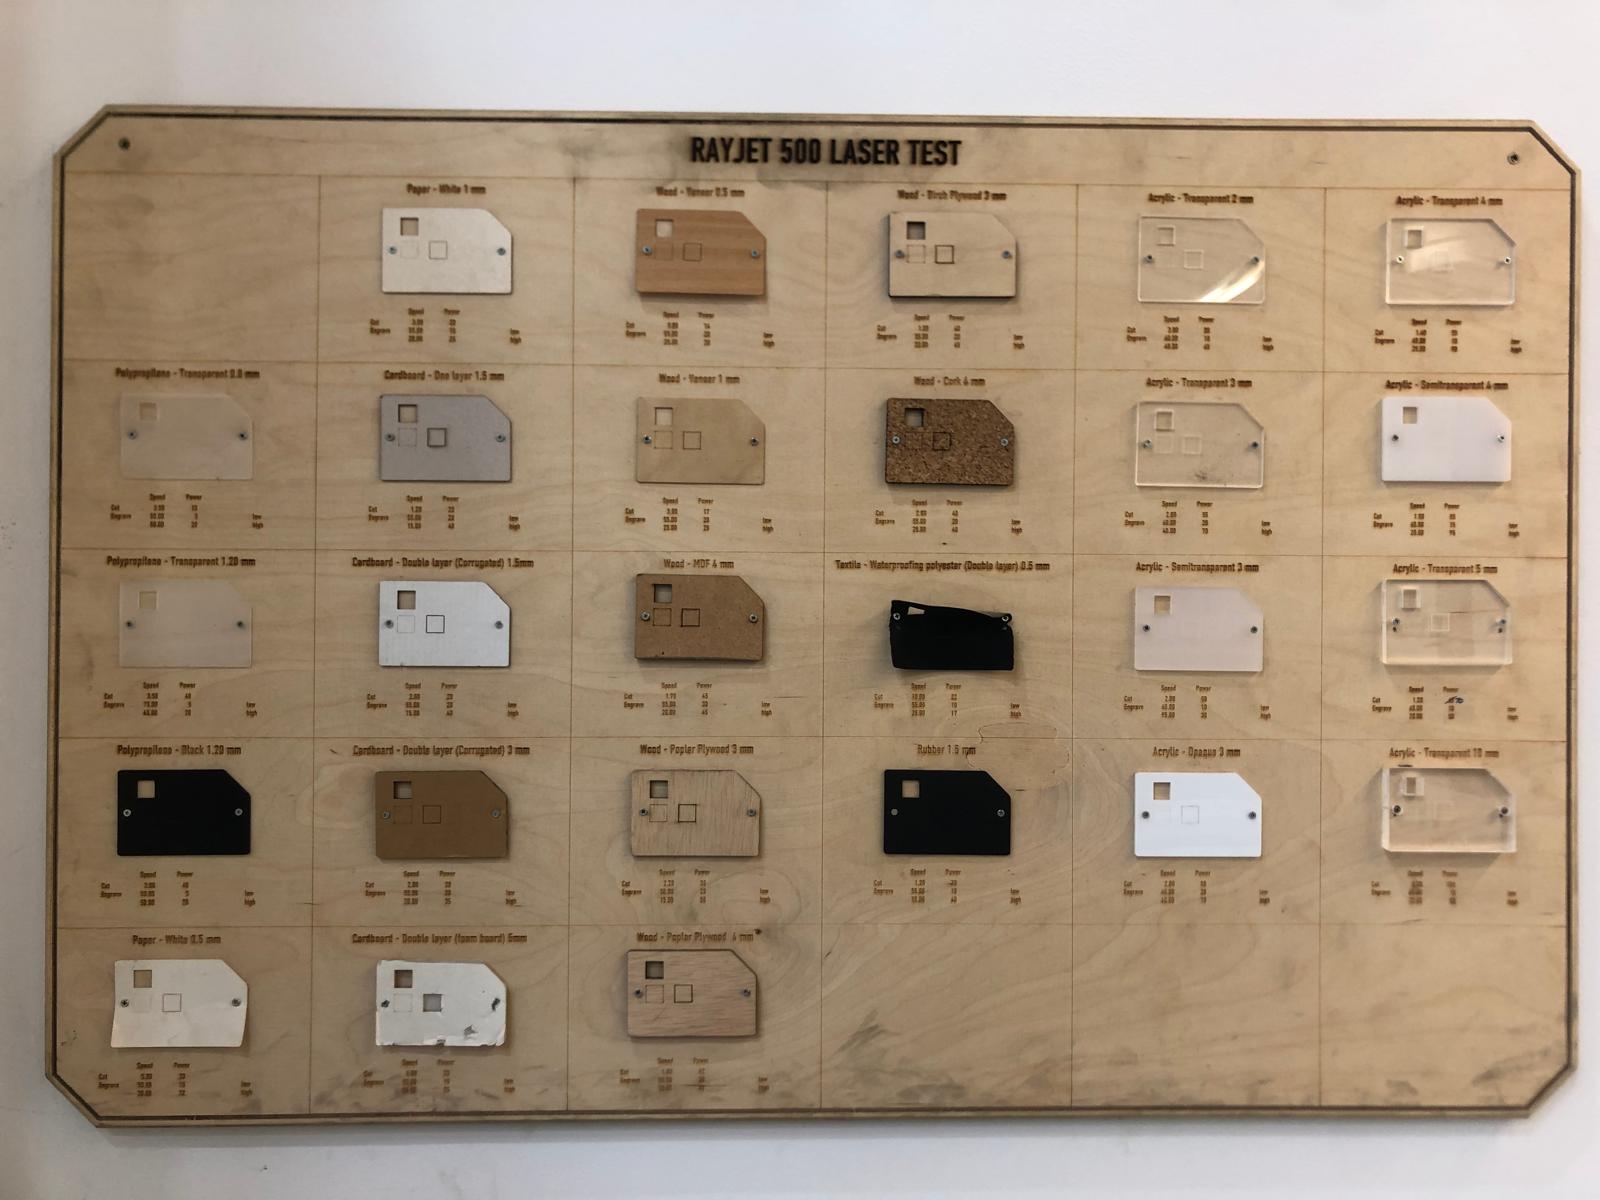
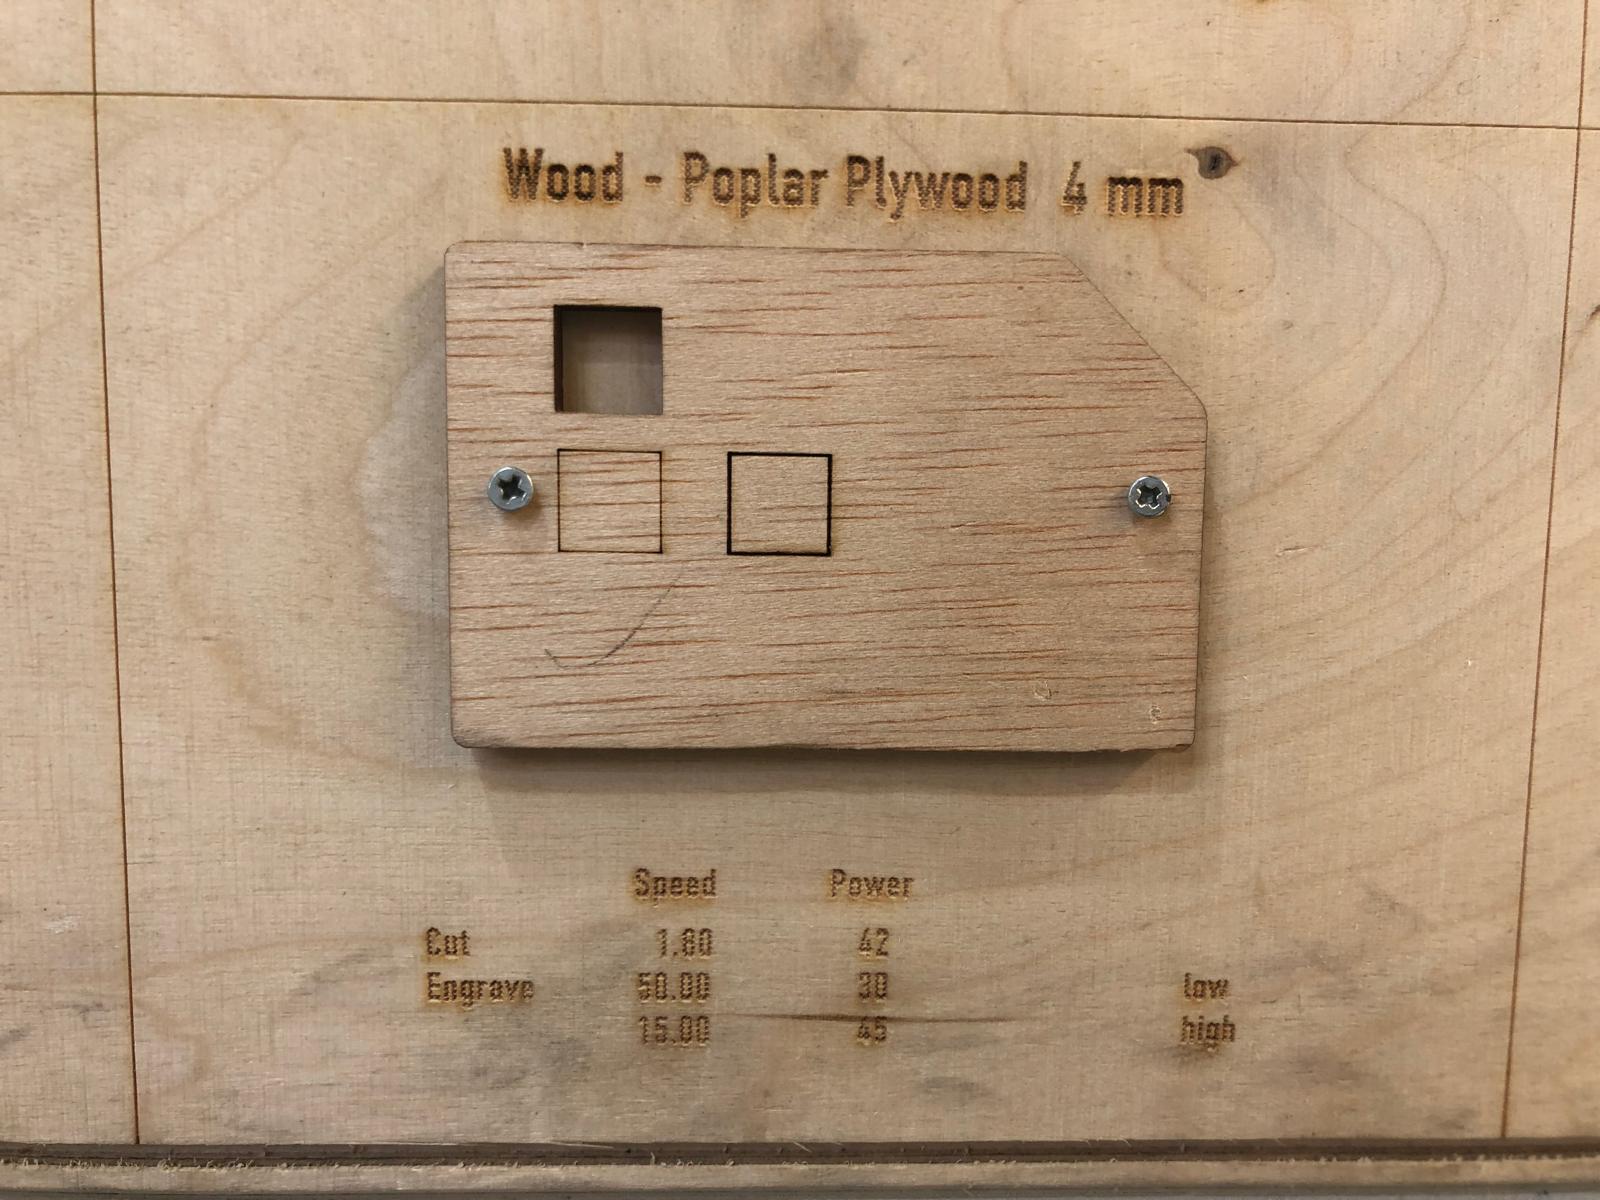
To understand the power and speed, there is a sample board in the lab. Here you can see the different types of materials you can use and the parameters you need to set.
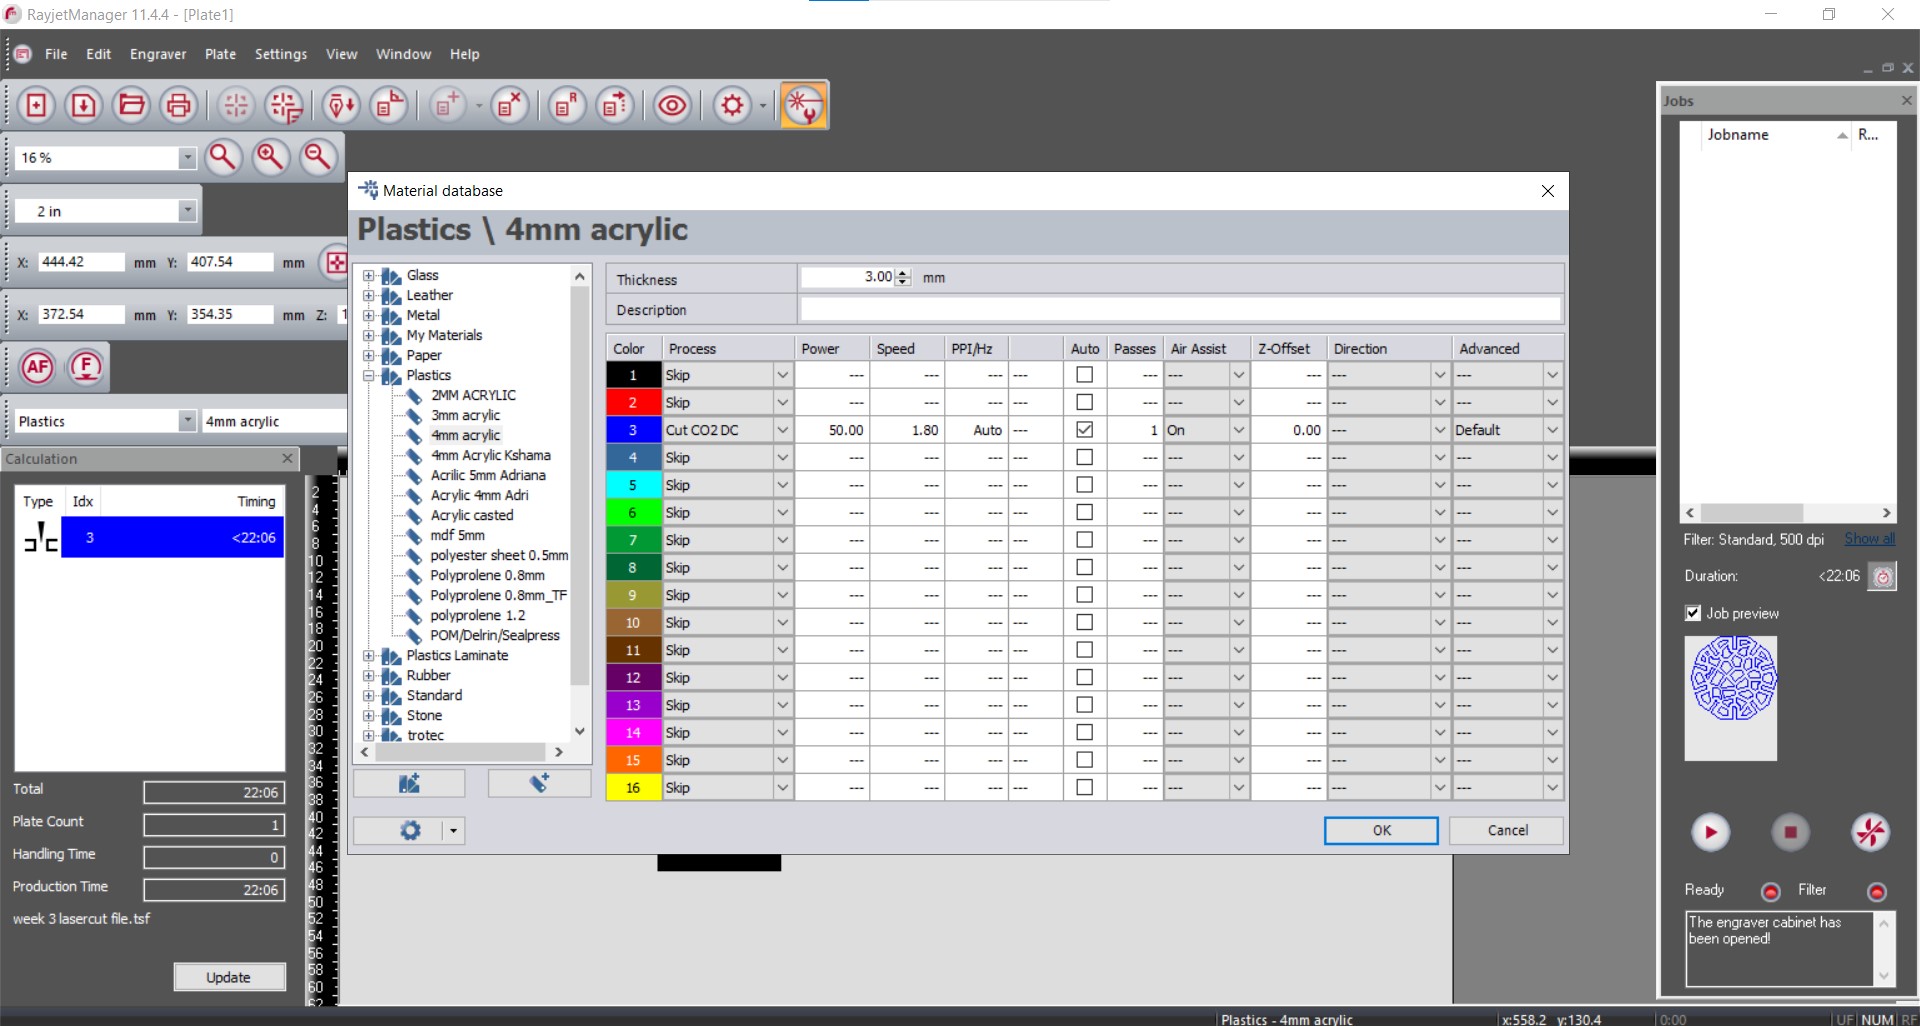
As i am using 4mm thick wood, I need to apply these parameters in the settings of the lasercutter.
Steps to lasercut:
- Download the file
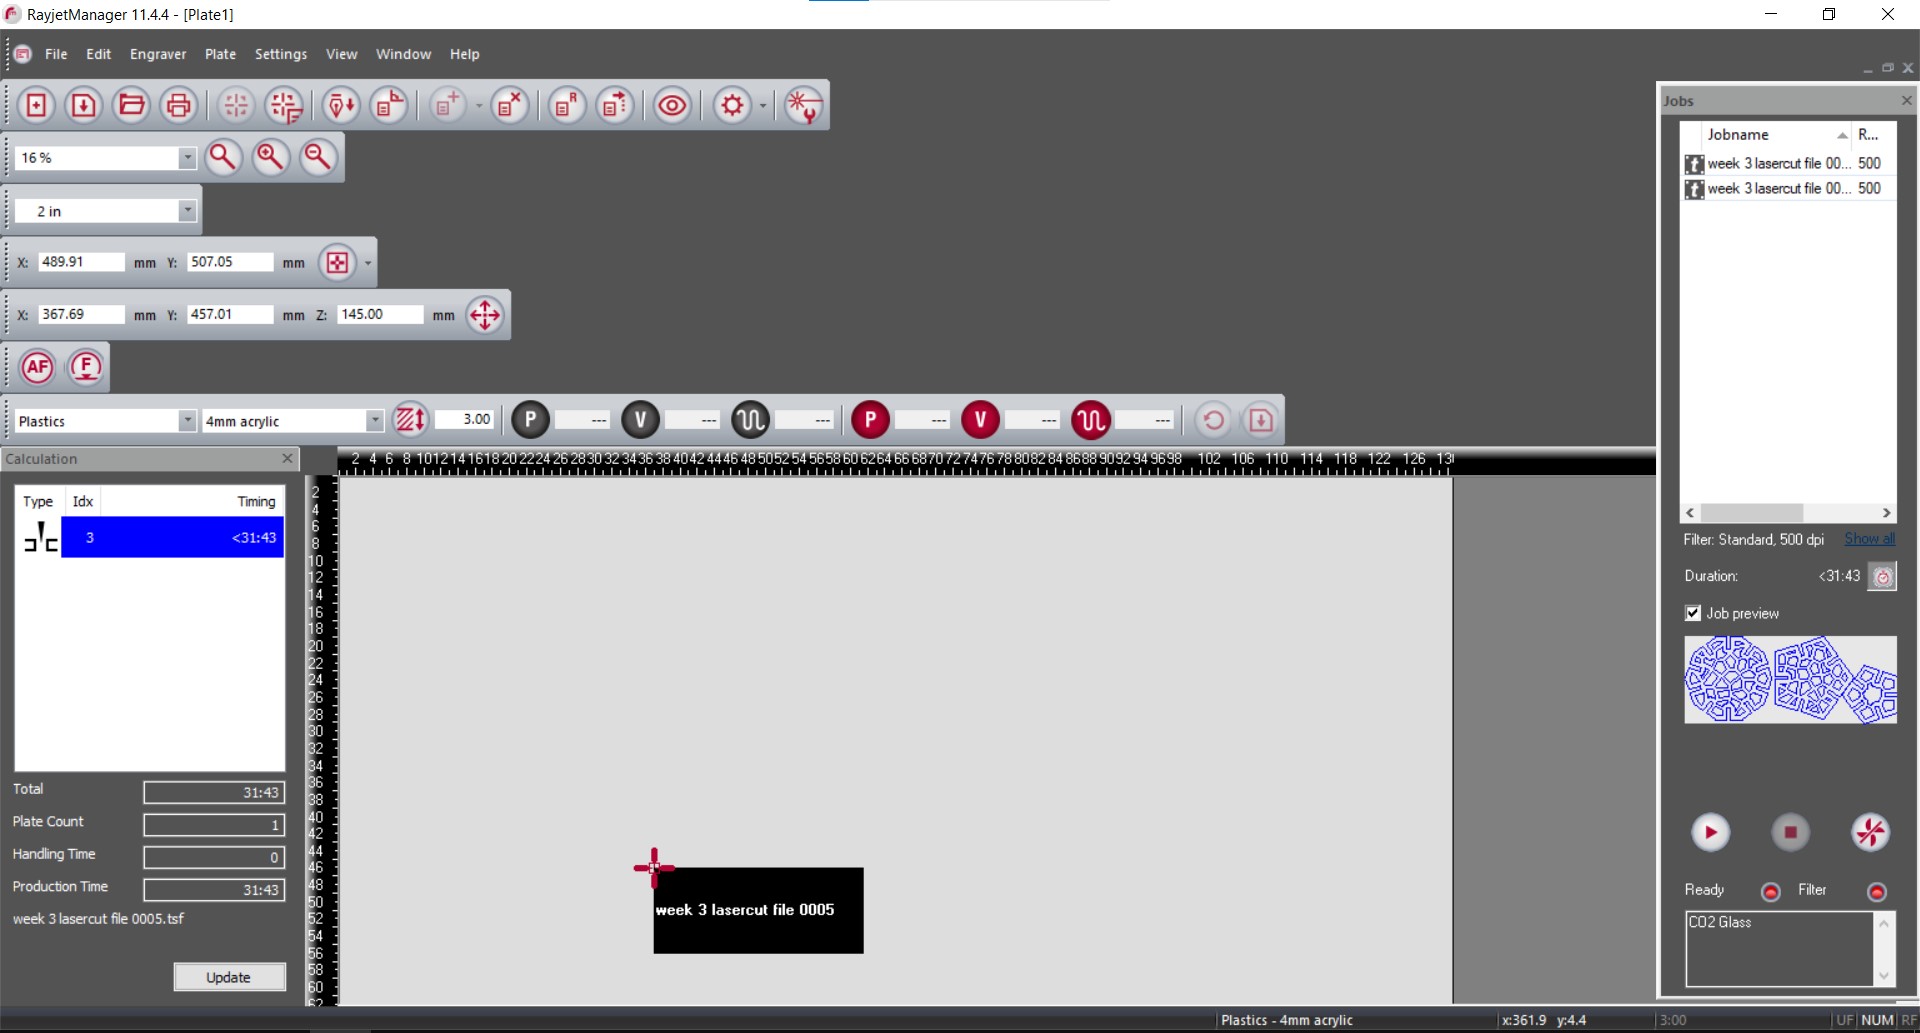
- Import the file in the software for the lasercutter
- Set the correct settings for the file: choose the parameters to cut, engrave or mark. (With this file, it is cutting that we need). You can see the parameters in the pictures: speed = 1.8 and power = 50
- Insert the material that we will cut
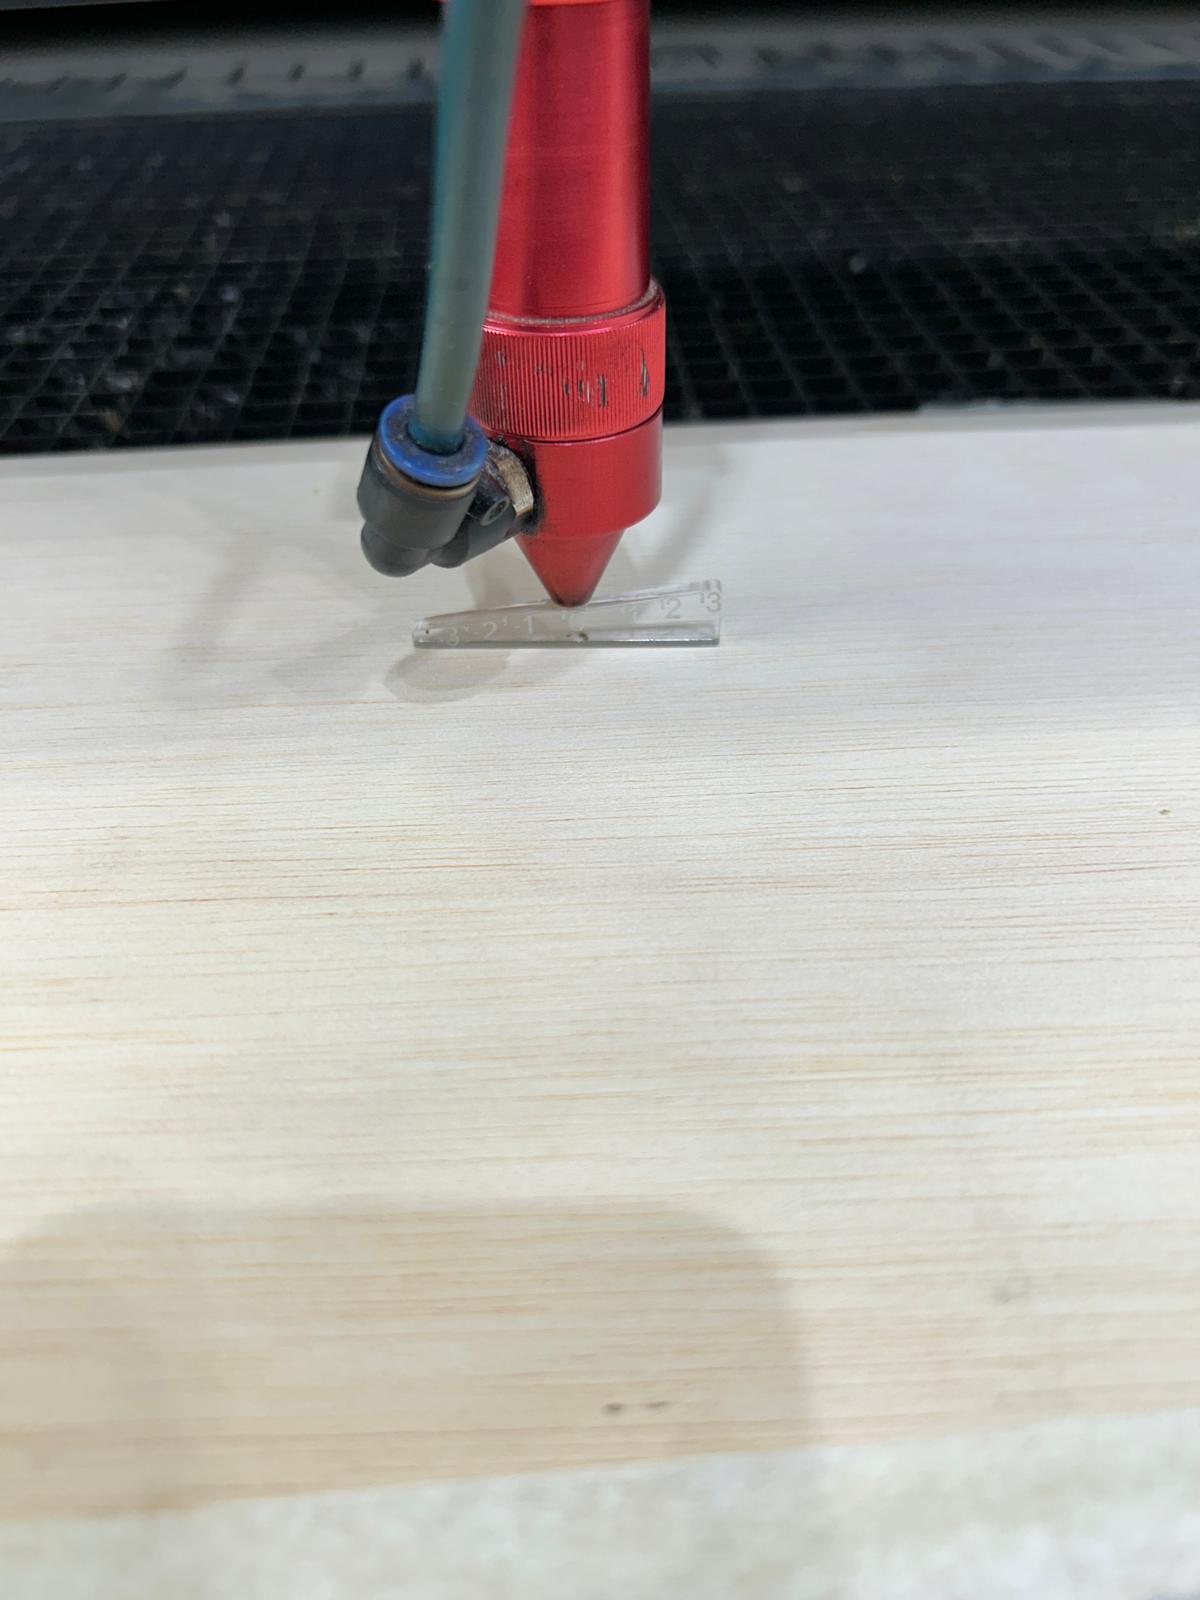
- Set the height/distance for the laser (focus). You can use the tool to do this
- Set the origin
- Launch the file to the machine so that it can start to cut
- Do not forget to turn on the extractor for the fumes/smoke
- In case something is not right, press the pauze or emergency stop button
- Once it is all cut, you can take out the pieces and the sheet you cut out from
- Turn of the machines and leave the place clean behind
If you cut in wood, you can sand the edges and surface a bit to get rid of the burnt parts.
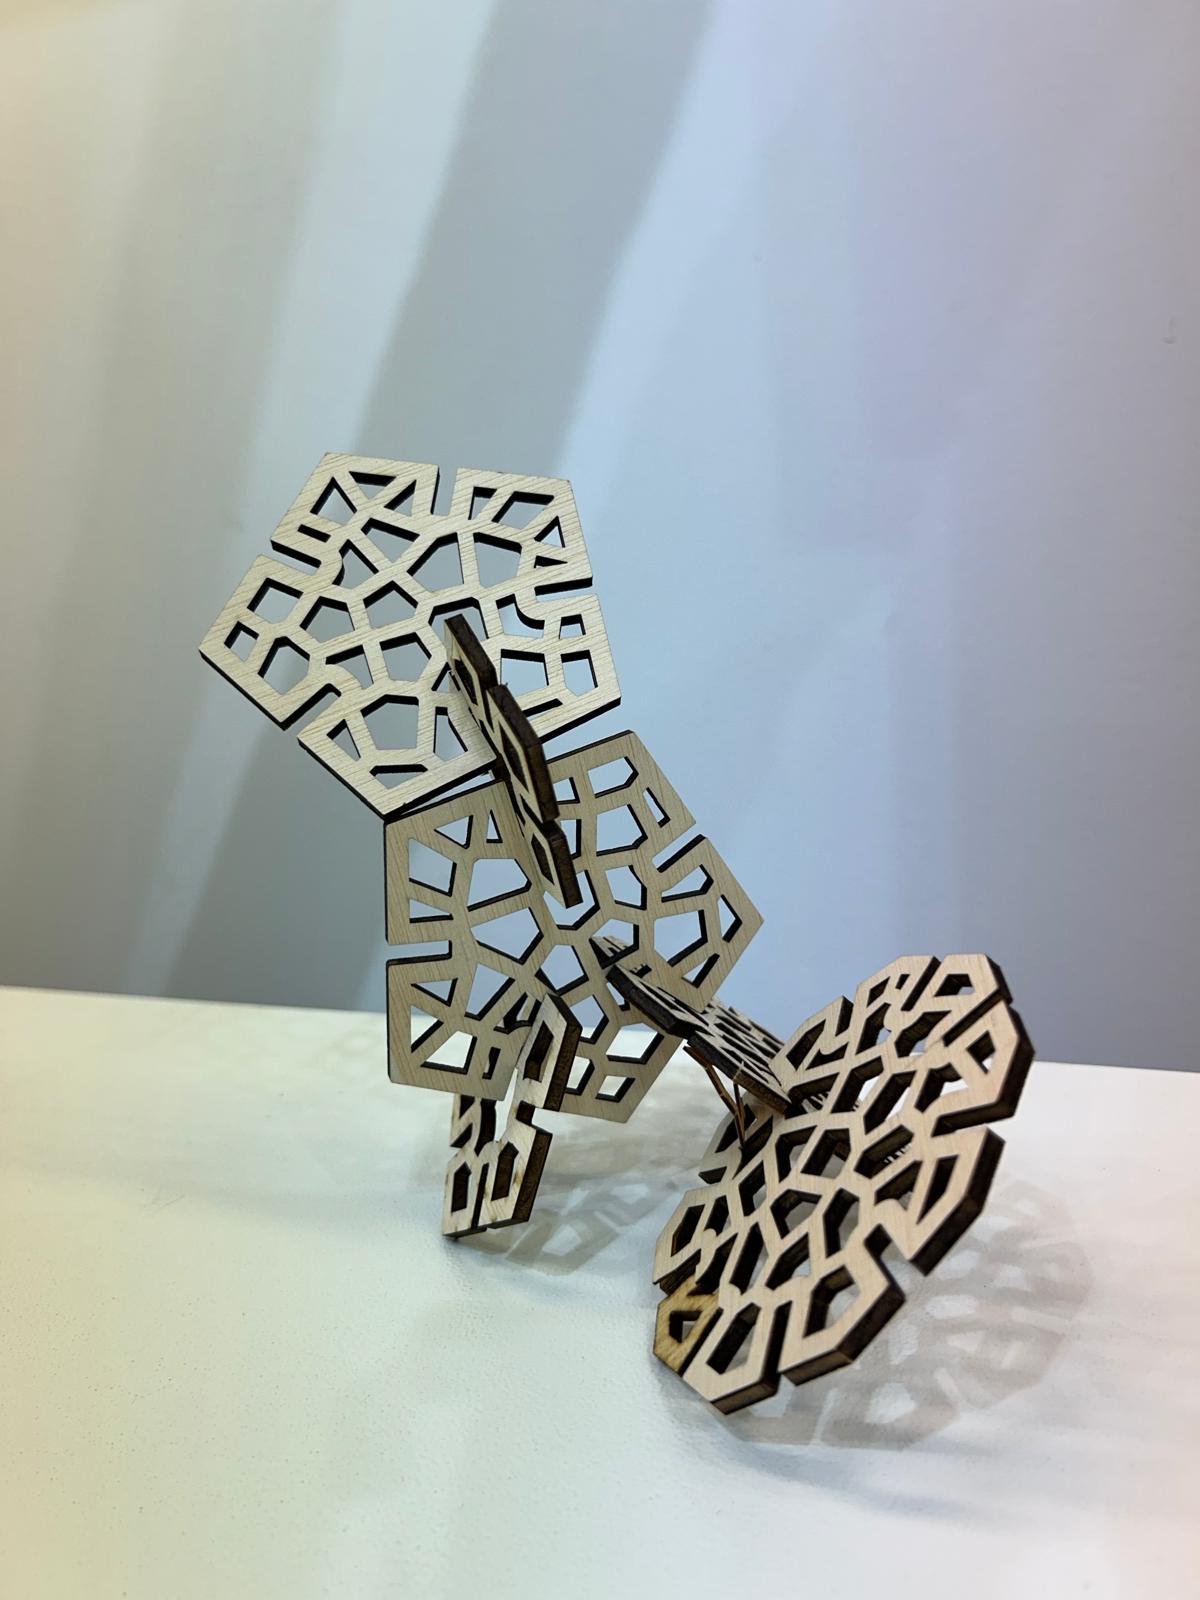
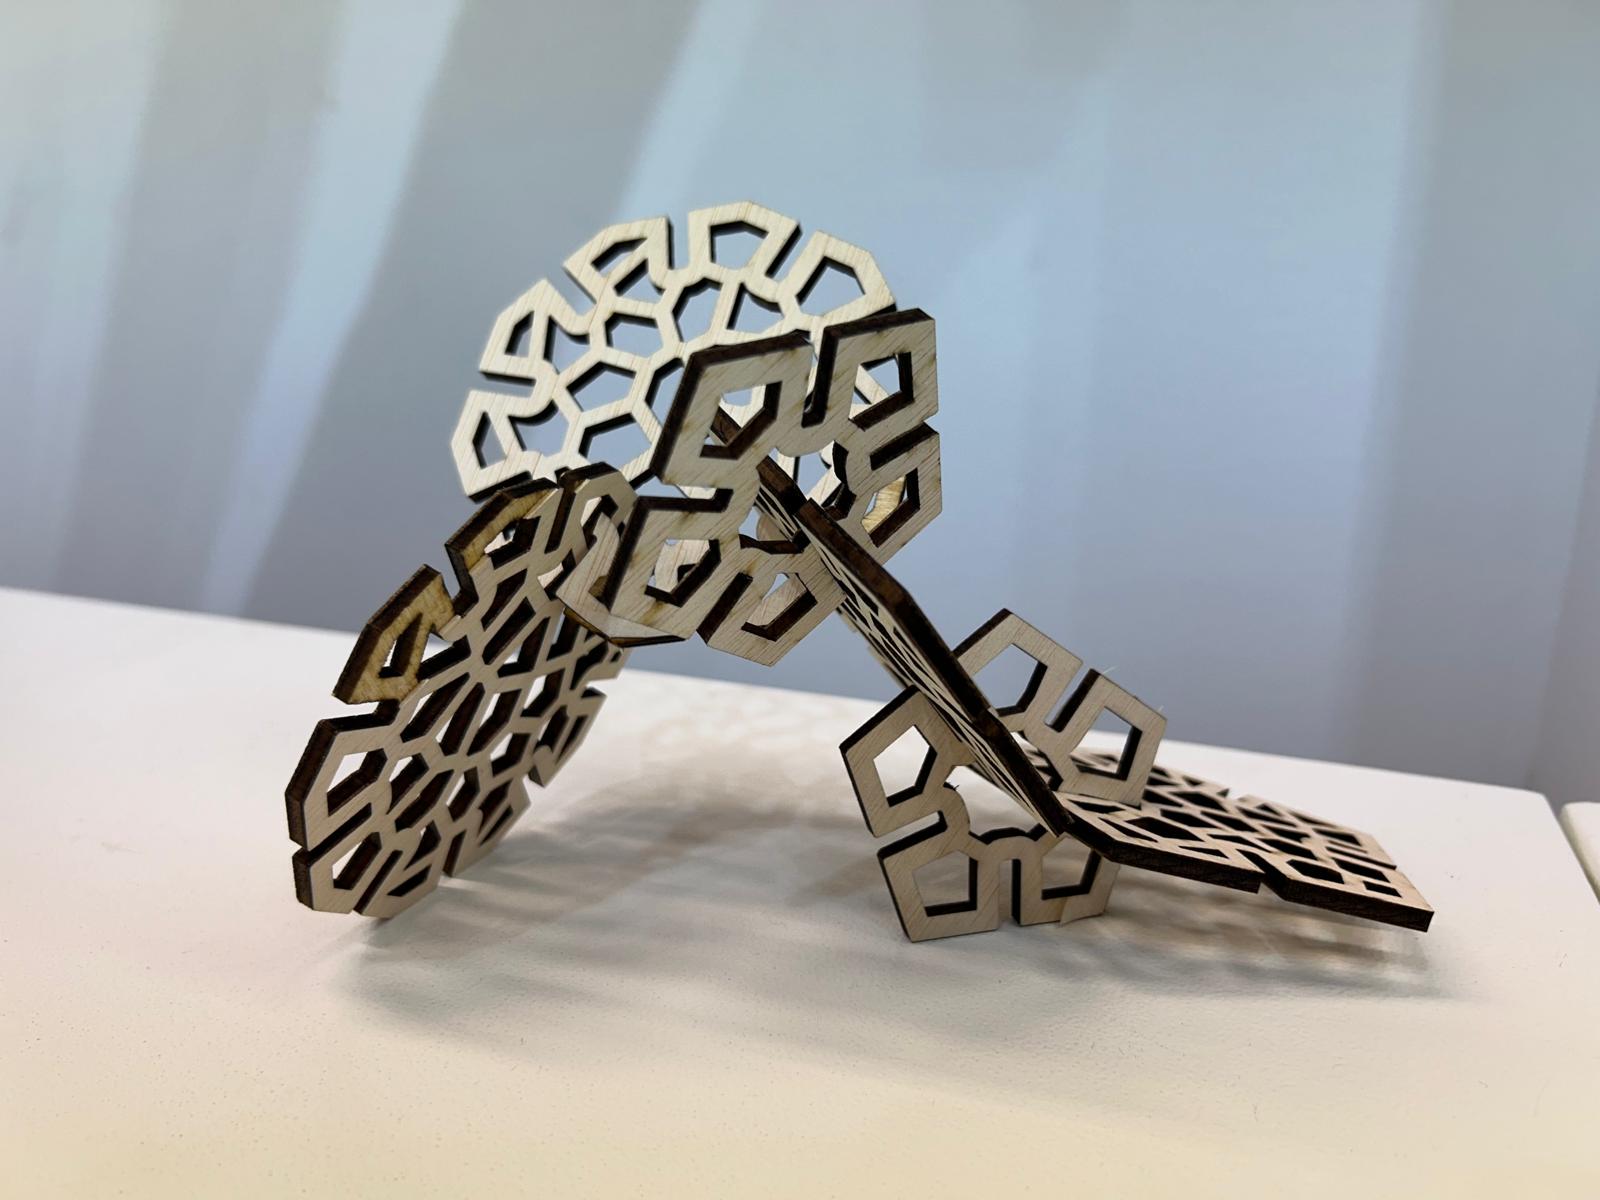
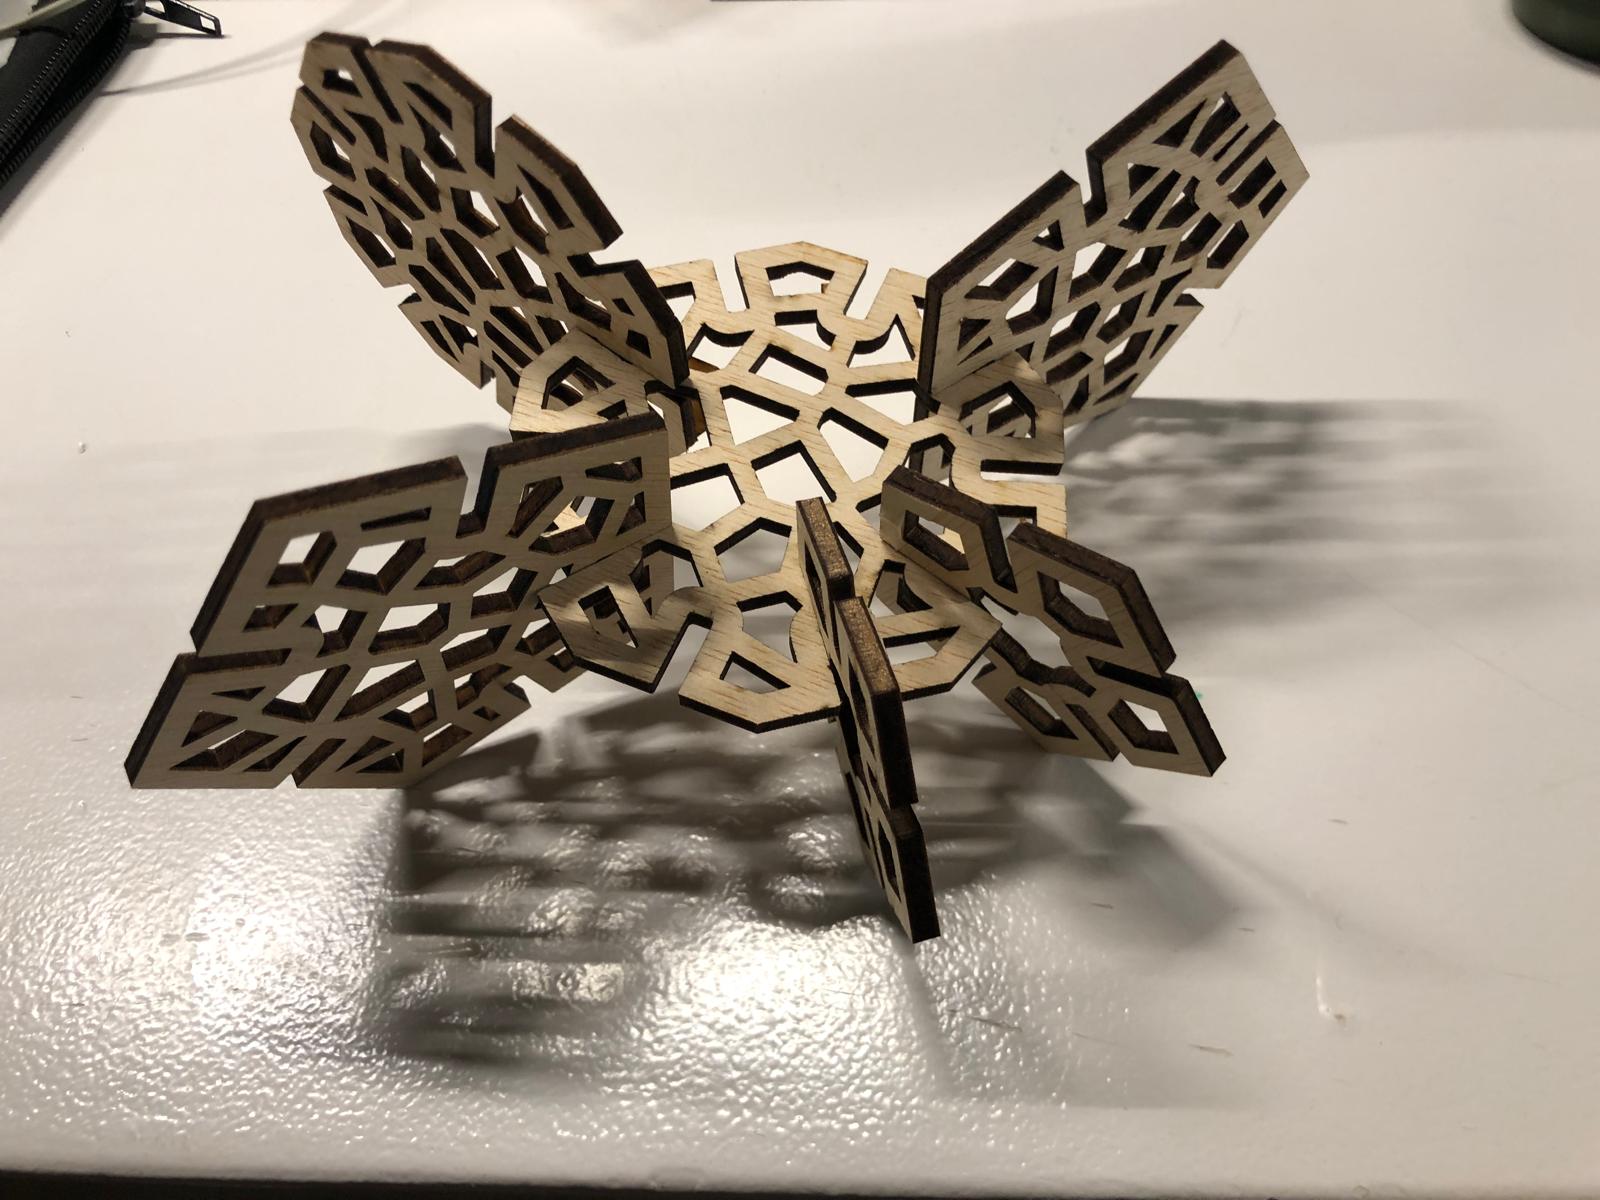
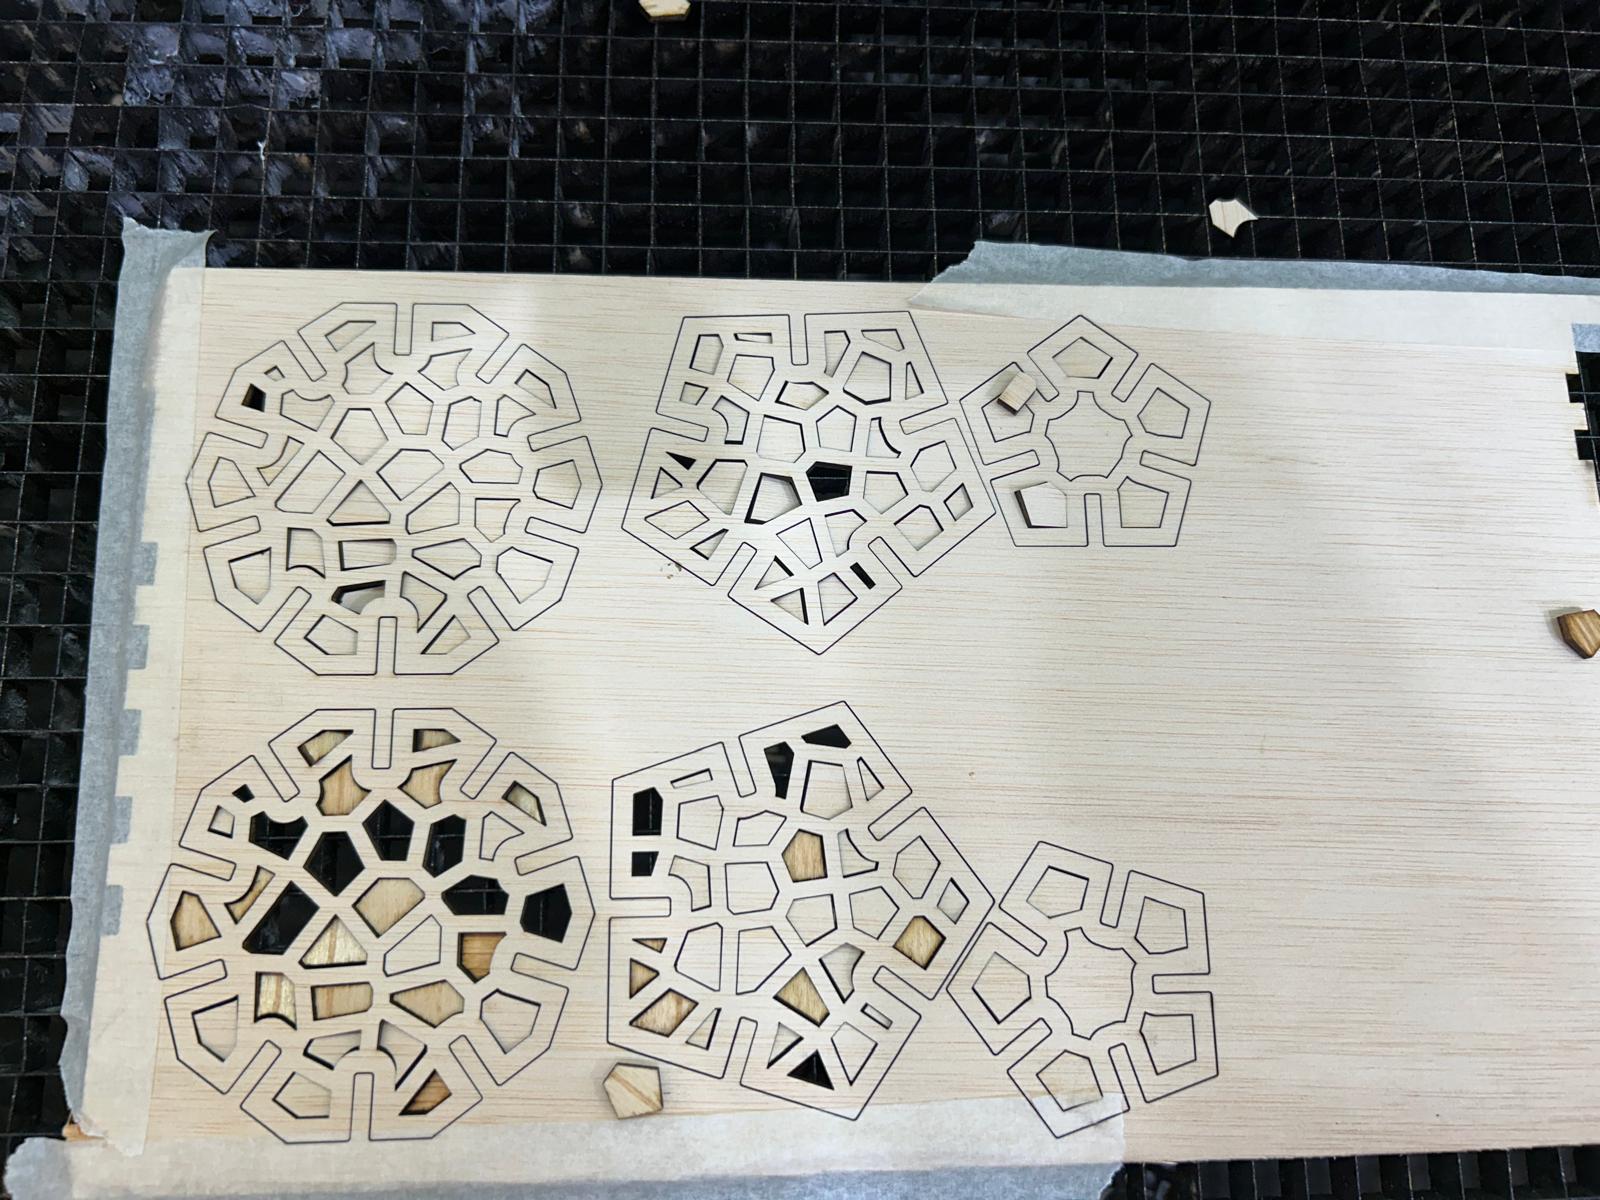
Final result
Here you can see the final result and how they can fit in different ways.