2. Computer Aided Design
Getting to know new softwares to make 2D and 3D designs. Just like any other software: you have to get used to it!
Some softwares:
- Inkscape
- Tinkercad
- Blender
- Rhino
Links for the free softwares
2D Modeling
Modeling in 2D is necessary when you want to use a lasercutter, vinylcutter or cnc machine.
I am used to using Illustrator from Adobe but now we learned a new software called Inkscape to create 2D designs.
There are a couple of tools in inkscape that are the same or very similar to those in illustrator. You work in both with layers and can export your files in many different ways or types of files.
You have the "select" = arrow tool. With this you either select something or change the vectors.
The drawing tools:
Pencil tool= freehand drawing tool for creating paths.
Pen Tool= allows for precise drawing with straight lines and curves.
Calligraphy Tool= simulates calligraphic strokes.
The shape tools:
With these you can draw squares, rectangels, circles and elipses, stars and polygons ... many shapes!
The text tools:
With the text tools you can add text, choose the font and size, write along a path, ...
The fill and stroke tools:
Provides controls for filling objects with colors, gradients, and patterns, as well as setting stroke properties like color, width, and style. This tools is an important one when you want to convert an export from Kicad "White on black" to "Black on white".
pro's and cons on inkscape
Pro's
- Free and Open Source: Inkscape is freely available, making it accessible to users of all budgets and fostering a supportive community of developers and users.
- Vector Graphics Powerhouse: It excels in creating and editing scalable vector graphics (SVG), offering powerful tools for illustrations, logos, diagrams, and more.
- Cross-Platform Compatibility: Inkscape runs on multiple operating systems (Windows, macOS, Linux), ensuring broad accessibility and consistent performance across platforms.
Cons
- Learning Curve: Inkscape's feature-rich environment may have a learning curve for beginners, requiring time and practice to fully utilize its capabilities.
- Performance Issues: Complex designs or large files can sometimes lead to performance issues, especially on older or less powerful computers.
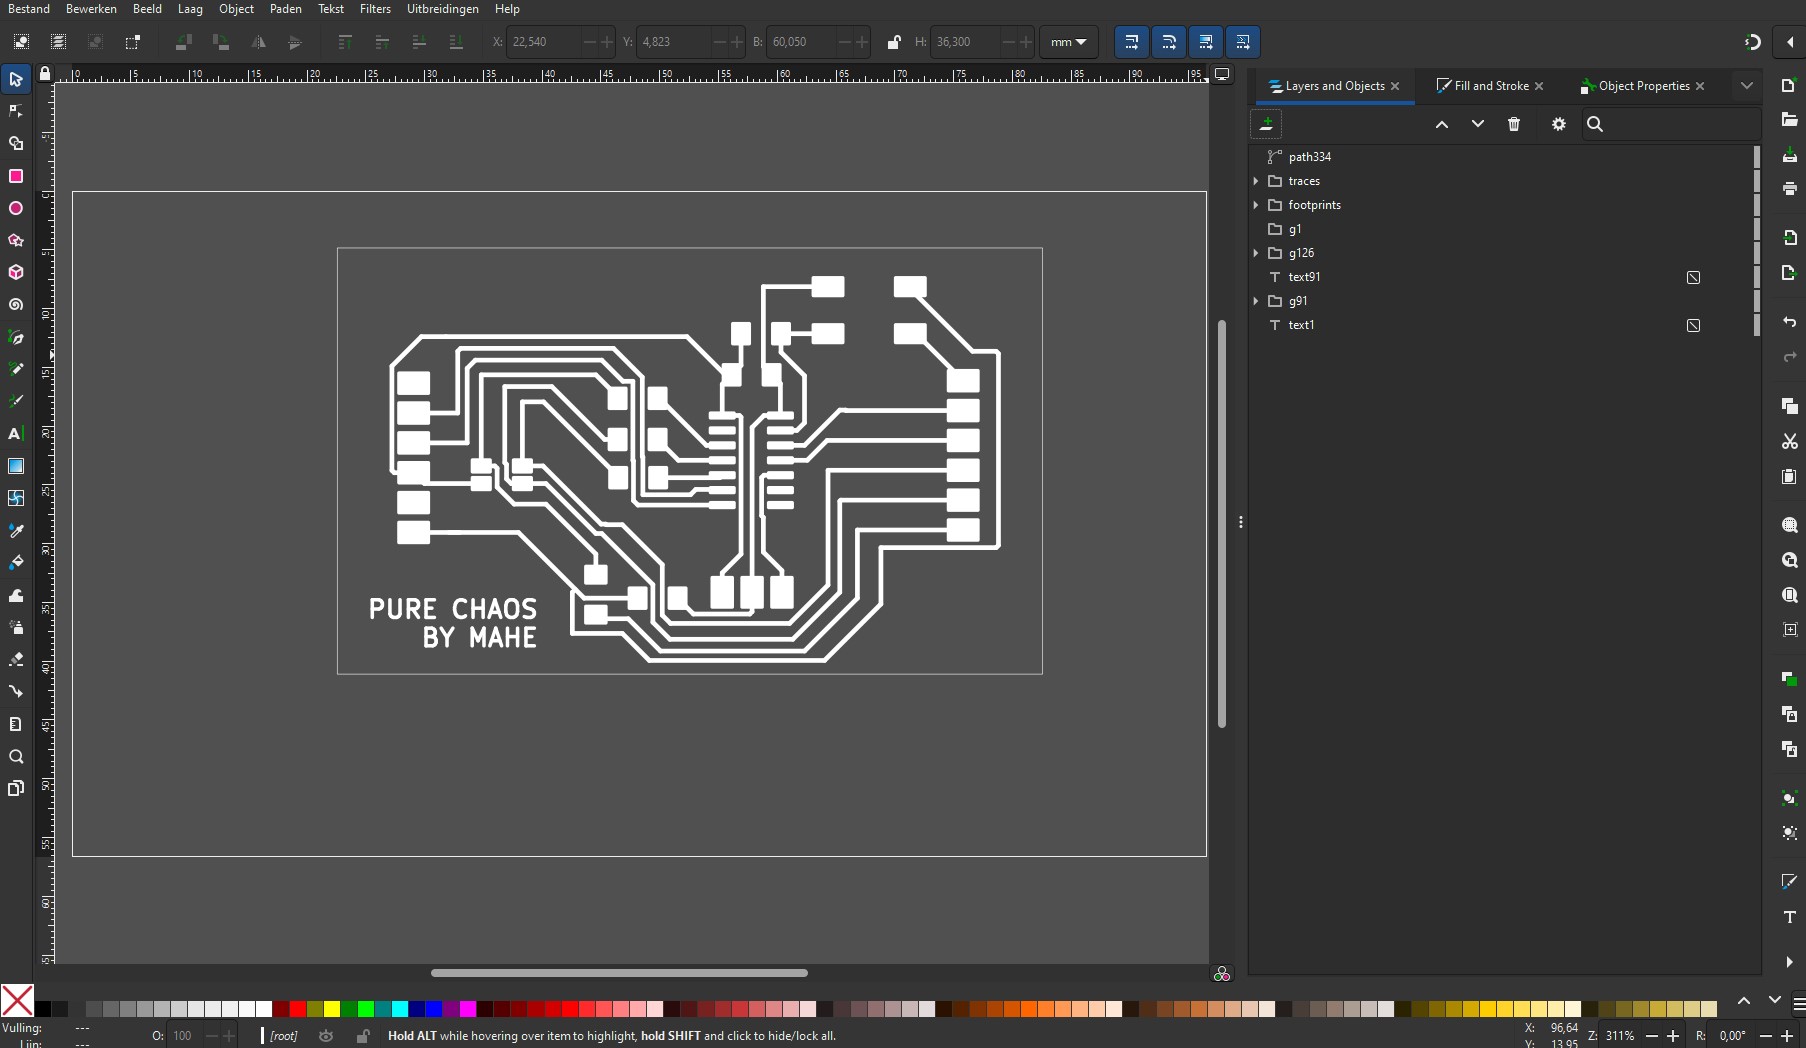 Week 8 screenshot
3D Modeling
3D modeling is important in this world! When we want to create something that needs to be 3D printed or even to create a visual / render of a prototype, it is good to know how to create this and which tools to use!
Lego bricks in 3D!
To understand and get to know the softwares, we created lego bricks!
Tinkercad
I am not very familiar with tinkercad so this is a first!
The first impressions of using tinkercad, is that it is very straightforward to use. Meaning that when you spent 15min using it, you can already do some decent stuff with it :p.
What i do not like baout tinkercad, is that it is online. I rather have something i can download and work on whenever i want without needing a solid internet connection.
pro's and cons
Pro's
- Easy to Use: Tinkercad offers a straightforward interface that simplifies 3D design for beginners, featuring drag-and-drop tools that require minimal learning curve.
- Accessible Anywhere: Being web-based, Tinkercad allows users to work on their designs from any location with internet access, promoting flexibility and collaboration.
- Integration Benefits: It seamlessly integrates with Autodesk's ecosystem, providing opportunities to expand design capabilities with more advanced tools and services.
Cons
- Limited Complexity: While beginner-friendly, Tinkercad's functionality may be too basic for users needing intricate design features or advanced customization options.
- Internet Reliance: As an online tool, Tinkercad requires constant internet connectivity, which may hinder usage in areas with unreliable or restricted internet access.
- Export Constraints: Exporting designs from Tinkercad to other formats or software may be restrictive compared to more specialized CAD tools, limiting interoperability in professional workflows.
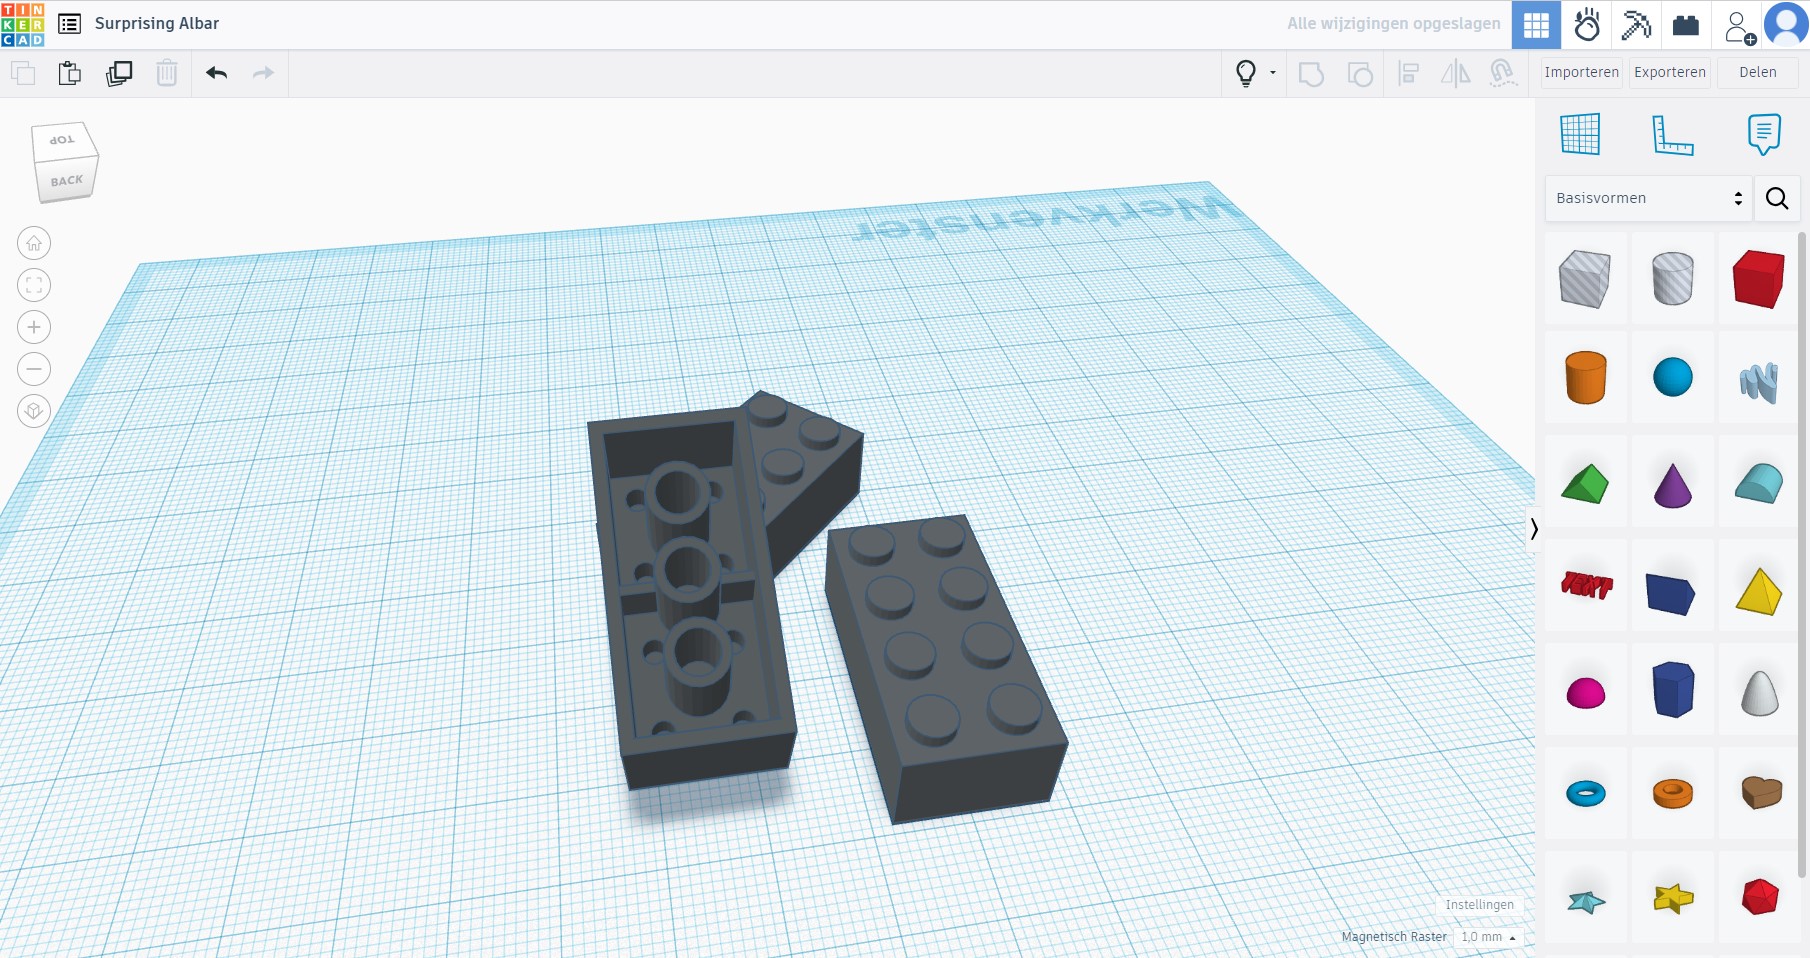 Lego brick made in Tinkercad (source picture: screenshot)
Blender
This one is also new for me!
I trust that this program goes towards rhino: the more time (read weeks/months) you spent on trying it out and using it, the more you understand the interface and tools.
pro's and cons
Pro's
- Powerful and Flexible: Blender is a robust, open-source software that excels in 3D modeling, animation, and rendering, catering to both beginners and professionals with its wide-ranging capabilities.
- Extensible and Customizable: It supports a diverse array of plugins and scripts, enabling users to tailor the software to suit specific project needs and workflows effectively.
- Supportive Community: Blender boasts a large and engaged community, offering ample resources such as tutorials, forums, and user-generated content, which aids in learning and troubleshooting.
Cons
- Complex Learning Curve: Mastering Blender requires significant time and effort due to its comprehensive feature set, making it challenging for new users to grasp initially.
- Interface Complexity: The interface can be daunting with its numerous panels and options, potentially overwhelming users who are not familiar with 3D design software.
- Hardware Requirements: Blender's advanced features and rendering capabilities demand powerful hardware, which may limit accessibility for users with less robust computers or older hardware configurations.
I have never used blender before but it looks like a nice tool. I tried to make a Lego brick and did something wrong so i ended up with a regular cube (again).
Blender is also a nice tool for animation.
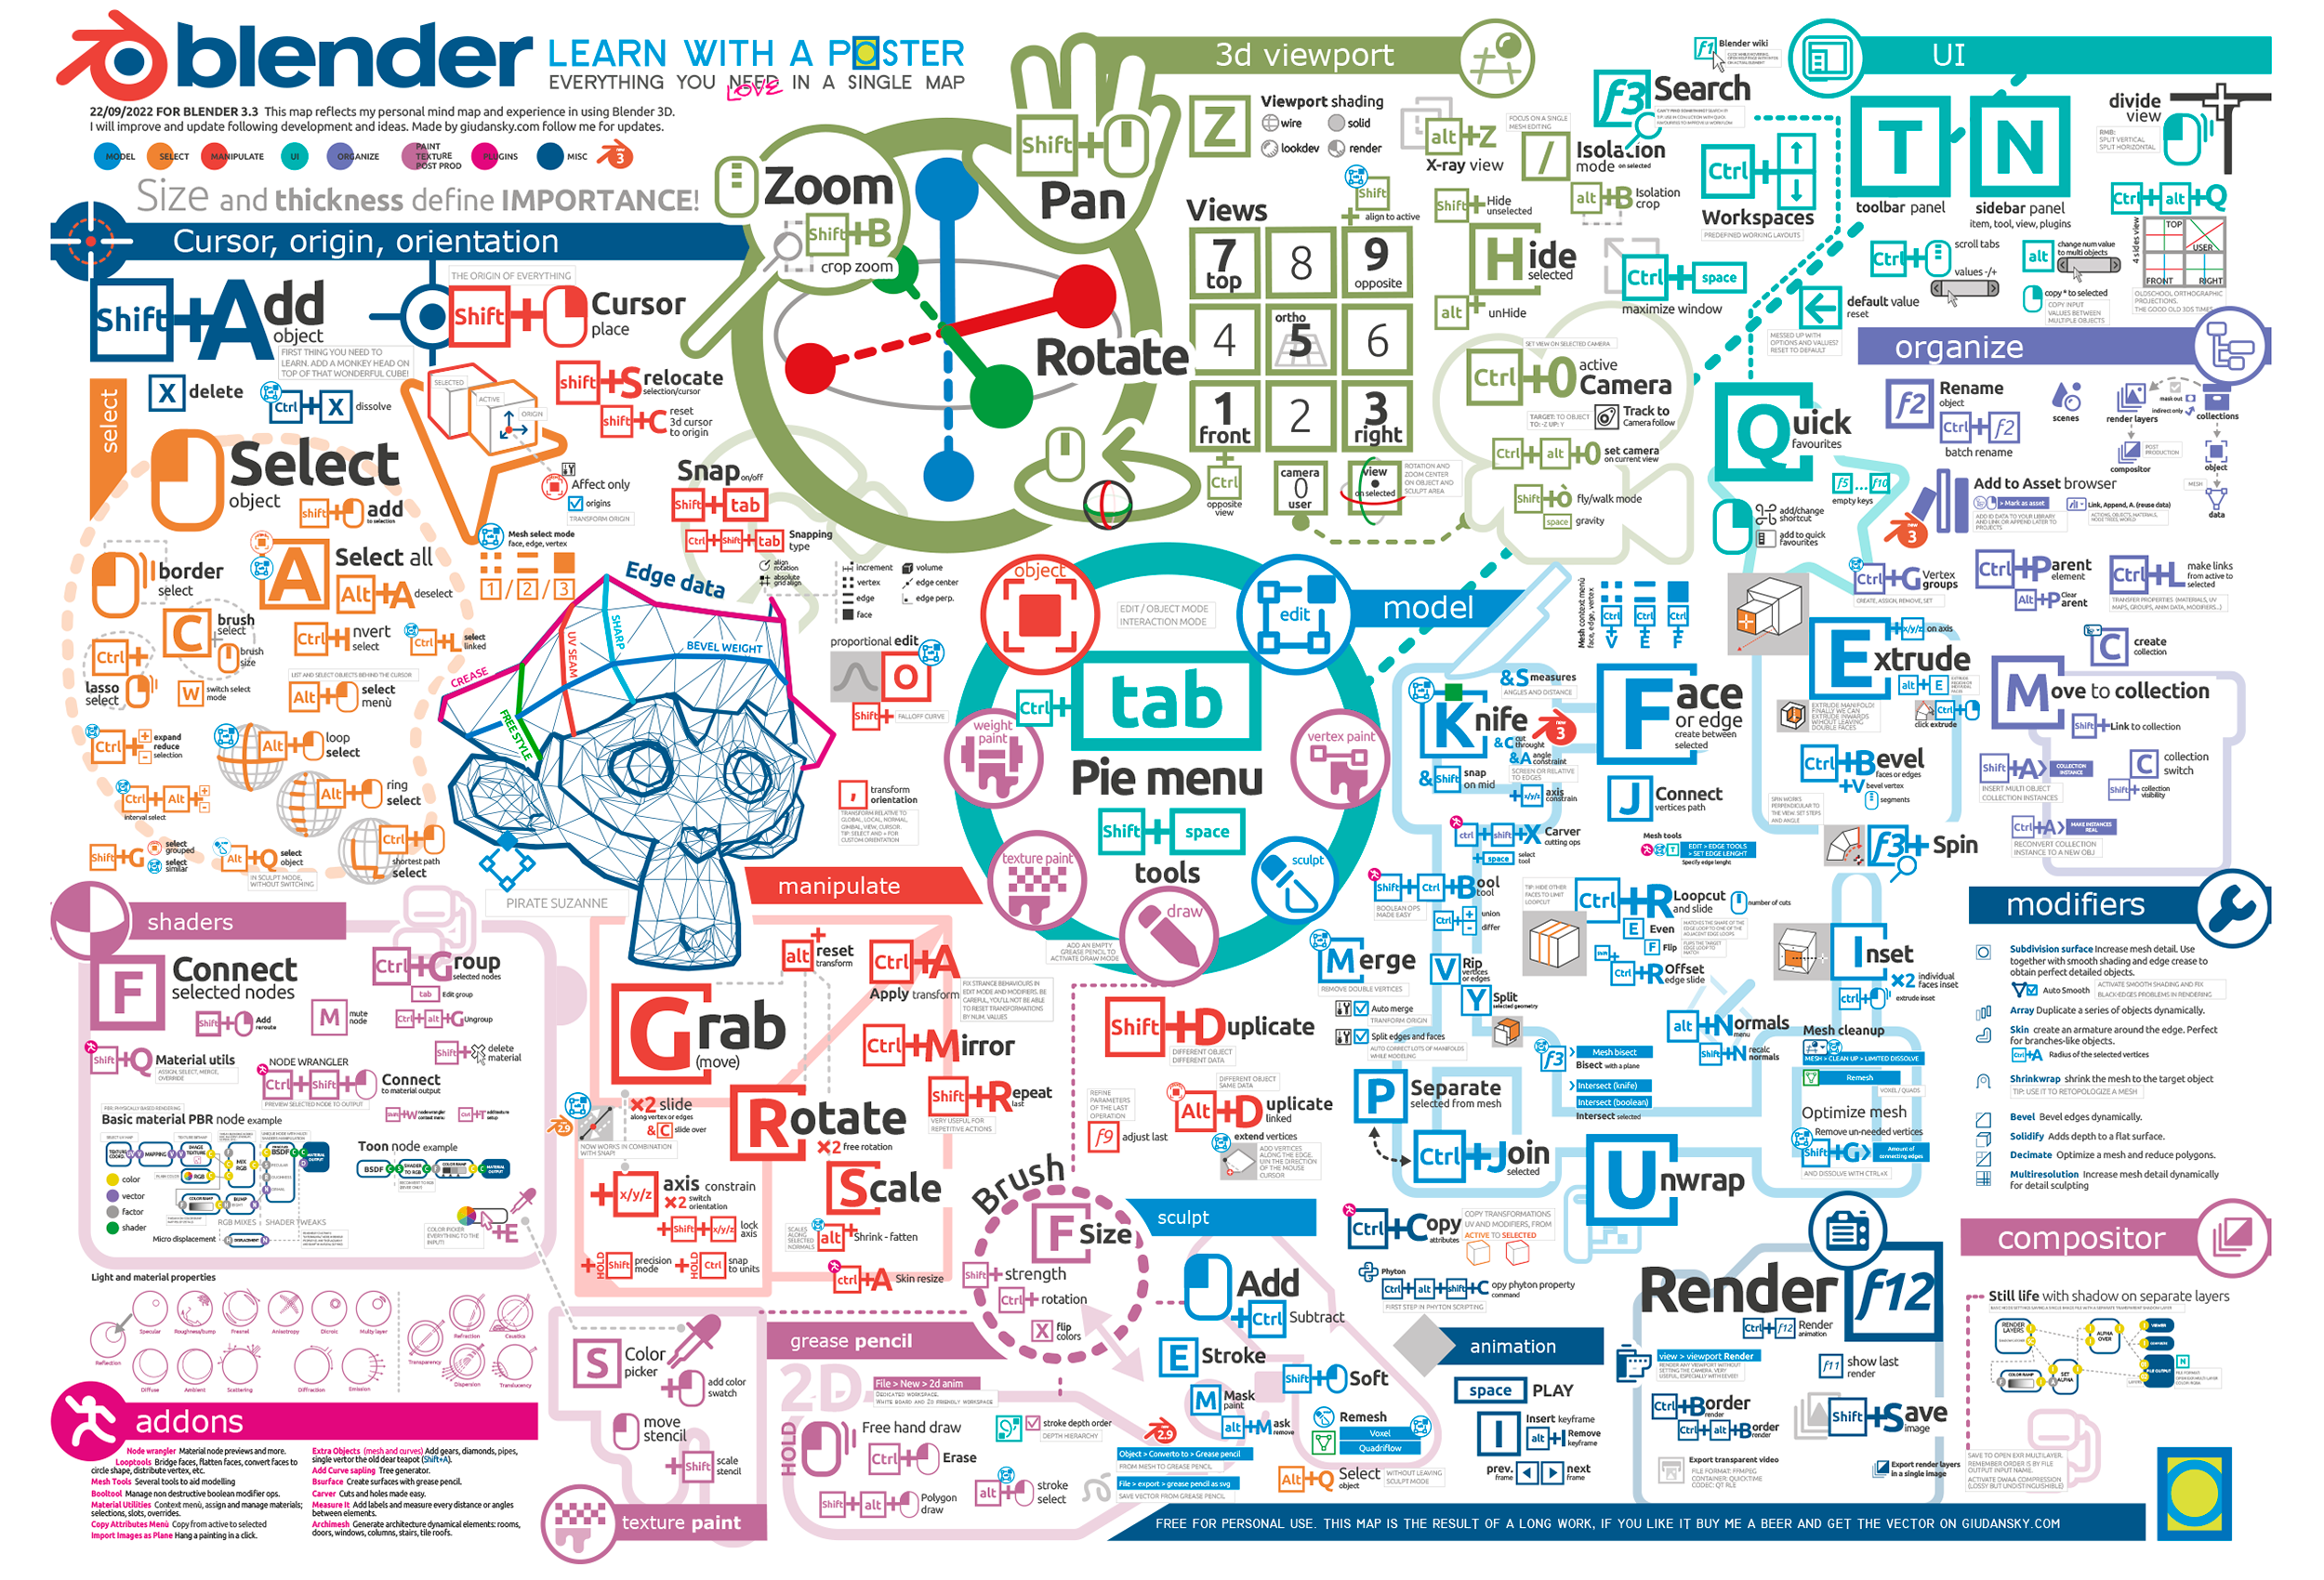 Shortcuts for Blender(source picture: google)
Rhino
Rhino is a nice modeling software that i have used before. I like this software because you need to work with commands and can render something quick. Just like blender, you need to get used to it and try and error many times! You can find the lego brick file below in the files section!
Pro's and cons
Pro's
- Flexible and Powerful: Rhino excels in creating intricate 3D models with complex shapes and surfaces, making it indispensable for architecture, industrial design, and engineering projects.
- Parametric Modeling: It simplifies design modifications through parametric modeling, allowing users to adjust designs by altering parameters, which enhances workflow efficiency.
- Compatibility and Integration: Rhino supports multiple file formats and seamlessly integrates with other CAD and design software, facilitating smooth collaboration and interoperability across projects.
Cons
- Costly Licensing: Obtaining a Rhino license can be expensive, particularly for individual users or small businesses, potentially limiting accessibility compared to more affordable or free alternatives.
- Specialized Skill Requirement: Proficiency in Rhino often requires specialized training or prior experience in 3D modeling and design, which may deter beginners or those without a background in CAD software.
- Steep Learning Curve: Mastering Rhino can be challenging due to its advanced features and interface complexity, requiring significant time and effort to become proficient.
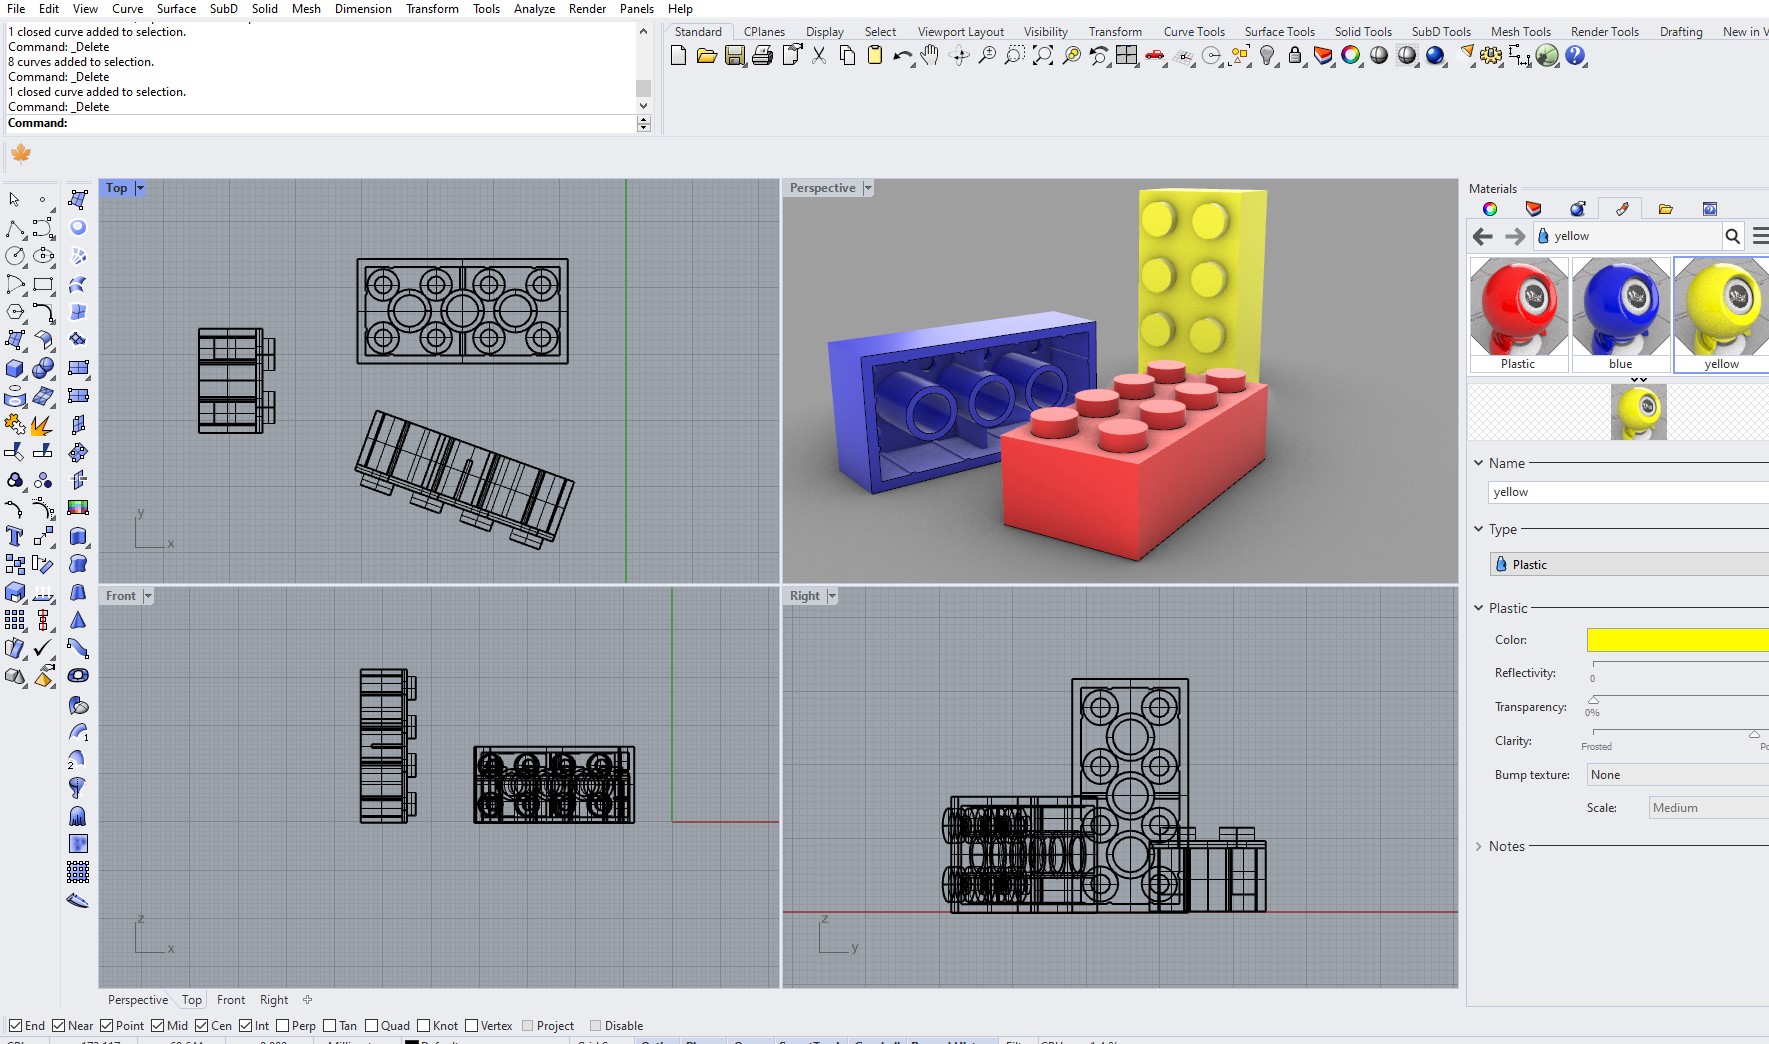 Lego brick made in Rhino (source picture: screenshot)
3D piece
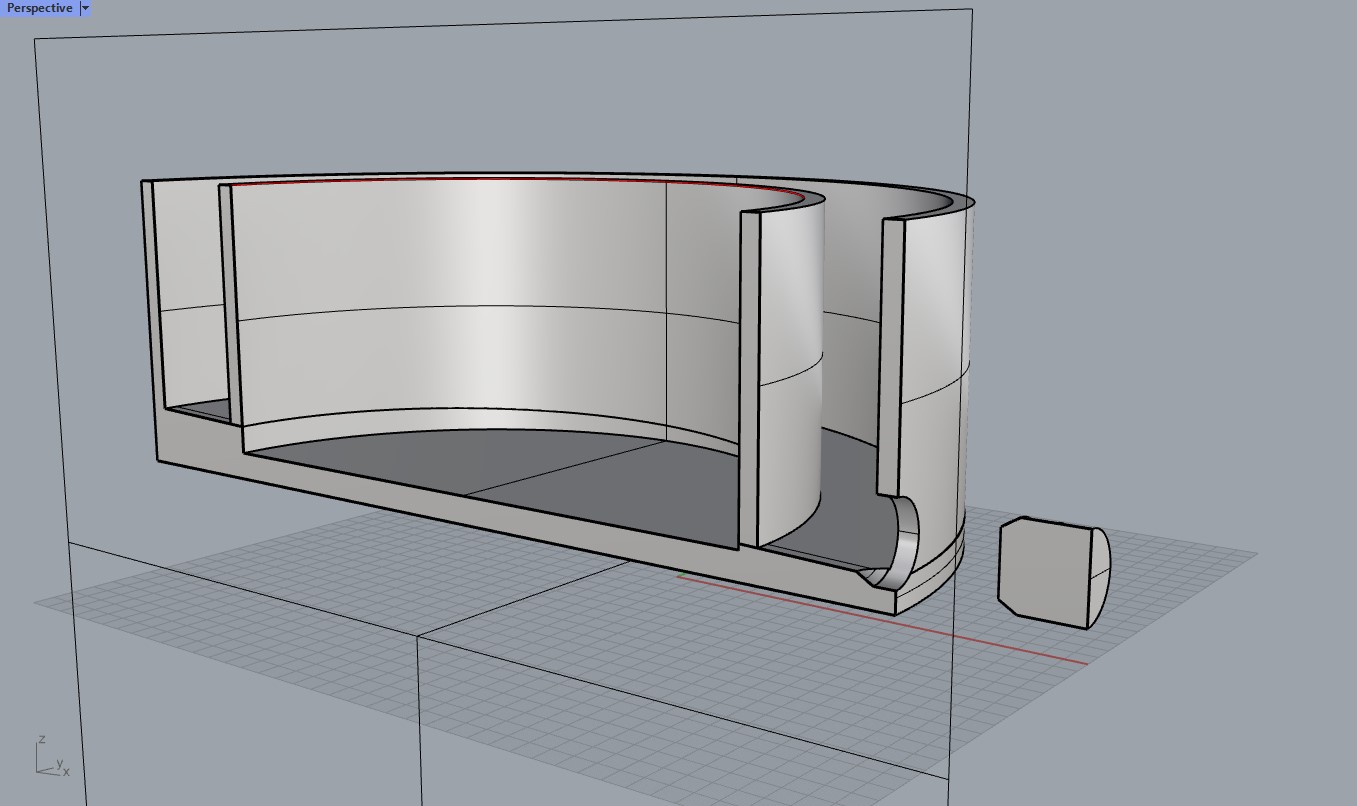
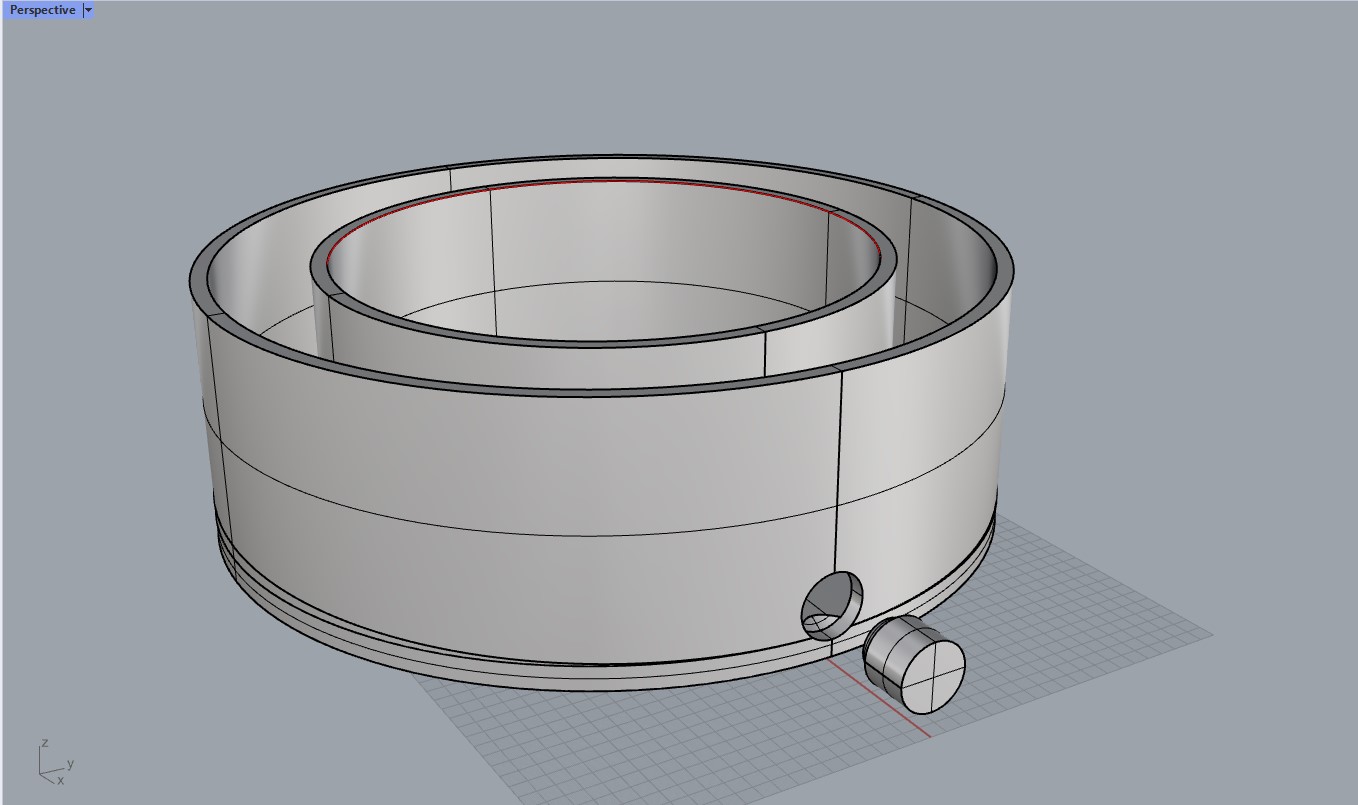
I modeled the desalination machine in 3D using Rhino to visualize its design and determine the number of parts required.
The idea of the desalinationmachine is to have a space in the center where there will be a heating element to bring th ewater to a boiling temperature. Once the water boiles, the evaporation needs to bo catched and collected. To do this, i need something like a dome so that the water/damp can roll down to the bottom of the container where it will be collected. To be able to get the collected water out of the container, i'd need something to open the bottom.
To achieve the desired shape, I used various commands within Rhino, each contributing to different aspects of the design.
First, I created the base by drawing curves at the bottom to form a circular outline. Using the "Surface from Planar Curves" command, I converted these curves into a surface, providing a solid foundation for the structure.
Next, I extruded this surface to form the foundational shape, which served as the starting point for further construction. This step was crucial in defining the overall volume of the machine.
For the inner curves, I utilized the "Offset" command to create concentric curves at a specified distance from the originals. I then applied "Surface from Planar Curves" again to generate the necessary surfaces.
To create an inclined plane, I drew a curve with the required angle next to the existing shape. After extruding this curve through the 3D model, I used the "Trim" command to fit the circular surface perfectly inside the piece. This trimming ensured that the inclined plane integrated seamlessly with the rest of the model.
Then, I extruded the surface to ensure it was a closed polysurface. Finally, I used the "Boolean Union" command to merge the solid polysurfaces into a single cohesive piece, thereby simplifying the assembly process.
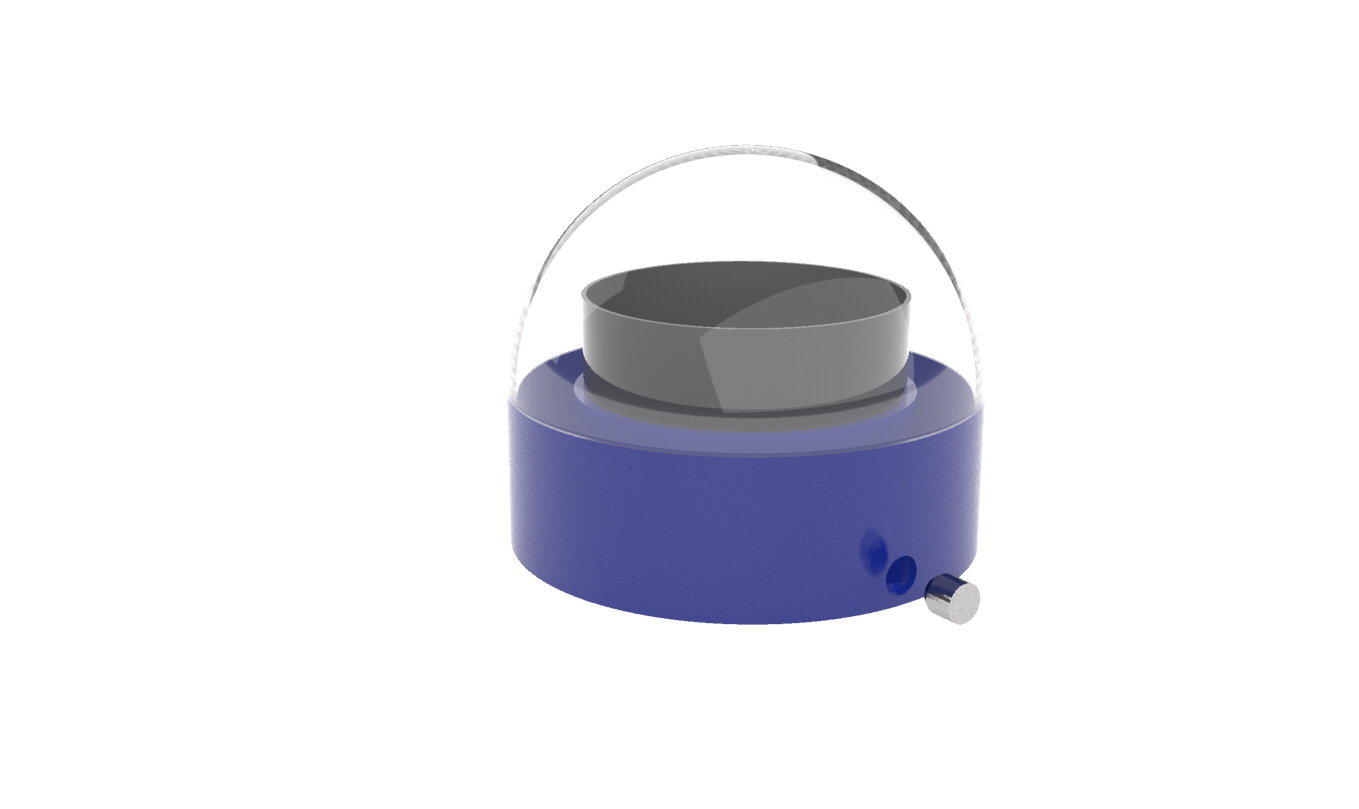
To add the spherical element on top, I used the "Sphere" command, made it hollow with the "Shell" command, and then trimmed it using another curve to achieve the desired size. This hollow sphere represents the part that catches the evaporation of the water.
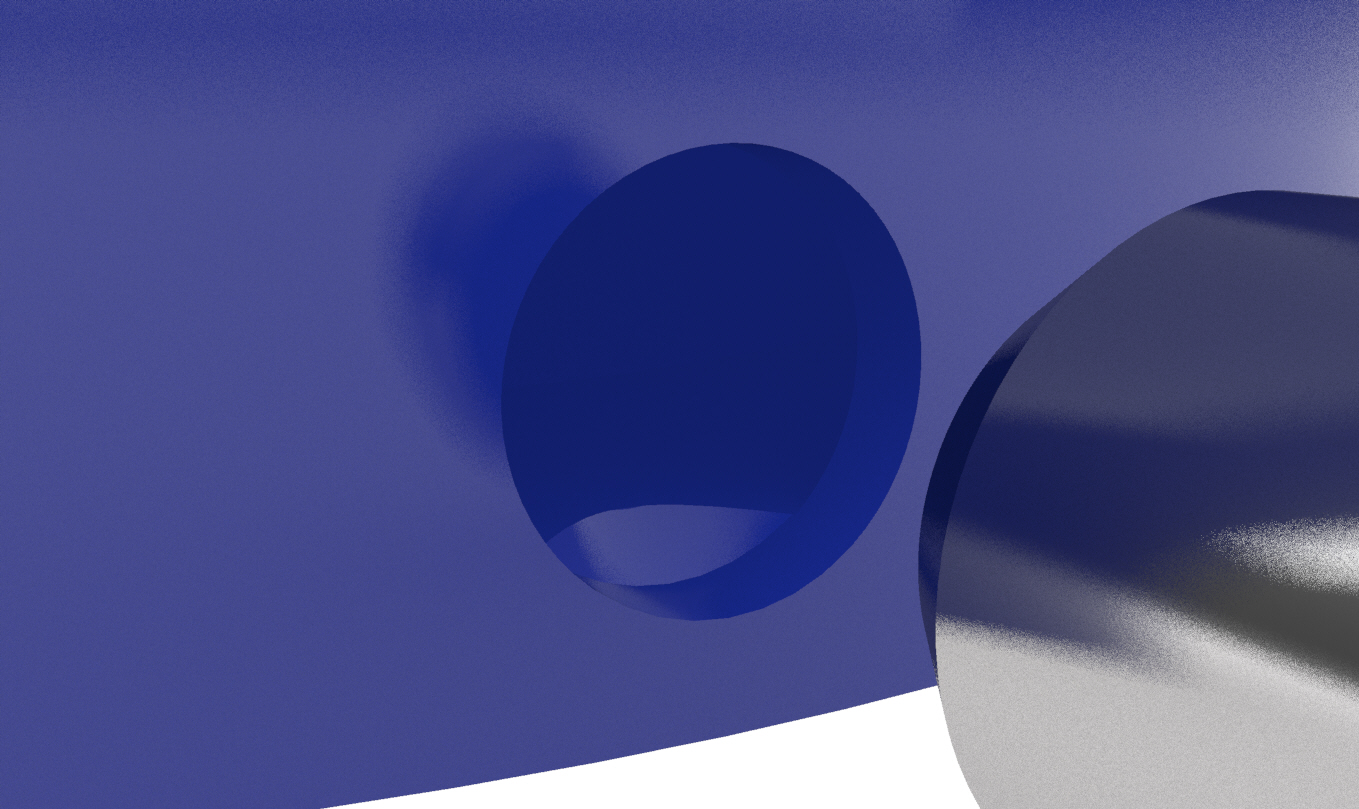
The next steps are all more or less the same steps!