Week 07 - Computer Controlled Machining
Group assignment
Test: Runout, alignment, fixturing, speeds, feeds and toolpaths. On the link below you can find the complete process of this week's group assignment, covering usage and setting up parameters.Click here
Make (design+mill+assemble) something BIG!
Precedents: MAEBB - Valldaura labs/IAAC (2021)
Before FabAcademy I did a master program from IAAC where I had the same excersice. In that time I explored press fit pieces with CNC, as well for the rest of the program since it was based on building with wood.
"Pupi-TRE": A portable kit designed for classrooms that don't have tables for taking notes. Included: a clipable 3D printed piece for beneath the chair + CNC wood pieces to assemple easily which will slide in the piece.
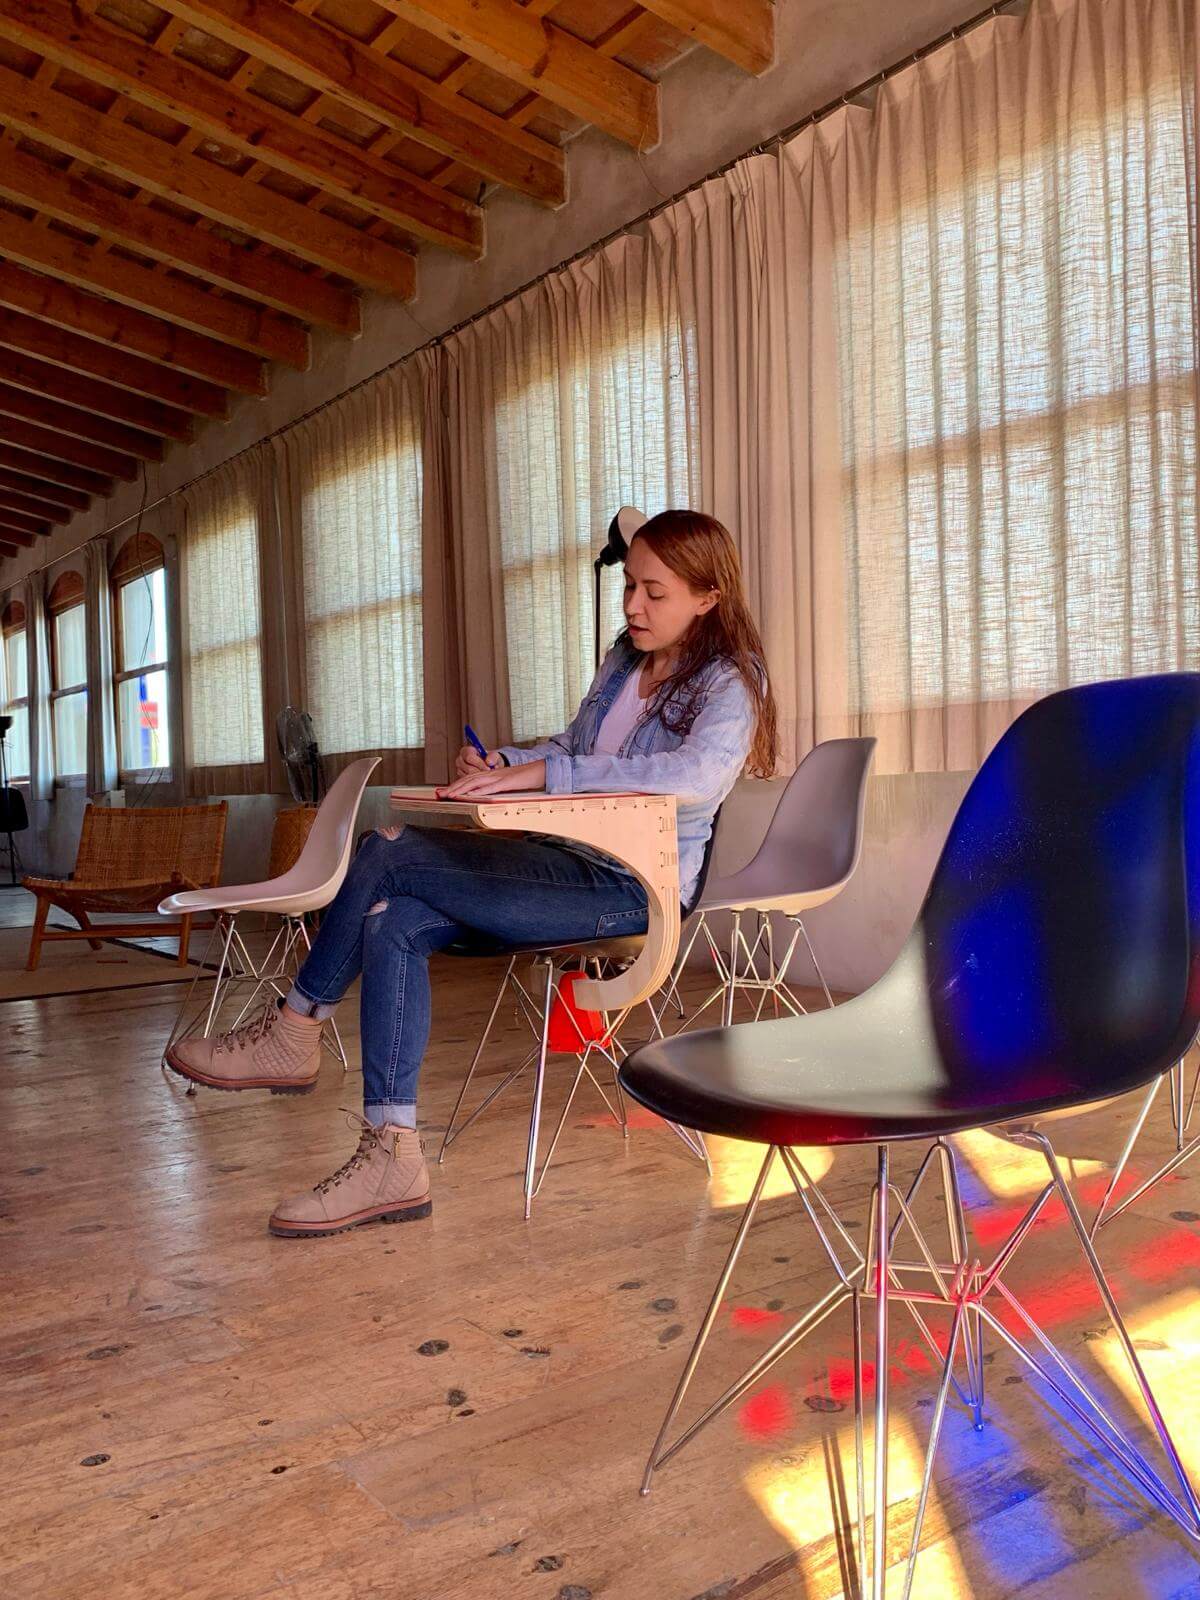
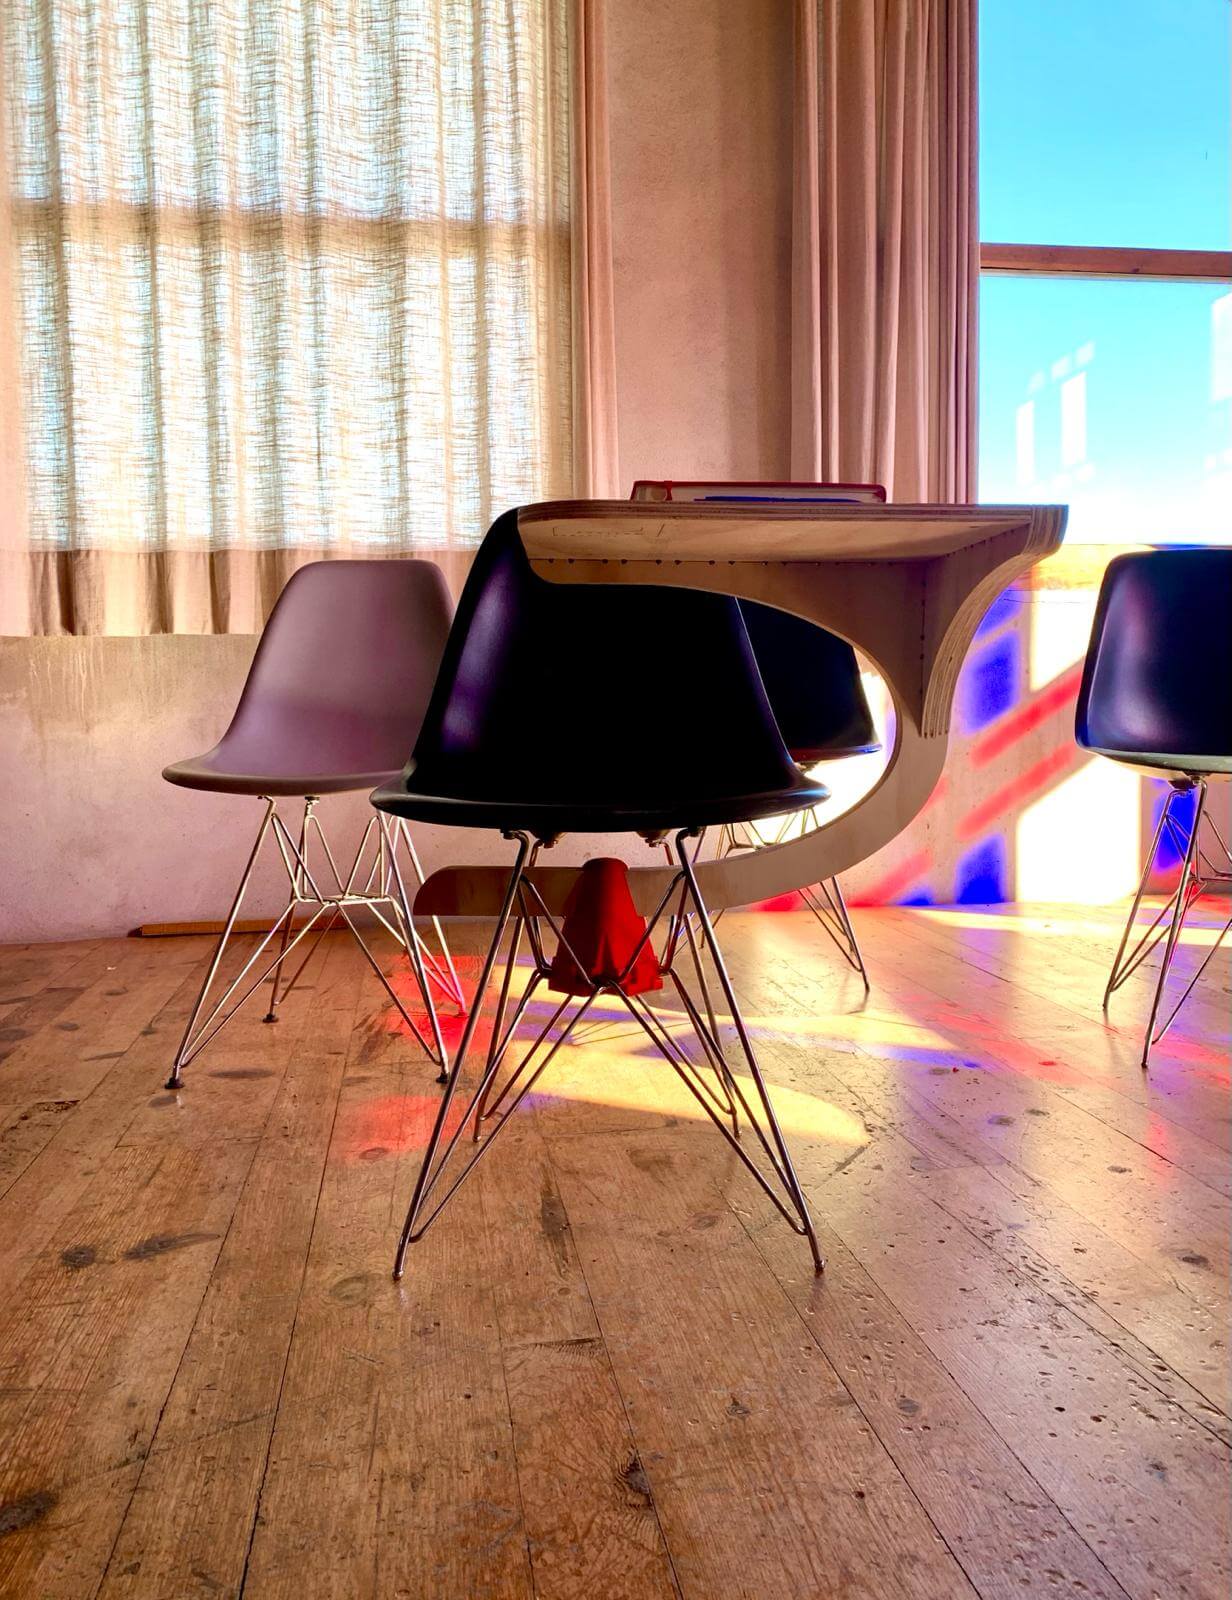
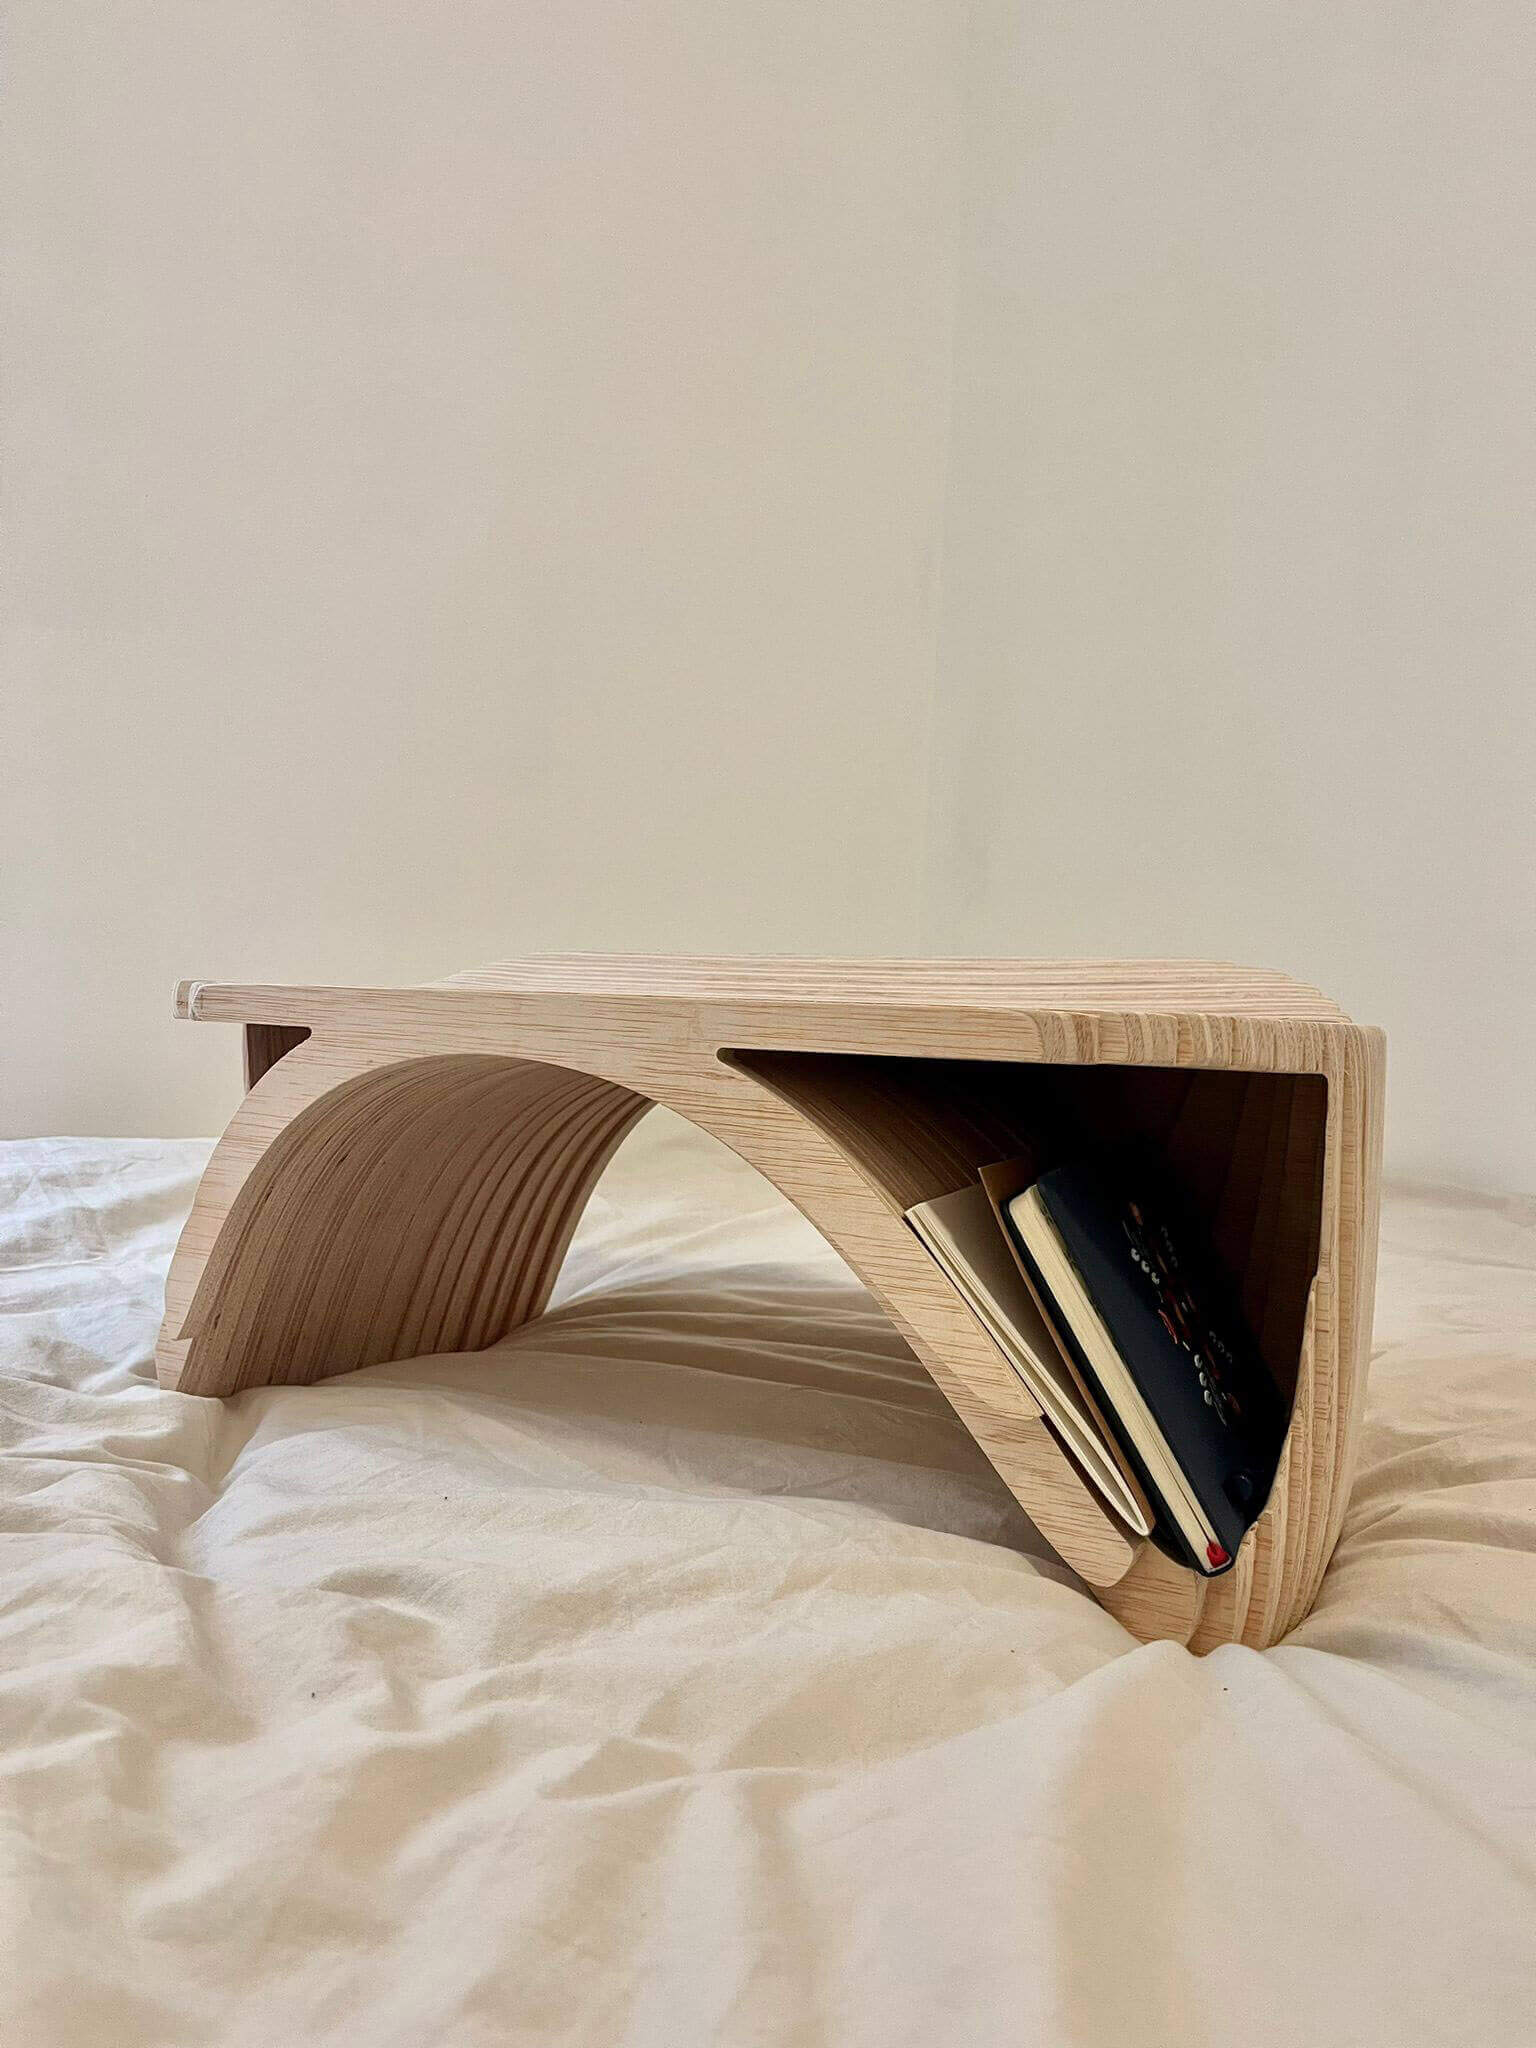
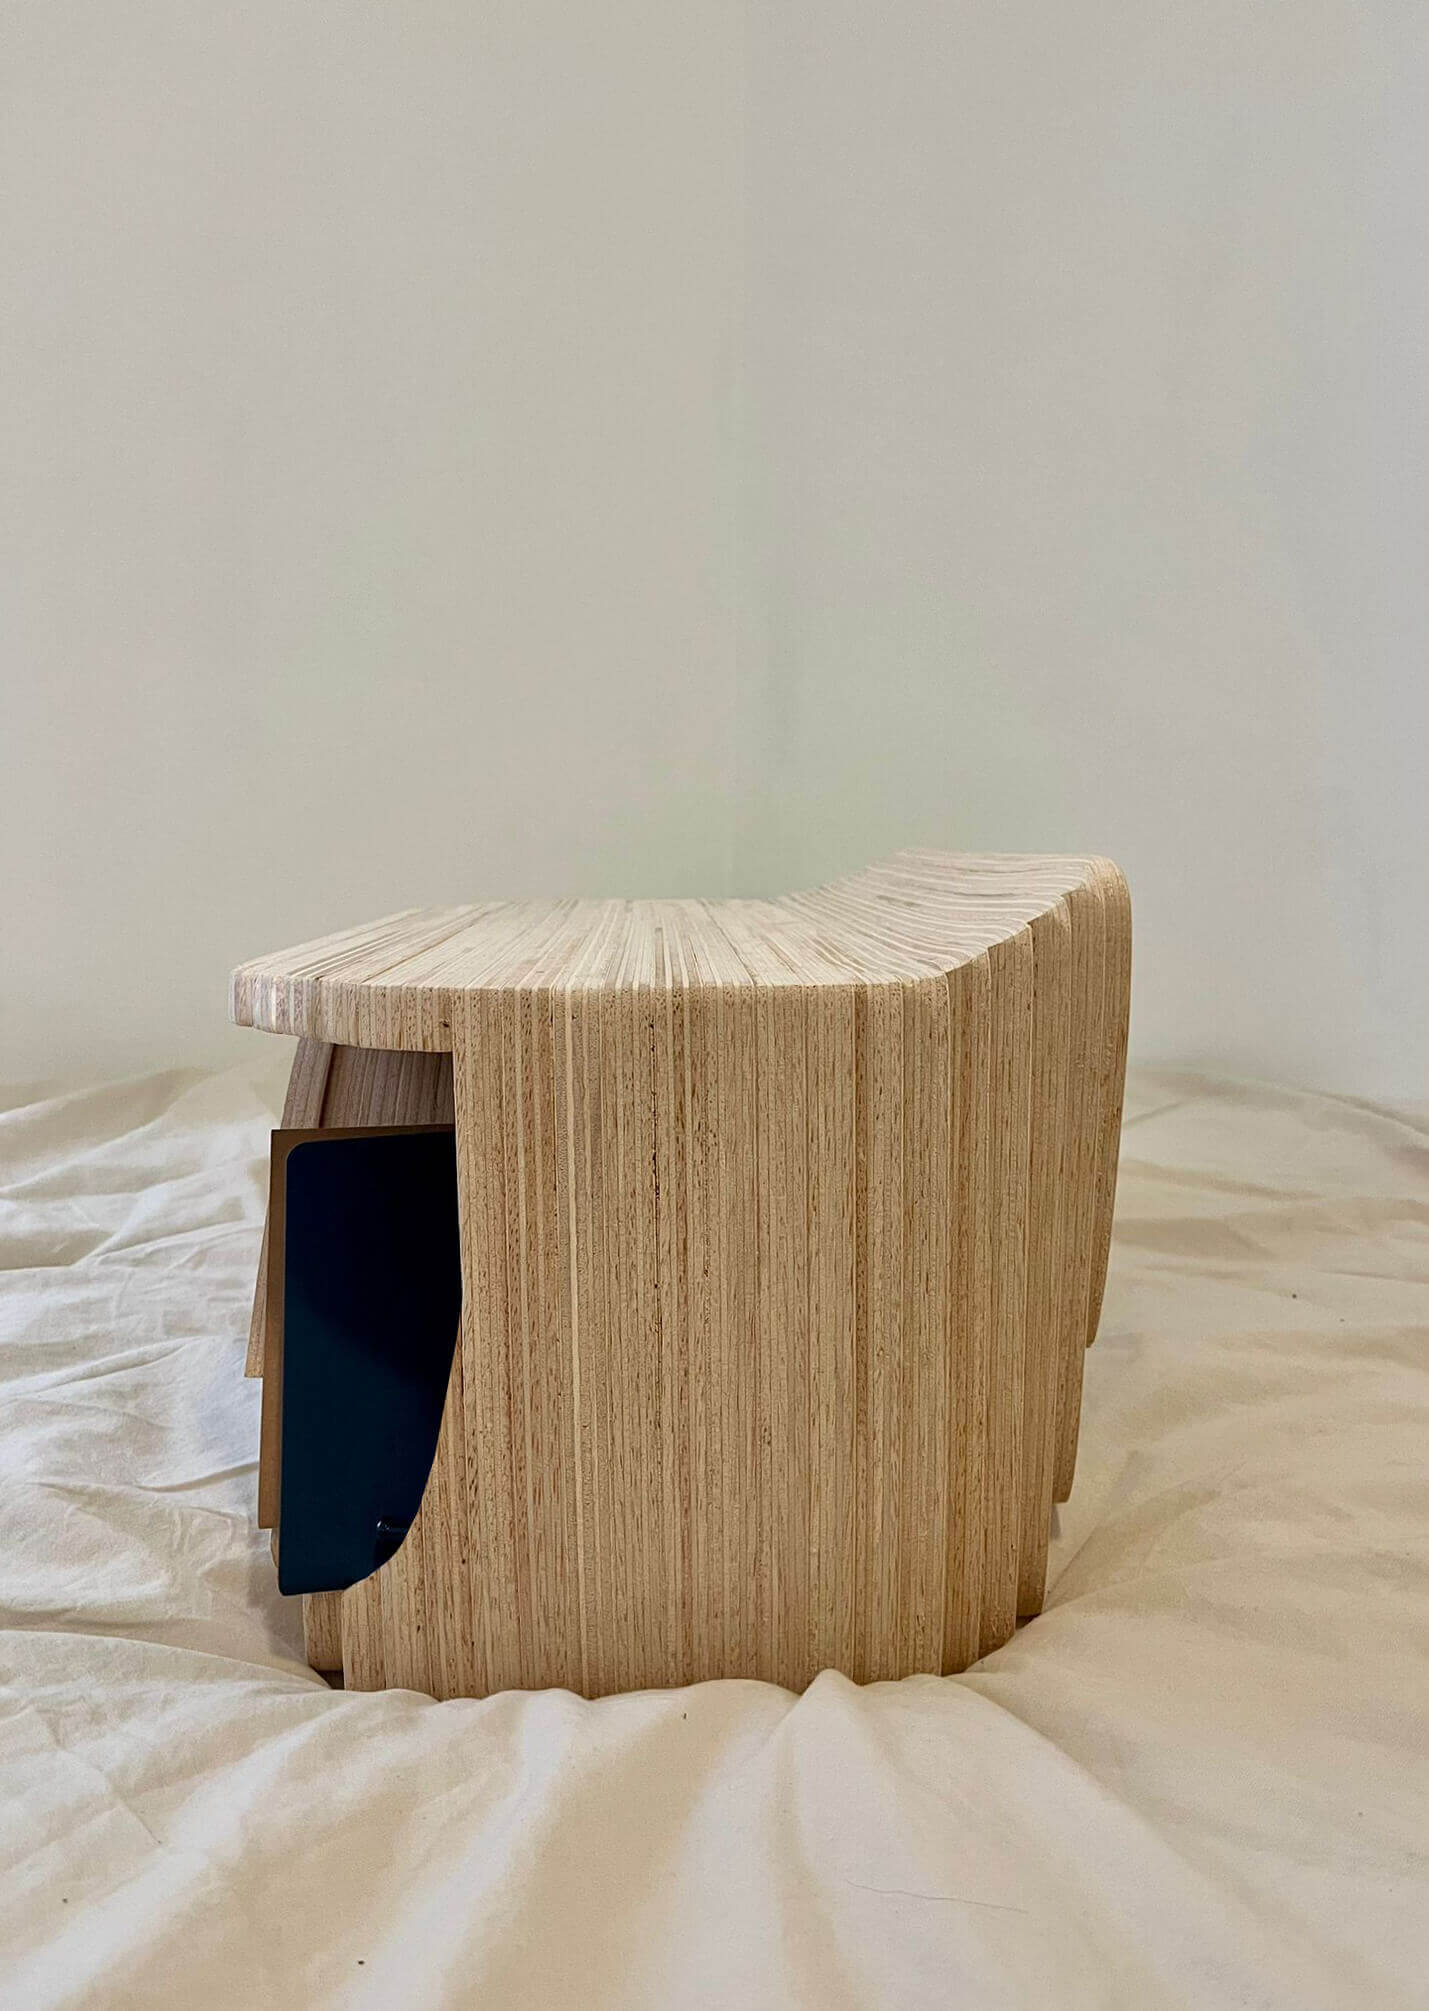
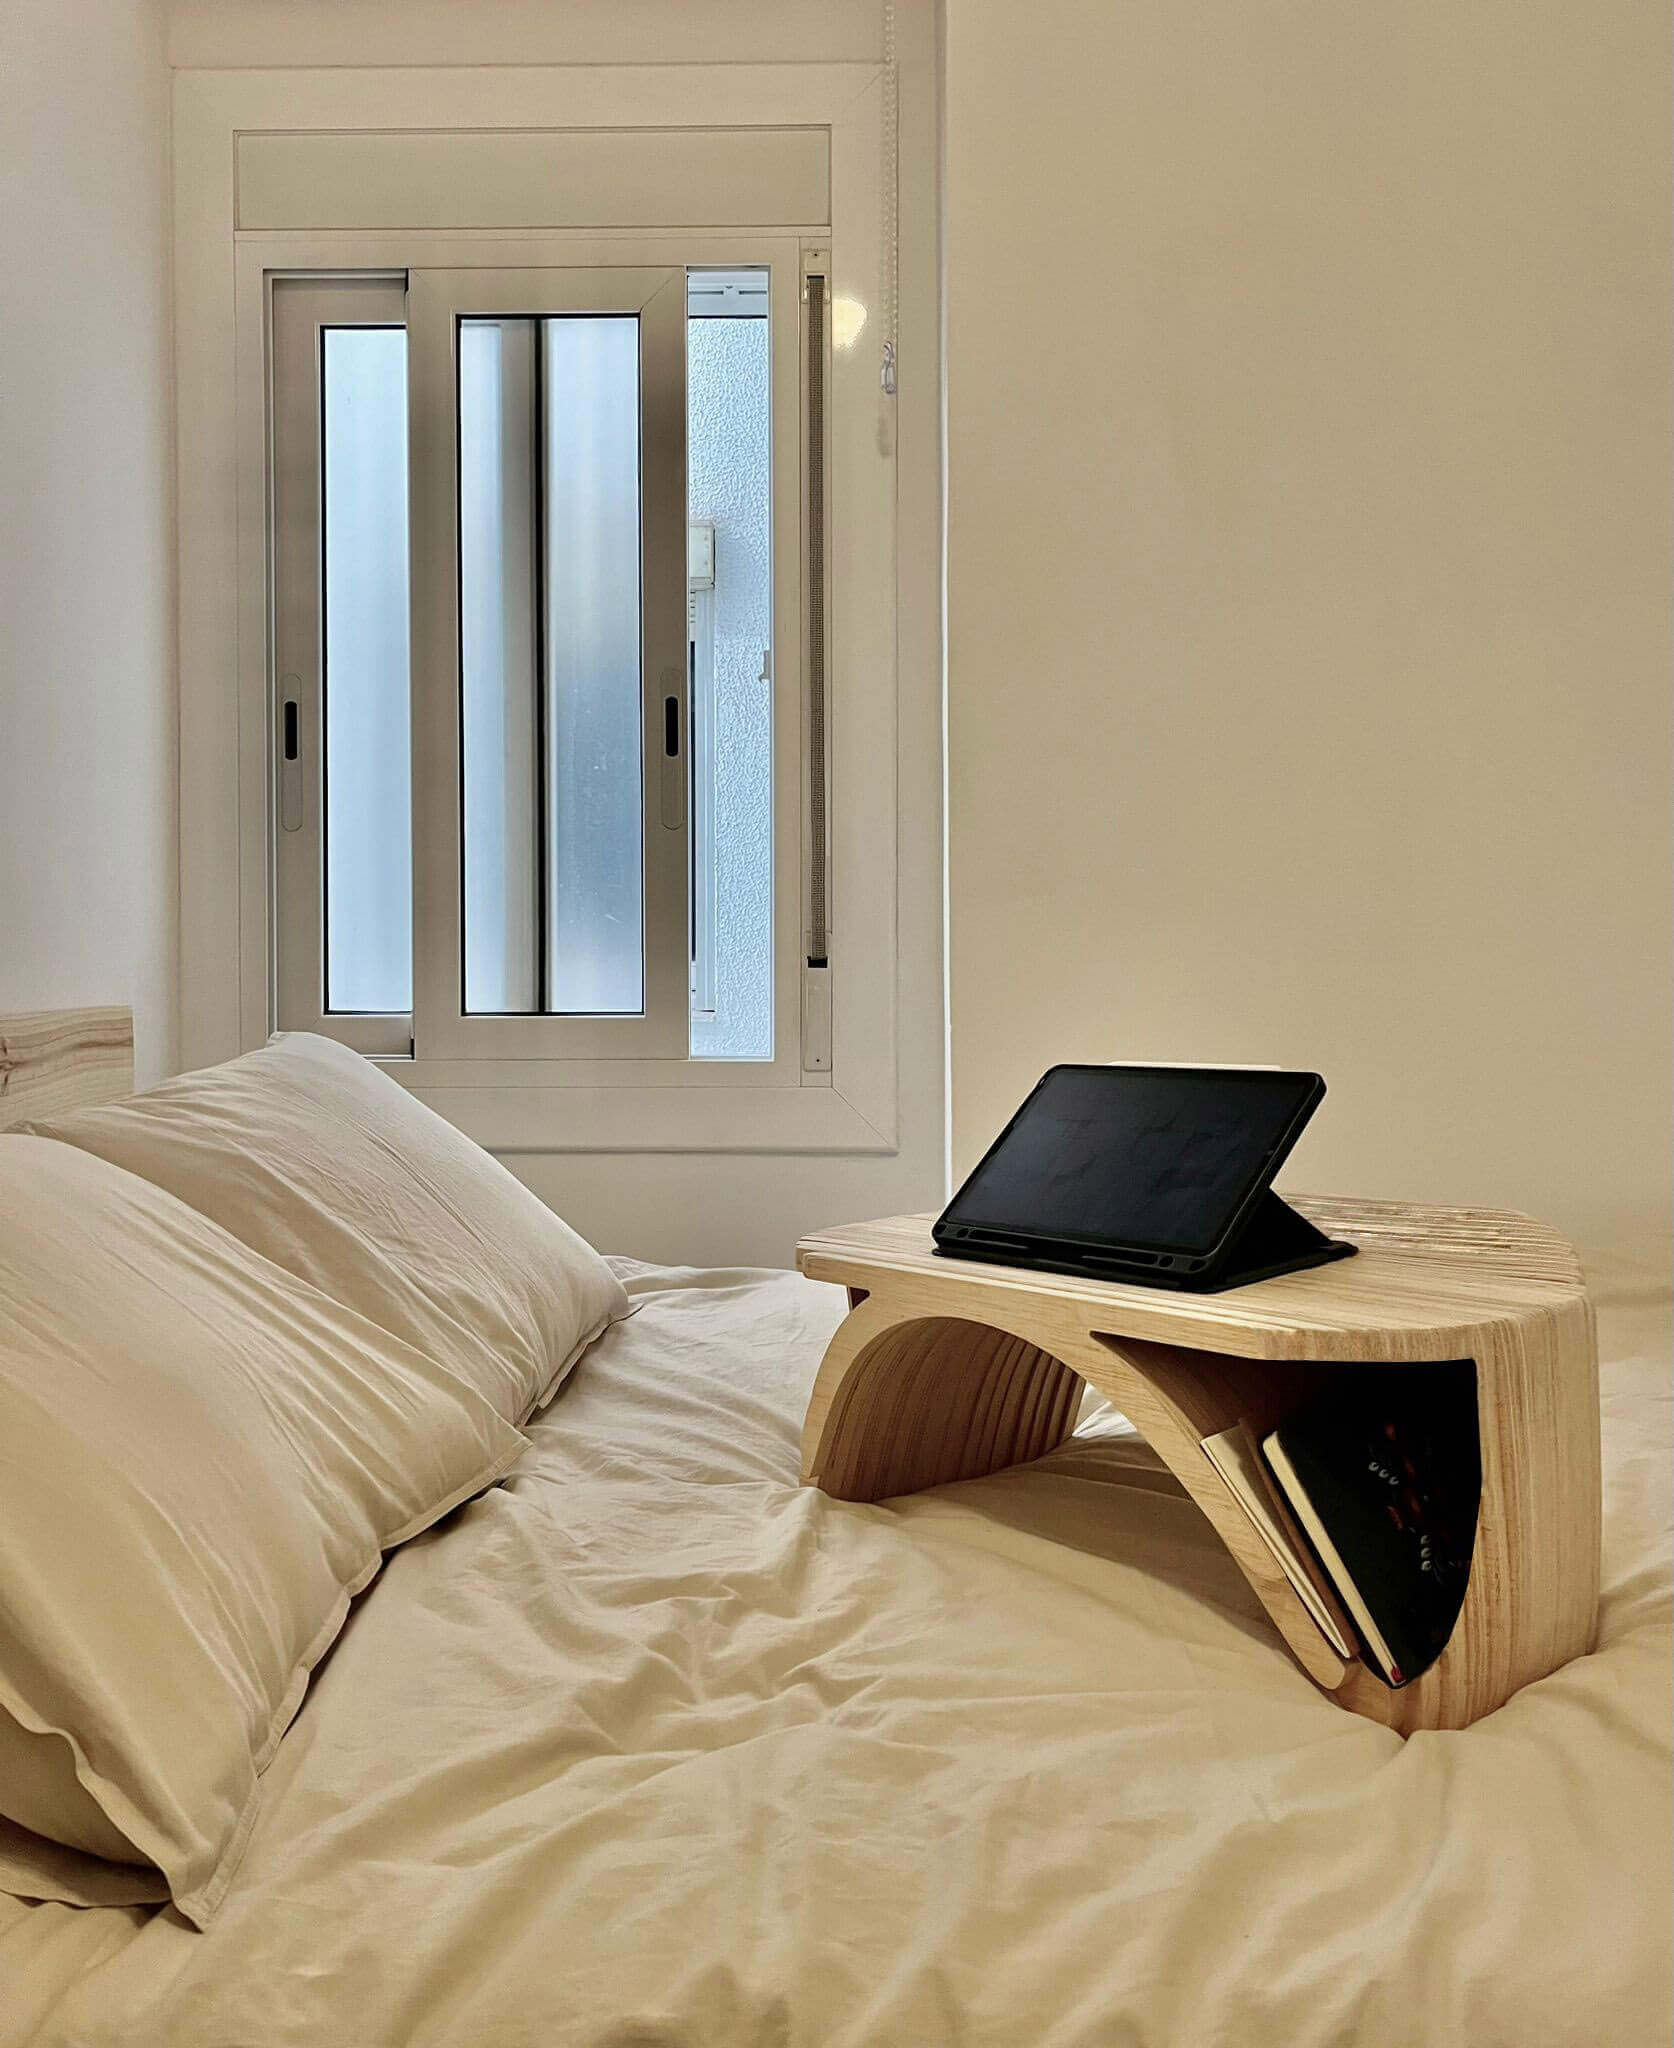
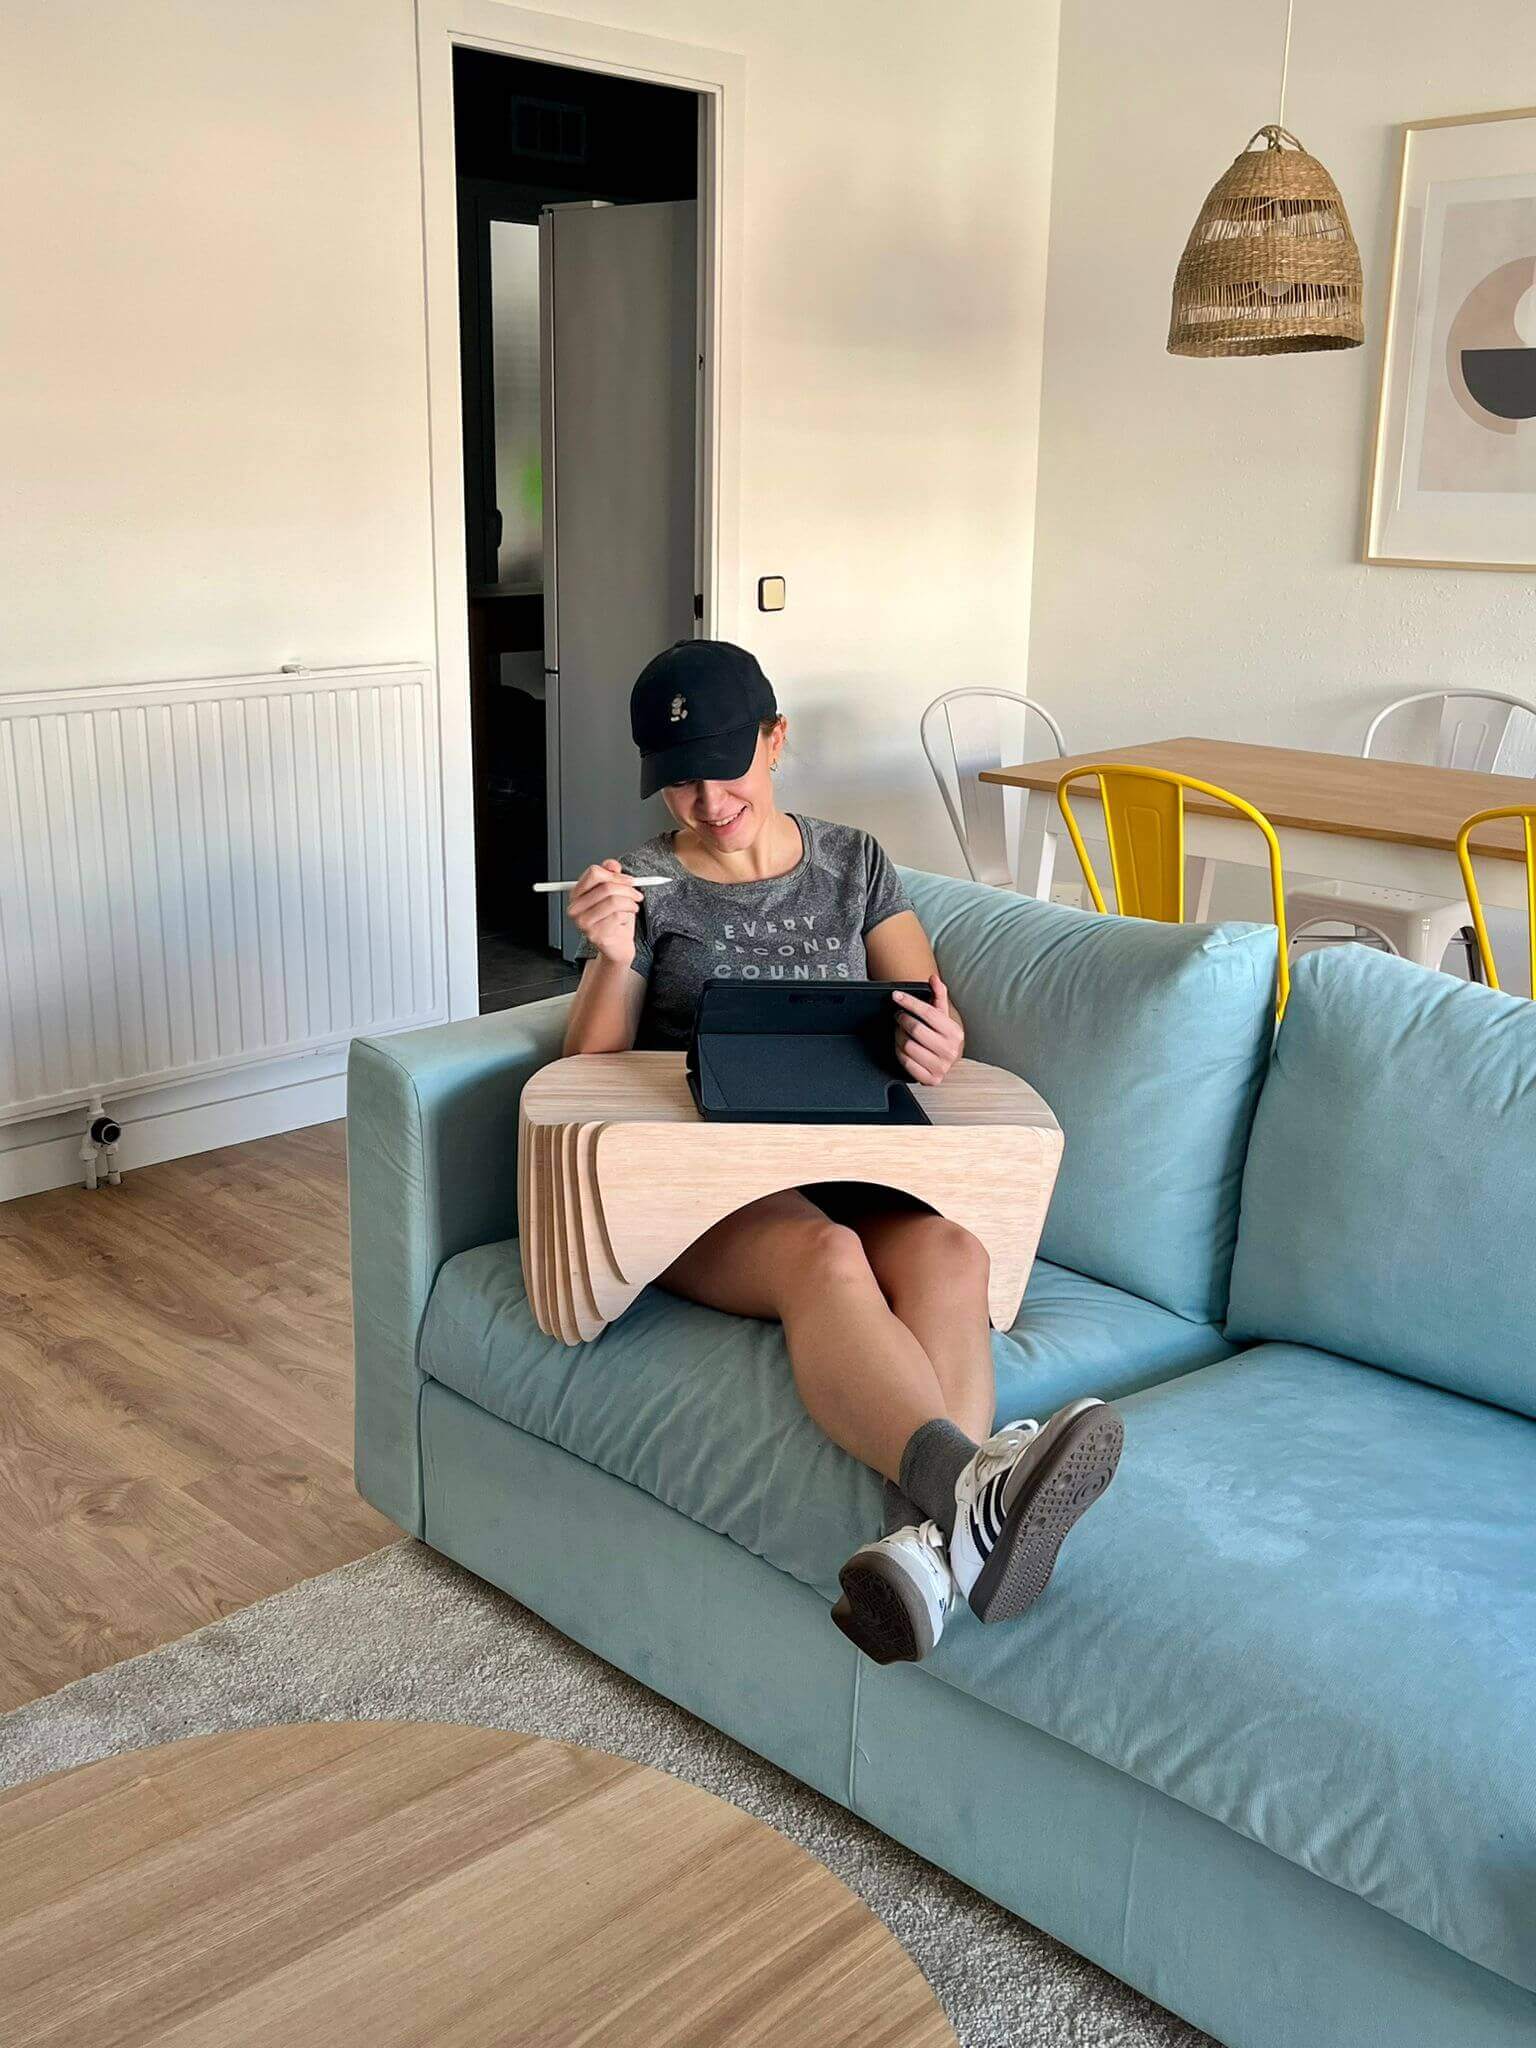
Design: "Bed/couch table"
3D modelling: Rhino + Grasshopper
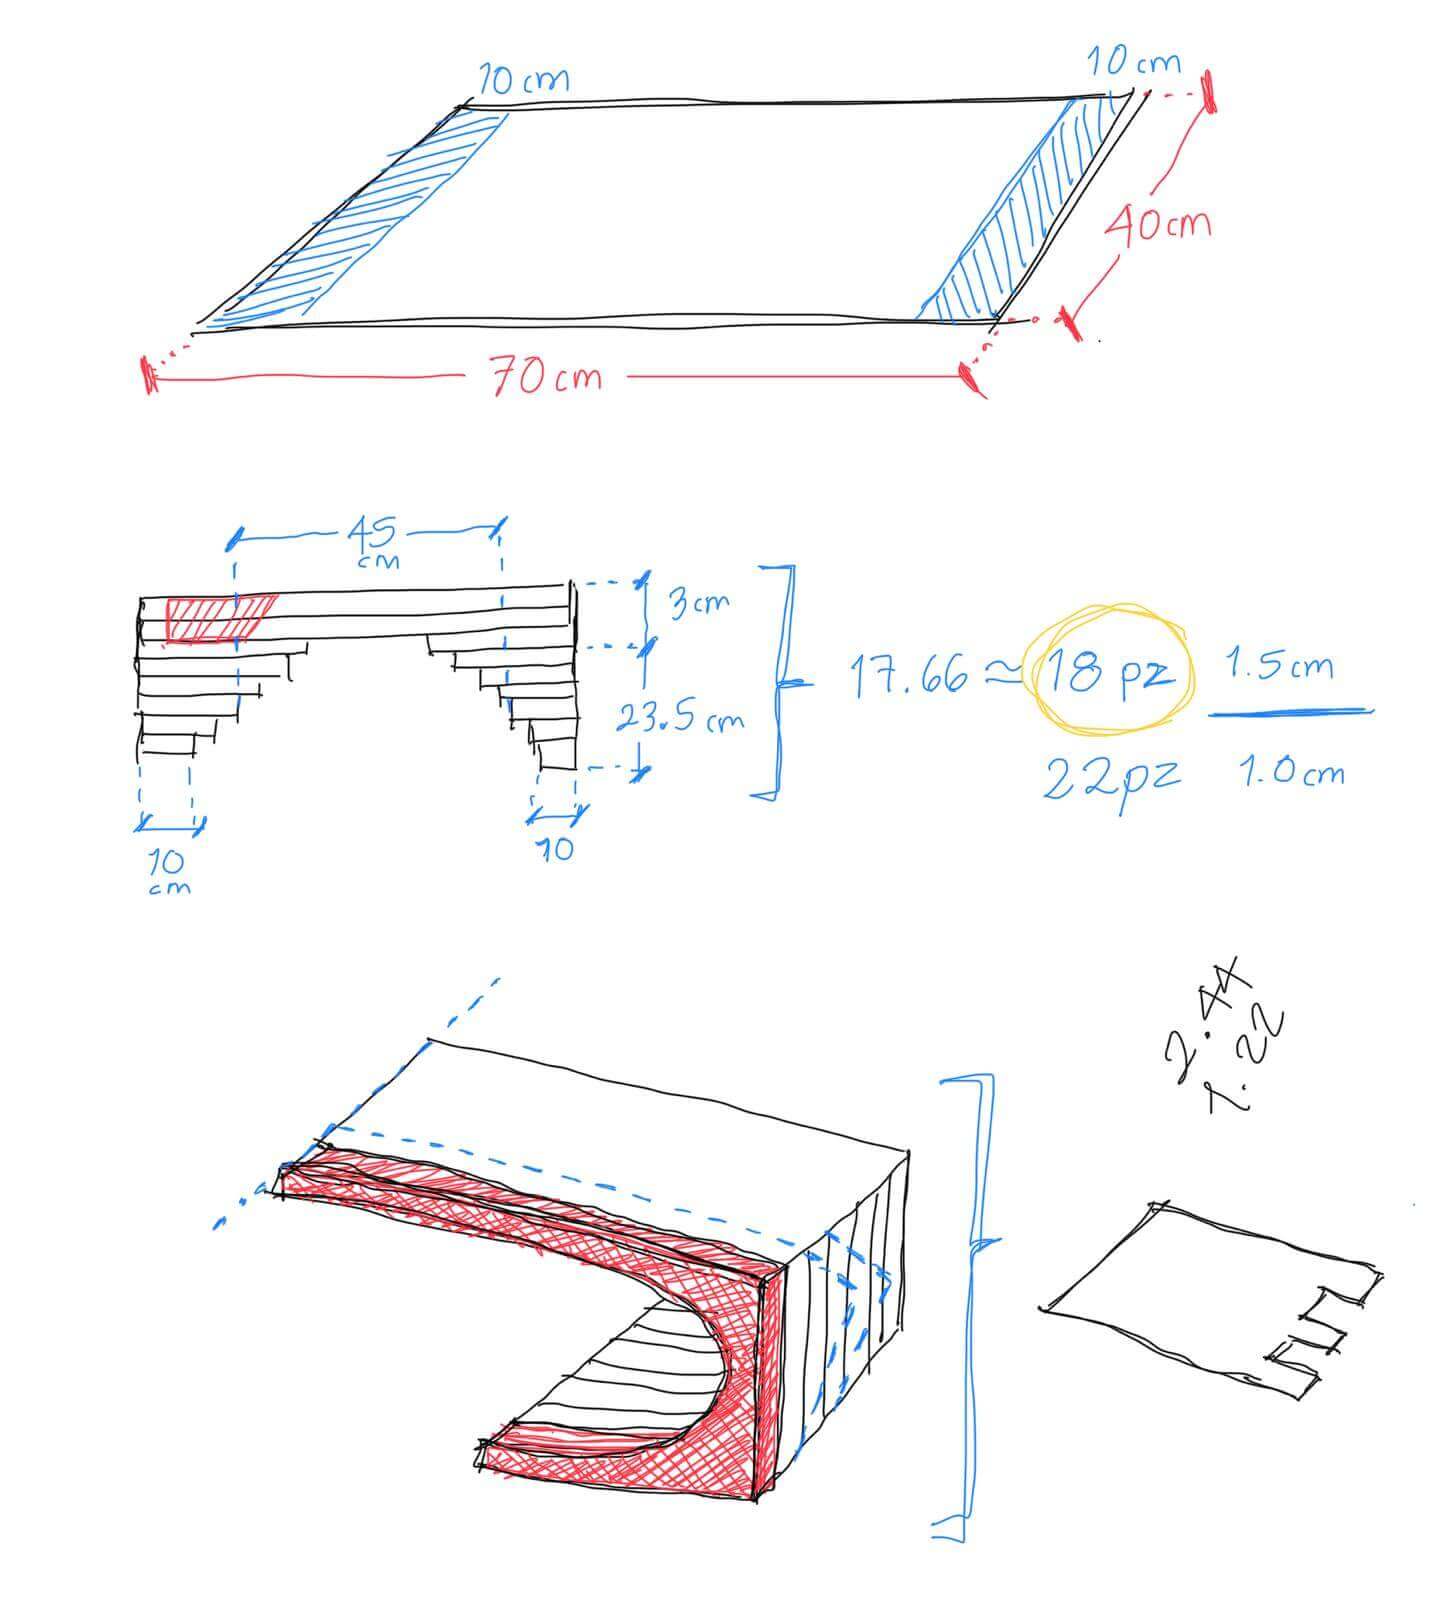
1. Sketching ideas and taking measurements: I asked my instructors if I could push toward a different path so I could expand my carpentry skills.
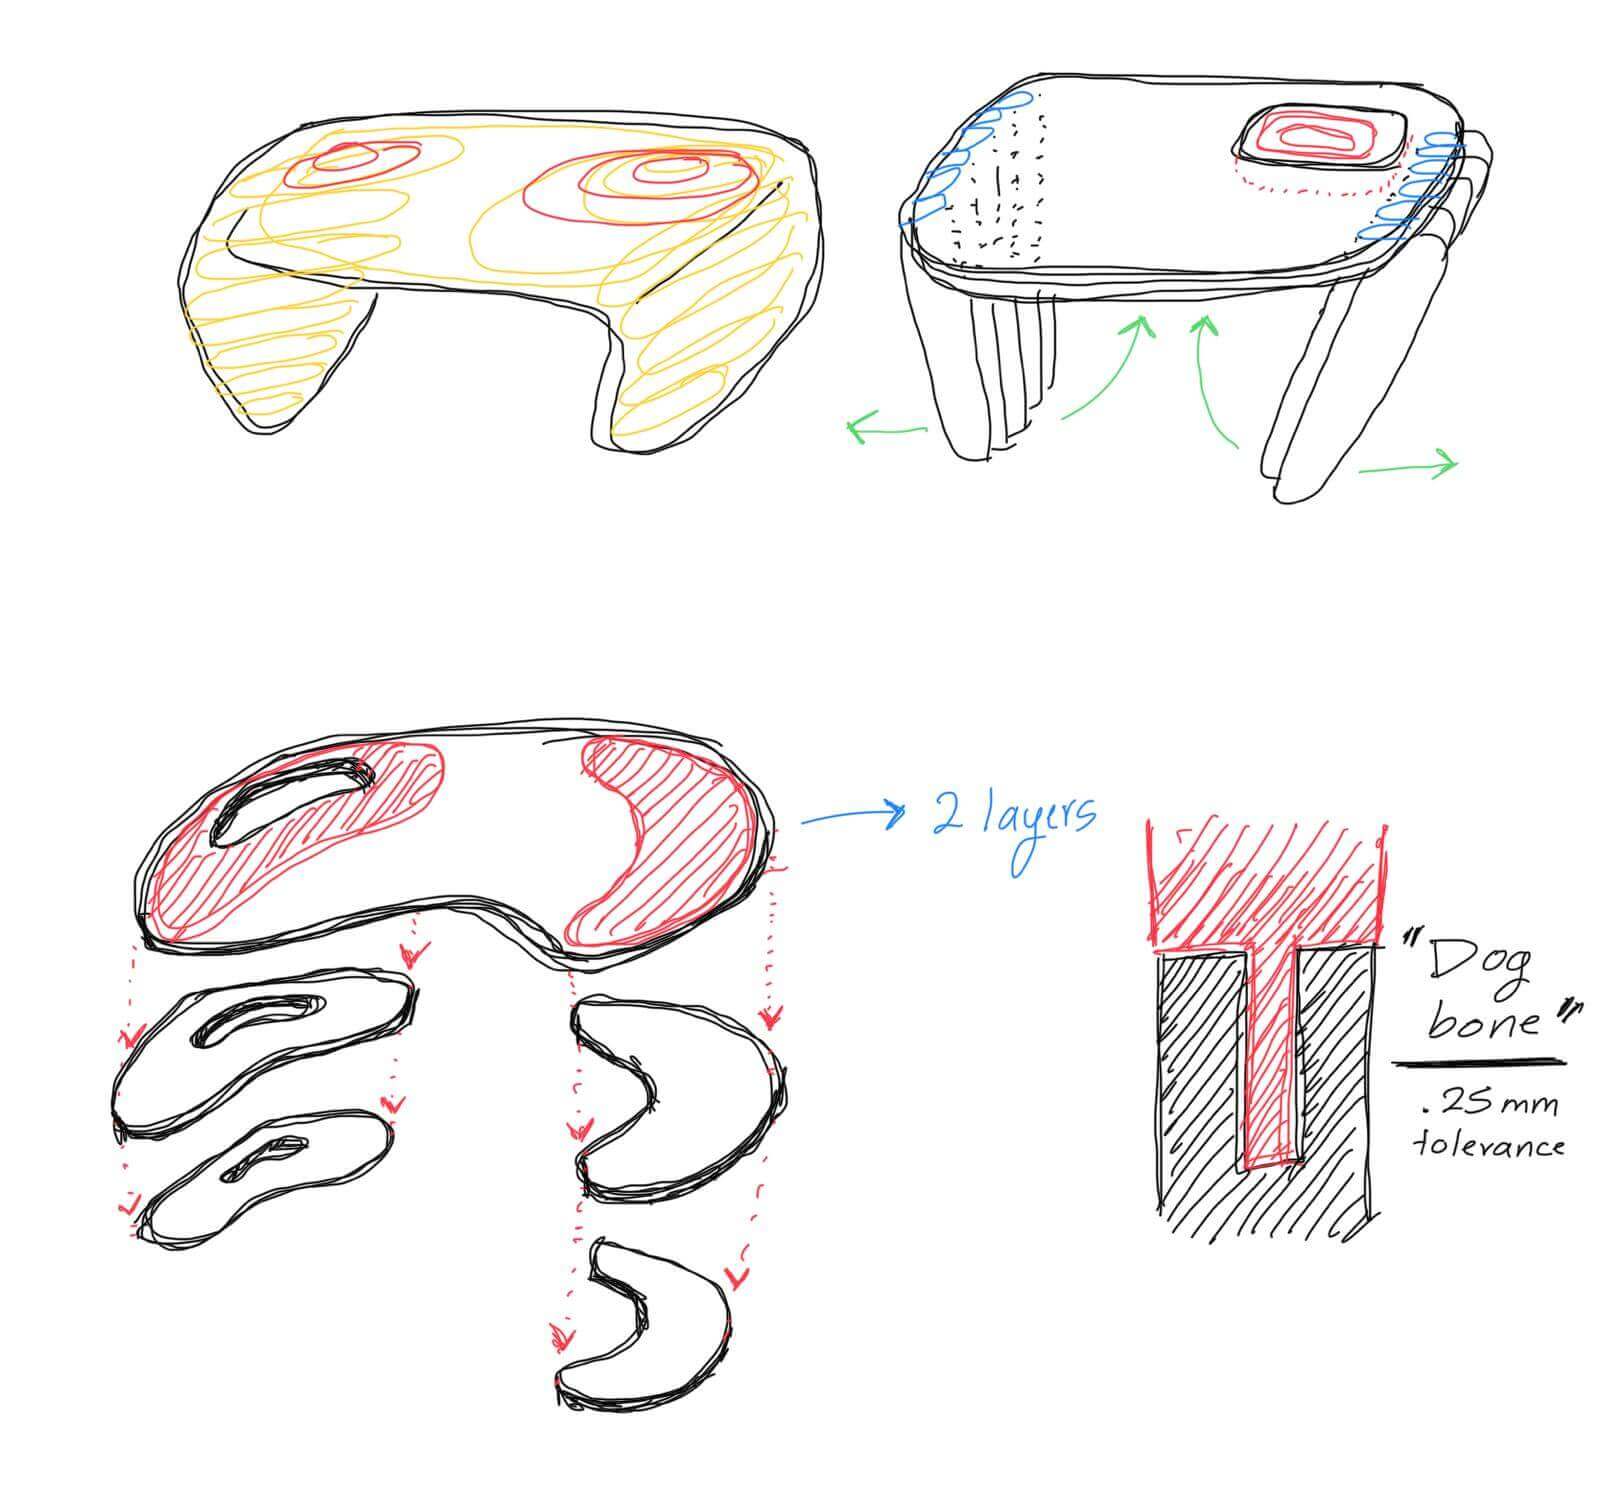
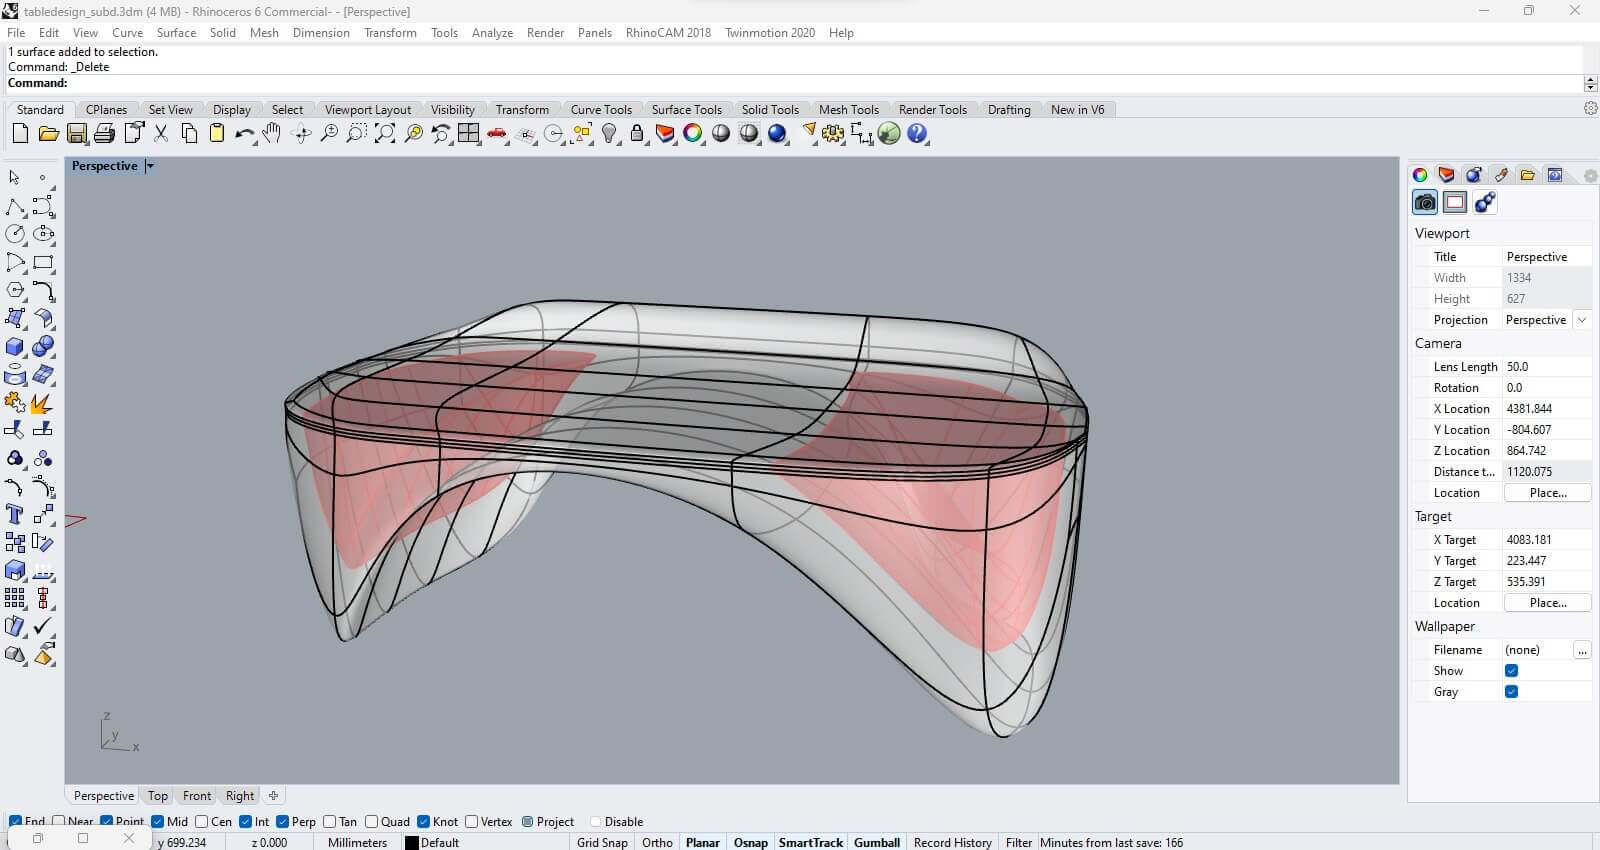
2. Rhino: SubD modelling for a morph shape, playing around with mesh faces.
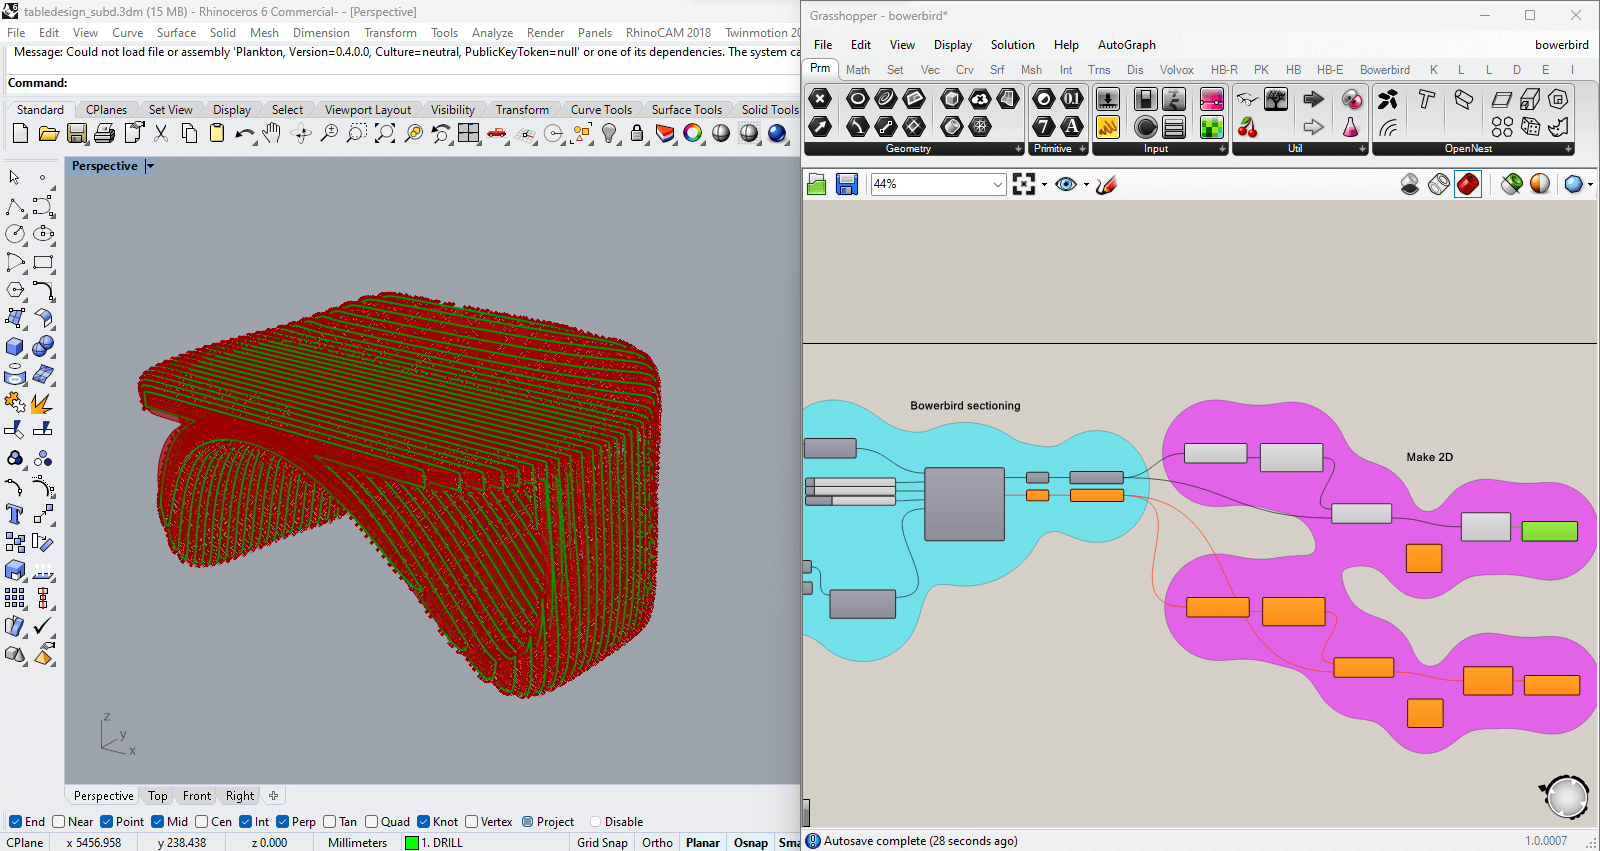
3. BowerBird + OpenNest: using the same script from week 3 "Computer Controlled Cutting". Connected the new brep and adapted the iterations on the nesting.
RhinoCAM settings for CNC cutting
Material & tool set up (digital)
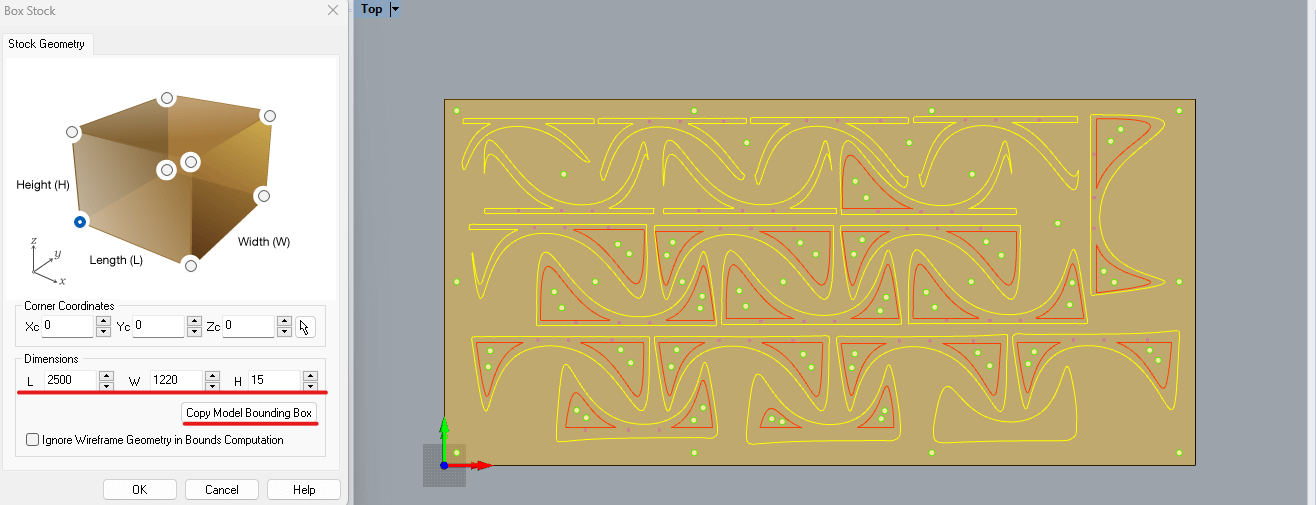
1. Stock: Select all the elements you want to cut and set up the size of your board (underlined with red). A yellow/orange box will appear indicating the area that it will operate.
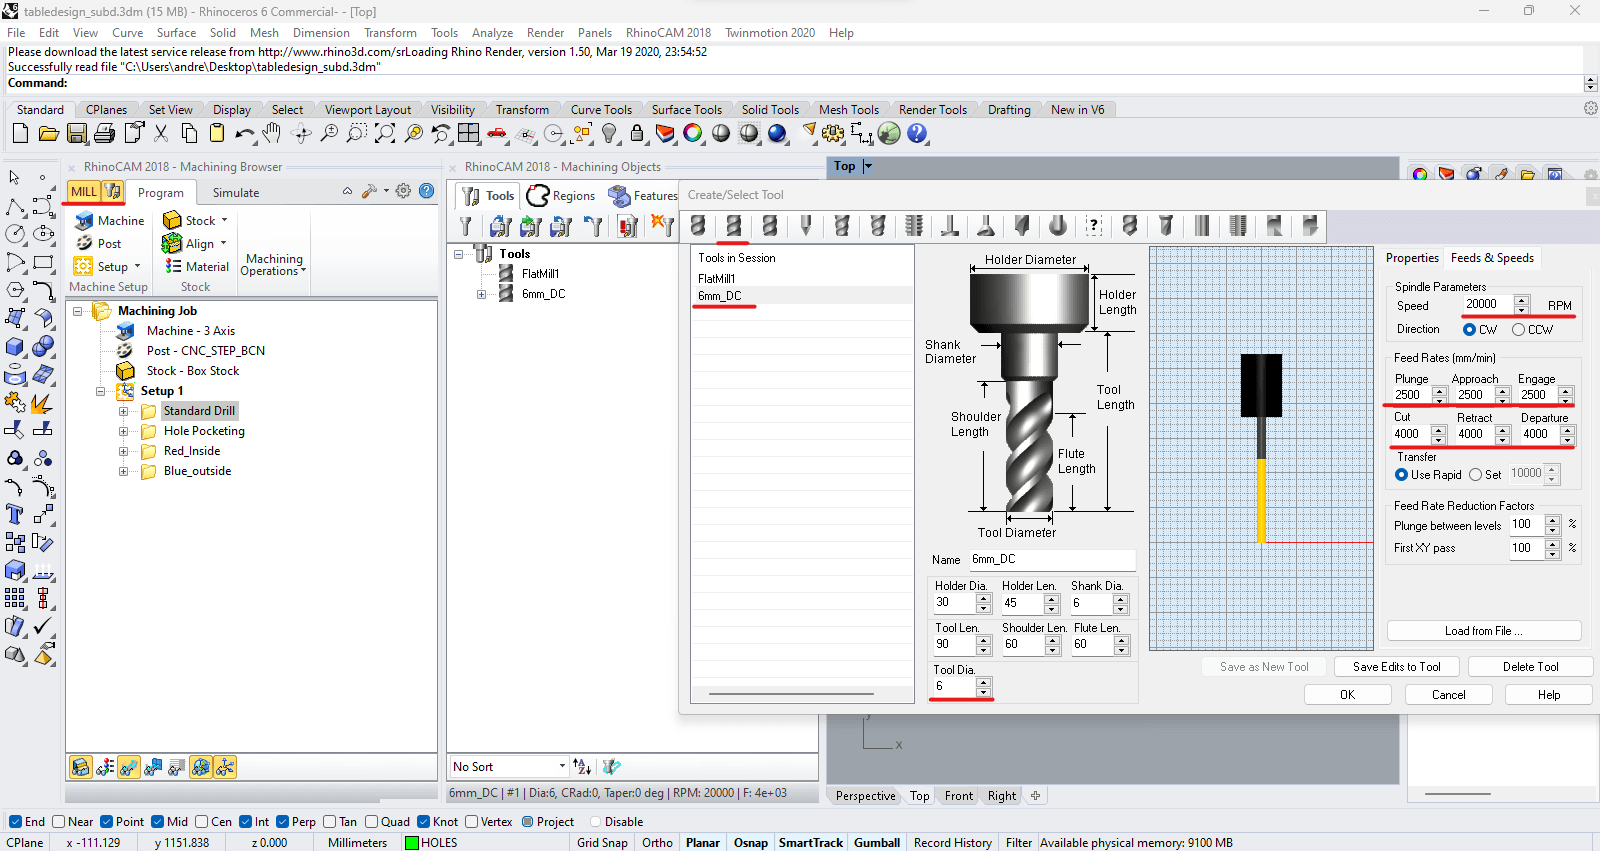
2. Milling machine tool: for our CNC machine we are using a 6mm Flat down-cut mill, update parameters according to the machine's capacity.
Set up according to functions
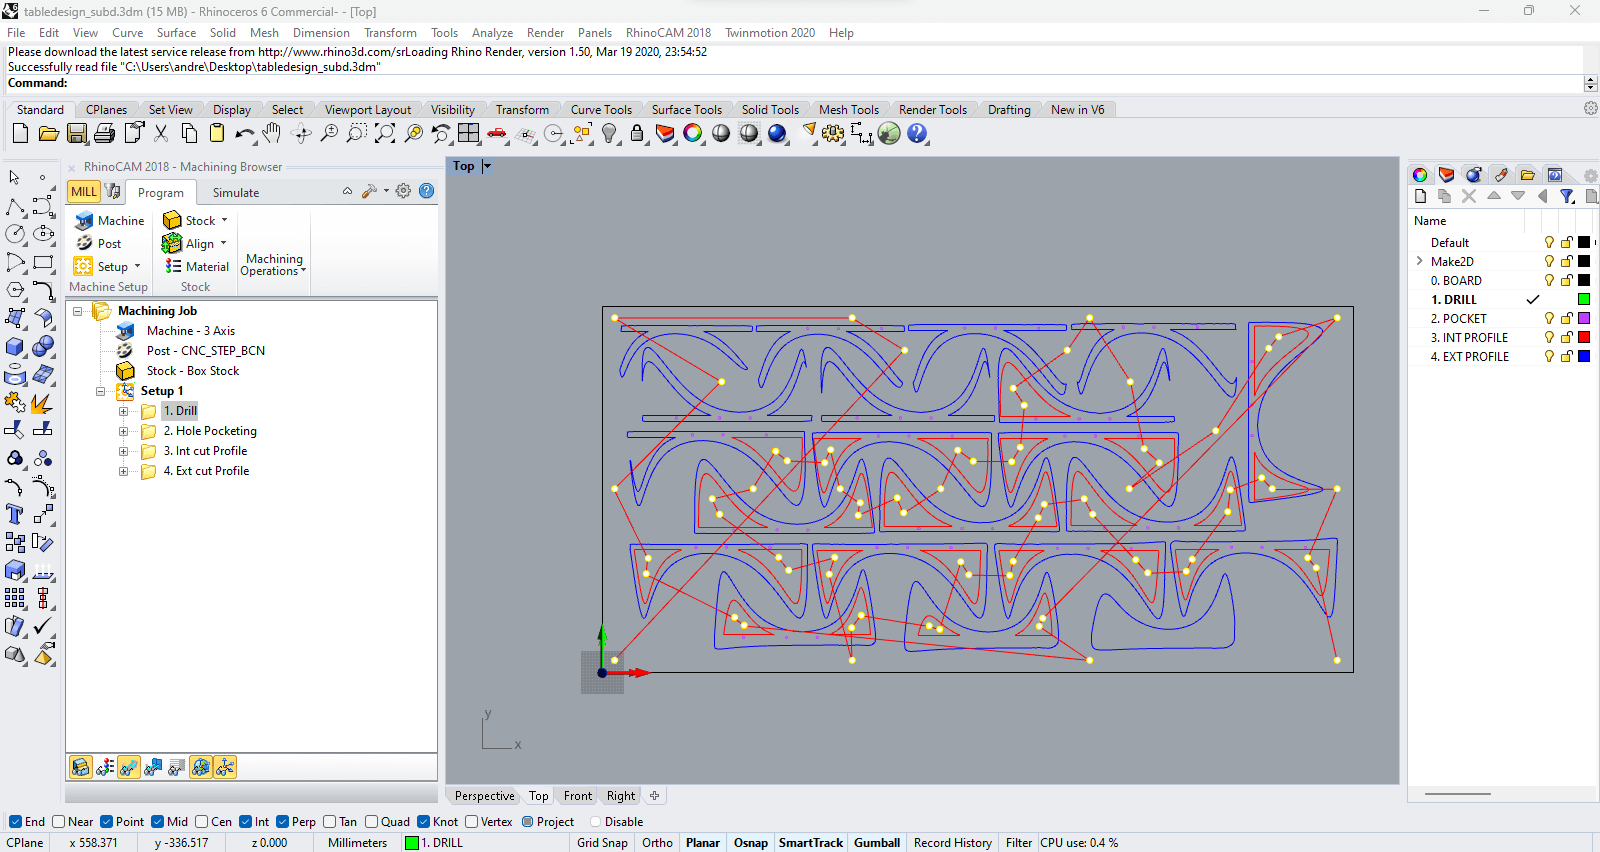
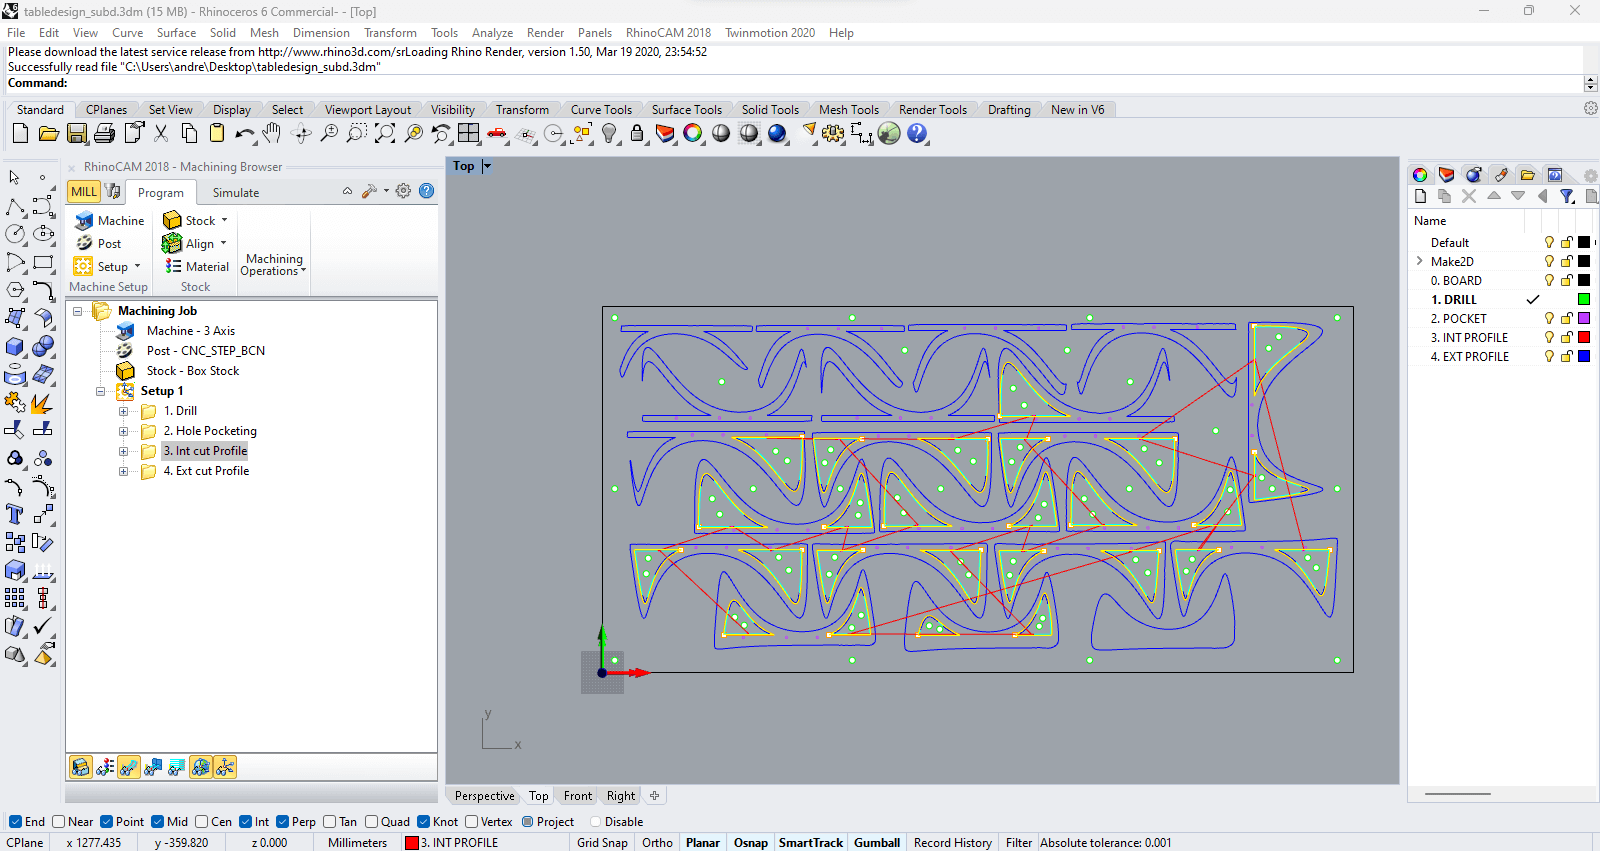
1. Drilling: Set up the drilling operations by defining the drilling points and paths. Ensure that the drill parameters, including depth and speed, are set correctly to achieve precise holes.
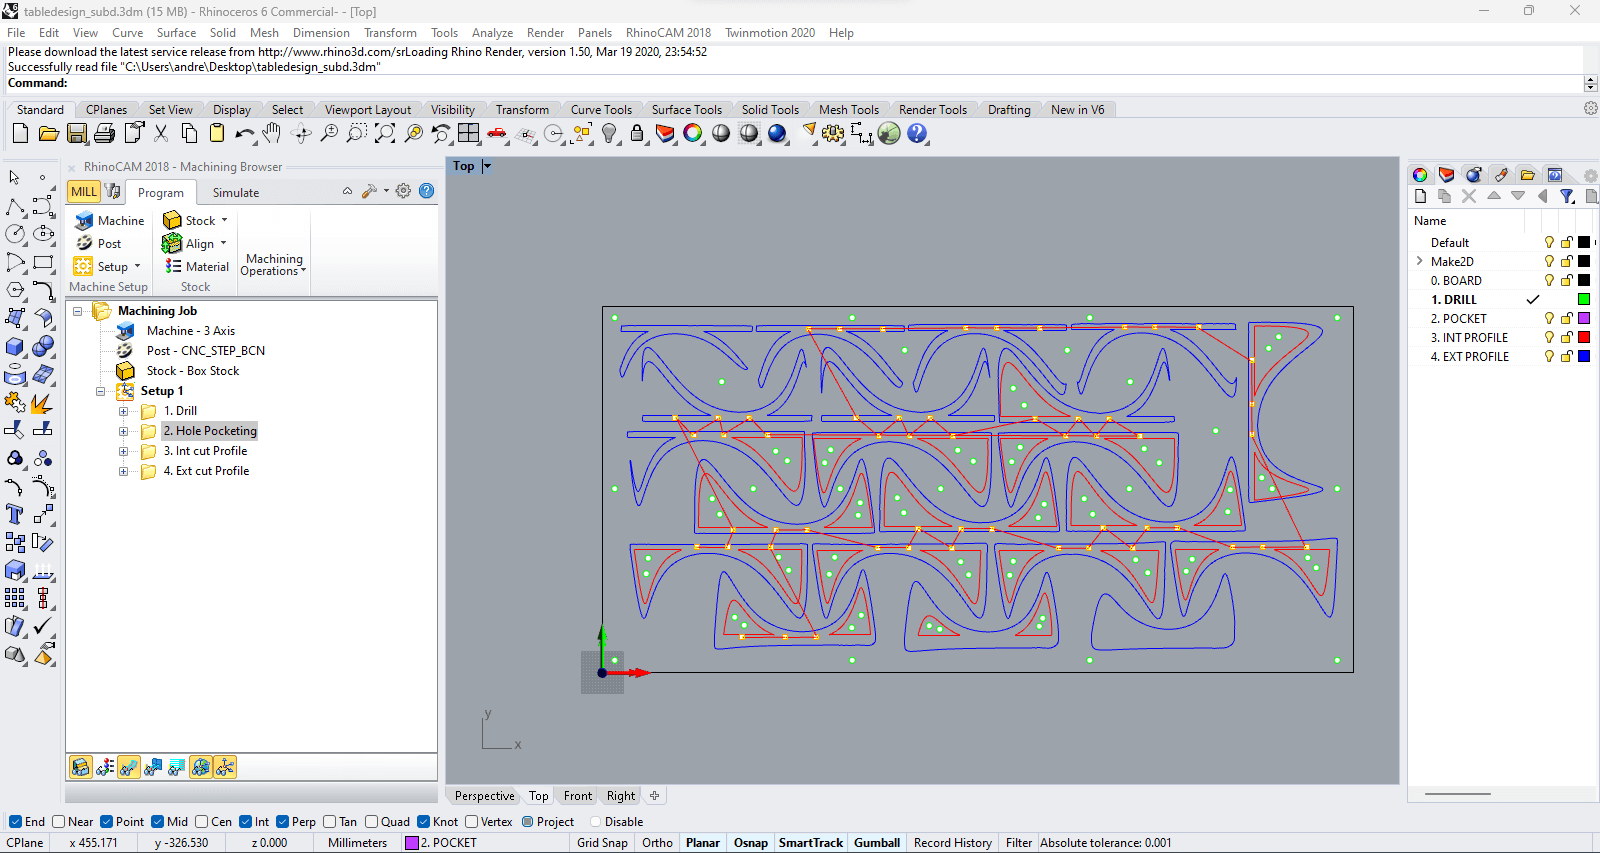
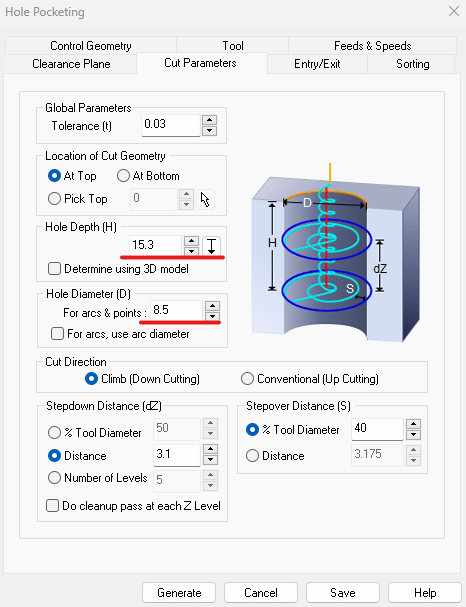
2. Hole pocketing: Configure the hole pocketing operation to remove material from defined areas. This involves setting the pocket dimensions, depth, and ensuring the tool follows the correct path.
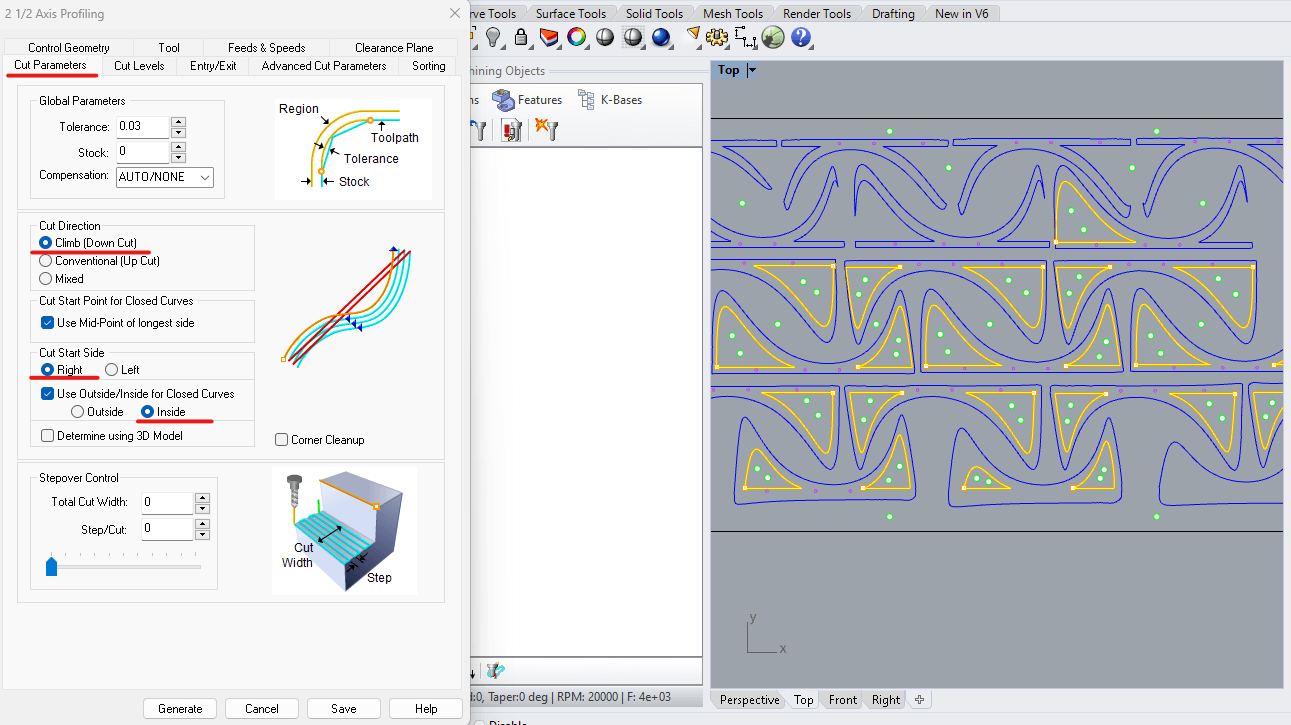
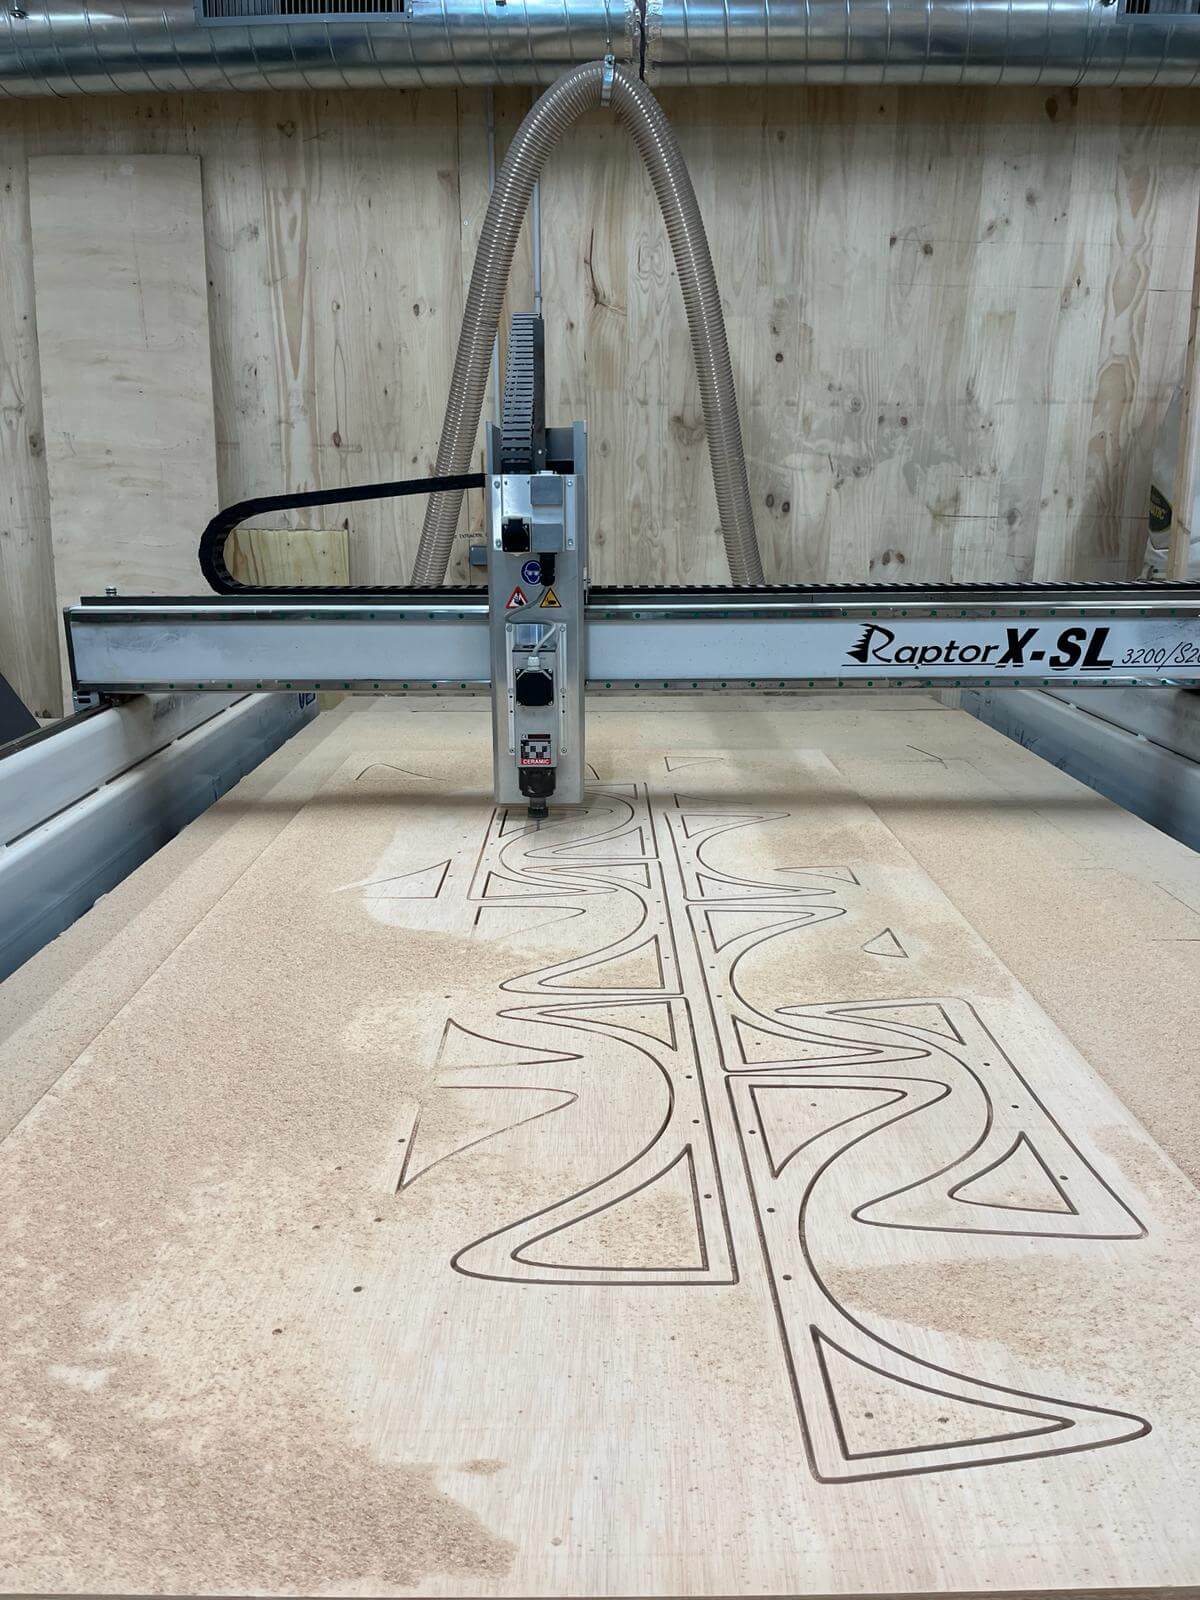
3. Internal profiling: Set up the interior cut profiles, which define the paths for cutting the internal shapes. Adjust the cutting parameters to ensure clean and accurate cuts.
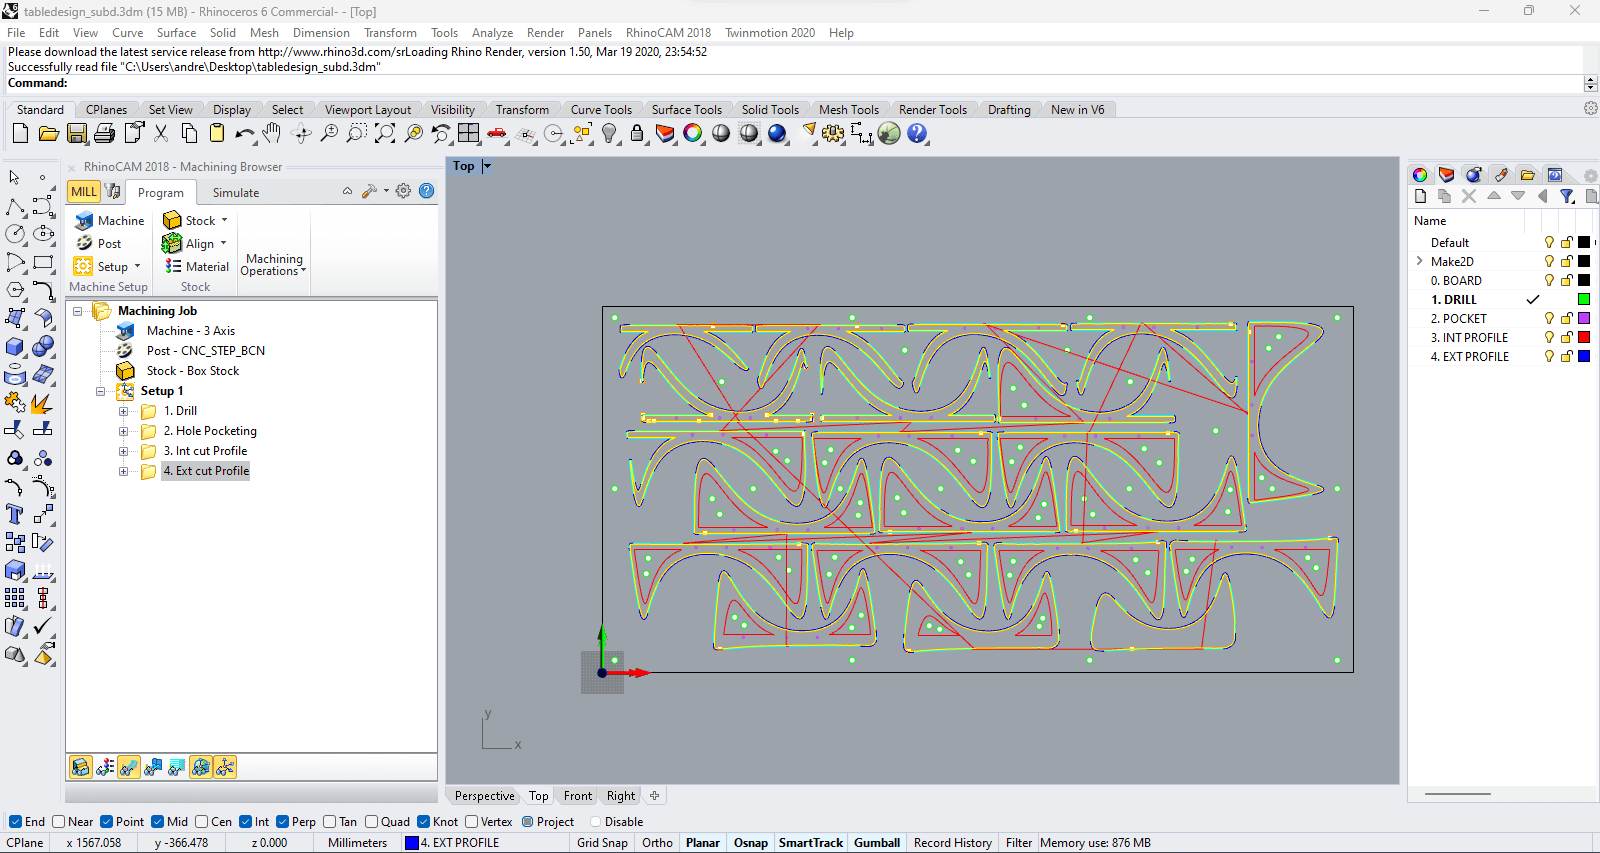
4. External profiling: Finally, configure the exterior cut profiles to define the outer edges of the design. Ensure the tool paths and cutting parameters are optimized and coherent with the bridges.
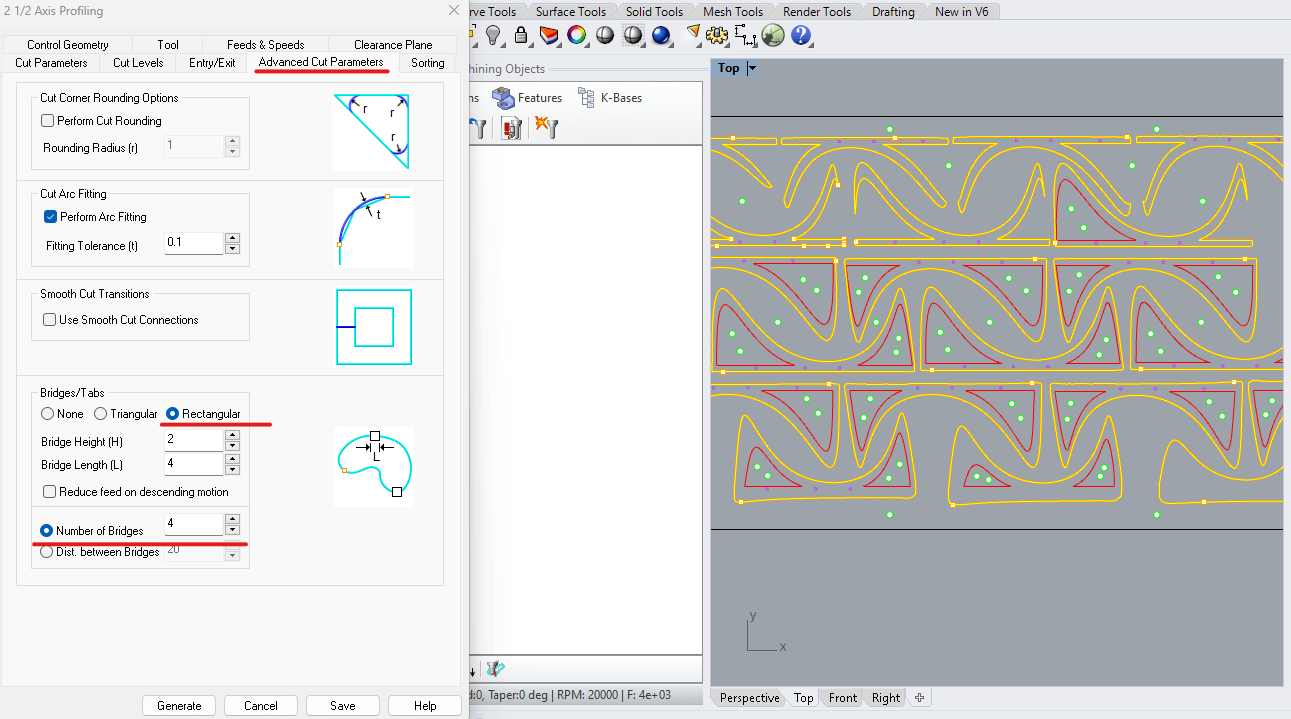
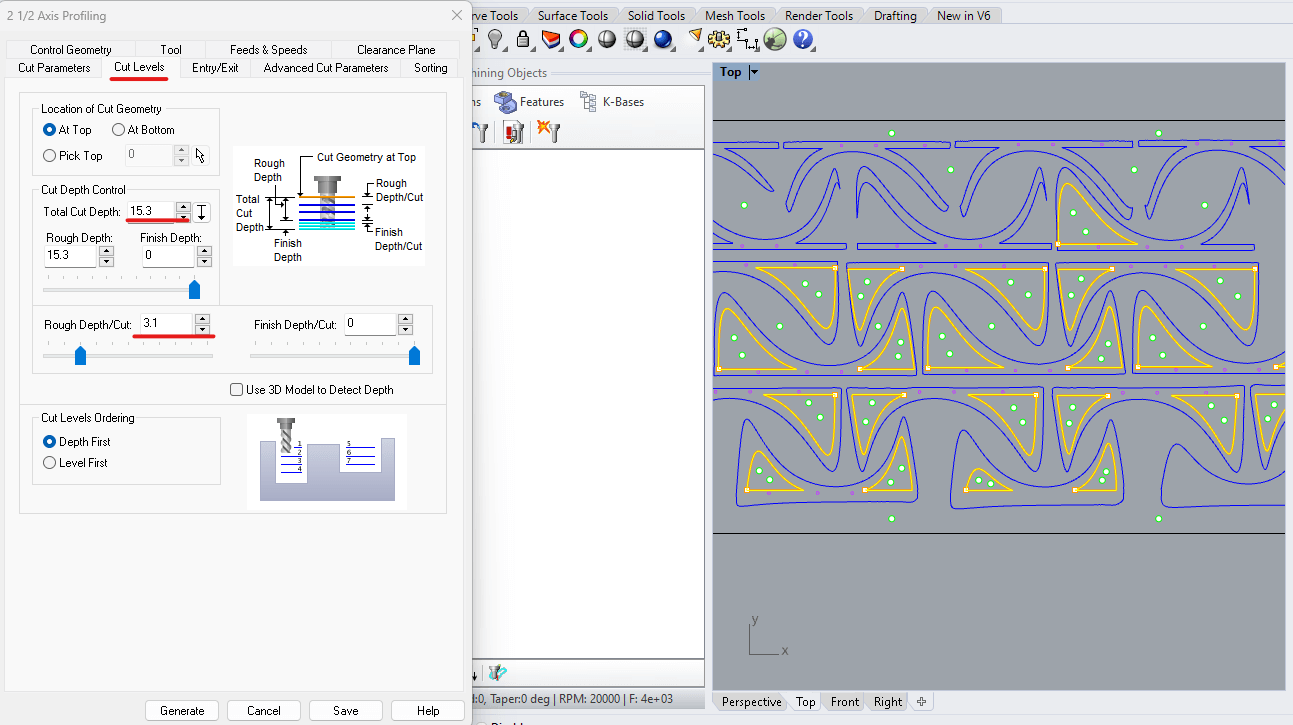
5. Common parameters (internal & external): For both files you have to define a bit more depth from the materials thickness, in order to ensure the cut. Also, to divide this number to the mill can safely climb down and remove material.
6. Post together (Internal & External profiling): Select both folders and right click to "post", make sure to have them in the correct order for operating on the CNC.
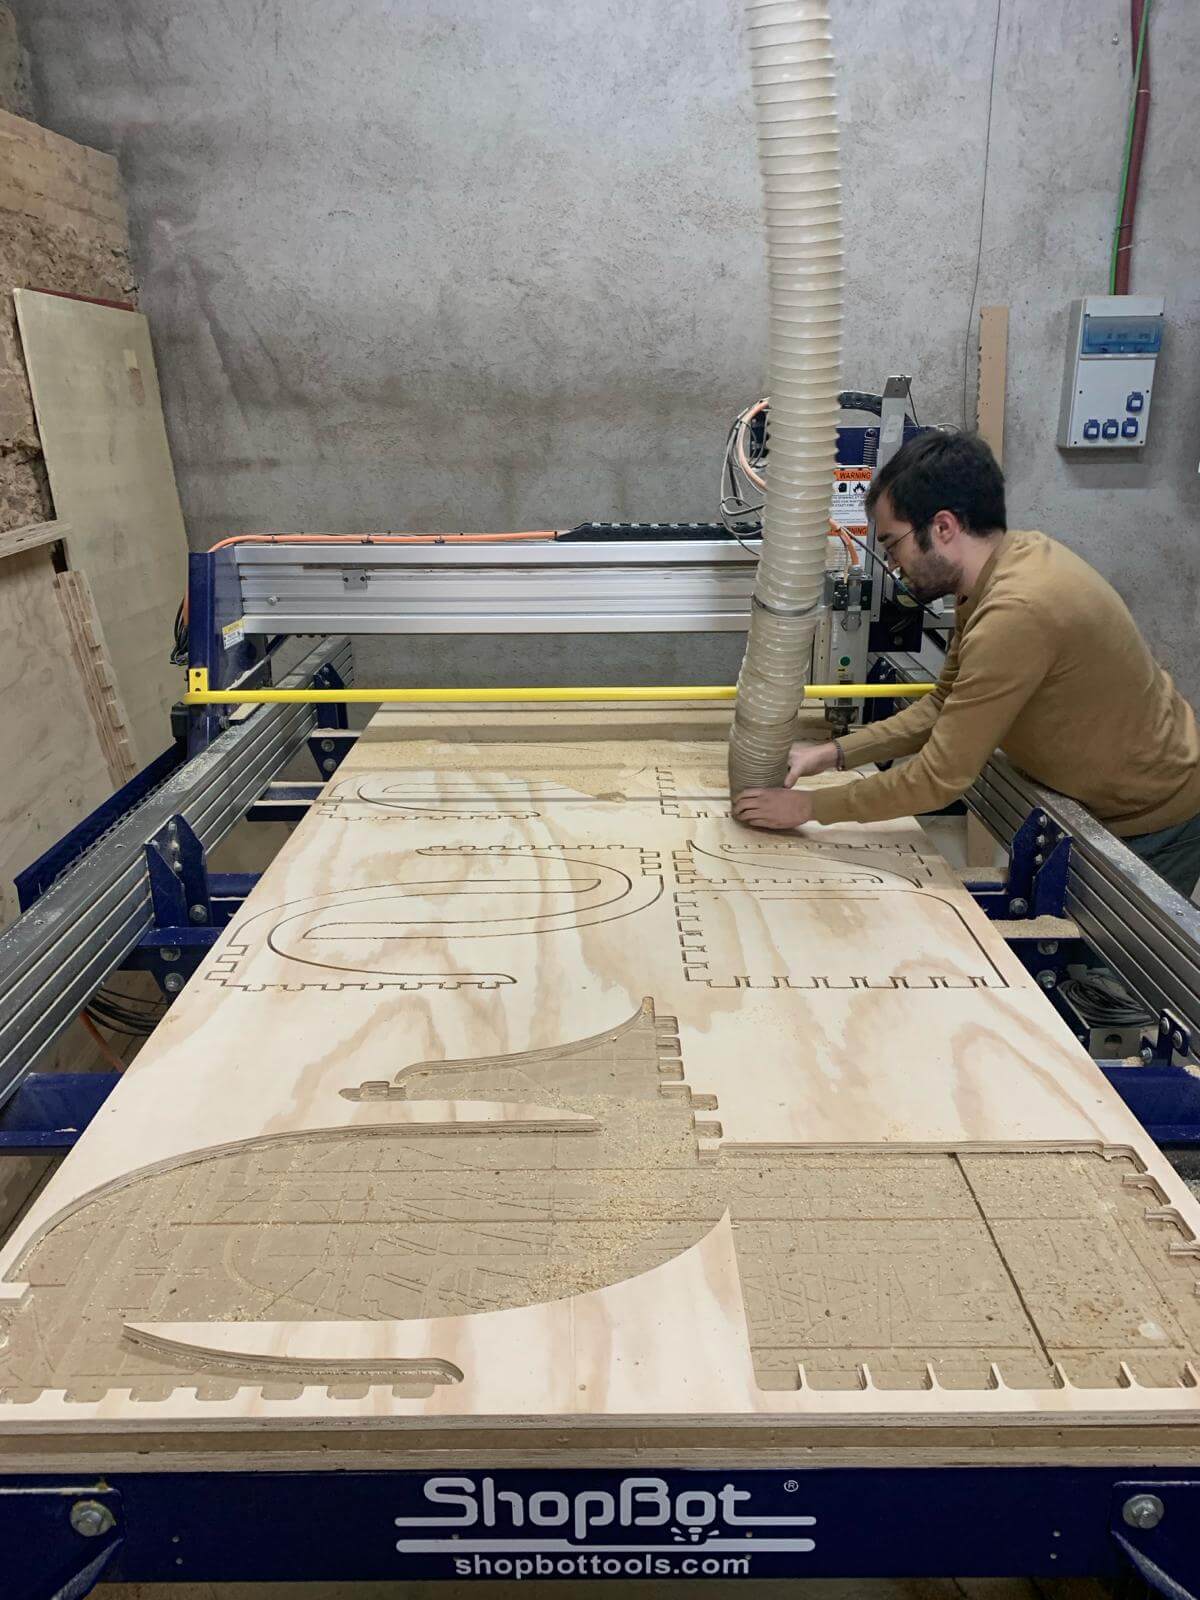
CNC machine set up
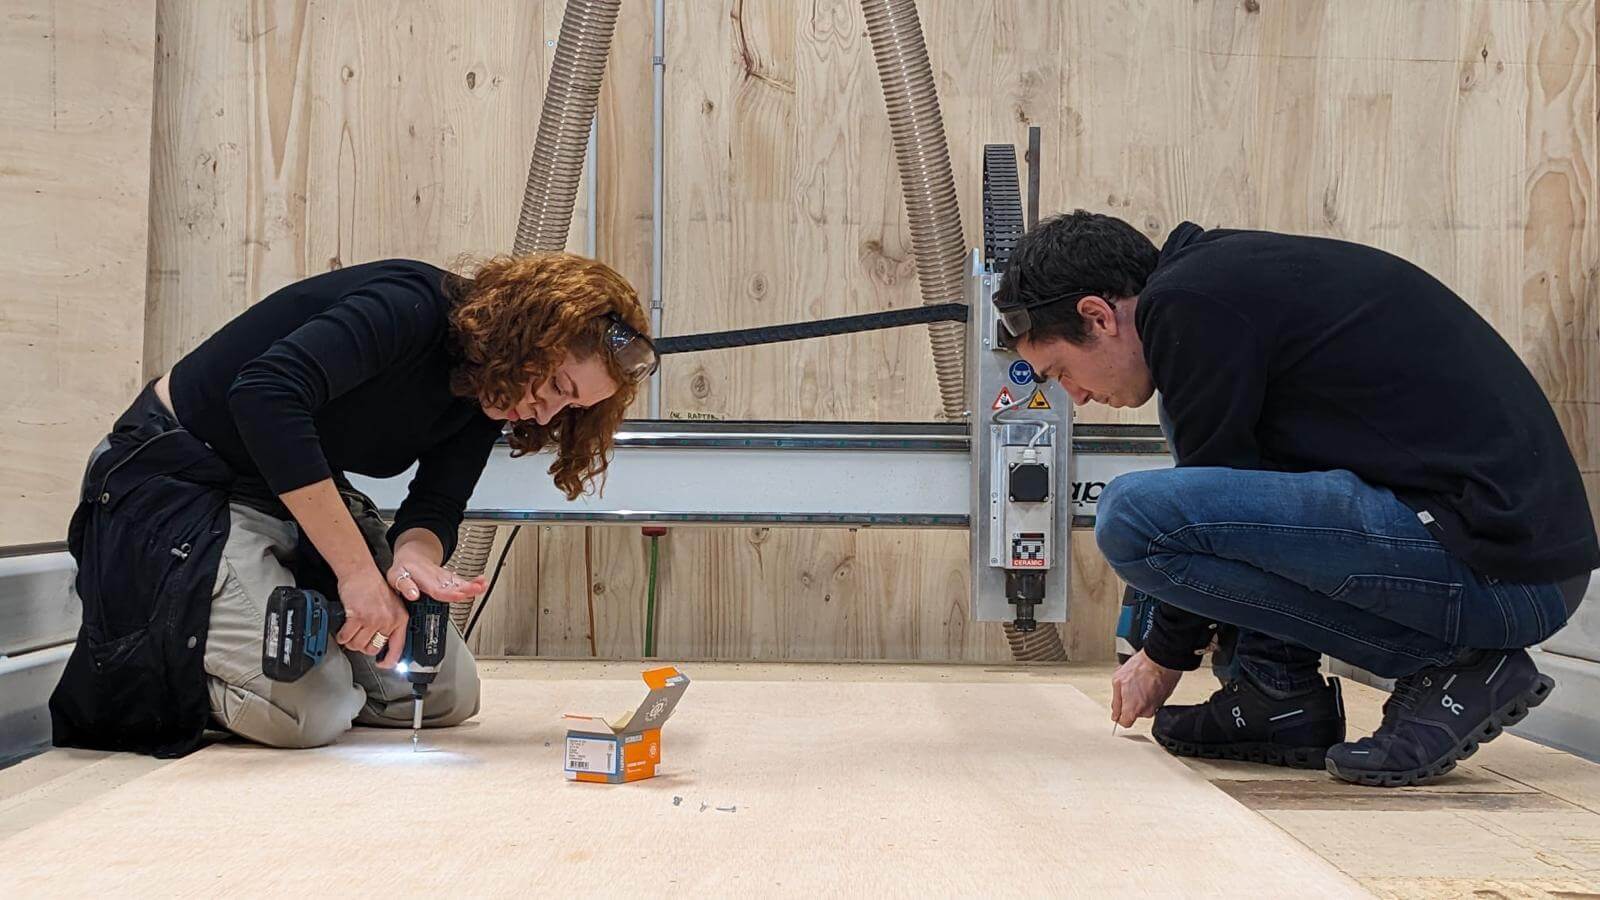
Material & tool set up (physical)
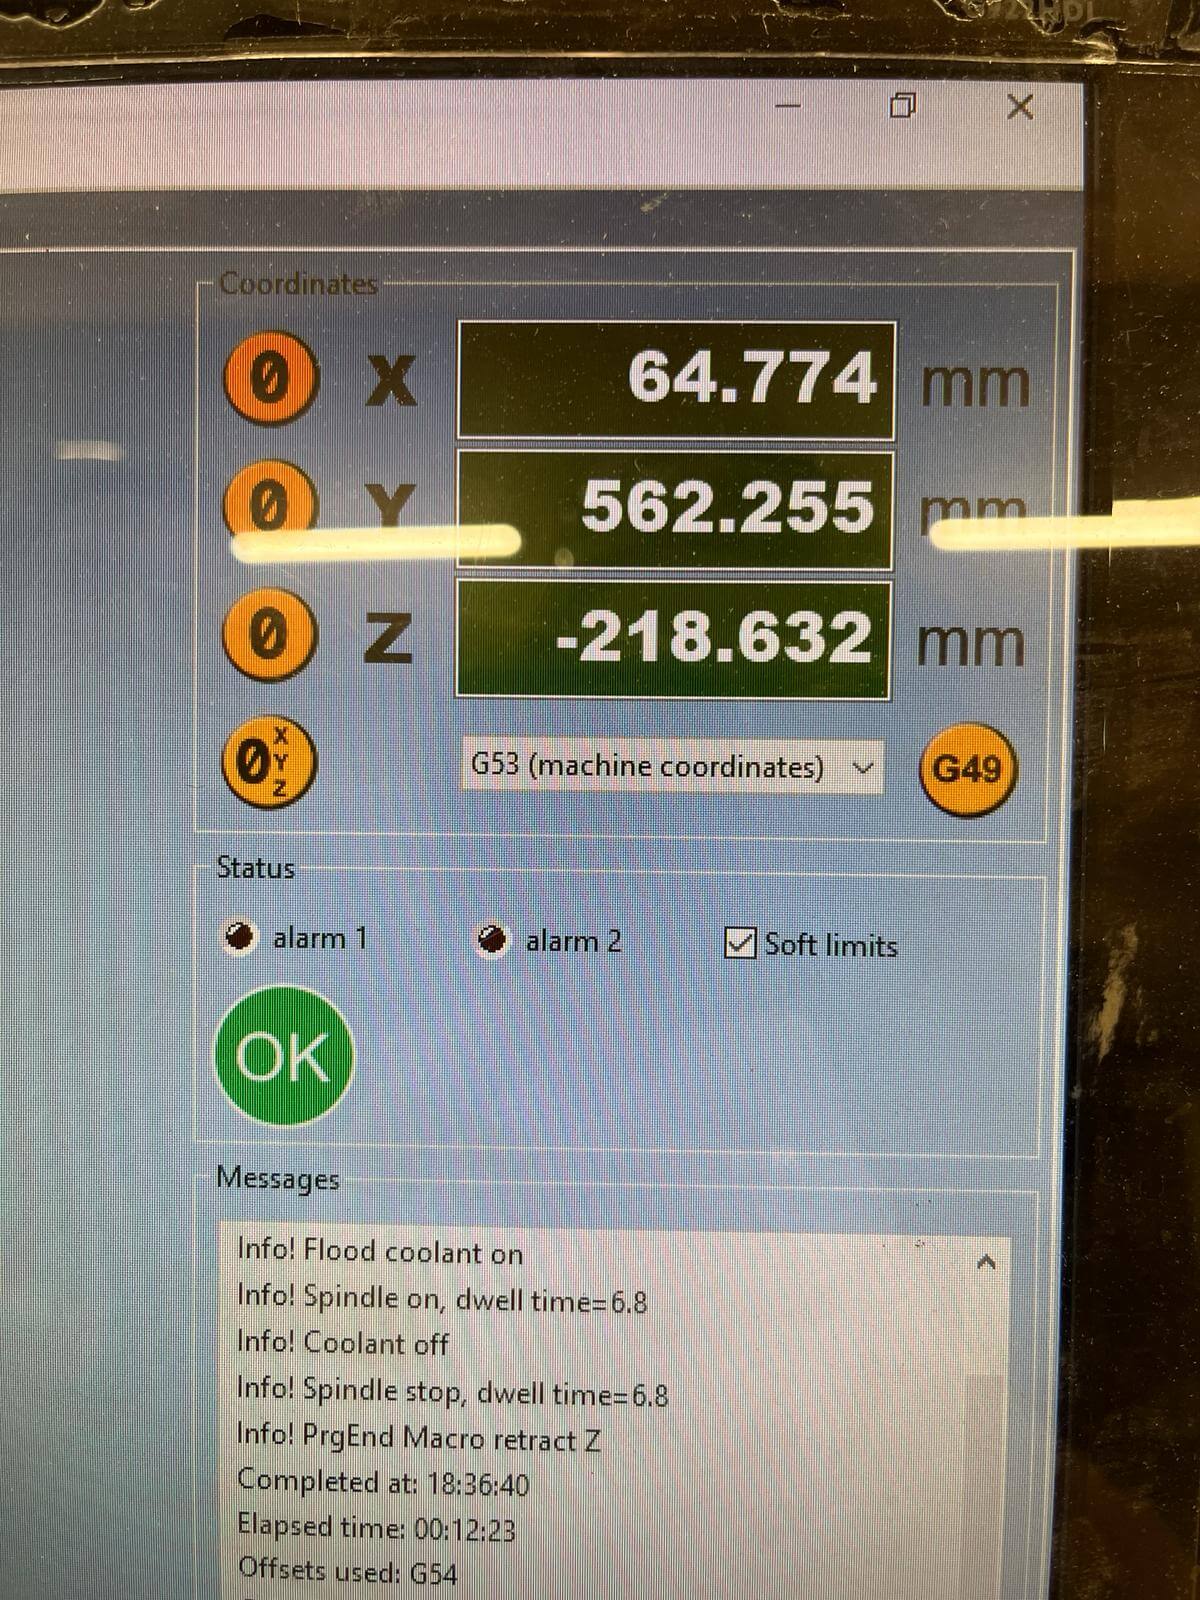
1. Set up XYZ + Load "Drilling" file: These coordinates ensure that the tool starts at the correct position relative to the workpiece. Additionally, the control panel shows the machine's status and messages, including spindle and coolant operations, which are critical for safe and efficient machining.
2. Start screwing.
3. Load "Pocketing" file.
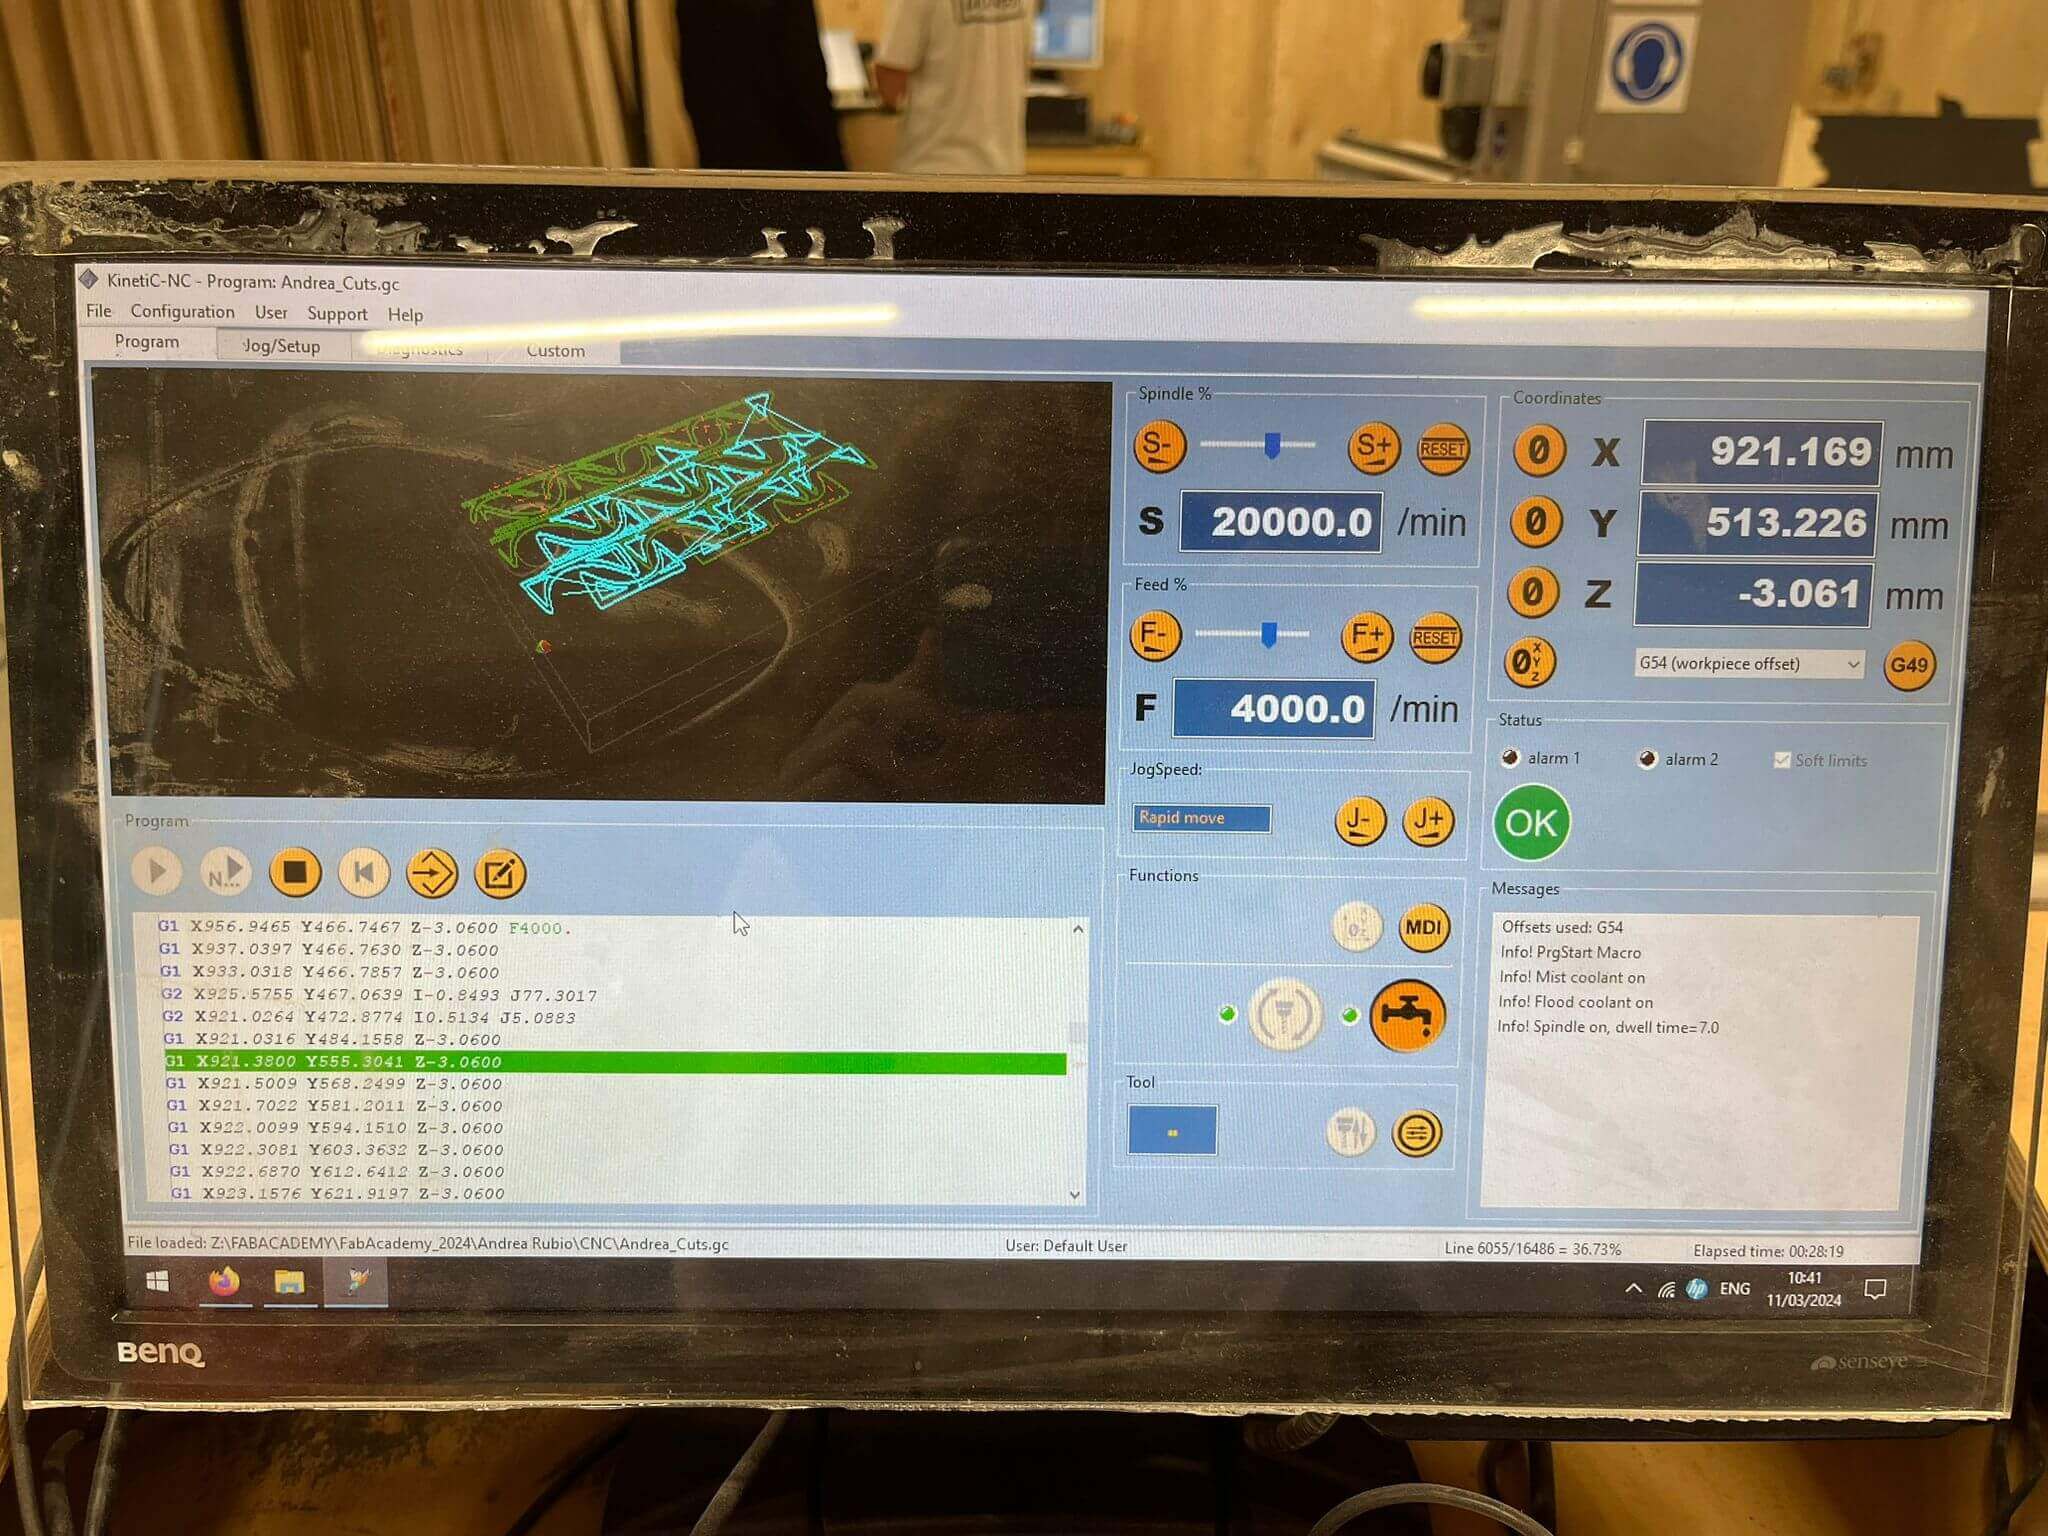
4. Load "Profilling Internal & External" file.
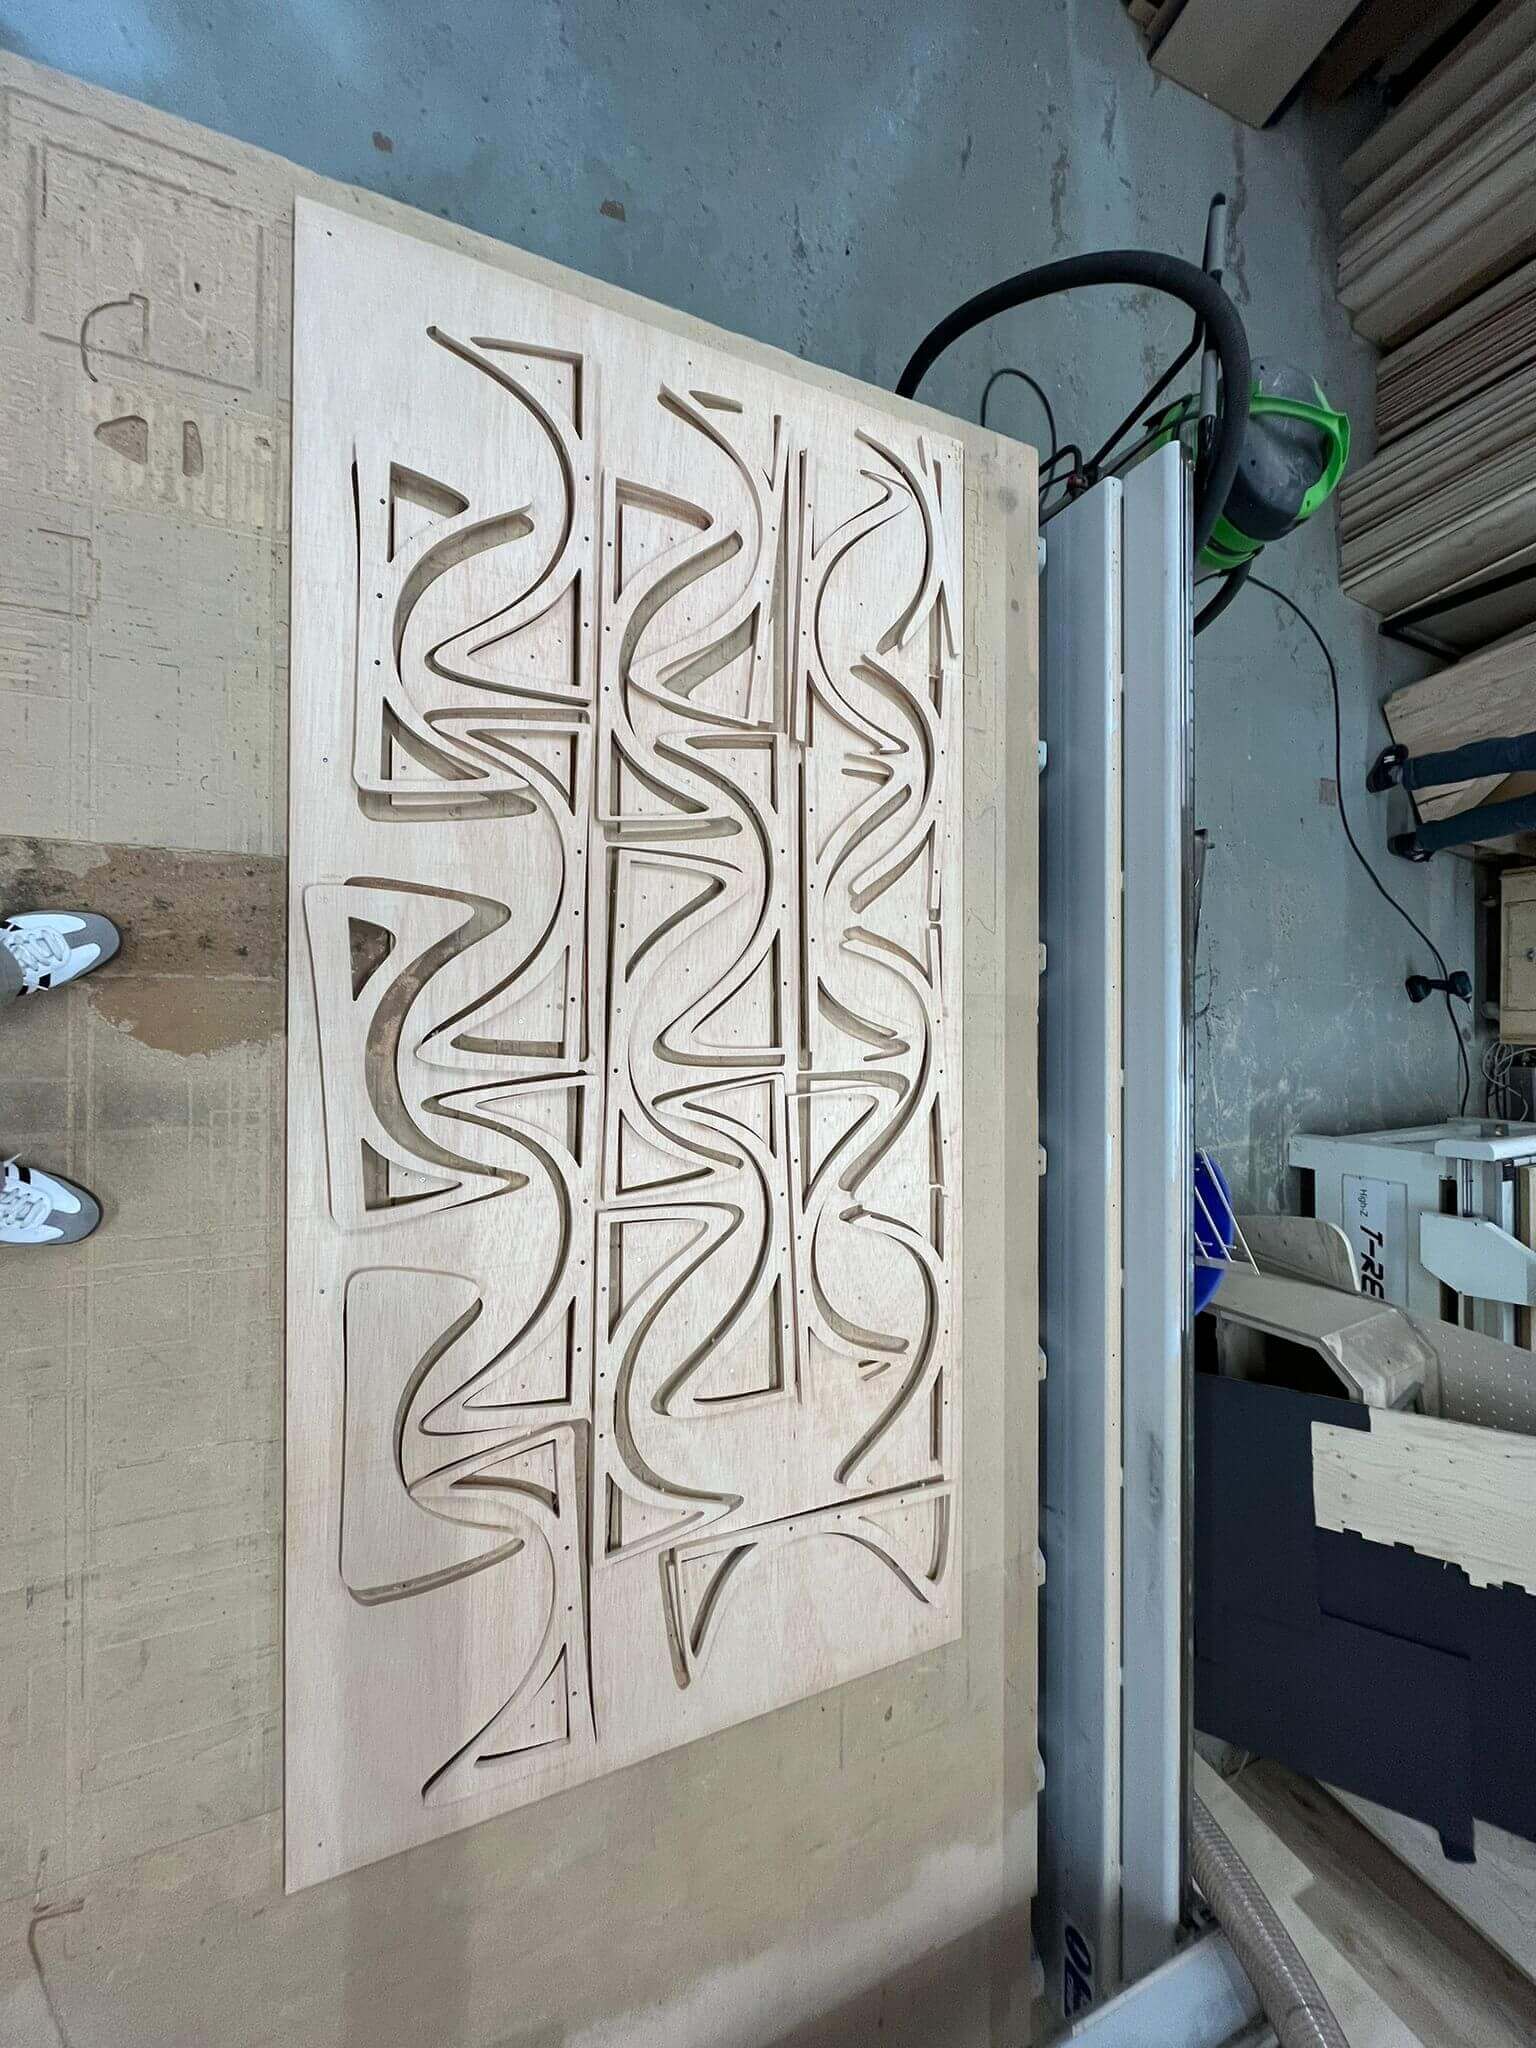
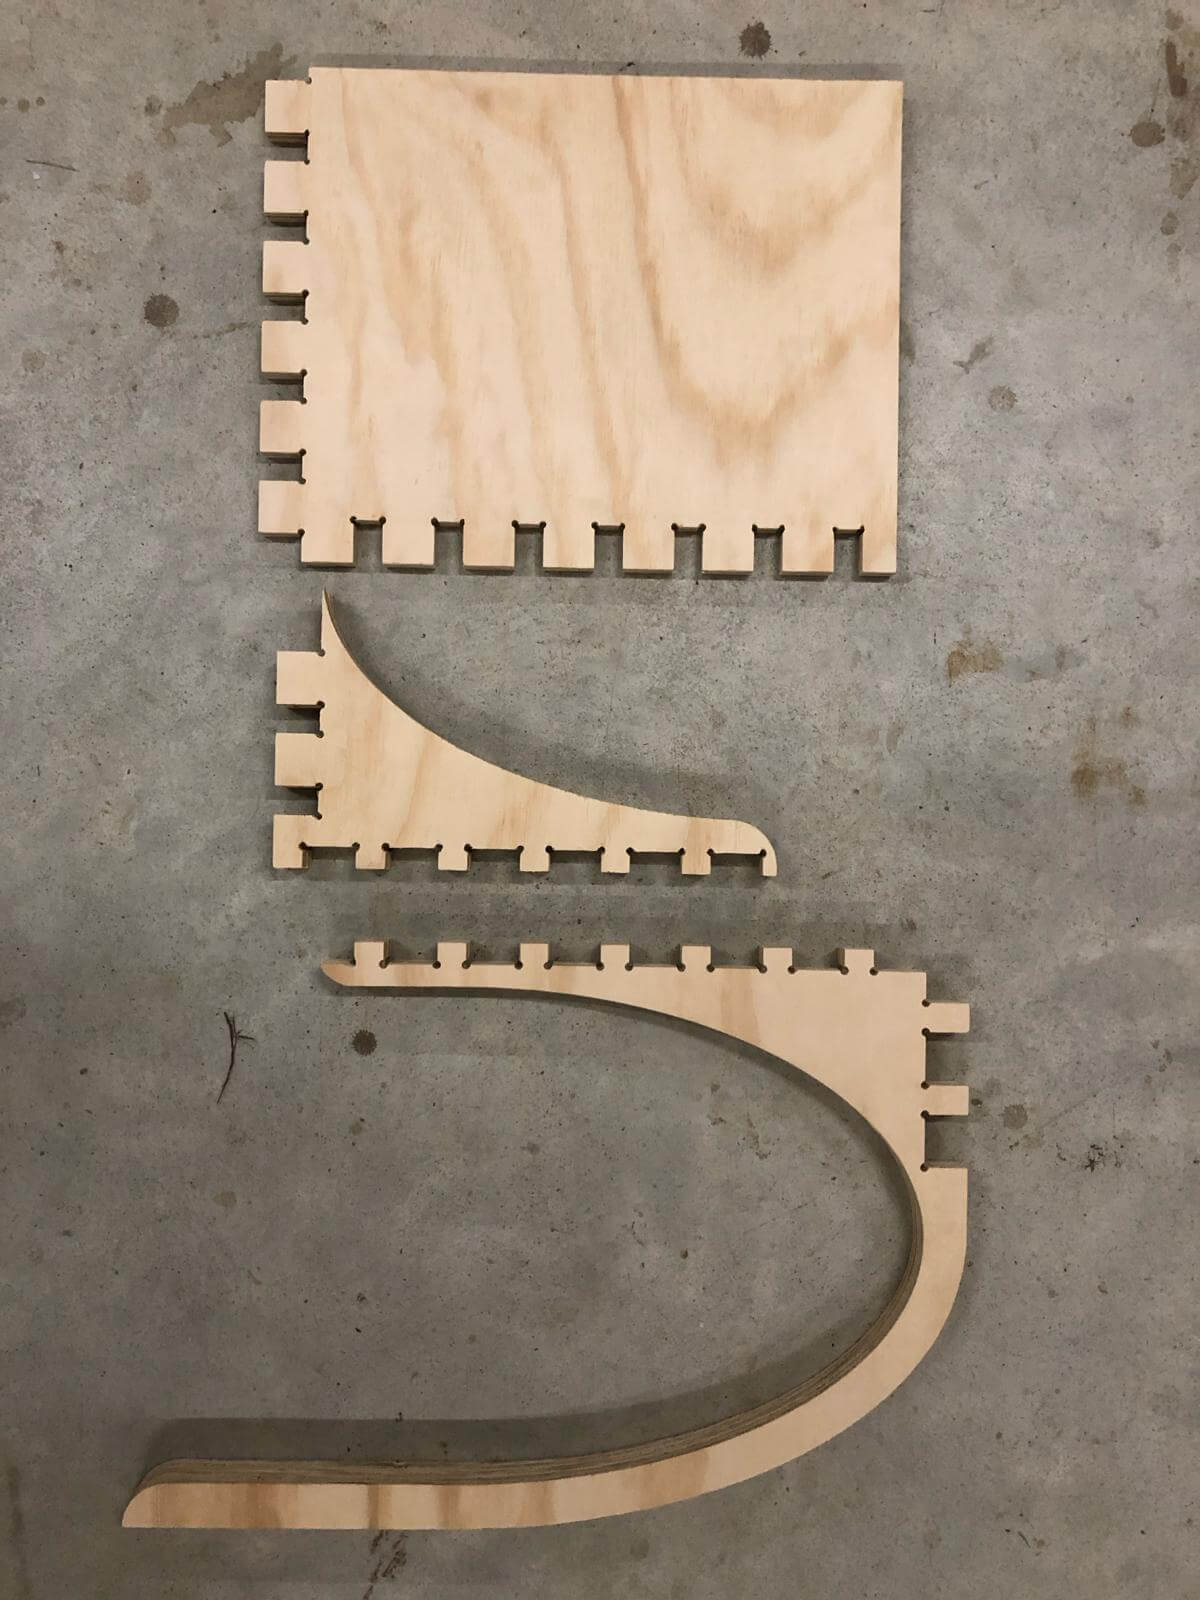
5. Remove pieces: Unscrewing board + Chiseling bridges + Cleanning area.
Post processing pieces
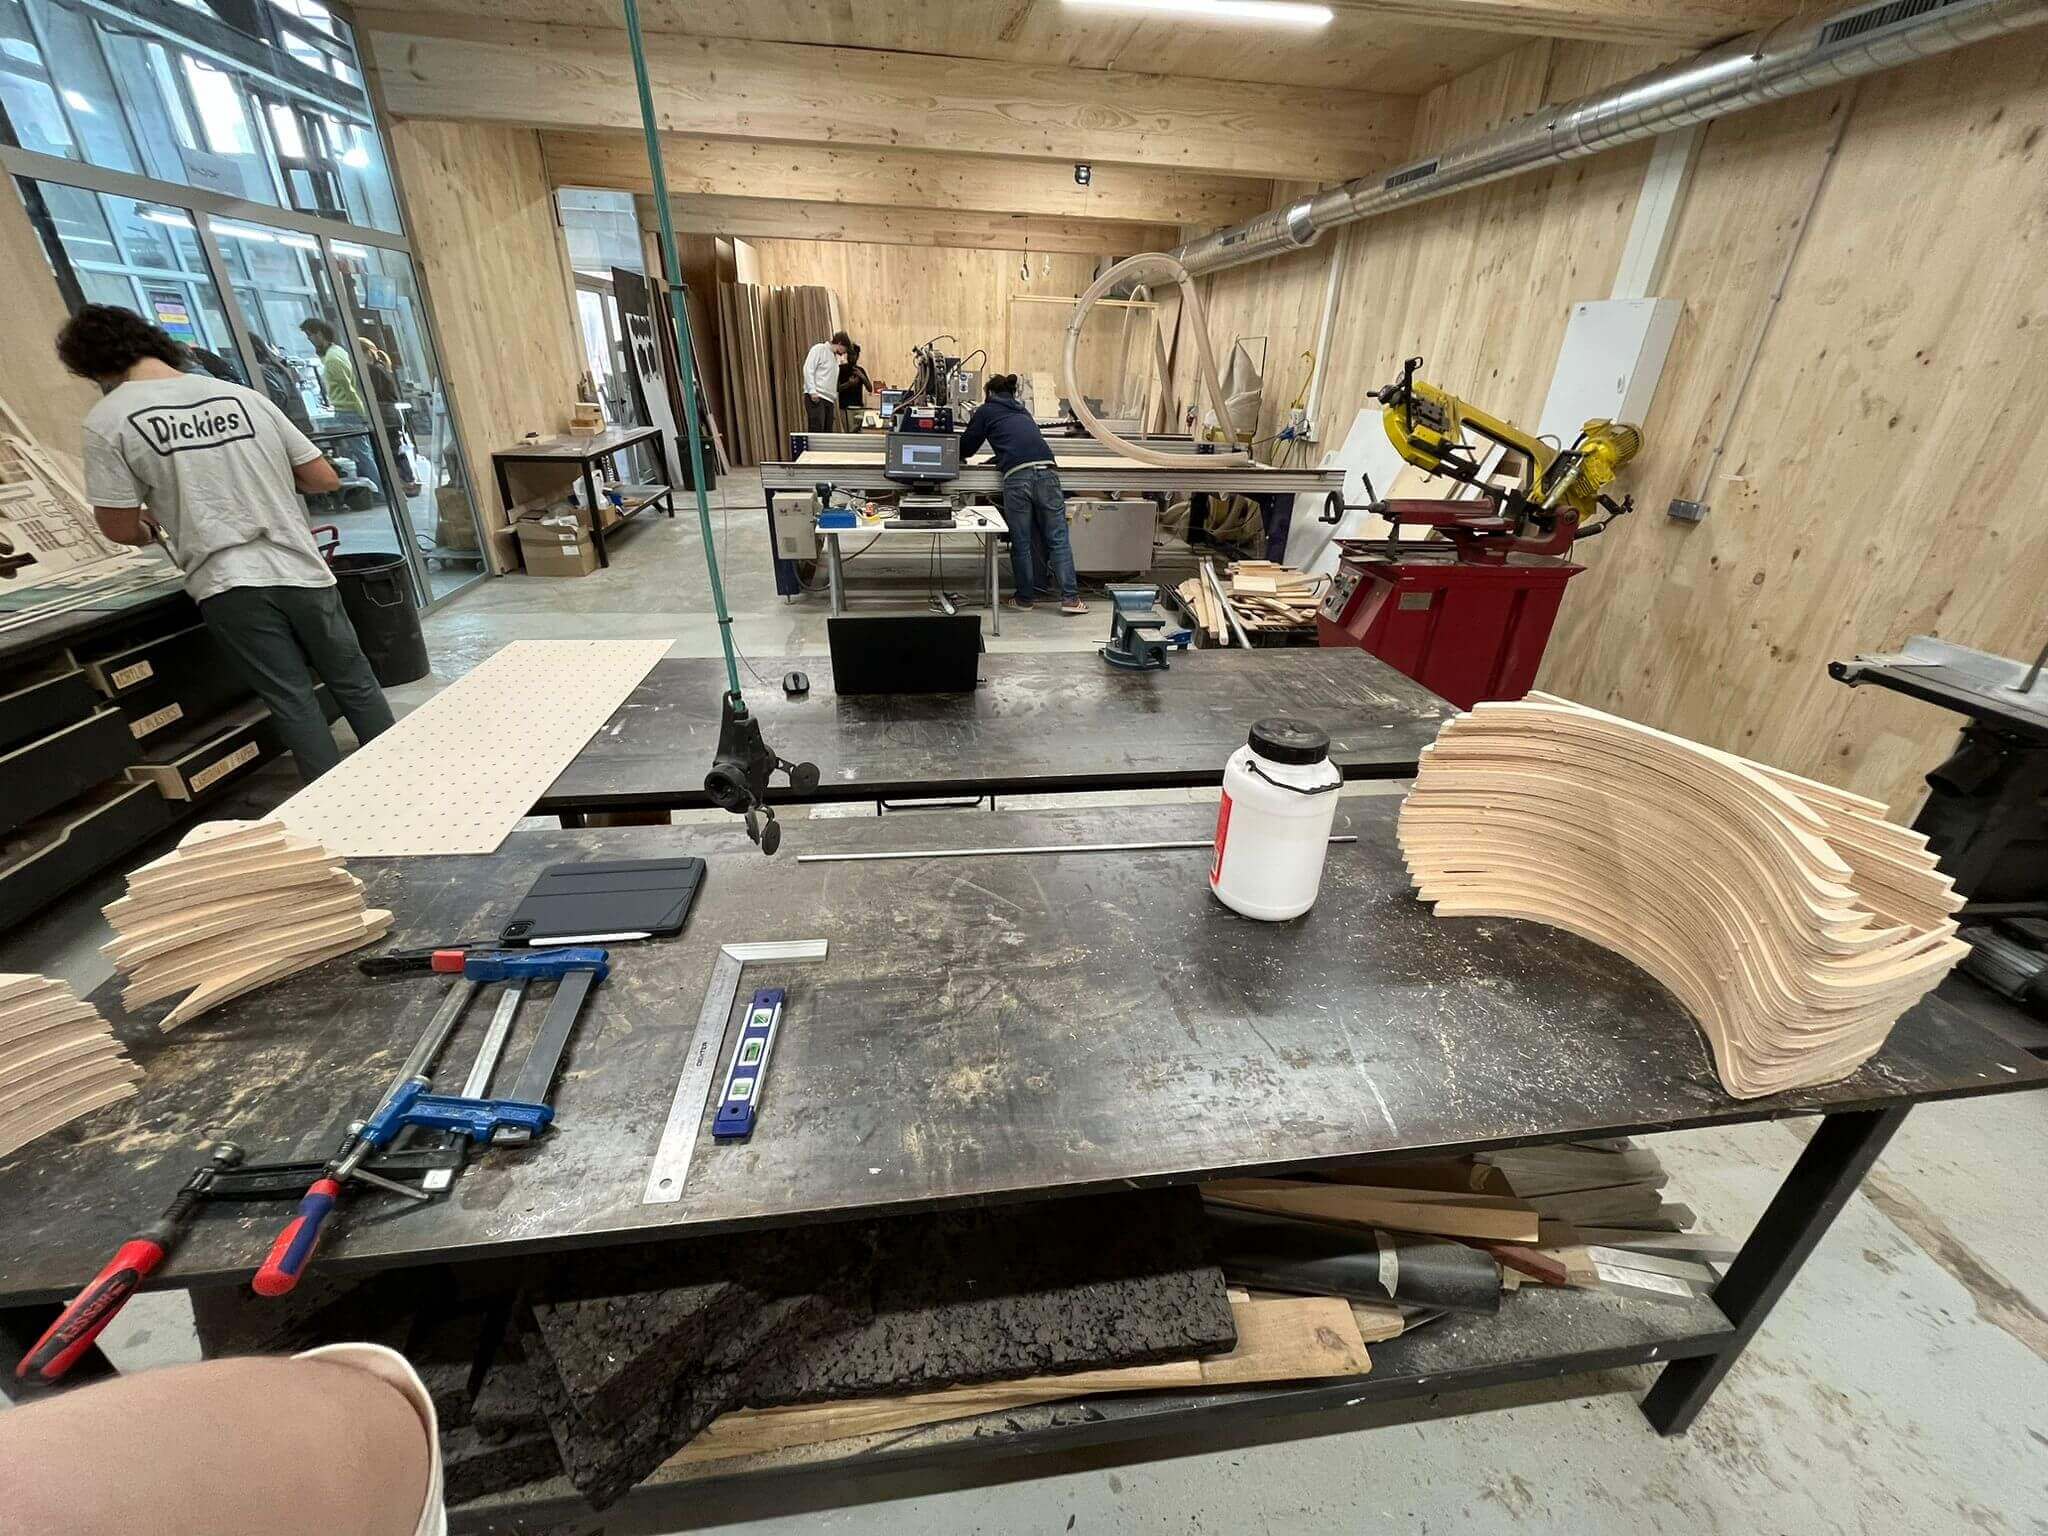
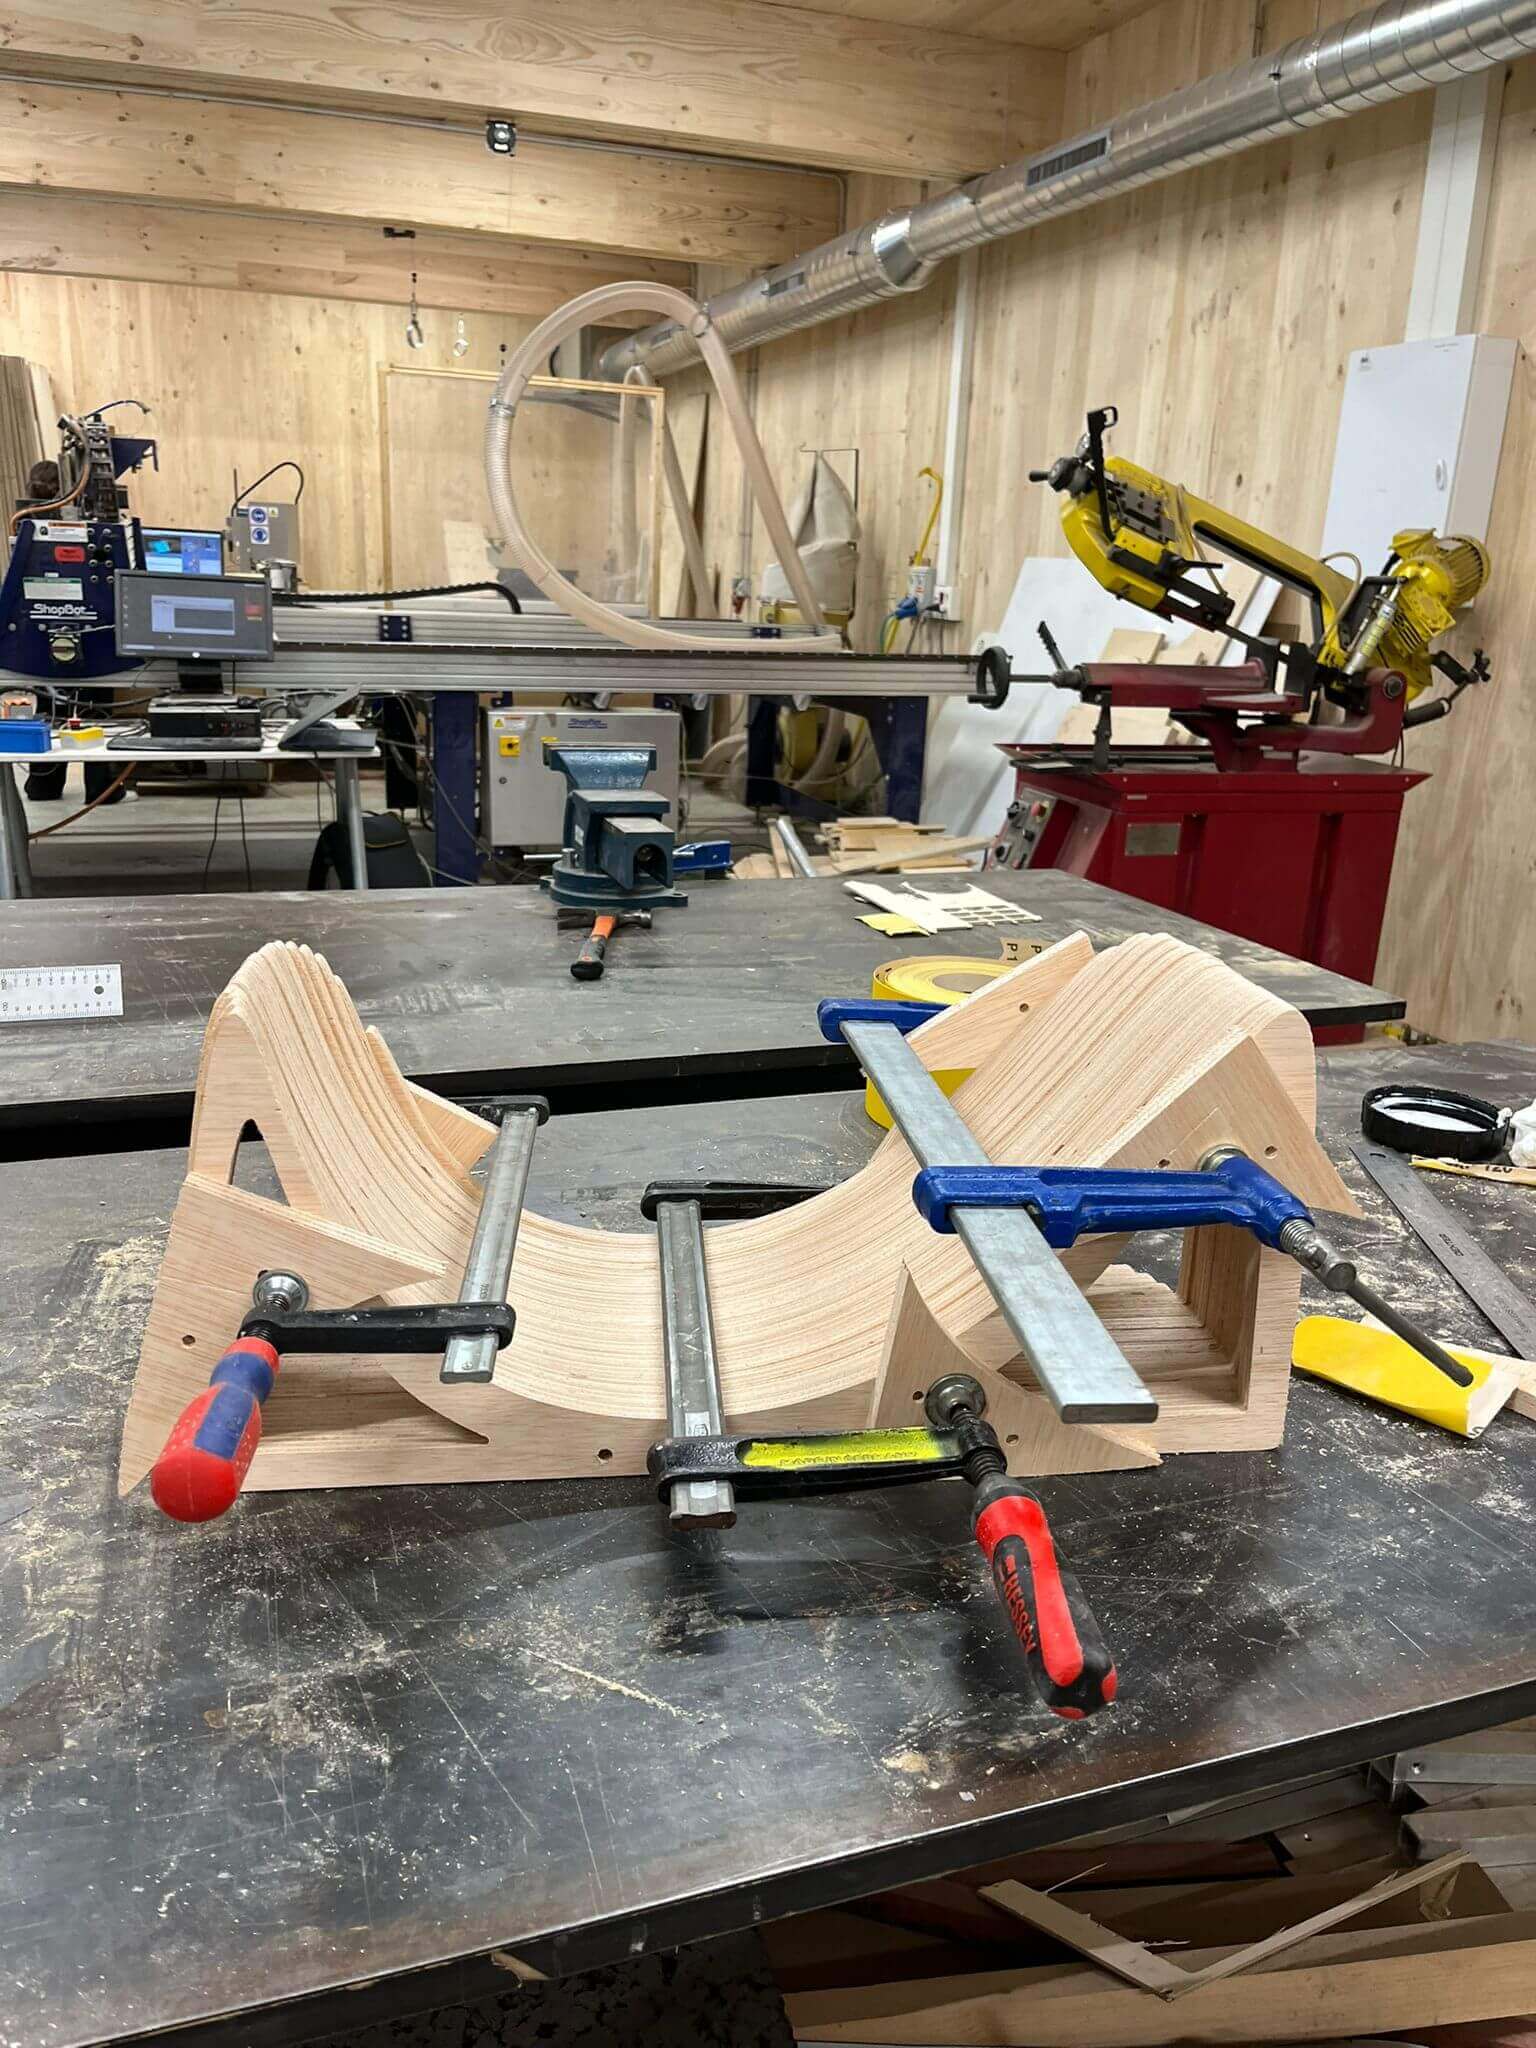
Sanding(manual) + Assembly + Clamping
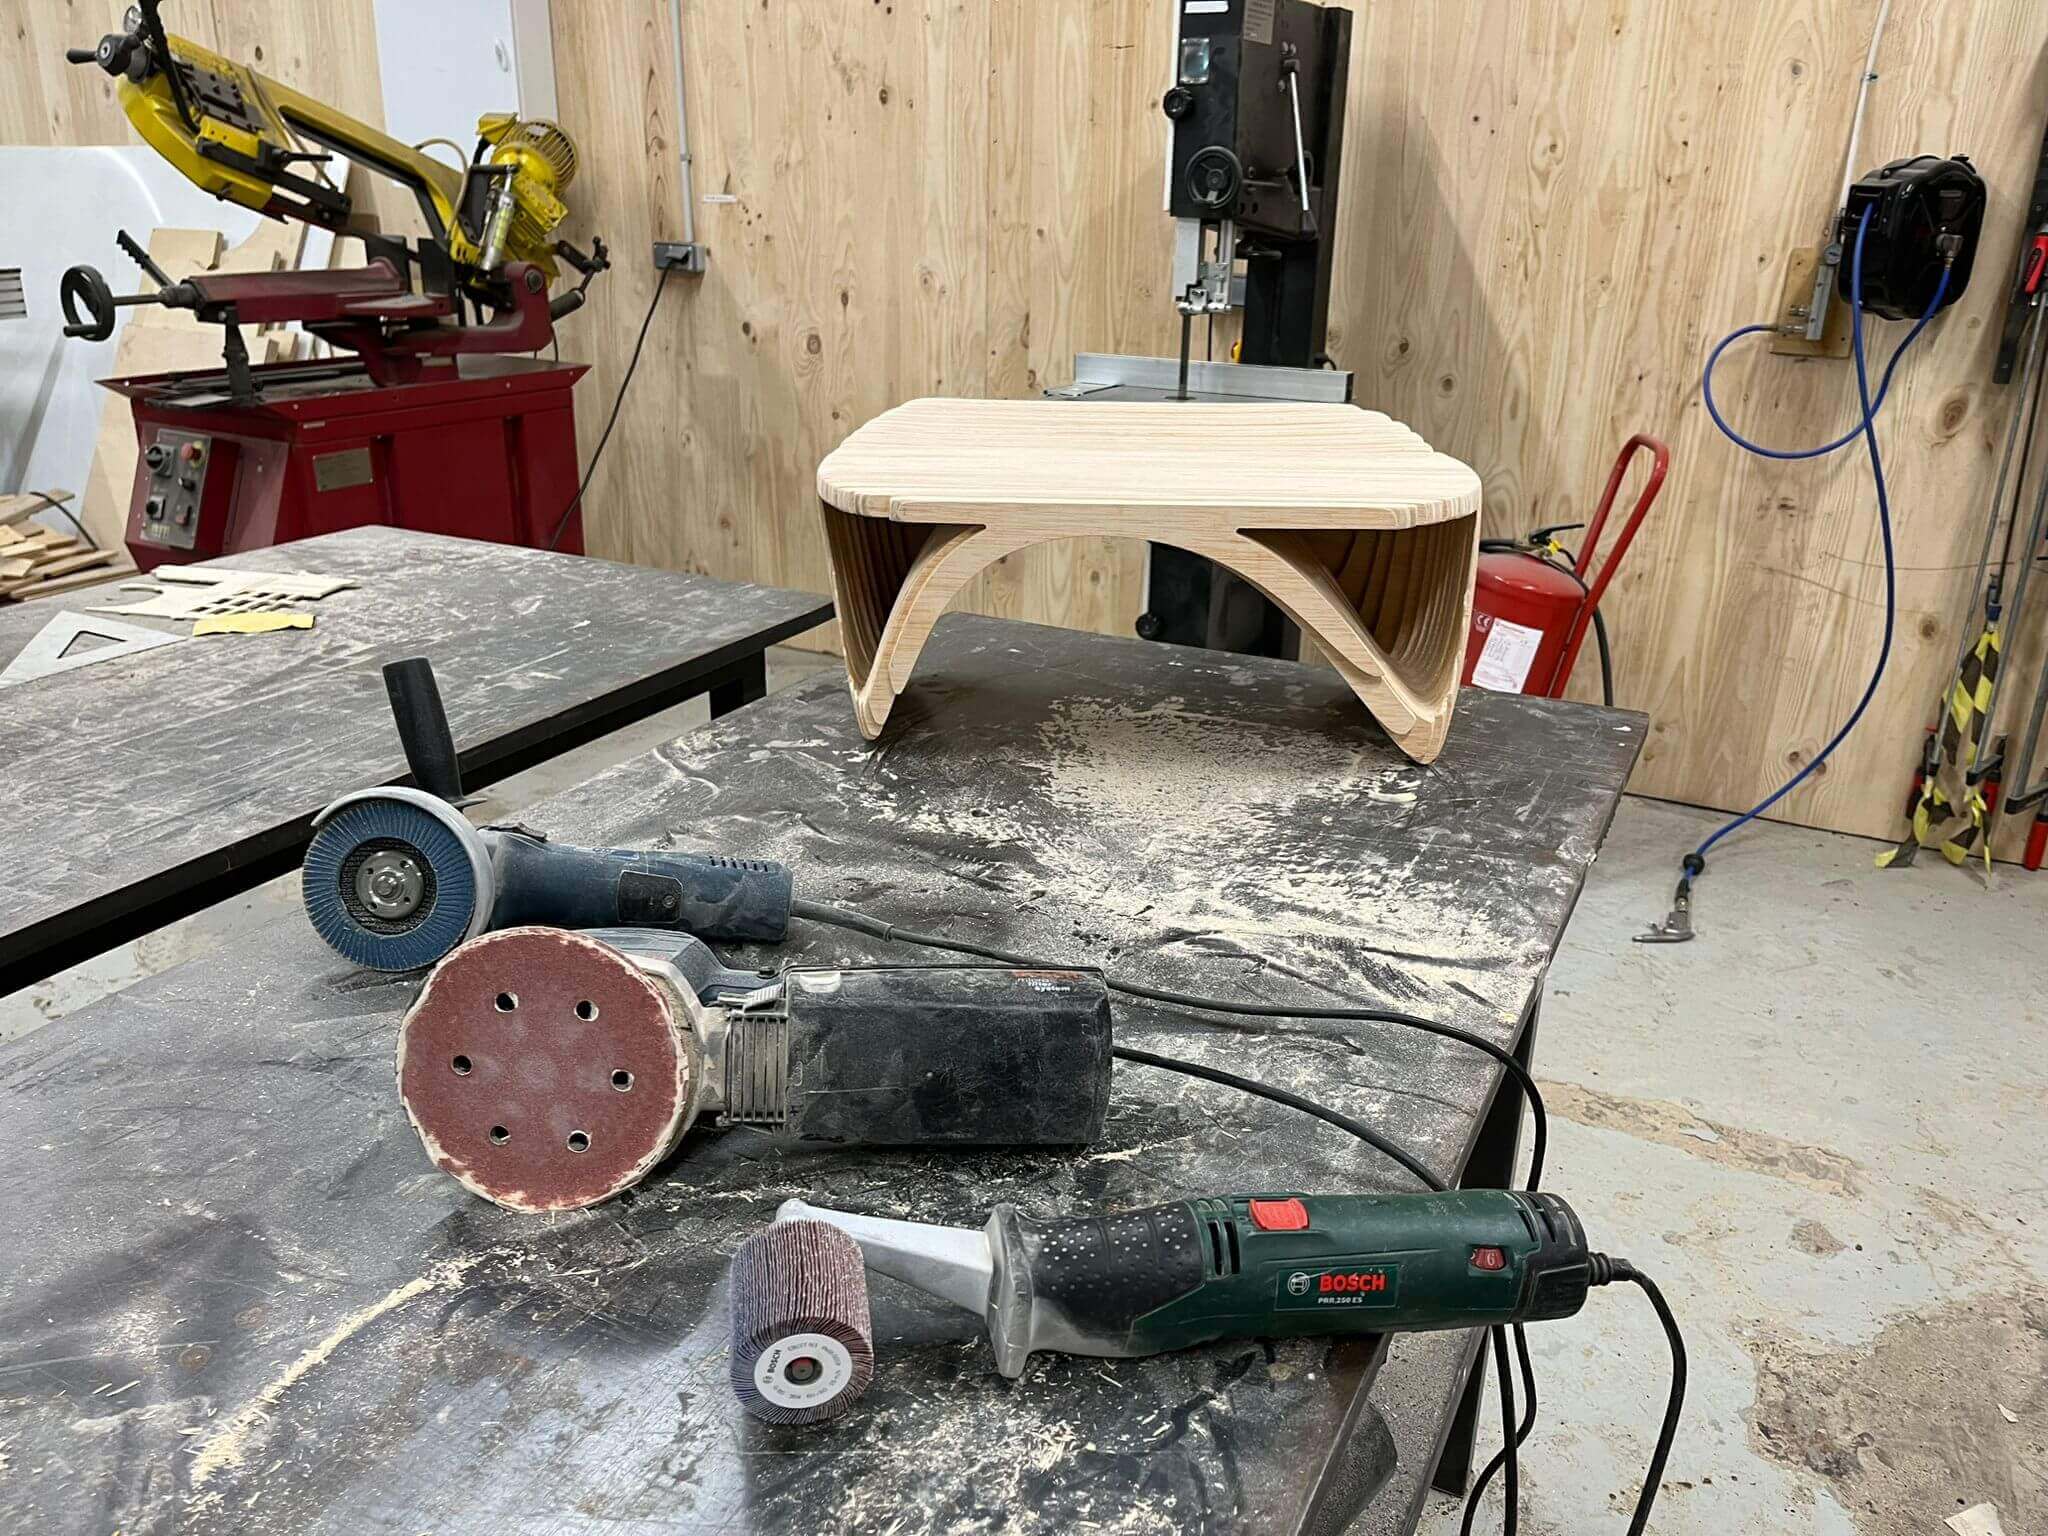
Sanding tecniques (machines)
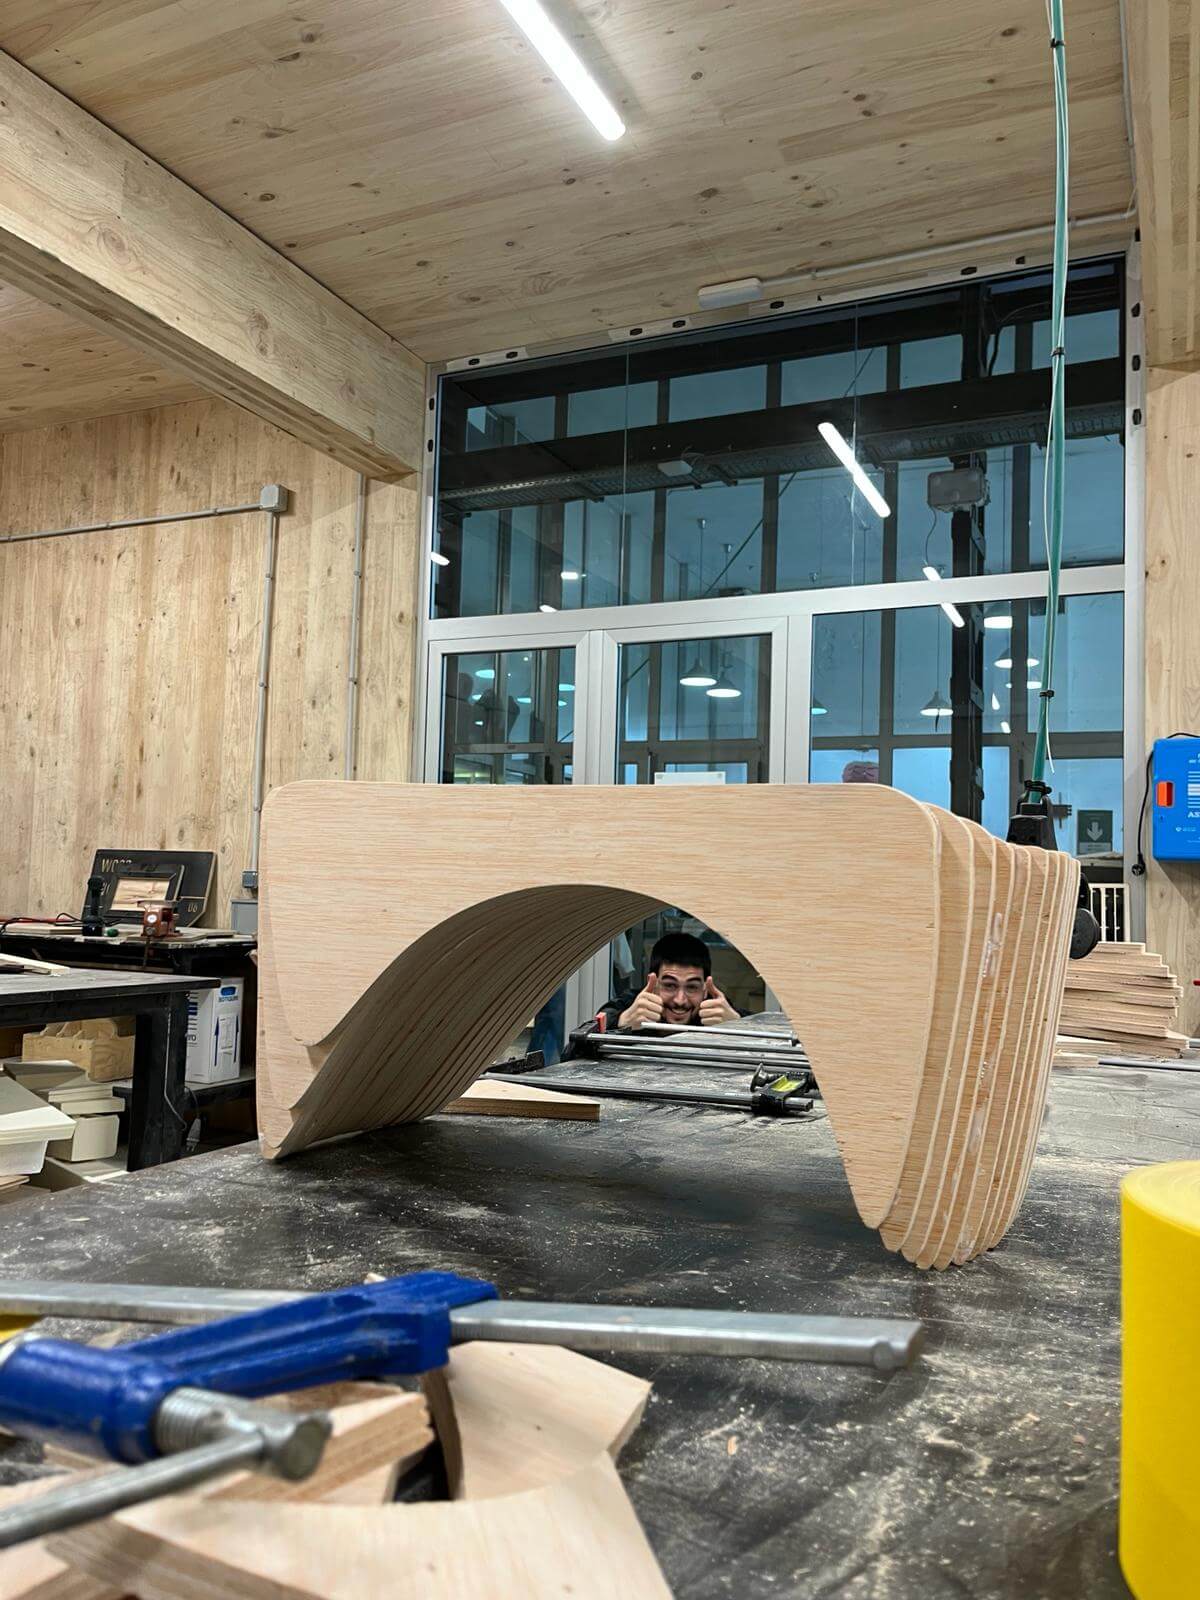
Final outcome
Still a work in progress...keep on shaping!
Resources
Josep Martí // Fab Lab Barcelona lead instructor
Philipp Wienkamper // IAAC head of Fabrication Laboratory
Files
Download the Rhino + GH ZIP package here.