Week 05 - 3D scanning & printing
Group assignment: Design rules for 3D printing
On the link below you can find the complete process of this week's group assignment, covering machine usage and setting up parameters for different types of prints. Click here
3D scanning
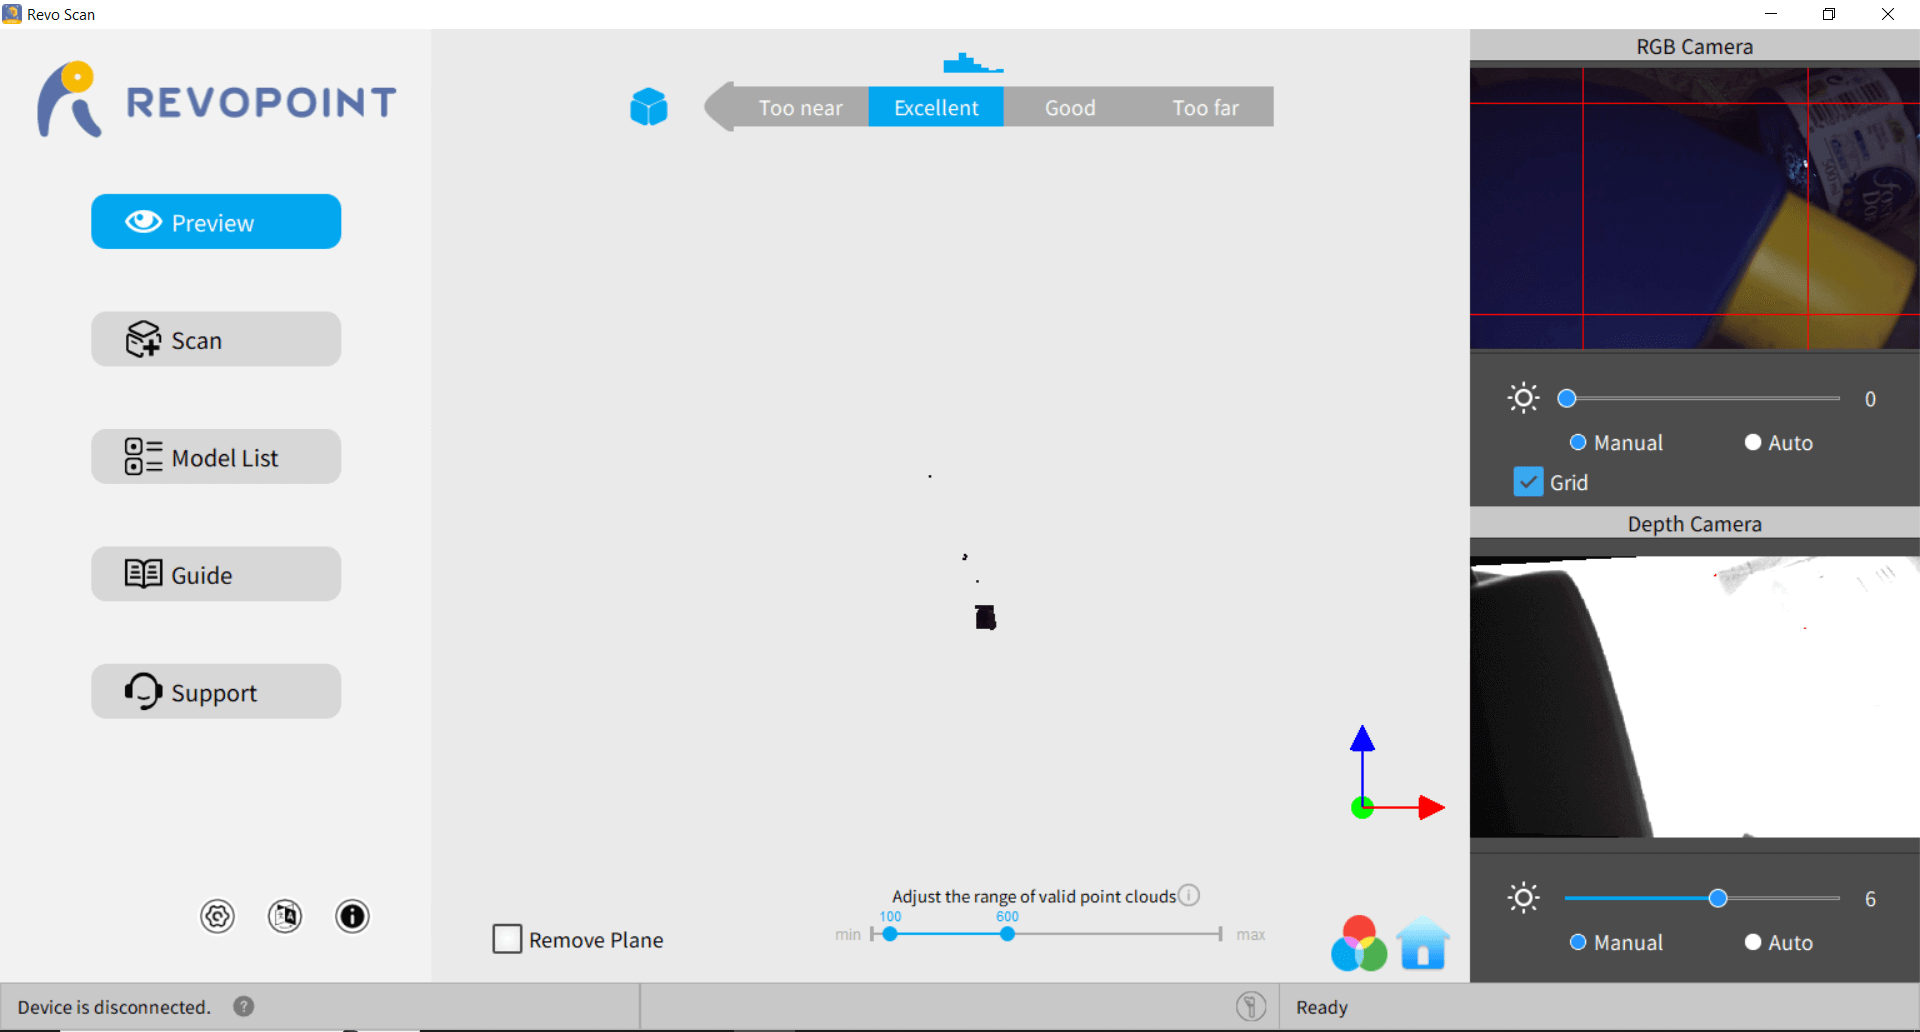
1. Software Setup
2. Start the Scanning Process
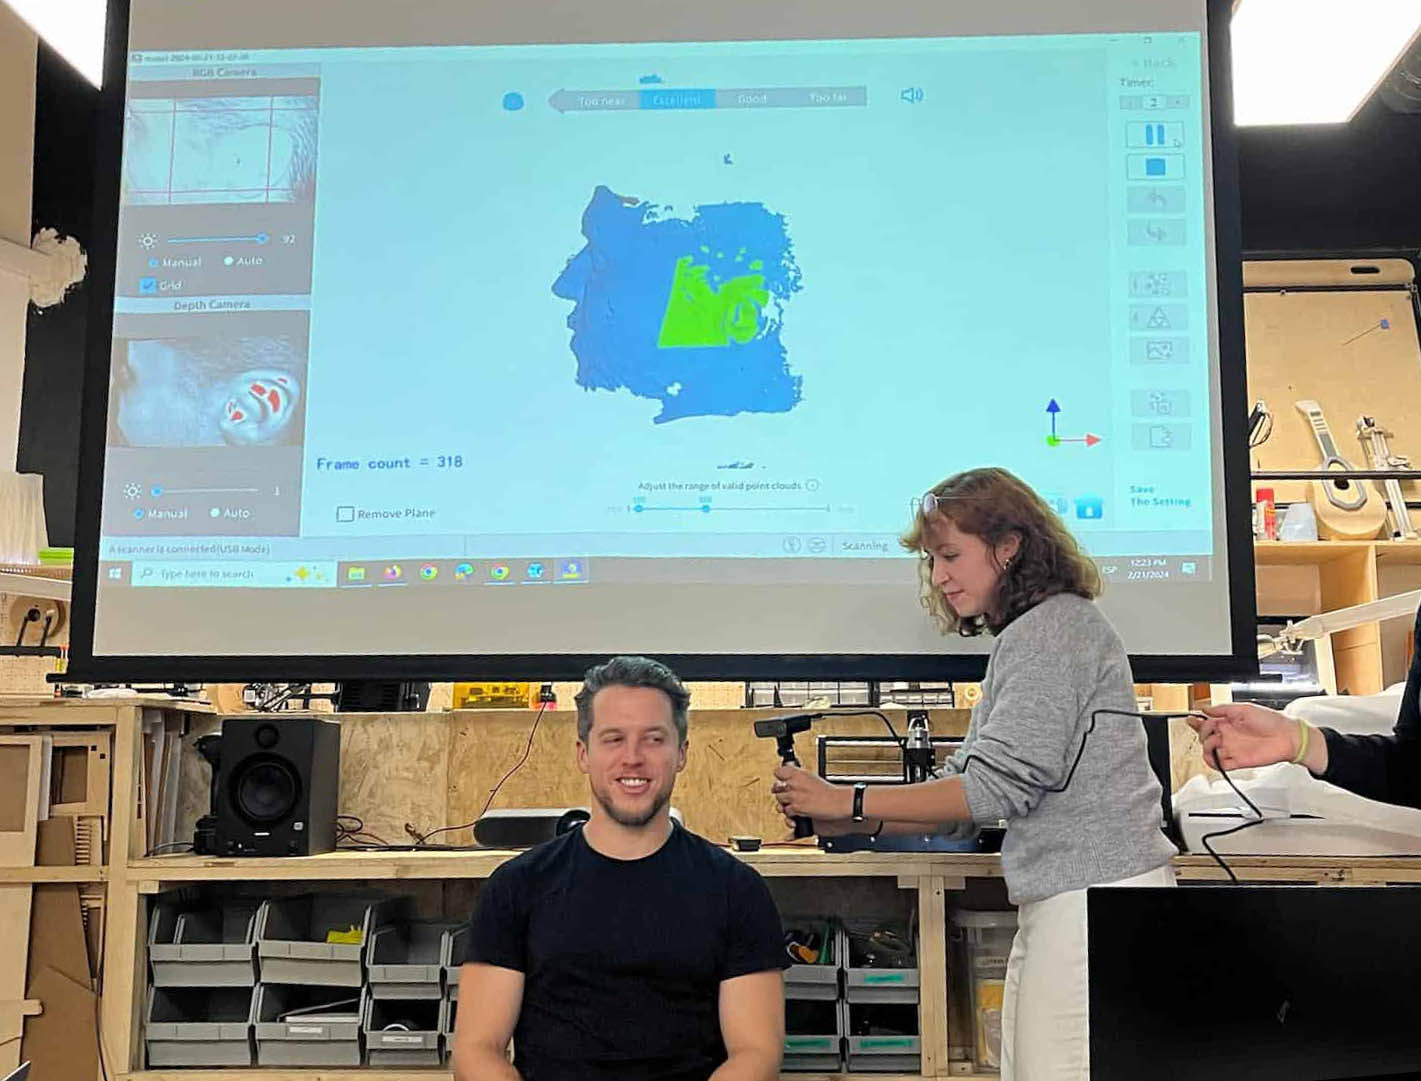
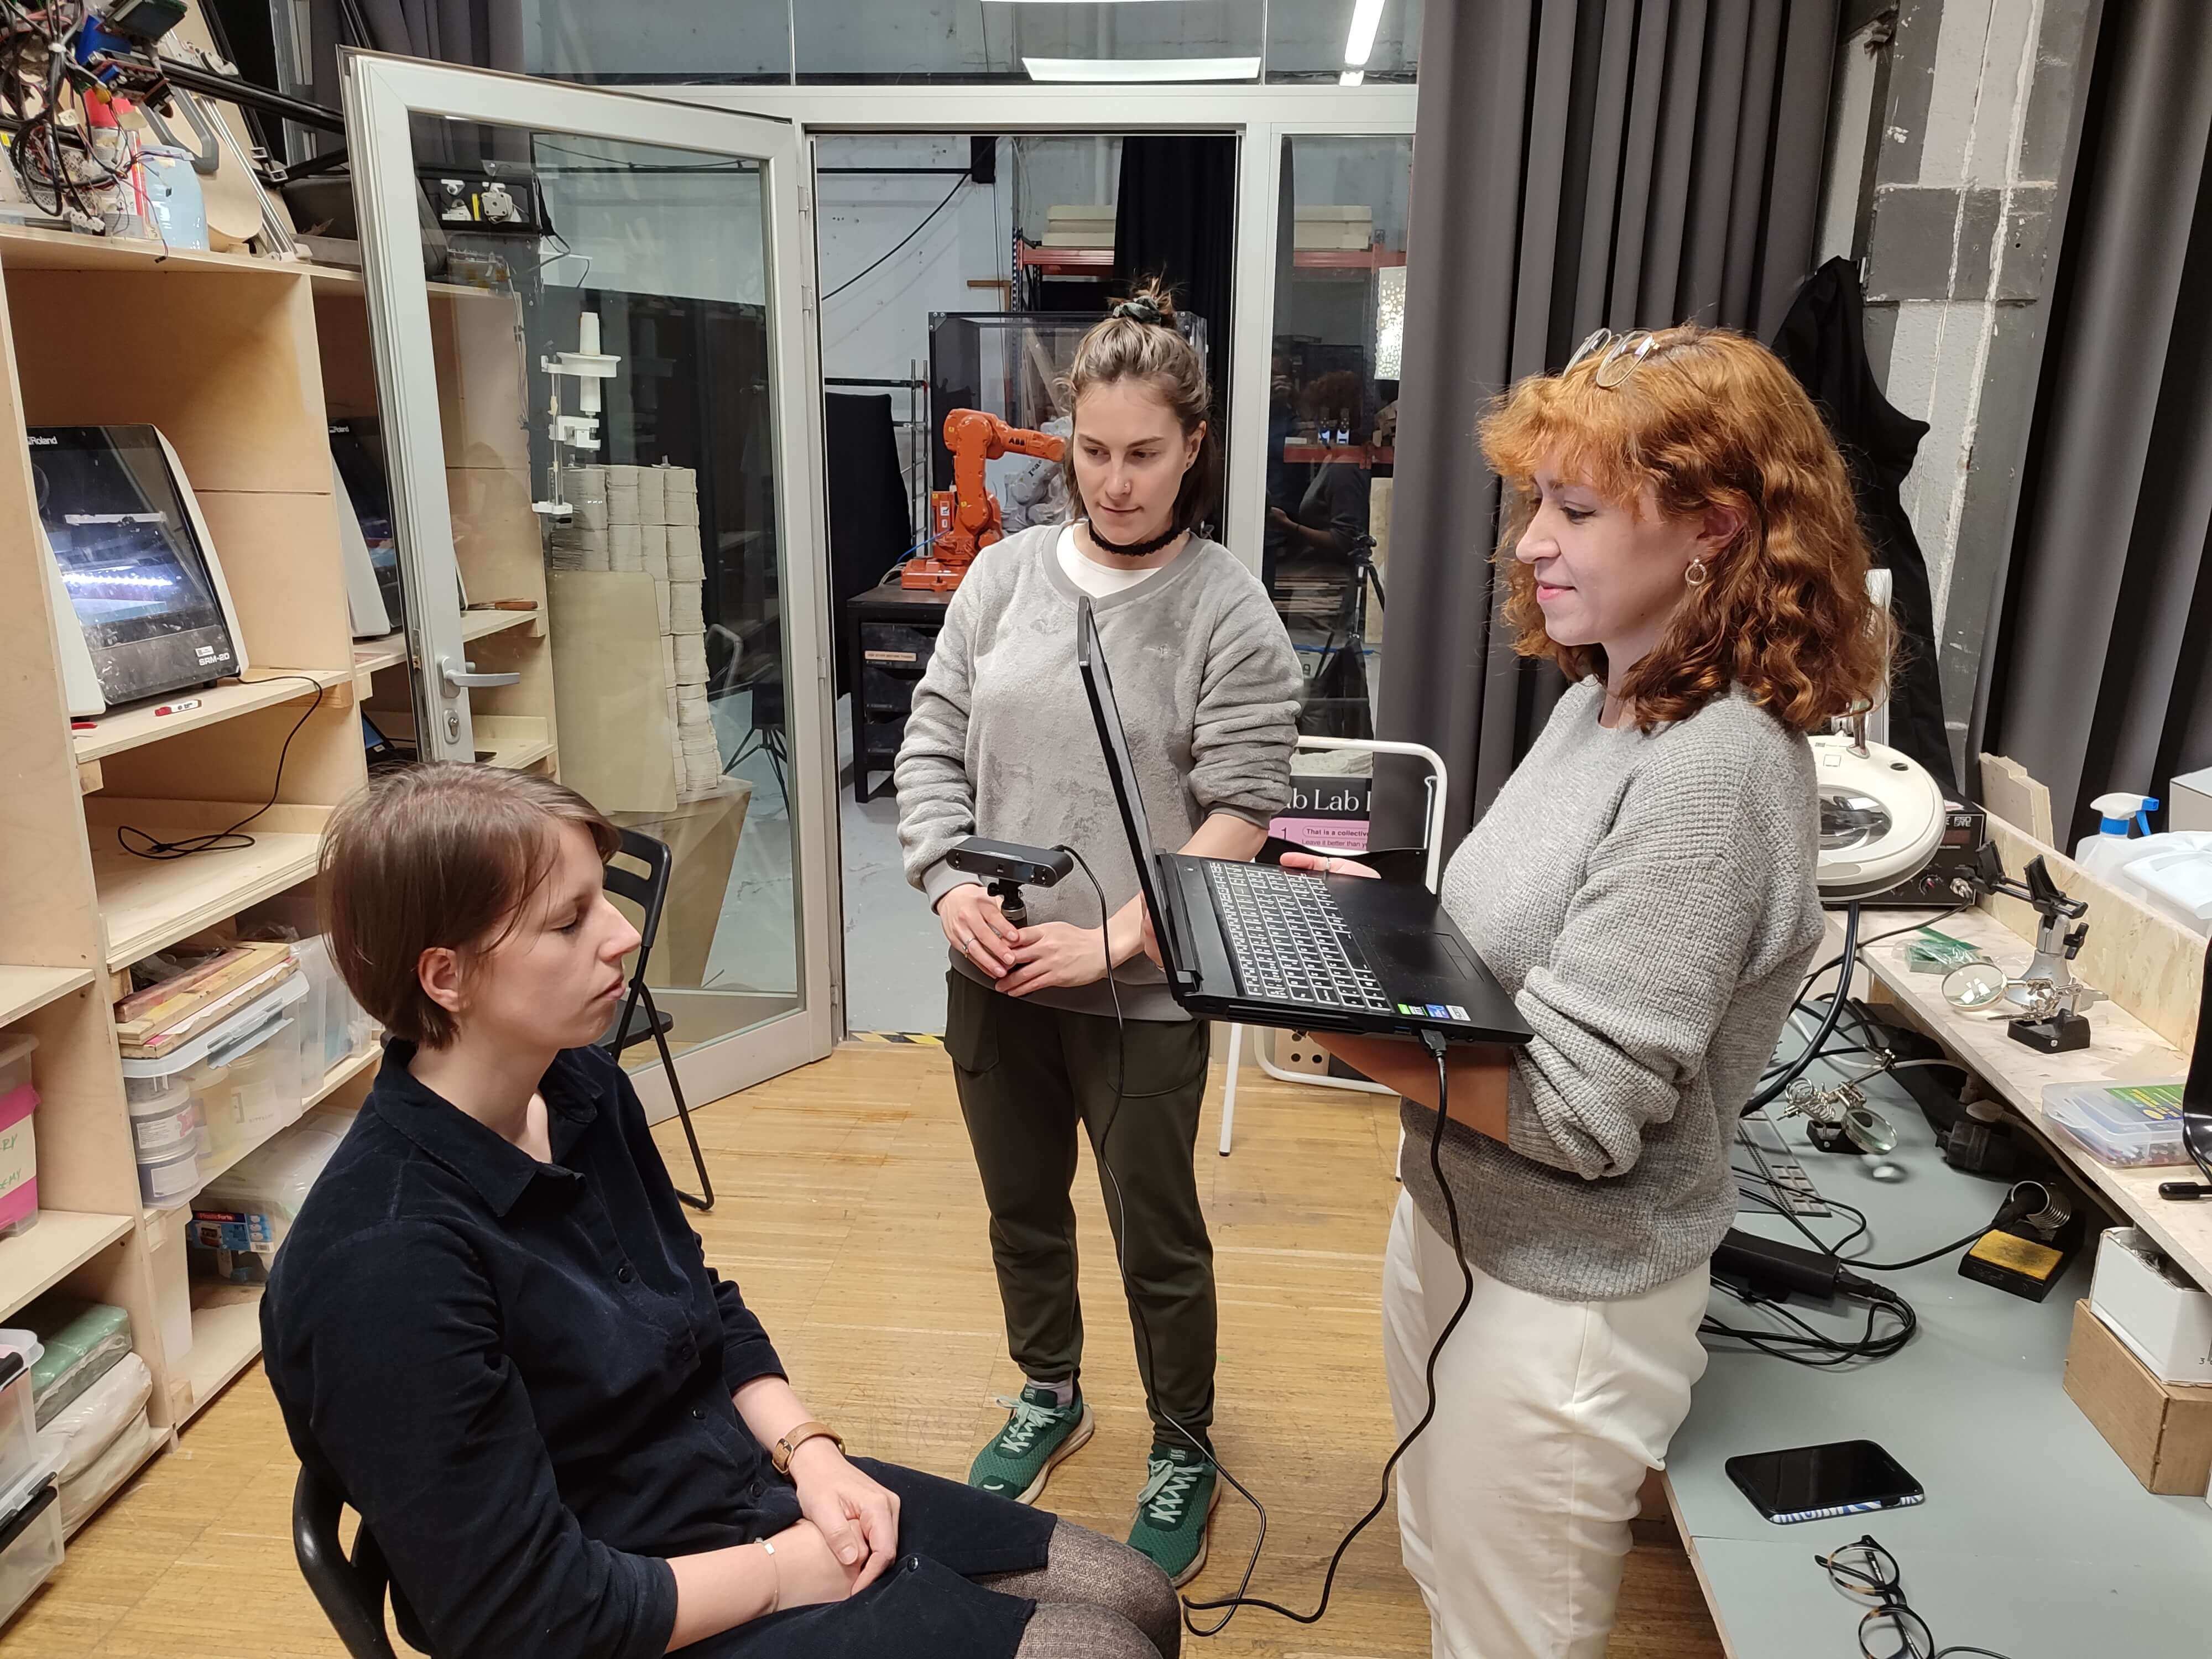
3. Conduct the Scan
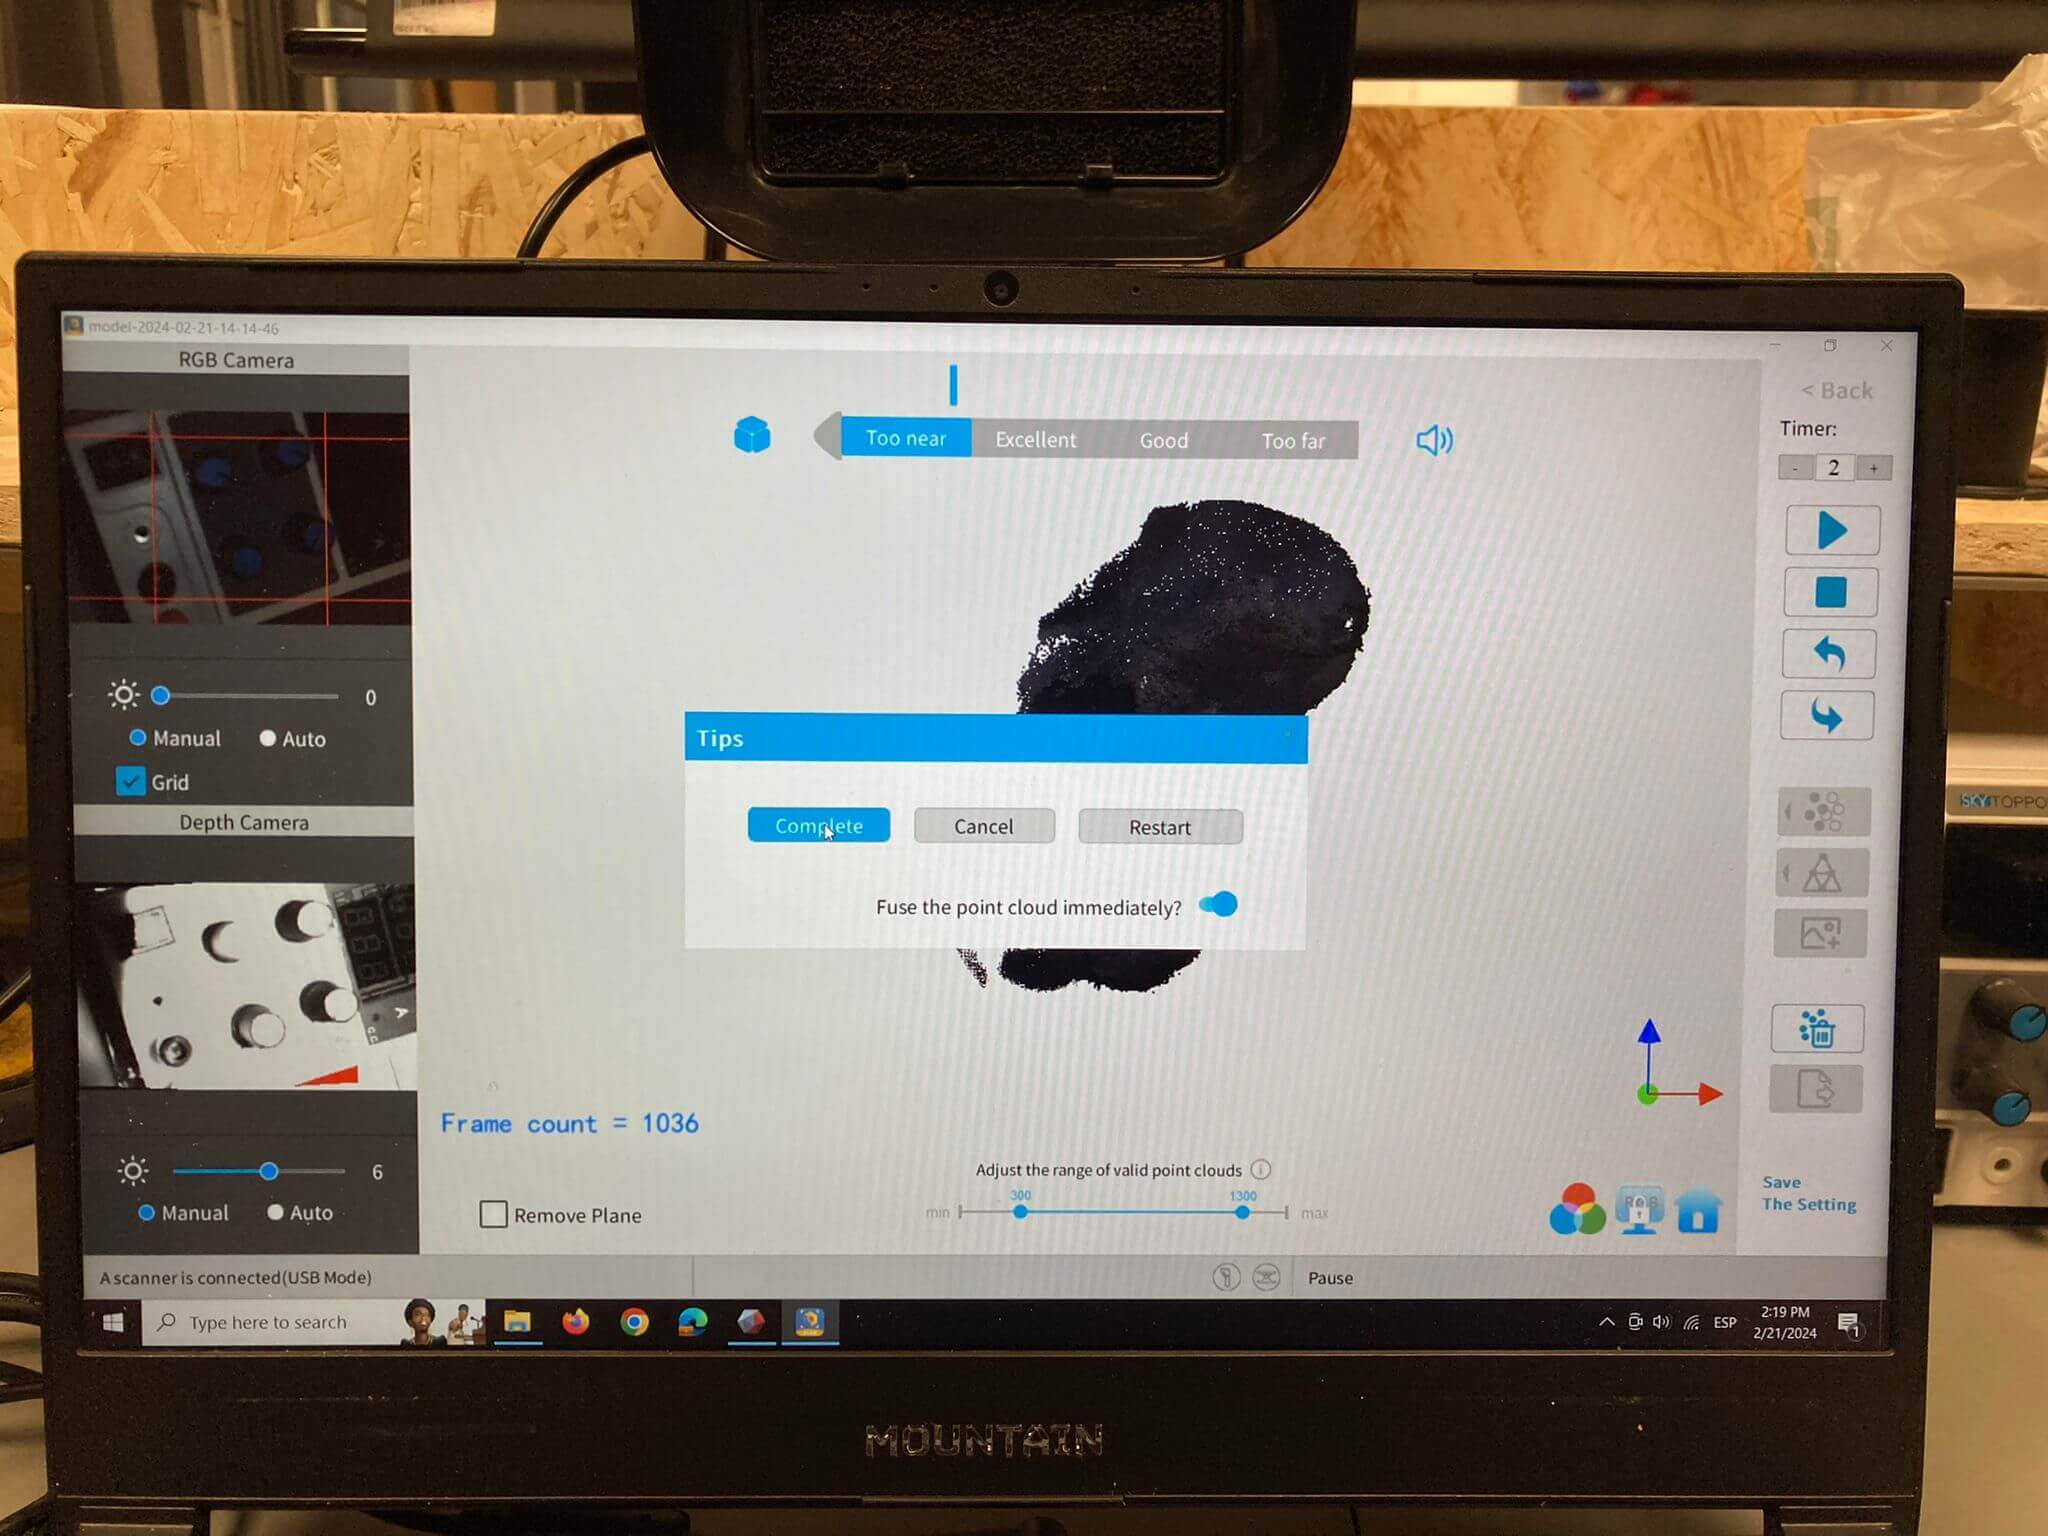
4. Processing the Scan
5. Finalizing the Model
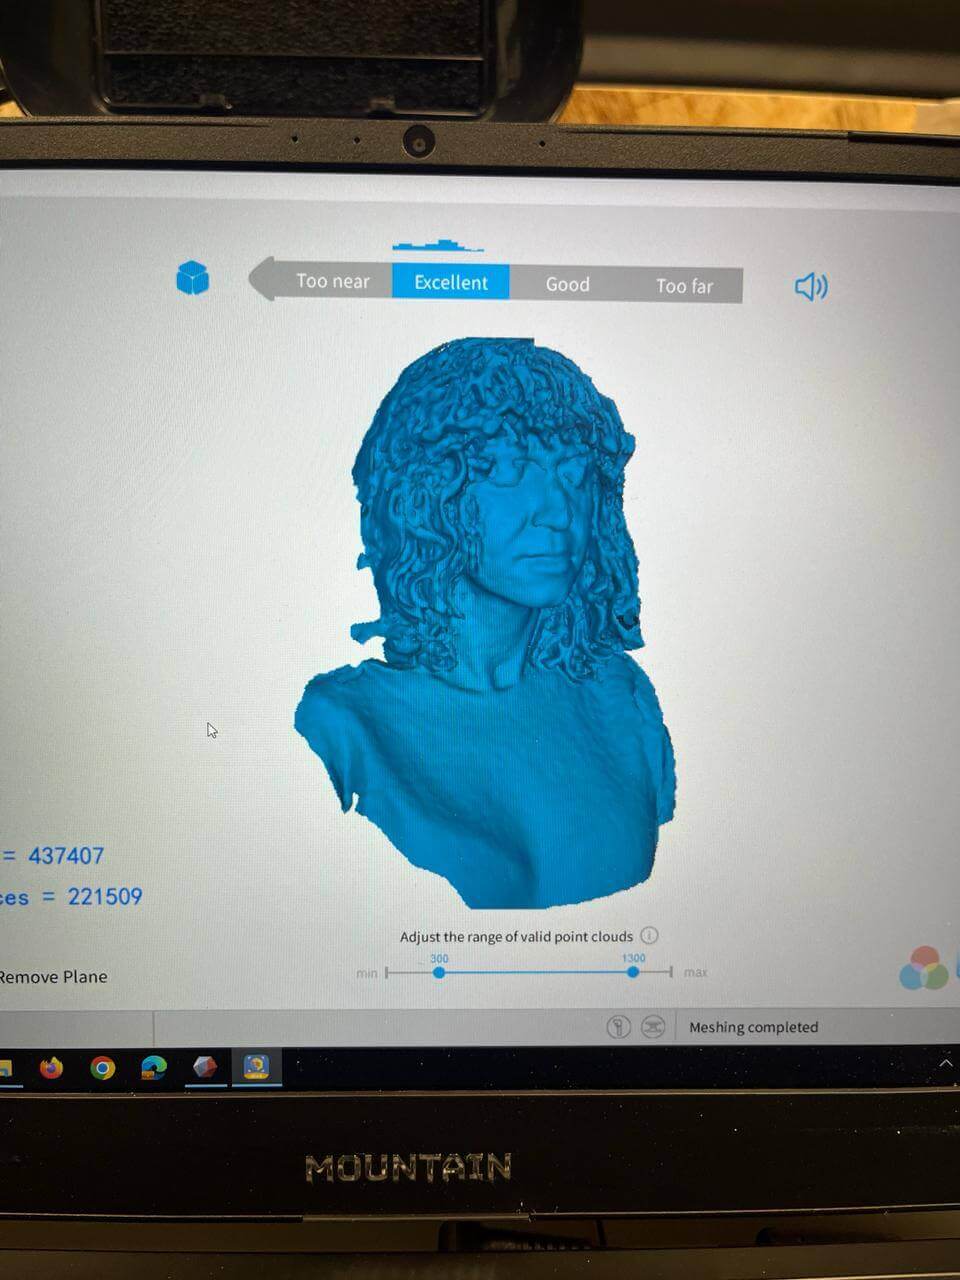
Tips & Learnings
Proper lighting: not too much exposure but also not too dark.
Avoid shiny things: it can affect the clarity of the surface.
Avoid movement in surroundings: to guarantee a clean scan.
Scan method: up and down scan, once covered, move slightly to the side and repeat until reaching you reach the complete circle.
Teamwork makes the dream work: one person scans while another person follows by holding the laptop.
Communication: consistency between closeness of the scanner and the object-body so you obtain a uniform shape.
PLA 3D printing
Design process VS None Subtractive fabrication
- The lattice structure and internal geometry is nearly impossible to achieve with subtractive techniques due to limitations in tool access and geometry.
- The creation of hollow structures, internal channels, and complex infill patterns, essential for reducing weight and material usage—features not replicable with subtractive methods.
- Rapid prototyping and easy customization thanks to Rhino + GH design adjustments and immediate printing, unlike subtractive methods which require significant setup time and offer less flexibility for iterative design processes.
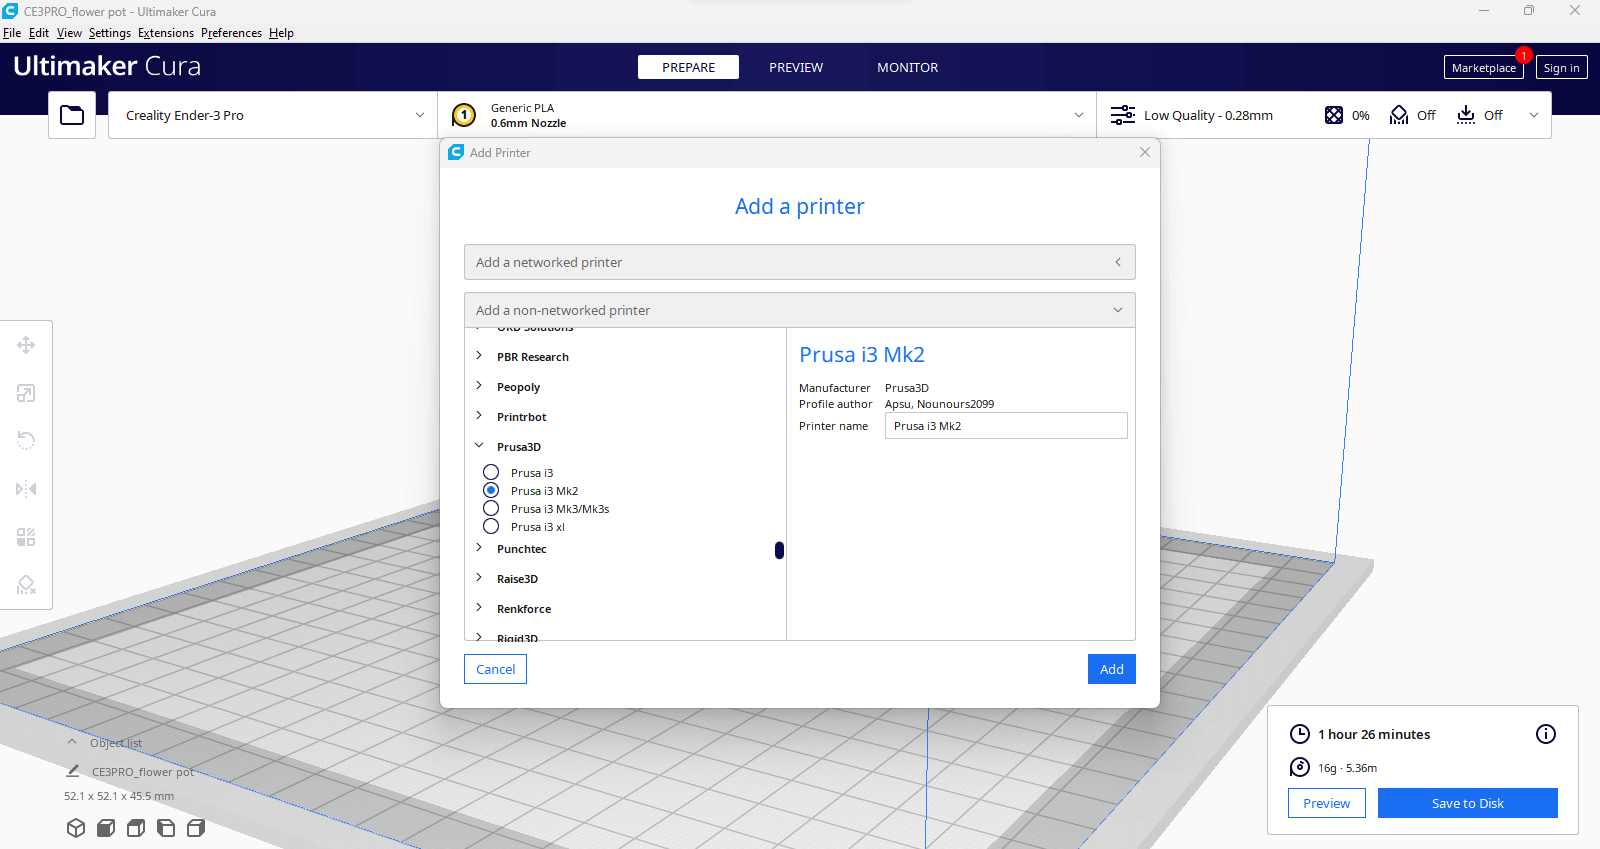
Setting up PRUSA i3 Mk2 and Creality Ender Pro 3 with Ultimaker Cura
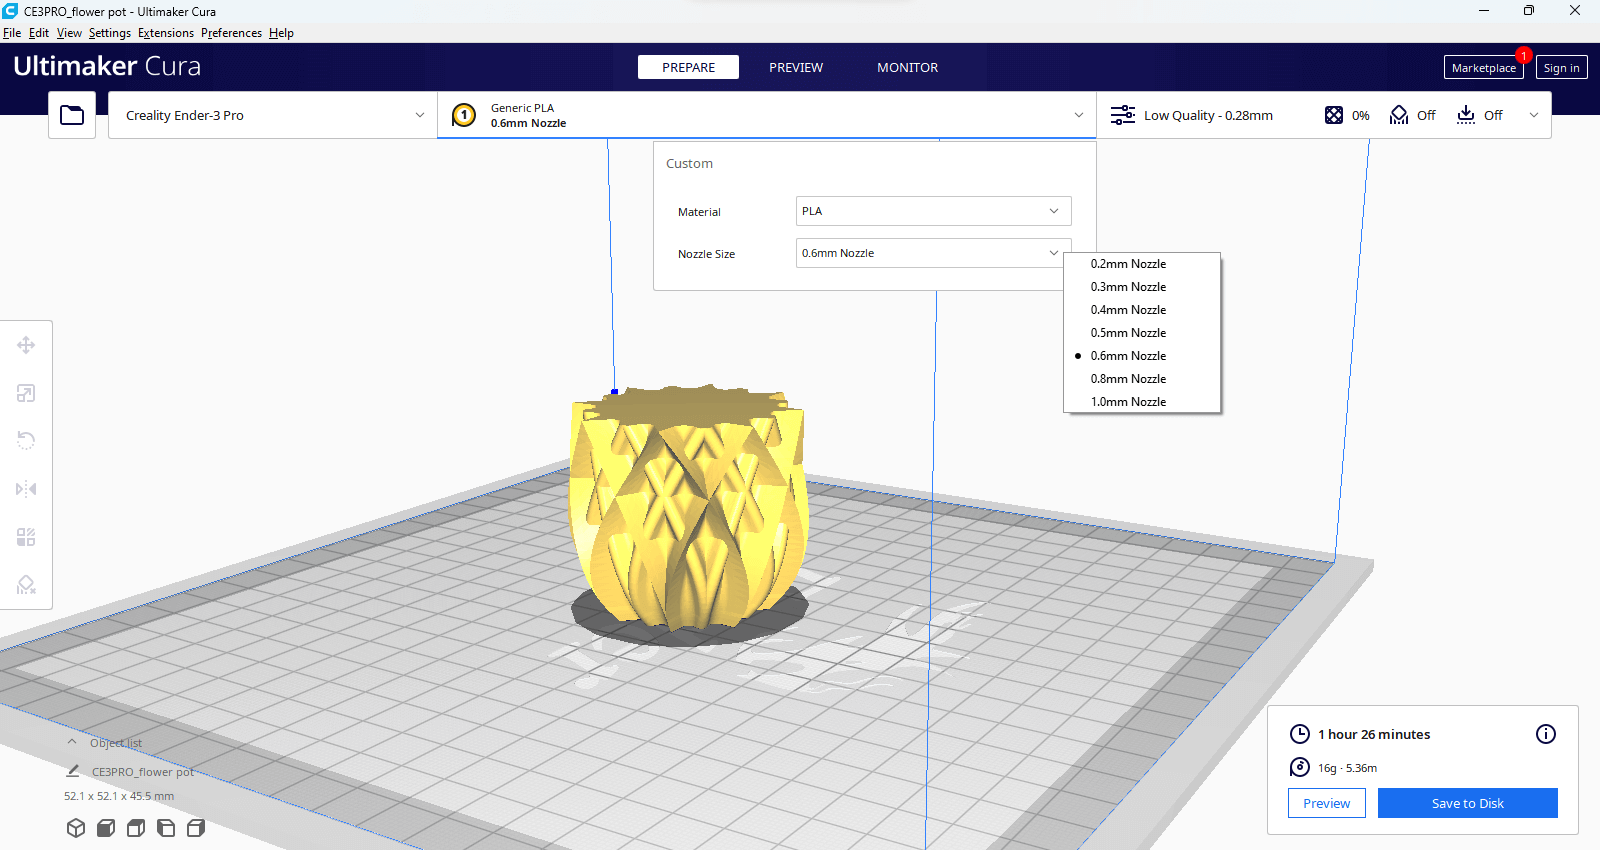
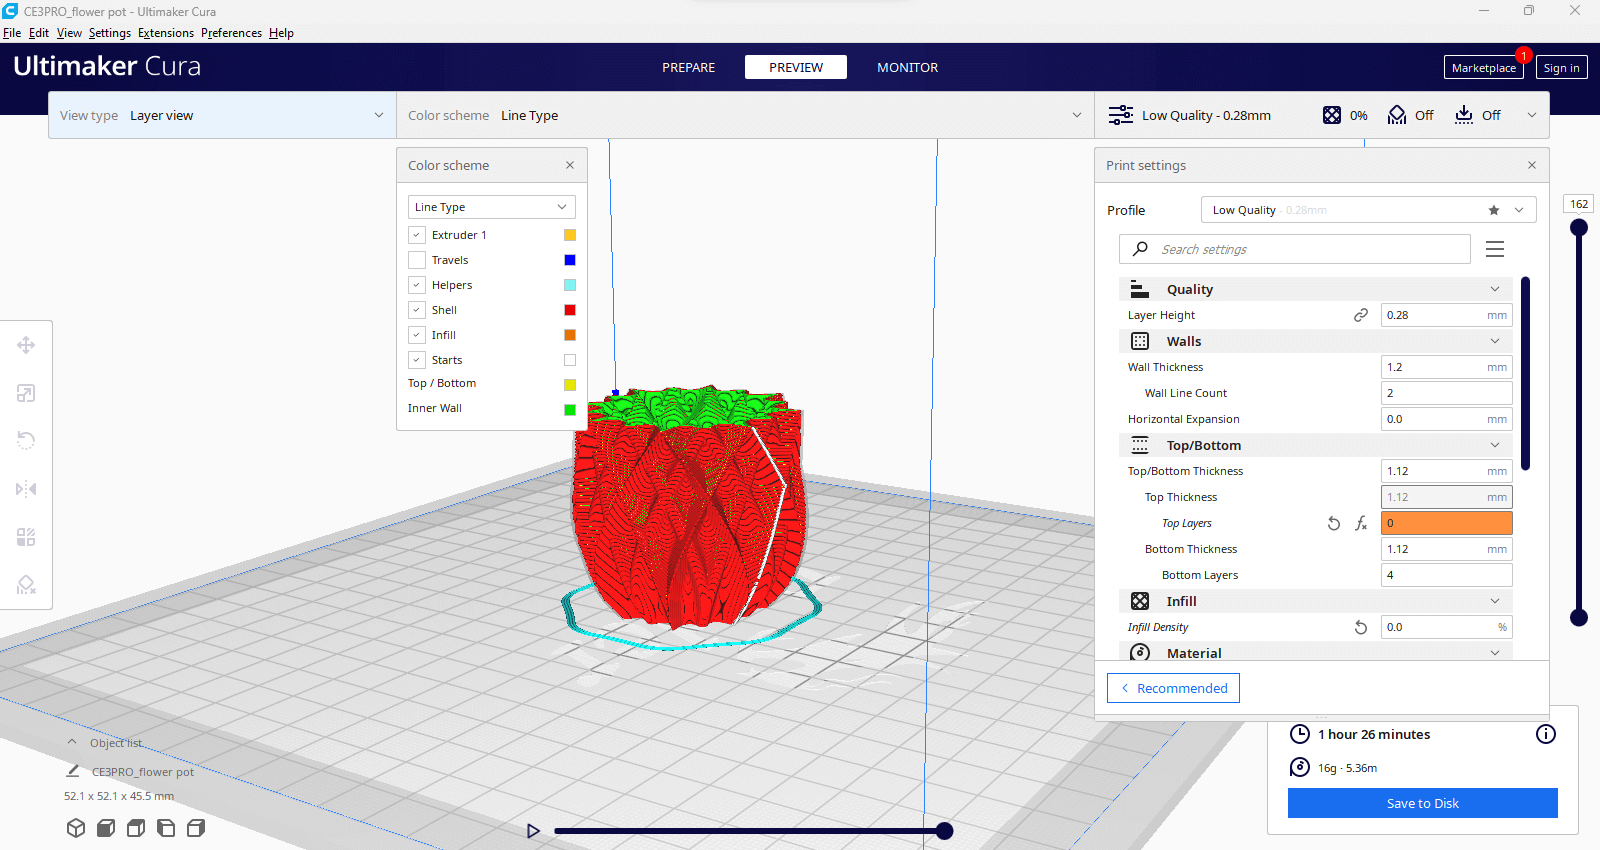
Open Ultimaker Cura software's printer selection menu. Select: Creality Ender-3 Pro printer with a 0.6 mm nozzle. The print preparation area shows the model dimensions and estimated print time.
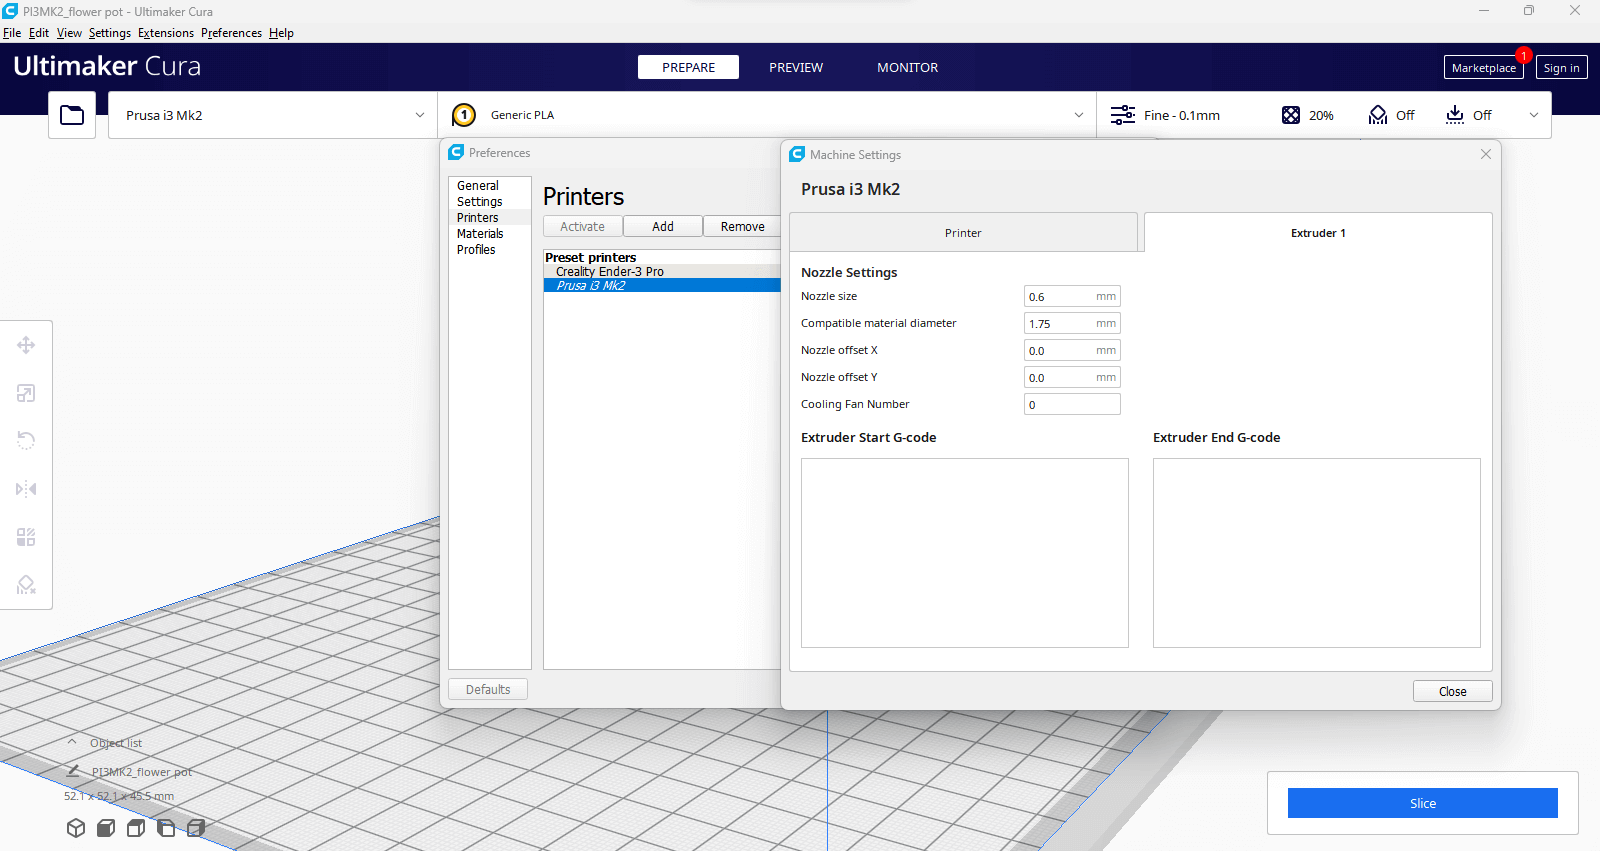
The screen shows the layer view with a color scheme indicating different line types. Print settings are shown on the right, including layer height, wall thickness, and top/bottom thickness.
The print settings on the right include a layer height of 1.7 mm and various line widths. The model is highlighted in yellow, indicating it is ready for slicing.
Clay 3D printing
"MAMBA" - Grashopper script
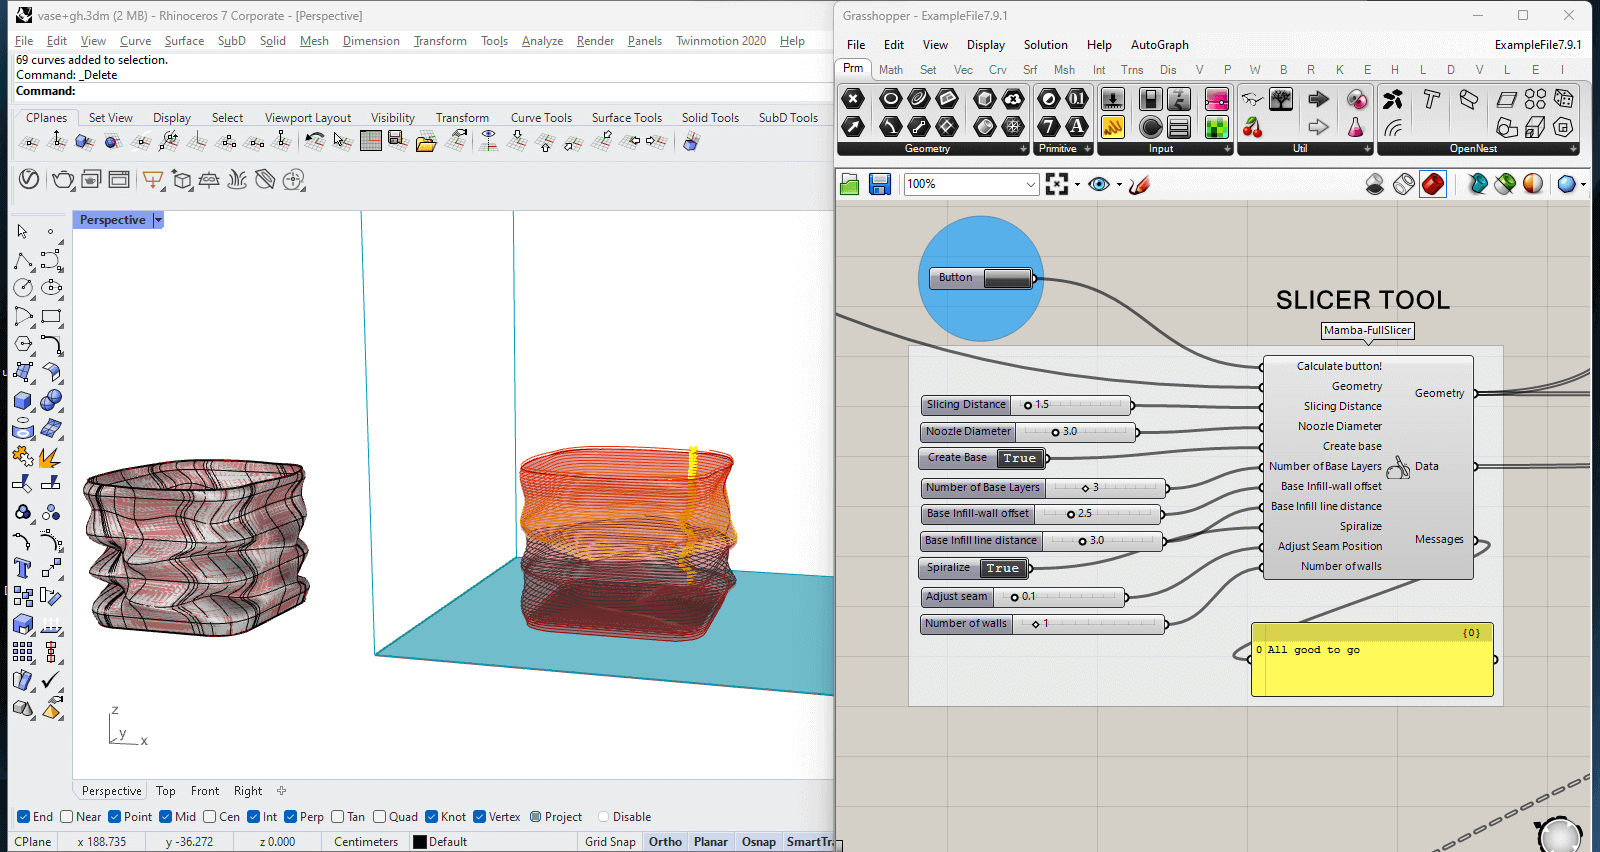
On the left side, the Rhino window shows the mesh structure of the 3D vase. On the right side, the Grasshopper window includes the MAMBA setup, displaying various parameters such as slicing distance, nozzle diameter, base layers, and infill settings.
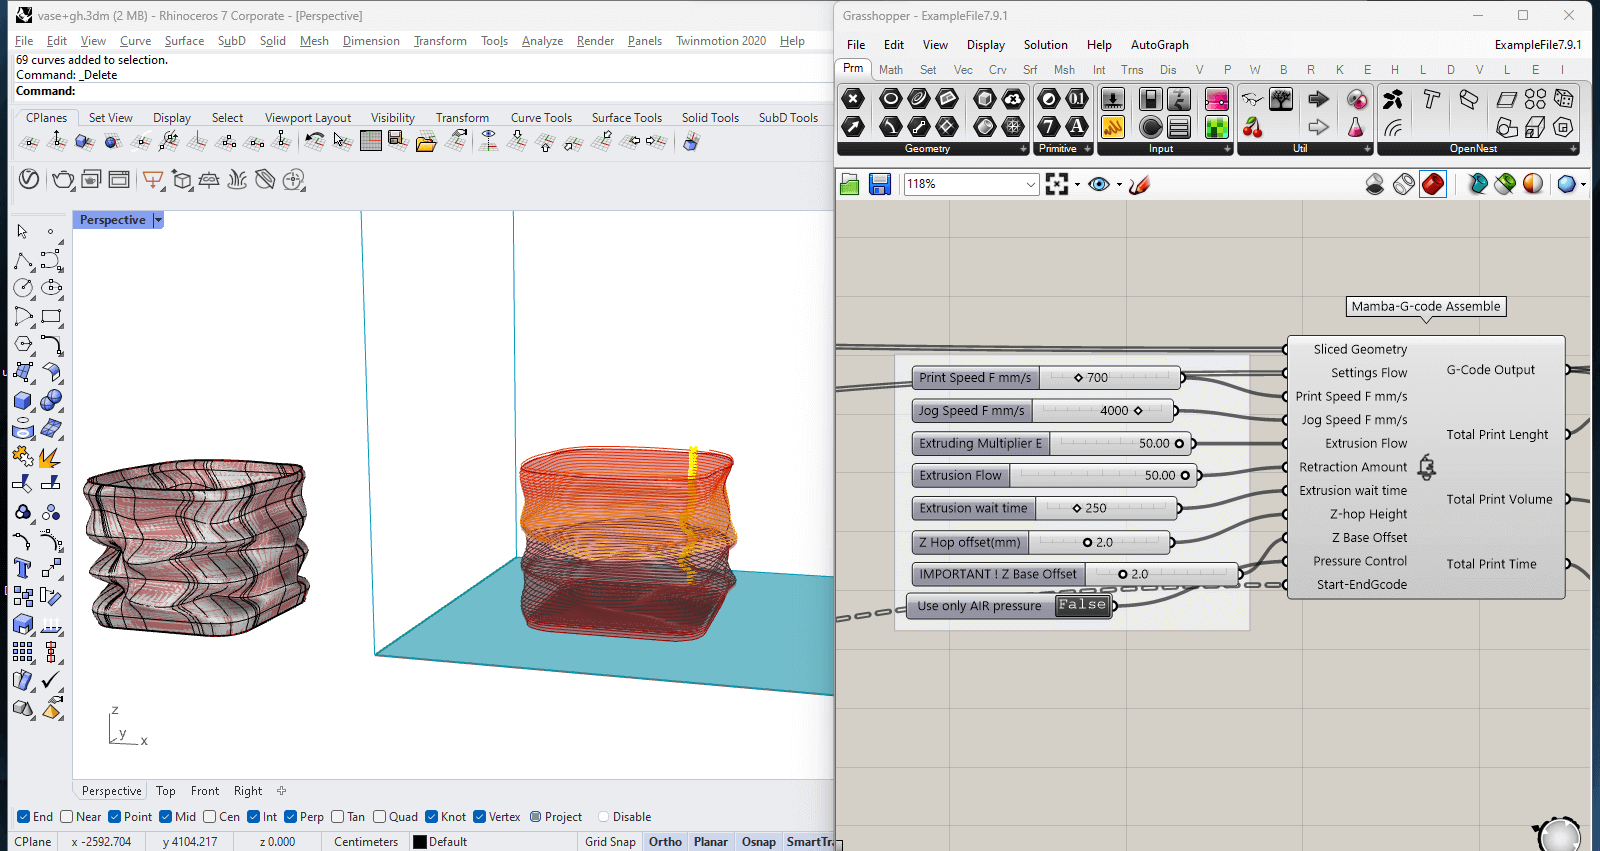
The left image, shows the Grasshopper window featuring MAMBA G-code assembly panel, where you can adjust printing parameters such as speed, jog speed, extrusion flow, retraction amount, and Z-hop height.
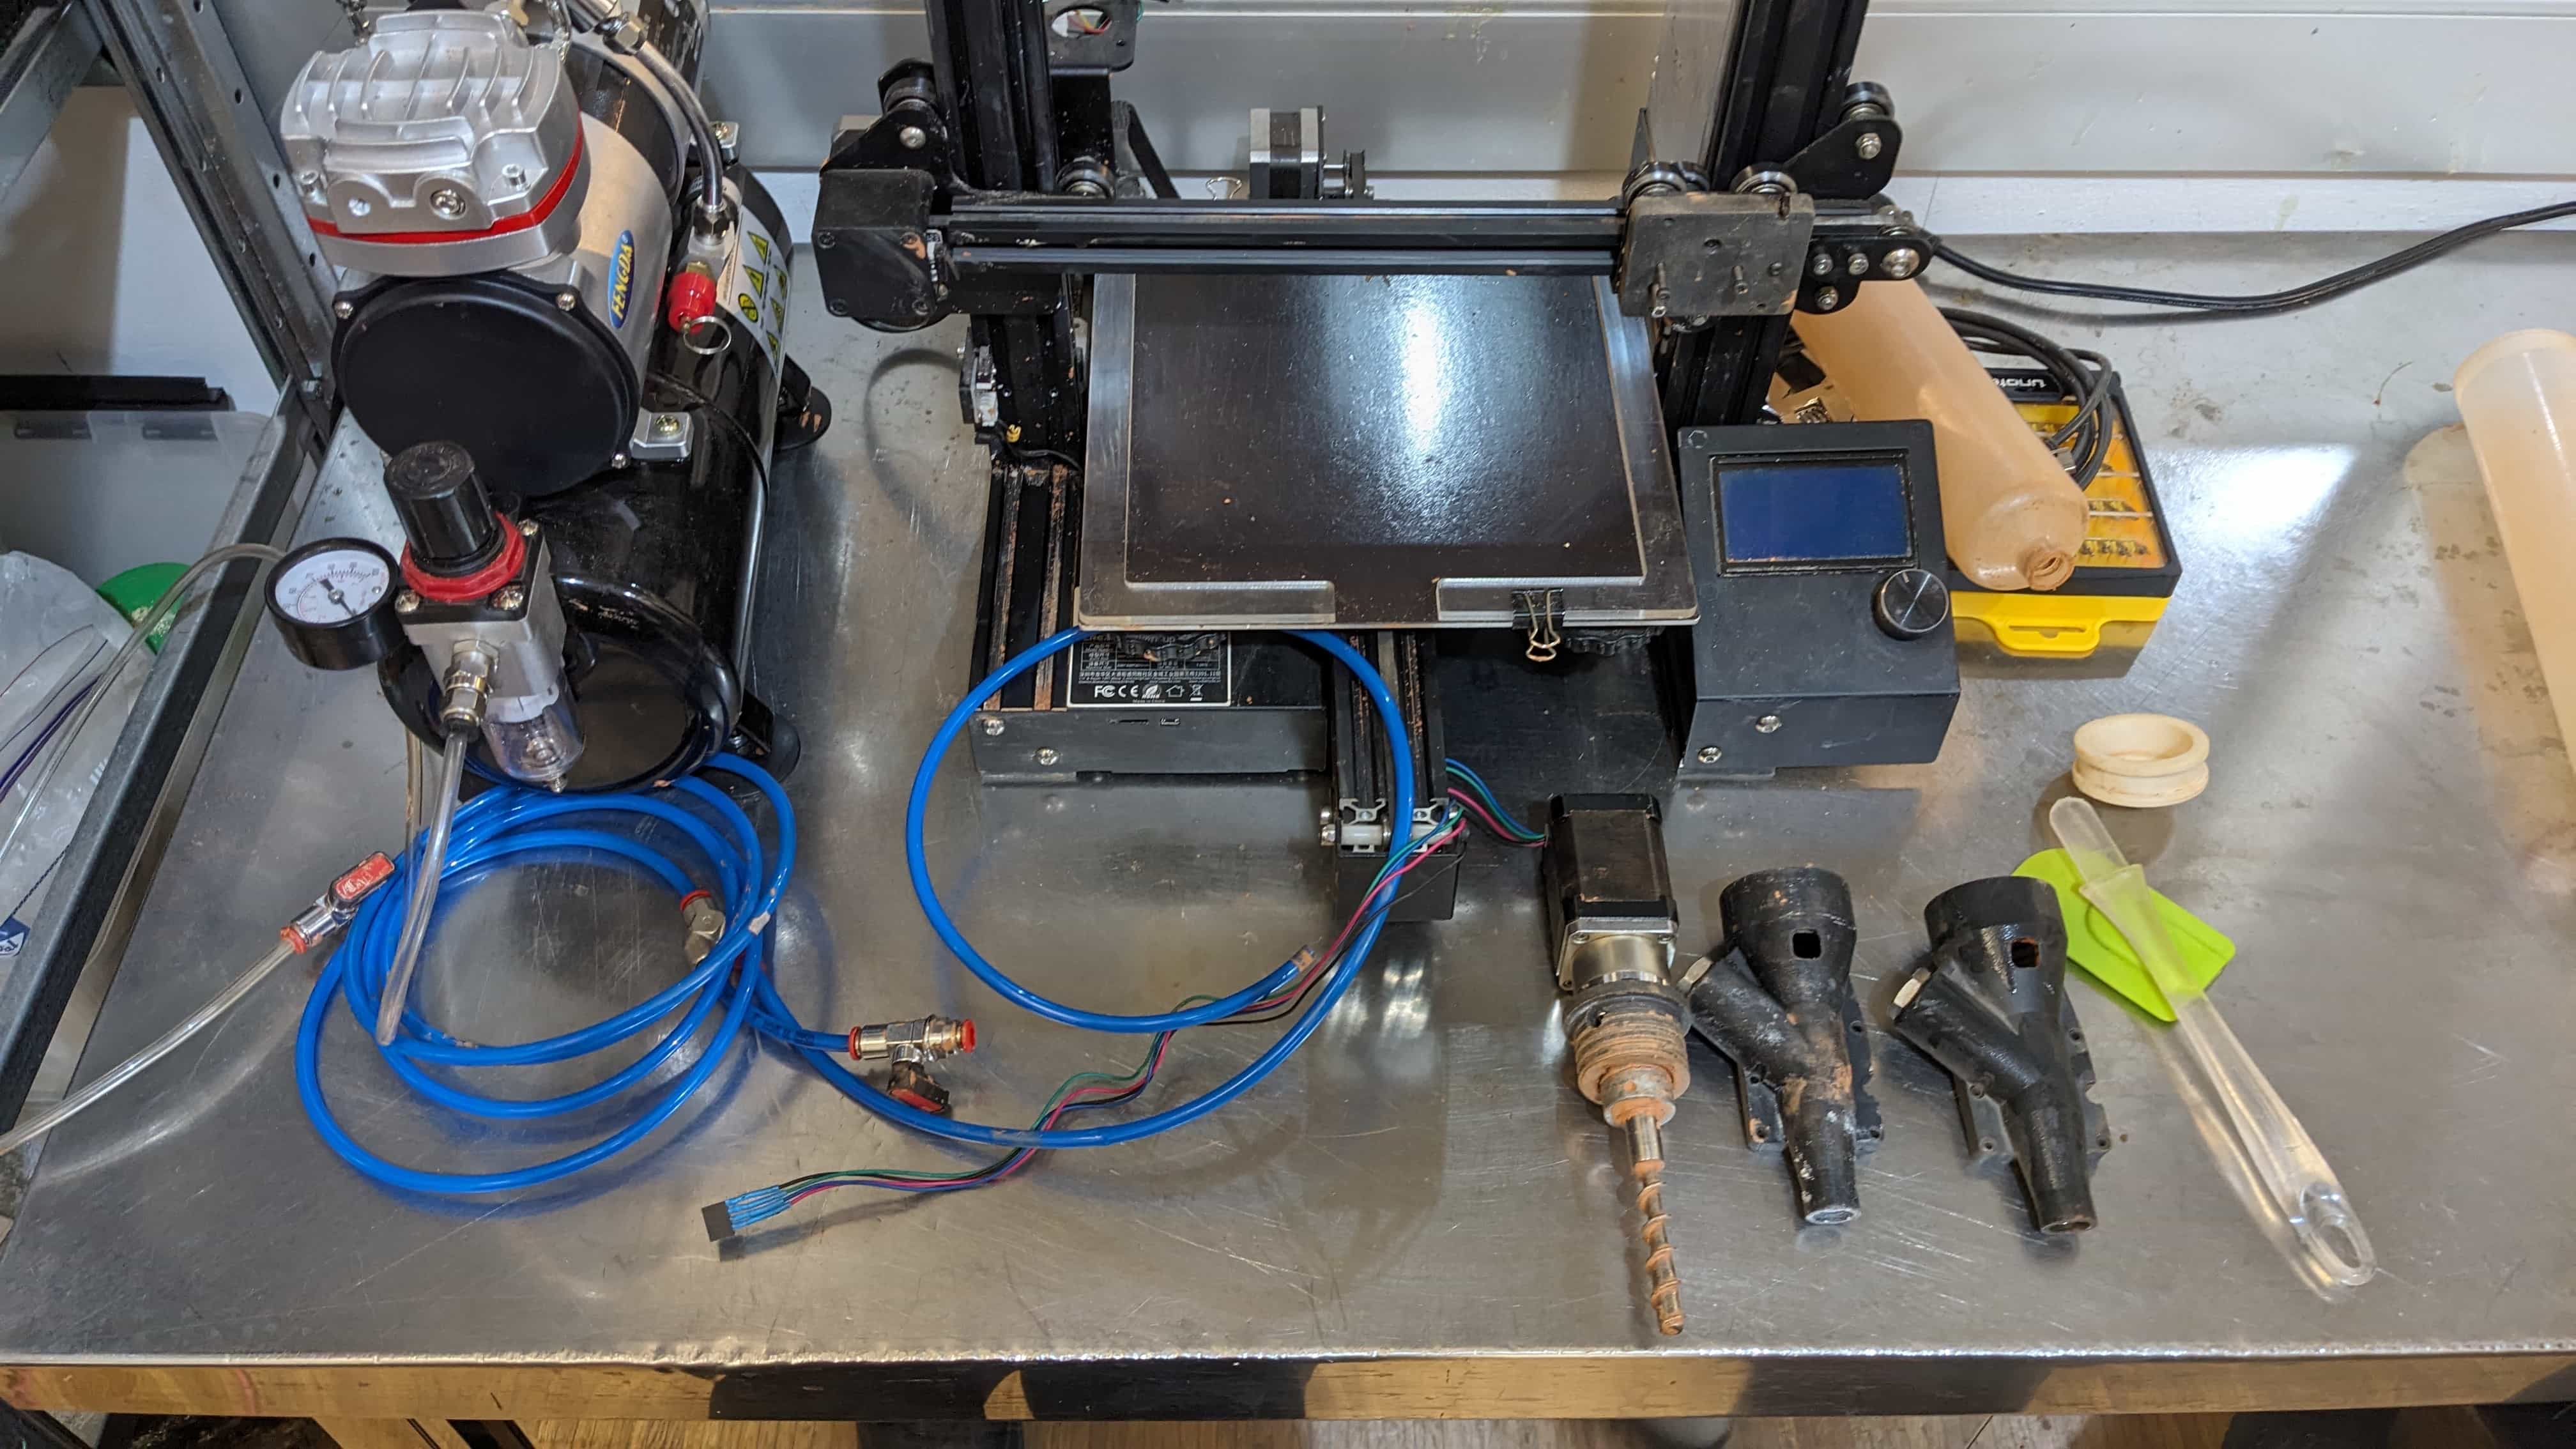
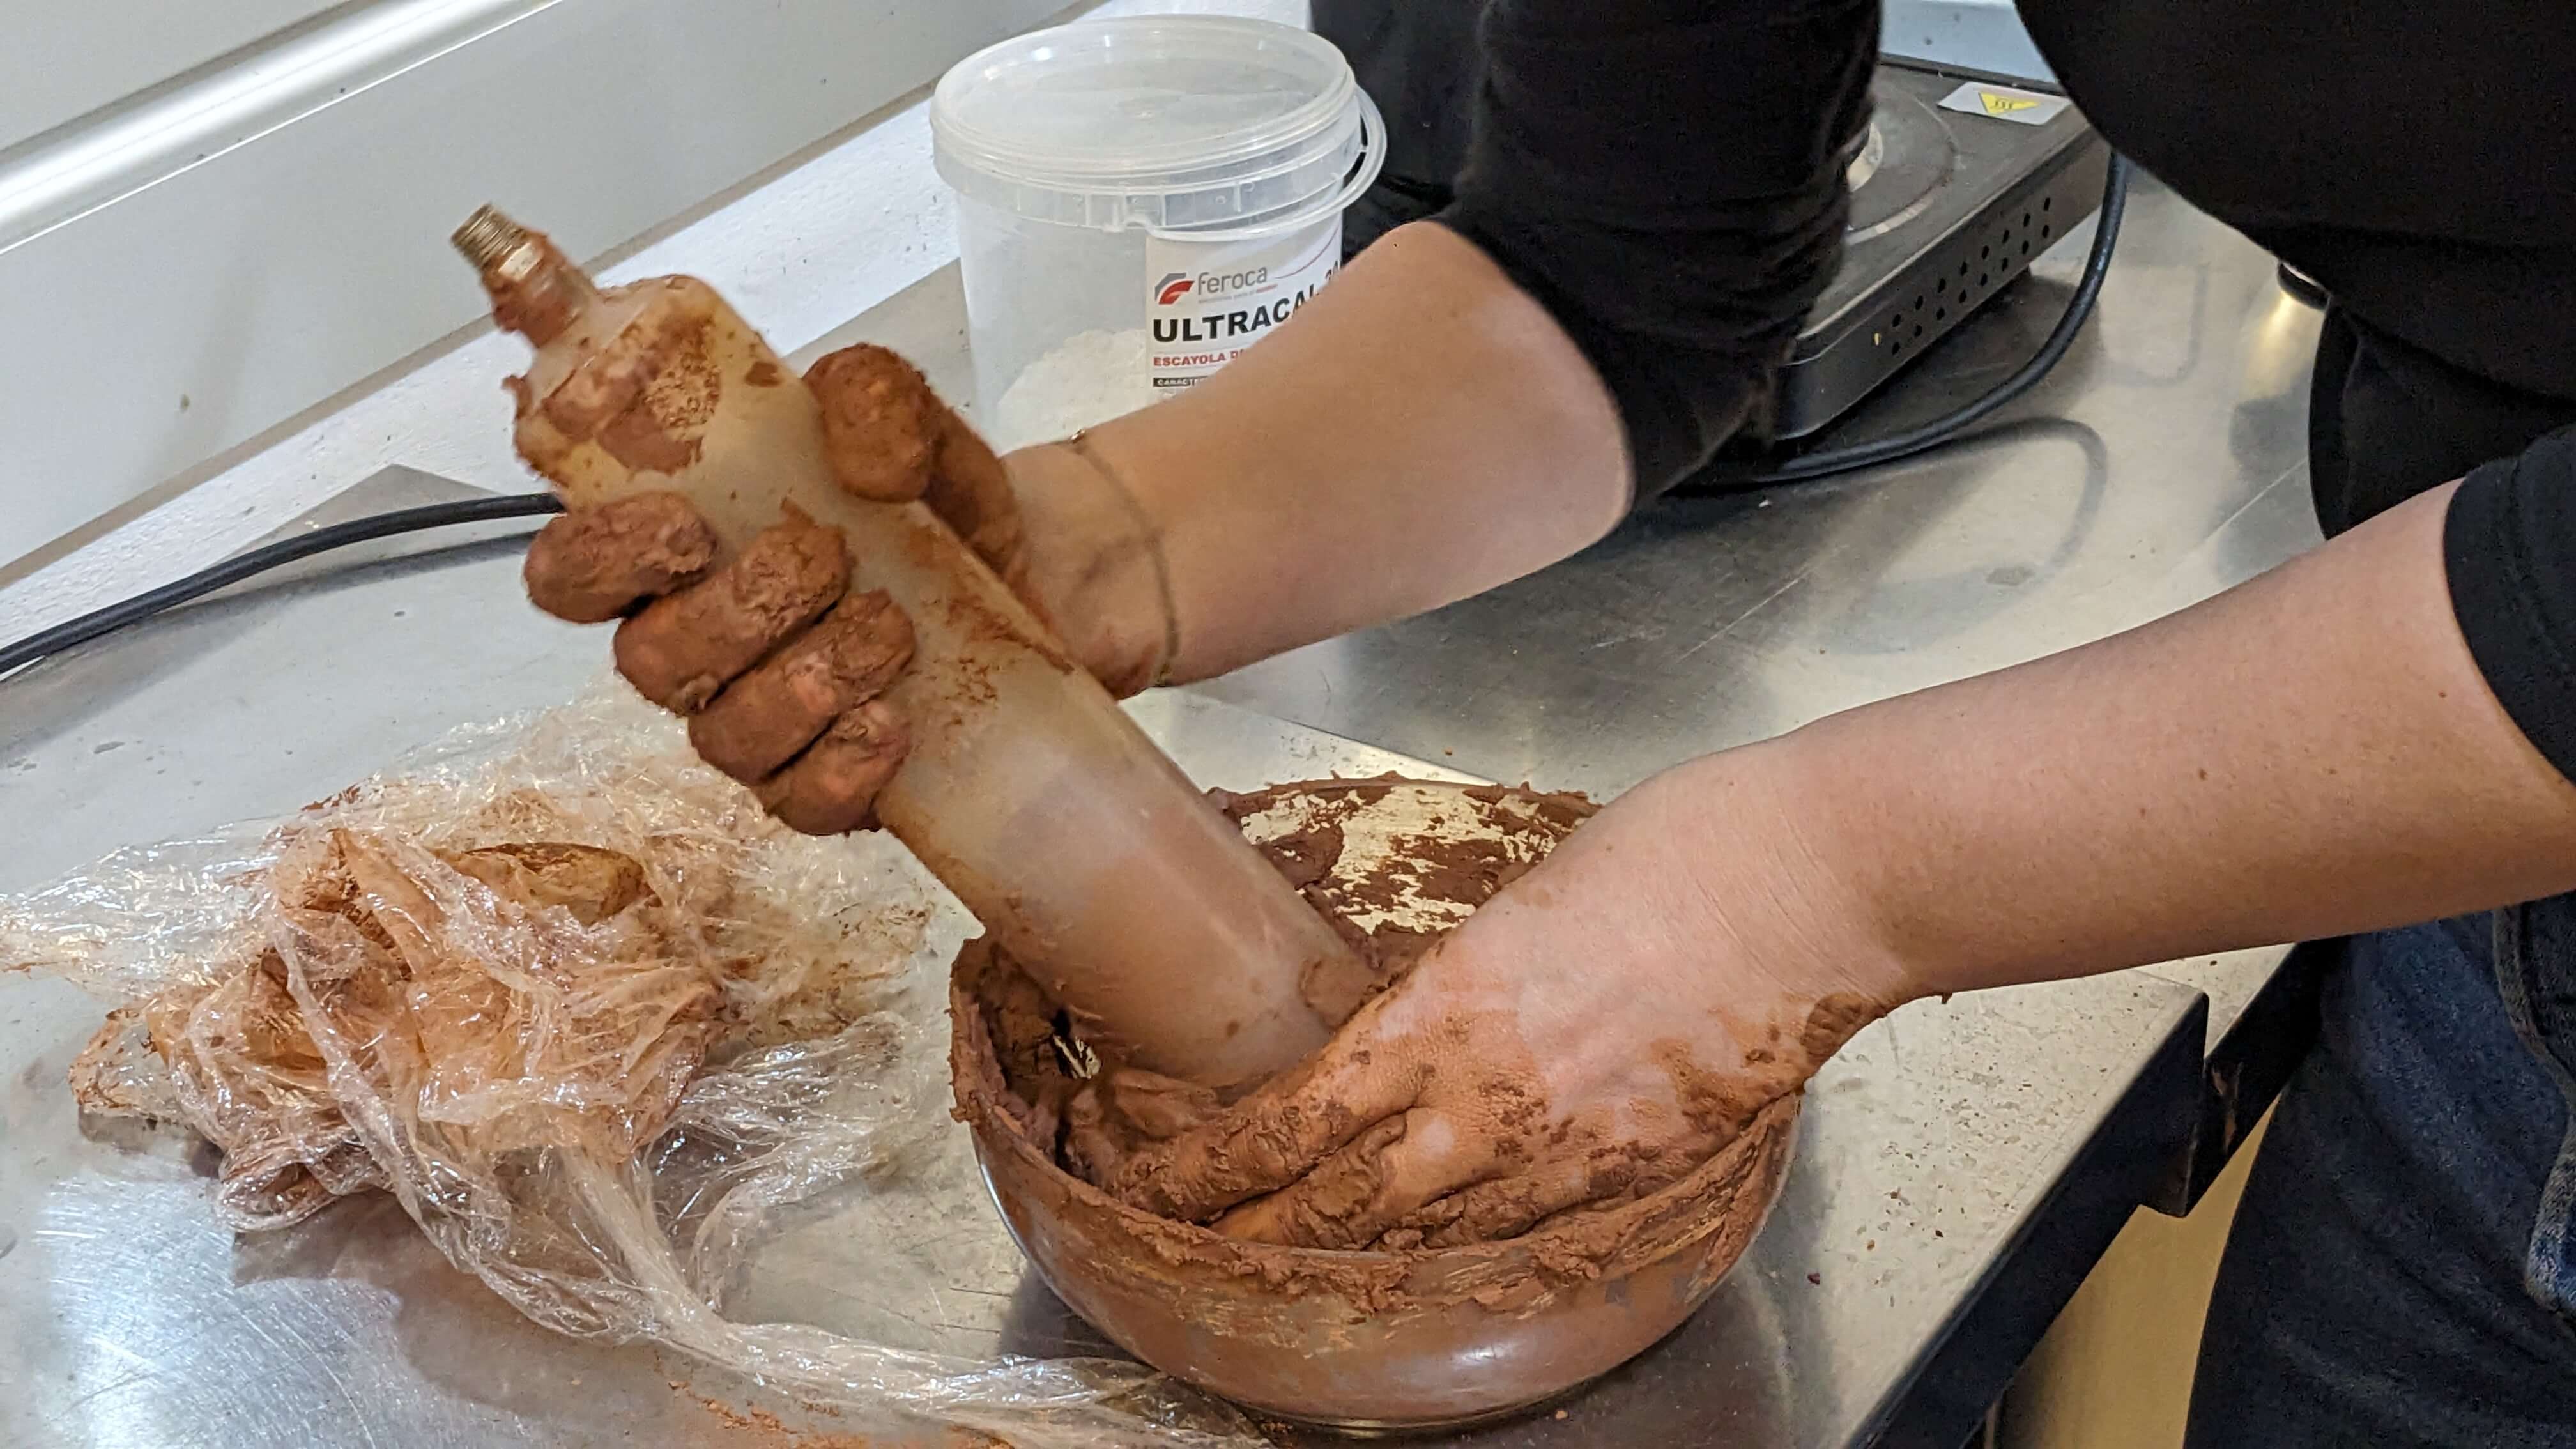
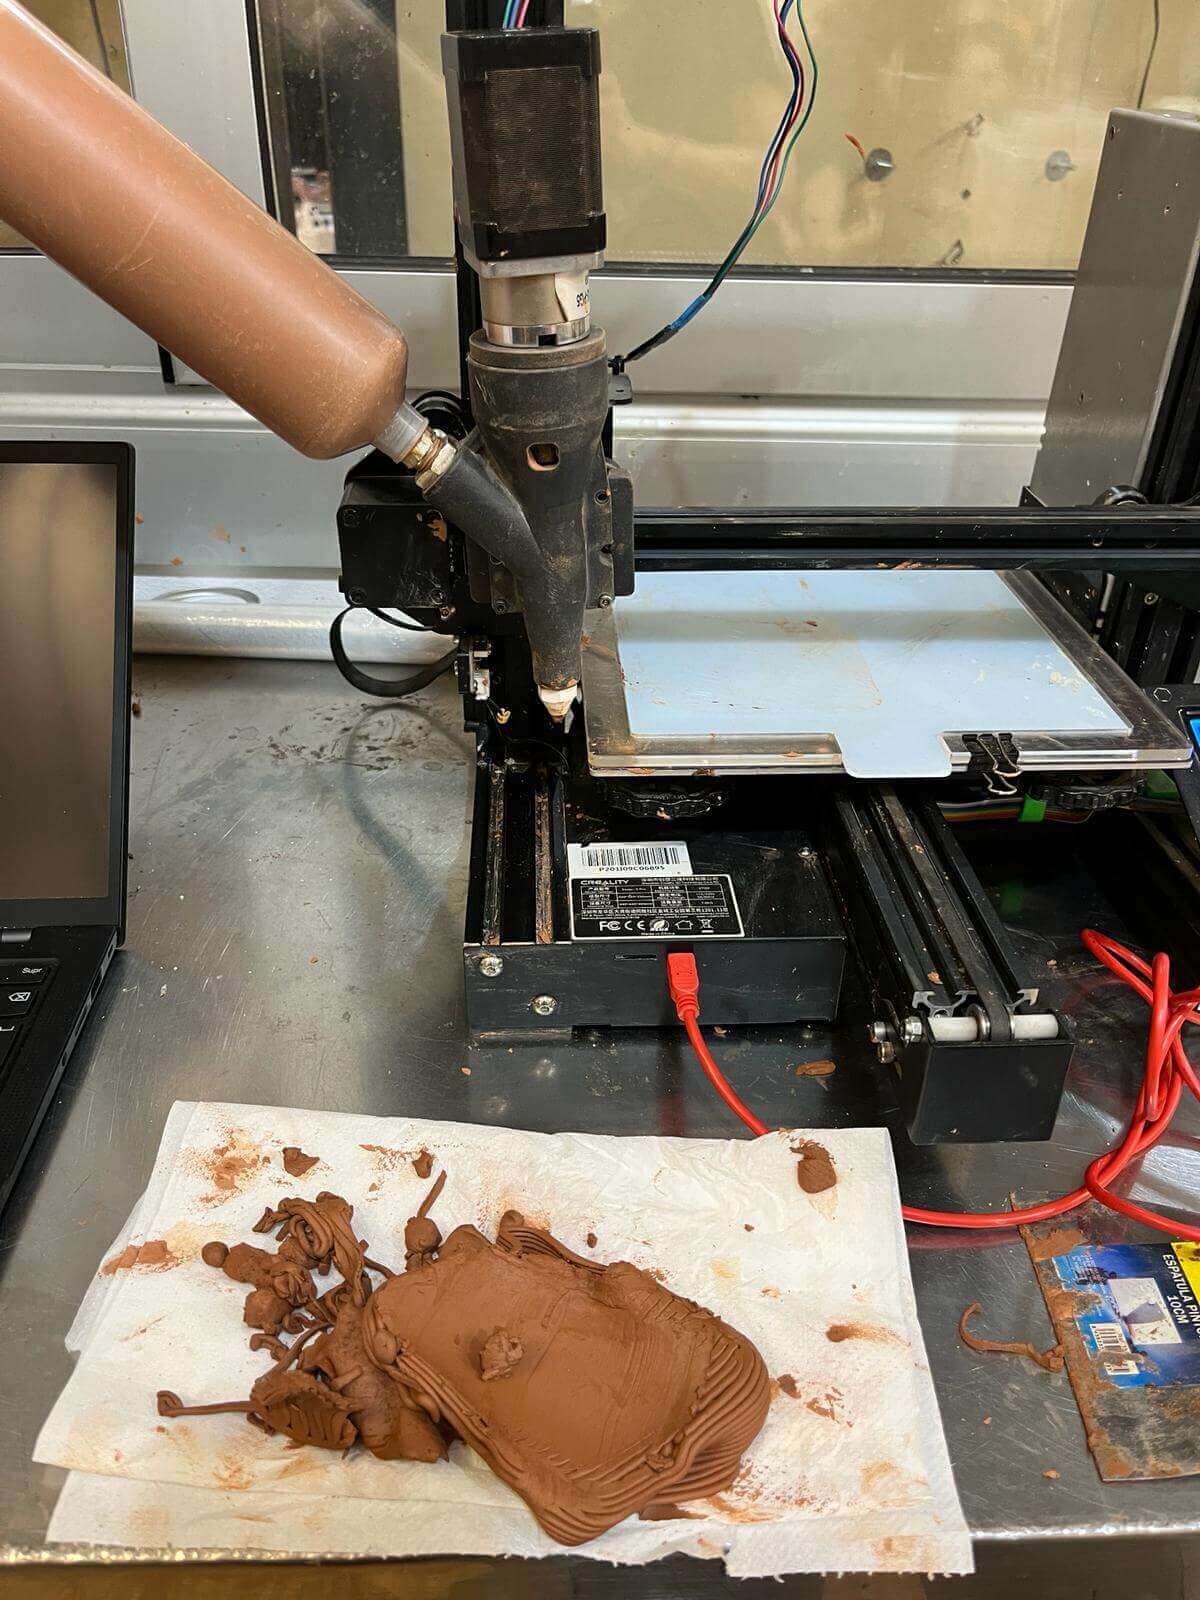
Machine & Mixture set up: Ender Creator Pro & Terracota clay
Clay mixture:
1. Consistency: the clay should be a bit soft but not too much, because eventually if will start drying once inside the container for extrusion.
2. Container: fill it evenly so you dont leave air bubbles inside, that will make the extrusion test part a longer process.
3. Hard mix: you will eventually need top pressure from the air compressor and flowrate on Repetier.
4. Watery mix: be prepared with a low range fan to dry the print while it increases height.
5. Make extra: since at the beginning you have many fails, the amount depends on the height of your design and attempts to print.
Tips & Learnings
Design strategies:
1. Careful with exaggerated overhangs, that style is better fitted for a stable printing bed and manipulating the extruder.
2. Pattern design: tweak to fast feedrate.
3. Overhangs design: don't exagerate the angle and tweak to slower feedrate.
4. Revise the structure with a slicer tool or MAMBA grasshopper script for any "unsual" behavior while generating the extruding path

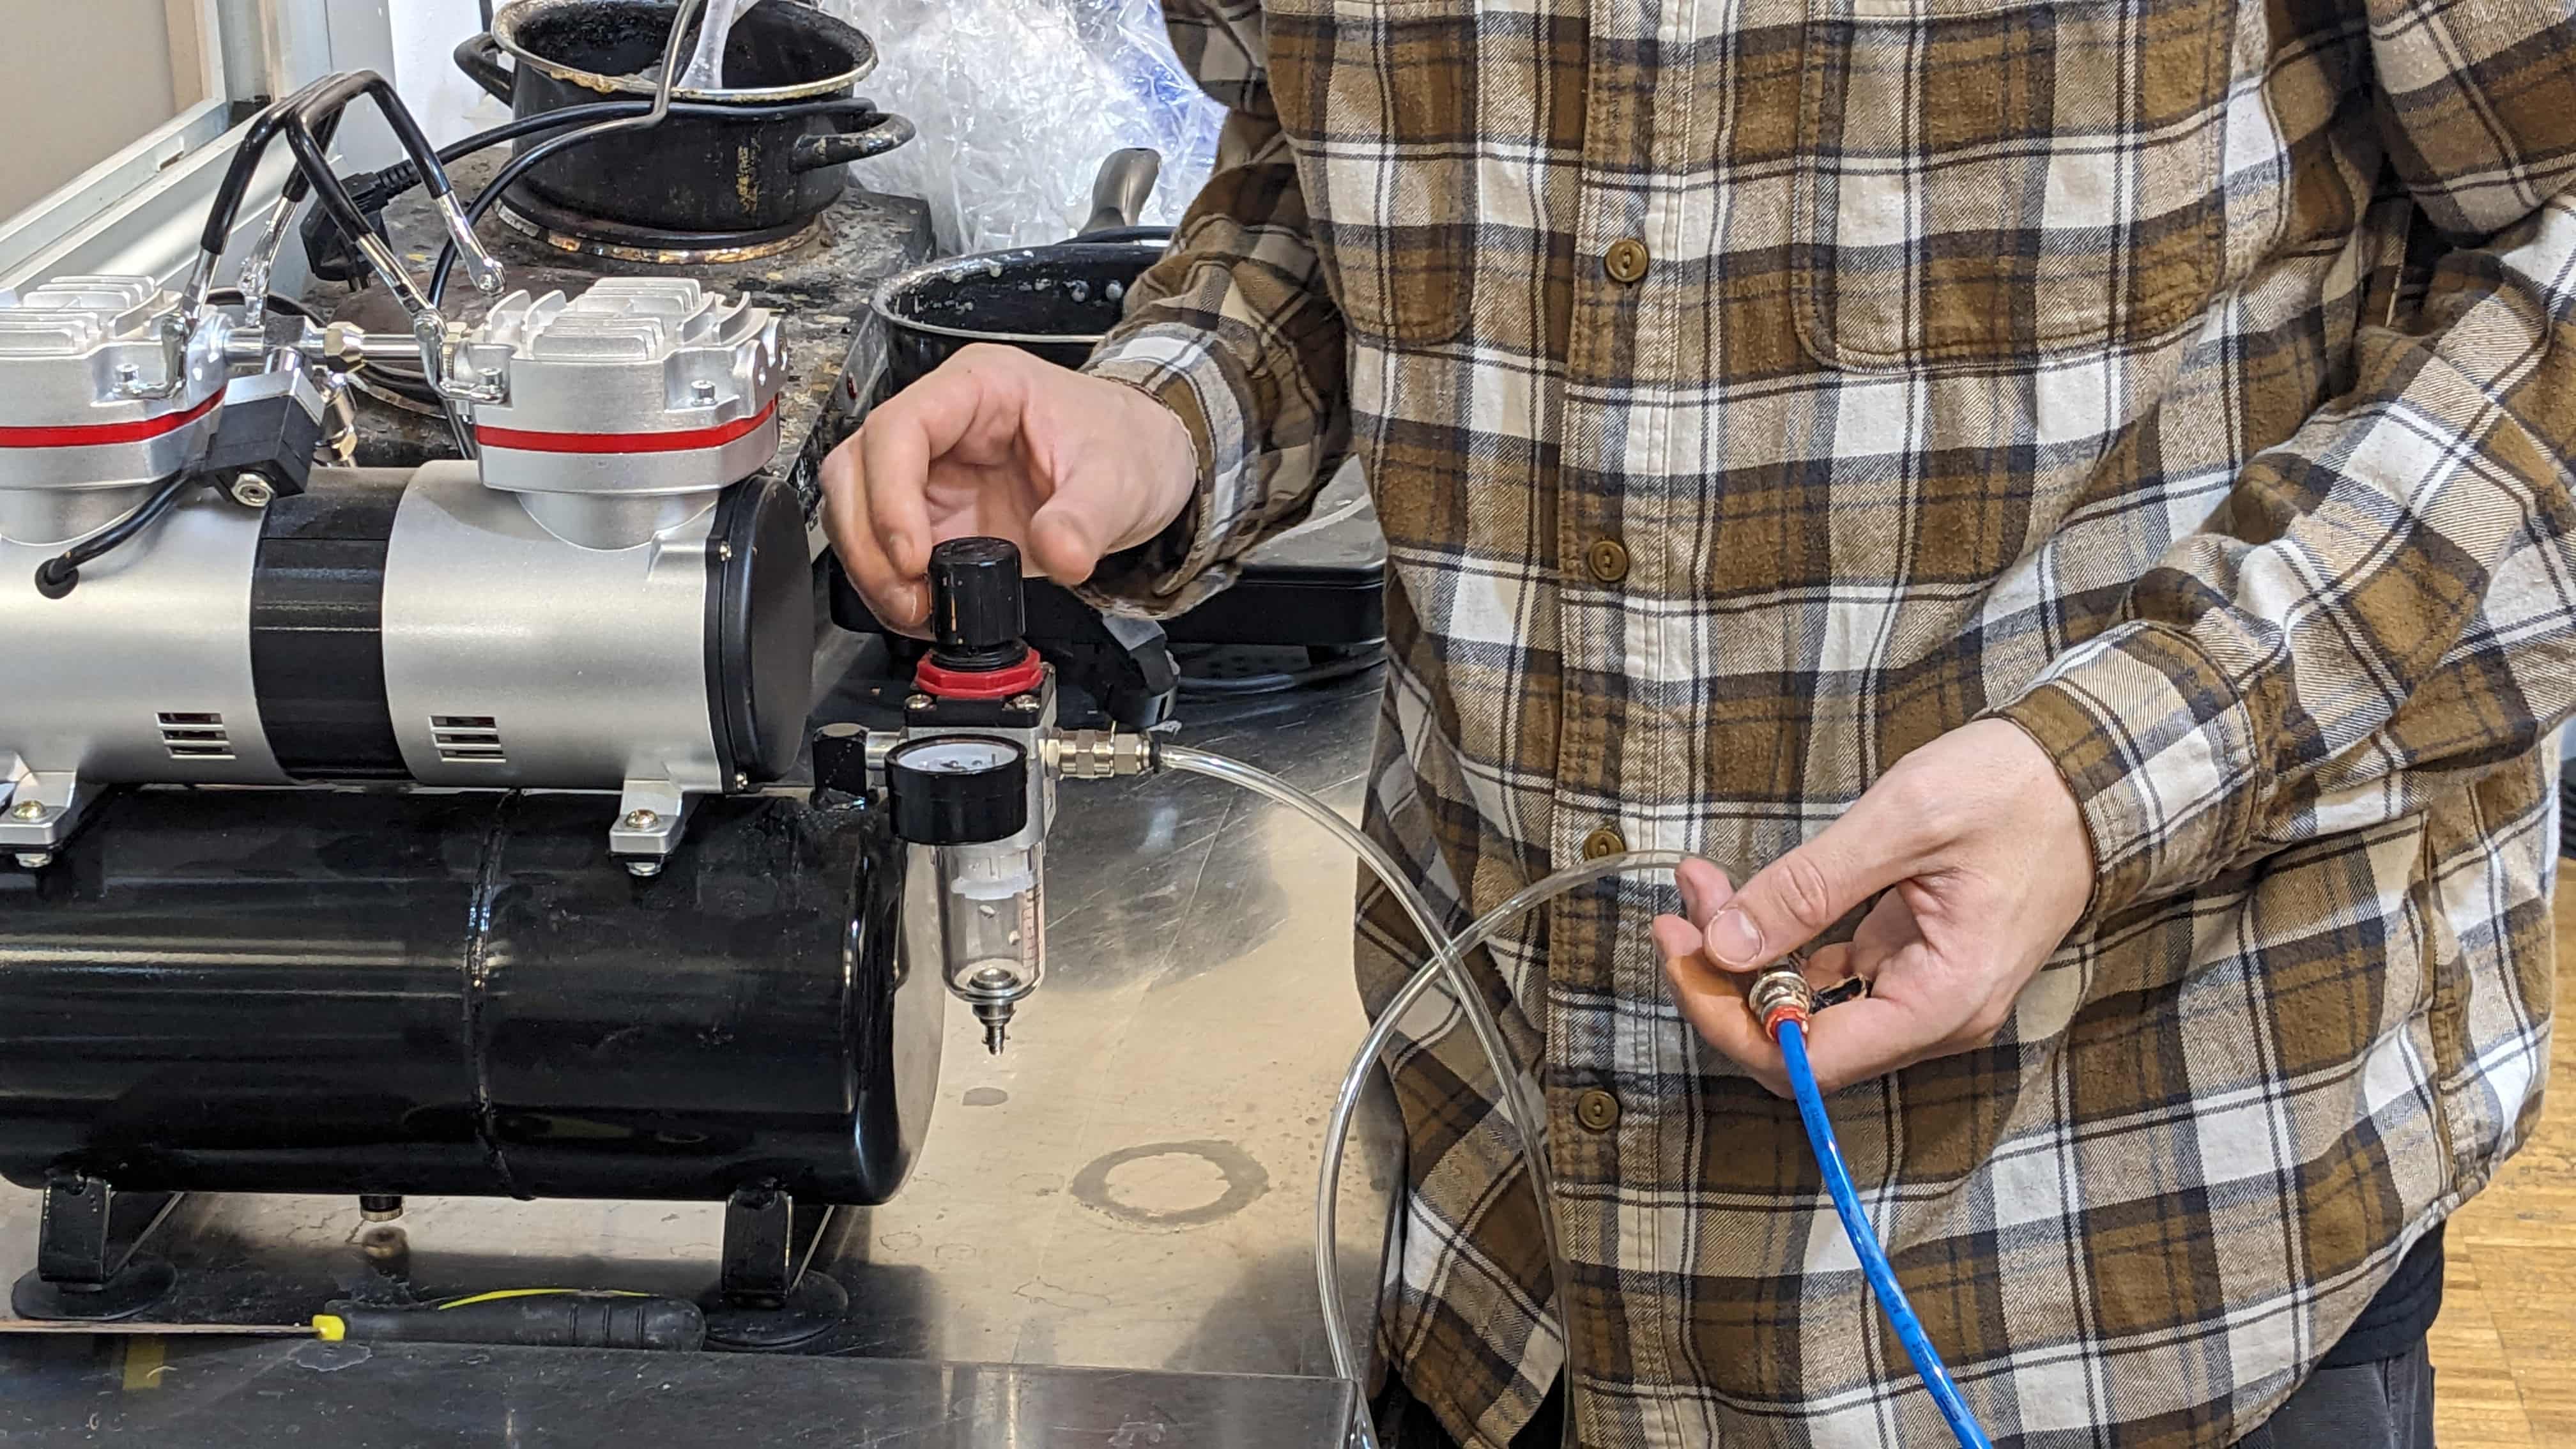
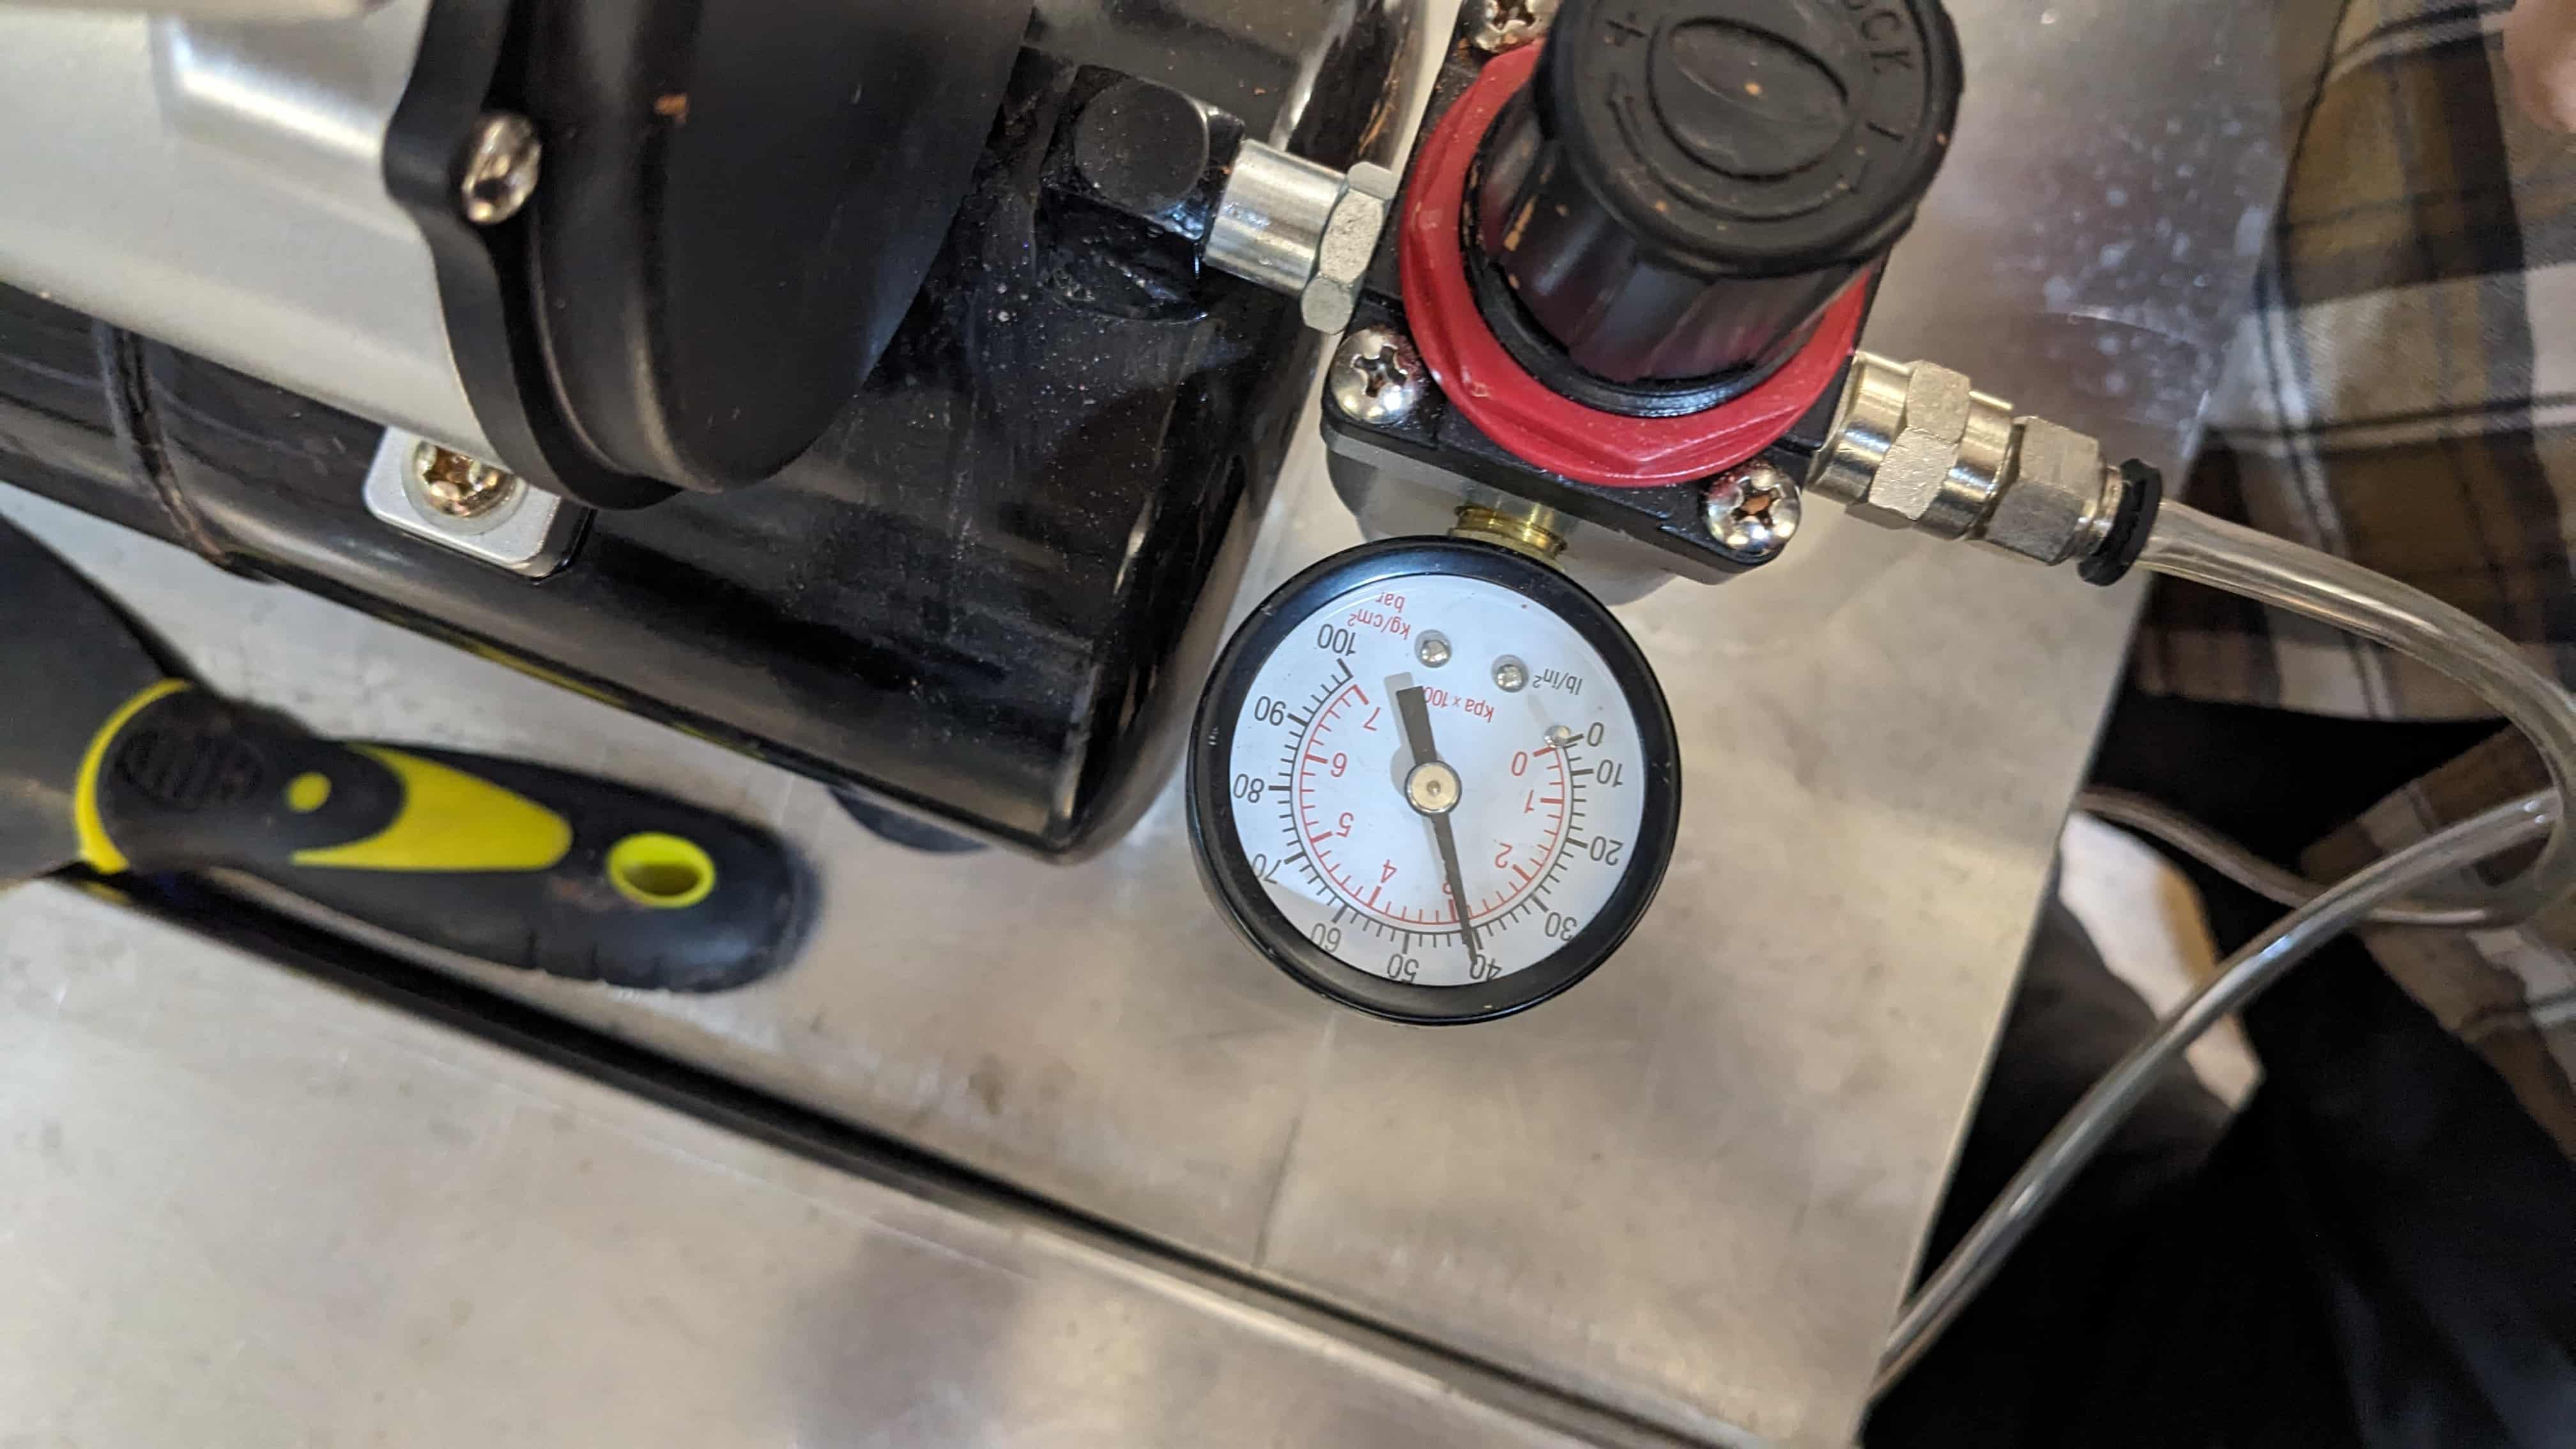
Air compressor:
Printer settings:
1. Verify XY home
2. Leveled printing bed: in case of being warped, you need to adjust the Z with “babysteps Z” settings.
3. Option 2 leveling: manually tweak the height with the 4 flanges below the board.
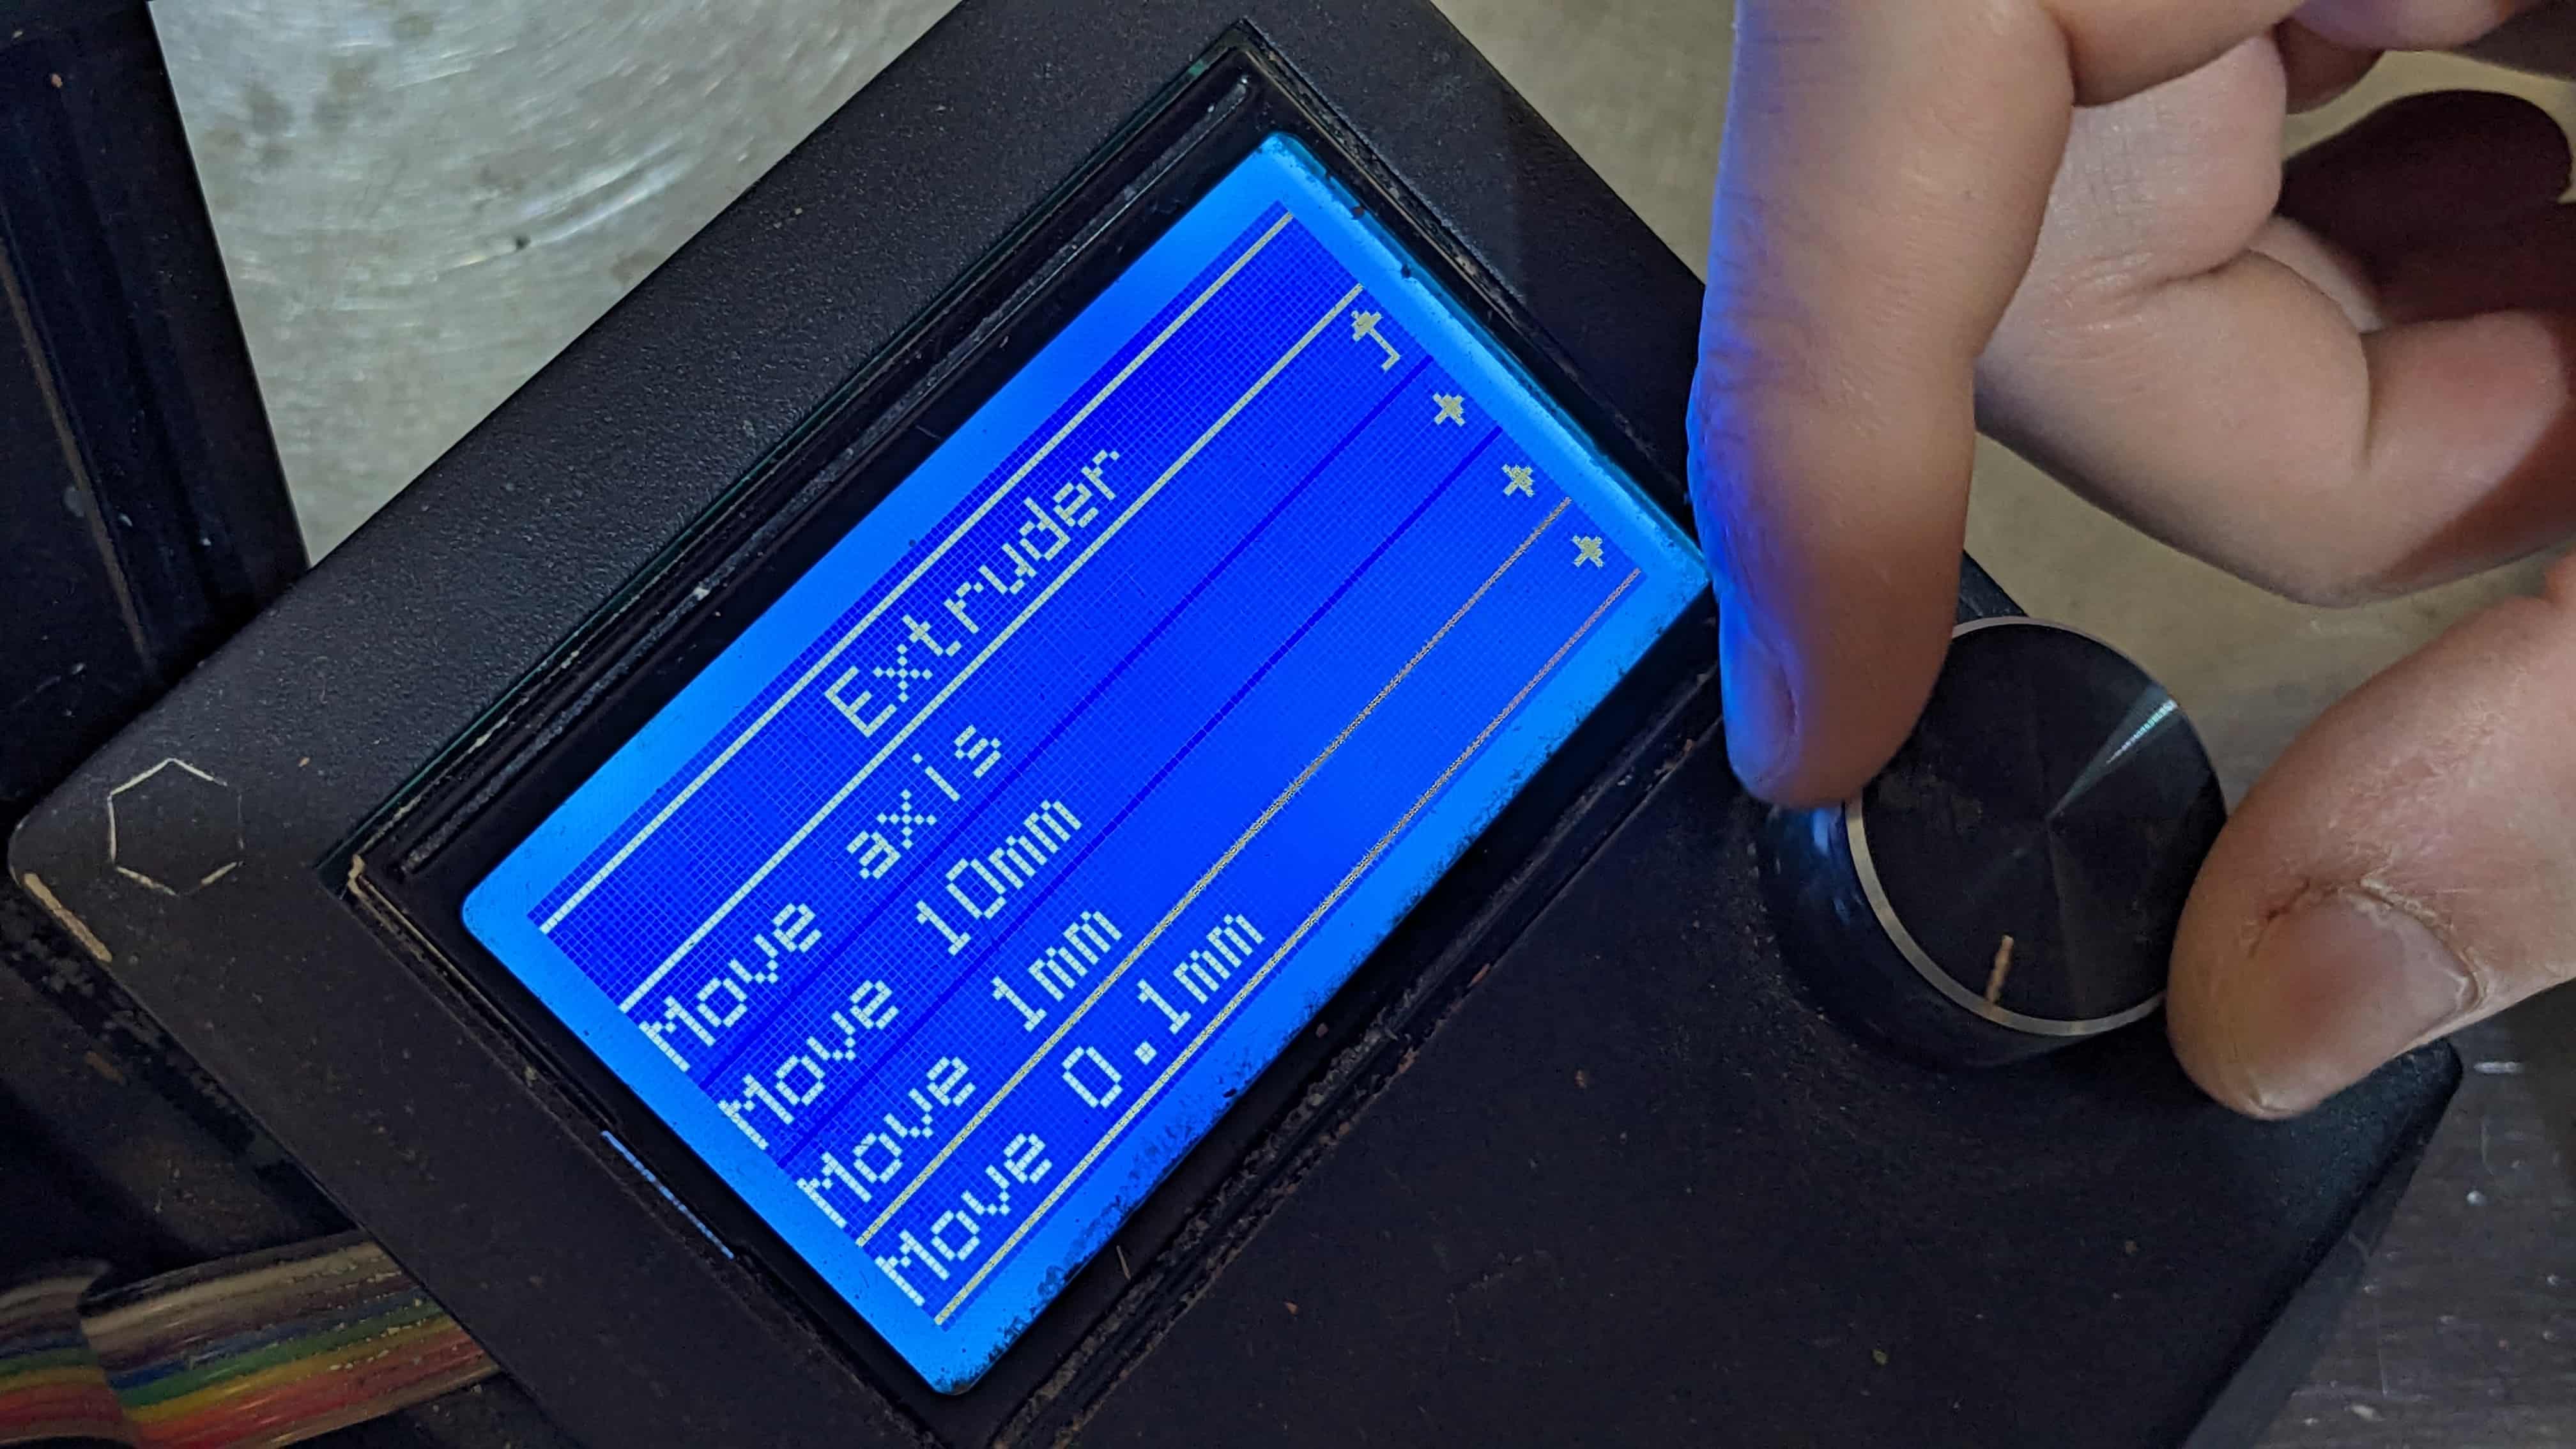
Repetier Host - Manual controller:
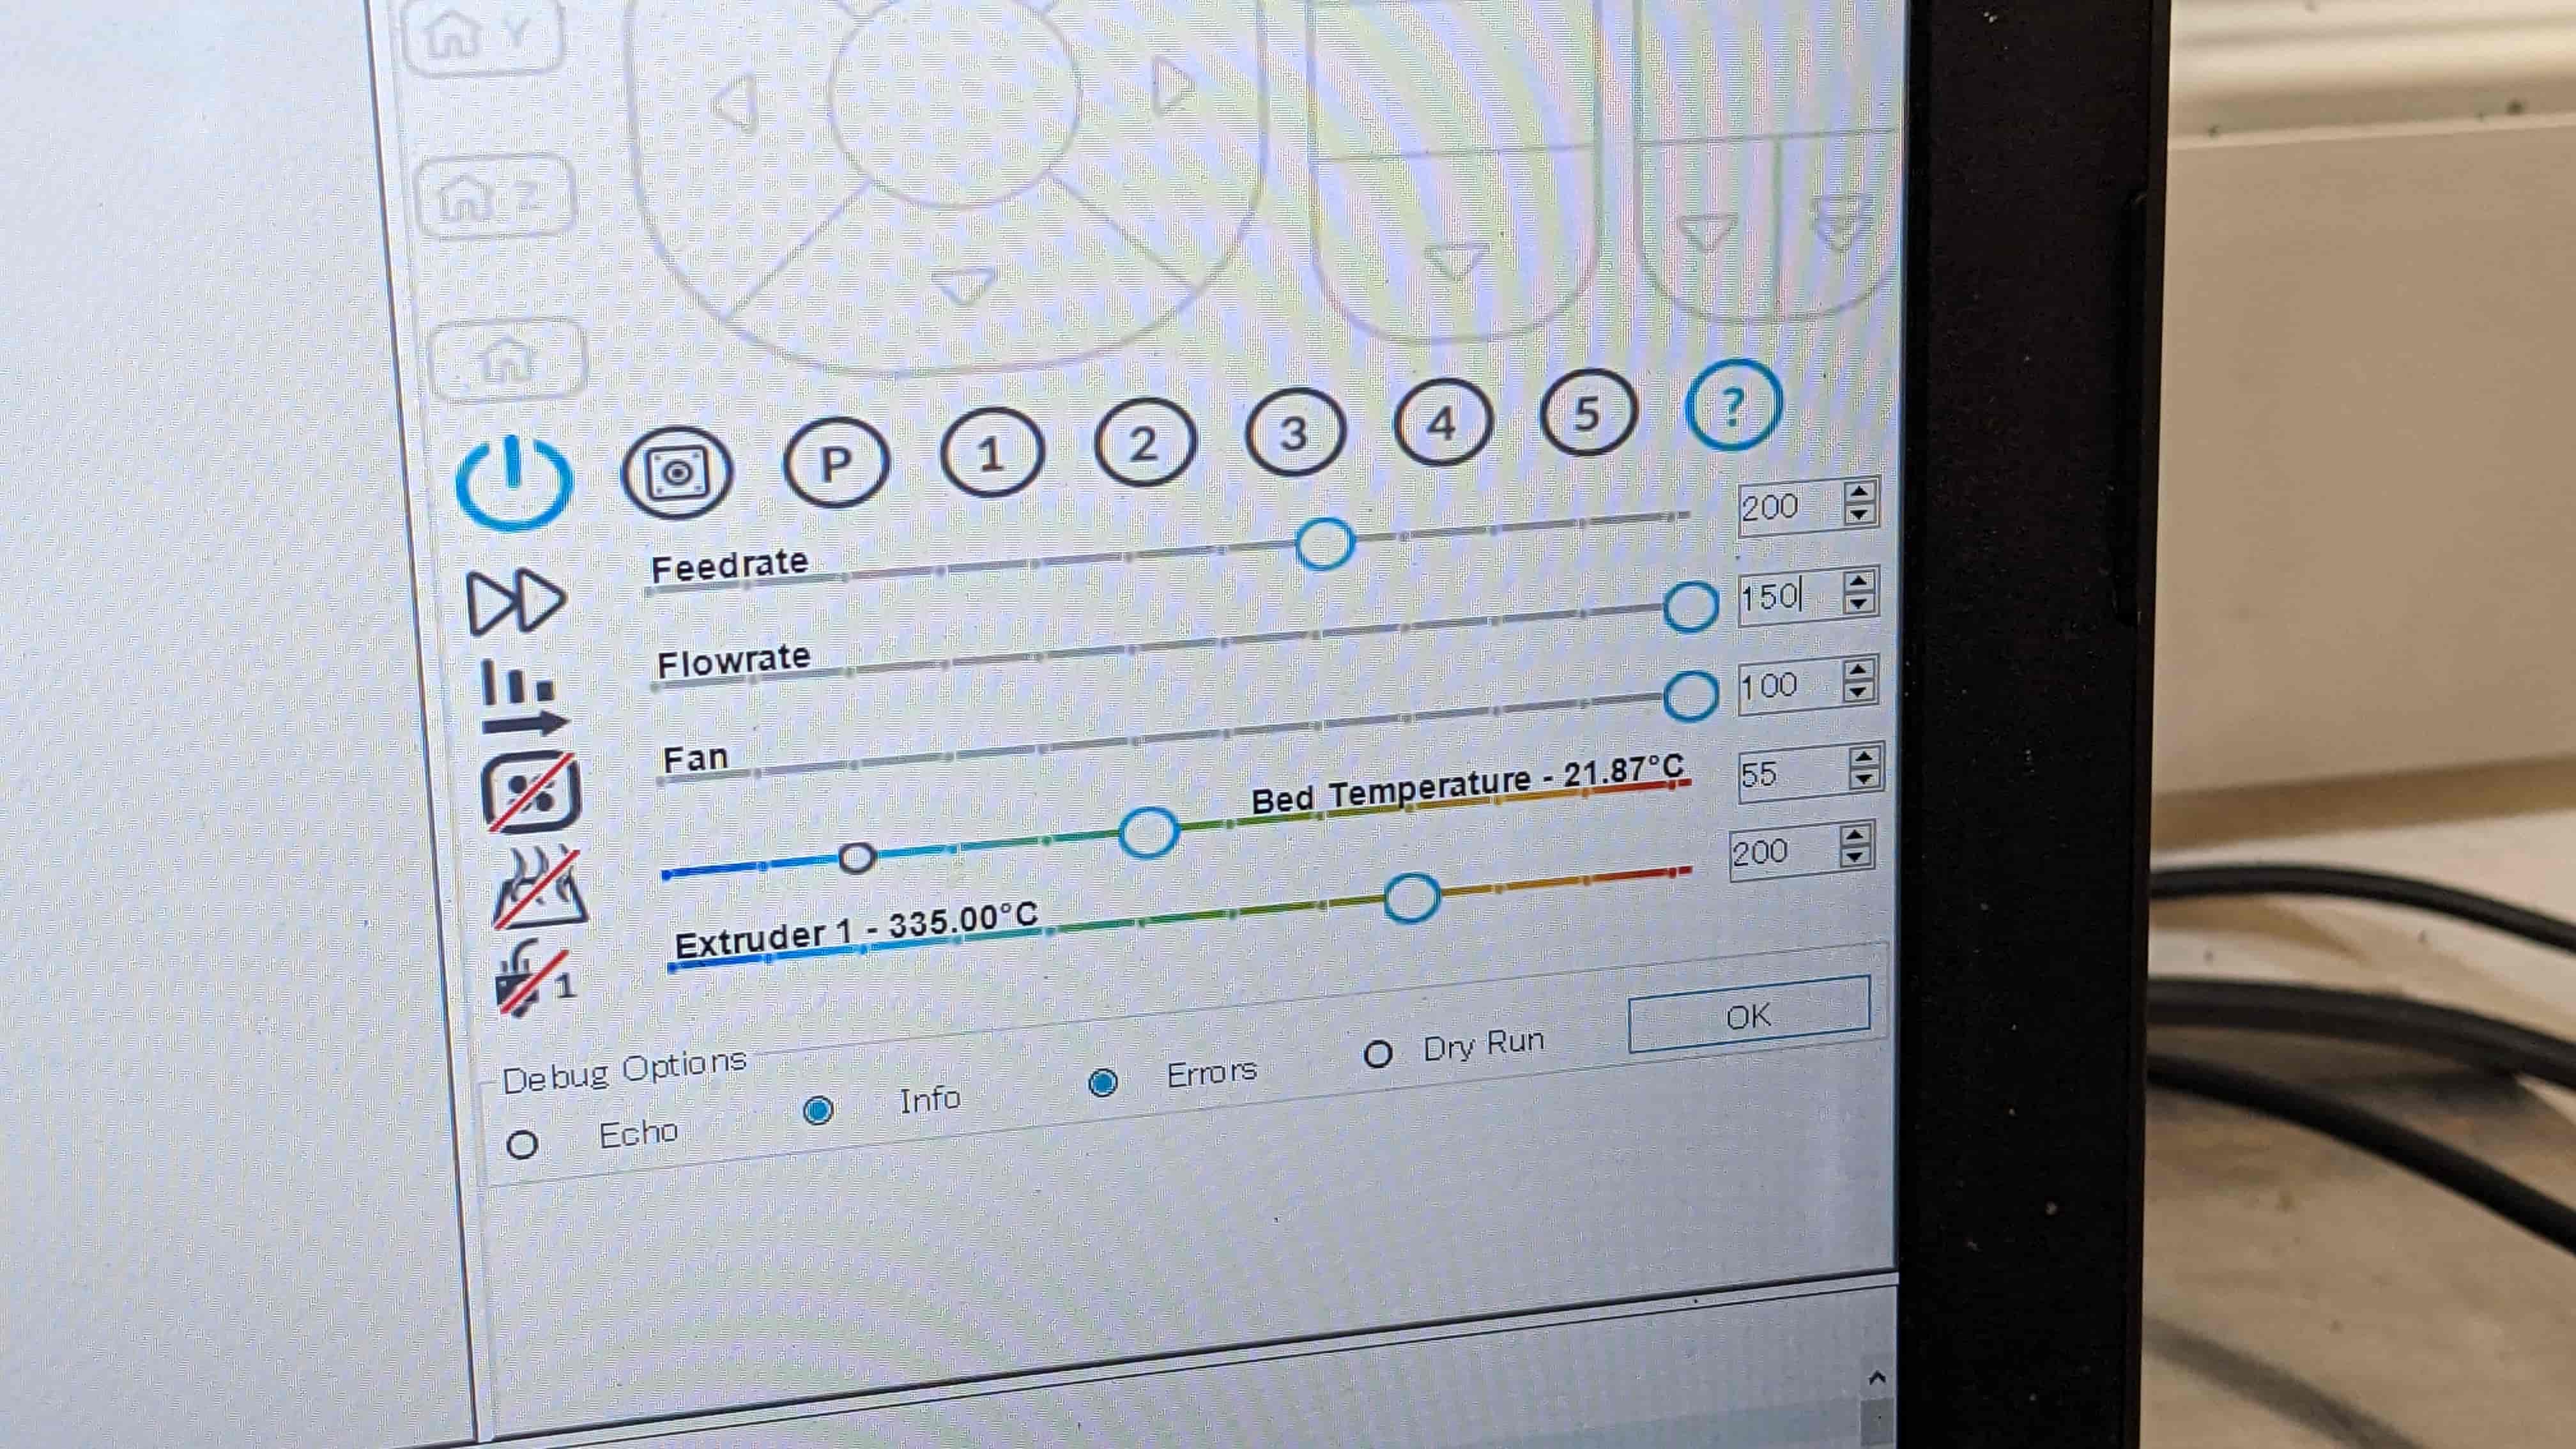
MAMBA (Grasshopper script):
Increase the following settings
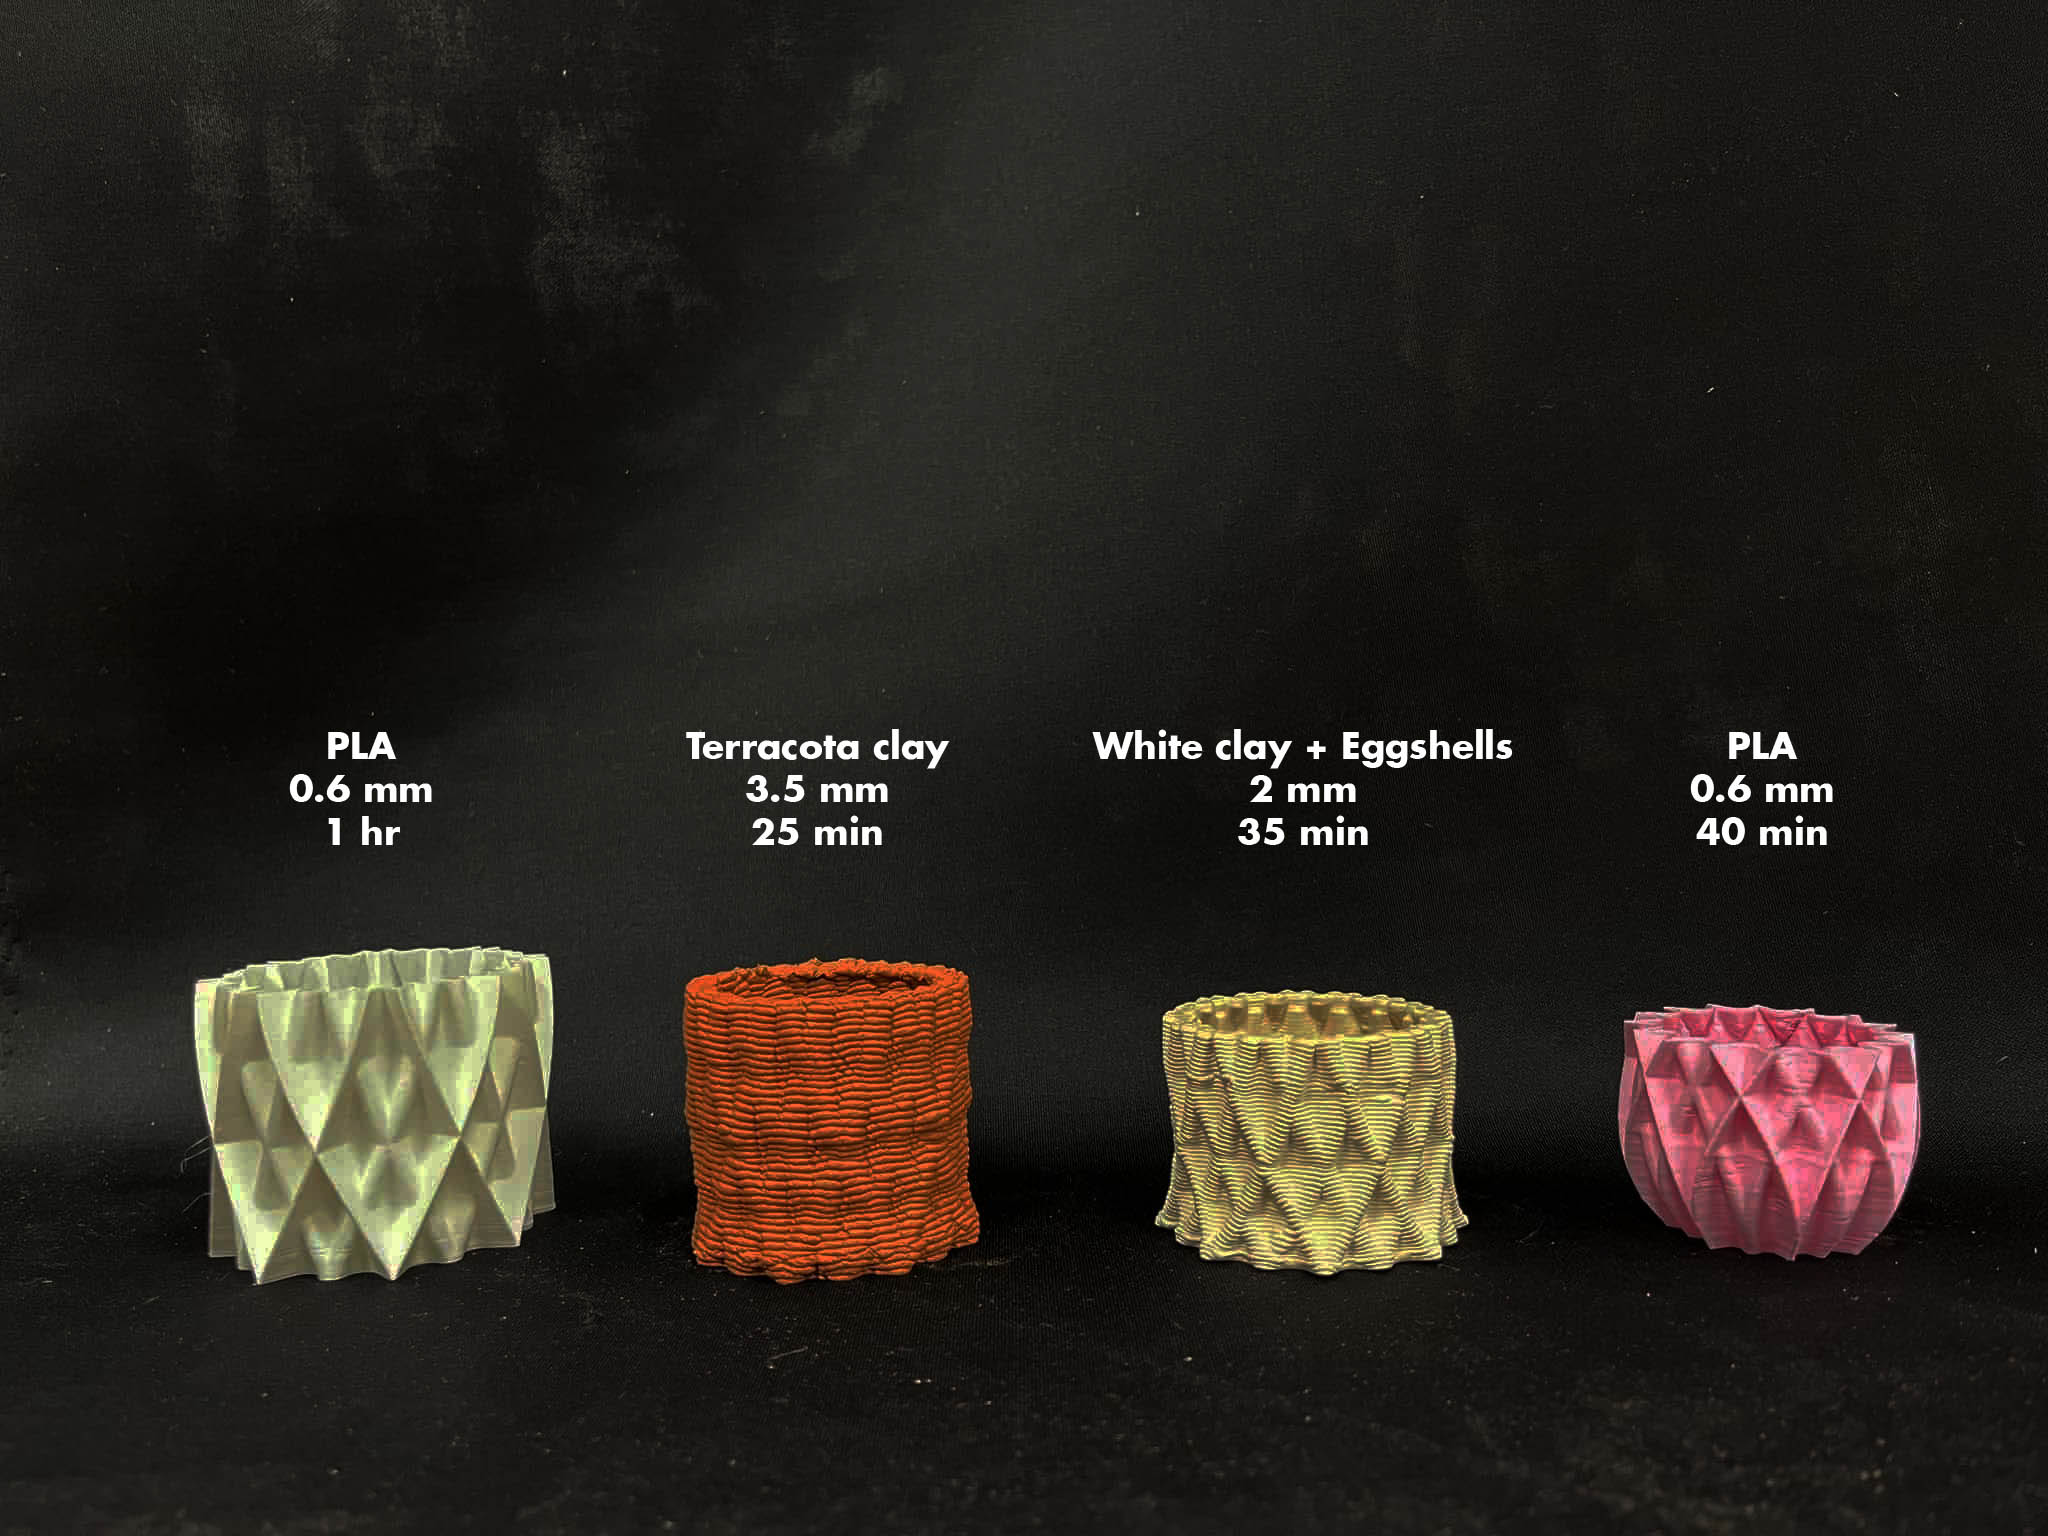
Final Outcome
Advantages
Limitations
Resources
Josep Martí // Fab Lab Barcelona lead instructor
Adai Suri // Fab Lab Barcelona instructor
Files
Download the 3D scanning and printing ZIP packages here.