Week 02 - Computer Aided Design
What is CAD? + Key features
Computer-Aided Design (CAD) is a technology that uses computer systems to assist in the creation, modification, analysis, or optimization of designs for various applications. CAD software is widely used in various industries, including architecture, engineering, manufacturing, and product design. Key features:
Vinyl Cutting Design Process Using Inkscape
By following these steps, you can convert any image into a design ready for vinyl cutting using Inkscape.
Step 1: Importing the Image
Start by importing the image you want to convert into a vinyl cut design. In this example, we are using a photo of a person.
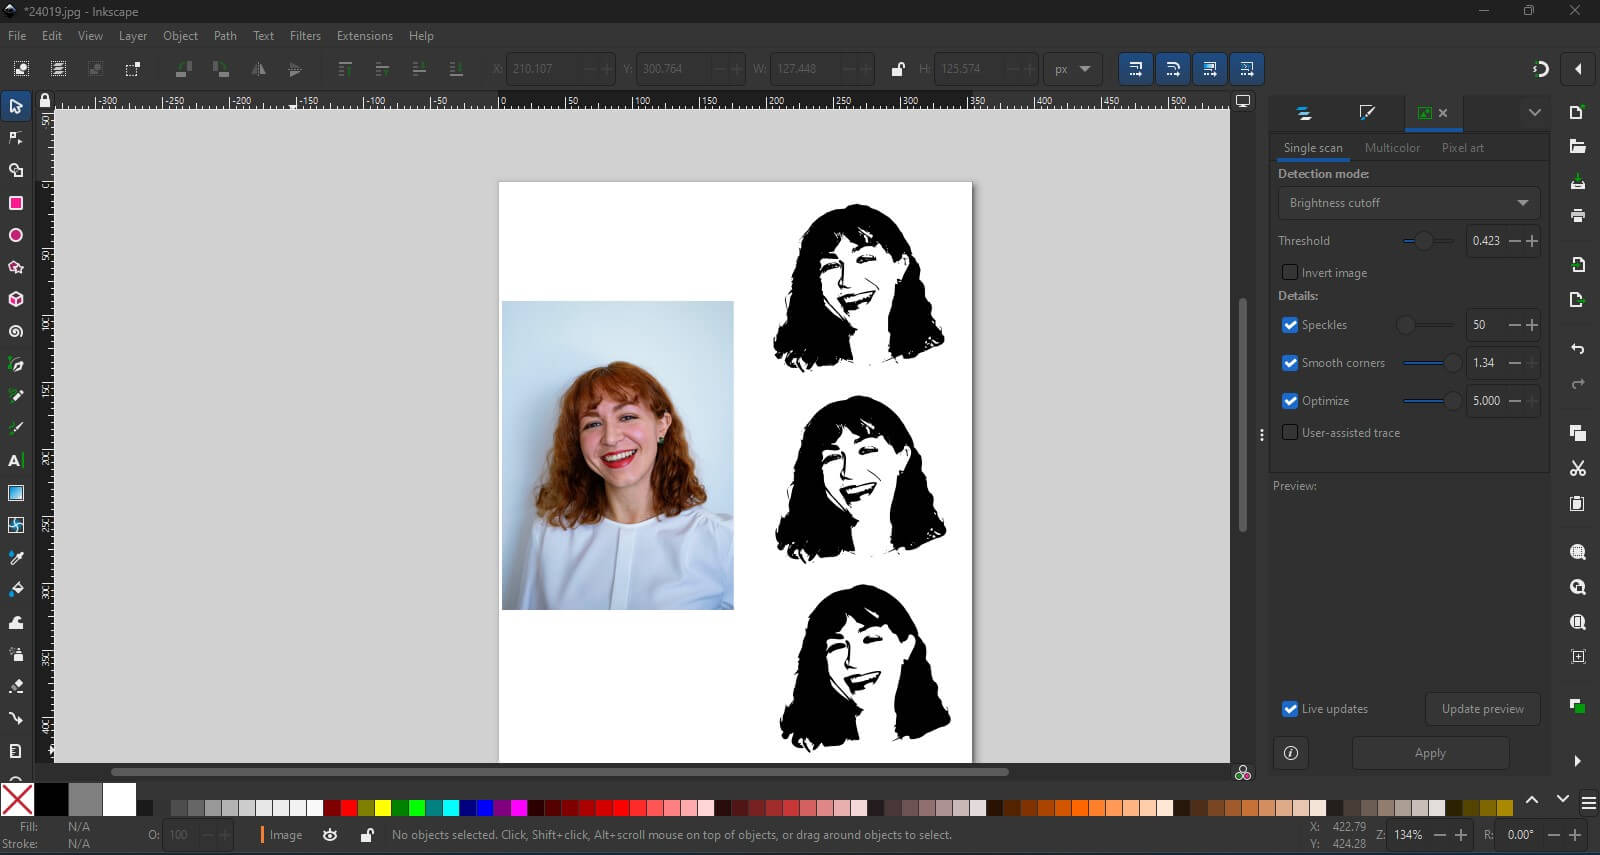
Step 2: Tracing the Bitmap
Use the "Trace Bitmap" feature in Inkscape to convert the image into a vector. Adjust the settings for brightness cutoff, threshold, speckles, smooth corners, and optimize to get the desired level of detail. This step converts the photo into a black and white vector image.
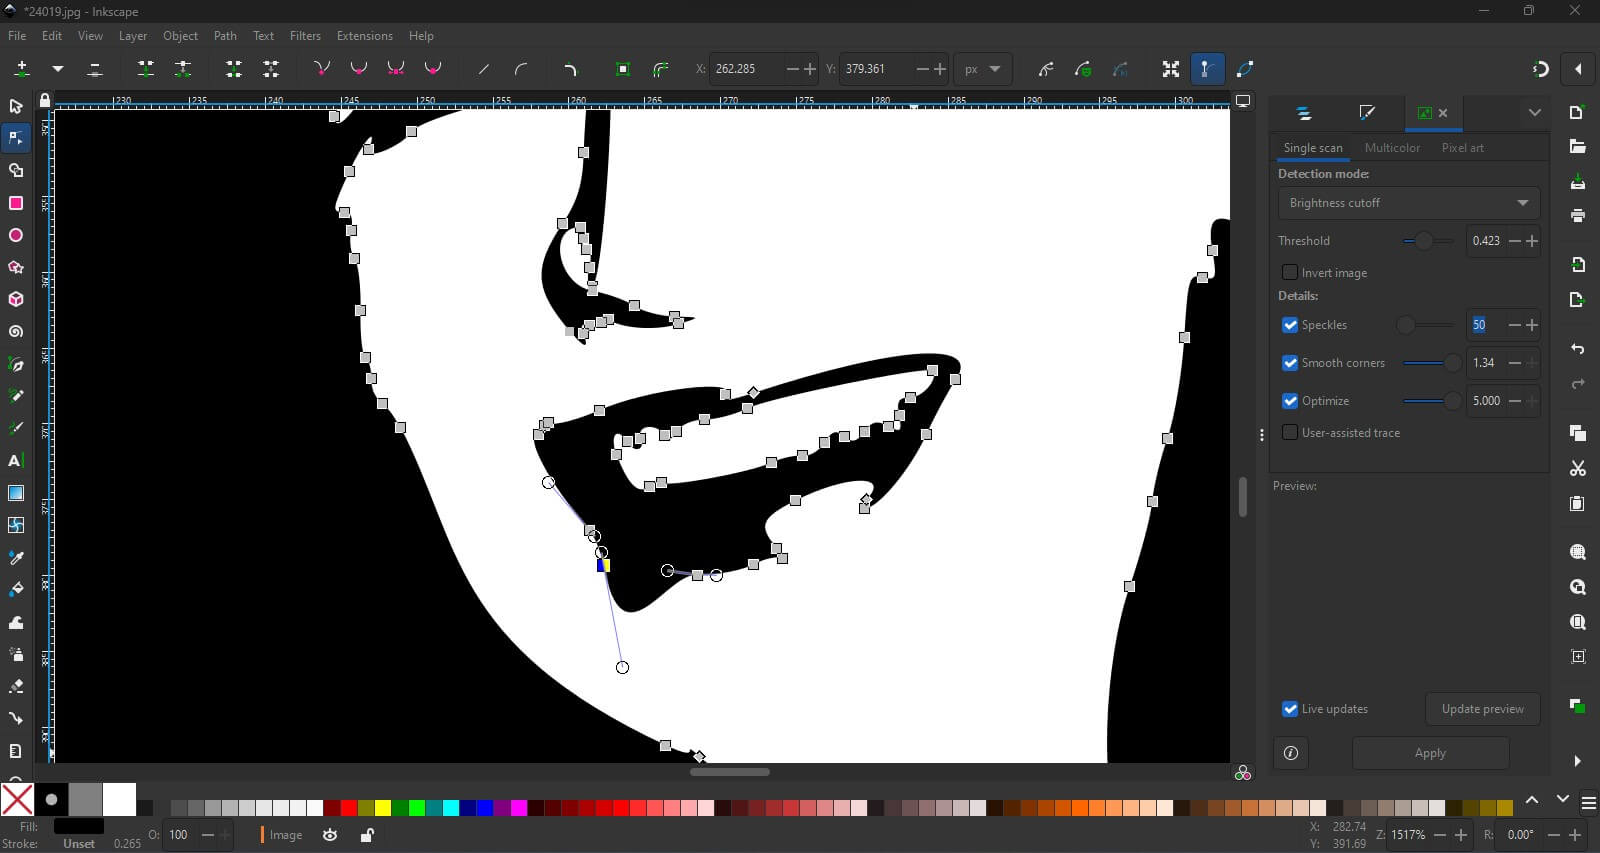
Step 3: Refining the Vector Image
After tracing the bitmap, refine the vector image by adjusting the nodes. This ensures that the paths are smooth and the design is clean, which is essential for a good vinyl cut.
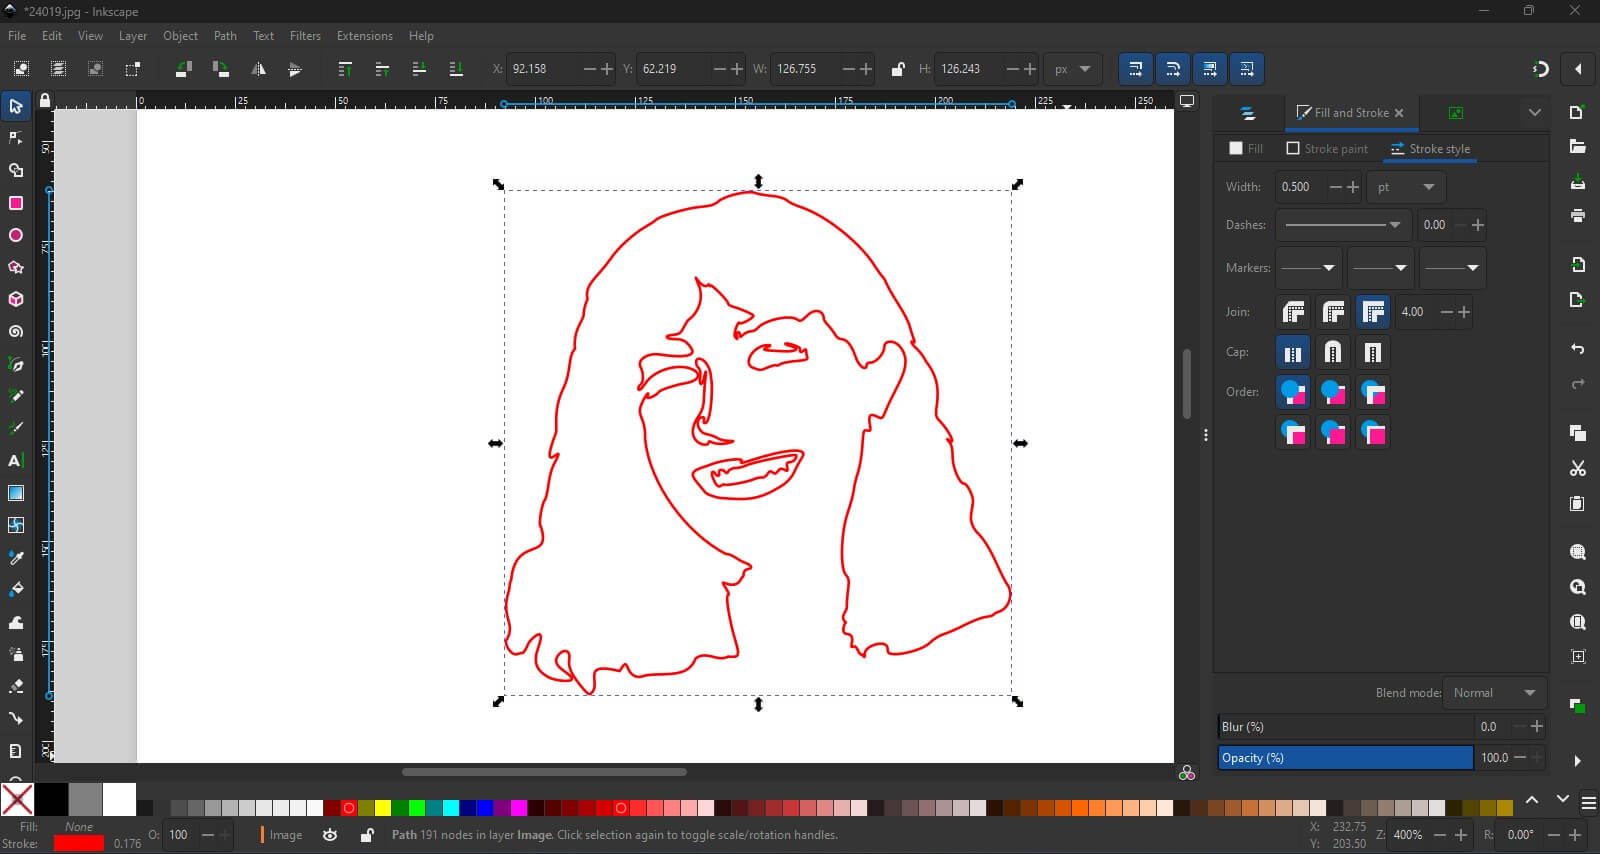
Step 4: Finalizing the Design
Once the vector image is refined, finalize the design by setting the stroke and fill options according to your vinyl cutting requirements. Save the final design in a format compatible with your vinyl cutter.
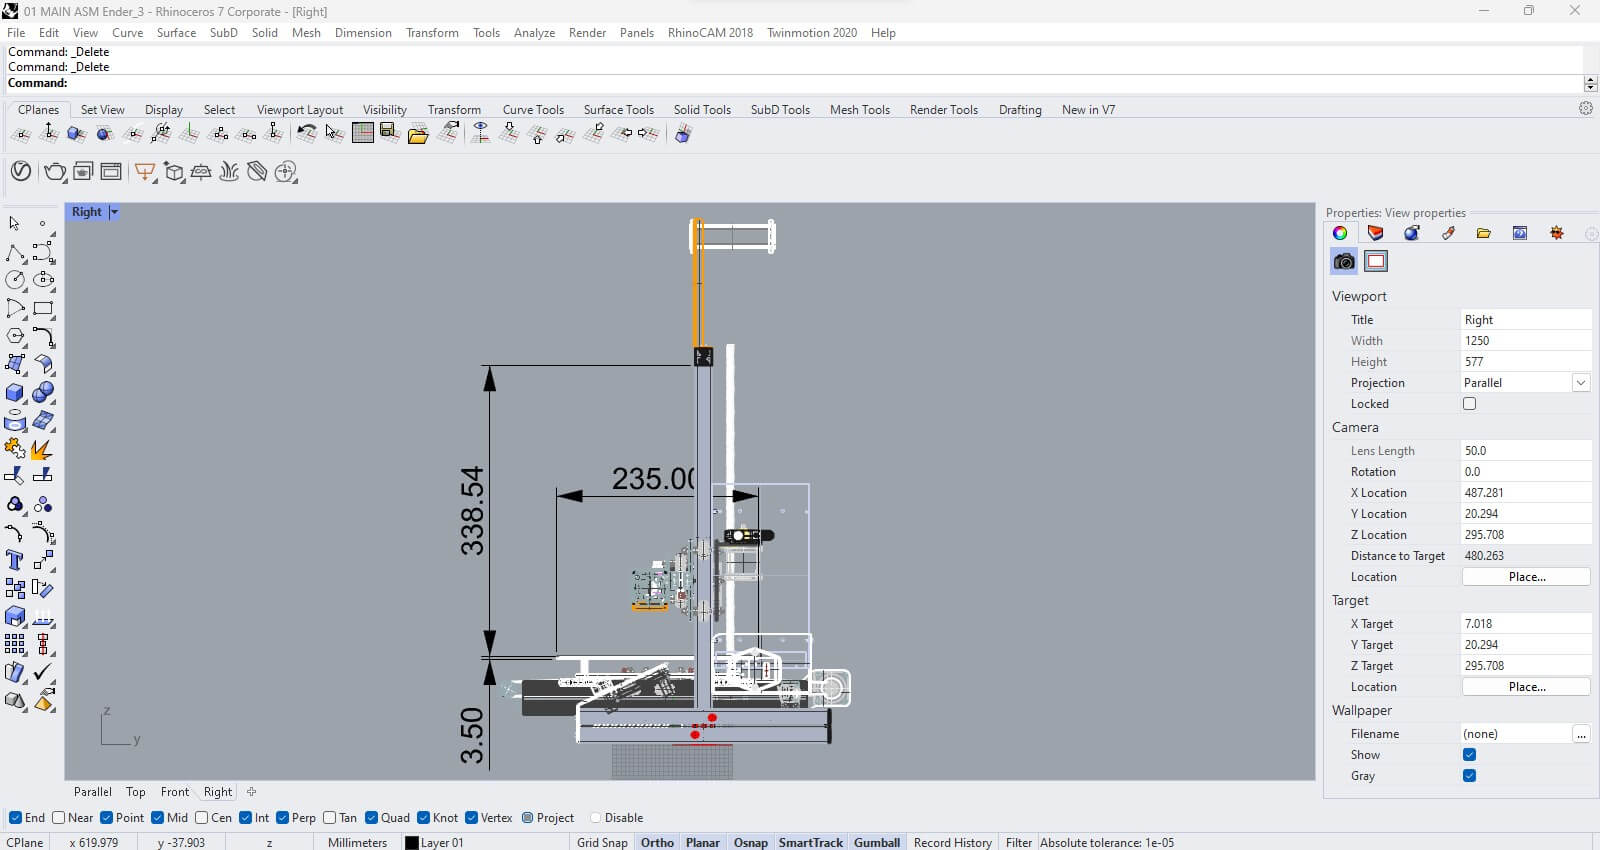
3D modeling: Rhino
For my final project, I want to design a series of adjustable gadgets for adapted 3D printers that focus on material extrusion (clay & biomaterials)
To begin, I checked the bio-lab printer for paste printing and they re-adapted a Creality Ender Pro 3. I took basic measurements of the bed but since there are many components to consider if you want to be precise I rather decided to look for a complete 3D model of the machine (which luckily I found). This is the link for downloading, click here.
After confirming the physical and digital measurements I began to design on the same file. By following these steps, you can create detailed and accurate 3D models using Rhino.
Step 1: Creating the Initial Lines
Begin by drawing the initial lines and curves that will form the basis of your 3D model. These lines are crucial for defining the shape and structure of the design.
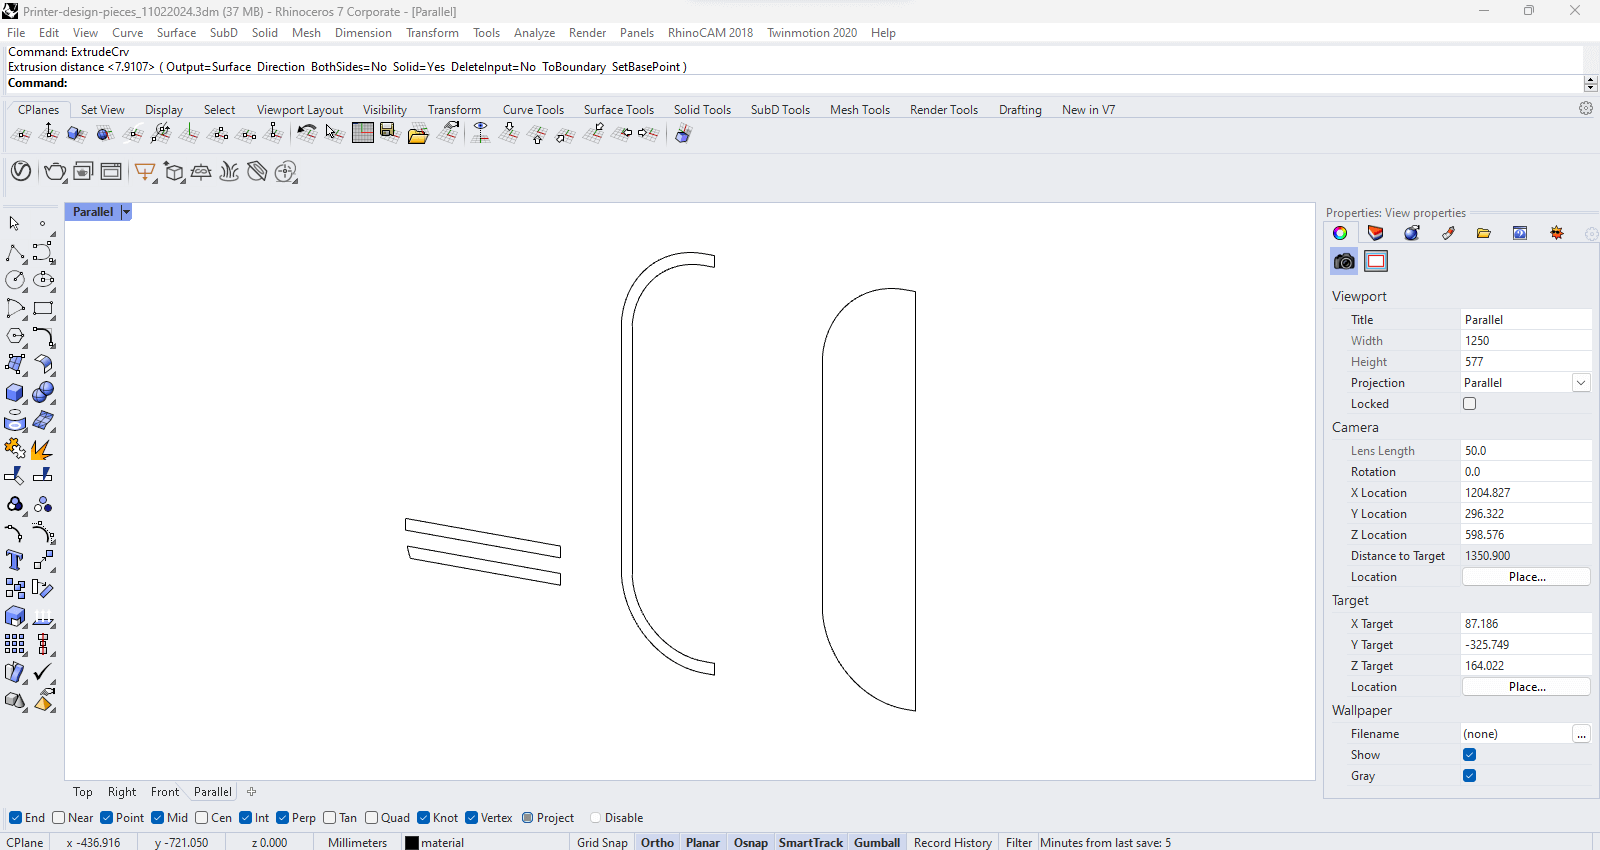
Step 2: Extruding the Curves
Use the "Extrude" command to convert the 2D curves into 3D surfaces. Adjust the extrusion distance and other parameters to achieve the desired thickness and shape for your model.
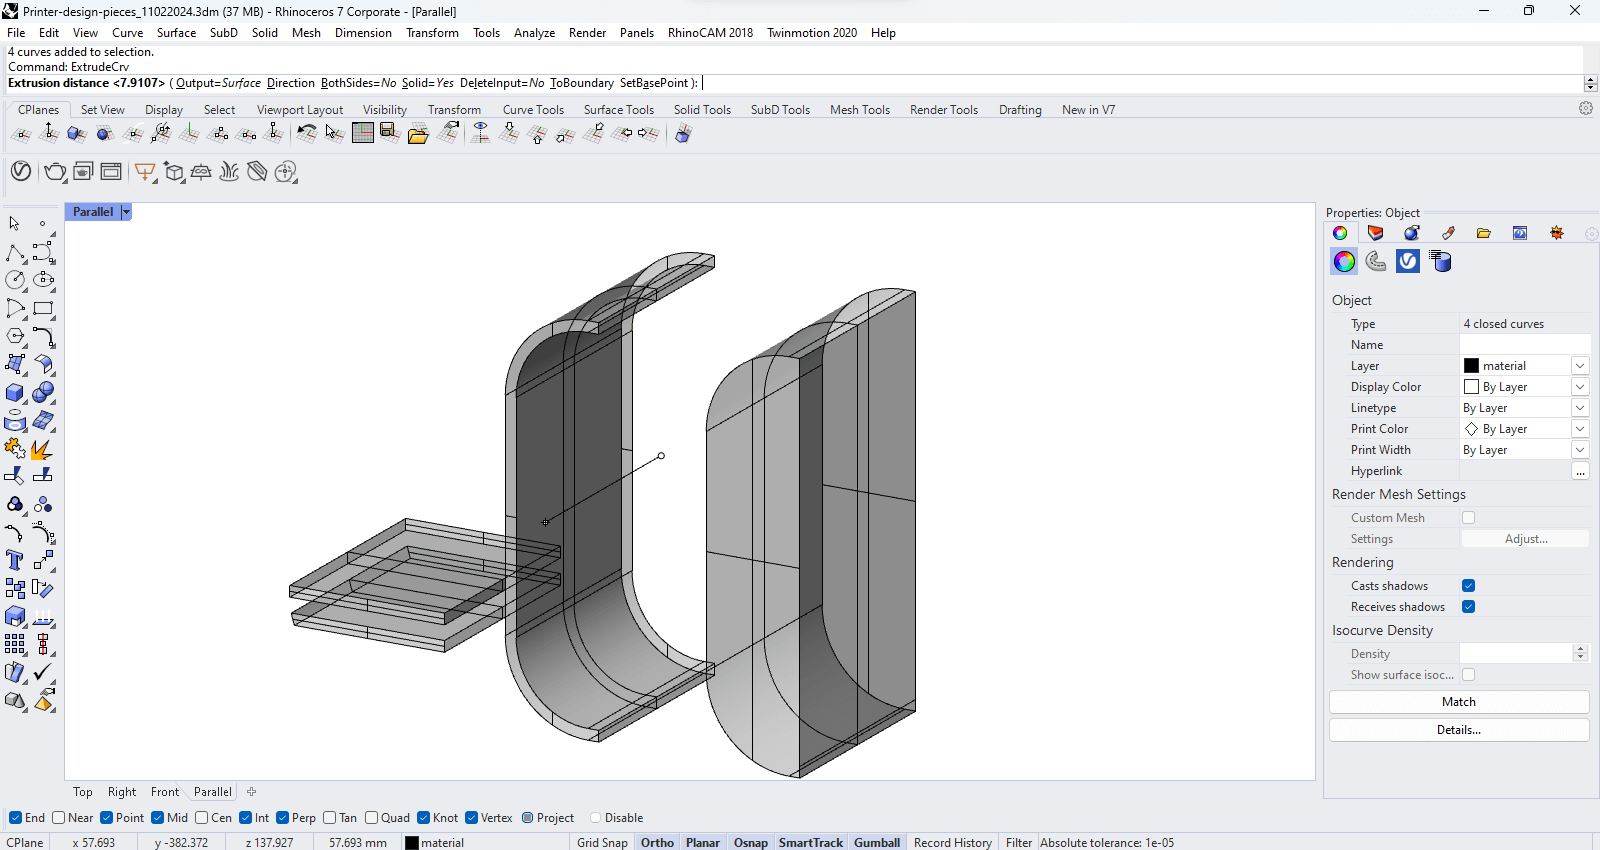
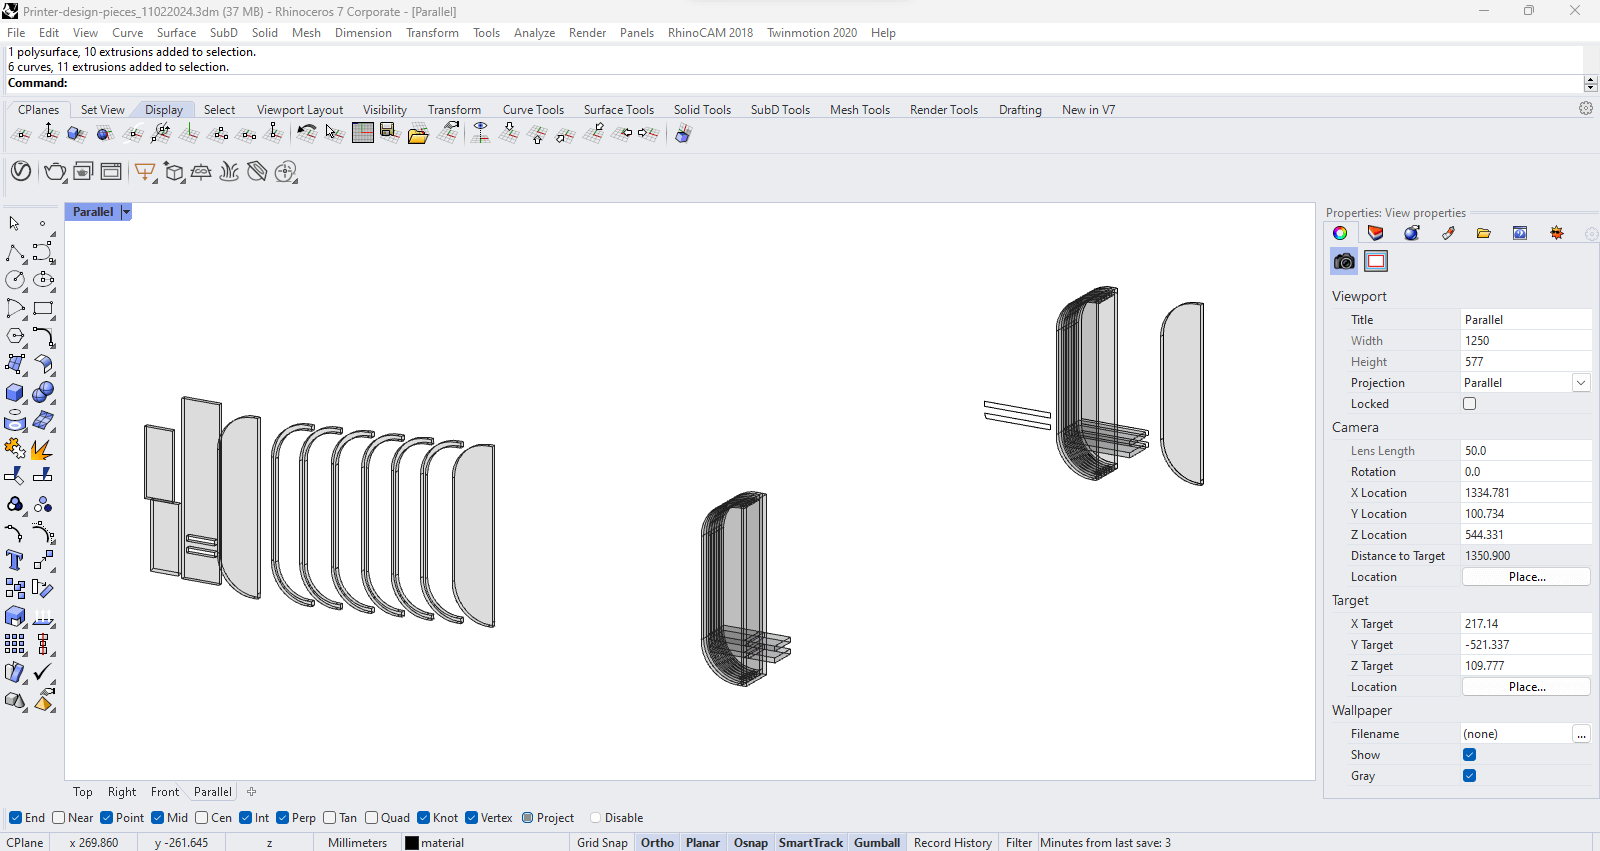
Step 3: Refining the 3D Model
Refine the extruded surfaces to ensure they meet your design specifications. This may involve adjusting the control points, trimming surfaces, and ensuring the overall integrity of the 3D model.
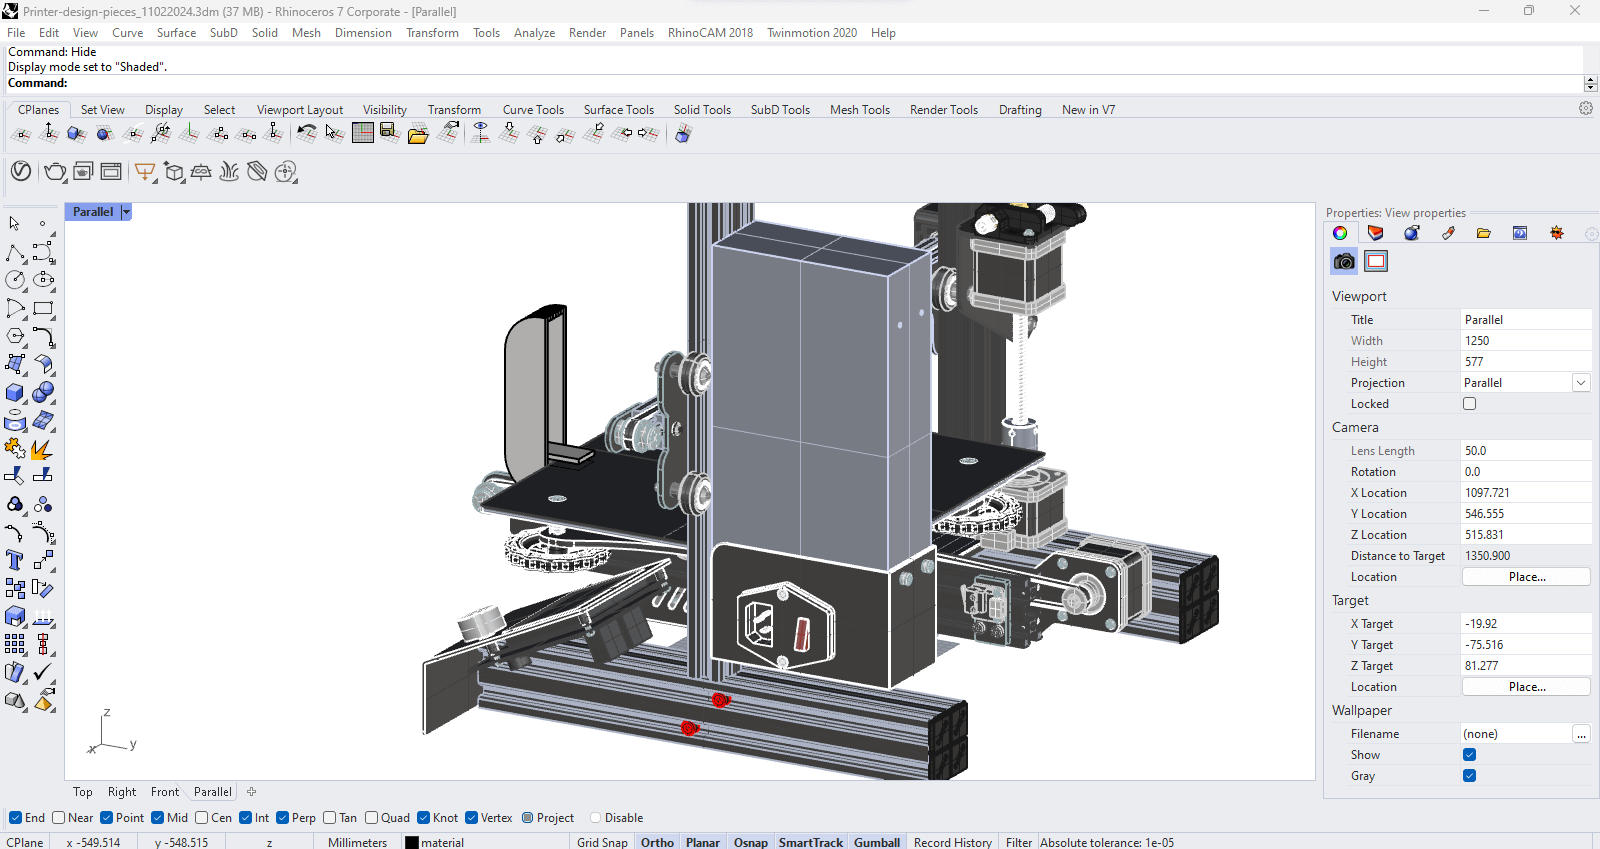
Step 4: Assembling the Components
Assemble the individual components to create the final model. Ensure that all parts fit together correctly and make any necessary adjustments to achieve a seamless design.
Resources
Josep Martí // Fab Lab Barcelona lead instructor
Adai Suri // Fab Lab Barcelona instructor
Julia Leirado // Fab Lab Barcelona instructor
Files
Download the Inkscape and Rhino ZIP packages here.