Week 15 - Wildcard week
Robotics & Live painting
Idea
The project aimed to explore the use of a robotic arm for live painting, combining robotics and electronics with creative expression.
How It Works
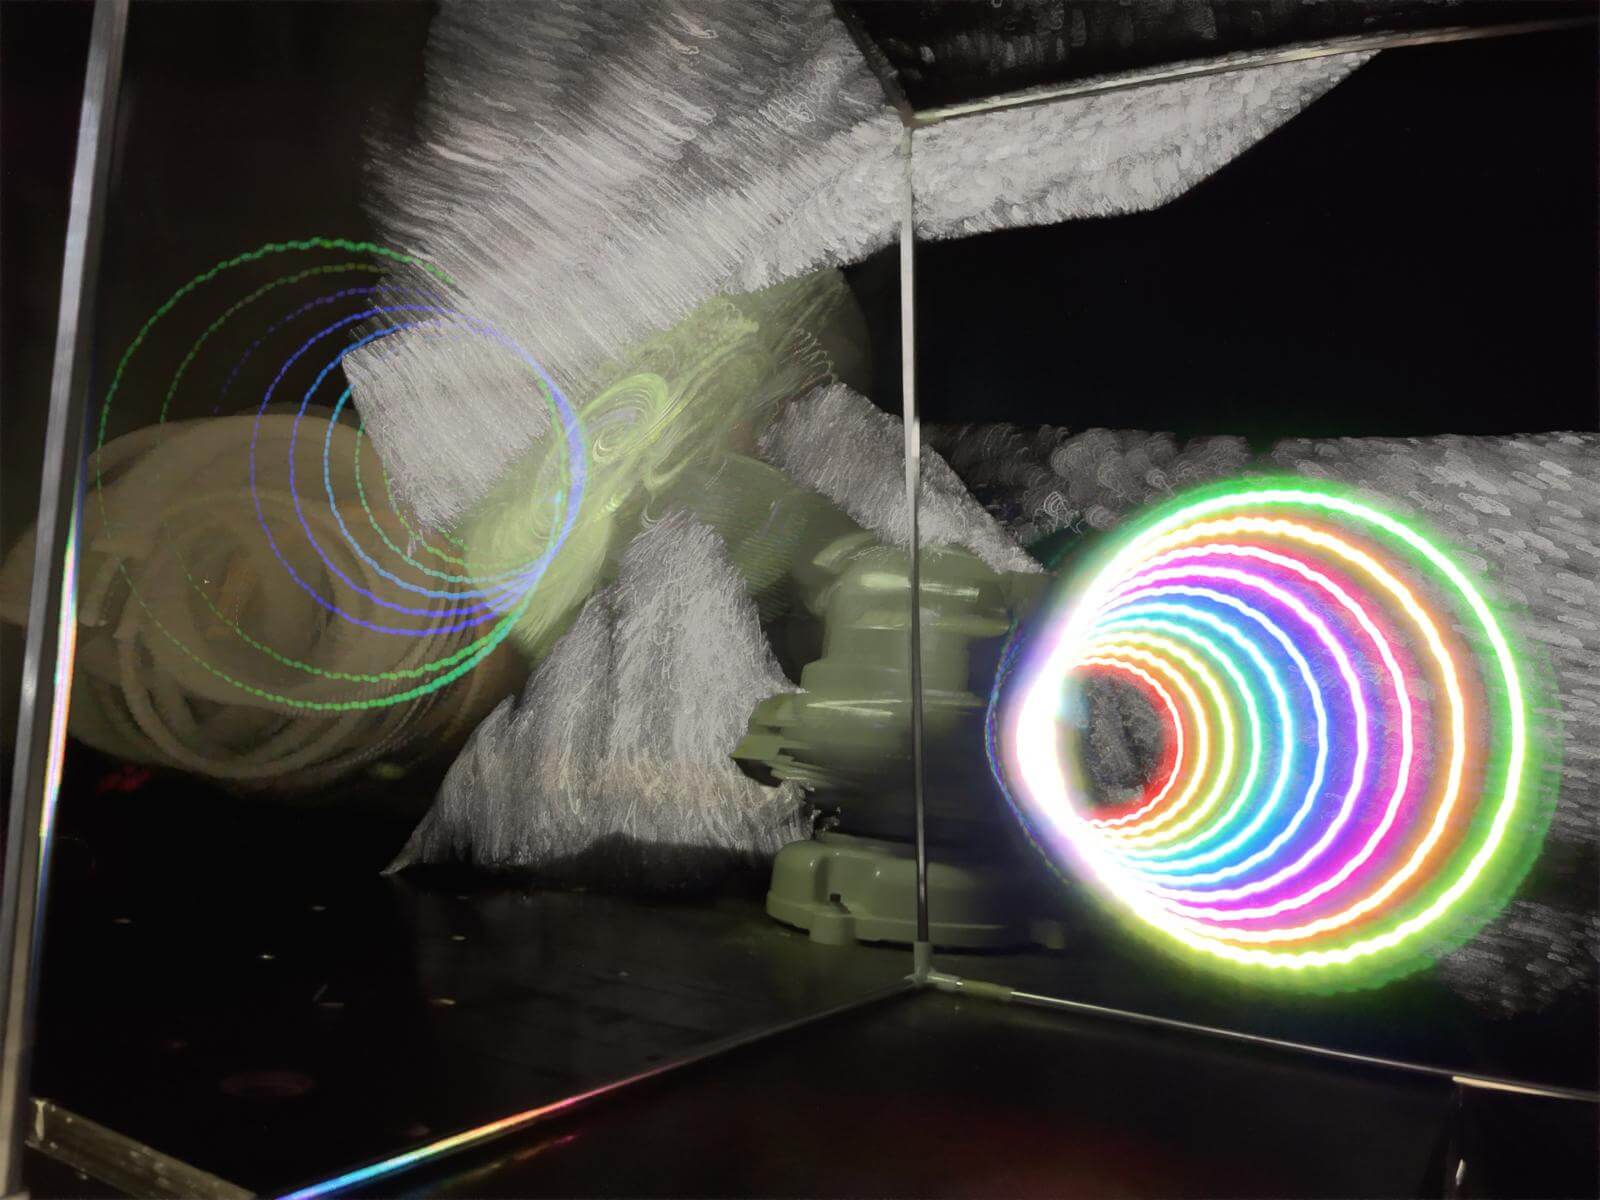
Live painting with a robotic arm involves programming the arm to move in specific patterns and apply paint to a canvas. In this case, we programmed a Neopixel and used an enclosed dark environment to capture the light and colors for simulating painting.
The process starts with designing a path using software like Rhino and Grasshopper. The robotic arm is then equipped with a Neopixel. Motion settings are configured, and the arm's movements are simulated to ensure accuracy. During the painting, the arm follows the programmed path, the environment is set up to optimize visibility and precision.
The Process
Rhino + Grasshopper script
For this week I decided to focus on using the robotic arm at IAAC, we had access to the ABB180 for quick basic learnings. Before starting, we had to download the special script and install the given libraries, which contain a variety of robotic arms from different institutions.
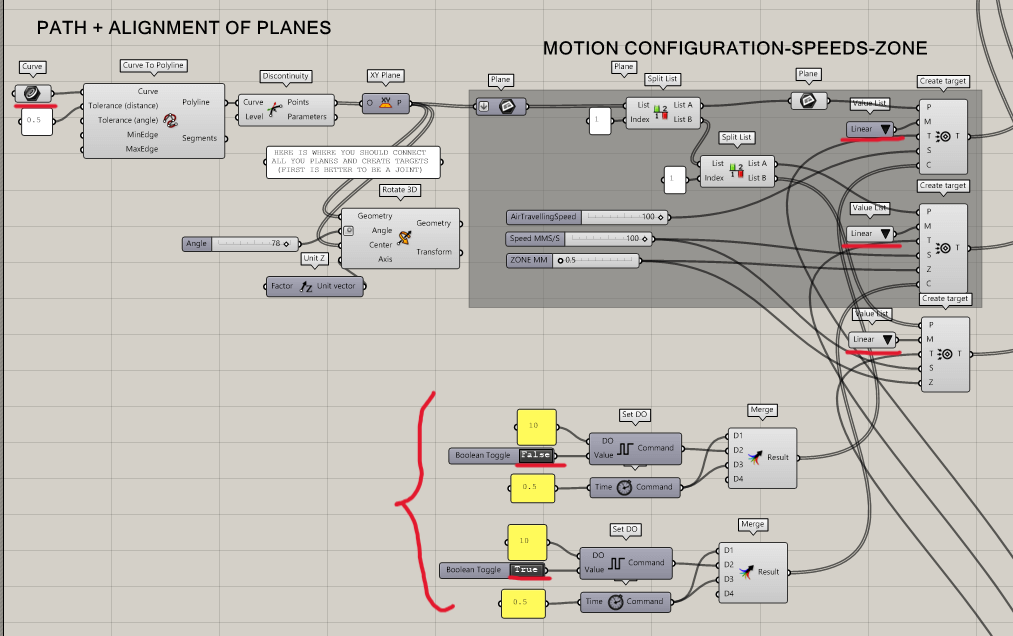
Once downloaded and fully functioning, its important to first understand all the sections and their components for a basic understanding of the script and being able to position the arm as physically. Here I highlighted in red the main sections to tweak:
- 1. Pick the correct arm from the list and orient the positioning plane with a point.
- 2. Change and assign the tool you want to use + revise the orientation plane.
- 3. Add the Neopixel color change by defining it in the lower part of the script where it says "Motion configuration speeds" (marked in red)
- 4. Simulation: you can visualize the movement of each axis of the arm and it will indicate (turning color red) when it isnt able to rotate or move. You can use the slider to revise step by step or right click on the player to use the controllers for a faster simulation.
- 5. Generate GCODE, save as a text file and ending .txt
Position robotic arm + Setting up surroundings
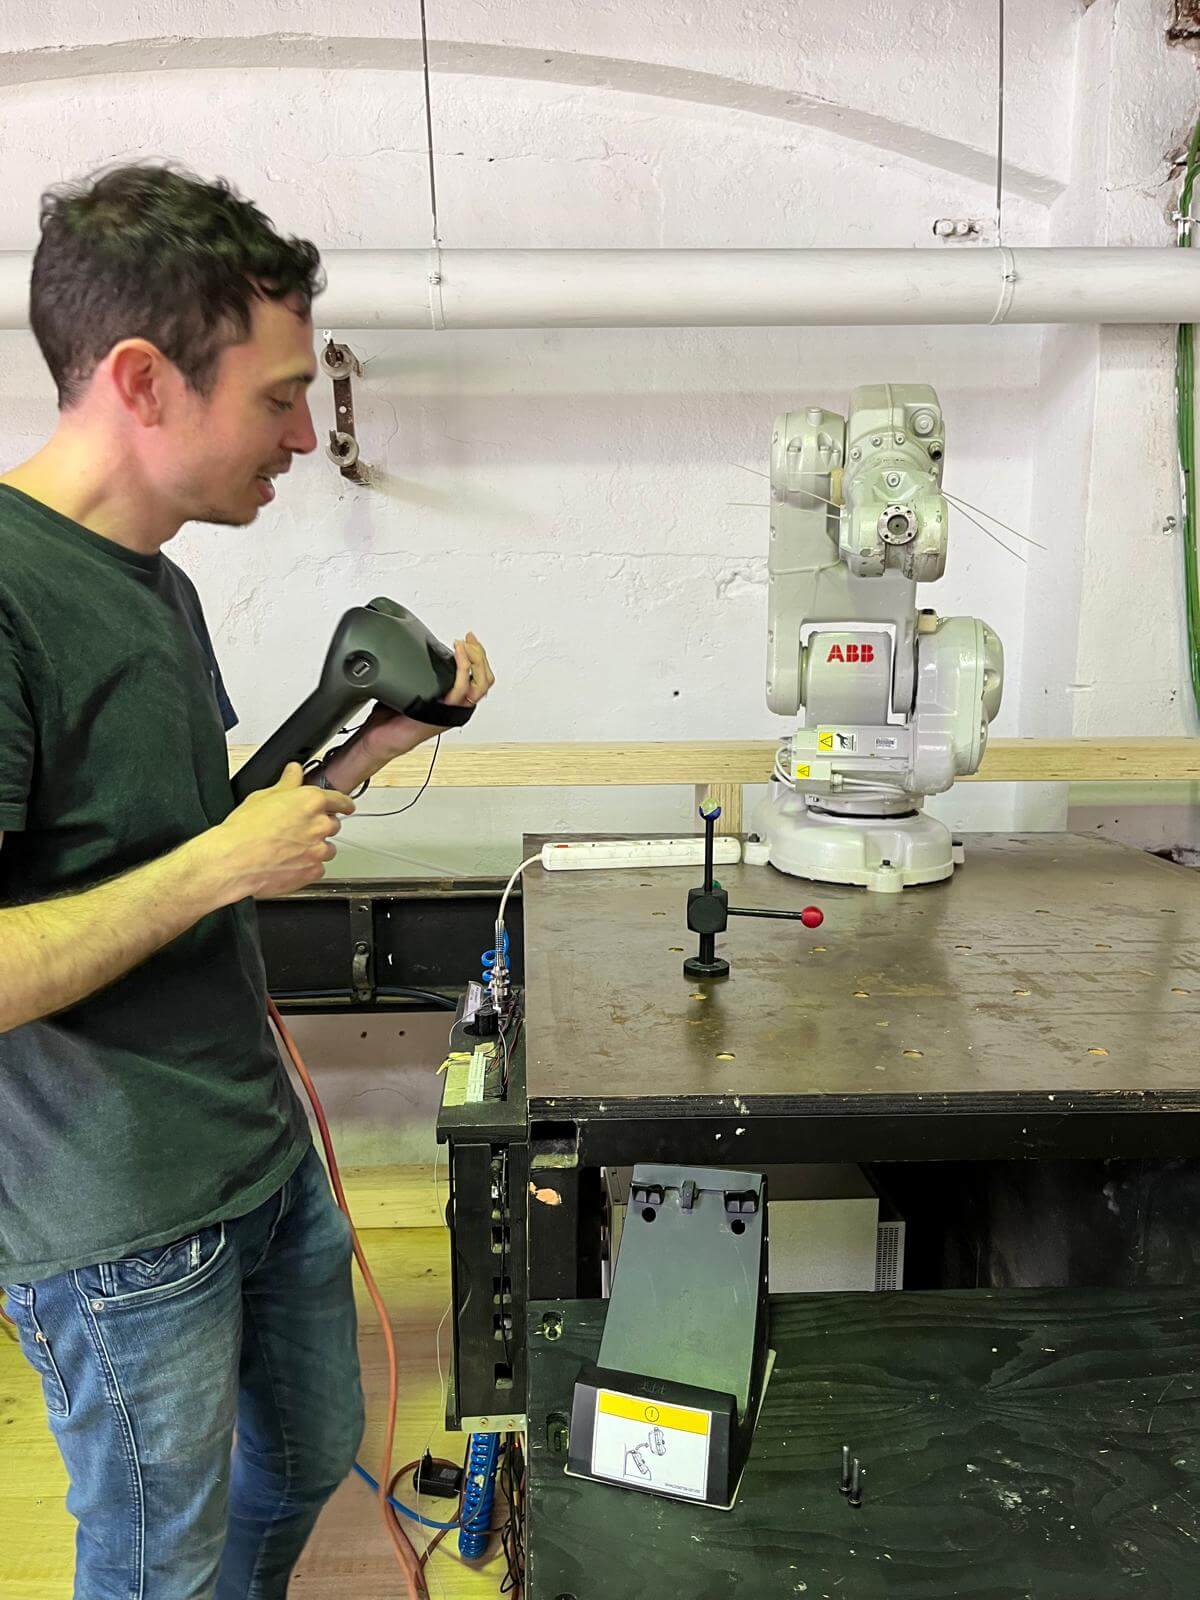
After playing digitally with the grasshopper script, we went upstairs of the woodshop where the smaller robotic arms are located. First we need to define the origin of the machine, to do so, there is a special tool that looks like a physical Gumball which has the X,Y,Z axis balls.
Using the controller you move manually the arm in order to touch one of the desired axis and define the point or origin of the machine.
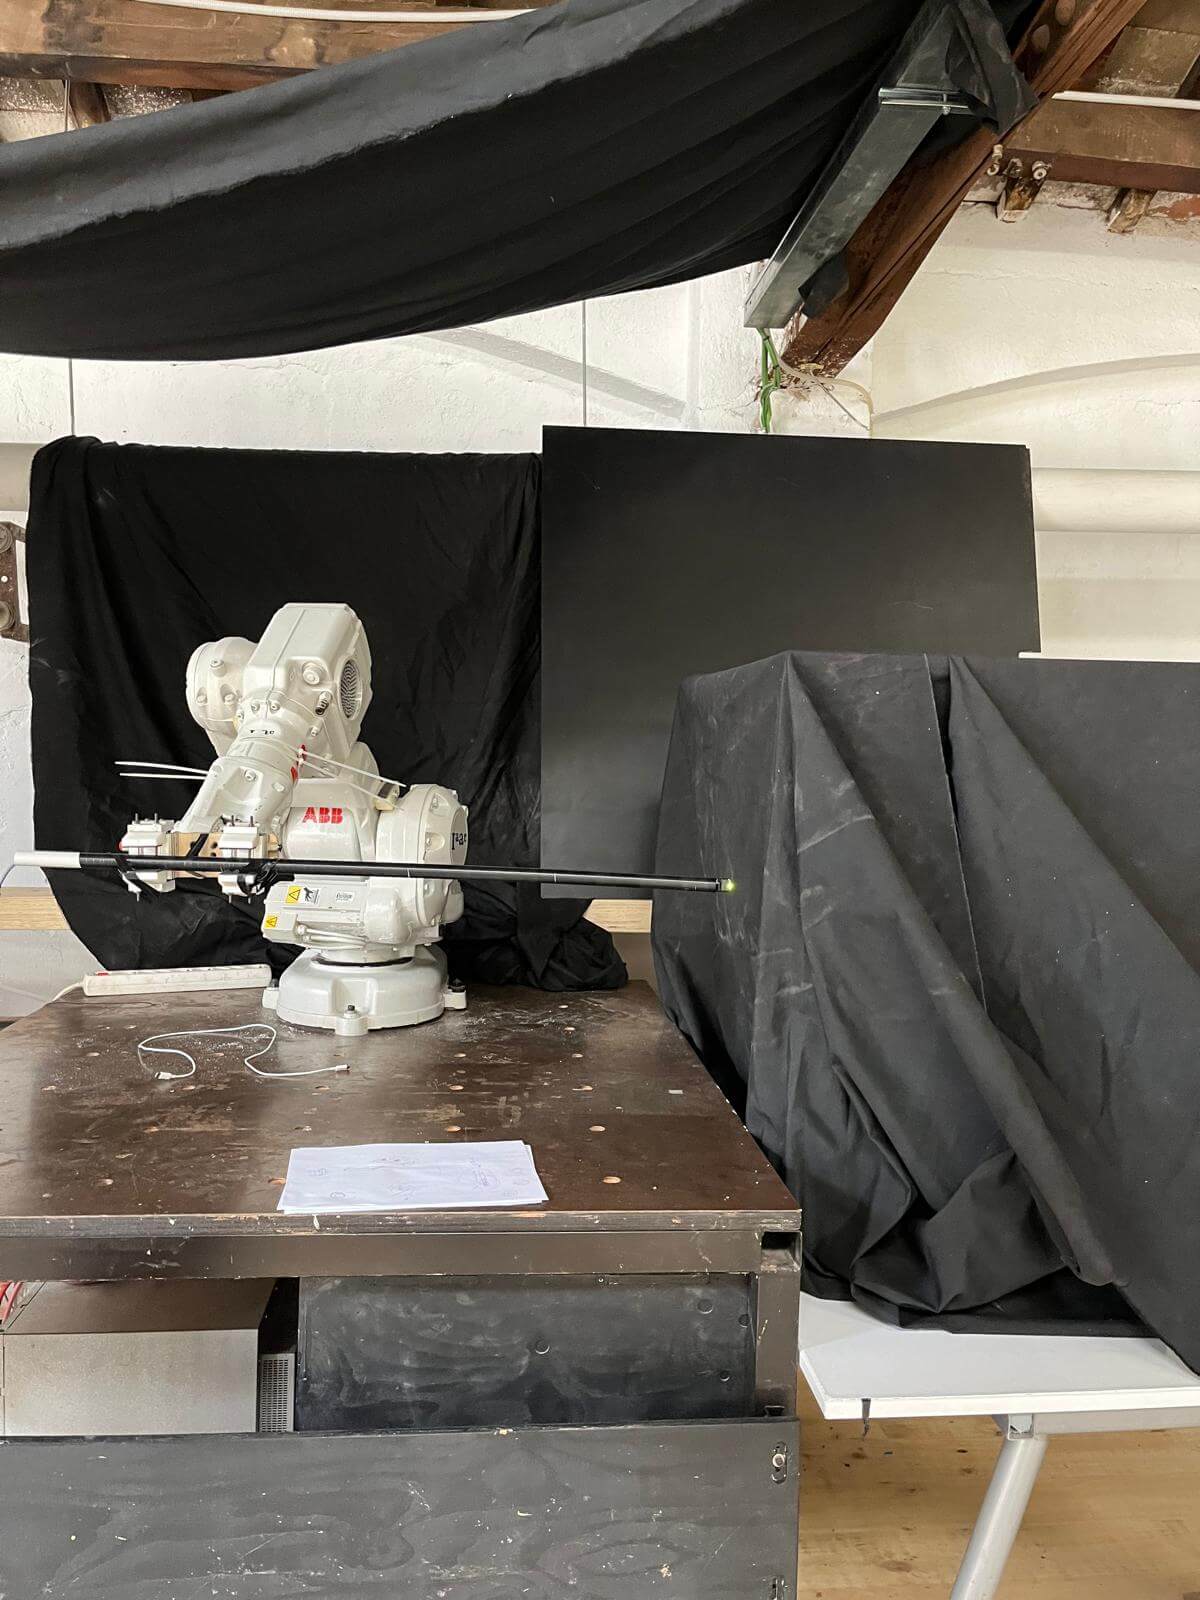
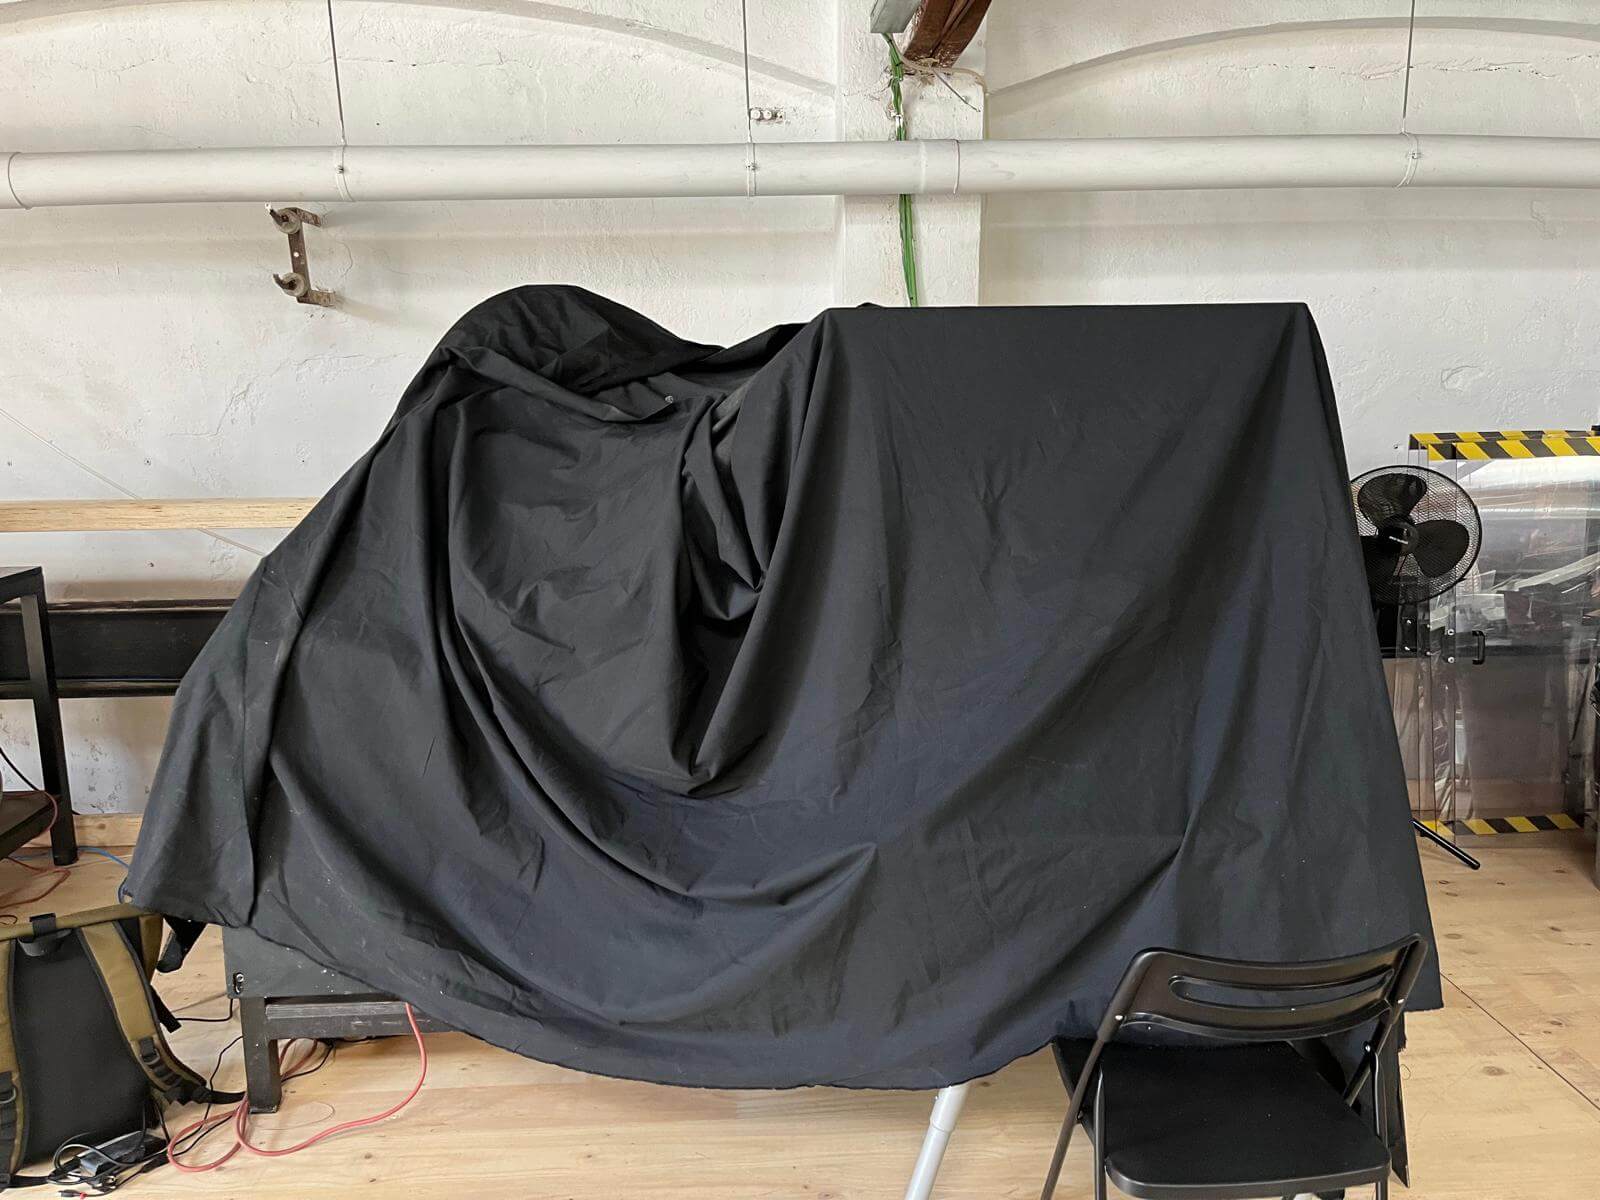
Once achieving this, here comes the most difficult part: make a close environment to do Live painting. The location of the arm is in a very iluminated space we had to use black cloth and a metallic structure and make more or less a stage where the Neopixel would go inside and to position the camera.
Live painting
This a video and some images of the final outcome, my instructor and I decided to play with the angle of the arm and also with the color. Definetly a complex learning but very happy and grateful for being able to experiment a bit with robotics. Thank you so much Josep!
The project resulted in successful live painting experiments, adjusting the settings mentiones before to achieve different effects. It provided valuable learning experiences in robotics and creative applications.
Resources
Josep Martí // Fab Lab Barcelona lead instructor
Julia Leirado // Fab Lab Barcelona instructor
Files
Download the ZIP package here.