Week 12 - Molding and casting
Design: rings and necklaces
For this week's assignment I wanted to cast biomaterial rings and necklace pendants. I will be milling a moldeable wax block which size is 14.9 x 8.9 x 3.8 cm. For that, I developed the following steps:
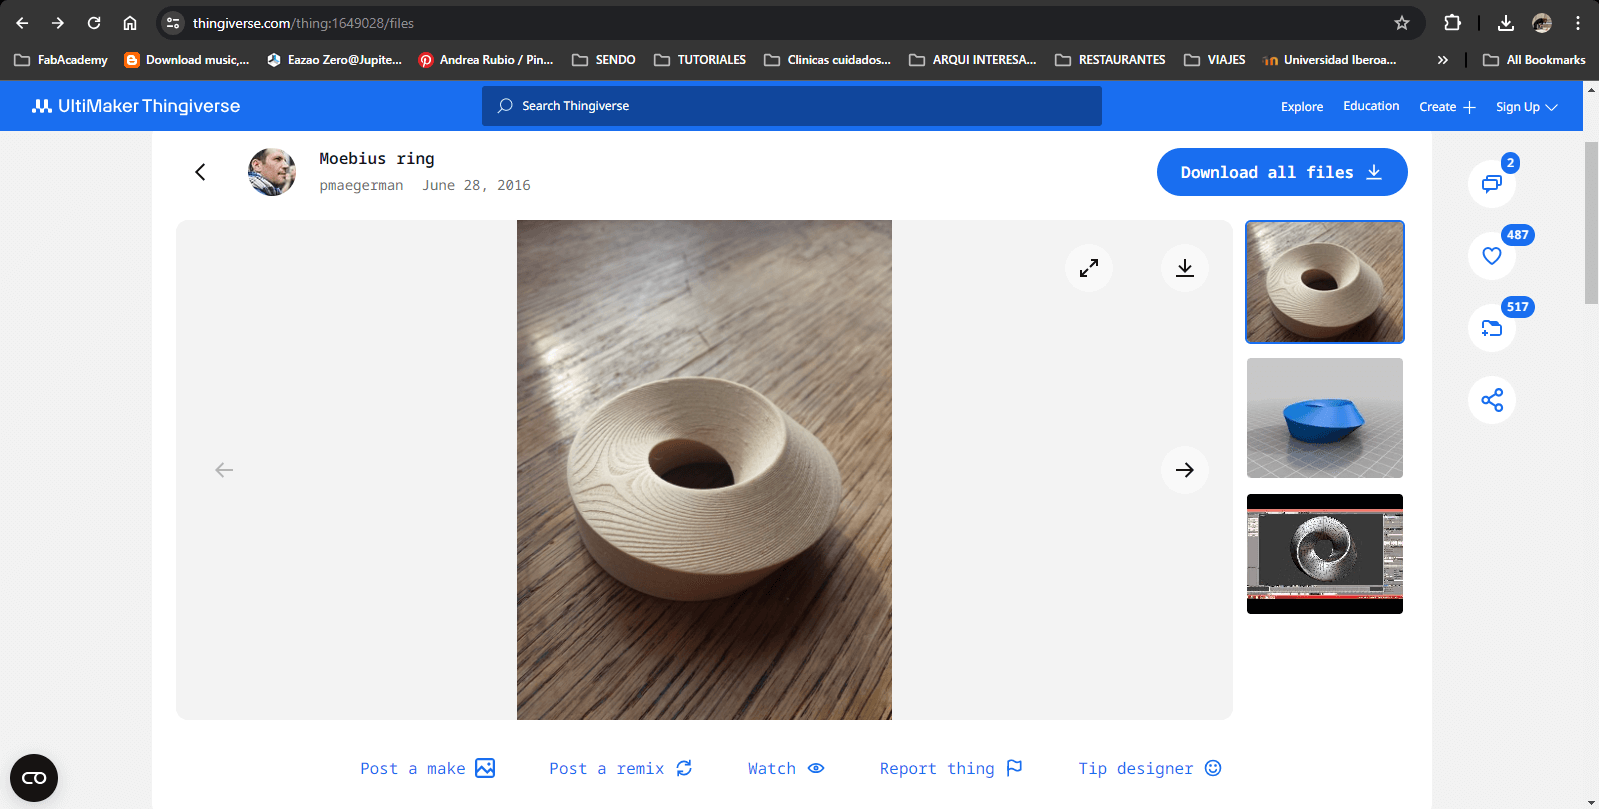
1.Used Thingiverse to find an interesting design as a fast exercise, I came across with a möbius shape which I later on adapted in Rhino to fit the wax mold.
2.Adapt the mesh in Rhino to fit a size 6 and 7 ring, plus the original piece for the necklace pendant. IMPORTANT: the shape has inverted overhangs so it wont be able to cast properly, always check in a lateral view and make sure you have a “cone” drop, same for all the sides where you are going to pour the mix.
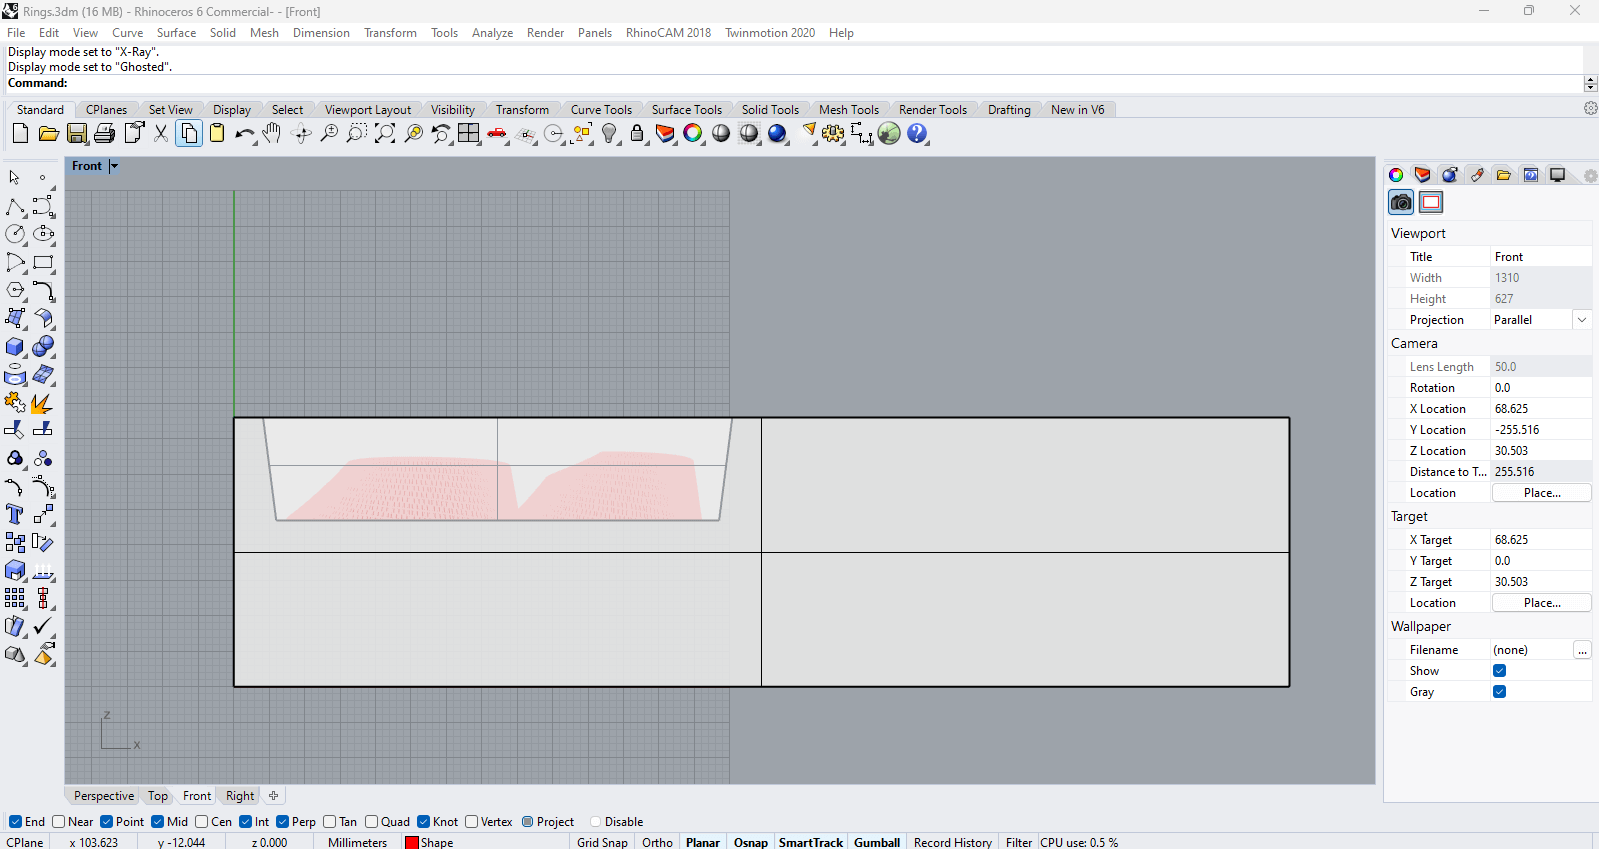
3.Modified the angles by scaling and slicing the piece until it had the proper drop. I rendered the view of the biomaterial I wanted to use just to have an idea on the appearance.

4.Once achieved the desired shapes and located them inside the pouring area, I exported the complete model as an STL. IMPORTANT: in Rhino, locate the top part of the wax mold in 0,0,0. Because later you will need to define this position in ModelaPlay 4.
ModelaPlayer 4 settings
Download the software and select the milling machine you have in your lab, in my case, we have the Roland SRM 20.
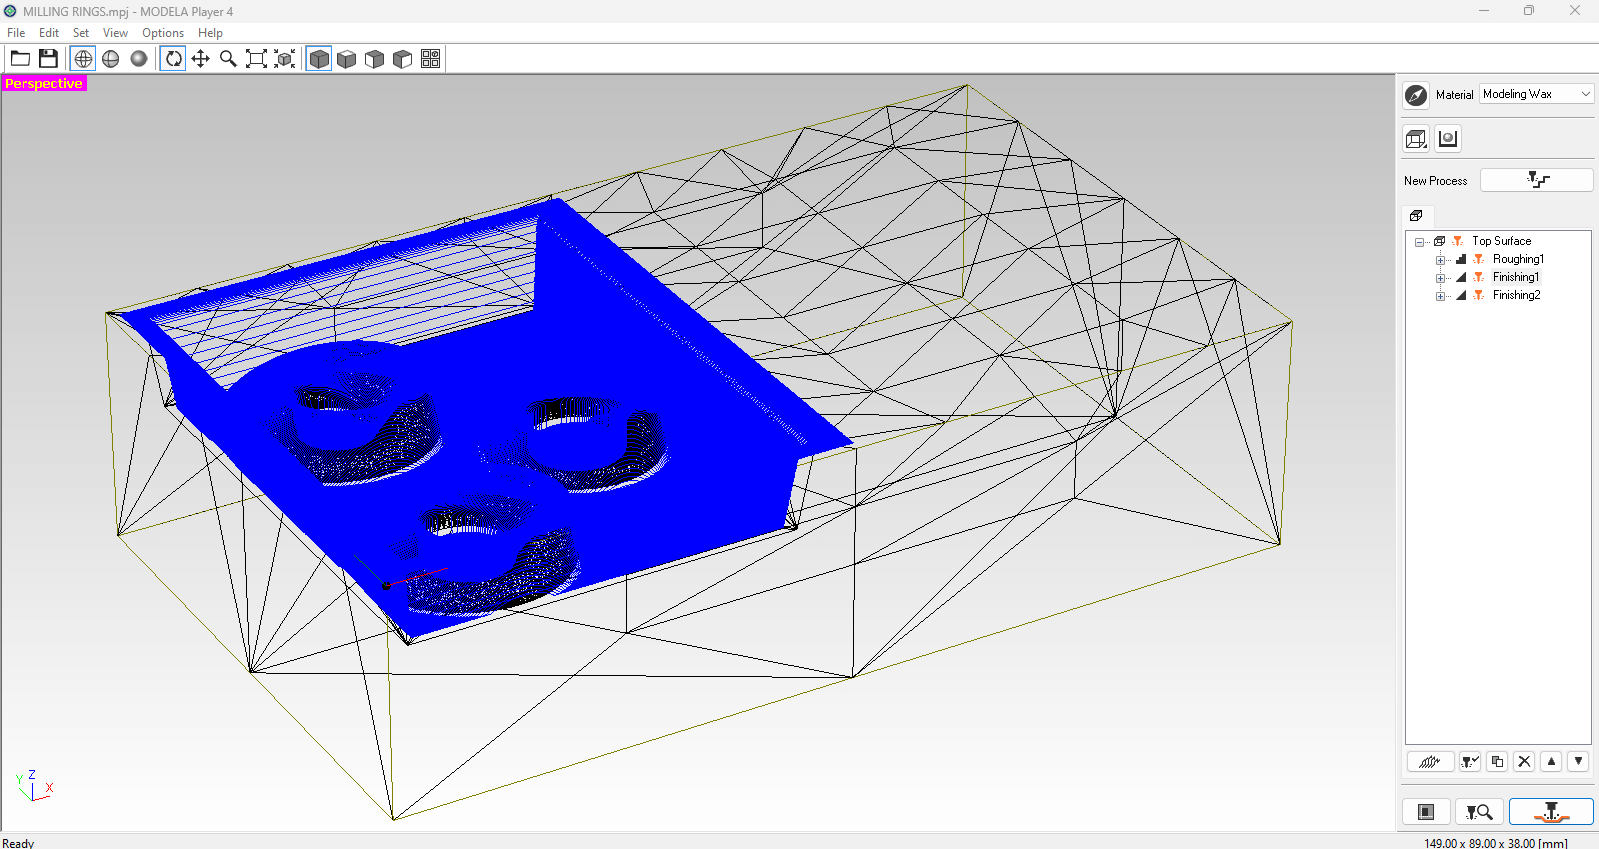
Open the STL file and your model should look like the image below. On the right side of the screen (marked in red) are the following settings that you need to add:
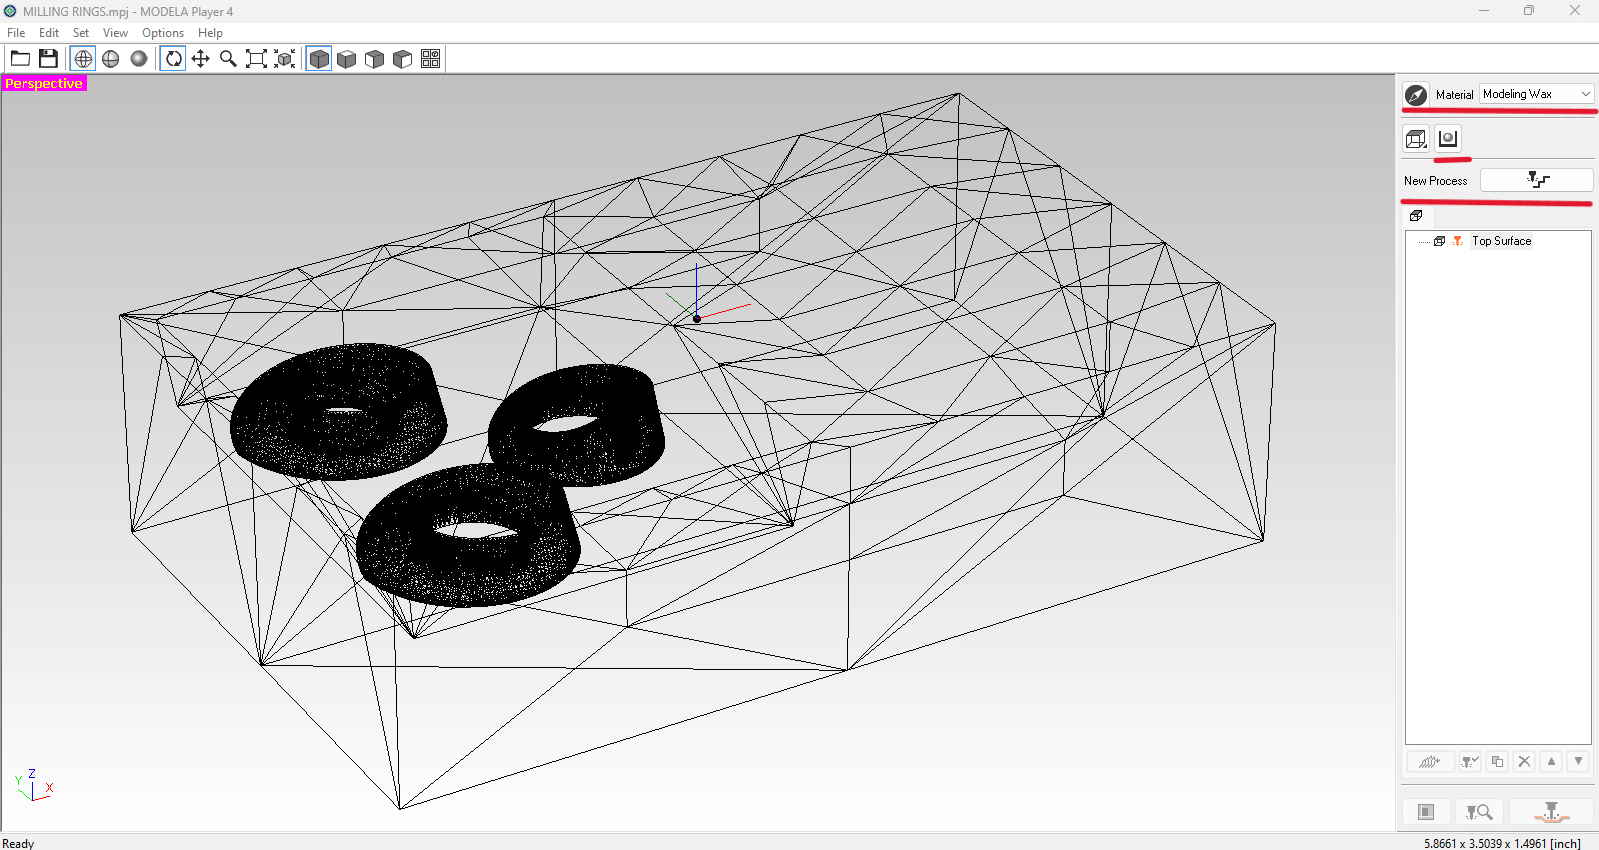
Material: Modeling Wax.
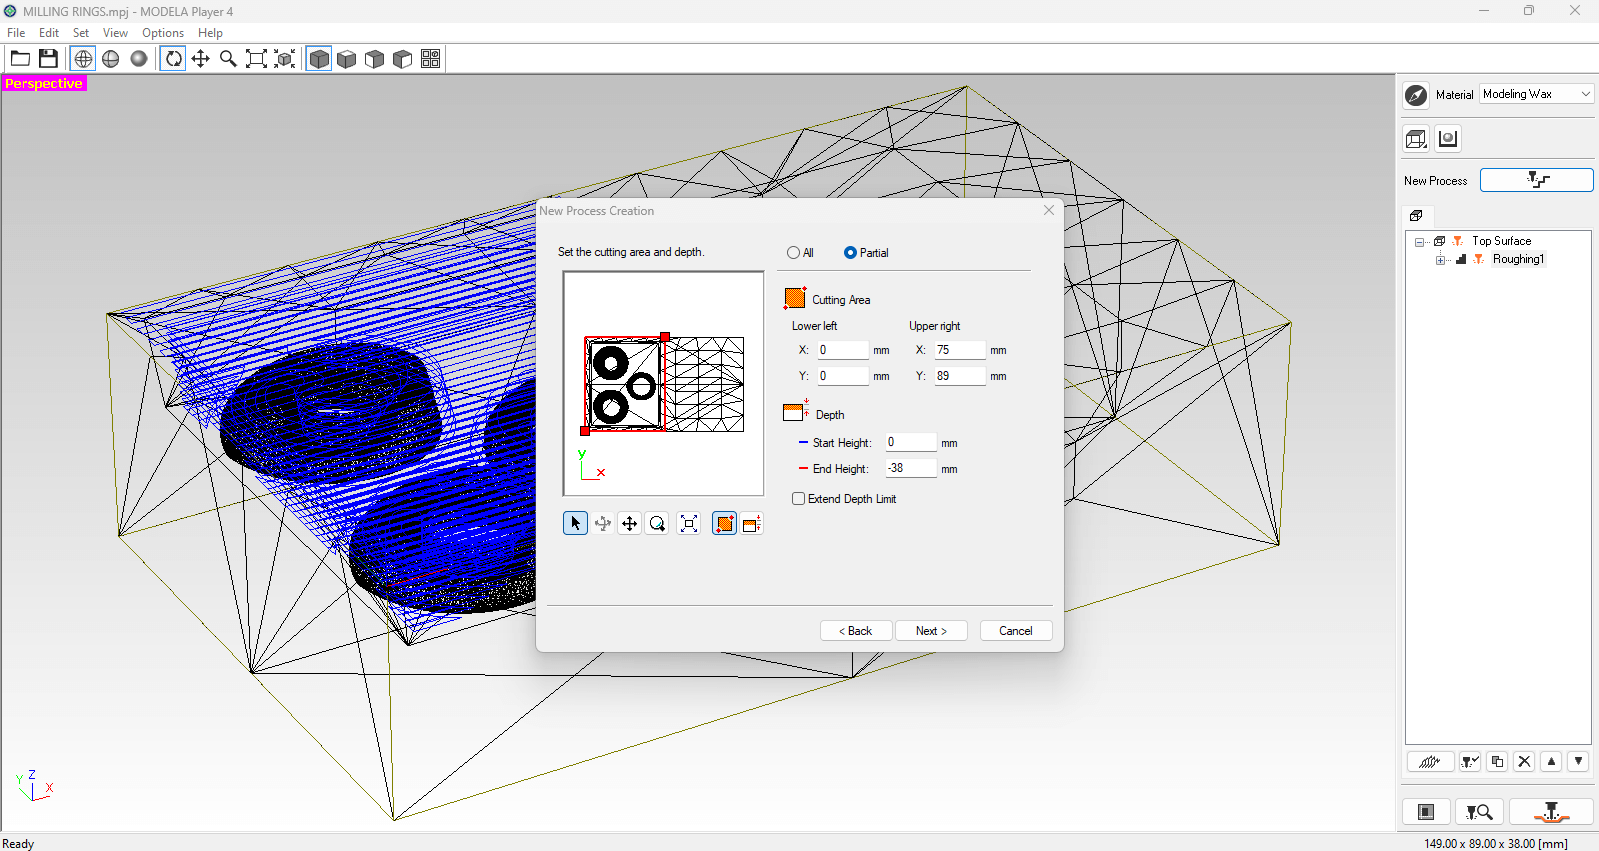
New Process: Partial area / select the area to be milled (red rectangle in the image below).
Options/Add-Remove tools: the bit size that we are currently using at the lab is ⅛” = 3.175.
- Square end mill: Rough cut / Contour lines - up cut.
- Ball end mill: Finishing / Scan lines: X / Scan lines: Y
Preview each action in order to check that the milling path is correct or if you have an incorrect tolerance around the edges.
TO CONSIDER: .44 to 1.2 is the cutting amount range, if the shape is not too complex you can go with the maximum value.
After setting up all the processes, you can now export all actions by clicking on the right lower corner button that says "Cut" and it will export each action seperatly.
Milling Wax
Once you have all the files, its time to position the wax block into the Roland SRM 20, same process as the PCB boards but the only difference is the type of end mill which will be the 1/8" like previously explained.
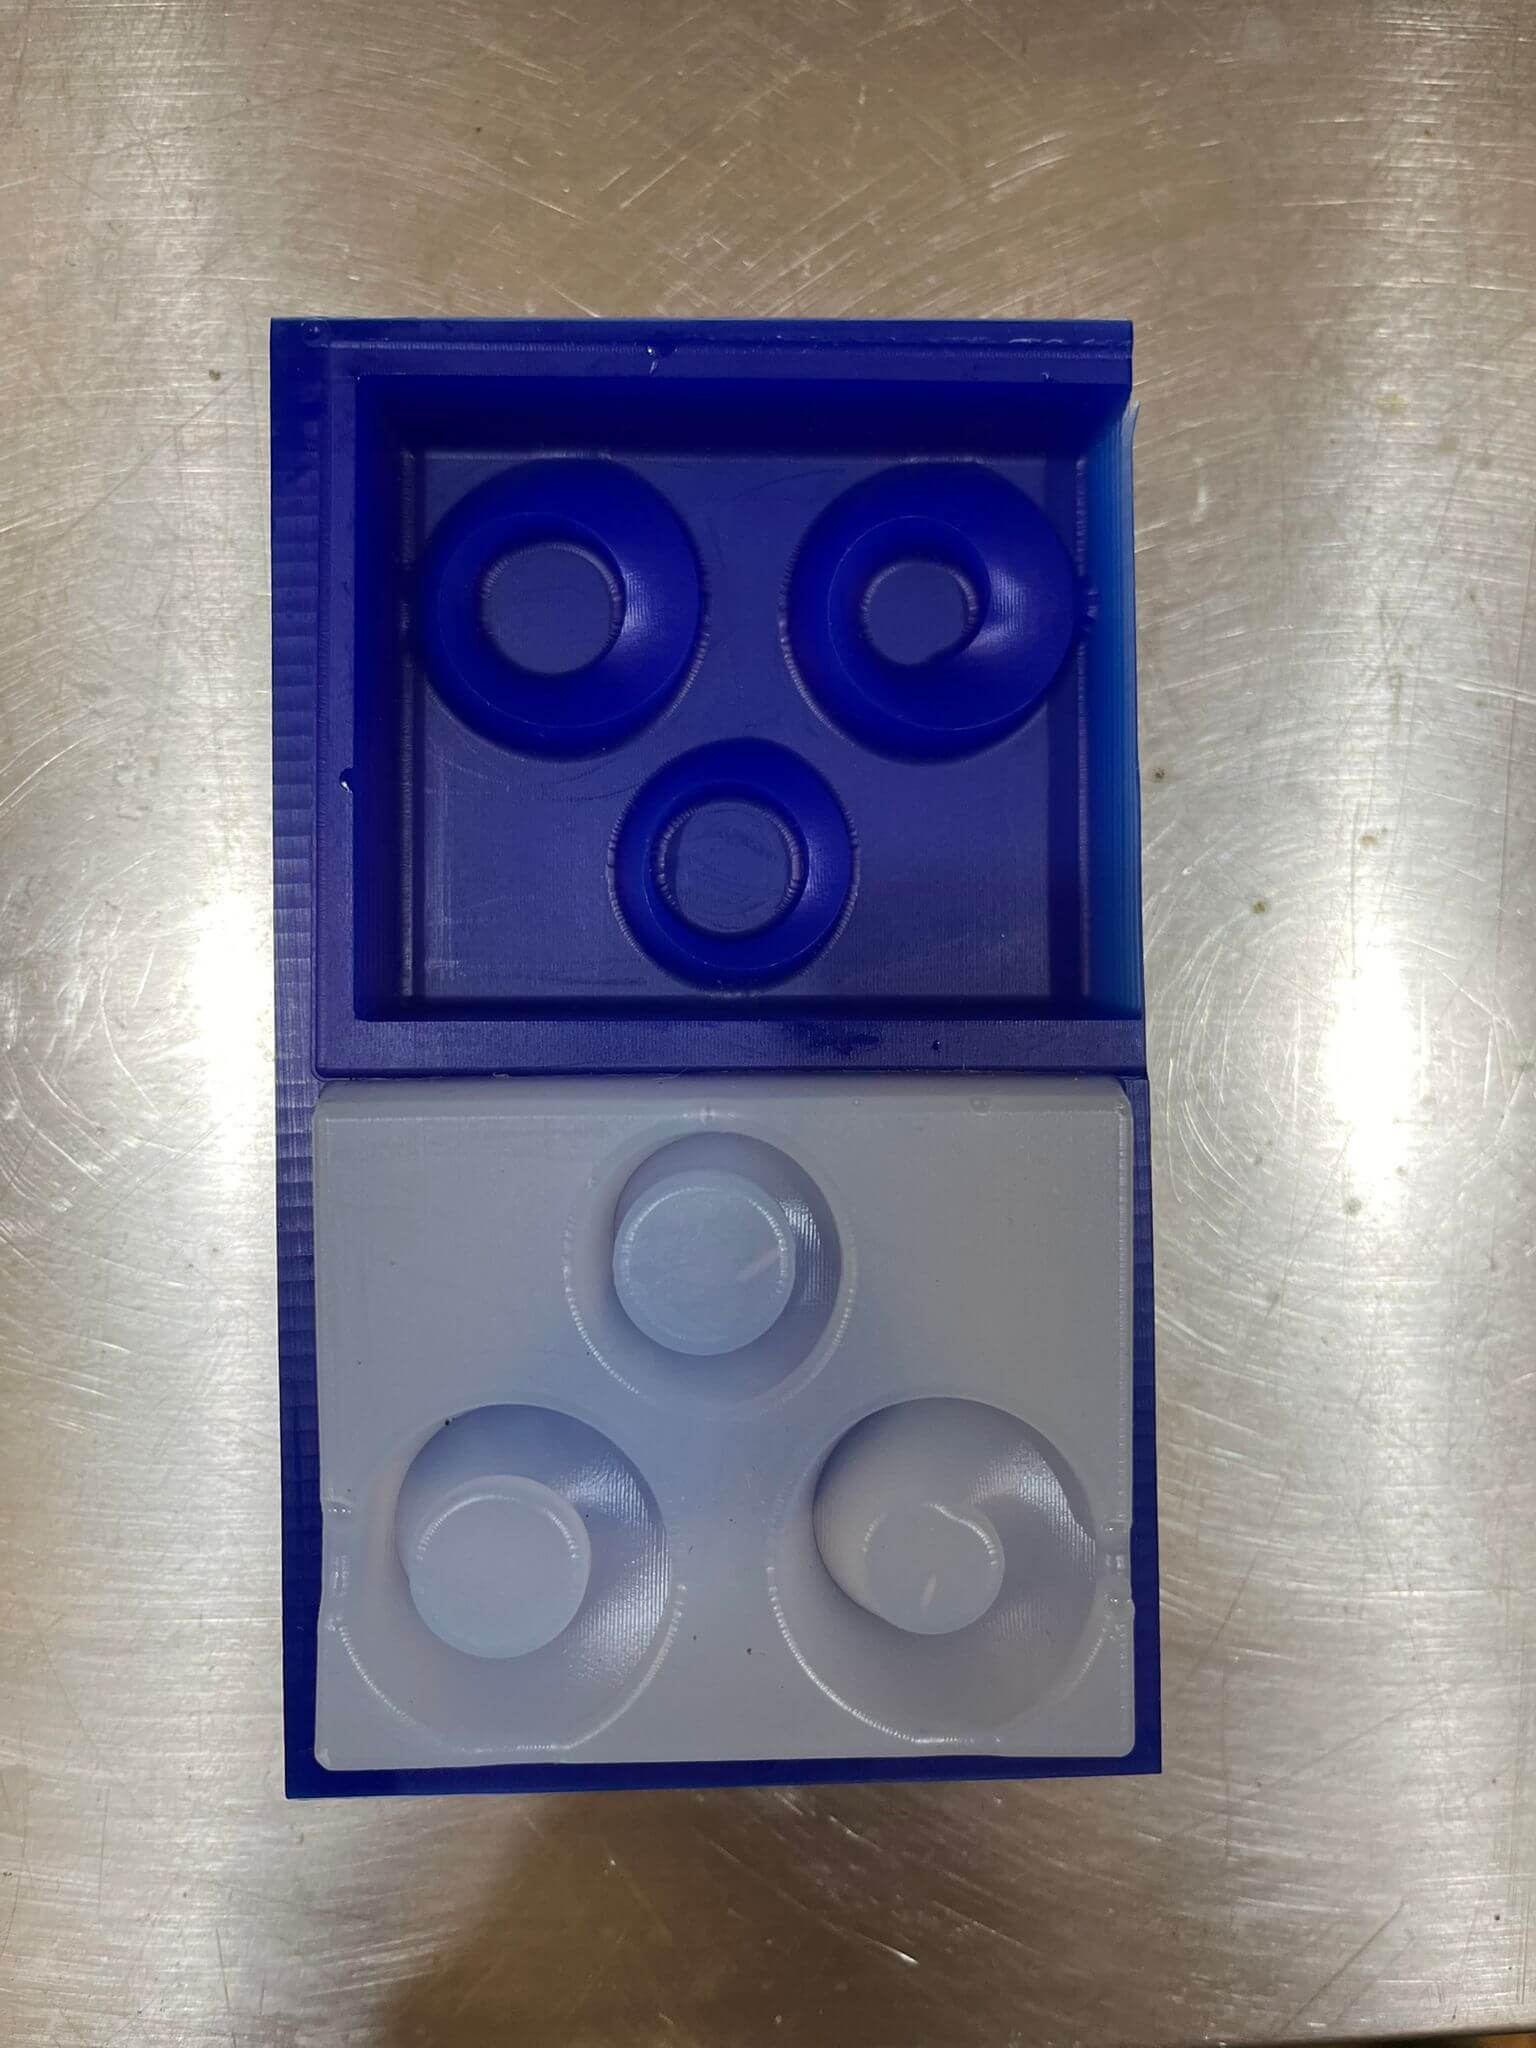
Silicone mold
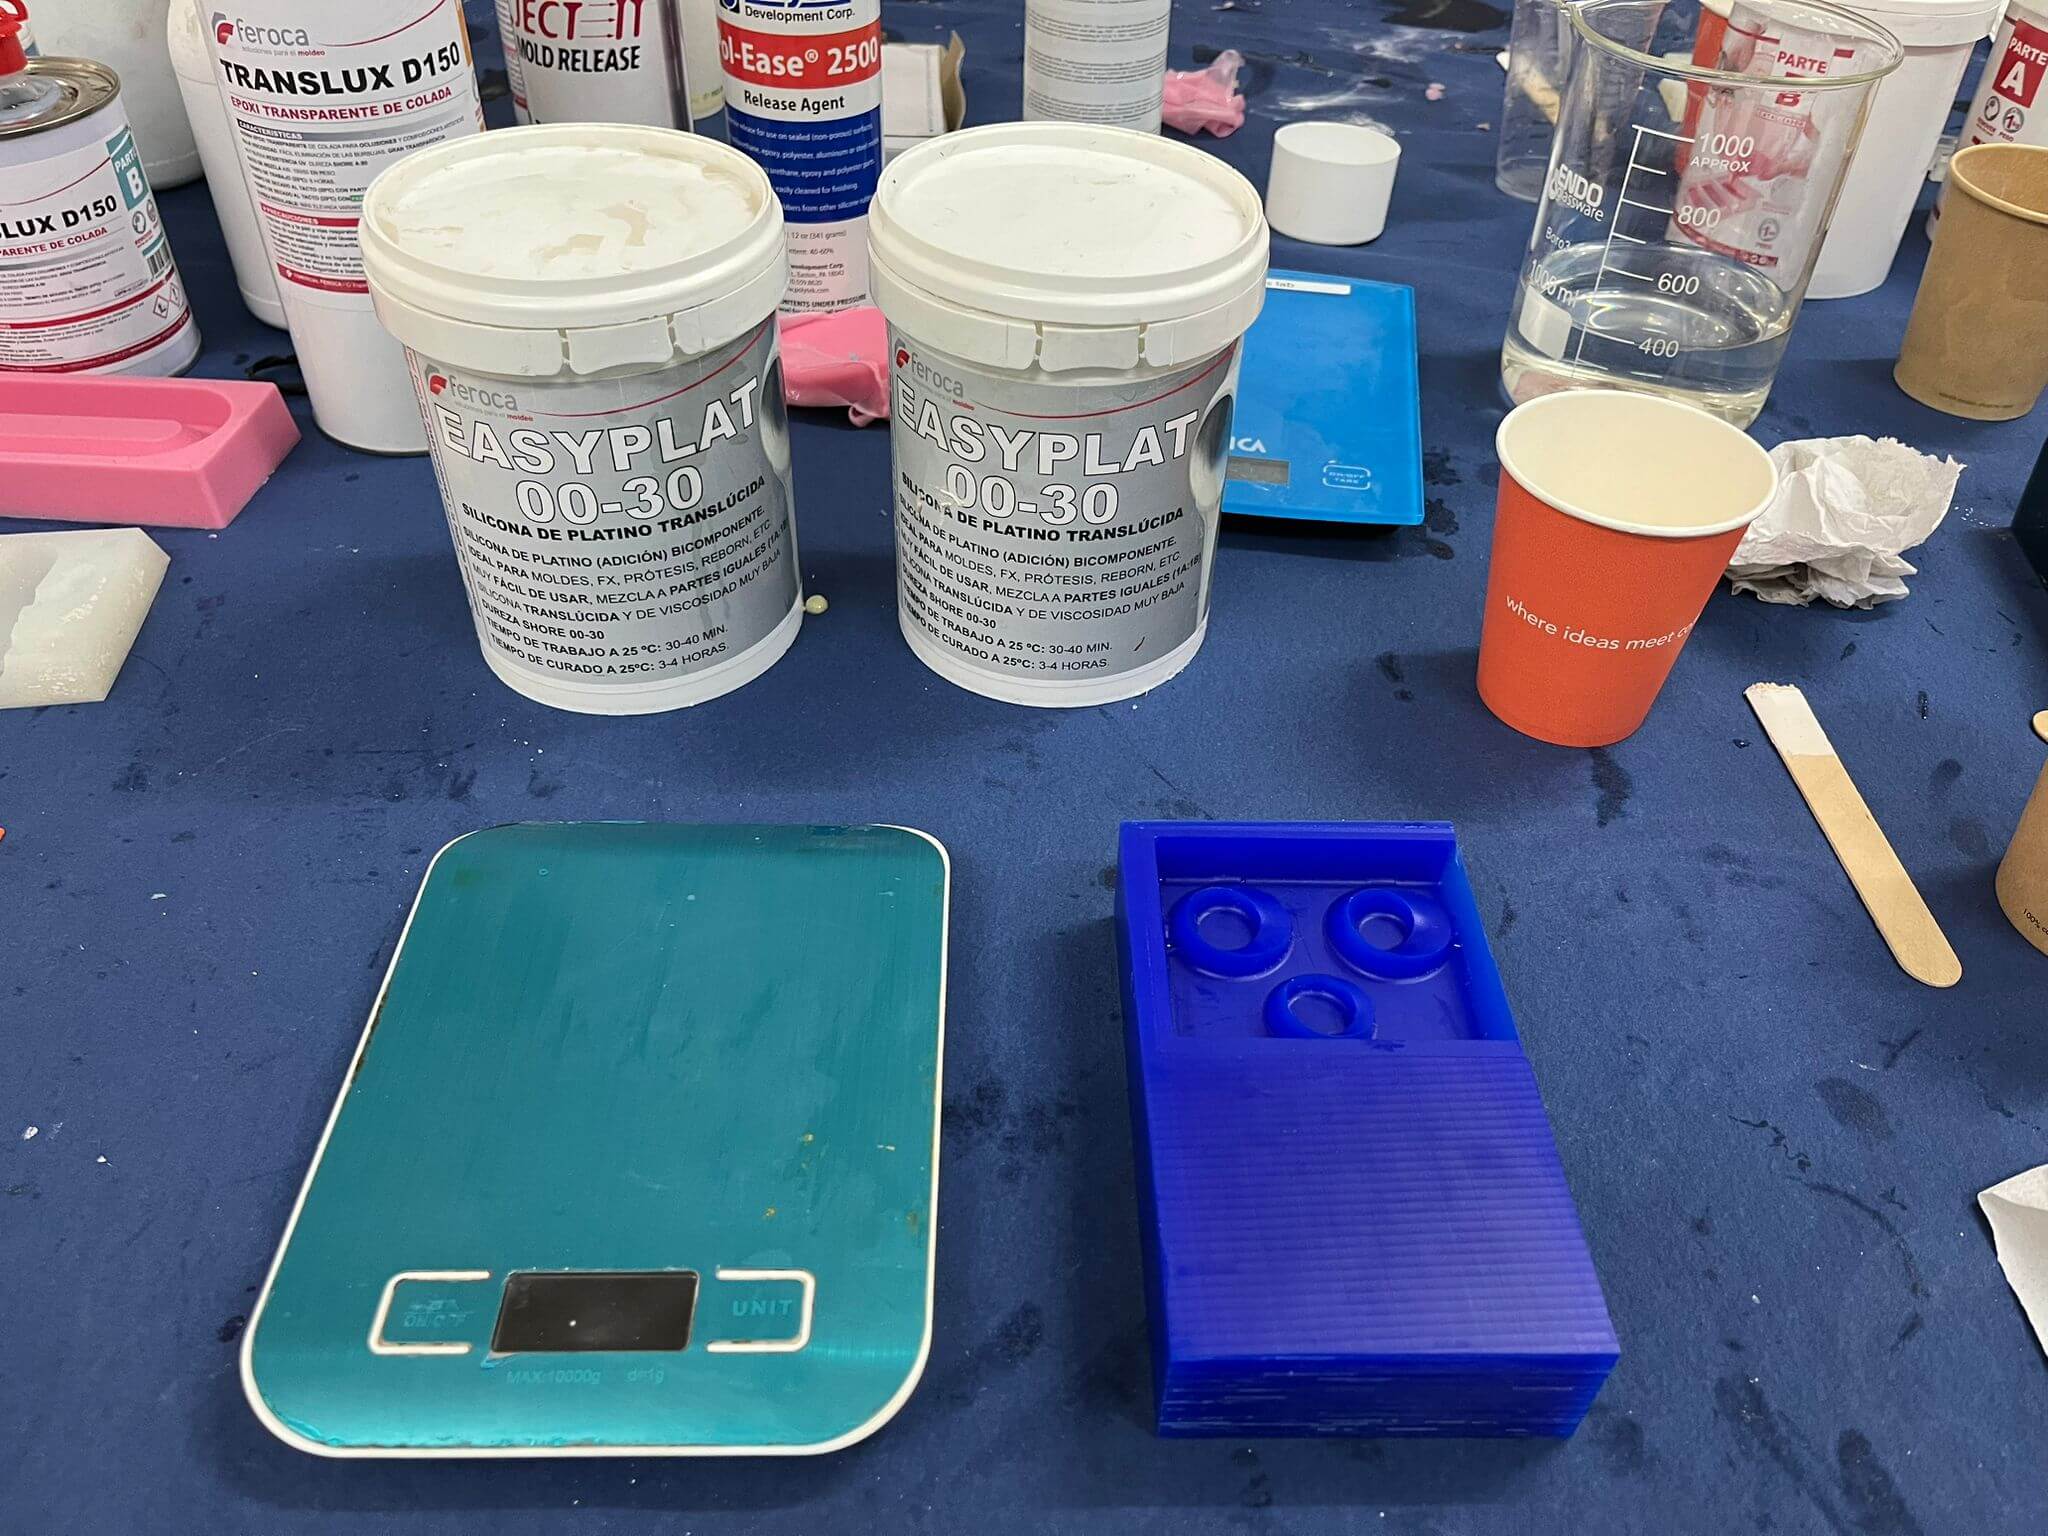
Now that we have our wax mold its time to prepare the mixture for creating our actual mold for what we want to cast. For that I used “EASYPLAT” by feroca, a transparent silicone that uses part A and B to act. To obtain the mixture I followed the next steps:
- 1. I filled the wax mold with water in order to obtain the inside volume of the milled area // 2.01 oz
- 2. Reading the instructions of EASYPLAT it said the mixing ratio is "MEZCLA A PARTES IGUALES" which means mix in equal parts.
- 3. In a recycled cup I poured first part A(base) - 1 oz, and in the same cup part B(catalyst) - 1 oz so we don't waste another cup for mixing.
- 4. According to EASYPLAT label, it indicates that the working time for the mixture is from 30 to 40 min, so enough time to mix for obtaining a proper consistency.
- 5. While mixing, consider to
IMPORTANT:
Biomaterials & others
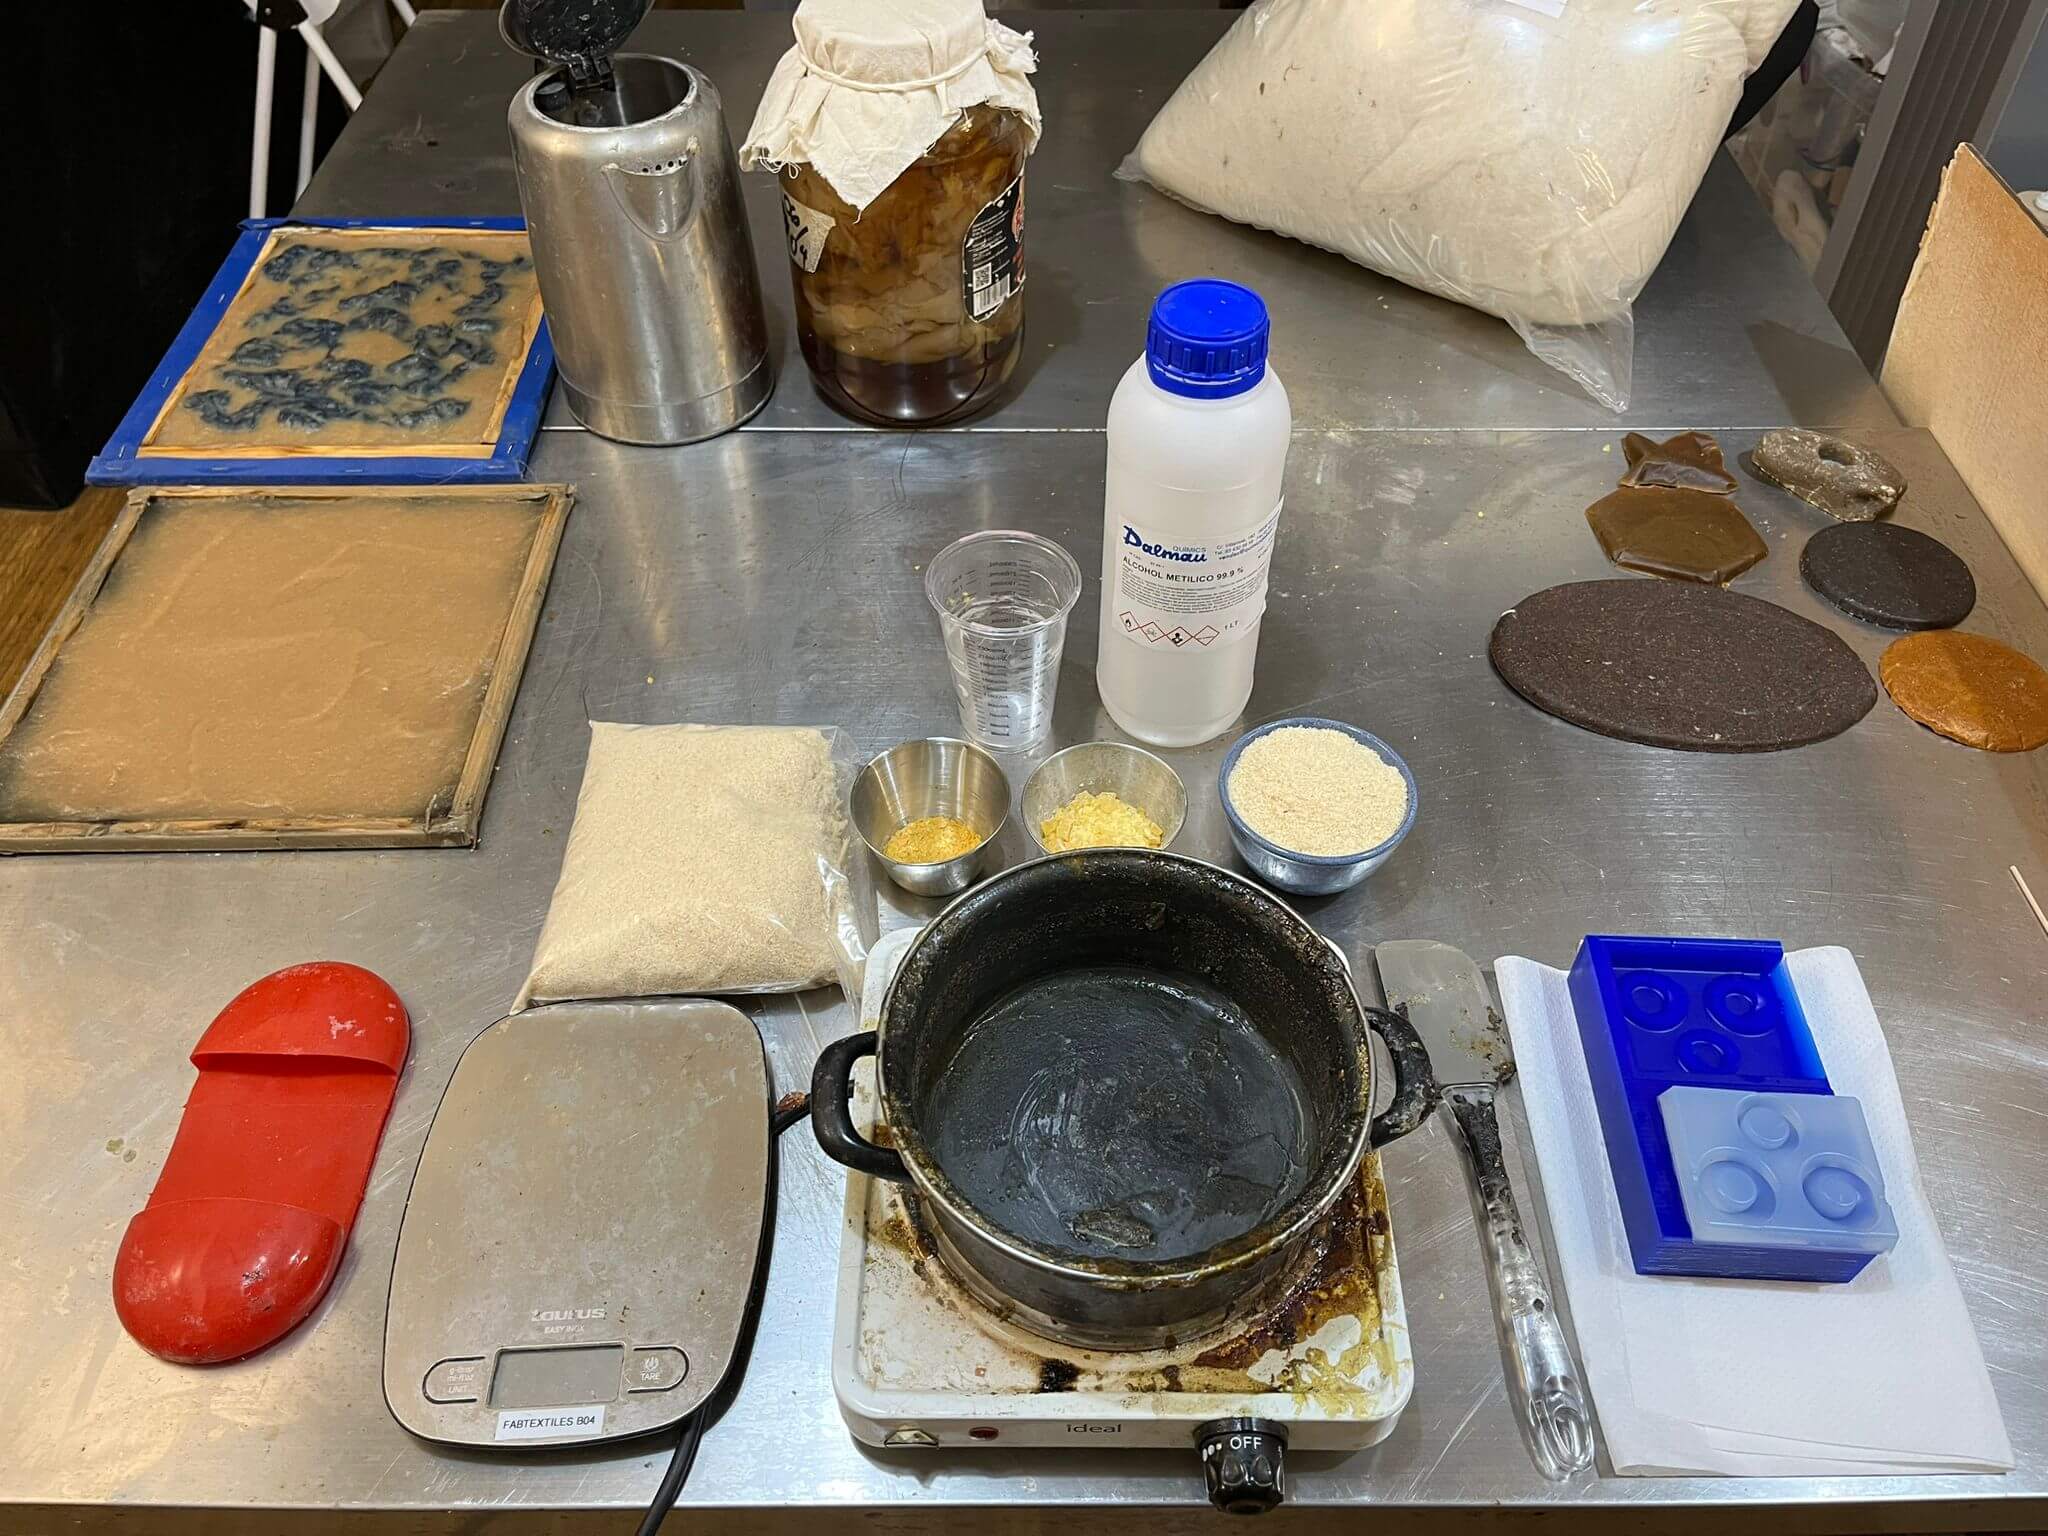
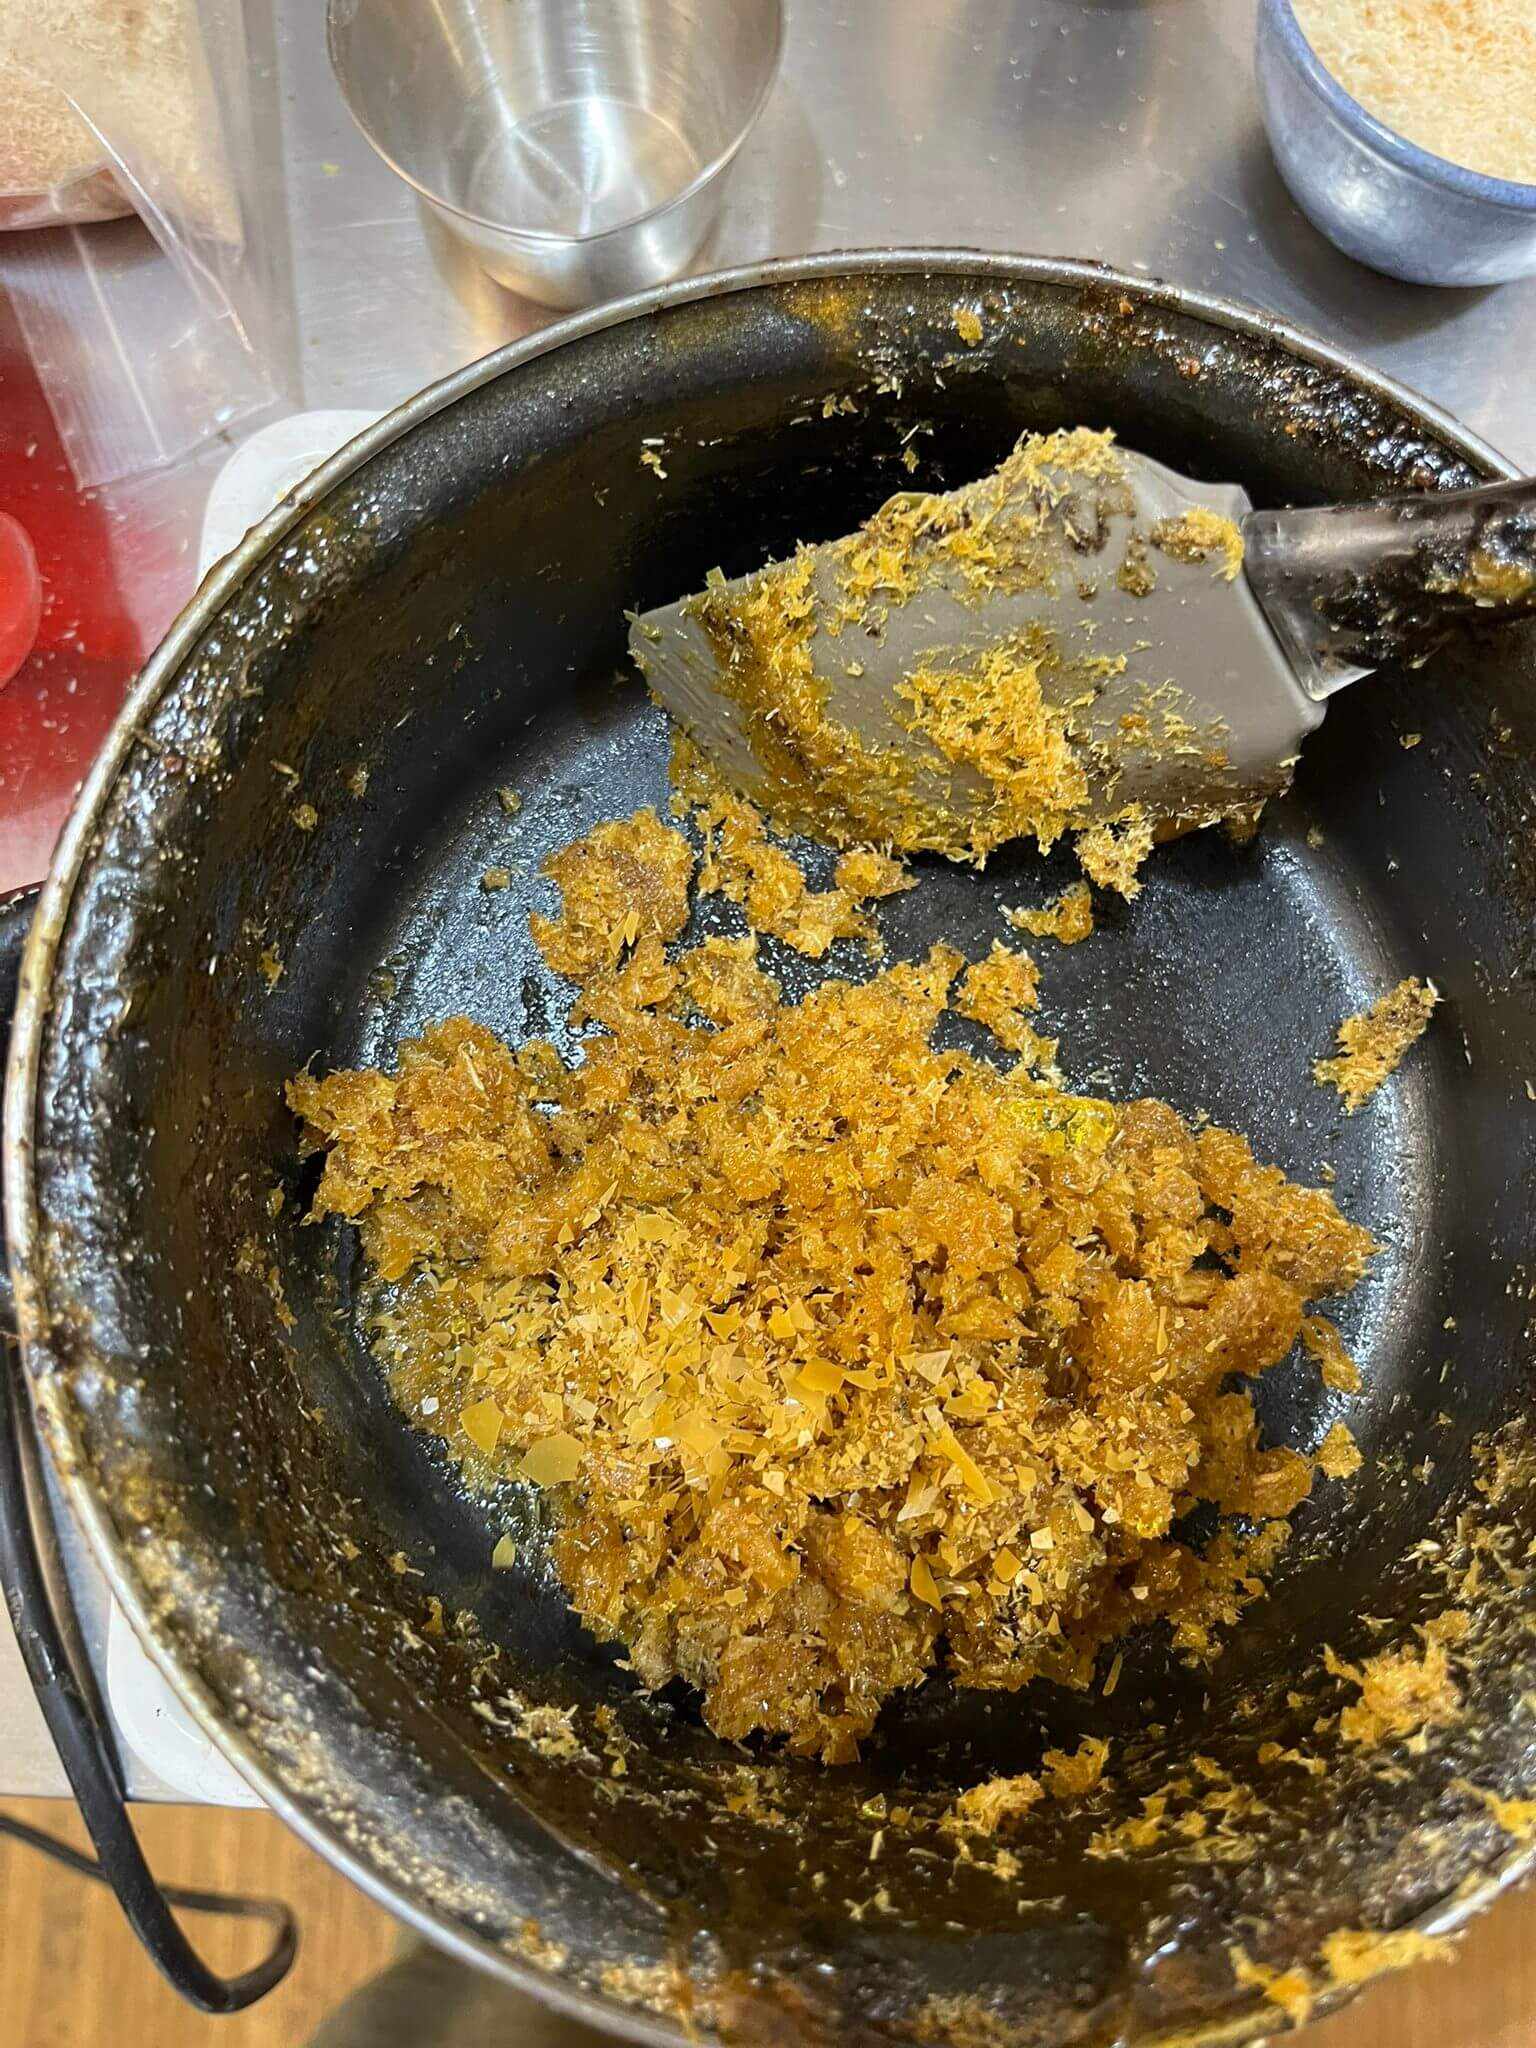
Pine resin with sawdust
45 gr of pine resin // 5gr of cannauba wax // 20ml of alcohol // 40gr of filler (sawdust)
- 1. Melt resin
- 2. Add alcohol little by little
- 3. Add 5gr of wax while maintaining a low temperature
- 4. Add filler little by little with alcohol
- 5. Mix
- Different Silicone: Use a silicone type with quicker curing times, such as Smooth-On's OOMOO.
- Alternative Biomaterials: Experiment with algae-based plastics or recycled plastic composites.
- Vacuum Chamber: Use a vacuum chamber to remove air bubbles from the silicone mold and casting material.
- Sanding and Polishing: Enhance the finish and aesthetic appeal with sanding and polishing.
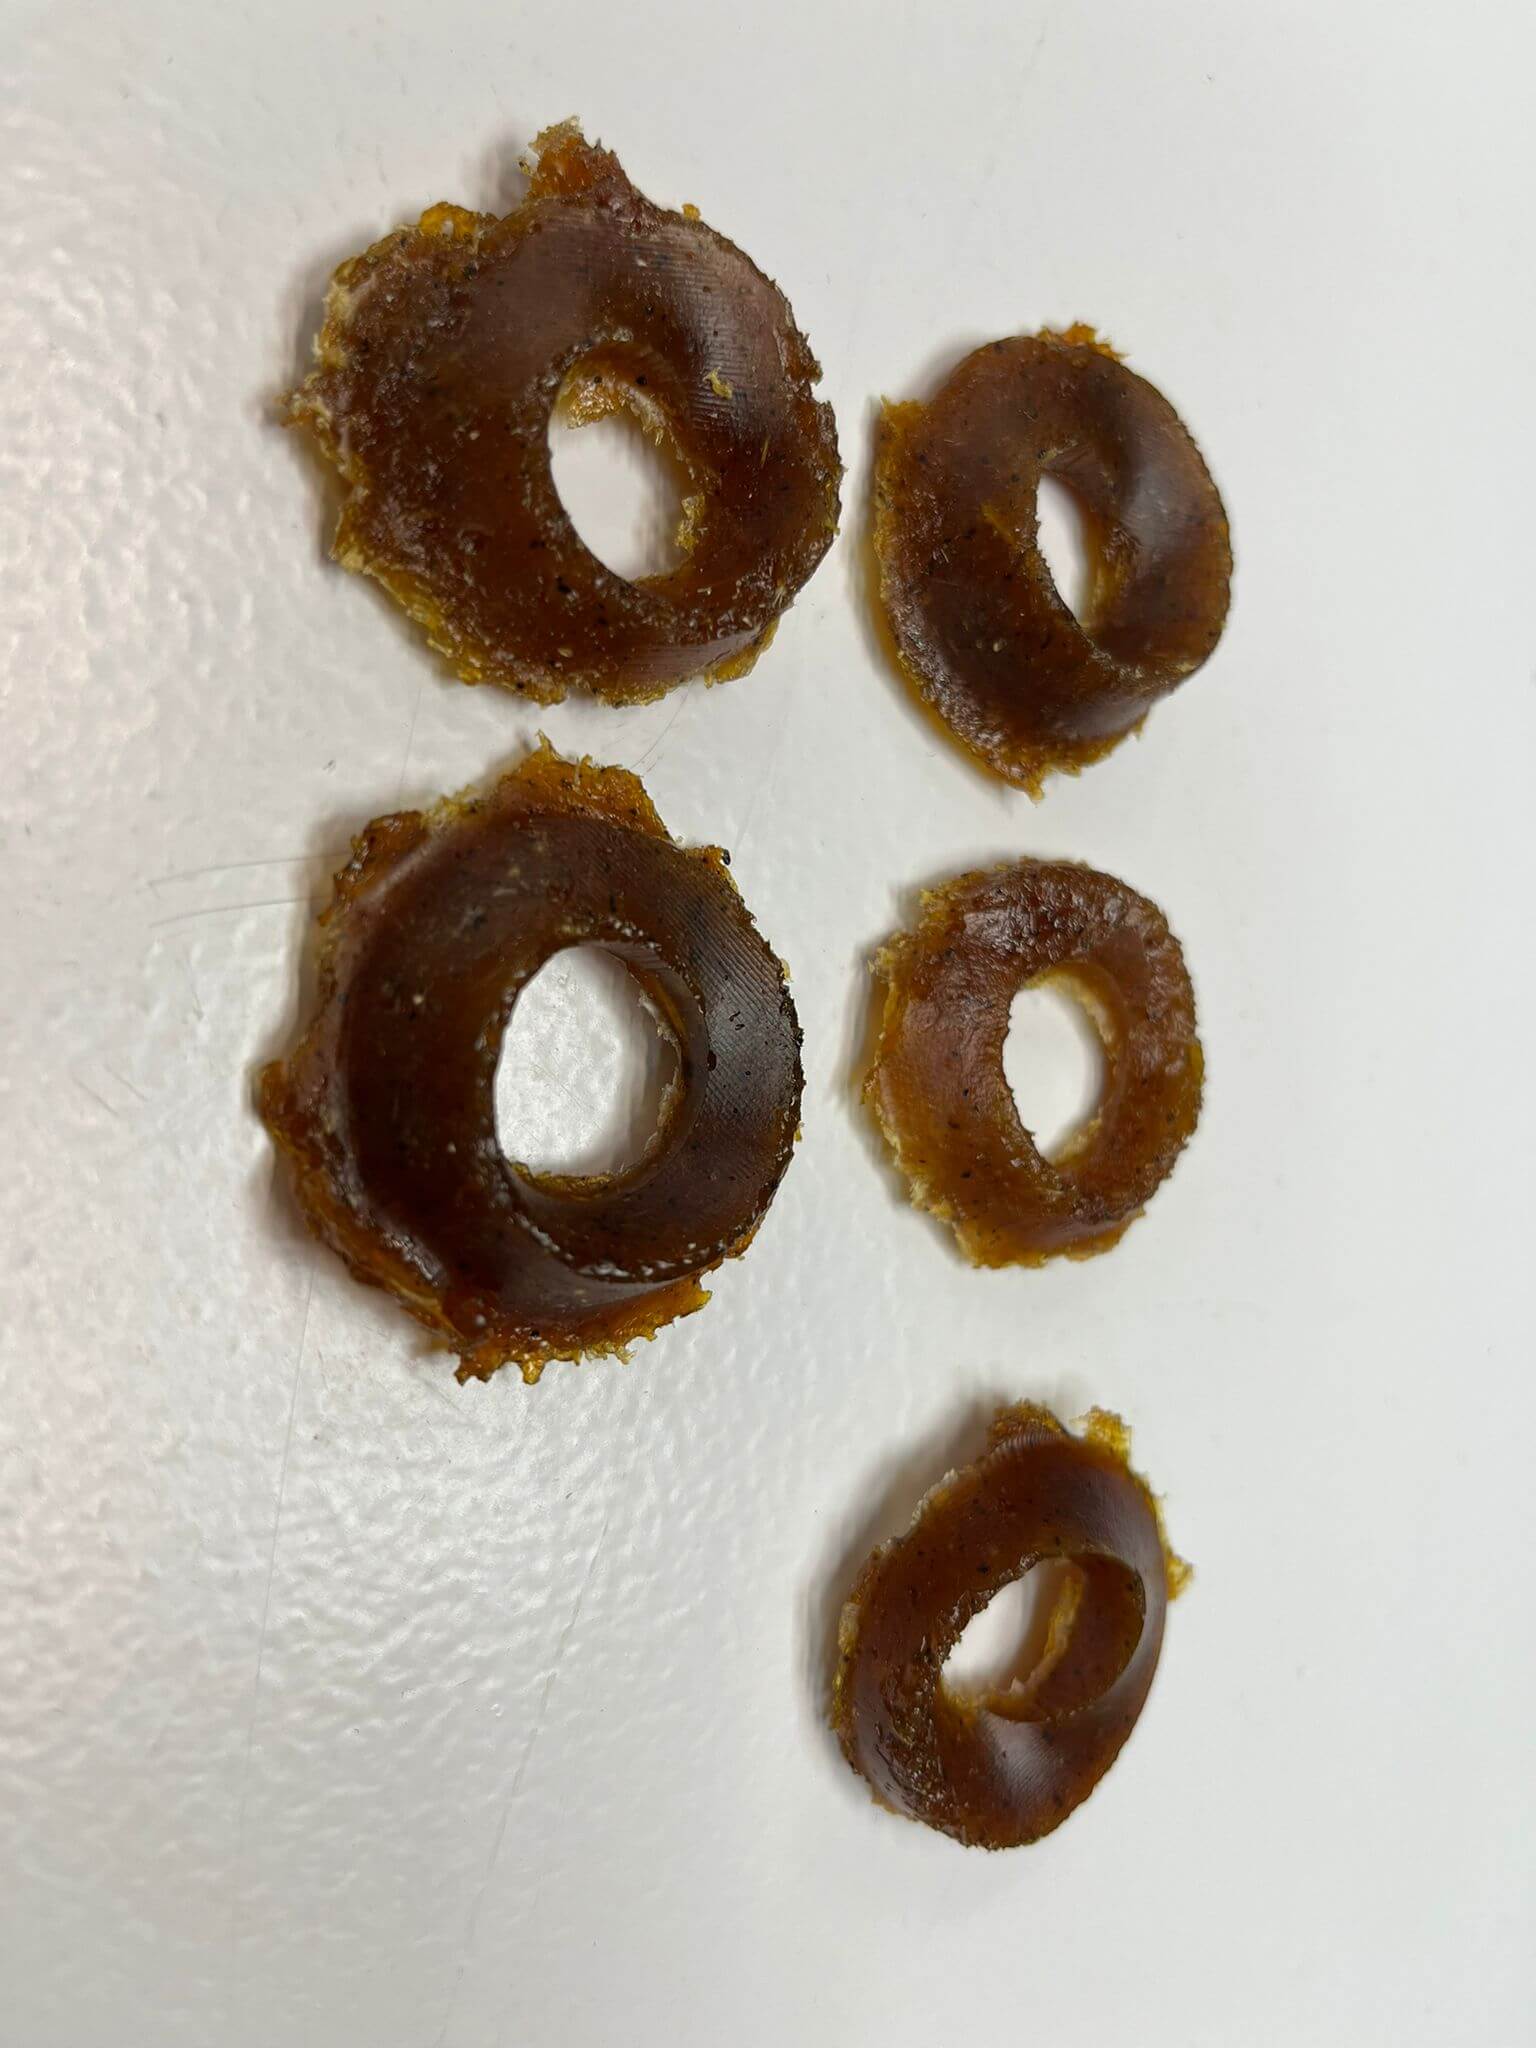
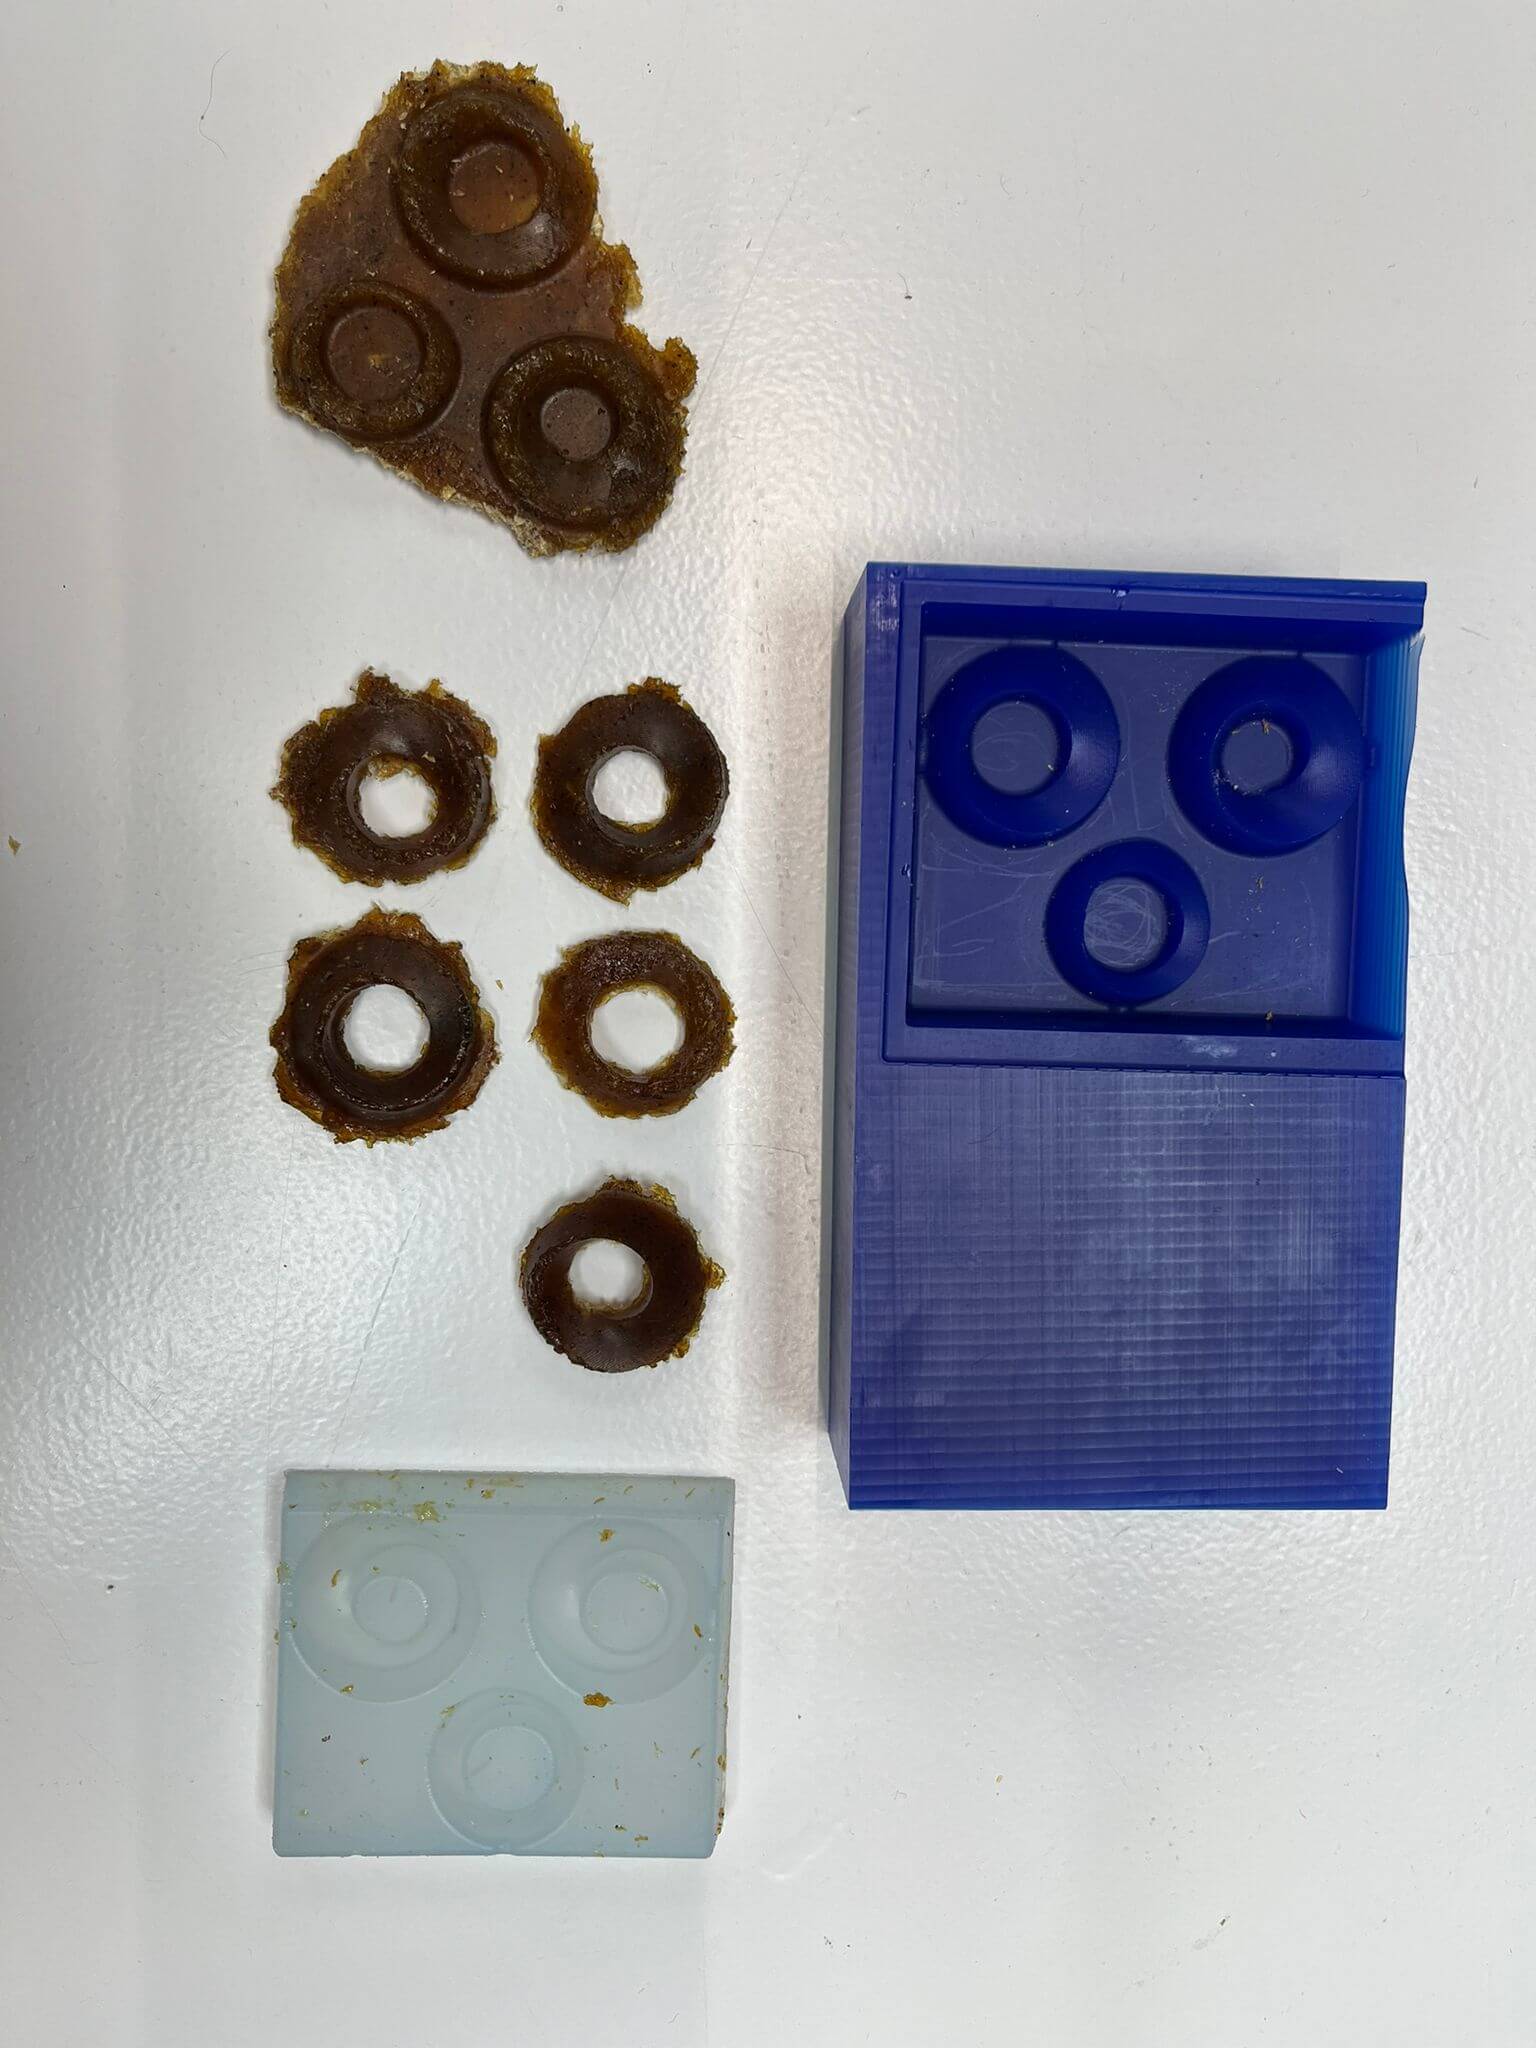
Final outcome
In the end, the cast of Various molds made from silicone, wax, and epoxy were explored, showcasing the versatility and effectiveness of different materials in casting unique designs.
Learnings & future improvements
Mold Creation
Casting
Post-Processing
Group assignment
For this week we explored different ways to create molds for casting, with a variety of mixtures based on silicone, wax, epoxy and even biomaterialis. You can check the process and final outcome at our Group page.
Resources
Moebius ring by Thingiverse.
Petra Garajova // Fabricacademy instructor - Materials & textiles