Week 01 - Project management
What is GIT ? + How to set it up
Git is a distributed version control system (DVCS) widely used for tracking changes in source code during software development. It helps multiple developers work on a project simultaneously, allowing them to collaborate, track changes, and manage different versions of their codebase.
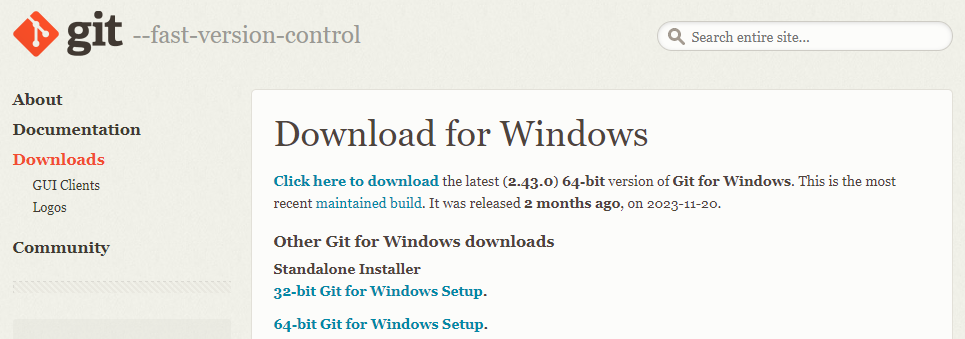
Step 1: Download Git
Look up Git and download the version that better fits your needs (in my case, Windows 64-bit):
Step 2: Configure Git with your account
Substitute for your given fab academy name + Add personal email linked to this account:

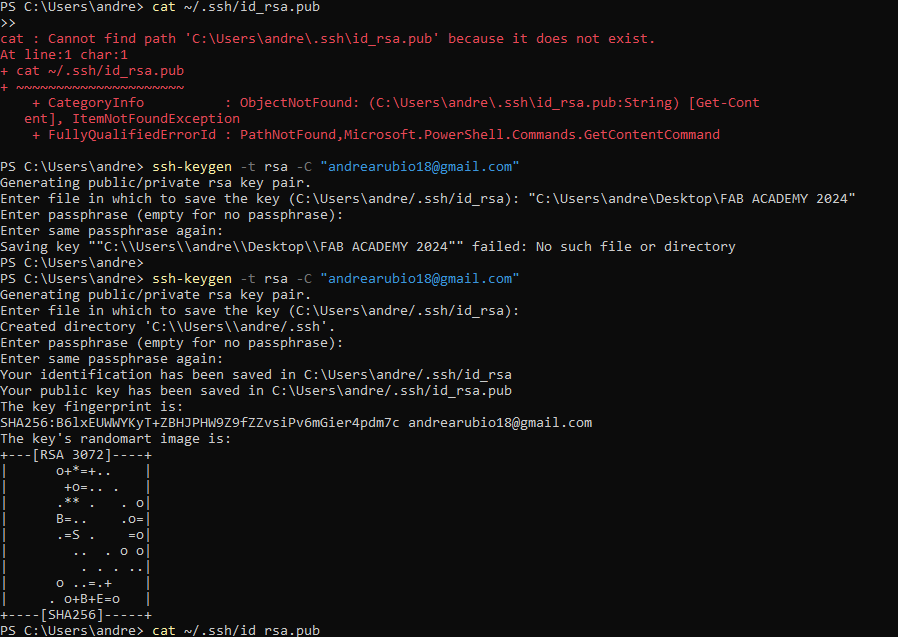
Step 3: Generate SSH keys for local repository
Open GIT bash and type the marked command lines in order to check you don't have other keys:
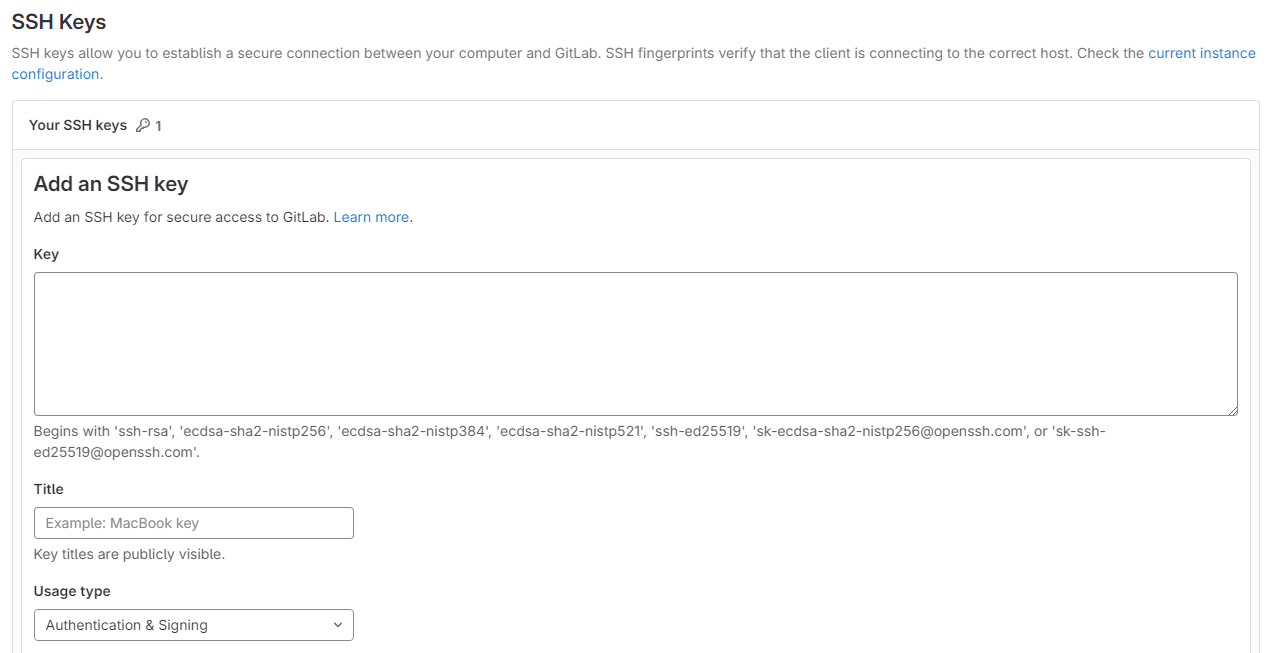
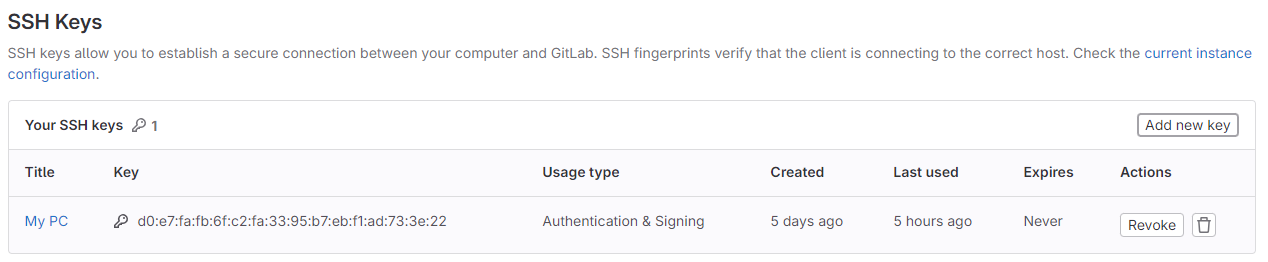
Step 4: Open GitLab website and add key
Open website // Click on your account (icon top left corner)// Edit profile // SSH Keys:
Step 5: Workflow commands and repeat!
- git status
- Status of your local/remote repository
- git log
- History of your local/remote repository shown as a list
- git pull
- Merge with local working directory
- git add
- Add new files
- git commit -m "COMMIT MESSAGE"
- Write a message describing your update
- git push
- Uploading repository
***IMPORTANT: FILE SIZES***
1-2MB commit limit per week
Running command on GitBash in folder to see file sizes:
du -sk * | sort -n
HTML - Personal webpage
Step 1: Download Visual Studio Code + Adding content
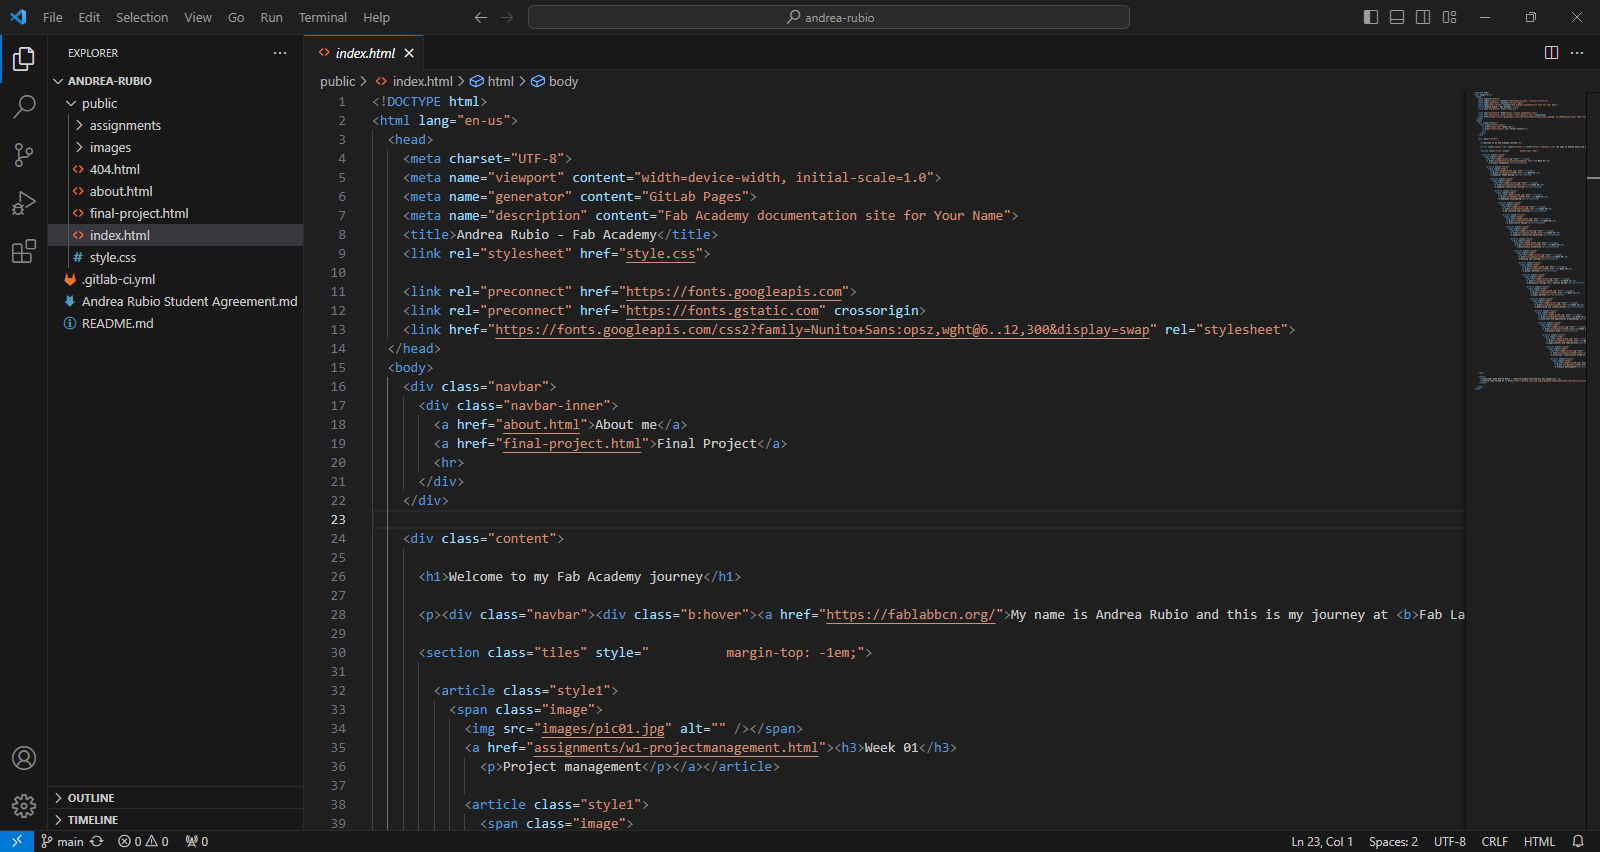
Once you download the software, start to upload all the HTML sites that you are going to reference later.
At the side explorer you can visualize all your sites and beggin to add content.
IMPORTANT: remember to locate your files in the folder where you uploaded your repository, and open them from there so you make sure your working on the correct material.

Step 2: Template download + Tweaking HTML code
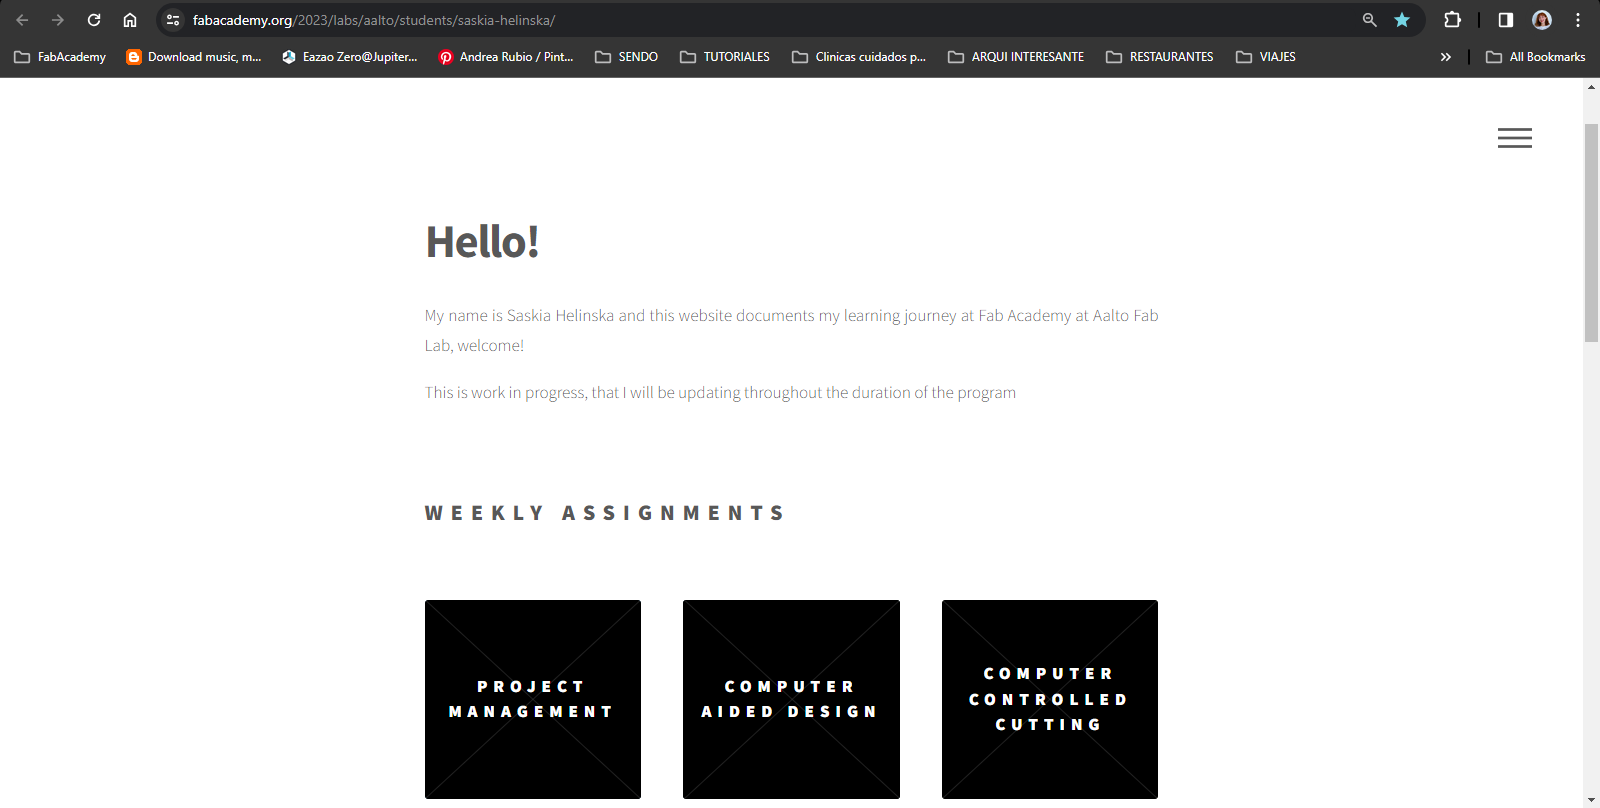
After lookig to several design references from past Fab Academy student's, I came across with Saskia Helinska profile, and I really like the clean design of her webpage so I took her code for starting my layout.
Click on her name to check out her page and type Ctrl + Shift + I to open the webpage's code viewer.
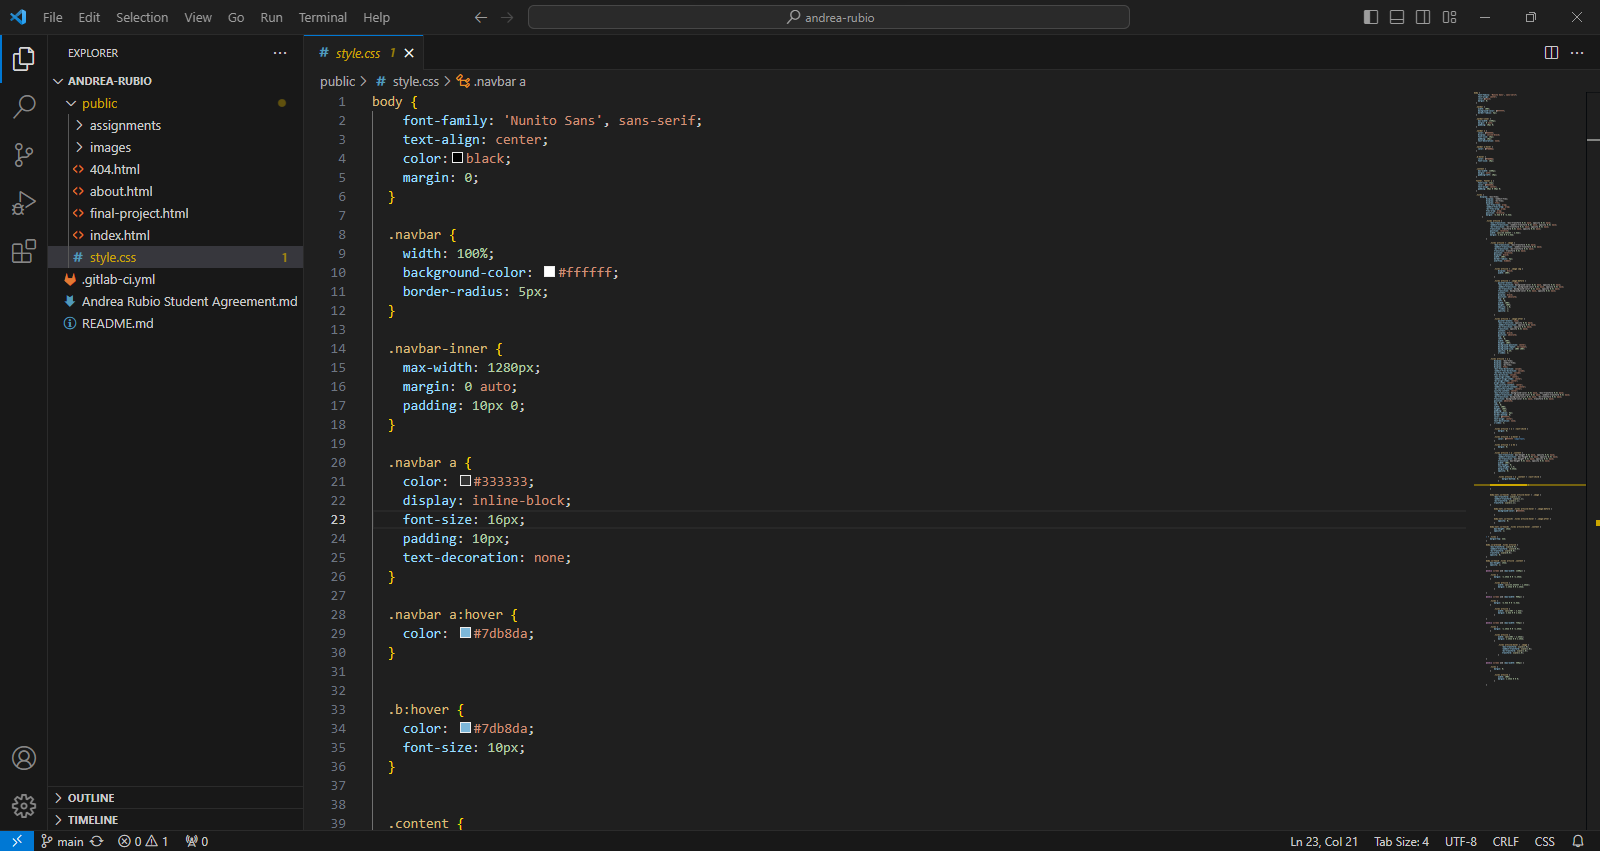
Step 3: Tweaking CSS styles
After copying and understanding the elements of the code, I began to edit the "style" and adjust some settings according to the design I had in mind.
TIP: If it's your first time with HTML (like my case), I recommend to beggin some basic coding so you understand the language and after playing around enought with it, copy an already made webpage and start tweaking from there.
Once you set up a layout, colors, font sizes, etc. It's easier to later just duplicate the page and just substitute each week's learnings.
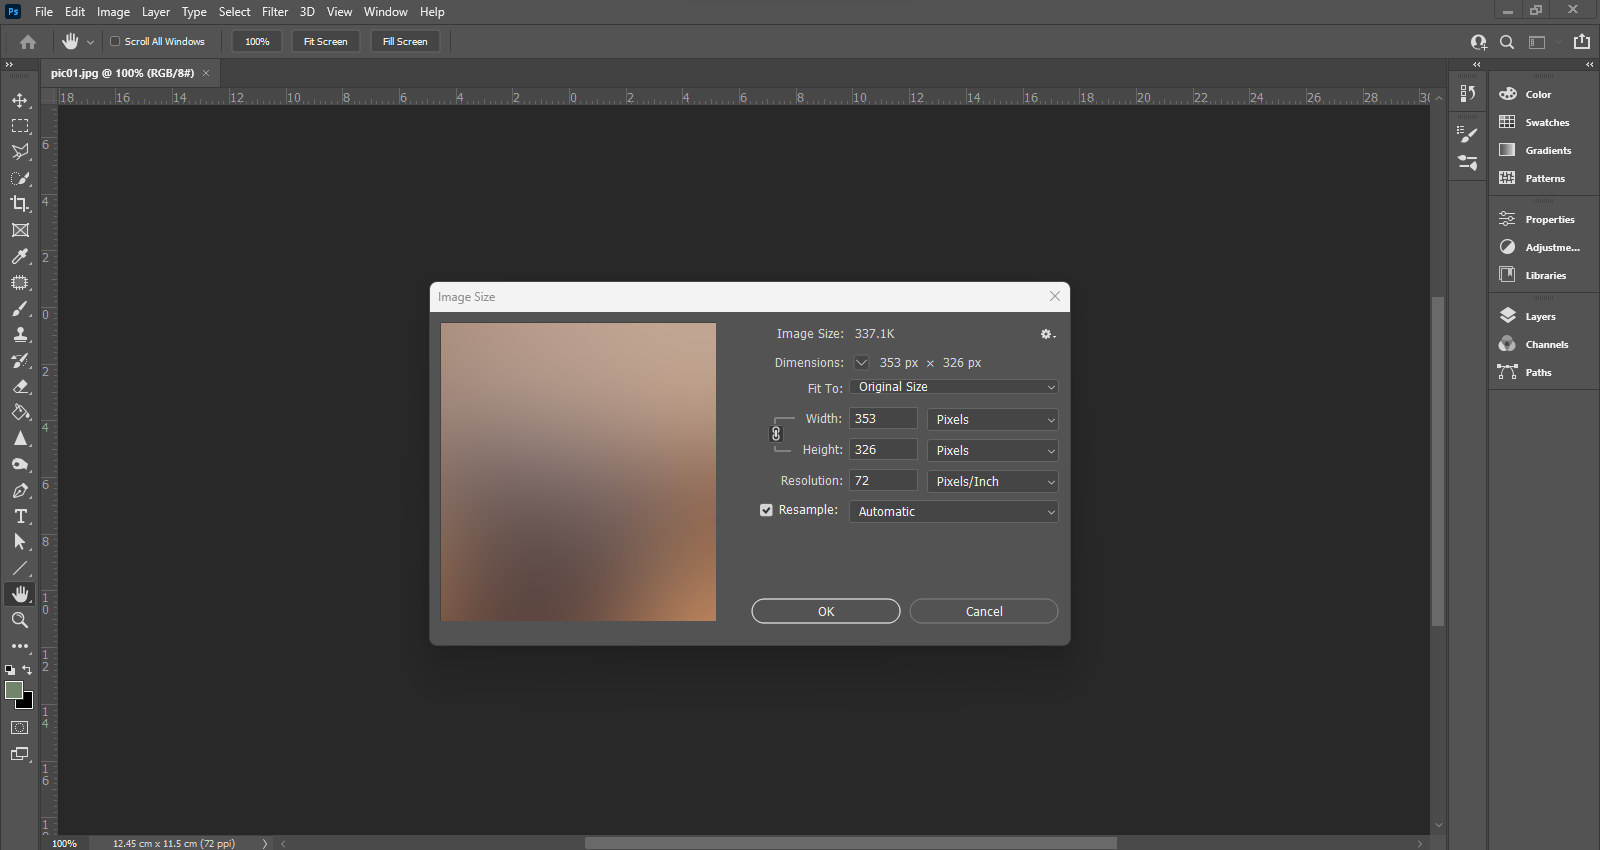
Step 4: Image optimization: Adobe Photoshop
As mentioned before, there is a limit to your repository size limit, so it's important to reduce the weight of images and videos that you want to display.
I used Adobe Photoshop to resize the images from the my main page since I wanted to preserve a square proportion and also to lower the image sizes.
Step 5: Add + Commit + Push = Preview
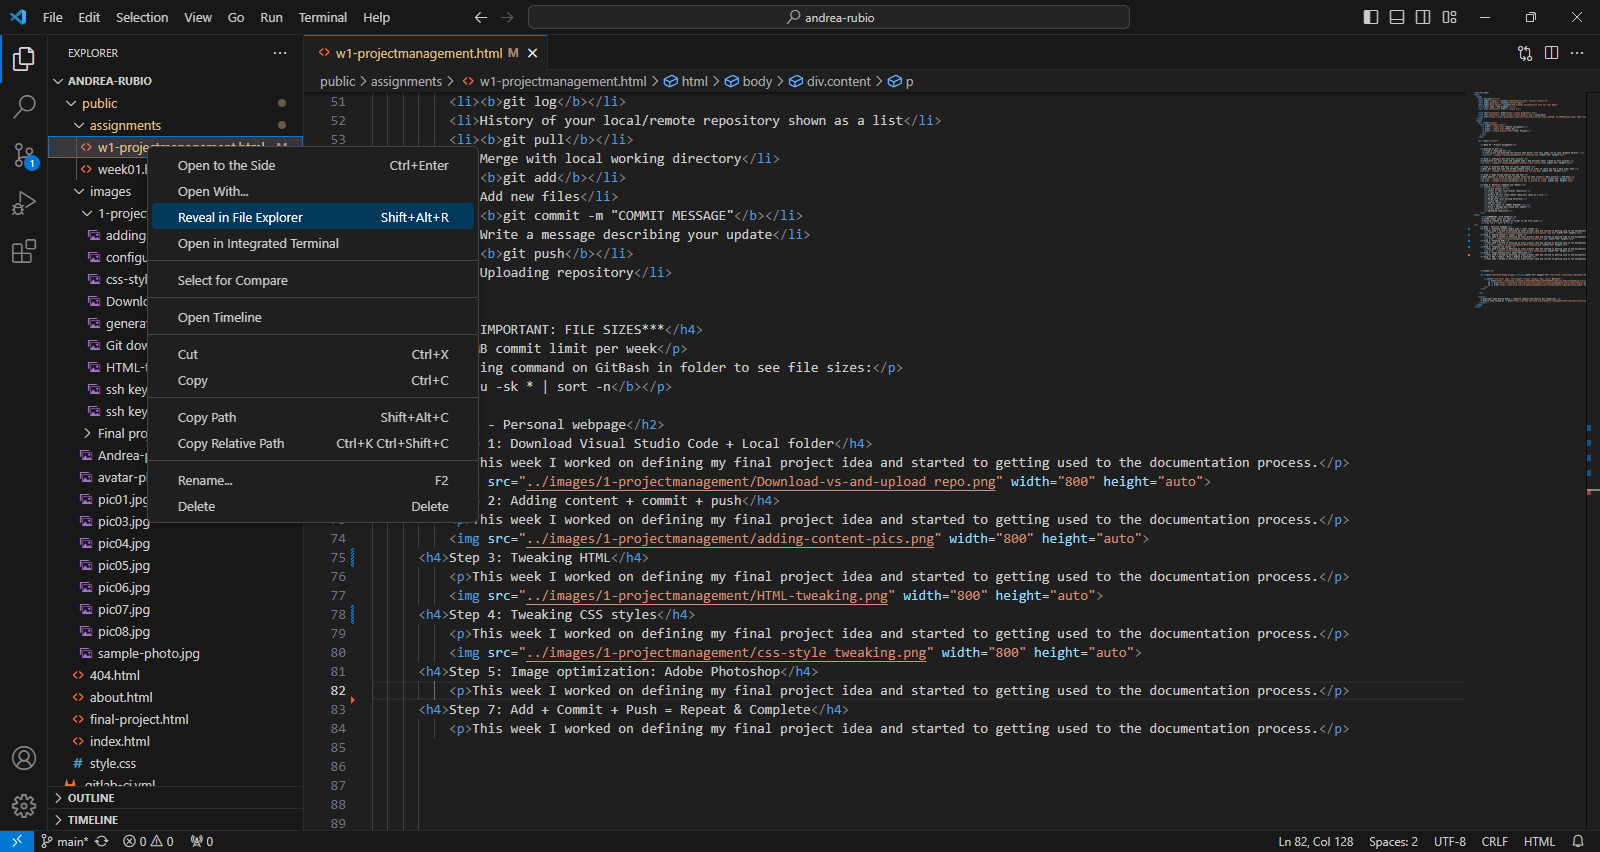
Once you get a hang of the workflow of uploading files, commit and push to your repository, you can preview your saved content so far by previewing it offline on your computer.
To do that you just have to Save your changes on Visual Studio Code, once the page turns yellow you can right click and select "Reveal in File Explorer" and open it from there.
This tip is very helpfull so you can see faster your work and make less repo uploads.
Resources
Saskia Helinska // Fab Academy alumni (2023)
Josep Martí // Fab Lab Barcelona lead instructor